Surely you like various kinds of decorations for your desktop.
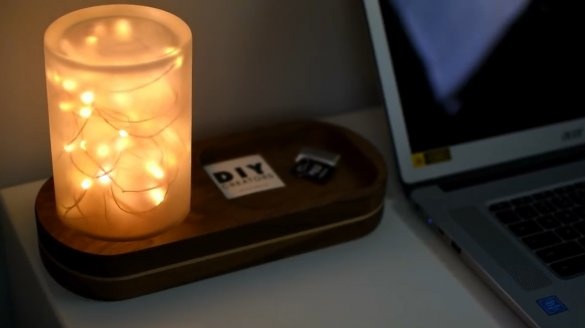
In this article, the author of the YouTube channel “DIY Creators” will tell you how he created an interesting lamp powered by USB.
Yes, the author will use the CNC machine, but you can do everything manually.
Materials
- Board made of walnut, cherry
—
- Wood screws
- PVA glue
- Sandpaper
— .
Instruments, used by the author.
—
—
—
—
—
— .
Manufacturing process.
The author will use hazel wood (walnut) and cherries.
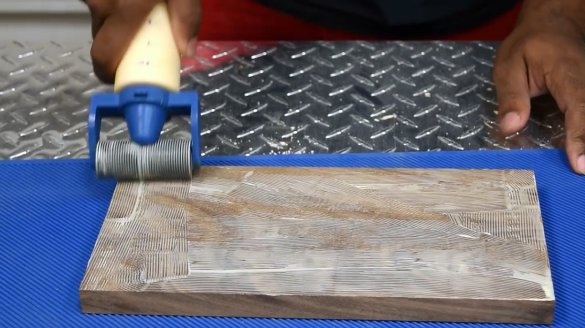
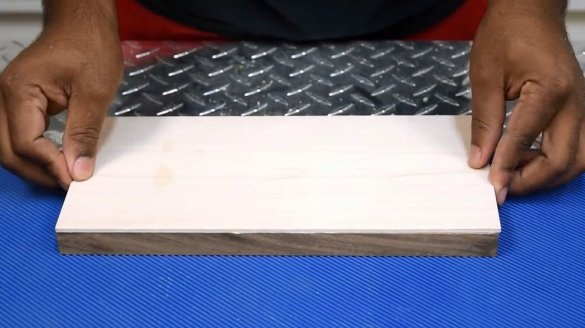
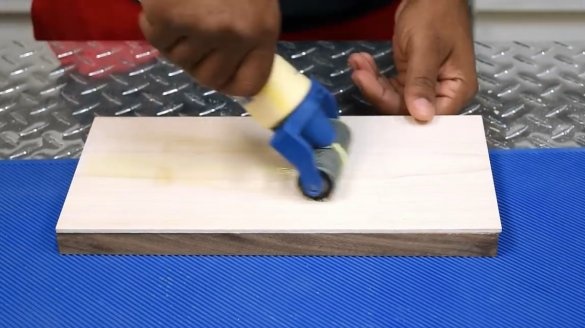
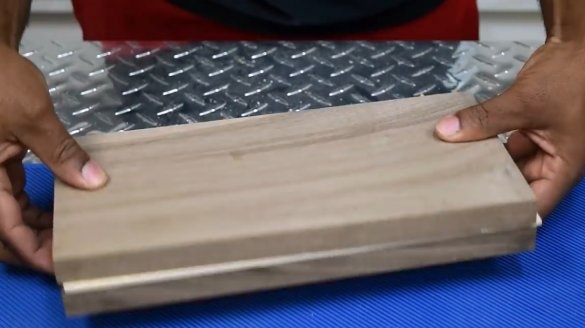
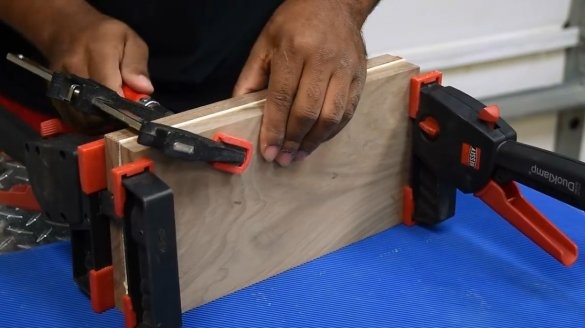
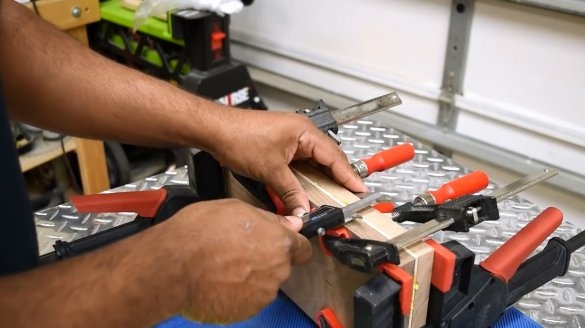
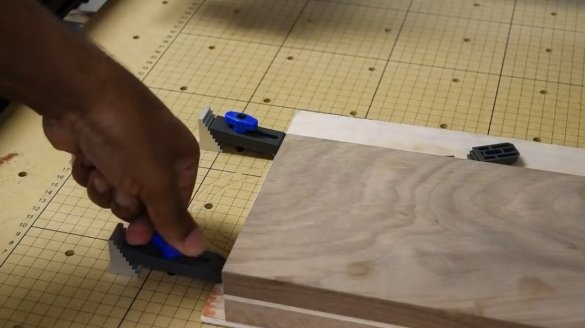
Glues different wood in layers.
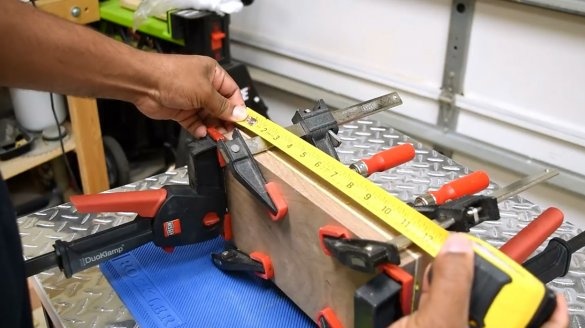
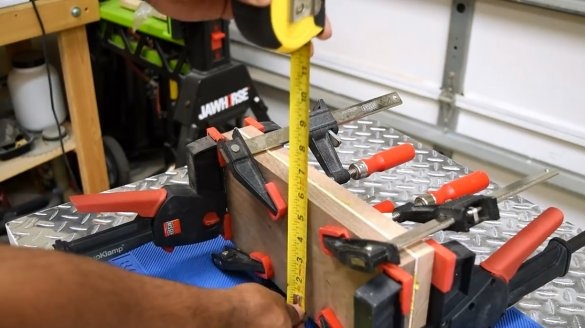
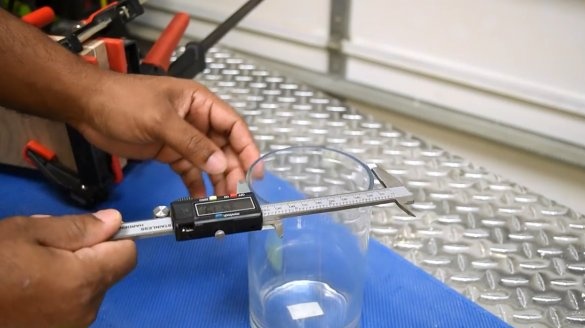
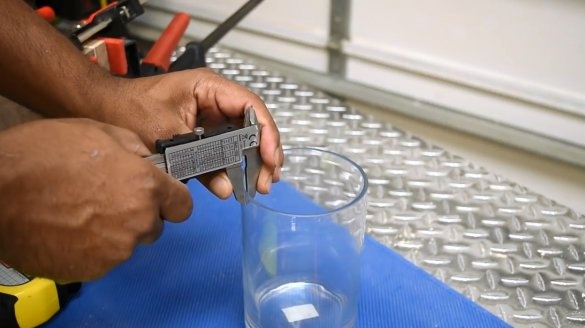
Measurements for CNC: first, it measures the total thickness of glued boards, length and width. Then he measures the inner and outer diameters of the glass.
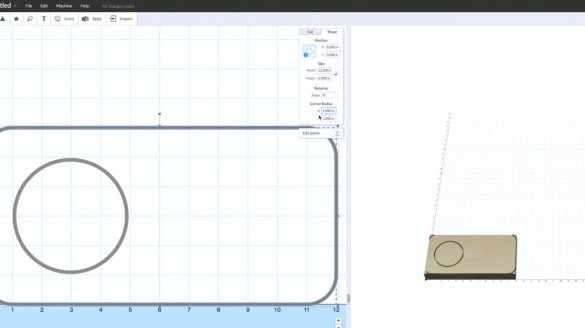
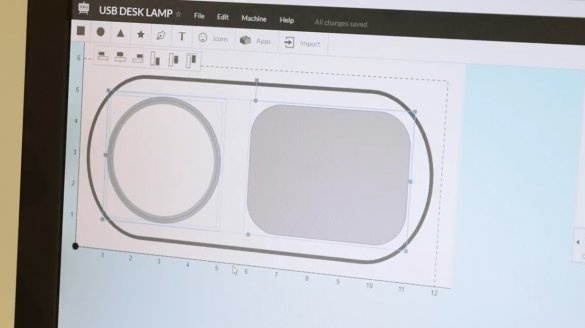
Now he goes to the computer and using the ESO software program designs the shape of the lamp. This program works on the basis of the browser, while the Internet is turned on, you can create.
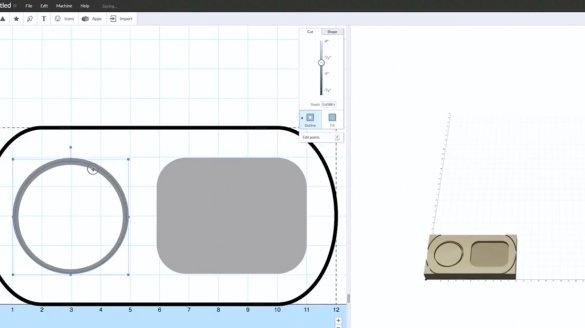
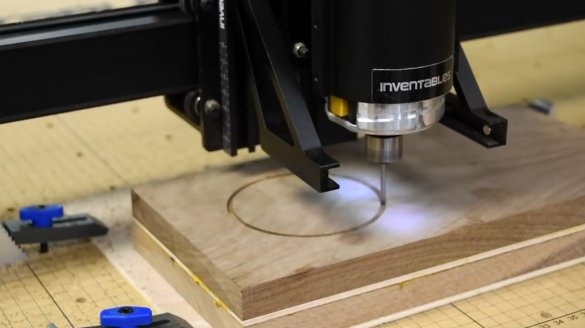
It sets the parameters of the product. Using the Circle tool, he sketches a circle in place of which in reality there will be a spherical groove under the lampshade. He centers the circle, laying 1 inch off the Y axis. Next, he selects the Square tool and adjusts it to fit the shape of the material.
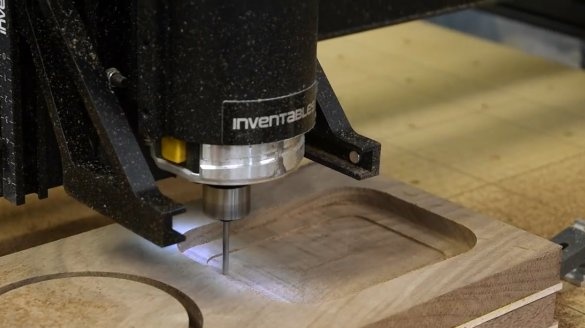
Adds an angular radius to round corners.
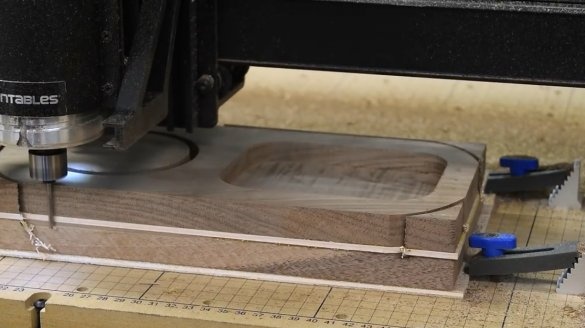
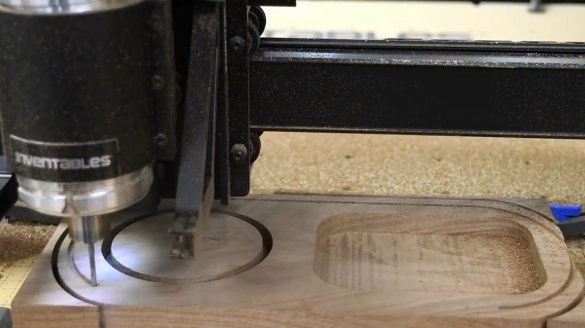
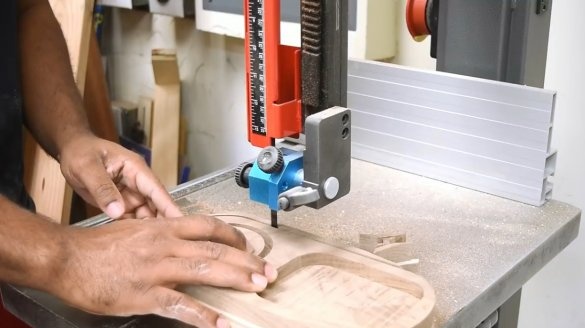
Now the author sets the depth of cut, by which the machine must determine the degree of immersion of the cutter. This material is too thick for the CNC to cut through.
Therefore, part of the work will be done on a band saw.
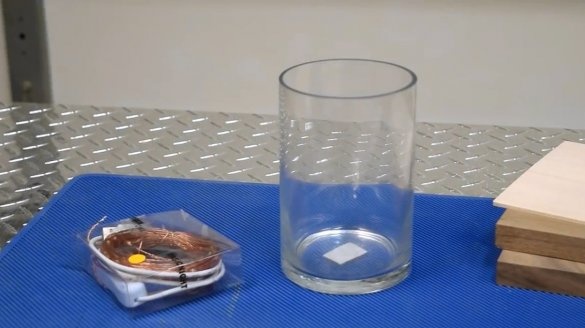
The wall of this glass is slightly thinner than required. The author decides to double the wall thickness in the sketch.
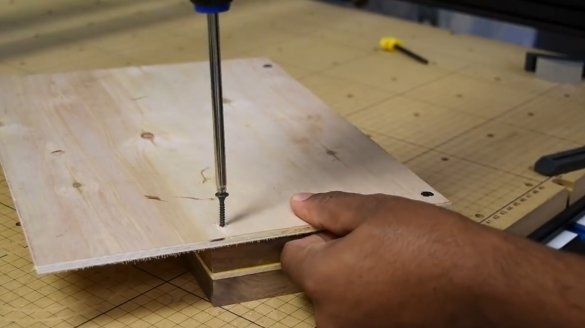
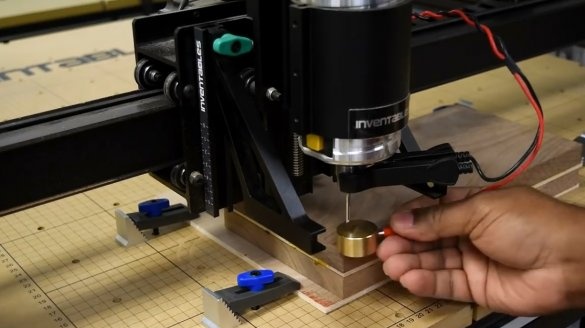
In order not to cut through the workbench, the master uses a backing plate (¼ inch plywood).
The CNC worked for 37 minutes, most of the time it took to cut the recesses.
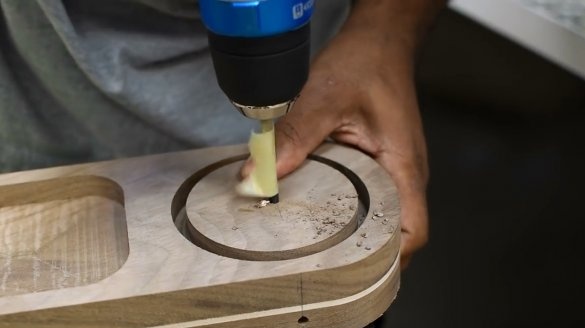
The author calculates the place through which to insert the power cable into the lamp. He drills two holes - top and side. Drilling the upper hole, the master intentionally wraps the drill with a piece of masking tape, using it as an indicator of the depth of immersion of the drill.
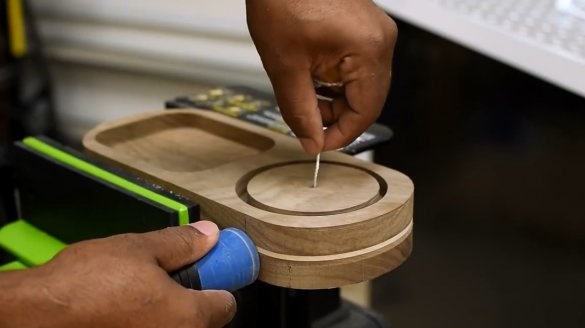
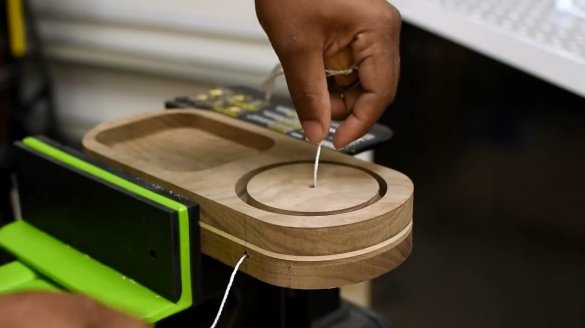
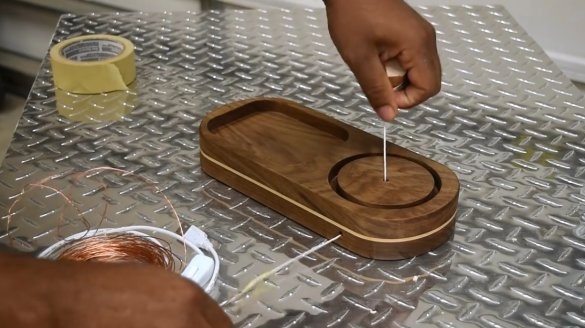
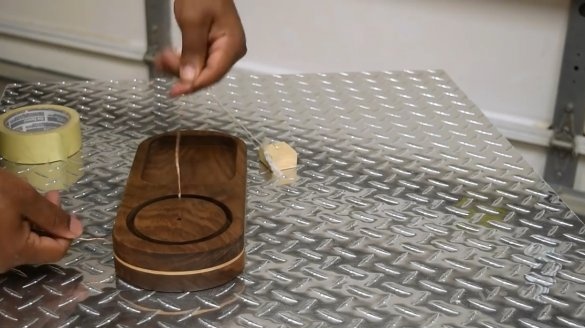
Now you need to pass the wire through the upper hole and run it through the bottom.The master takes a thick rope, launches it into the hole, and at the exit puts a vacuum pipe that sucks the thread.
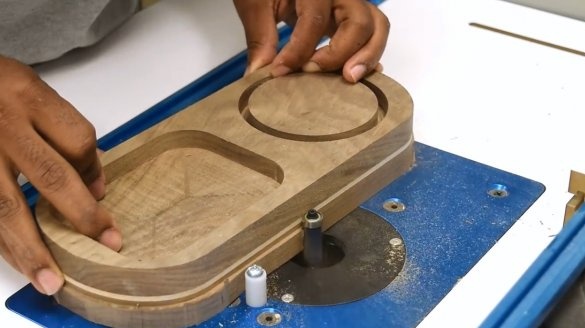
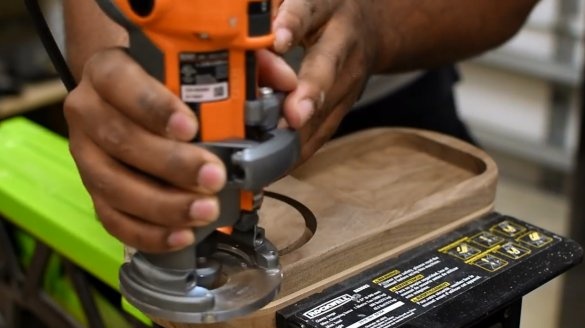
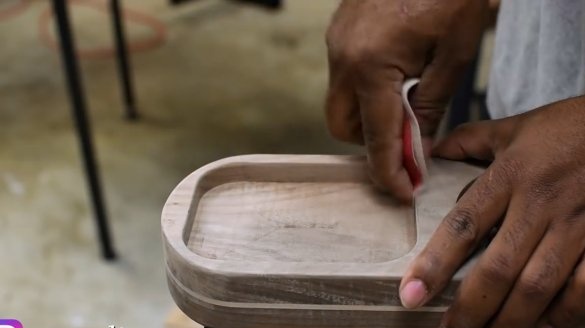
The next step is milling and polishing all the faces of the base.
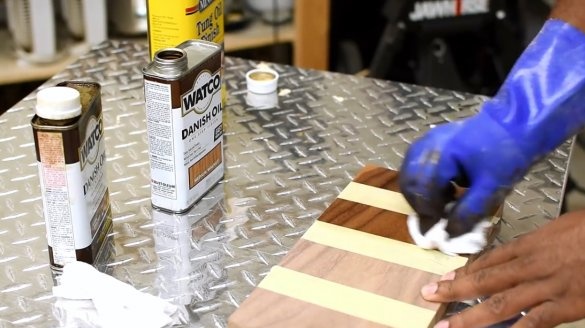
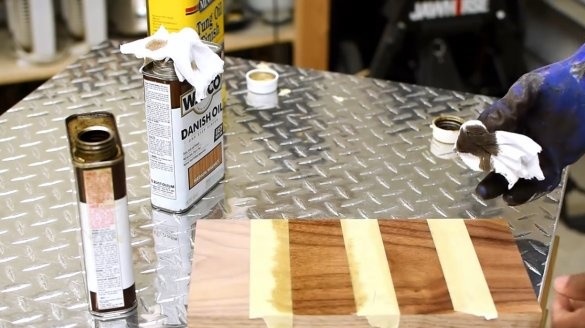
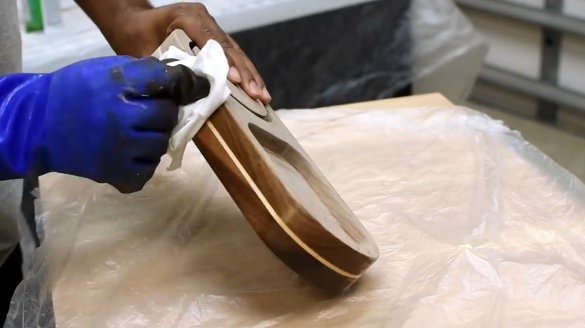
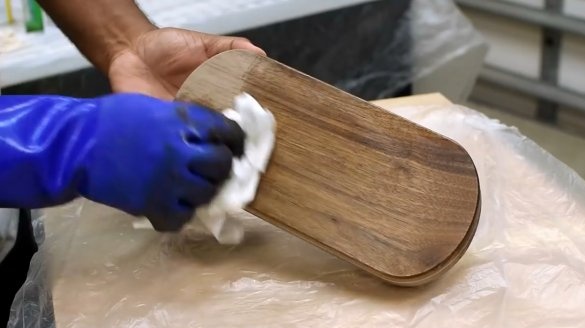
The author is faced with the choice of which finish to cover the wooden stand with - Danish oil (medium walnut tone), Danish deep walnut oil or tung oil. He opts for the latter, because it preserves the original color of cherry wood better than others.
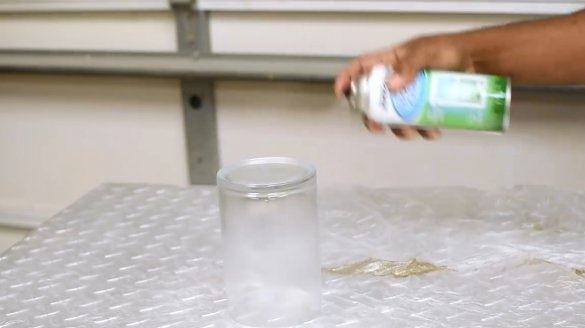
After that, he sprinkles the glass with matt spray-on frost.
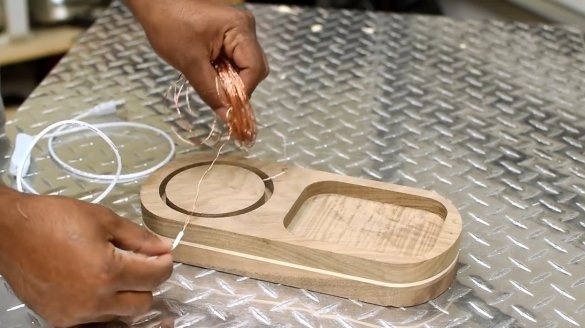
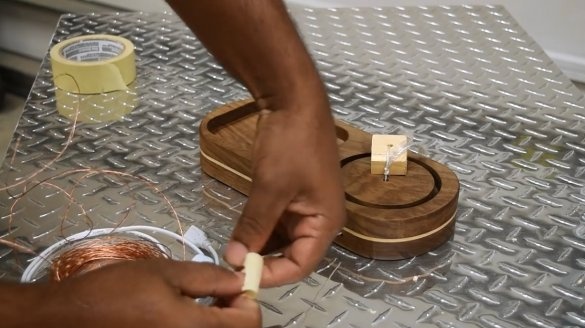
He wraps the wire around the rope with a masking tape, and thus draws the wire through both holes.
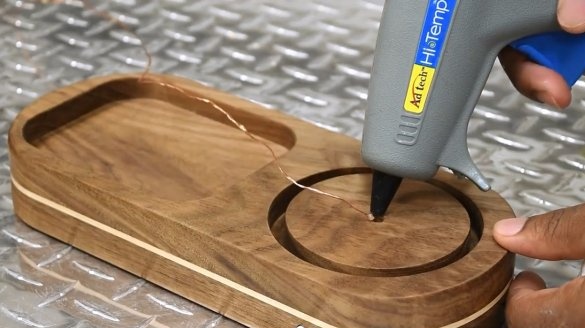
The top hole is filled with hot glue, fixing the garland wire.
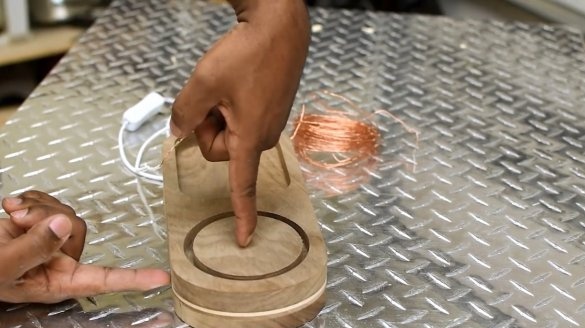
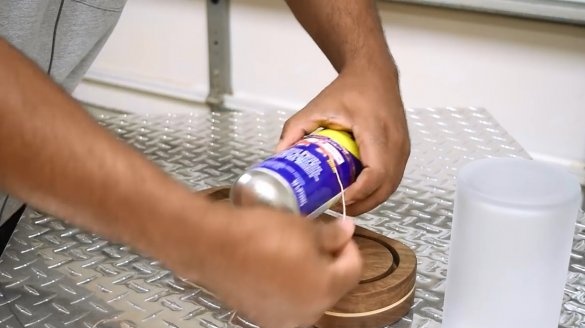
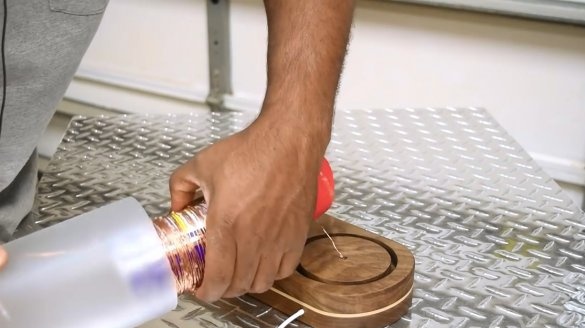
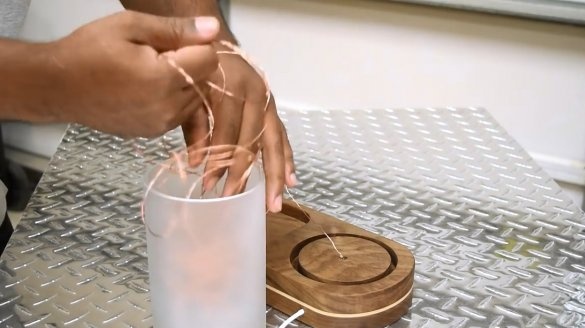
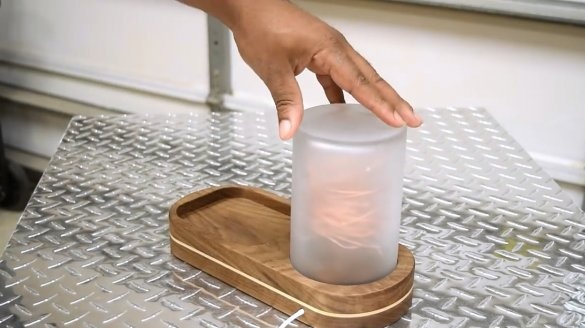
The wire is wound on a spray can, and after that it easily starts inside the glass, filling with it most of its volume. In this way, the wire inside will not get tangled.
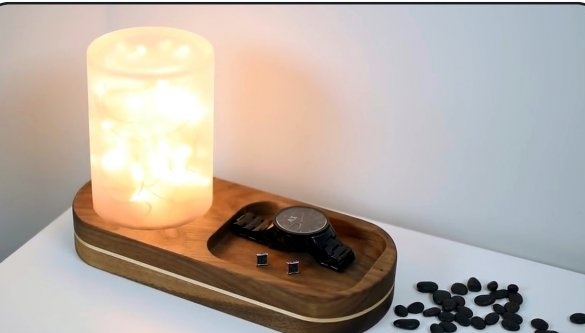
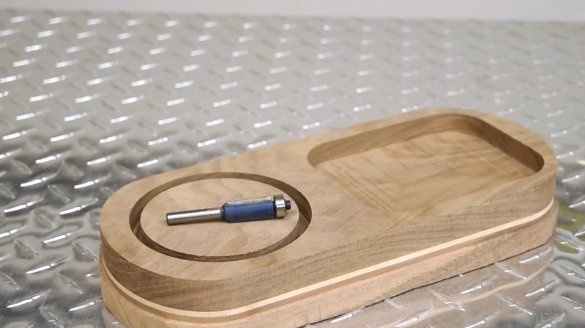
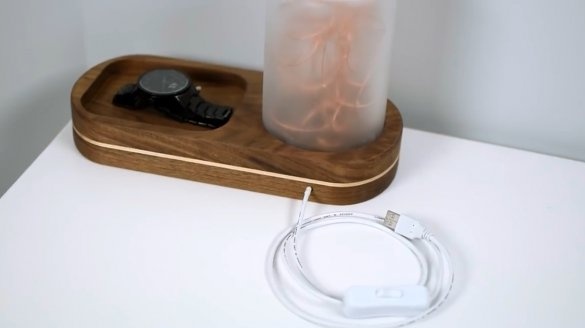
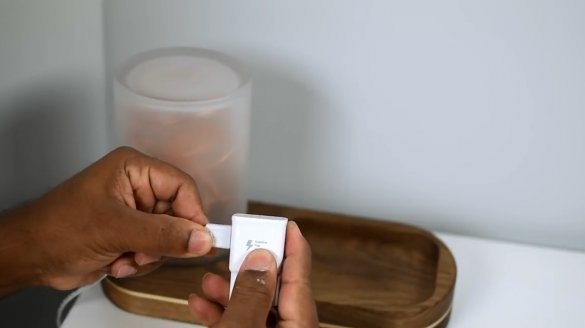
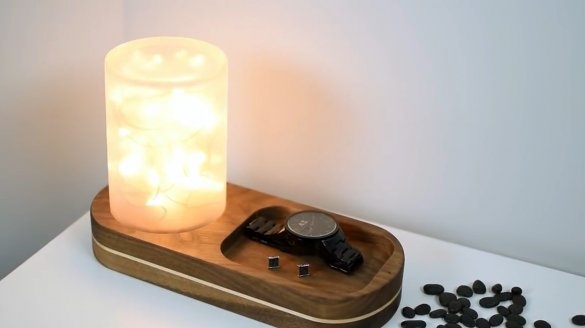
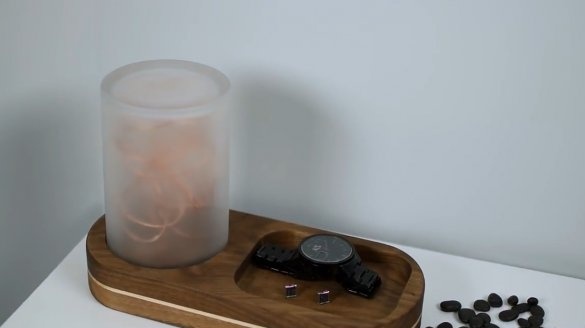
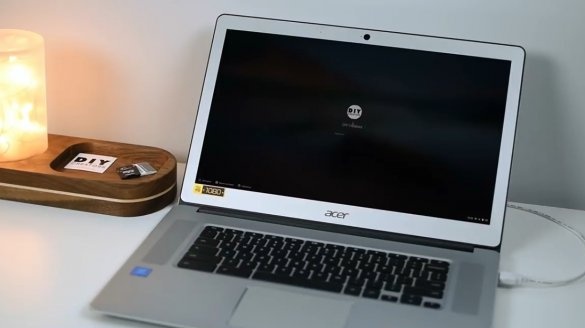
Take a look, this is not only a lamp! On the stand there is a tray for small items - women's accessories, watches, etc. But the actual power of this lamp is carried out from a regular USB connector. You can not even use the standard connectors, just connect the charger.
Thanks to the author for the interesting idea of creating a table lamp!
All good mood, good luck, and interesting ideas!
Author video can be found here.
[center ] [/ center]

