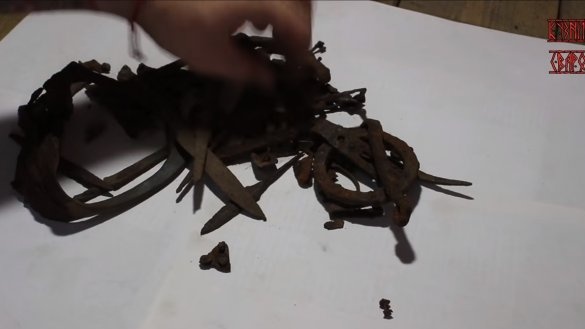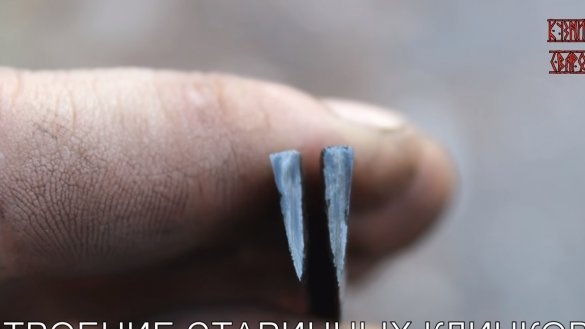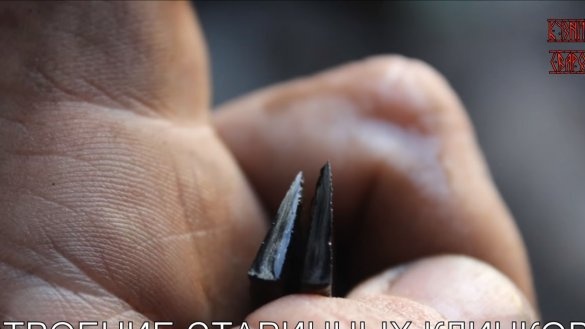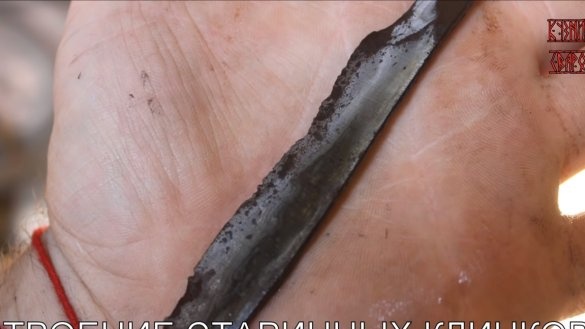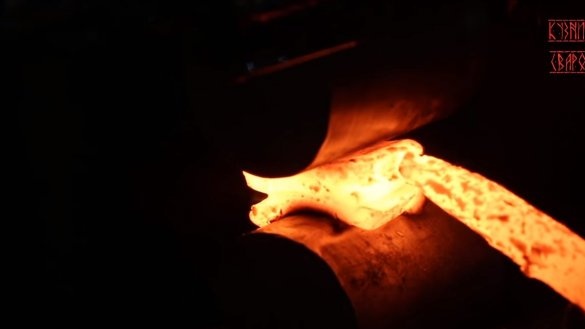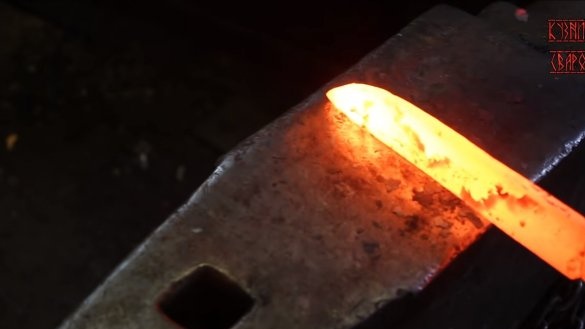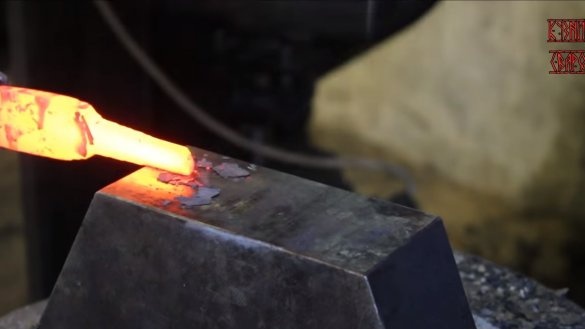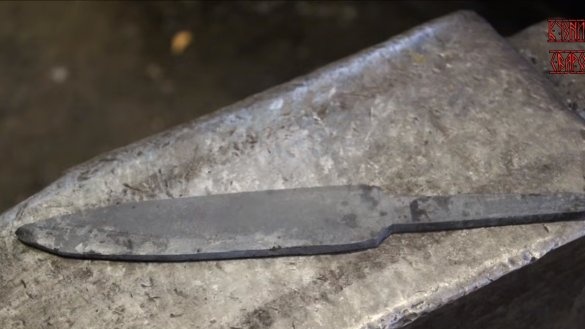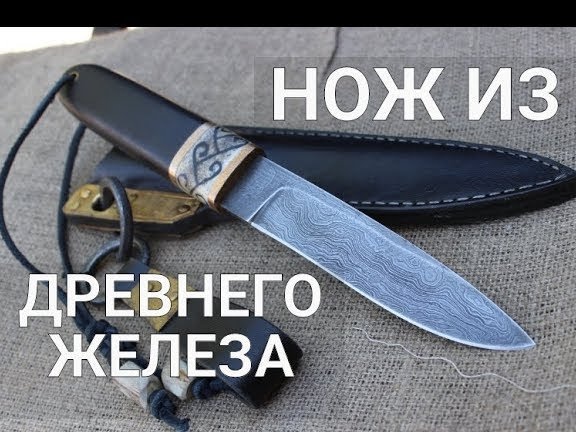
Hello to all fans to knock on red-hot pieces of iron. Today we will look at how to forge a souvenir knife from ancient iron. Looks homemade quite interesting, and it also contains the spirit of antiquity and a special energy. The blade was made by forging, old rusty blades and other iron found underground were used as a material metal detector. During the manufacturing process, the author also enriched iron with carbon, as was done in antiquity. As a result, the blade turned out to be quite strong, the author tempered it and made excellent sheath for the knife in the same ancient style. If the project interests you, I propose to study it in more detail!
Materials and tools used by the author:
Material List:
- old iron;
- sheet bronze;
- ebonite or other wood of a dark color;
- bone or light wood;
- epoxy adhesive;
- leather for sheath;
- oil for wood.
Tool List:
- oven and blacksmithing supplies;
- belt sander;
- drilling machine;
- sewing tools;
- .
The process of making a knife:
Step one. Forging
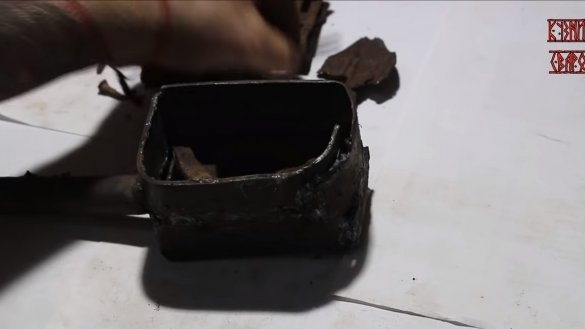
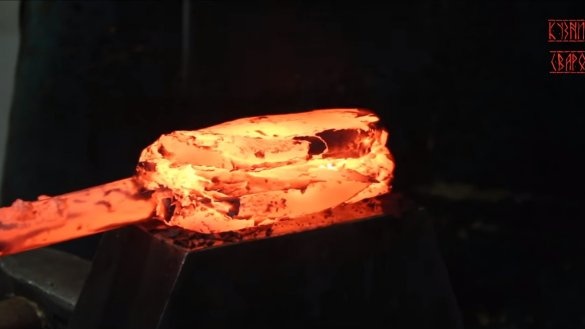
First of all, we need to find suitable materials, in our case, these are old rusty blades and other ancient products that have lain in the earth for hundreds of years. All suitable parts can be cut and folded into a makeshift welded iron box. A piece of reinforcement is welded to the box, which will serve as a handle.
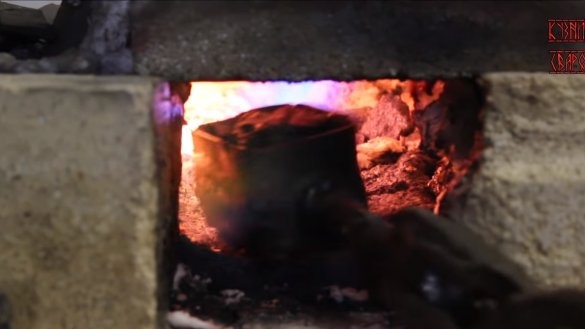
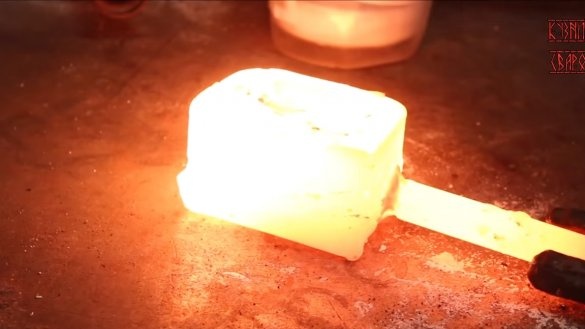
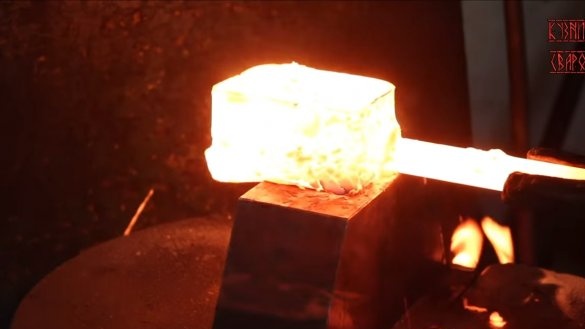
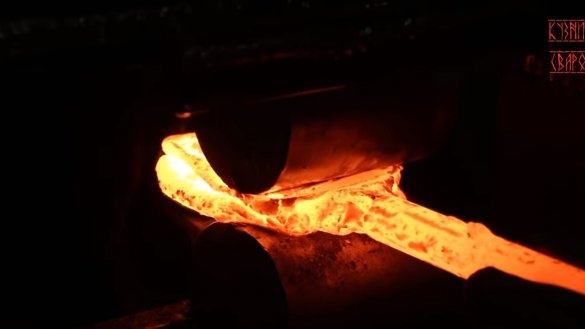
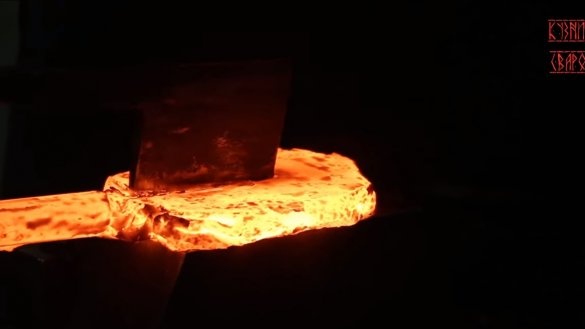
Well, then the box with all these pieces of iron goes to the oven and glows to a bright yellow glow, sprinkle the whole thing with brown and proceed to forging. We need to mix the metal well with each other, the author uses an automatic hammer and other forging machines for this.
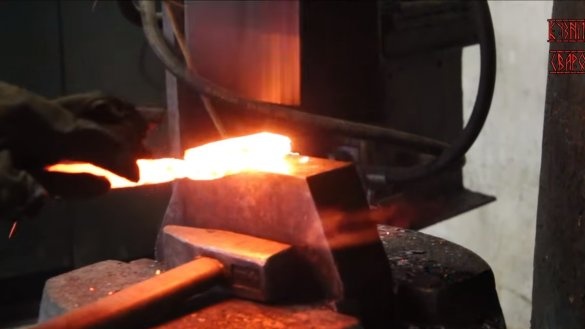
As a result, it will be necessary to forge a long plate, cut it with a grinder into pieces of the same length, weld and then forge it back to mix the layers of metal again. At the end, you can already start forging the profile of the blade. Here the author works already by hand, using a hammer and an anvil.
Step Two Grinding
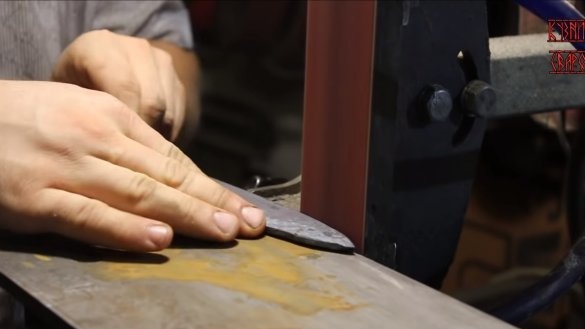
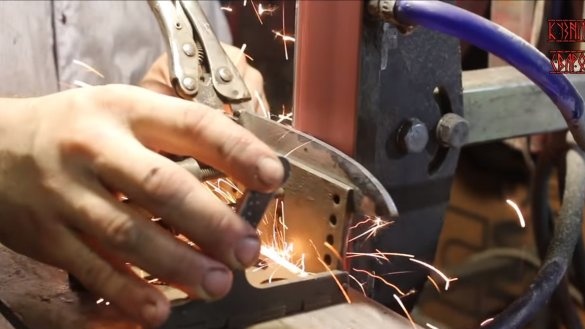
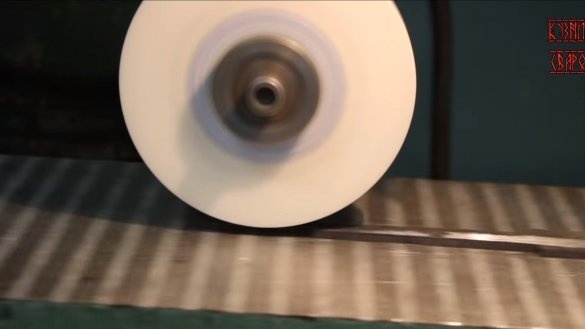
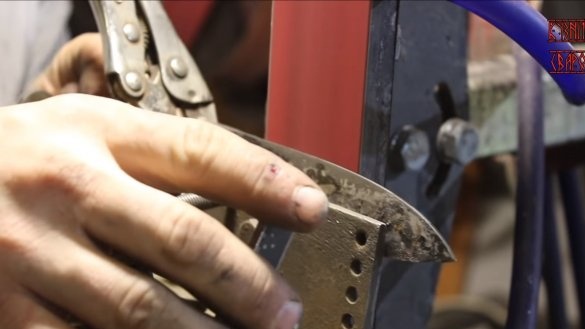
Next, we proceed to grinding, the first step is to process the blade along the contour, we bring it to the ideal. Then we grind and the plane, as well as display the bevels. To create symmetrical and beautiful descents, the author uses a special holder for the blade.
Step Three Carbon enrichment
Of course, after such intensive forging, carbon will no longer remain in the metal, and we will get raw, such a metal will not keep grinding. To solve the problem, it is necessary to enrich iron with carbon, as a result we will get steel that can be hardened.
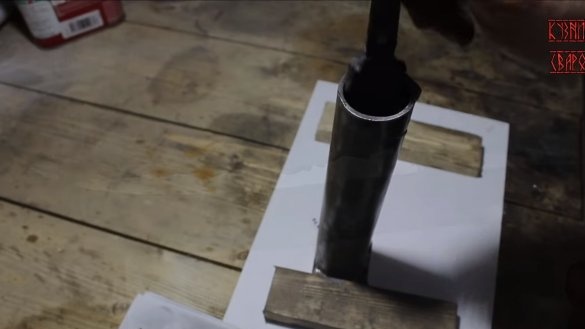
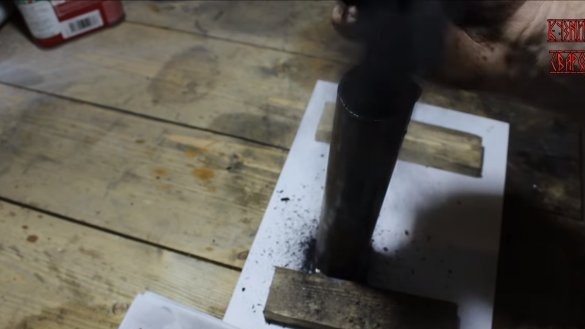
For the procedure, the author used a rather ancient technique, we will use charcoal as a carbon source.
To “impregnate” with carbon, only the blade is needed, so that we cover the remaining parts of the blade with a heat-resistant composition.
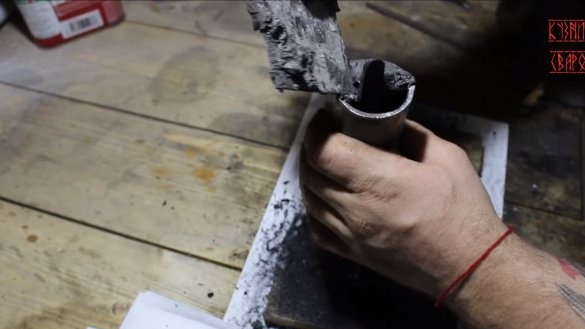
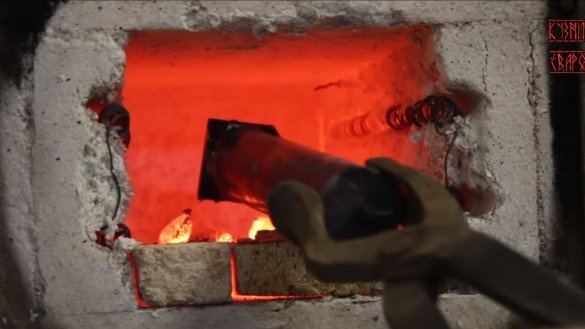
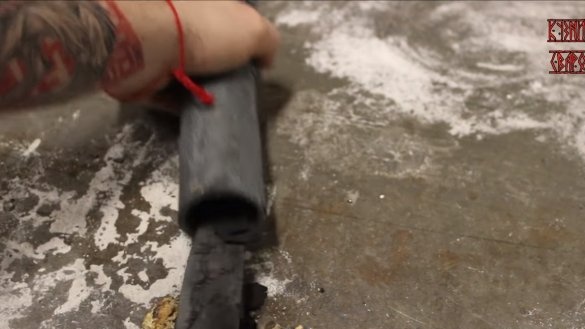
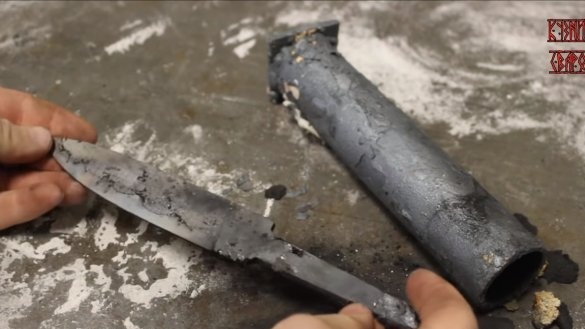
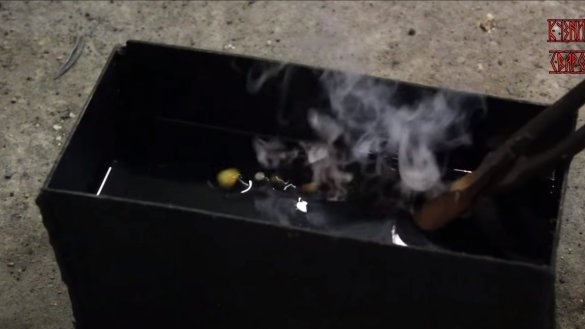
We take a thick-walled iron pipe, put a blade in it and fall asleep charcoal, as well as pieces of wood that have not been burned down. We close the pipe and send it to the furnace for a long period of time. Over time, iron “absorbs” the right amount of carbon.
Step Four Cleaning and sharpening
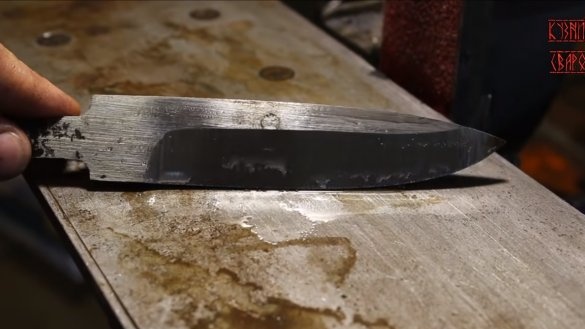
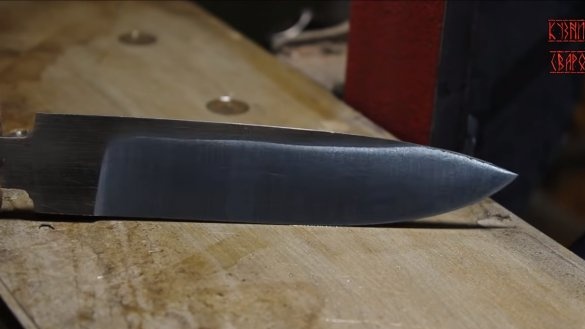
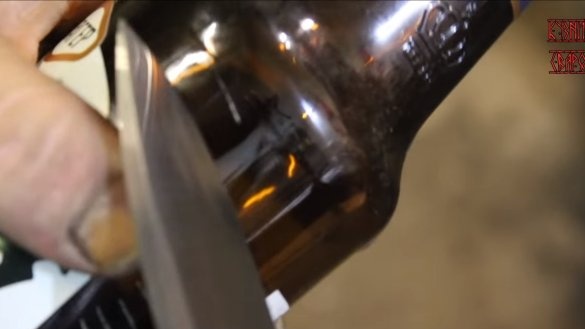
After carbon enrichment, we lightly grind the blade and now you can try to harden it. We heat steel and dip in oil. After that, the blade can be polished to a shine and sharpened. The author turned out to be quite good steel, the blade cuts even a glass bottle.
As a result, our blade has carbon in it, and the butt is made of iron, such a blade will hold sharpening well and will not crack.
Step Five Etching
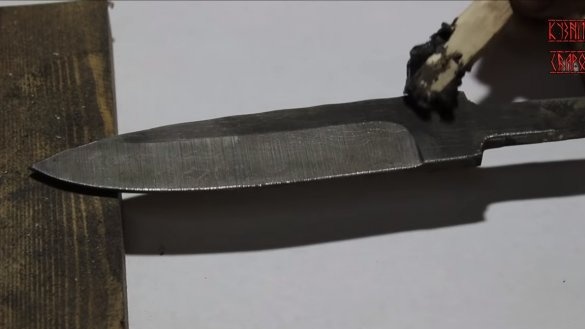
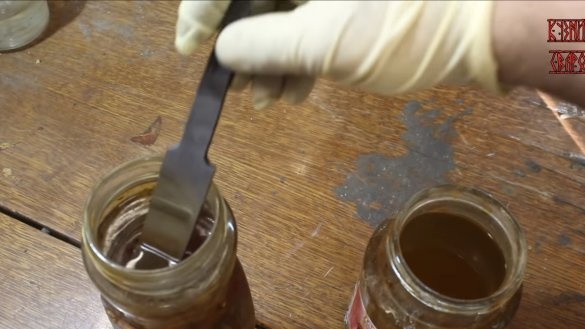
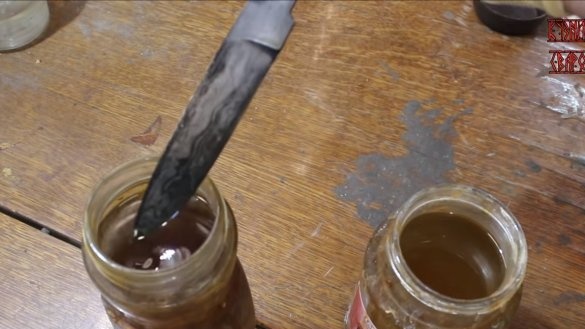
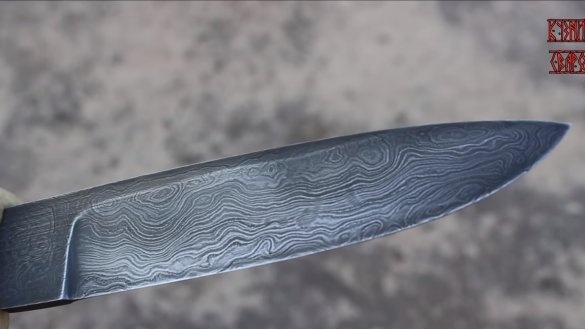
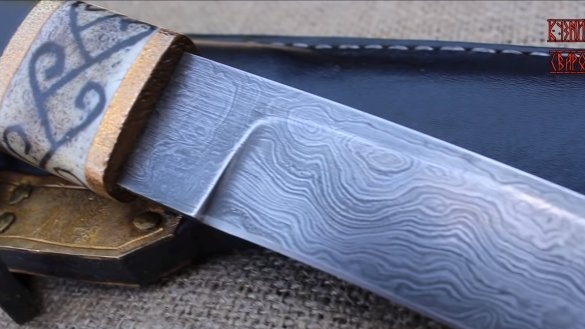
Since we mixed several types of iron and steel, a beautiful pattern can be distinguished on the blade. To do this, carefully grind the blade, degrease and perform etching.
Step Six Handle assembly
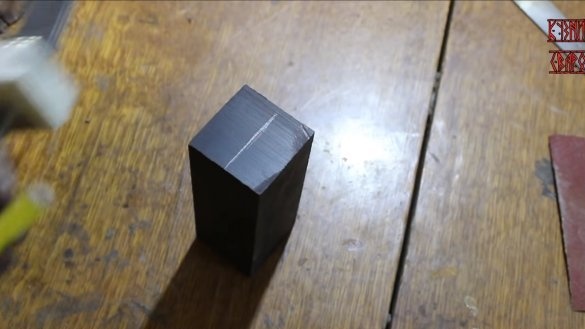
For the hilt we need ebonite or dark wood, also light wood (on which there will be a pattern), for the guard brass or bronze.
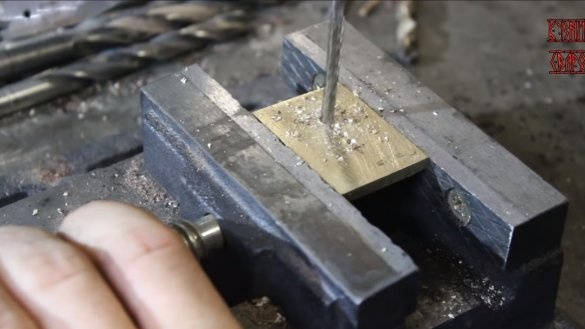
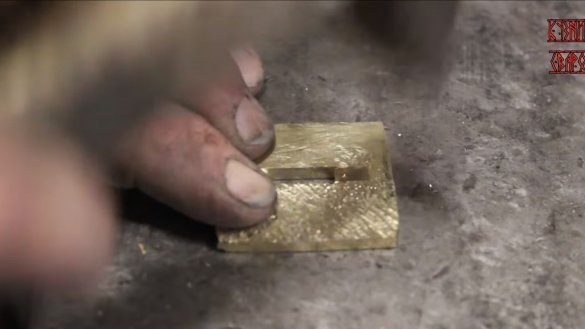
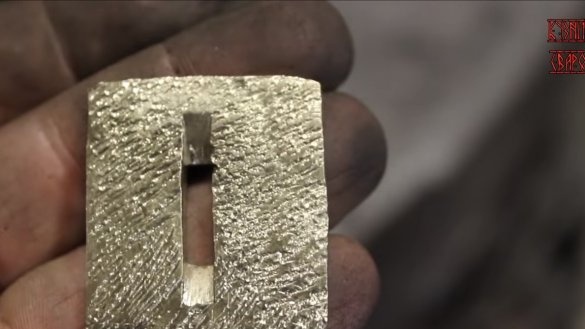
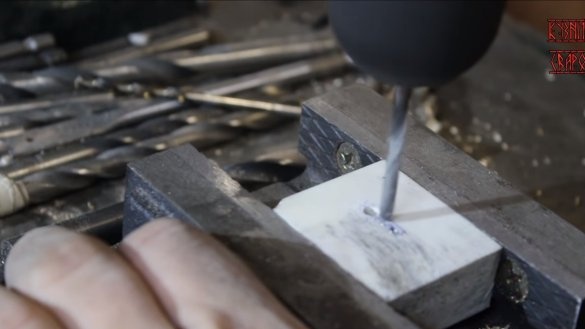
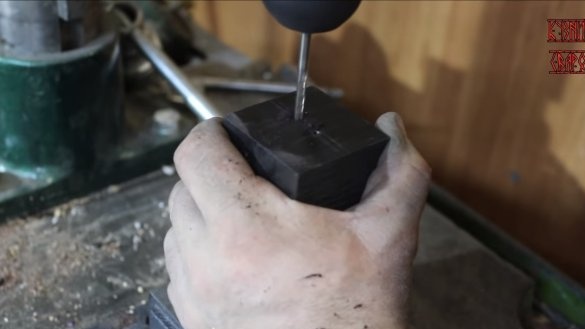
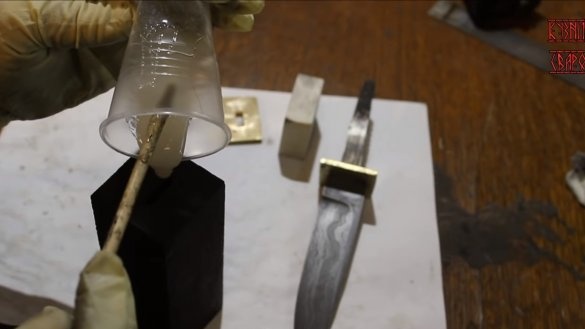
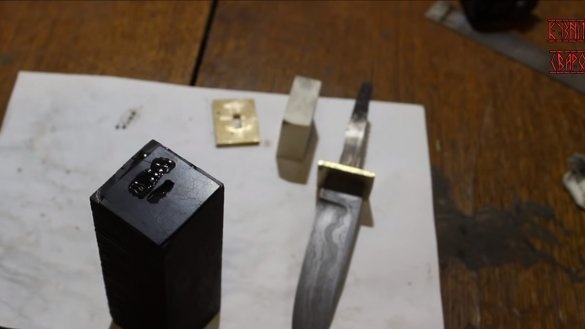
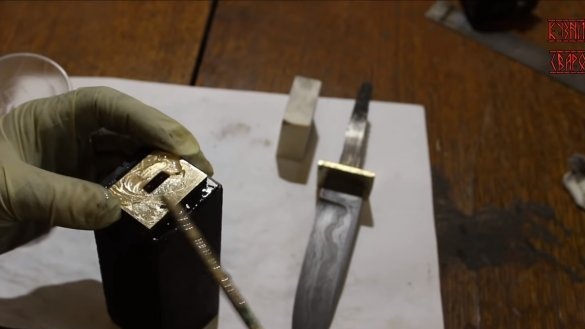
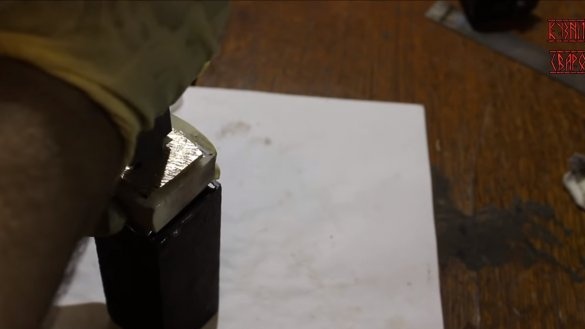
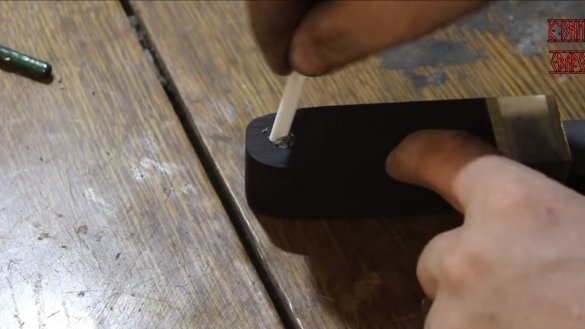
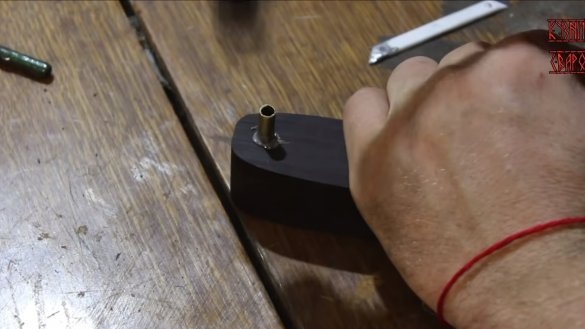
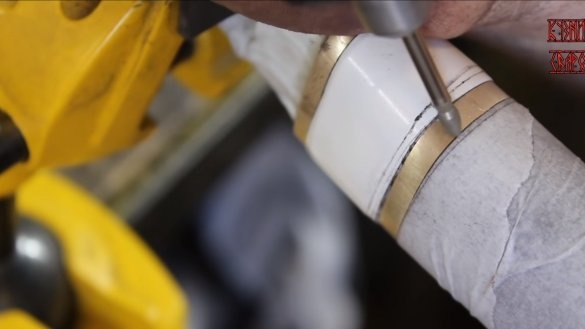
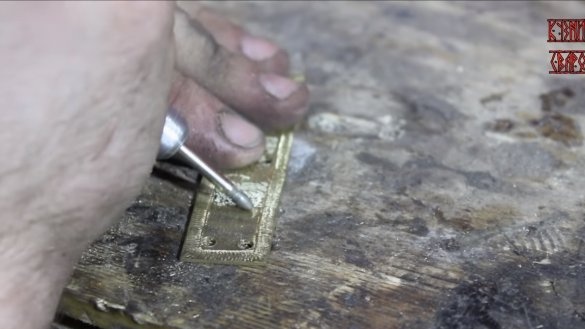
We cut the workpieces, cut the slotted holes and in the end we glue everything well with epoxy glue. The author decided to decorate Garda in antiquity, having processed a bronze plate with a drill “forging”.
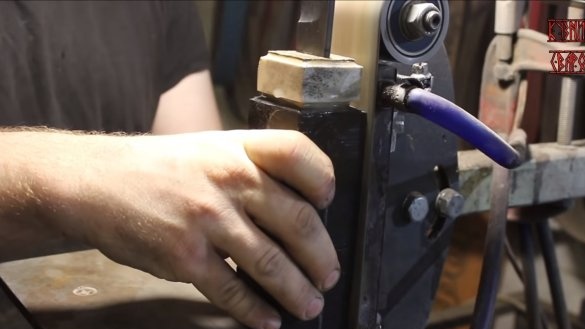
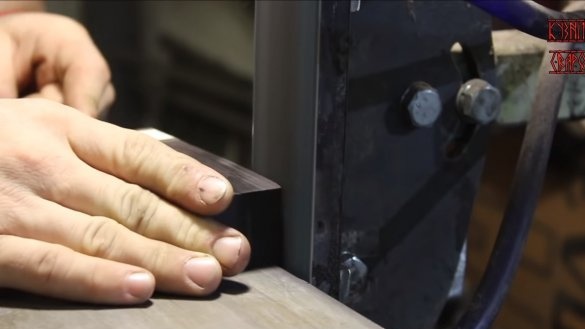
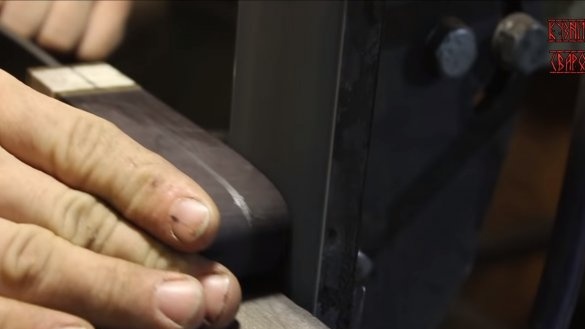
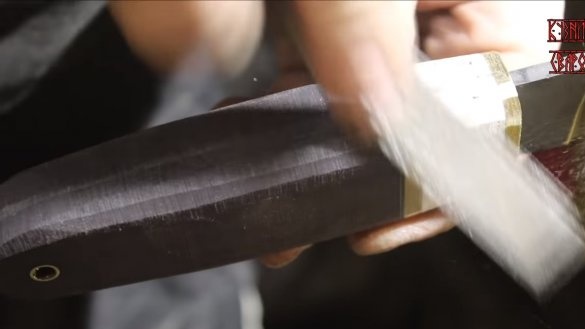
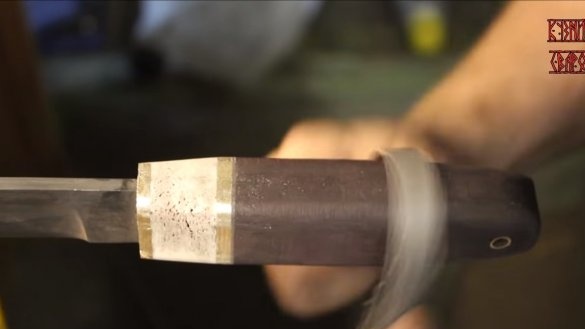
Well, then everything happens according to the well-known technology, we cut off the excess, we grind the handle, setting the desired profile. At the end, we perform fine sanding with sandpaper, bring the handle to a perfectly smooth state.
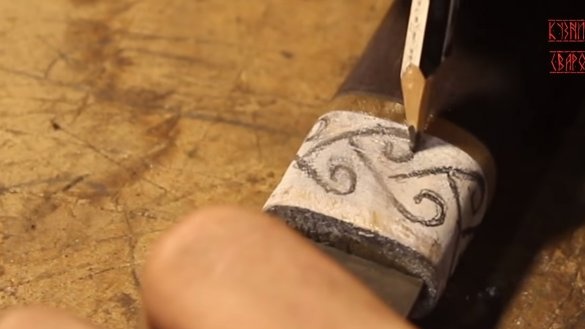
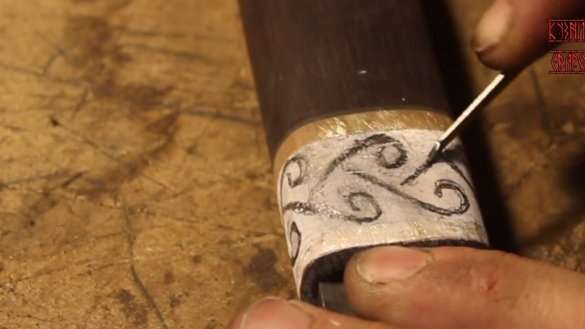
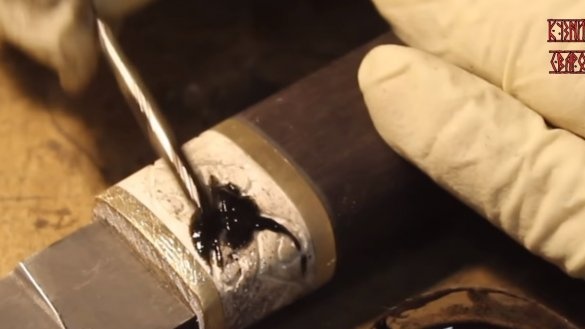
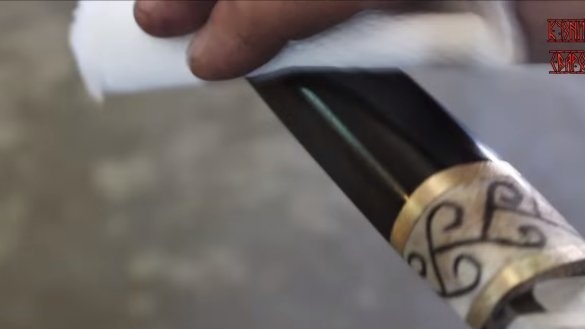
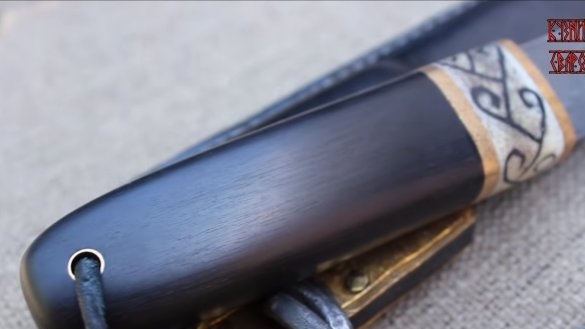
In front of the handle there is an insert made of white wood, we cut a pattern here with a knife on a tree at your discretion. To highlight the pattern, paint it with a stain or other dye, and then grind this part of the handle. The pattern will remain dark, and the top of the wood will be light. After that the handle is ready, you can cover the handle with oil to protect it from water.
Seventh step. Sheath
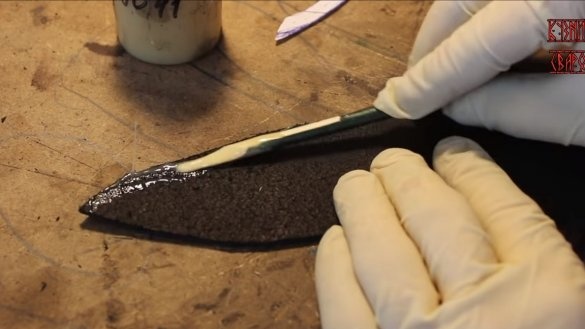
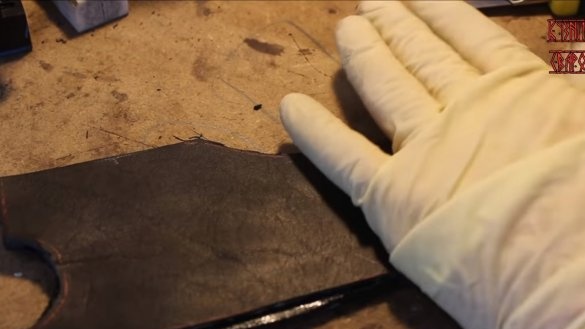
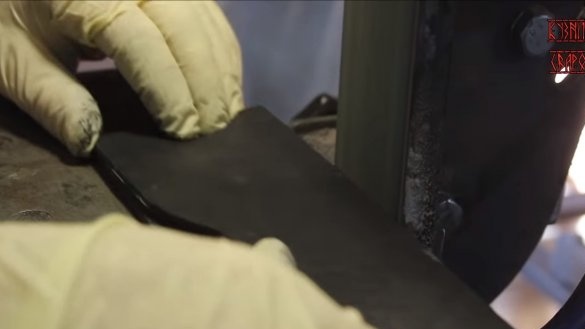
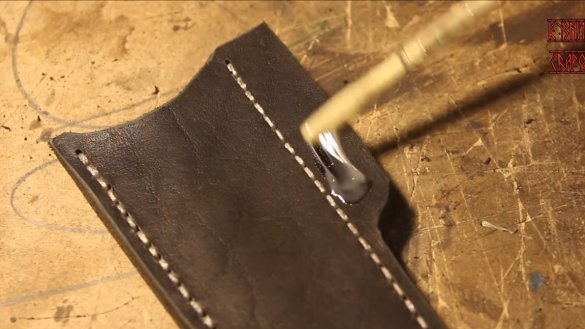
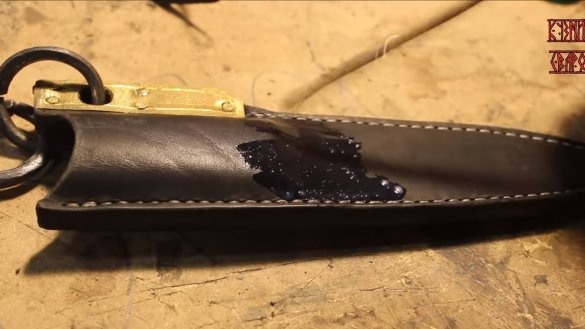
Of course, for such a stylish knife you need to make no less stylish scabbard. We cut two blanks in the shape of a blade from leather and glue them. When the glue dries, the author decided to grind the sheath along the contour of the grinder.
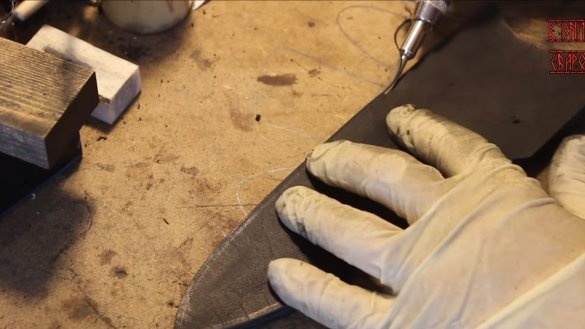
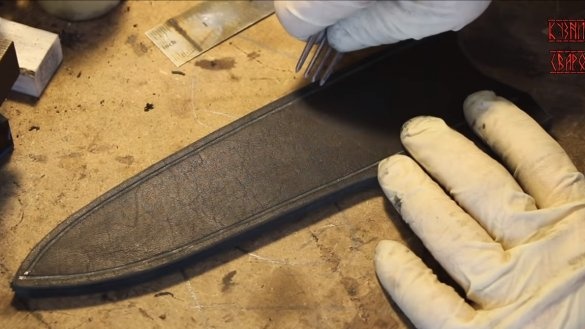
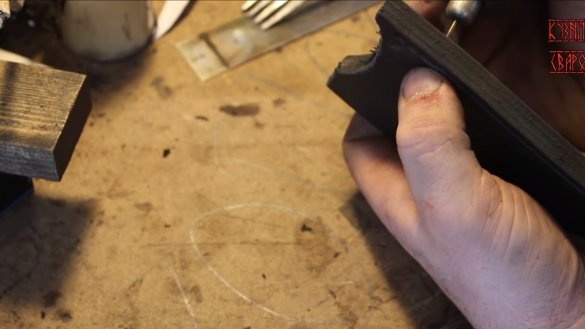
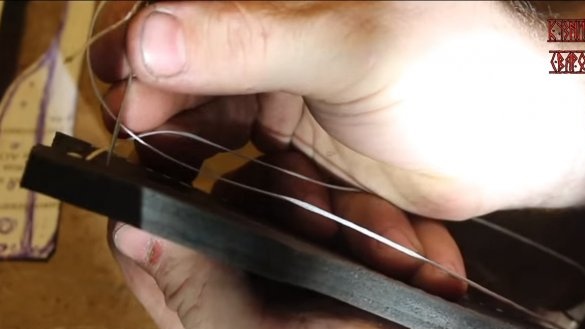
Well, then the scabbard needs to be stitched, the author outlines the places for the holes with the help of a table fork. We drill holes with a drill and stitch the sheath.
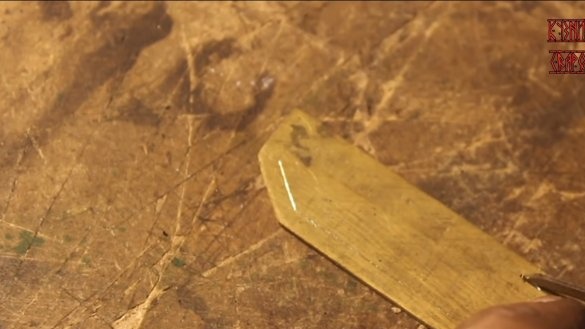
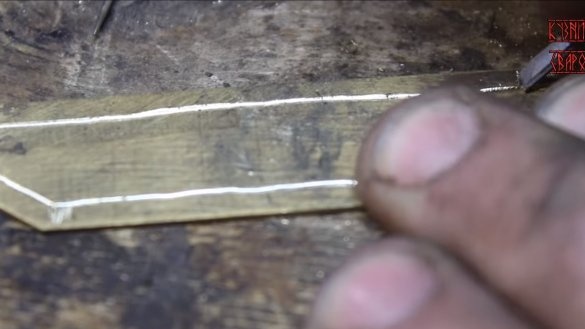
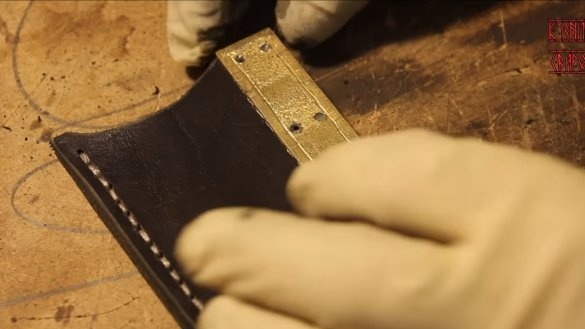
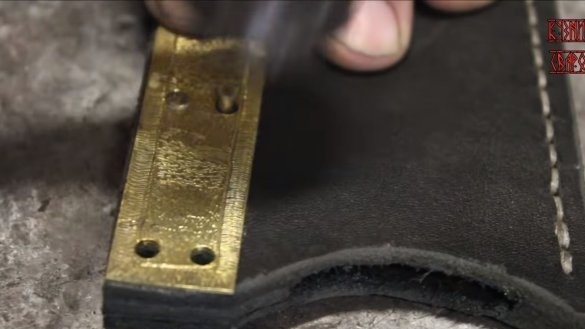
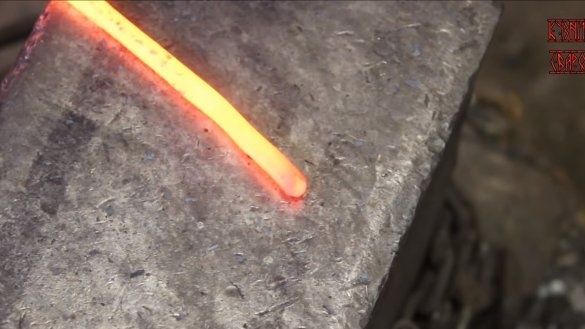
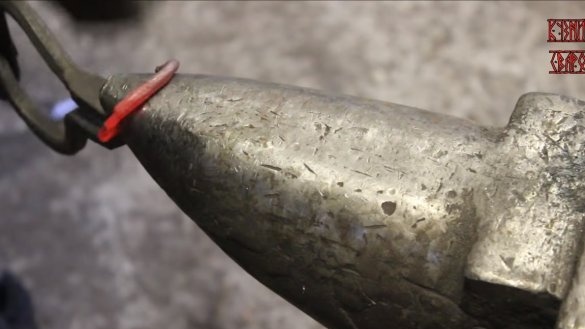
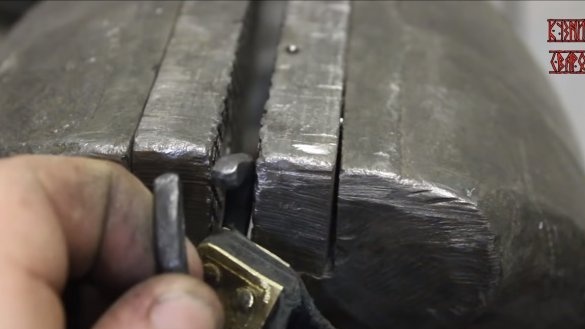
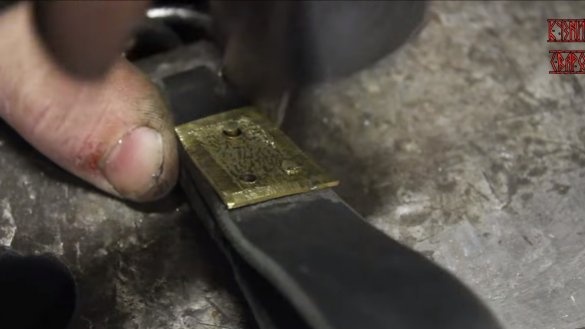
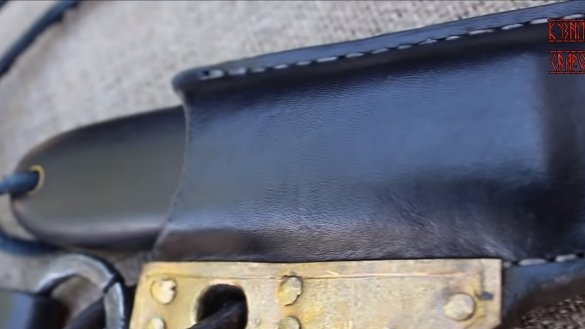
Still for the sheath, you need to make fasteners that will allow them to be hung on the belt. As a fastener, the author forged a ring from iron wire. At the place of installation of the ring, a brass plate chained antique is chained. As a result, the scabbard looks chic, they are strong and reliable.
Here is such a chic knife, suitable as a souvenir. Of course, this souvenir can even cut glass bottles, so be careful. On this project is over, I hope you liked the homemade. Good luck and creative inspiration, if you decide to repeat this. Do not forget to share your ideas and homemade things with us!

