

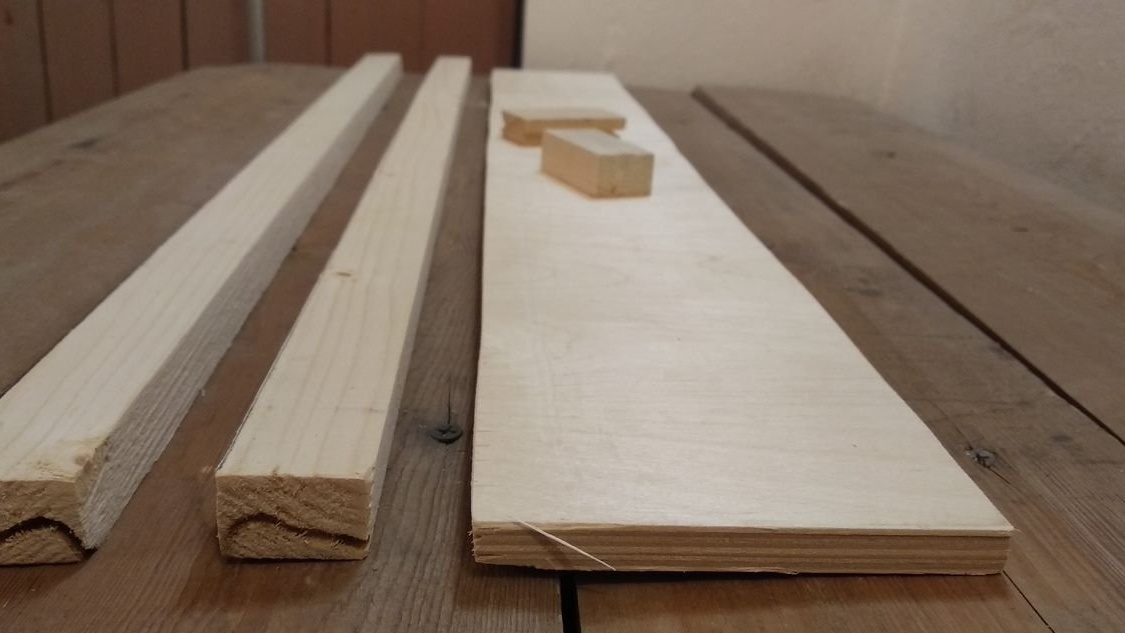
To make the bed we need:
- Fiberboard 400 x 700 mm (I used a piece of the door from the Soviet cabinet);
- Wooden slats 30 to 50 and 20 to 30 mm;
- Studs M6;
- Wing nuts M6
- M6 screw nuts (bought at a furniture hardware store)

We make a frame for a jigsaw:
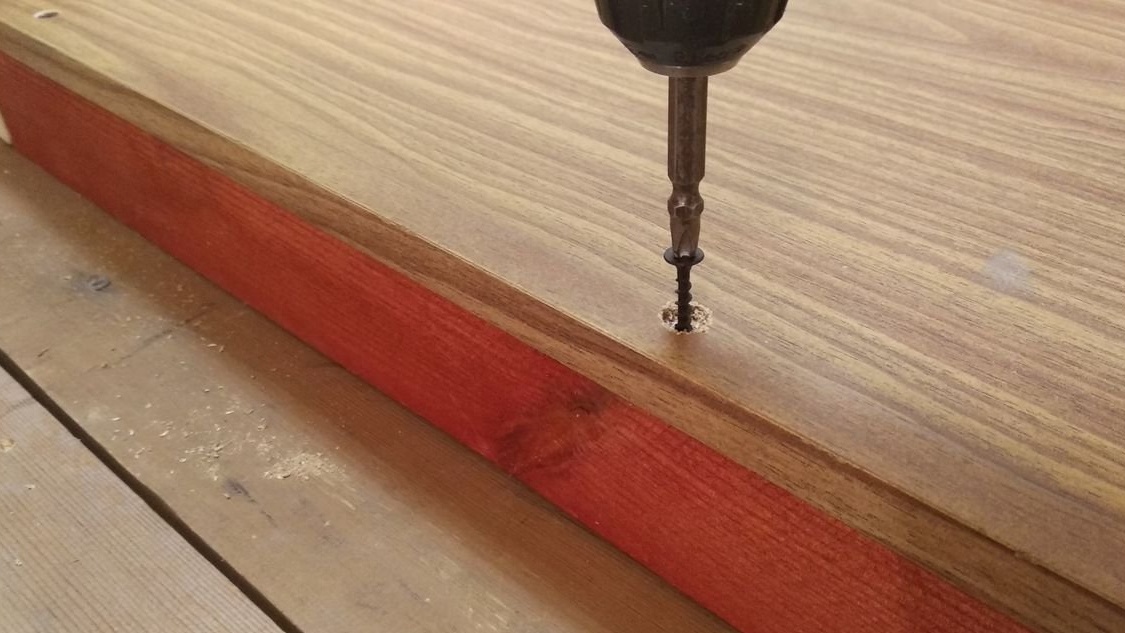
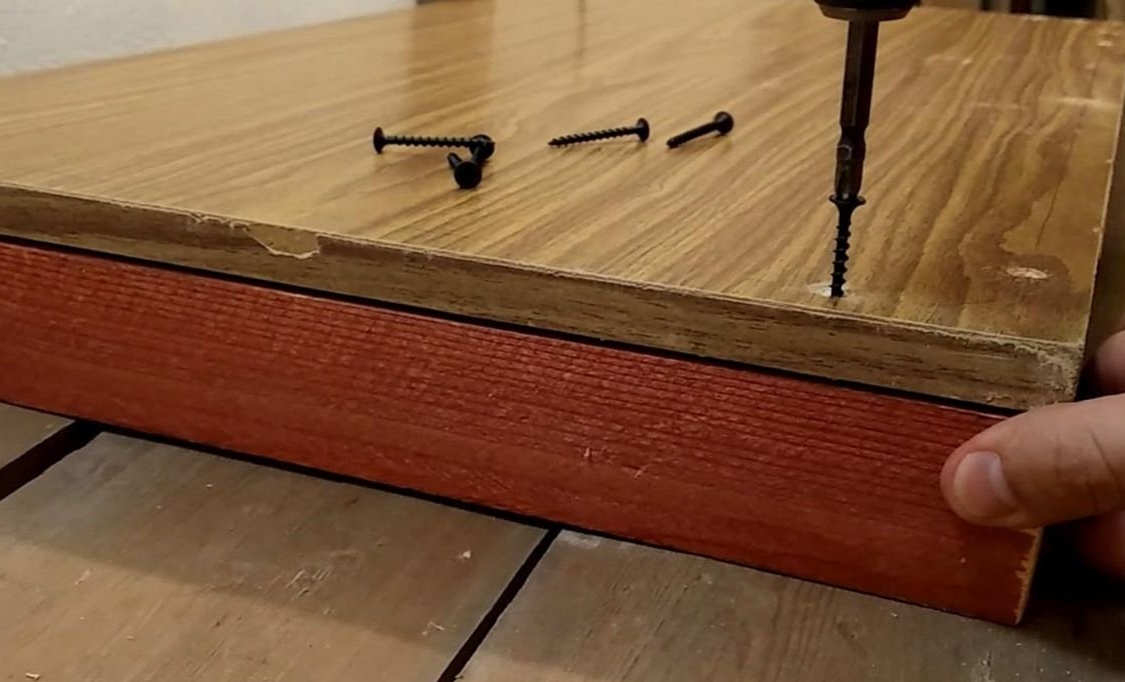
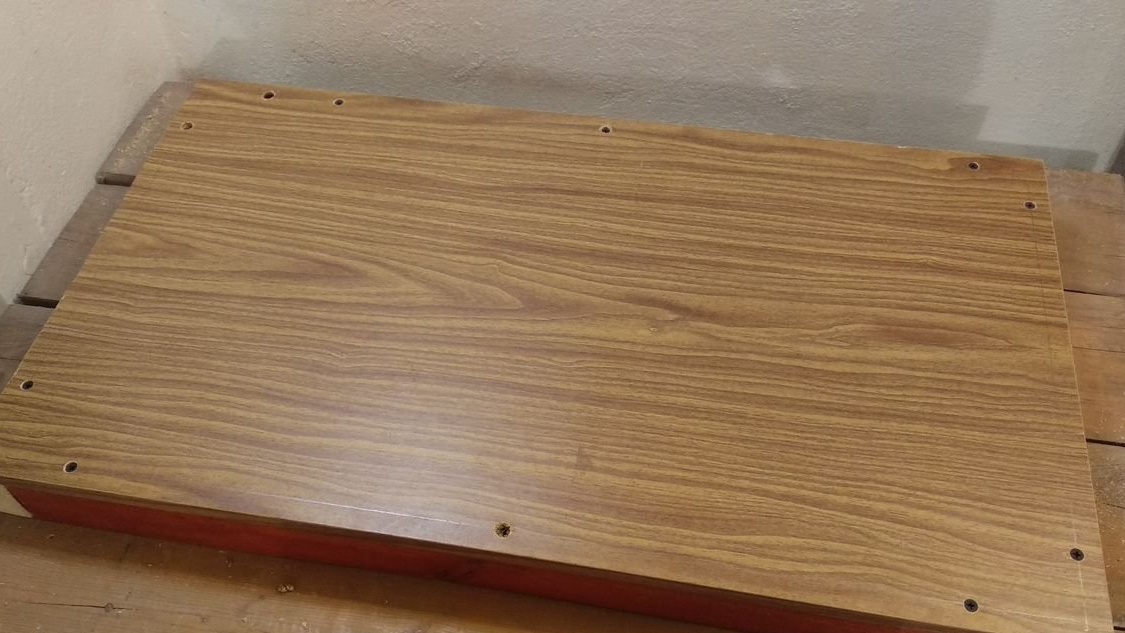
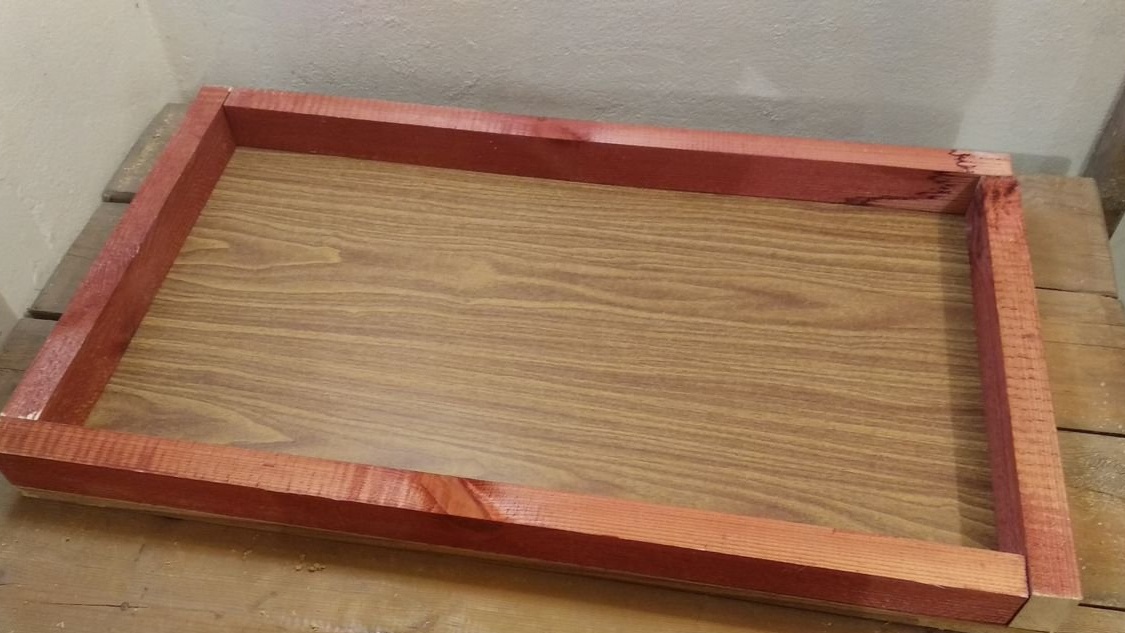
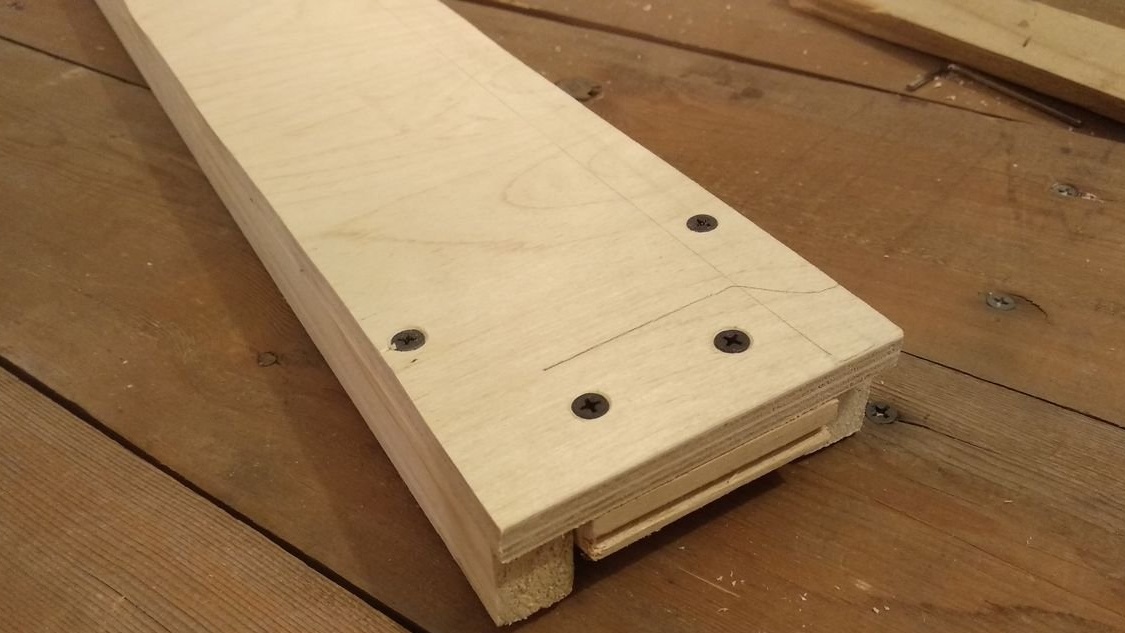
1. We fix with the help of self-tapping screws wooden slats 30x50 mm around the perimeter of our base. It is first necessary to make holes for self-tapping screws and countersunk chamfers so that the base of the bed is smooth, without protruding hats of self-tapping screws.
Top view of the base:
And below:
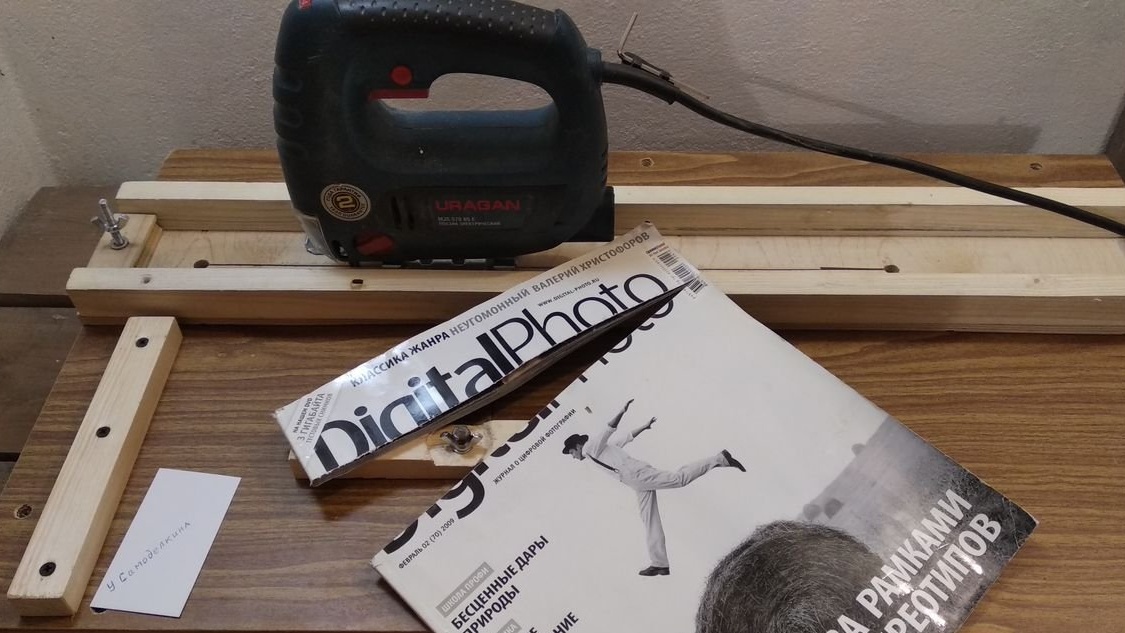
2. The next step is to make guides for the jigsaw.
To do this, take a piece of plywood with a length equal to the length of the bed.
Shirin will first have to be calculated according to a simple formula:
Guide width = jigsaw base width + 2 x (rail width)
Visually, in what size you cut the workpiece you can see in the photo.
At this stage, high accuracy is not needed - it is not scary to make a couple of millimeters mistakes in either direction.
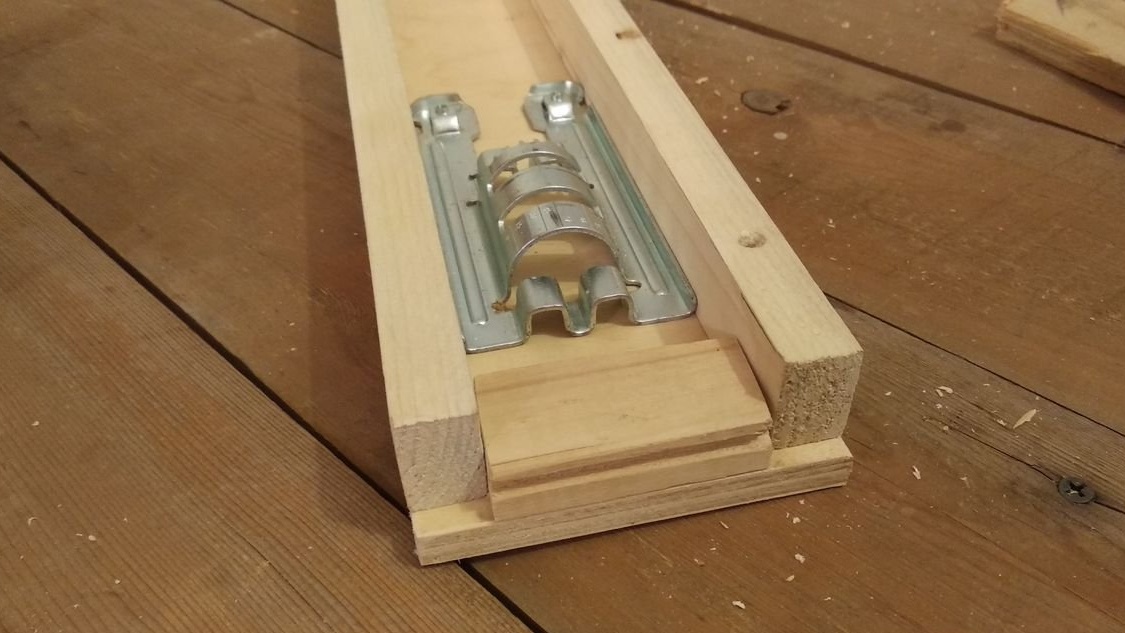
3. Fasten one of the guide rails to the plywood using self-tapping screws. To exclude cracking of the slats, pre-perform holes for screws.
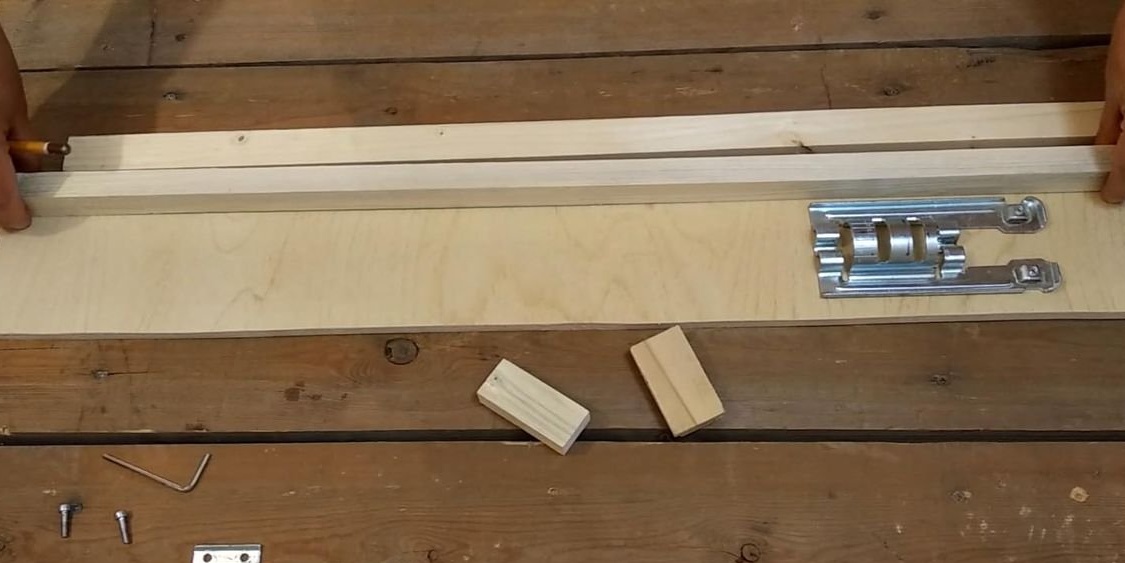
Trying on the base of the jigsaw, we fasten the second bar to the plywood, and then be sure to check the course of the base - it should be easy, without jamming and backlash.
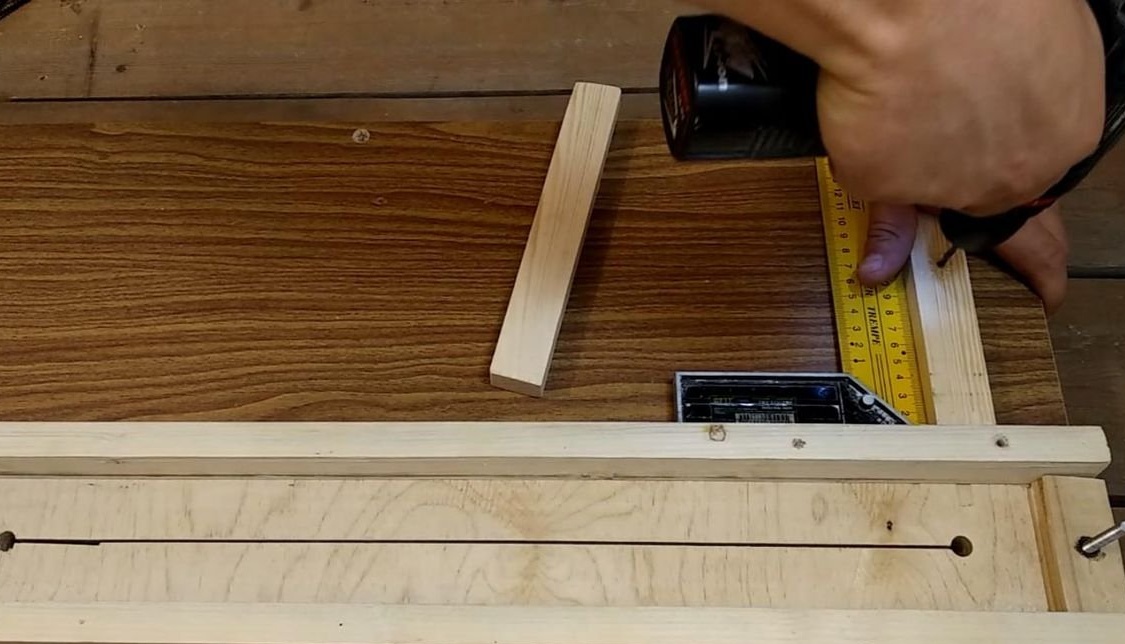
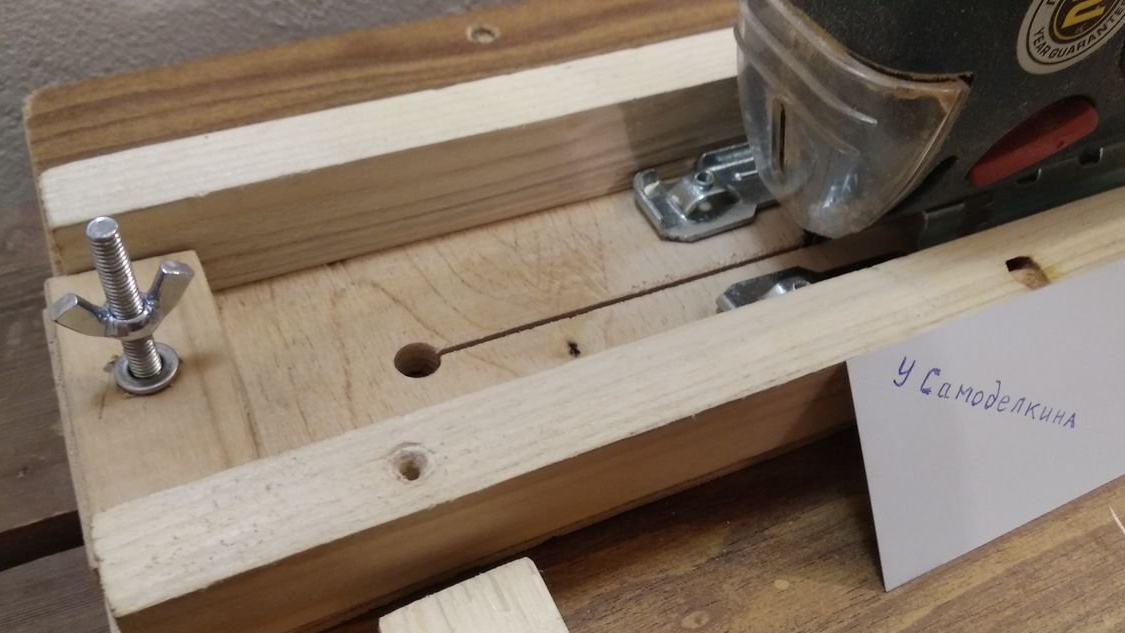
4. We install stops at the ends - they will be used as stops for the base of the jigsaw, as well as for the installation of fasteners.
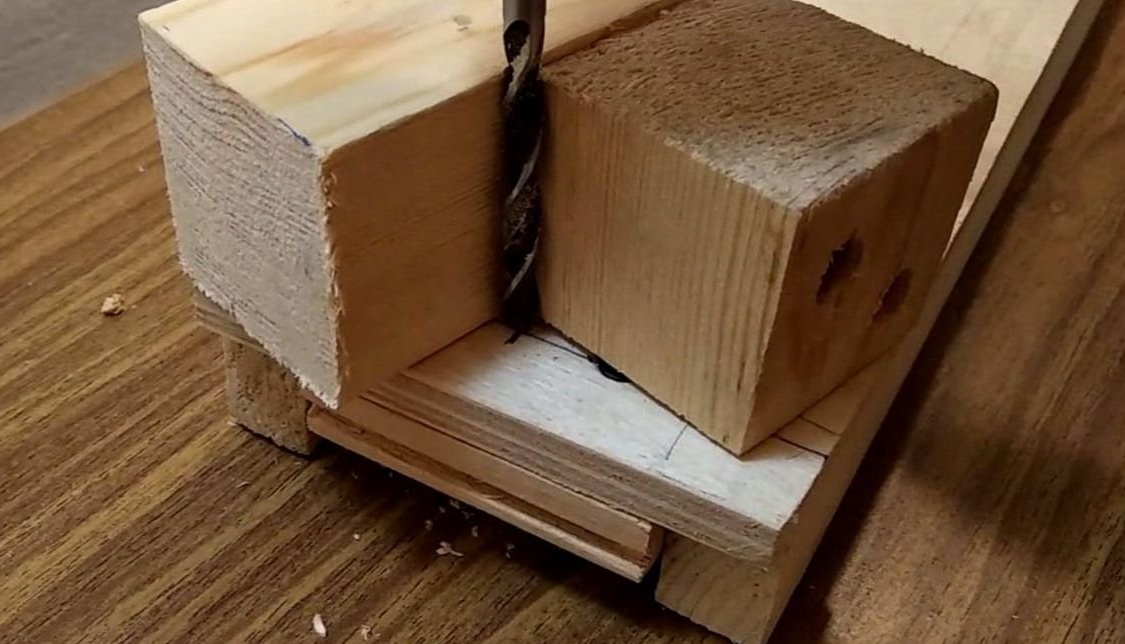
5. Using a simple device from wooden pieces of timber, we perform 6 mm openings at right angles along the edges of the guide.
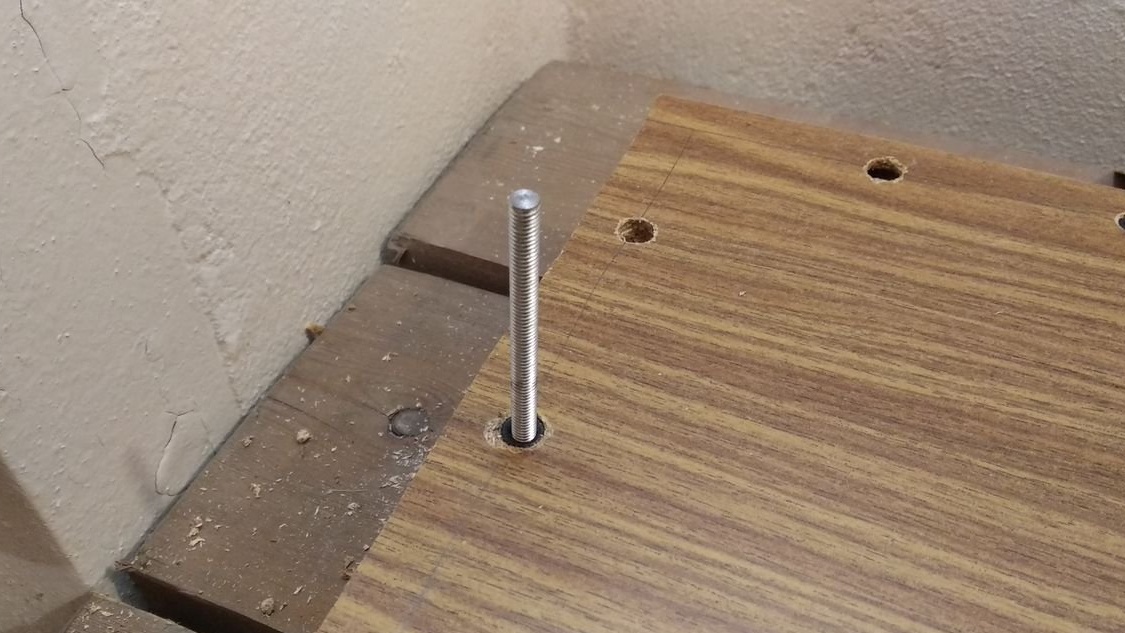
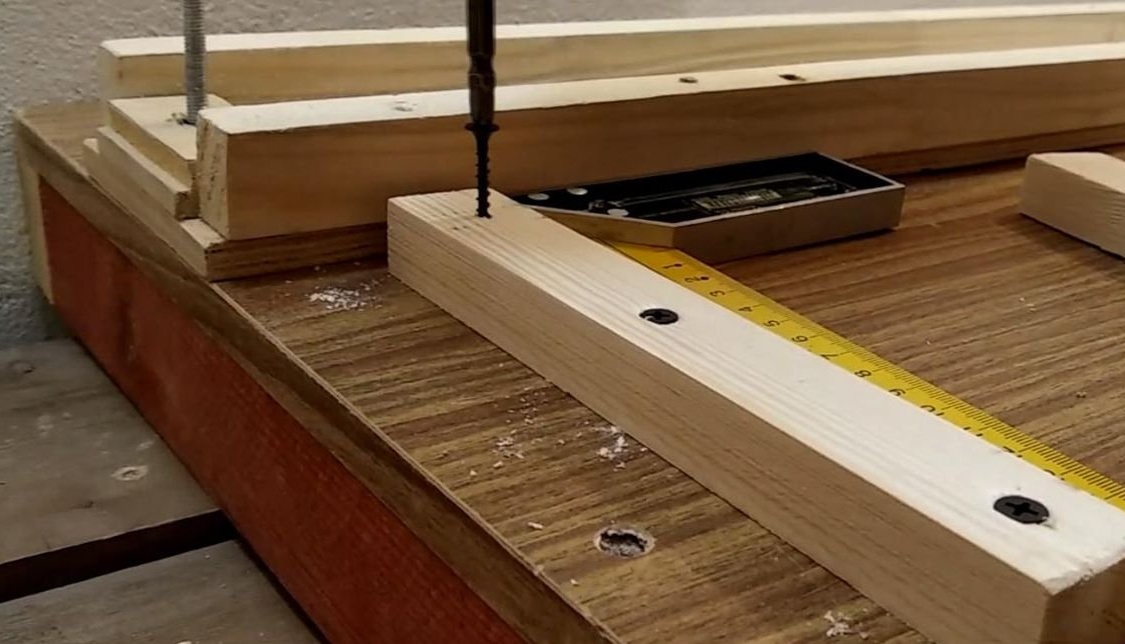
6. According to the holes made, drill a hole in the bed.
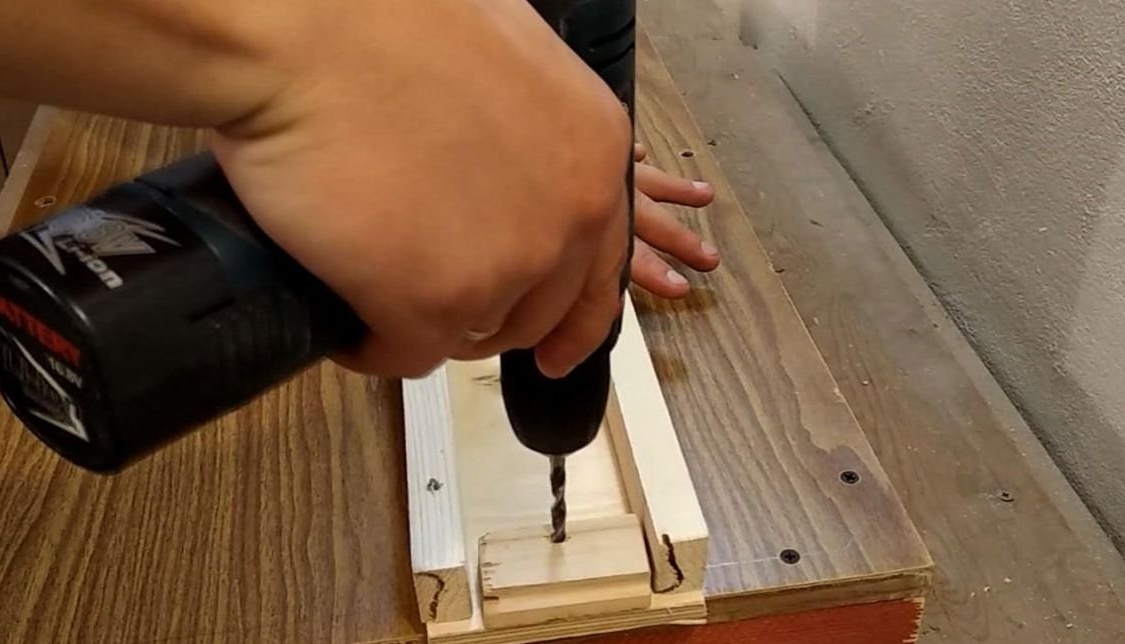
7. Drill the holes obtained to a diameter of 10 mm to a depth of 10 ... 12 mm and install furniture screw nuts (also known as futors).
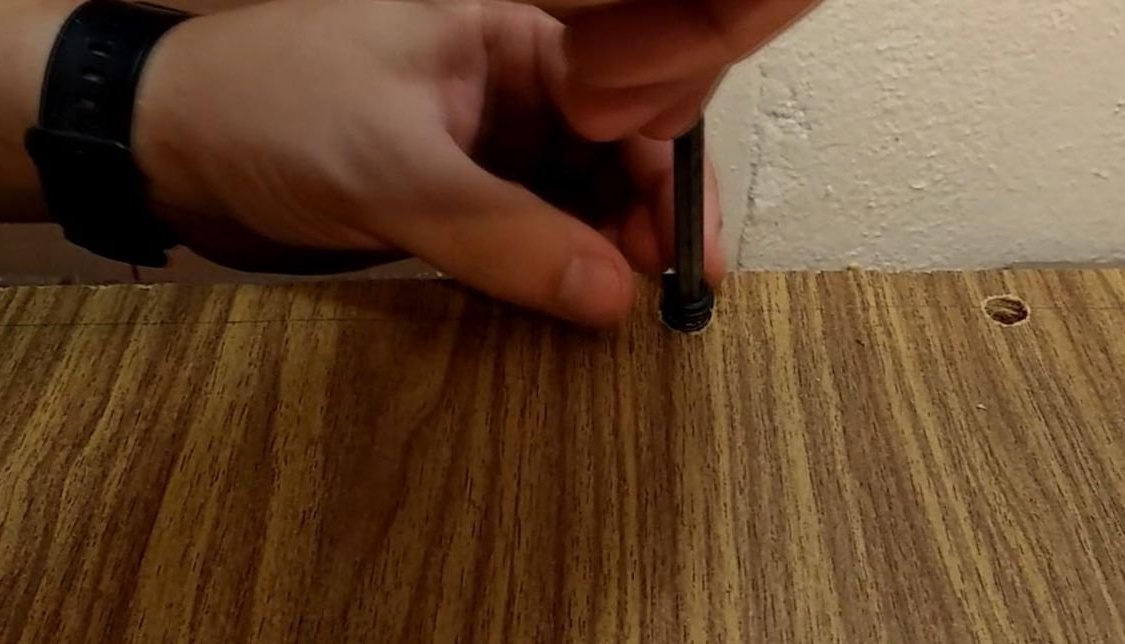
8. Screw the M6 studs into them.
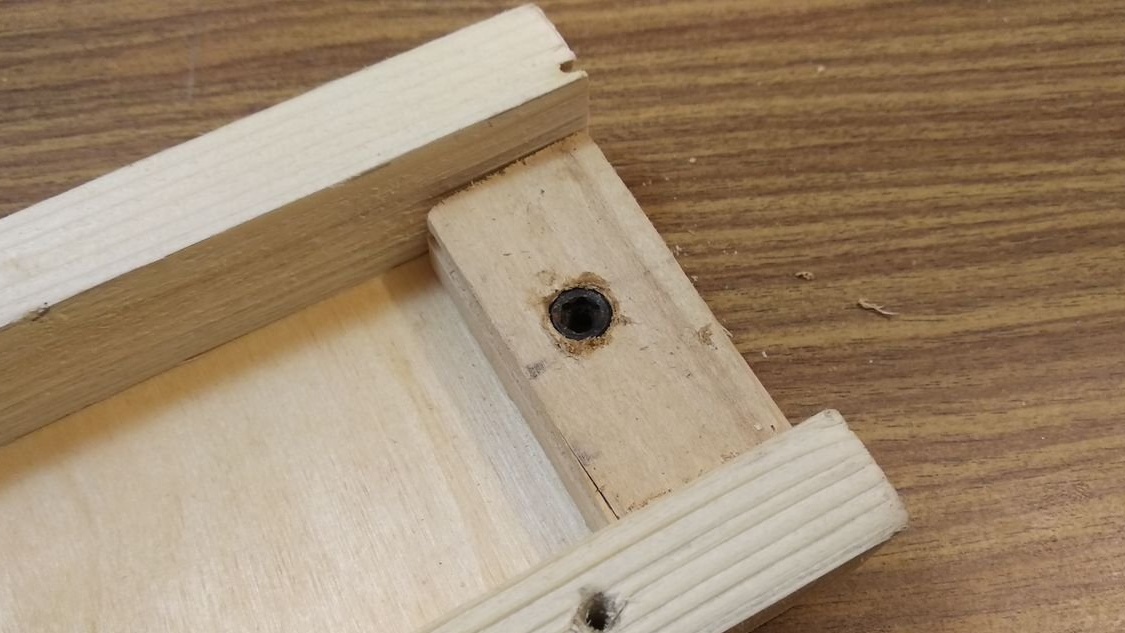
9. By analogy with the base, we install screw nuts on the guide. After installation, drill the futurki with a 6 mm metal drill.
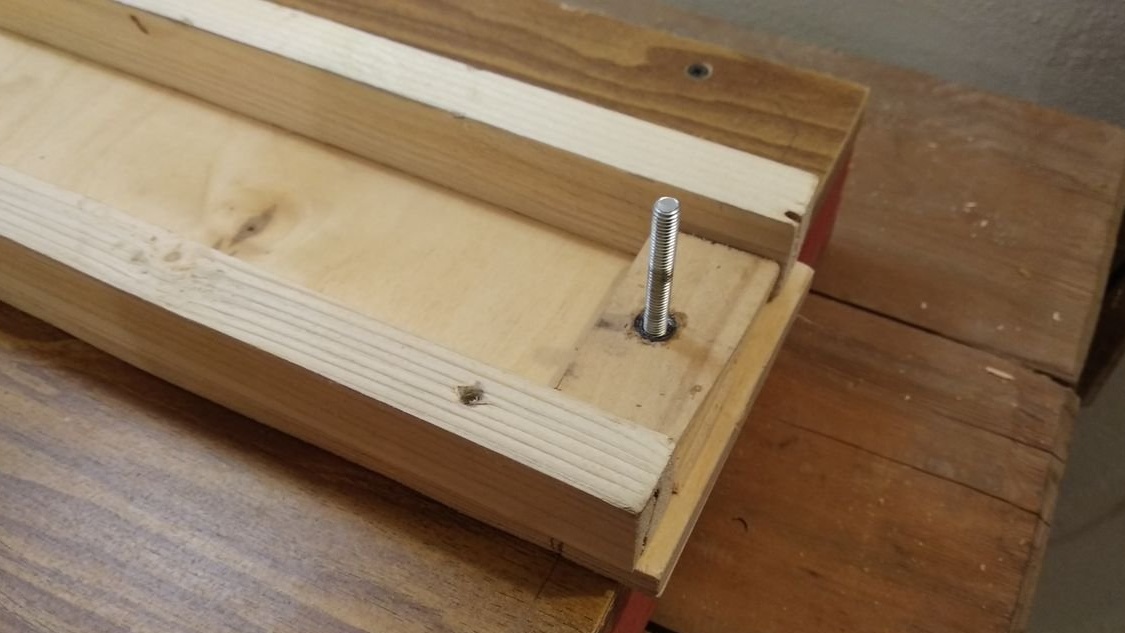
10. We put the guide on the studs, checking for a smooth ride.
11. In place we perform a through hole with a diameter of 10 mm.It is important not to make a mistake and take into account the dimensions of the jigsaw, including the protruding bend for attaching a jigsaw (although not all jigsaw models have it).

12. We carry out a longitudinal cut leisurely and as carefully as possible - watch out for the saw file, turn off the pendulum mode.
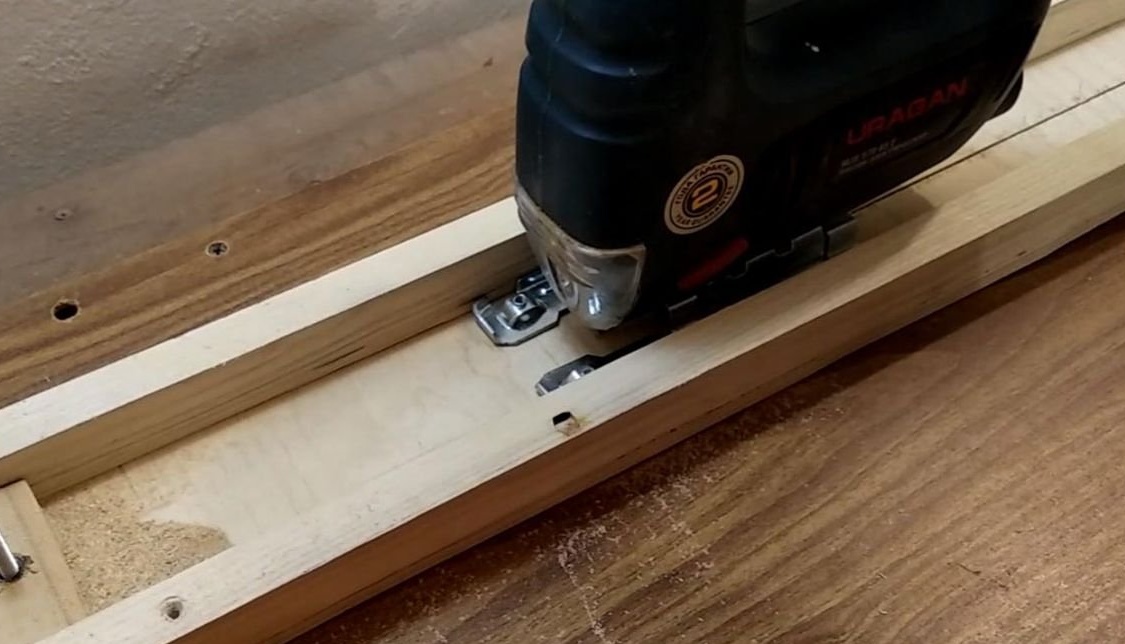
Tip: you can pre-cut separately in plywood, and only then at the base of the bed, so the file will be taken away less.
13. Using a square and three screws, set the stop perpendicular to the guide.
14. To perform cuts at an arbitrary angle, we also set the emphasis on the rotary axis. We apply the familiar technique - a screw nut at the base plus a drilled foot in the rotary stop.

As an axis, an M6 bolt with a wing nut tightly screwed on it was used. As experience on the bed showed, such an axis was convenient and reliable - no untwisting of the threaded connection was observed.
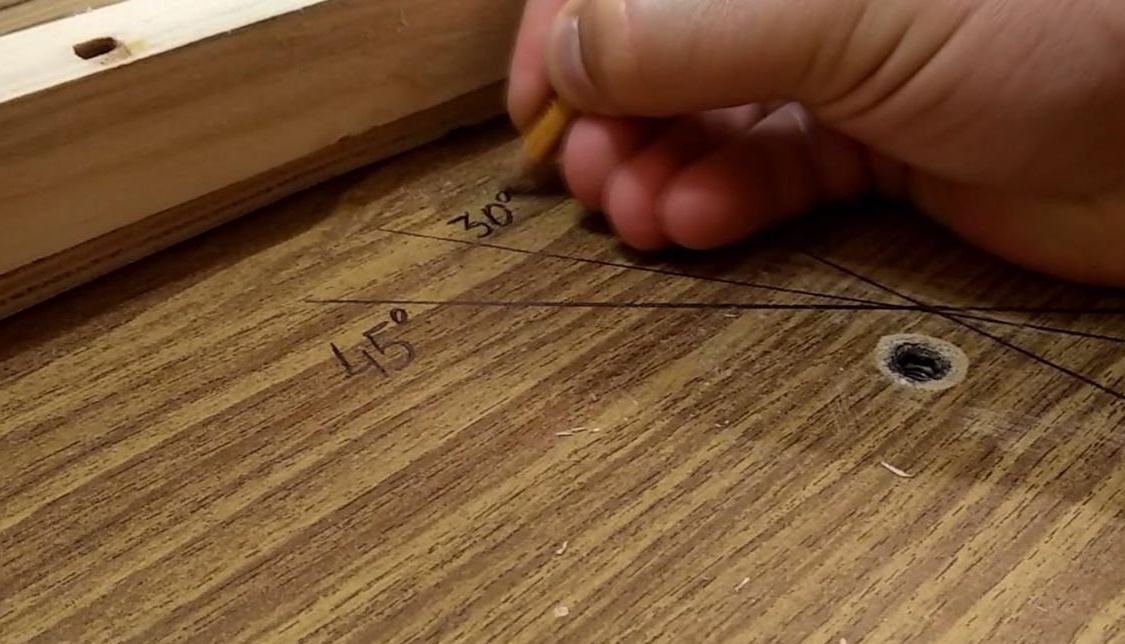
15. Using a protractor, make markings at an angle of 30 and 45 degrees.
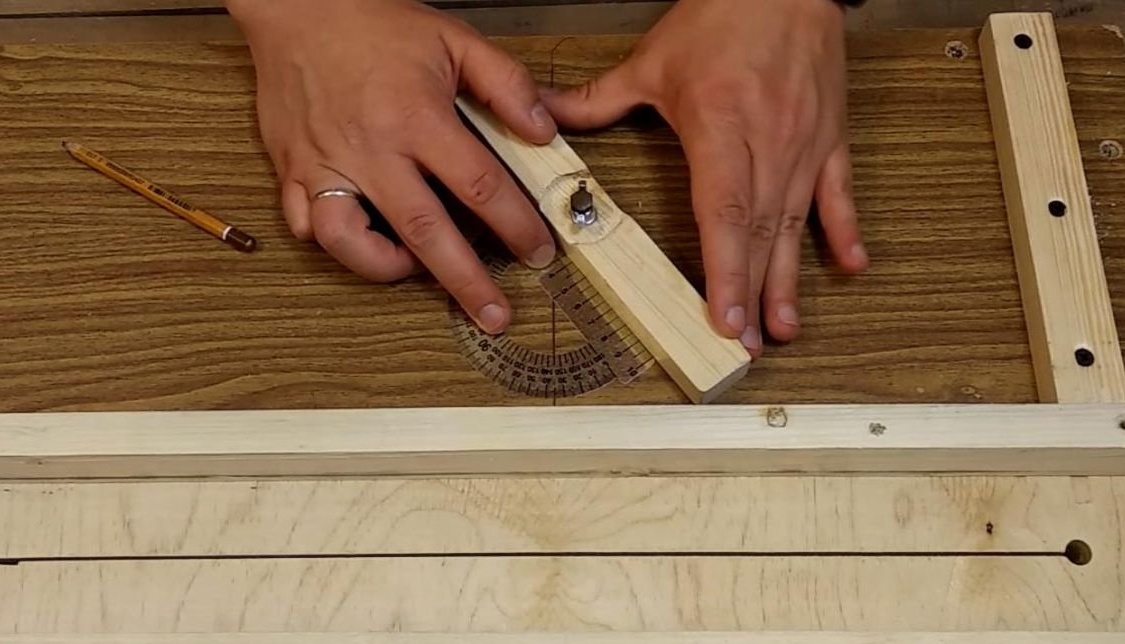
For convenience, it is not superfluous to sign the marked corners.
16. It remains to screw the wing nuts onto the vertical studs and the frame is ready.
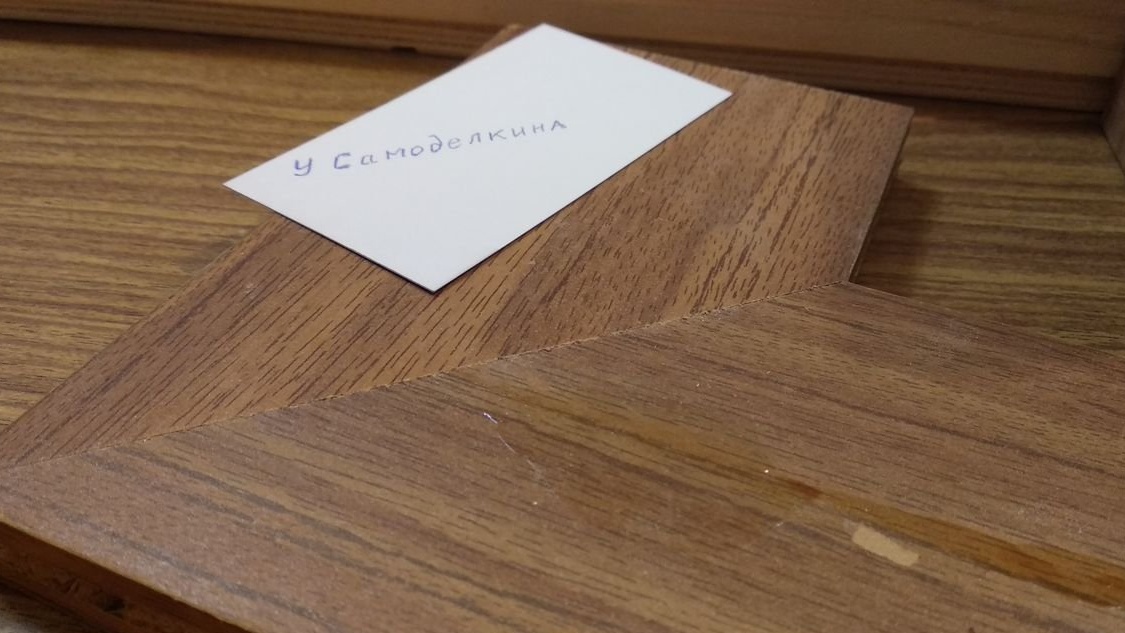
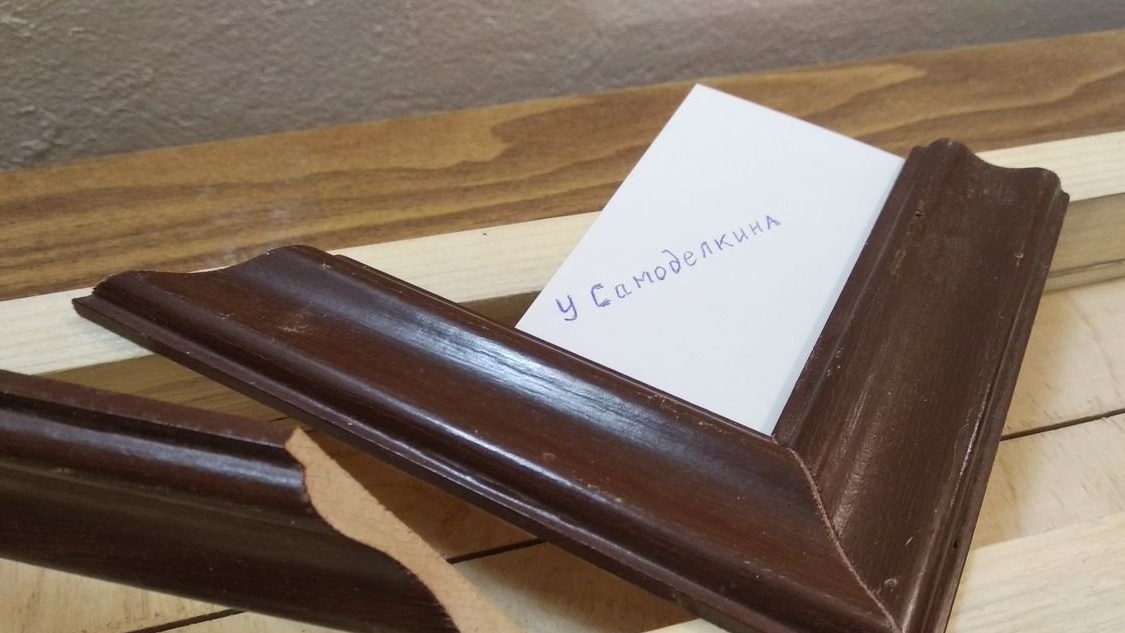
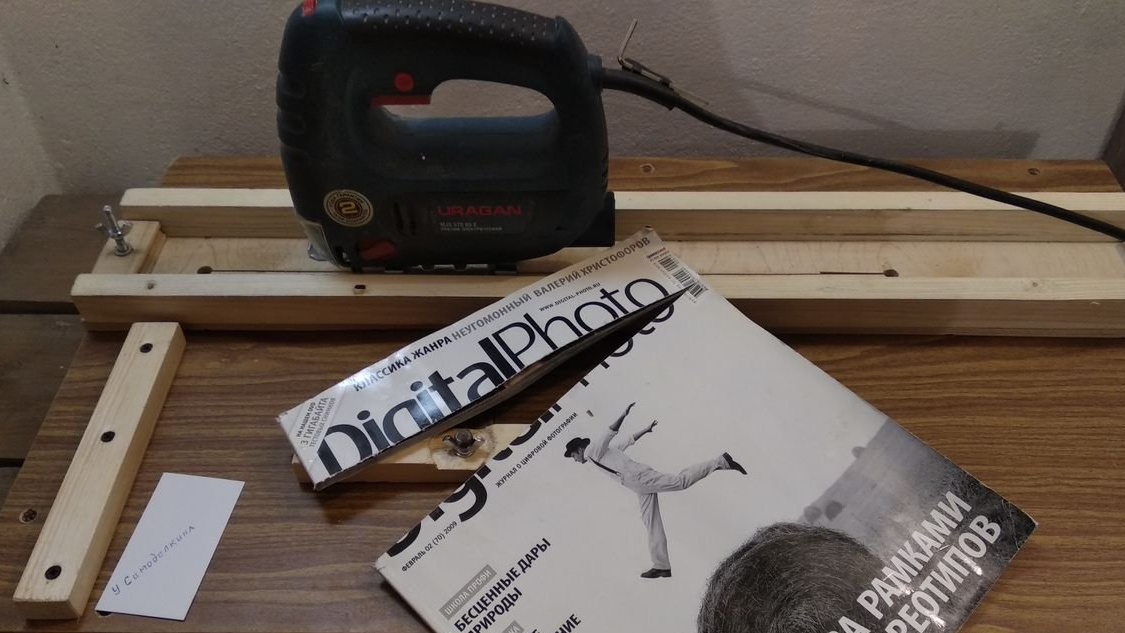
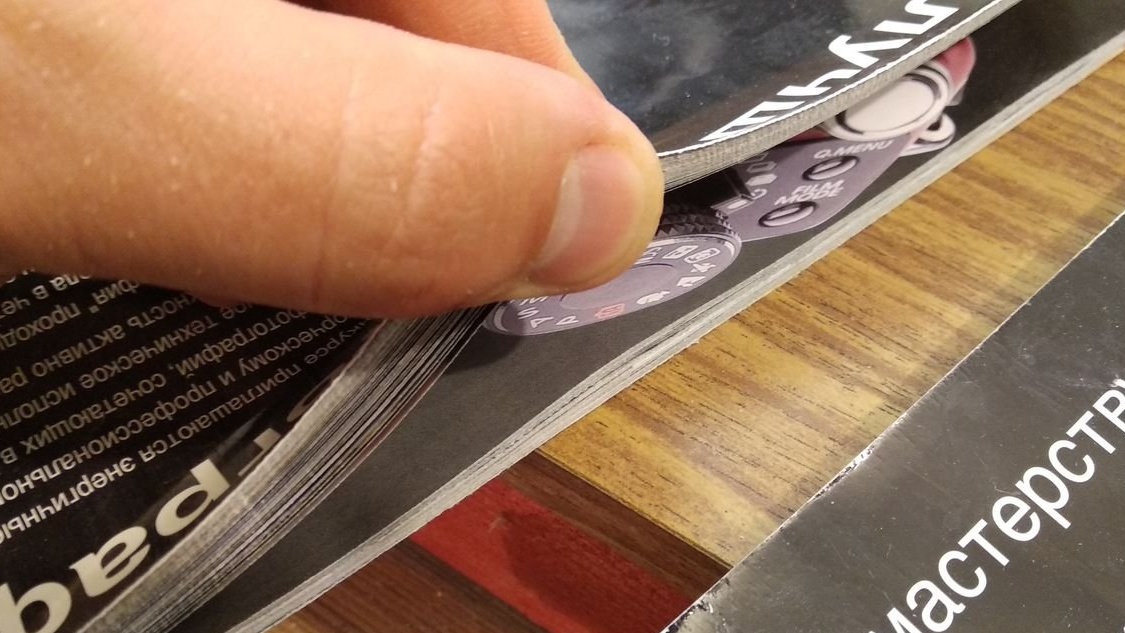
17. Below I attach examples of cuts made - almost perfect.
For the experiment, he even cut an old magazine.
The guiding in the work and the step-by-step manufacturing process can be seen in the video.