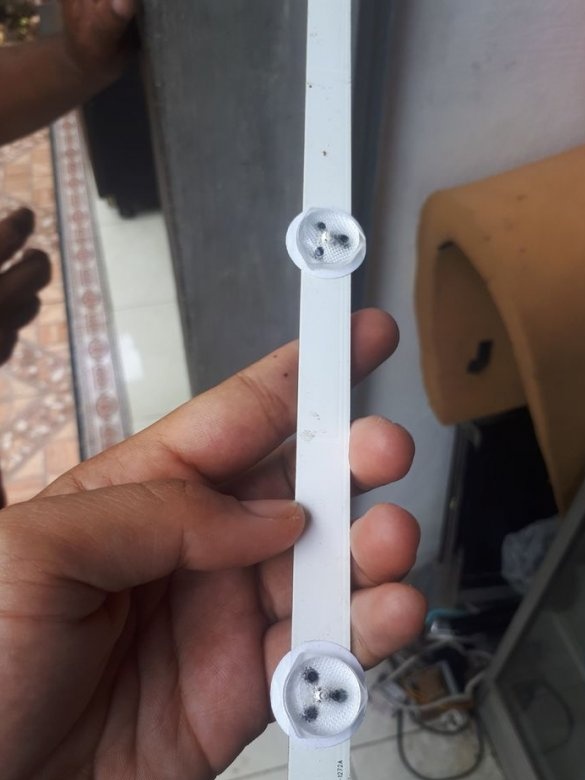
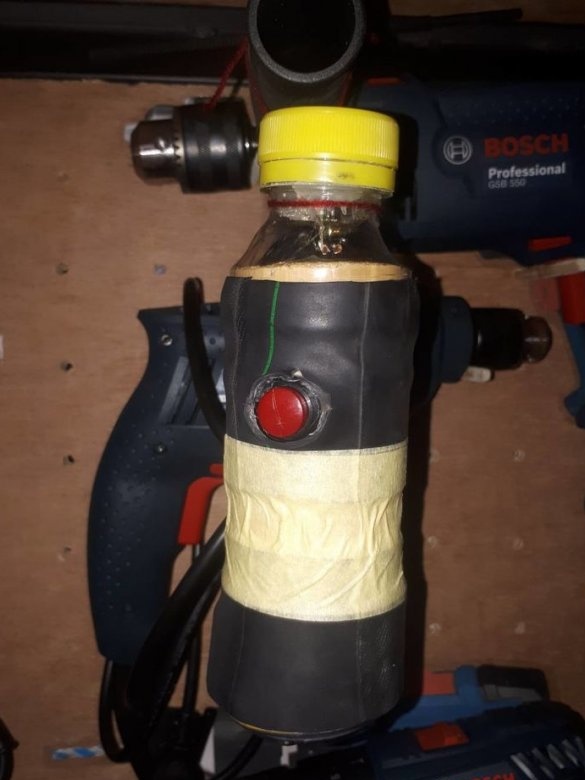
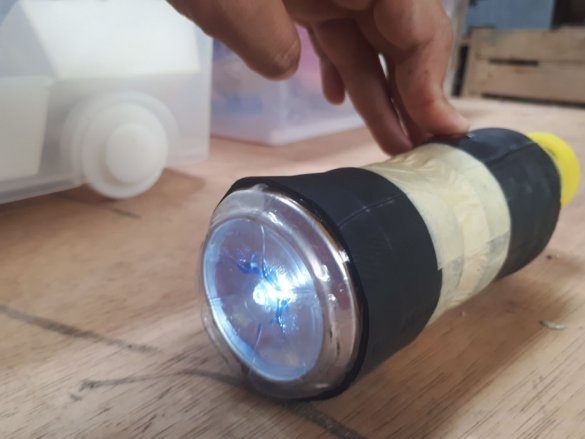
Often from broken devices remain different workable parts. So the master turned out to have an LED and a battery, and this is already half of the spare parts for the flashlight. It remains only to figure out what to do the rest from.
Tools and materials:
- Soldering accessories;
- glue gun;
-Hair dryer;
- scissors;
- Knife;
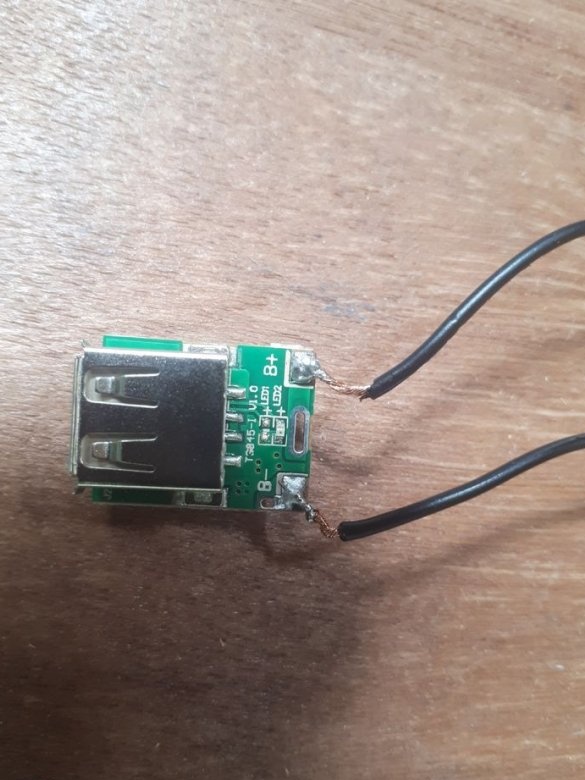
-Charge module;
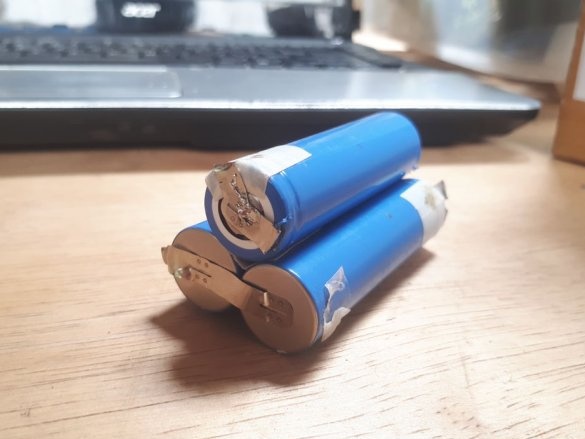
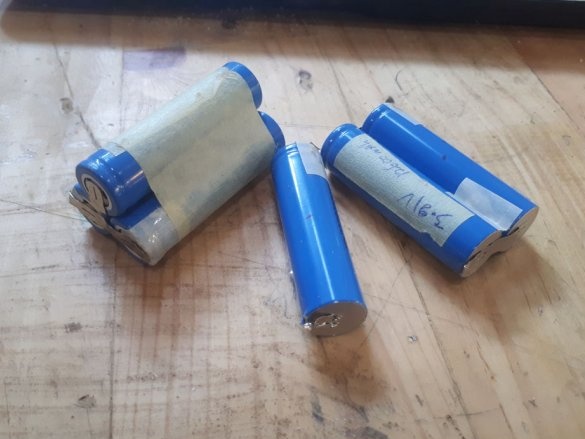
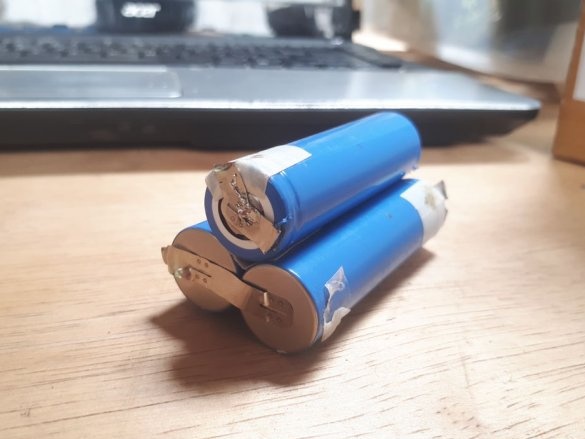
- Old laptop battery 3.7 V Li-ion 18650 (3 cells);
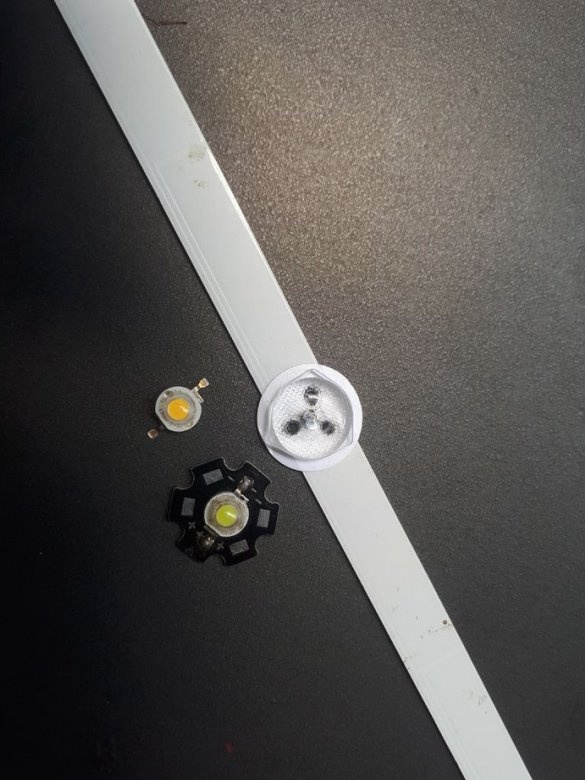
-Old LED;
-Switch;
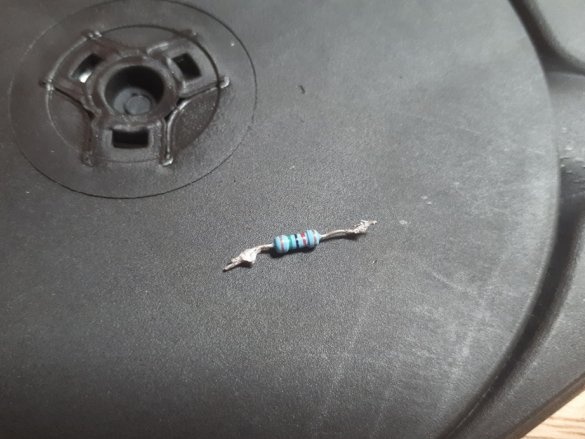
-Resistor;
-Bicycle camera;
-Beer can;
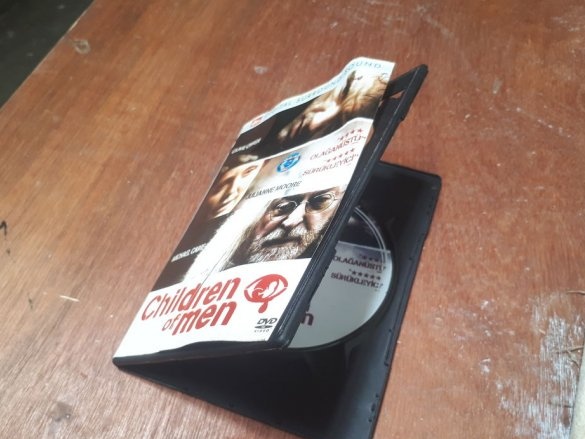
-Packing from a DVD disc;
- Bamboo;
-The wire;
-Multimeter;
- Paint tape;
Step One: Component Testing
First, the wizard checks whether the LEDs and batteries are working. A normally charged battery should be 3.6 - 3.8 V. The LED, when the multimeter probes are connected correctly, should light up.
Step Two: Battery Assembly
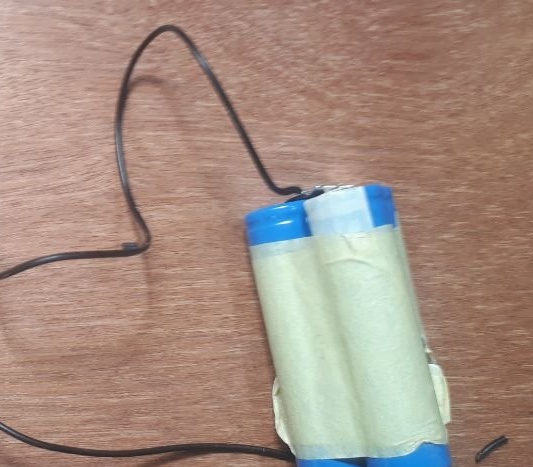
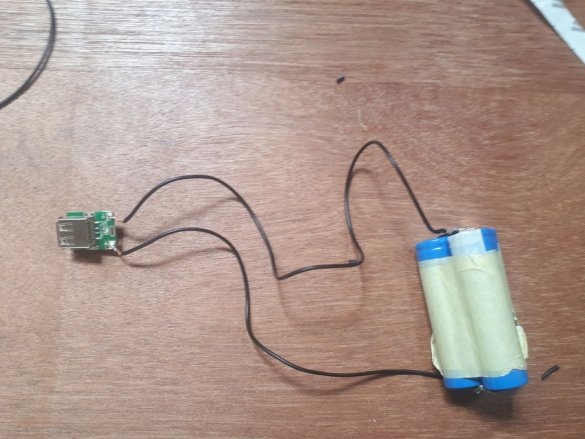
For the flashlight, the master took three batteries from the old laptop battery. He stacked the batteries together and wrapped them with masking tape. Battery connection is parallel.
Step Three: LED
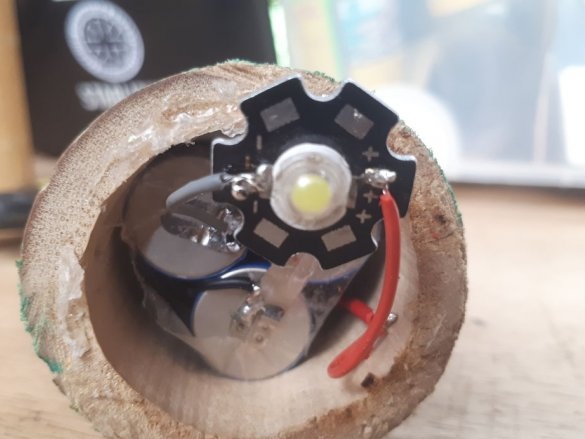
The wizard uses an LED from an old flat-screen TV. Solder two wires to the board.
Step Four: Charging Module
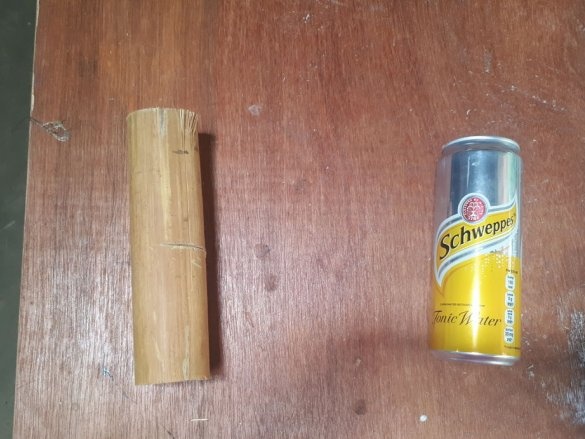
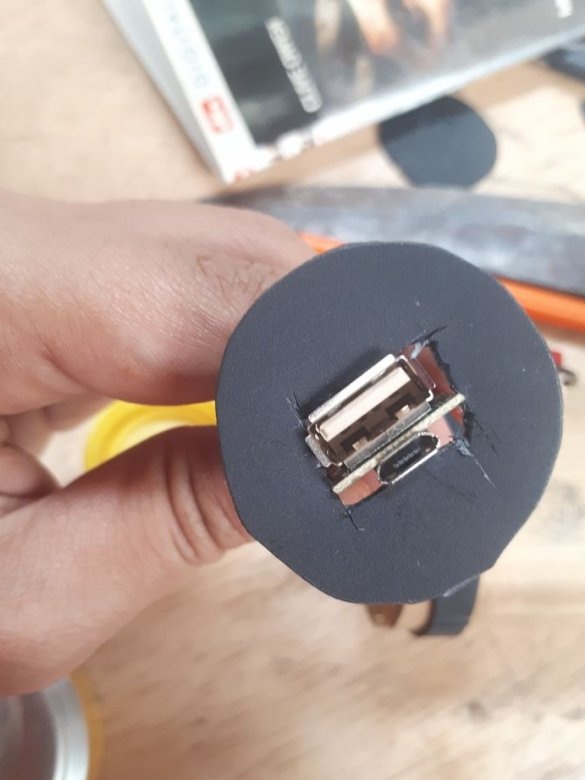
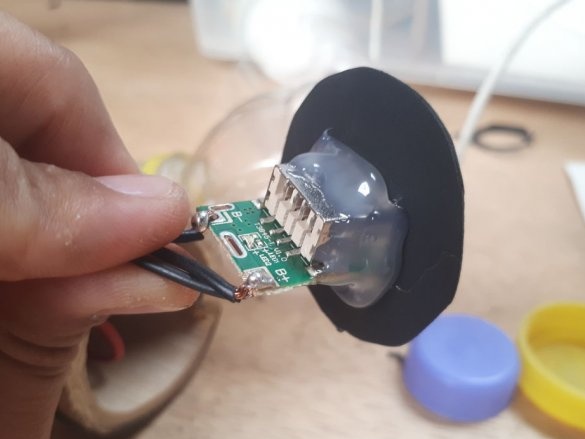
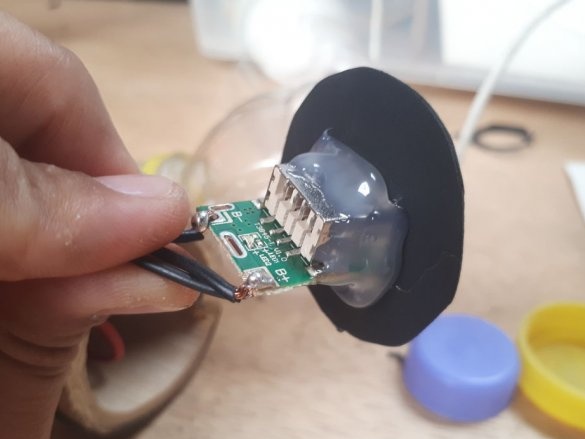
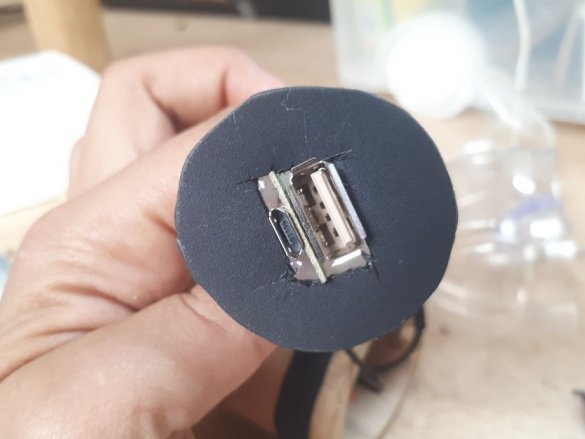
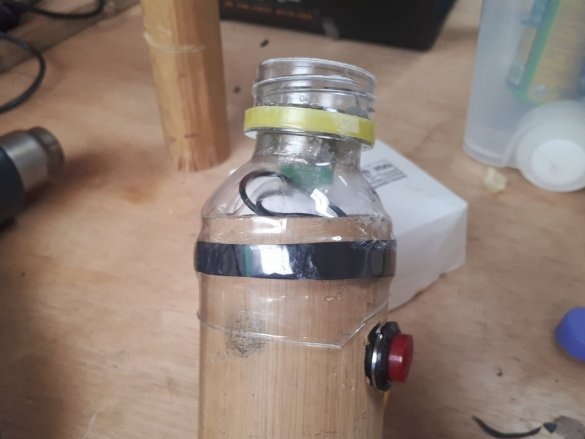
The master decided to make a flashlight case out of bamboo. The neck of the bottle will be installed in the back of the case, and a charging module will be inserted into it. For installation, the master cuts out a circle from the diameter of the neck of plastic, cuts a hole for the connector, and fixes the module using hot-melt adhesive.
Step Five: Build
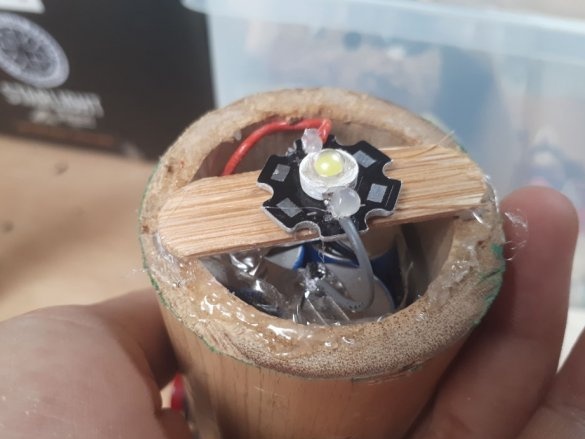
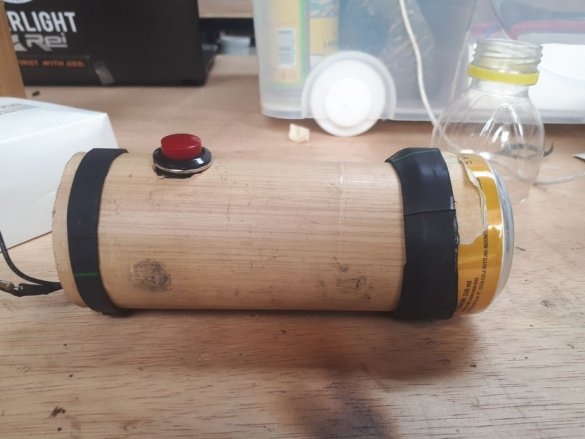
Now the wizard starts assembling the flashlight. Installation is as follows.
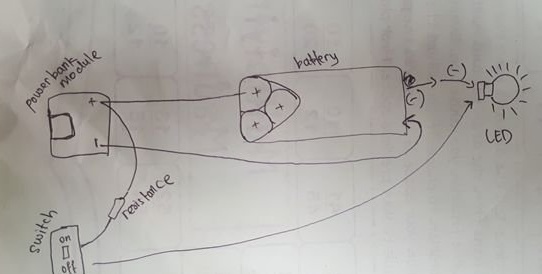
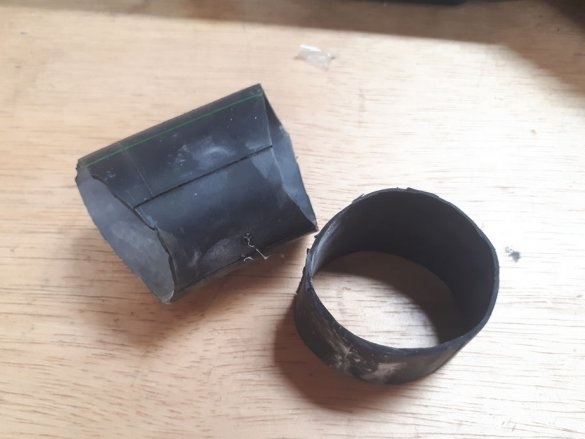
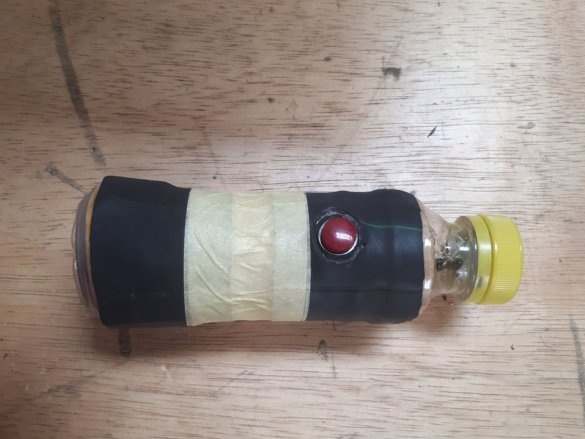
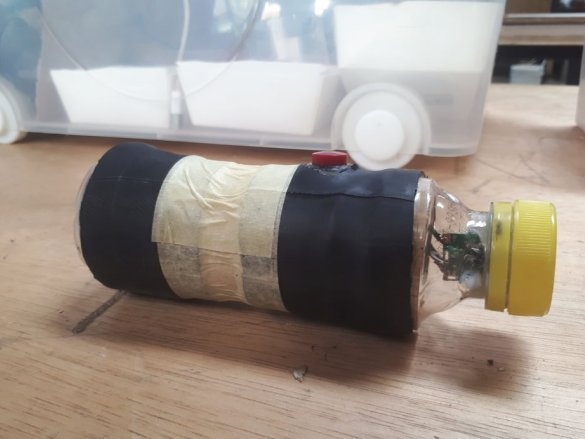
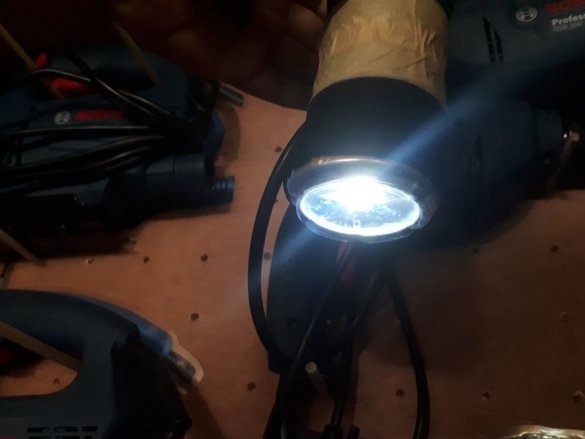
A hole for a button cuts through the body. It uses the bottom of a beer can as a reflector. He cuts out two rubber bands from a bicycle chamber and uses them as clips.
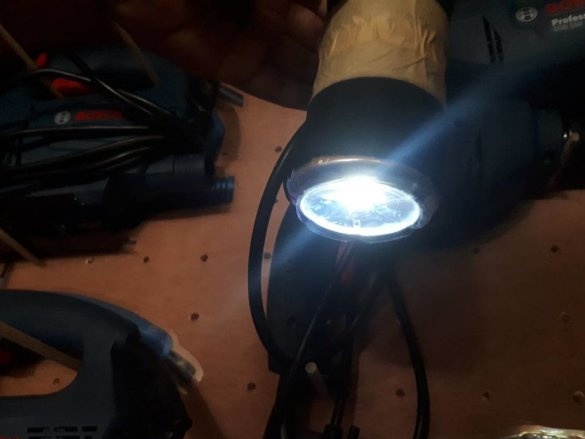
Flashlight is ready.

