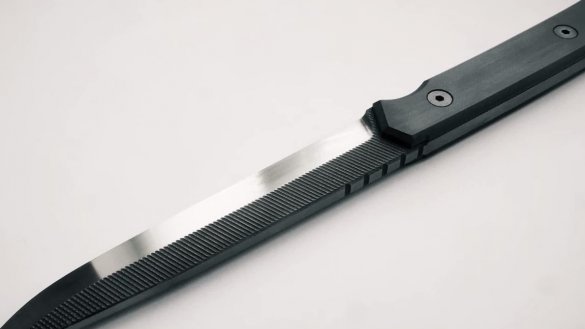
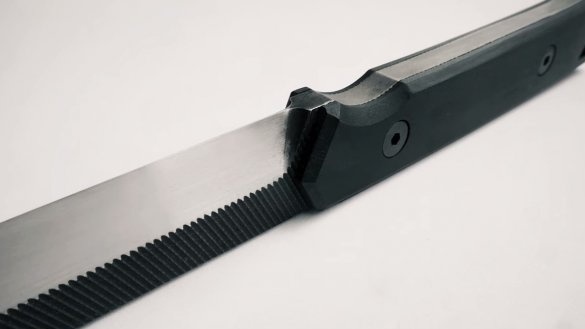
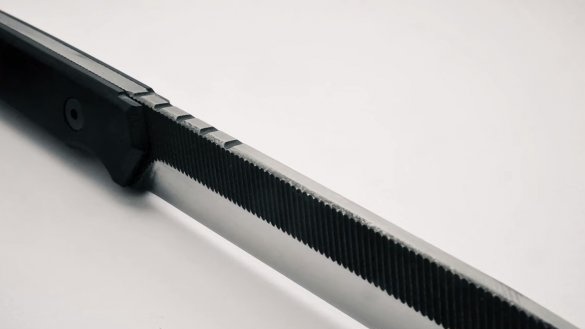
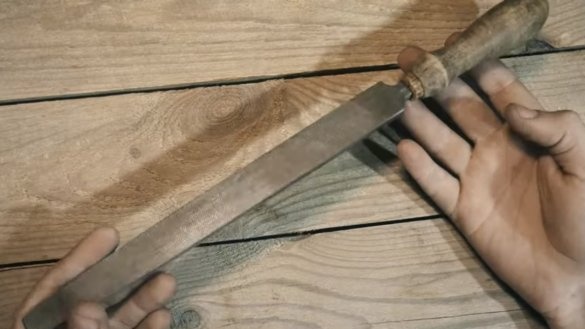
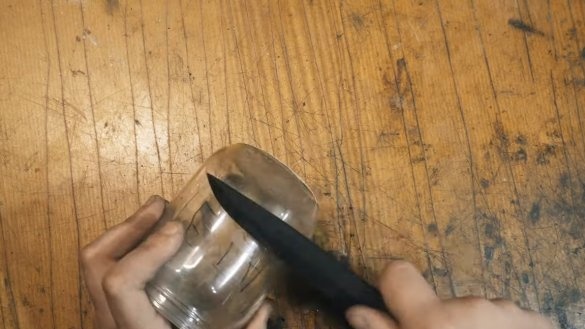
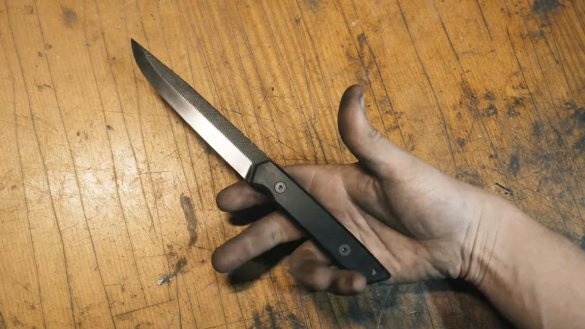
I welcome all fans to craft, today we will consider how to make a stylish and trouble-free knife from an old file. The author’s blade was so strong that the knife easily cuts glass. The blade was made without forging, however, you will need a furnace for heat treatment of steel.
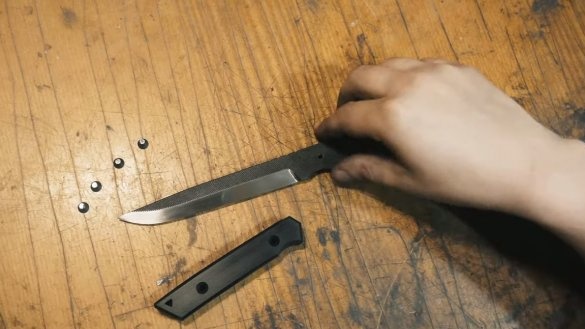
Knife overlays are made of PCB and fastened to screws, so that the handle is not afraid of either water or dirt. To prevent the blade from rusting, the author etched, and as a result, the knife found an interesting black coating. Homemade it’s not difficult to manufacture, if you are interested in the project, I suggest studying it in more detail!
Materials and tools used by the author:
Material List:
- old file;
- ;
- screws.
Tool List:
- a furnace for heat treatment;
- grinder;
- belt grinding machine;
- drill or drilling machine;
- drill;
- a pencil;
- a hacksaw;
- tap for threading;
- tape cutting machine;
- files;
- sandpaper.
The process of making a knife:
Step one. Annealing
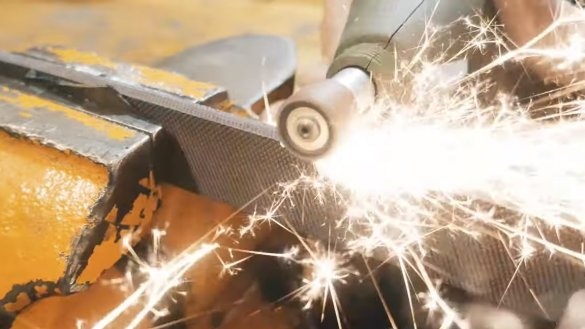
First we need to prepare the file for further processing. The file is suitable for the old model, in which high-quality metal was used, in modern files inside the metal is bad. Usually, when cutting carbon steel, bright yellow sparks fly that form at the ends of the stars, the sparks are similar to those that form sparklers.
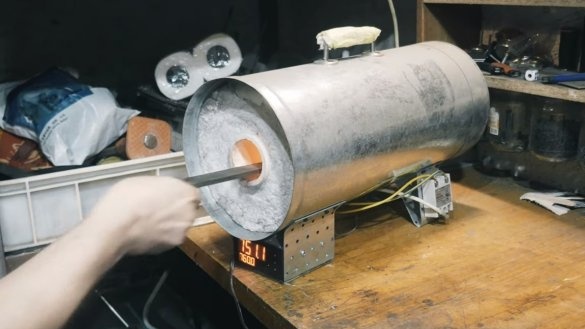
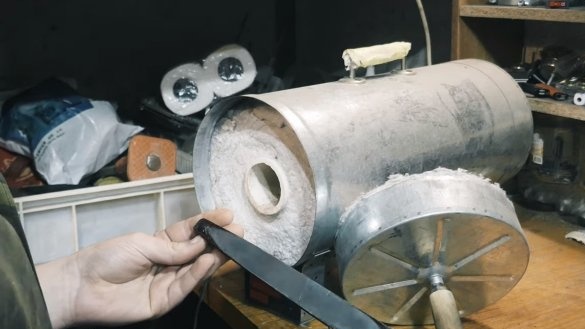
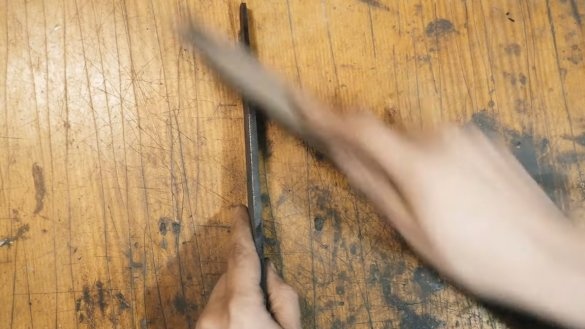
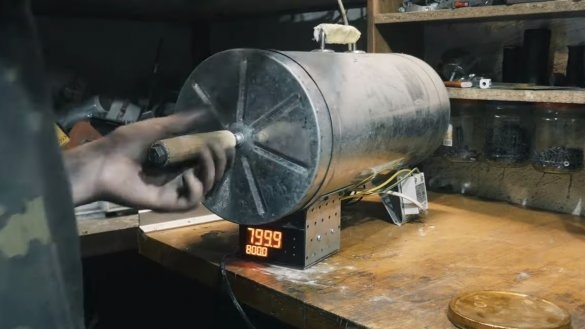
The file itself is hardened, so it’s hard to process it to solve the problem, we throw the file into the oven, heat it up to 800 ° C and let it cool down gradually. After this procedure, the file will become soft and plate, it can be processed with another, hardened file.
Step Two Primary profile
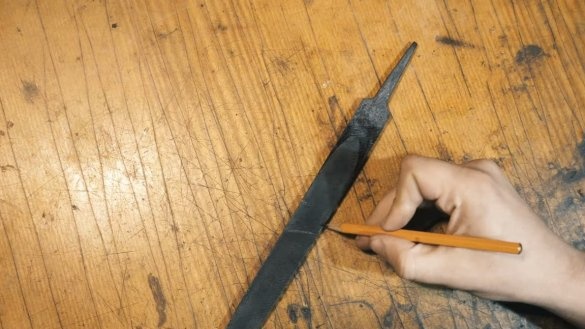
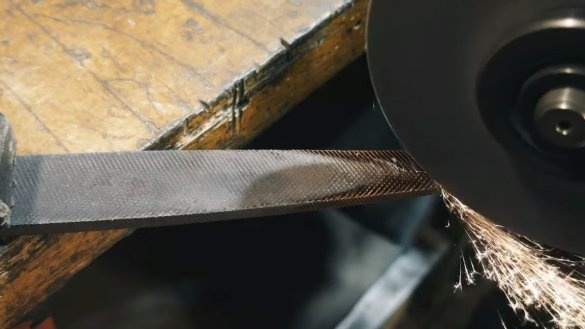
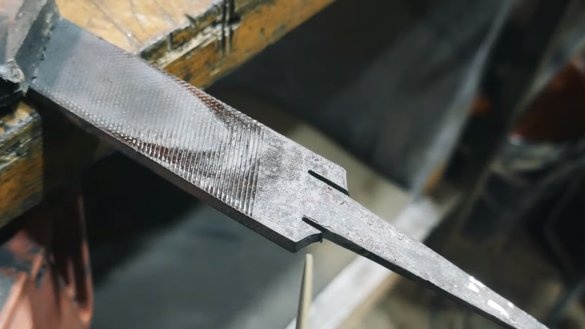
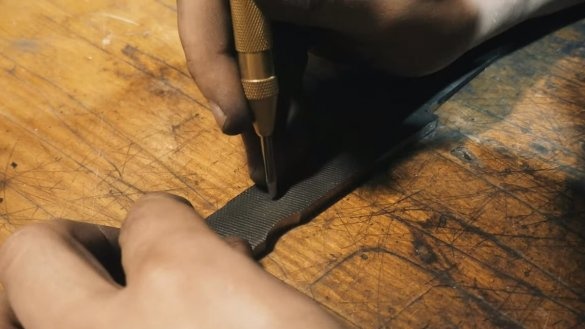
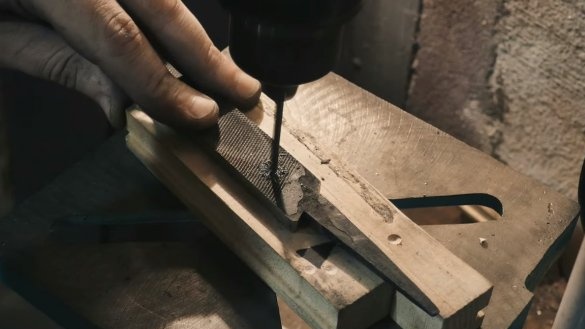
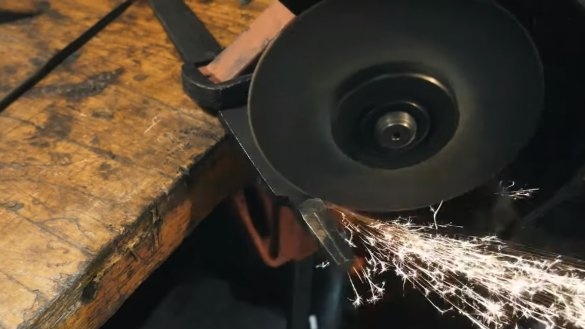
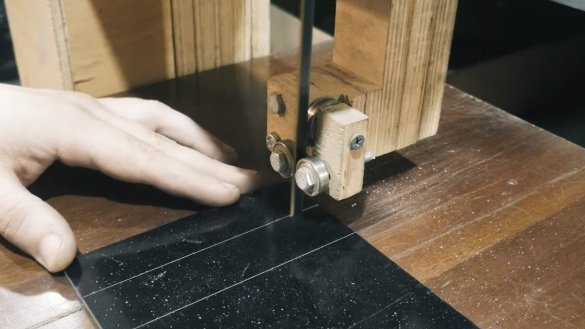
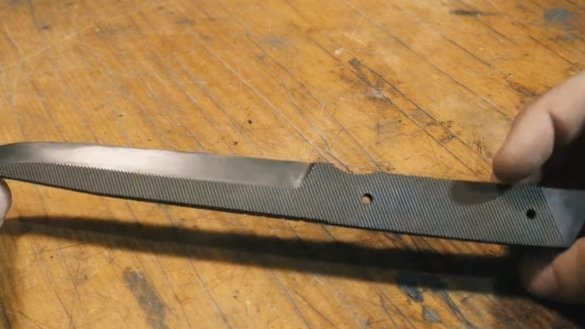
Next, we cut out the primary profile, the author draws it by hand with a pencil directly on the file. For cutting, the author uses a grinder, bends can be cut in parts. For finer processing of problem areas, the author used a drill.
Next, the profile will remain to process along the contour on a belt sander.
Step Three Slopes
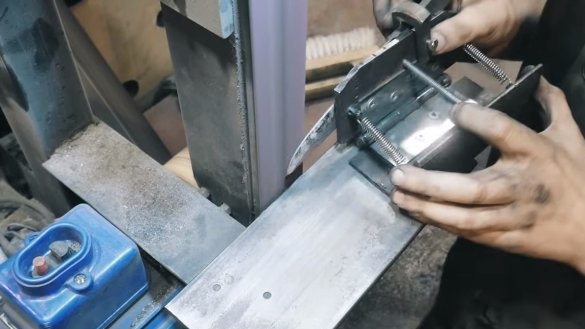
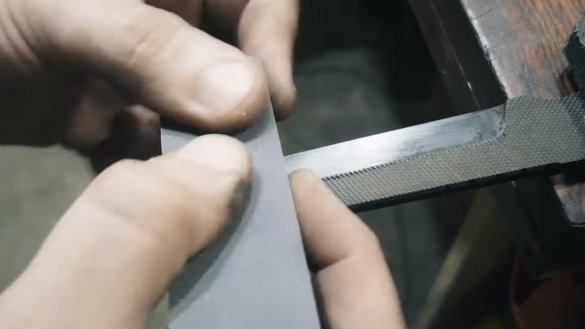
We make descents on the blade, it is recommended to mark them first, so as not to get confused during grinding. For work, the author uses a belt sander in combination with a special holder for the blade. Please note that steel can become very hot during grinding, it is better to lower the blade from time to time in water.
Step Four Profile revision
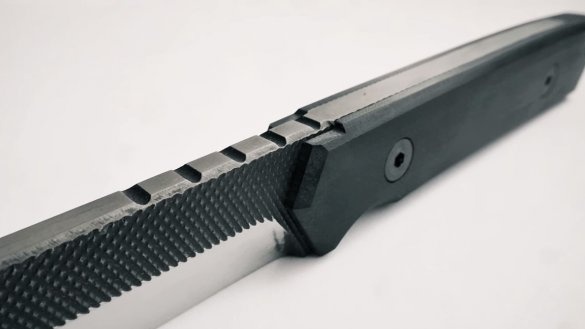
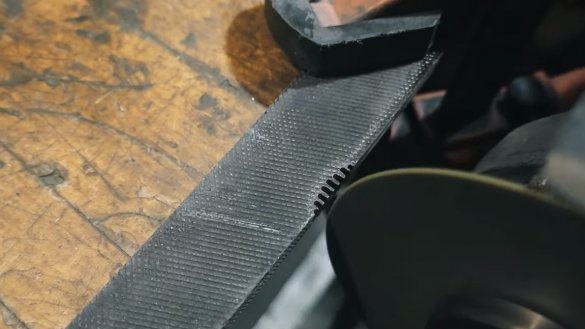
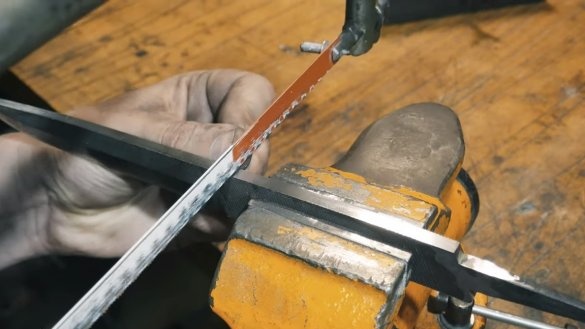
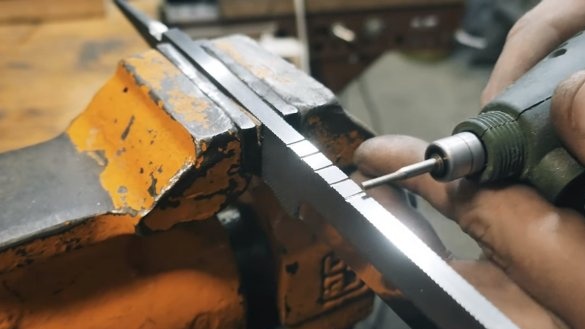
In conclusion, the author decided to cut cloves on the butt, they are used as decor. To begin with, the author cuts the grooves with a hacksaw for metal, and then a drill with the appropriate nozzle comes to the rescue.
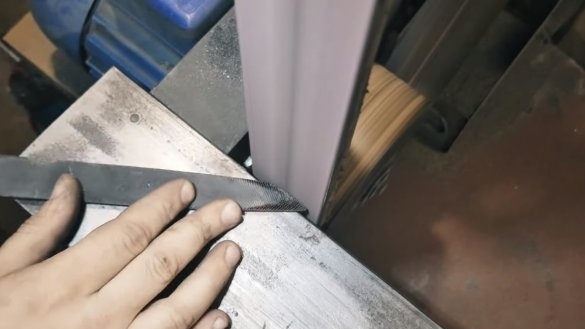
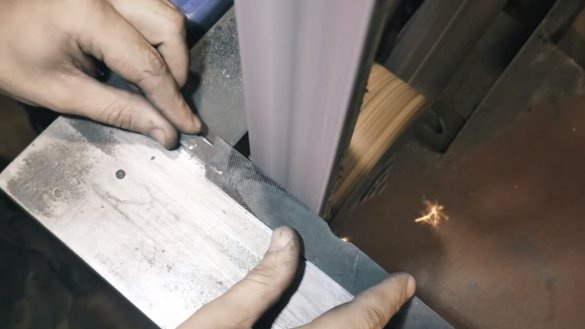
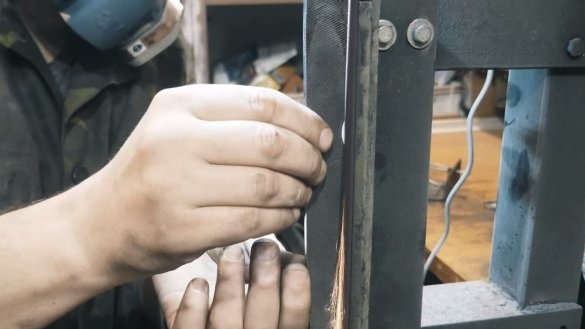
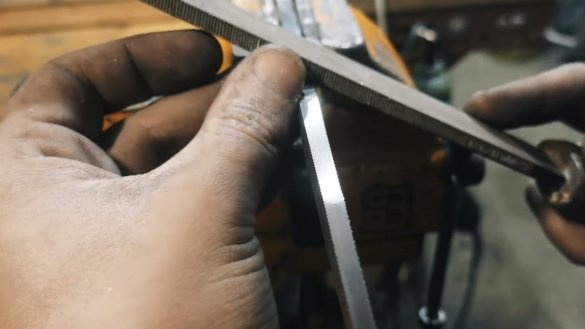
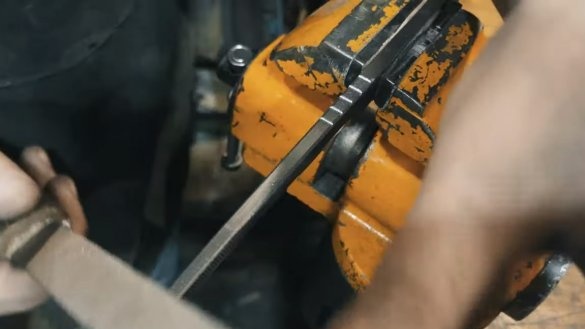
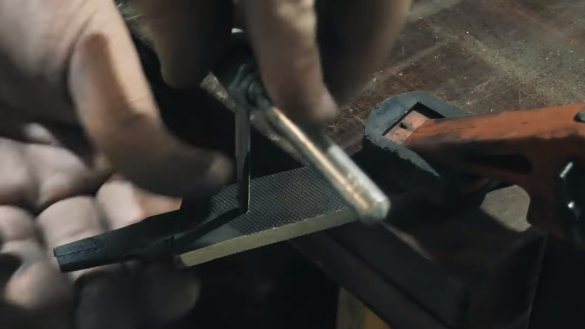
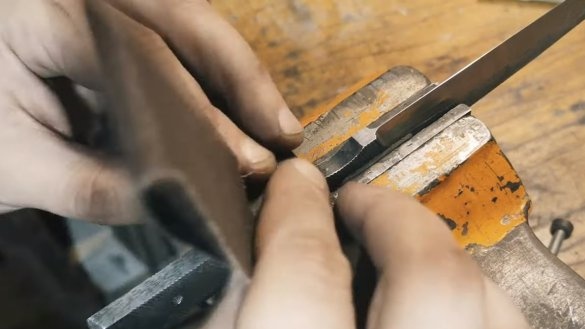
We pass through the file with a file, we need to grind off sharp edges.
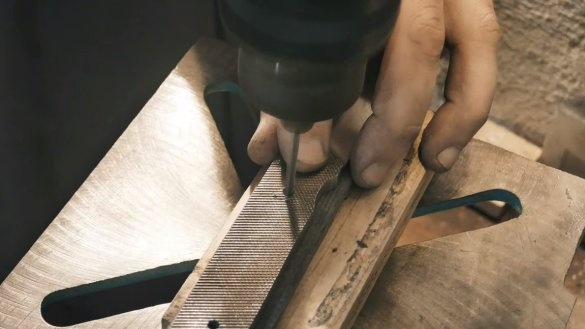
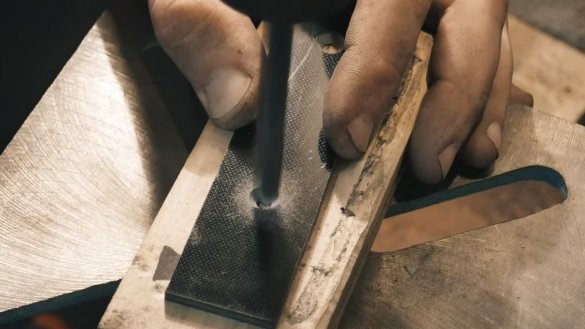
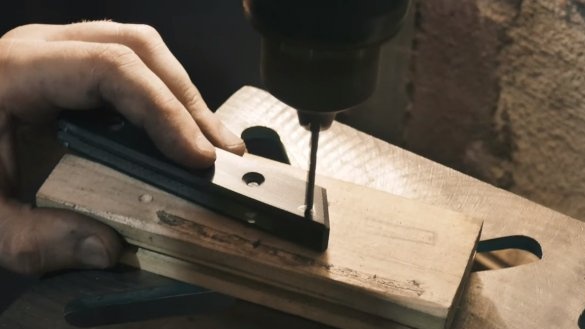
At the end, we drill holes in the handle and cut the threads, they are needed for fastening the plates with screws.
Step Five Heat treatment
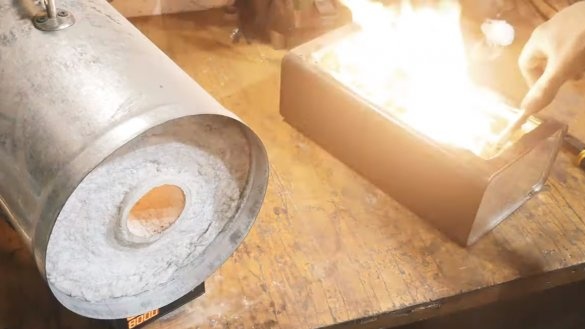
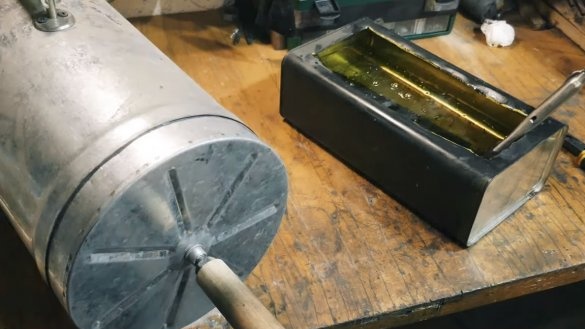
We proceed to hardening the blade, using this procedure we will make steel as hard as possible. The author warms the blade to 800 ° C, while making sure that the blade glows in a uniform color. We lower the hot steel into the oil.
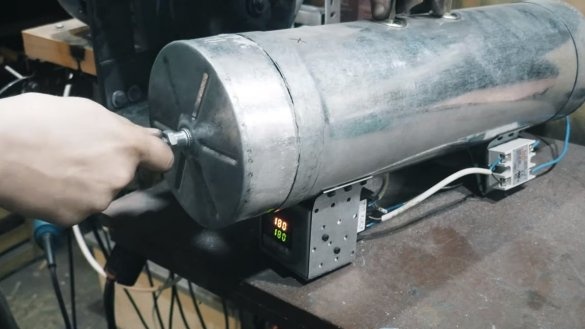
Now the steel is hardened and fragile, we need the blade to spring and be able to withstand heavy loads. To do this, send the blade into the oven, and heat at 180 ° C for about an hour. Now the steel is hardened and tempered, the author’s steel turned out to be quite strong, the blade cuts a glass jar.
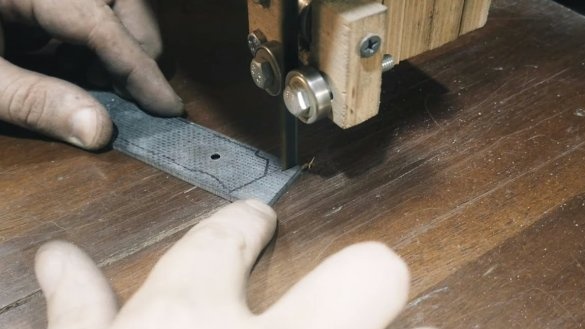
After hardening, you can trim the excess part of the “tail” and grind the blade.
Step Six Lining
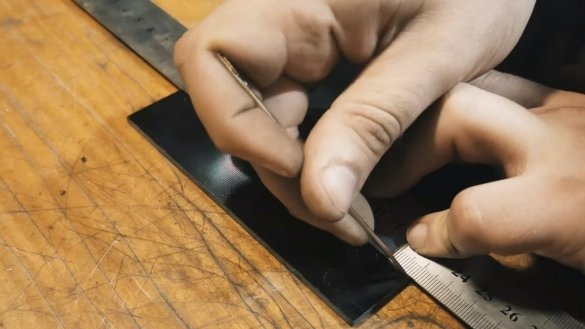
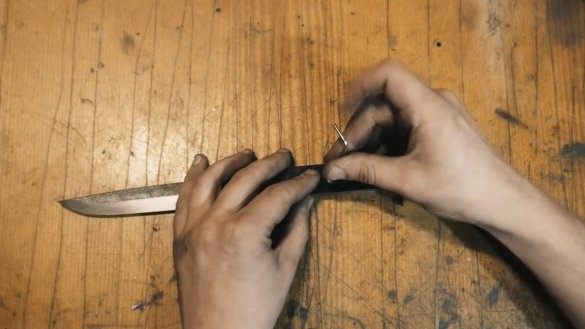
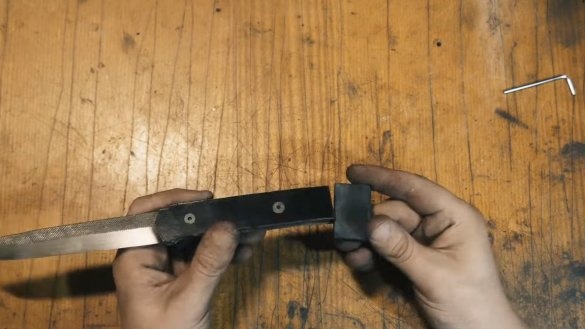
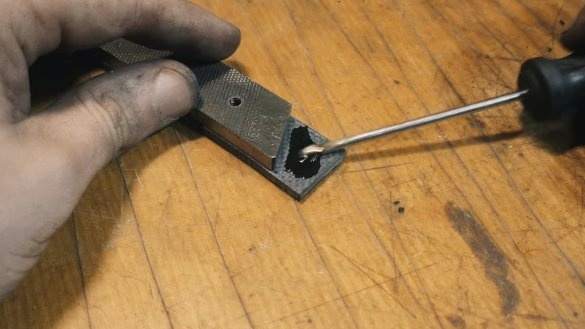
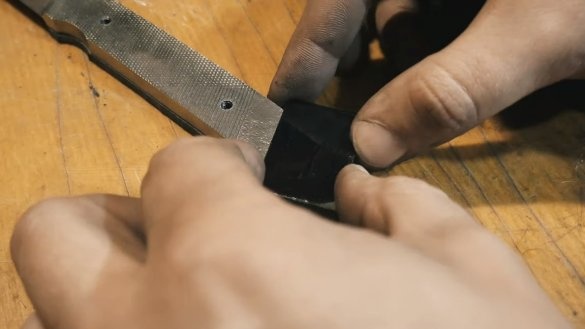
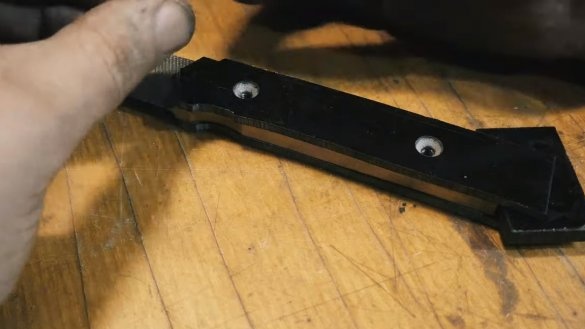
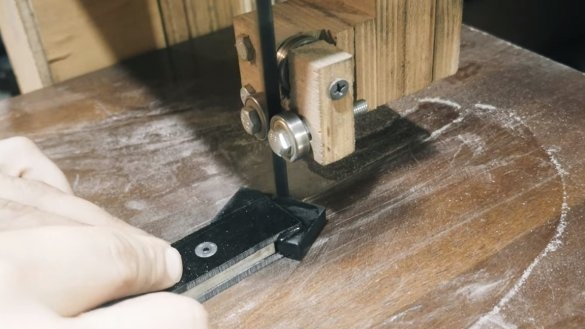
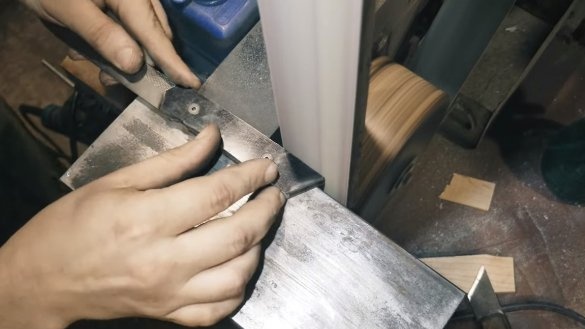
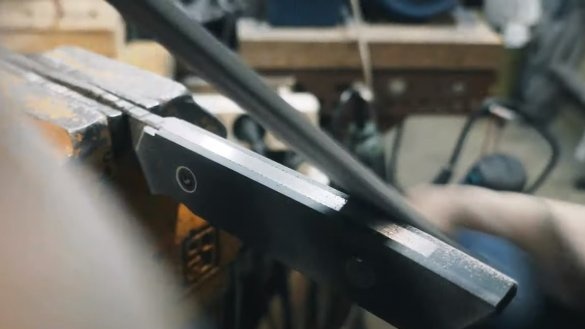
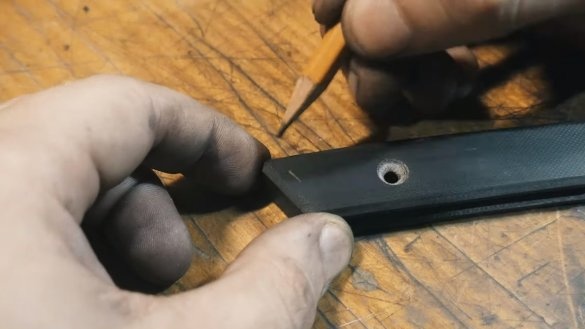
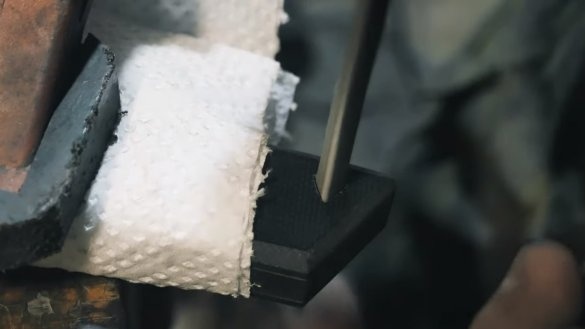
Let's make overlays for a knife, as a material it is possible to use. Such material is strong, not afraid of water and dirt, and also it is durable, and in style it suits our case. We cut two pads and drill holes for the screws. There will be a gap between the pads in the back of the handle, here the author pasted another piece of PCB. We install billets on a knife and proceed to grinding the handle on a belt grinder. Final processing is carried out using files. That's all, now we have two excellent grip pads.
Seventh step. Etching
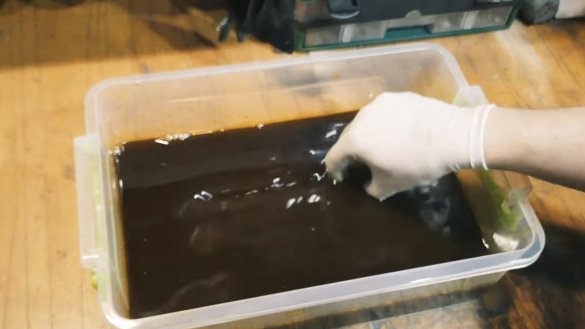
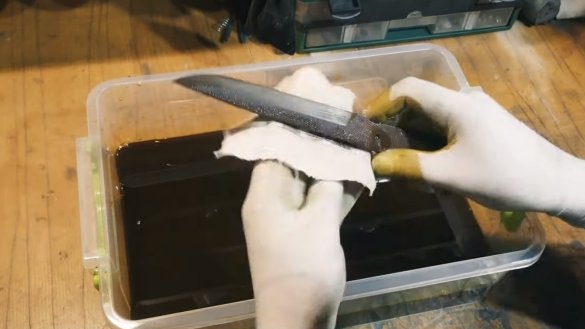
If you wish, you can etch the blade, the metal will become dark, it will be well protected from oxidation. After etching, the author decided to polish the knife blade to shine.
Step Eight. Final touches and assembly
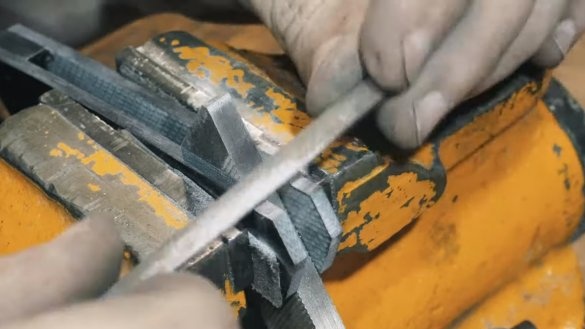
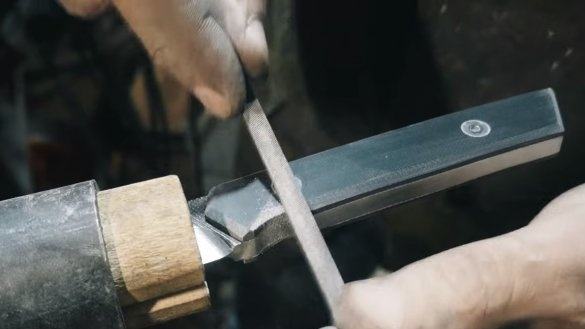
In conclusion, the author decided to make a triangular hole for the lace in the back of the handle. First, we drill a regular round hole, and then bore it with files and a triangular file. That's all, the handle can be assembled, we turn the screws and you're done. If desired, you can fine-tune the handle of fine sandpaper.
The knife is assembled, it looks great, and the technical characteristics of such a knife will be on top. On this project is over, I hope you liked the homemade. Good luck and creative inspiration, if you decide to repeat this. Do not forget to share your ideas and homemade things with us!

