Hello lovers to create do it yourself, the hot season has come, and this means that we need at least a fan for comfortable functioning. The cooling issue is especially acute in India and one author decided to try to overcome the problem. Today we will look at how to build a small fan with a 12V motor. Such a fan can be put in car, you can power it through the power supply, or you can take it with you to places where there is no electricity, grabbing batteries. The author used as a basis, all other details can be obtained almost for free. The fan blows wonderfully, the author put 2 18650 batteries in it, homemade able to work on them. If the project interests you, I propose to study it in more detail!
Materials and tools used by the author:
Material List:
- ;
- a piece of plumbing pipe;
- PVC sheet or similar material;
- bottom of a large PET bottle;
- wires;
- switch;
- batteries 18650;
- A socket for connecting a power supply.
Tool List:
- soldering iron;
- drill;
- a hacksaw for metal;
- marker, ruler, compass;
- scissors.
Fan manufacturing process:
Step one. The foundation
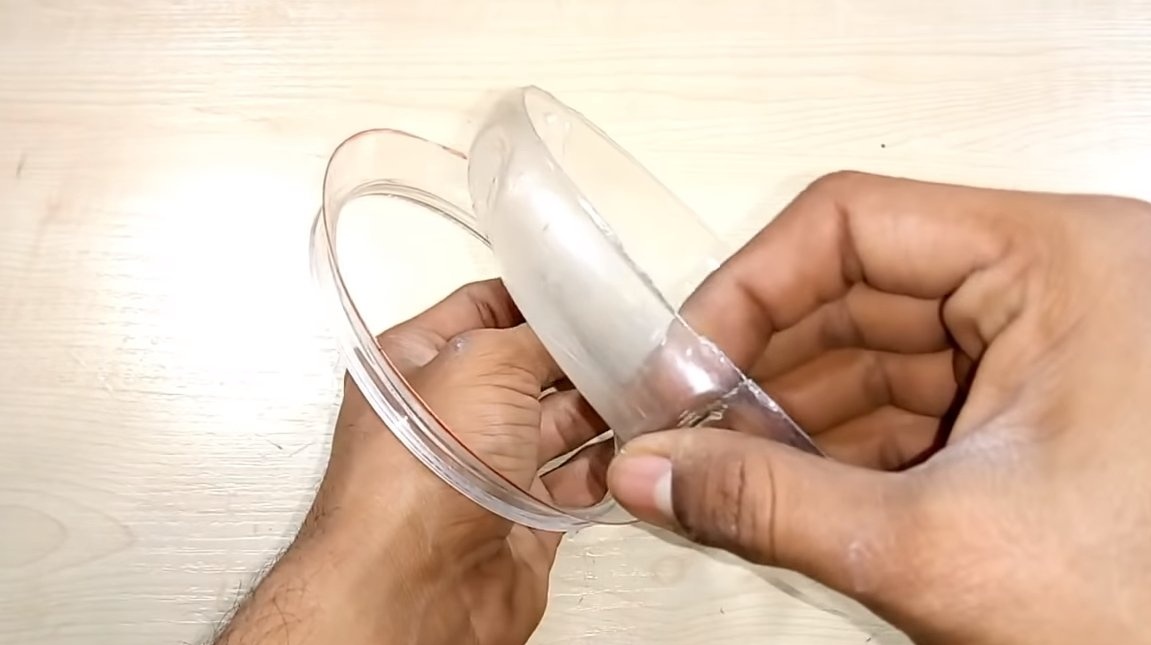
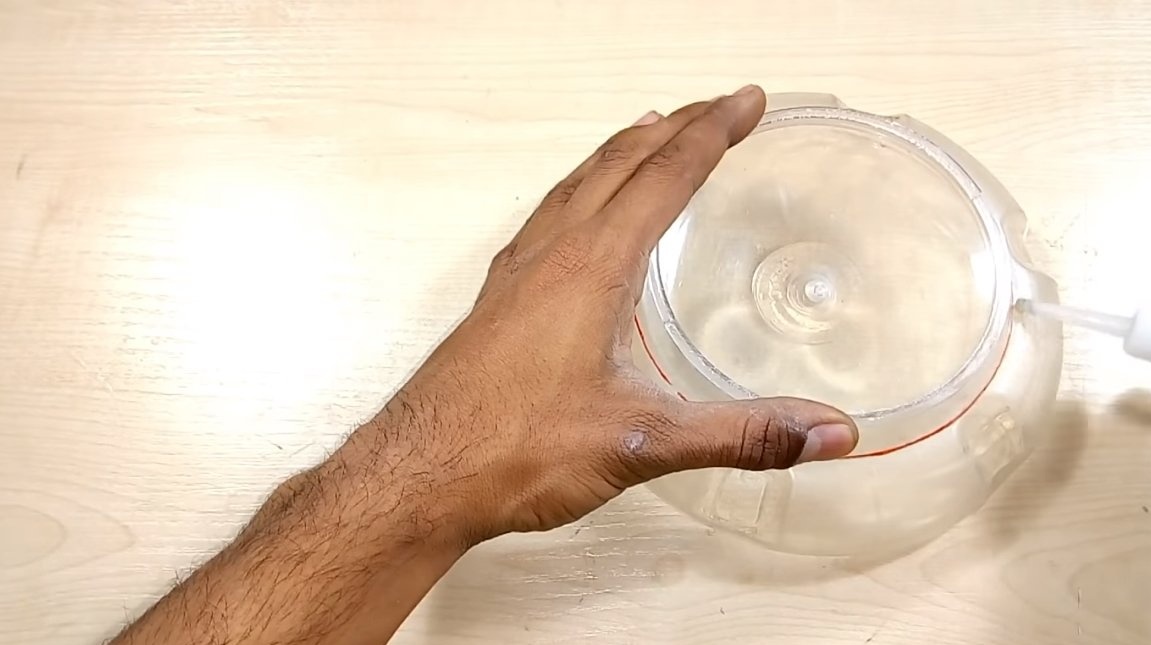
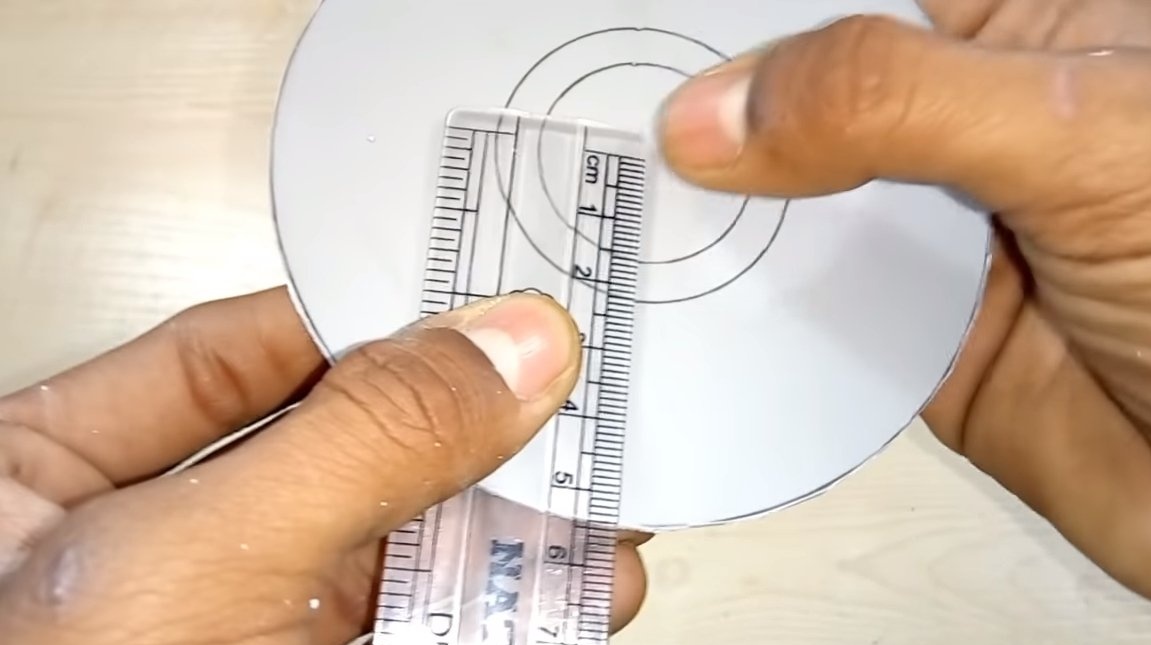
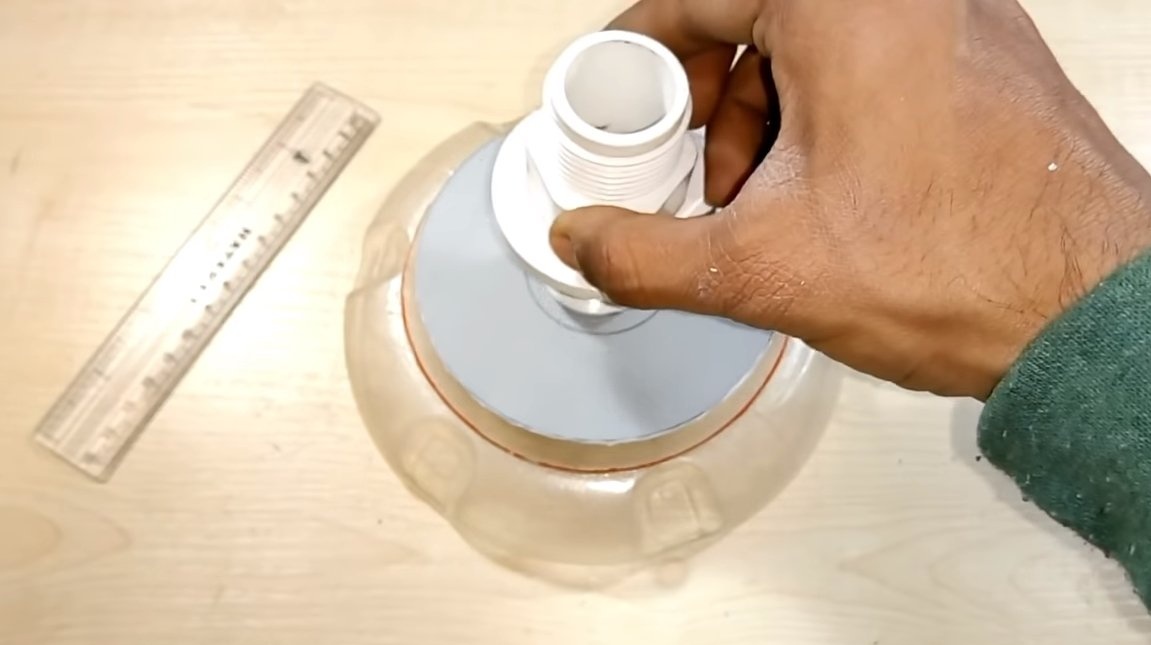
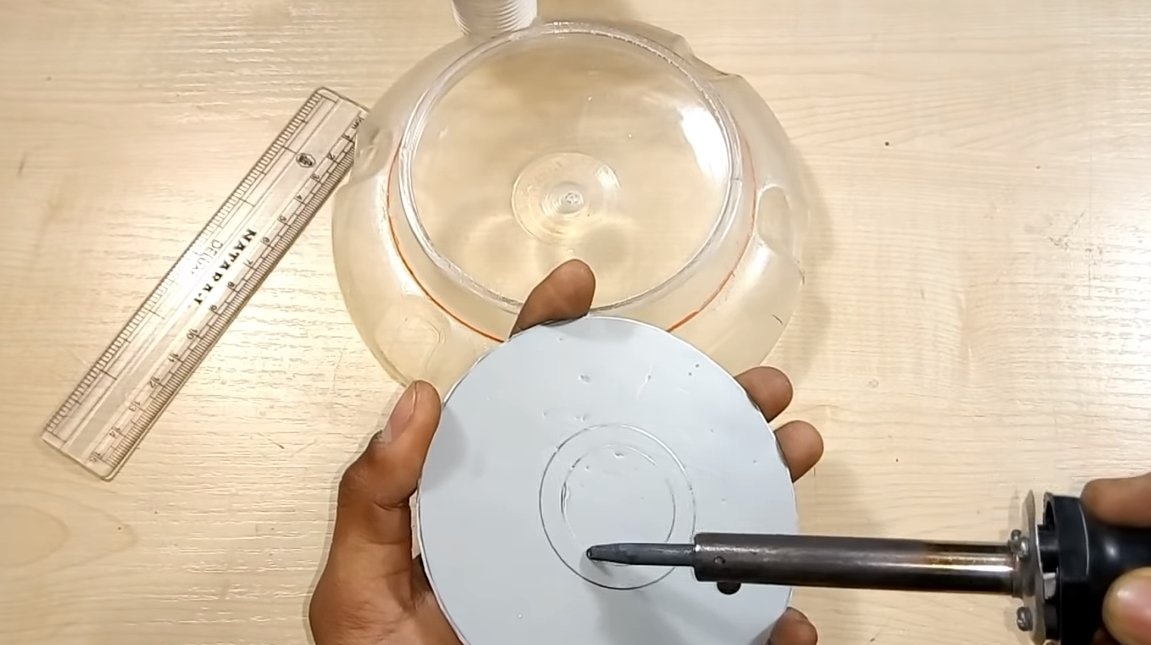
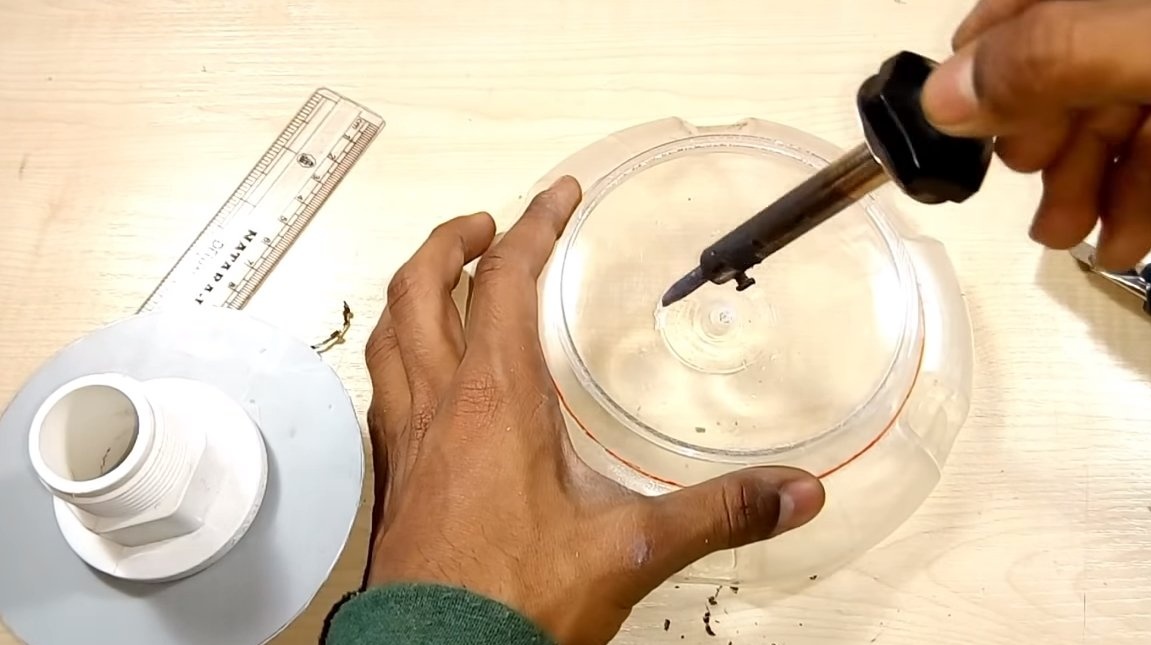
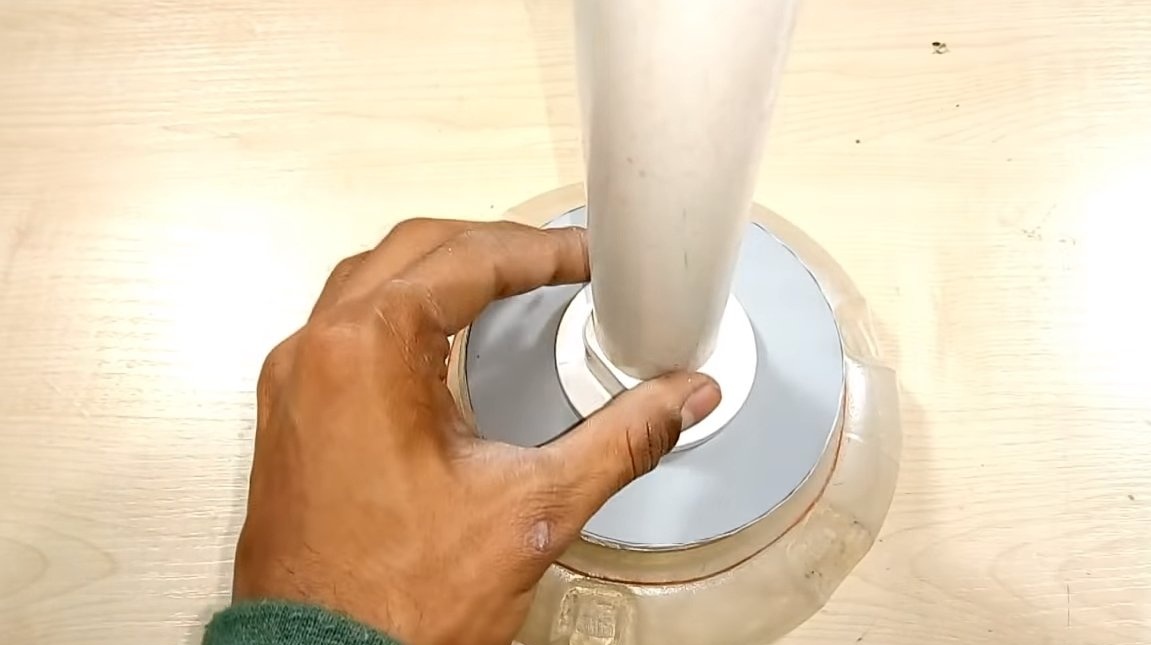
To begin with, we’ll make a base, the author cut off the bottom from a large PET bottle for 5 liters, this became the main detail for the base. Also, a circle with a hole in the center was cut from a sheet of plastic, which the author glued to the base. The basis will be the battery, switch and socket for connecting the power supply.
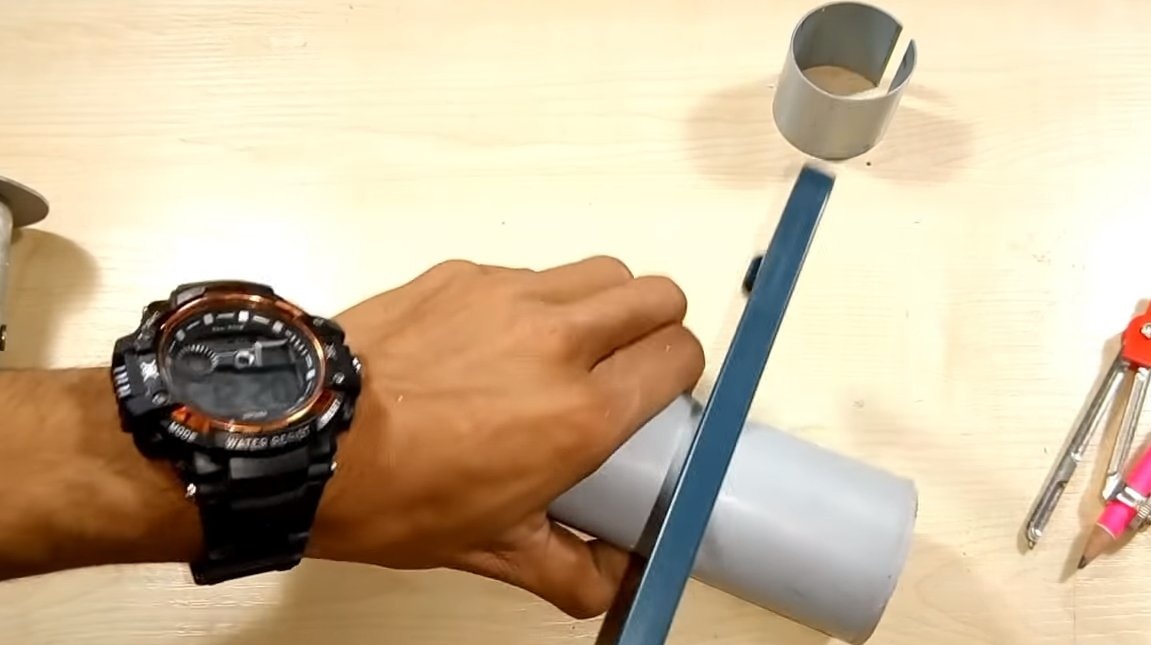
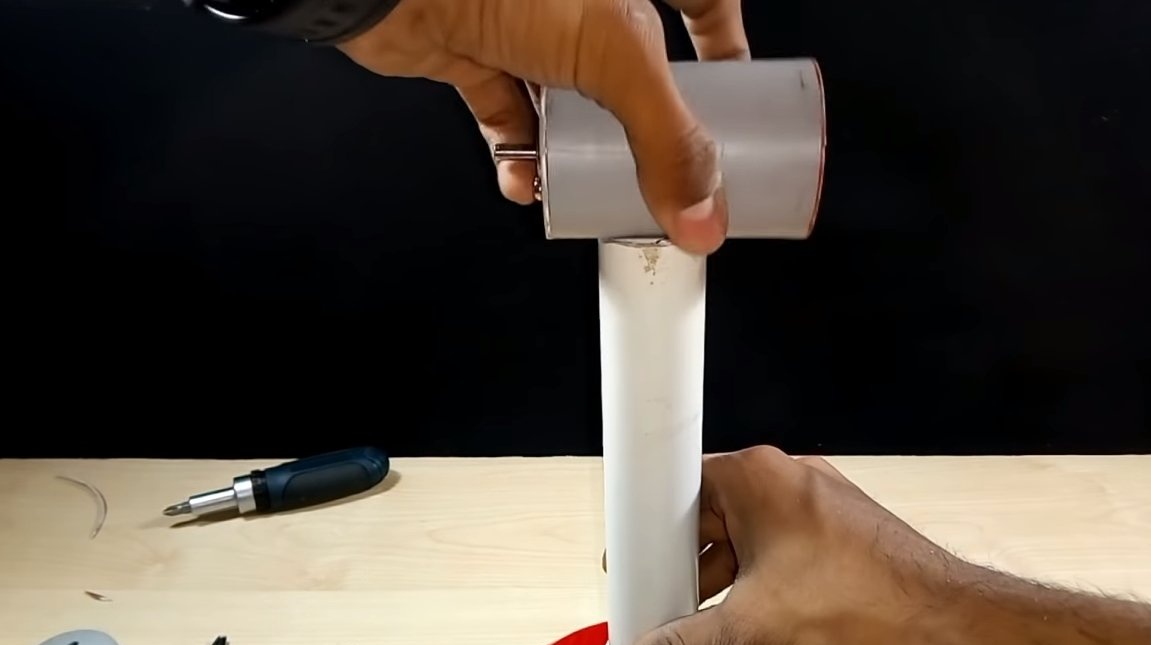
As a rack, it was decided to use a piece of sewer pipe.

Step Two Propeller
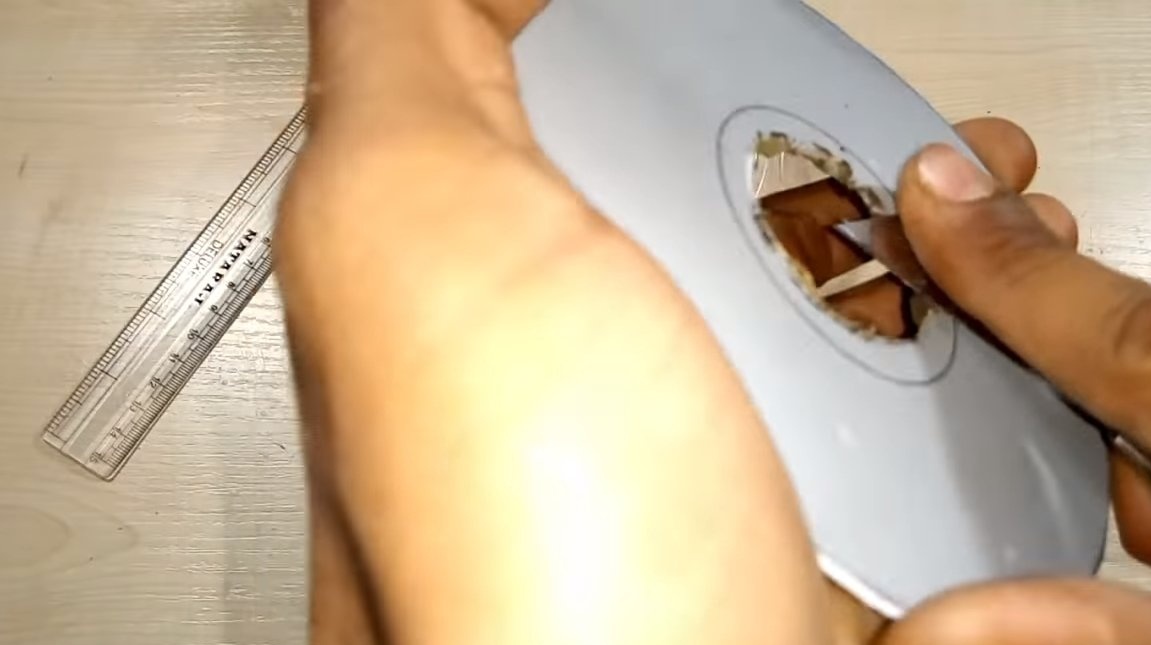
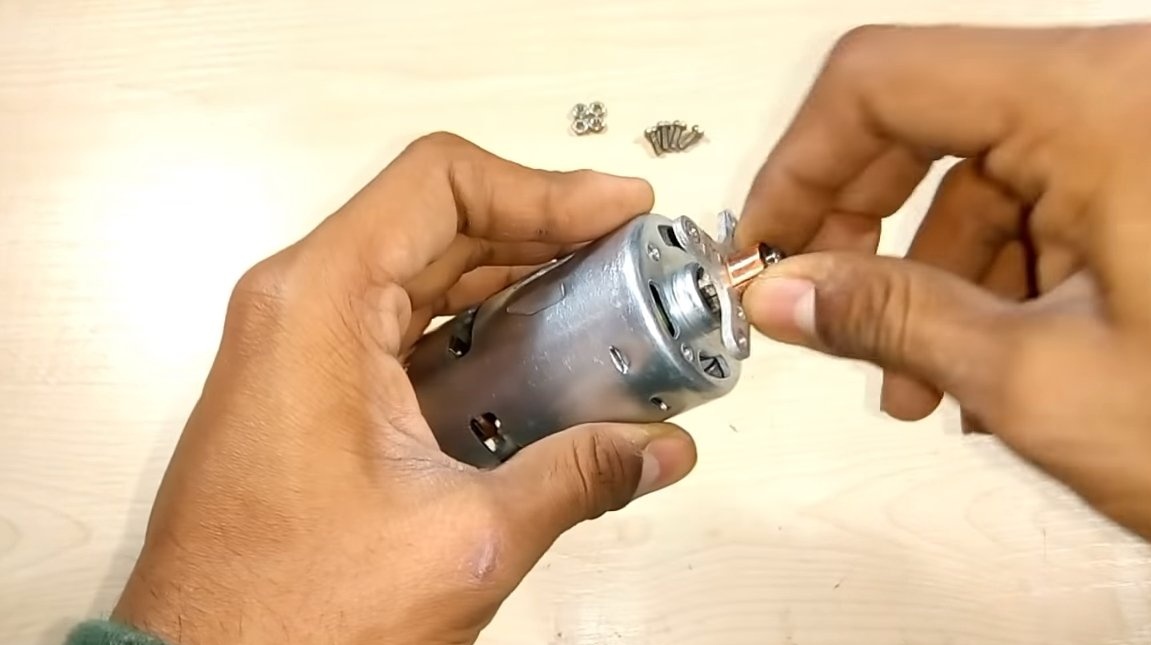
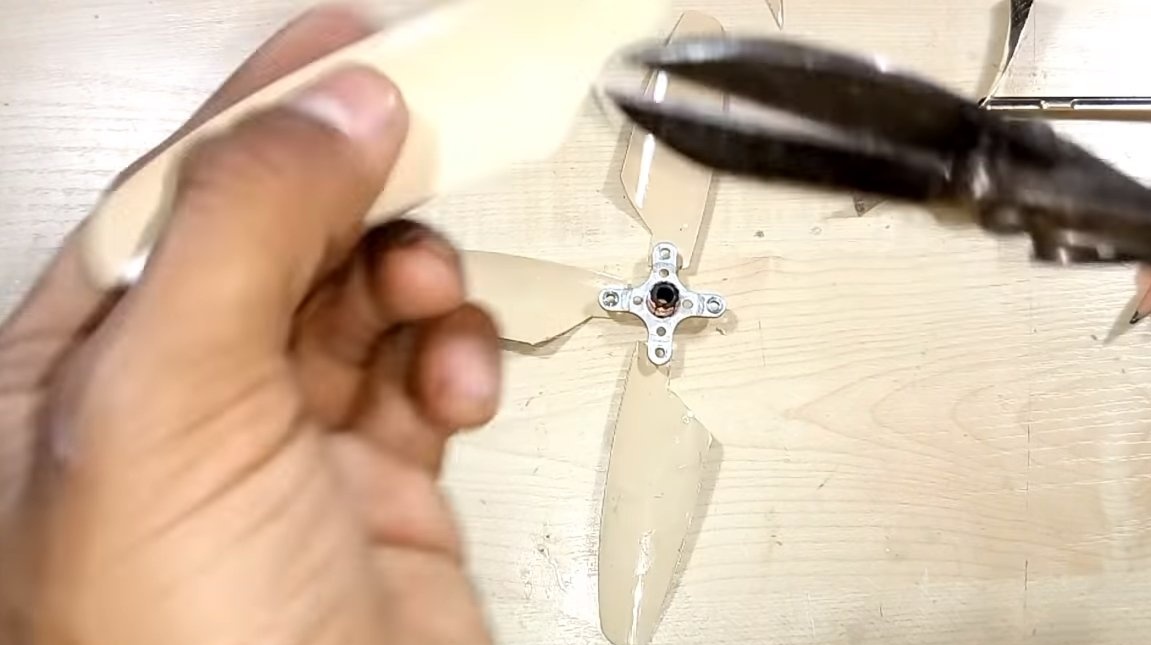
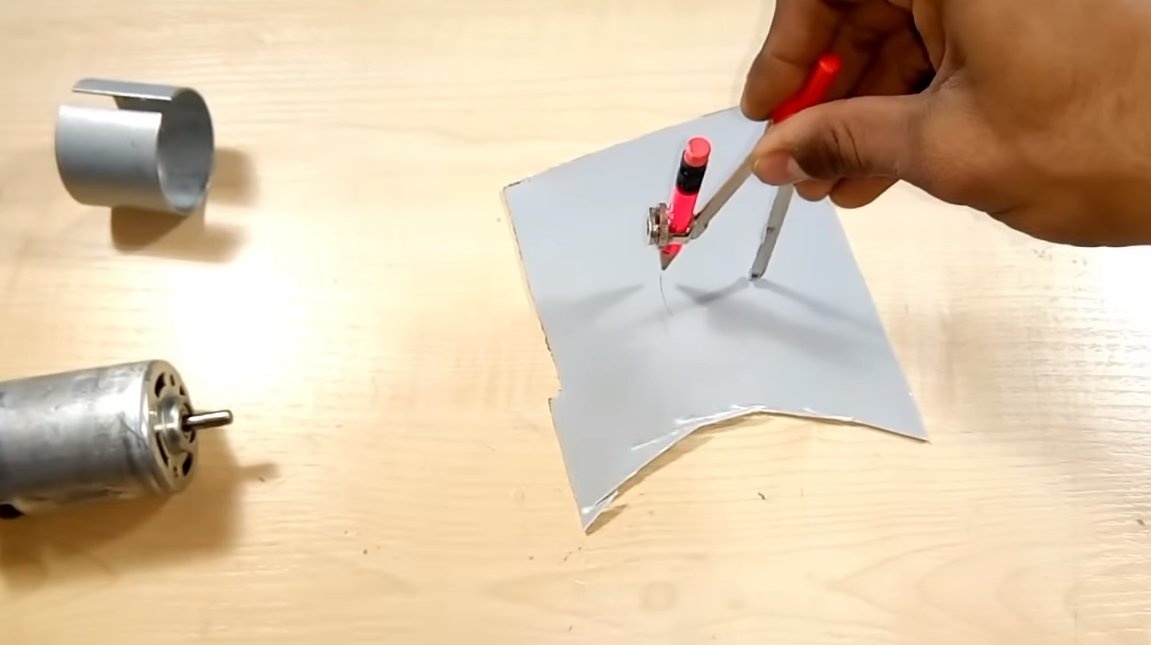
Next, you need to make a propeller, as the fastener for the blades, the author used a part from a motor for air modeling, it just fit the diameter of the shaft and has 4 sides for mounting the blades.
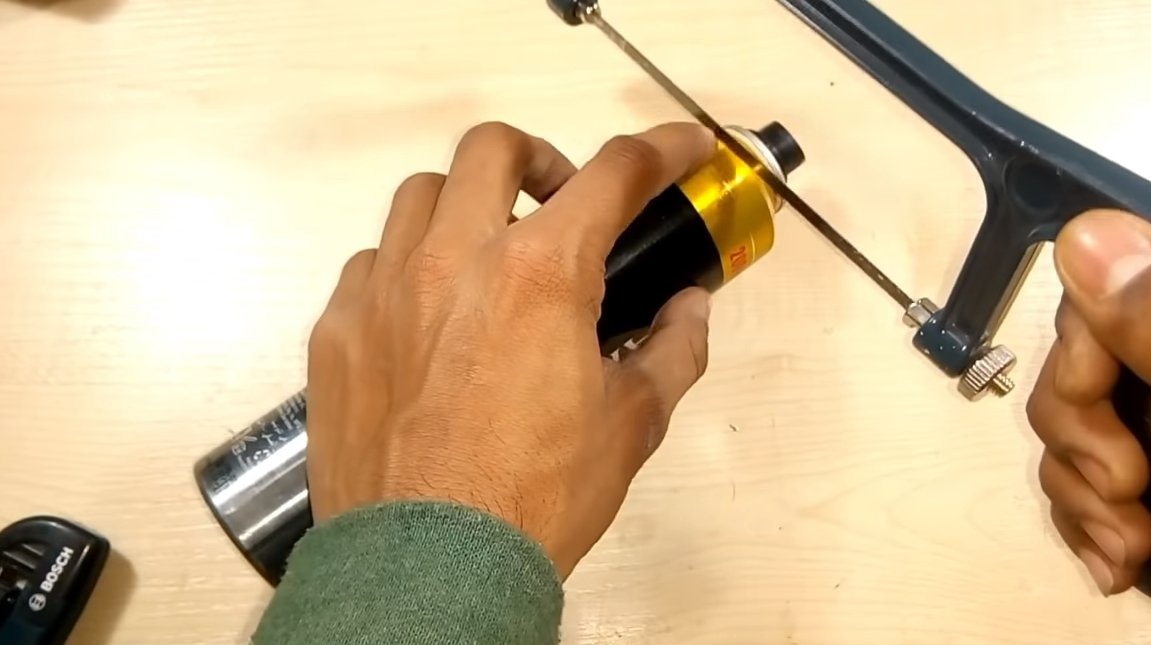
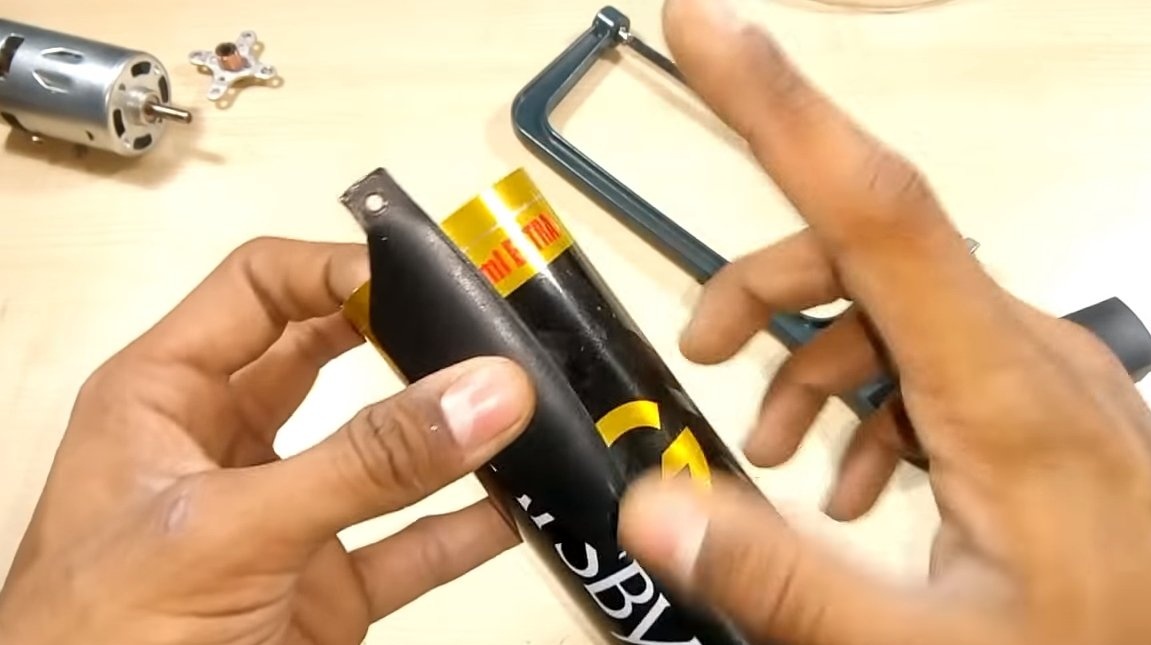
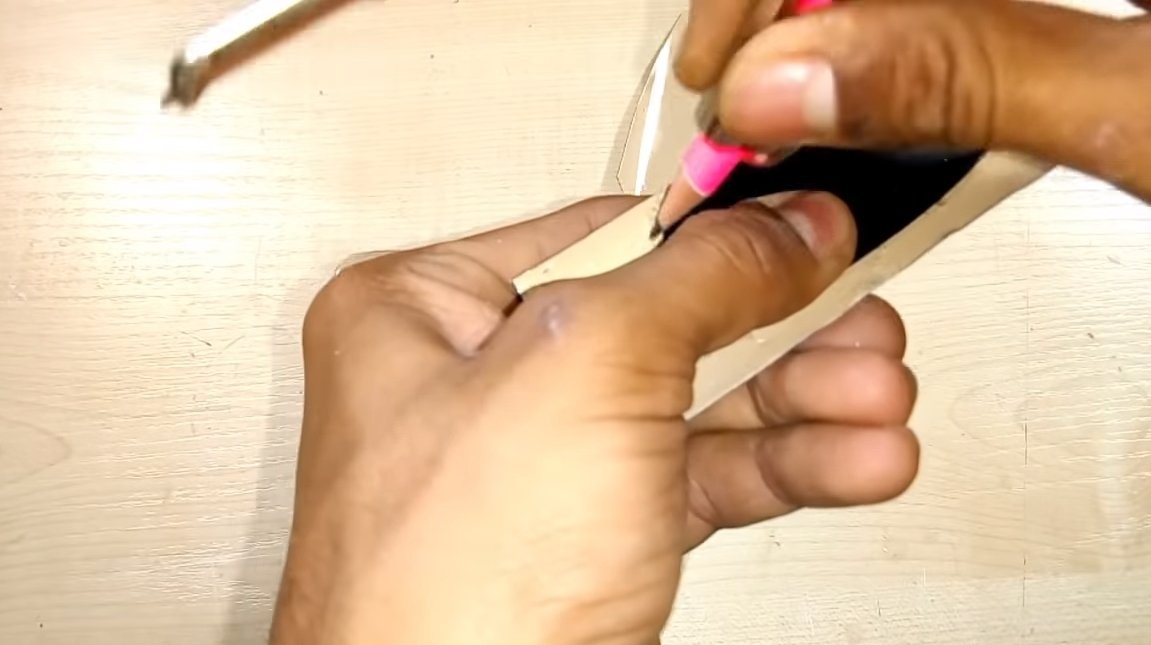
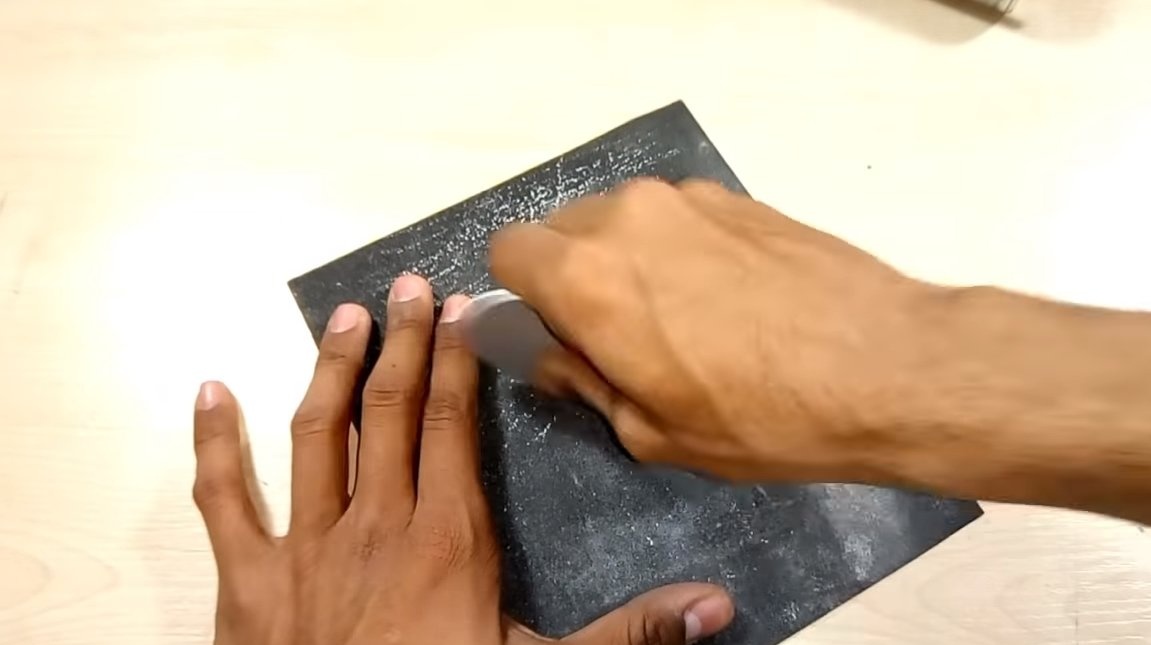
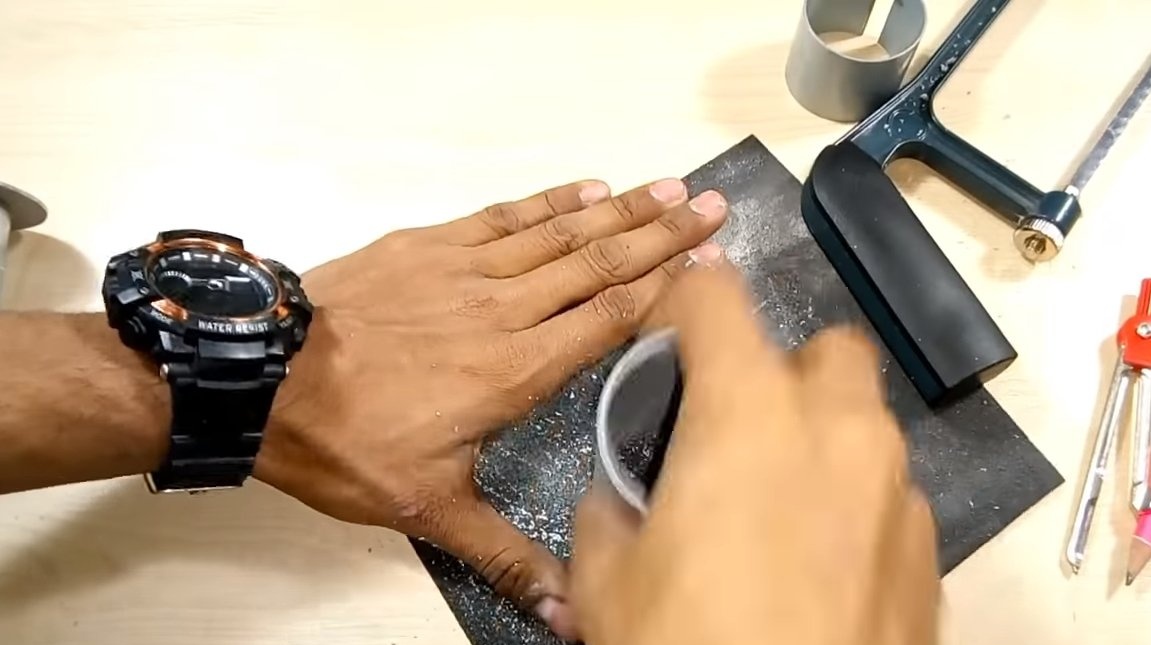
As for the blades, their author cut out of an aluminum cylinder, in which foam for shaving is usually sold and so on. The cylinder is easily cut with a hacksaw for metal, and then scissors come to the rescue. To cut the blades of the correct shape, the author used the finished found blade from a quadrocopter or similar equipment.
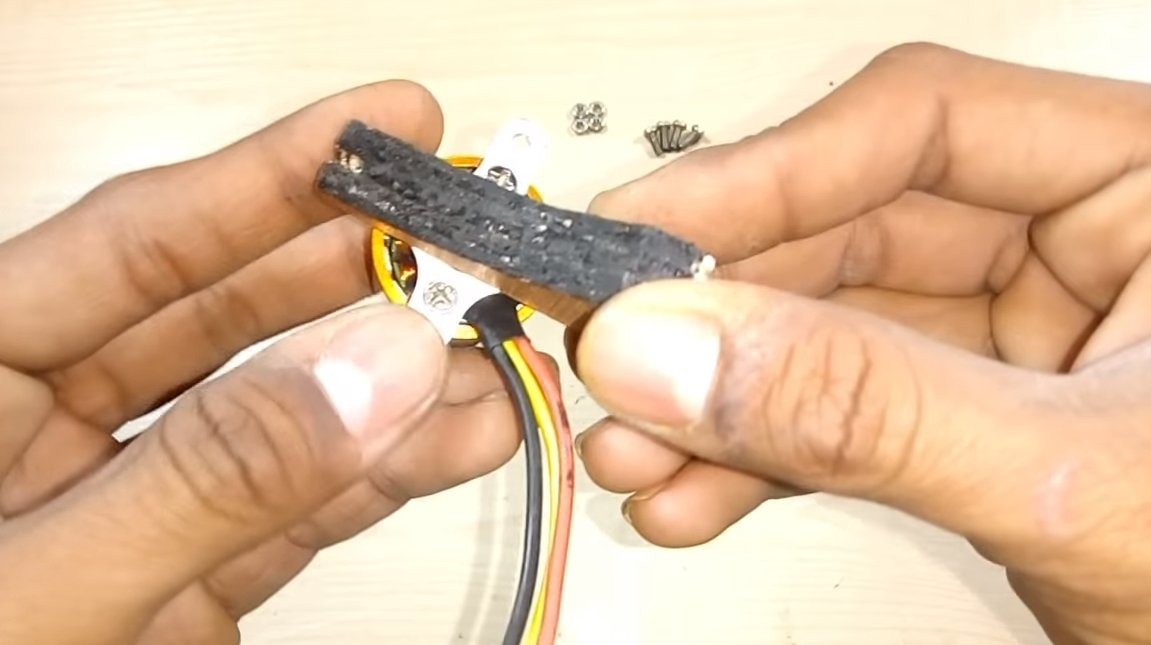
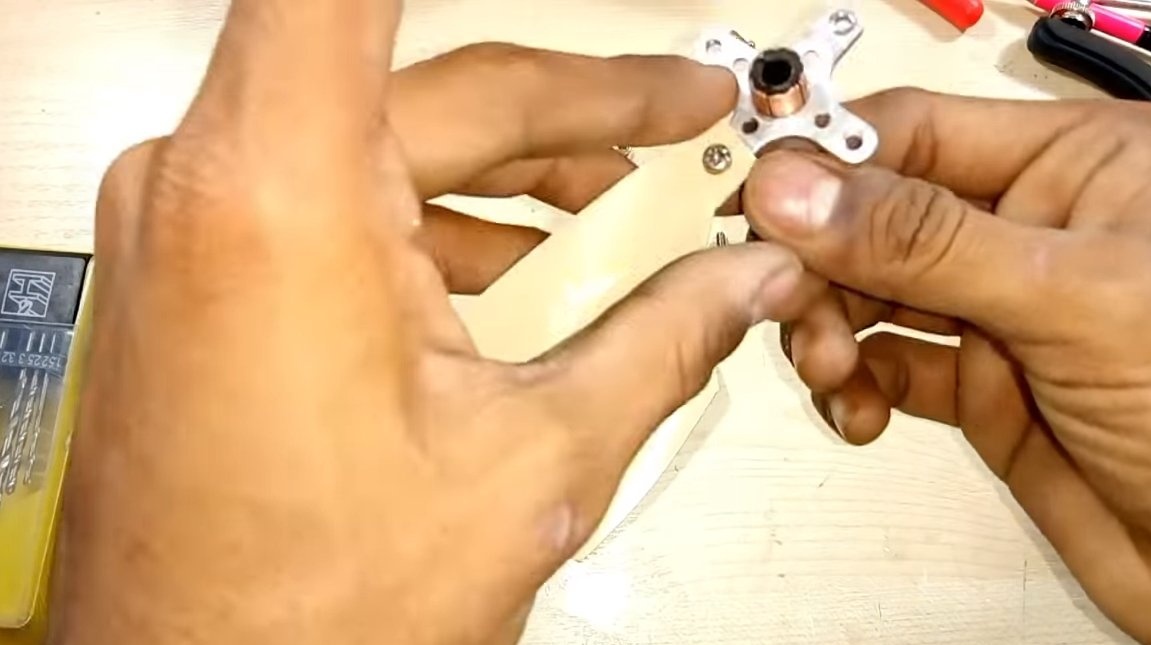
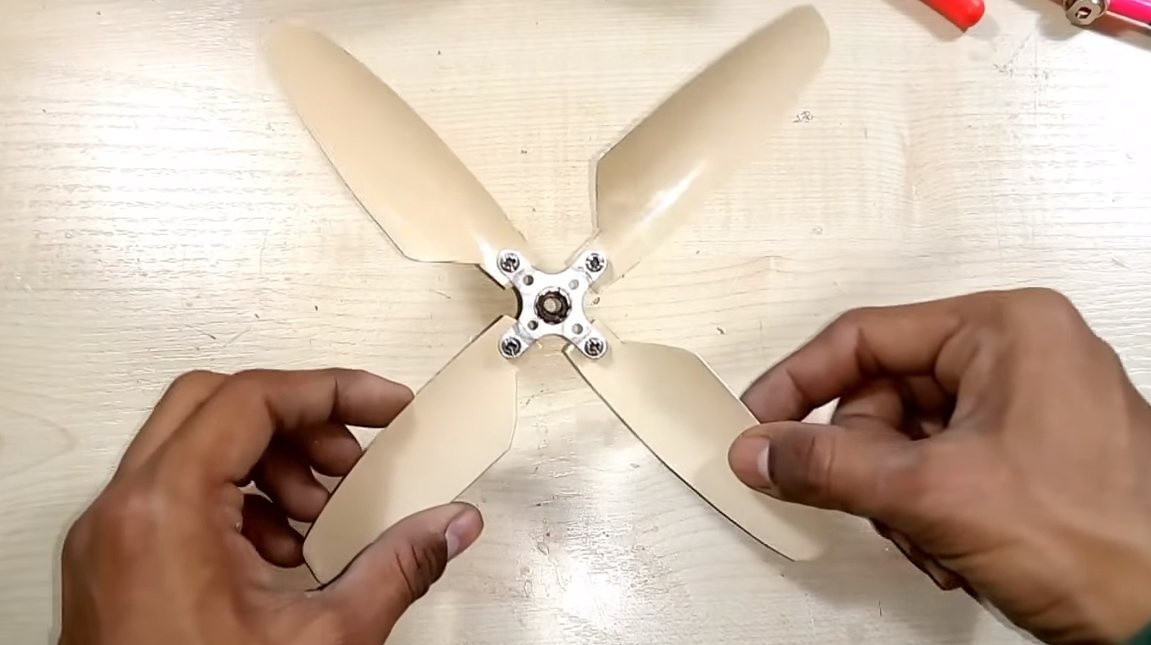
The blades will remain attached to the fastener with screws and nuts. That's all, now the motor can be turned on, it is better to power it with a small current or low voltage.The 775 engines are quite powerful, if you turn on such a motor at full power, the fan can fly to another country.

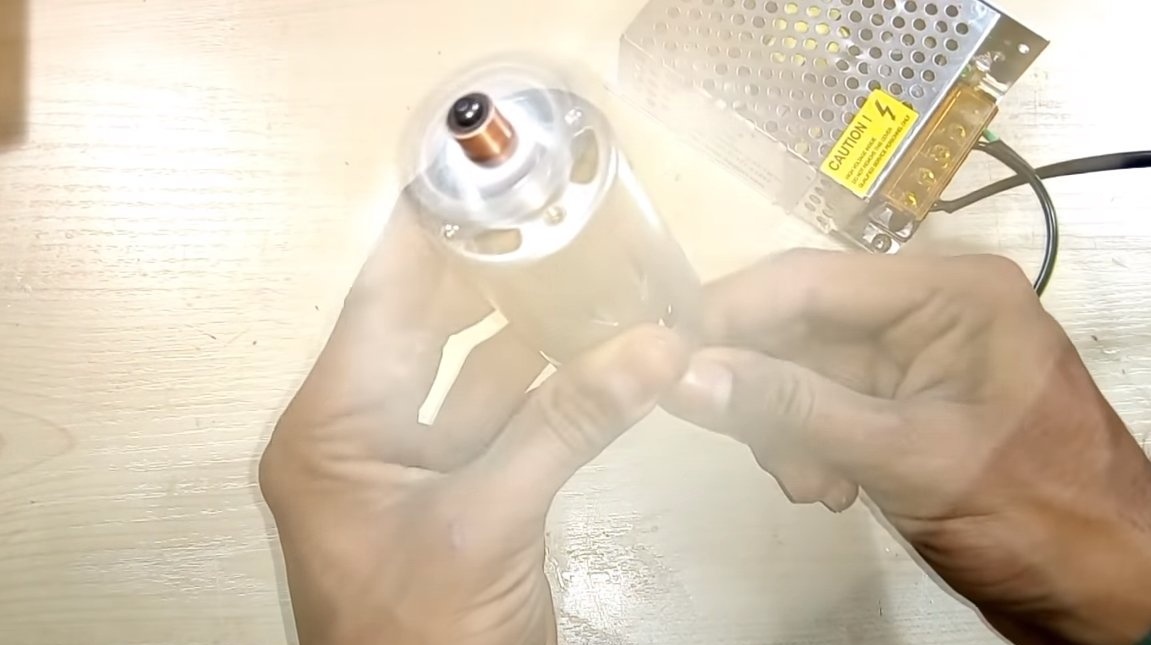
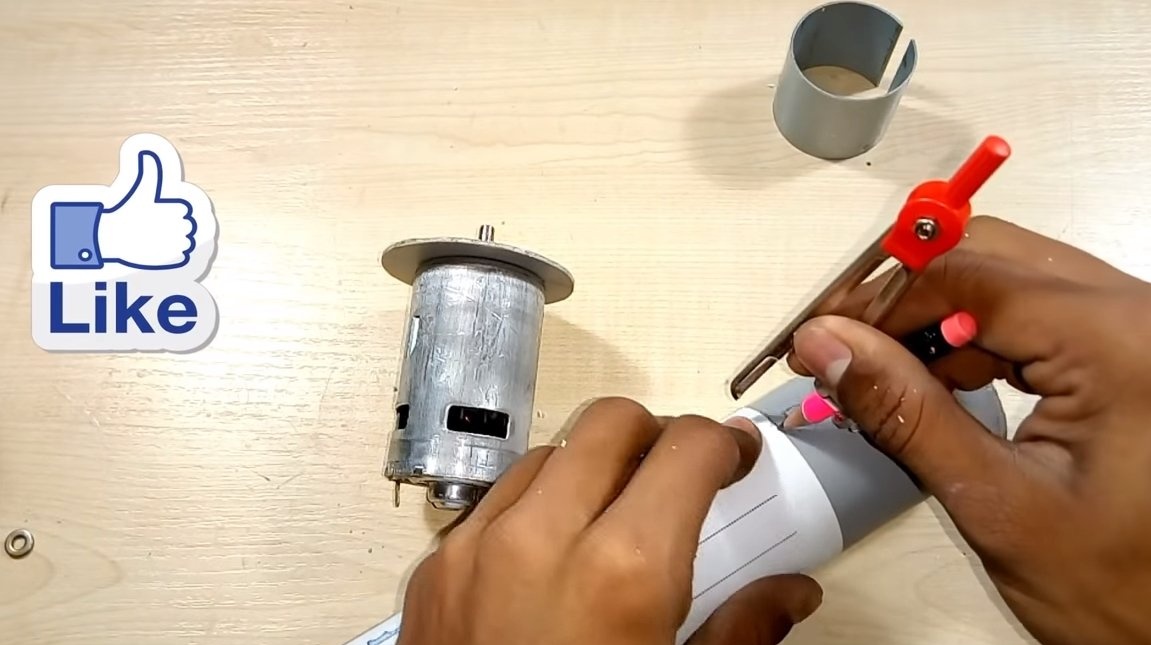
Step Three Engine installation
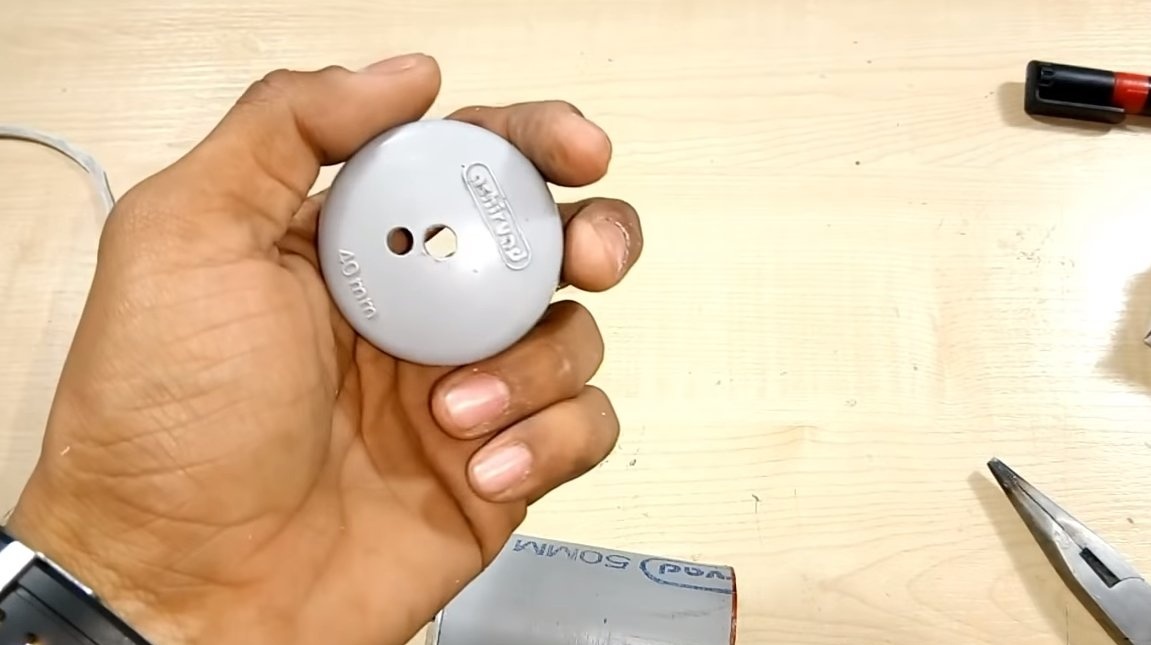
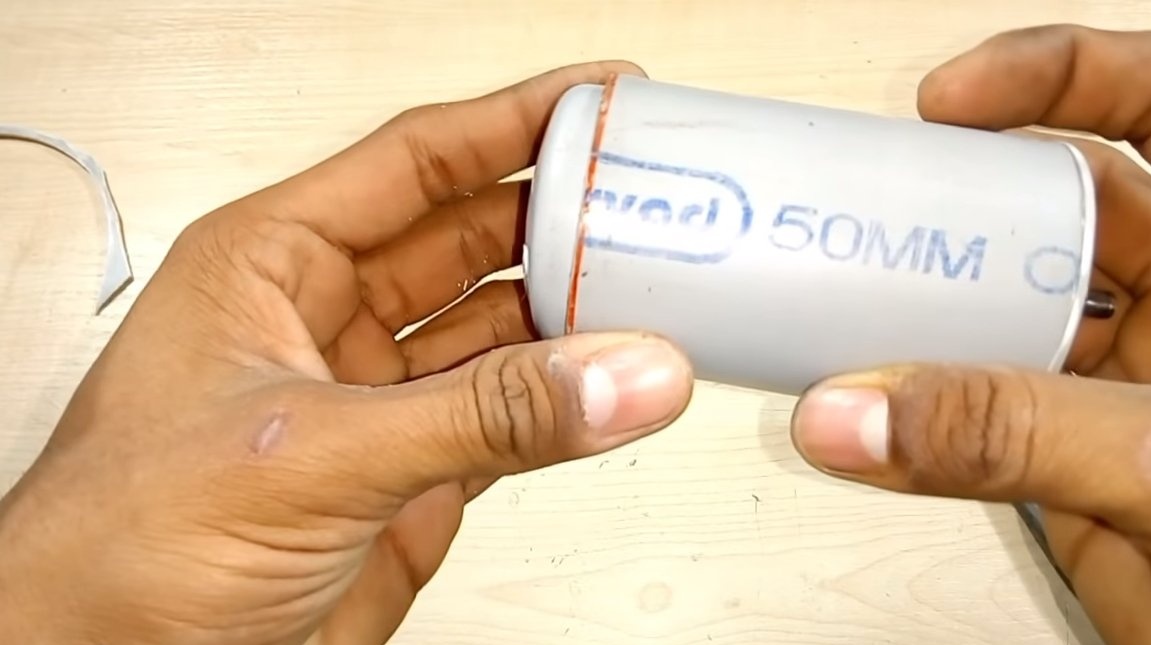
the author places it in a 50 mm pipe, and the motor must be fixed with screws on a sheet of PVC or similar plastic. A plug for an appropriate diameter pipe is perfect for installing an engine.
In the case opposite the ventilation holes, it is best to cut through the windows, so the motor can cool. However, if you feed the engine with low current, its heating should not be critical.
After that, the whole structure can be assembled, the author painted the base, and all the details can be glued with epoxy glue.

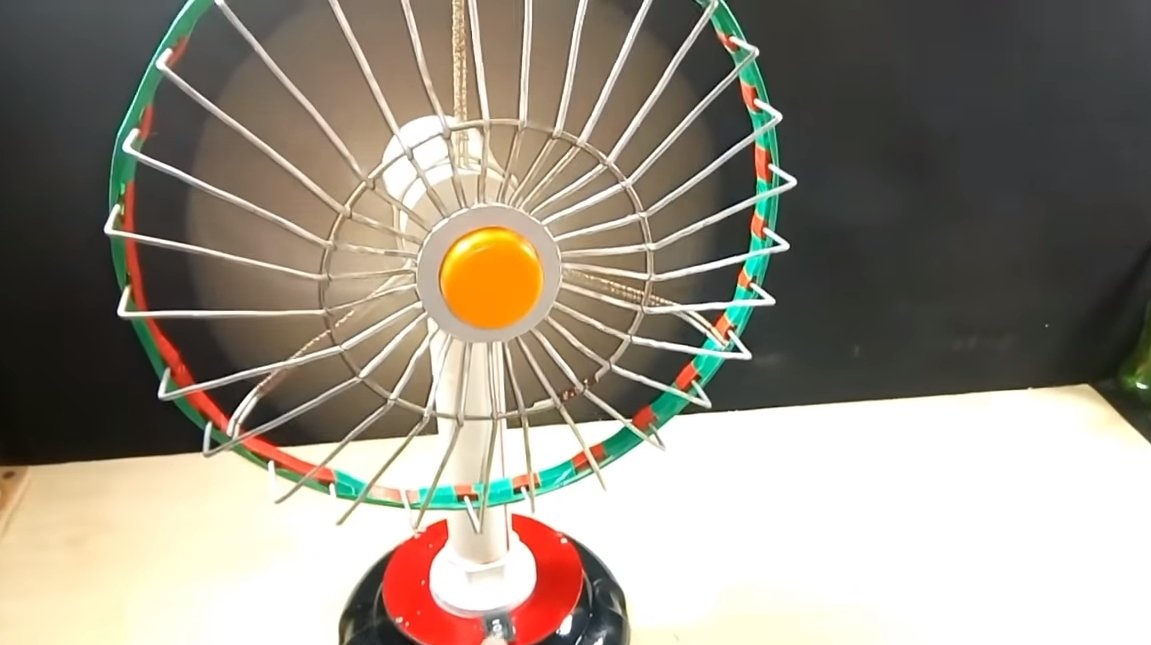
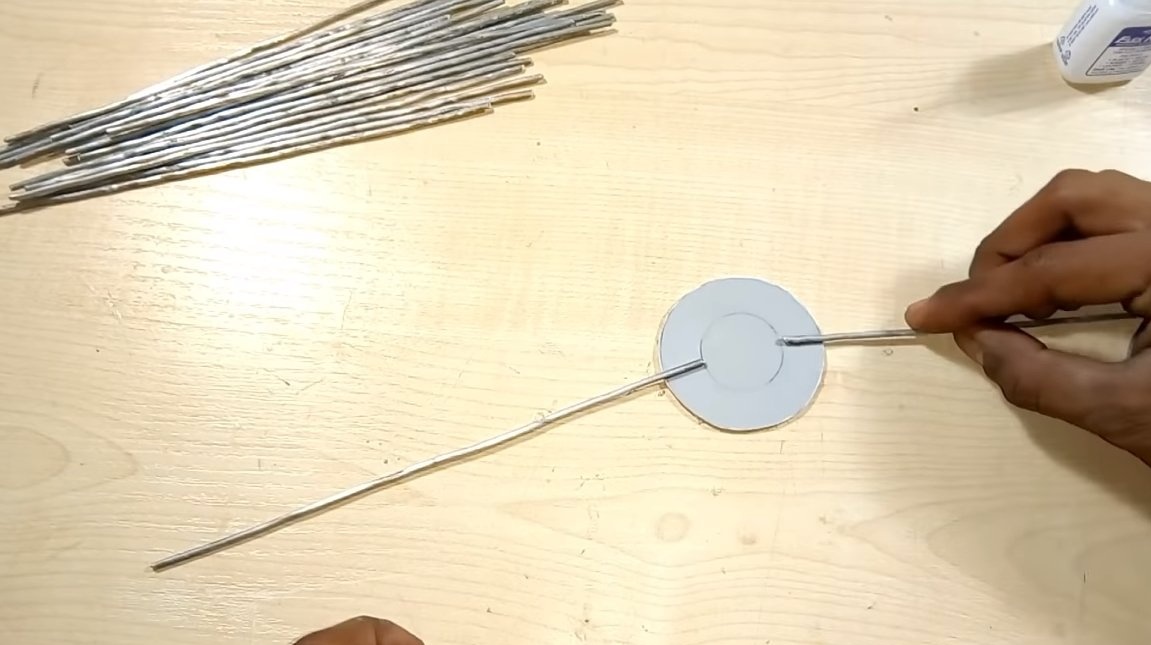
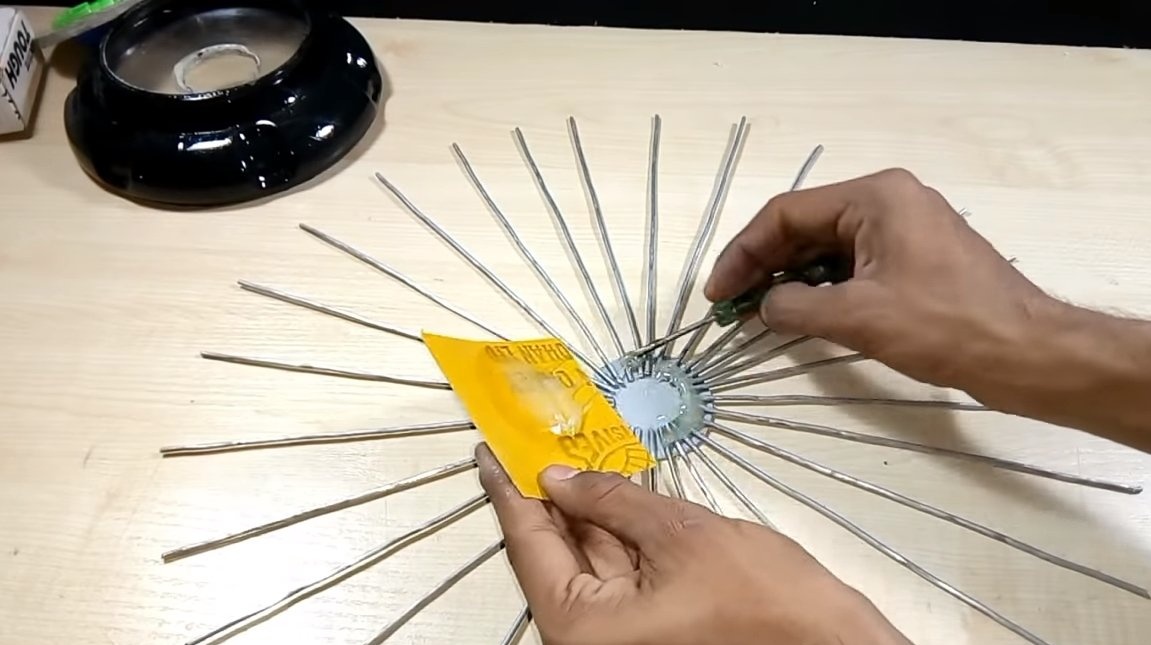
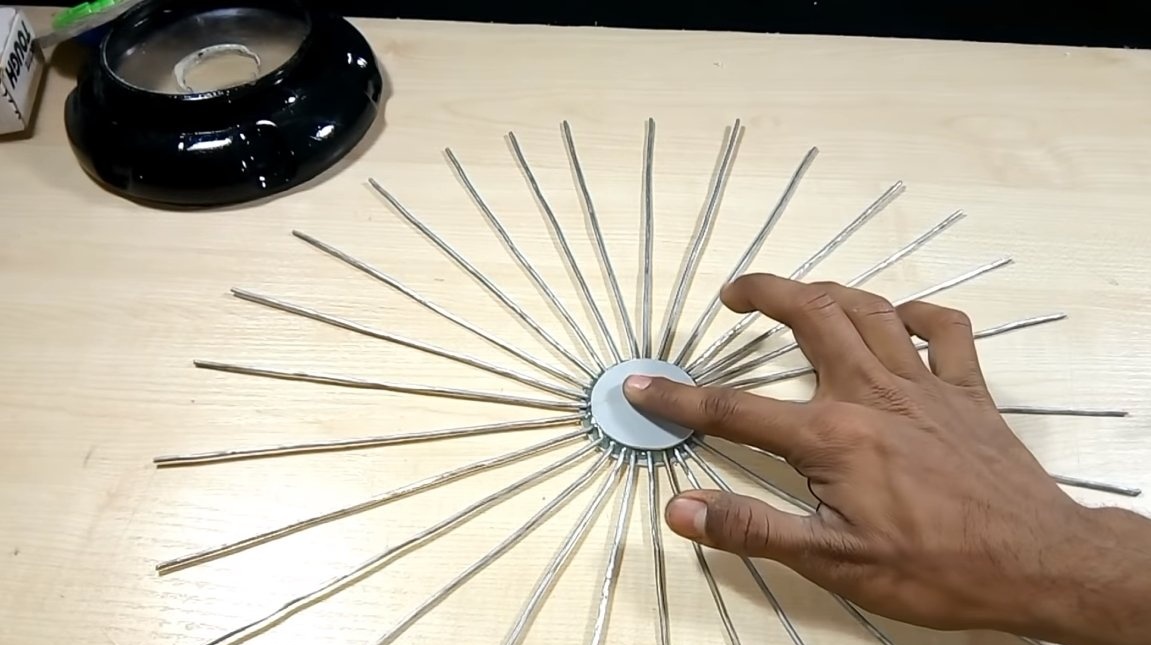
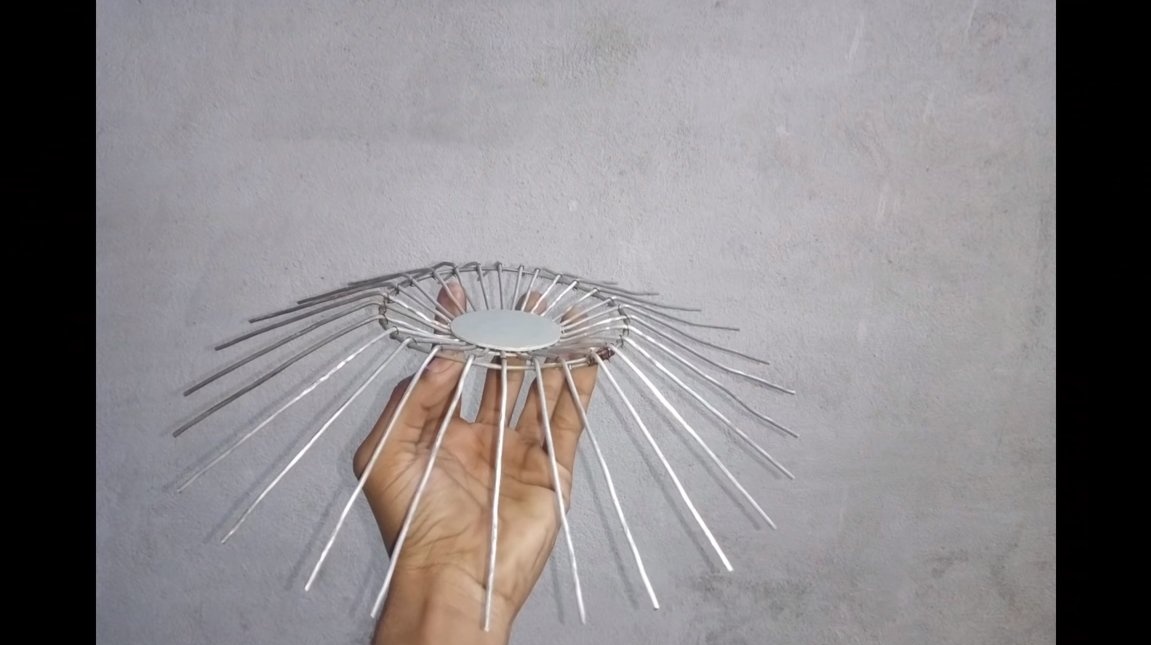
Step Four Protective grill
For the fan, we must make a protective grille so that the propeller blades do not injure anyone. The grill can be made of aluminum wire and plastic sheets. We cut the materials and glue them with epoxy glue. The author’s lattice turned out to be quite interesting, “like from a factory”. The fastener for the protective grill was also made of aluminum wire.

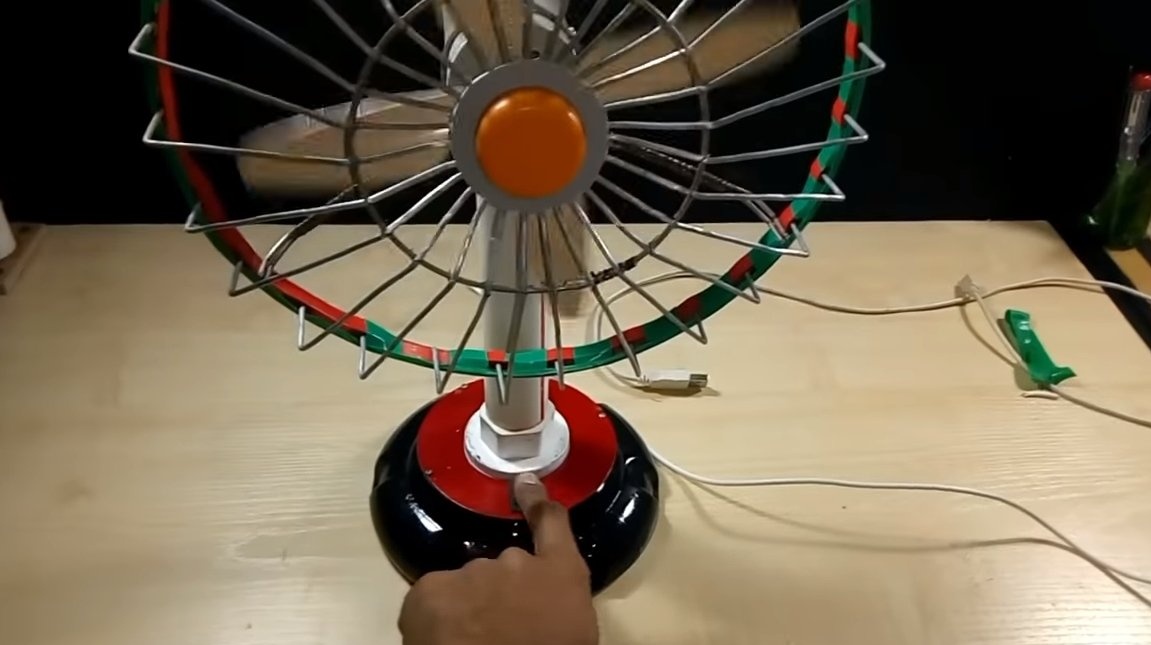
Step Five Finals and Tests
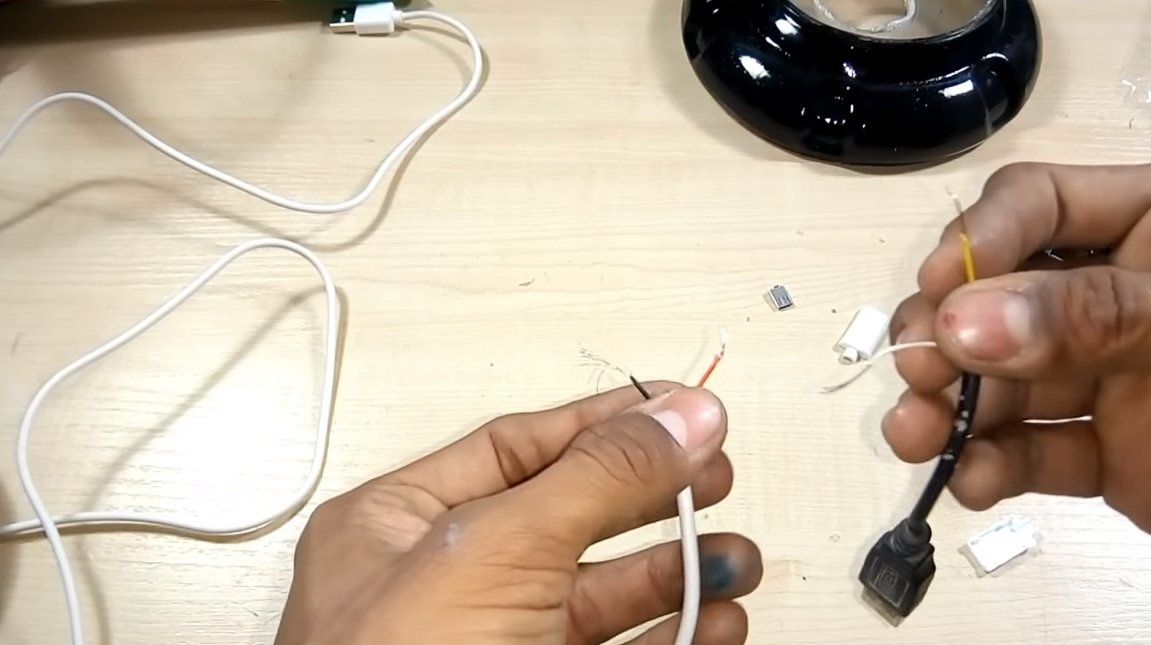
At the end, we set the switch on the basis, if desired, you can even make several speeds. We also install a socket for connecting the power supply, in our case it is USB.
The author feeds the fan with two 18650 batteries, there is enough supply voltage, but without a BMS controller, the batteries will very quickly fail.
The homemade product also works on USB charging, so the engine runs on less than a quarter of the power, but this power is enough to create a fairly strong airflow.
That's all, the project is over, it turned out a wonderful and useful home-made in the style of “Hand Made”, having better materials, you can create a home-made and more reliable.
On this project is over, I hope you liked the homemade. Good luck and creative inspiration, if you decide to repeat this. Do not forget to share your ideas and homemade things with us!