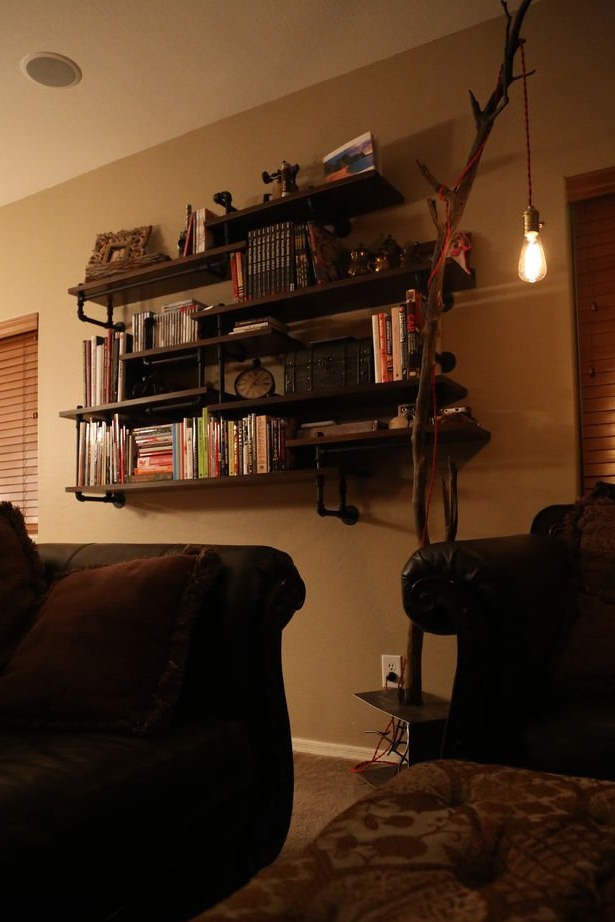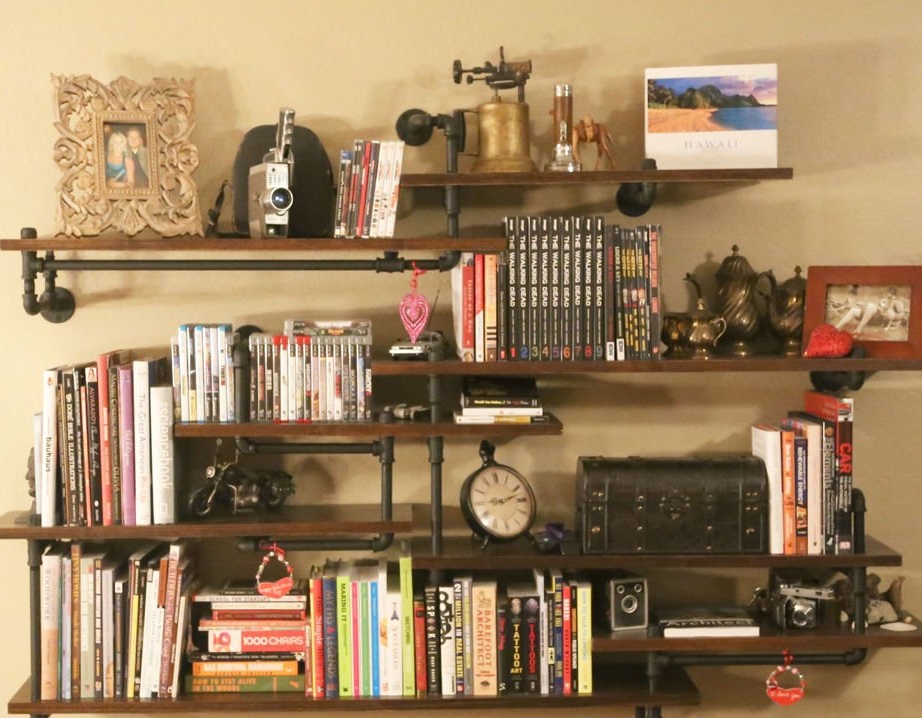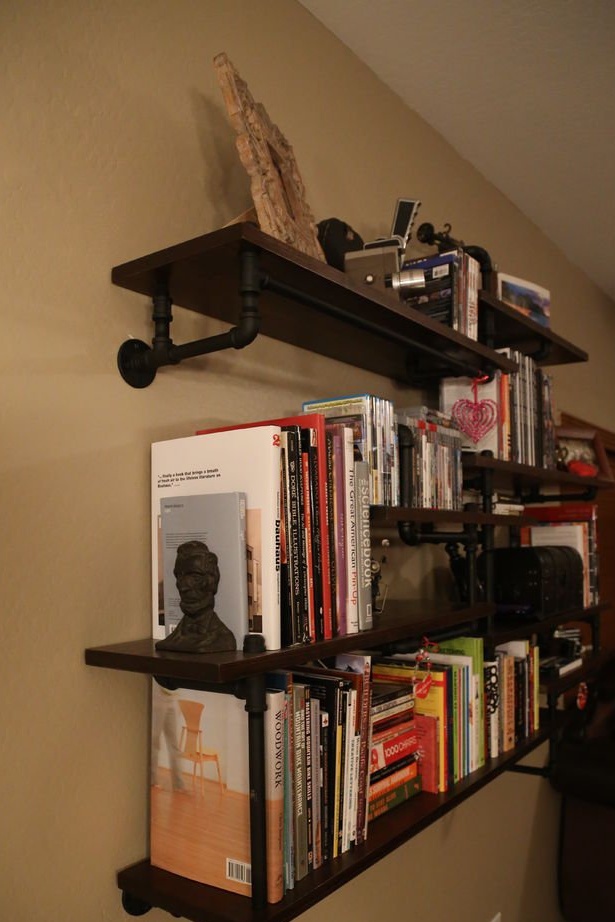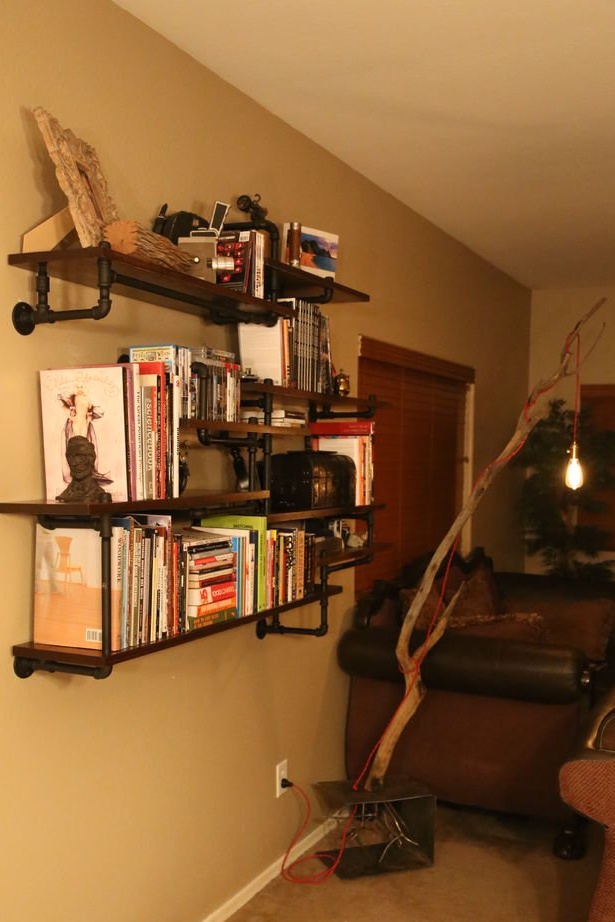
The master dreamed of creating a bookcase that could support and organize a growing number of books in his library. After spending several weeks browsing various shelving ideas on the Internet, he found that he was not attracted to popular shelving and wooden shelves. Therefore, he decided to make his own version. The finished product was even better than you might expect. This shelf not only provides space for books. It turned out to be so extensive and durable that it became the organizational center for almost everything in the master’s living room, including books, paintings, antiques, collectibles, video games, remote controls and game controllers.
Tools required:
- level;
- Measuring instruments (pencil, ruler, square, chalk line (optional);
- Manual / electric drill;
- table saw;
- A feather or mill with a diameter of 22 mm .;
- Orbital grinding machine;
- Emery paper (usually requires grit 120, 150, 180 and 220);
- Disposable gloves for painting and wood finishing;
- Brushes and / or rags for painting and wood finishing;
- The cloth;
- Indicator of hidden wiring and fittings;
Required Materials:
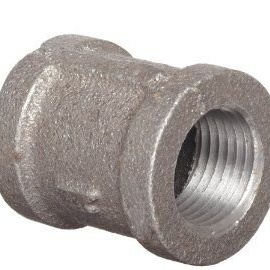
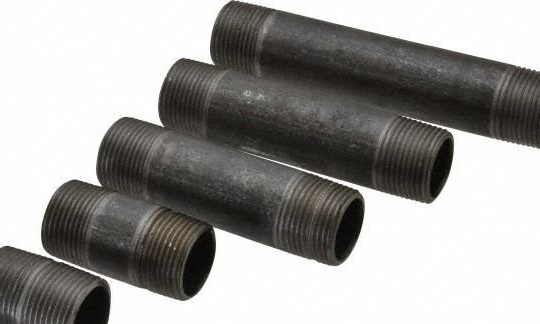
- Half inch pipes and fittings;
* Note: the specific length, number of fittings and pipes used will vary depending on the characteristics of the rack.
Details used by the wizard:
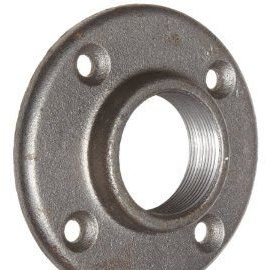
- Flanges: 10 pcs.;
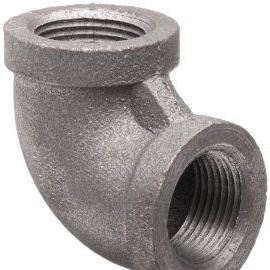
- Corners (90s): 21 pcs.;
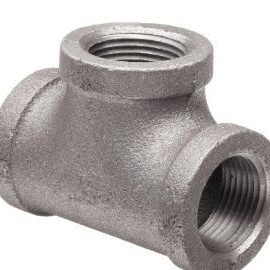
- Tee: 16 pcs.;
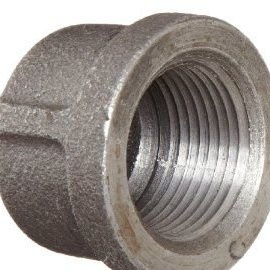
- Plugs with internal thread 7 pcs.;
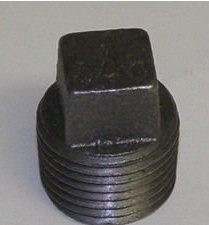
- Plugs with external thread 2 pcs.;
- Couplings: 3 pcs.;
- Pipes were selected and adjusted in place;
- Solid wood or high quality plywood;
- Primer and spray paint for pipes;
- Stain;
- oil or varnish;
- Self-tapping screws;
- Anchors for drywall;
Step 1: Design Concept
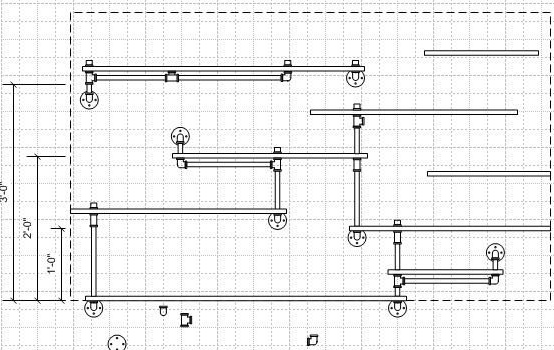
To come up with a design from scratch, the wizard created a basic file in Visio, which helped visualize the proportions and see how the shelves could fit in the given boundaries.
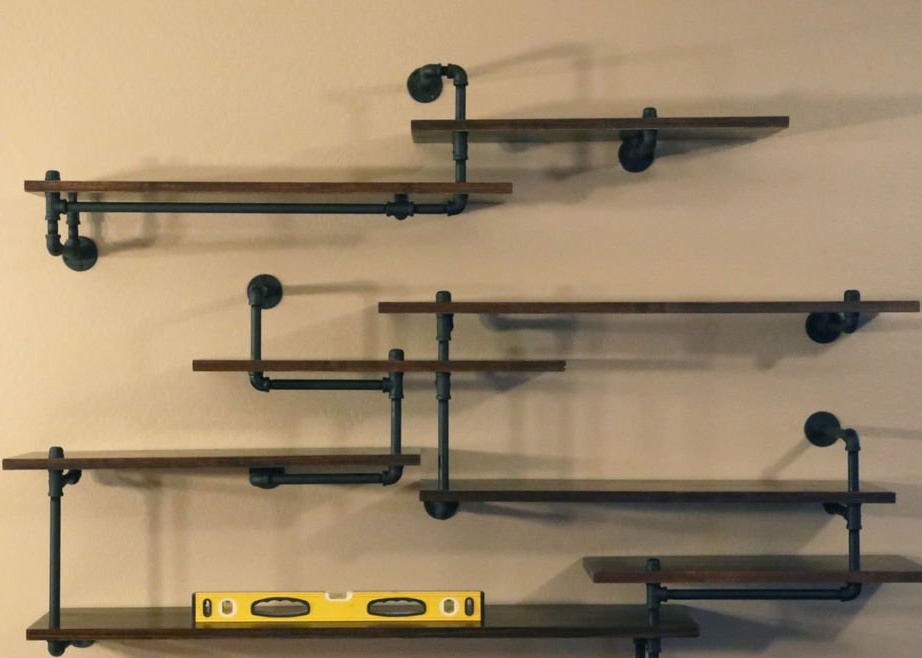
Step 2: Initial Pipe Frame Diagram
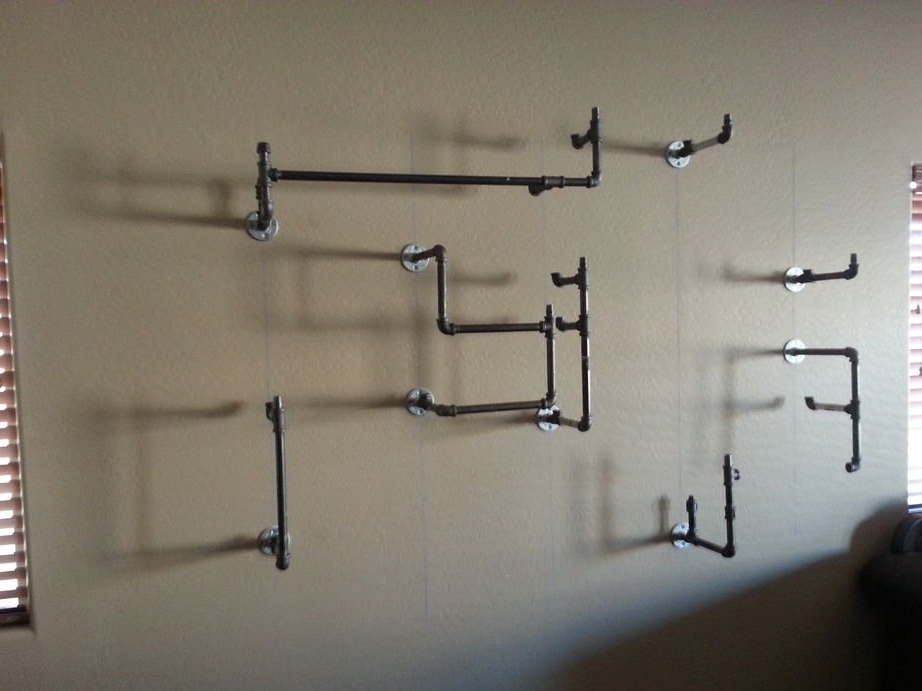

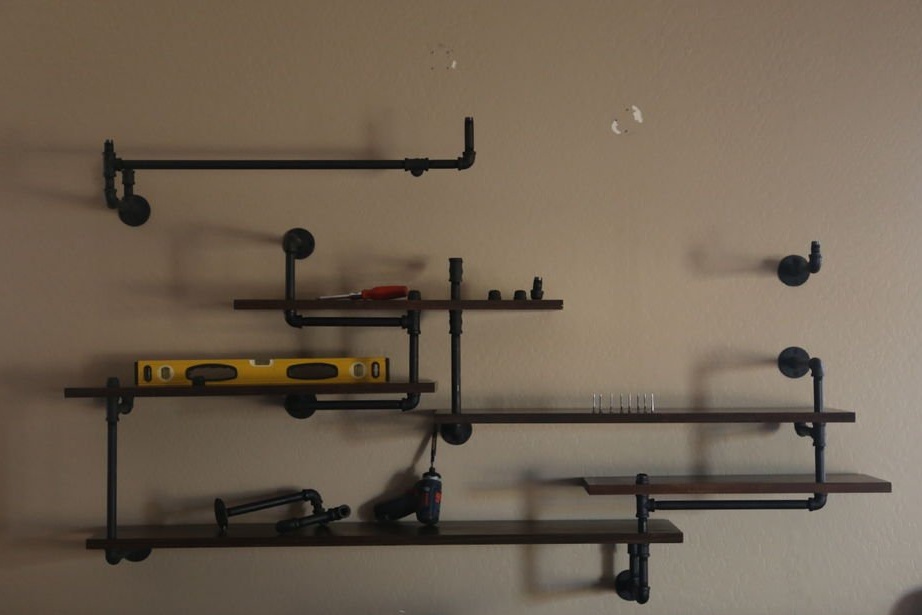
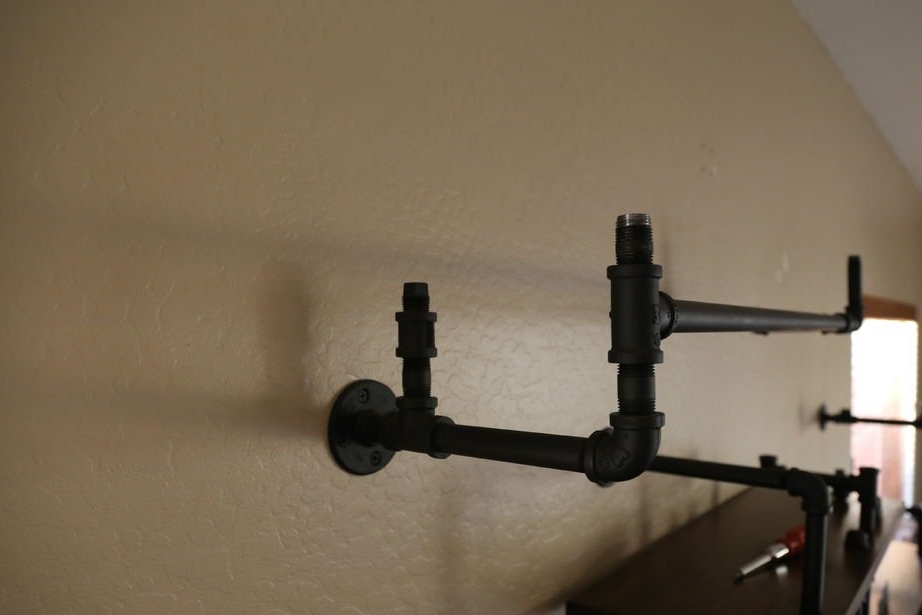
The wizard began arranging the pipes using a hidden wiring and fixture indicator to locate and mark places for wall fasteners. Then he used chalky lace to mark the vertical lines on the wall.
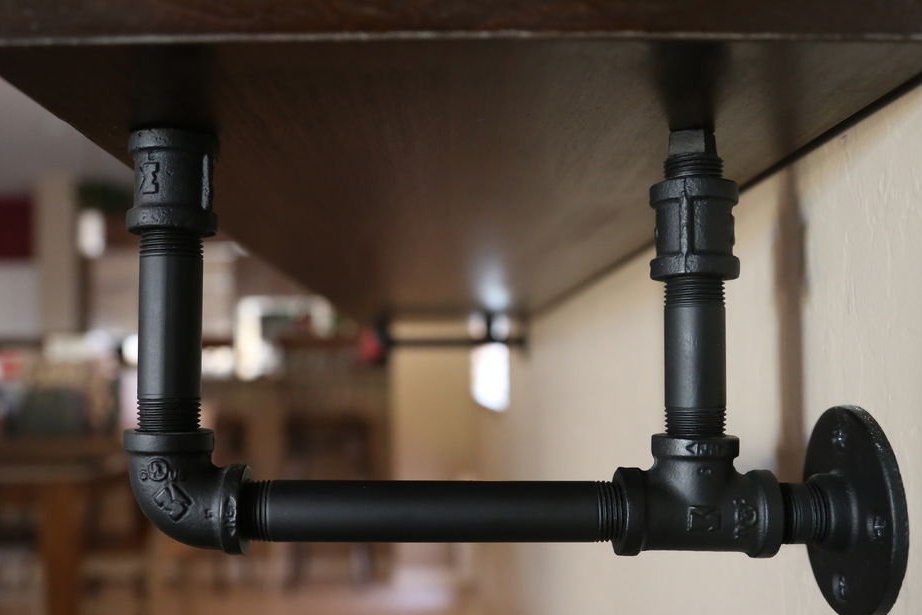
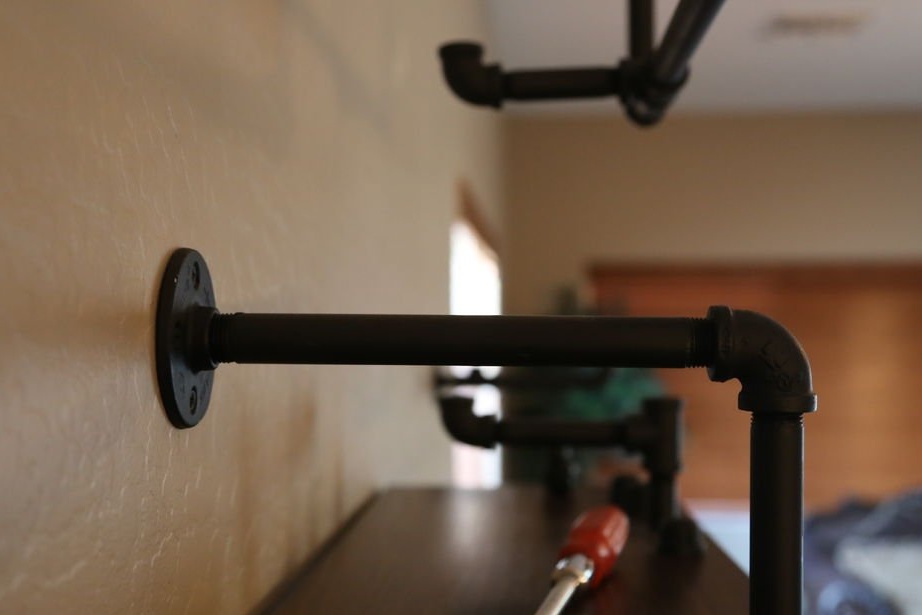
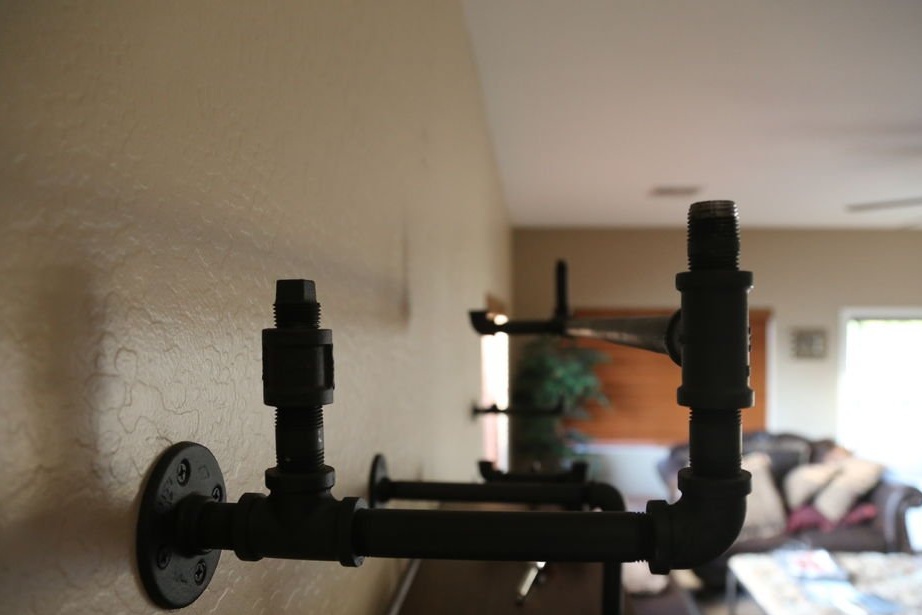
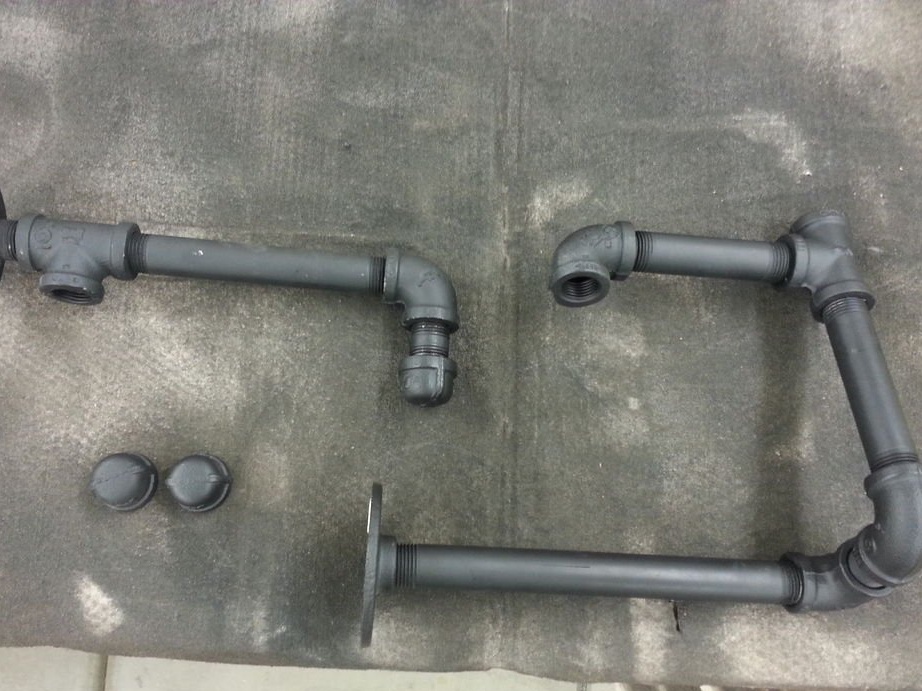
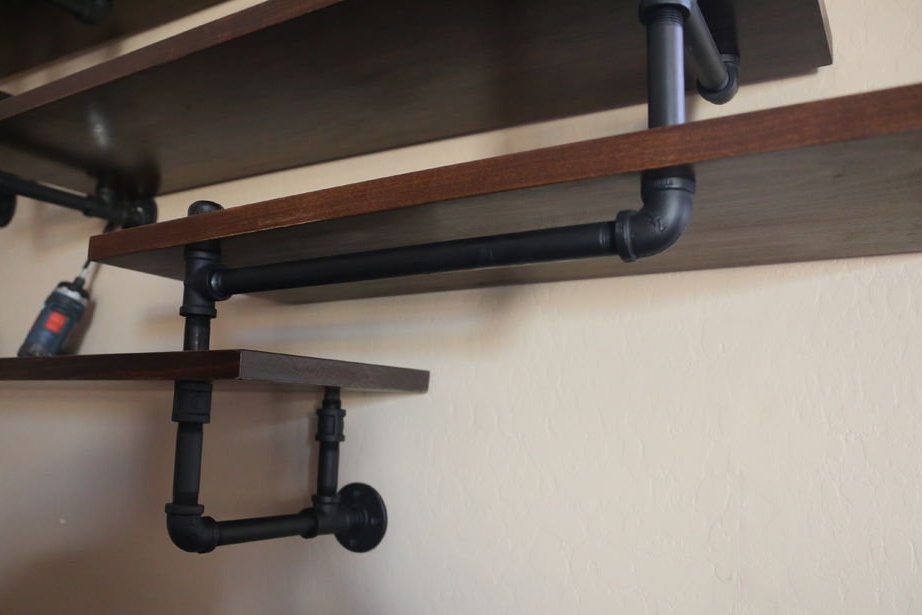
The main unit of the system can be seen in the figure. It consists of a flange, tee, angle and pipes.Vertical pipes and couplings can be added as desired, but they are not necessary, since the tee and corner provide a flat surface for the shelves.
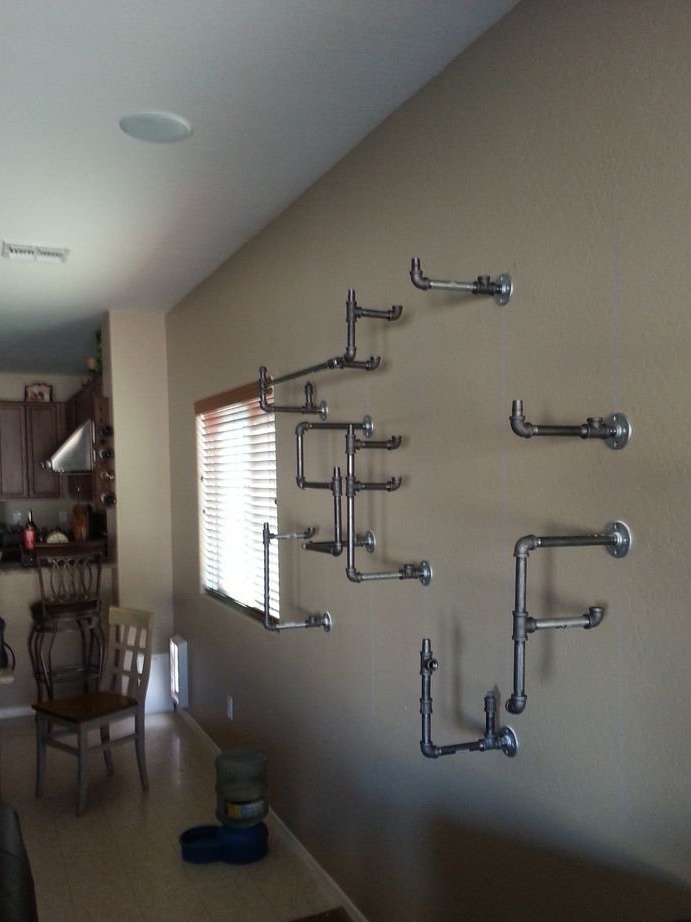
Fasteners should start from the bottom flanges.
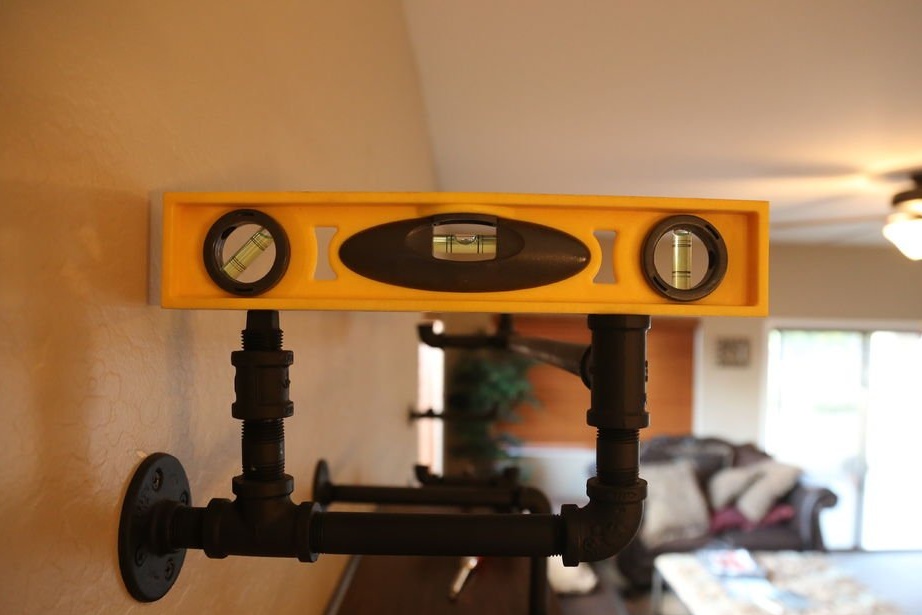
Once the first pillar is attached to the wall, you need to use a level to locate the next pillar. Please note that it is important to be as accurate as possible to avoid inaccuracies, but the huge advantage of piping systems is that everything is threaded and therefore can be adjusted to eliminate small inaccuracies in measurements.
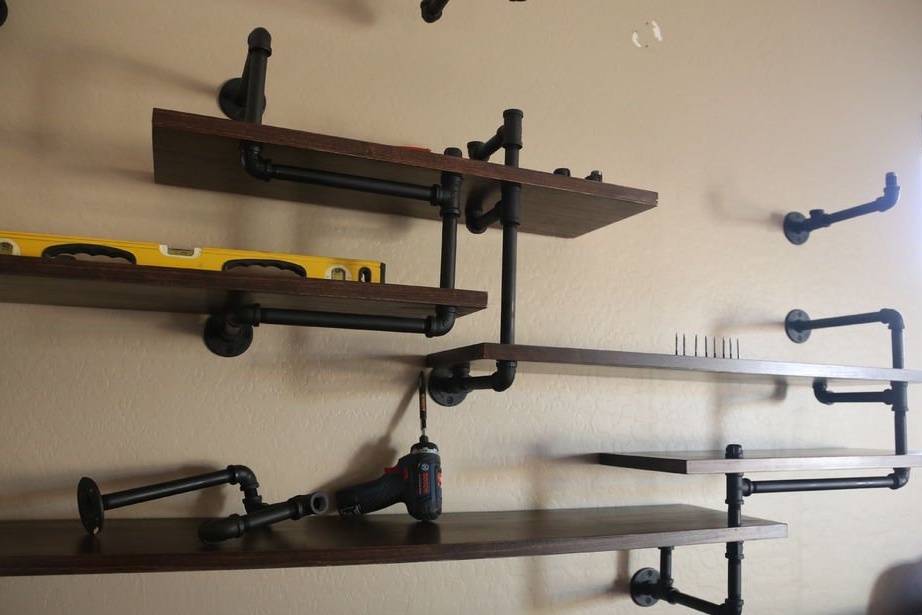
After the complete support system is installed on the wall, the last step before removing it from the wall for painting will be the measurement of wooden shelves. First, imagine where the wooden shelves will sit on the supports and how long the boards should be. Measure the length of the shelf using the pipe frame as a guide. Then measure the distances between the points of the vertical pipe that will pass through the shelves in order to determine in the future where to drill holes in the boards.
After that, the pipe support system can be removed from the wall for painting.
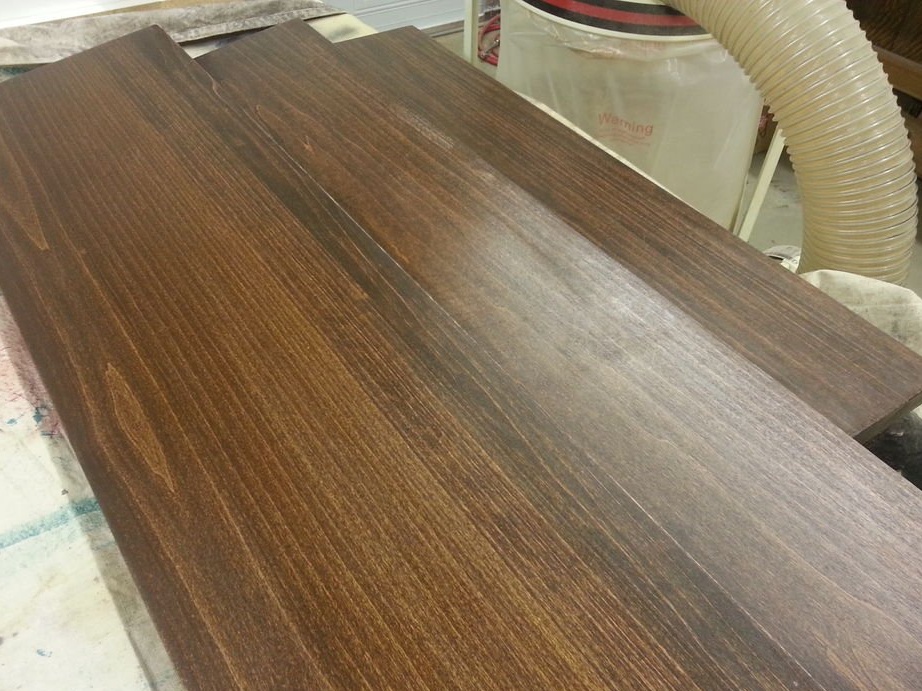
Step 3: Making Shelves
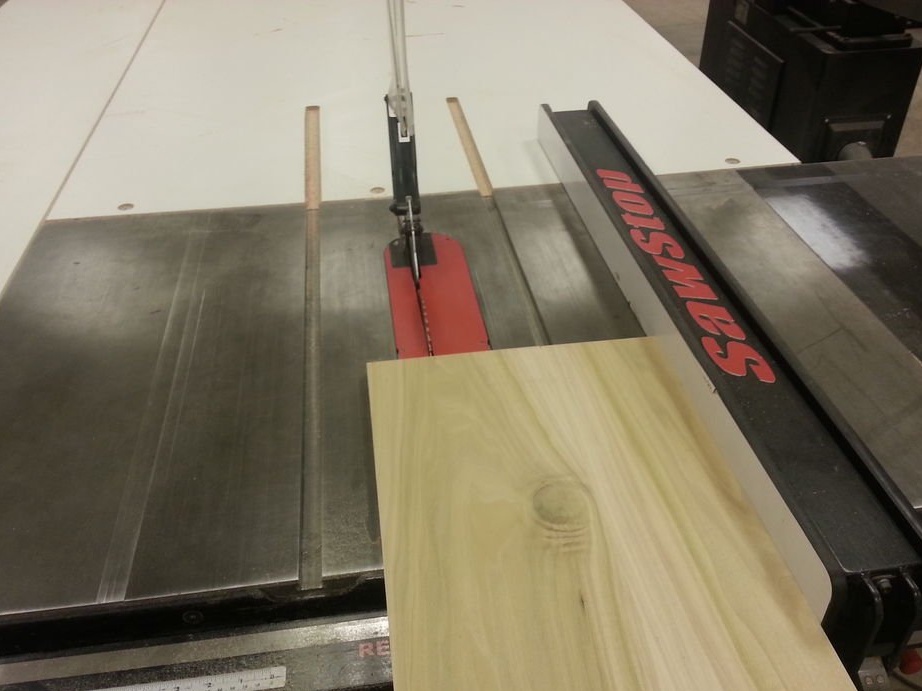
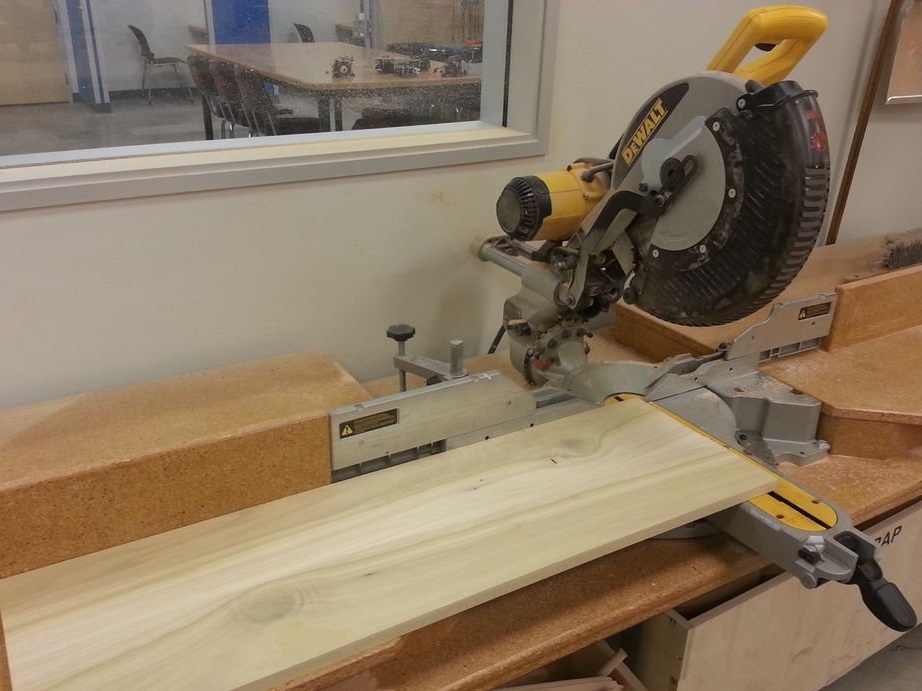
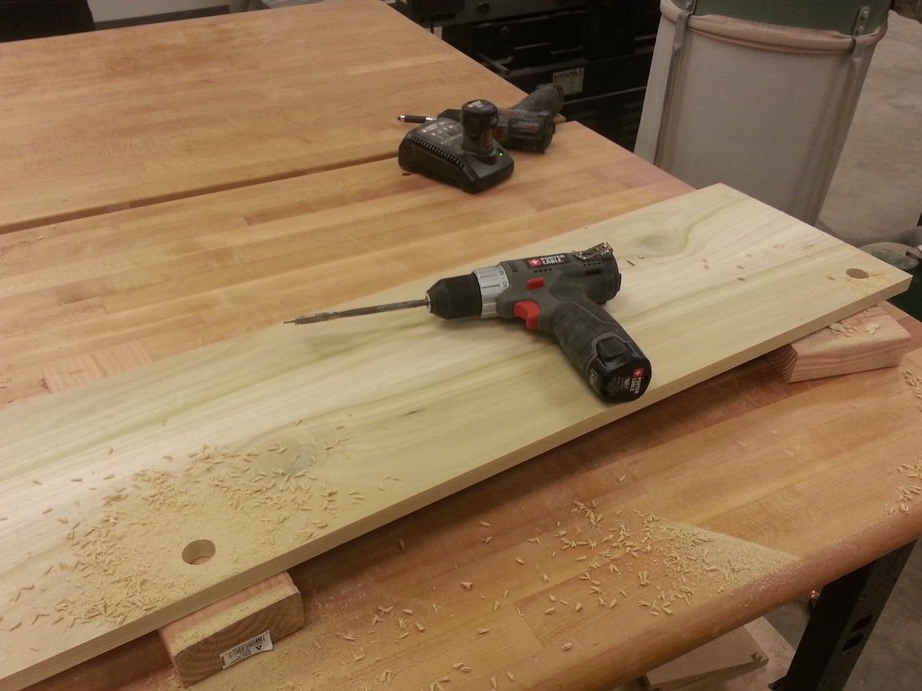
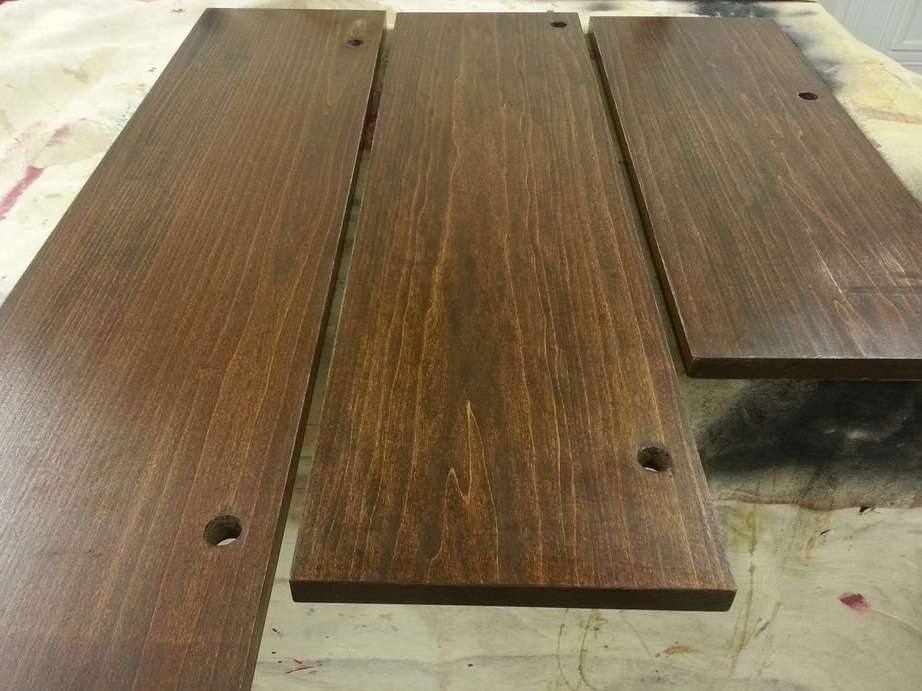
Cut the boards to a width of 25 cm. This width will provide a solid deep shelf that will not completely touch the wall after installation on the pipe supports.
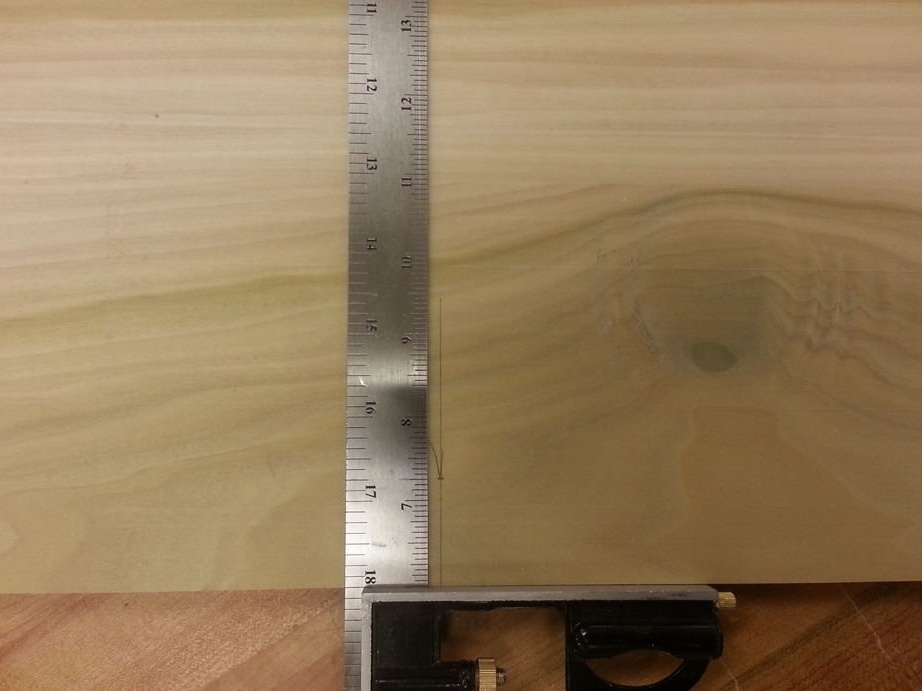
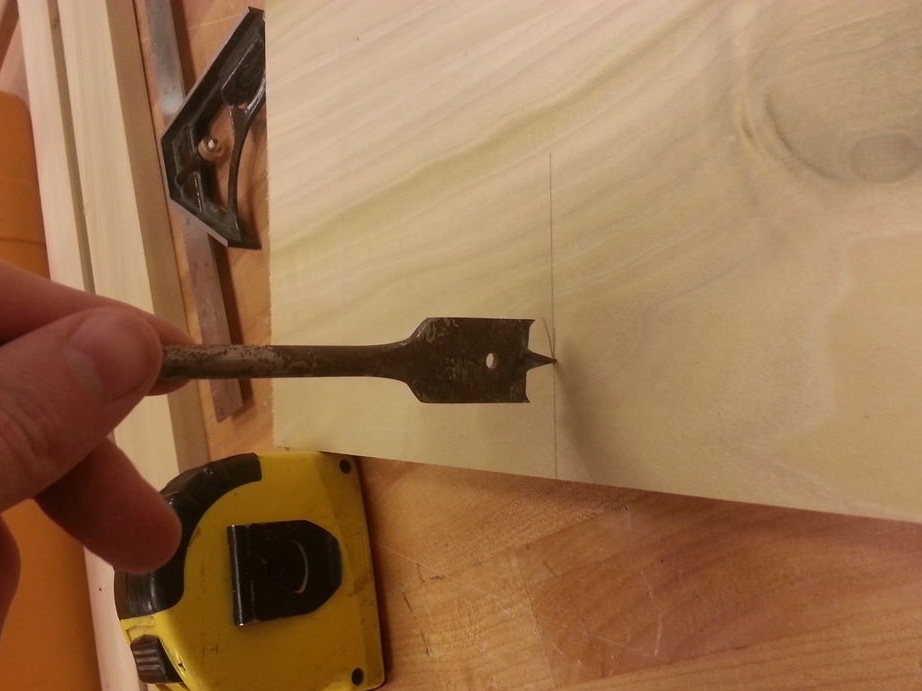
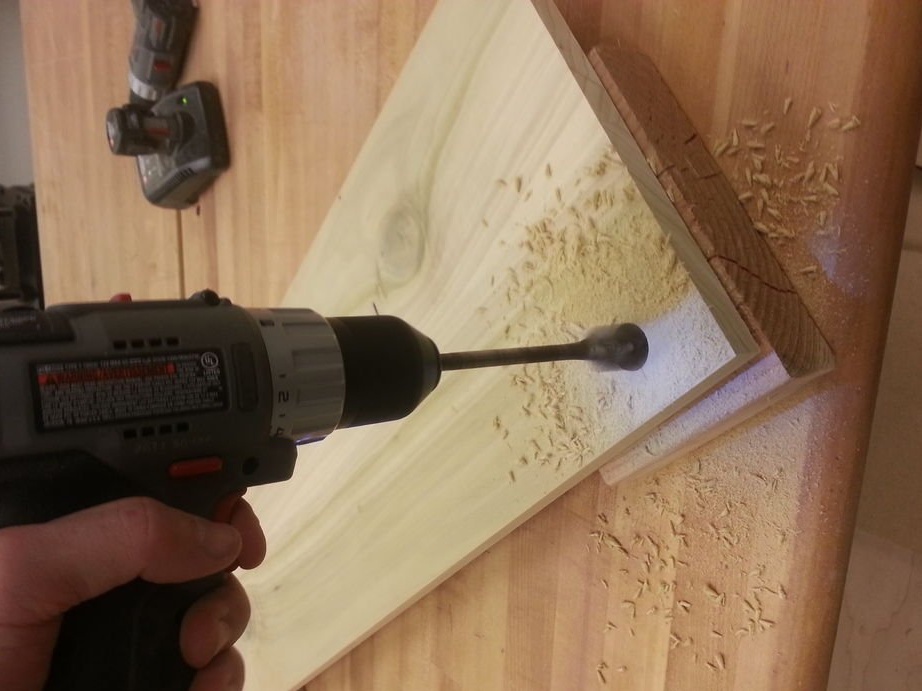
After milling the boards, mark the locations of the centers of the holes as measured. Locate the centers of the holes and drill them using a pen or mill with a diameter of 22 mm.
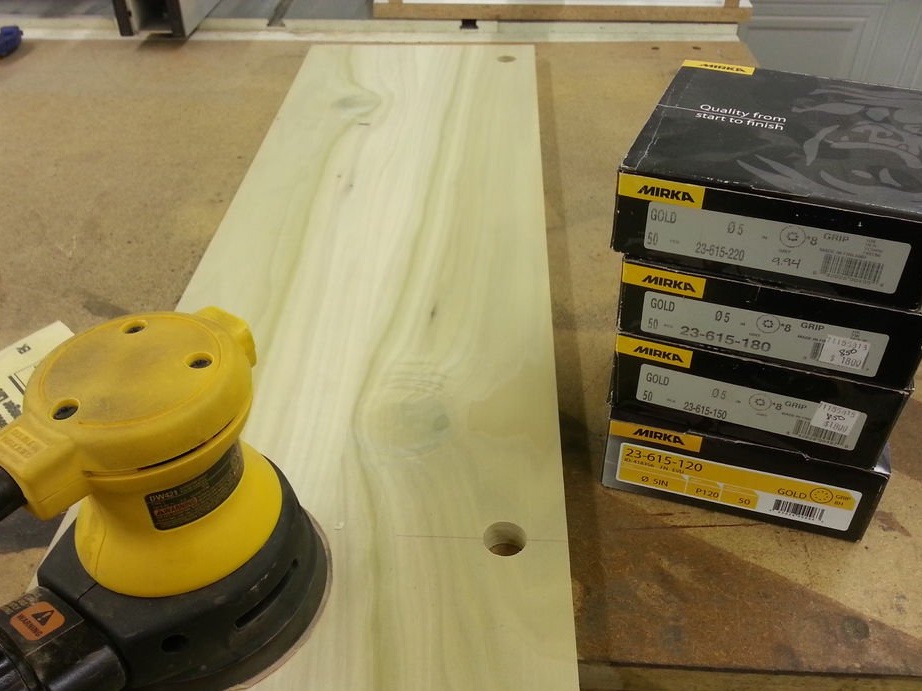
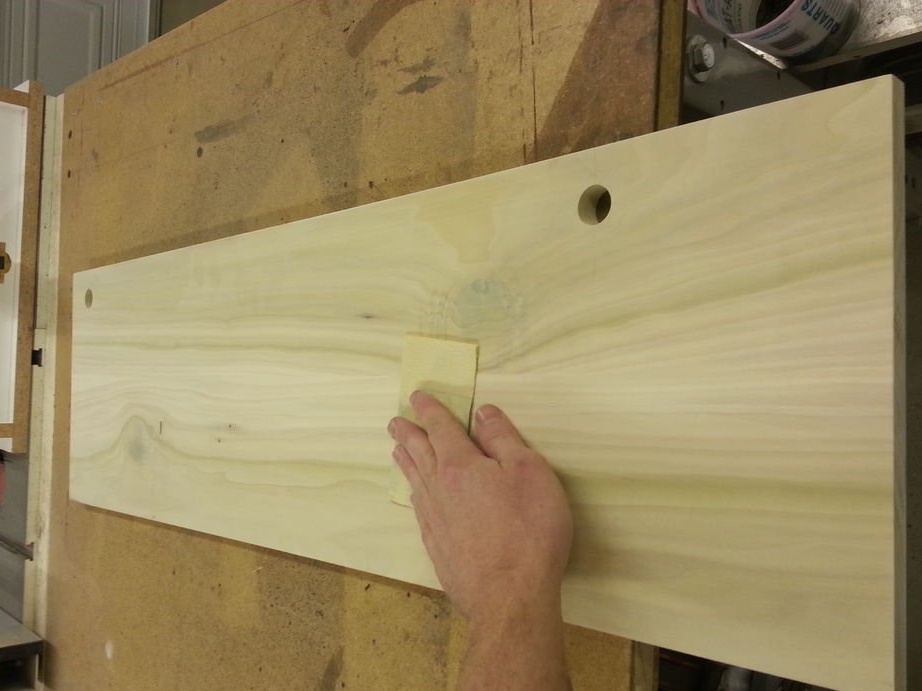
At the end of the milling of the boards, prepare them for finishing by grinding them. 120, 150, 180, 220 - typical grain size, but coarse grain may be unnecessary depending on how smooth your boards were. Make the final pass with a grain size of 220 units manually in the same direction as the direction of the fibers to remove unwanted damage left by the orbital sander.
Step 4: Pipe Painting
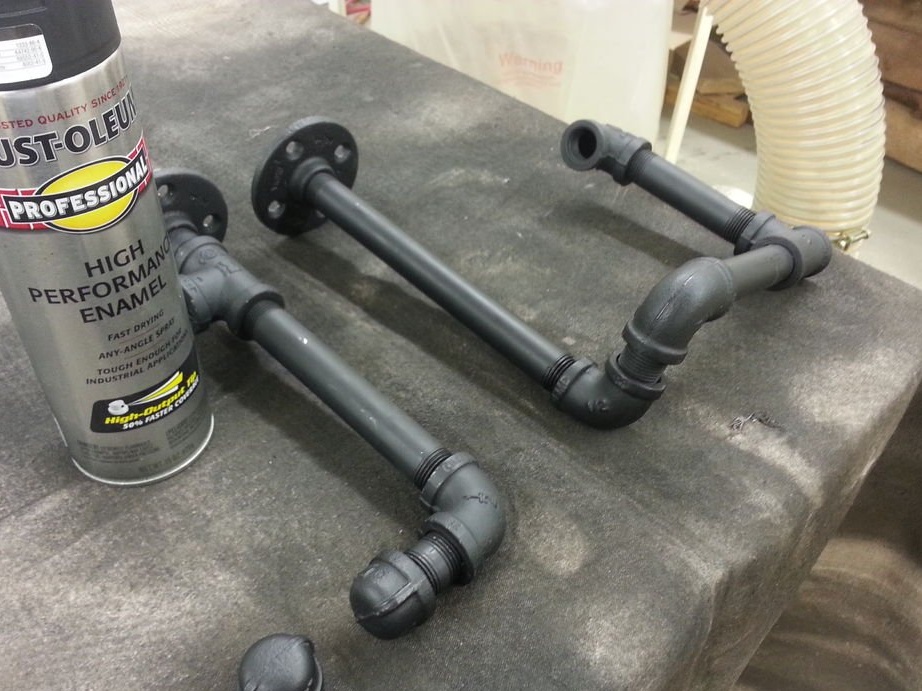
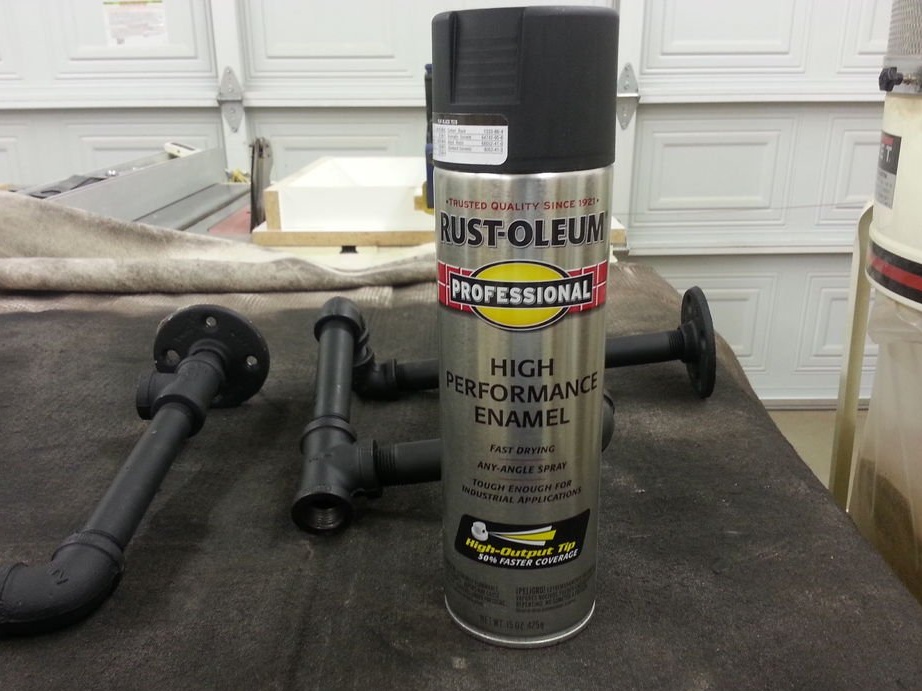
The master painted the pipes using a primer and black enamel. Pipe sections must be fully assembled to prevent paint from getting on the thread to avoid assembly problems.
Step 5: Finish the shelves
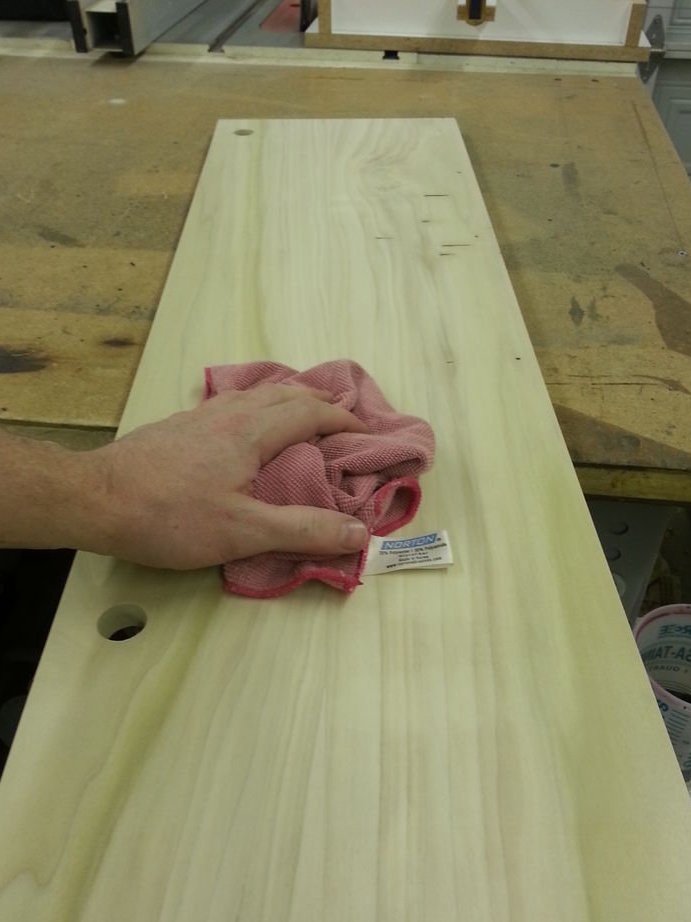
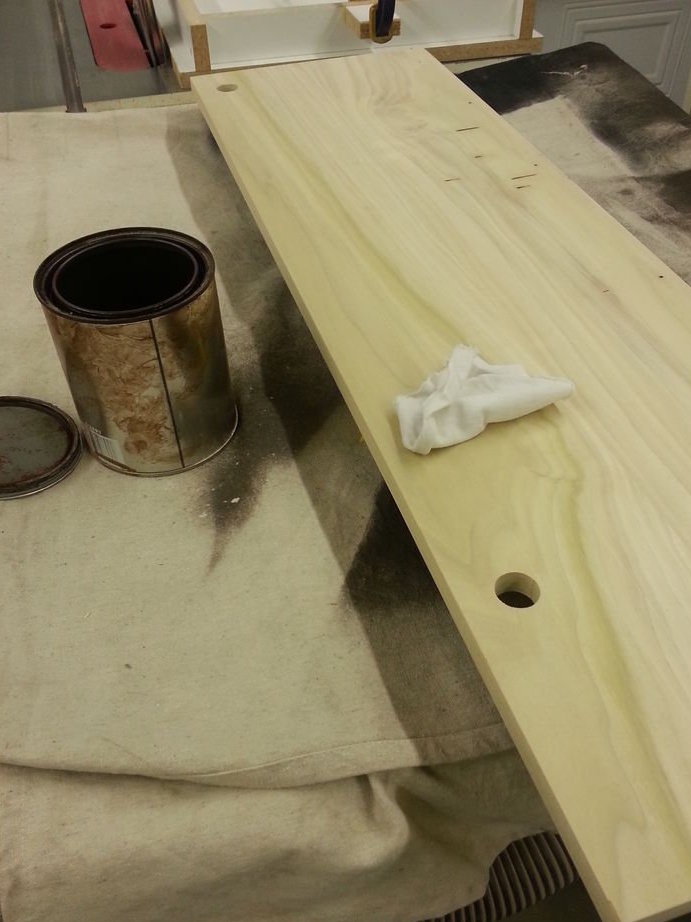
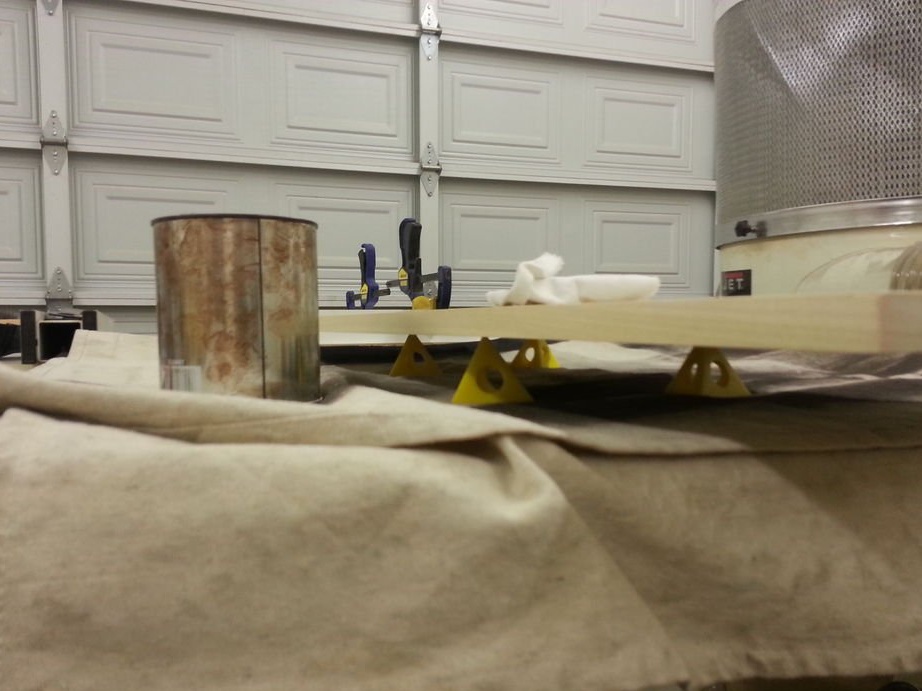
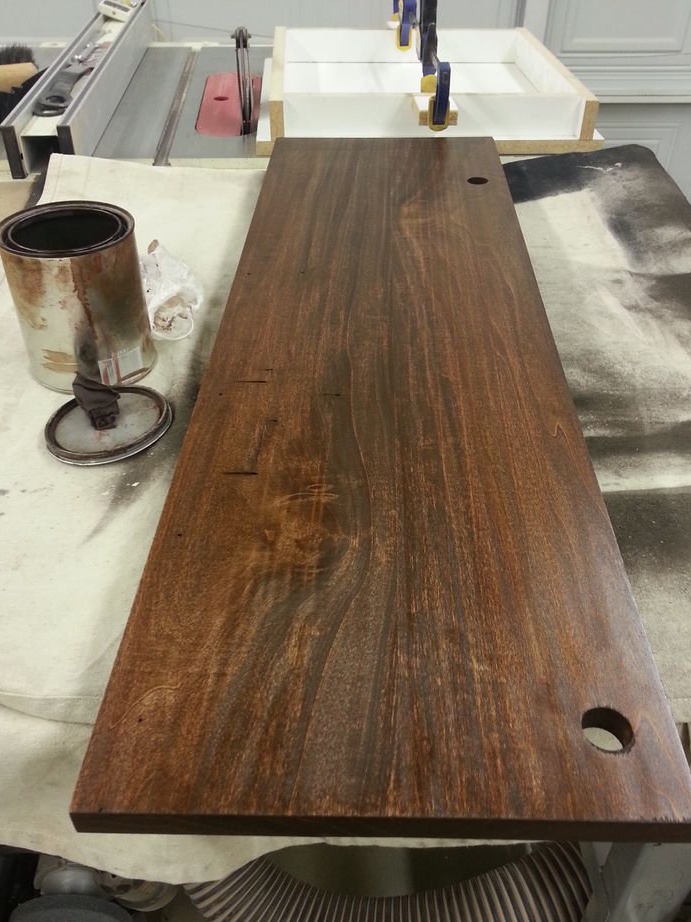


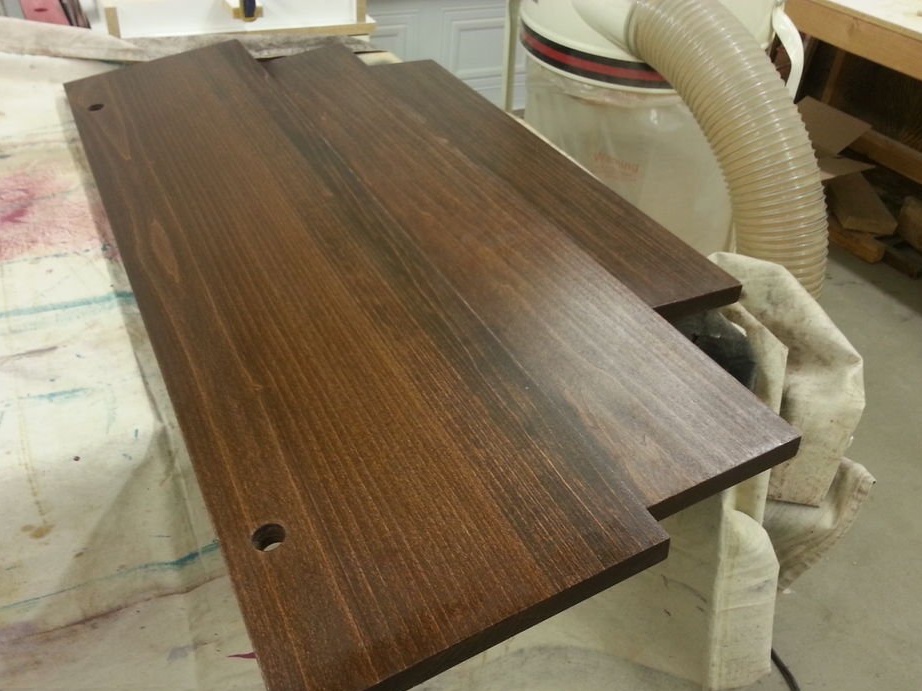
As a final step before coating the boards, the craftsman used microfiber cloth to remove wood dust and debris. He applied the stain using a white cotton cloth (an old cut t-shirt), and used pyramidal cones to cover both sides of the board at a time. It took 3-4 passes with intermediate drying before the master got the desired color depth.
After the stain has dried within 24 hours, the master applied varnish using a brush with natural bristles. To apply the varnish coating, several sessions were required.
Step 6: Final Installation


The second time, it’s much easier to screw the pipes back in, since you already know where they are all installed, and all the holes for the flange screws are already in the wall. The first potential difficulty in this step is that the holes for the board may not coincide with the location of the pipes.
The second trick in the final installation is that depending on your design, some of the wood slabs will need to be attached to the pipes before being installed on the wall. This is because the wall or other section of the shelf may interfere with the attachment of certain sections of the pipe after the adjacent flange is already mounted on the wall.
The final trick is to think of pipes that could interfere with the location of the screws on the flange. You may need to screw the flange to the wall and then rotate the pipe to its final position after the flange is attached. In this case, it is better to tighten the pipe after screwing on the flange than to loosen it.
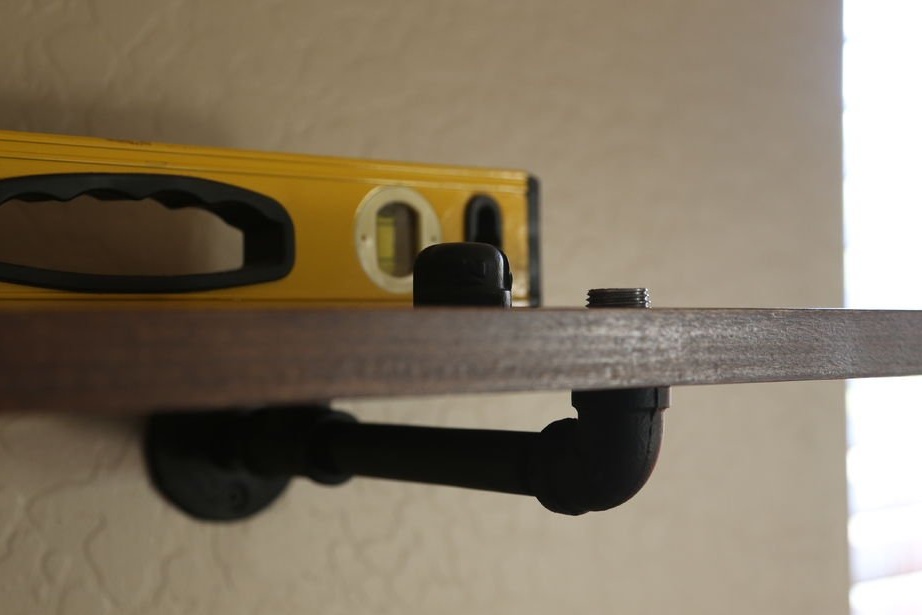
Screw the flanges to the wall and install the shelves as your design requires. Be sure to tighten all pipe sections that will not need to be adjusted in the future. If necessary, adjust any leveling mechanisms (square covers and couplings), constantly focusing on the level. Remember that adjusting one shelf may affect the level of another shelf elsewhere in the system.
The last step is to screw the round caps onto the top of the shelves.
The rack of water pipes is ready!