
When decorating, you often want to combine some things and add modern functionality.
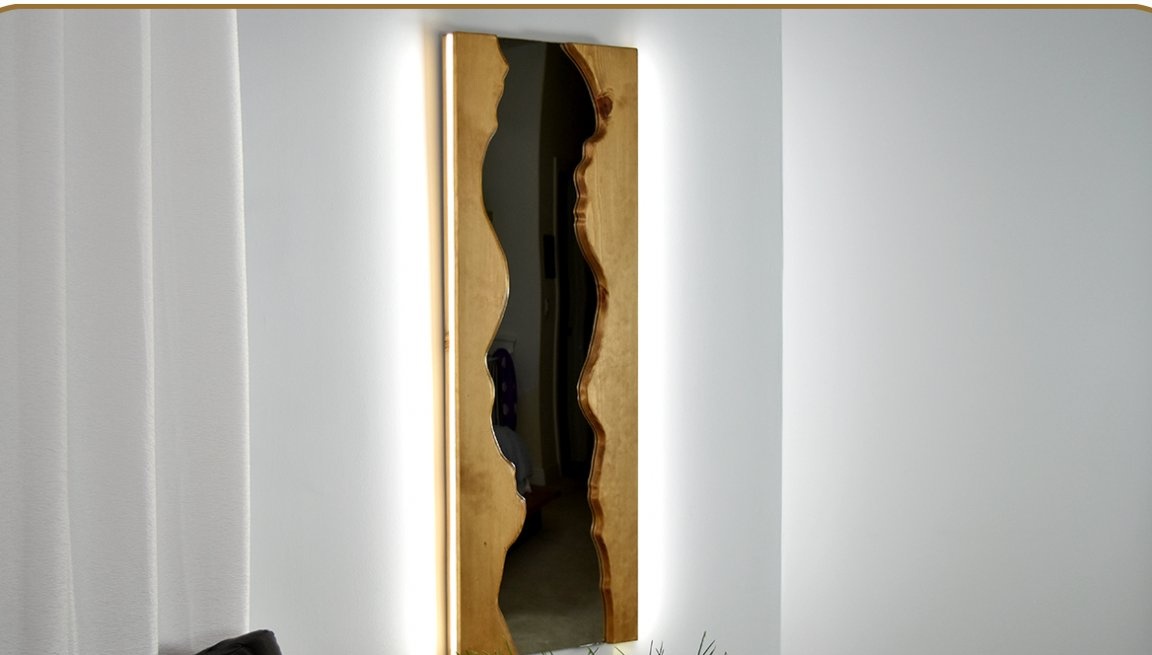
In this article, the author of the YouTube channel “DIY Creators” will tell you how he made a mirror with curly wooden
frame, and backlight controlled from a smartphone.
Materials
—
- Power supply 12 V, 2 A
—
- LED strip in white
- Mirror
- Board
- Stain, silicone sealant
- Furniture hangers, wood screws
- PVA glue, sandpaper, double-sided tape, solder.
Instruments, used by the author.
—
—
—
—
—
—
— .
Manufacturing process.
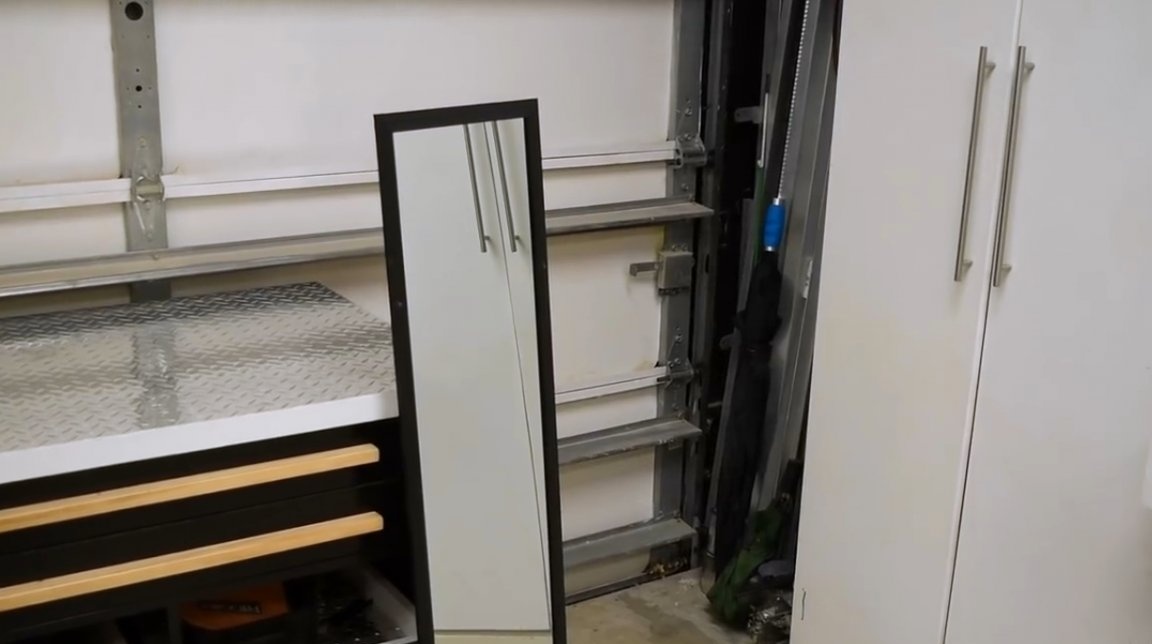
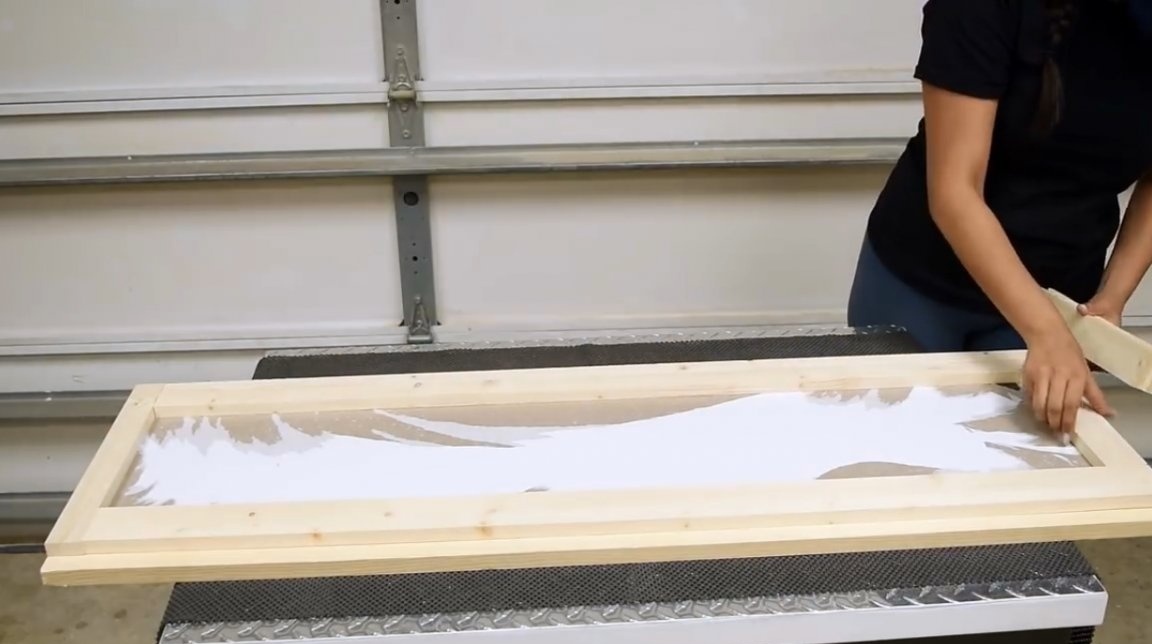
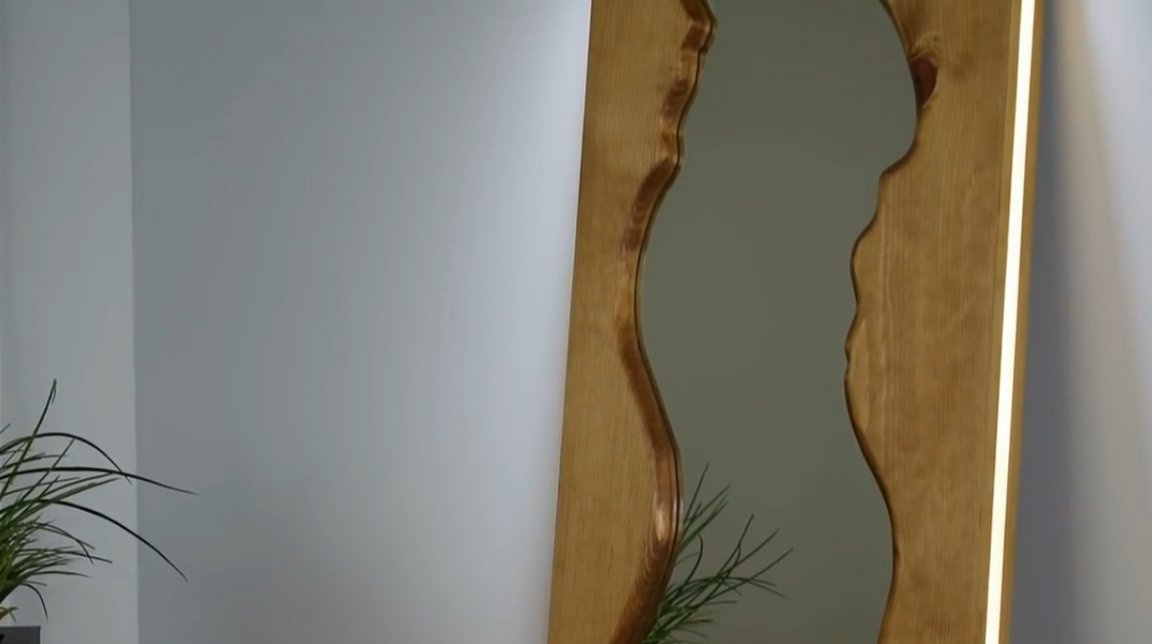
The author intends to make a wall mirror framed in a frame of wood. The master already had a factory mirror of the standard form, perfect faceless. The author removes the frame from it.
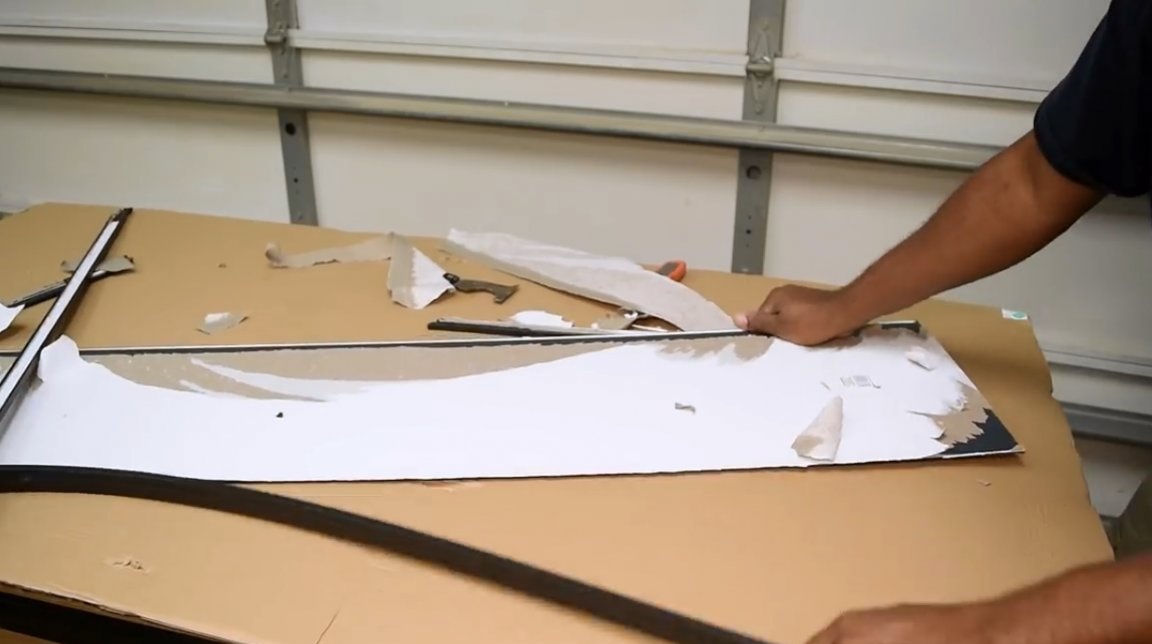
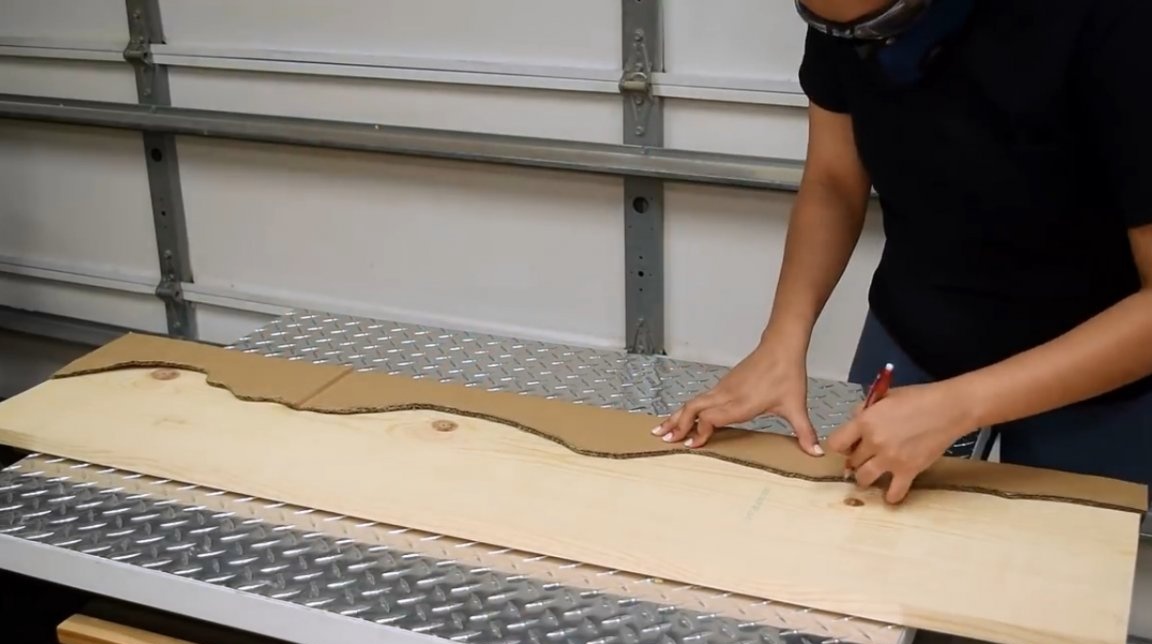
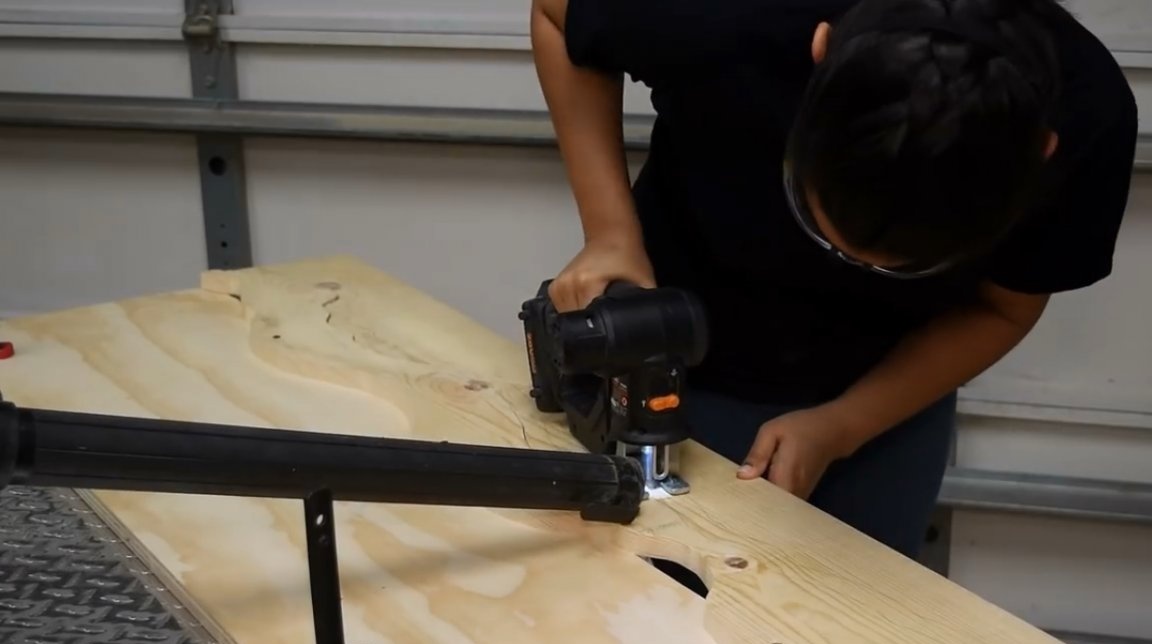
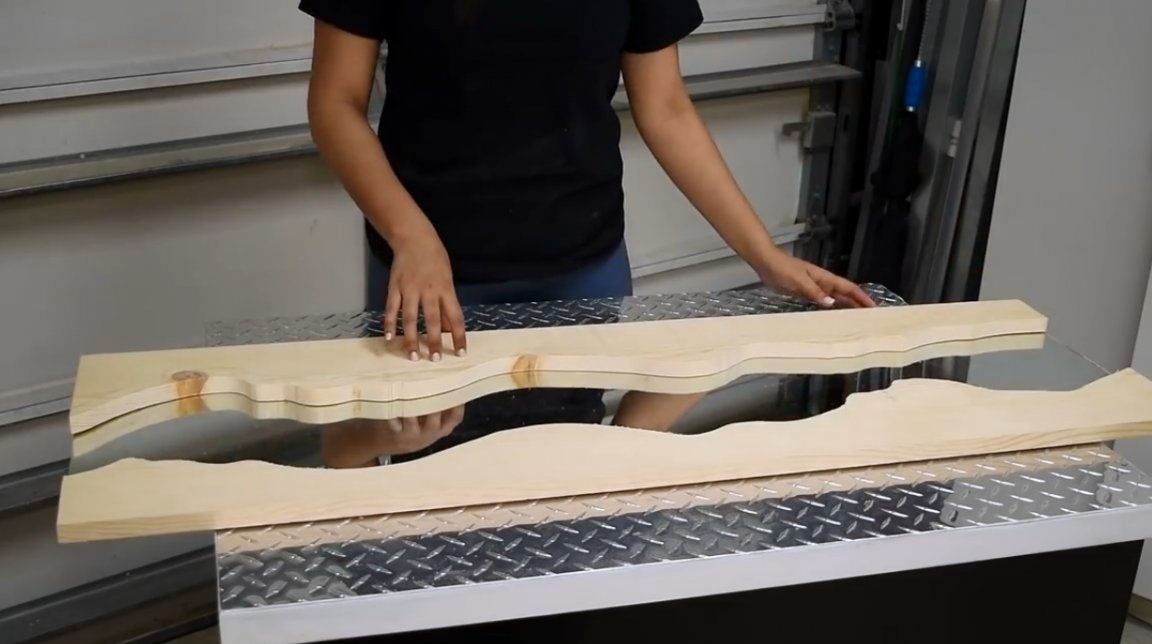
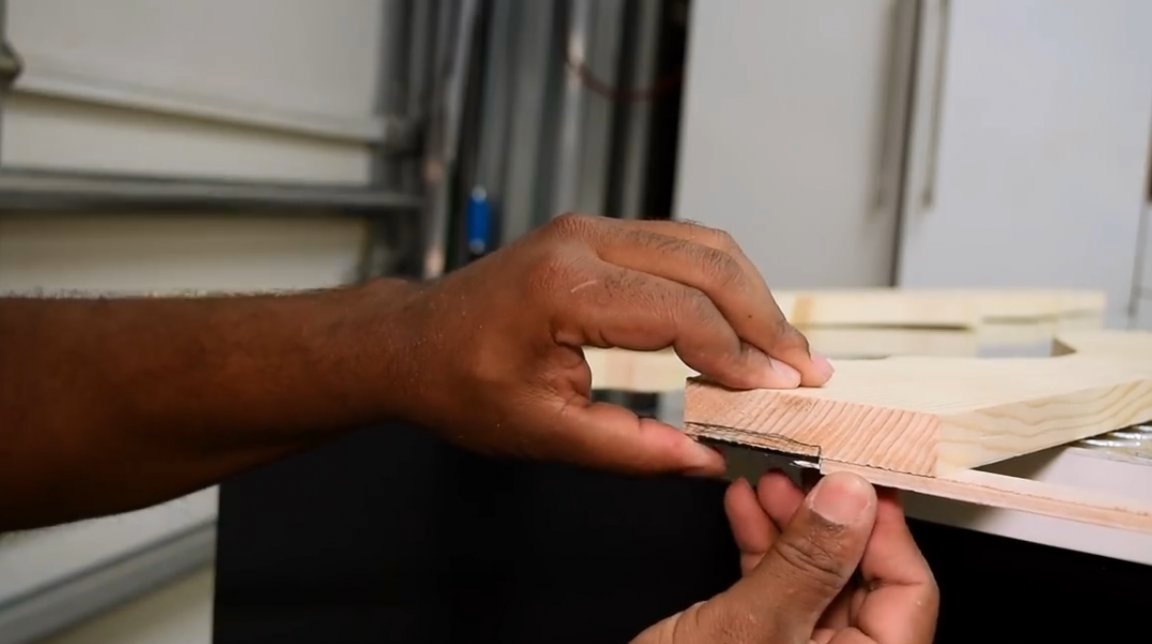
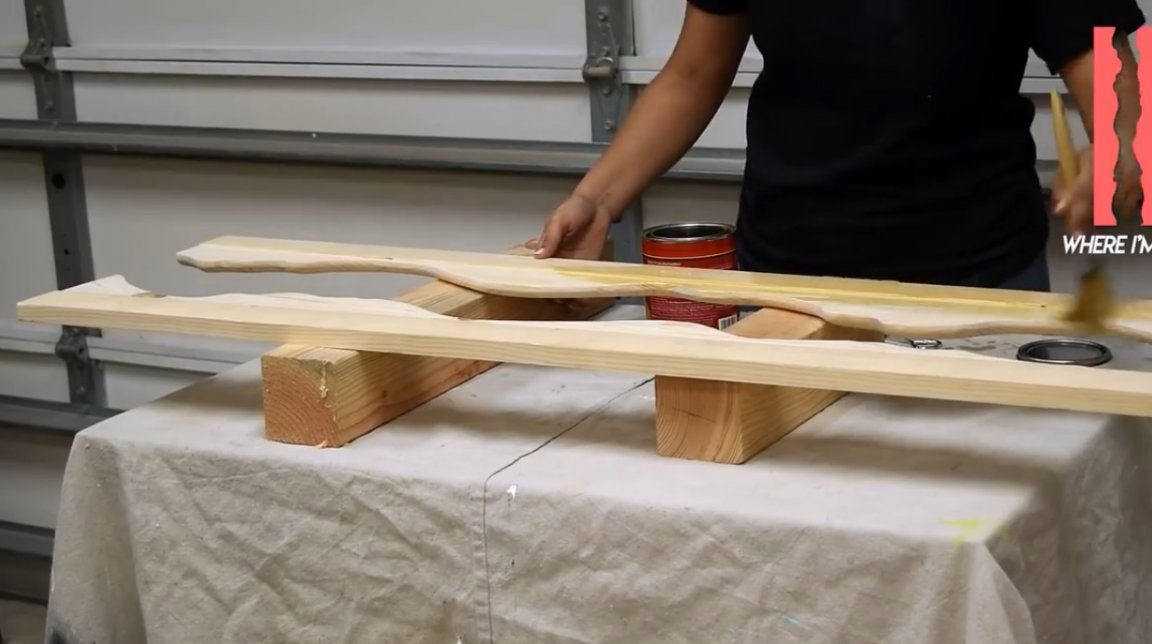
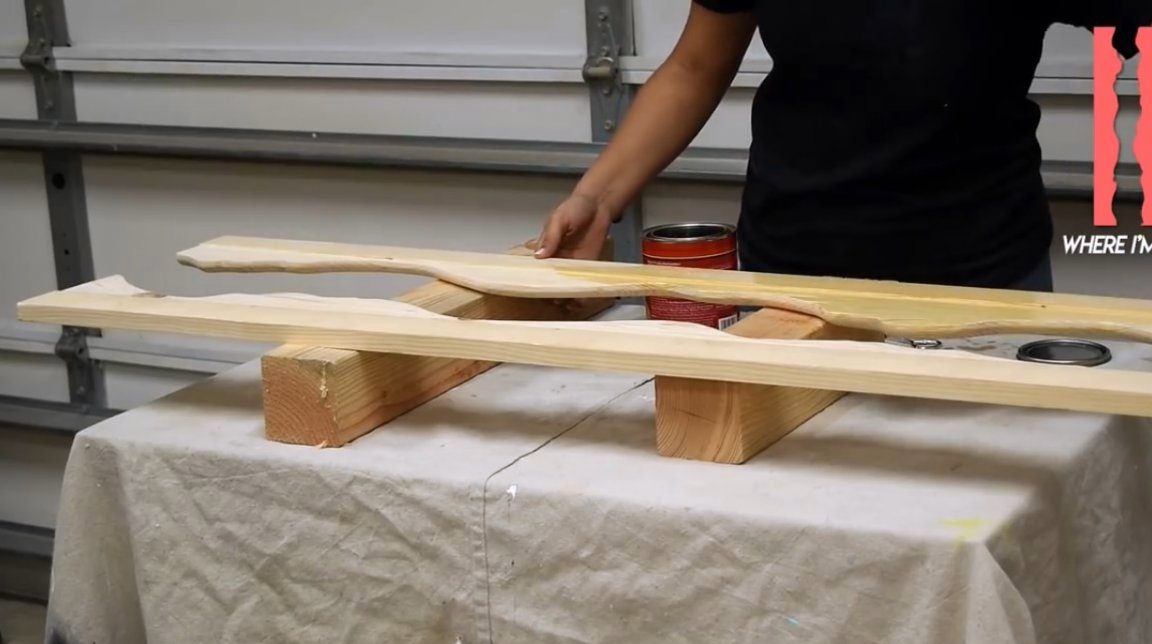
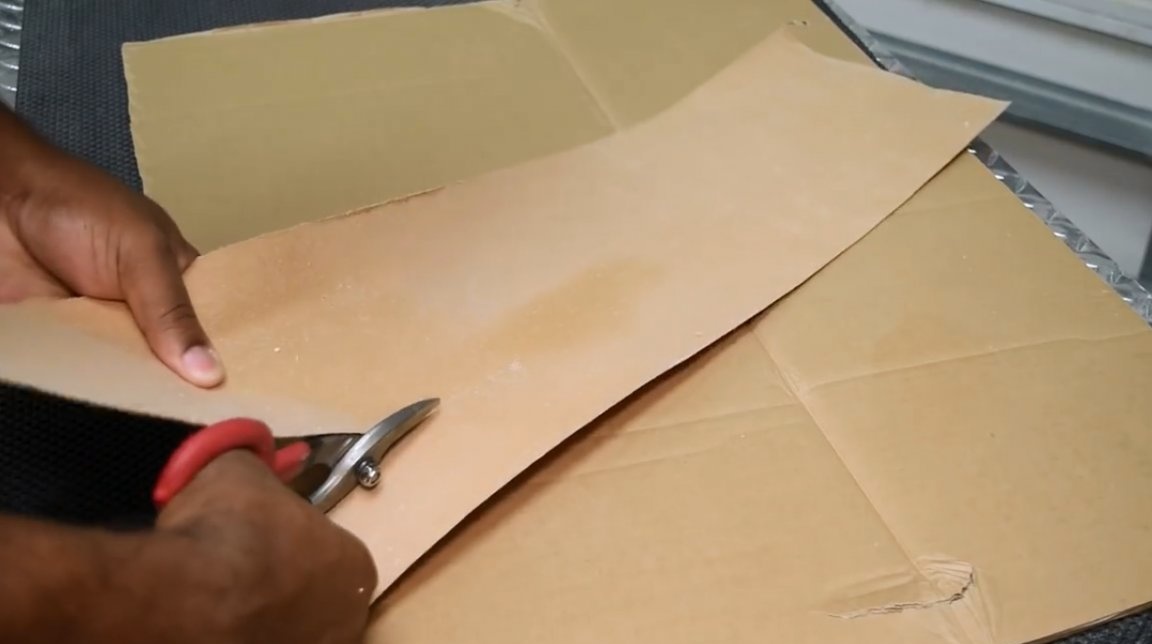
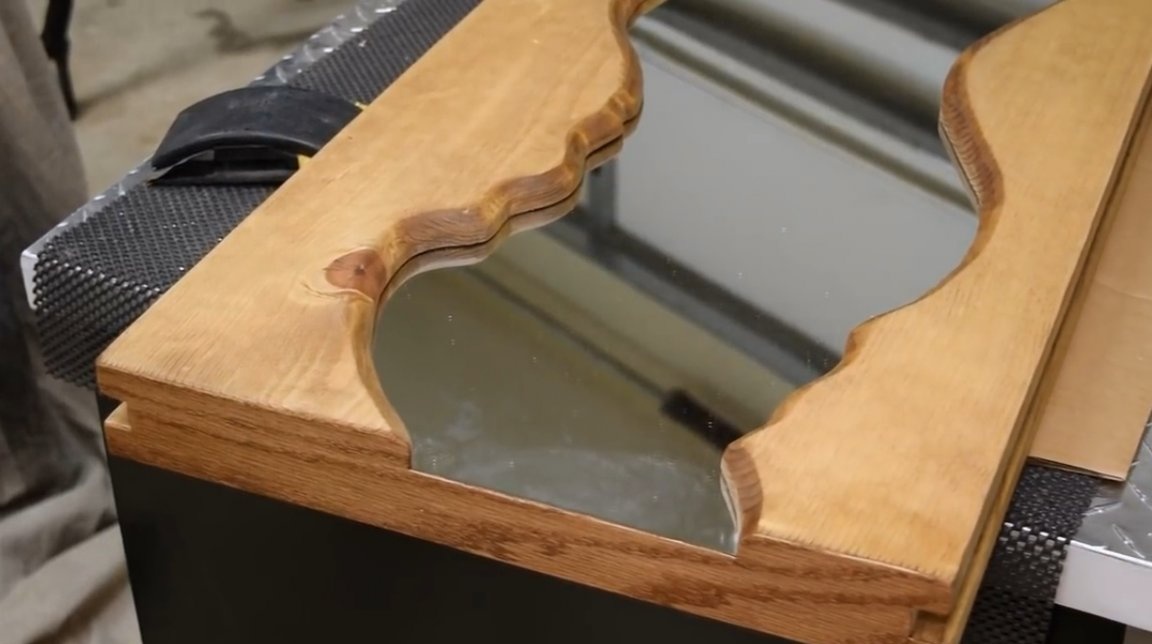
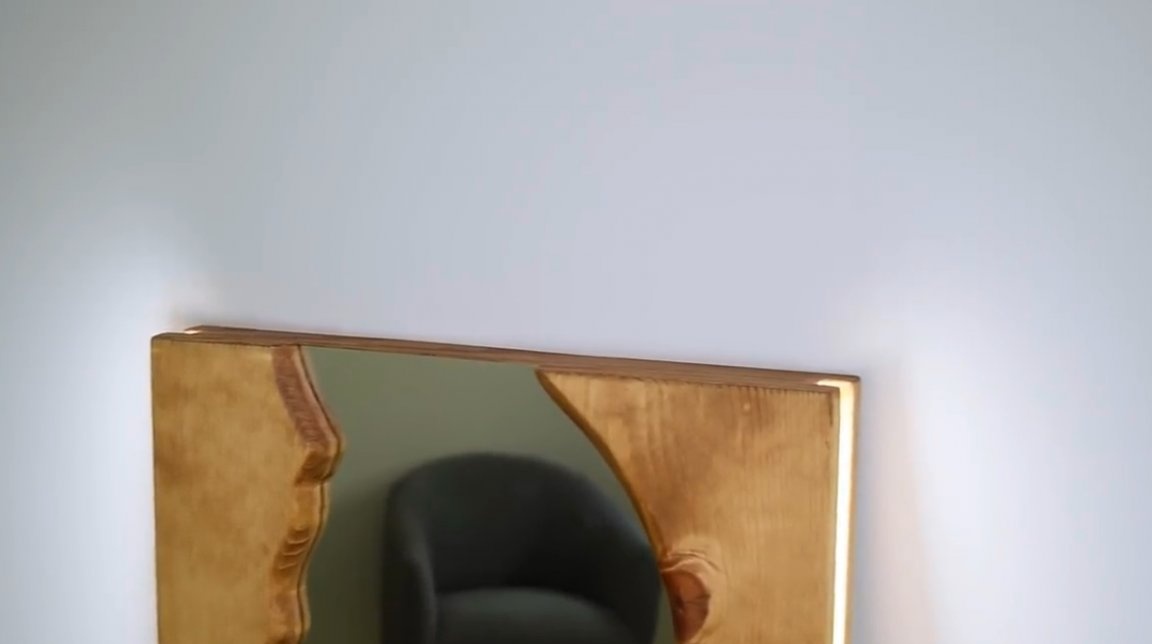
For the front and rear of the frame for the mirror, 25X300 boards will be used. First, the author cuts out of cardboard model “Living” edges of the frame, the contours are drawn arbitrarily.
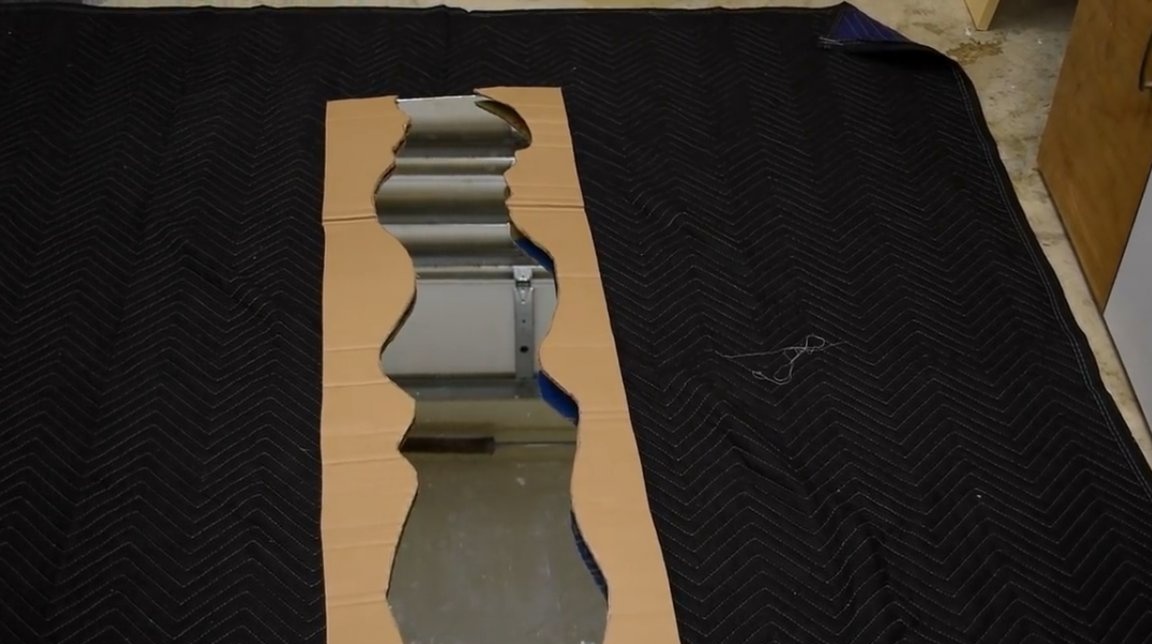
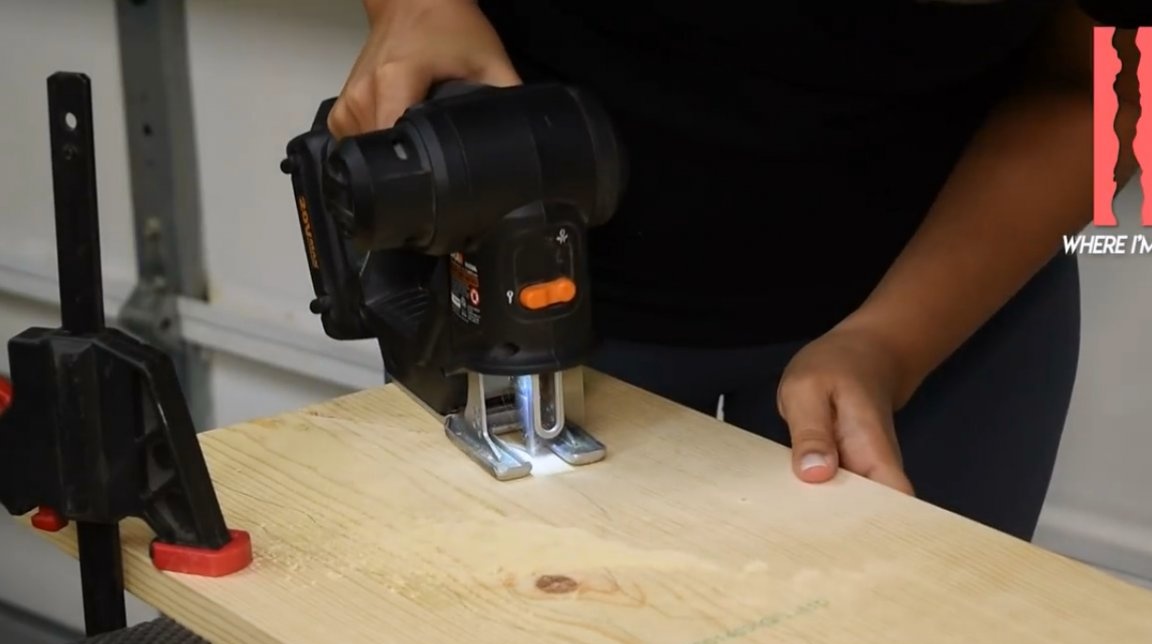
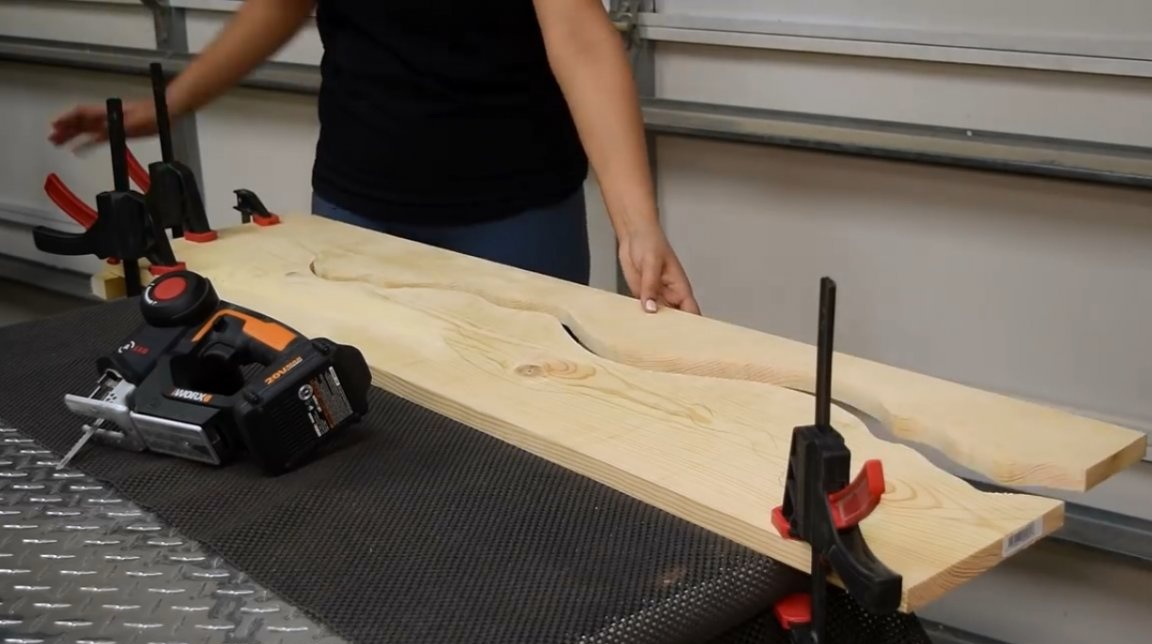
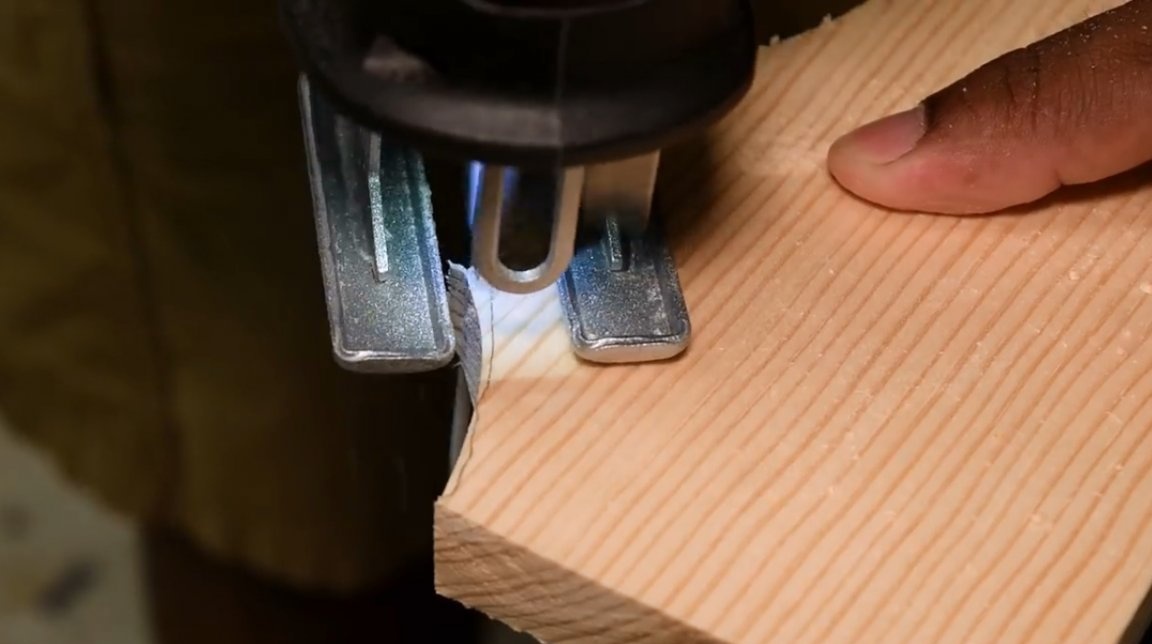
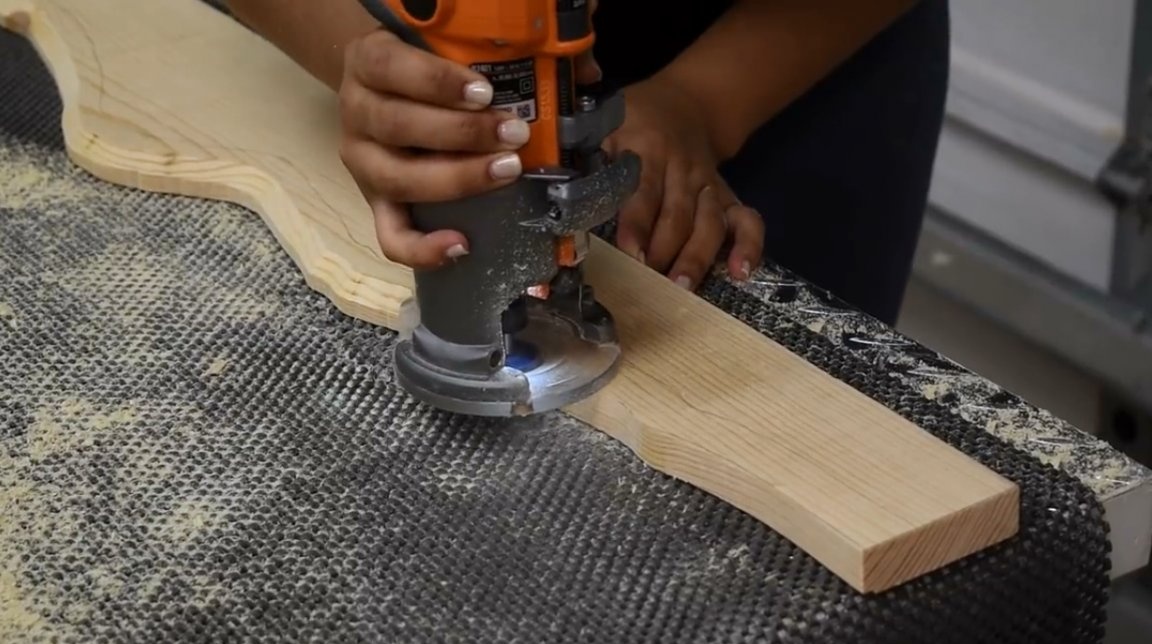
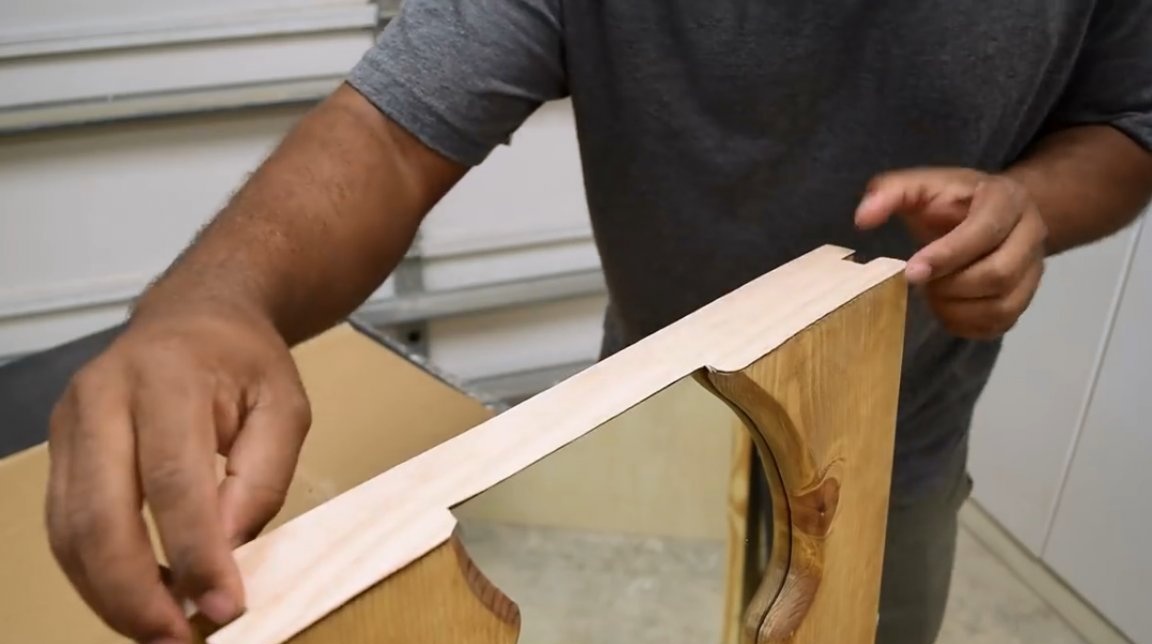
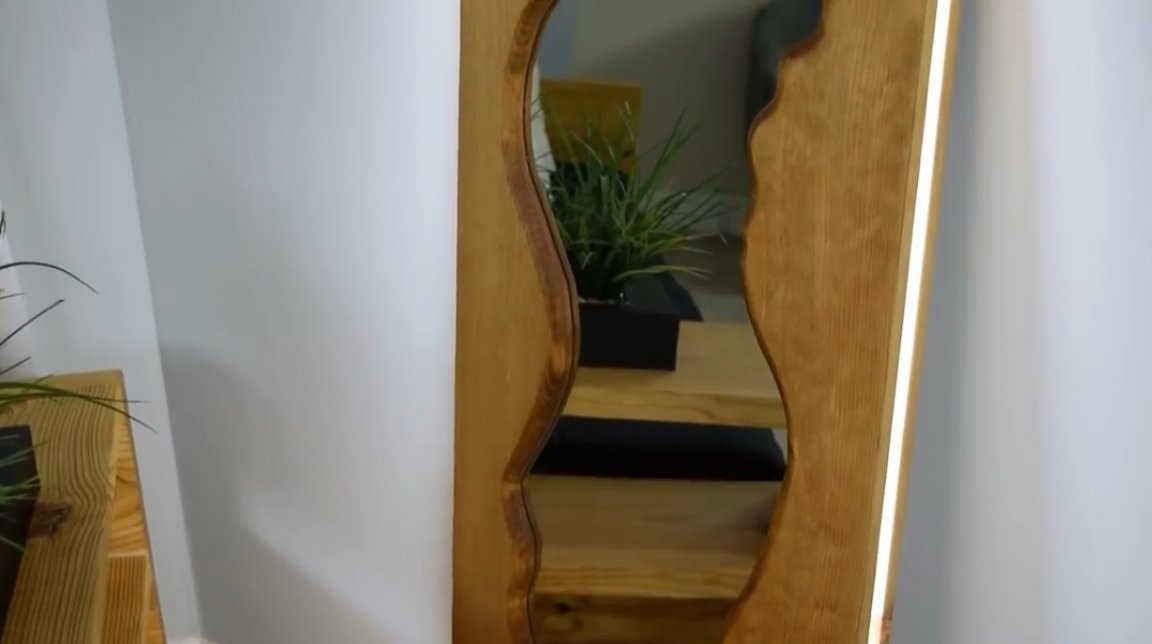
Then these contours are transferred to a wooden surface and cut with an electric jigsaw. It is desirable to pass each edge in two approaches, then it will have smooth bends. Edges are processed with sandpaper or a grinding machine.

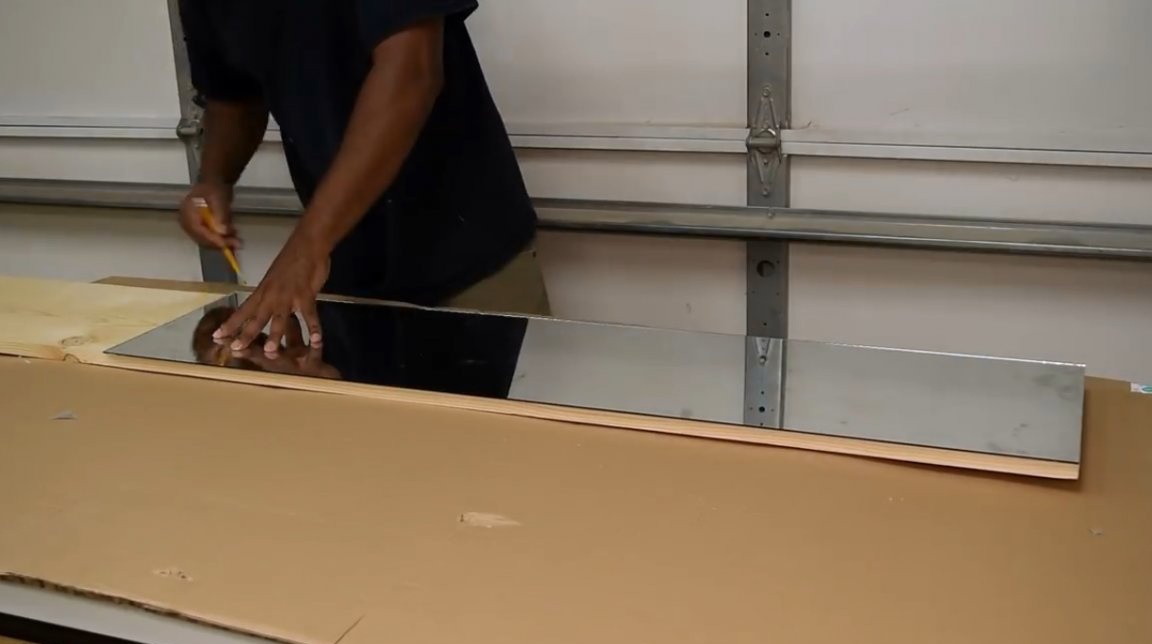
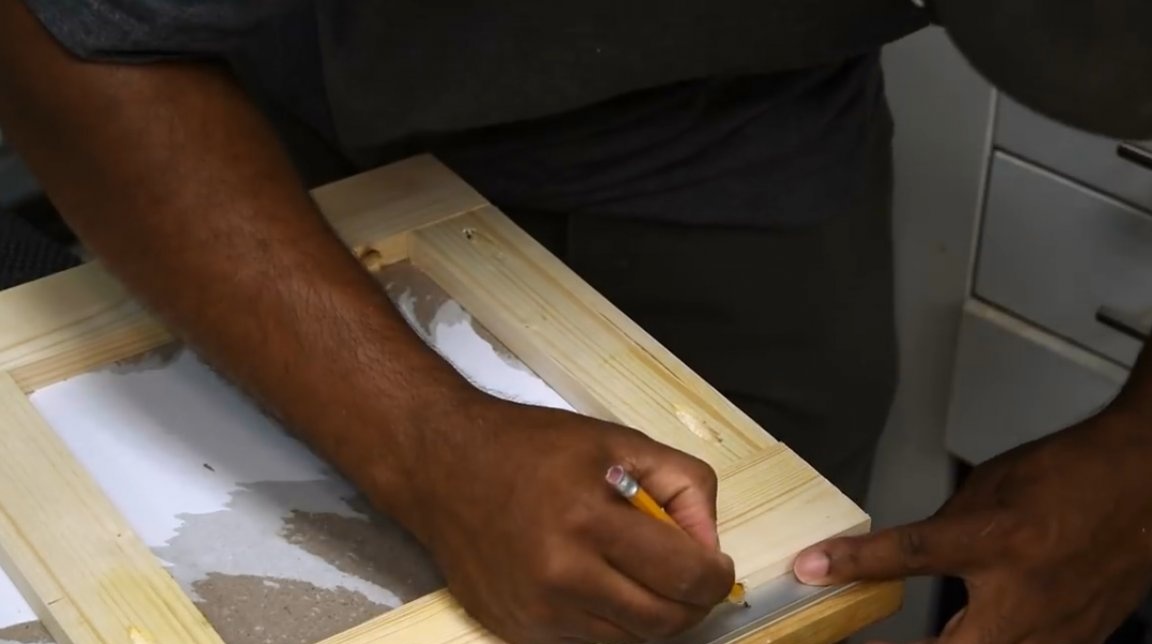
Next, the author decides which part of the mirror will remain open. In this project, it will be 350 mm. The master notes on the back of the board the depth of the mirror landing.
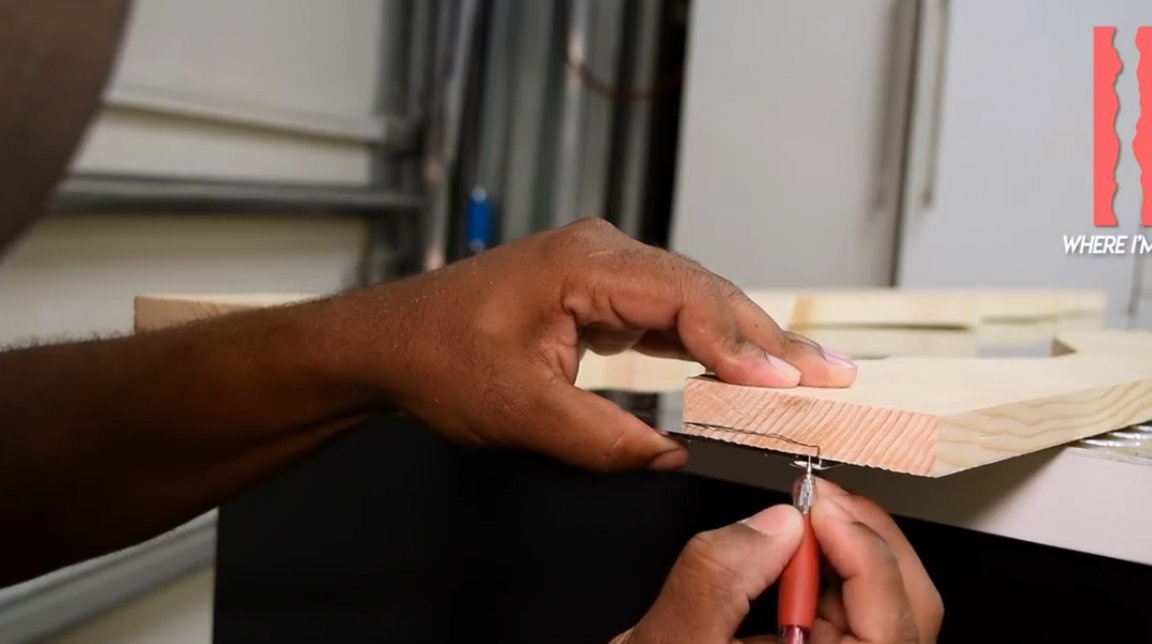
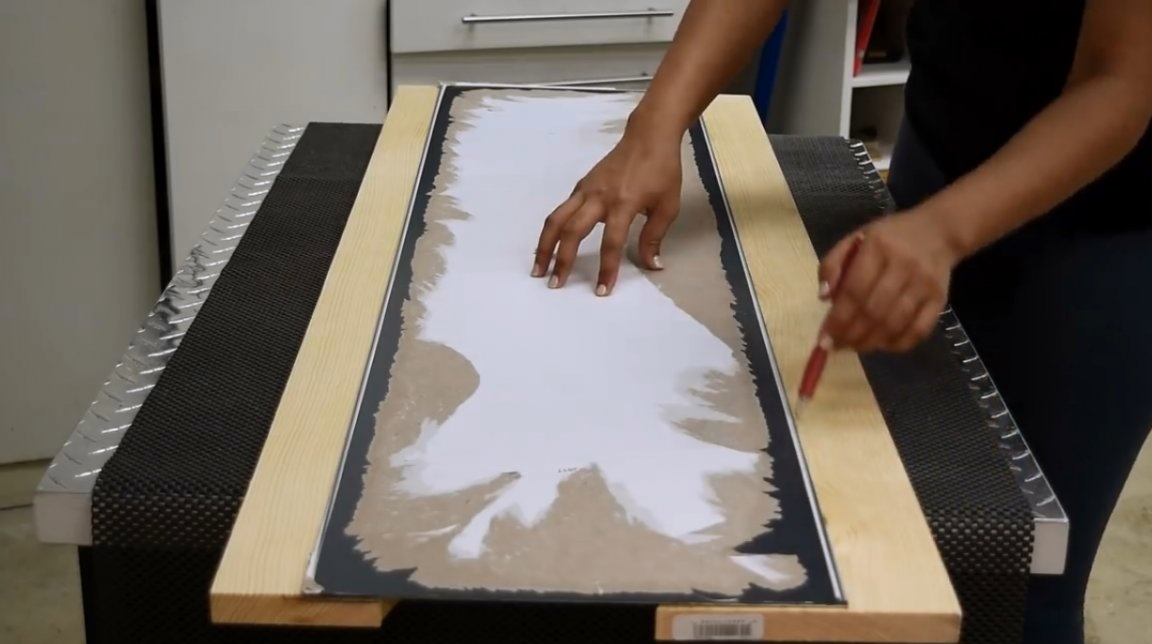
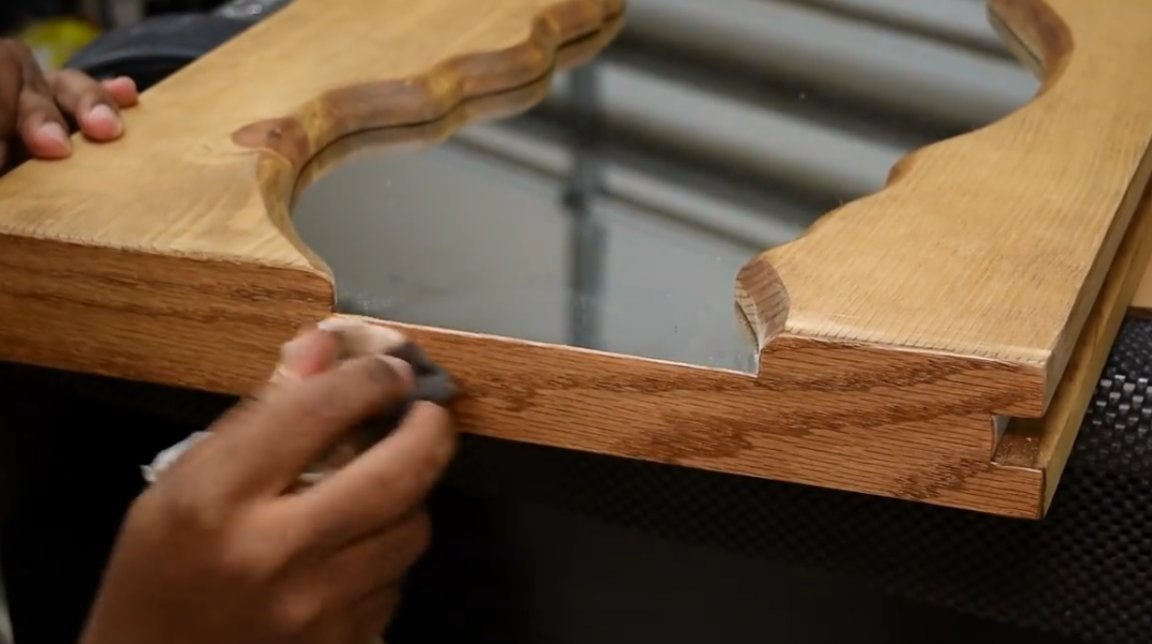
Then, at this depth, the cutter cuts out a groove along the thickness of the mirror. This is perhaps the most dreary and painstaking part of the project, requiring high accuracy.
And now the mirror fits perfectly into the niche prepared for him.
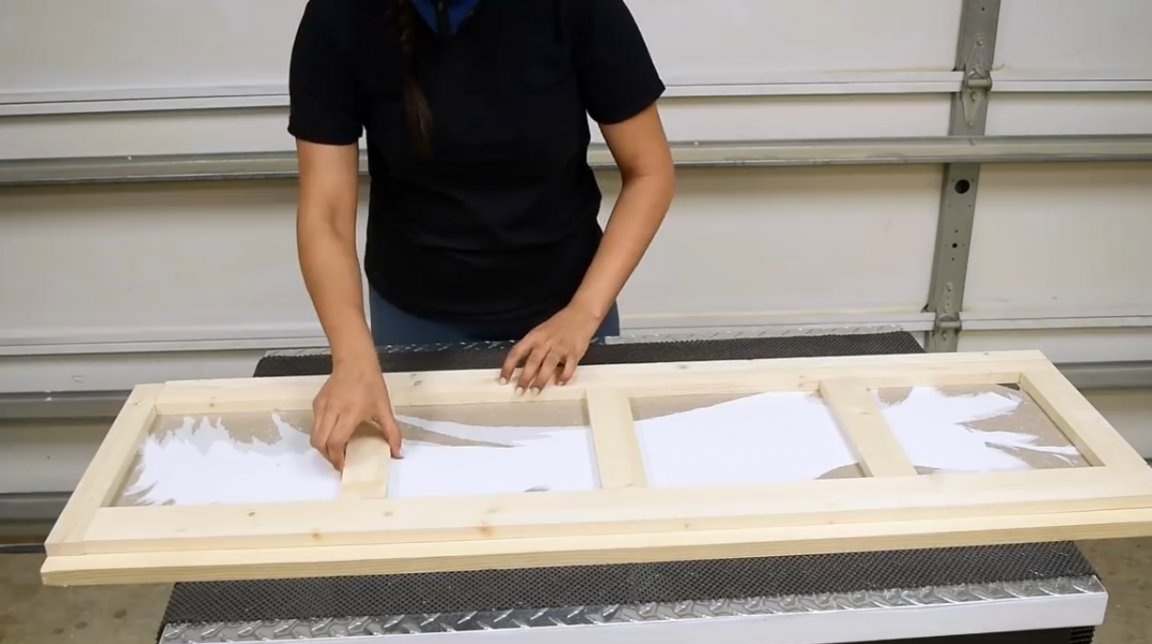
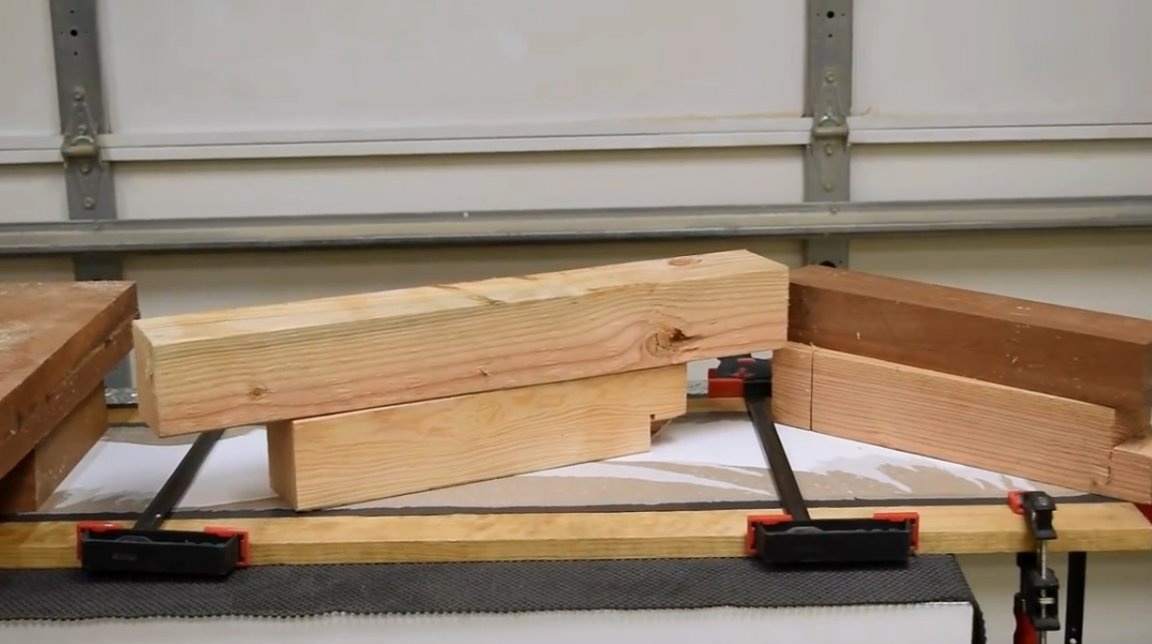
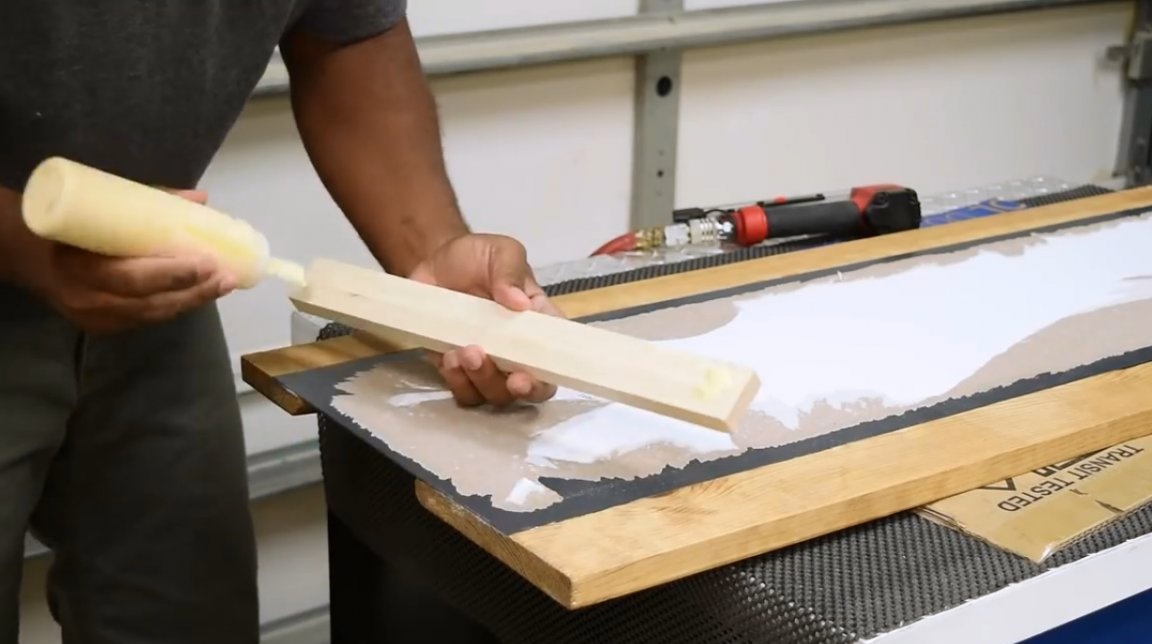
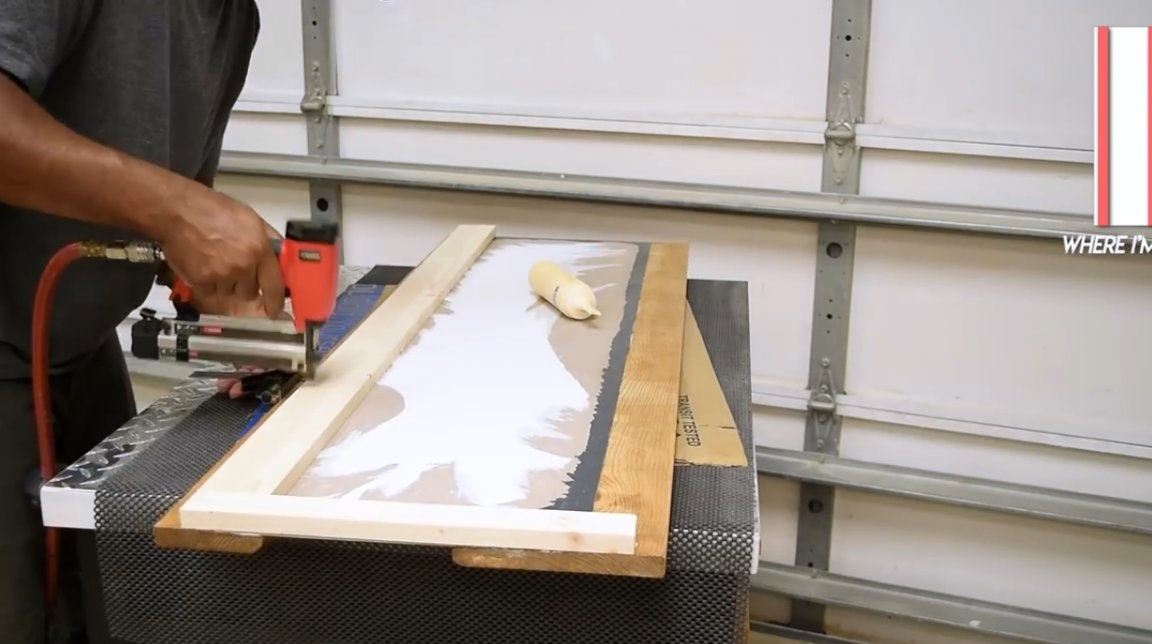
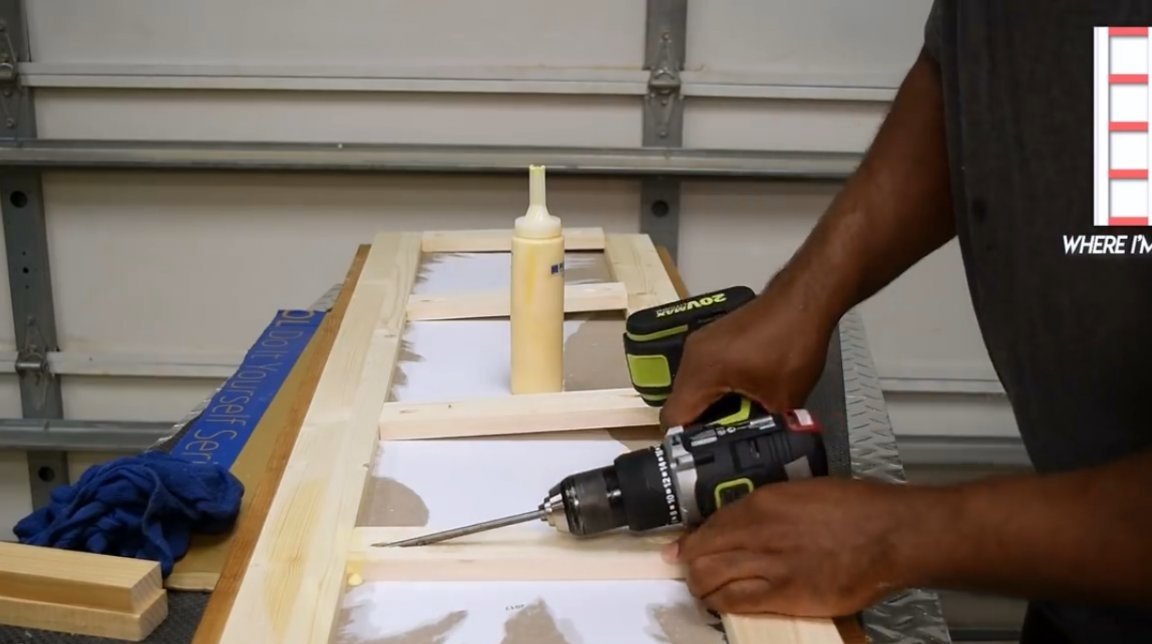
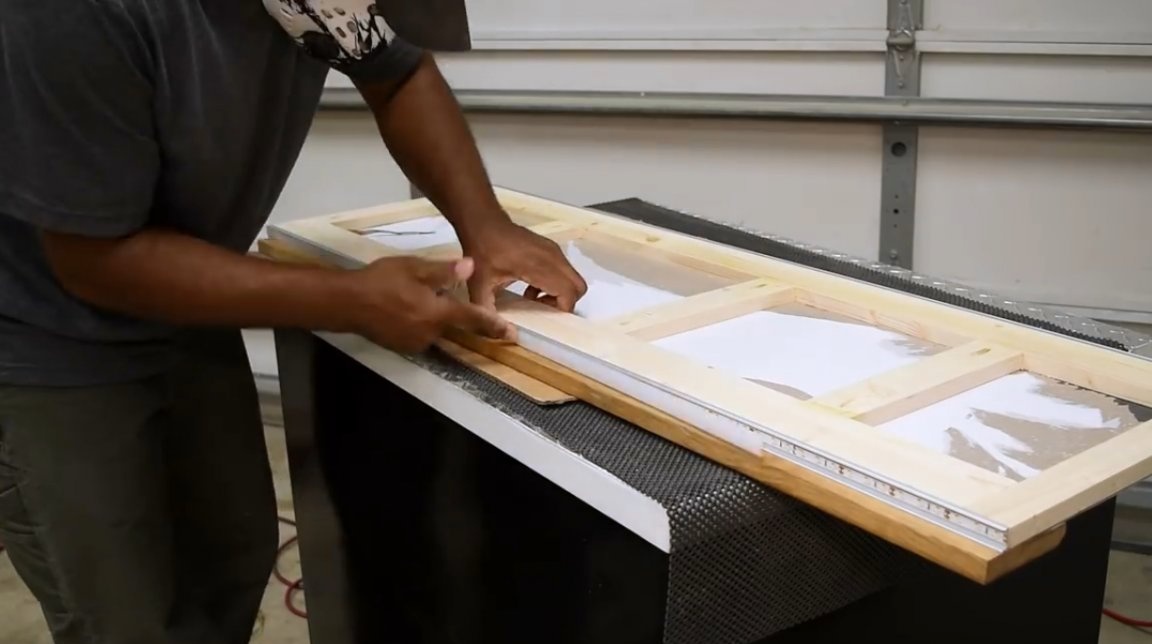
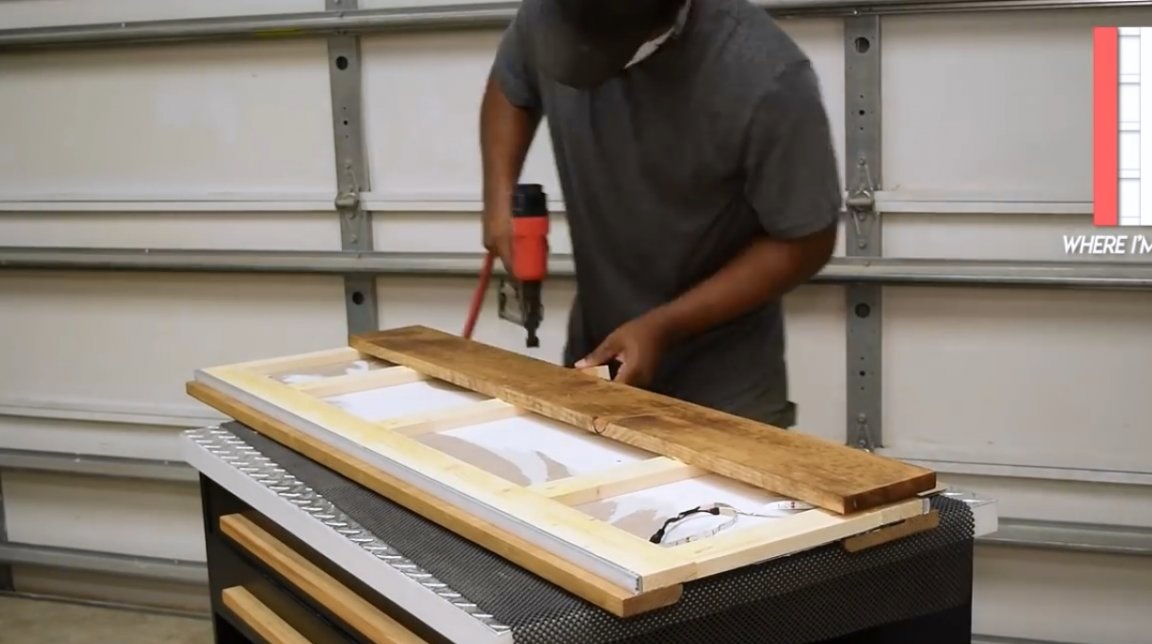
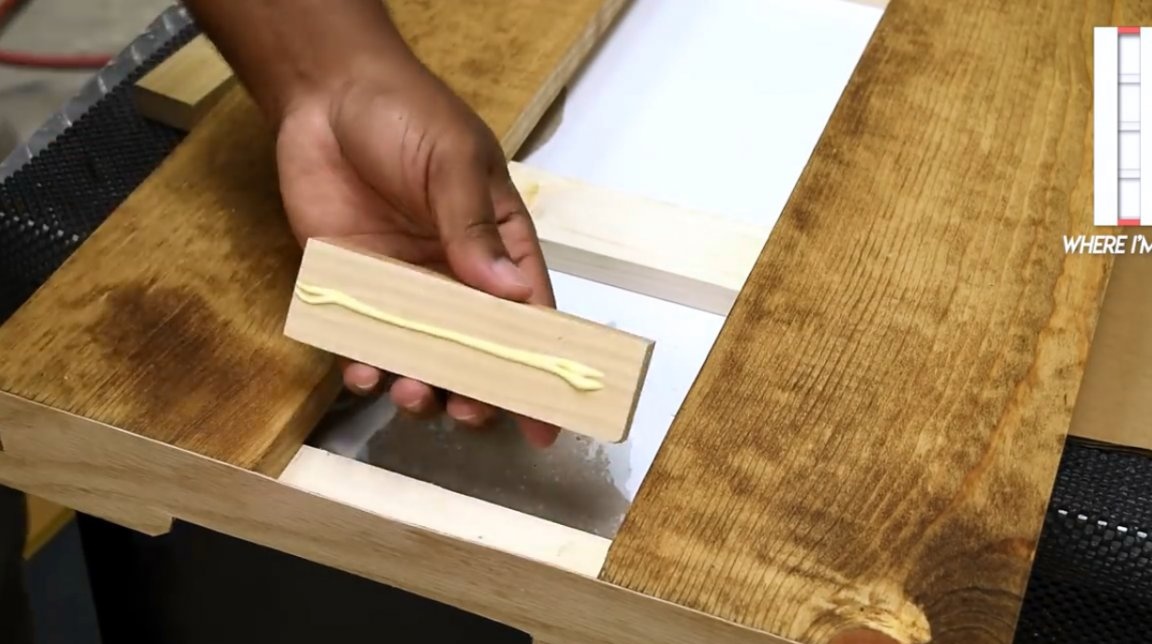
And now a brief description of how to quickly make the inner frame (for rigidity). First, the upper crossbeam is placed, then the side crossbars, the lower crossbar and, finally, the central struts - stiffeners.
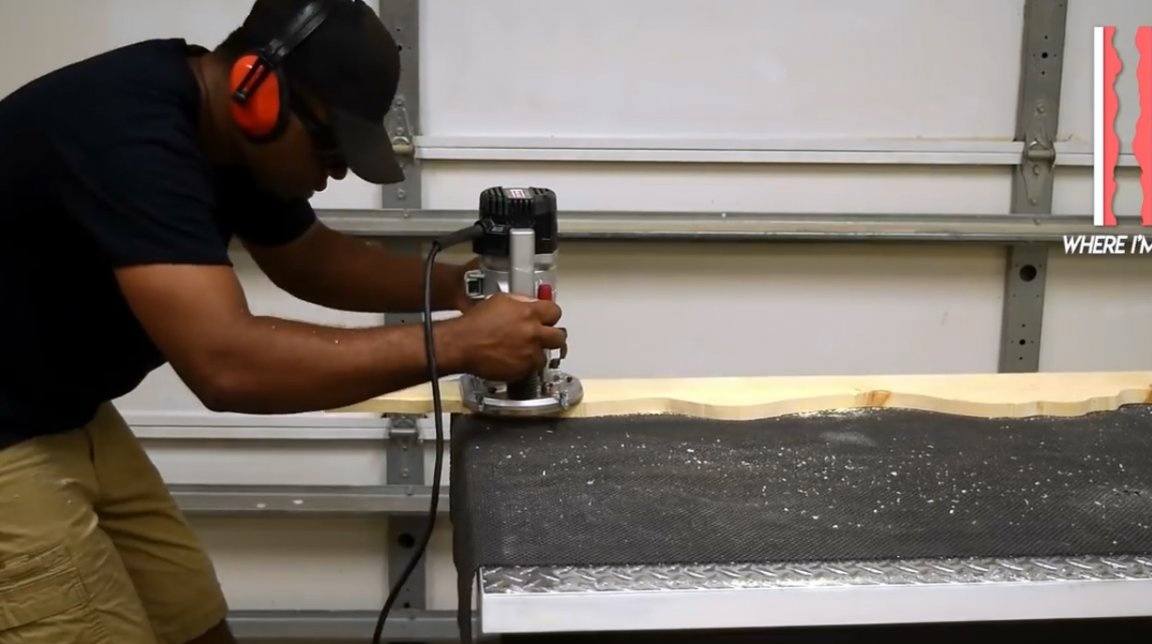
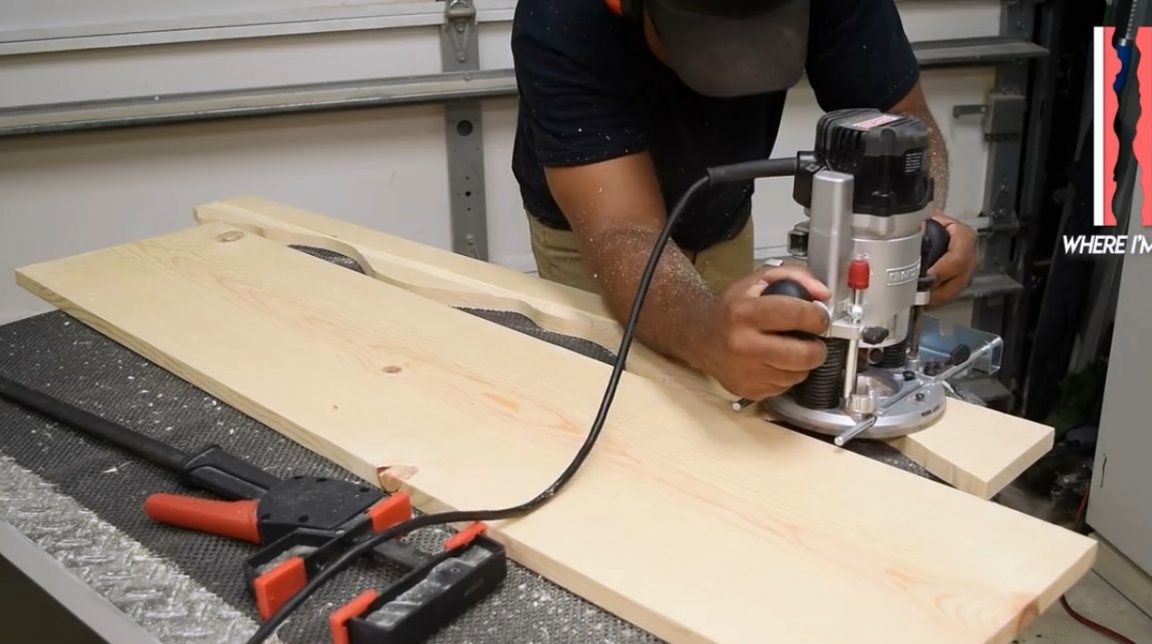
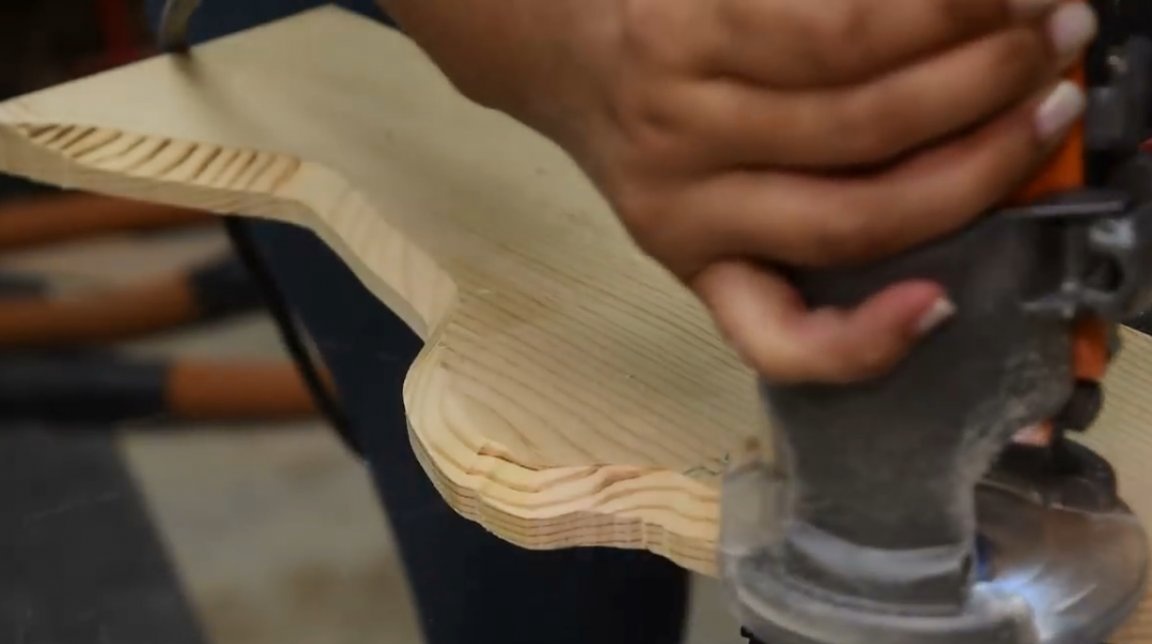
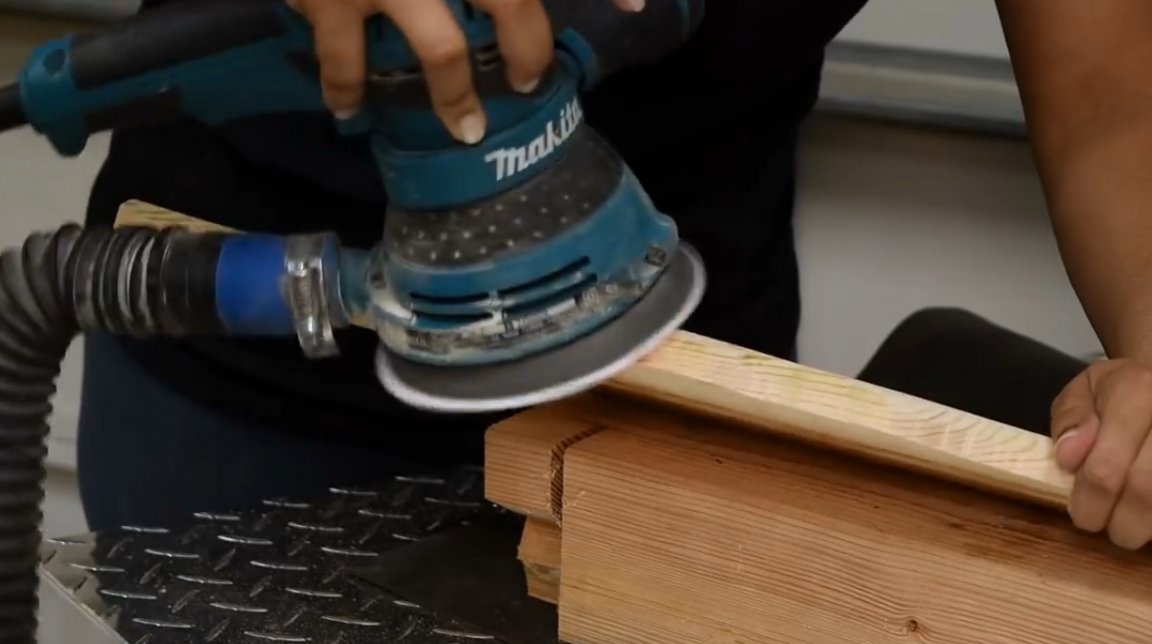
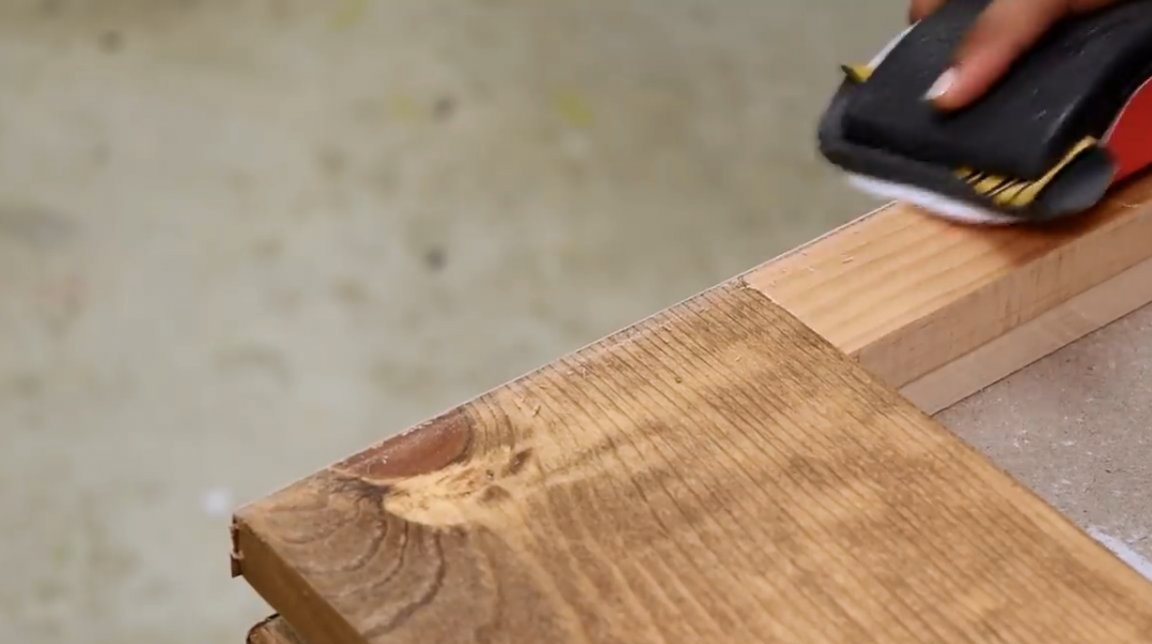
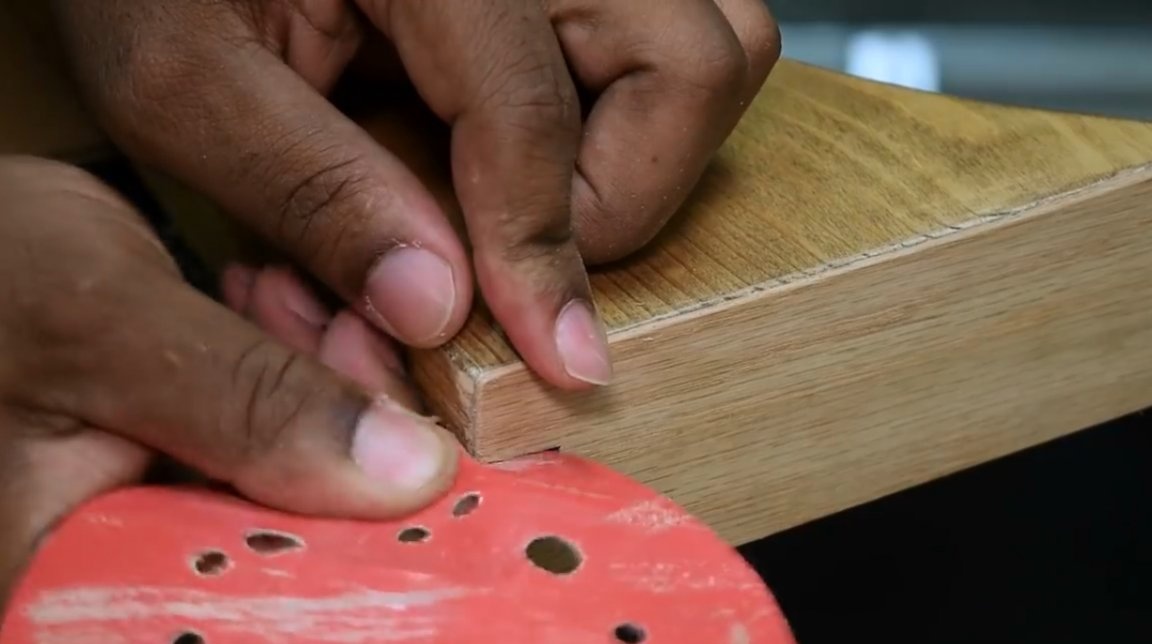
The master once again runs along the edge of the board with a milling cutter, chamfering, and then with an orbital sander, achieving volumetric rounding.

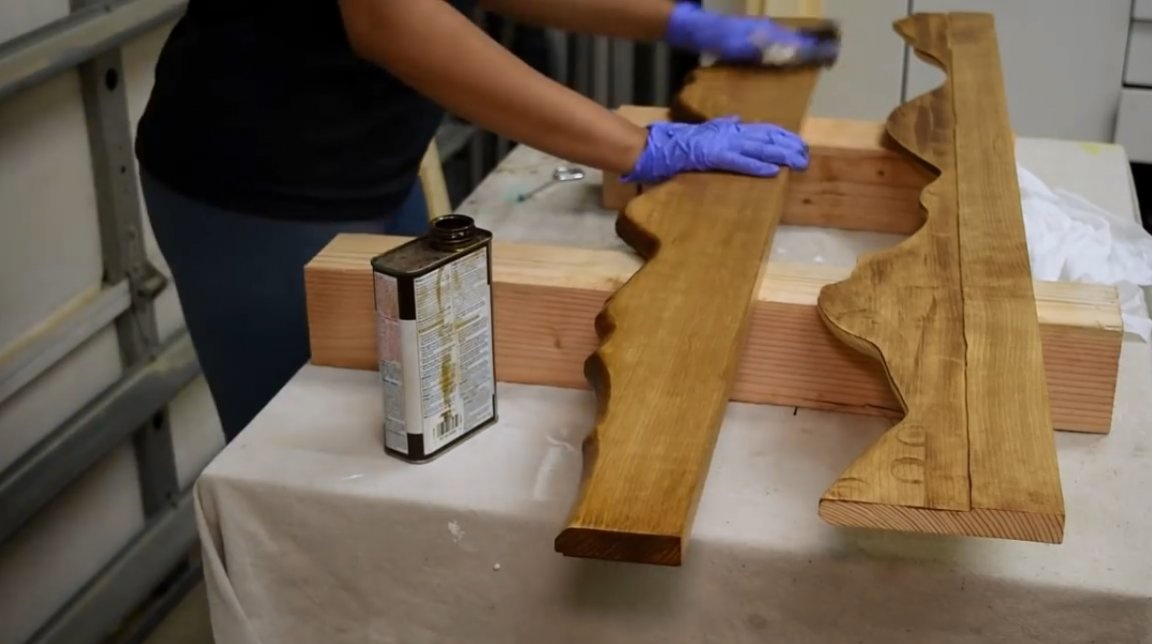
Then he uses a primer for wood, which, after coating the wood with a top coat (in this case it will be Danish oil), should provide the necessary coating density.

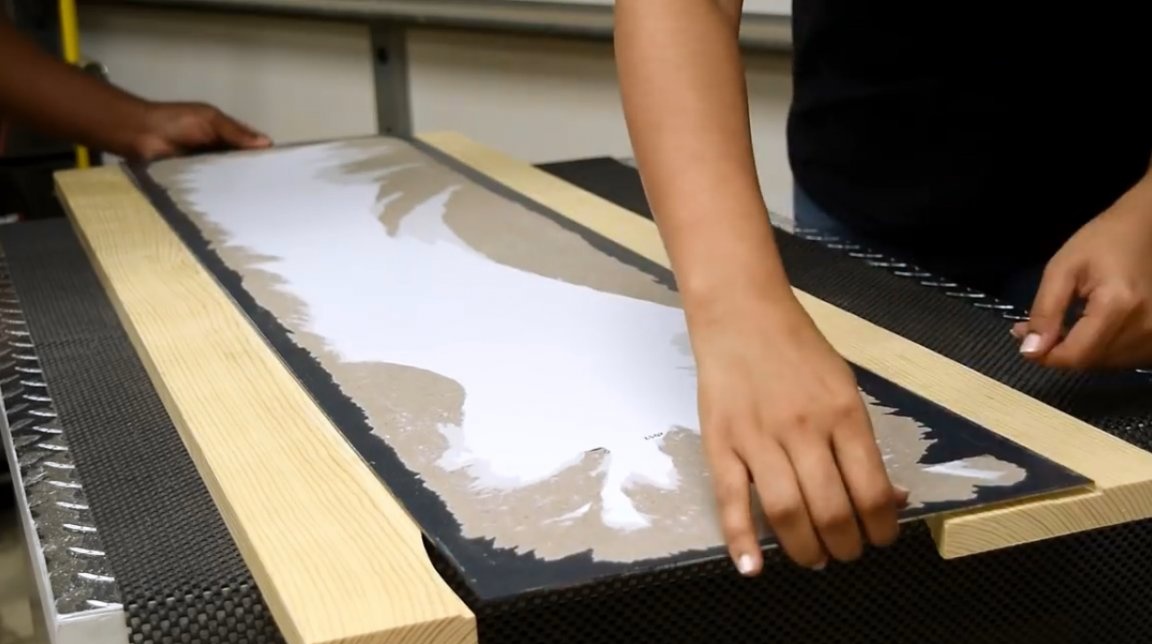
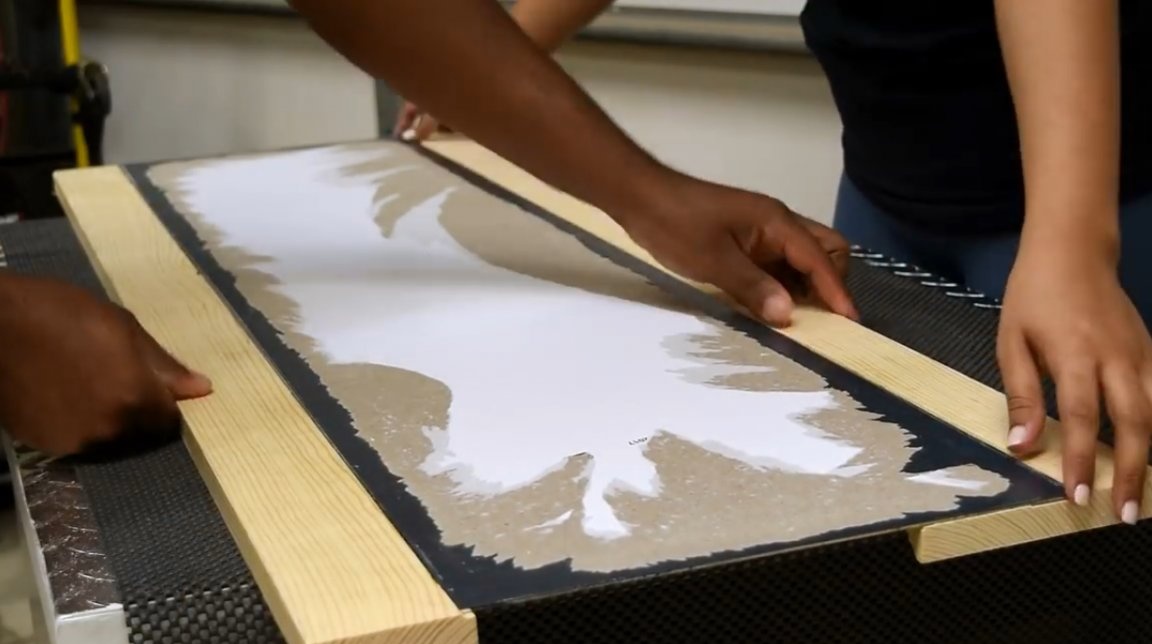
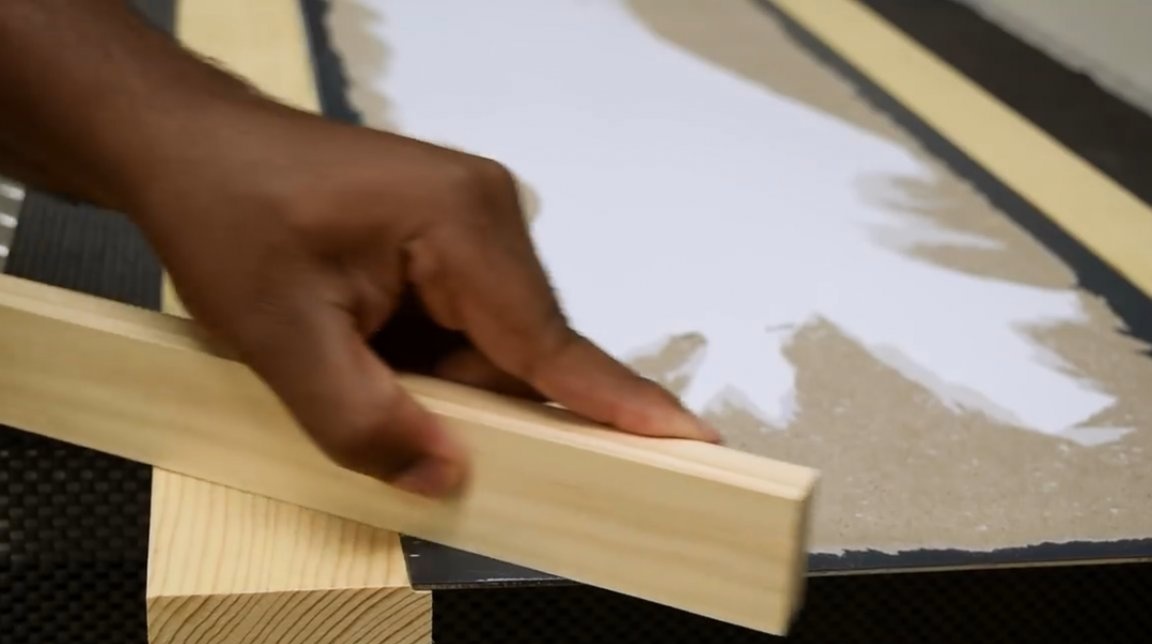
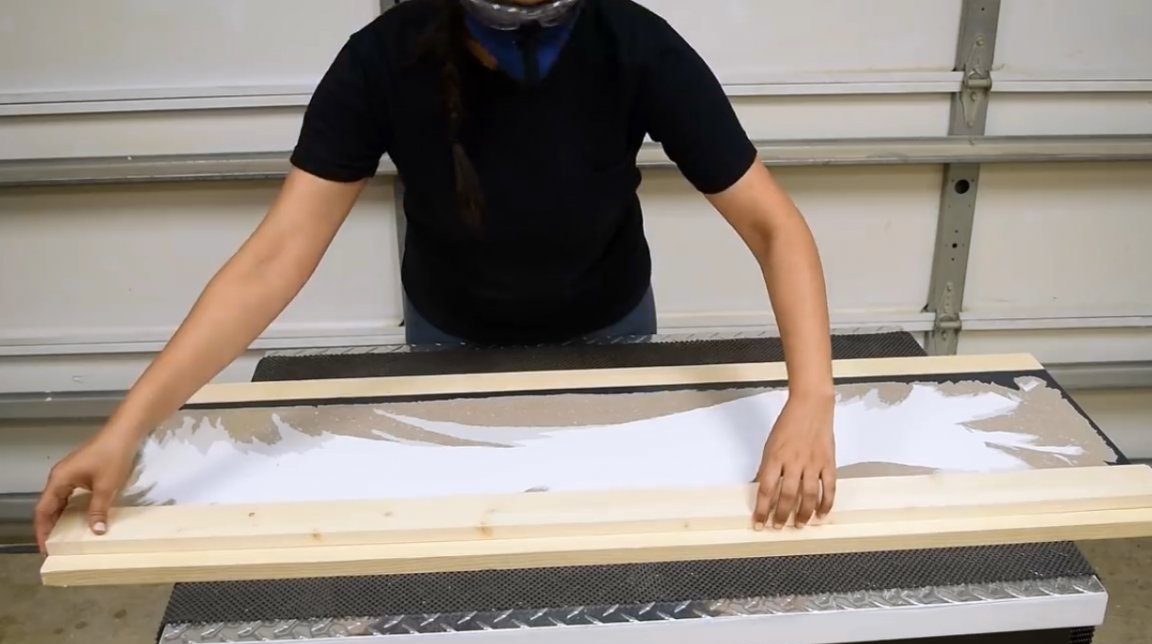
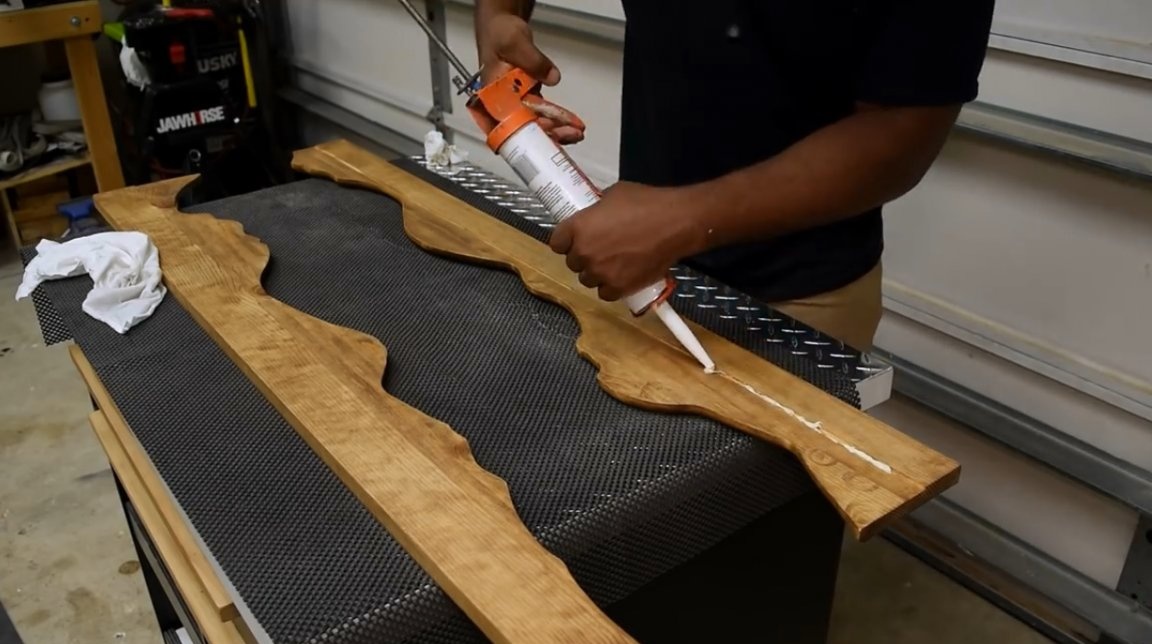
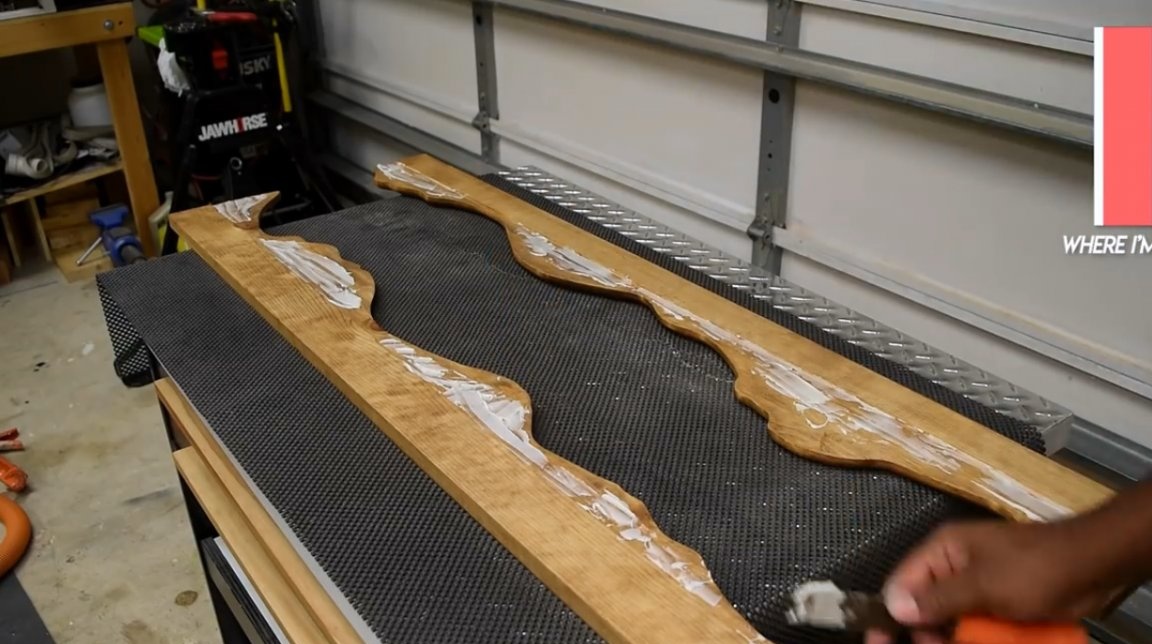
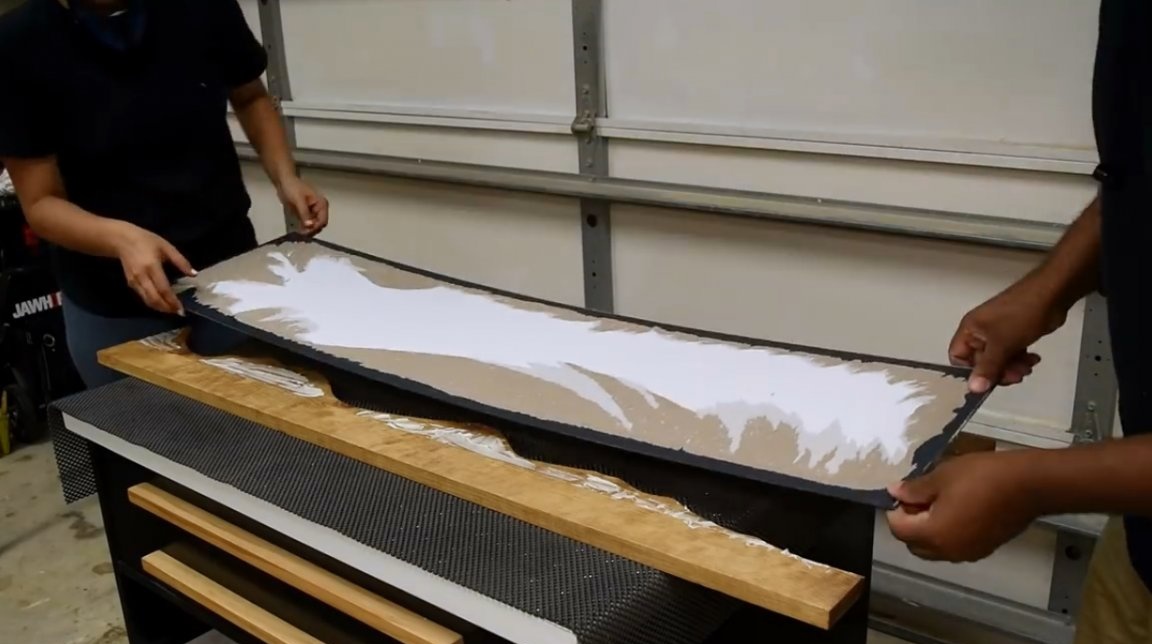
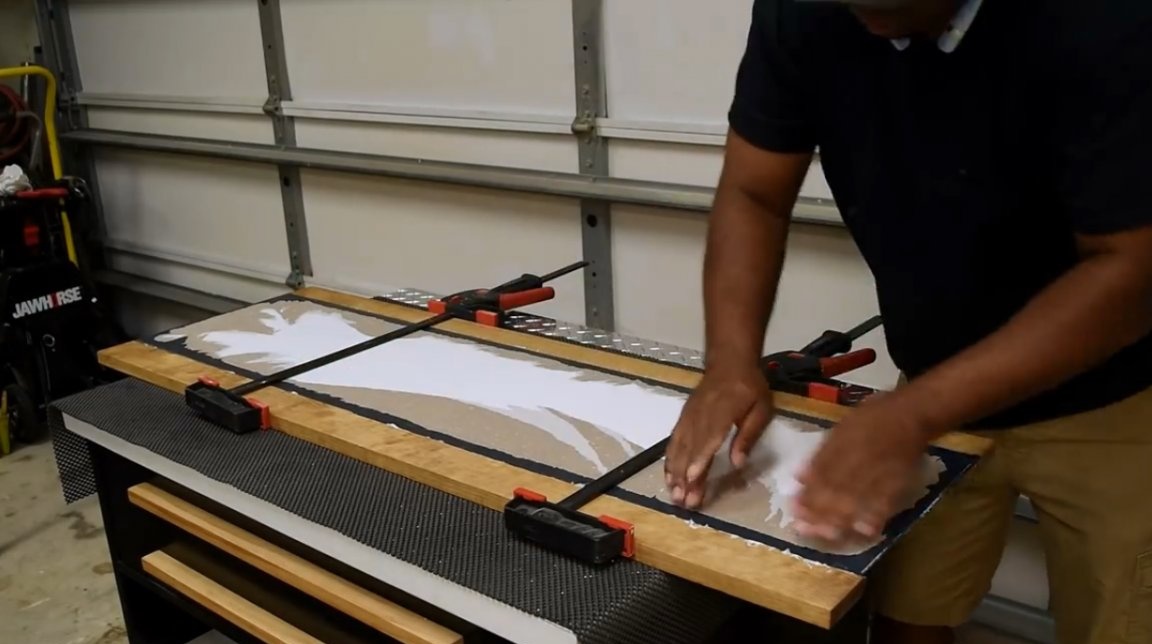
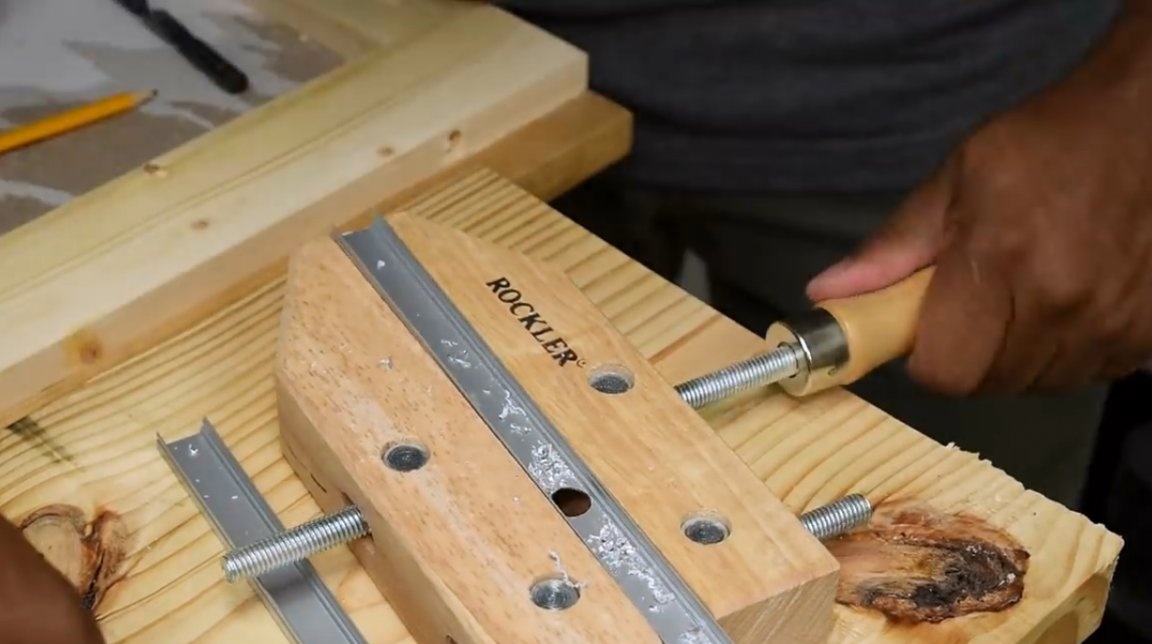
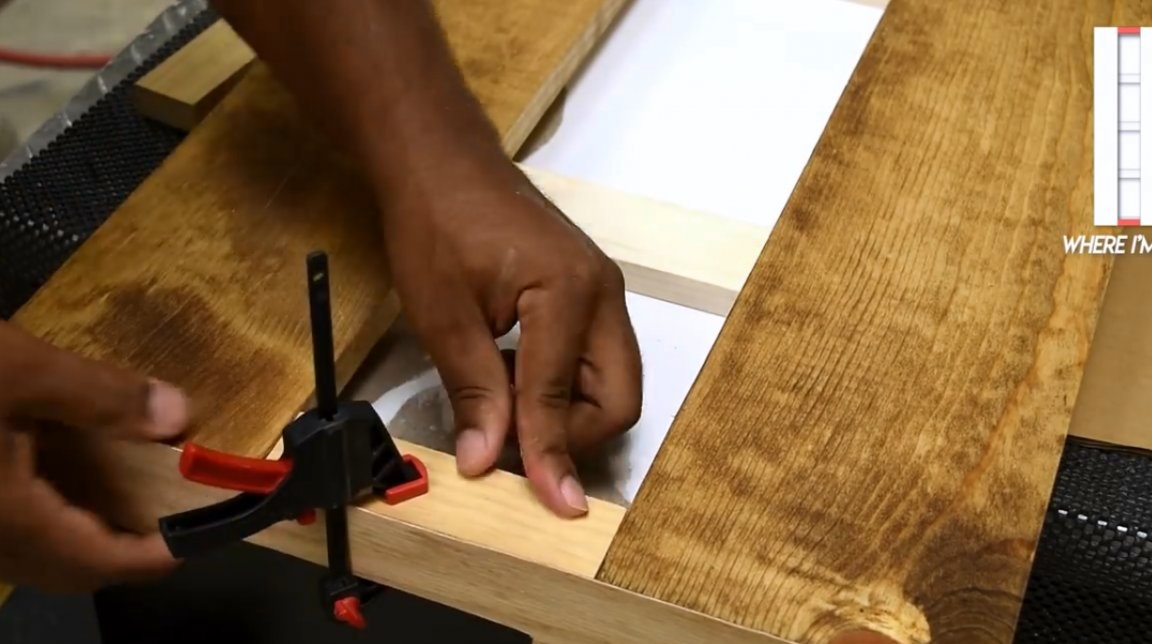
To attach the mirror to the frame, the author uses silicone sealant.For uniform fixation of the mirror sheet, slightly tightens the frame with clamps, irones the seams, and presses it with a load.
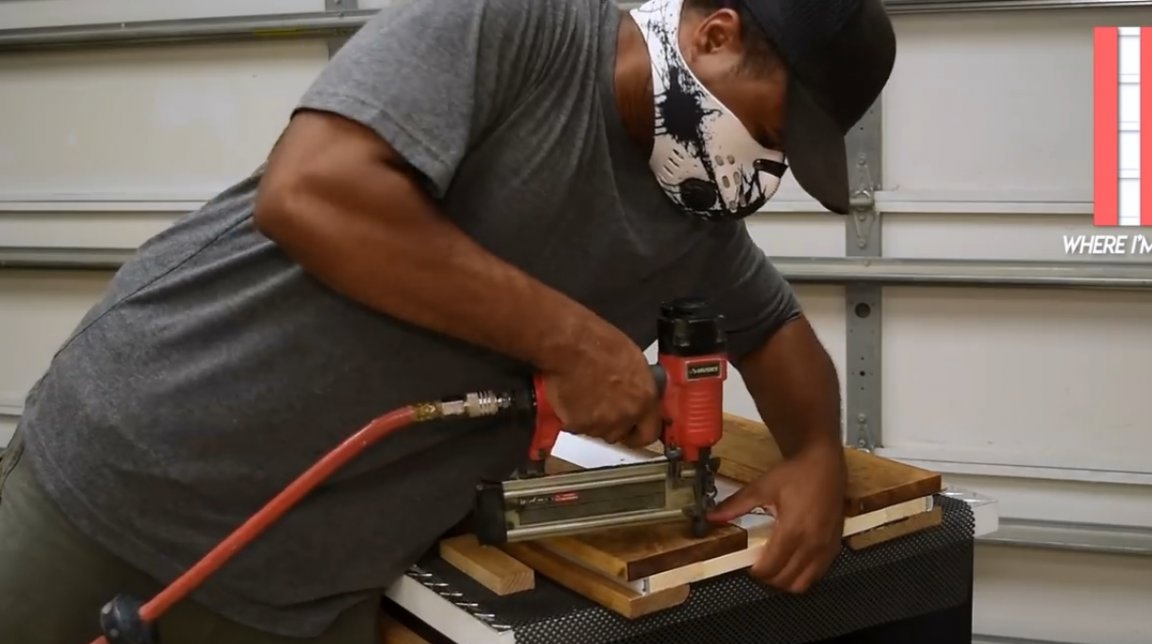
The internal crossbars themselves can be attached to the frame in various ways: it can be wood glue, a nuler or trivial screws. In the last two cases, it is important not to touch the mirror itself.
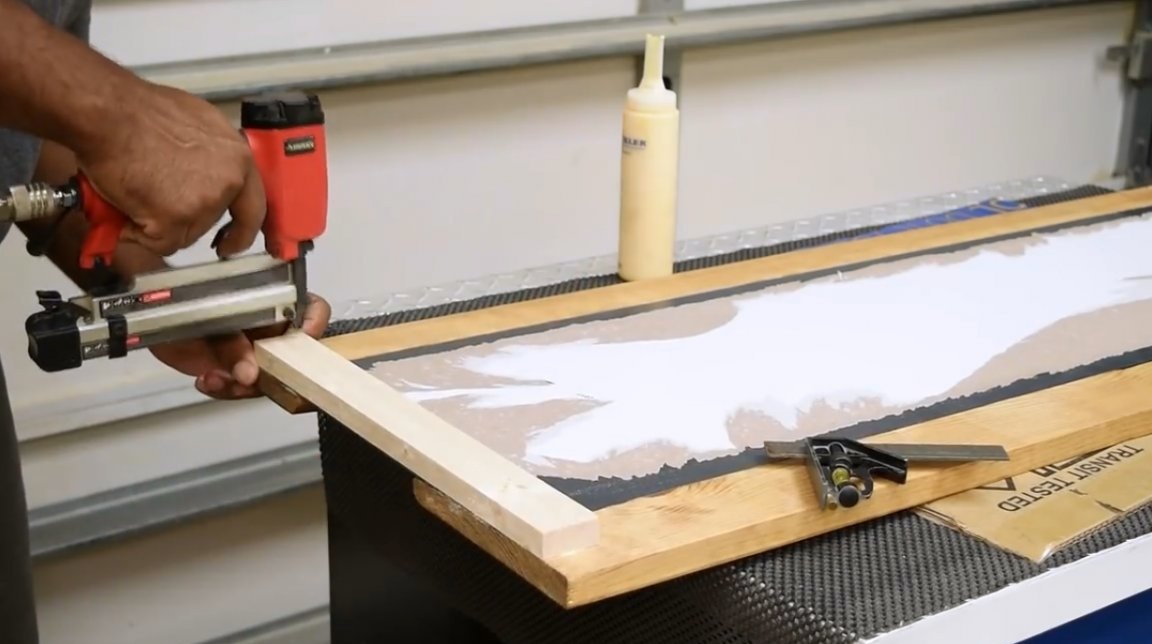
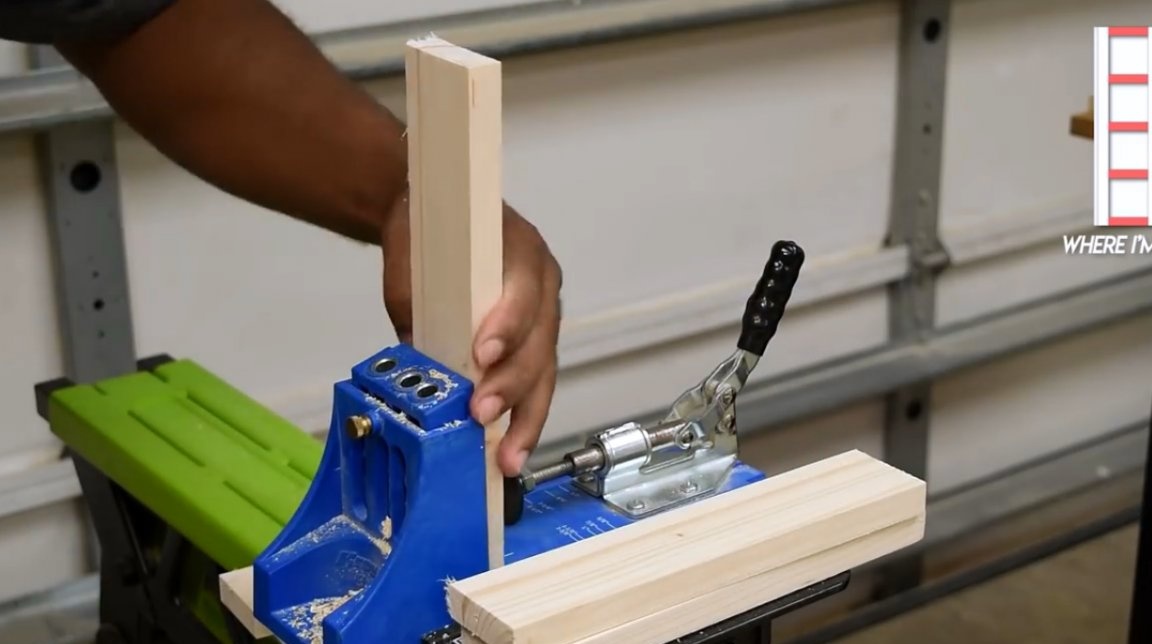
The transverse boards of the frame are fastened to the "oblique screw" connection.

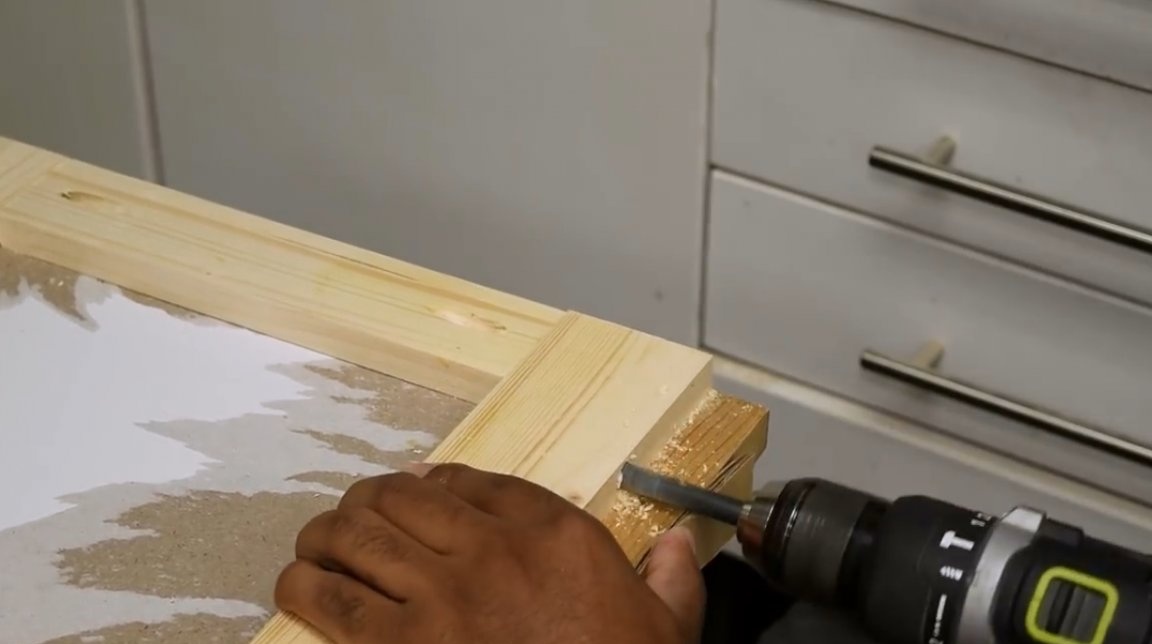
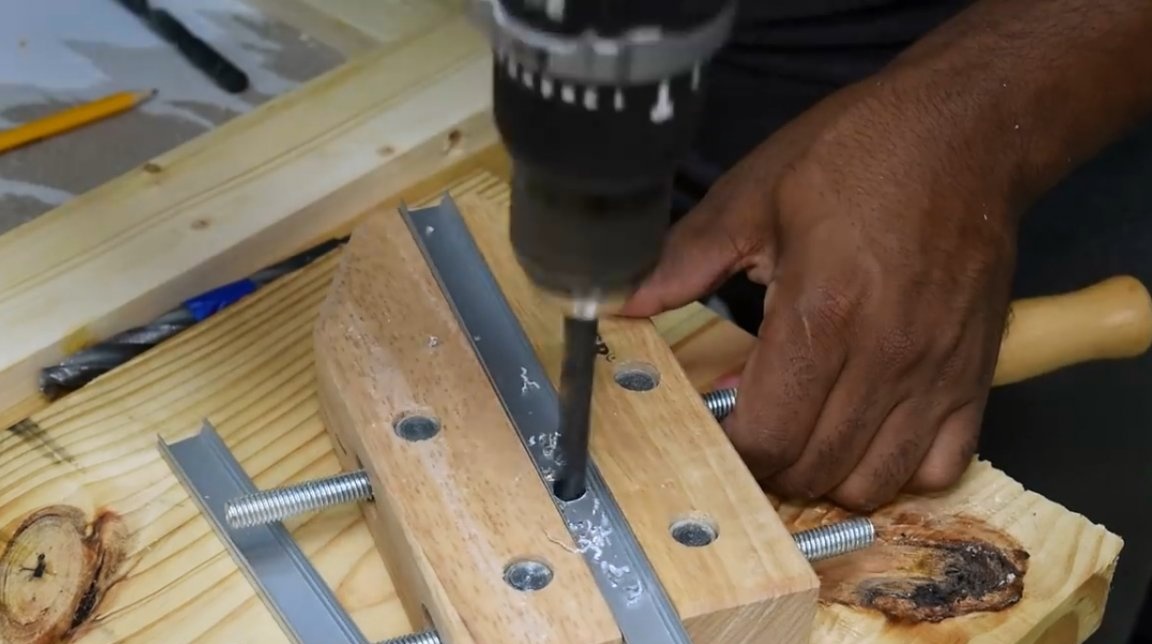
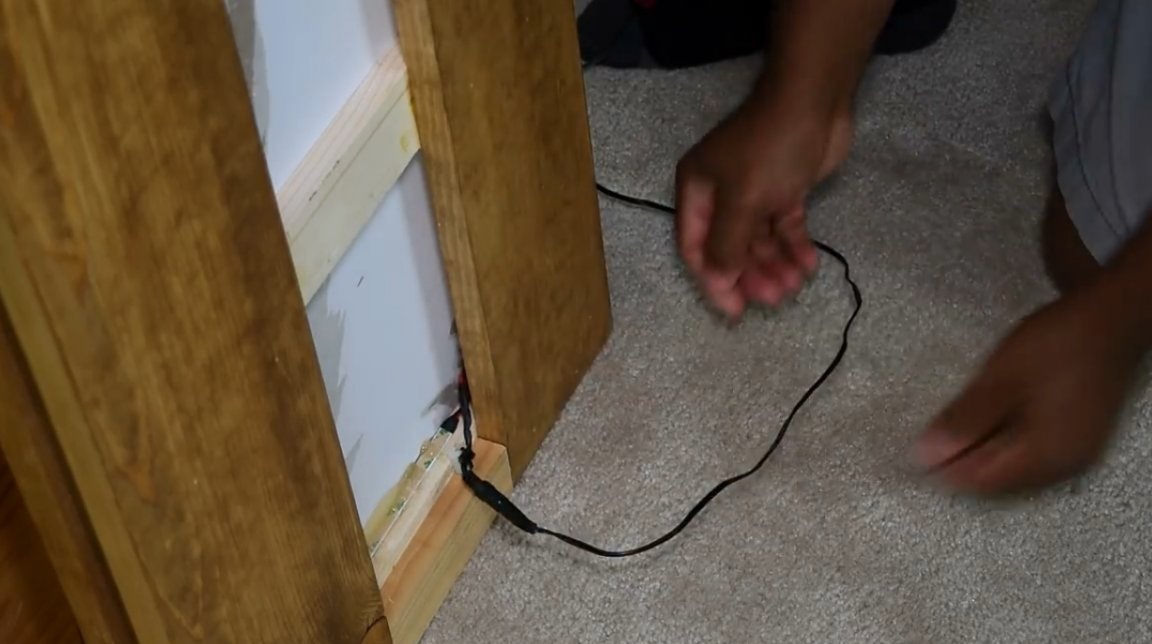
The master drills a hole in the vertical boards for the power cord, as the LED strip will be glued on the sides of the frame.
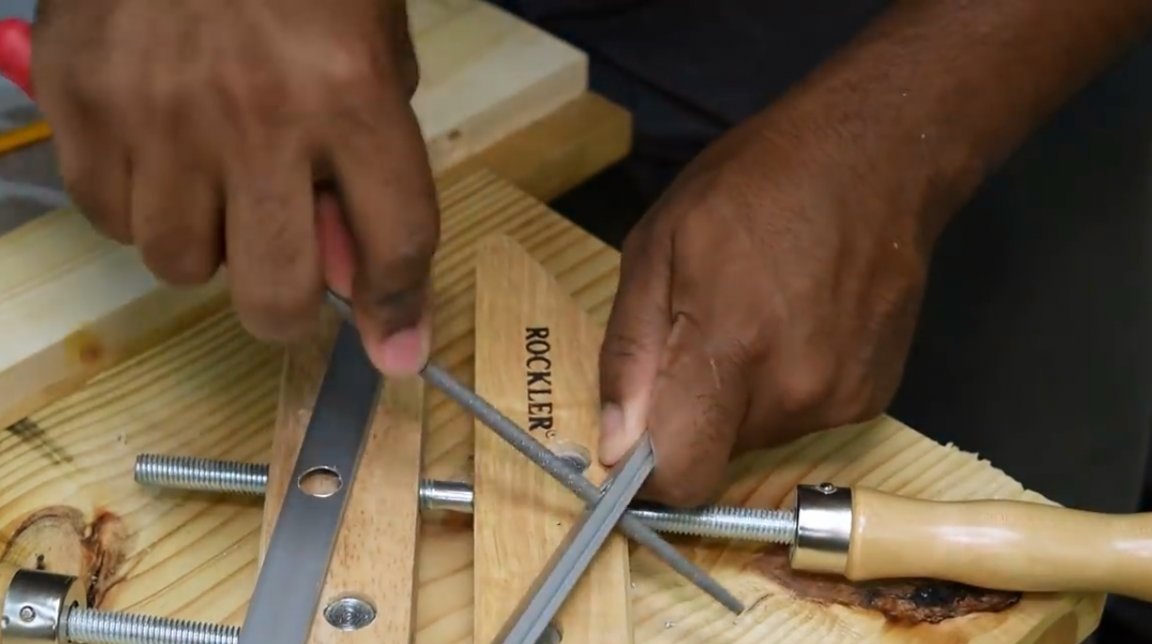
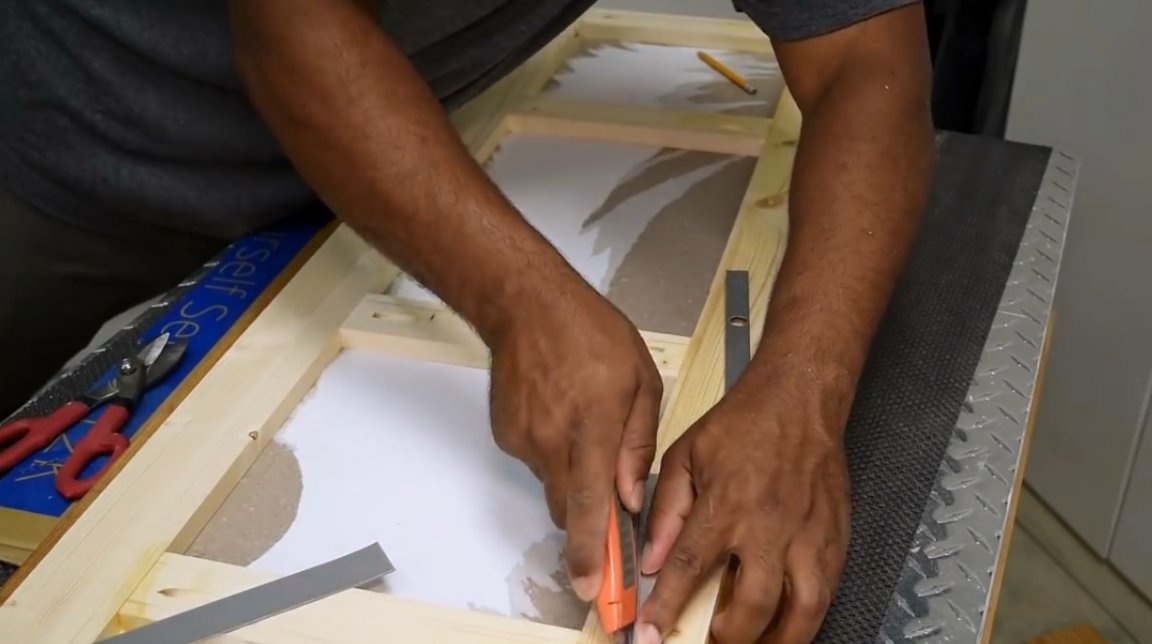
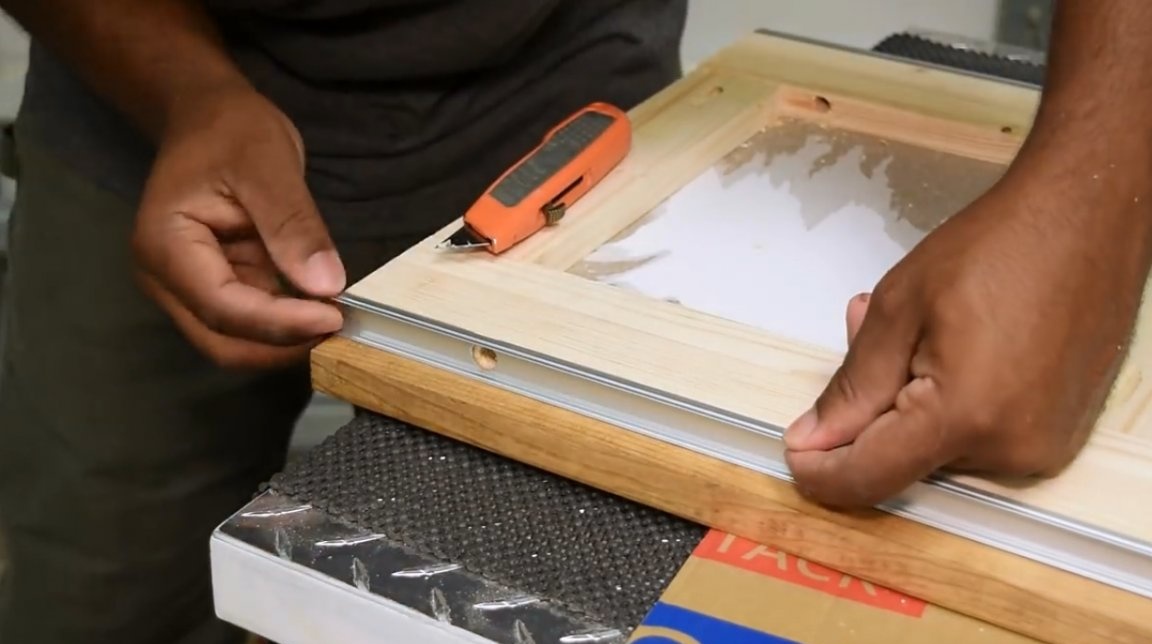
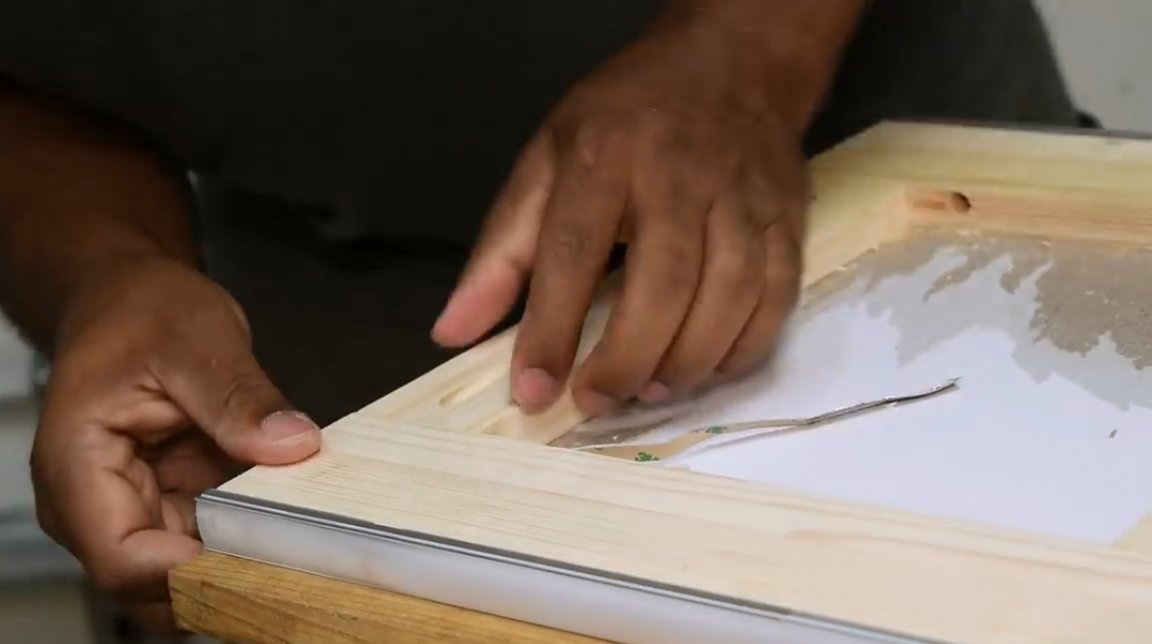
These aluminum profiles, in which the author drills holes for the cable, should become the groove for the LED strip. The sharp edges of the profile are carefully smoothed with a file so that the notches do not damage the cable.
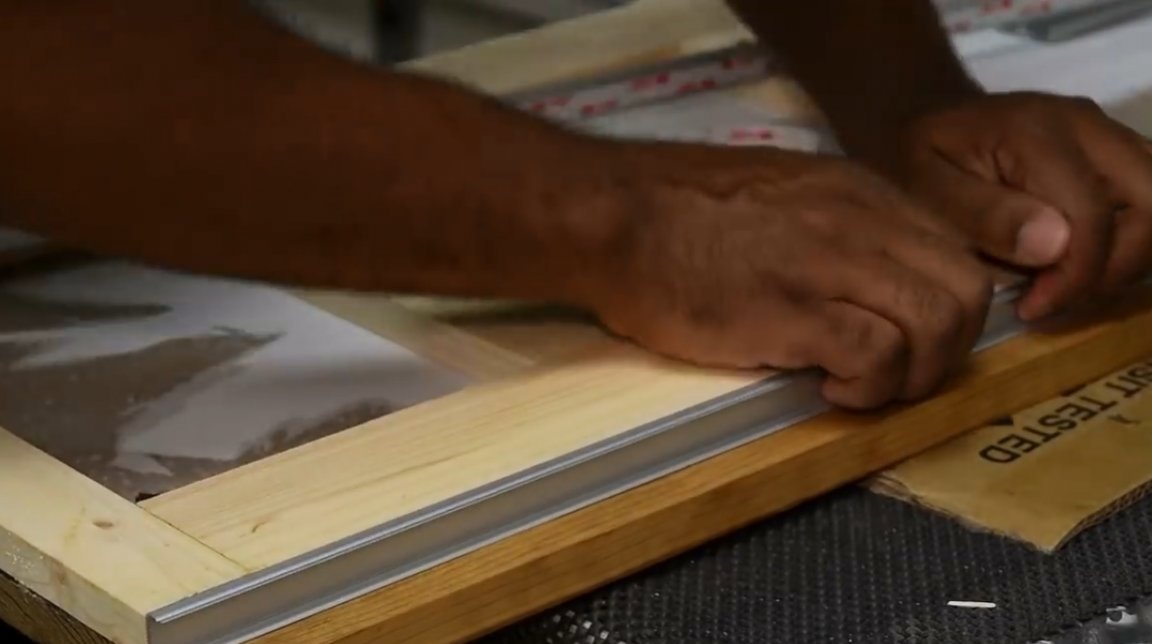
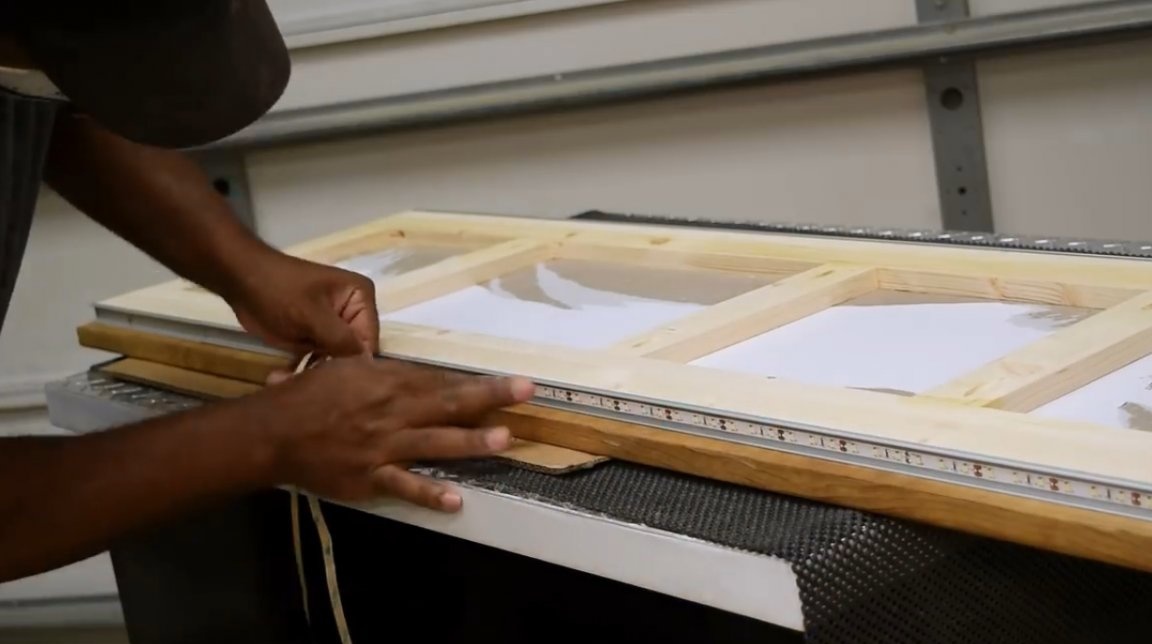
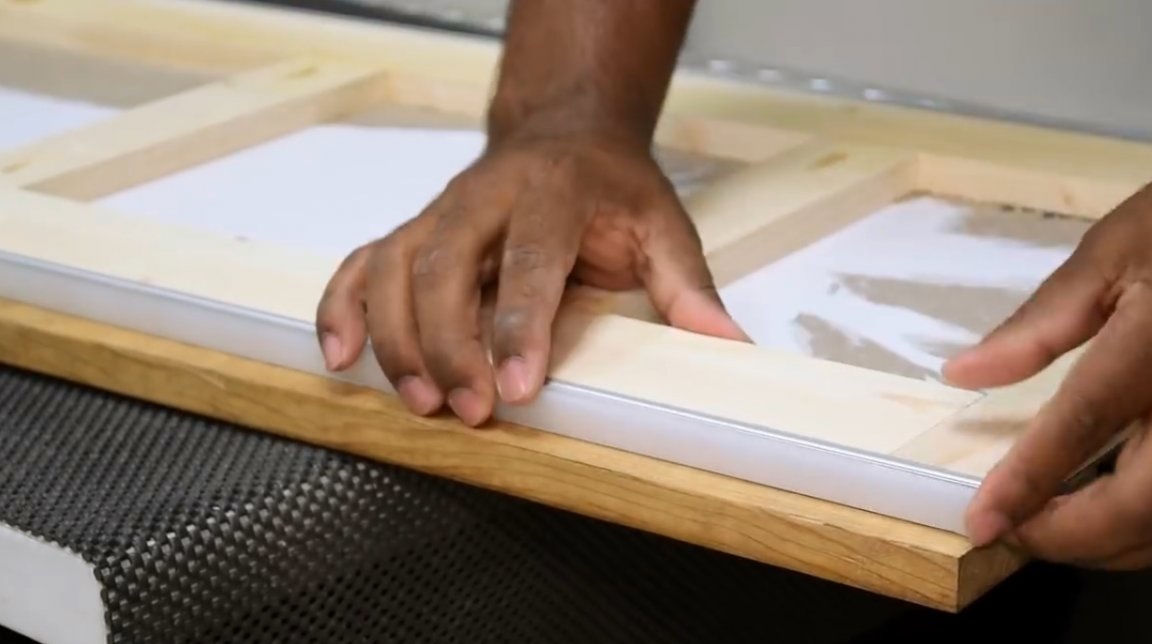
The profile can be put on screws or use double-sided tape.
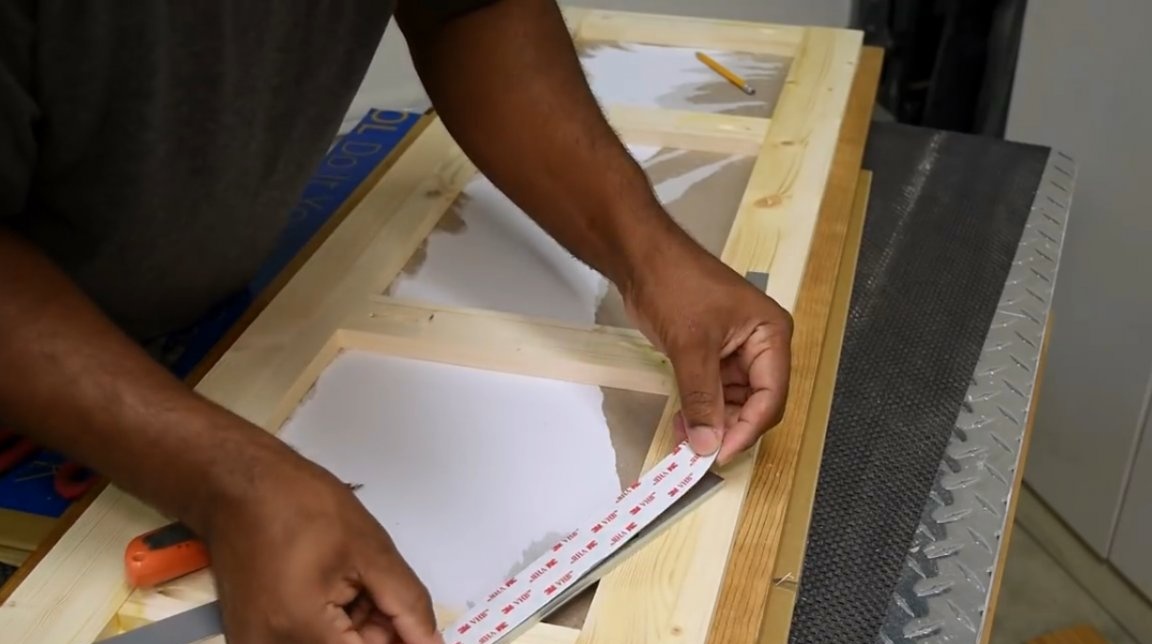
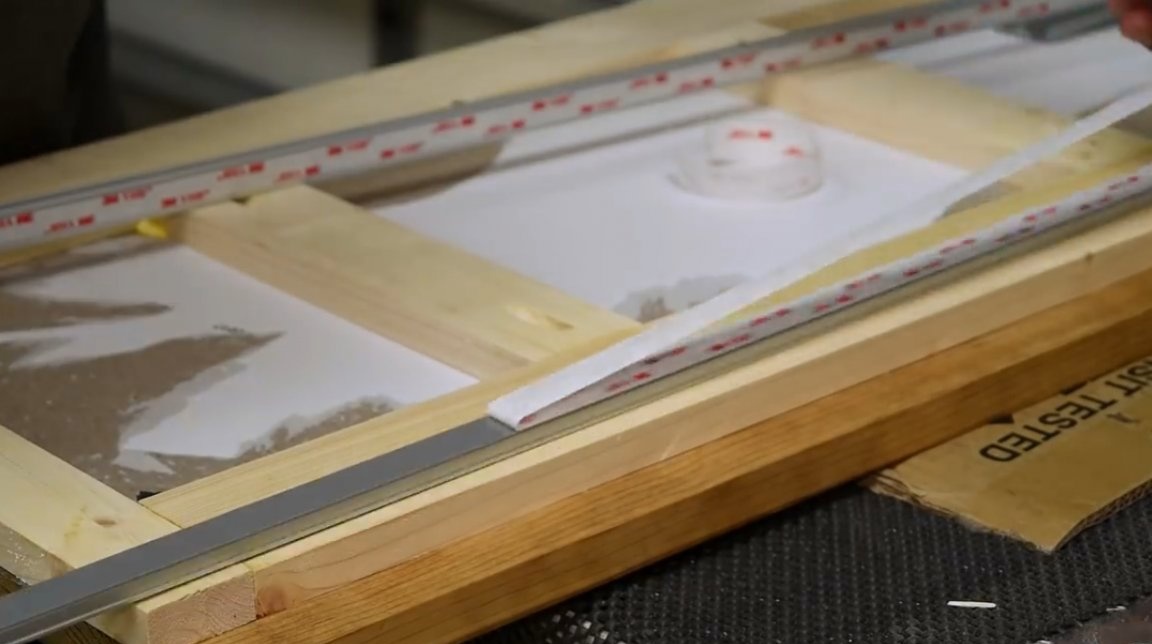
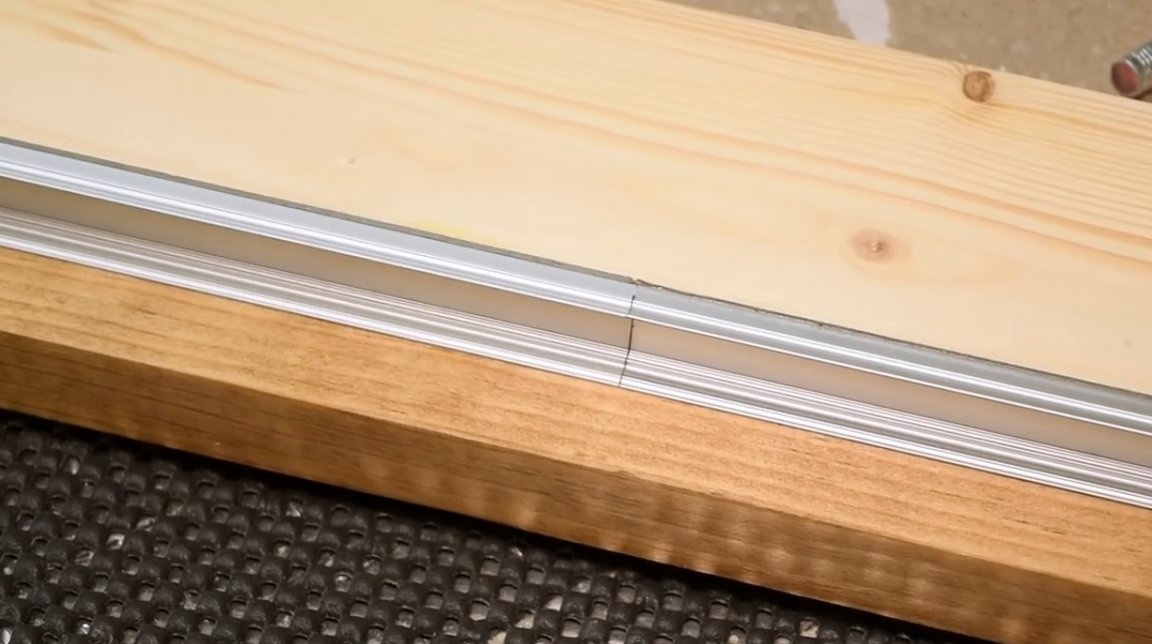
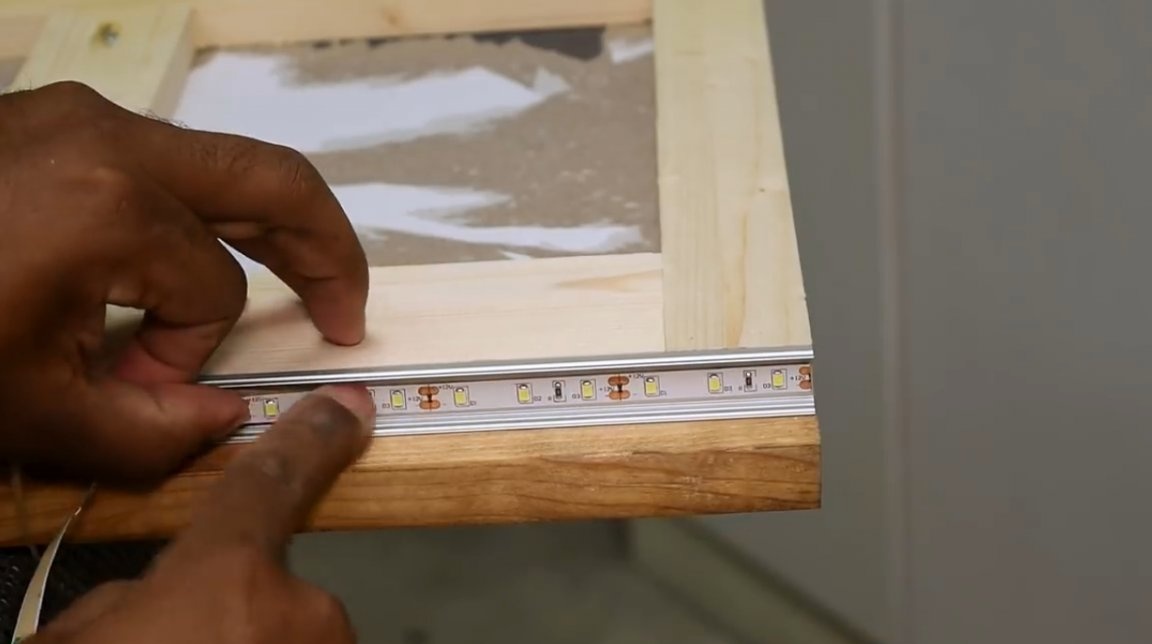
Then the LED strip is glued to the profile, and closed with a matte cover. A short section of the cover should be on the opposite side of the short section of the profile in order to mask the joints.
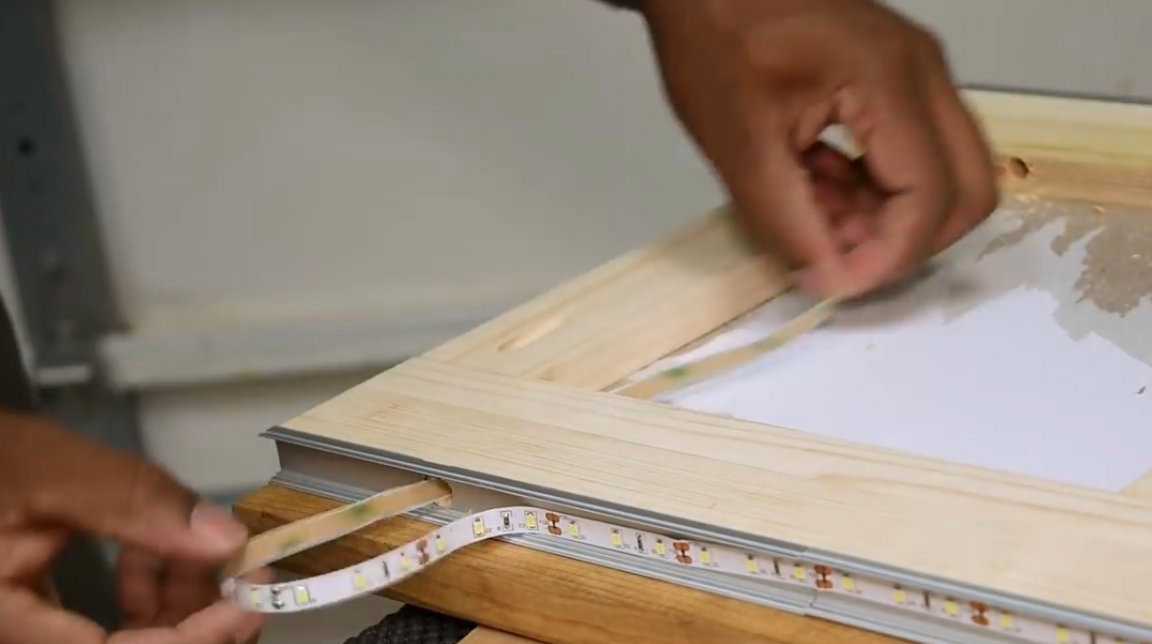
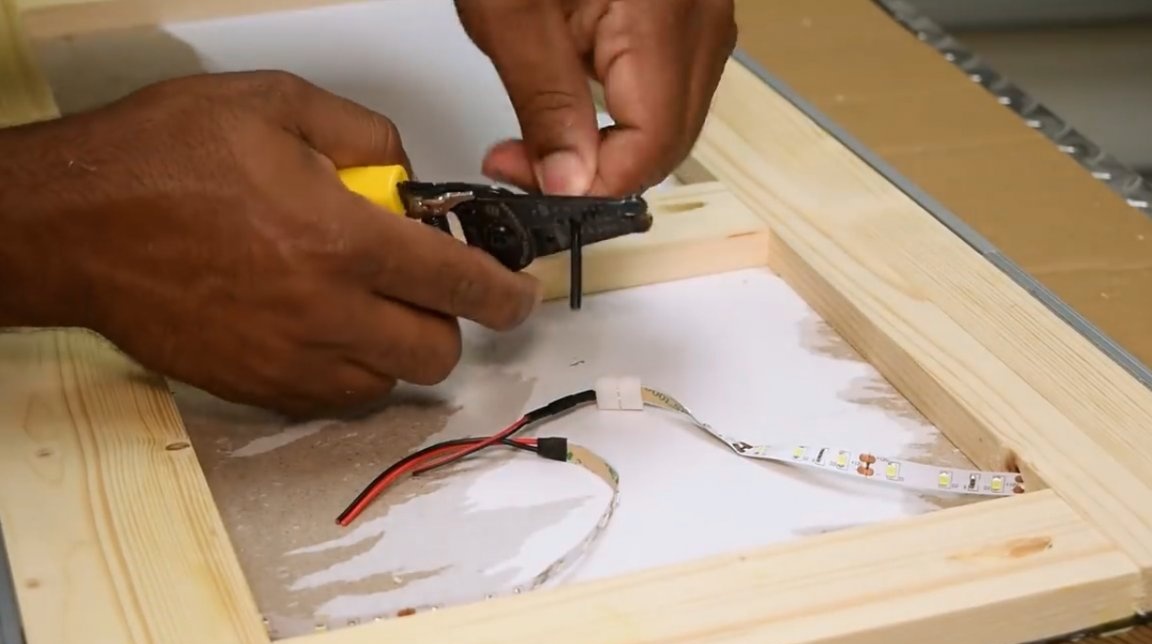
Connects tapes to connectors with wires.

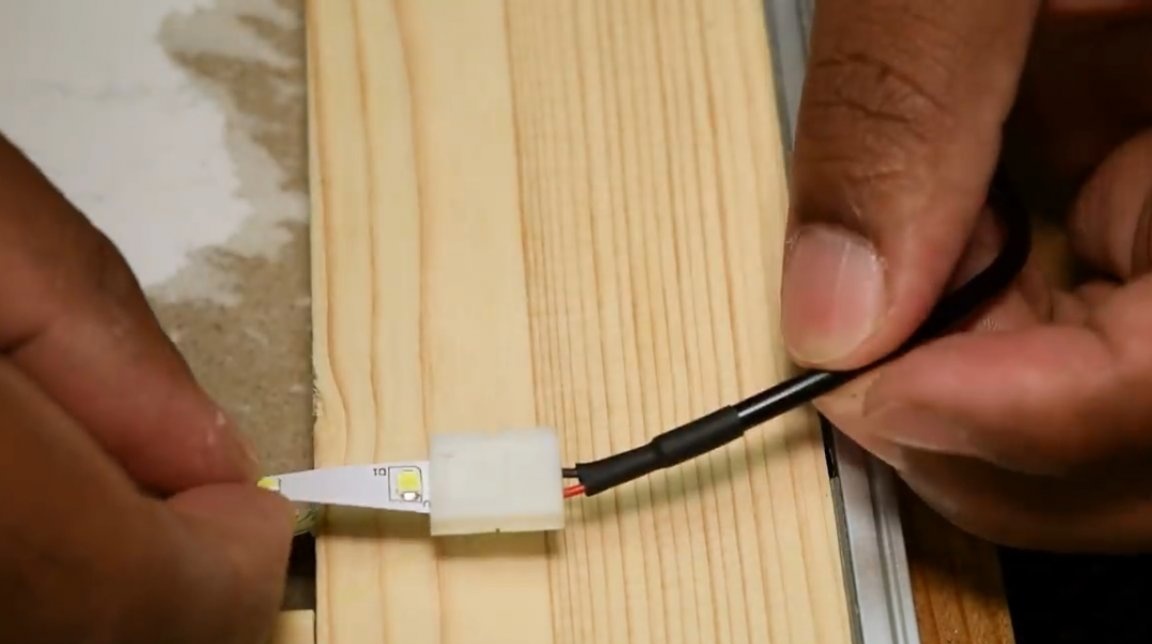
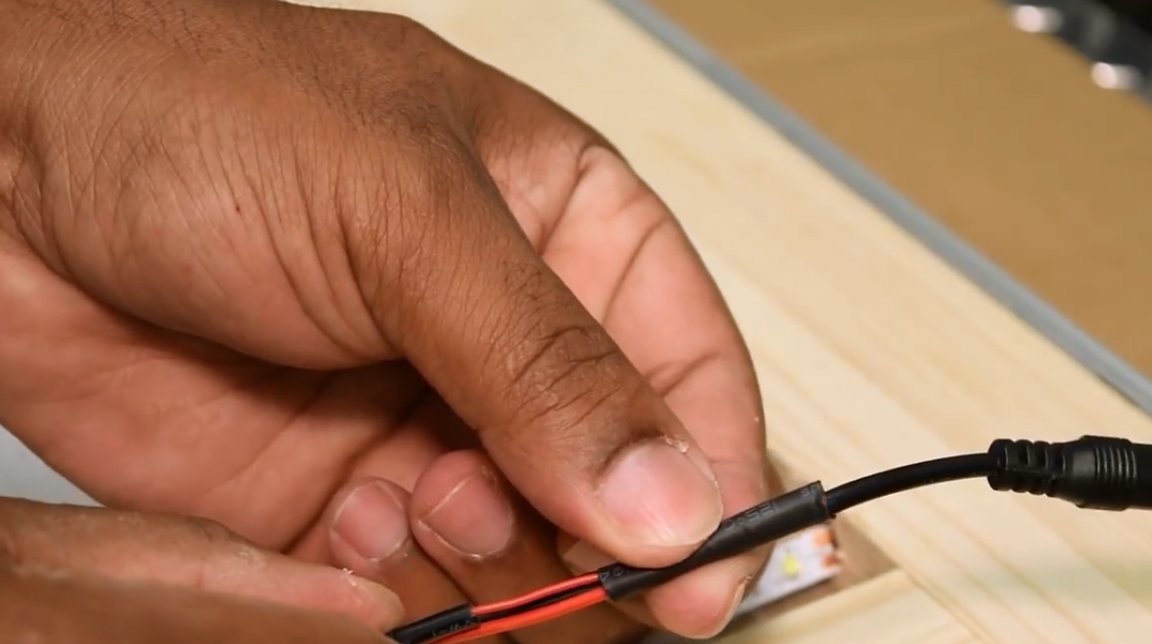
The author has only one connector on the power supply. He decides to cut the wires to connect the parts of the two-wire wire. So, there are three wires to be connected. This tape is one-color, but if you want to experiment with color, you can hide the microcontroller in the back panel.
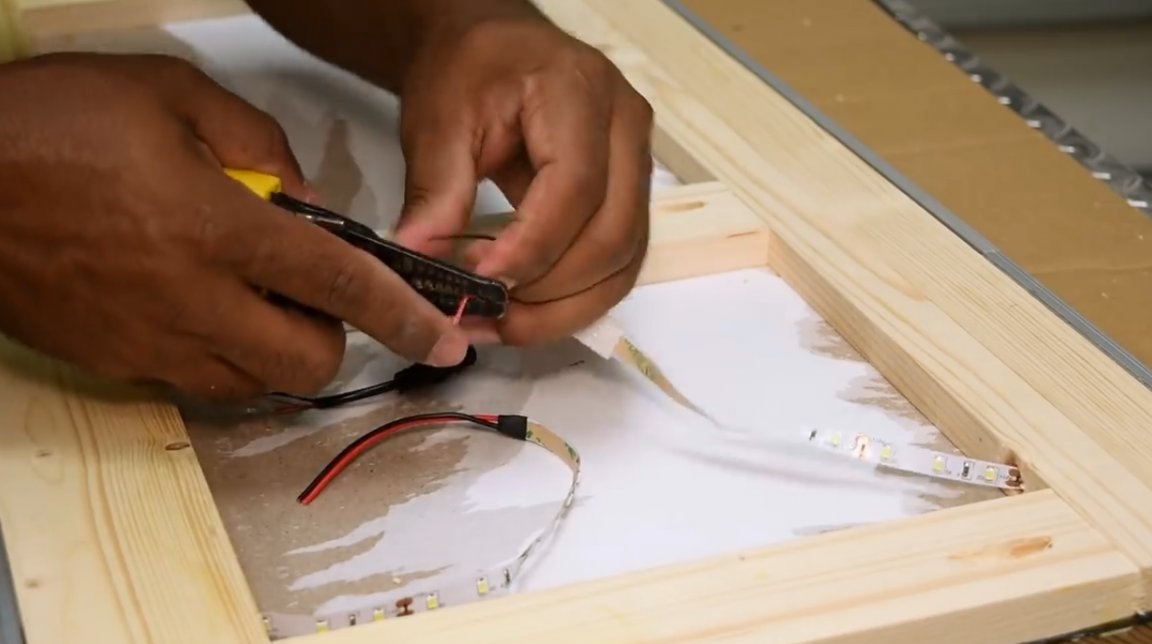
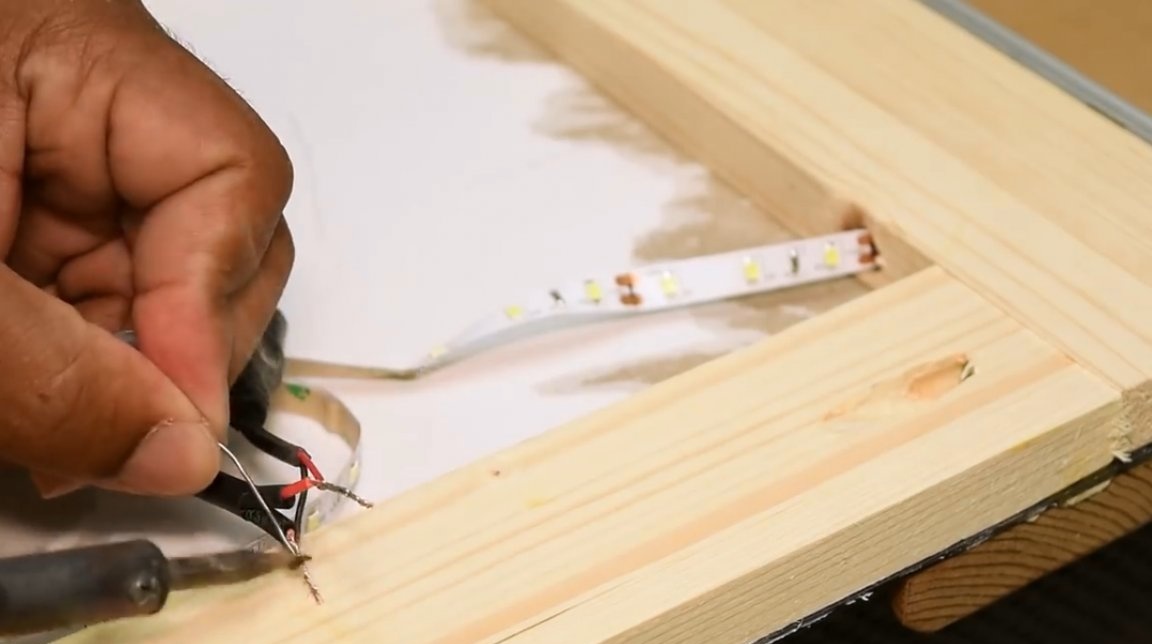
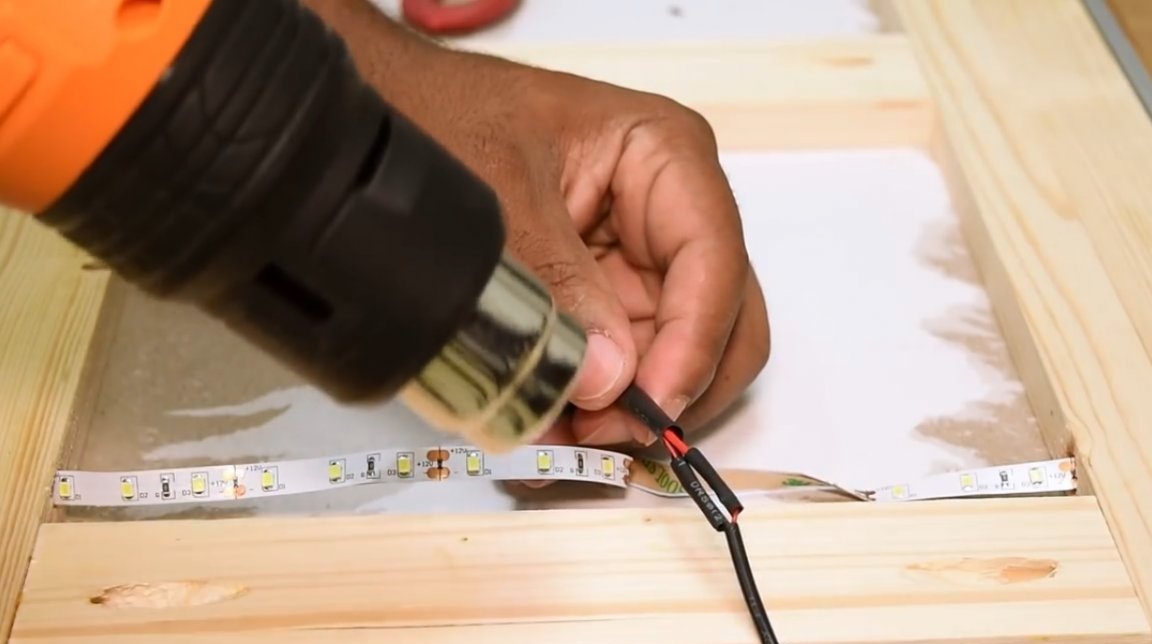
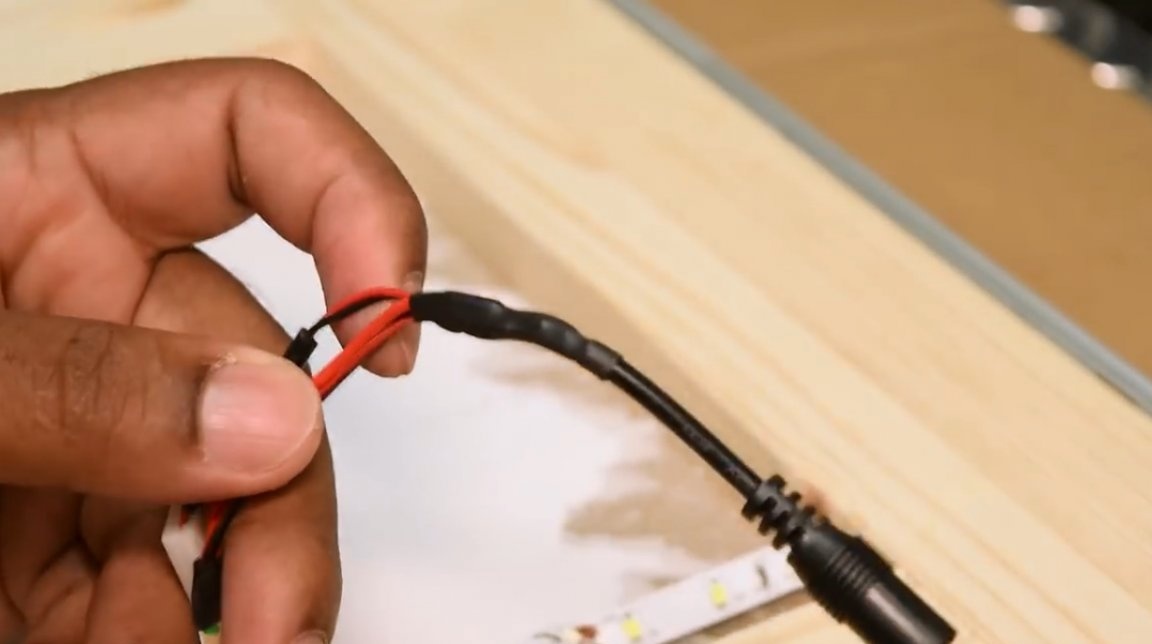
To simplify the circuit, the author solders the red wires with the red ones, and the black ones with the black ones, isolates the shrink-wound connections.
Now both tapes are connected to one power connector.

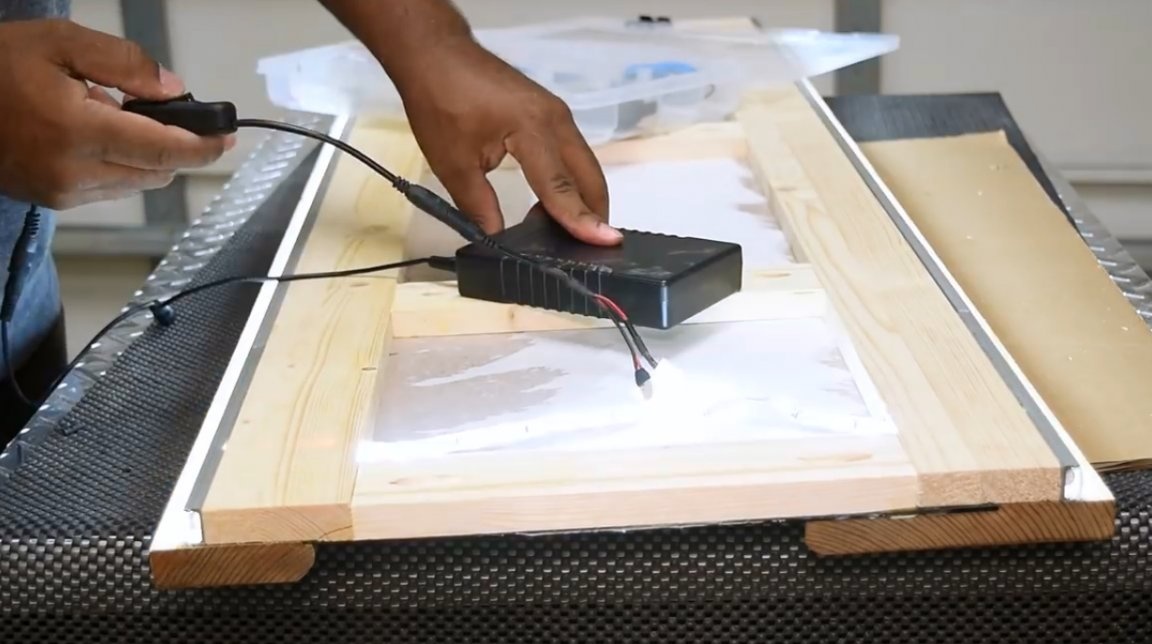
Just in case, checks the tape in operation.
Next, the wizard secures the rear panel.
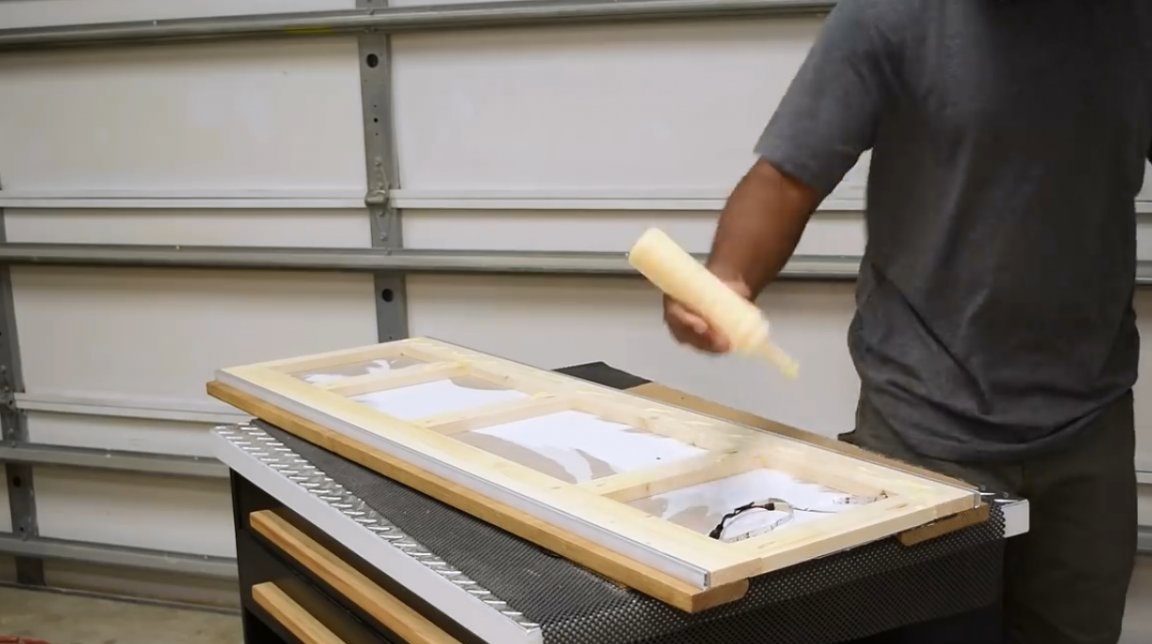
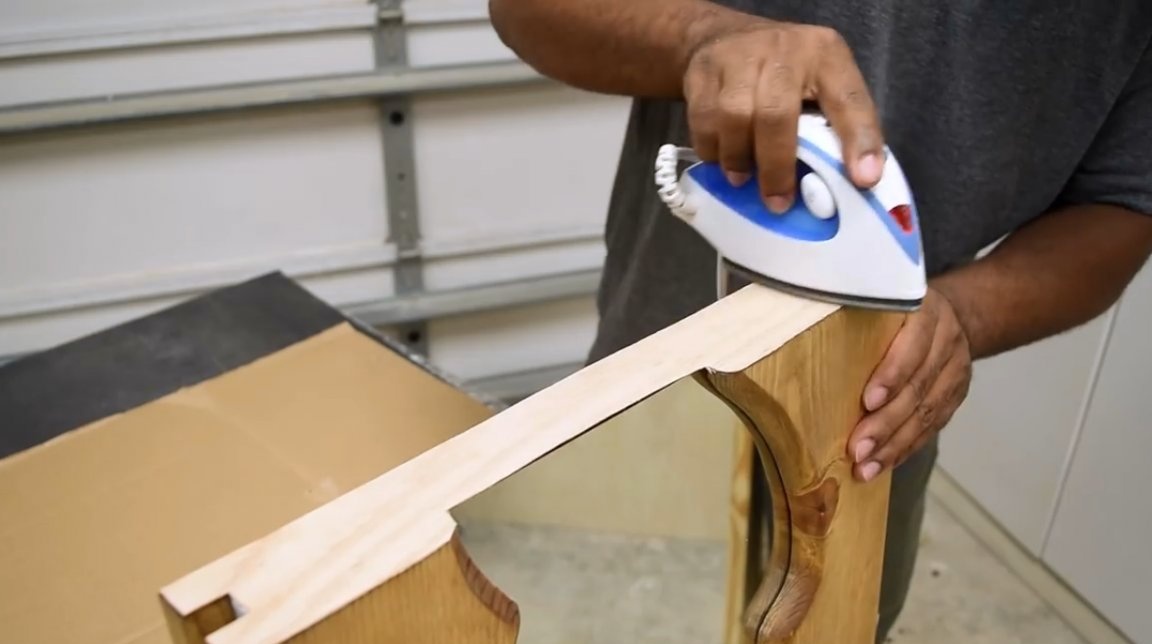
The upper part of the mirror remains un-edged. The author completes this step by sealing open wood fibers with veneer veneers.
The connector itself is installed at the bottom of the mirror and connected to the wires.

In conclusion, the author applies two layers of satin / silk varnish.

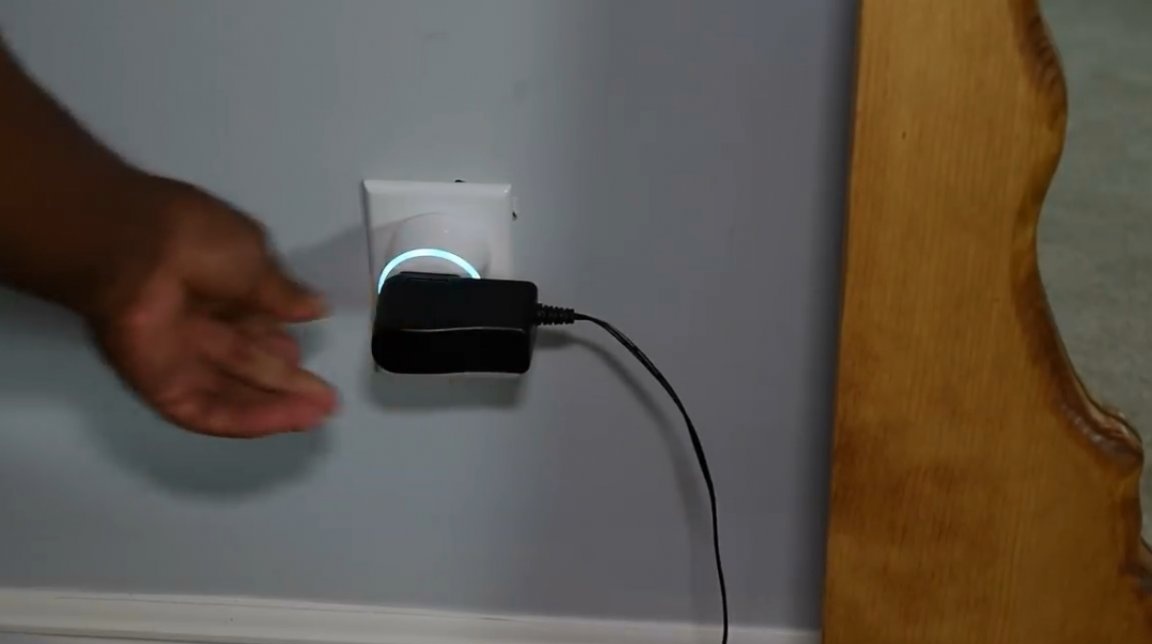
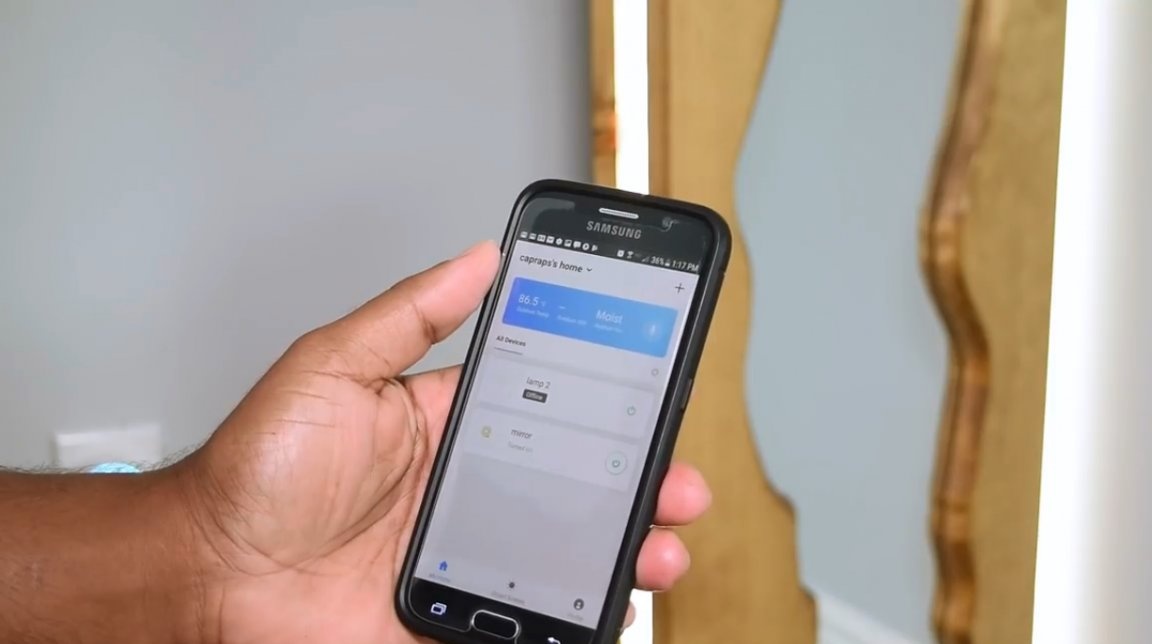
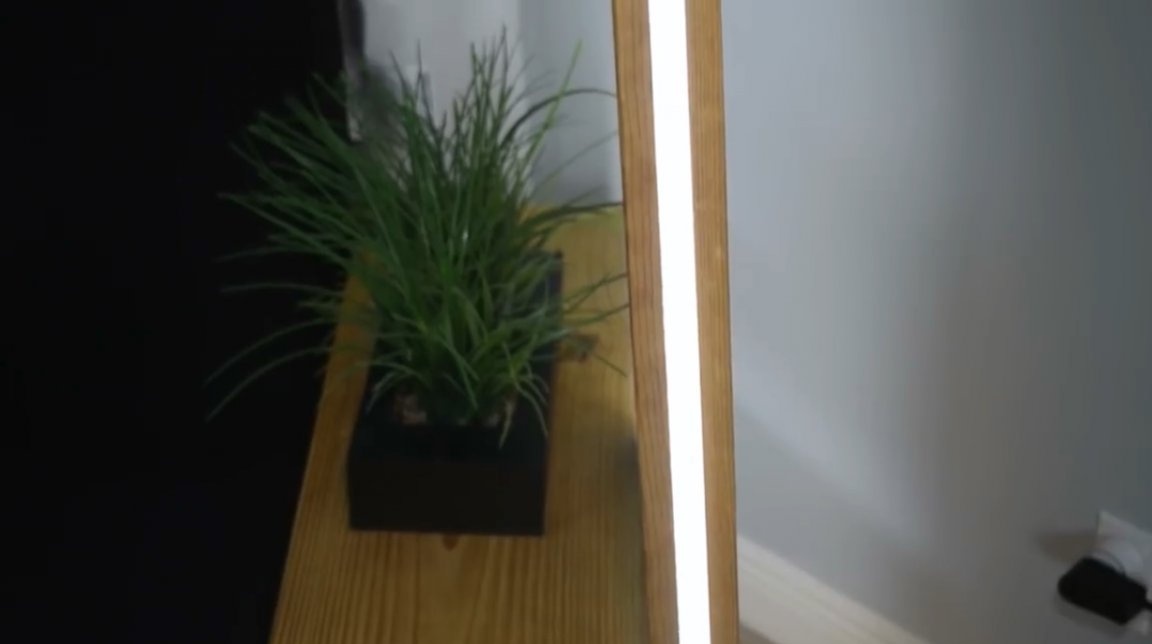
To adjust the backlight, the author uses a special smart wifi socket. Everything that works from 220 volts can be connected to it. In addition, it can be controlled from a smartphone or other device that has Wi-Fi.

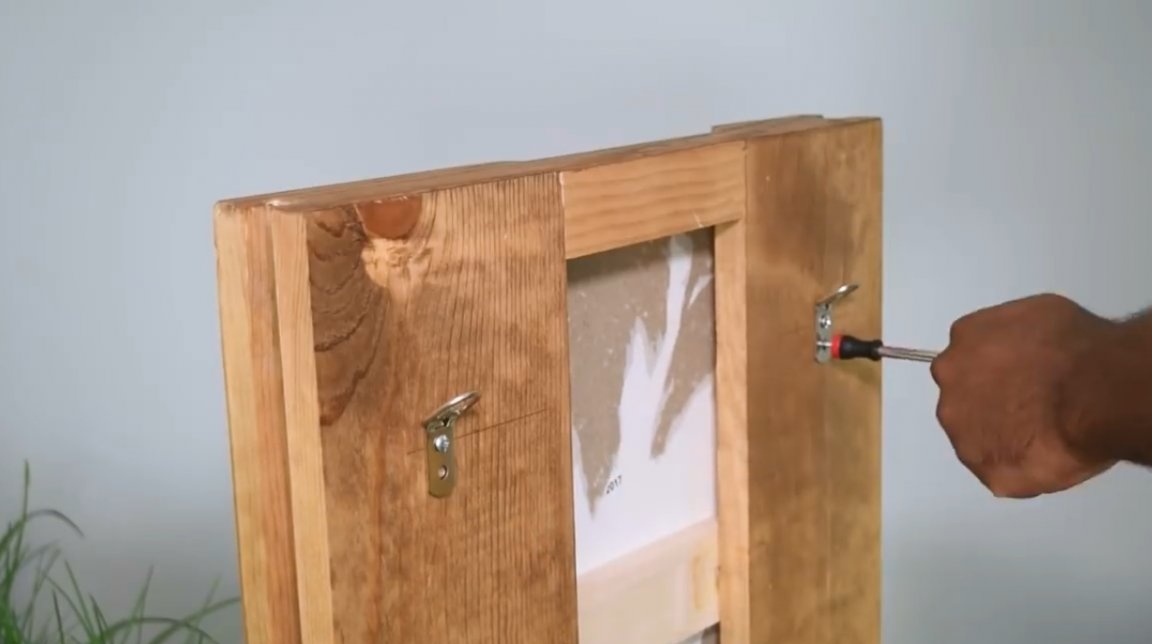
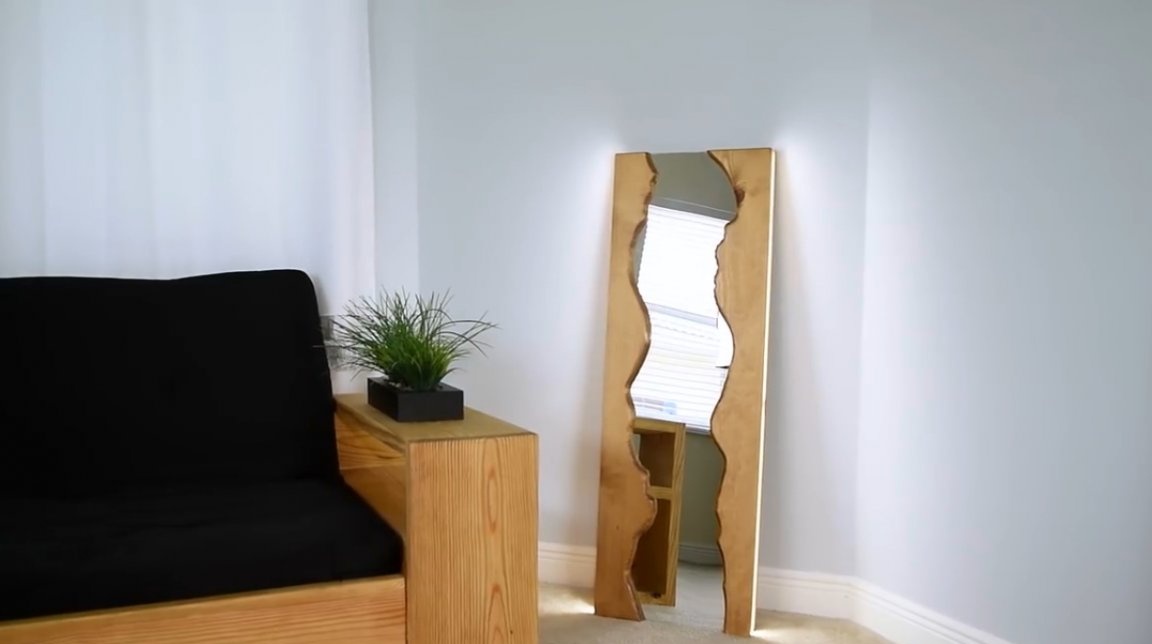
If there is a need to hang the mirror on the wall, reinforced hinges should be attached to the rear panel, because the mirror is quite heavy.
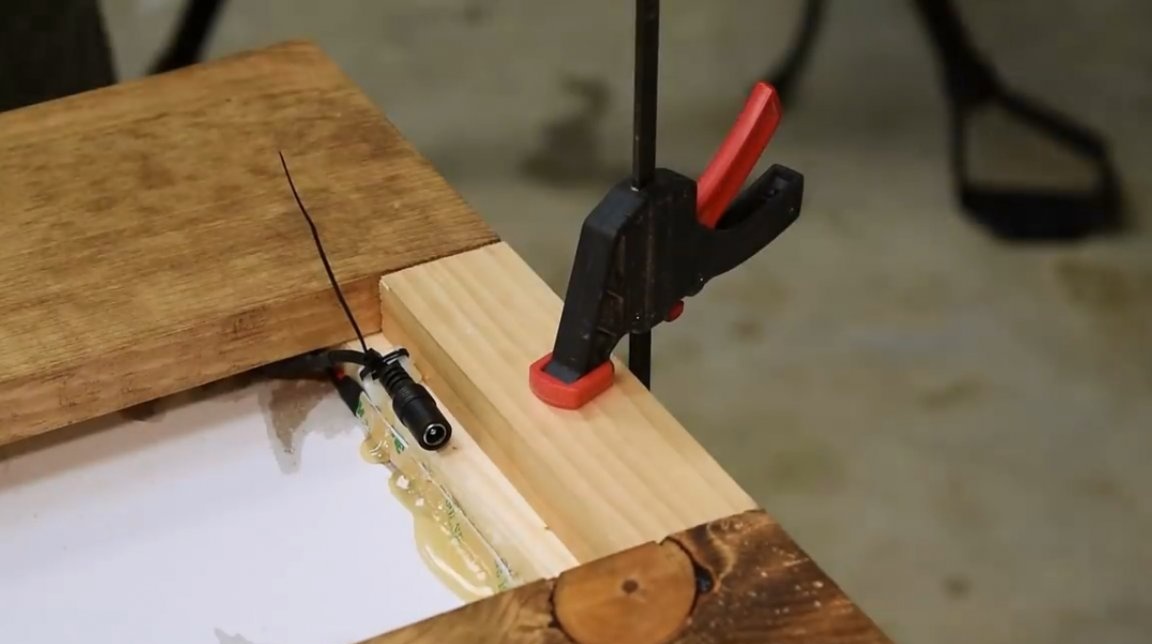
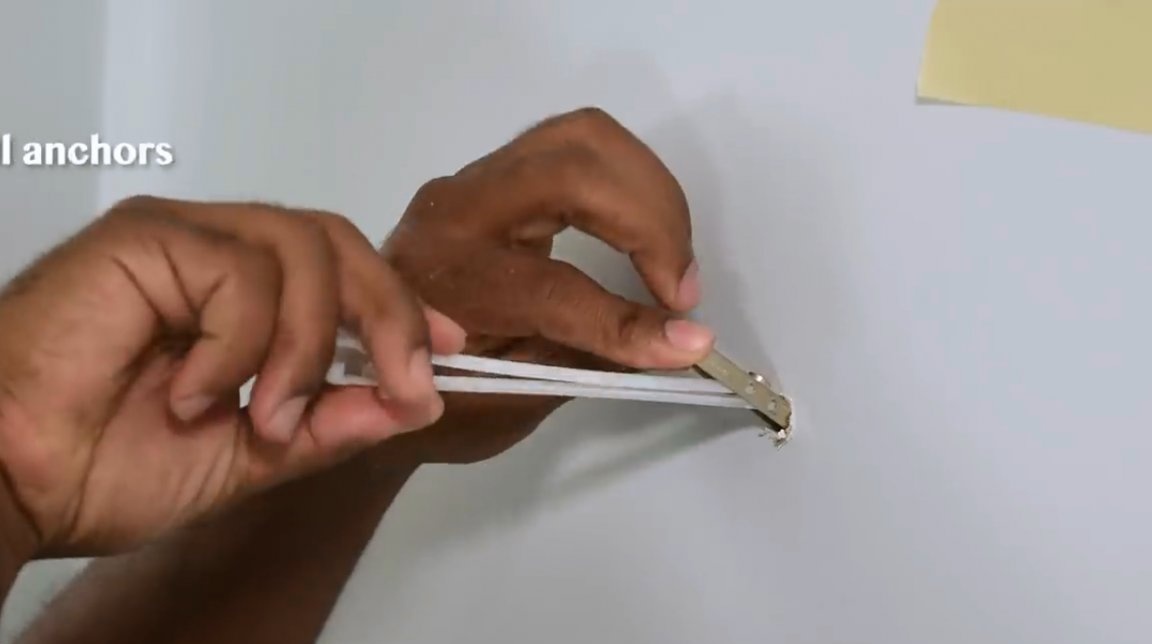
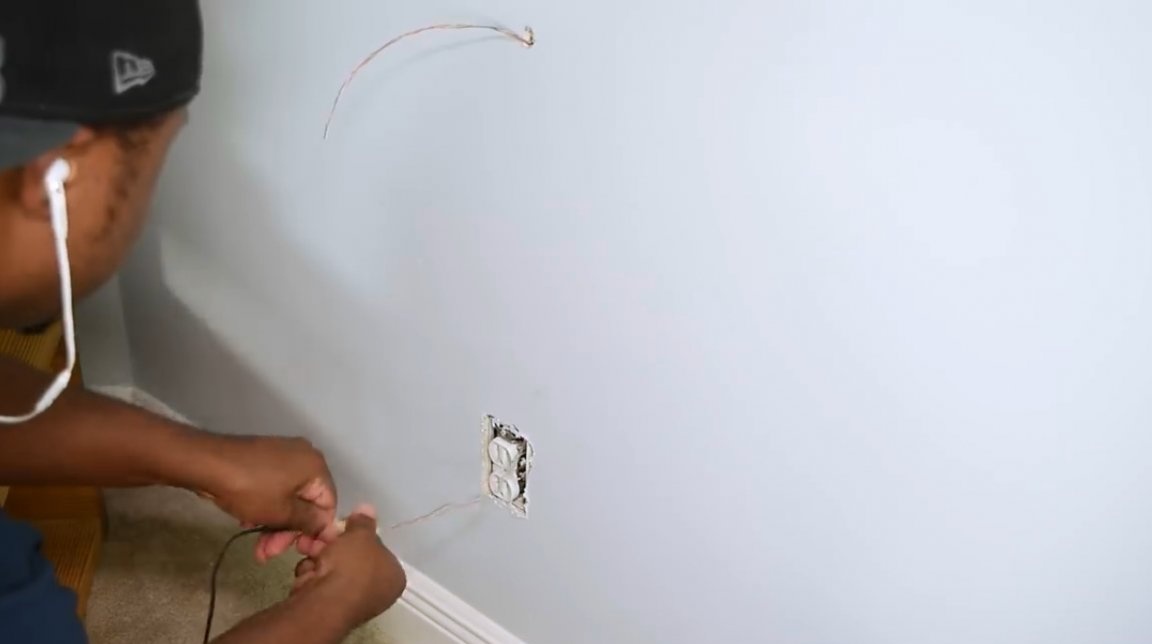
In order to stealthly conduct the wire behind the drywall, the master used a thin wire with a small weight.

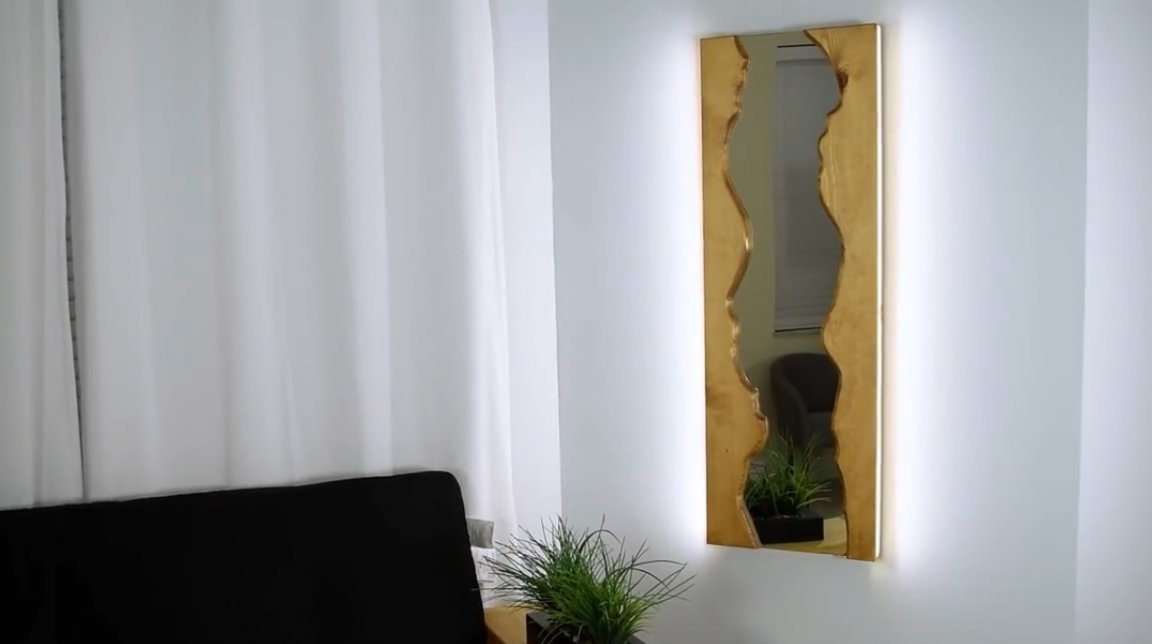
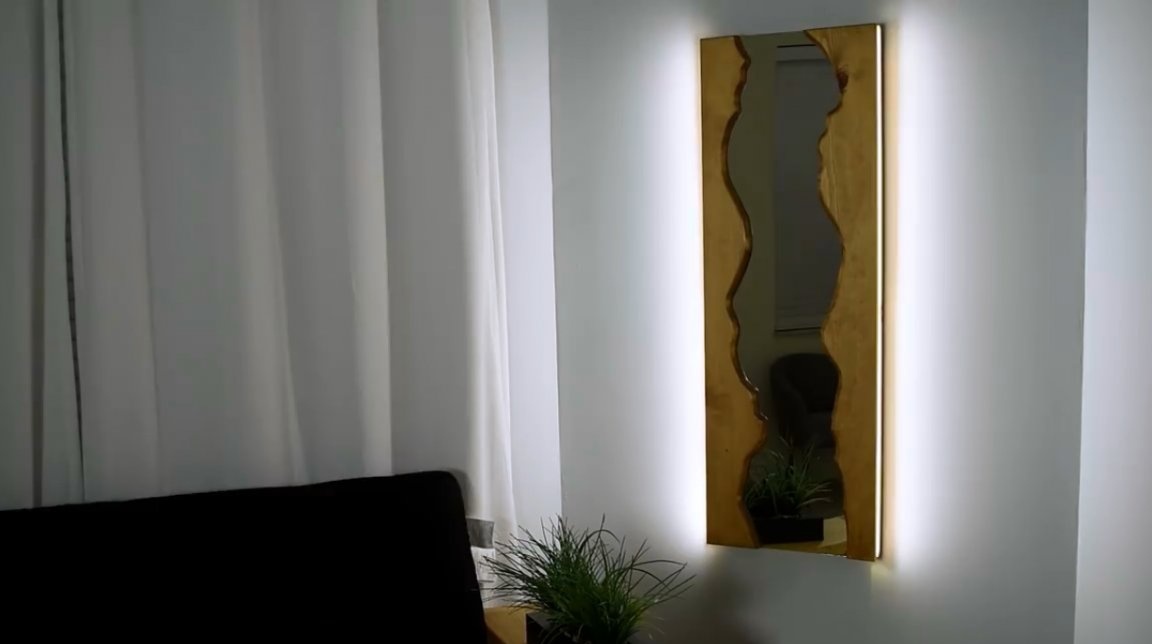
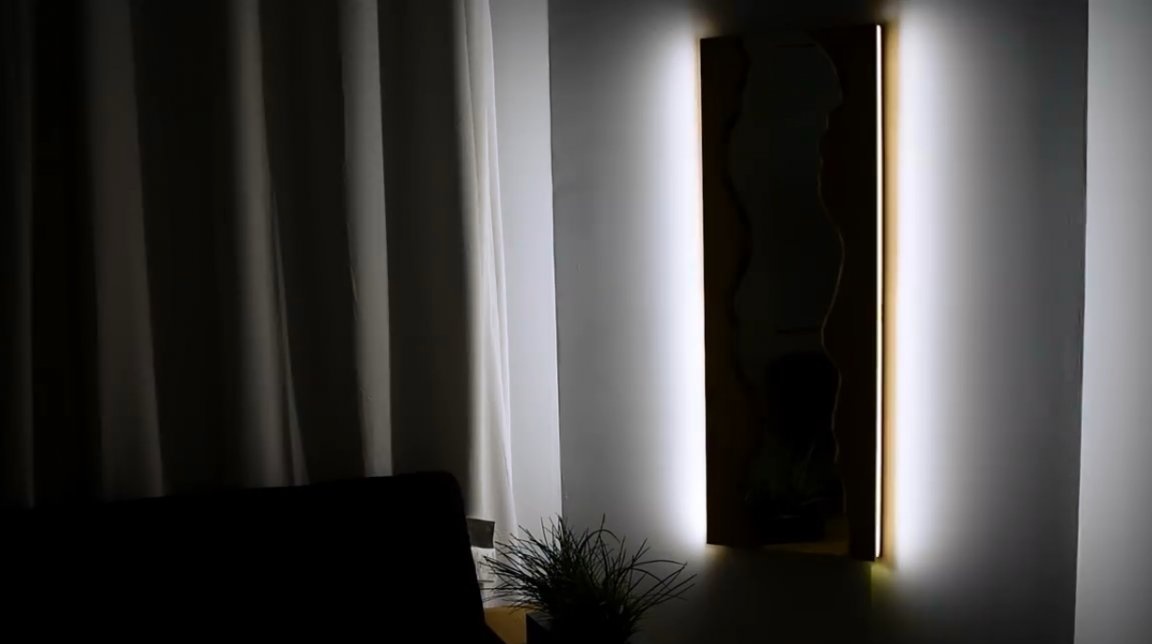
Take a look at how the backlight works under different lighting conditions!
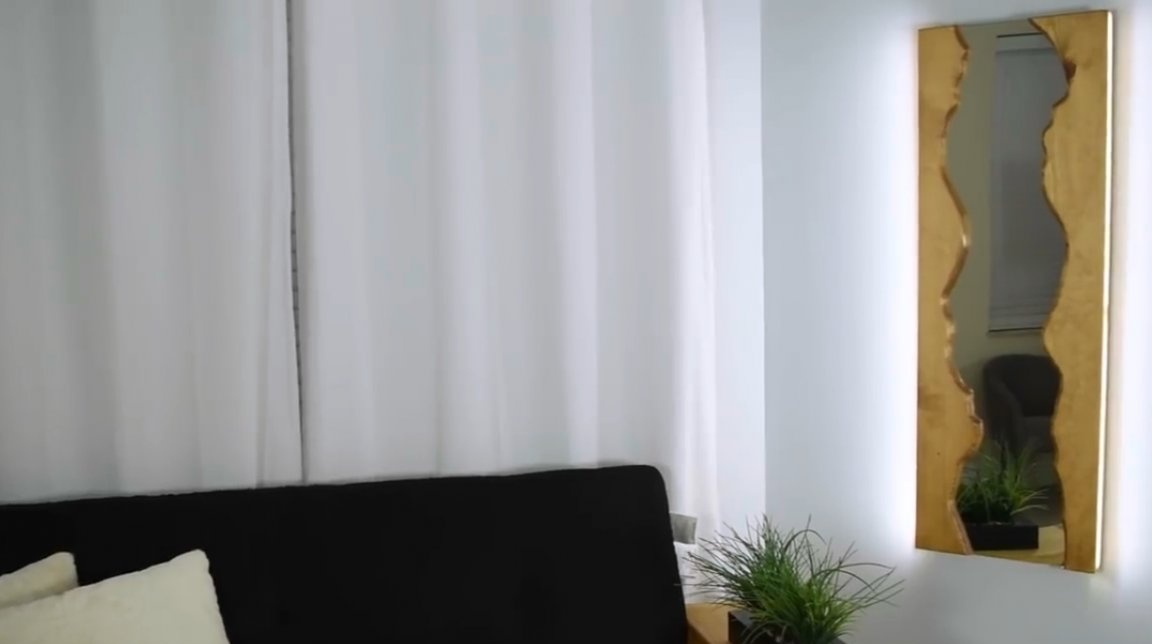
Thanks to the author for the interesting idea of a mirror with controlled backlight!
All good mood, good luck, and interesting ideas!
Author video can be found here.