
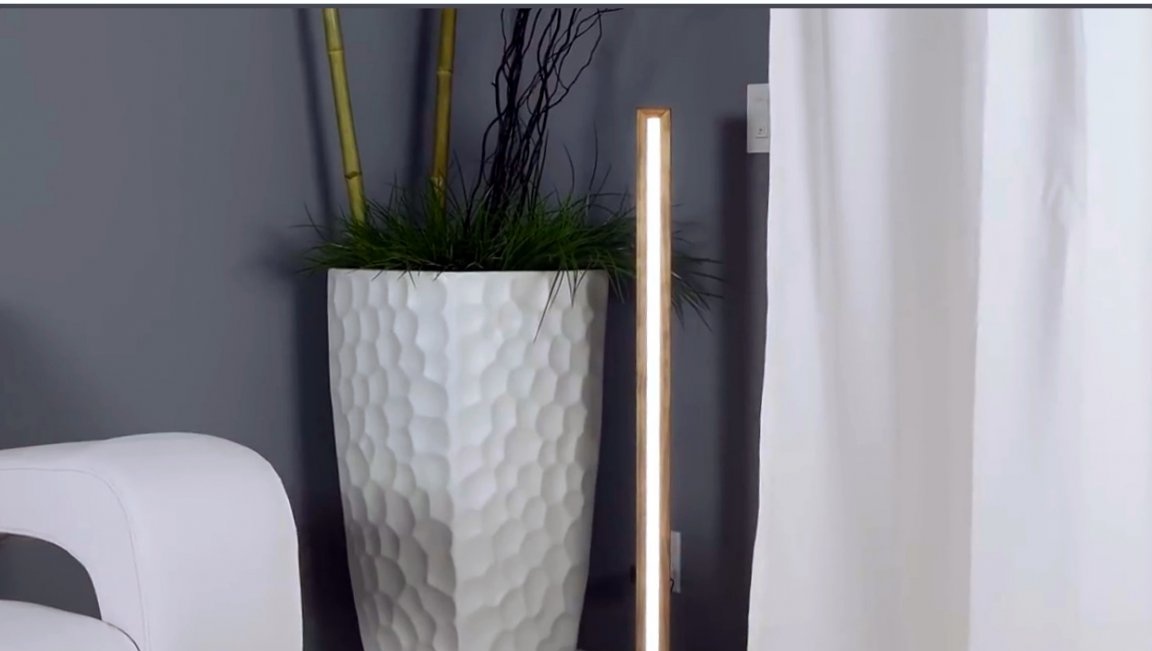
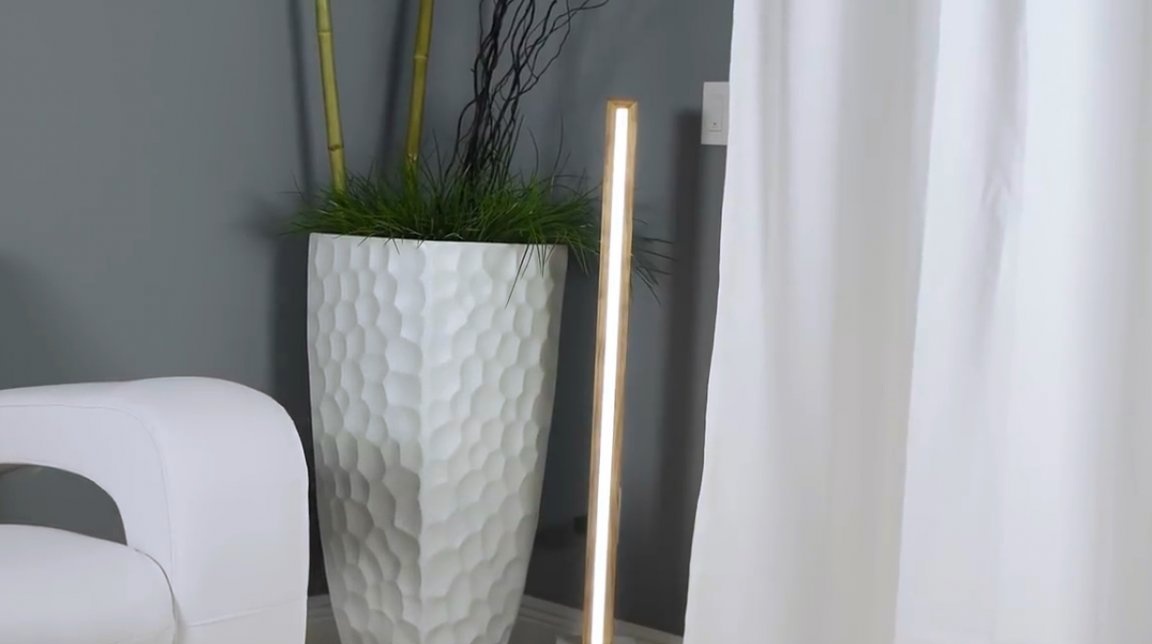
In this article, the author of the DIY Creators YouTube channel will describe and show you how home workshop to make a decorative portable LED lamp. In addition, it can be turned on and off from a smartphone remotely.
Materials
- Sheet laminated plywood
- Pine boards
—
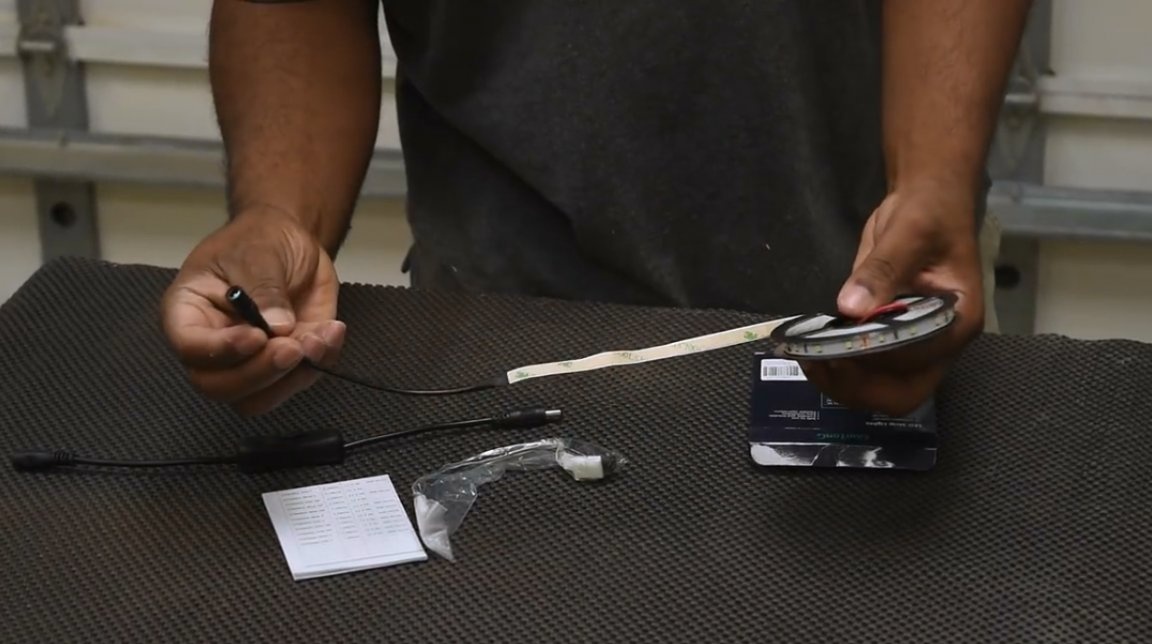
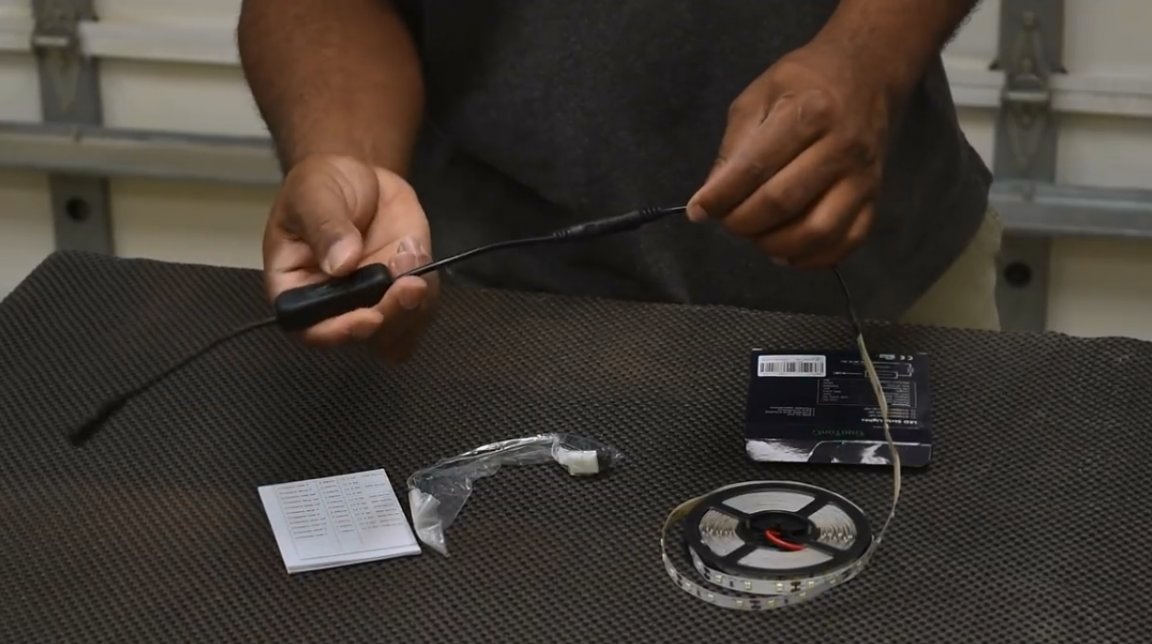
- LED Strip Light
- Power supply 12 V, 2 A
—
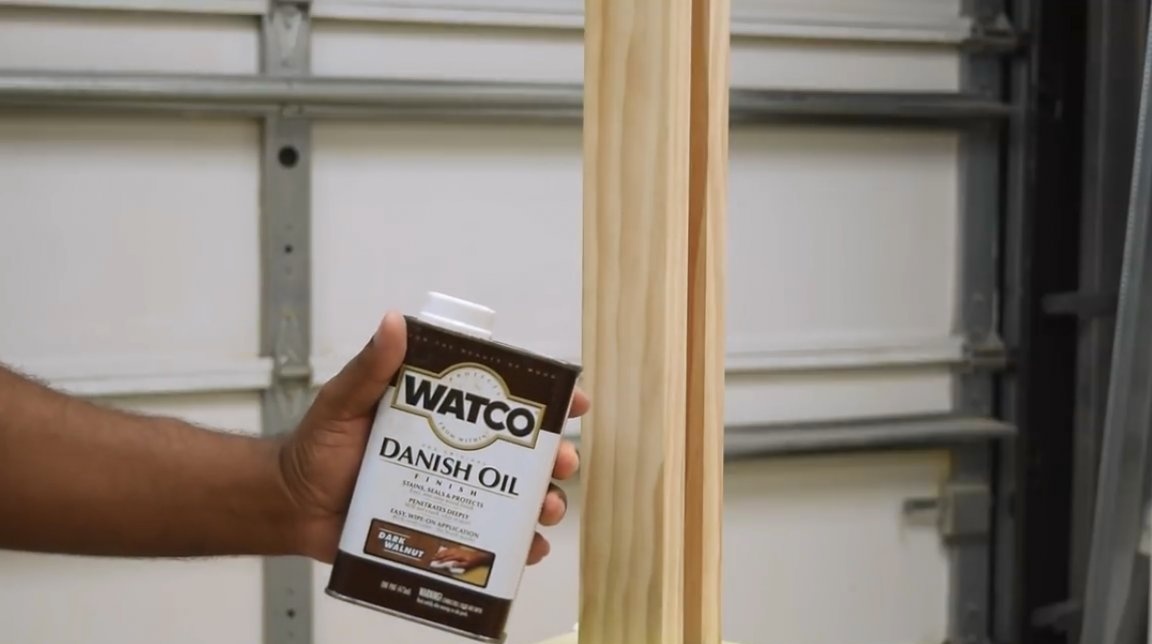
- Danish oil, PVA glue
- Wood screws
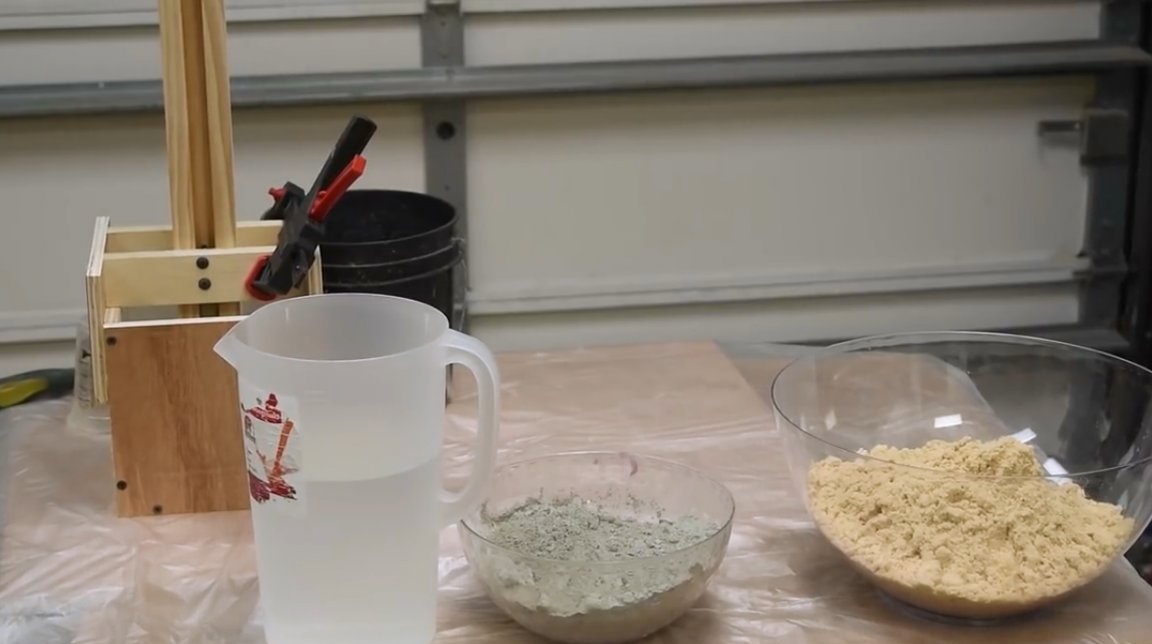
- Cement, sand, steel mesh
- Sandpaper.
Instruments, used by the author.
—
—
- A circular saw
—
- Trowel, hacksaw, mallet, scissors for metal
- Miter box, tape measure, level, square, pencil.
Manufacturing process.
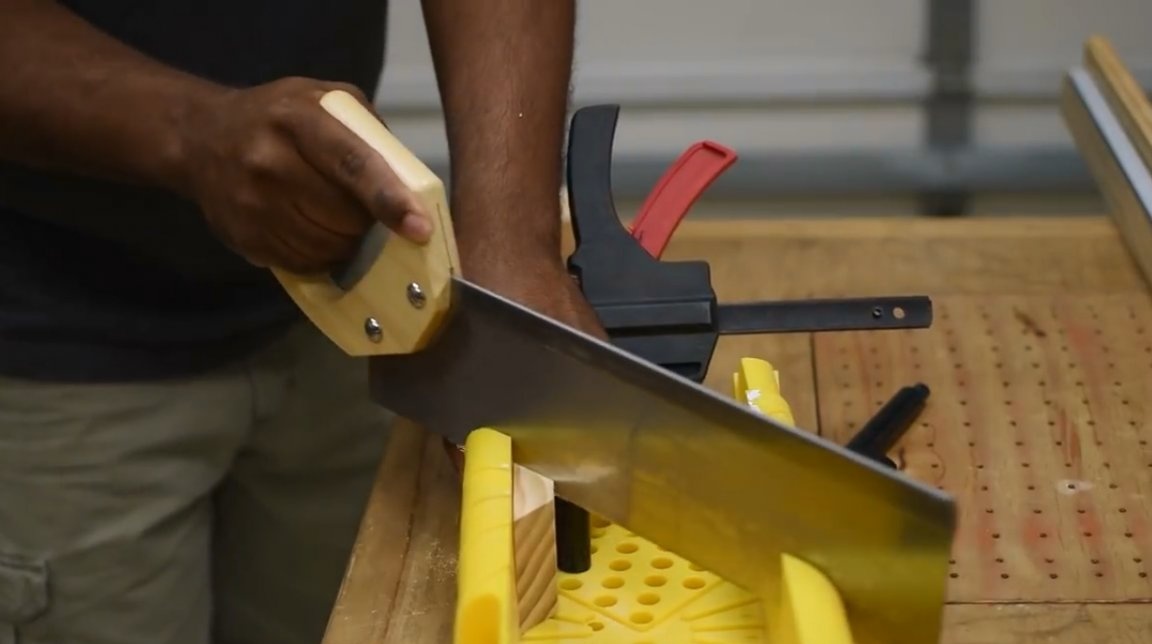
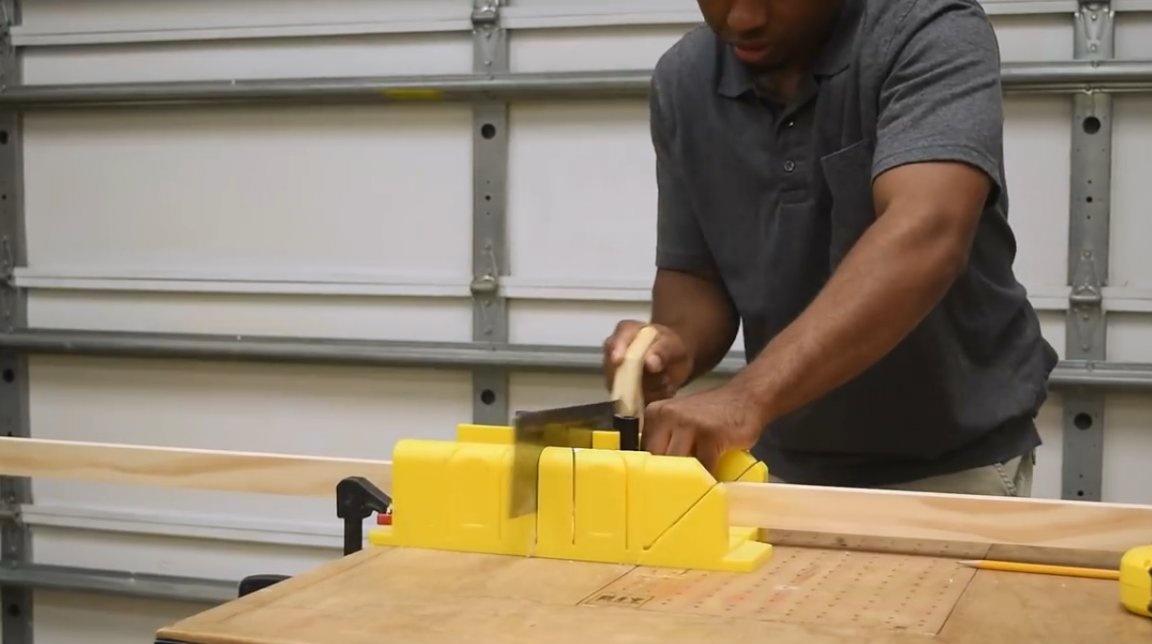
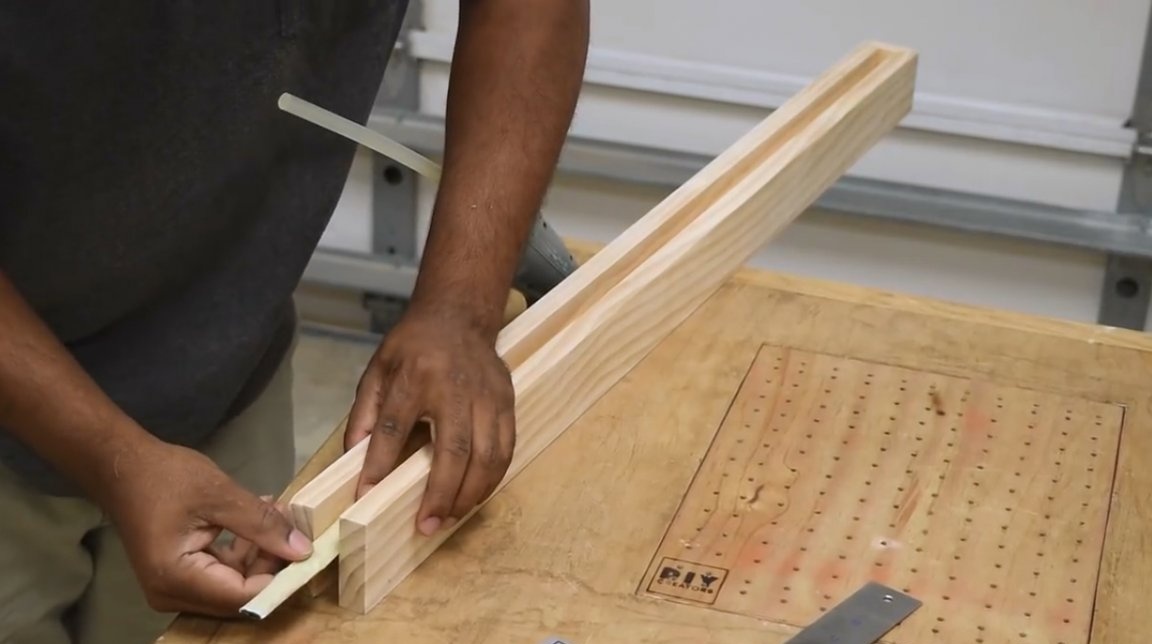
The master cuts the pine beam in half. He uses a miter box for a corner cut. The first cut will be made at an angle of 45 degrees, resulting in two elements, one end of each of which will have such an angle.

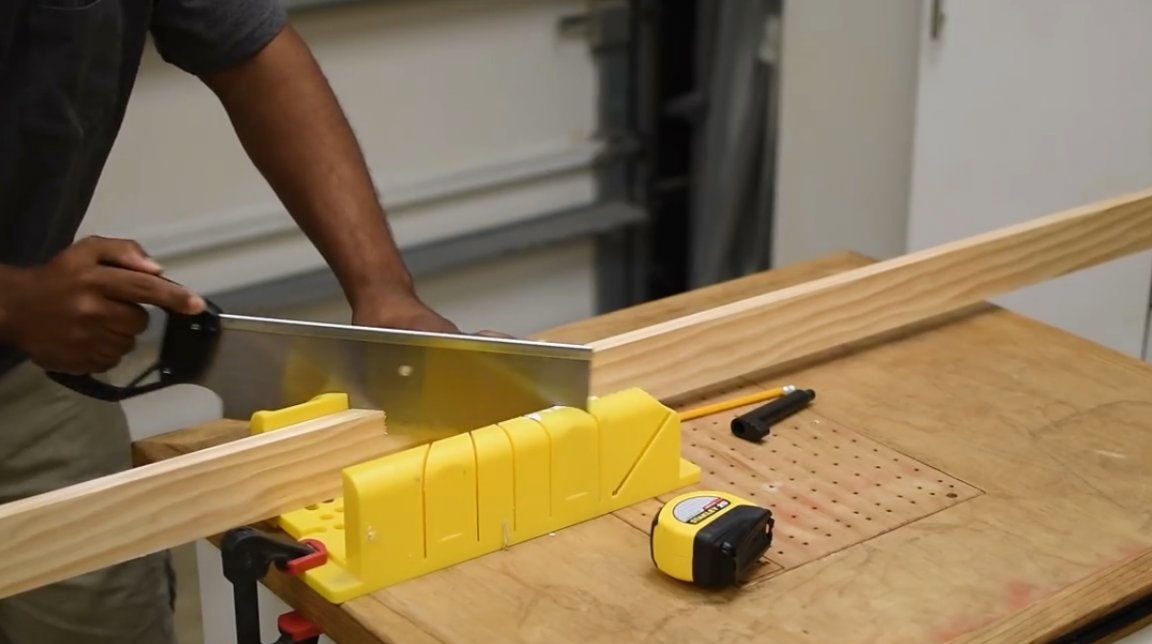
Then a short part is cut, which will have to connect those two long ones. Accordingly, its edges are cut at the same angle.
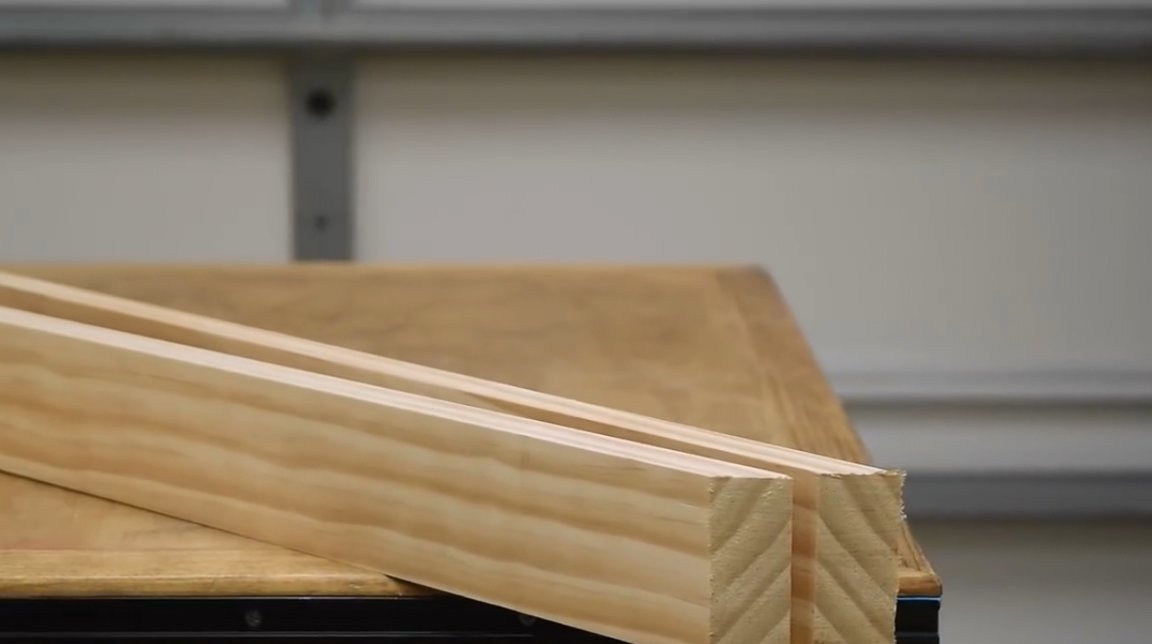
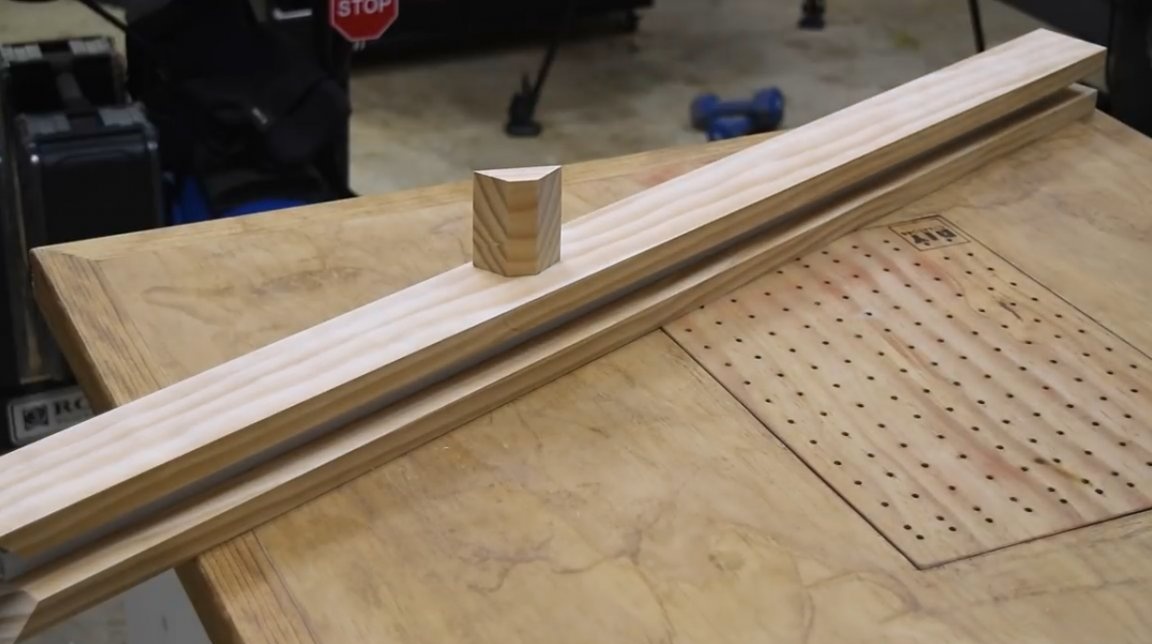
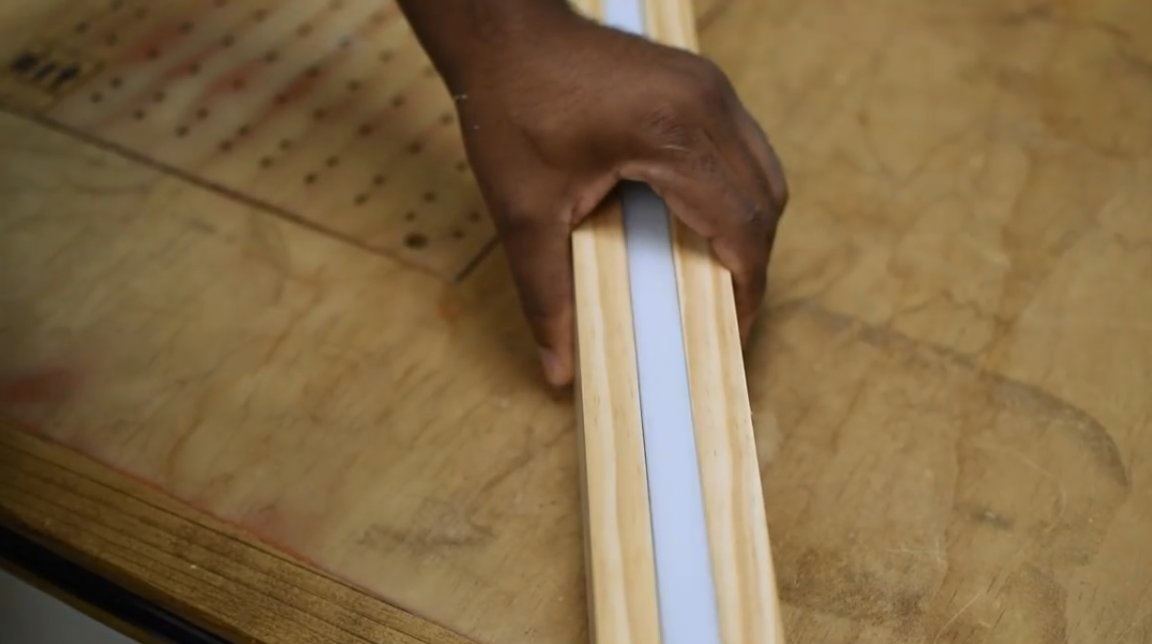
Next, another wooden piece is cut, which will be placed between two long elements.
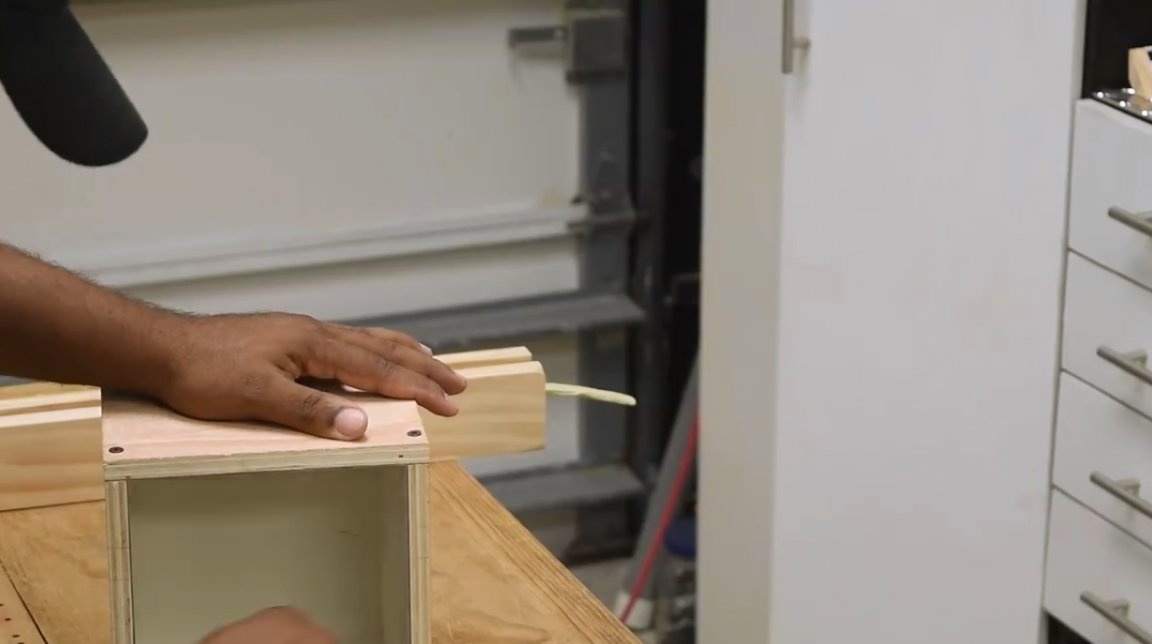
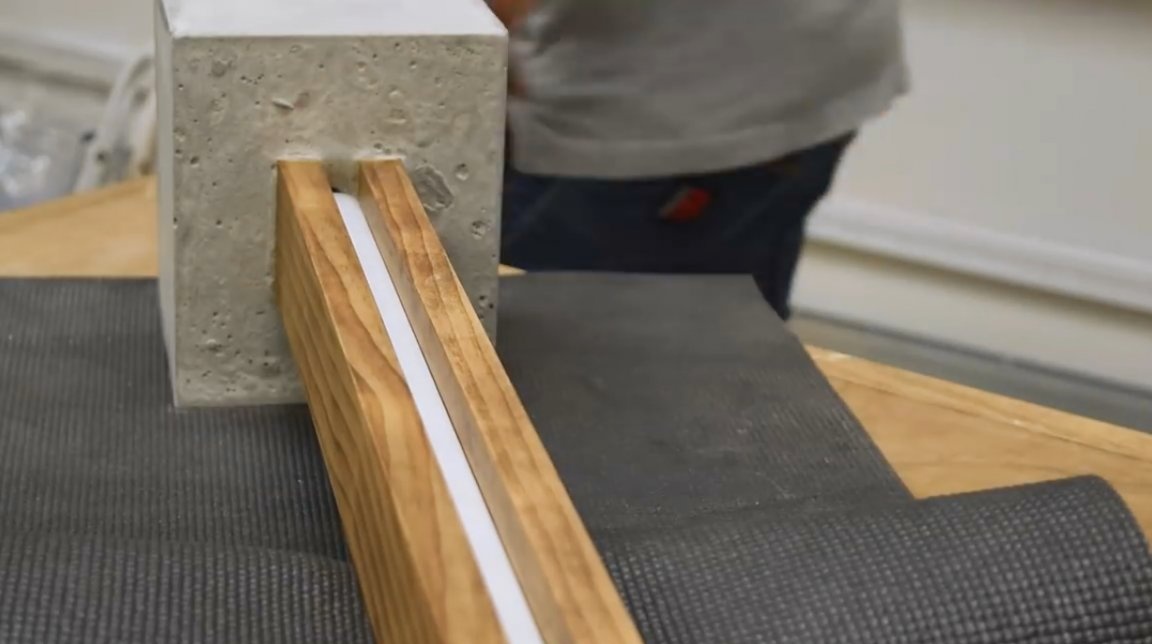
In the front part, an LED panel will be placed. The whole structure will look something like this. The upper end part of the structure will be closed with such a trapezoidal segment.
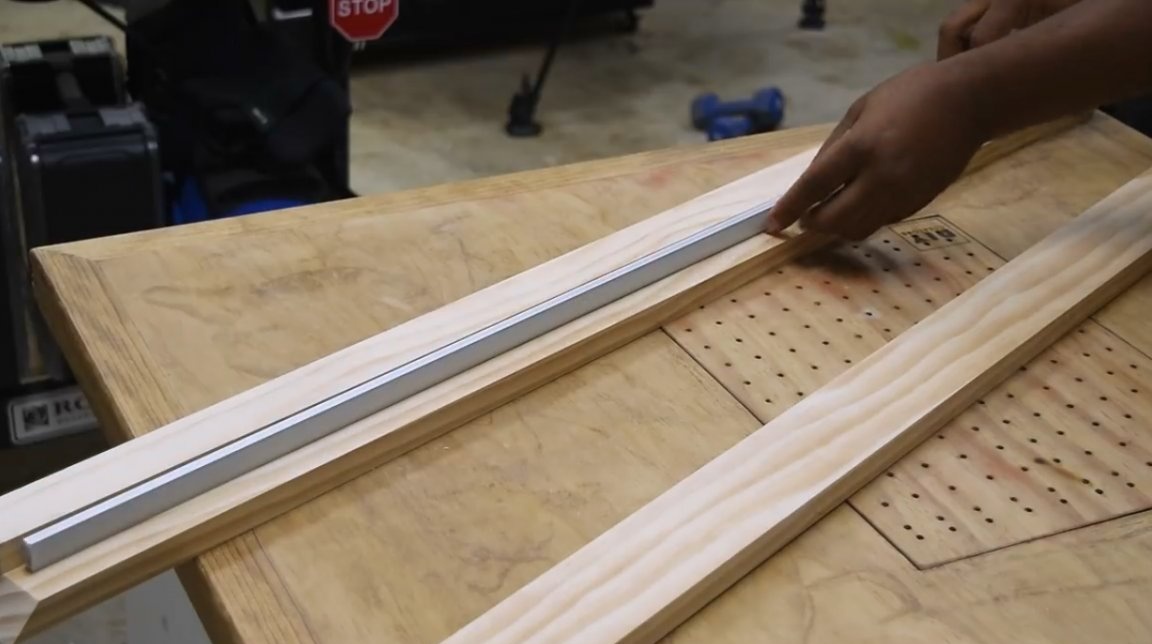
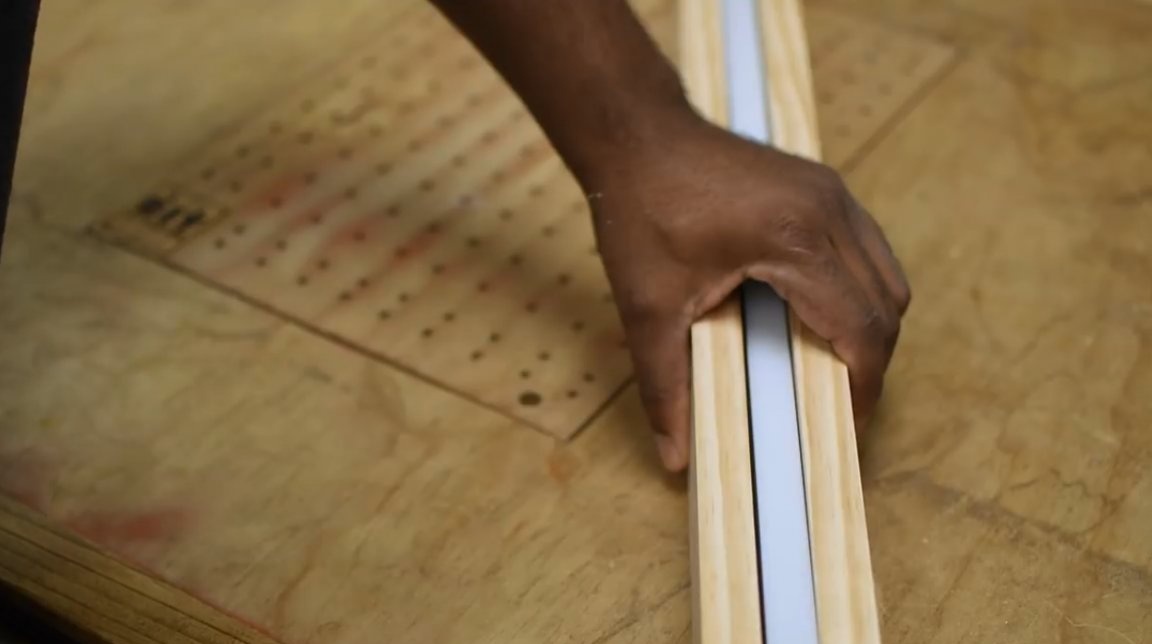
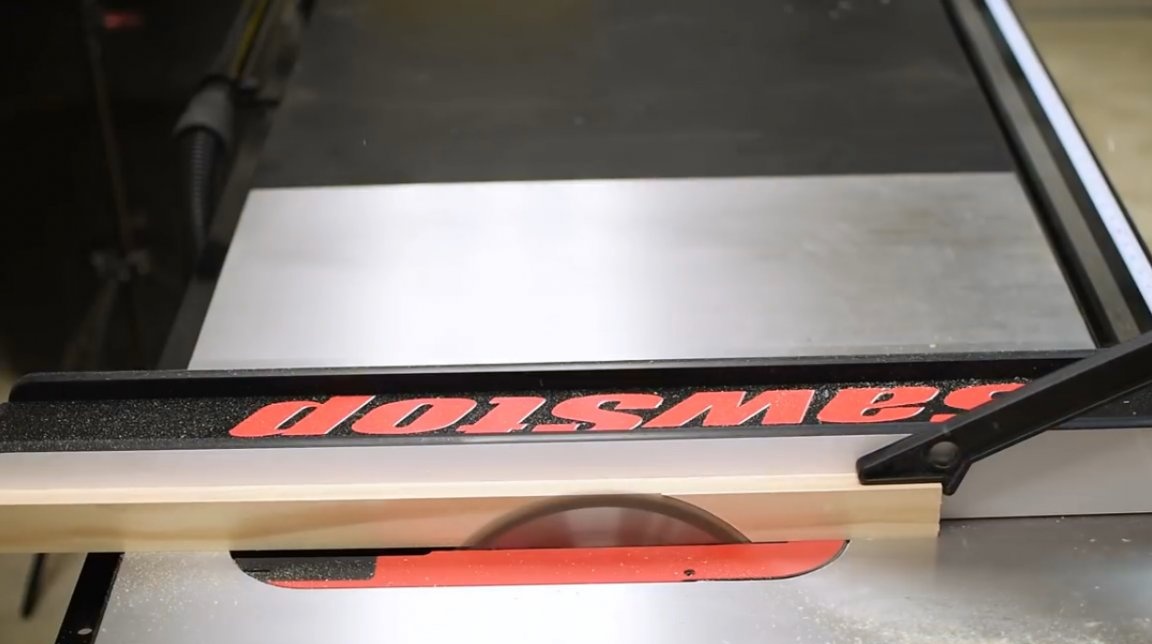
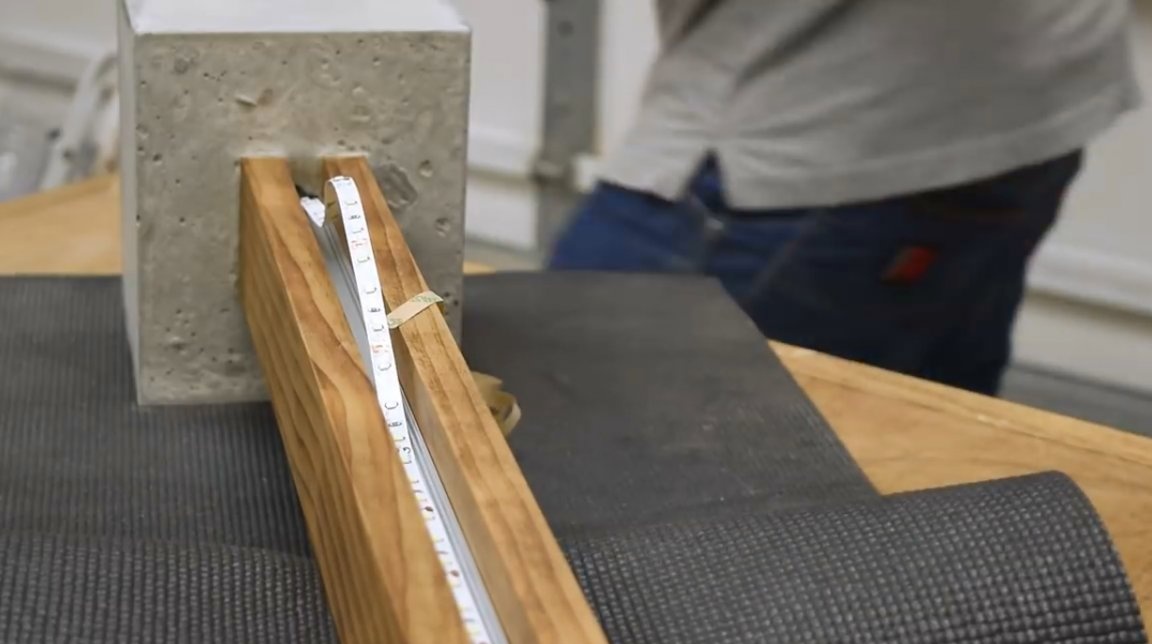
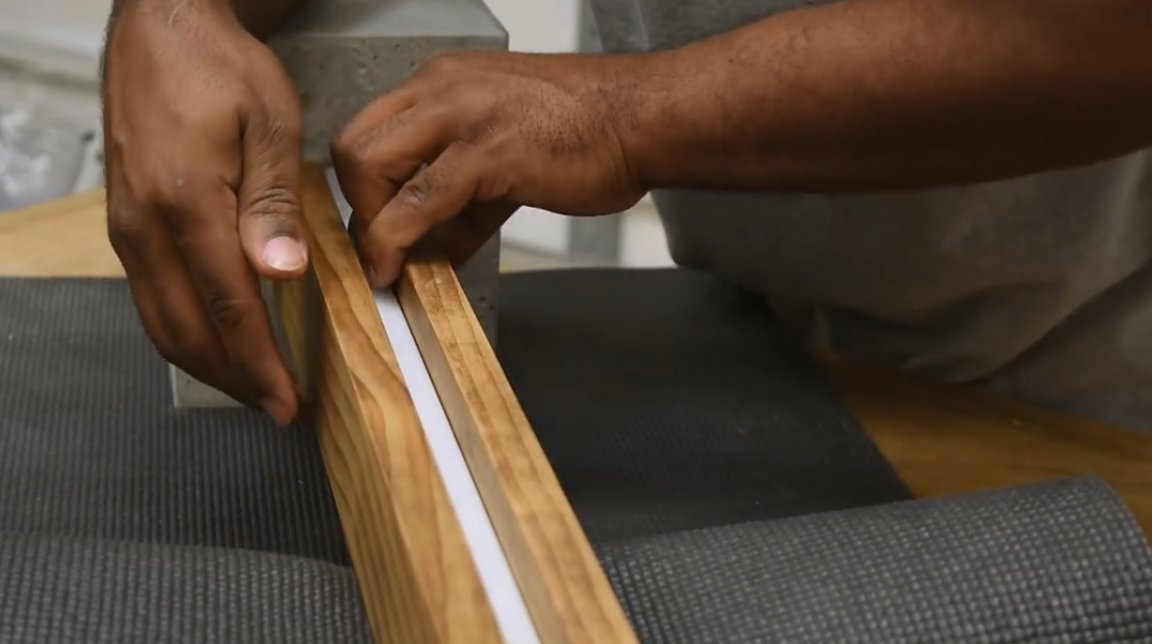
As you can see in the photo, there is a small gap between the profile for the LED strip and the two side panels. This can be left as is, but you can also slightly tighten the groove by cutting an additional thin layer from the central strip. If there is no circular saw in the workshop, this can be done with an ordinary manual planer.
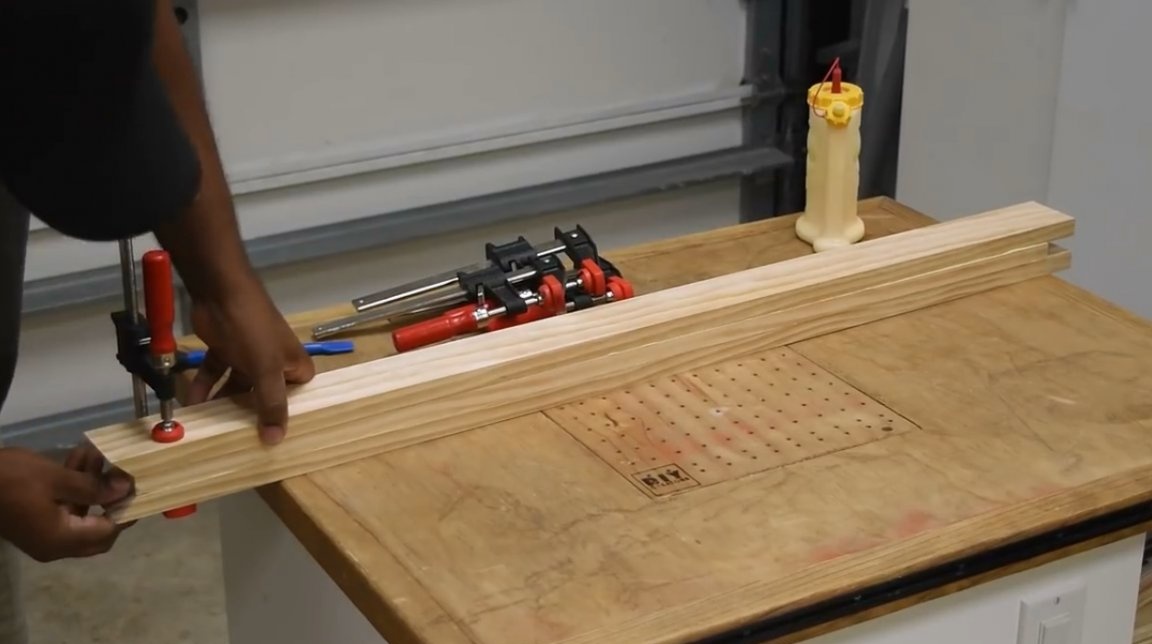
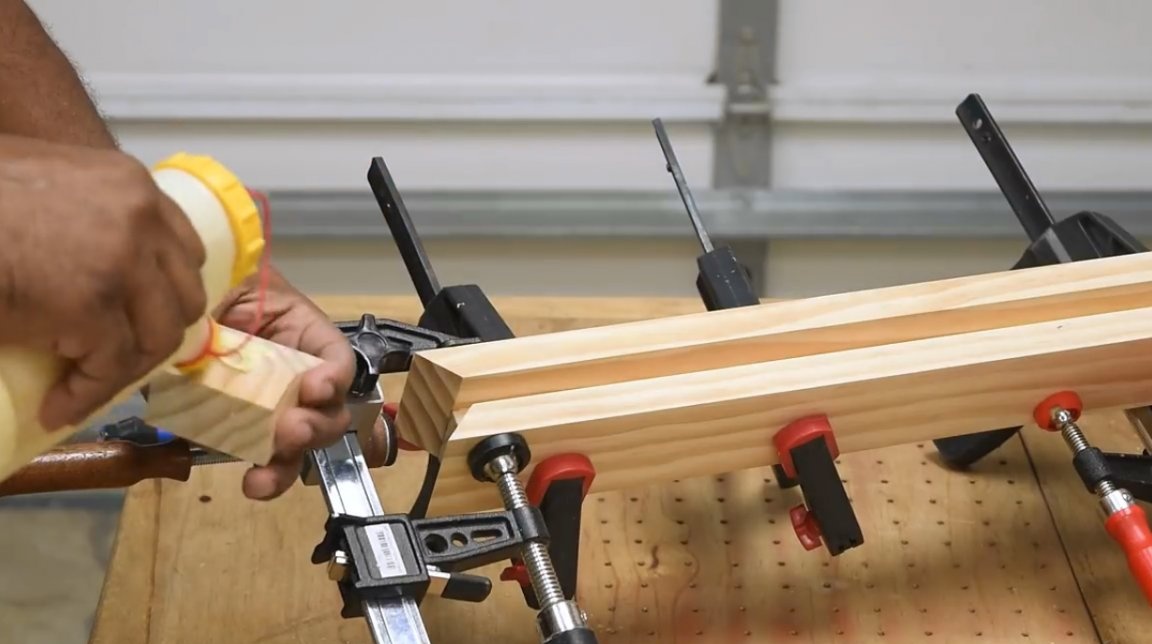
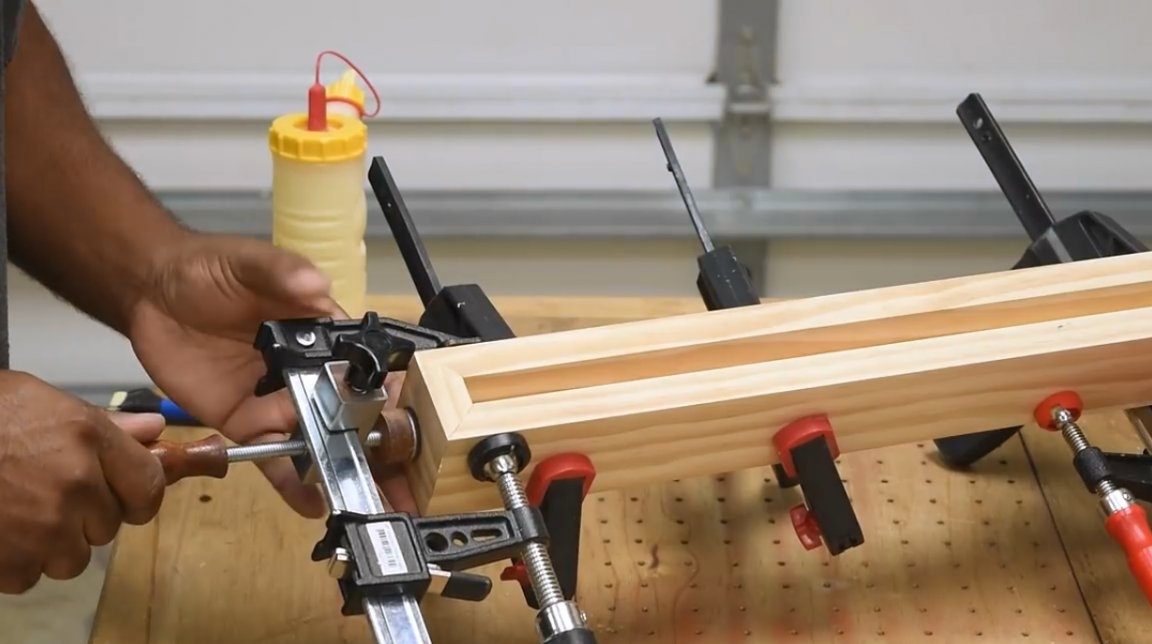
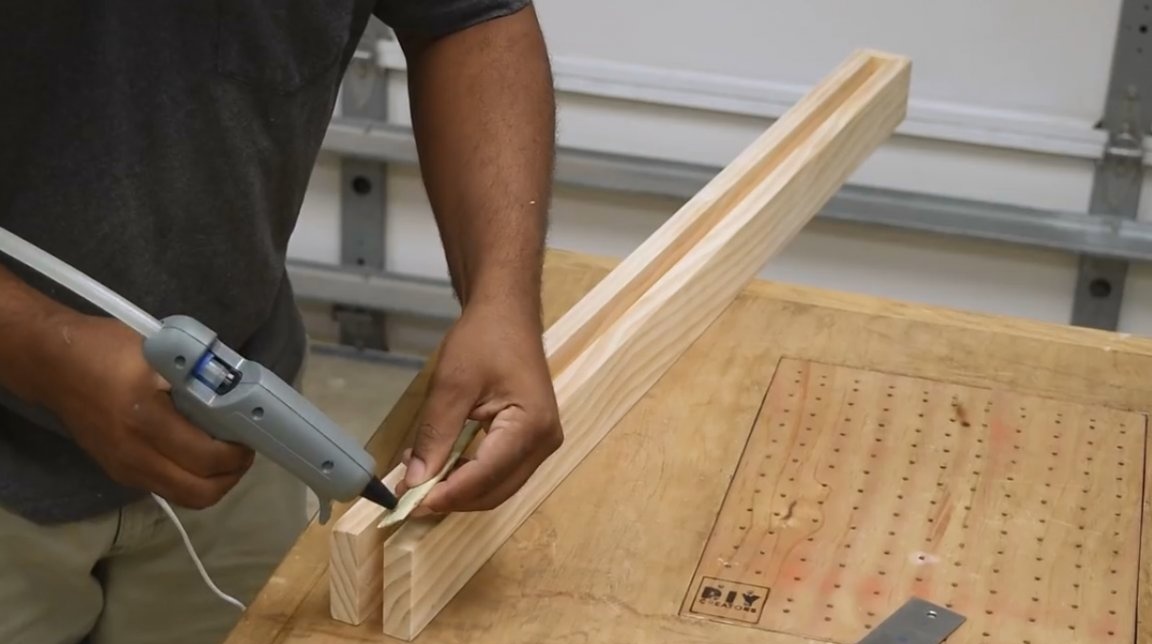
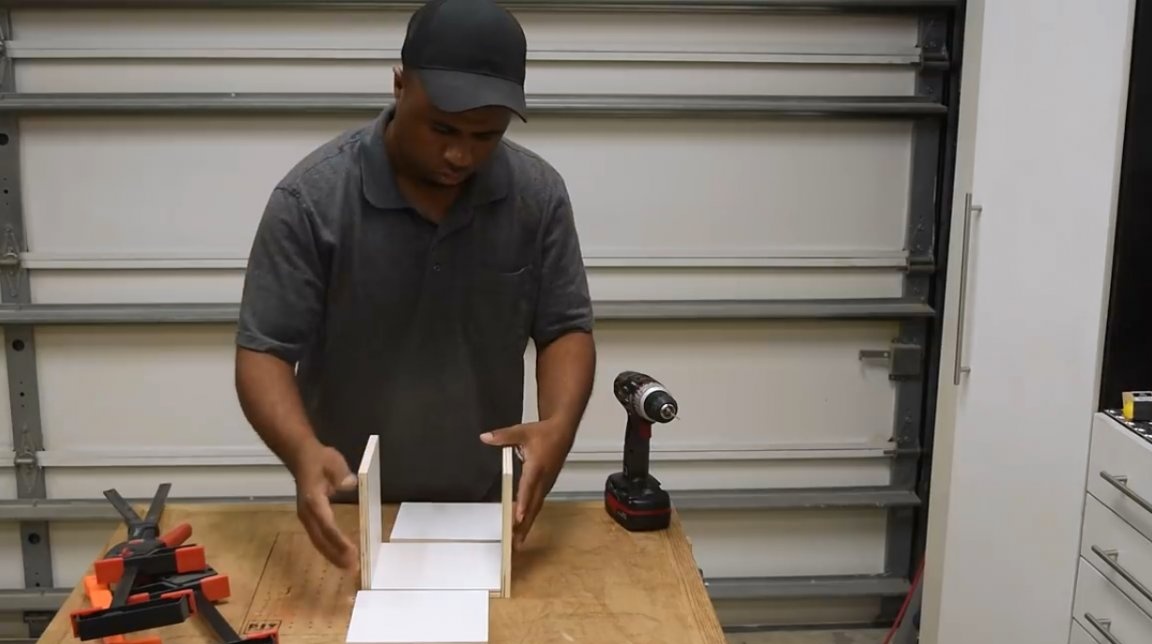
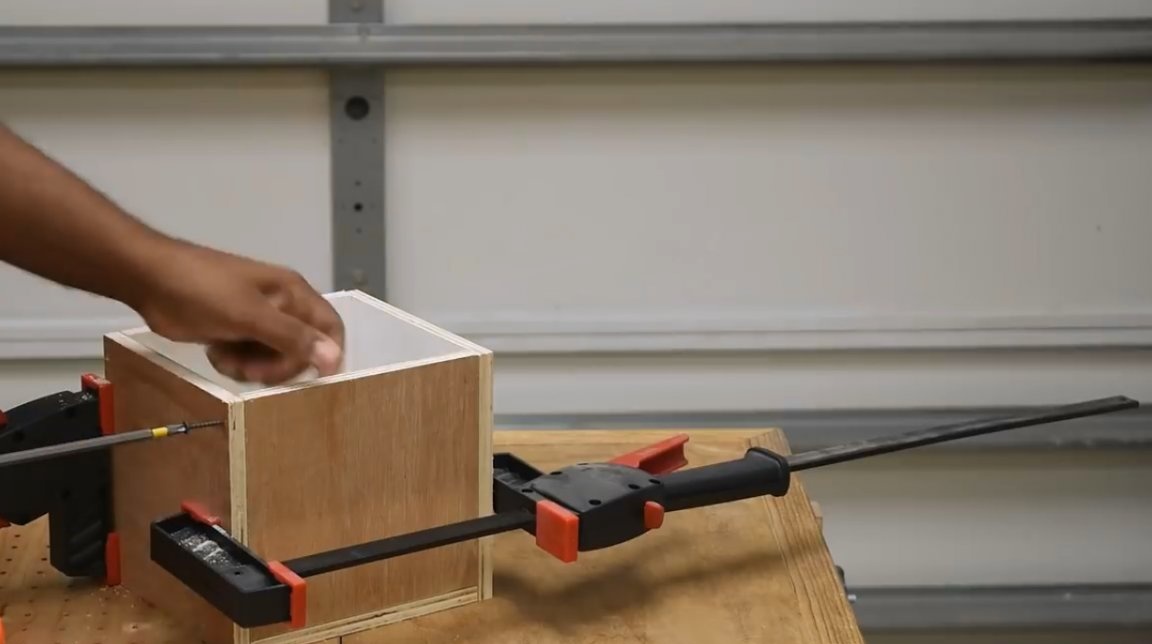
Now all the elements are glued together and clamped with clamps.

An adhesive tape can be used to attach the end piece. But a quality connection is desirable here. The author uses a special end clamp for this case. About its manufacture can be read in this article.
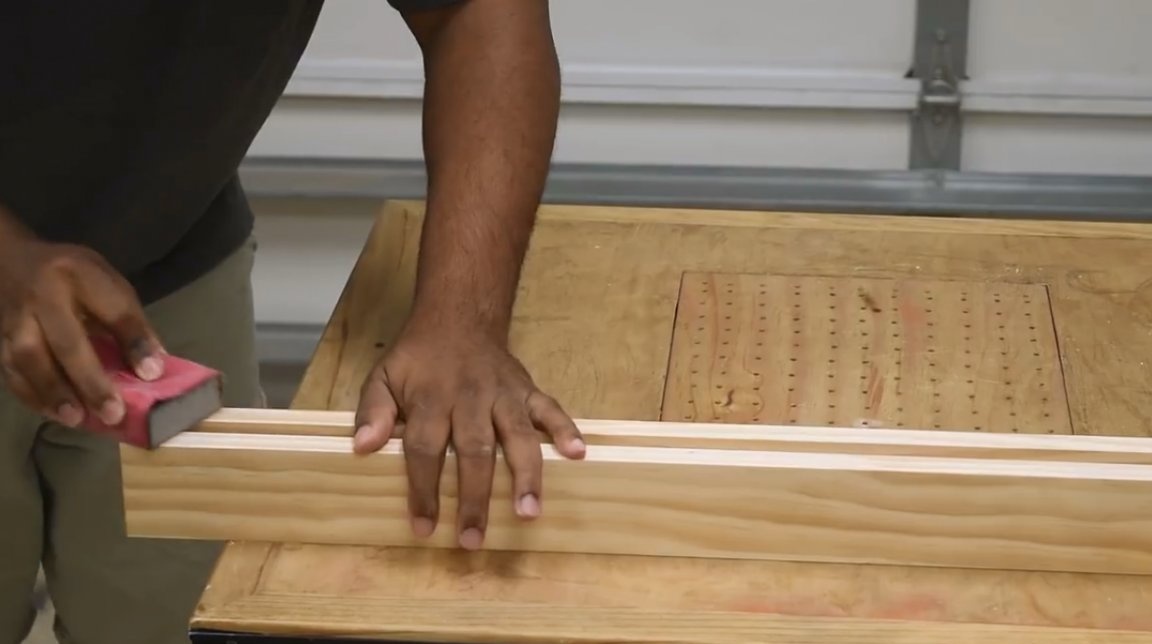
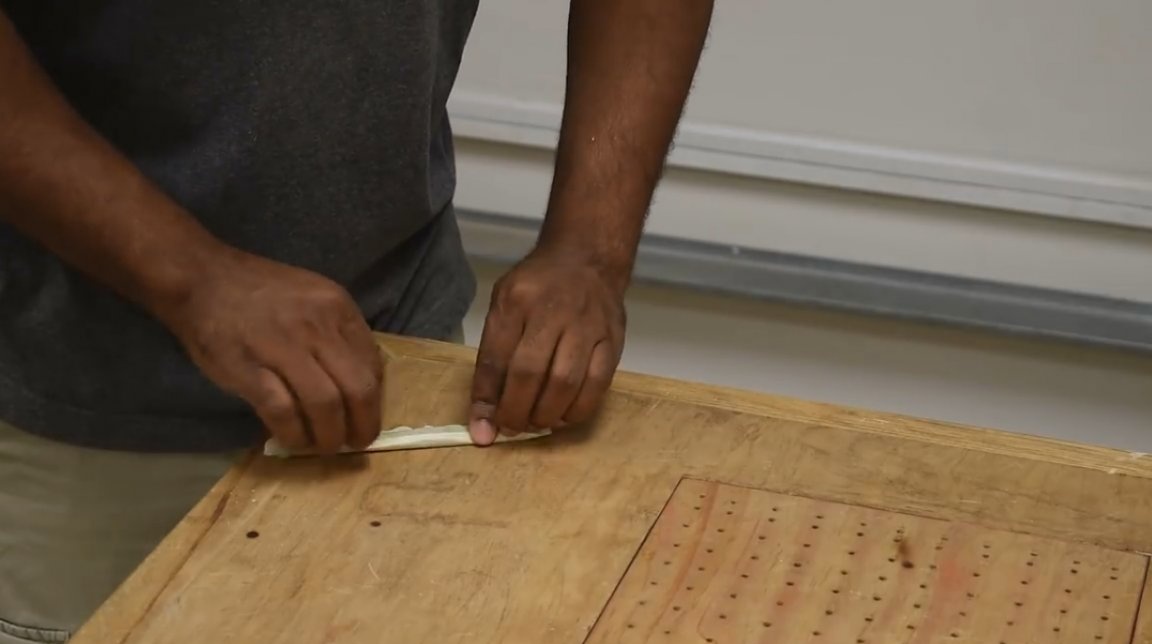
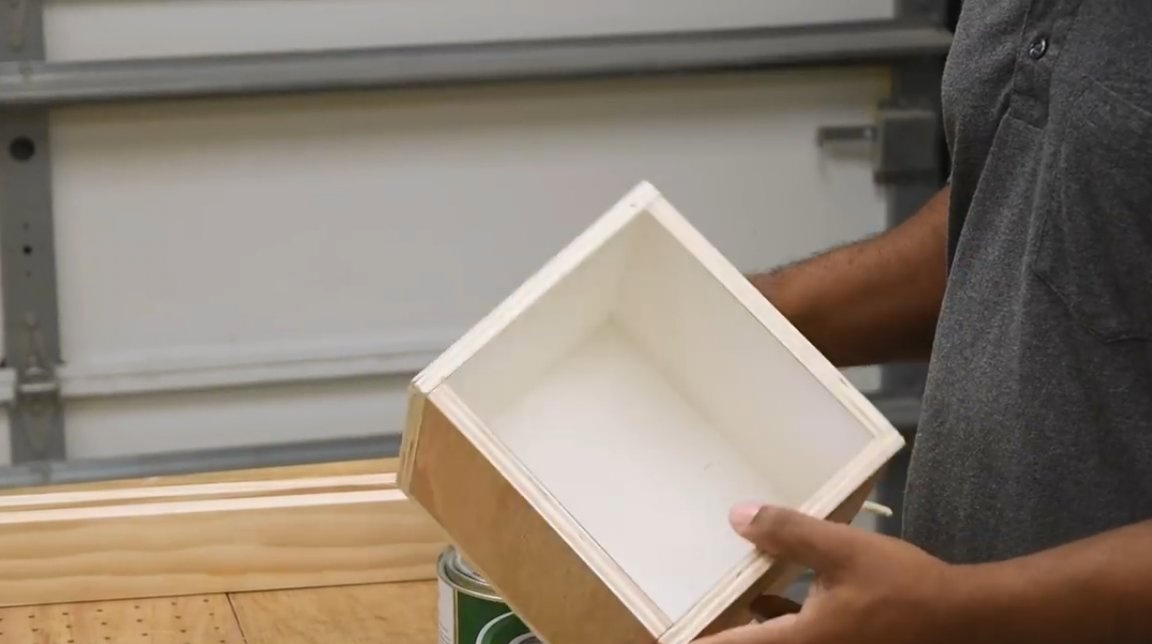
Further, after the glue dries, all surfaces of the product are wiped with sandpaper.
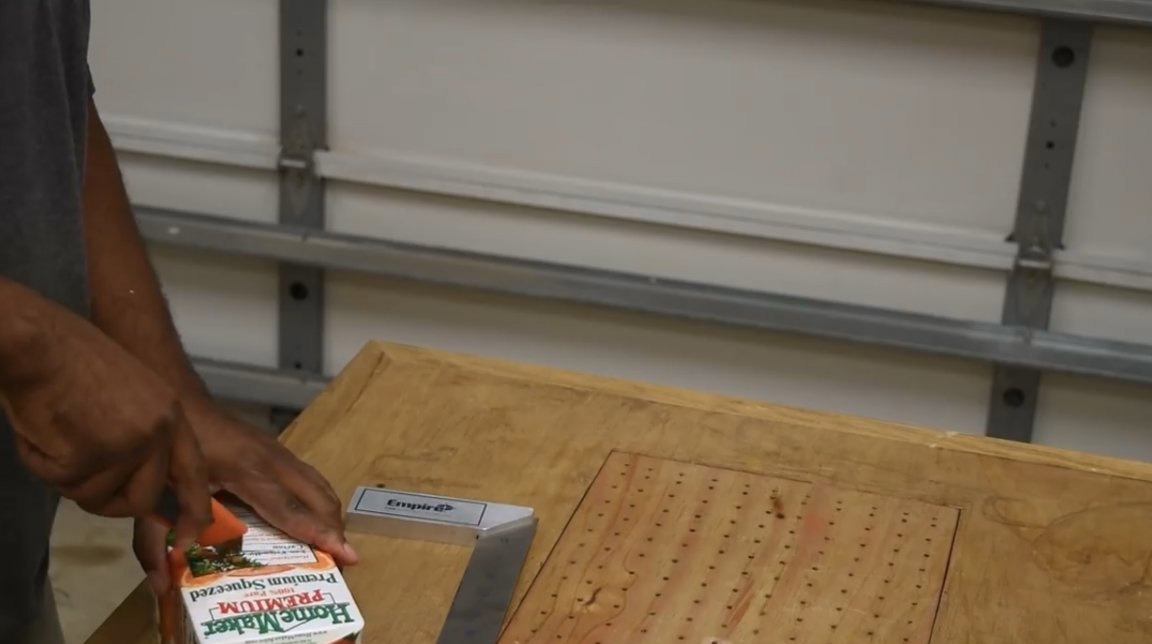
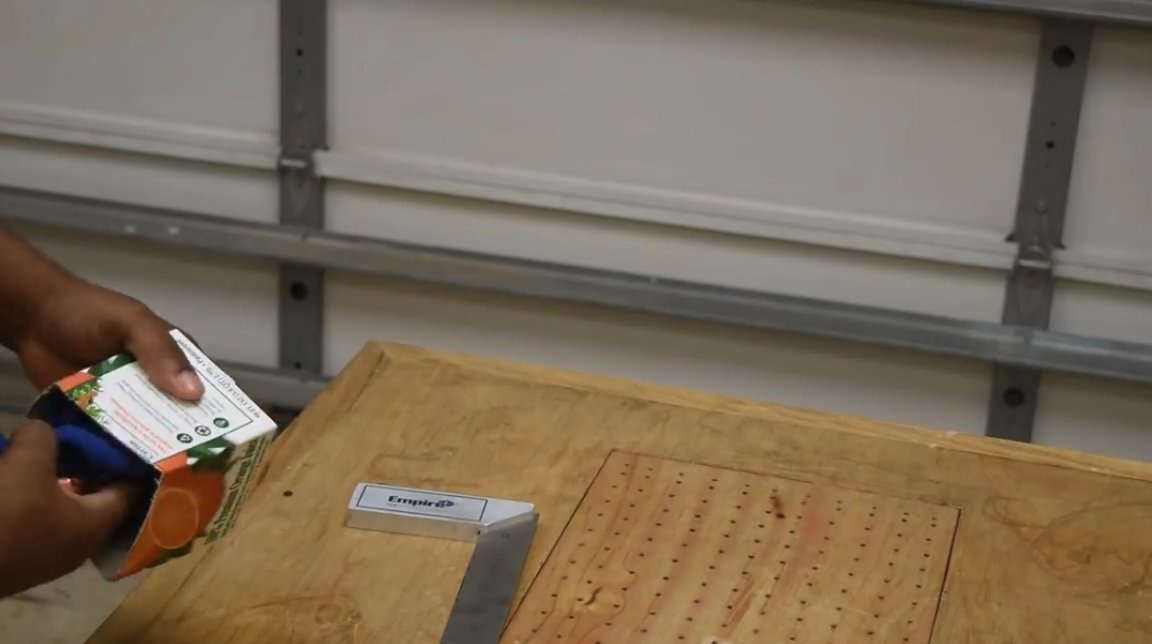
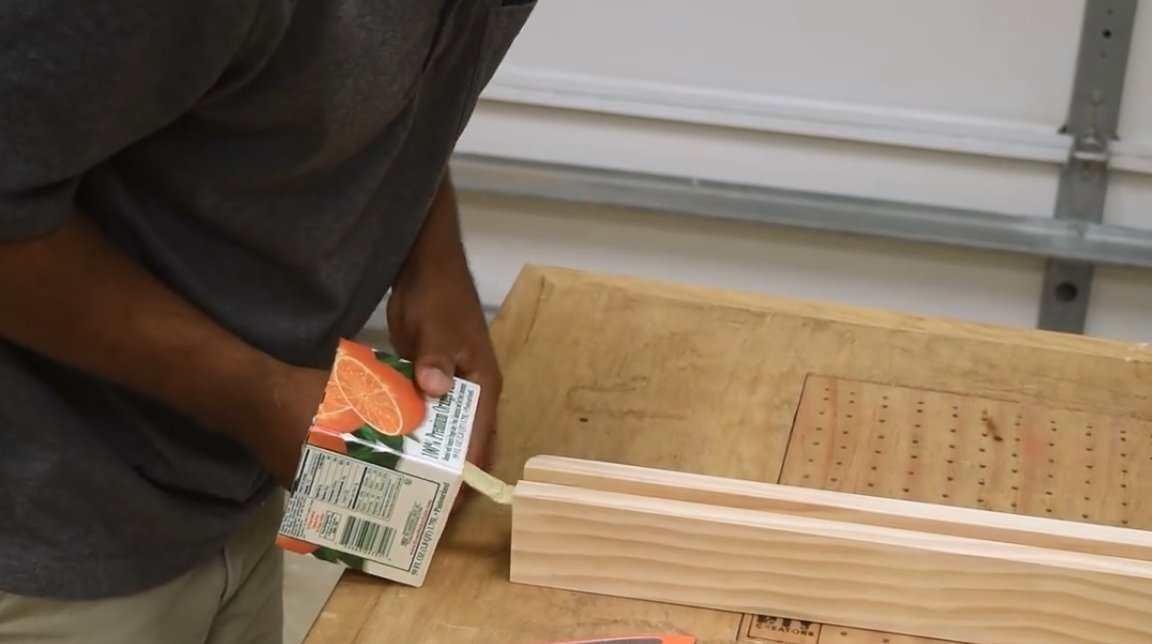
There should be a wide opening at the base of the future cement mold. Given this nuance, the master begins to manufacture a mold.He takes an empty tetrapack from under the juice and cuts off the top of it, so that an open container of a cubic shape is obtained.
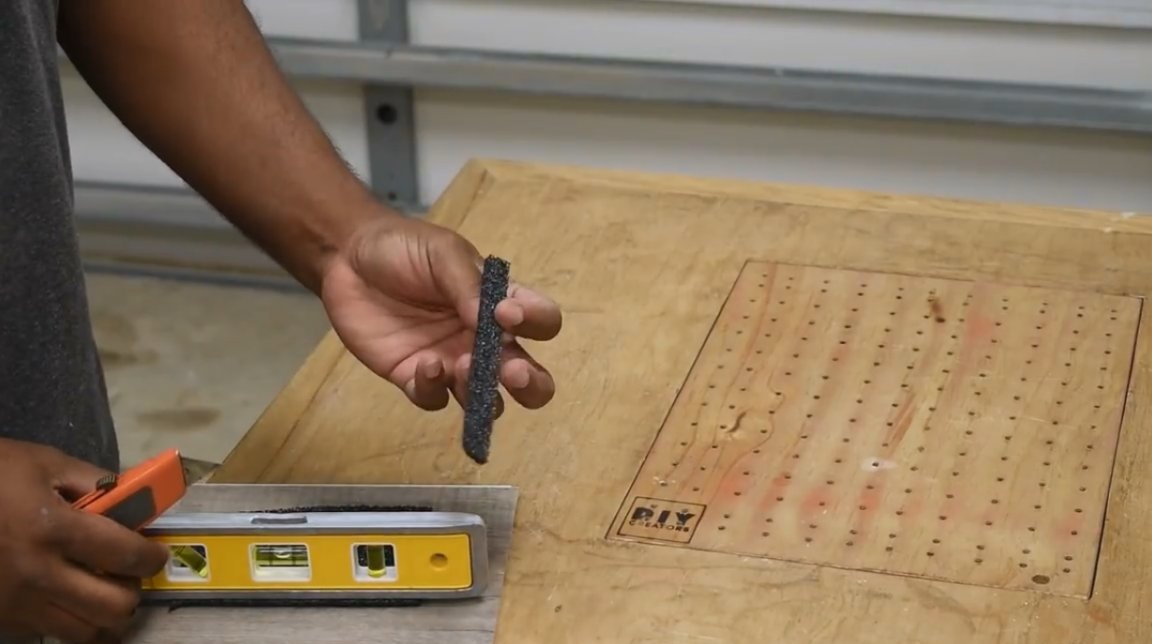
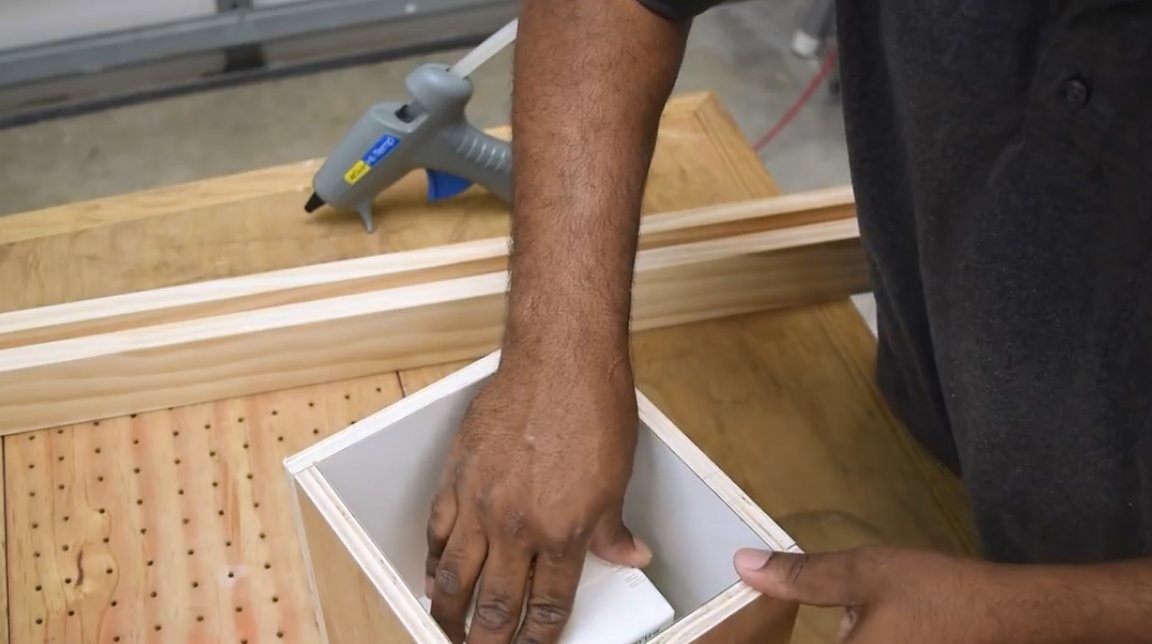
Then he takes a piece of foam rubber and cuts out a small strip. This material has many voids. The author wraps it with masking tape.
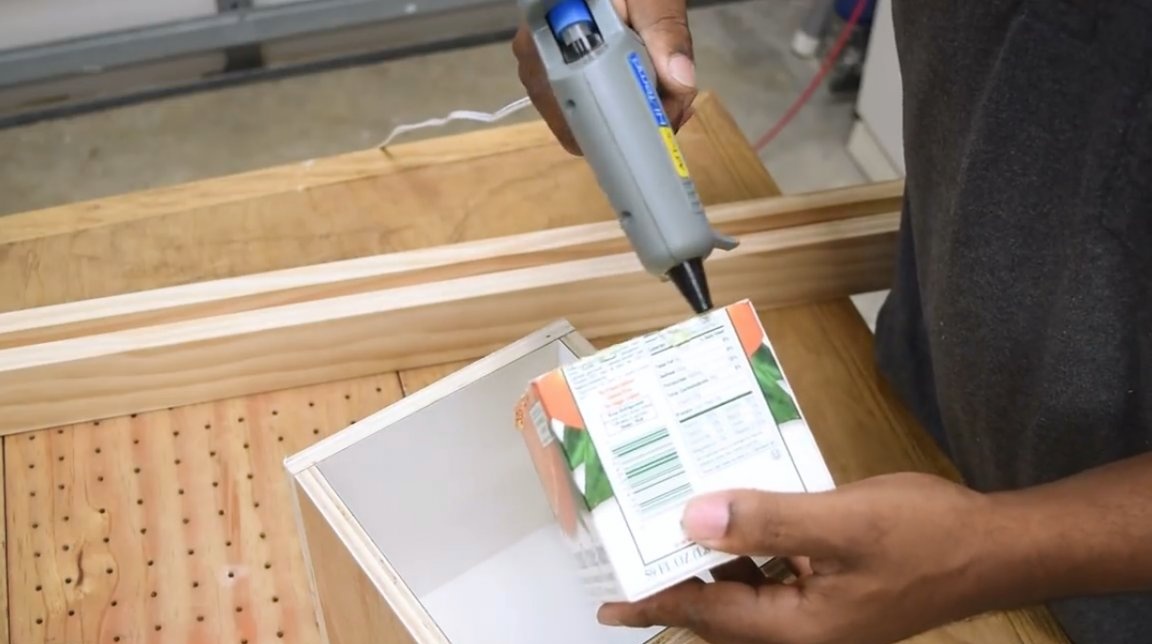
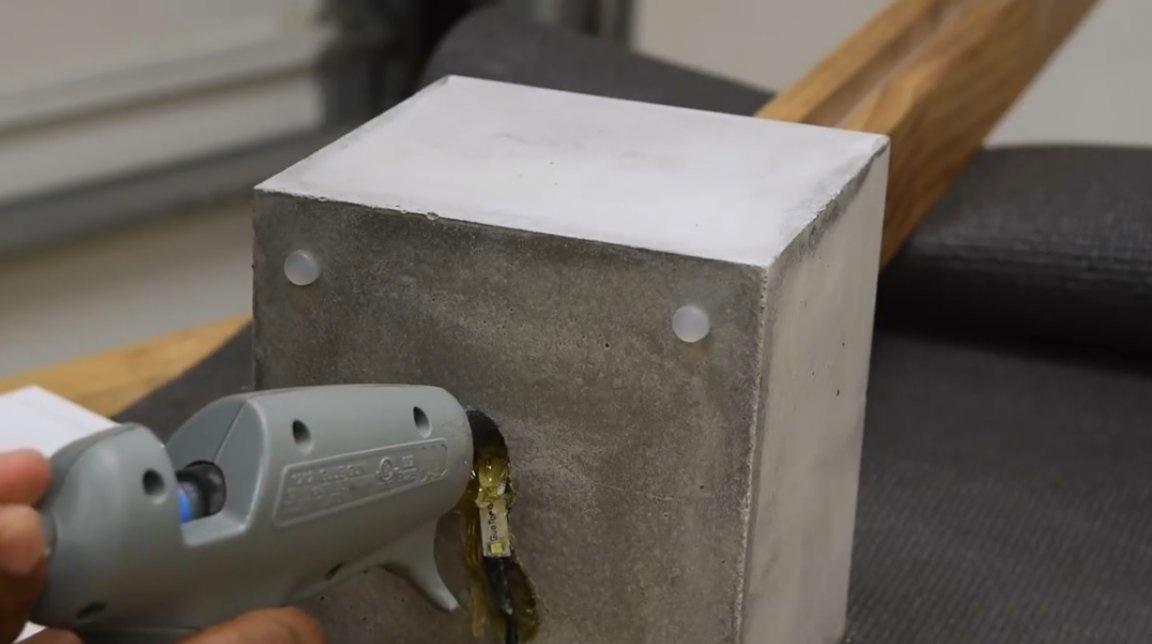
He then attaches the wrapped strip of foam rubber with hot glue to the inside of the LED panel. In a cardboard cube, a small slot is made through which this strip is passed. The author hopes to remove it after solidification of the solution, and get a hole for the cable.
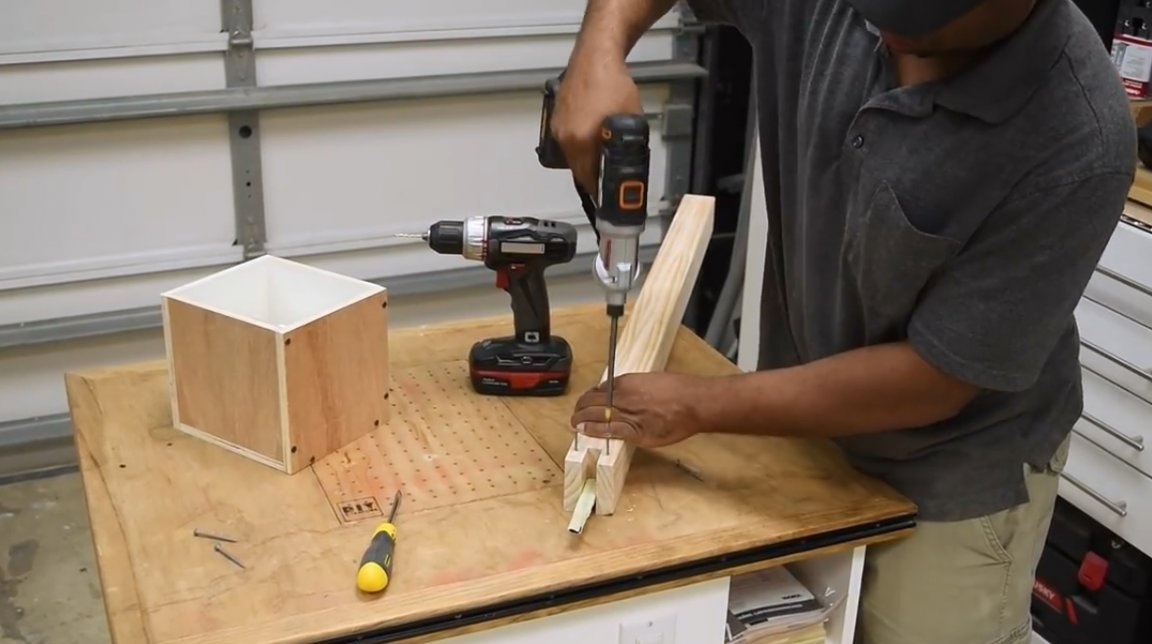
Now the master starts assembling the mold. For this purpose, he uses laminated sheet plywood. All sides of the planks are smeared with hot glue around the perimeter and fixed with clamps.
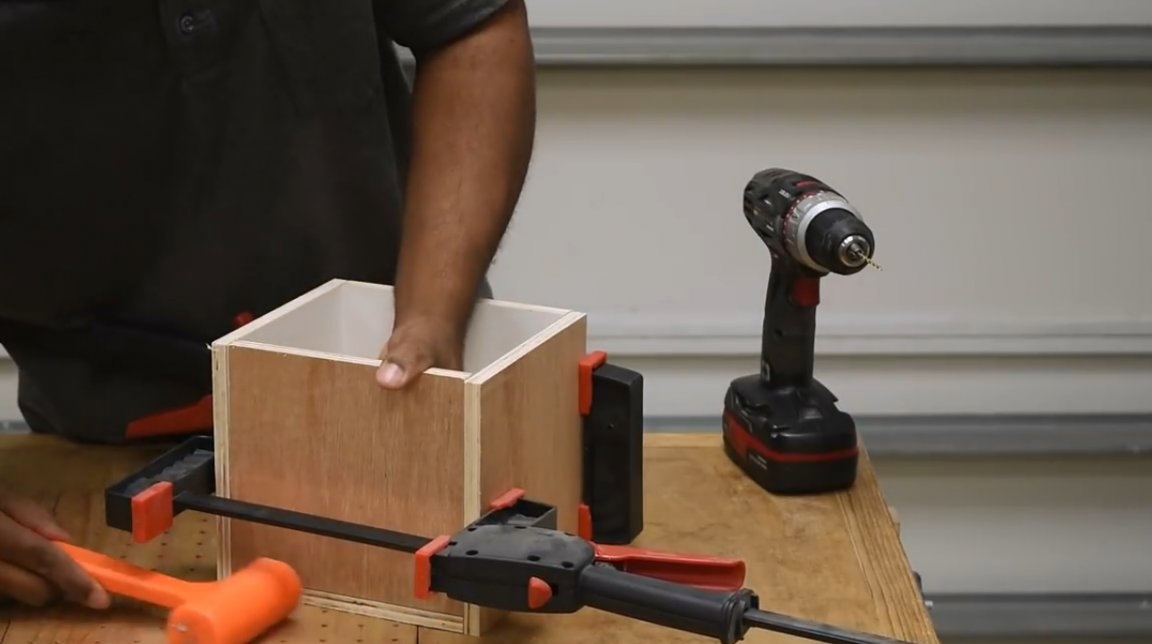
Control author twists a few screws.
After the glue has cooled, the master applies a release agent to the inside of the mold. It can be paraffin or silicone grease.
Next, the author covers the cutted sides of the tetrapack with hot glue. It is important that the edges are cut perfectly evenly, and their perimeter is a square. Under this condition, the form is hermetically glued to the base of the formwork. The main goal of this design is to create a small niche at the base into which you can install the power supply and controller.
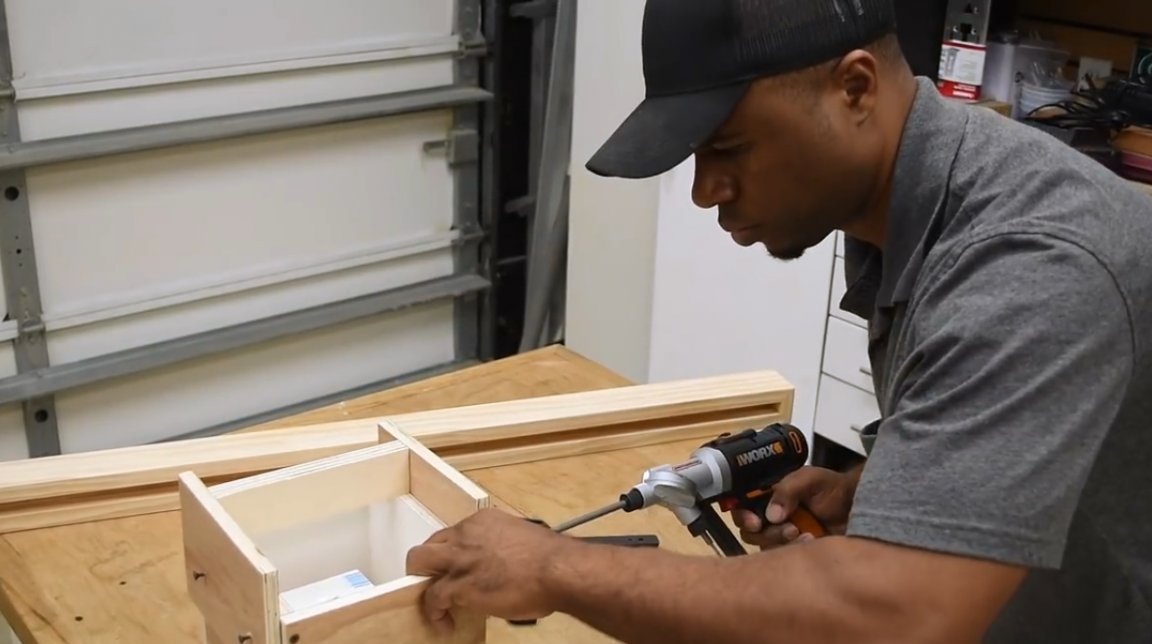
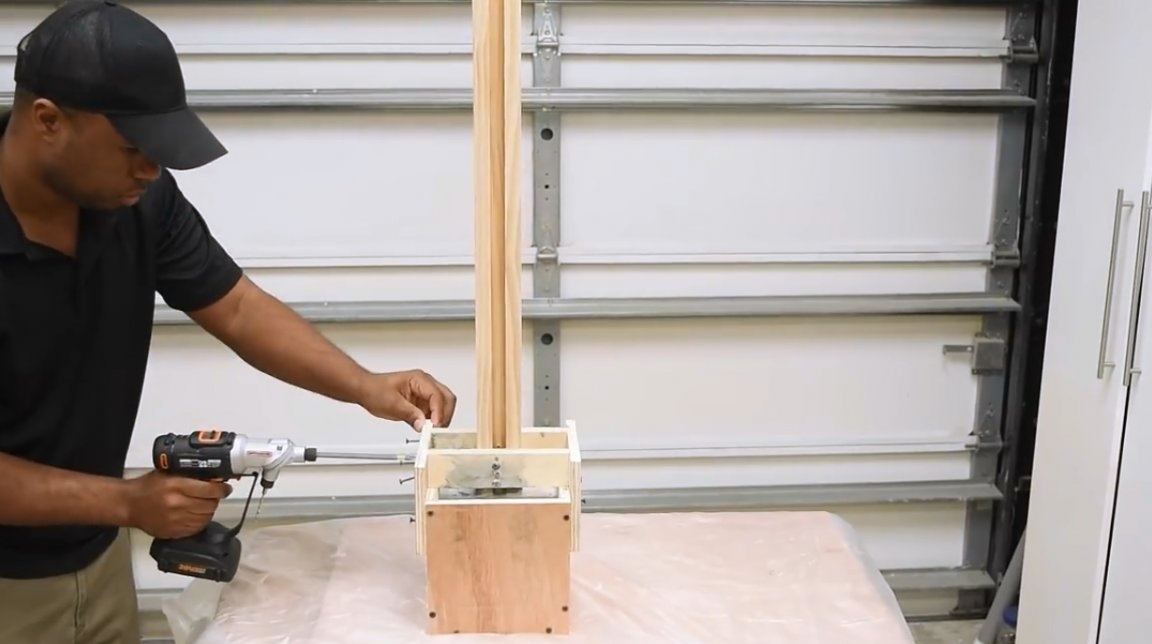
Several holes are drilled in the lower part of the lamp housing, and screws are baited into them. So the design will be reliably held by a hardened cement base.
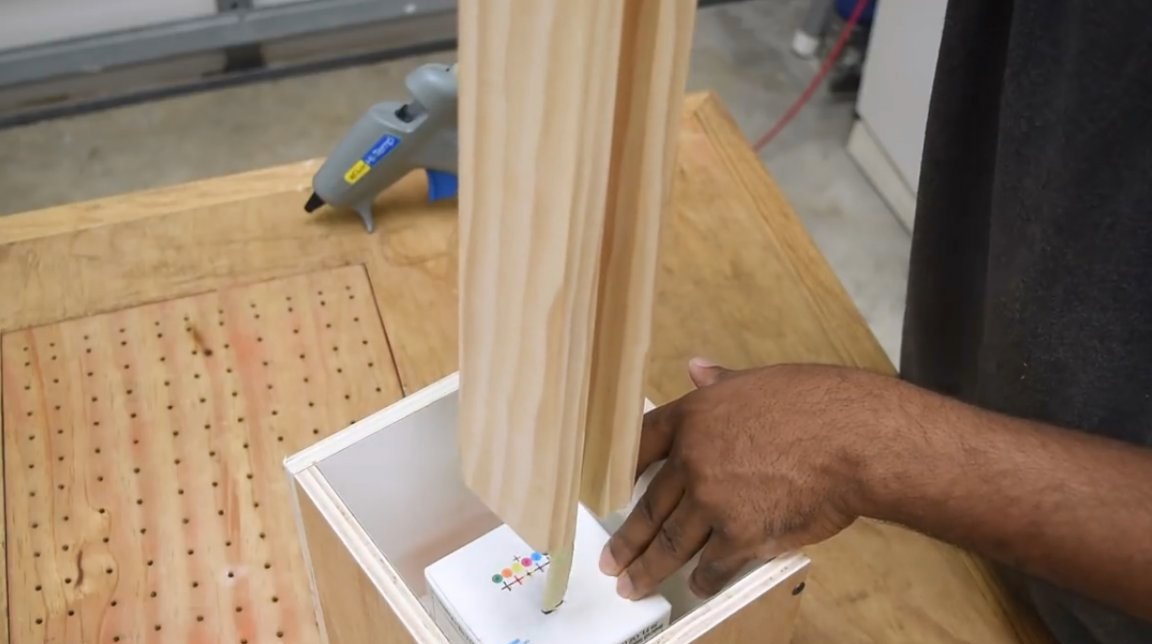
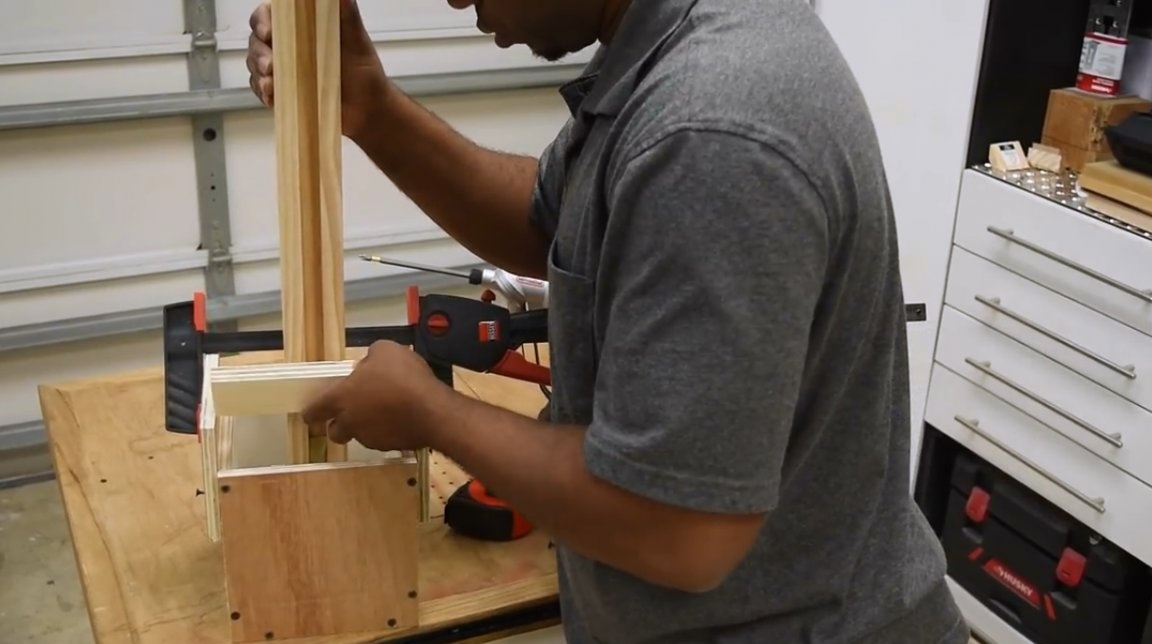
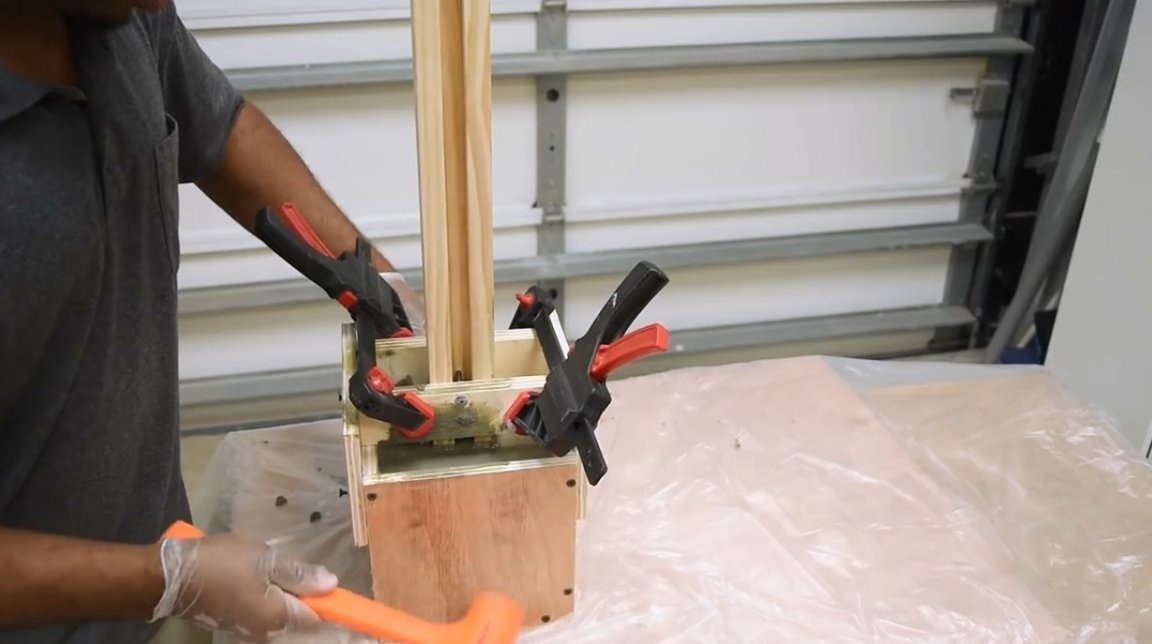
The next task is to try to fix the wooden case in a vertical position at right angles to the cement base. To do this, the master increases the height of the form by attaching wooden panels to its sides. Everything should be measured carefully so that a right angle is maintained, as well as that the housing with LEDs is located clearly in the middle of the form. First, he fixes the transverse planks from the ends, restricting the movement of the case back and forth.
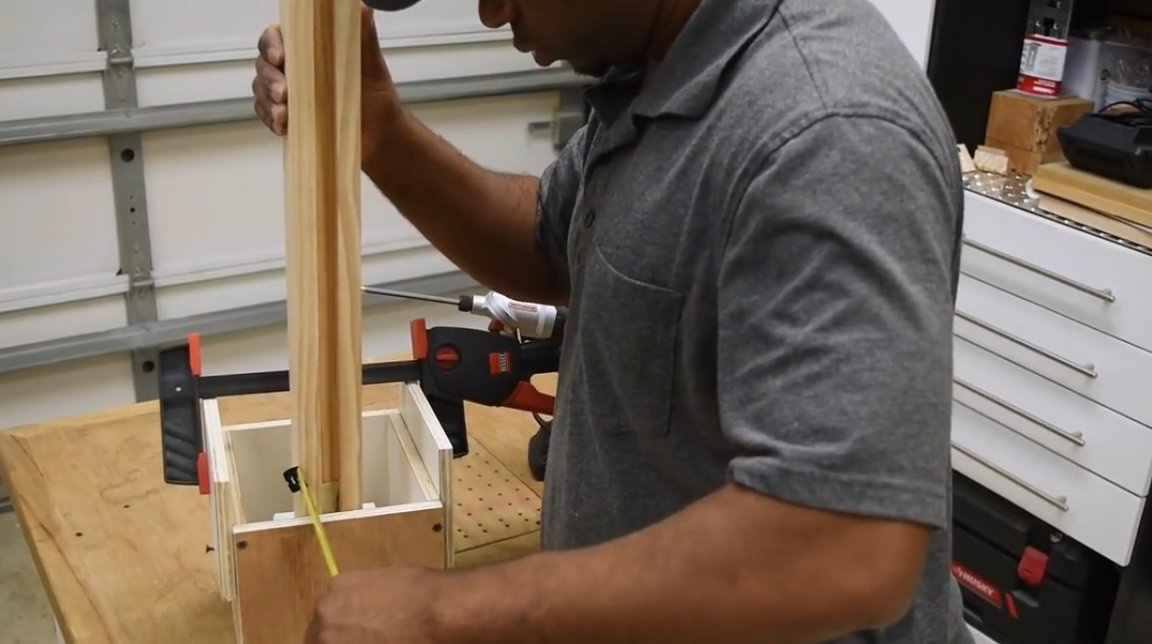
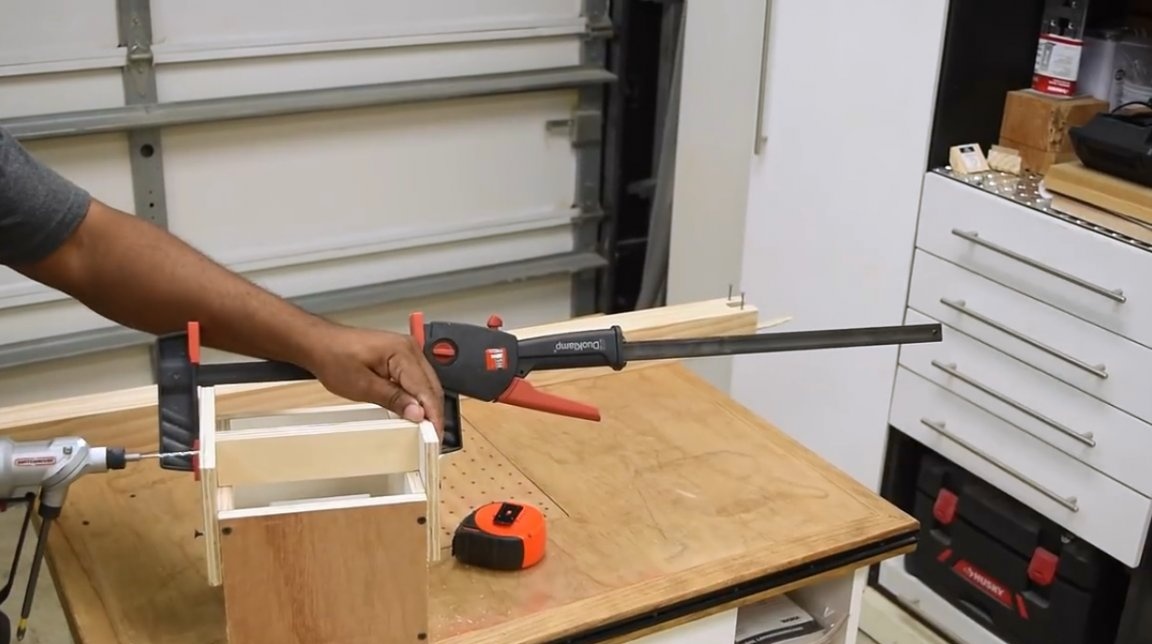
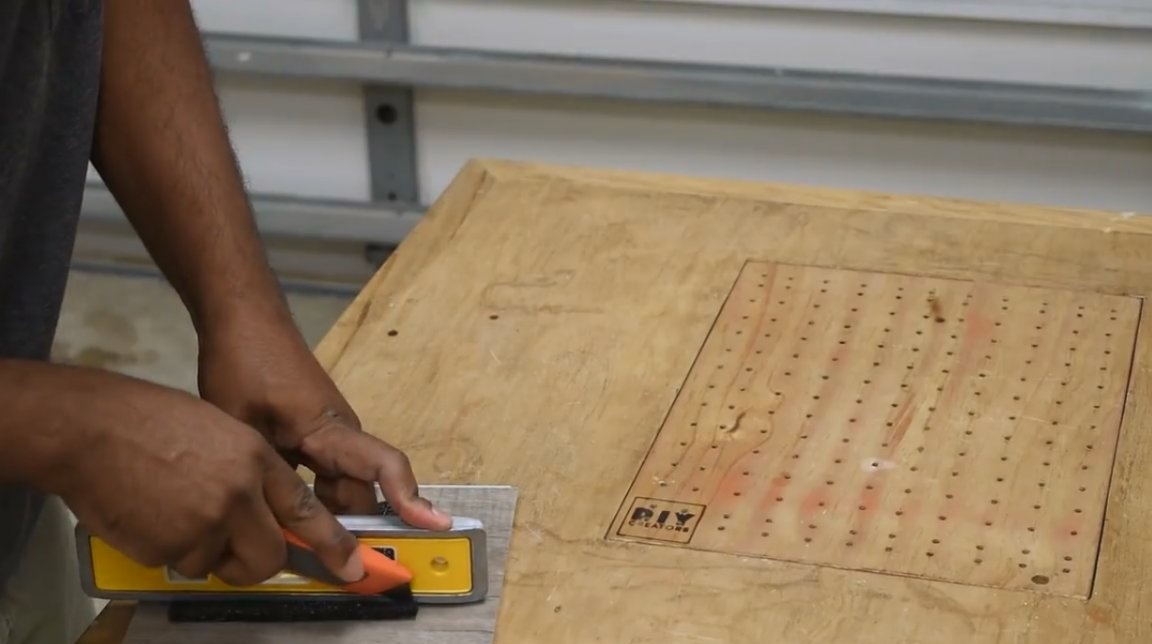
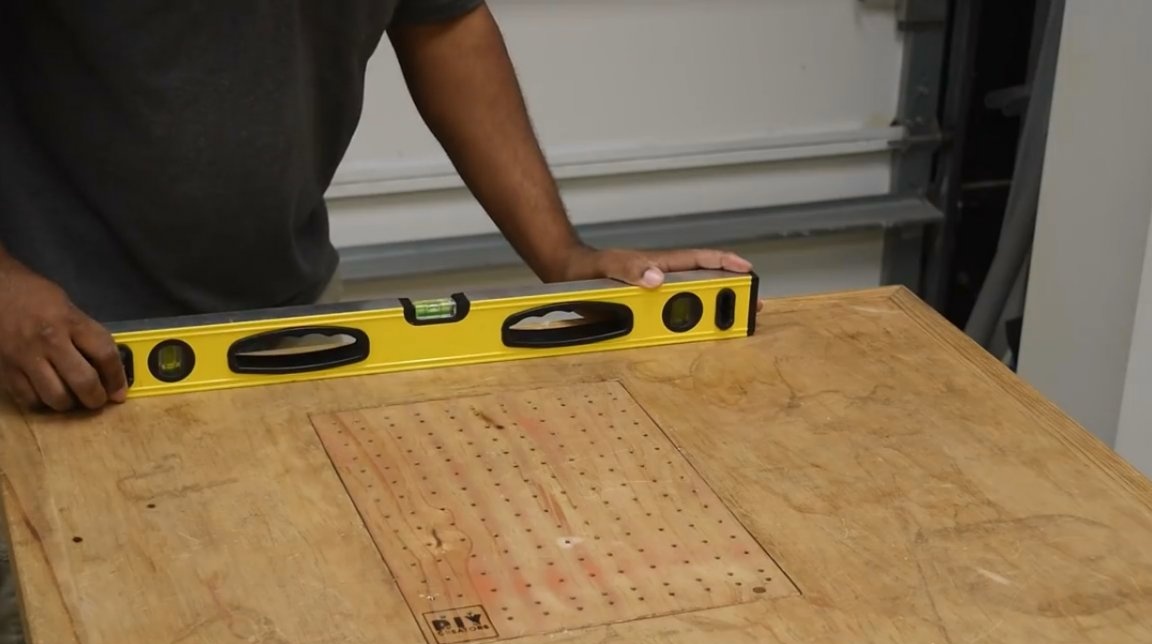
Then, with a level, he checks how smooth the surface of the workbench is.
Now the author focuses on the vertical deflection of the body.
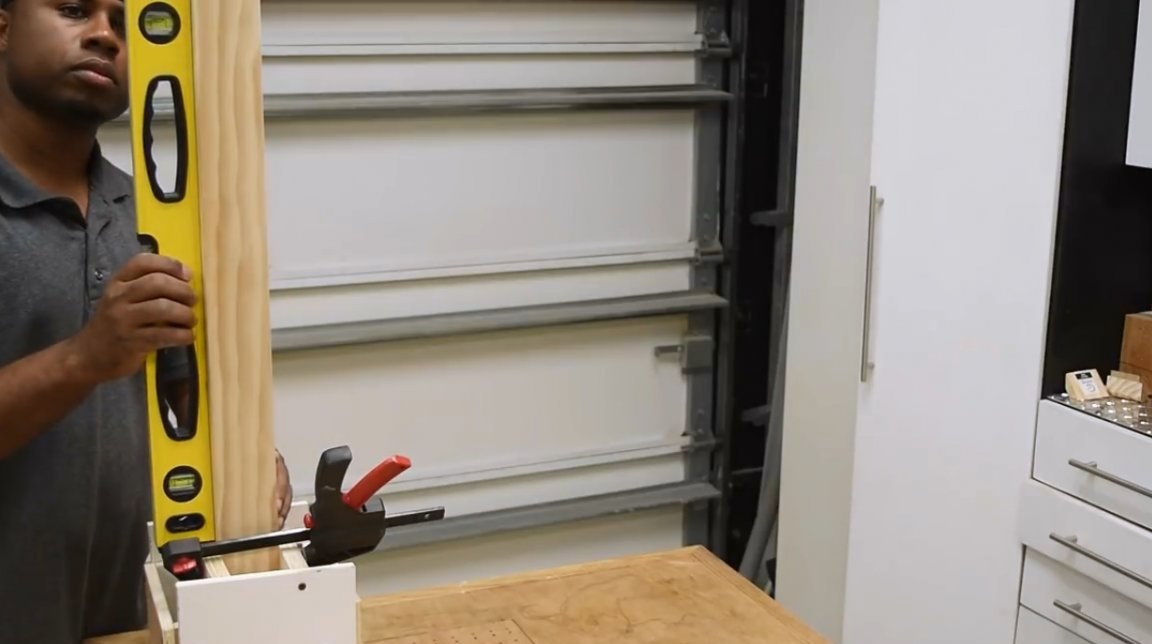
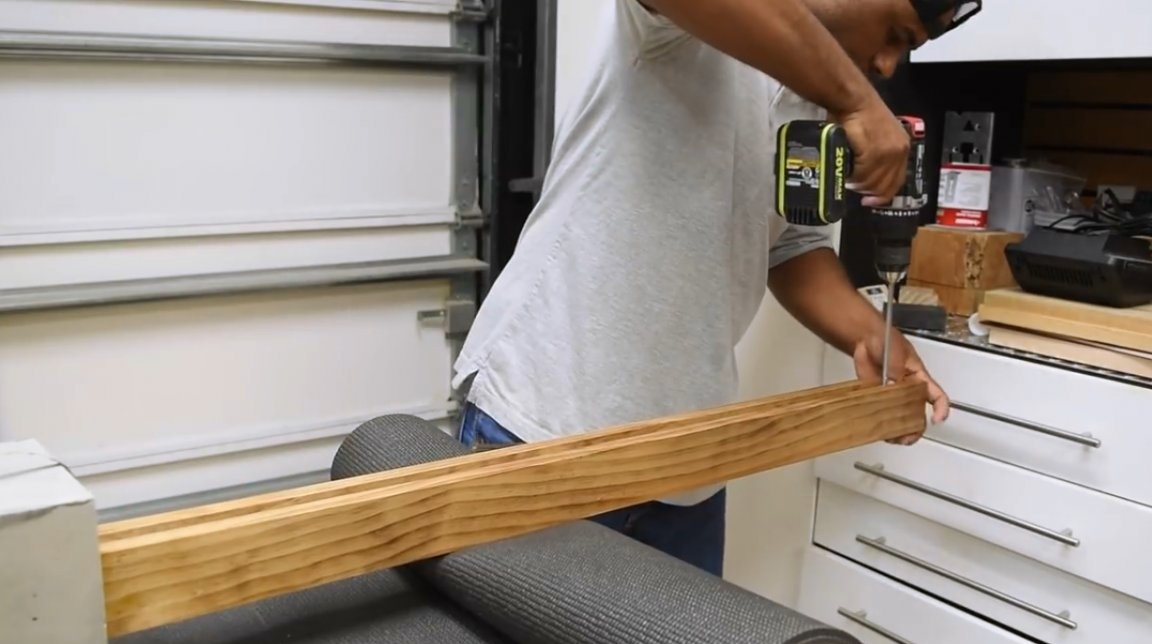
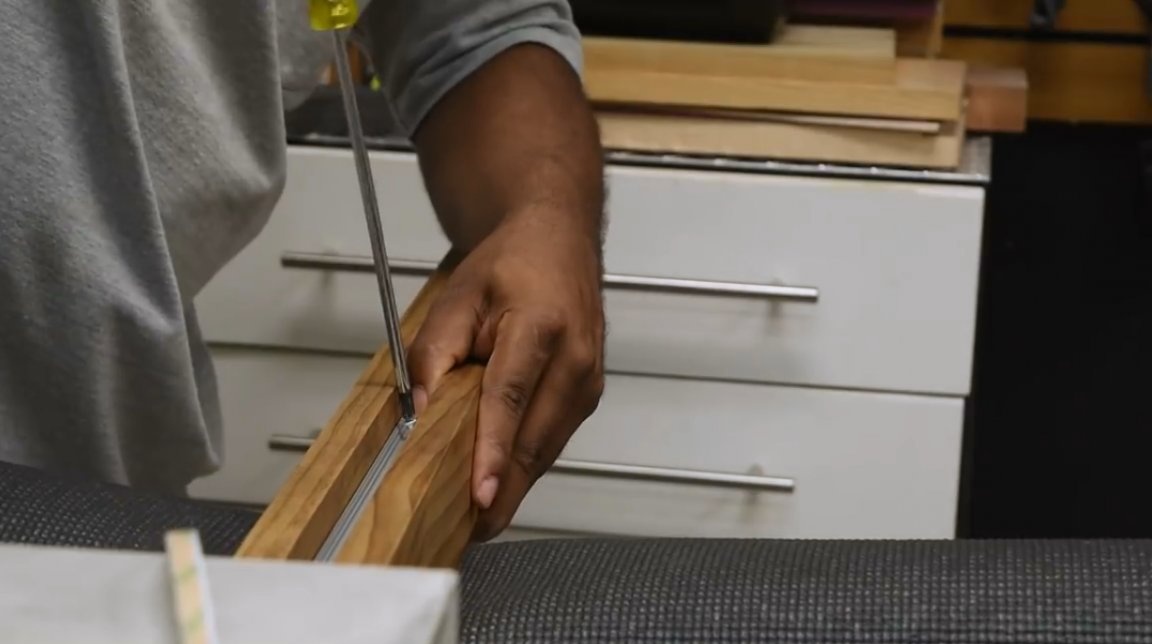
He screwed a pair of screws into the groove in the front of the case, fixing it.

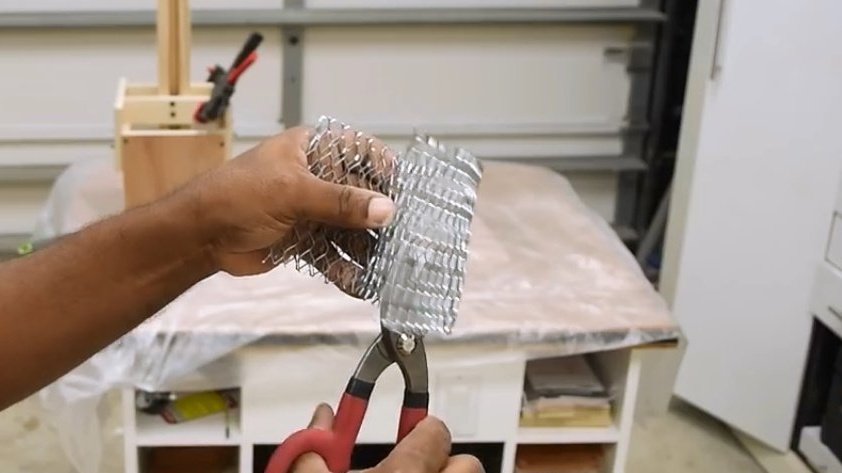
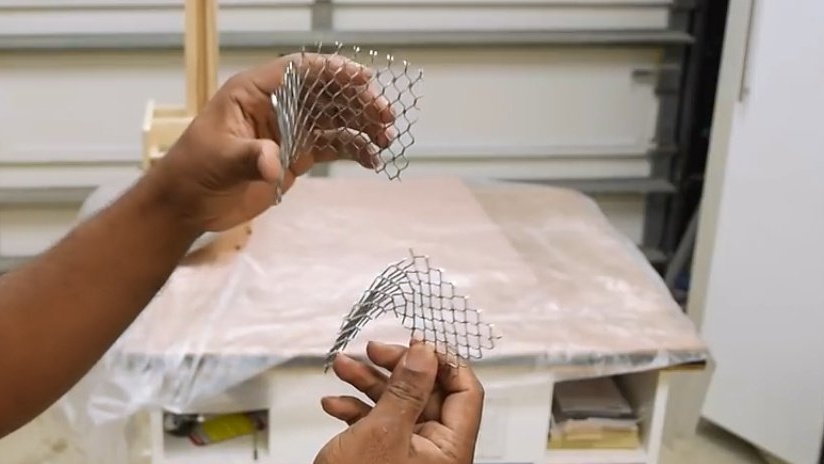
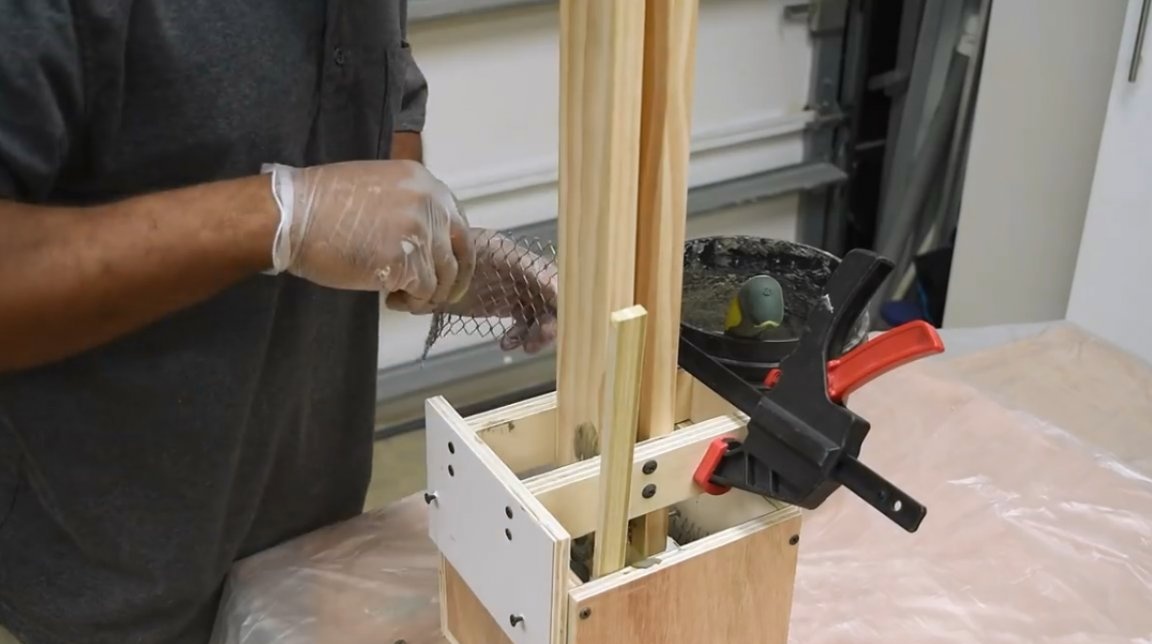
As an improvised fixture, the master will use a chrome-plated steel mesh.
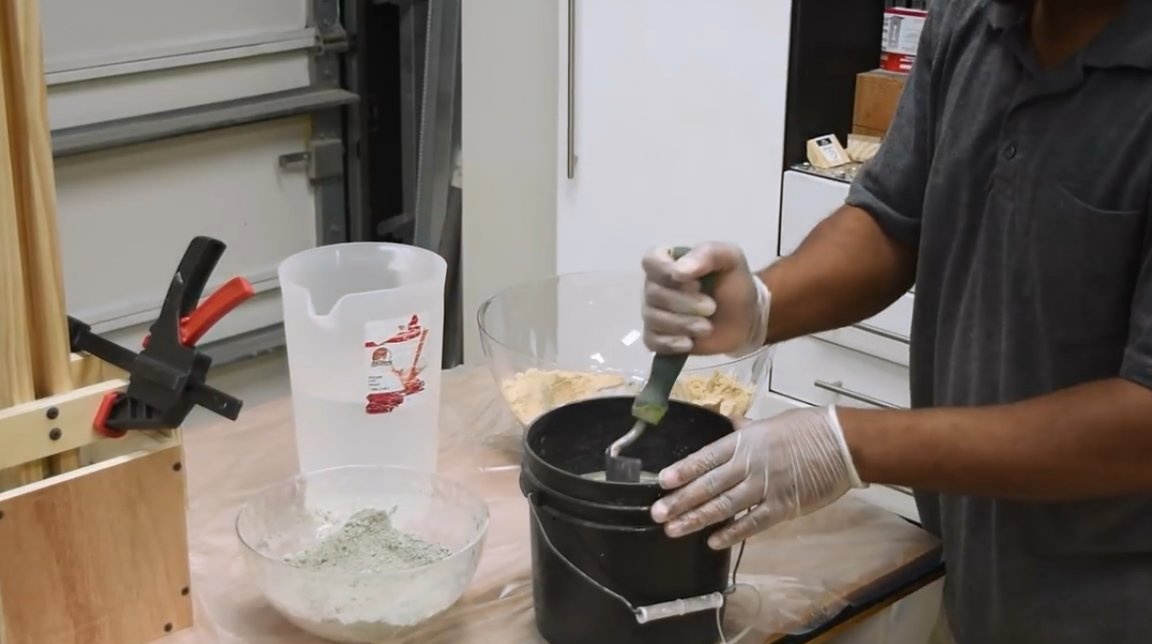
To knead a cement mixture, the author takes one part of cement, two parts of sand and, of course, water. He advises kneading the solution with a margin so that afterwards you do not have to combine two different batches, which always affects the uniformity and strength of the composition.
The solution is poured into the mold. In this case, you should first try to carefully cover the base around the box. The author with a stick evens the mass in the corners. After the first batch, he inserts a metal mesh and lays the next batch of material.
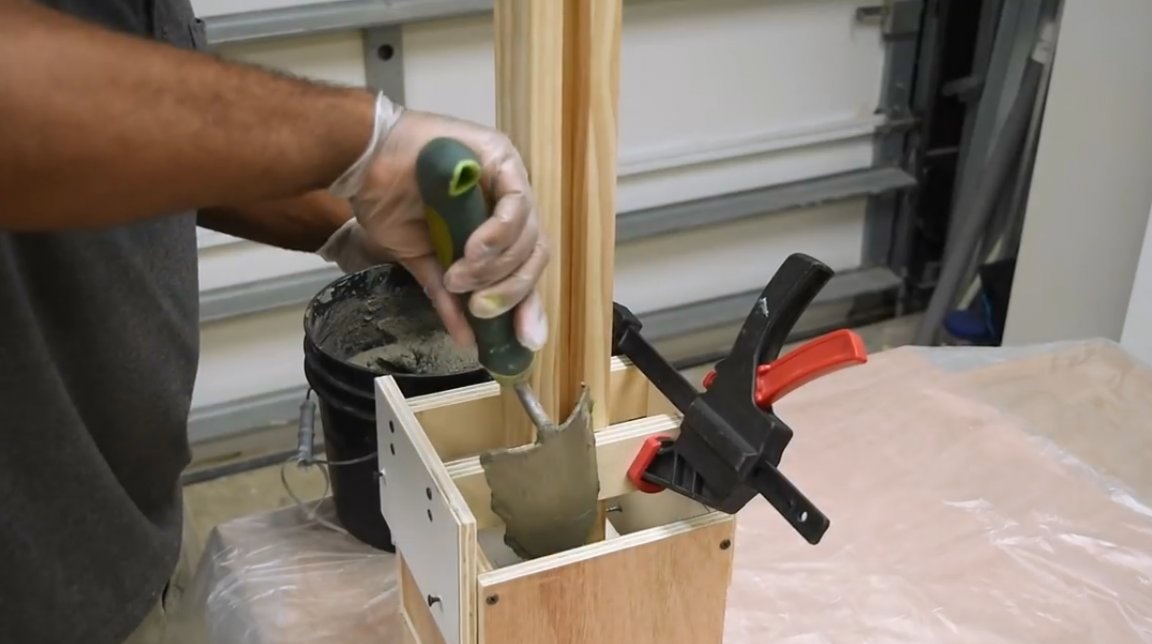
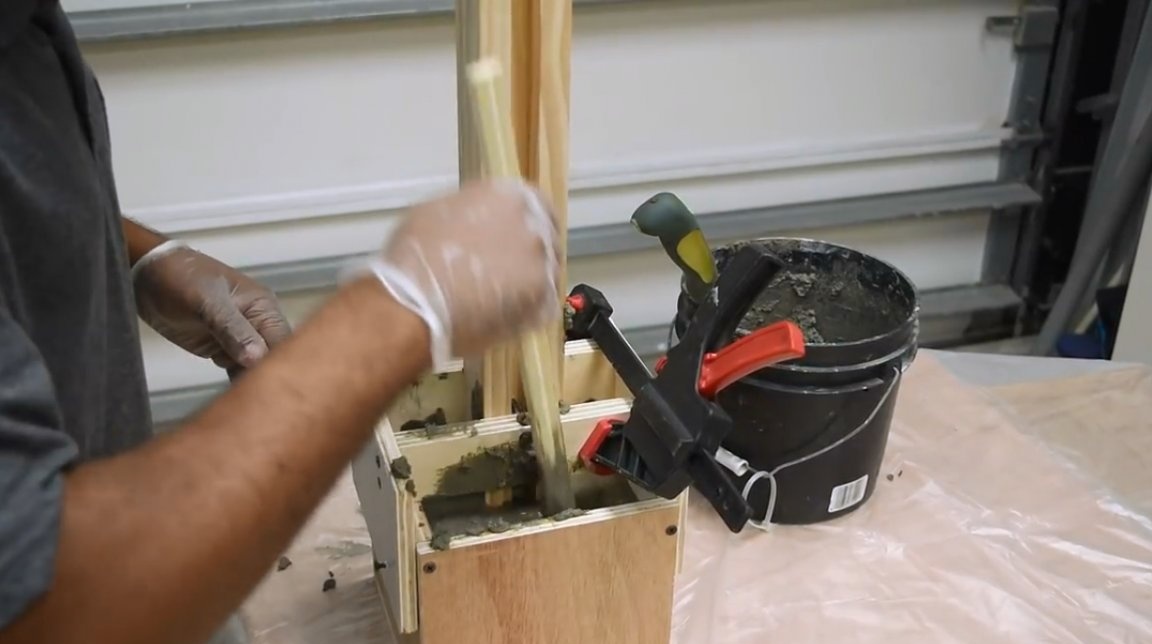
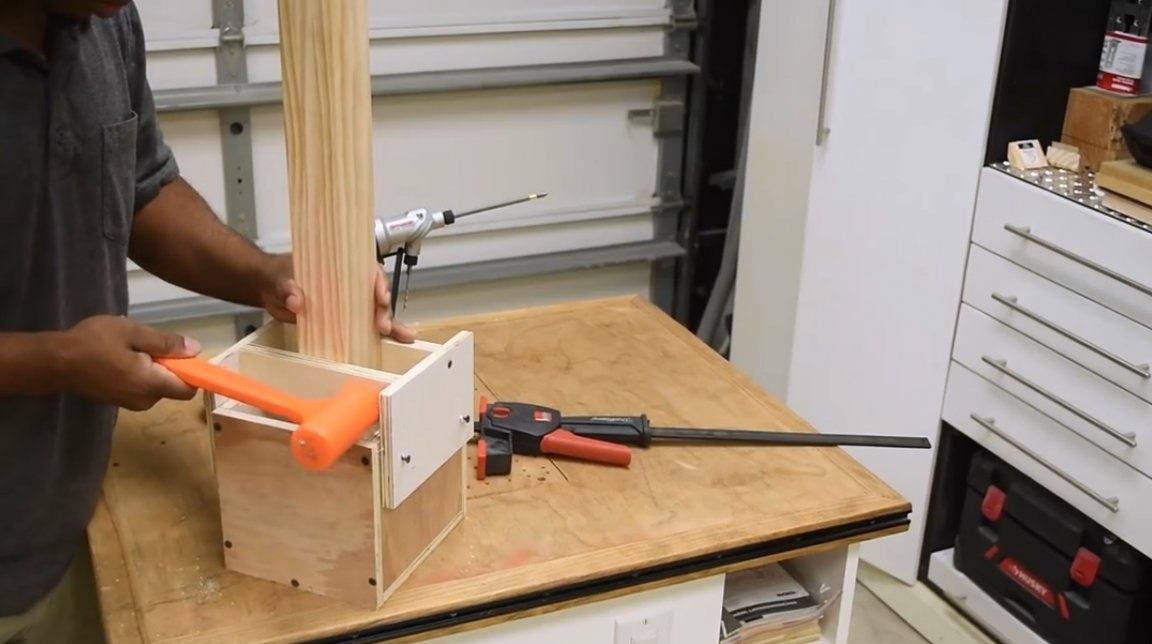
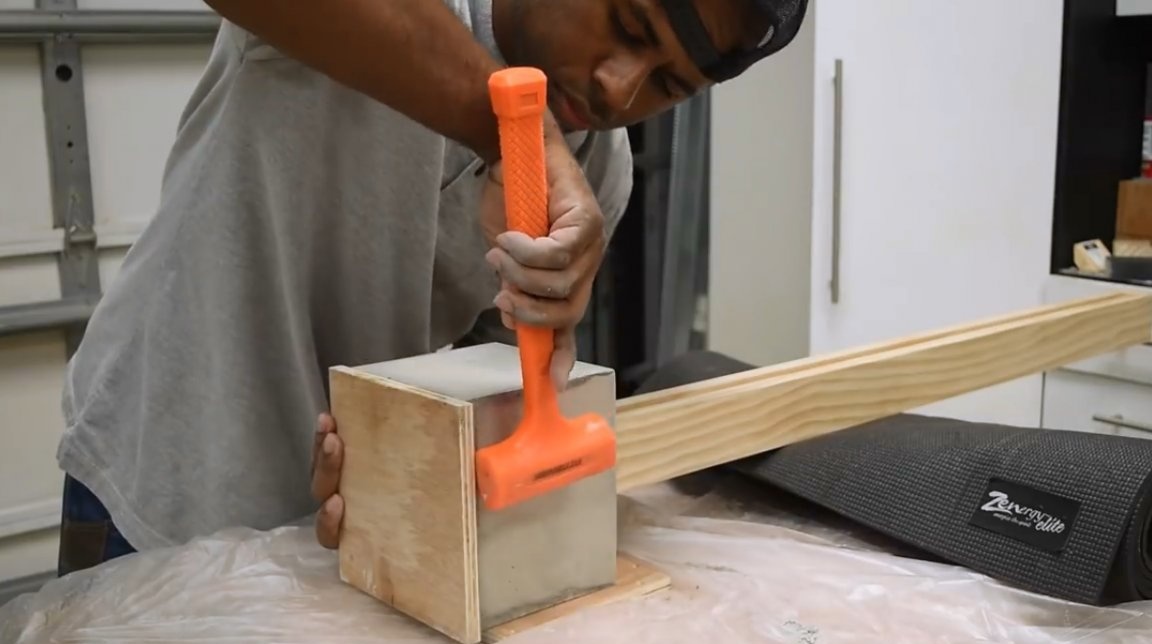
To better distribute the solution, as well as to allow air bubbles to escape, the author gently taps with a mallet on the walls of the form.
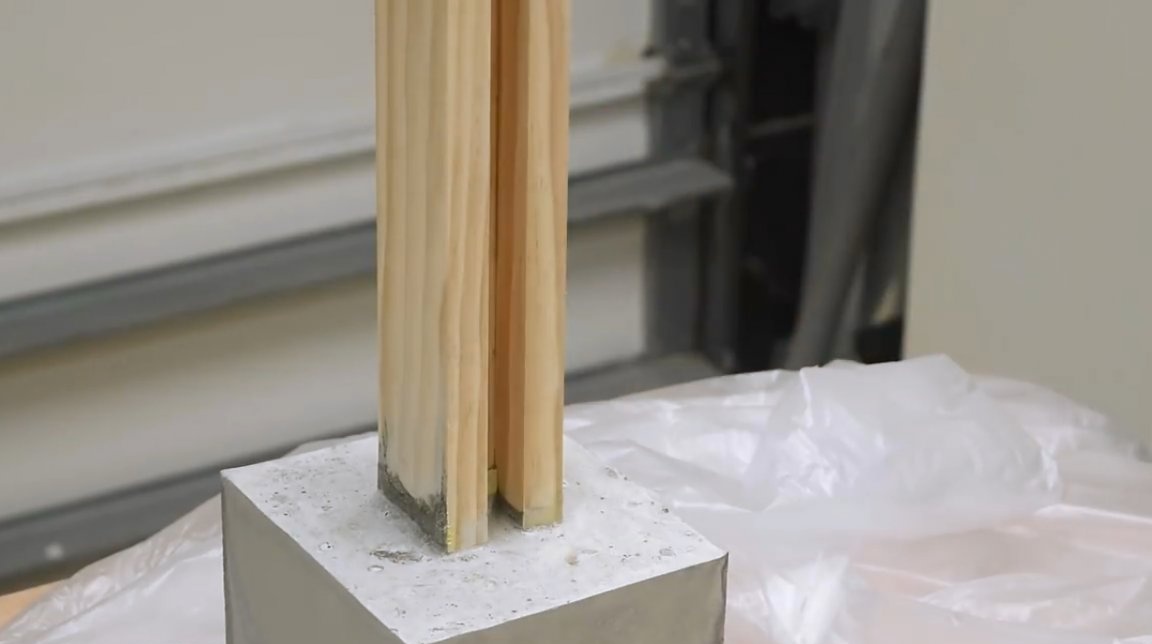
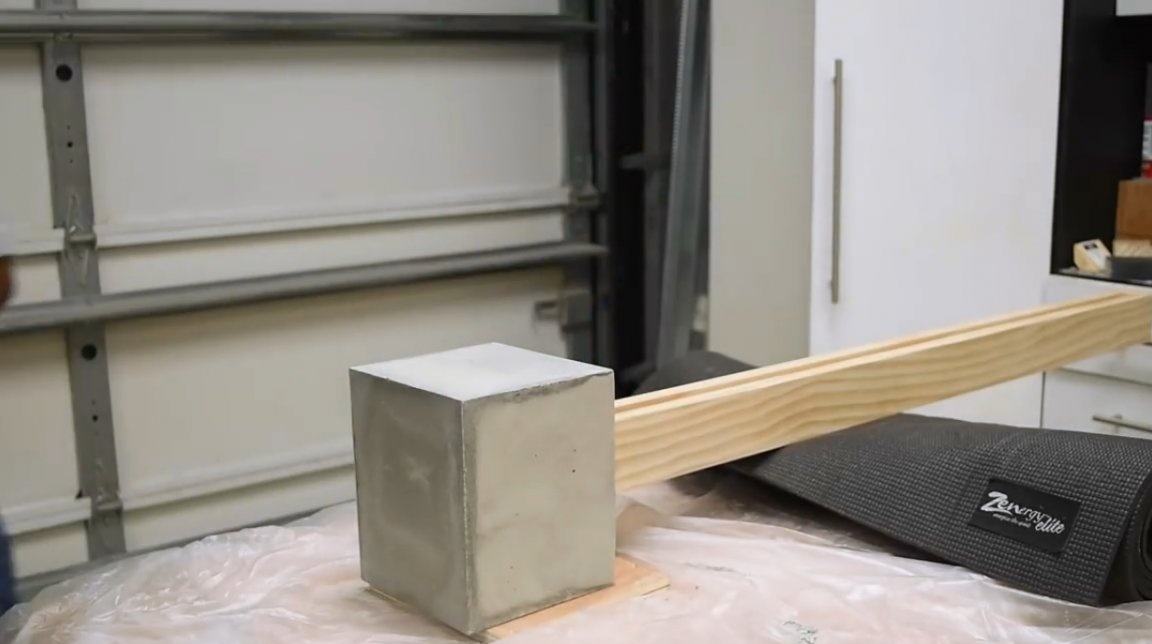
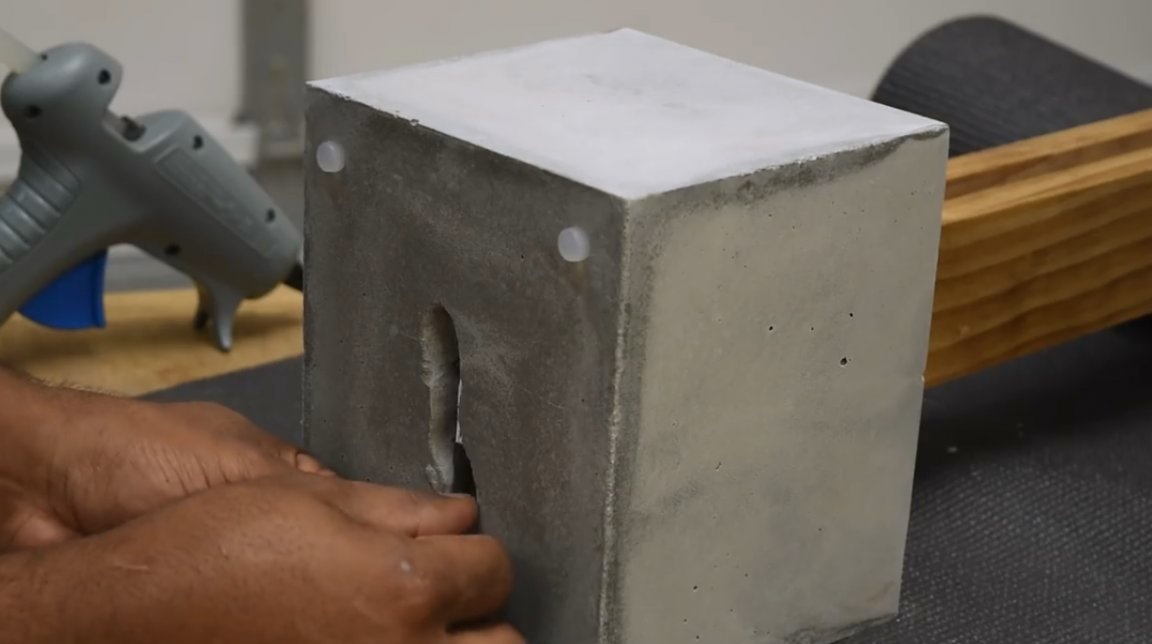
A few days later, when the solution froze, the author removes the formwork.
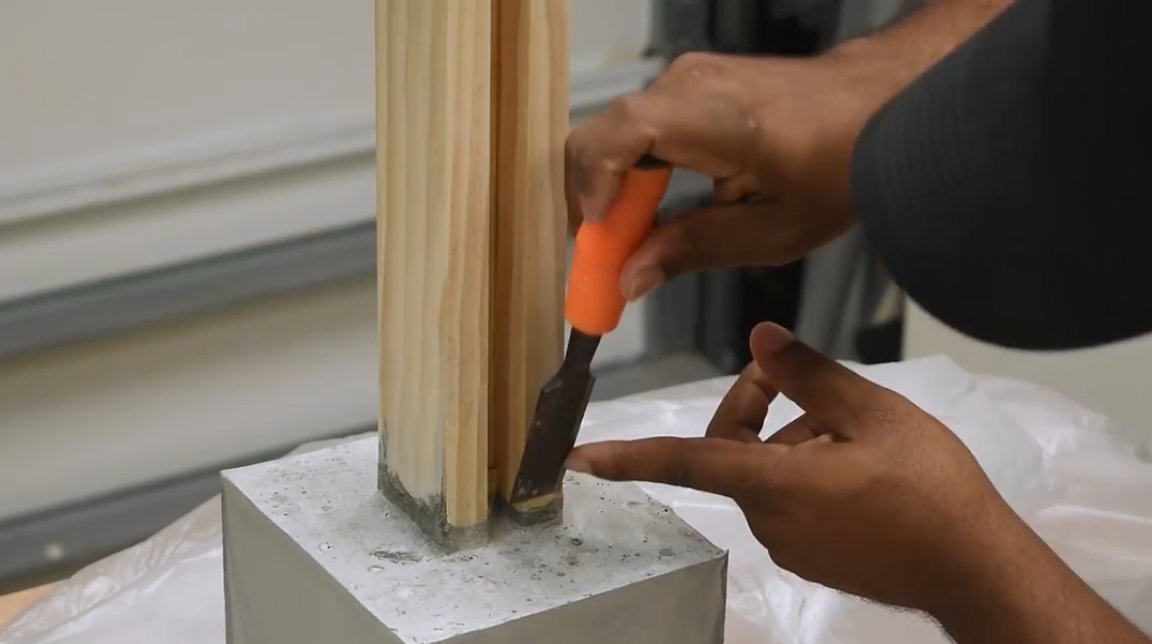
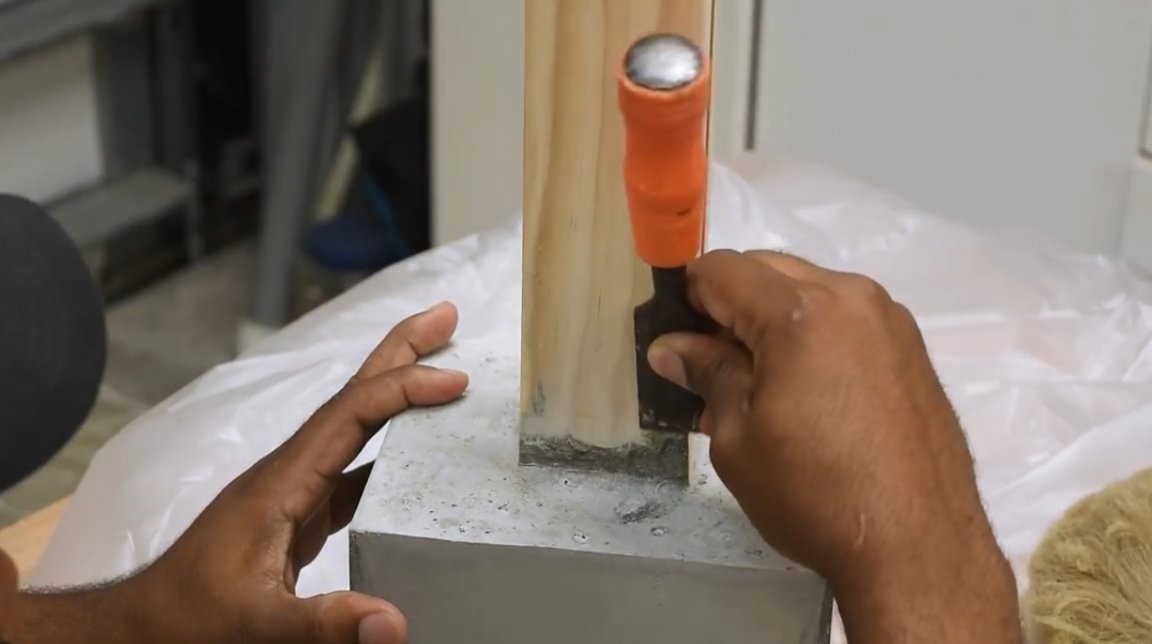
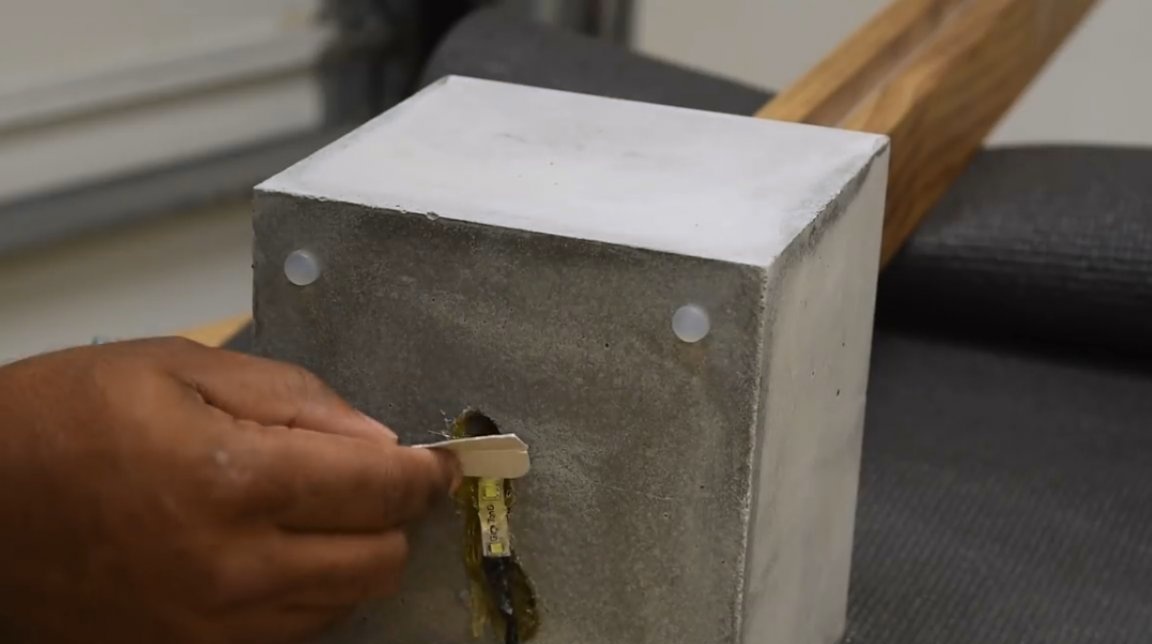
At this stage, the master regretted that he did not use the masking tape, and the solution stained the lower part of the lamp. But the good old chisel corrected the situation.
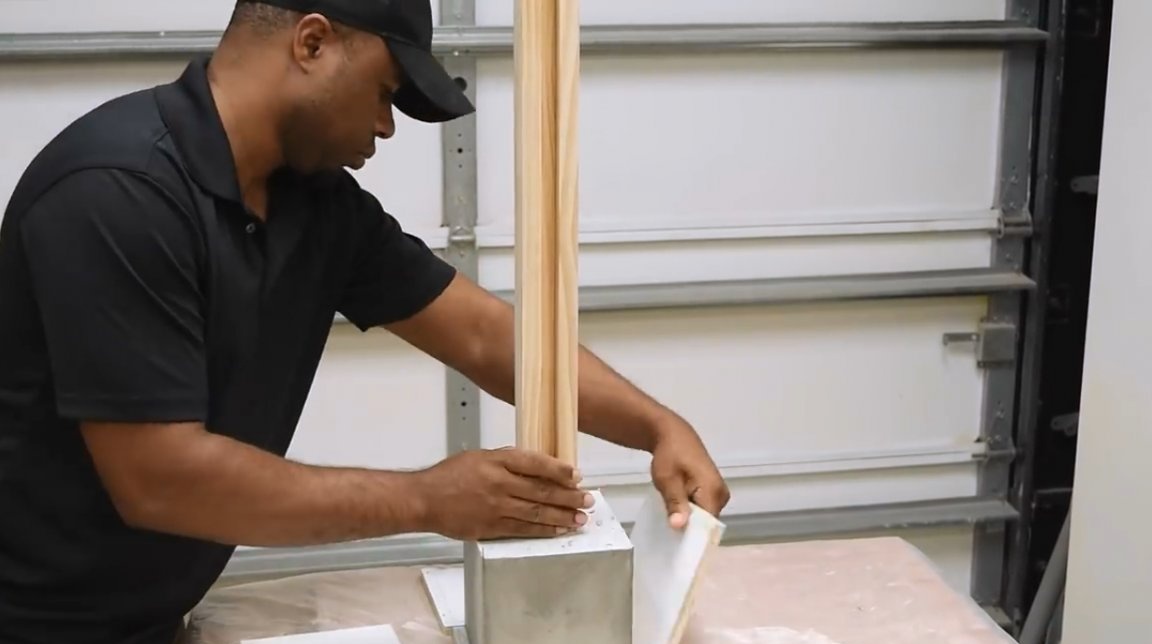
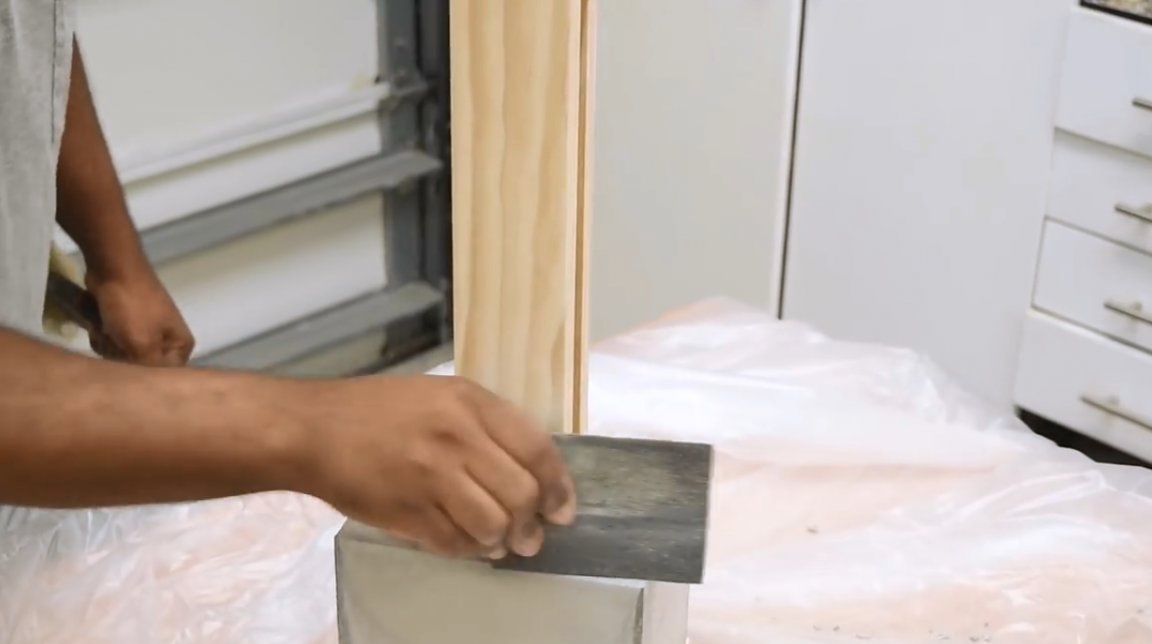
The outer sides of the cube are sanded with sandpaper.
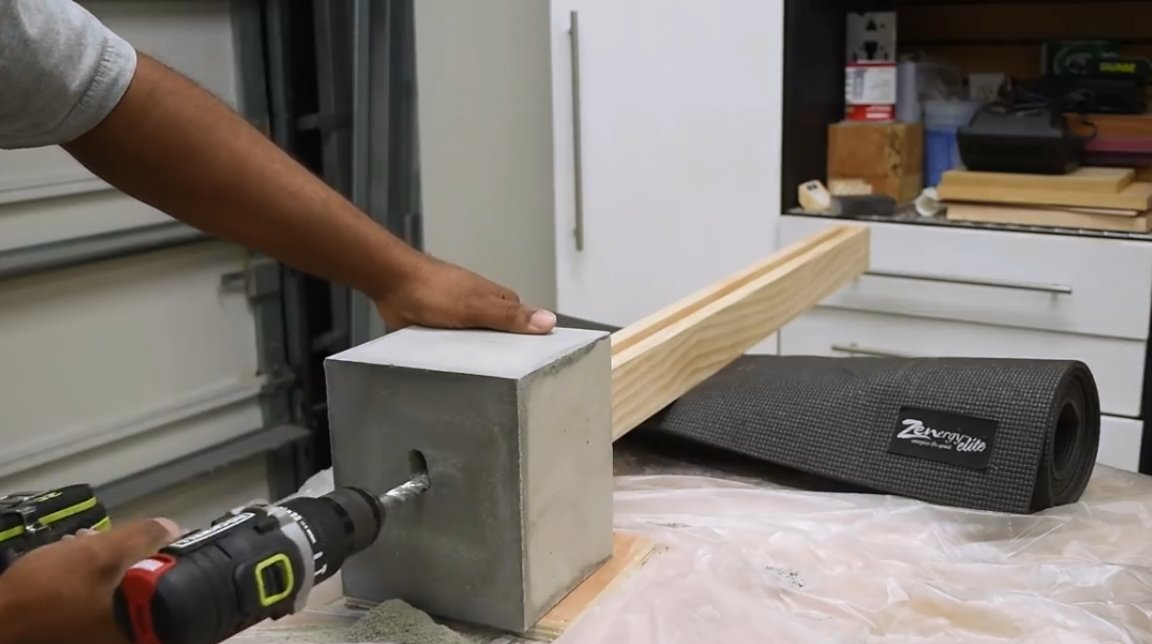
Now he gently puts the structure on its side, and removes the bottom. If you look closely, you can see the barely noticeable contours of the cardboard box.
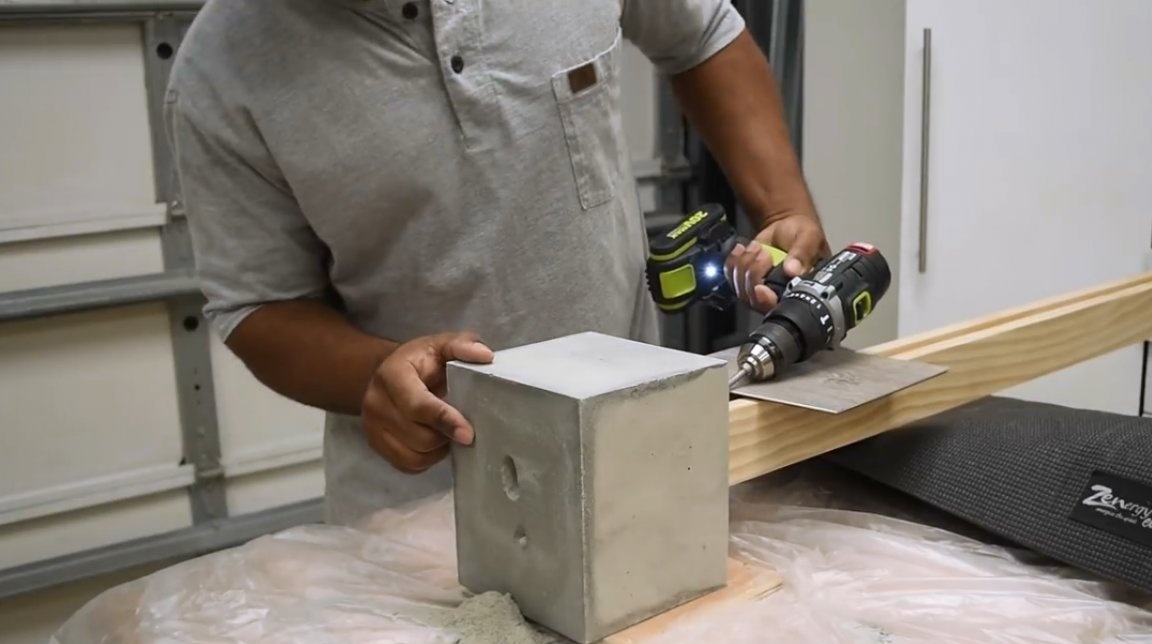
The author hoped rather quickly to drill through this thickness, but ... it was not there! Cement somehow leaked inside the box and filled a decent part of it.
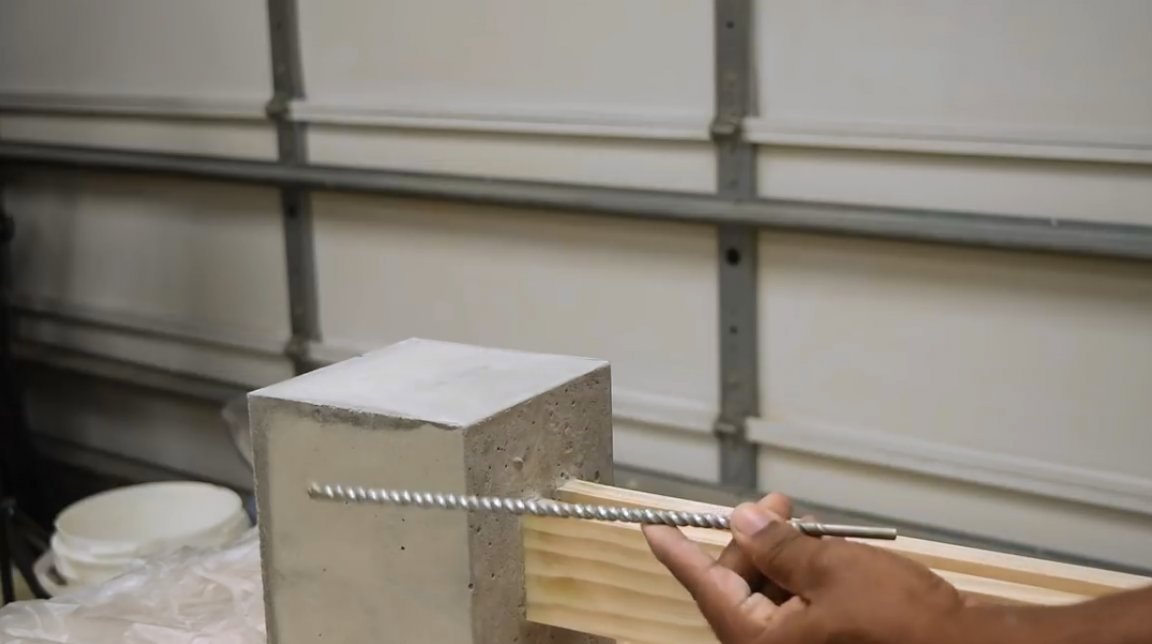
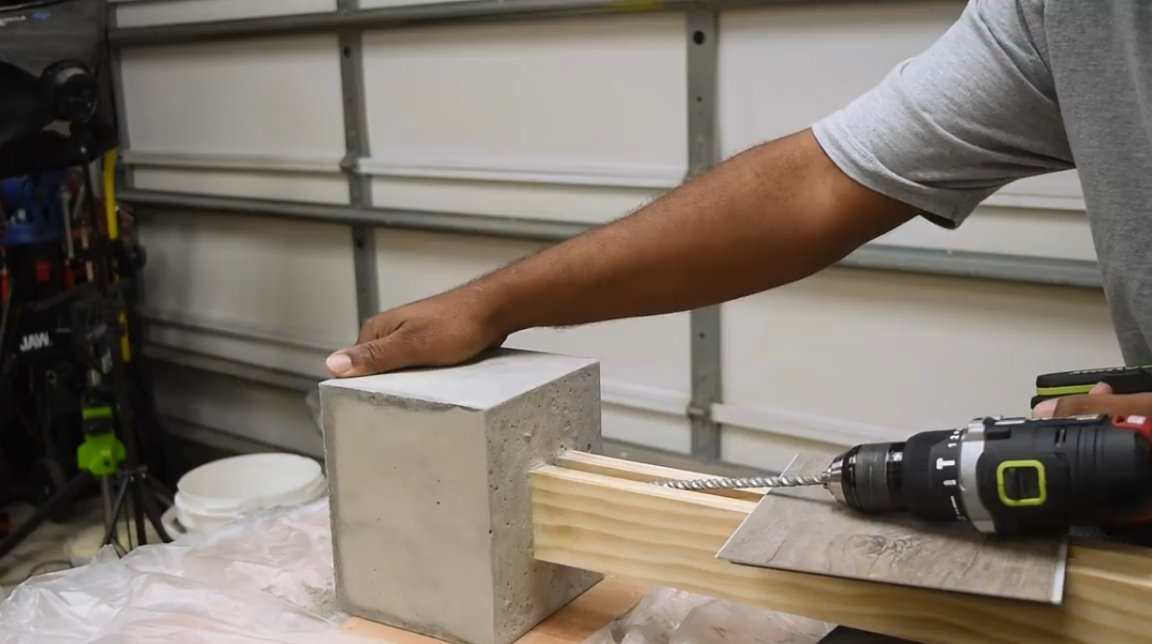
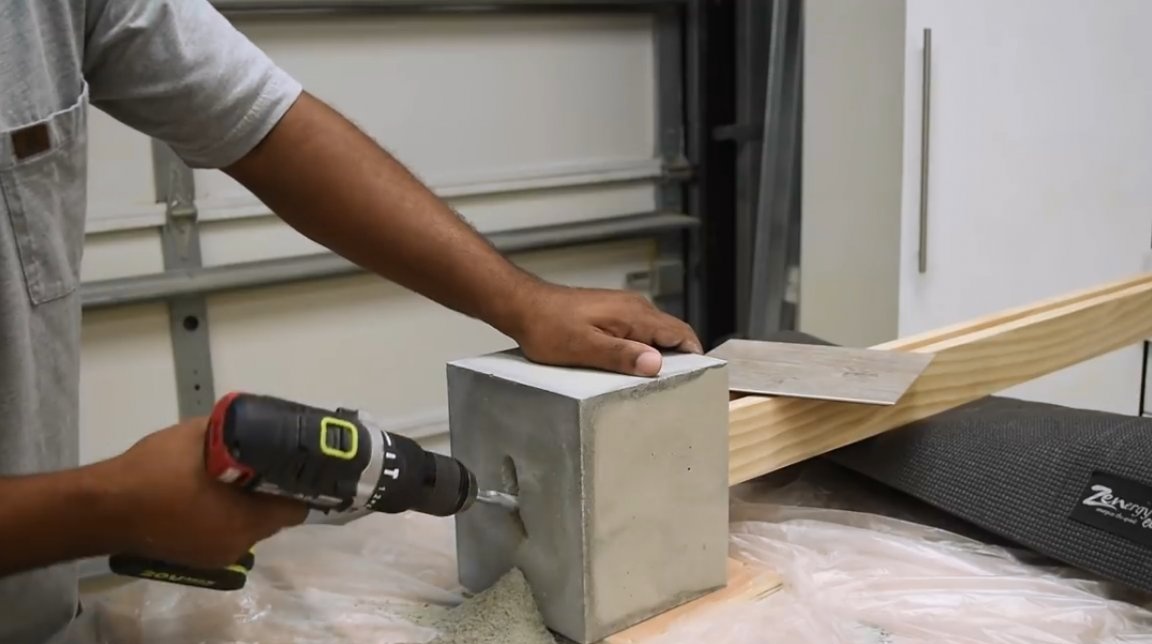
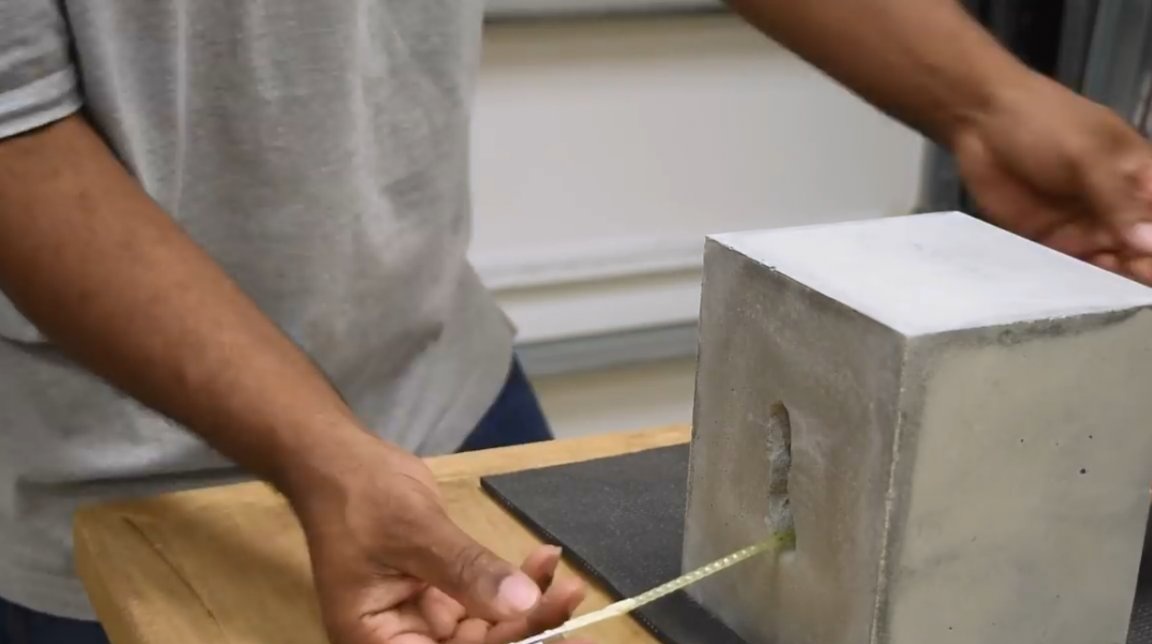
Then the master resorted to the help of a long drill, and began to drill from the opposite side, in the place where, according to his calculations, a styrofoam tape should lie down until a through hole was formed at the bottom.
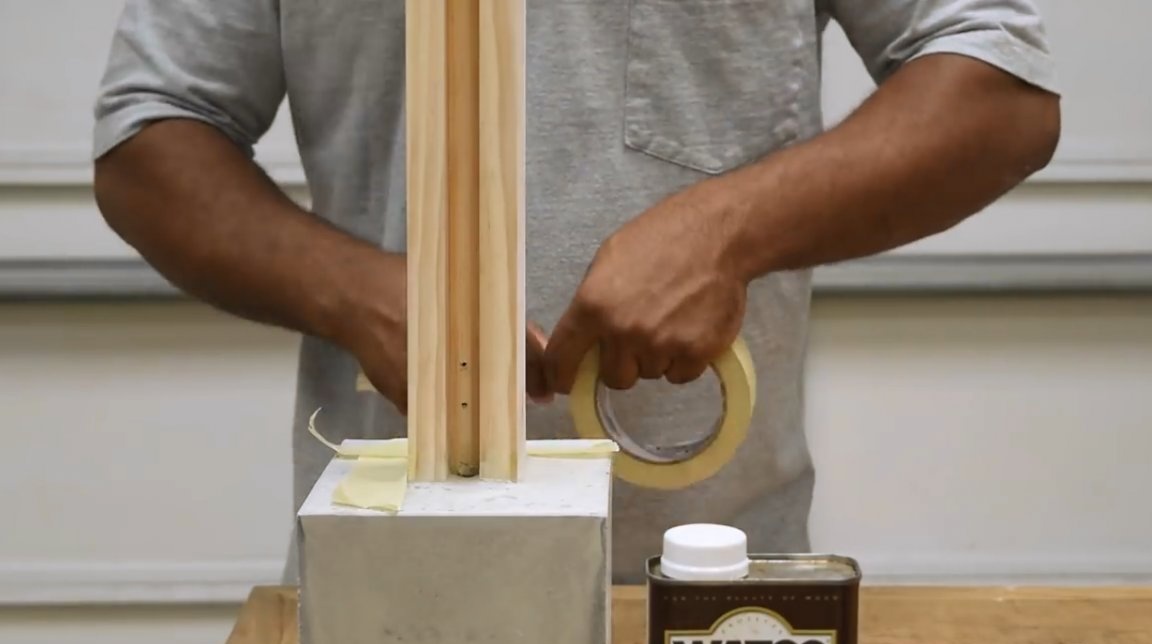
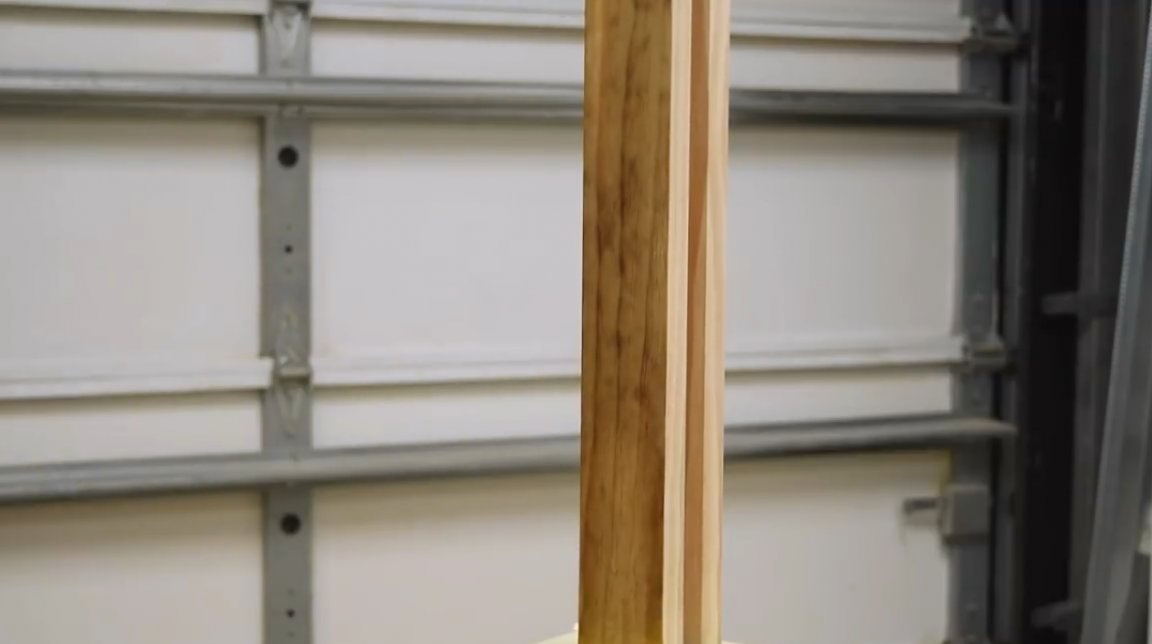
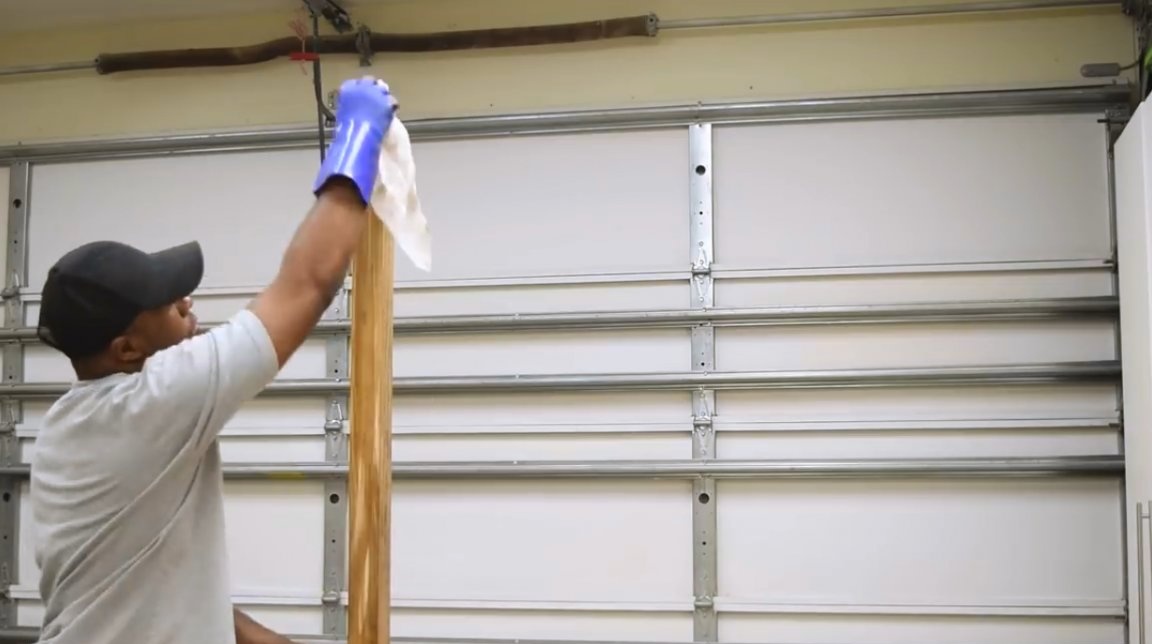
The next step, the author glues the upper part of the base with masking tape, and soaks the wooden elements with Danish hazel oil. He puts one layer and carefully rubs it with a piece of rags.

The author has purchased such a power switch. It is ideal for this lamp. A power supply is also connected to it. This white LED strip is powered by 12 volts.
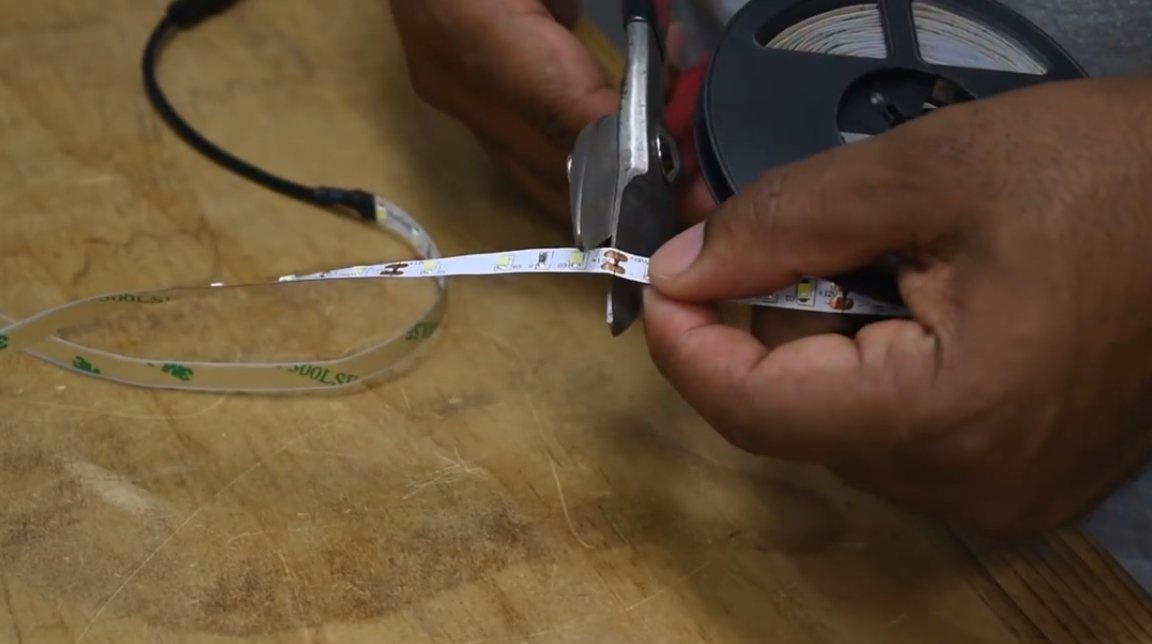
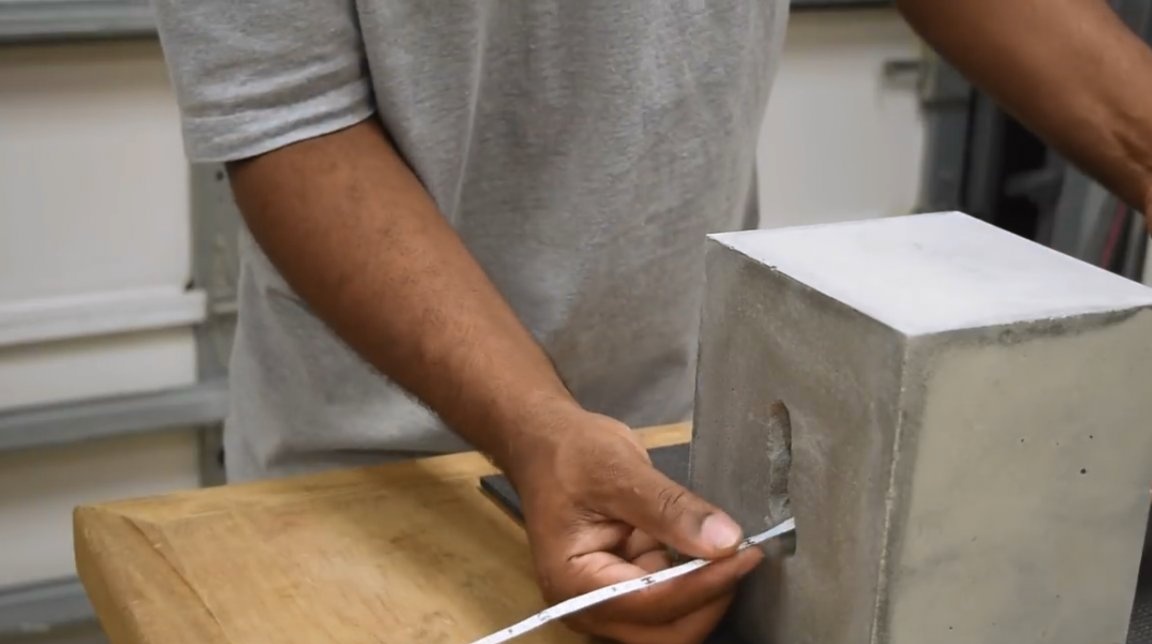
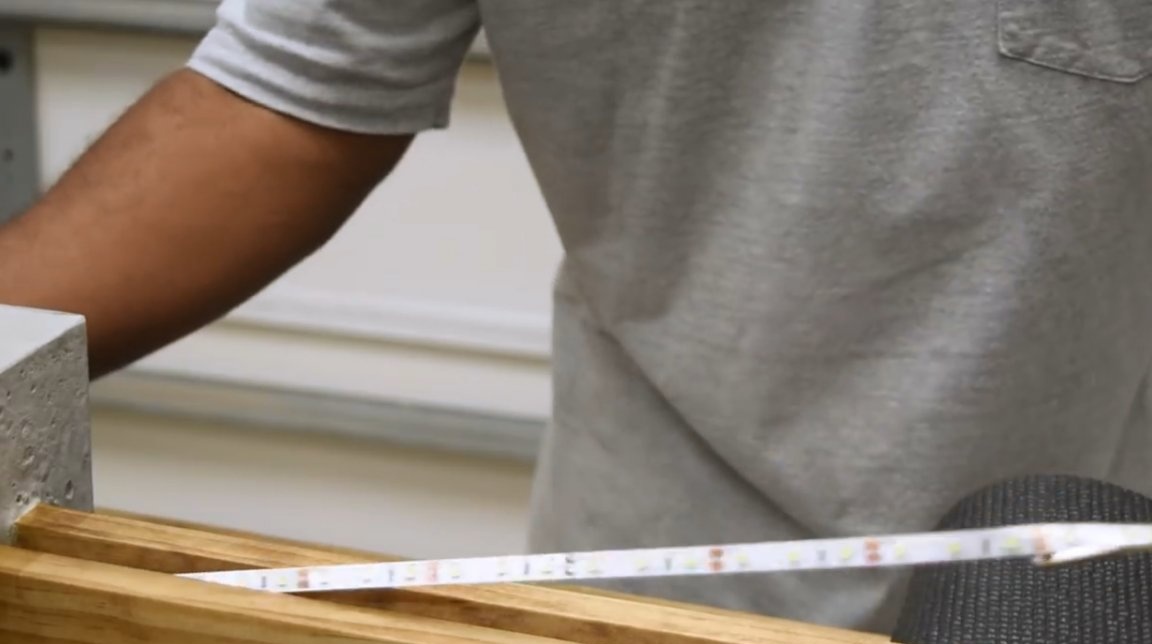
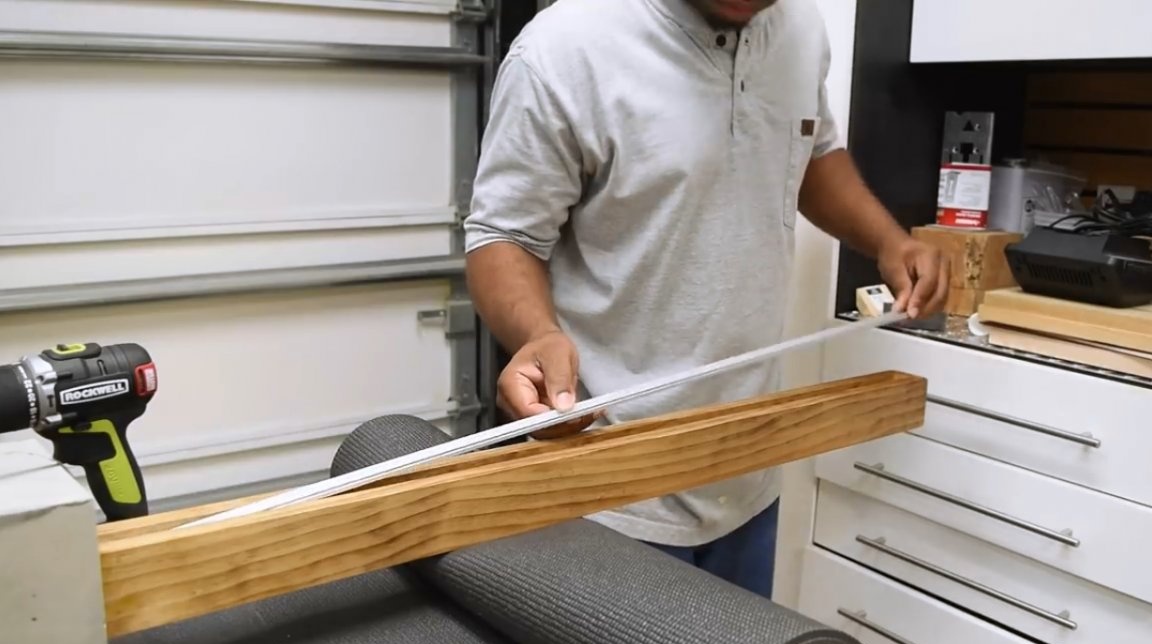
The author measures the required tape length. There are always special marks on the tape - section indicators. It is important to cut the tape just for them.
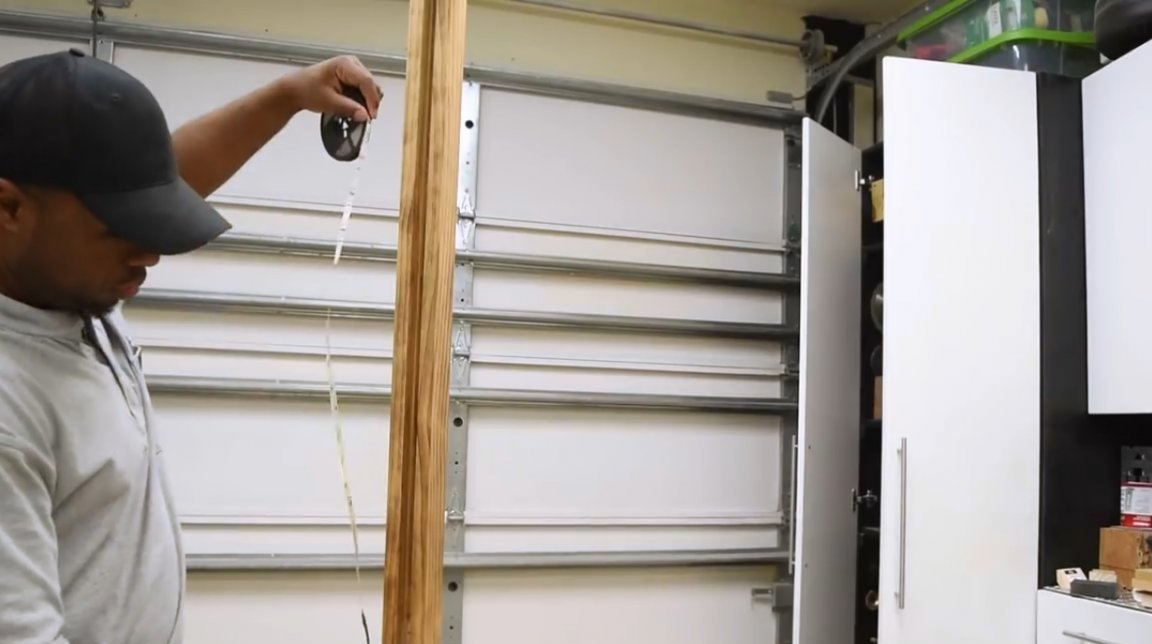
To simplify the task of pulling the tape through the hole, the master winds the LED tape with tape to a thin rod, and passes it through the hole.
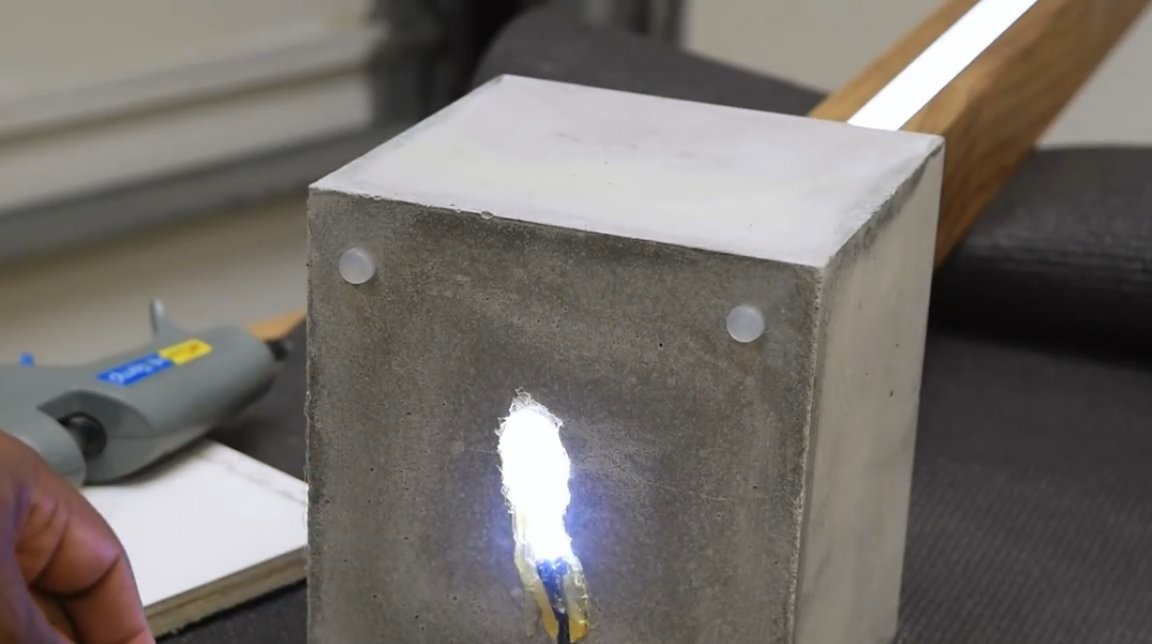
The legs are glued. And now check, there is a glow.
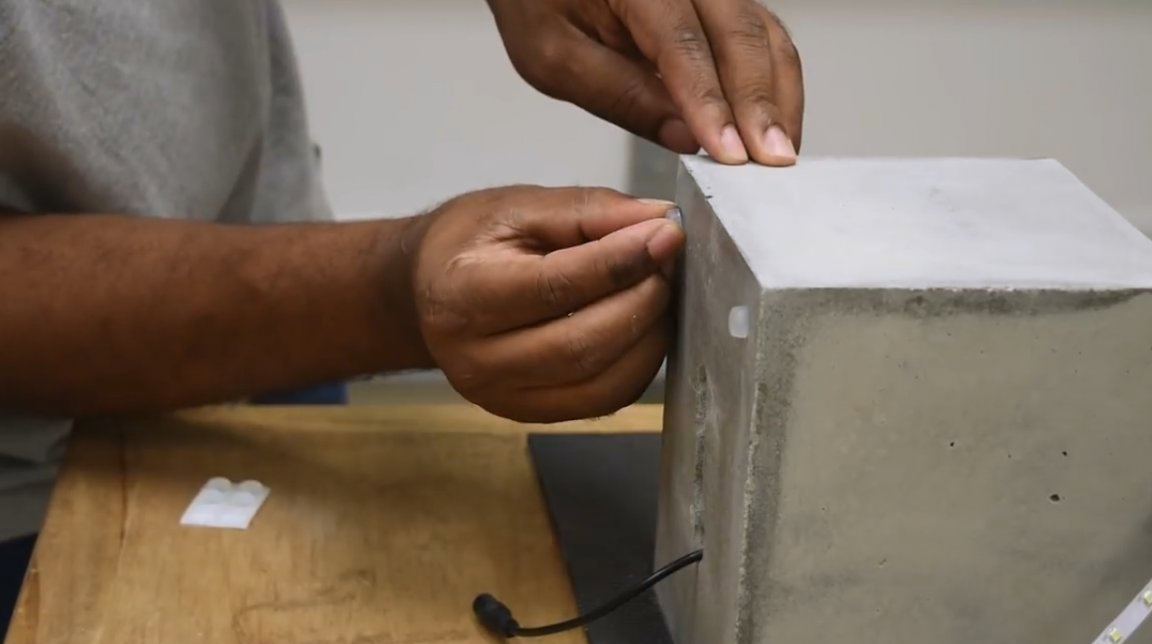
Then, screws are screwed in three places to fix the aluminum profile to the base.
The protective film is removed from the LED strip. The tape is glued from top to bottom.
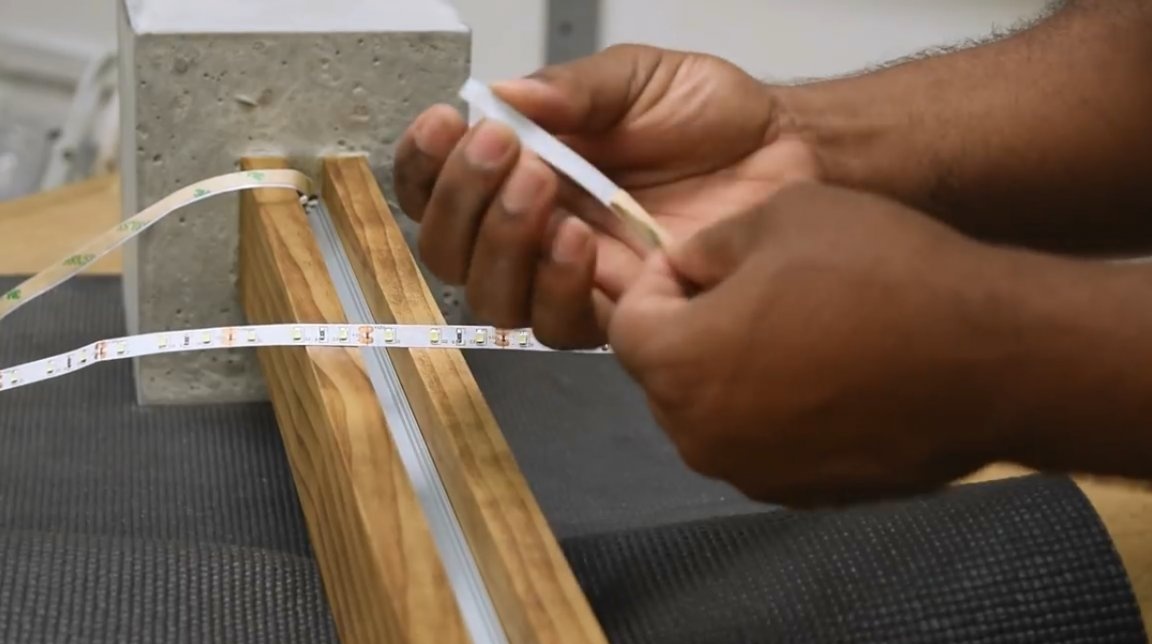
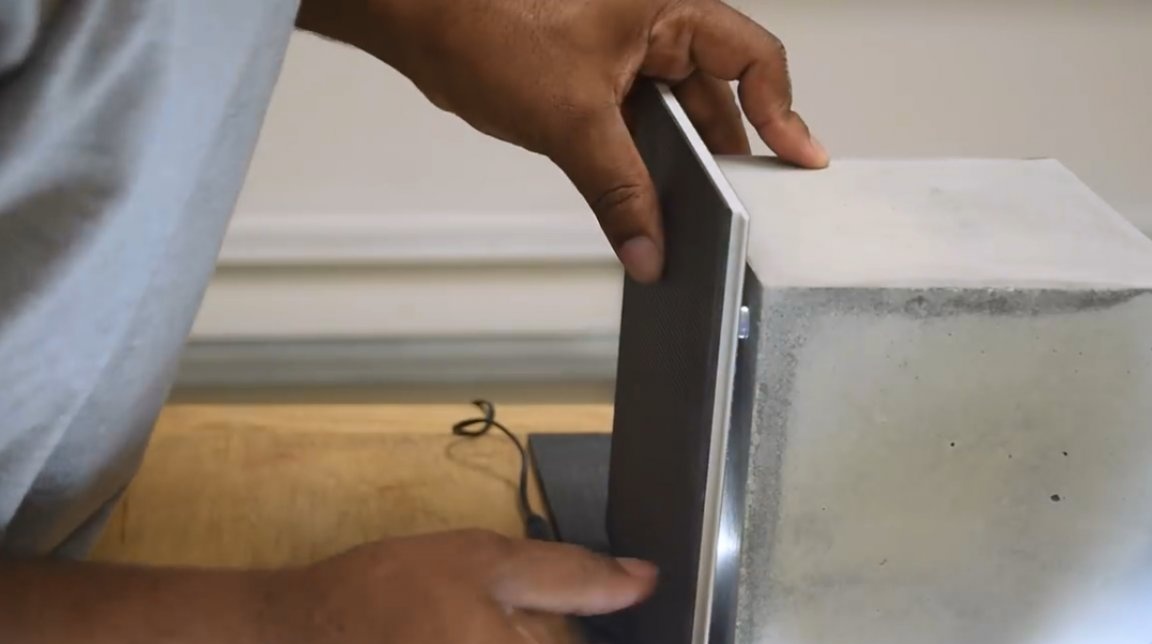
Then the protective matte cover closes.
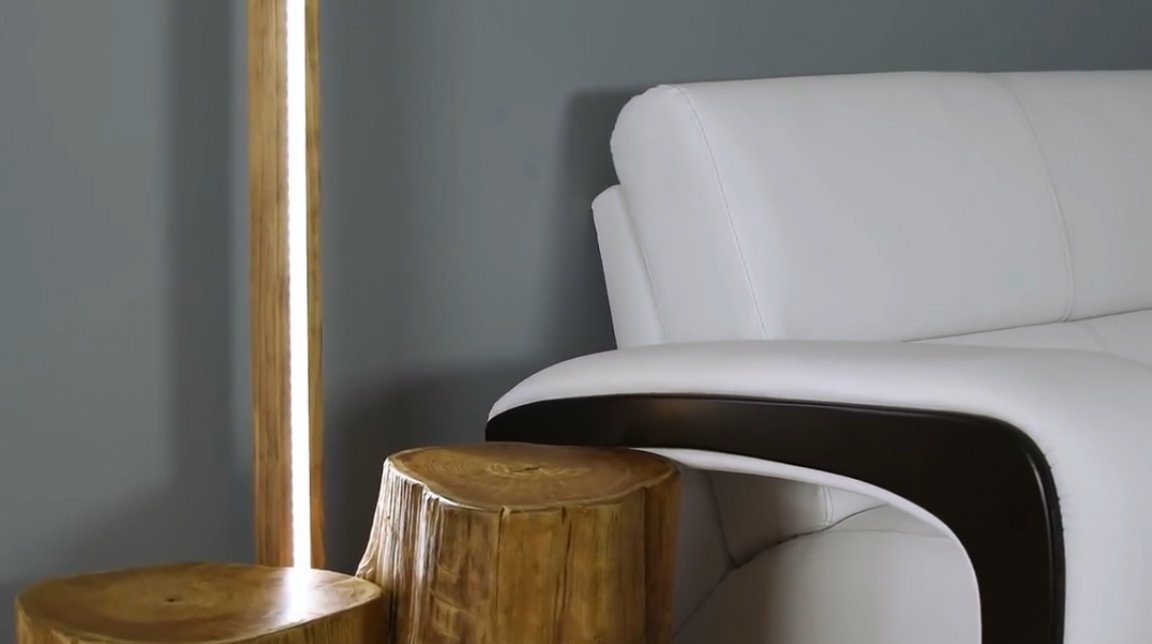
The lower section is filled with hot glue. If desired, if it becomes necessary to replace the LED strip, you can easily remove the glue and make a replacement. Also, a little light will come from under the base of the lamp, outlining its outline.
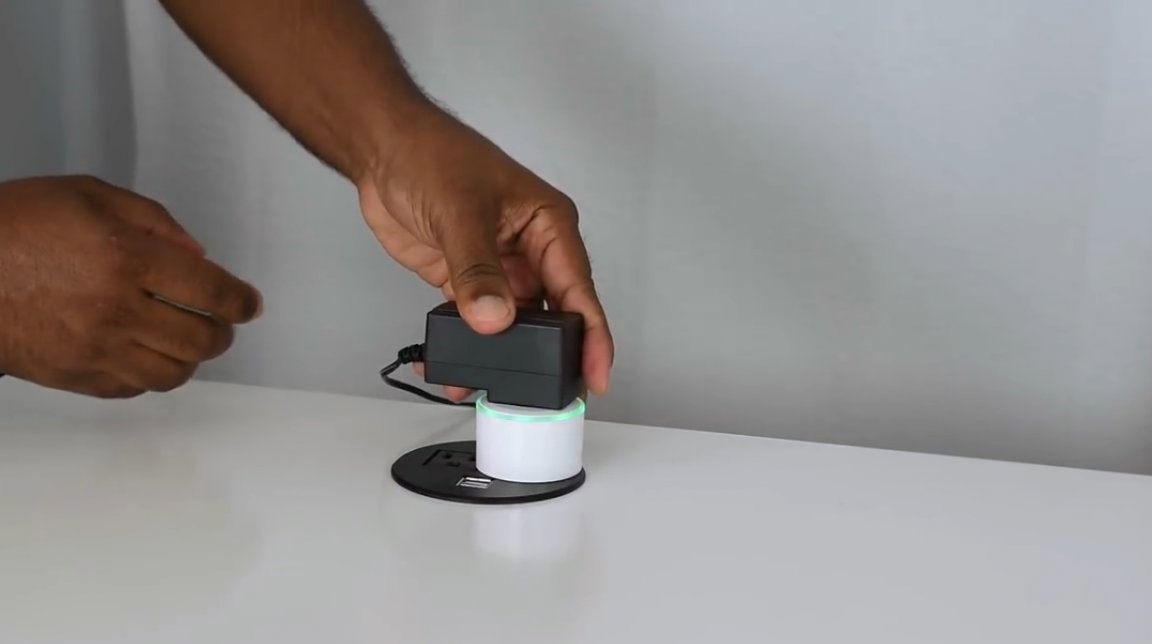
You can connect the switch and power supply.
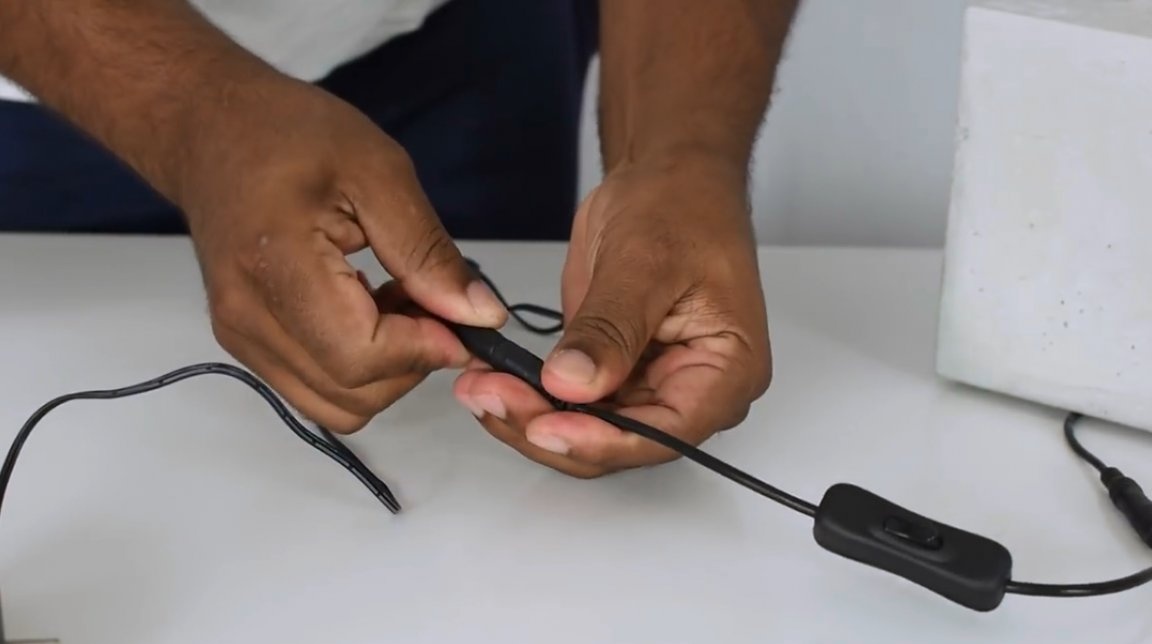
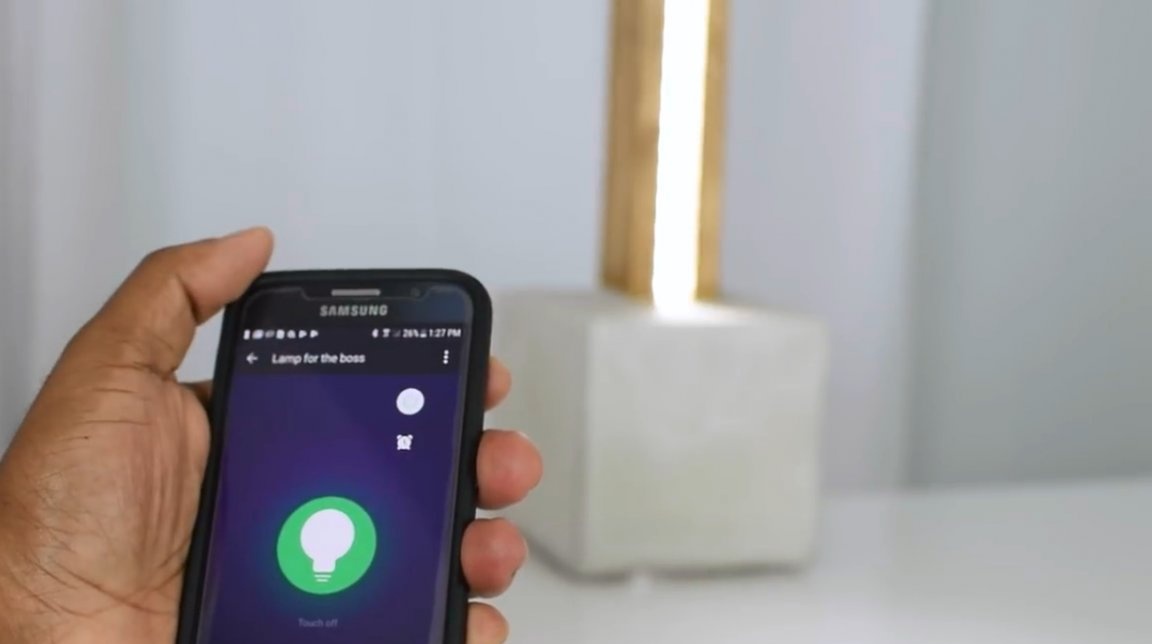
And if you use it, in which the master turned on the power supply, you can turn the lamp on or off according to the schedule, or using a smartphone. Anyway, this outlet is very functional, and you can even control the kettle.

Thanks to the author for the original idea of a smart floor lamp!

All good mood, good luck, and interesting ideas!
Author video can be found here.