When working with woodworking machines, and others, safety should always be in the first place.
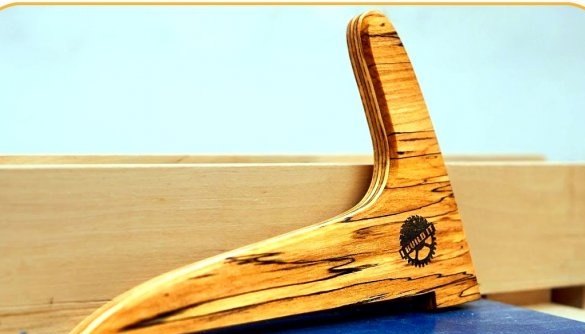
In this article, John, the author of the YouTube channel John Heisz - I Build It, tells you how he made the pusher for the parts when machining them on a circular saw.
Materials
- Maple veneer
- PVA glue
— .
Instruments, used by the author.
—
—
—
—
- Grinding machine
—
—
- Drum sander
- Rasp, pencil.
Manufacturing process.
So, this is a simple and at the same time very useful project - a pusher for a circular saw. The author already had a blank of plywood for this project, which greatly accelerated the matter.
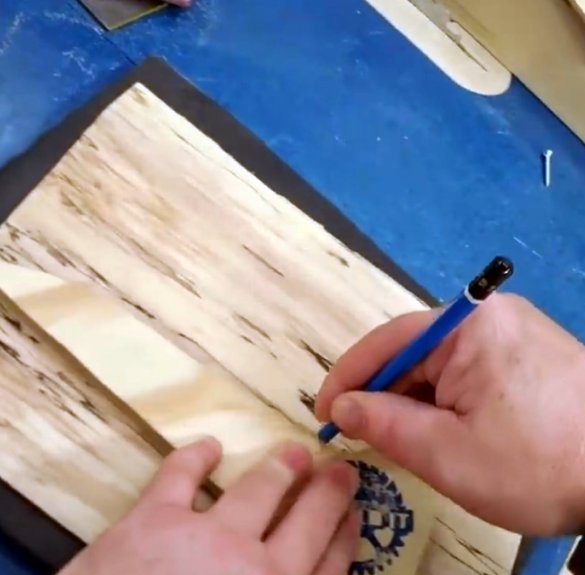
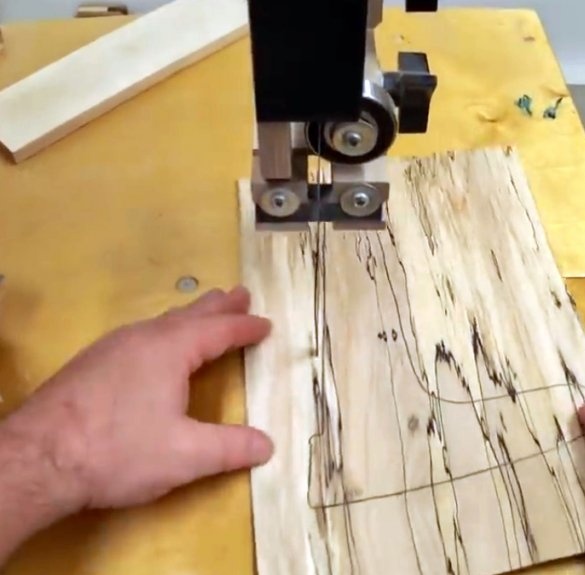
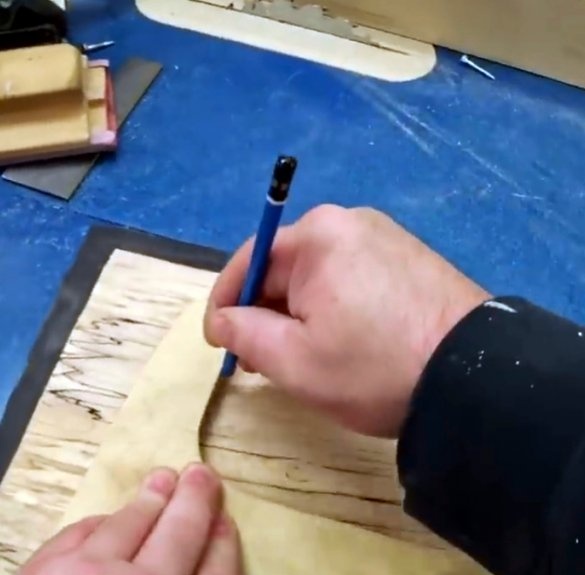
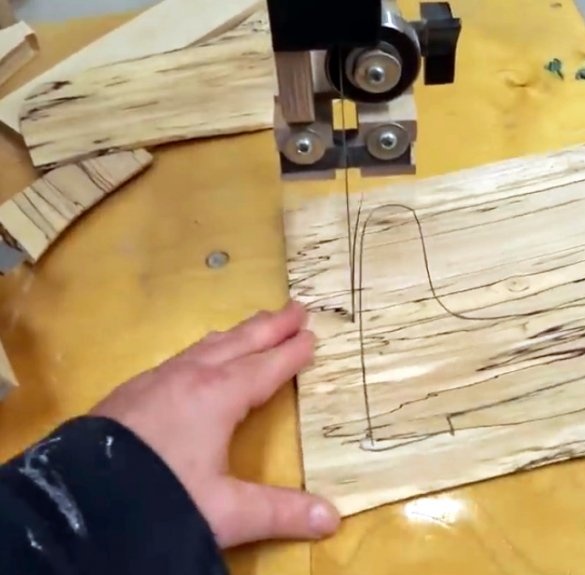
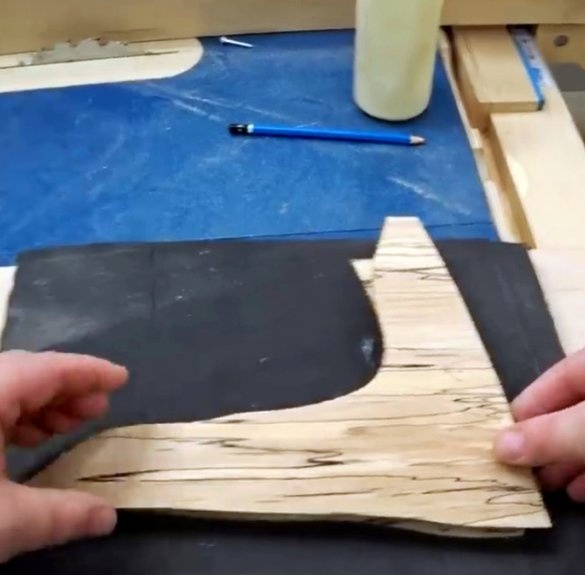
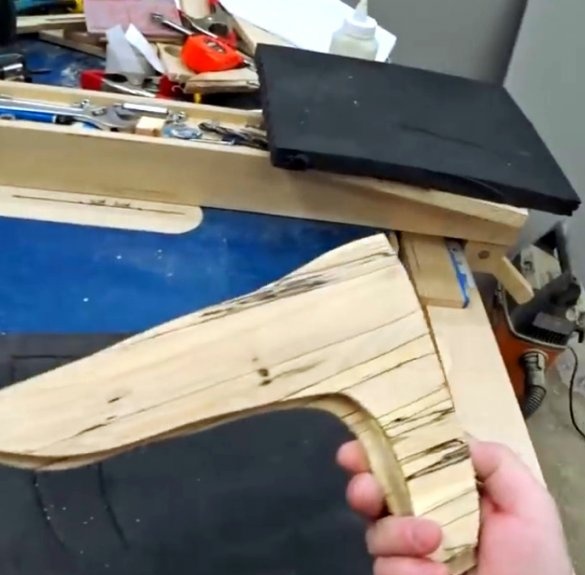
Now his task is to glue this blank with aesthetic plywood veneer. For finishing work, he uses maple veneer. Marks the blank for the first side, and cuts along the contour with a band saw.
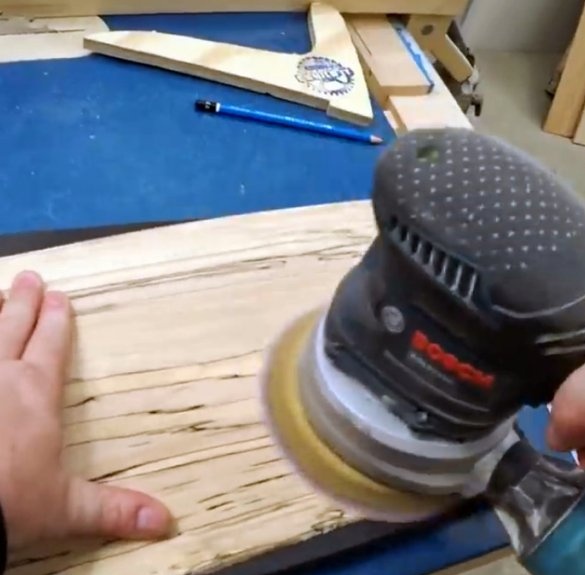
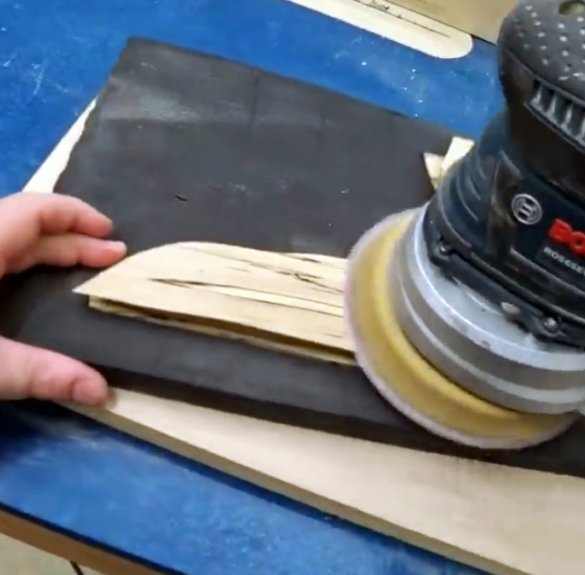
Grinds veneer surfaces with an orbital machine.
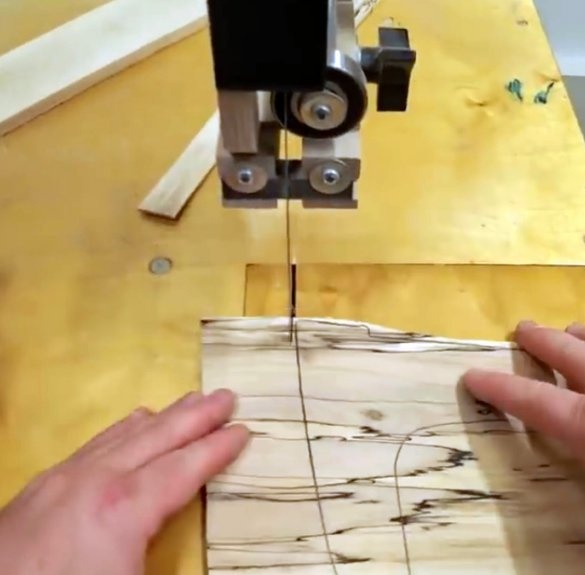
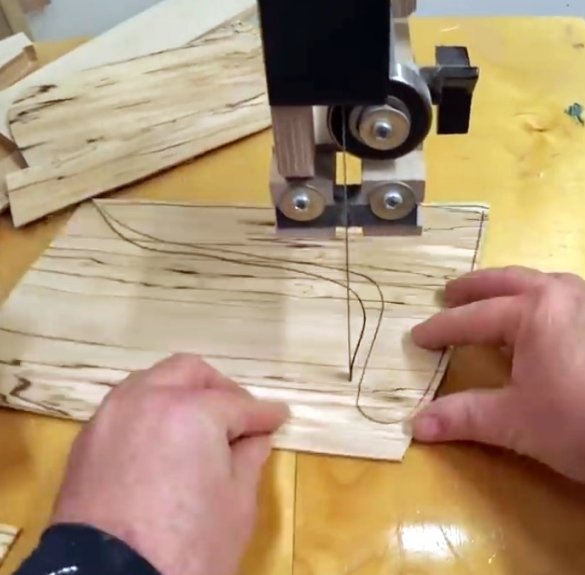
Now marks the contours of the second workpiece, cuts it.
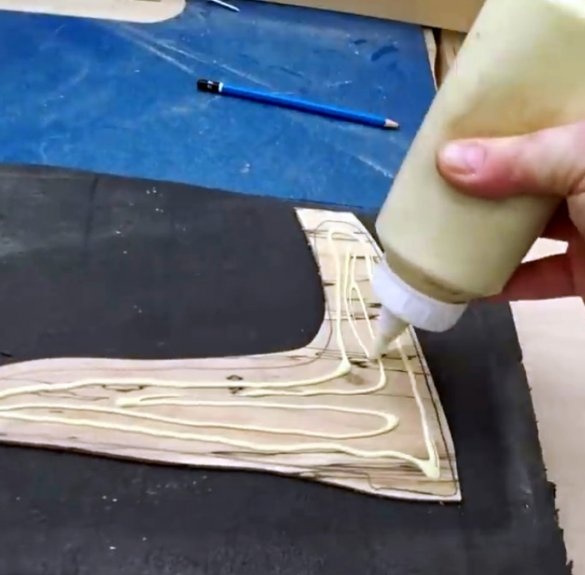
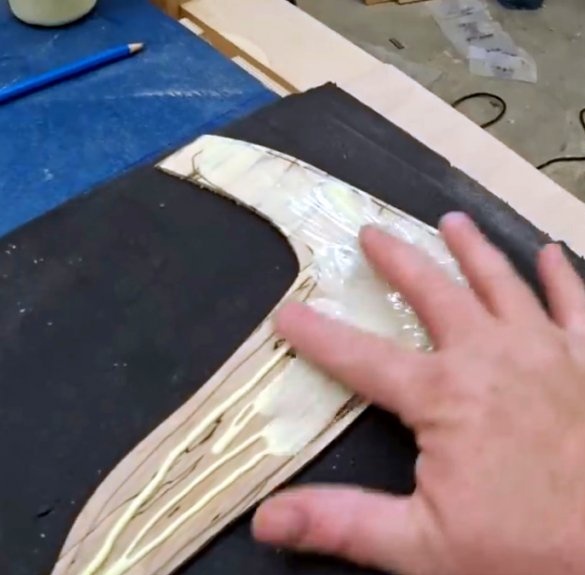
The decorative coating sits on wood glue.
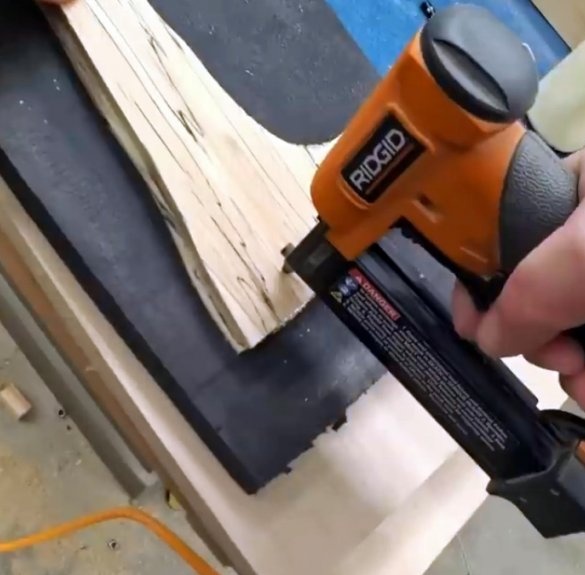
Then it fastens the workpieces together with a neiler.
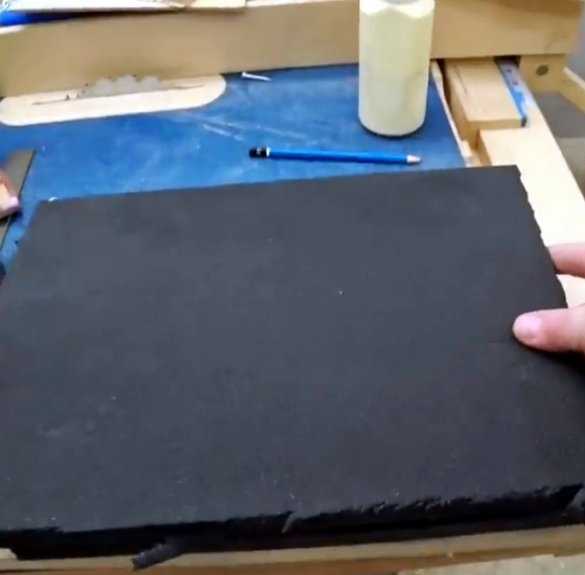
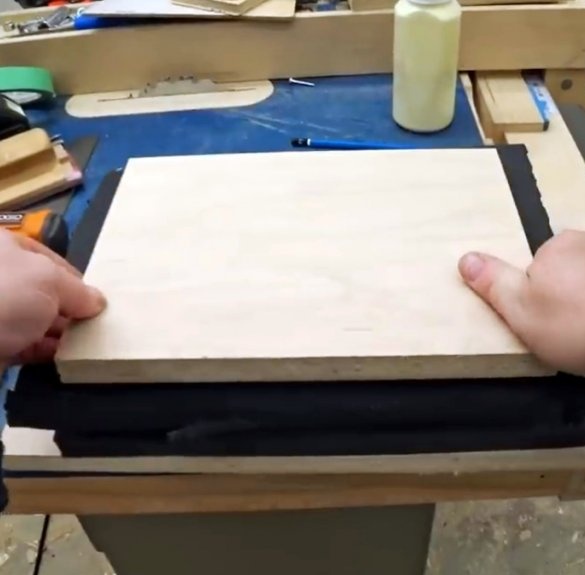
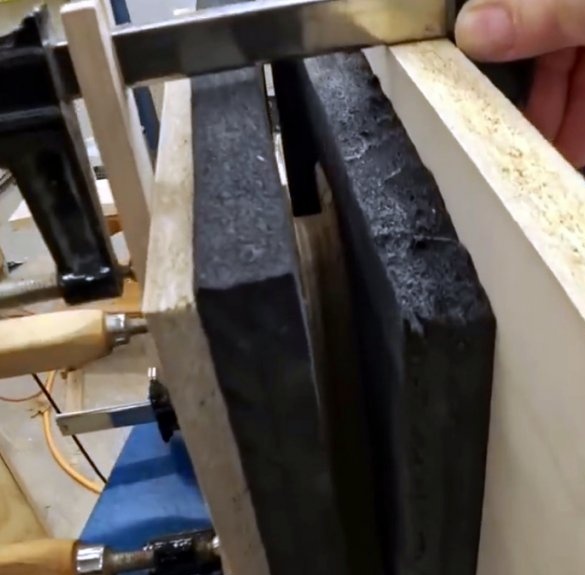
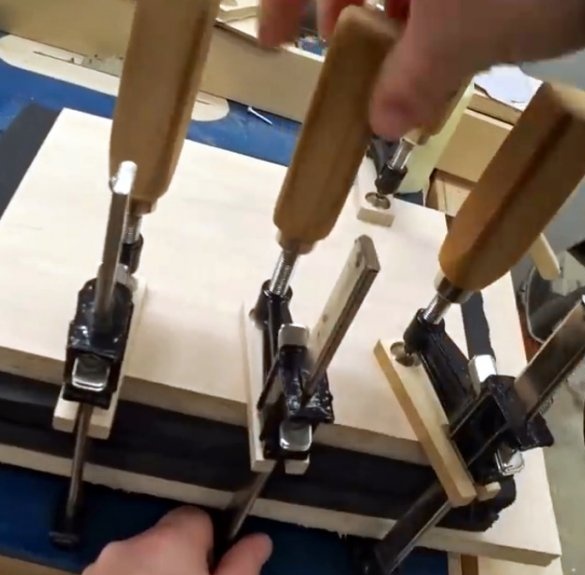
The product is covered with a layer of foam, then wide planks (this is necessary for better distribution of the clamping force), clamped with clamps and left overnight.
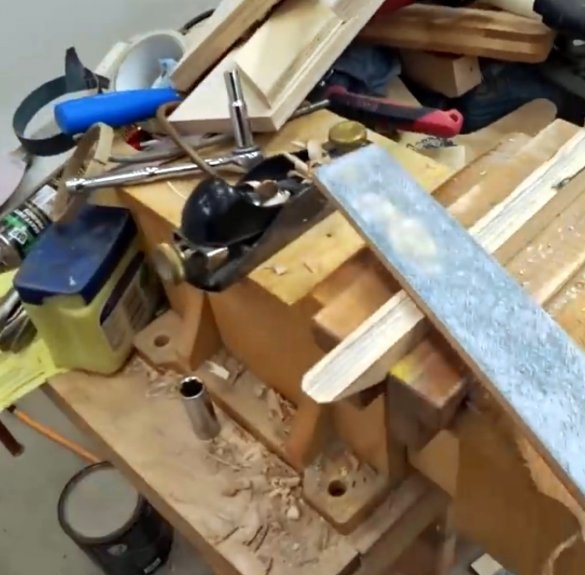
The next day, the author hastily overwrites the blank on both sides.
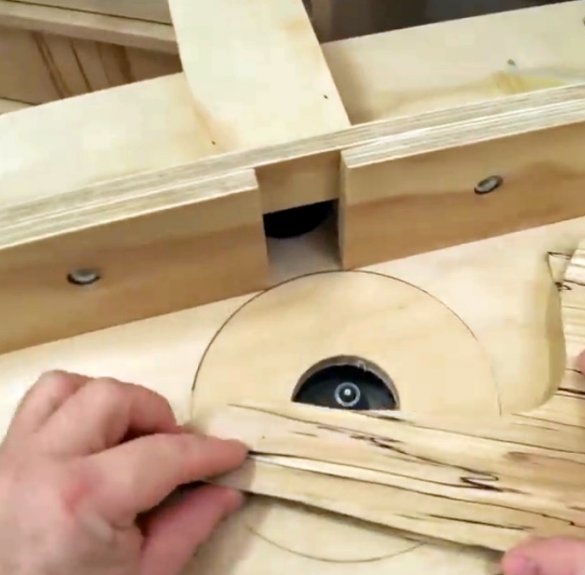
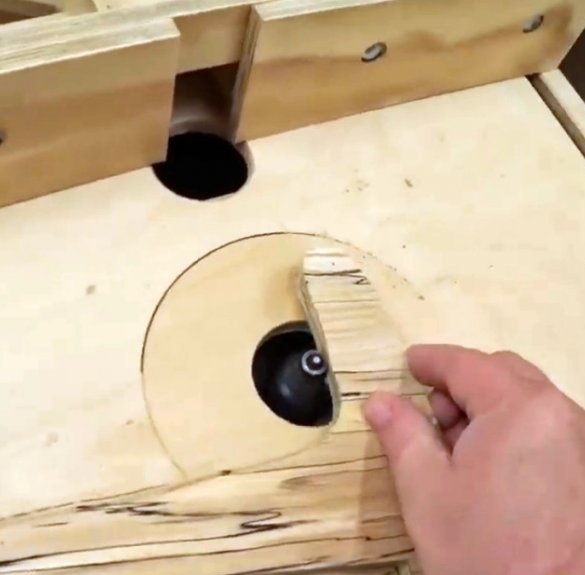
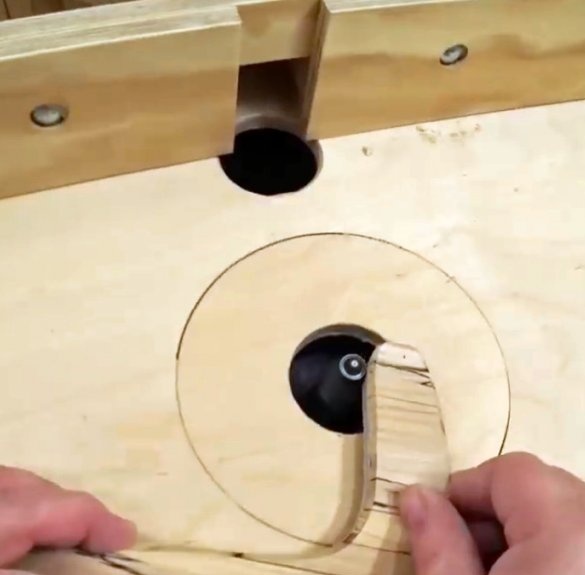
Further, on the milling table, the author cuts off the main excess material from the edges.
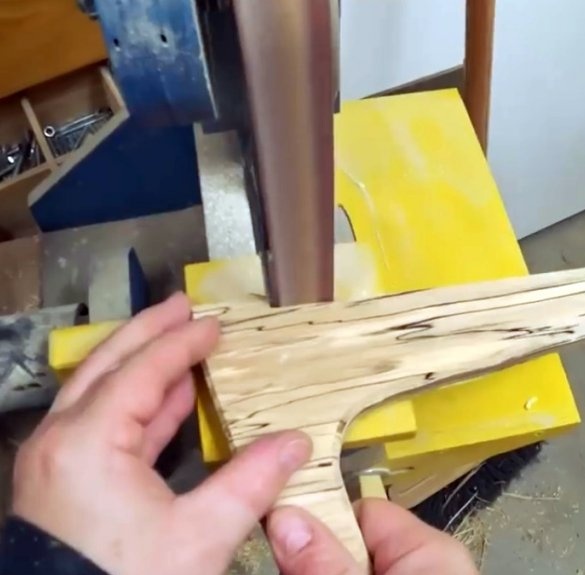
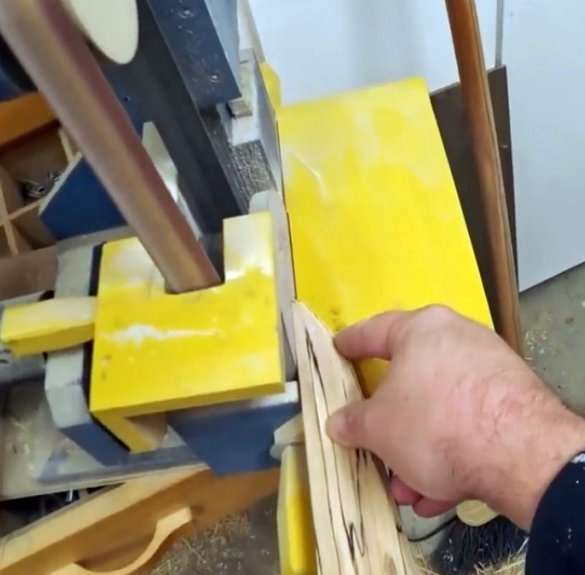
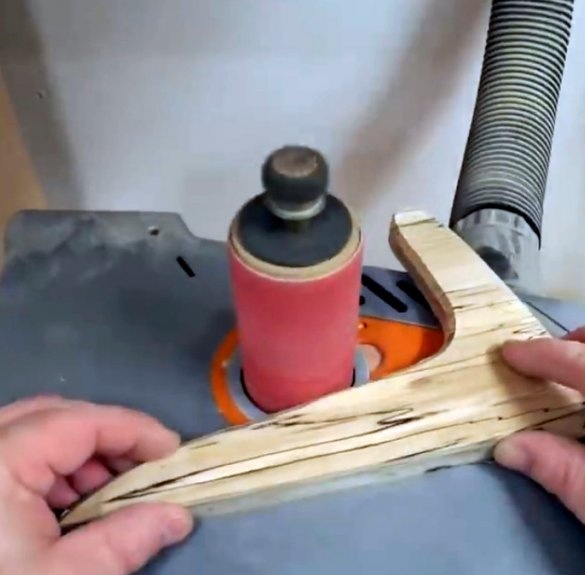
Then he grinds the pusher on grinding machines, achieving perfect smoothness.
And then once again it processes the edges with a milling cutter.
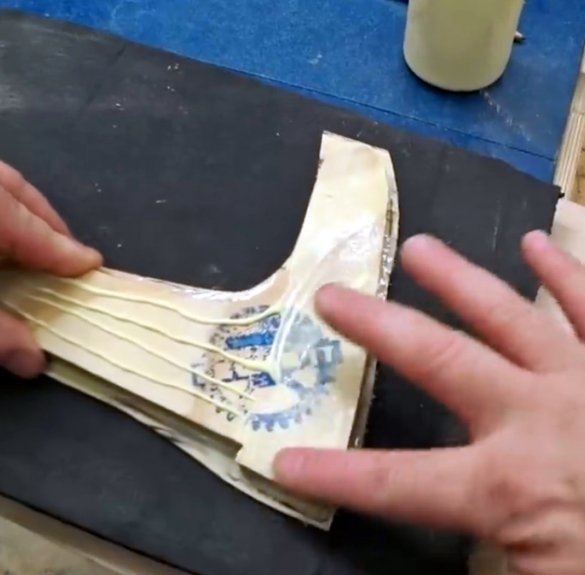
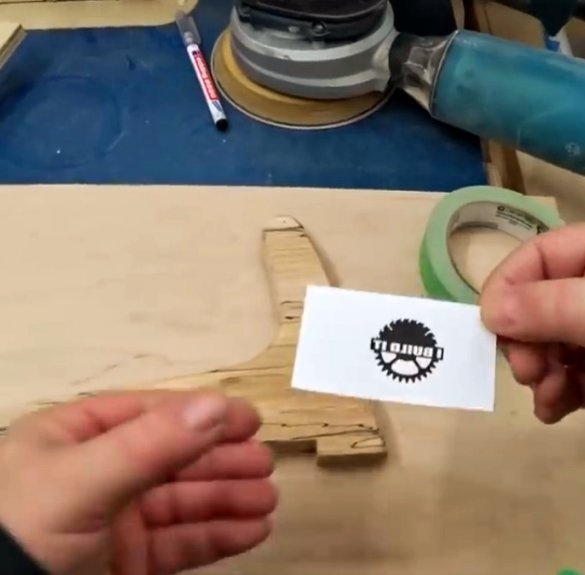
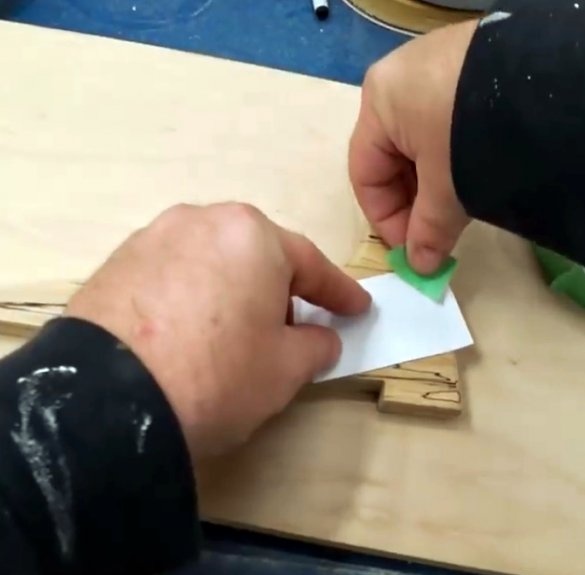
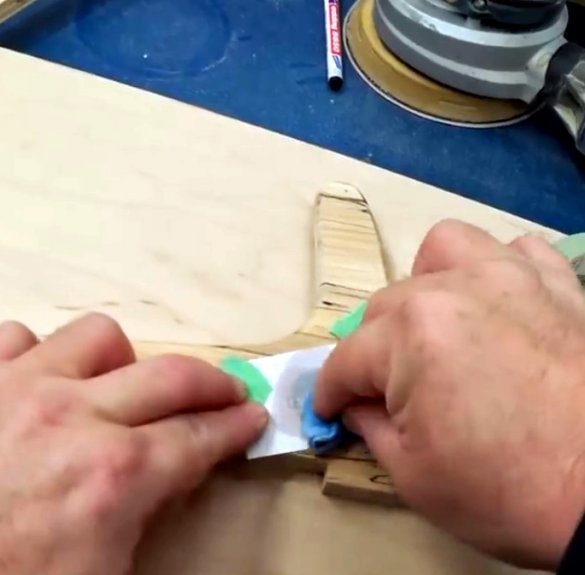
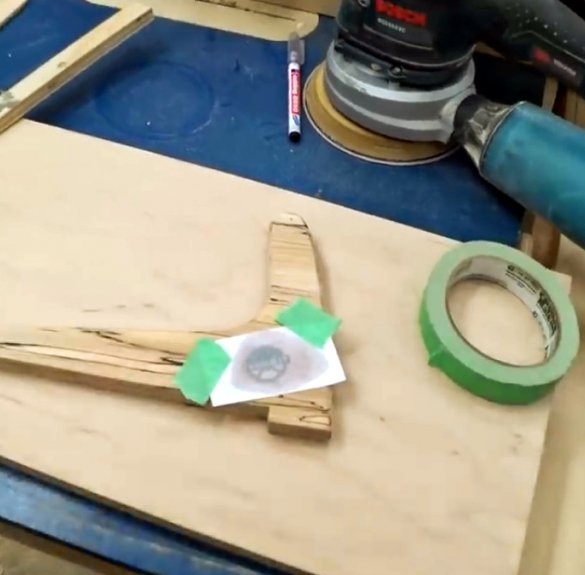
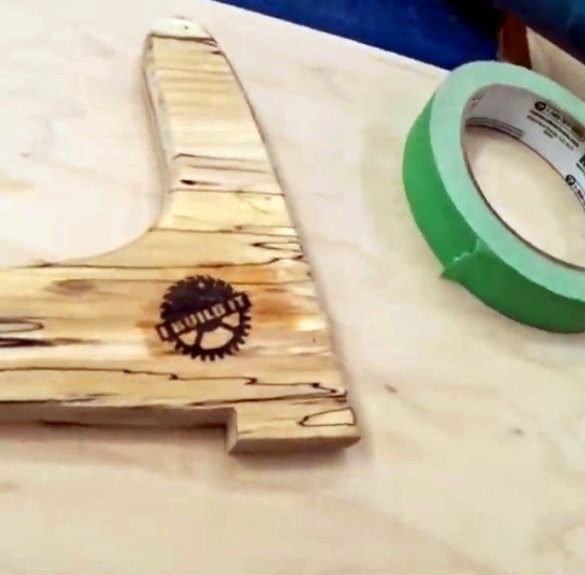
John already has his workshop logo printed on a laser printer. To transfer it to the product, he uses a varnish solvent. White spirit, acetone, or gasoline is also suitable.
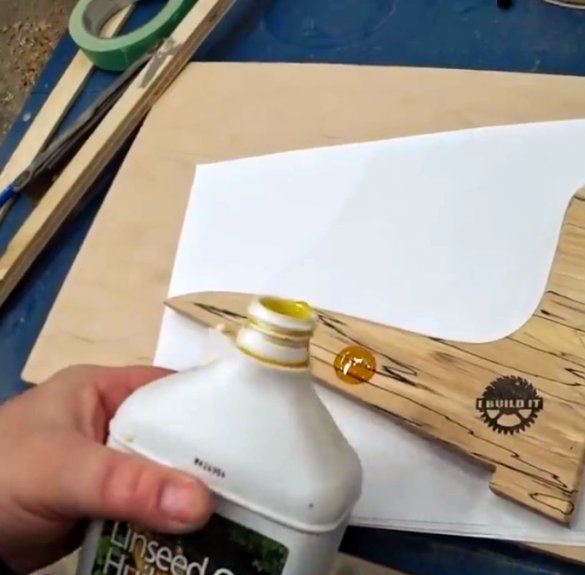
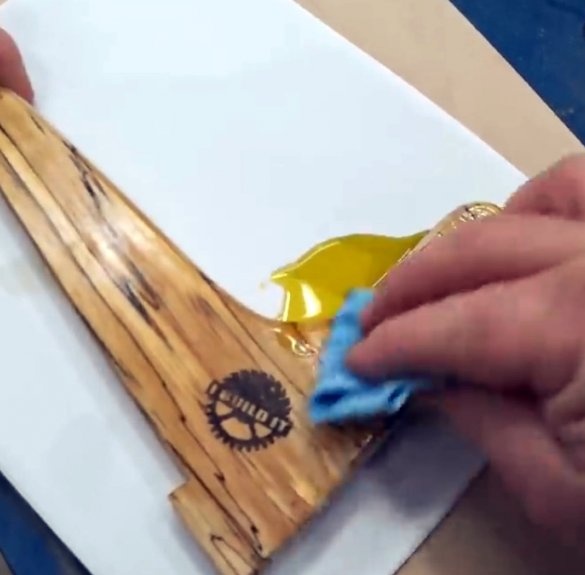
The final step is to apply the topcoat. In this case, it is boiled. John carefully rubs it with a small piece of natural fabric.
Here is such a branded veneered pusher! Isn't it cute ?!
Thanks to the author for the idea of a simple but useful fixtures for the workshop!
All good mood, good luck, and interesting ideas!
Author video can be found here.

