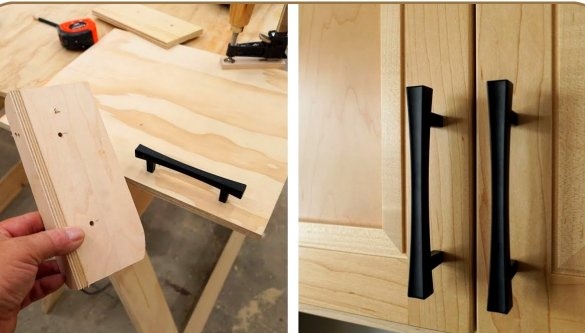
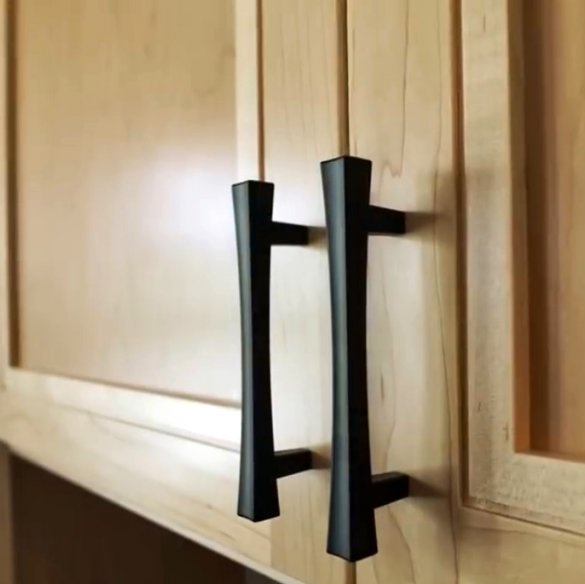
How often do you have to screw the handles on the doors of cabinets, hangers, kitchen drawers and cupboards? And if you are dealing with an assembly line of furniture?
In this article, the author of the YouTube channel “I Build It Home” will tell you about the manufacture of this simple conductor. It will incomparably speed up and facilitate your work. Down with troublesome measurements! You can make your own template for each furniture set.
Materials
- Sheet plywood.
Instruments, used by the author.
- A circular saw
- Miter saw
-, wood drills
—
—
—
- Roulette, ruler, square, pencil, screwdrivers.
Manufacturing process.
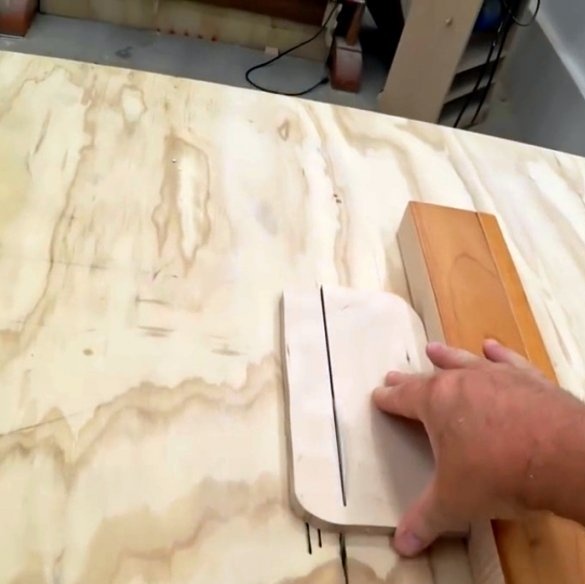
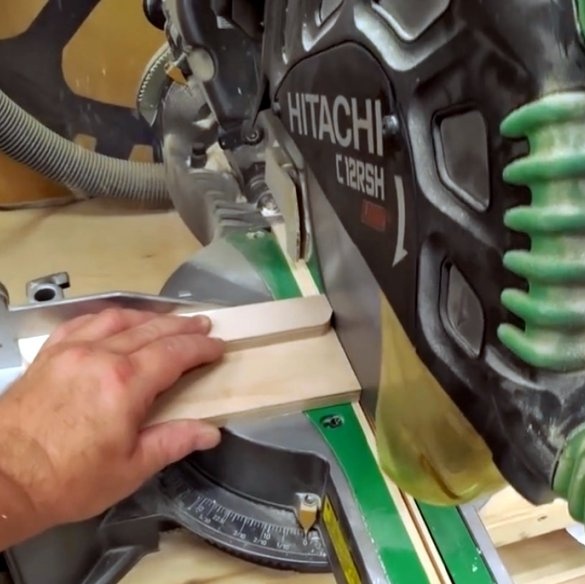
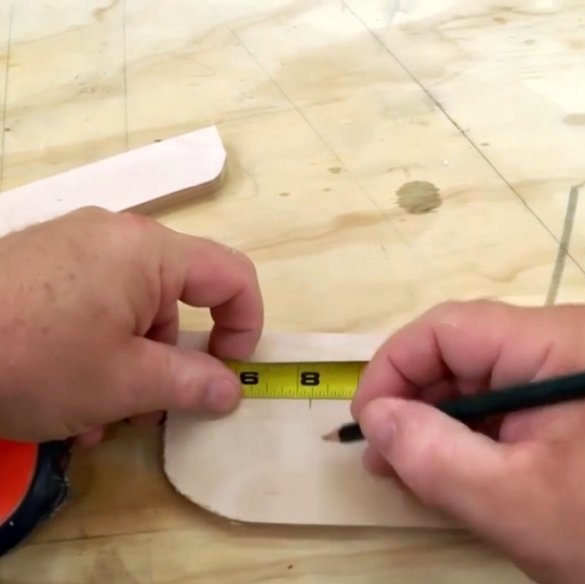
The author selects a suitable piece of plywood and cuts it to the desired size. An important point: the length of the plank should be exactly 100 mm longer on each side. The reason for this accuracy is the fact that the author intends to align the template with the lower edge of the door leaf in order to be able to precisely mark the holes and drill them. Ideally this device should work for both right- and left-sided wings.
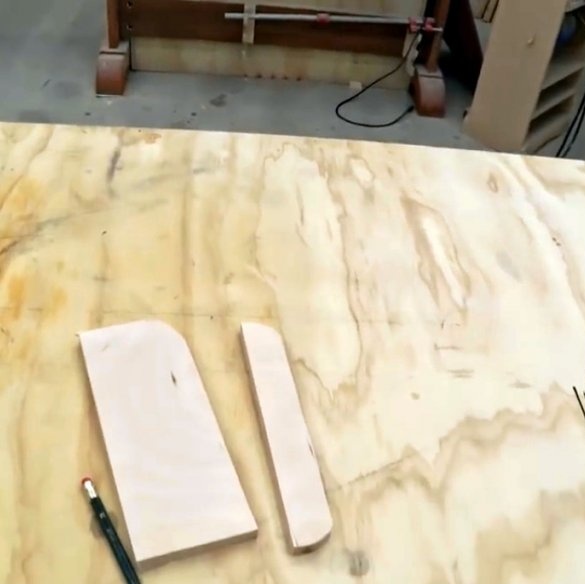
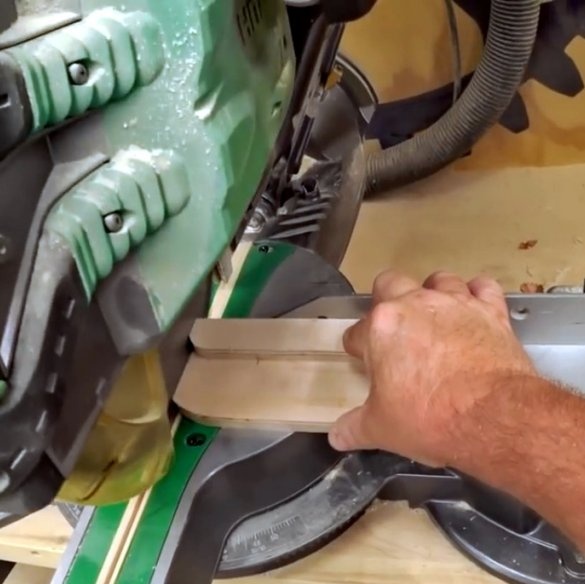
So, he cuts off the excess material along the edge of the above length. The resulting crop will also be used in the template.
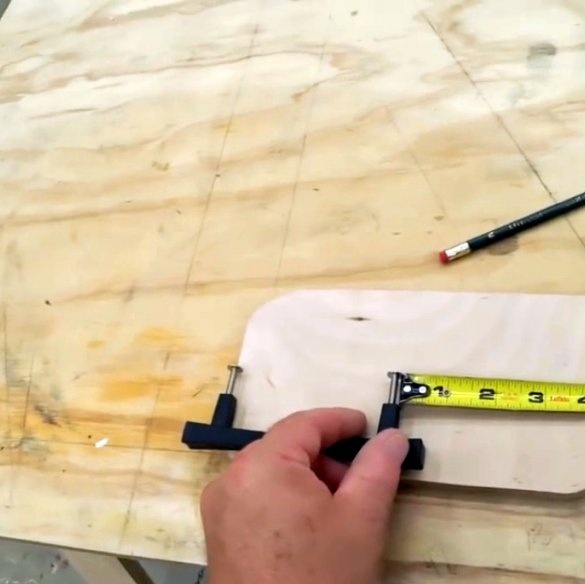
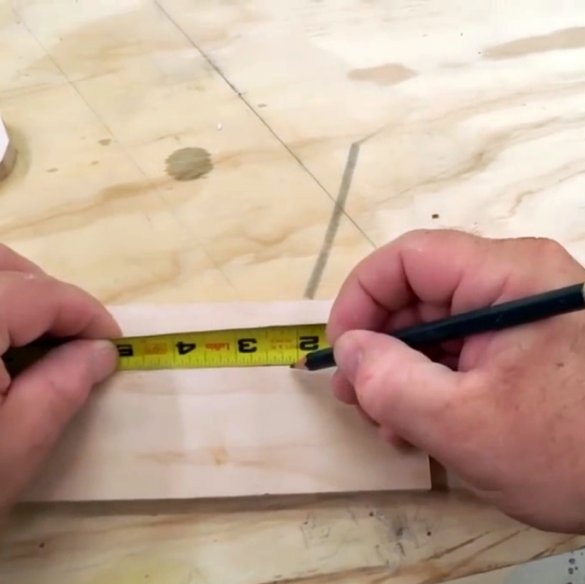
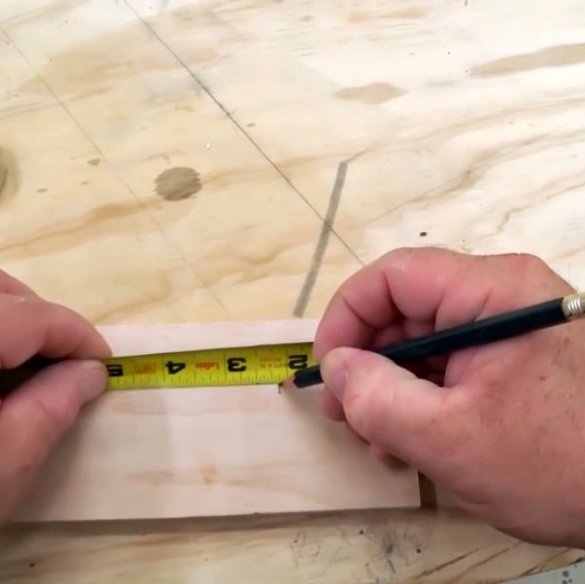
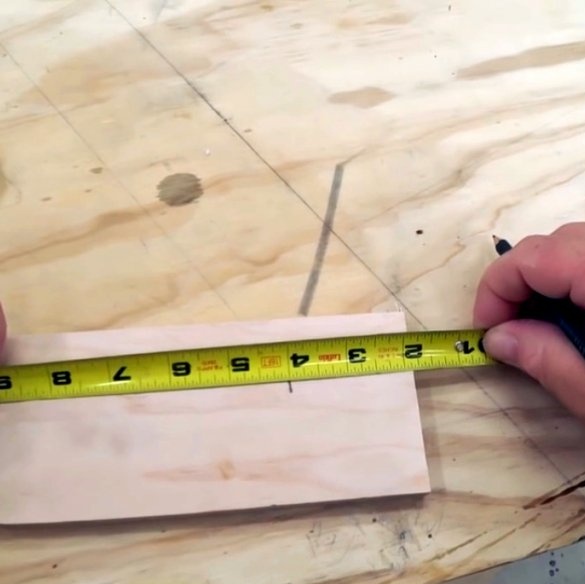
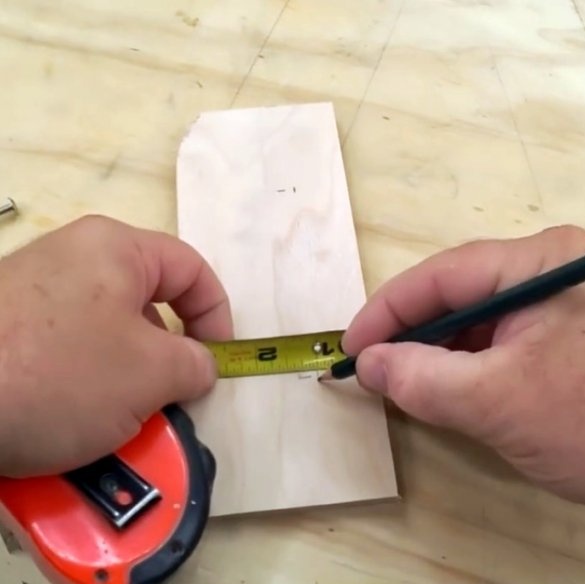
It transfers the distance between the holes on the block, and deviates from them from each edge by 100 mm. Excess material is cut with a miter saw.
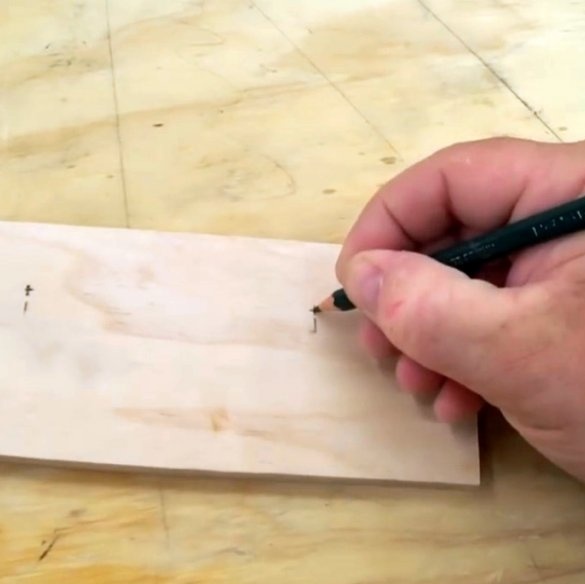
The necessary distance departs from the edge, and the centers of the holes are ready.
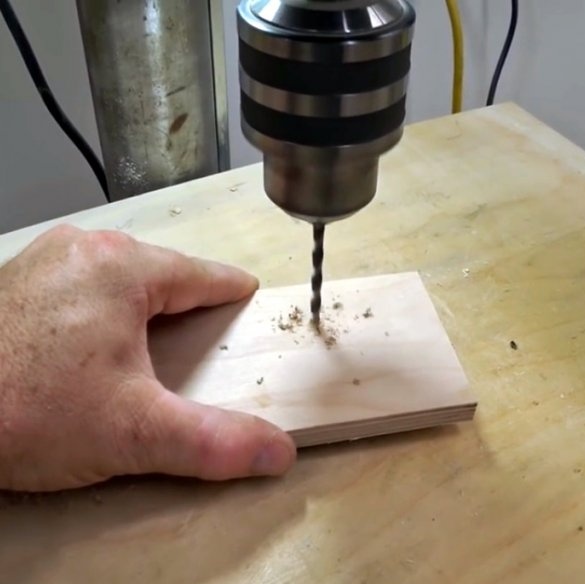
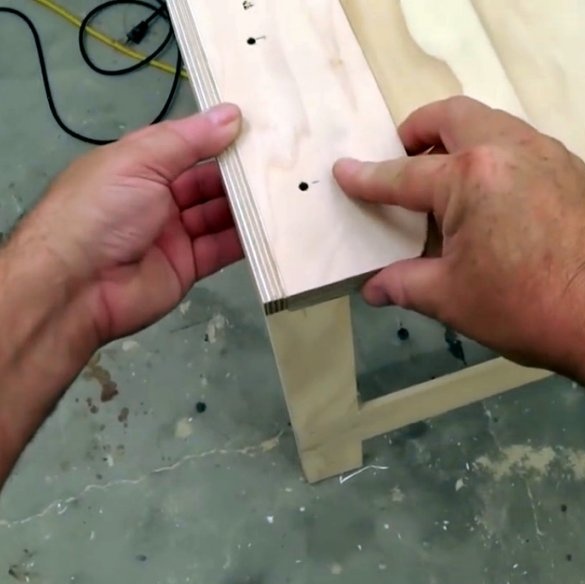
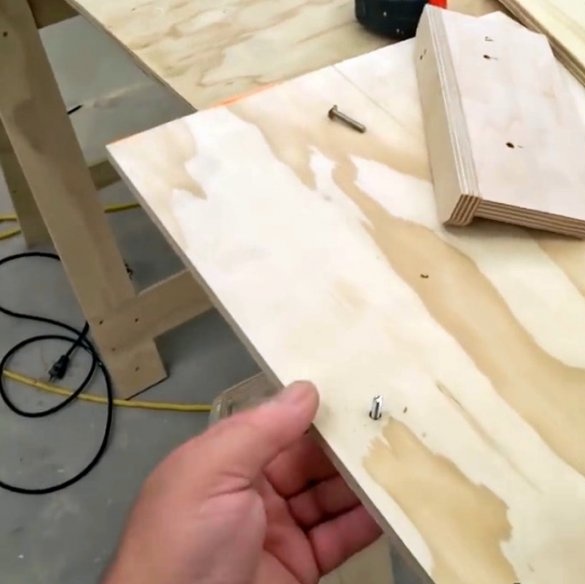
The marking work is over. Now the author goes to the drilling machine. The master uses a 5 mm drill to drill holes. It is important to try to get to the marked points exactly.
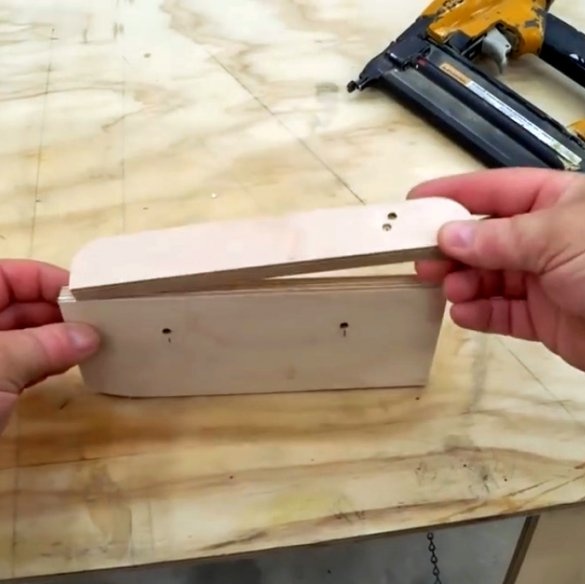
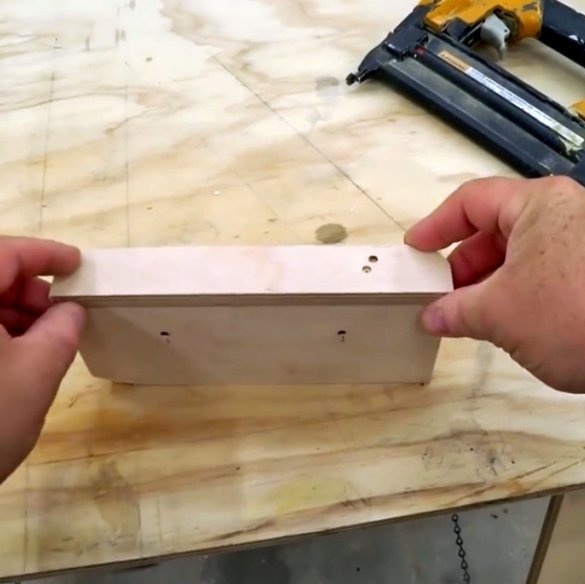
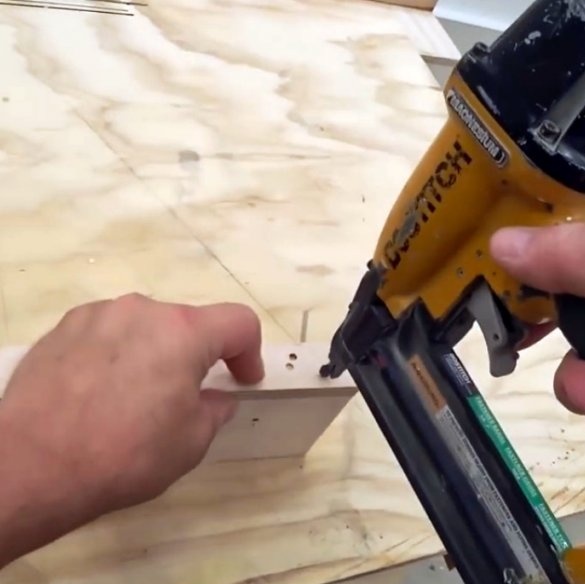
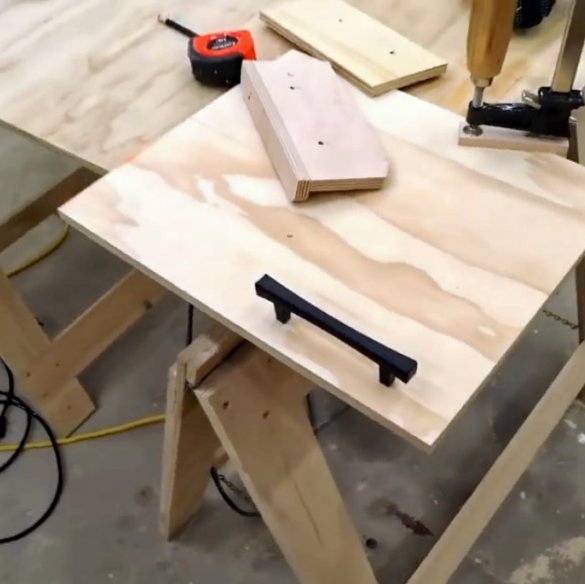
Now an emphasis is attached to the template. The author uses a piece of plywood of the same length, and secures it with a neiler. As the reader already understood, this template is suitable for this set of handles and doors. If he works with another headset, he will have to make another template for other parameters.
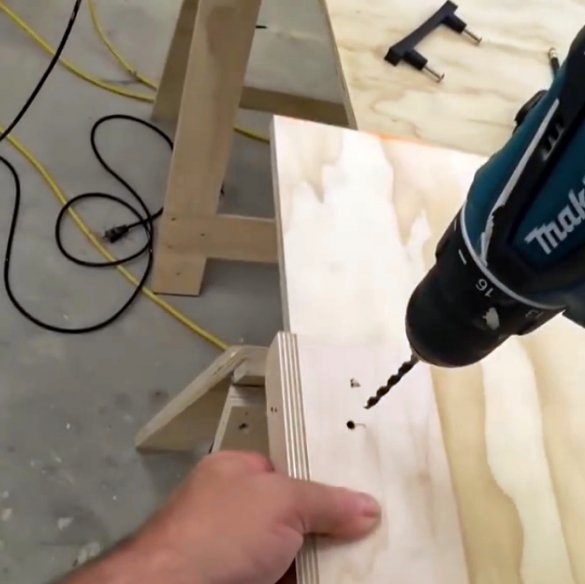
It remains only to test the device in action. For starters, he tries to trim the plywood.
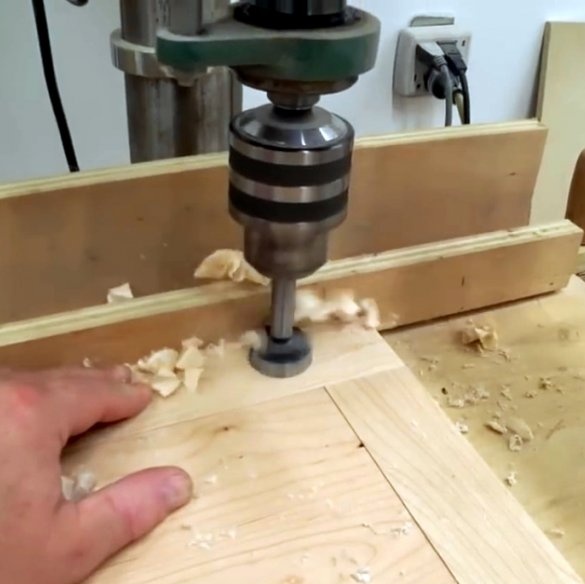
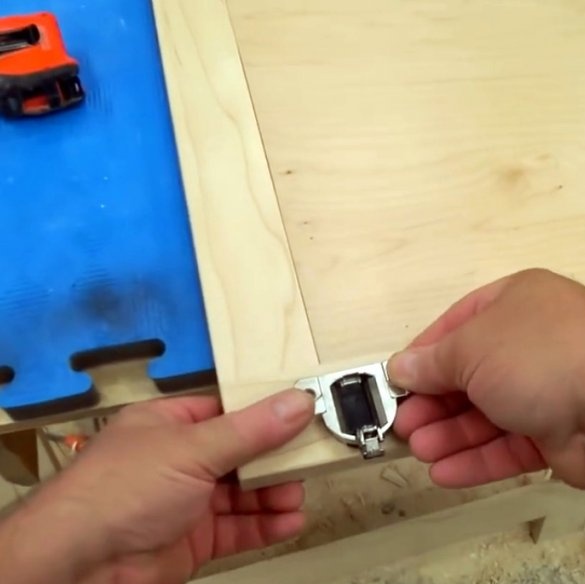
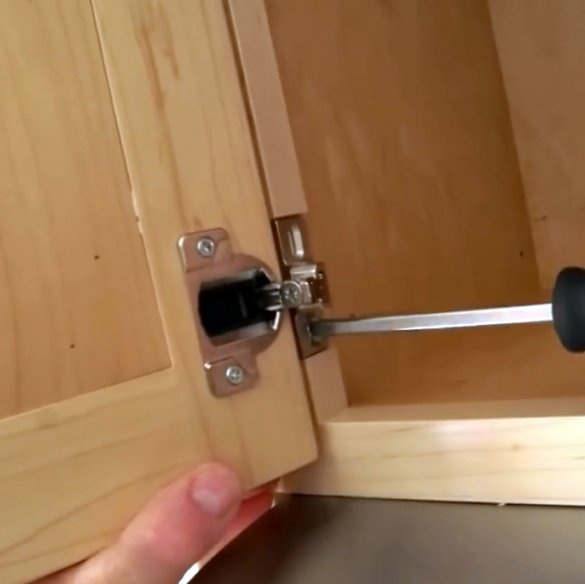
The master drills holes for the hinges with Forstner drills, and screws them into place.
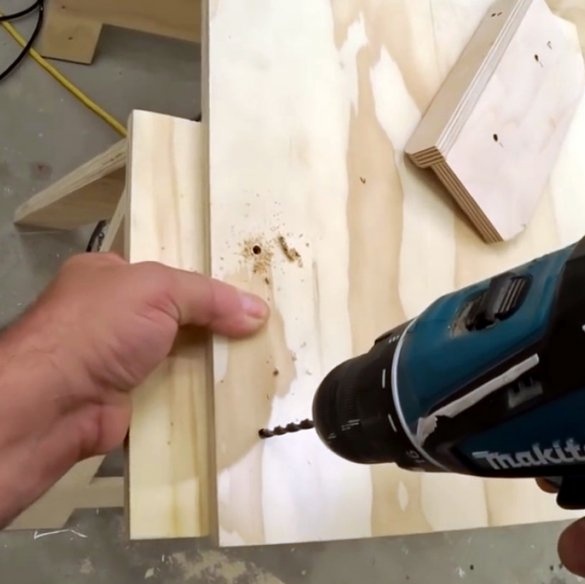
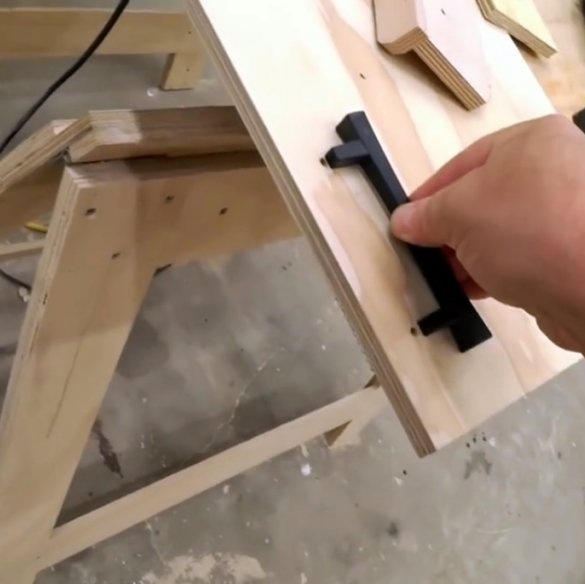
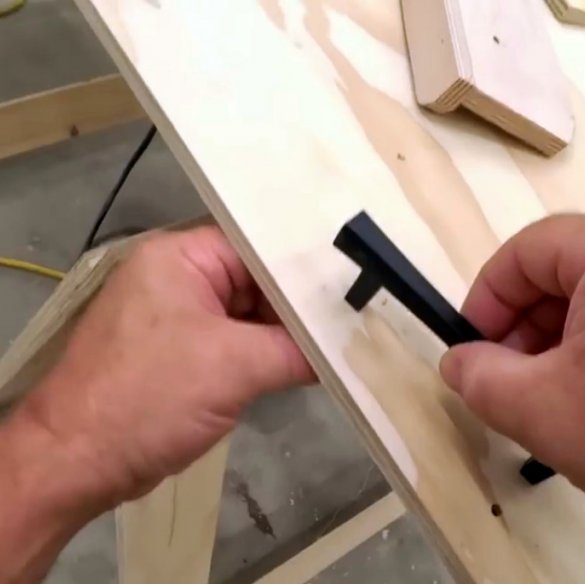
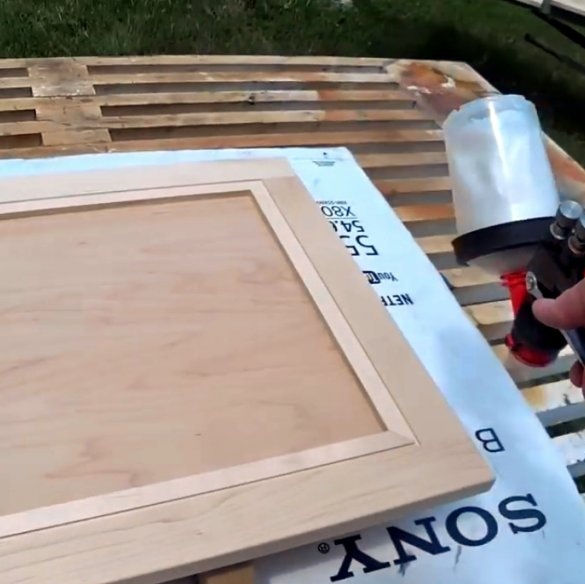
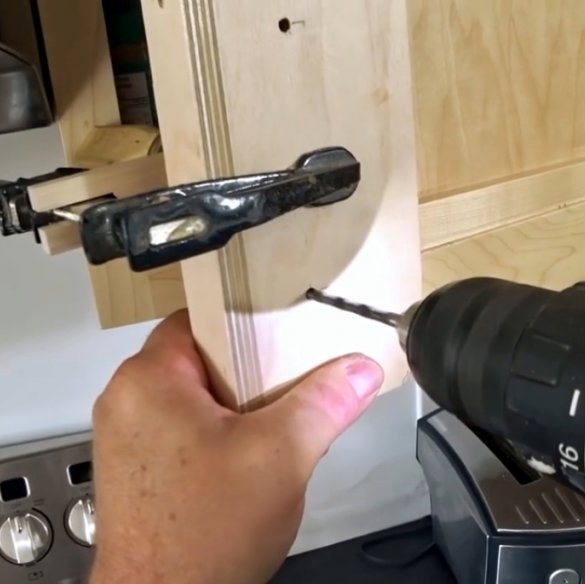
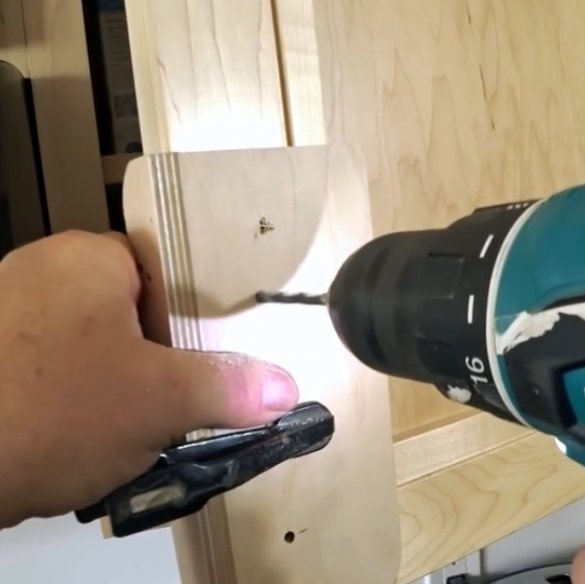
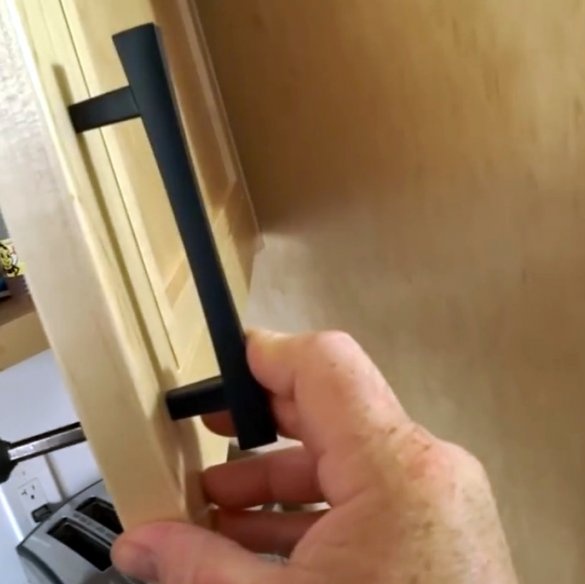
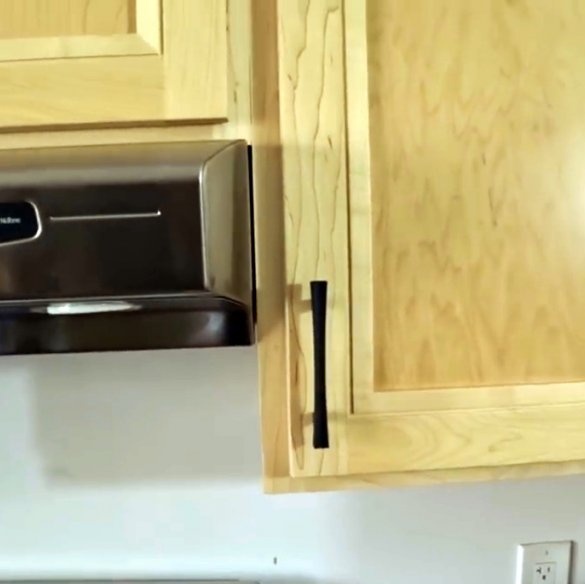
Now is the time to test the conductor on a real door. Tightly fixes it with a clamp, and drills holes. Then screw the handle. Everything is perfect, and the margins on the sides, and the exact vertical.
Great job. Drilling holes in the door itself, the author recommends placing a small board on the back side, thereby preventing the occurrence of chips.
This drill bit slightly exceeds the diameter of the bolts themselves, so that they will sit relatively freely in the holes. Ideally, the mounts should sit as tight as possible.
Thanks to the author for a simple but useful fixture for assembling furniture!
All good mood, good luck, and interesting ideas!
Author video can be found here.

