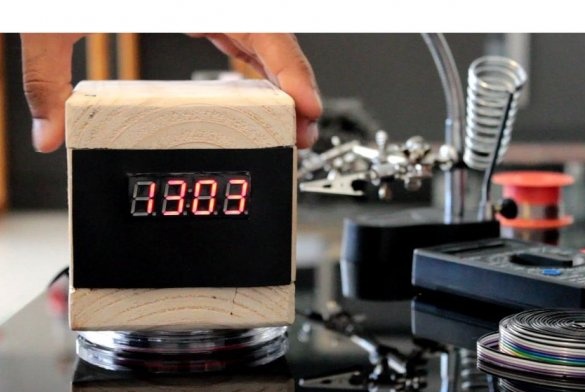
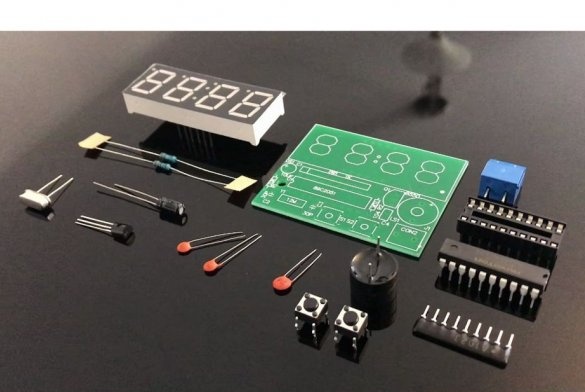
The author of Instructables under the nickname Tarantula3 managed to buy a Chinese assembly kit electronic hours for just 2.4 Australian dollars. He could, like many other customers, simply assemble the board, connect it to the PSU and put it on the shelf in this form, but decided that the digital “hi-tech” plus the wooden “classic” is a very harmonious combination. Let's see how he made this minimalist homemade.
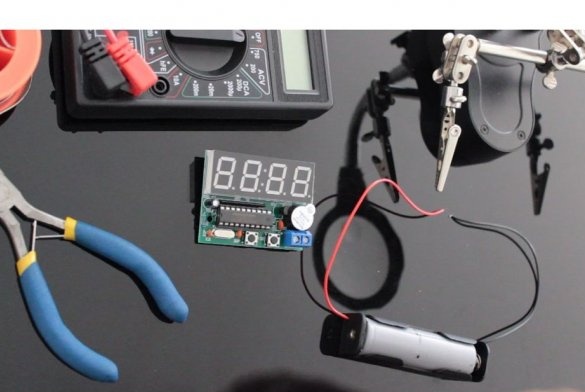
The wizard unpacks the set (you can buy on Ali) Many readers have collected such. In terms of labor costs it is comparable to the similar Soviet “Start 7176” kit, but the components are modern (although the microcontroller is still not the first freshness - AT89C2051), and the indicator is LED:
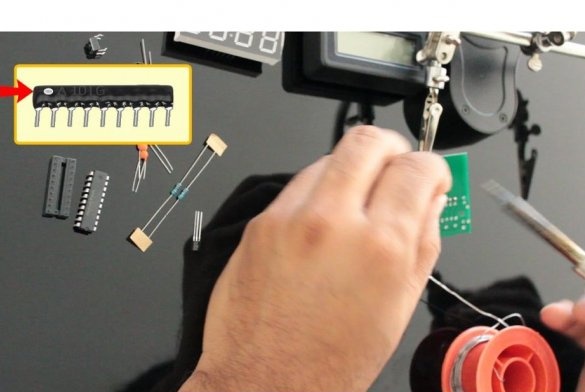
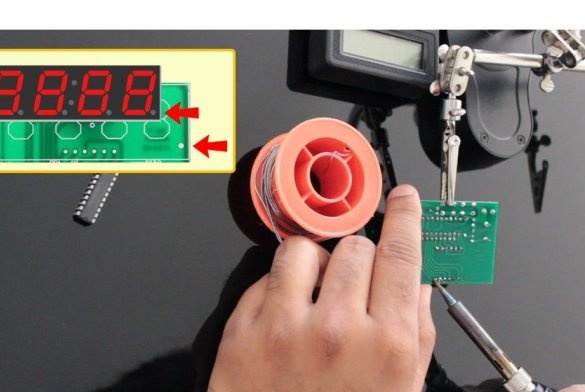
The master collects the set using a convenient device - a "third hand". During the assembly process, it correctly orientates all components that require this. The use of the panel for the microcontroller is optional, but since it is included in the kit, do not disappear to it.
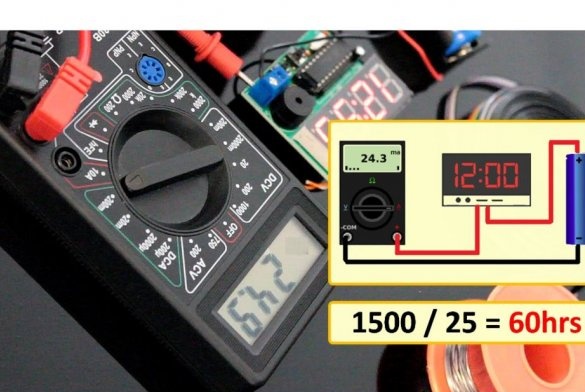
Checks the operation of the finished board from a 18650 battery at 1500 mAh (required with protection):
Measures the current used by the clock, it turns out 25 mA, which means that it will work for 60 hours from one charge, i.e., 2.5 days:
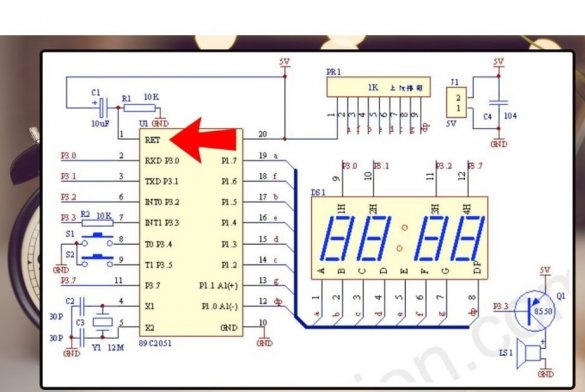
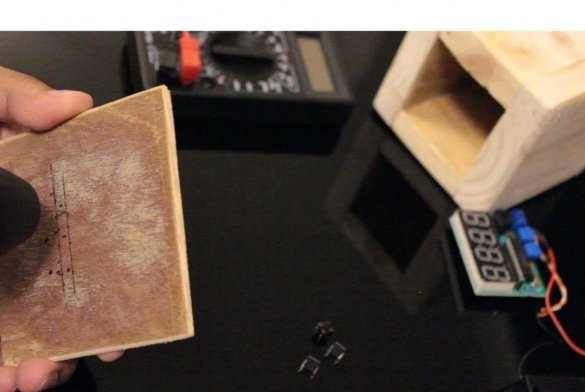
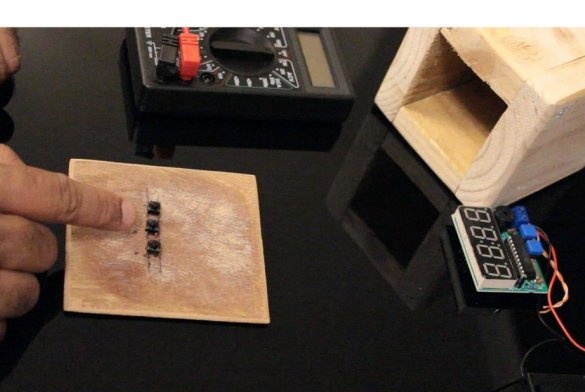
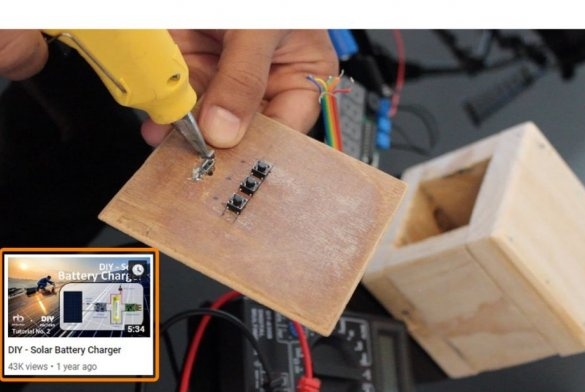
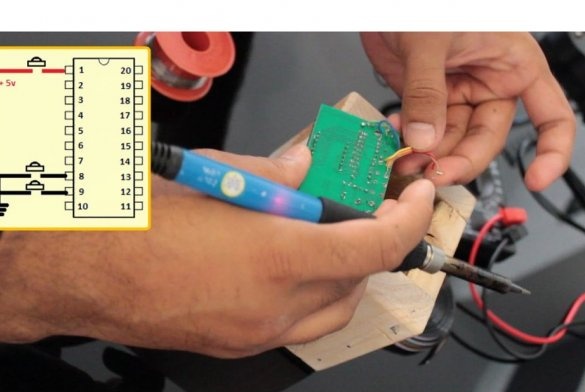
Adds a reset button (needed to restore the watch after charging, if before that the battery has not been charged for a long time) between pin 1 of the microcontroller and the power plus:
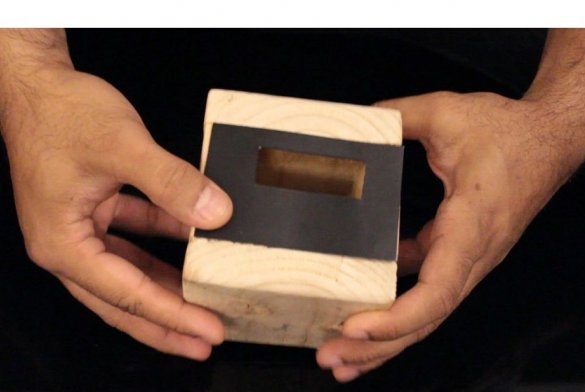
Makes a wooden case for watches:
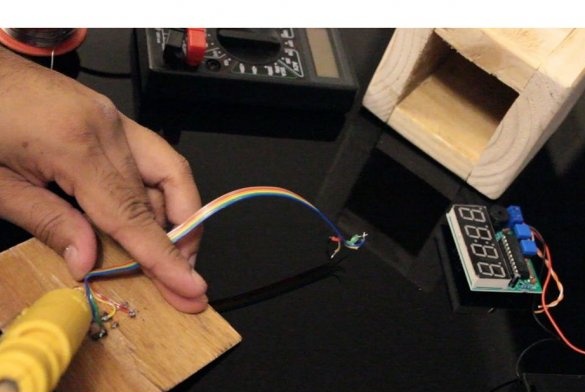
It transfers all three buttons (two available and one newly added) to the back wall of the case, after making holes of small diameter for the findings thereof, and solders a loop to them:
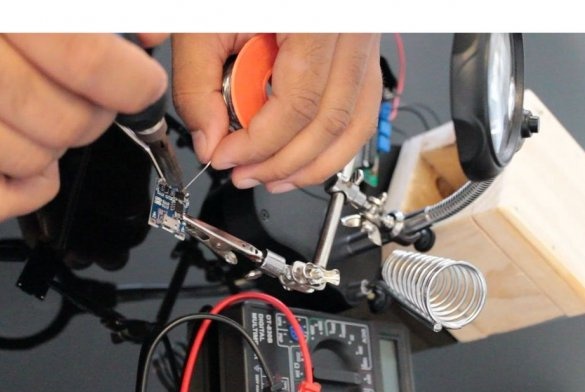
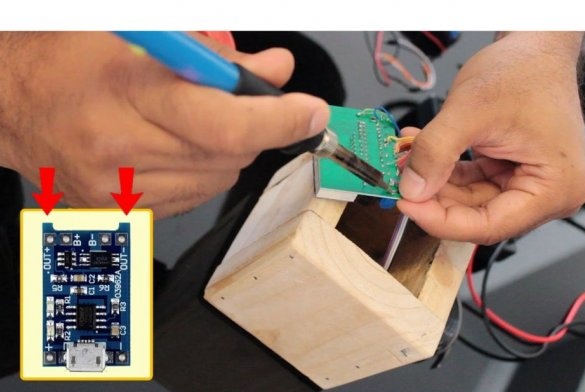
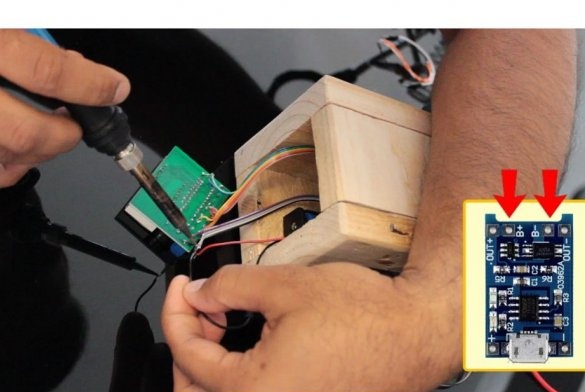
Adds a standard charge controller such as TP4056:
Makes another hole in the back wall and positions the charge controller so that the power connector passes through this hole:
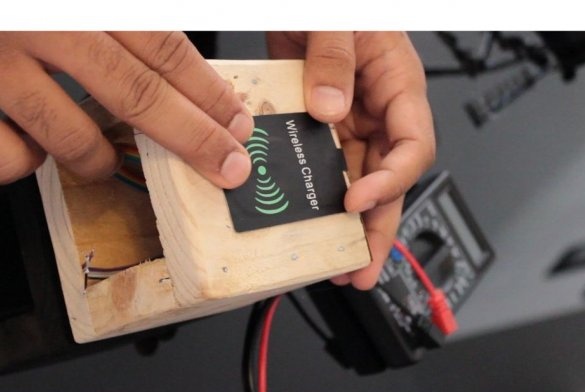
And finally, it glues a receiving antenna with a rectifier (rectenna) of the Qi standard to the bottom wall of the case, which it connects to this connector:
Connects the loop from the buttons to the clock board:
Connects the output of the charge controller to the input of the clock board, and the controller input to the battery, in both cases observing the polarity:
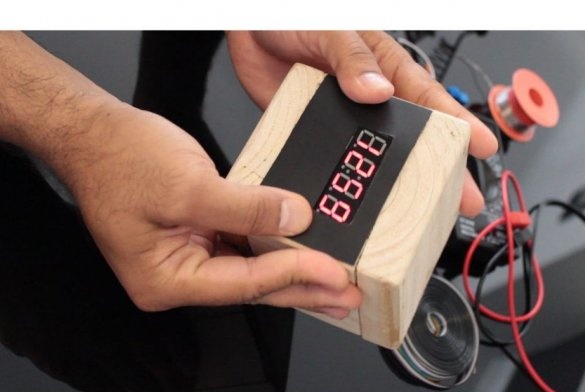
Sets the display overlay:
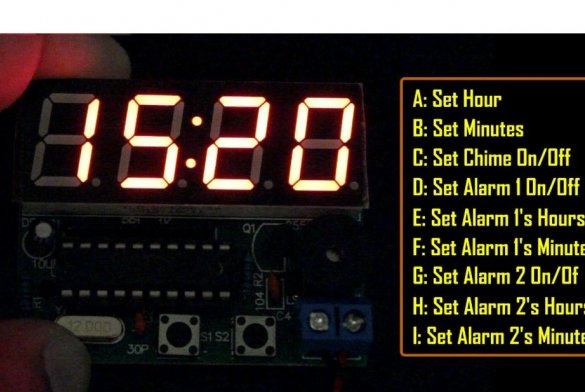
Configures the clock:
Setting procedure:
1. Hold the first button until the watch enters setup mode.
2. Use the second button to select the hour, then press the first.
3. Use the second button to select the minute, then press the first.
4. Use the second button to select the hourly signal mode (on / off), then press the first.
5. In the same way, turn on / off the alarm 1.
6. At the same time, set the response time (first hour, then minute) of alarm 1.
7. Do the same with the alarm 2.
8. When any of the alarms rings, turn it off with the second button. There is no Snooze function, but you can set the second alarm clock to ring, for example, five minutes after the first.
The watch is working, watch a video about it:

