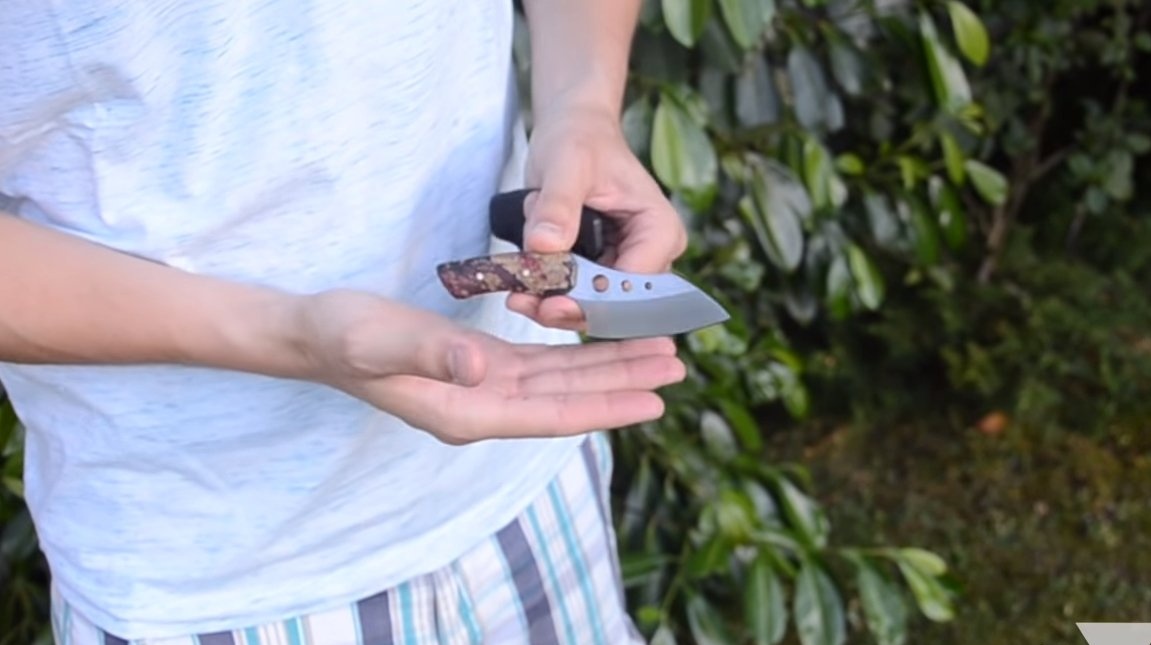
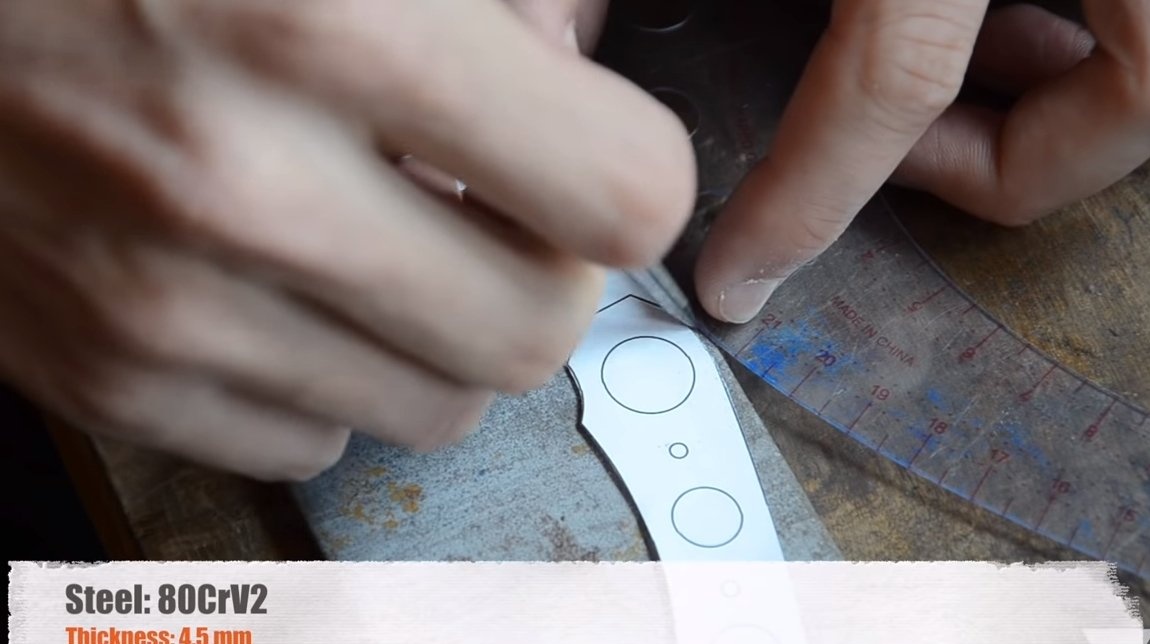
I welcome fans to craft, today we will consider how to make a small knife for everyday use, which can be worn on the belt or even on the neck. During the manufacturing process, the author cut two blades from one blank at once. For the manufacture of blades, the author used high-quality steel grade 80CrV2, such steel is capable of reaching a hardness of 50-60HRC, and thanks to chromium and other alloying additives, the steel is resistant to corrosion. If you are interested in a similar project, I suggest to study homemade in more detail!
Materials and tools used by the author:
Material List:
- billet made of steel 80CrV2;
- ;
- screws or pins;
- epoxy adhesive;
- sheet plastic for sheath.
Tool List:
- grinder;
- drilling machine;
- oven and hardening oil;
- domestic oven;
- files;
- sandpaper;
- polishing machine;
- clamps.
The process of making knives:
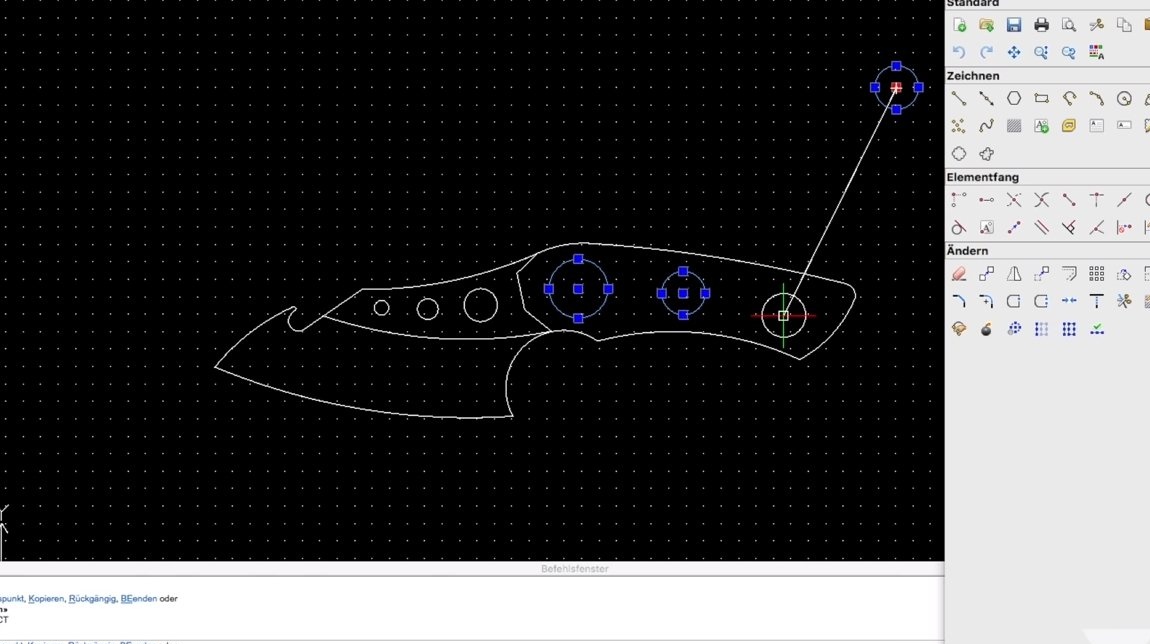
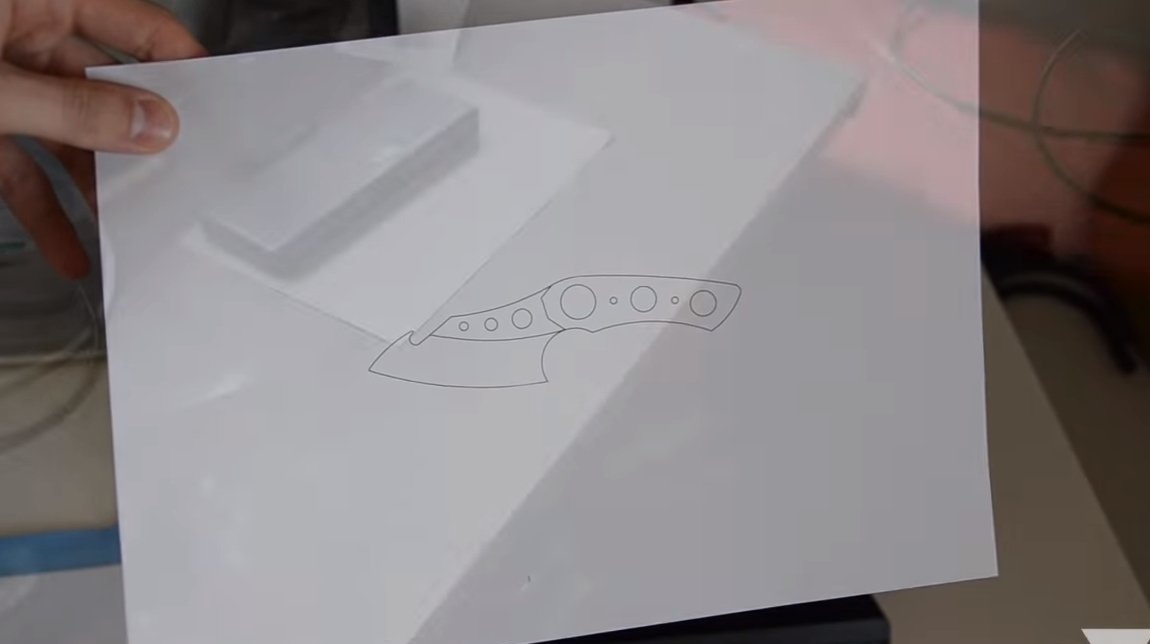
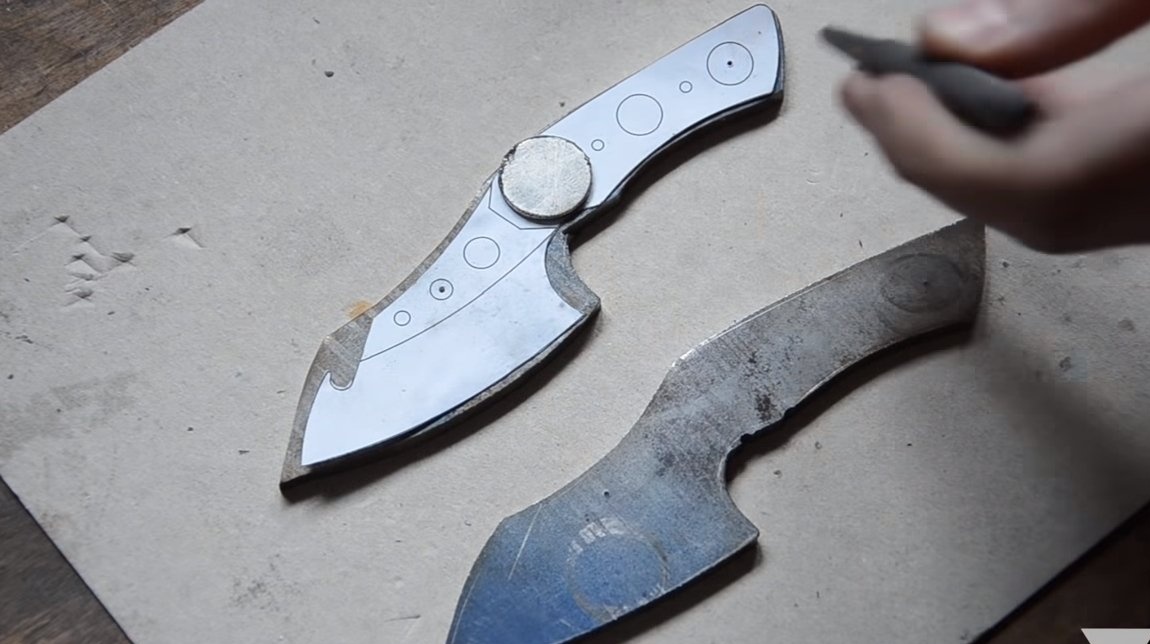
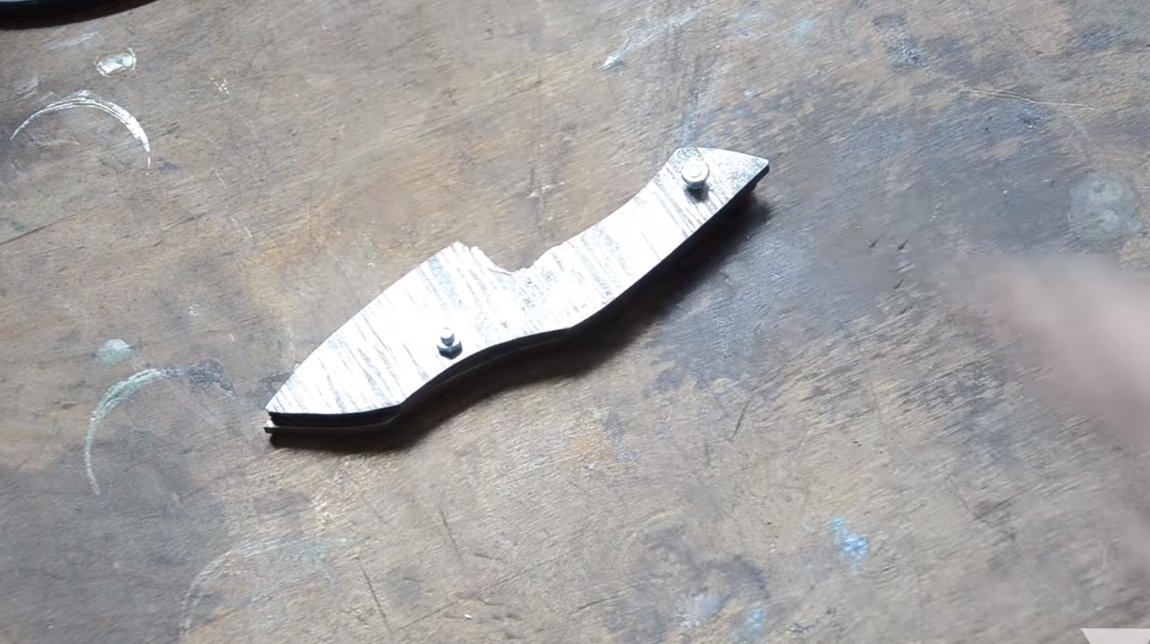
Step one. Cut the knife profile
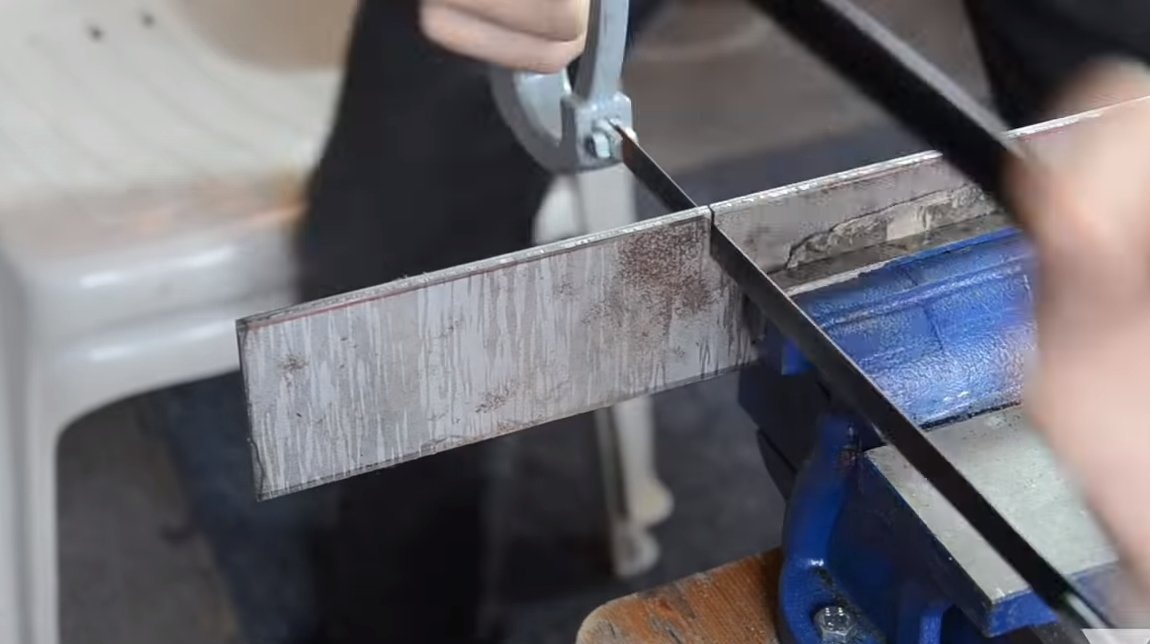
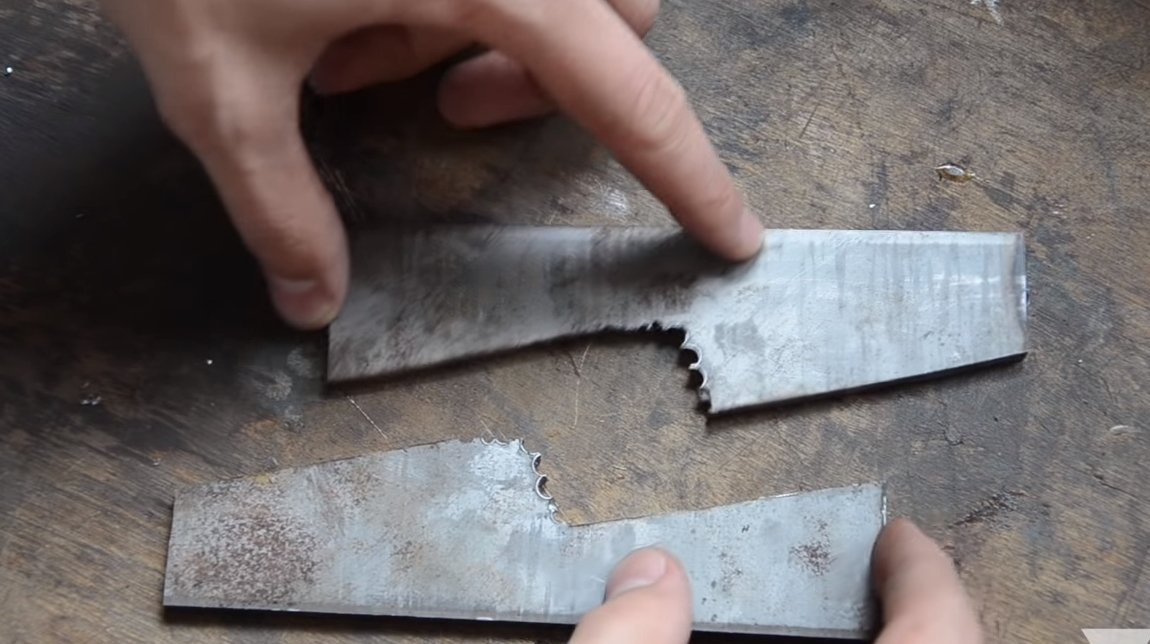
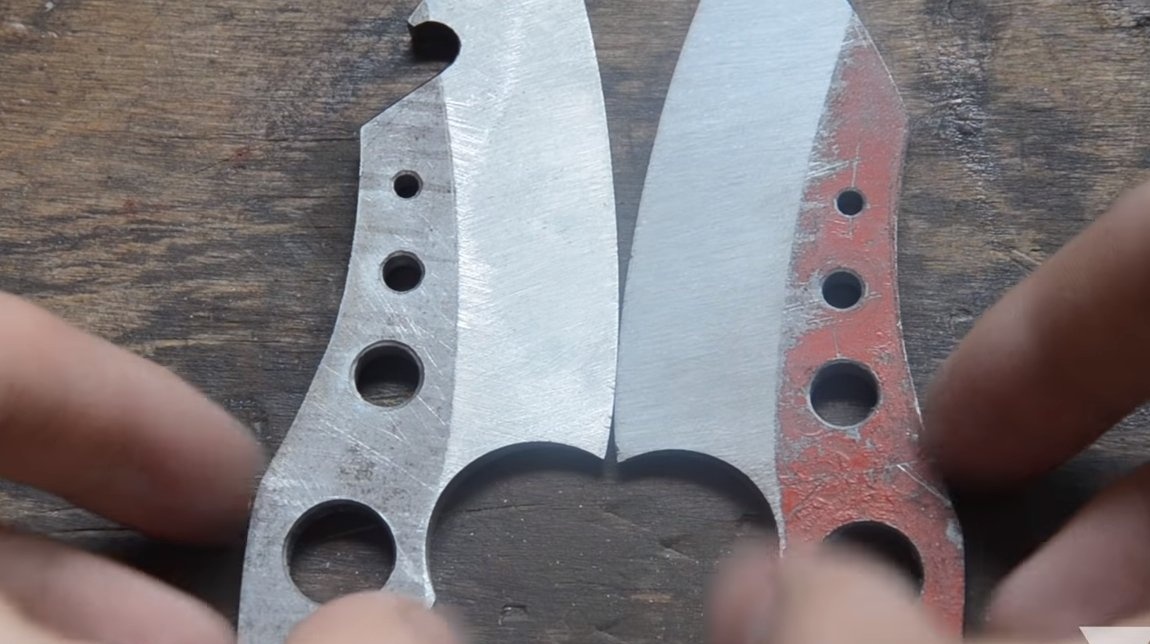
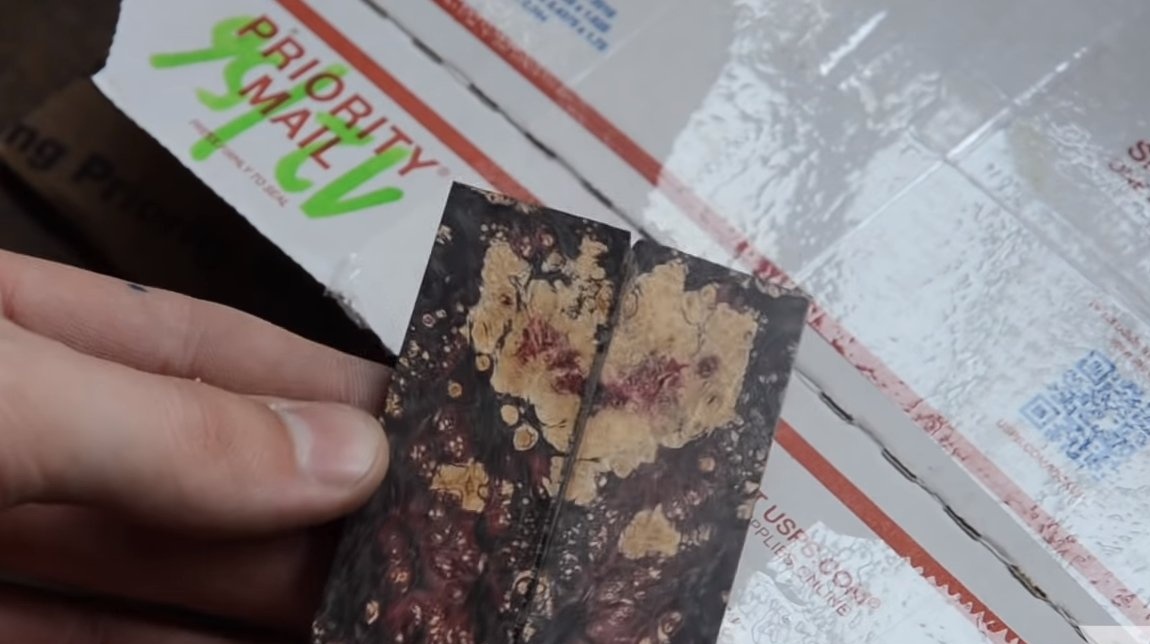
First, create a drawing of a knife on a computer or classically, using a pencil and paper. We print out the template, cut it out of paper and transfer it to a steel plate. The author managed to cut two pieces from one piece at once.
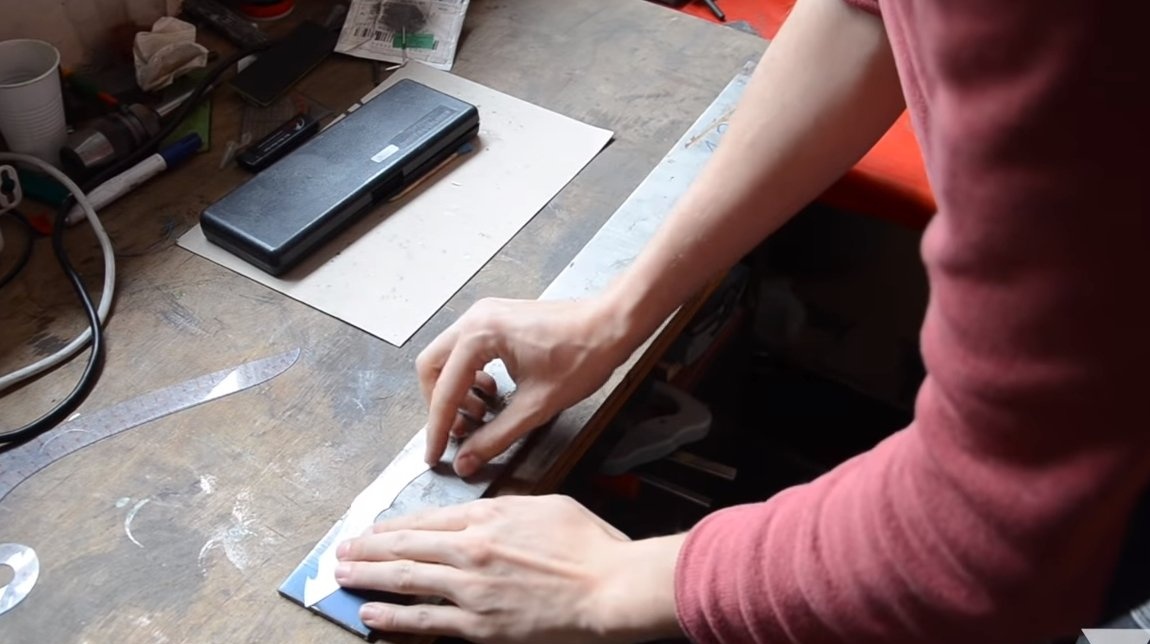
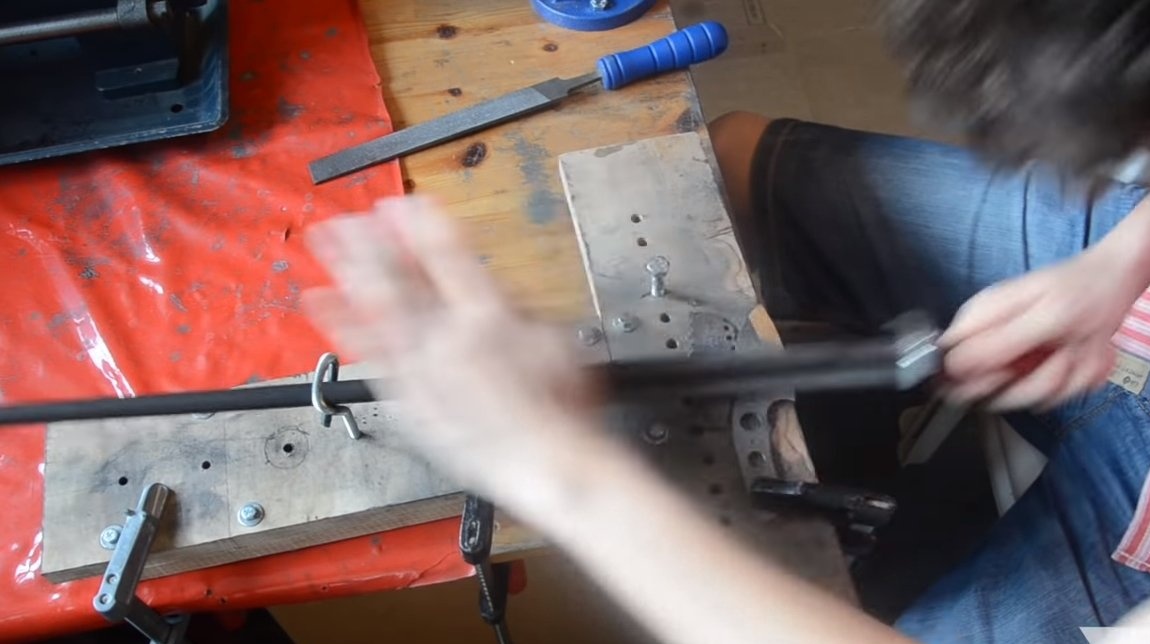
We cut the steel plate with a hacksaw for metal or grinder, the steel is not yet hardened and easily processed.
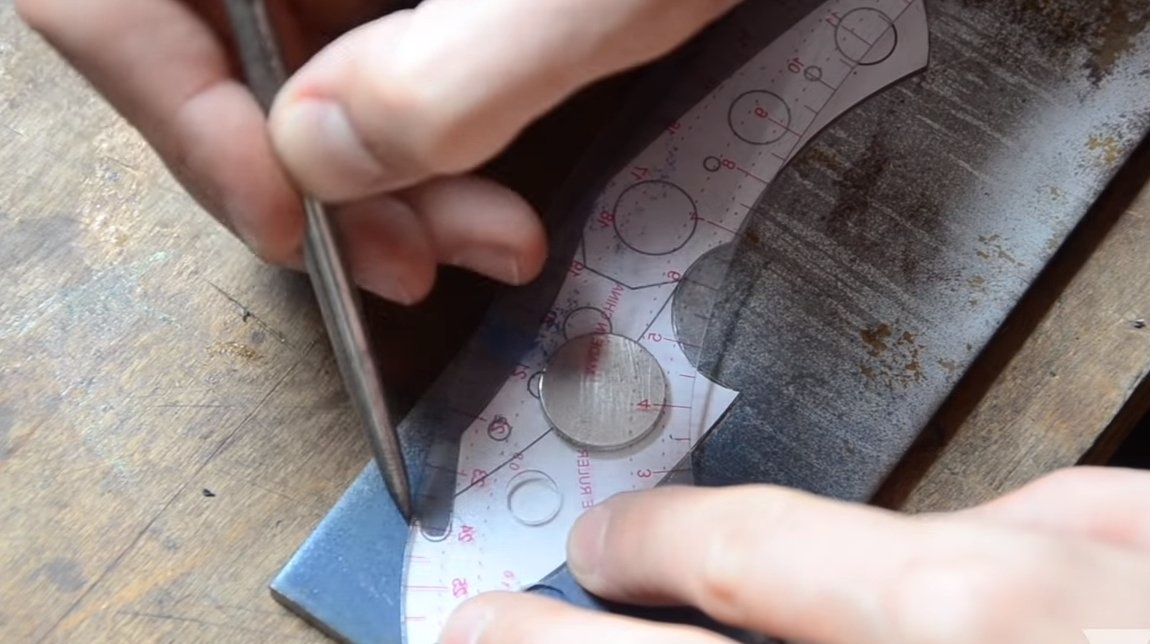
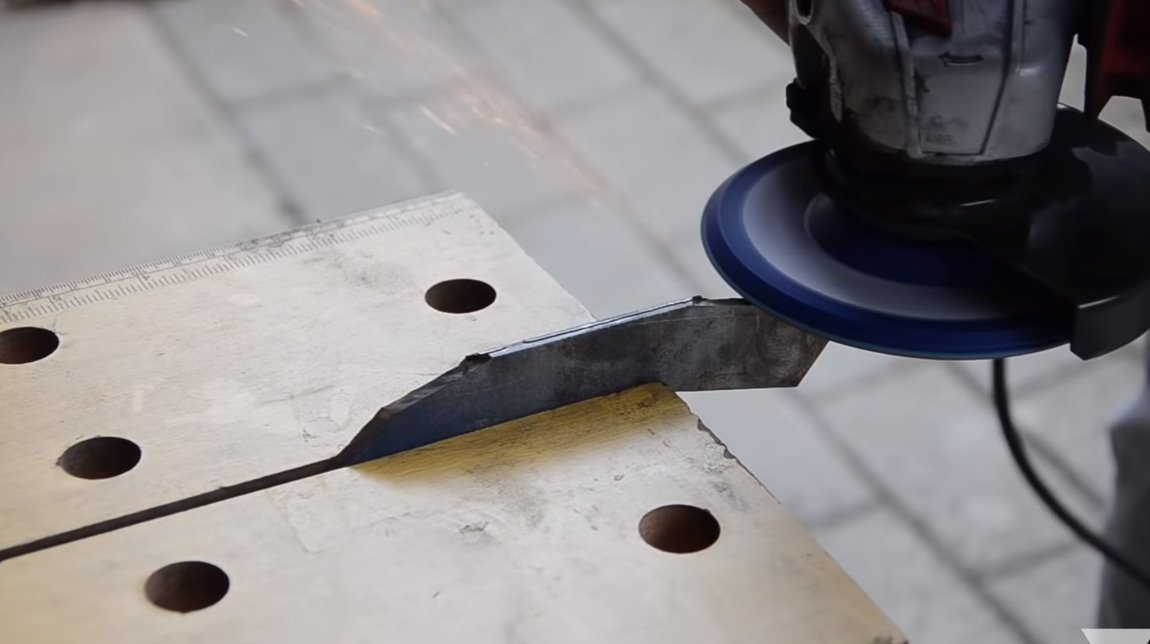
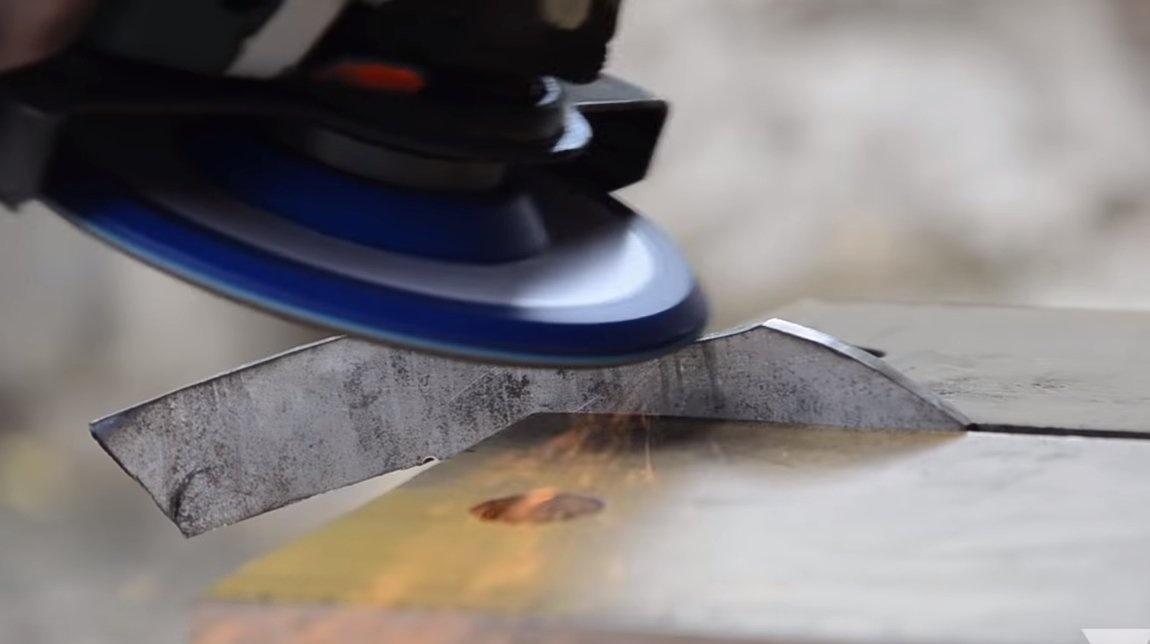
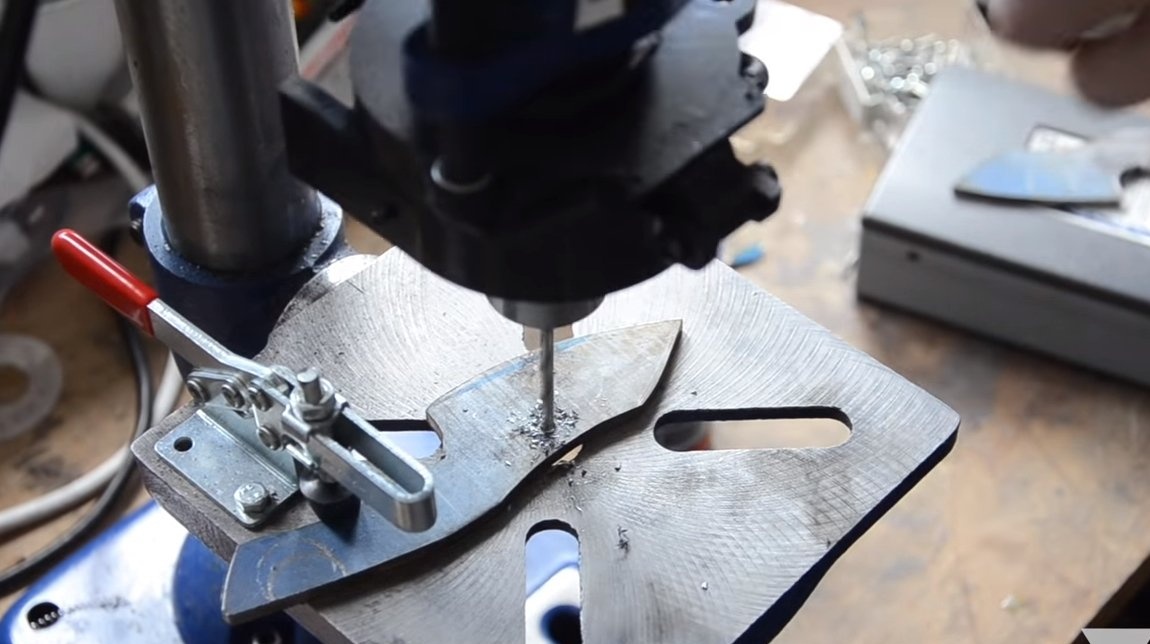
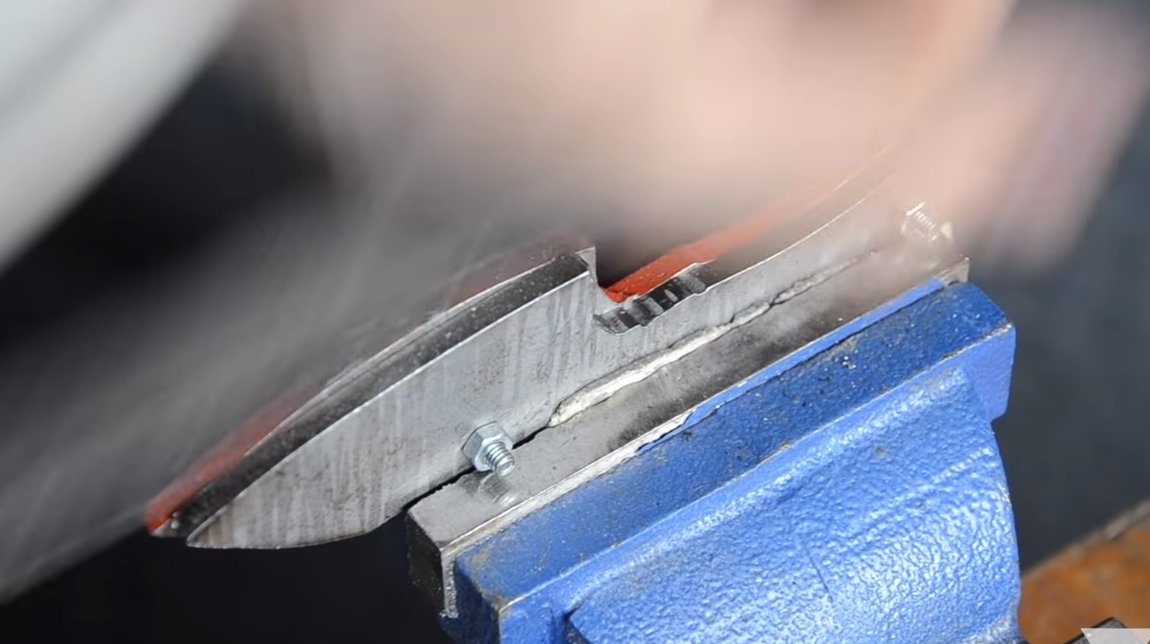
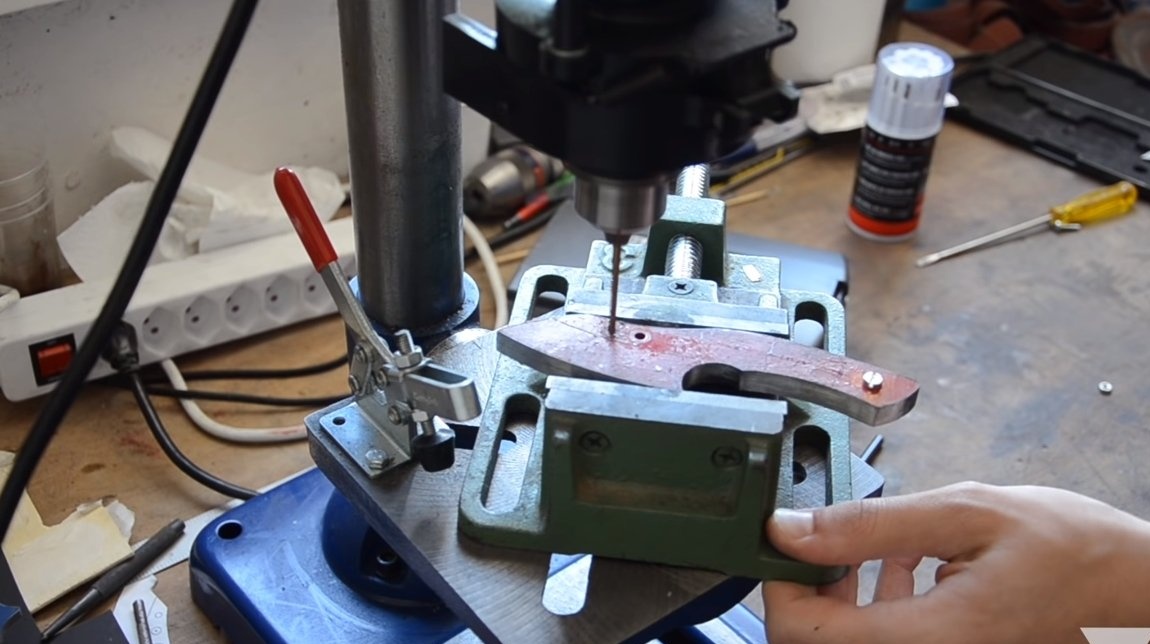
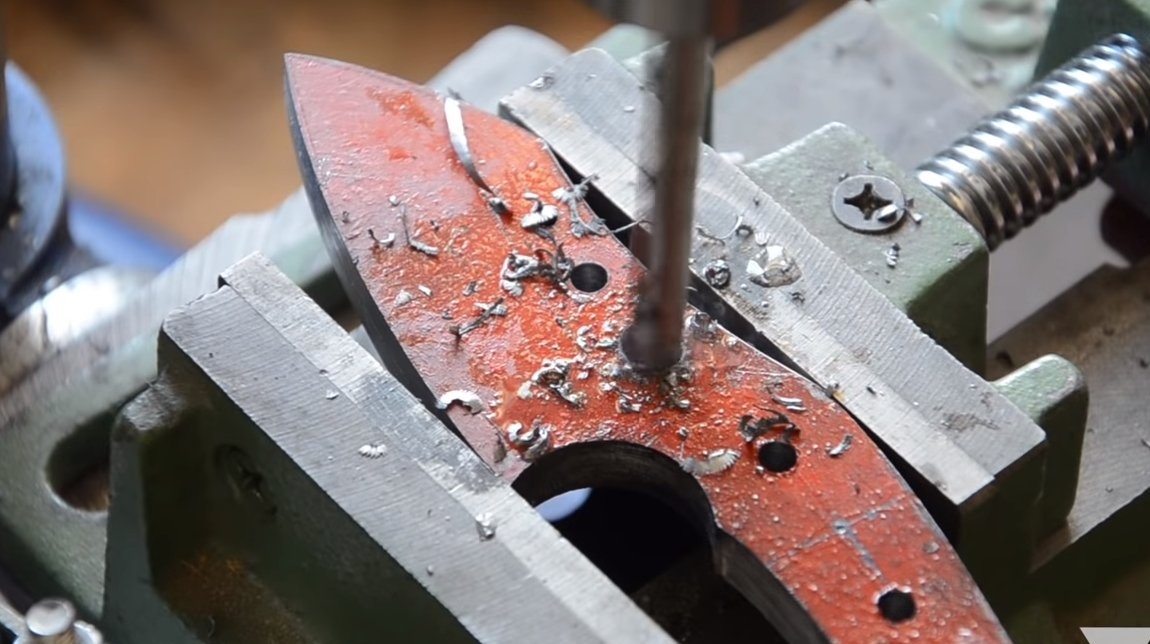
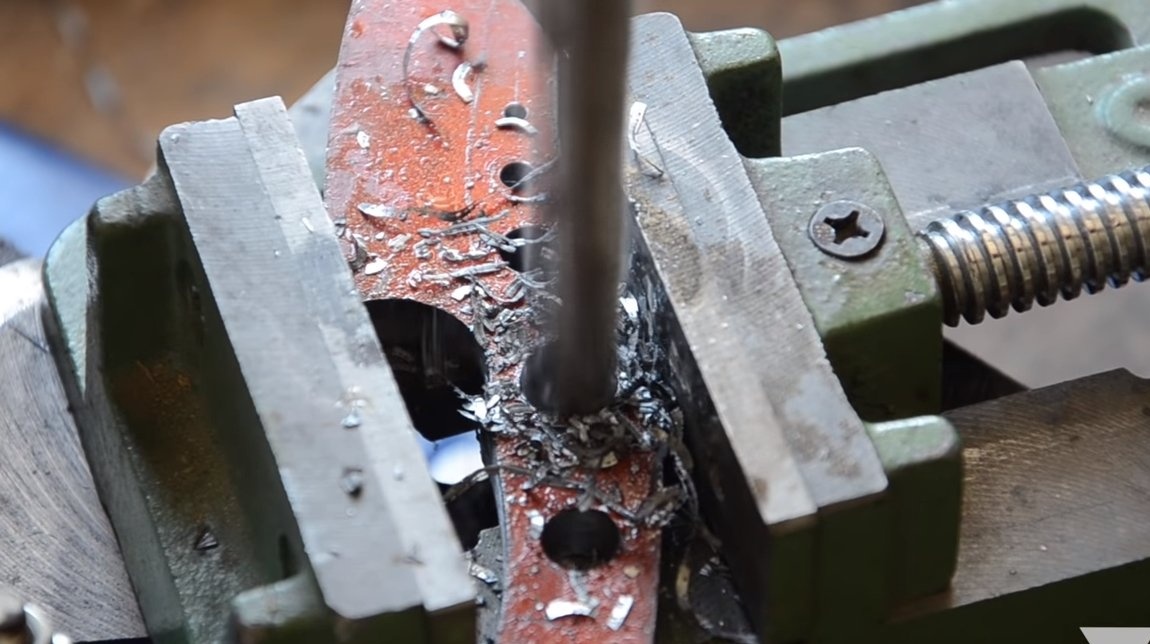
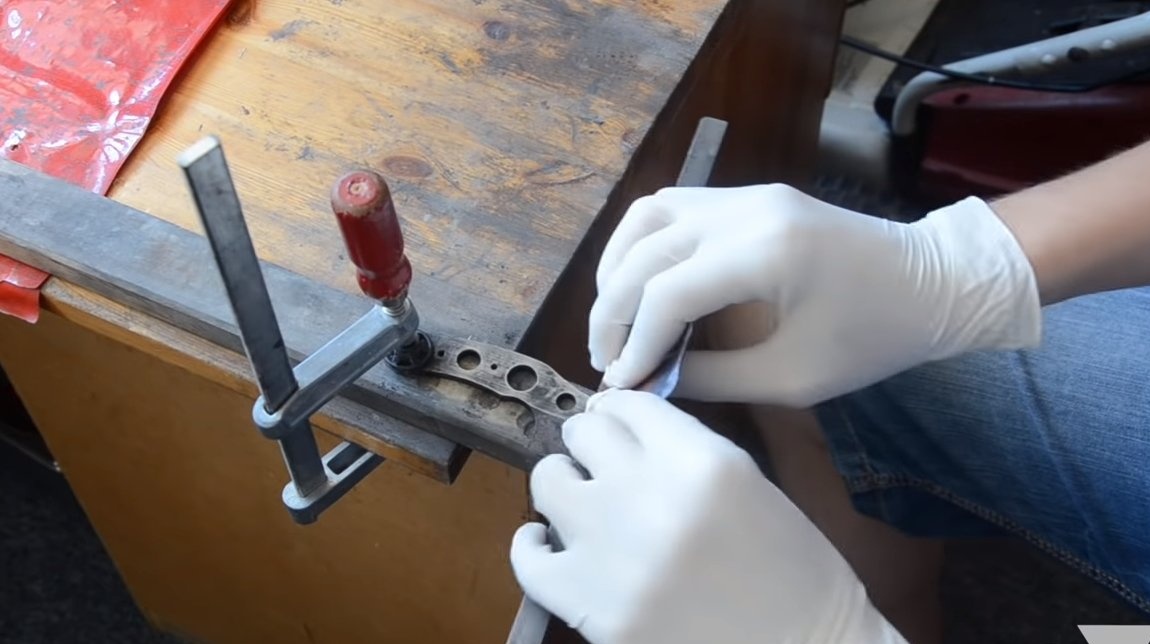
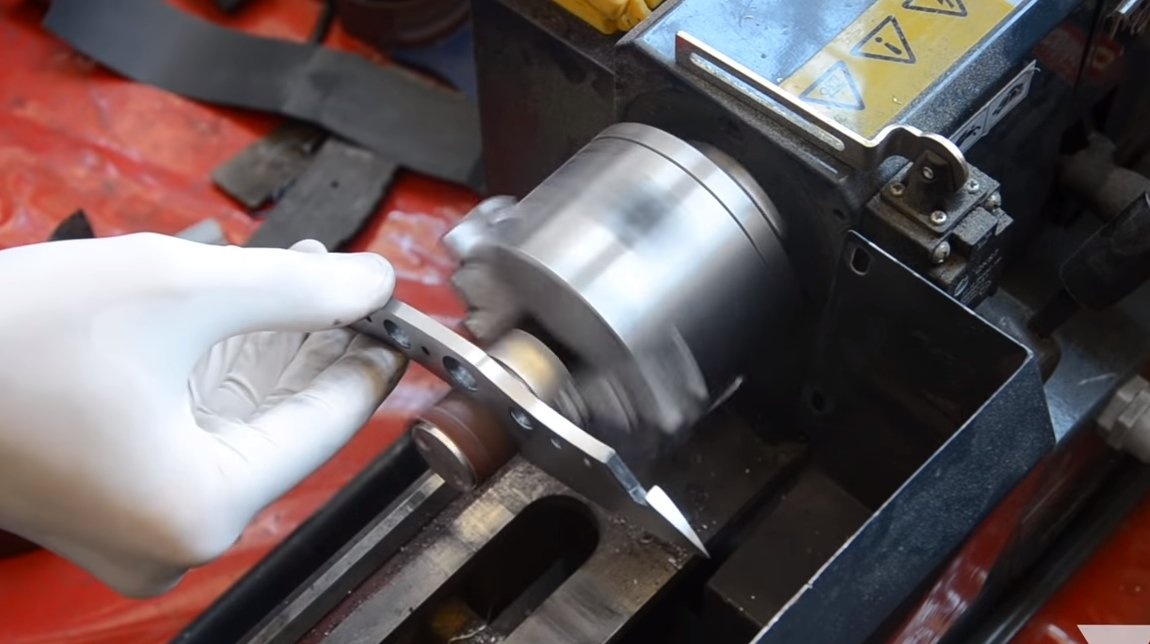
After cutting, we process the knife profiles with a grinder with a grinding disc, and then we need the help of a drilling machine. We drill holes in the handle area where the pins will be, and then tighten the two workpieces with screws and nuts. Now we can refine both workpieces together so that they are the same. The author works with a file, there will also be no superfluous drill.
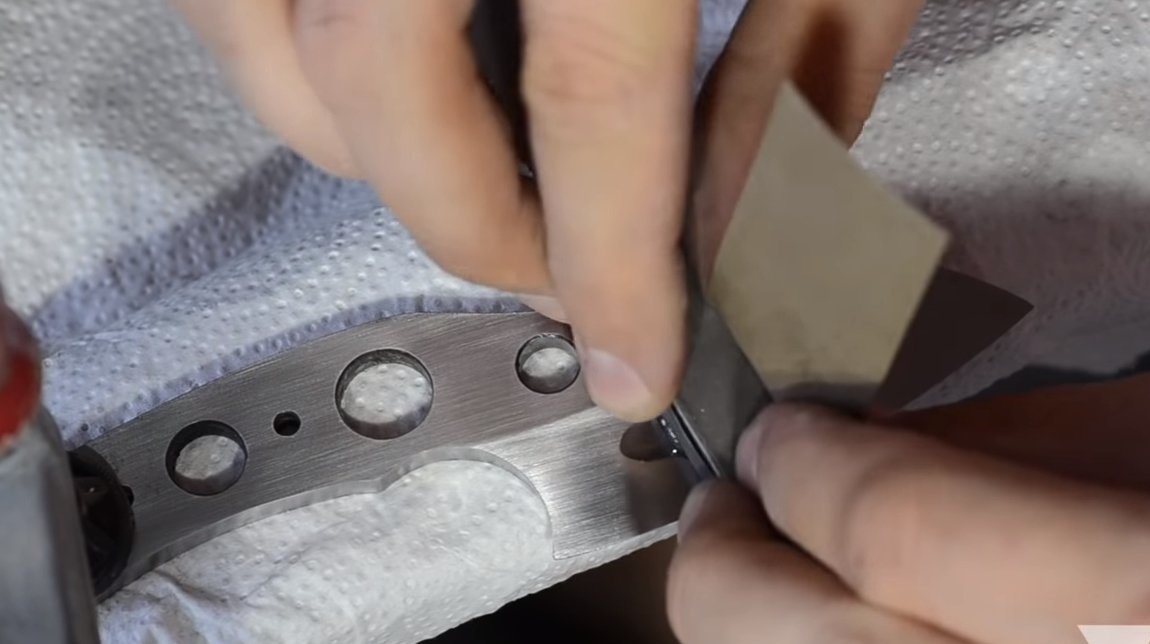
Also, twisting the blades together, the author drills in the knives the rows of holes conceived in the drawing.
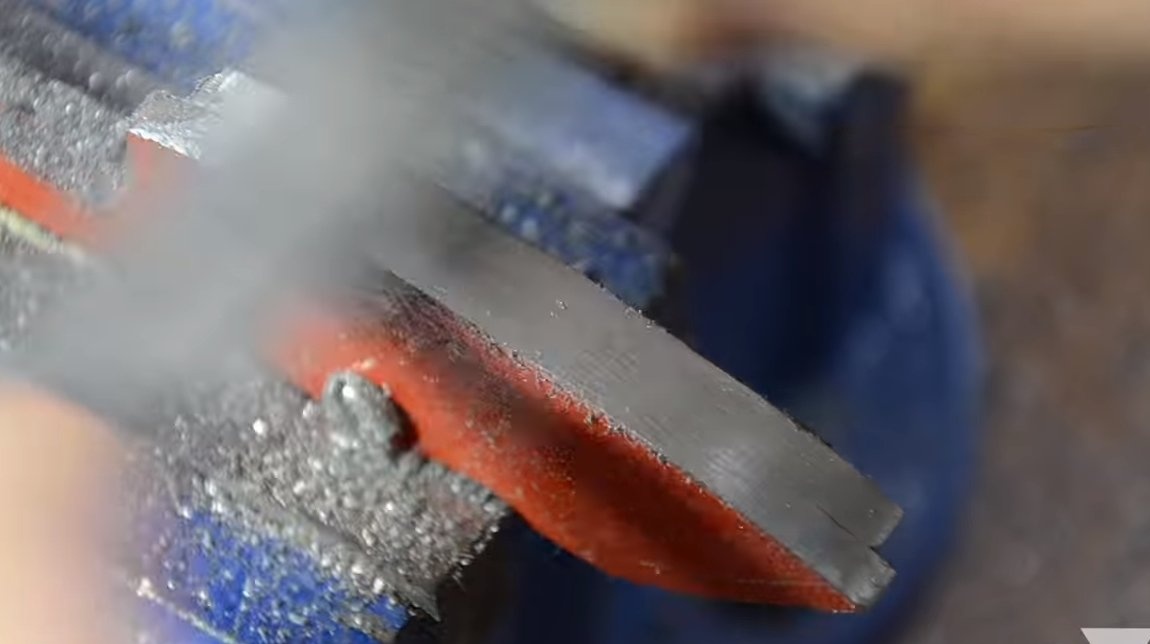
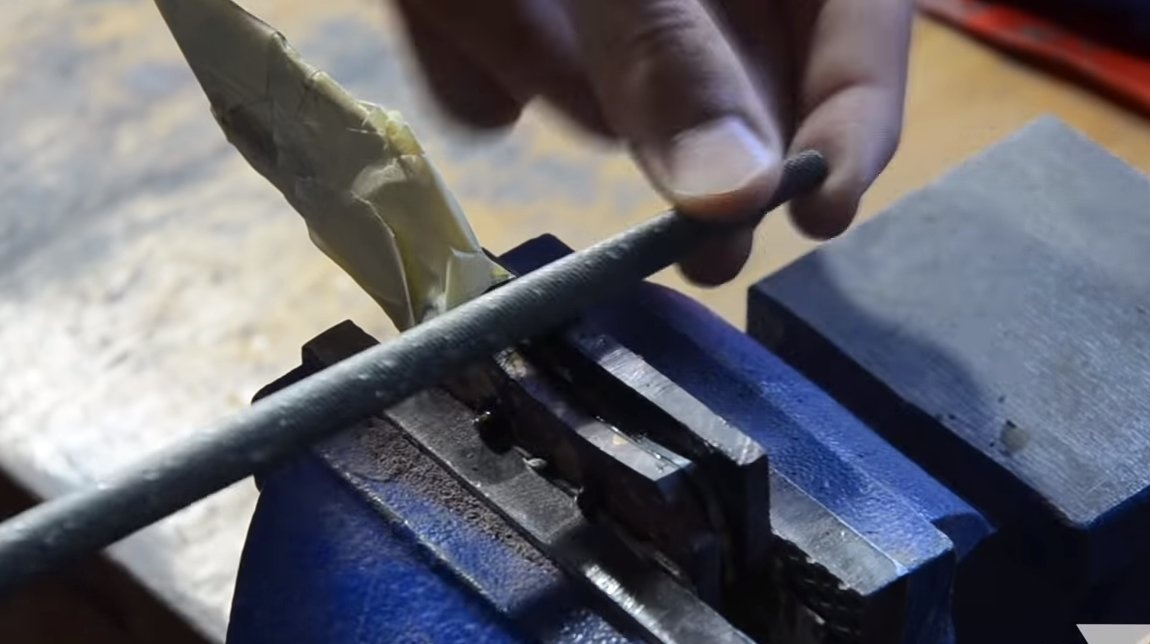
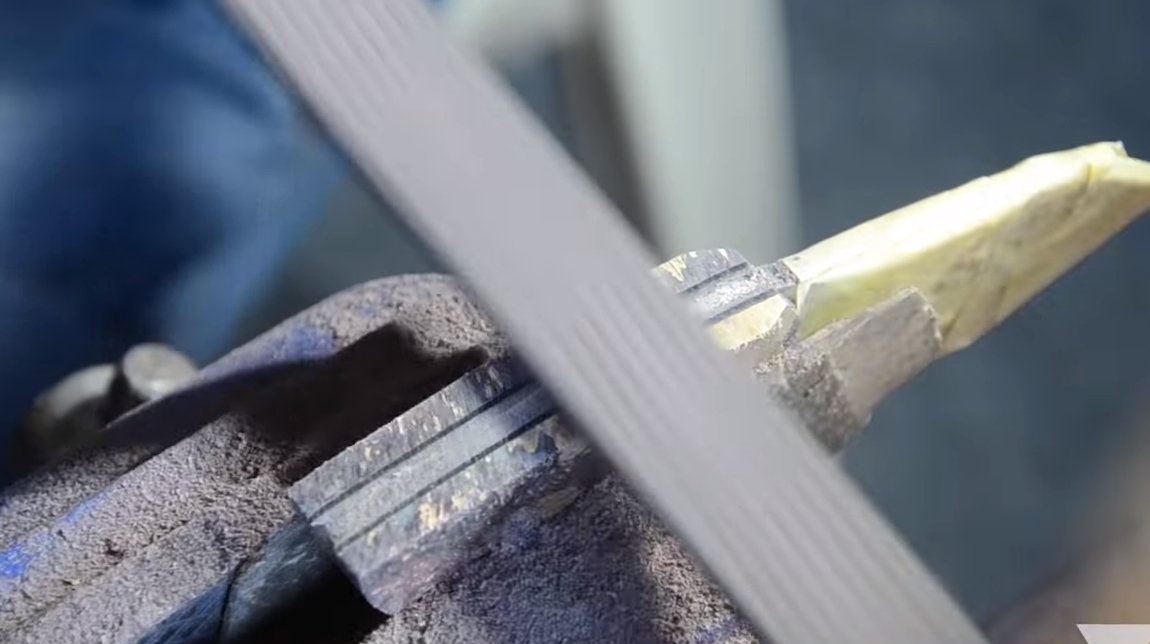
Step Two Slopes
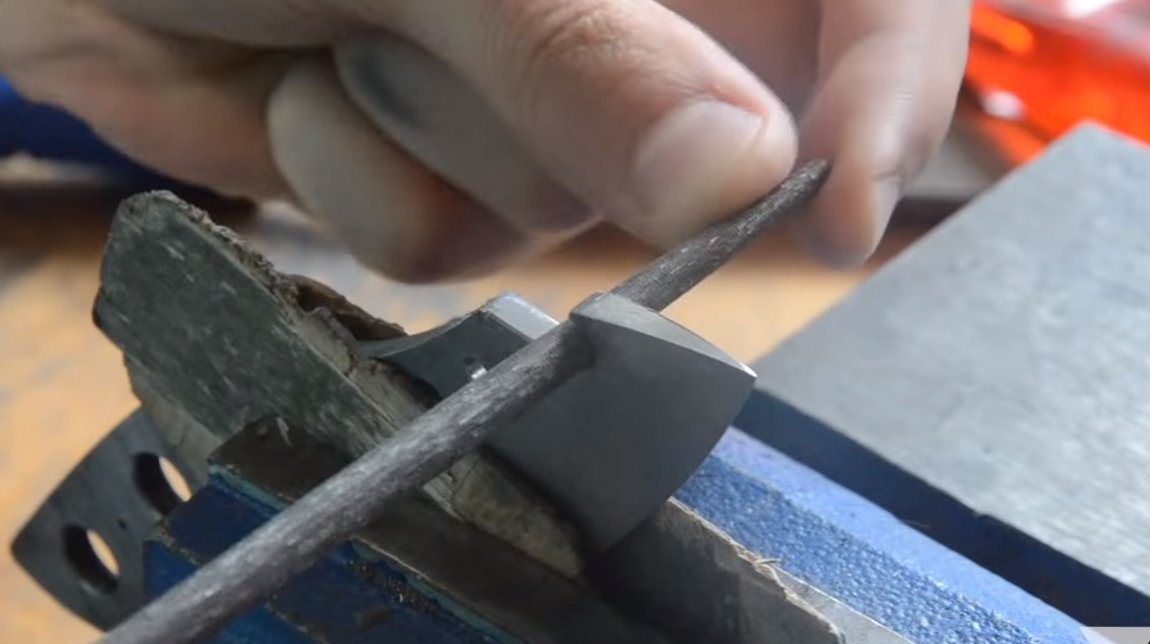
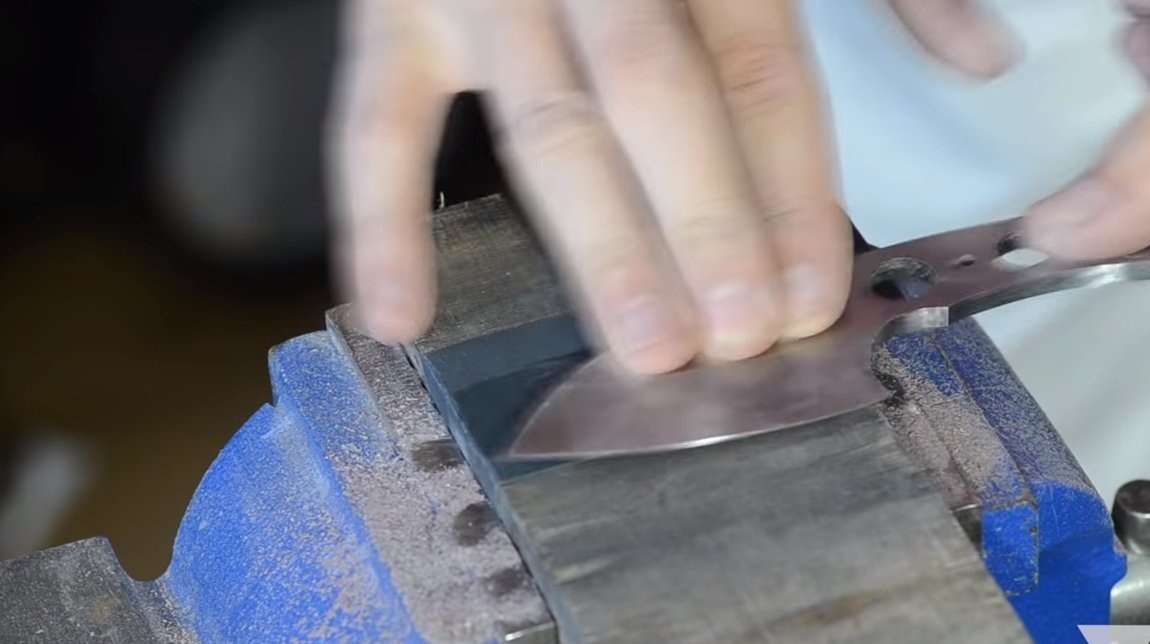
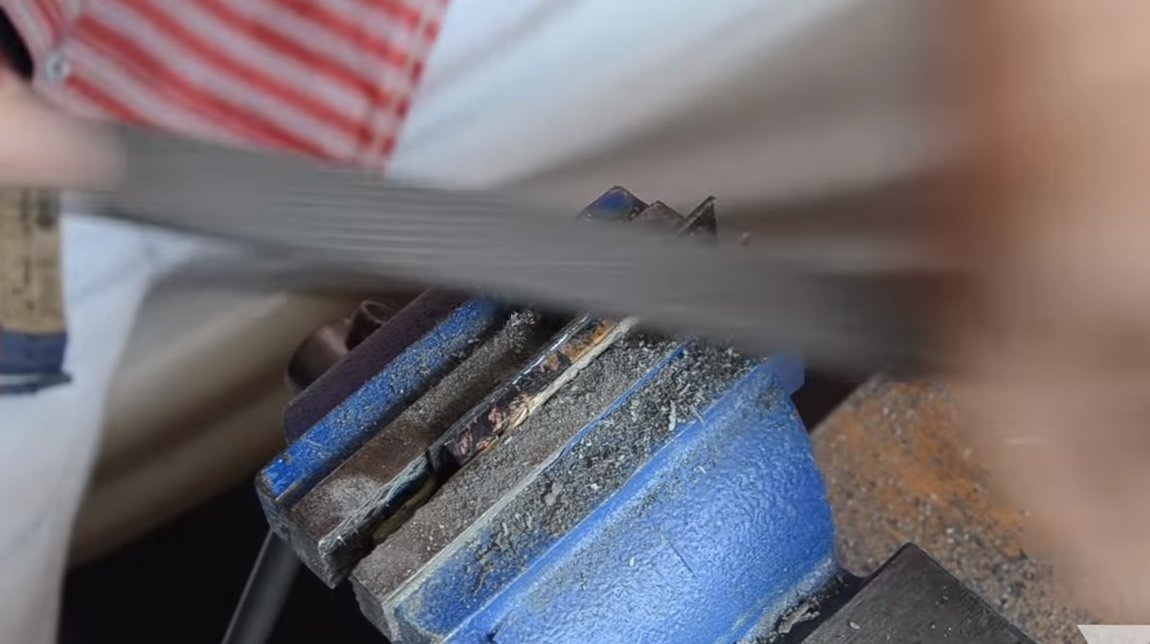
We arm ourselves with a caliper and divide the future blade into two halves, we need to form symmetrical descents on the blade. The author uses a makeshift manual machine with a file for work. The slopes in the end turned out to be quite high quality, the wider they are, the better the knife will cut and sharpen.
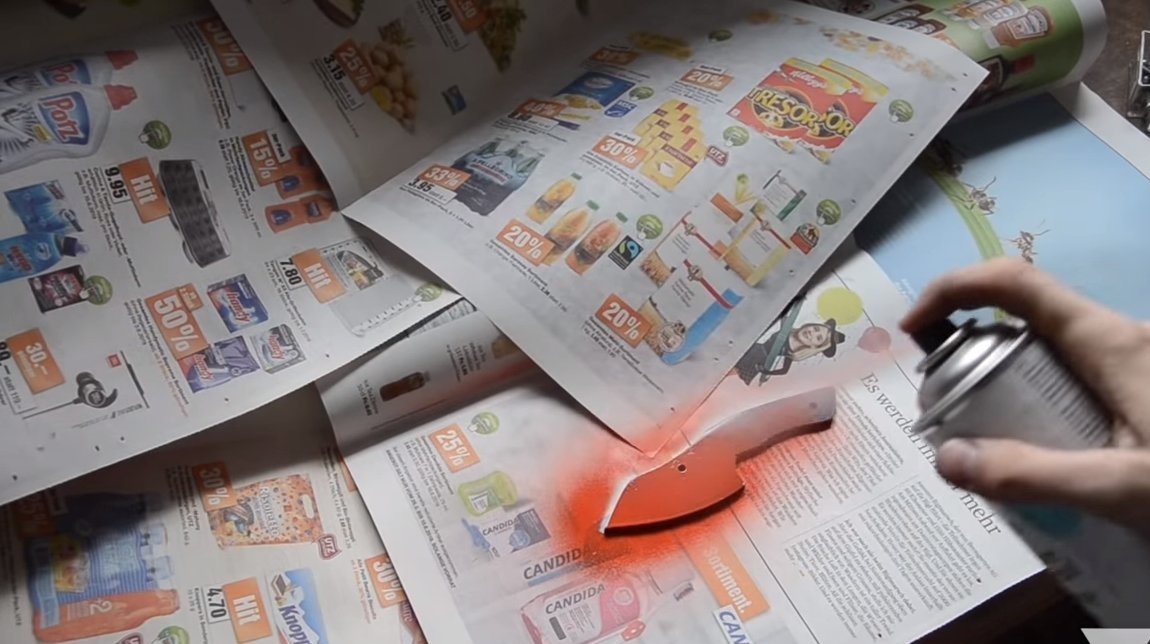
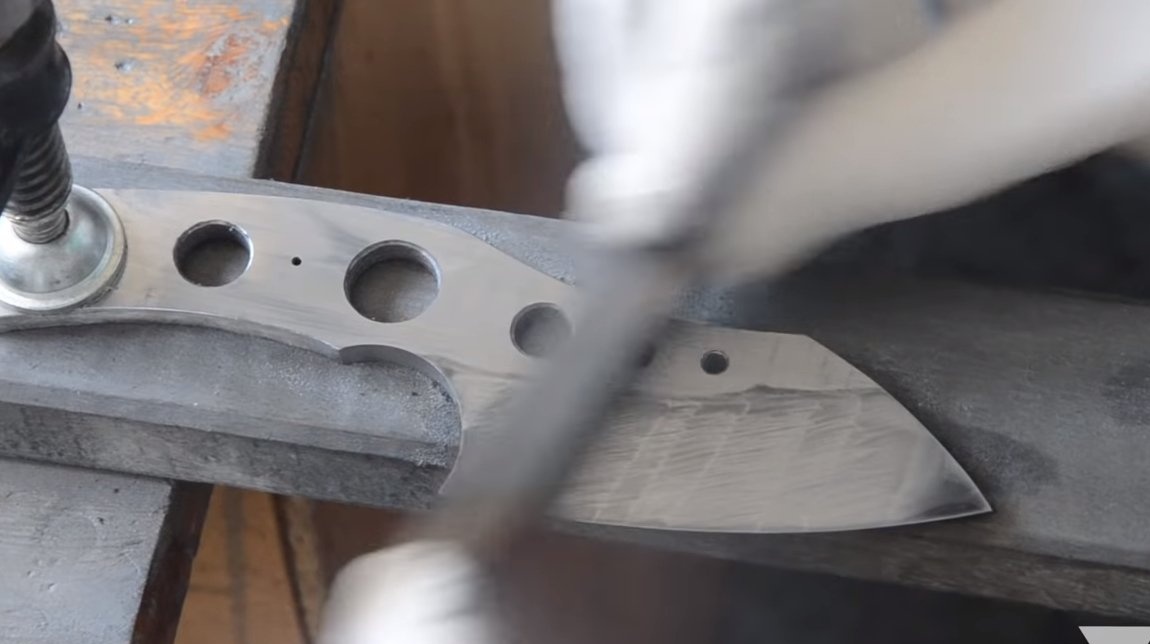
We also modify the profiles of knives before hardening, since then it will be difficult or even impossible to do. We grind the plane of the knives, remove deep scratches with sandpaper.


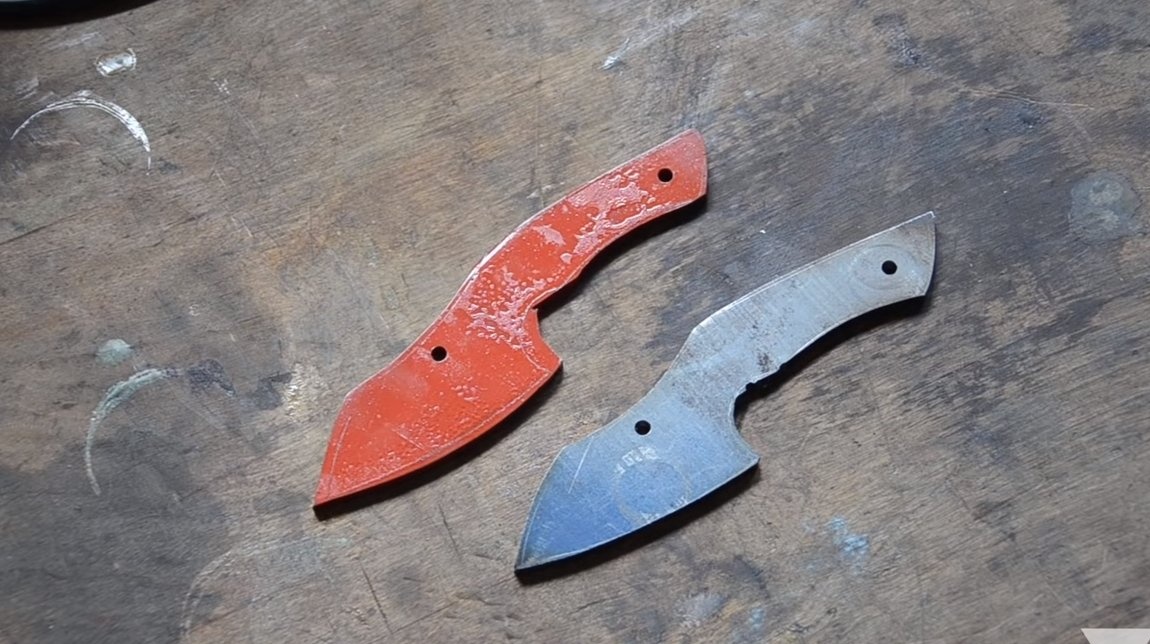
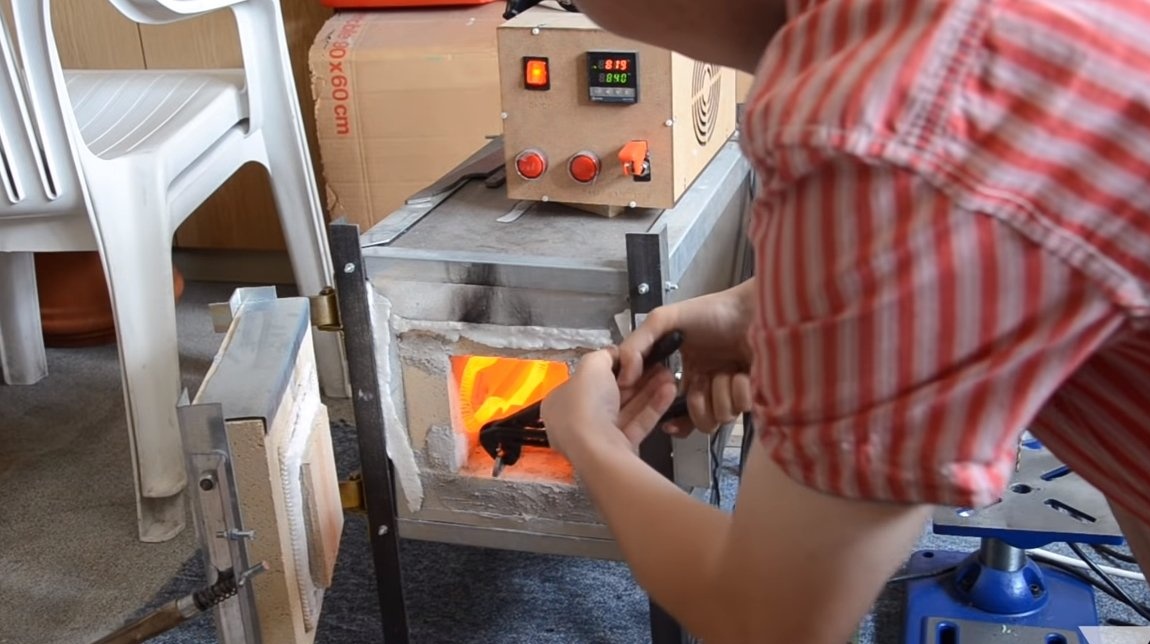
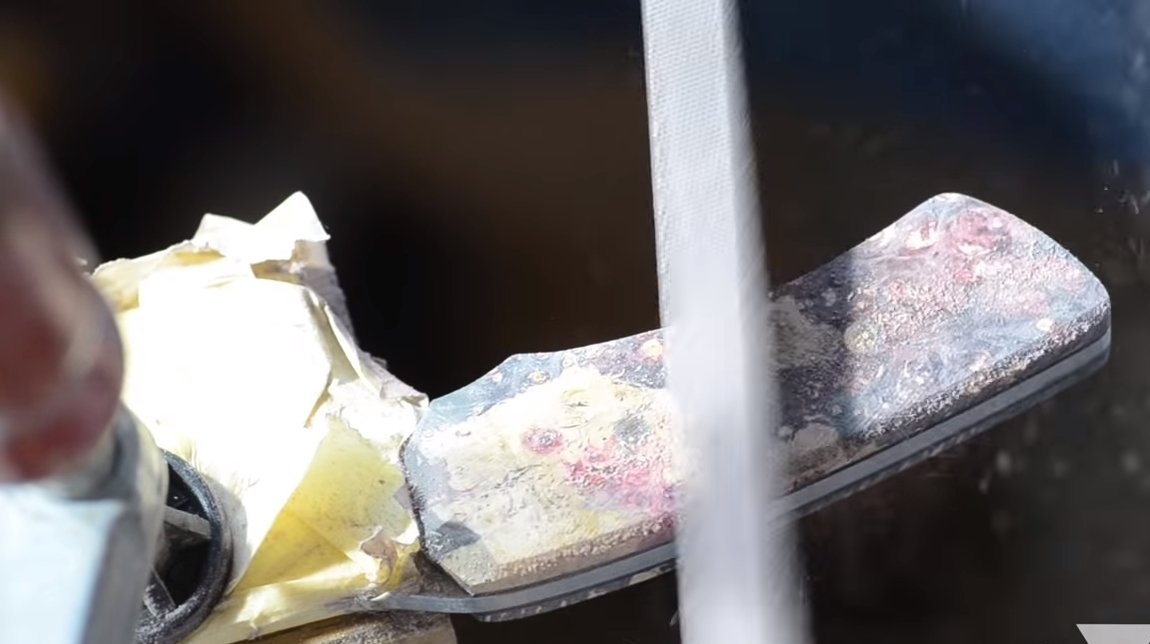
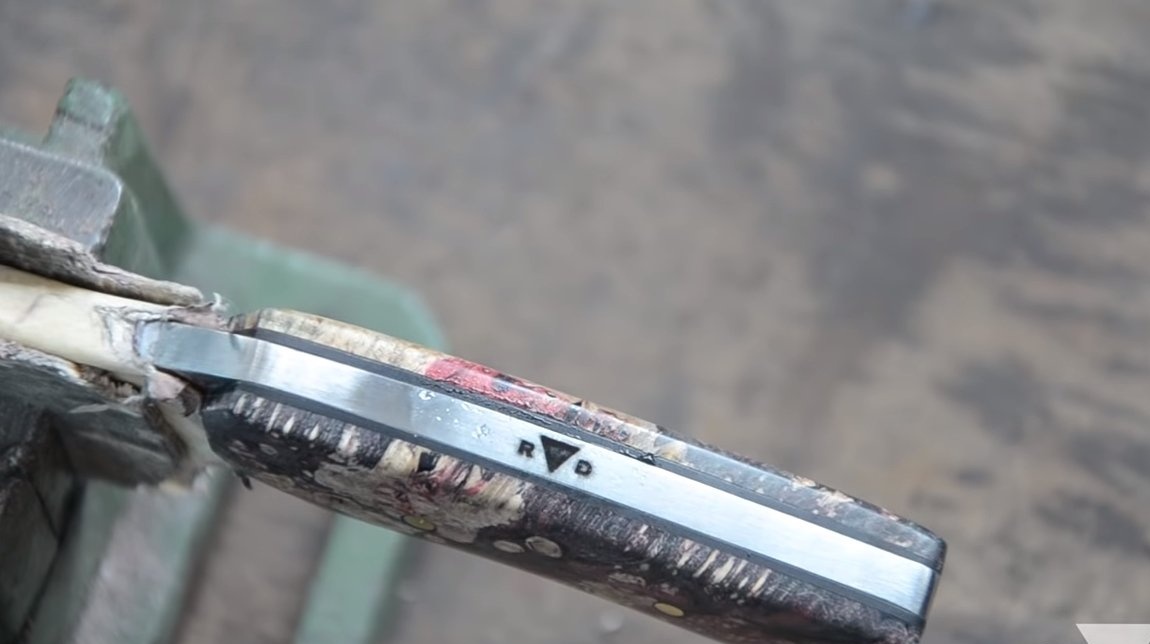
Step Three Heat treatment
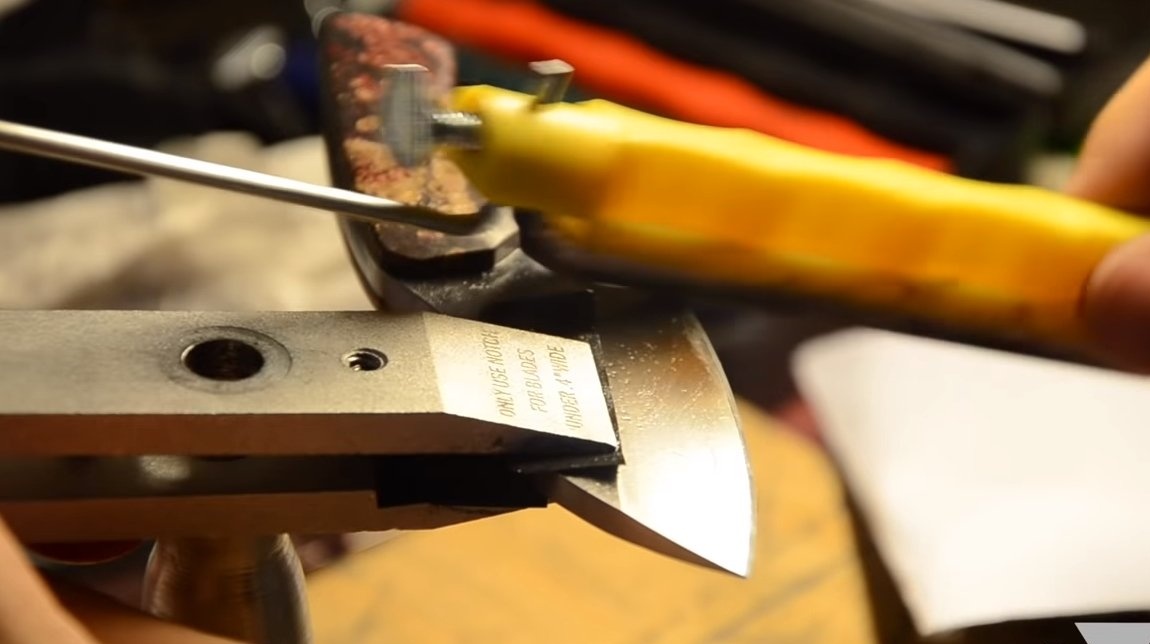
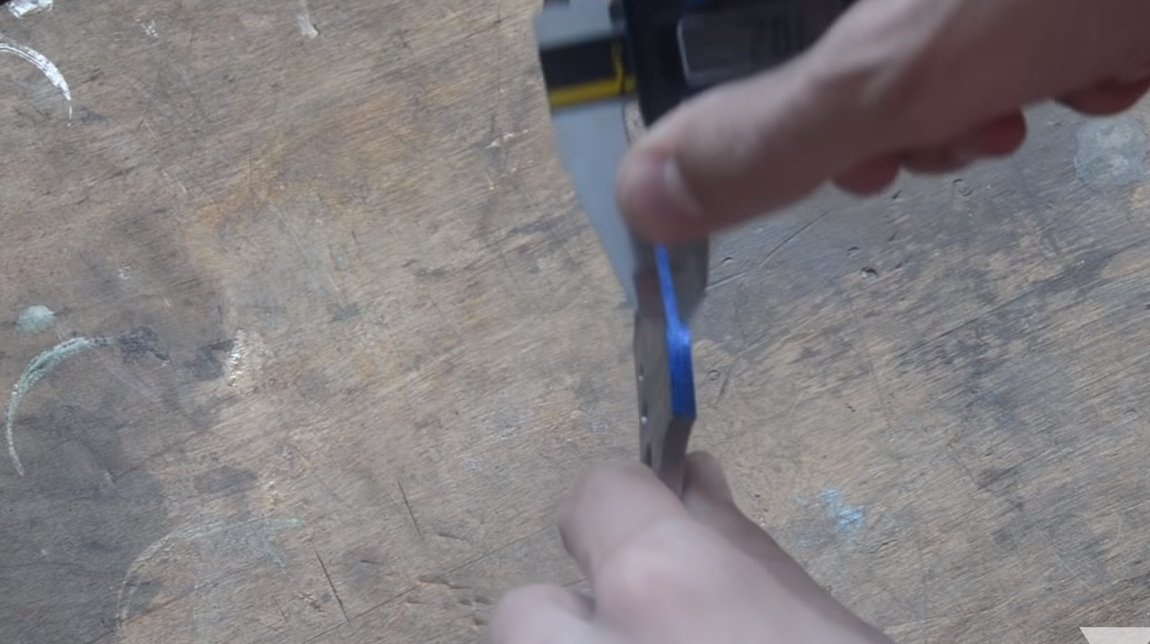
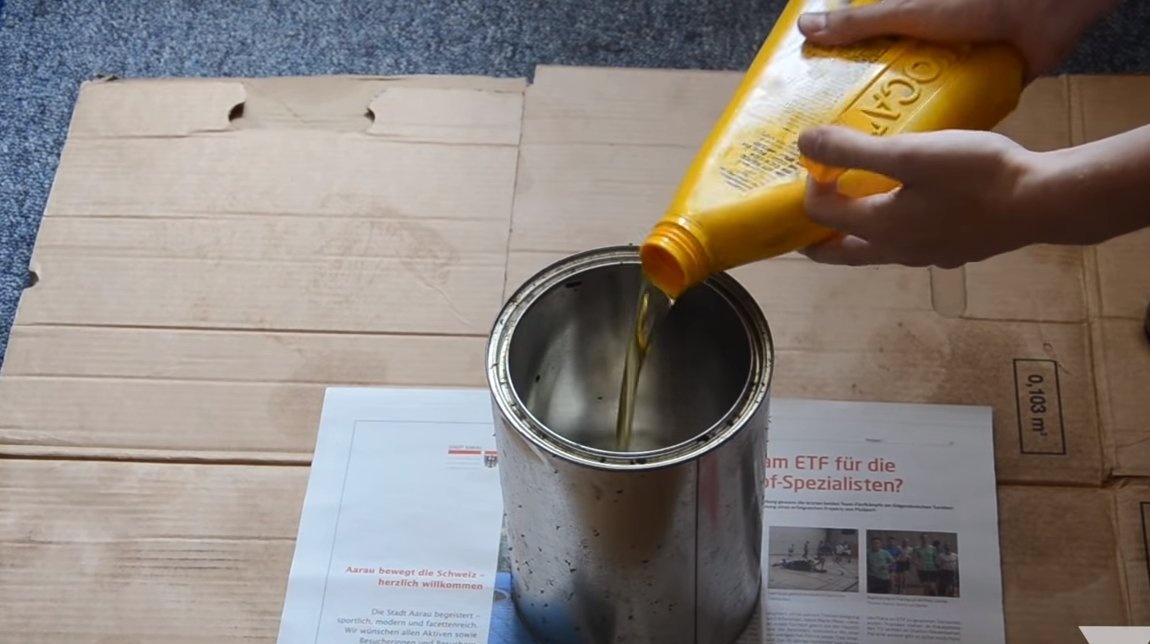
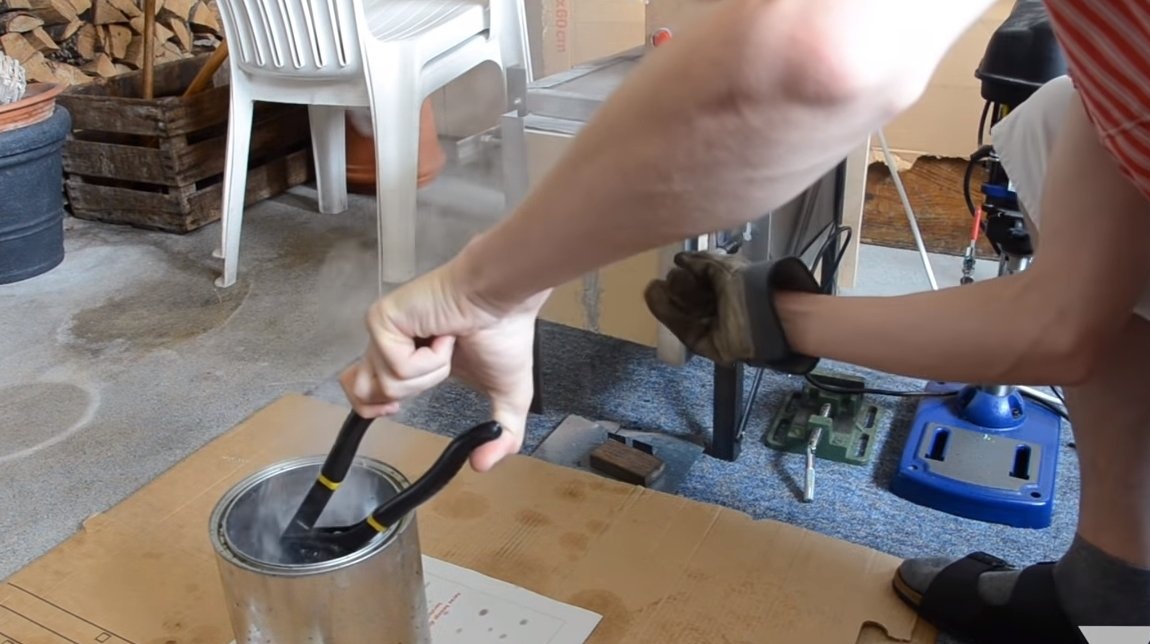
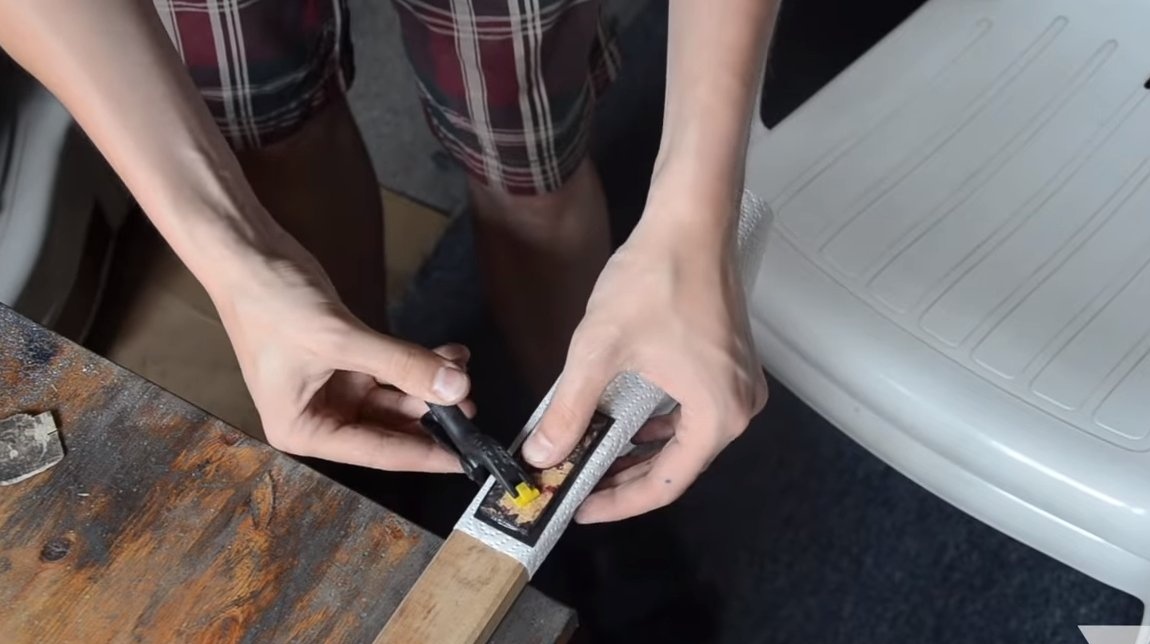
The blade needs to be hardened, so we will make the steel hard, the blade will hold the sharpening well. We heat the blade to a yellowish glow and dip in oil. If everything is done correctly, the steel will not have to be taken with a file, it will be as hard as possible, but very fragile, so you need to handle the blade carefully.
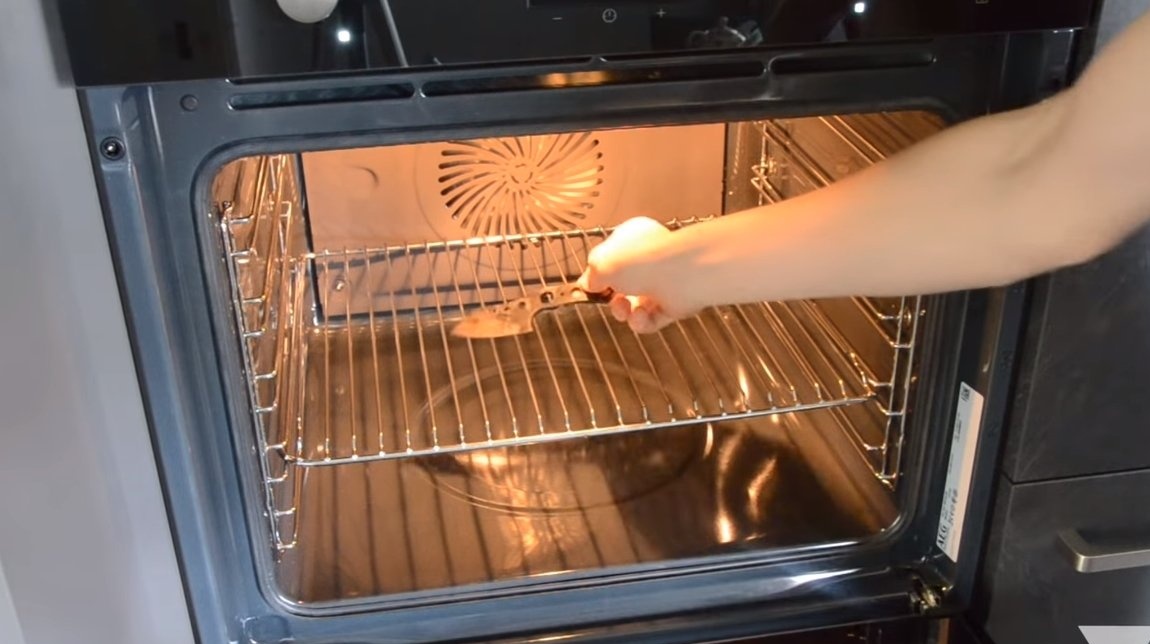
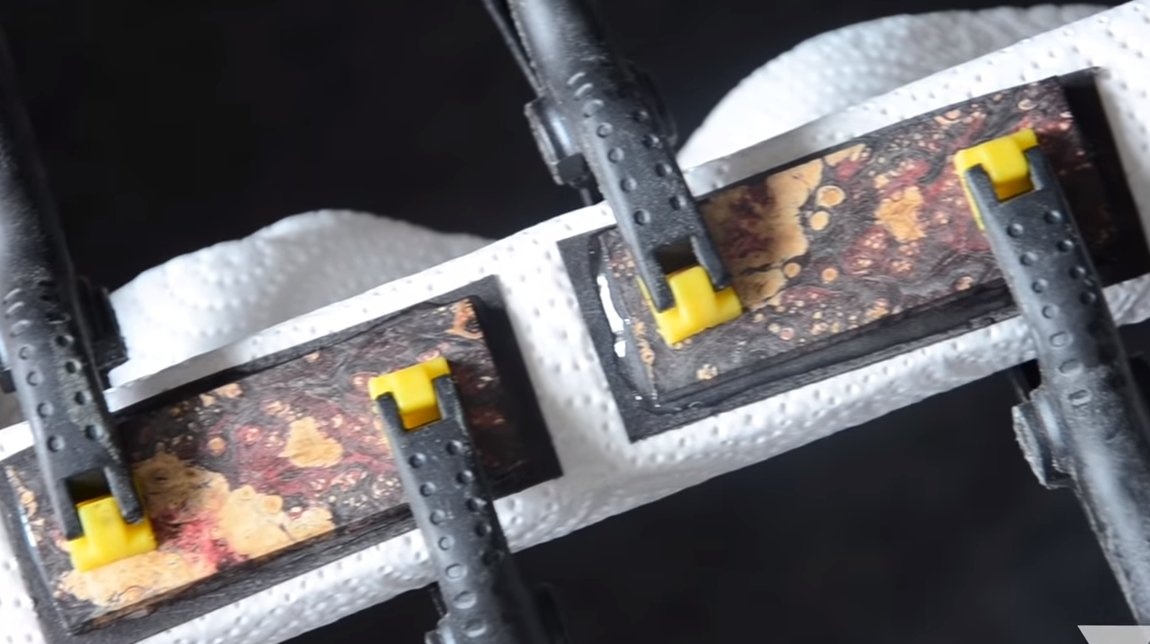
At the end, the steel must be released to give it spring properties. According to the classical scheme, the author uses the oven. Usually steel is heated until a straw-colored coating forms on the steel, the temperature should be around 200 ° C.

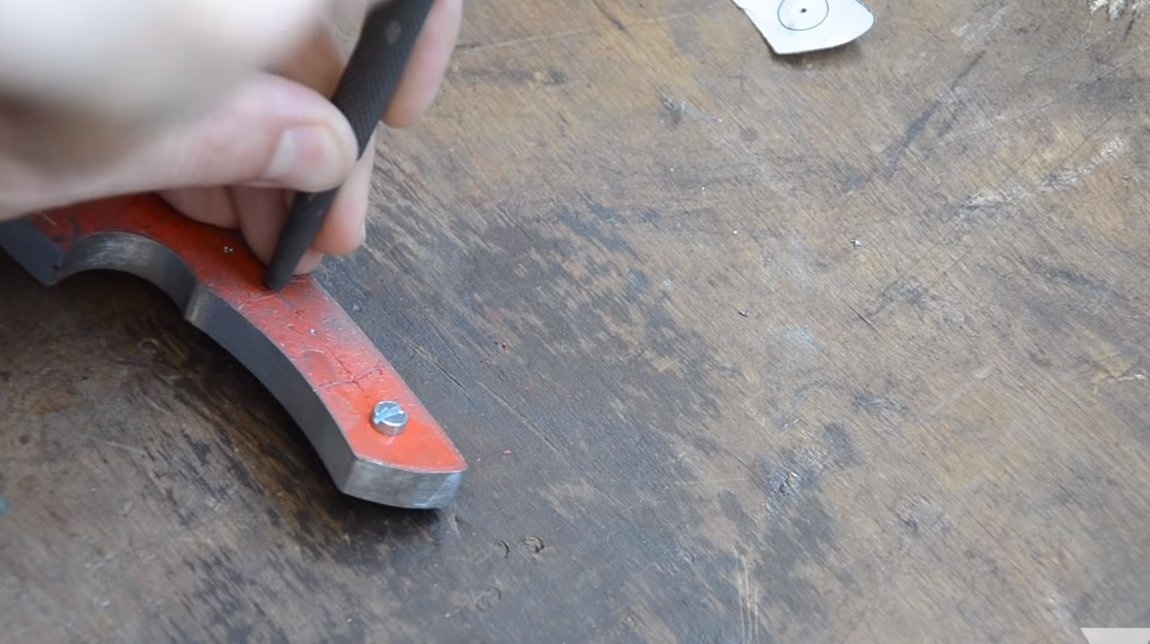
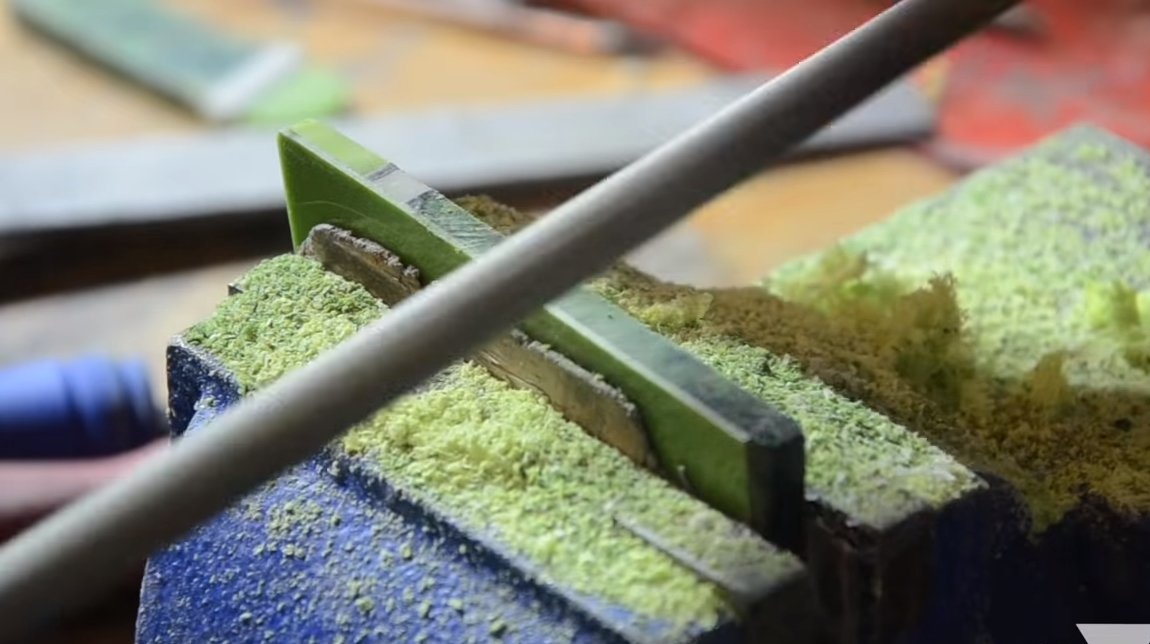
Step Four Handle
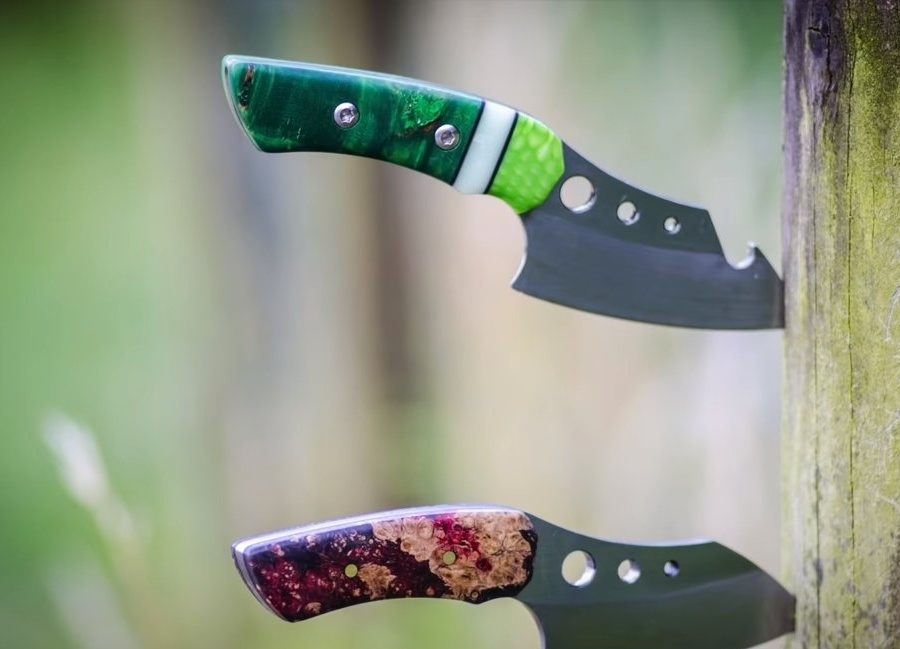
We proceed to the manufacture of handles for knives, the material G10 is perfect. This material is not afraid of water, it is durable and comes in a wide variety of colors. If desired, the lining can be combined, the material is perfectly glued with epoxy glue.

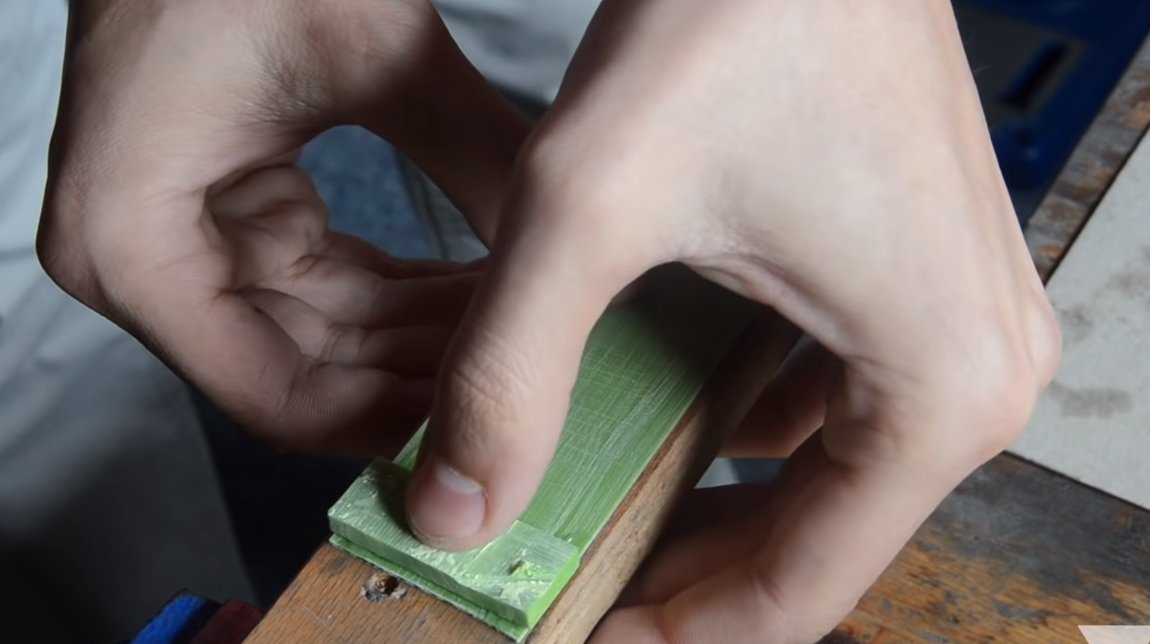


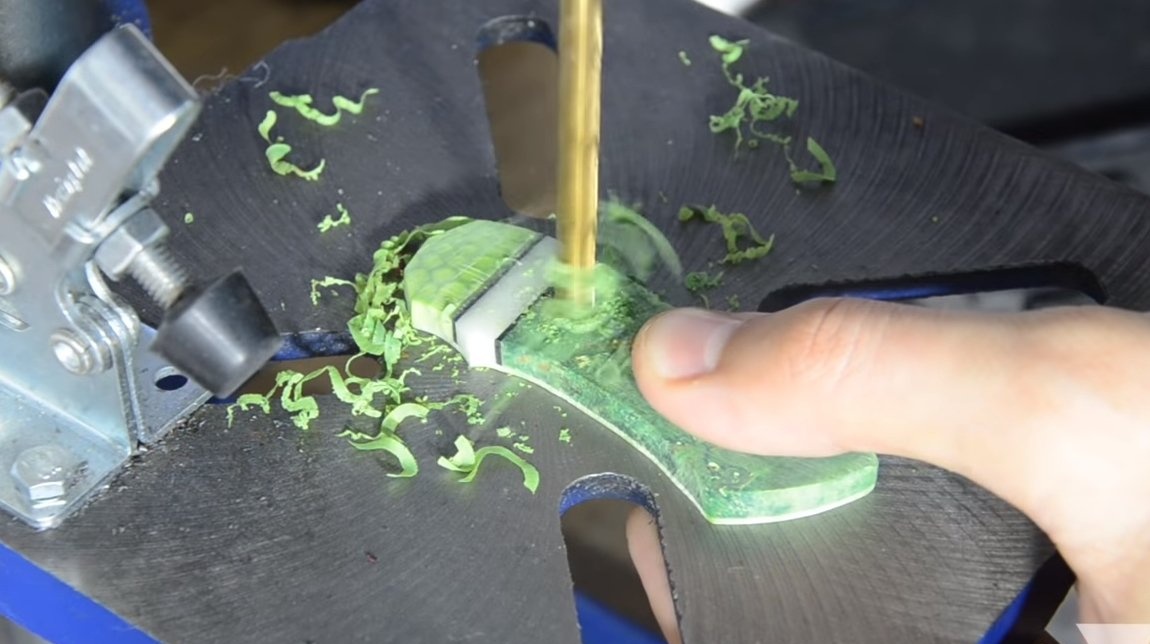
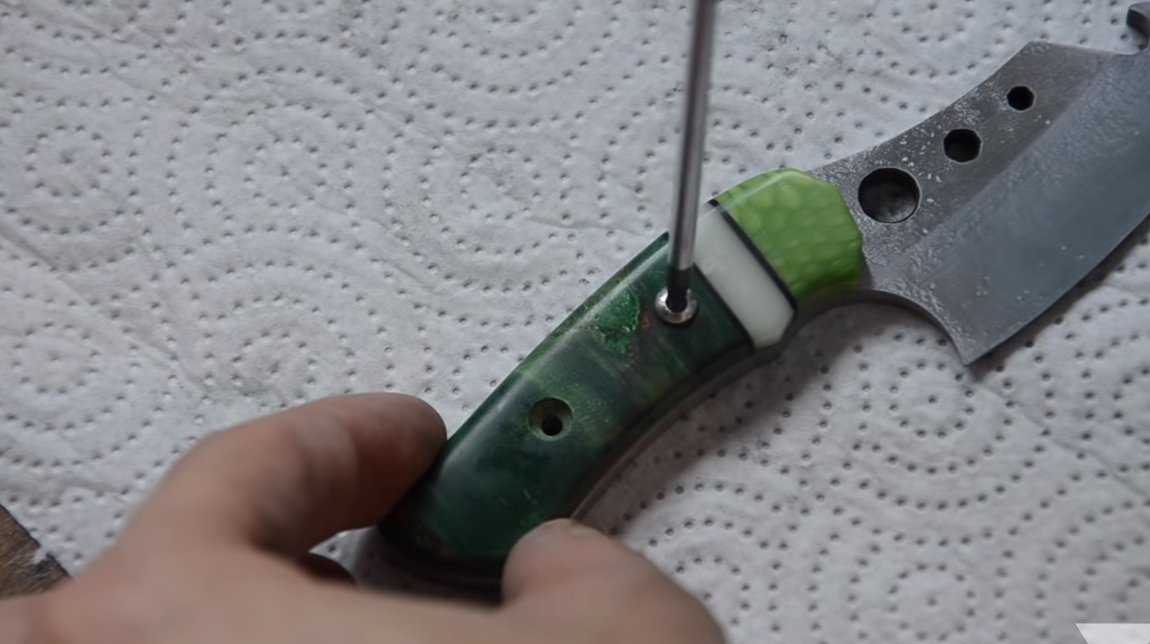
The author made two knives; the pads were classically glued to one knife using epoxy glue using brass pins. And for the second knife, the author drilled holes, cut the threads in the handle and the pads are fastened with screws.
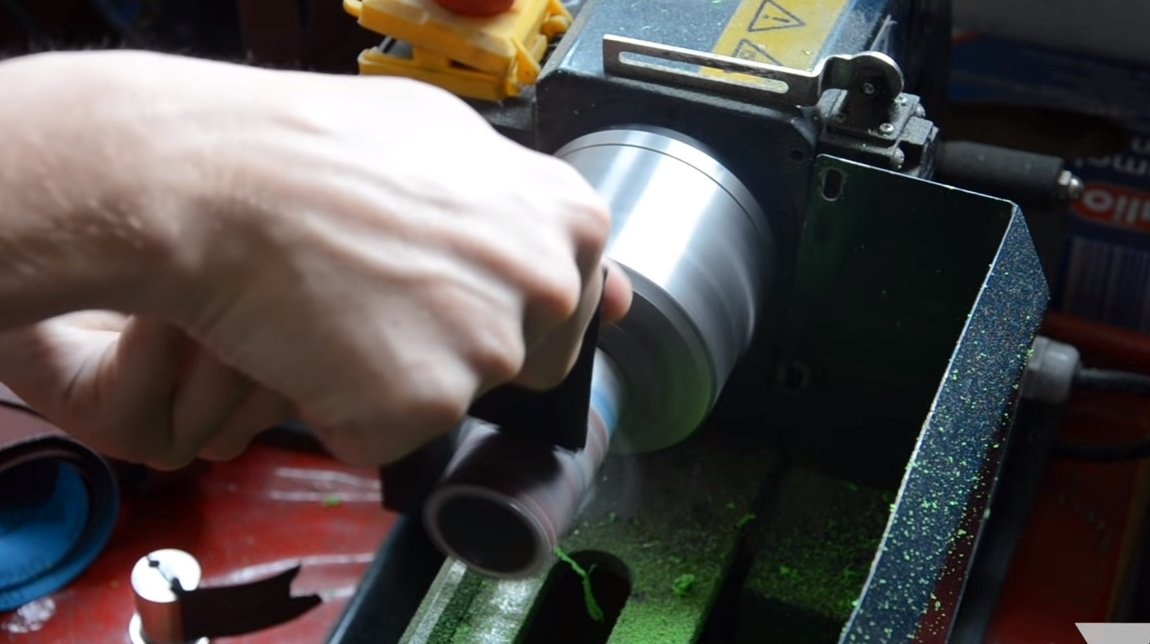
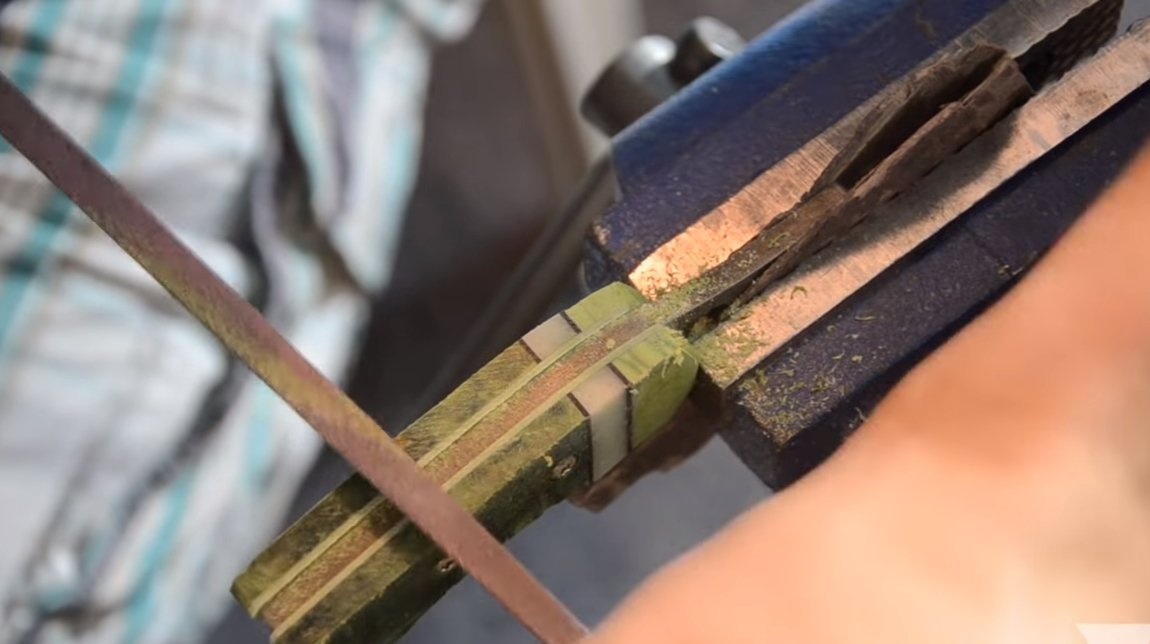
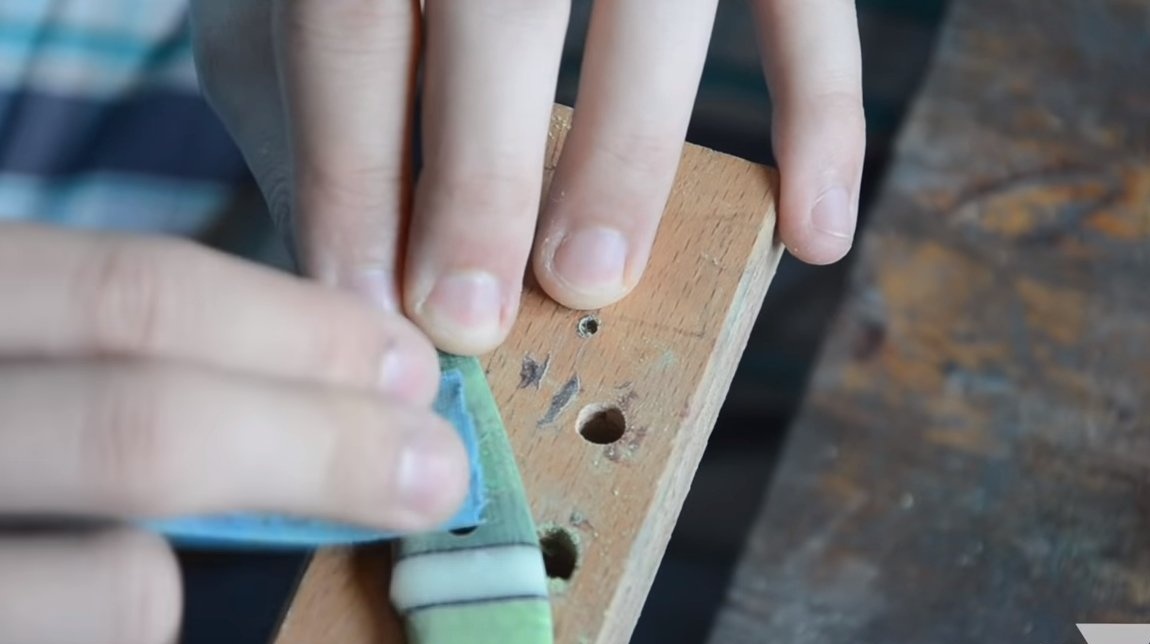
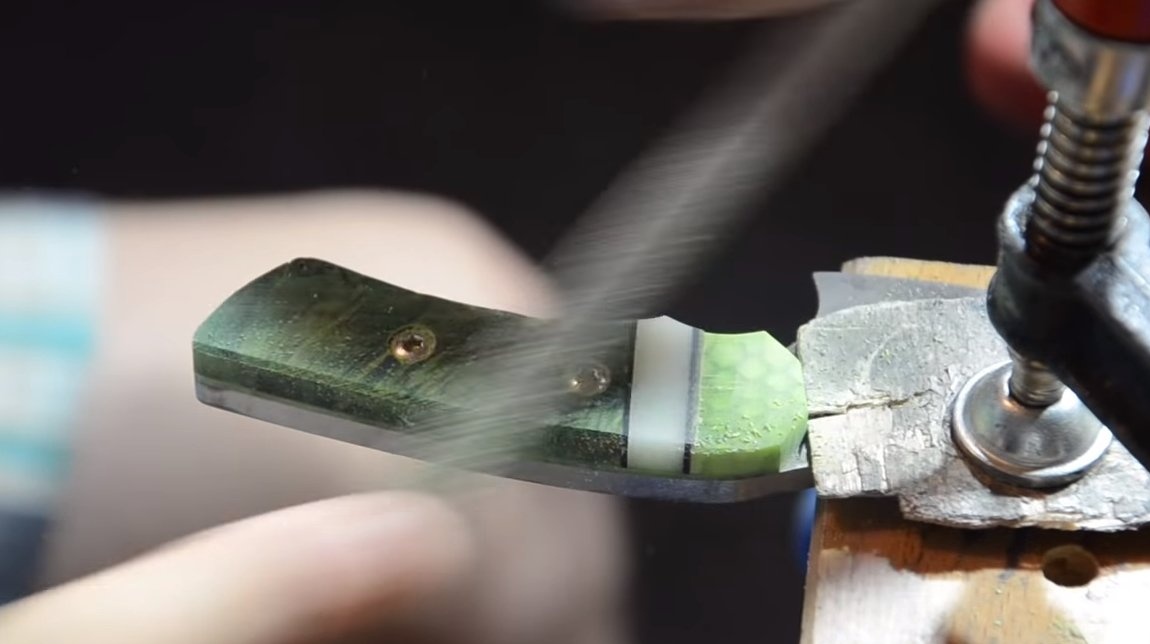
After installing the linings, they can be given the desired shape and sanded. After polishing, the handle will gain all its beauty and become smooth.
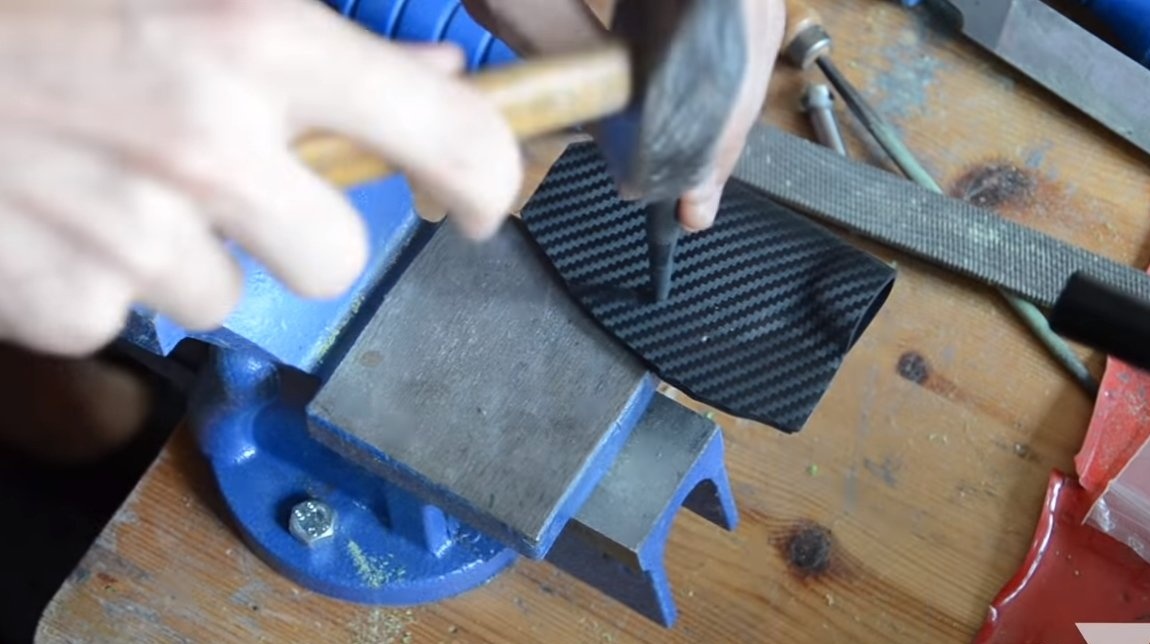
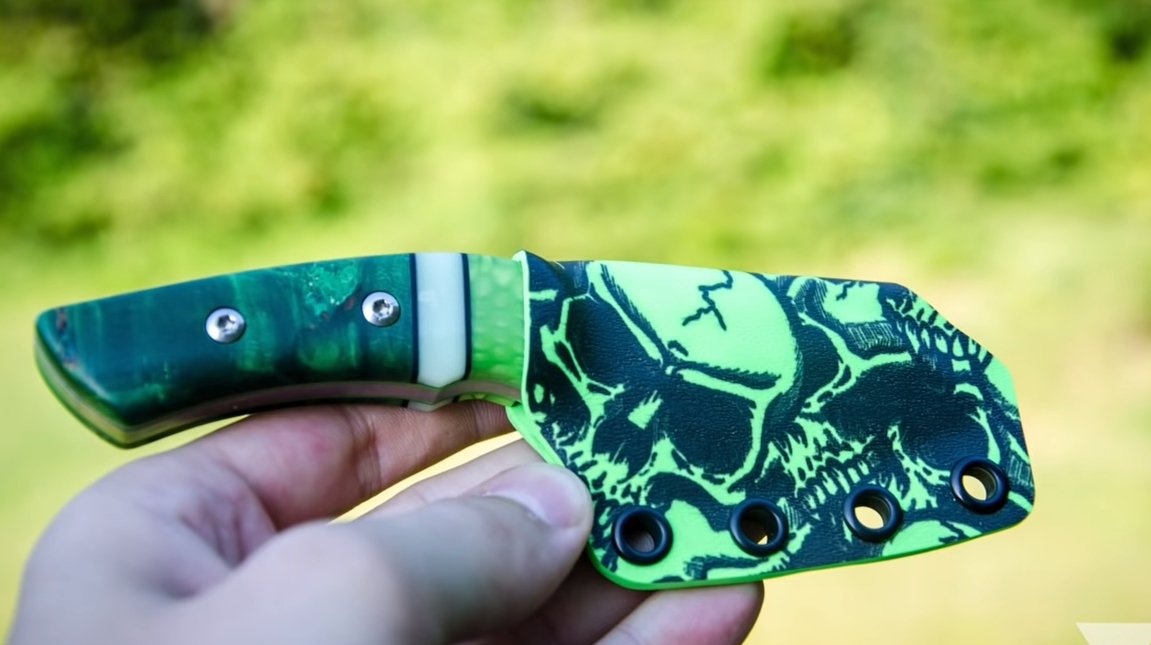
Step Five Sheath
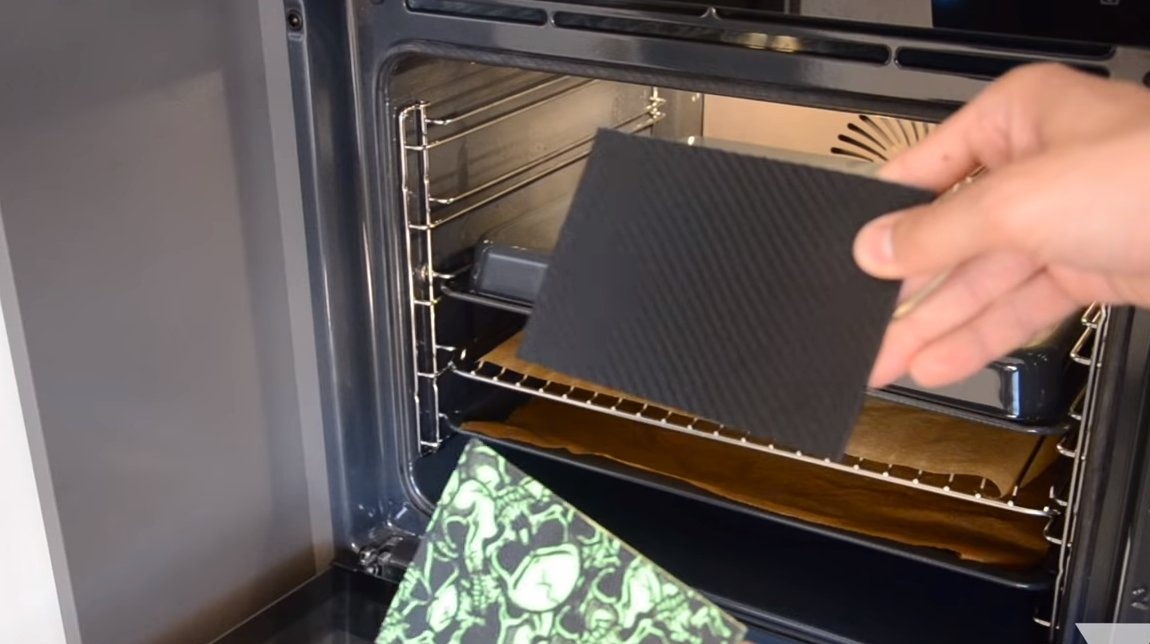
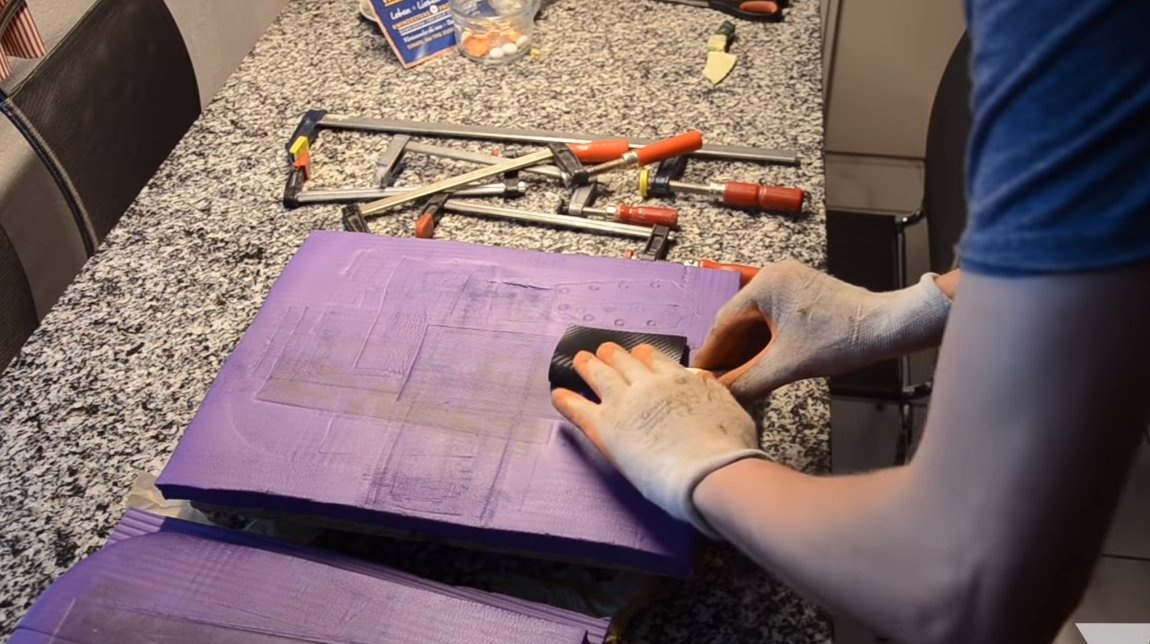
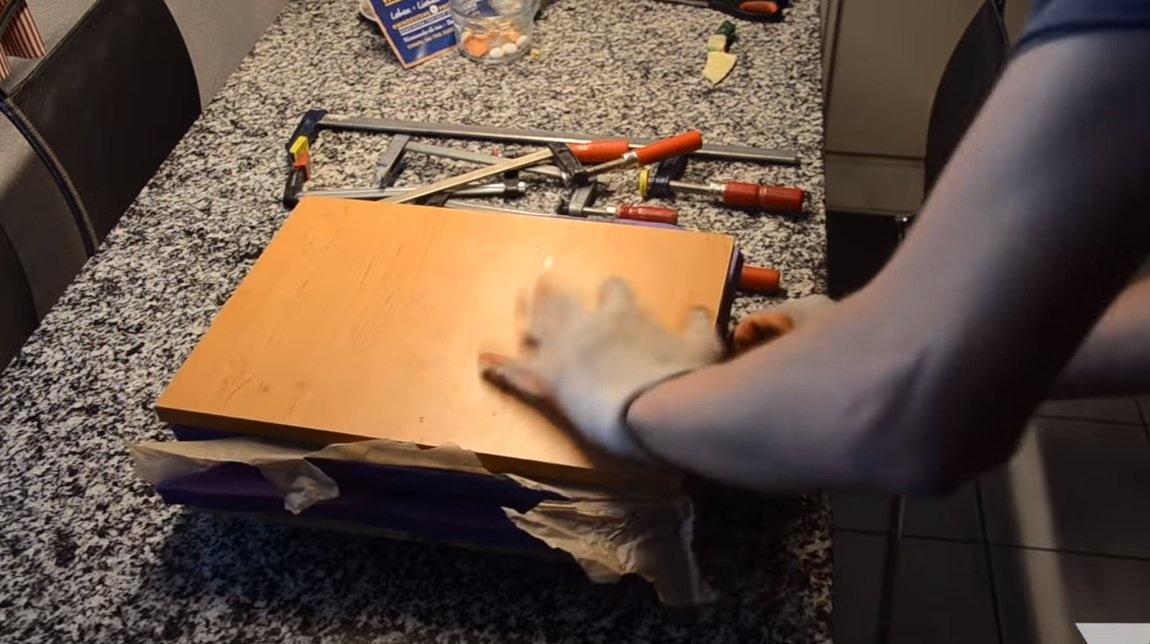
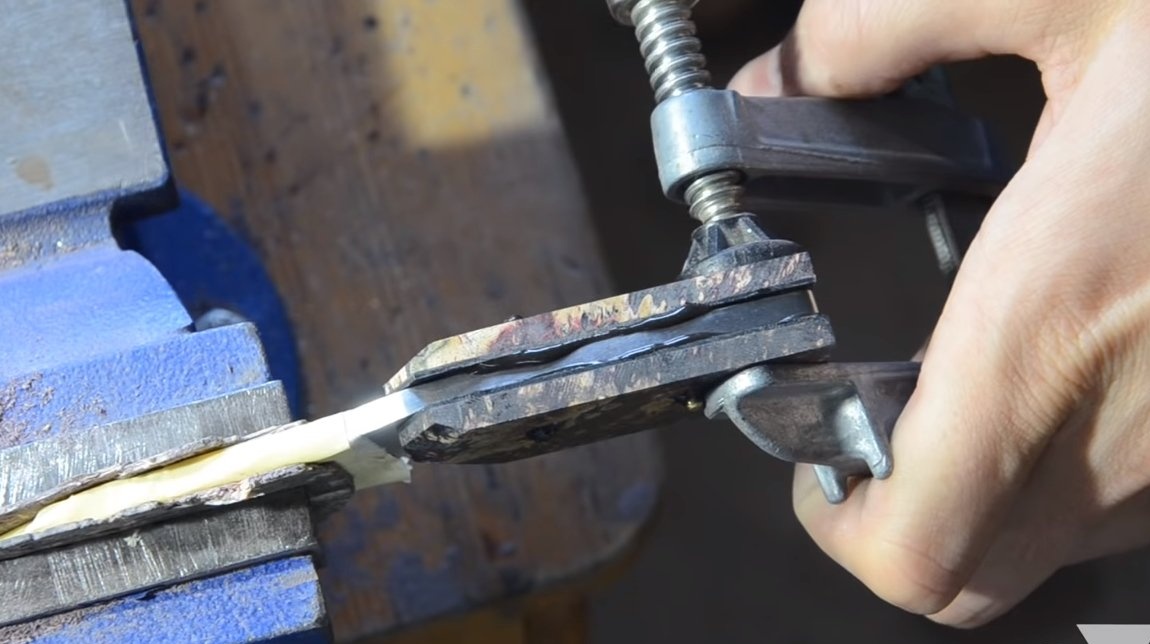
Of course, a sheath would be needed to carry such a small and very sharp knife. They can be made from plastic sheet or similar material. The sheet material must be heated in the oven so that it becomes ductile, and then we wrap it around the blade and press it with a press until it cools.
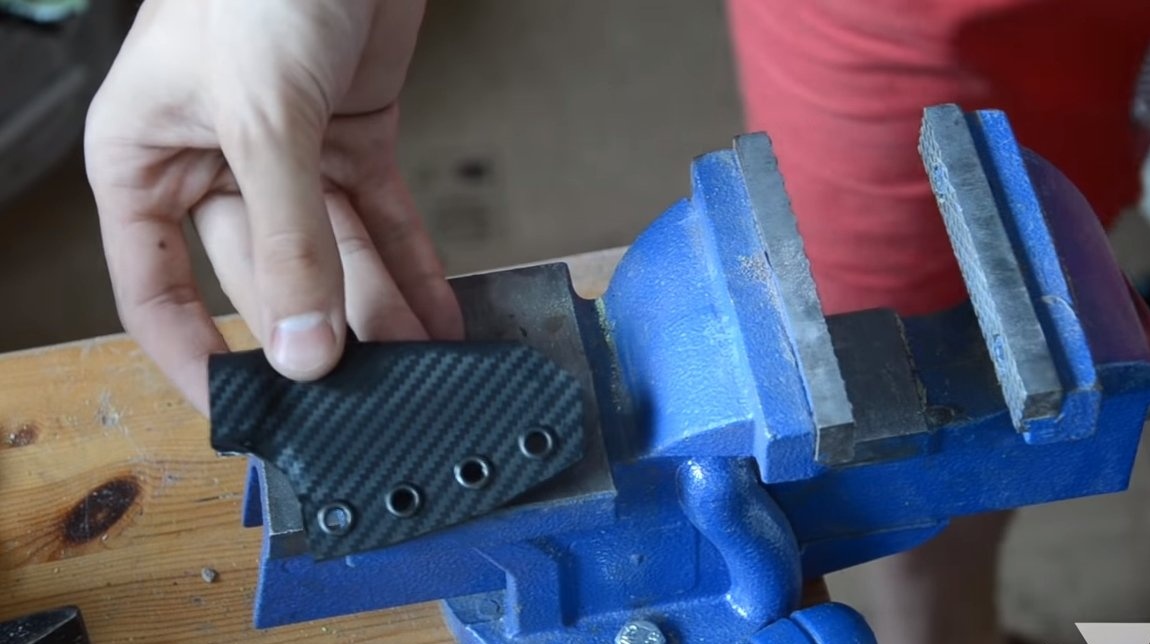
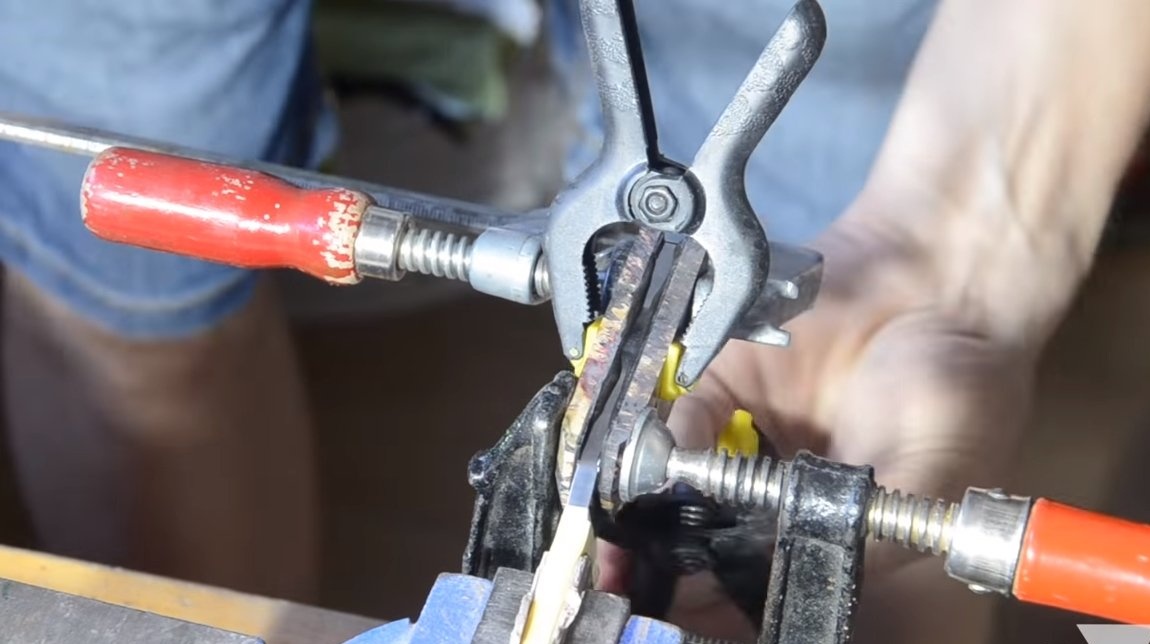
When the plastic cools down, drill holes and install rivets. As a result, it remains to trim the excess and polish the sheath. The sheath is ready, you can install a cord or mount on them for installation on a belt.
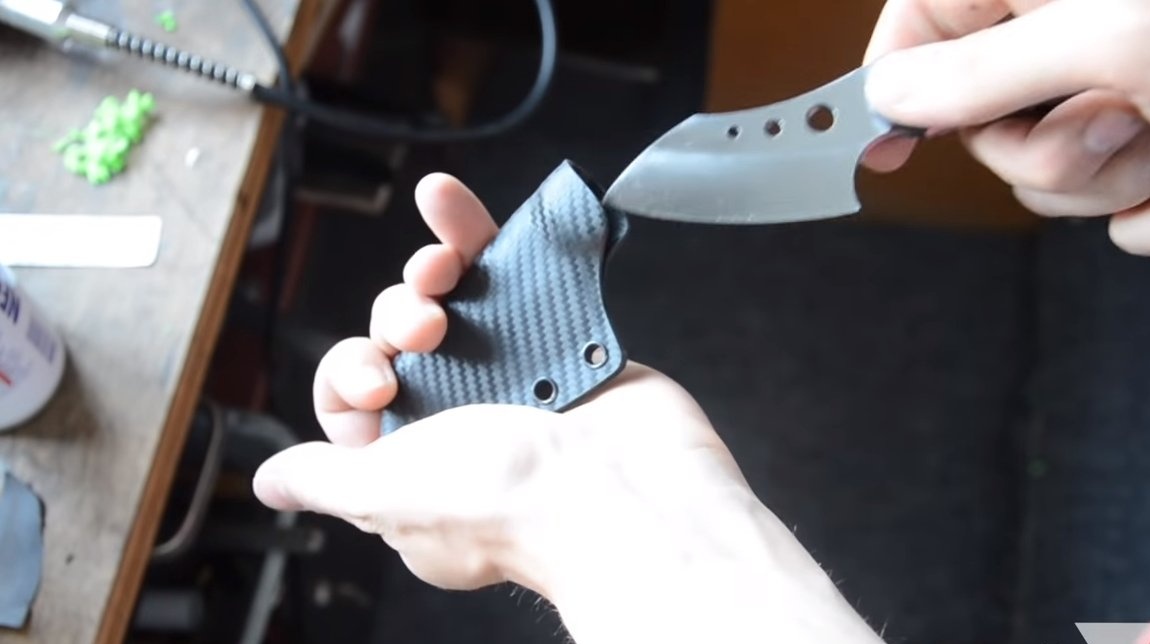
This is the end of the project, the knives are stylish and comfortable, I hope you also liked the project. Good luck and creative inspiration, if you decide to repeat this. Do not forget also to share your ideas and homemade things with us!