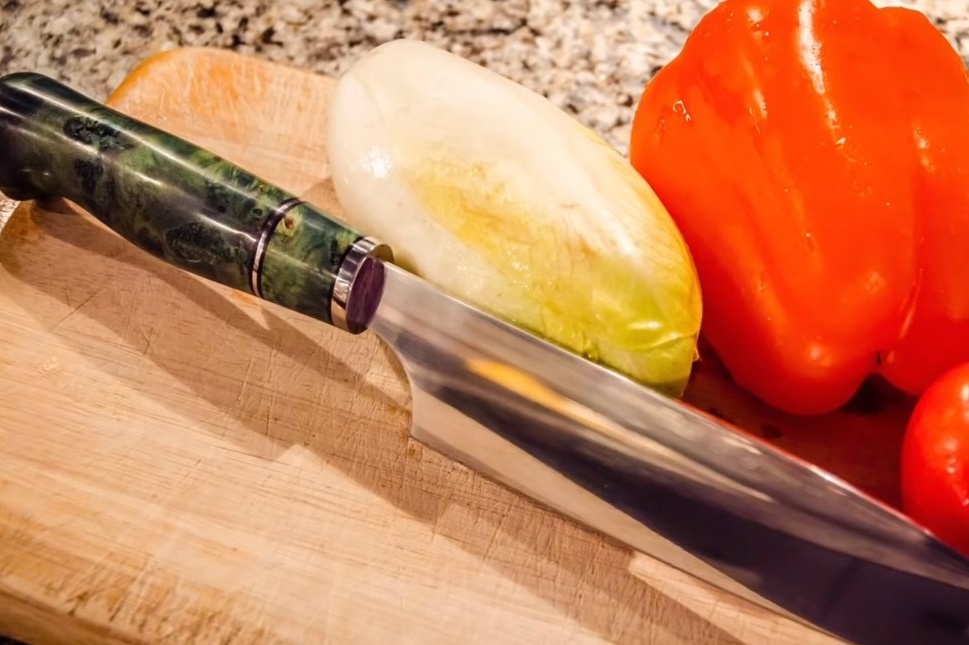
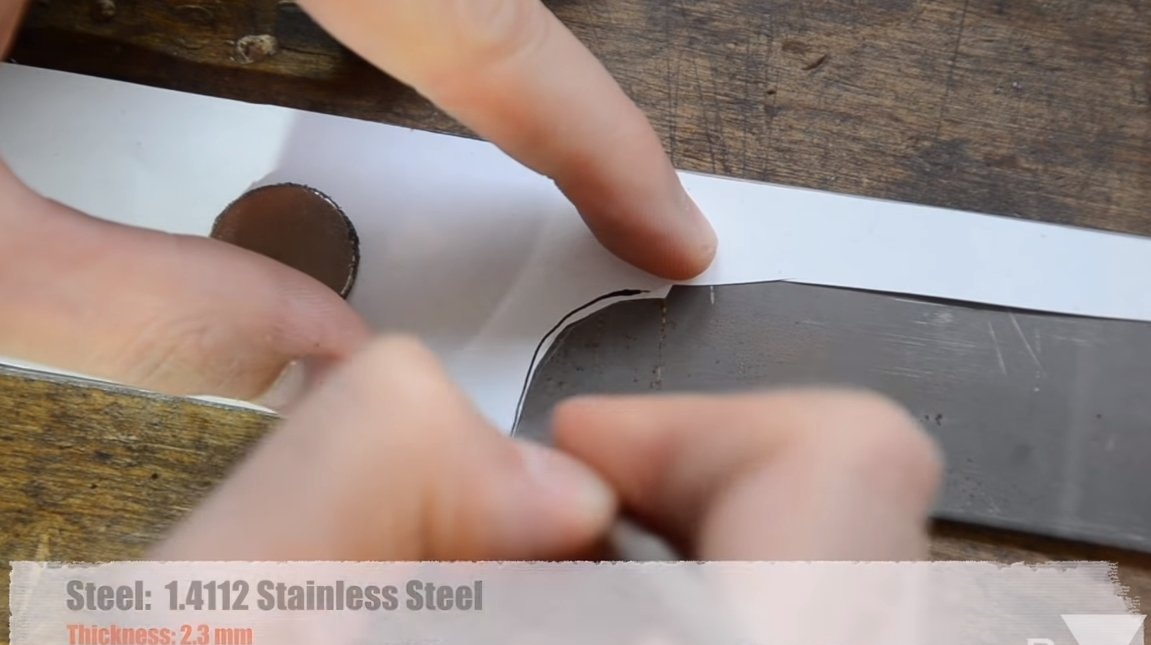
Hello everyone, today we will consider how to make a quality knife for a cook. A feature of the knife is a combined handle with the presence of a titanium bolster. The blade itself is made of quality German steel grade 1.4112. Such steel is capable of having a hardness of up to 58HRC, and its main advantage is that it does not rust and has high resistance to various aggressive environments. The thickness of the blade is 2.3 mm, the knife turned out to be strong, beautiful and the author sharpened it to the state of a razor. If you are interested in the project, I propose to study it in more detail!
Materials and tools used by the author:
Material List:
- a plate made of steel 1.4112 with a thickness of 2.3 mm;
- stabilized green wood (poplar);
- a piece of titanium;
- and other;
- epoxy adhesive.
Tool List:
- ;
- vise;
- oven and hardening oil;
- domestic oven;
- files;
- vernier caliper;
- manual grinding machine;
- a hacksaw for metal;
- drilling machine;
- polishing machine;
- sandpaper.
Manufacturing process homemade:
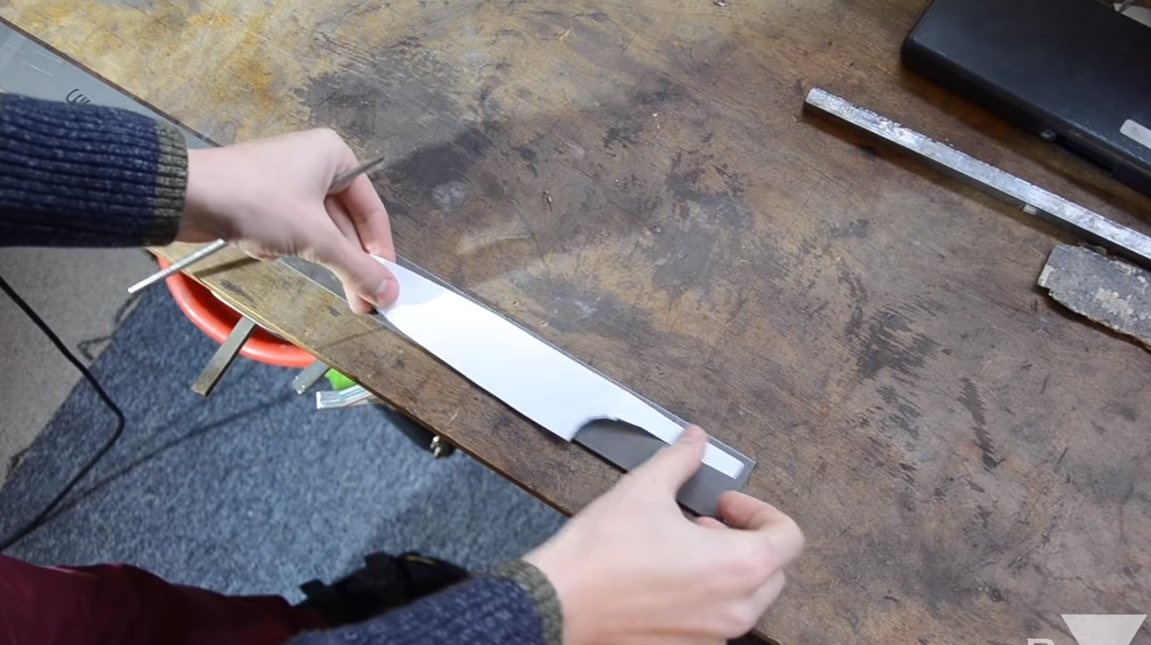
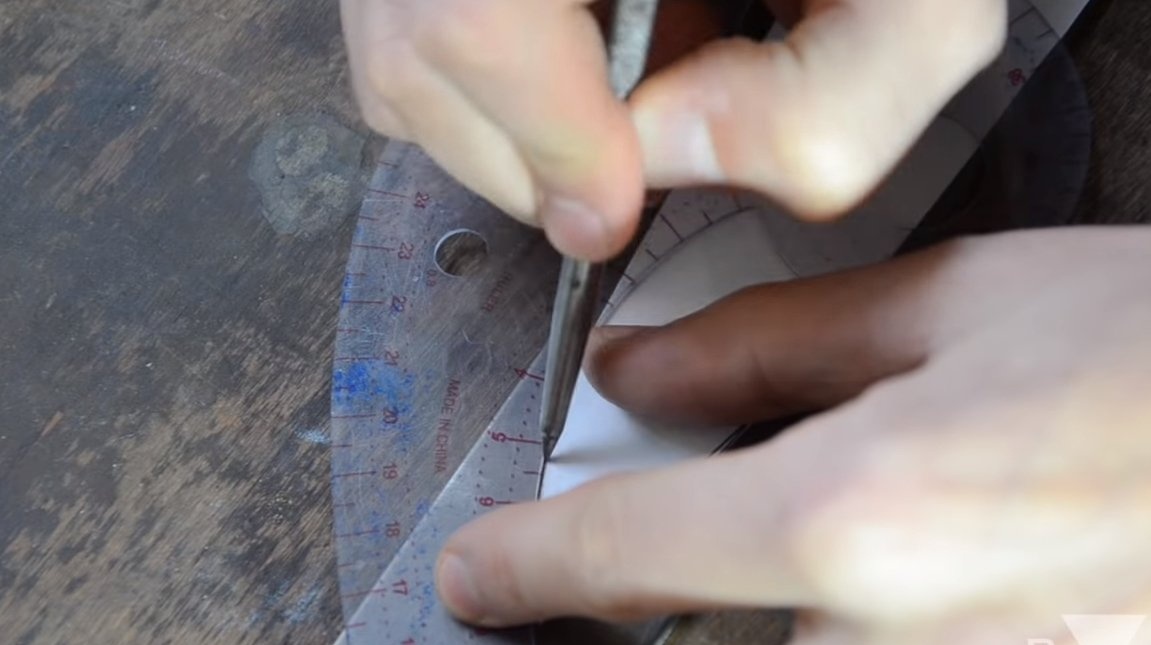
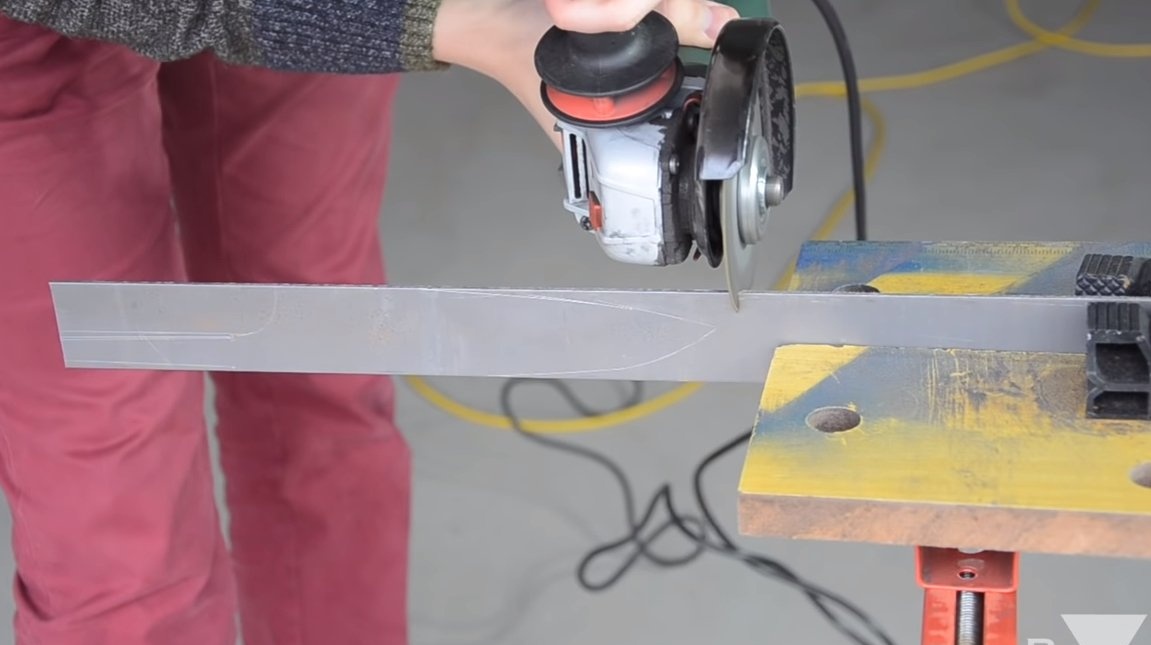
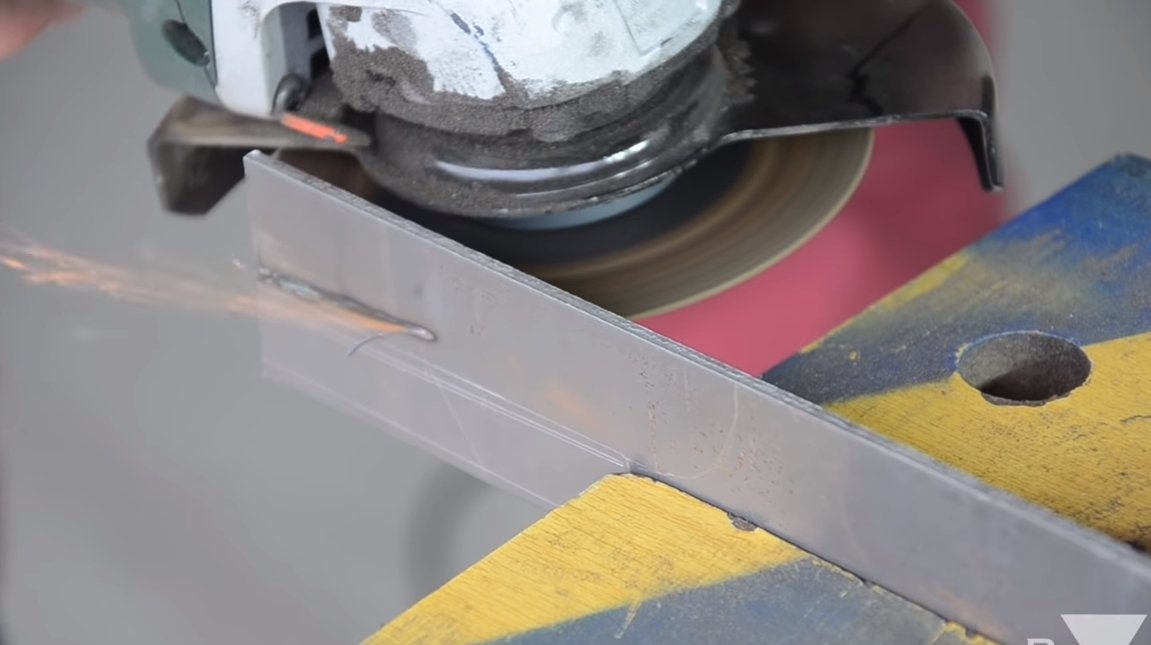
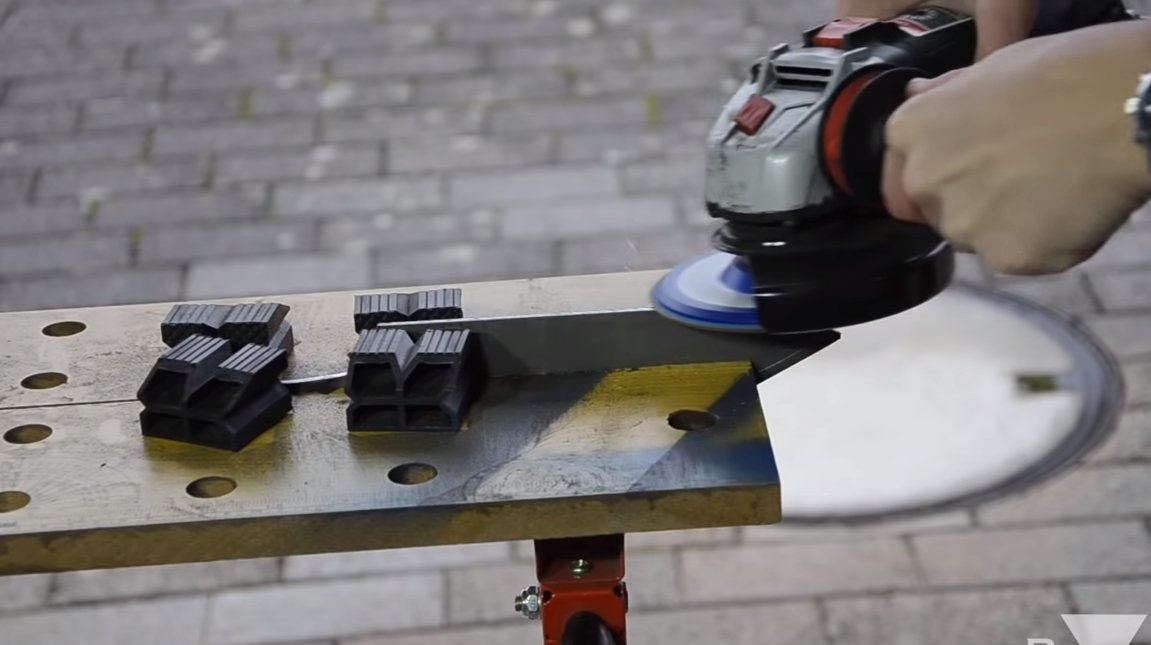
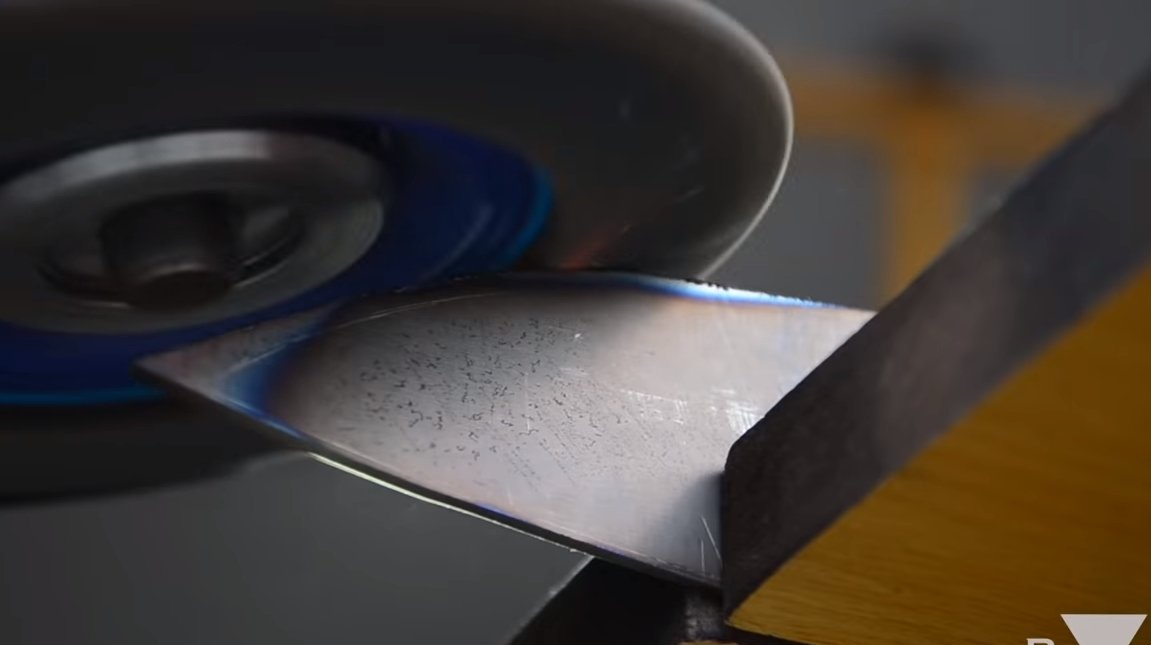
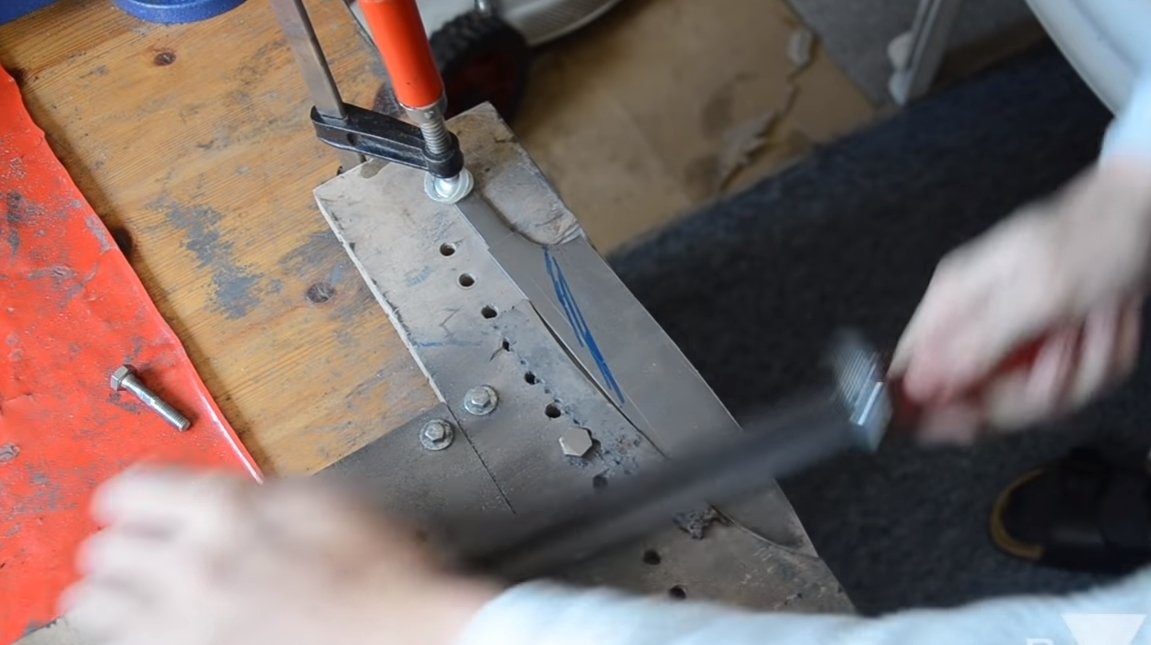
Step one. Cut the knife profile
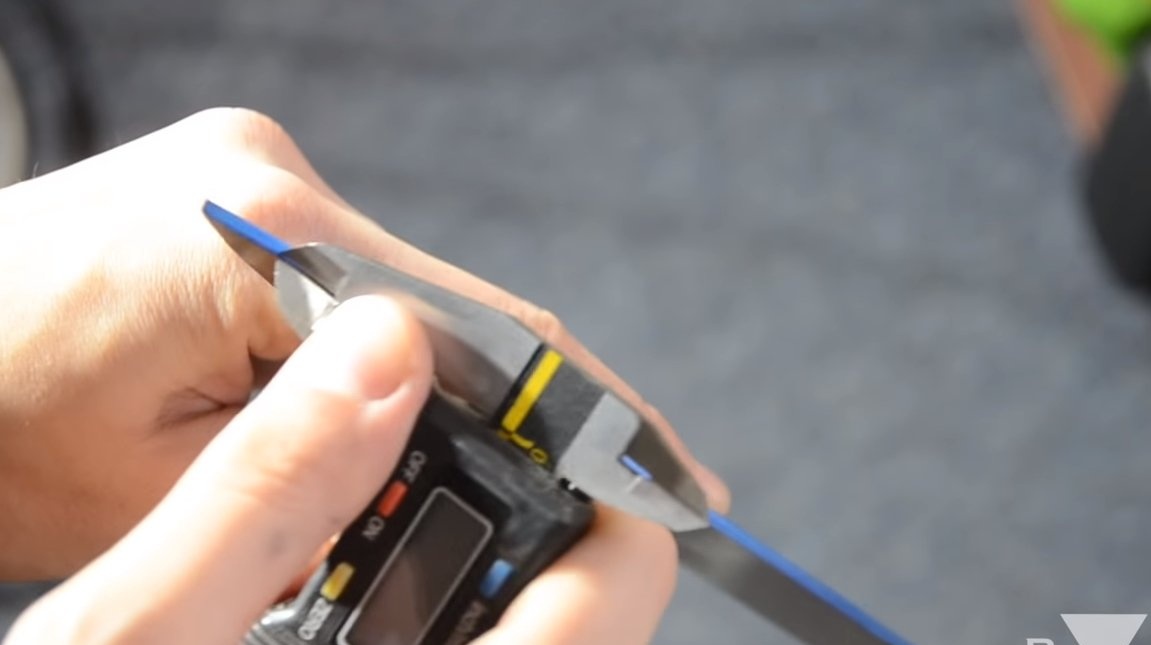
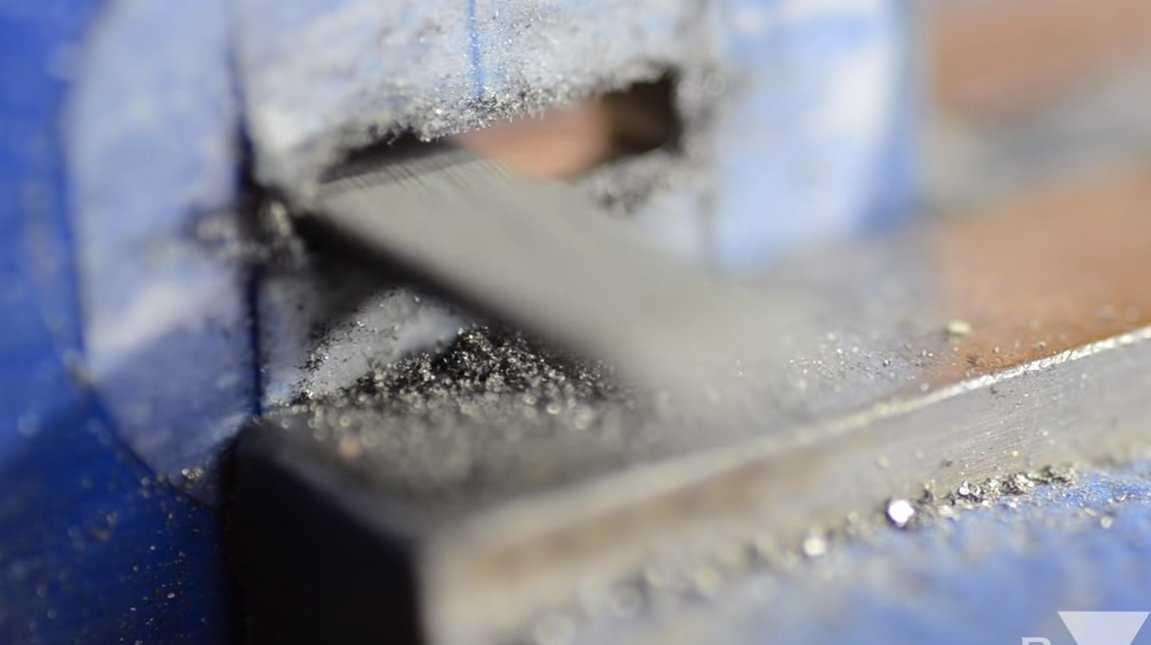
The manufacturing process takes place according to the classical scheme, for a start we need a template that we transfer to steel. The starting material is a 2.3 mm thick plate, the steel is not hardened and can be processed quite easily. We cut off the excess with the help of a grinder, and also install a grinding disc and with it eliminate the grosser sins.
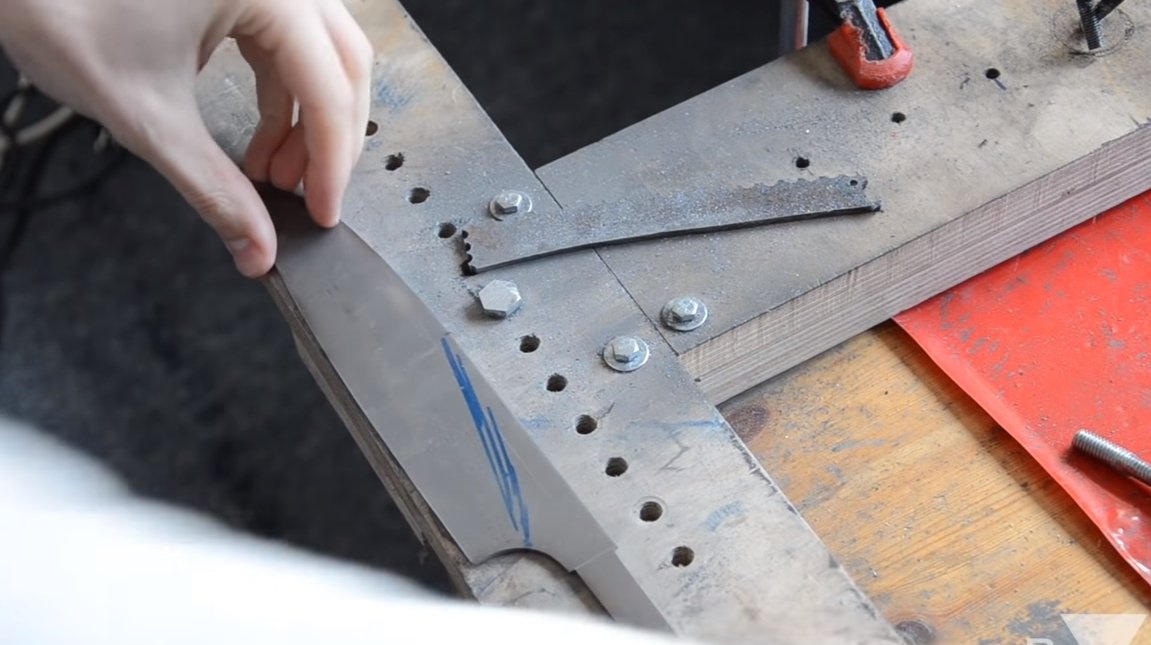
In the end, the author is already working with files, in the end we get a ready-made knife profile.
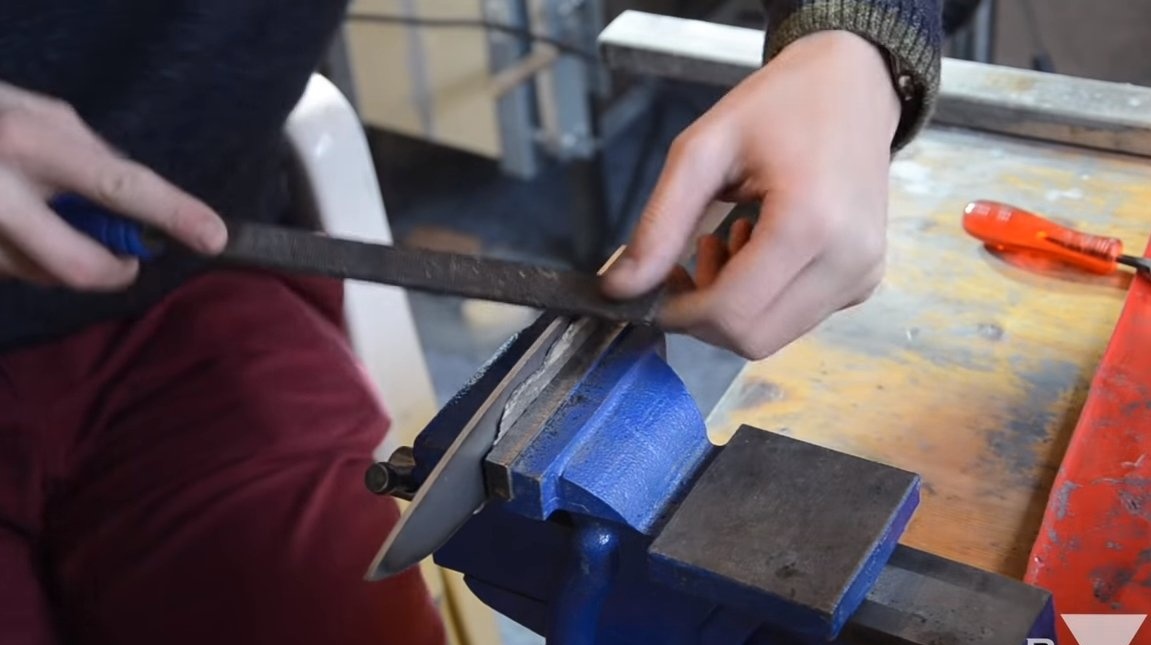
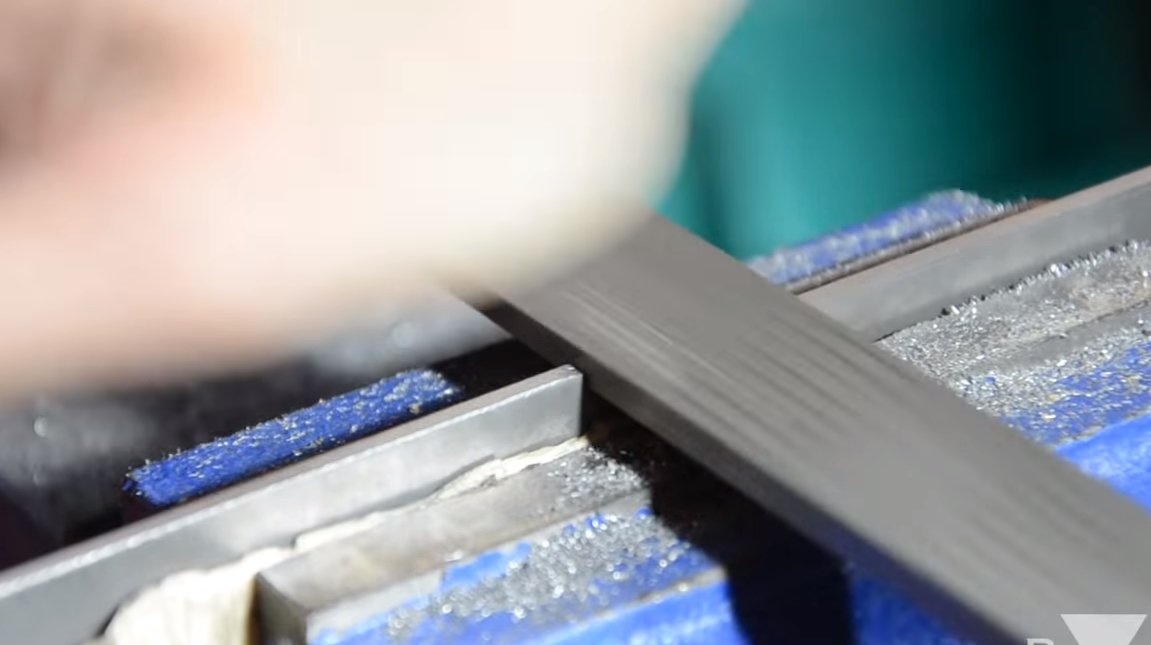
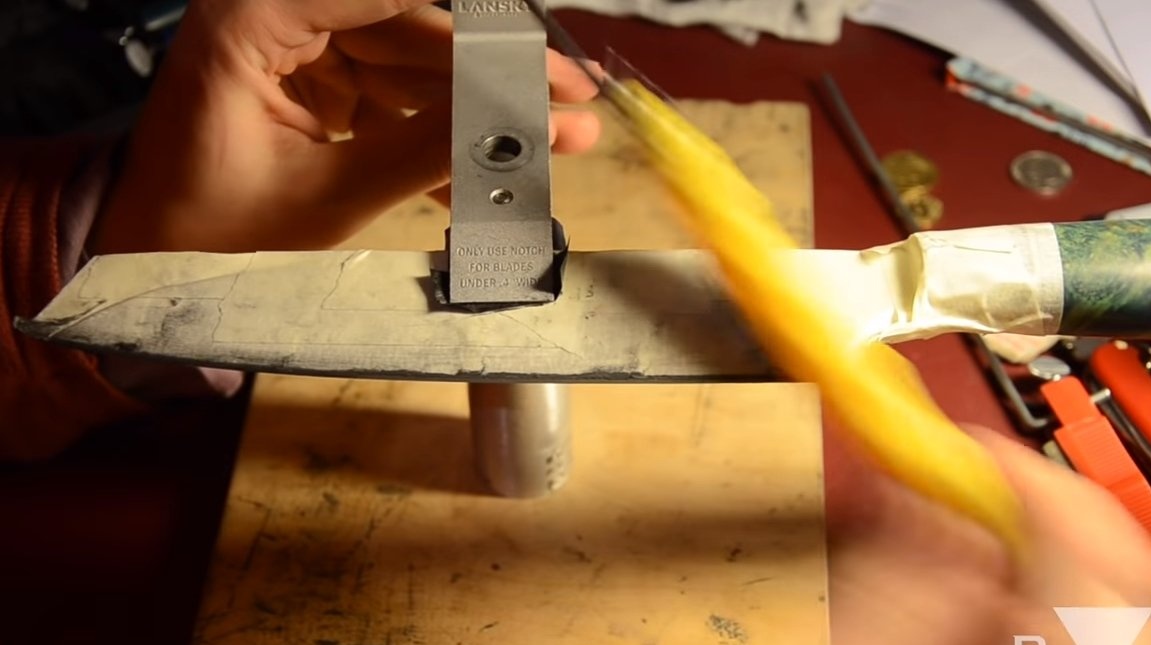
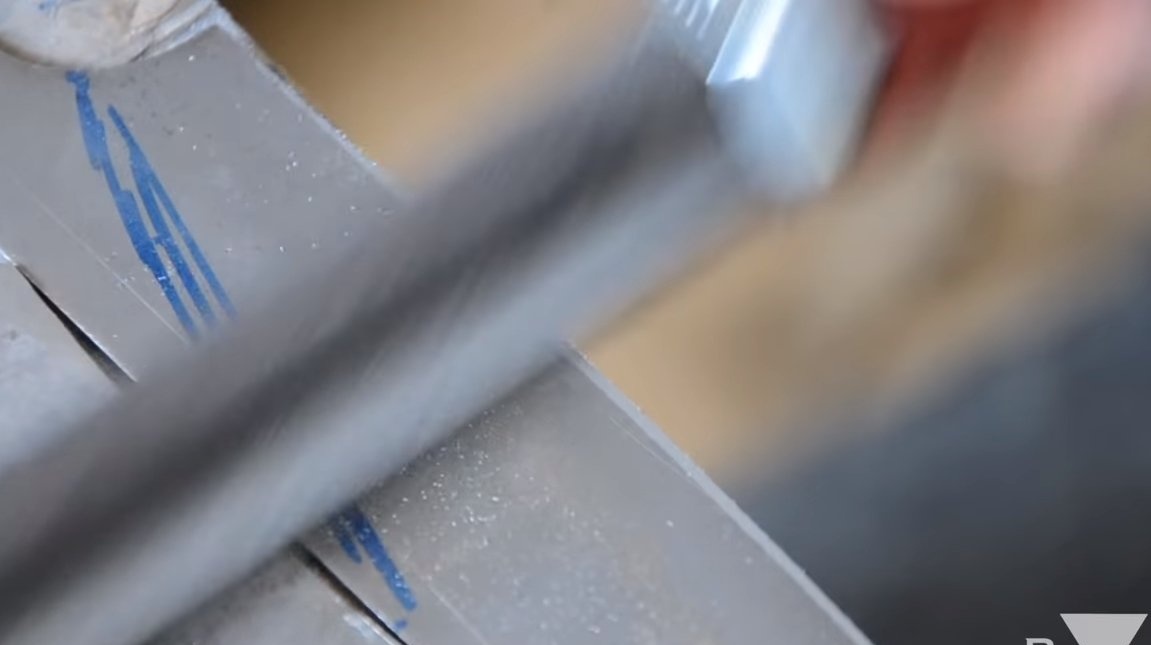
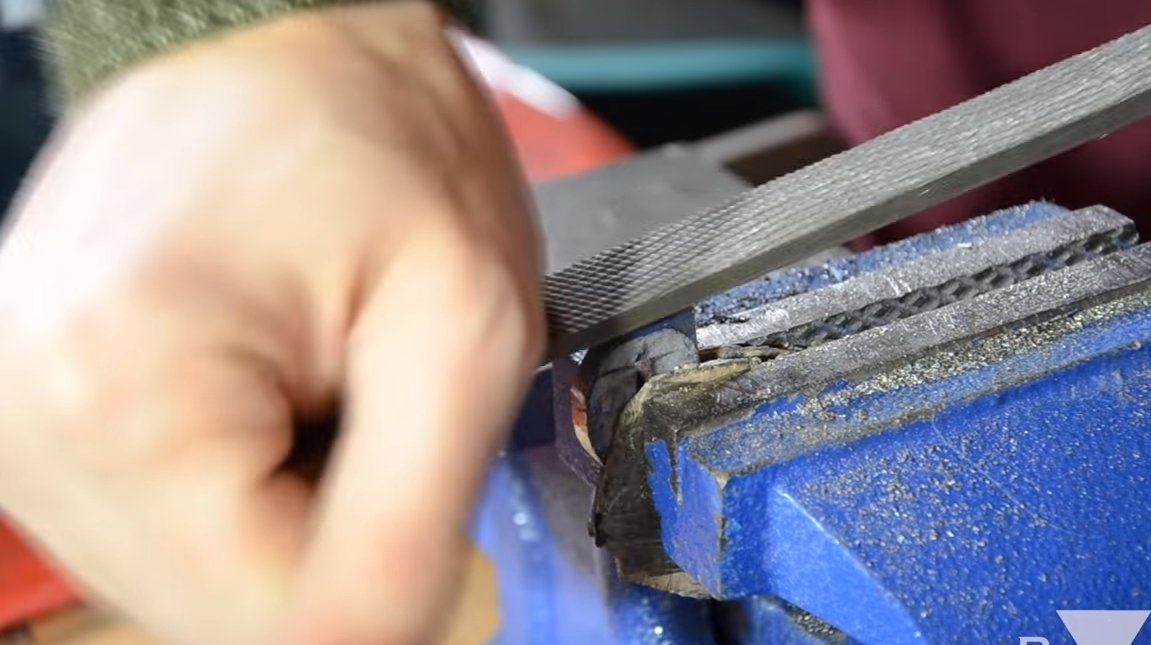
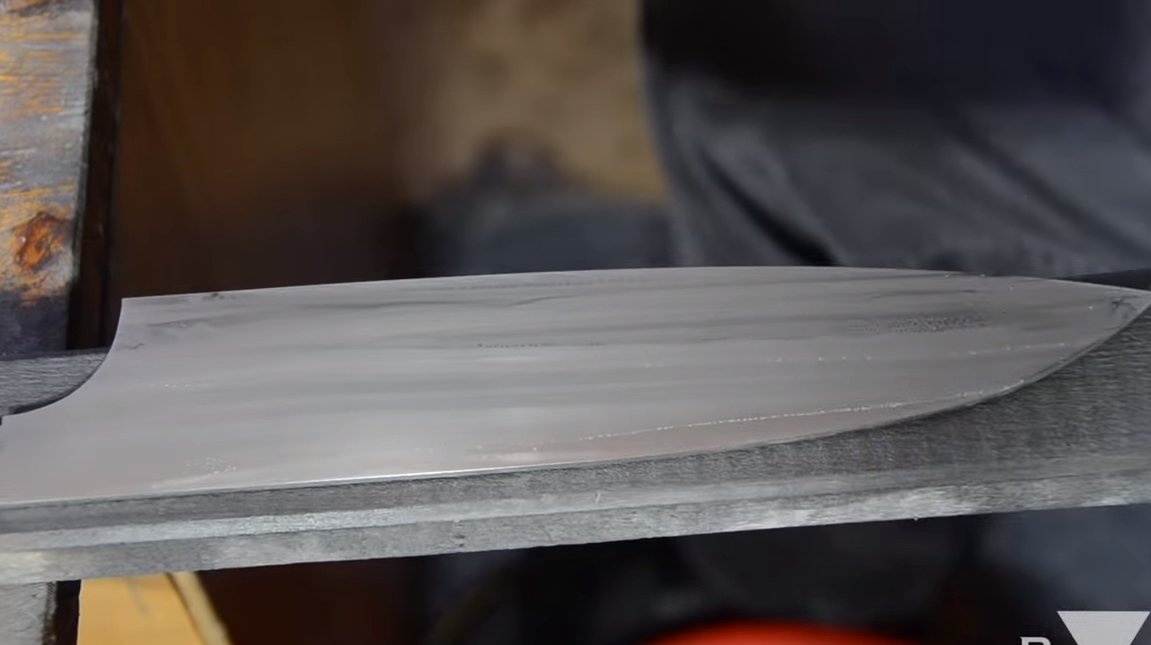
Step Two Descent and grinding
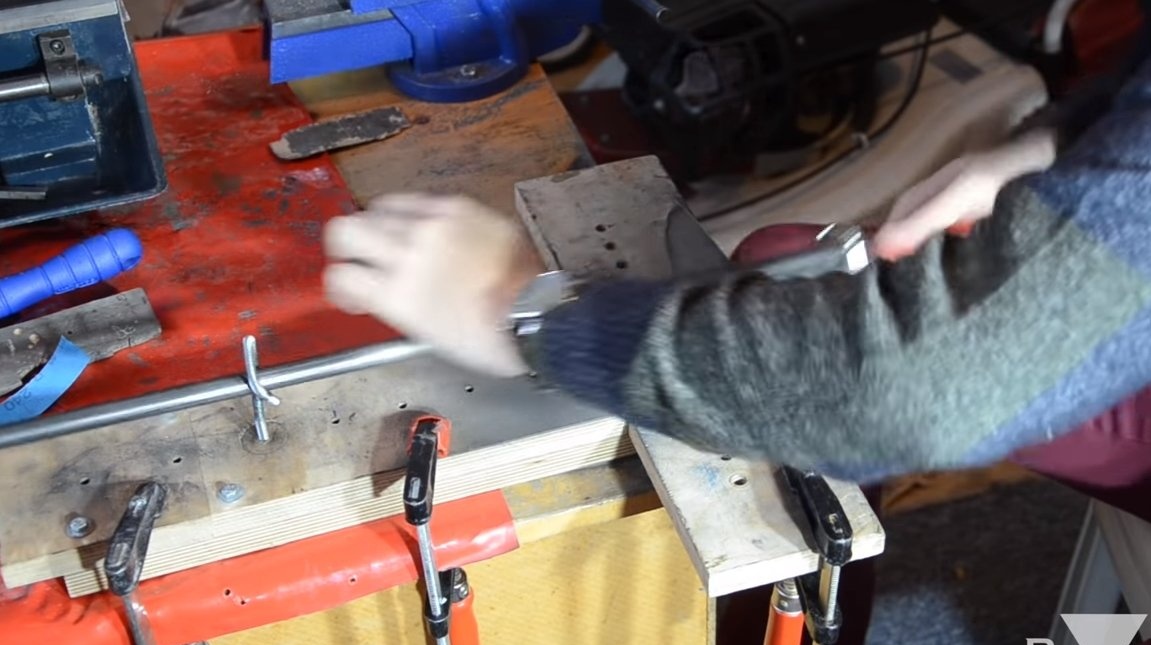
To form the slopes, the author used a simple home-made manual machine based on a file and a piece of pipe. The slopes should be symmetrical, so it is better to mark everything up first. To remove an equal amount of metal on both sides, draw a center line along the blade with a caliper. A little effort and downhill are ready. Do not make the blade thinner than 1 mm, as this will be bad for hardening.
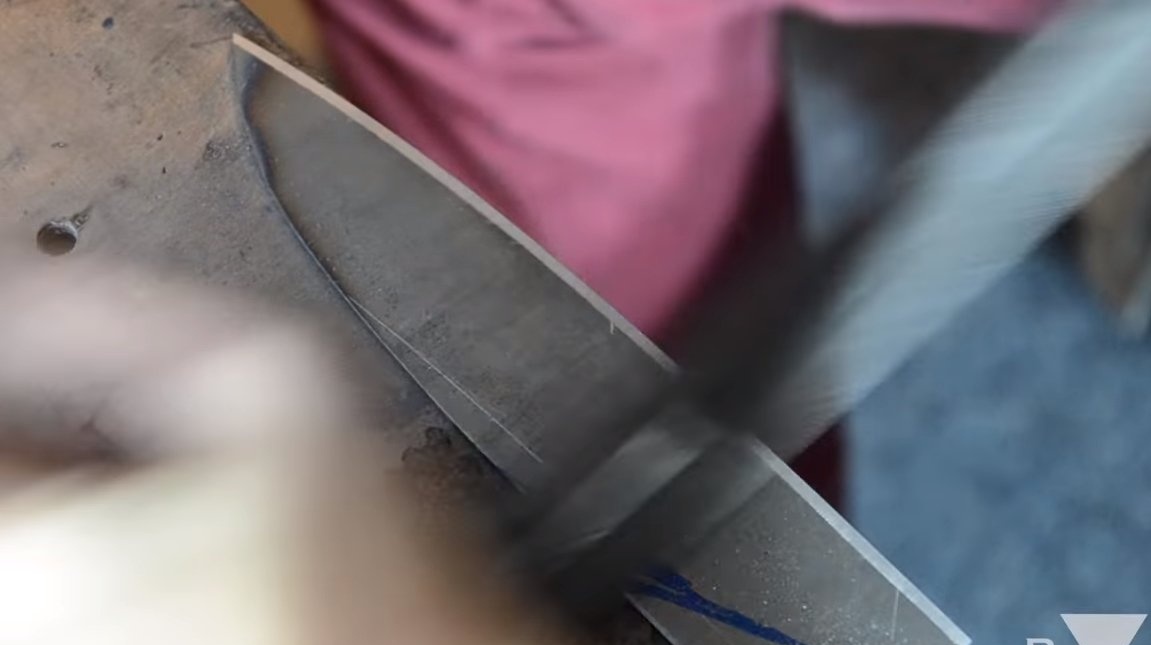
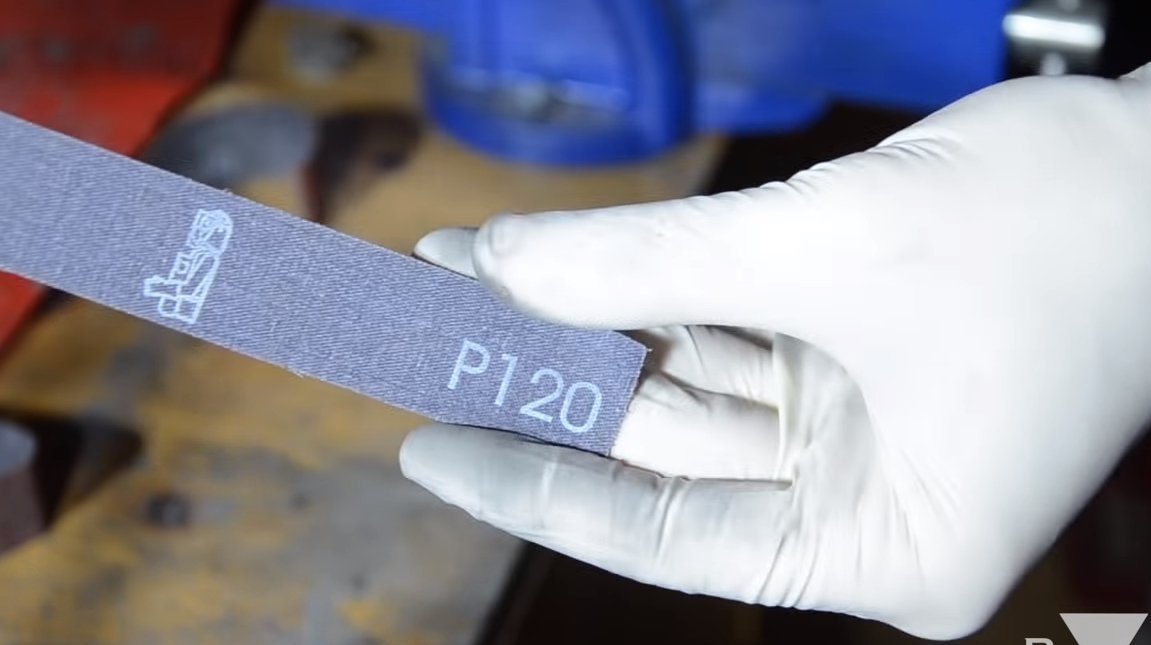
At the end, we grind the blade with 120 grit sandpaper to remove deep scratches.
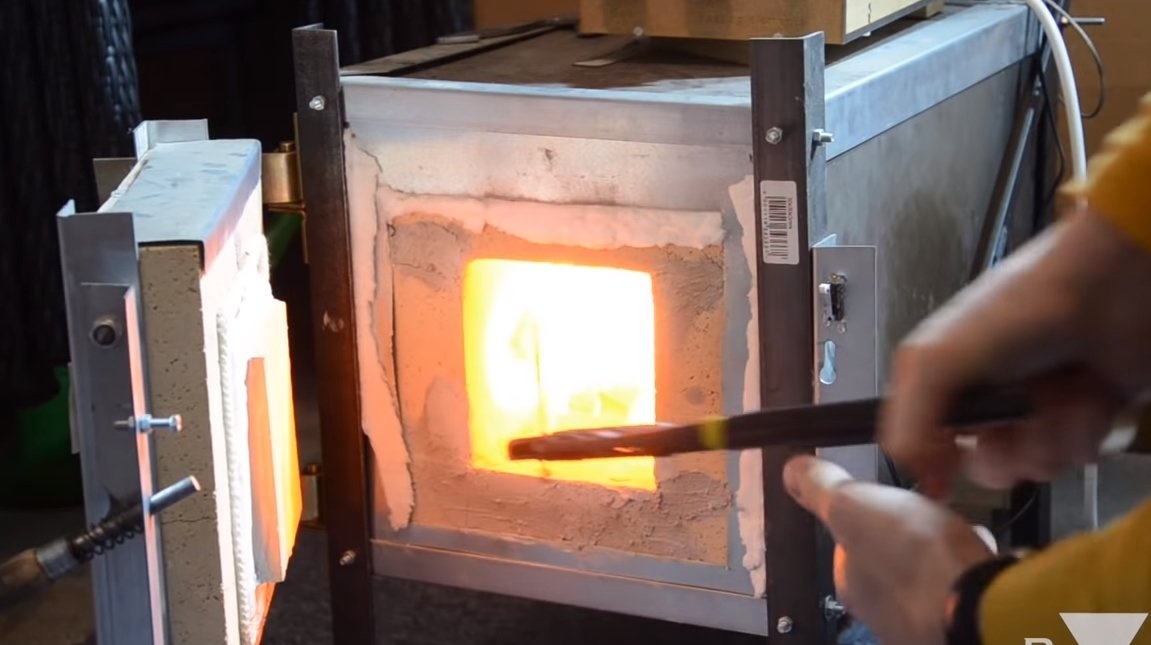
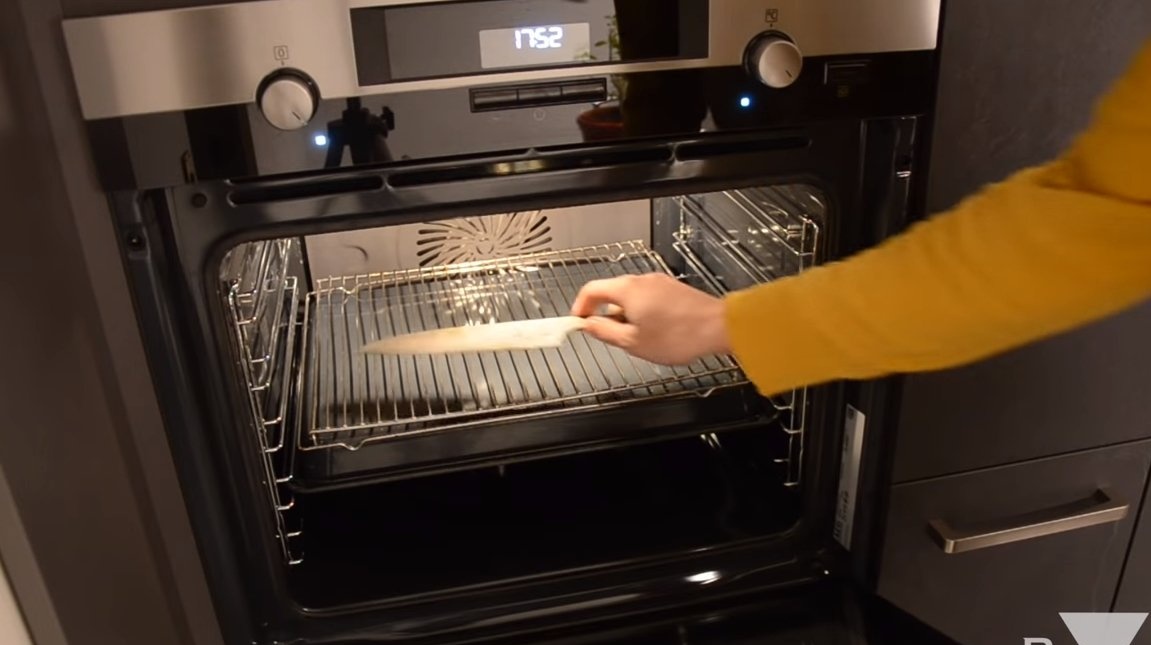
Step Three Heat treatment
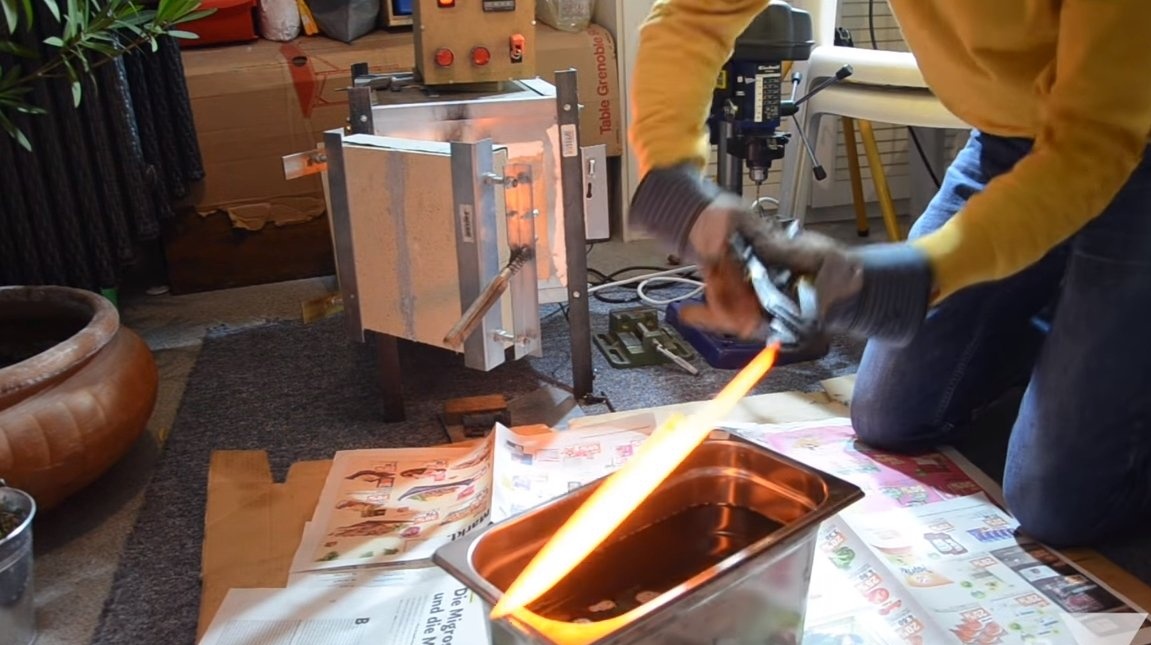
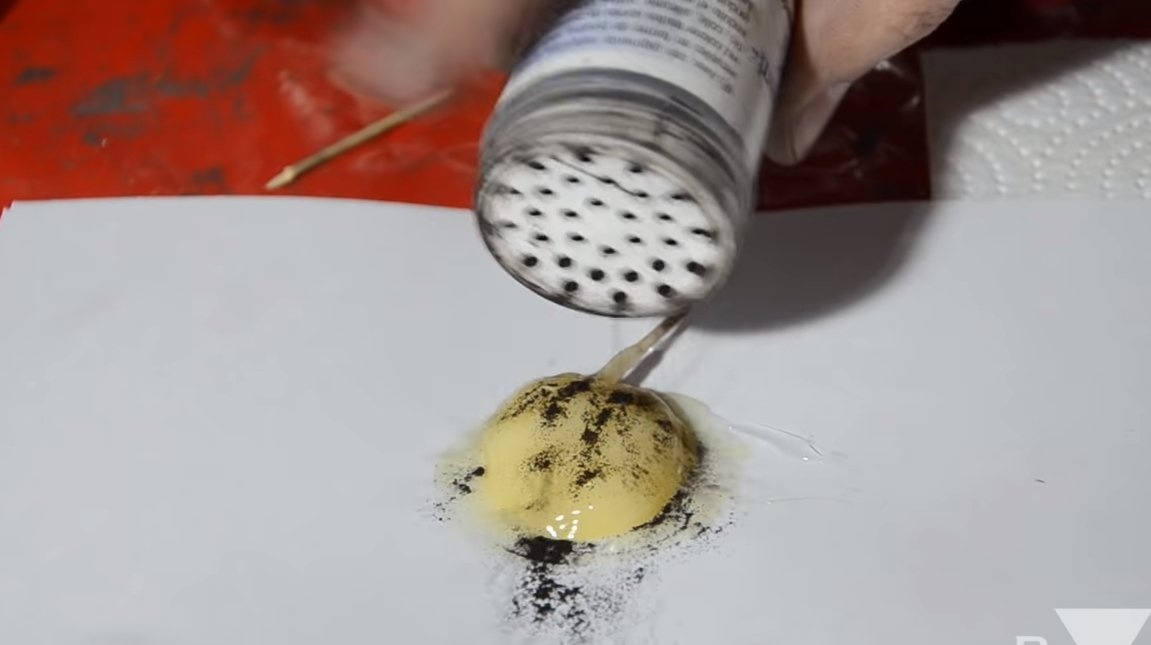
The knife needs to be tempered, then it can cut for a long time, and will not be dull when cutting even hard materials. We heat the blade to a yellow glow and gently lower it into oil.
With hardening finished, clean the blade and let it go in the oven. During the tempering process, a straw-colored oxide film should appear on the blade.In more detail about temperature and time of vacation, read in accordance with the grade of steel.
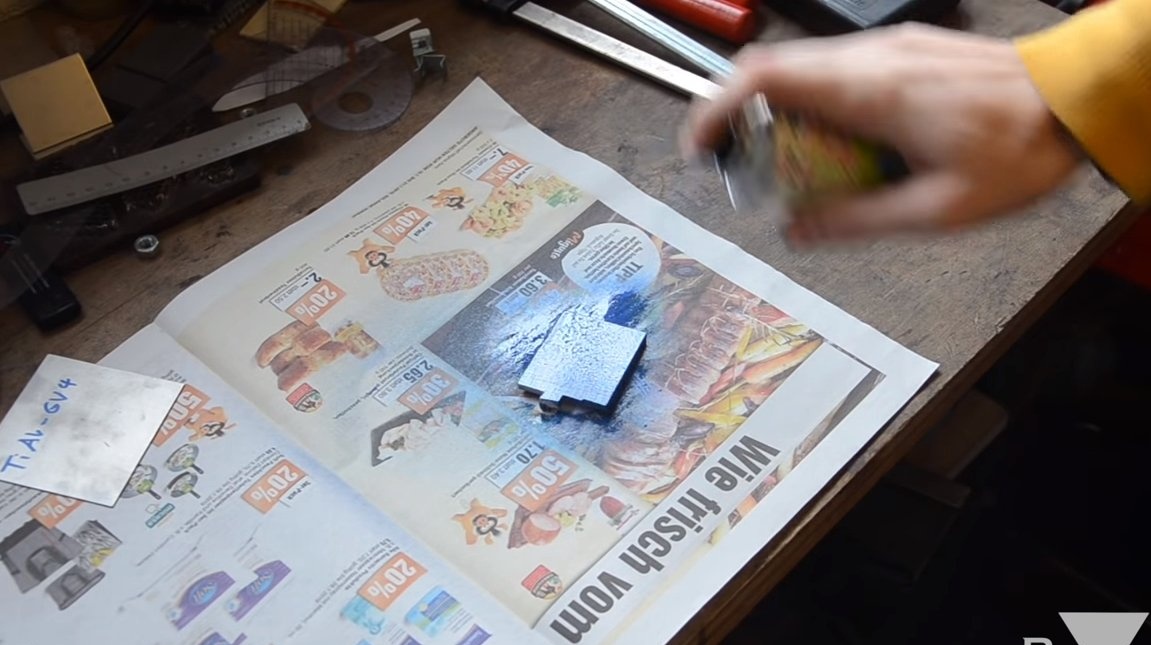
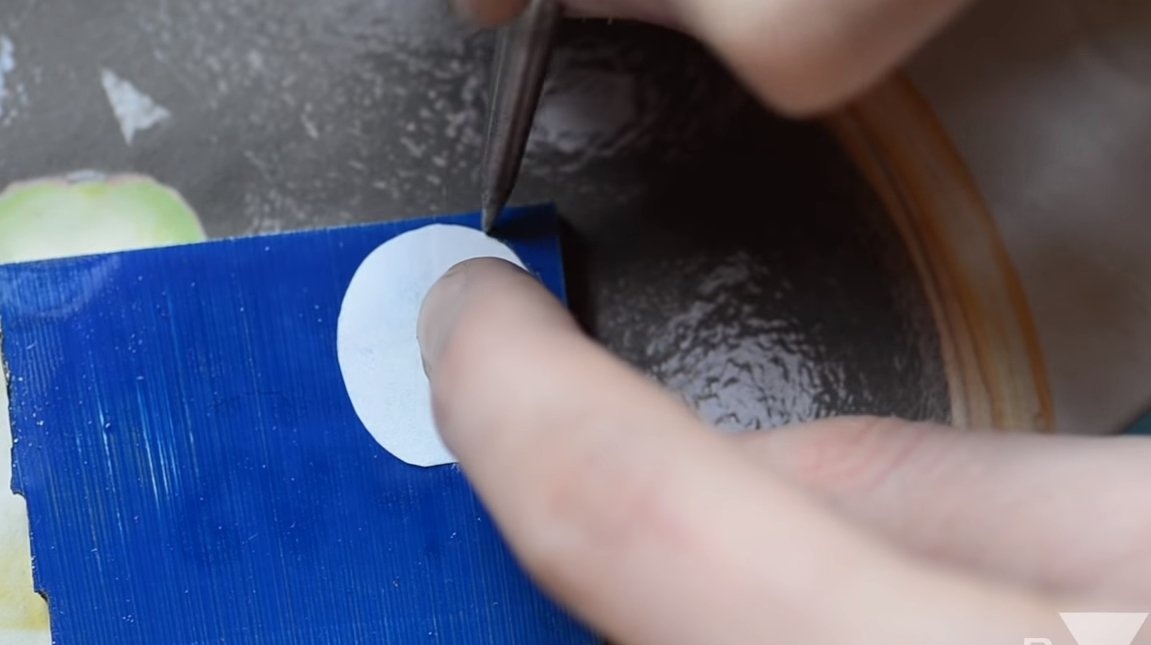
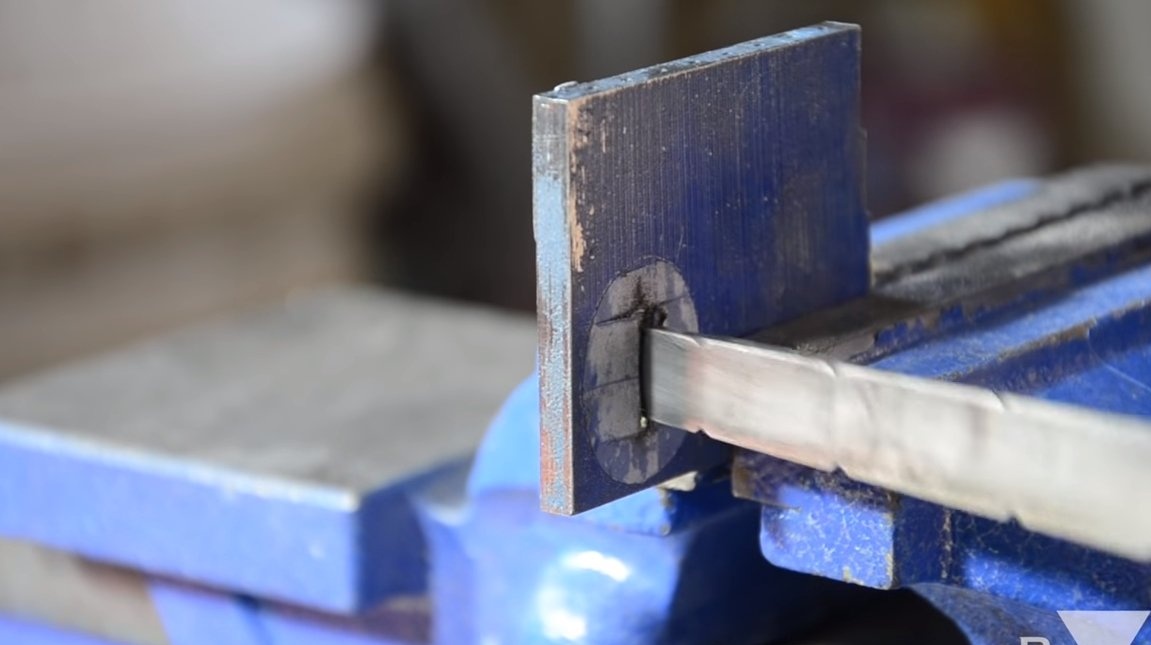
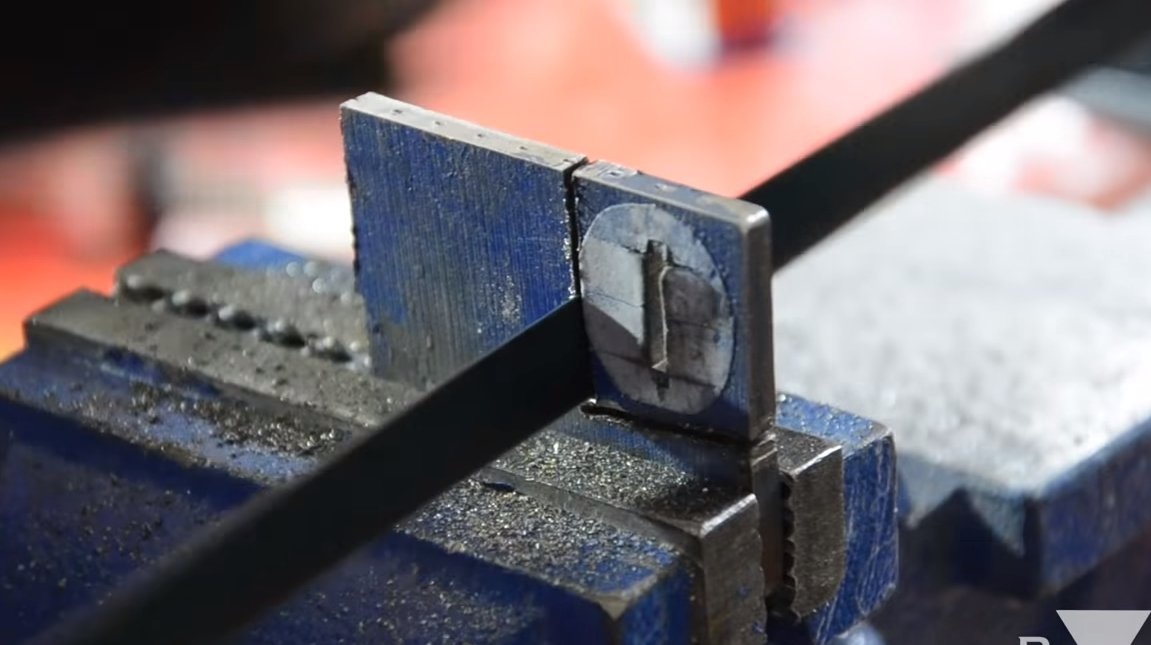
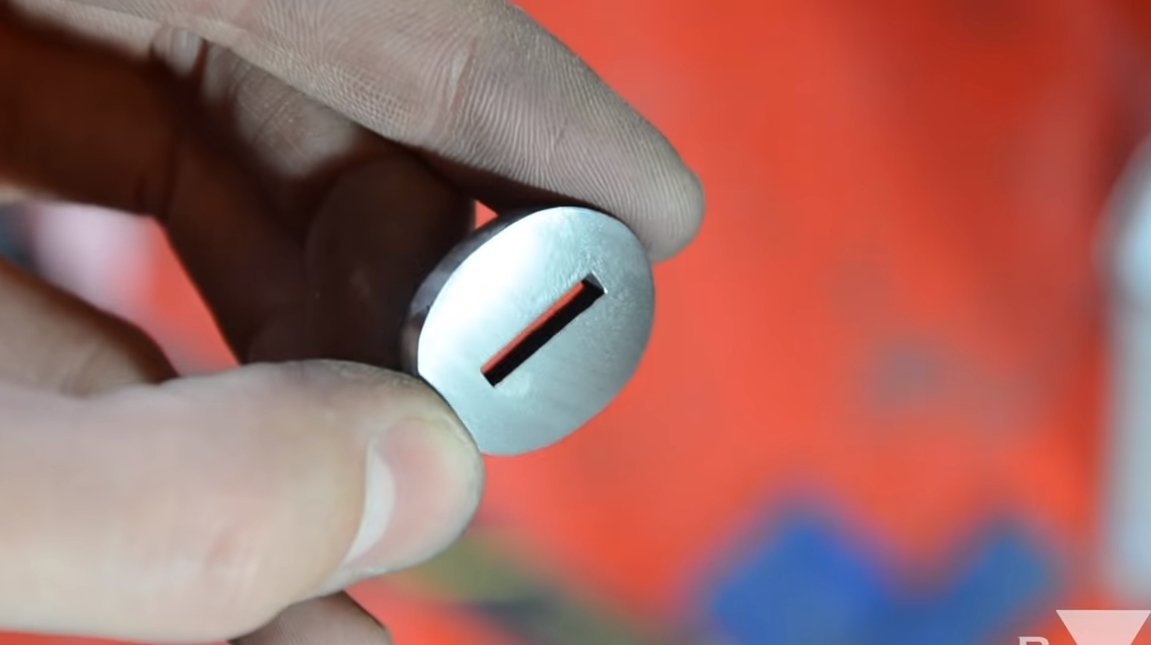
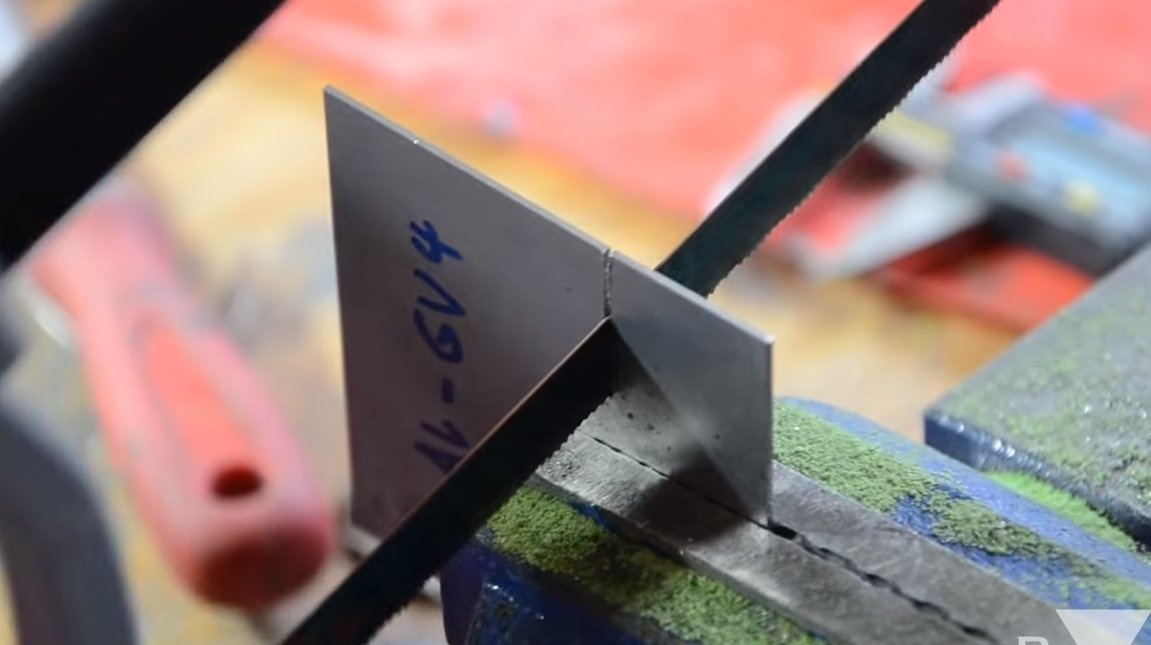
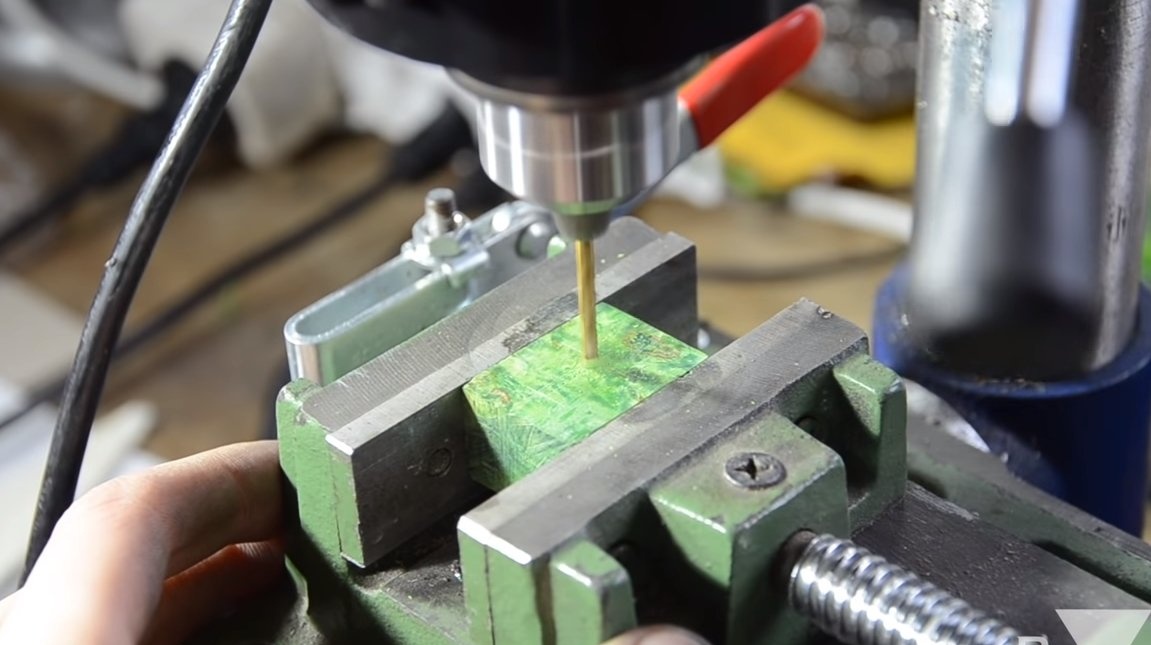
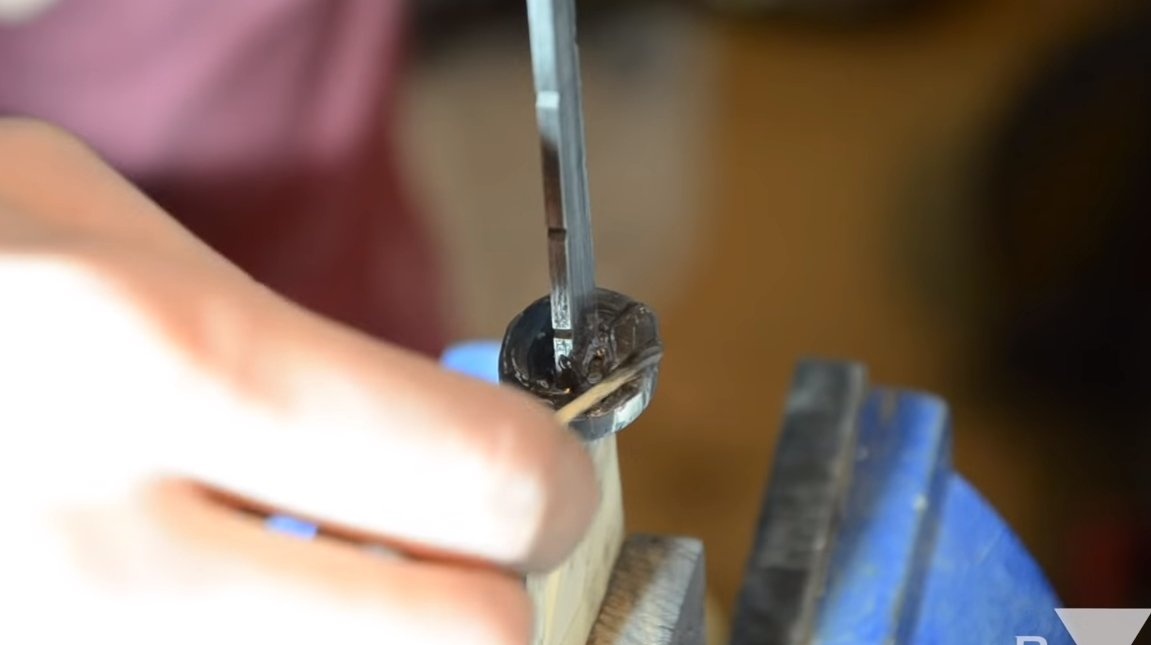
Step Four Bolster
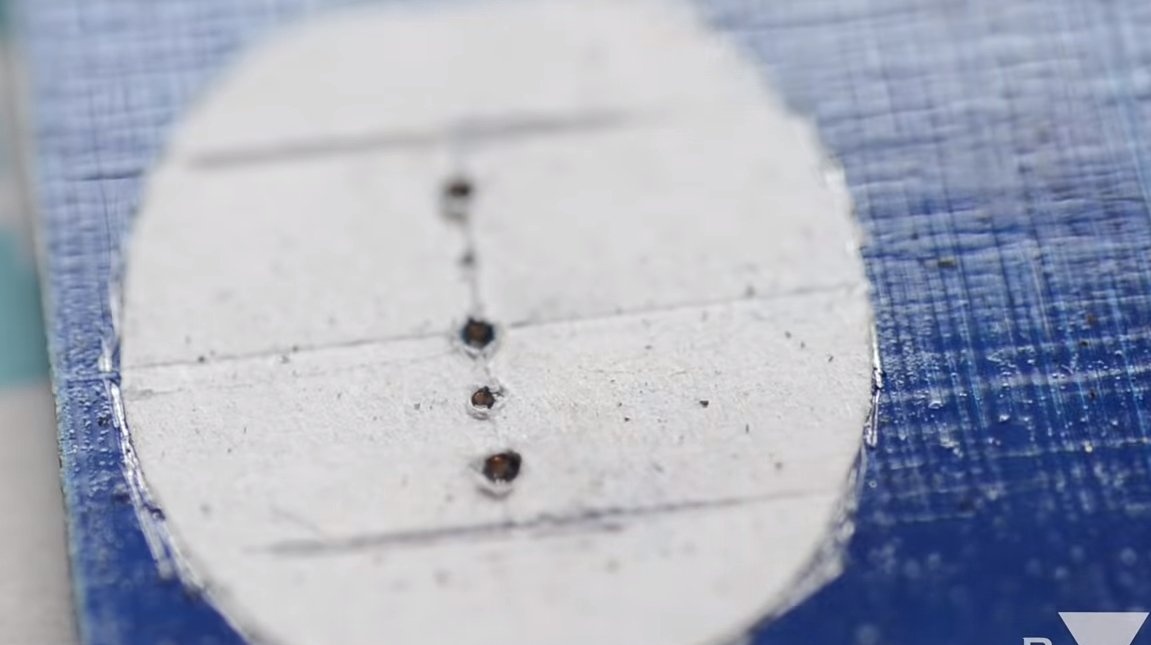
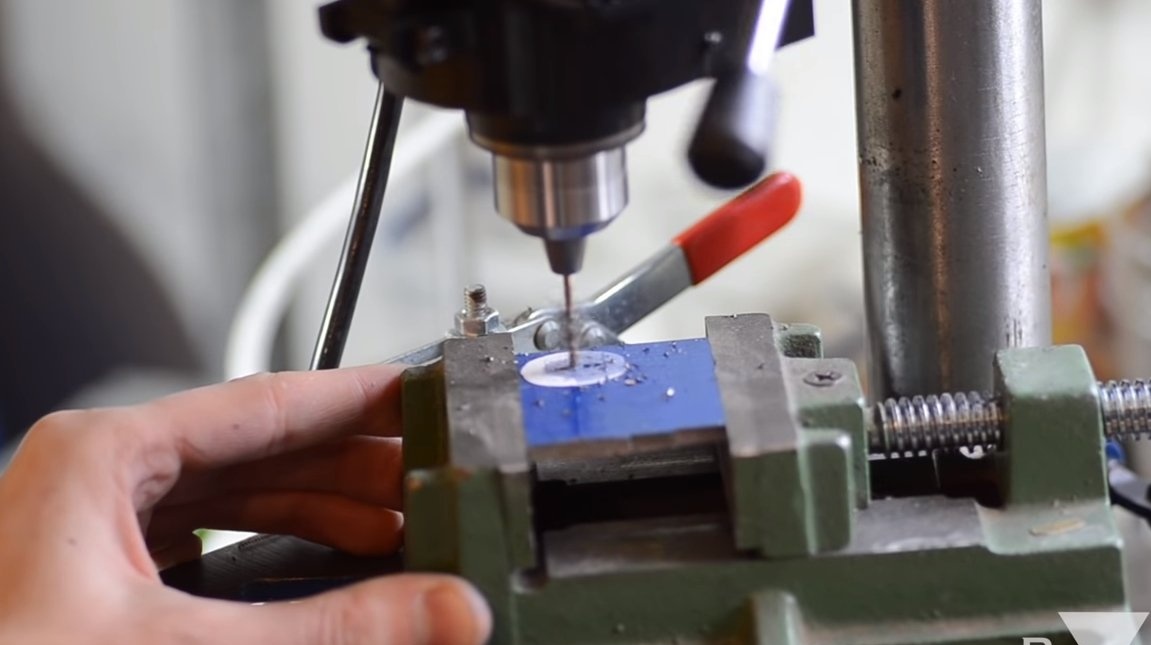
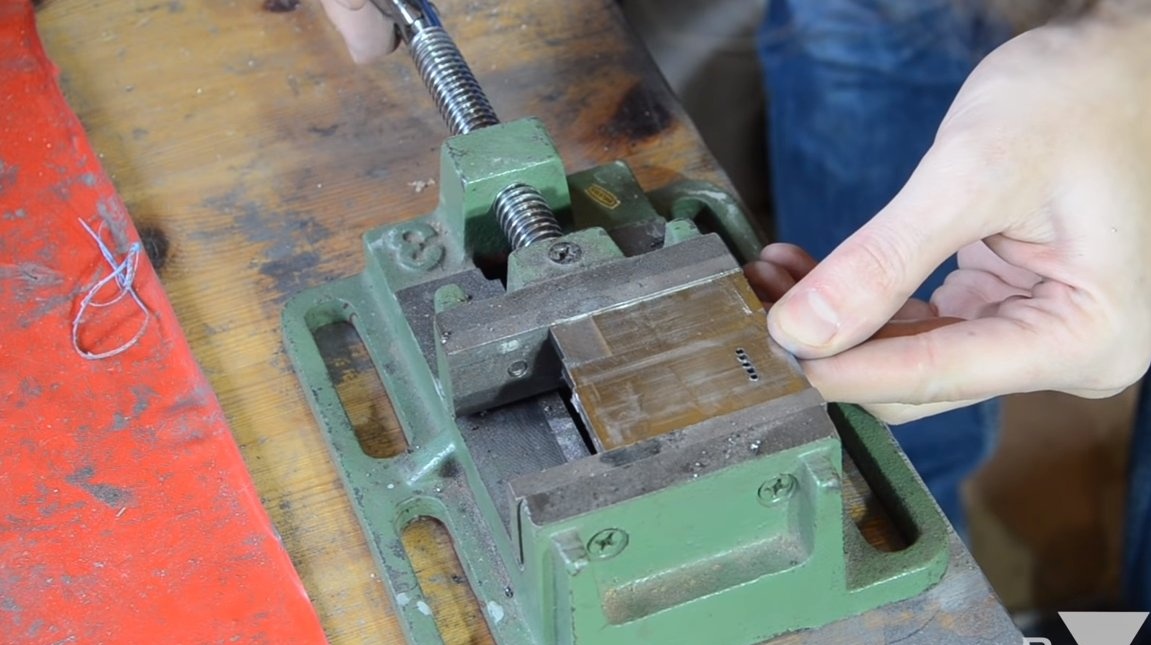
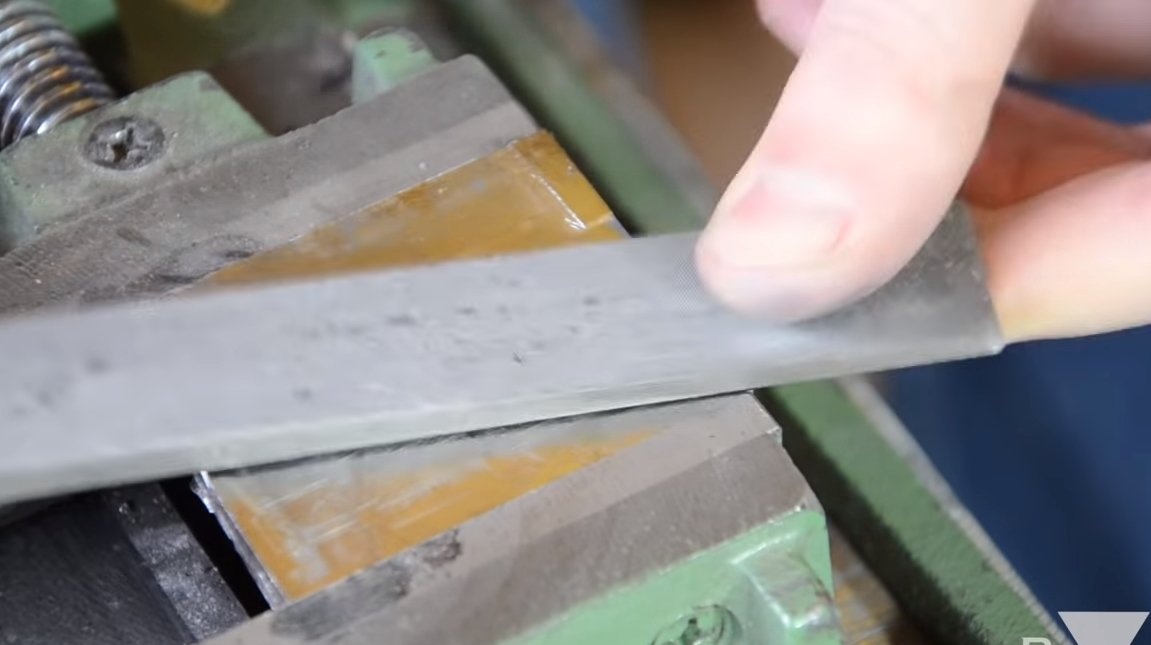
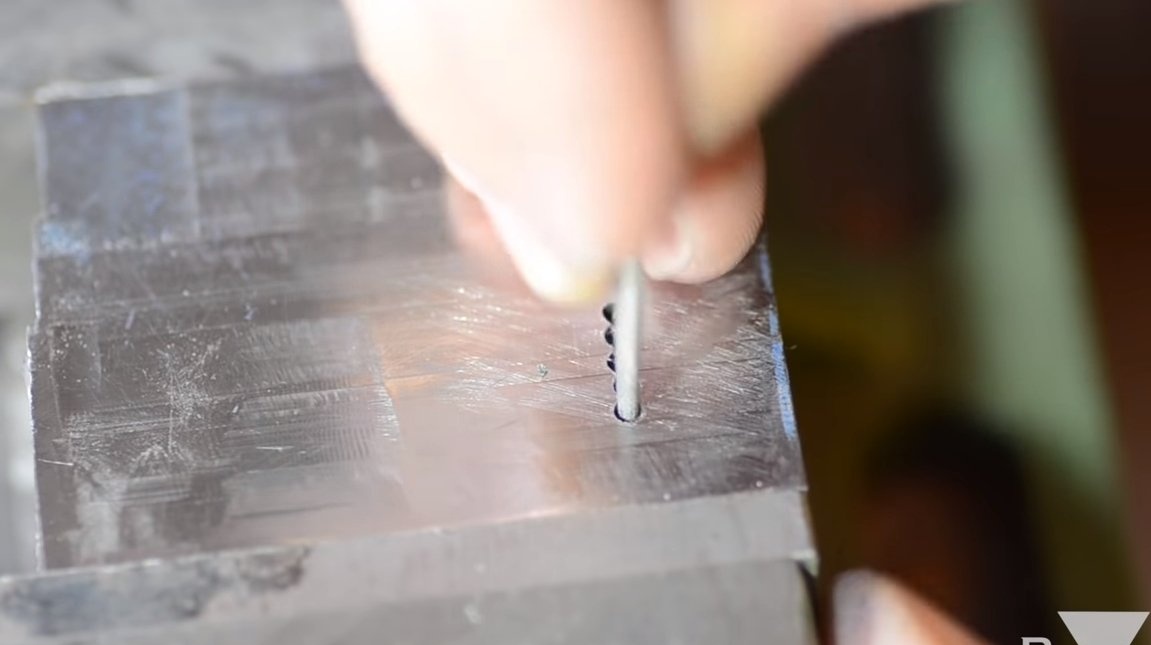
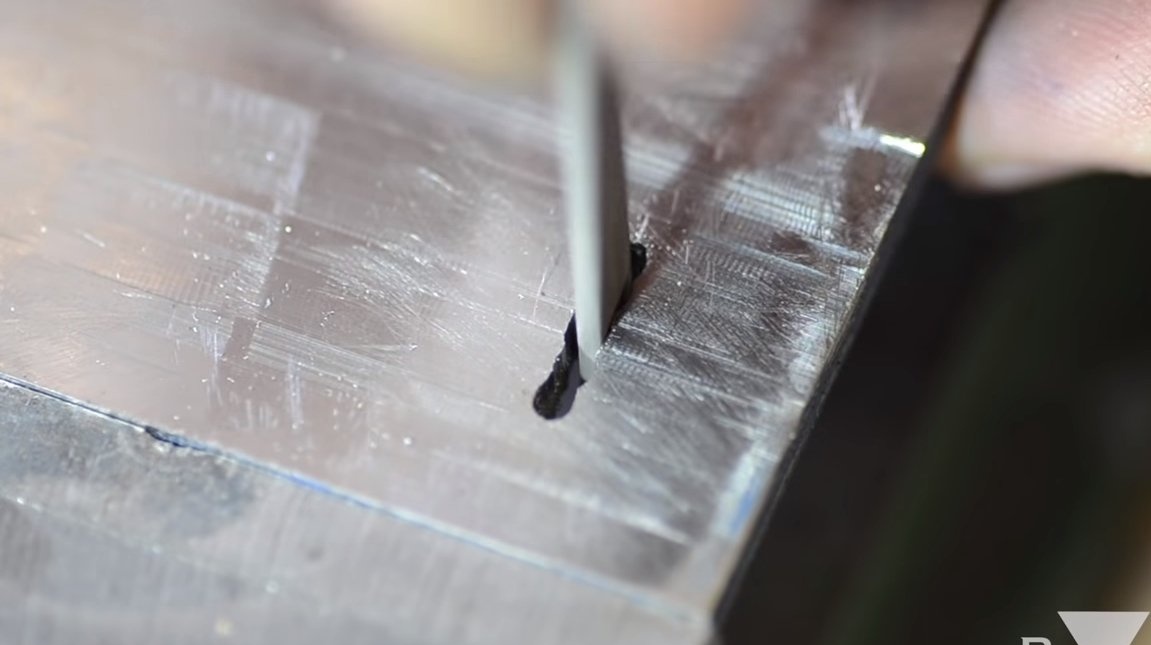
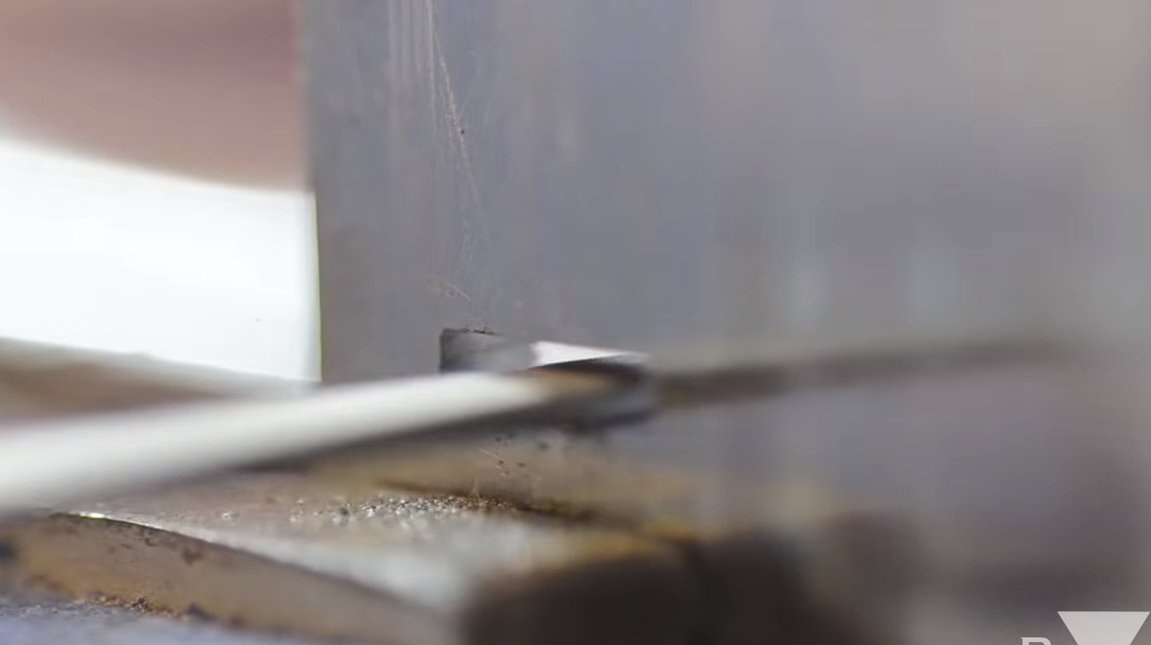
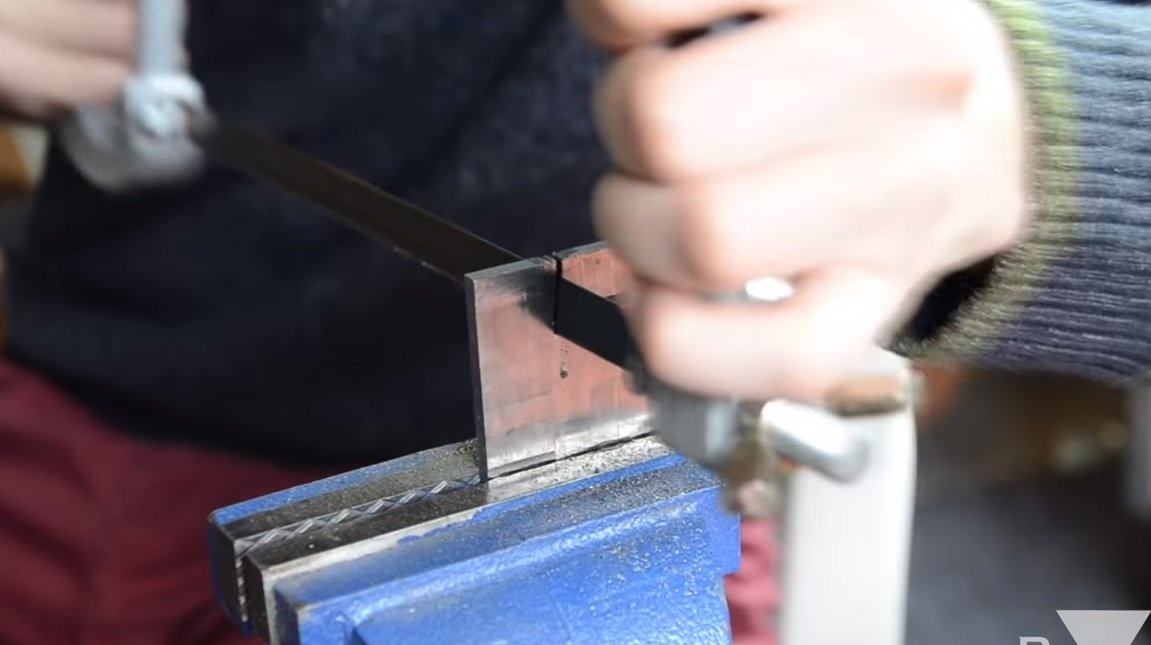
As conceived by the author, the knife bolster is made of titanium. We transfer the template to the workpiece and drill a series of holes, which then need to be bored to fit the shape of the knife shank. Titanium is a strong ductile metal, so when drilling we must use grease. The author bores a crevice hole with the help of files.
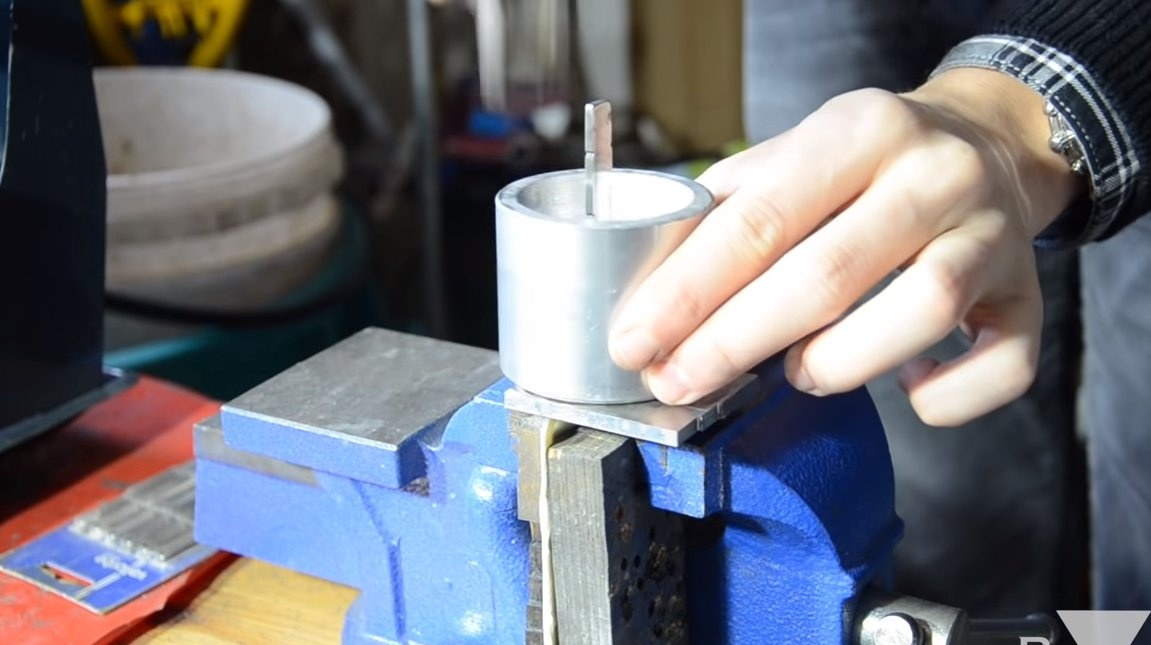
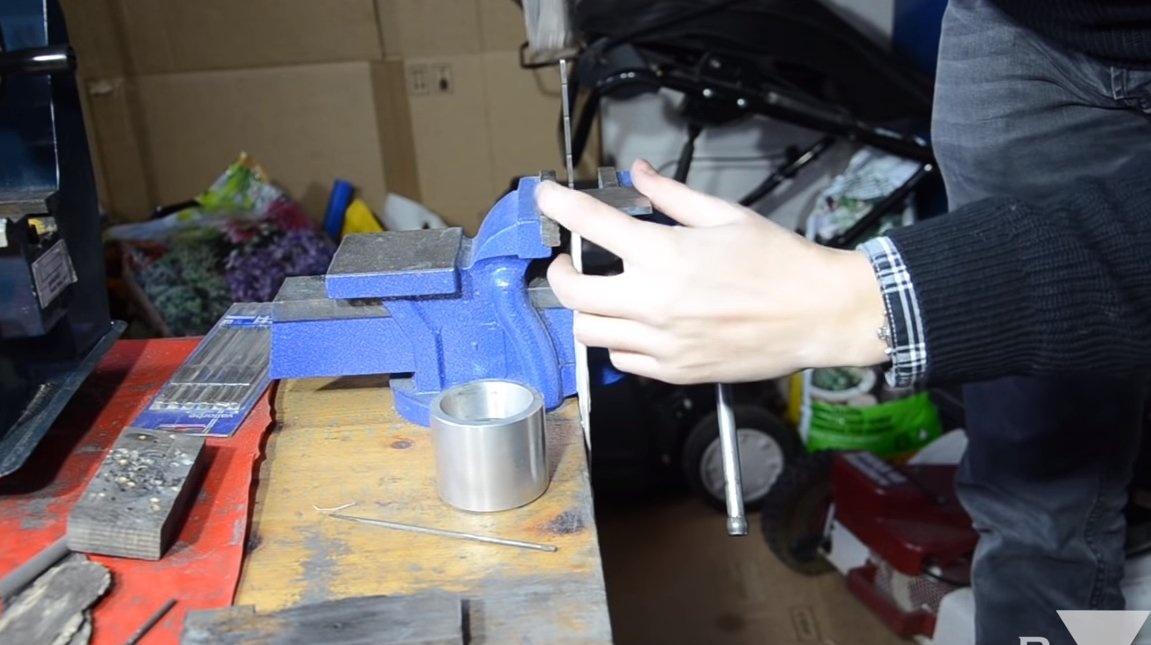
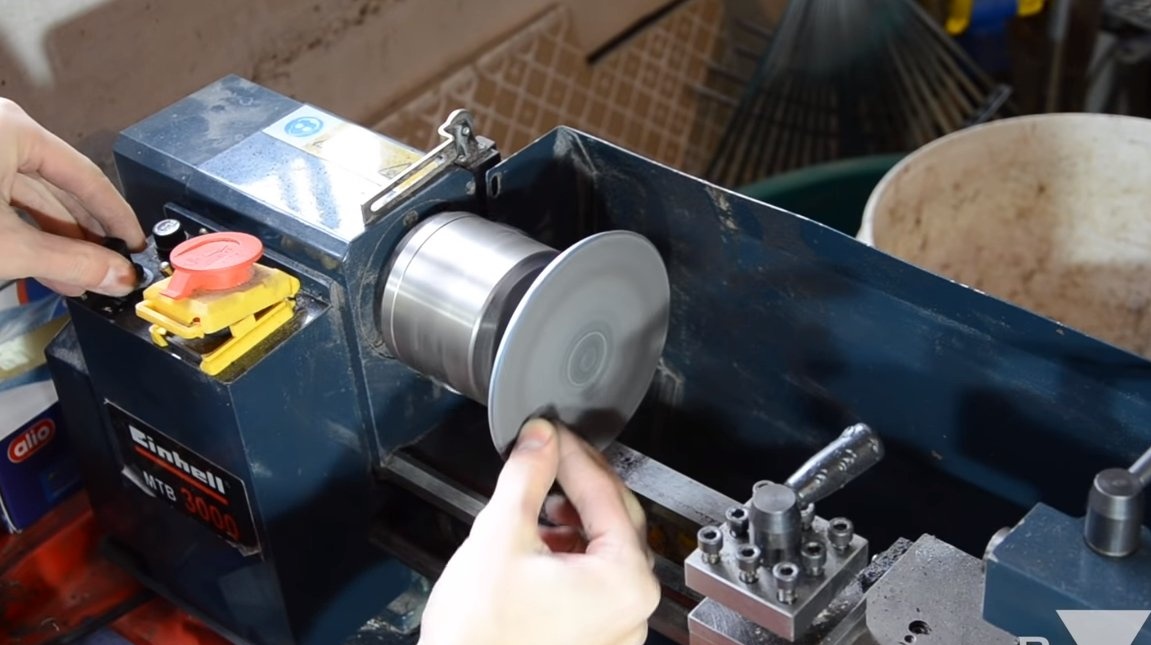
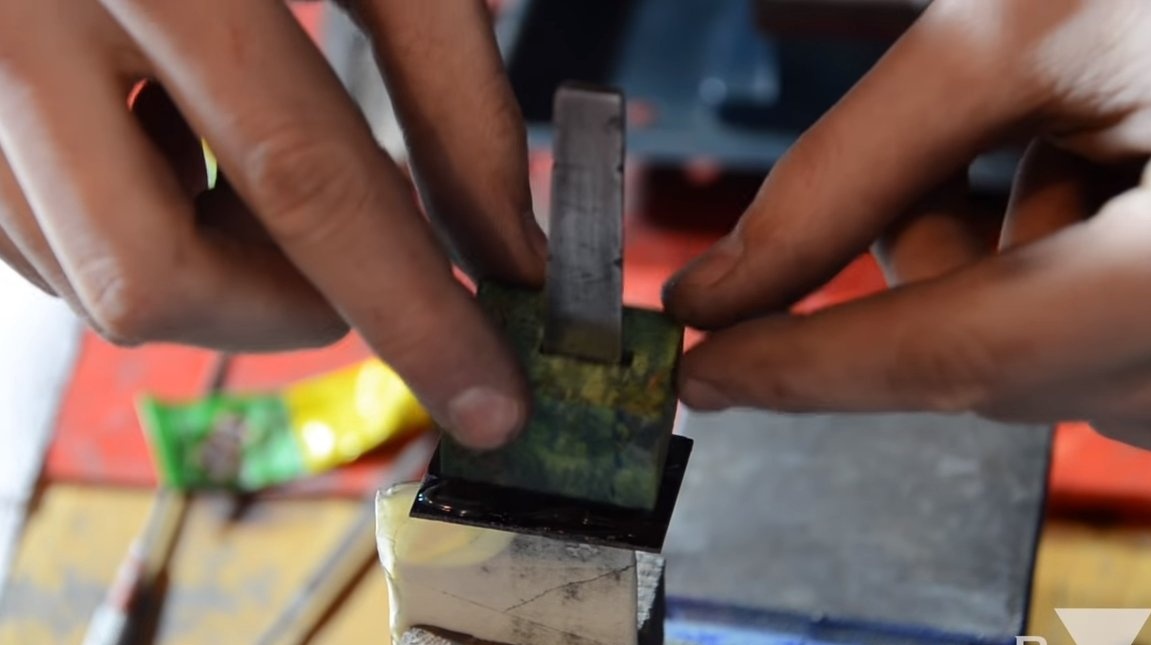
The final fit of the bolster is done by pressing it onto the shank of the knife. At the end, the bolster is cut, sanded and polished.


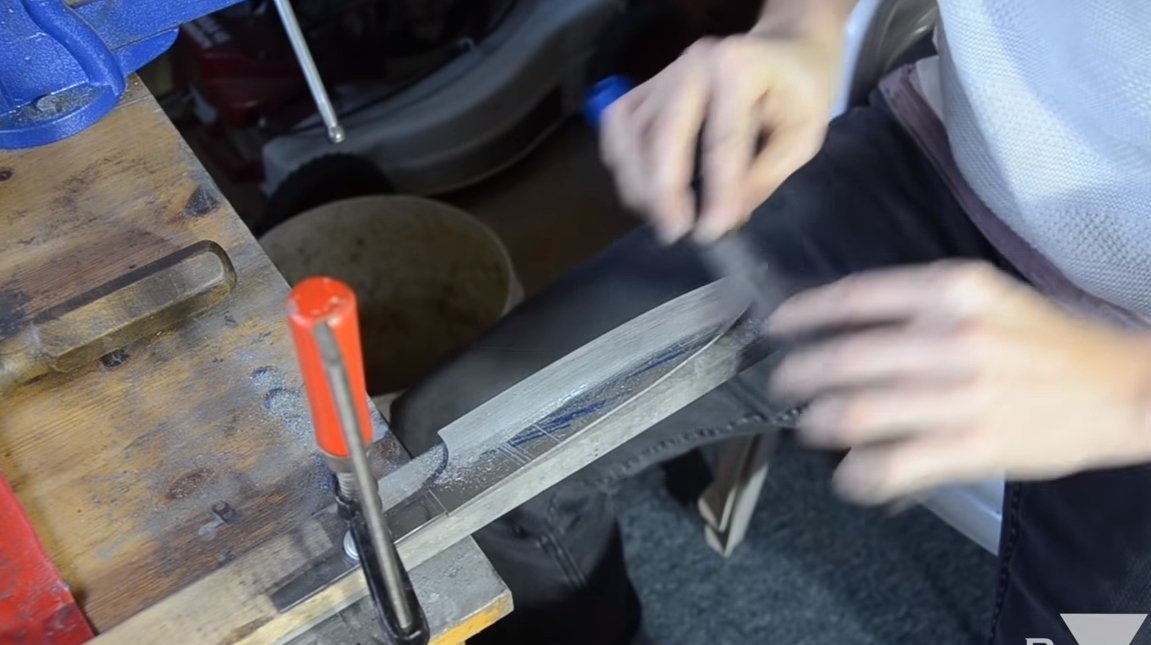
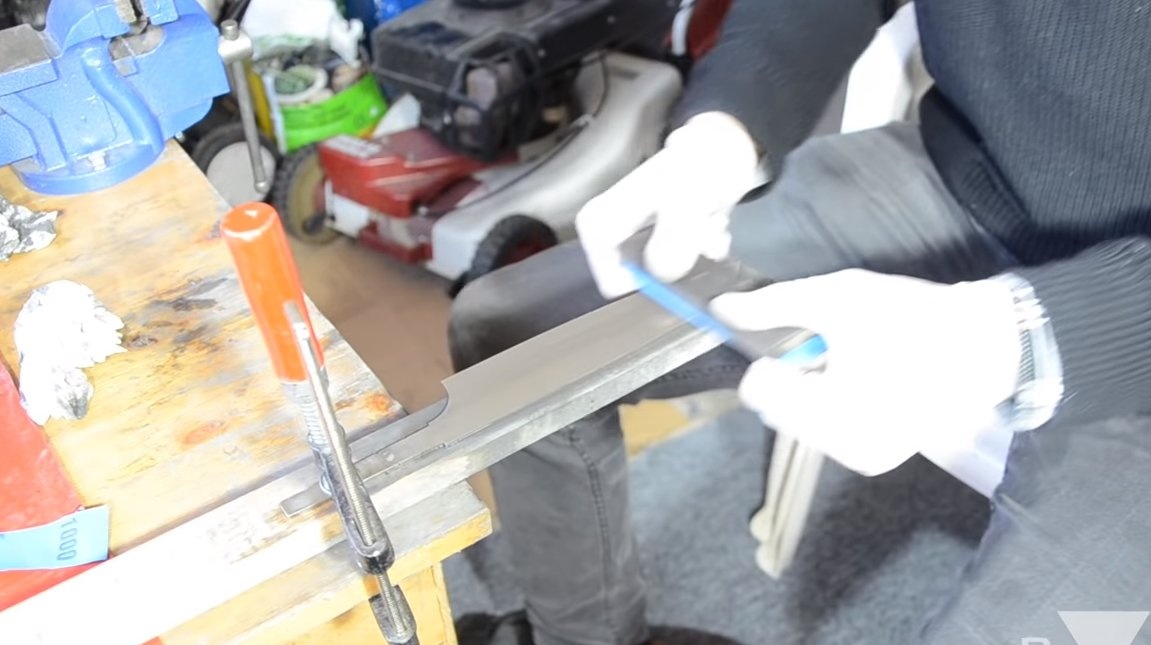
Step Five Polishing
The blade is made of carbon stainless steel, so it makes sense to polish it, the steel will not rust. To begin with, we arm ourselves with fine sandpaper and work using water, so grinding is more efficient. As a result, if you polish the blade on a polishing machine, you can bring the metal to a mirror shine.

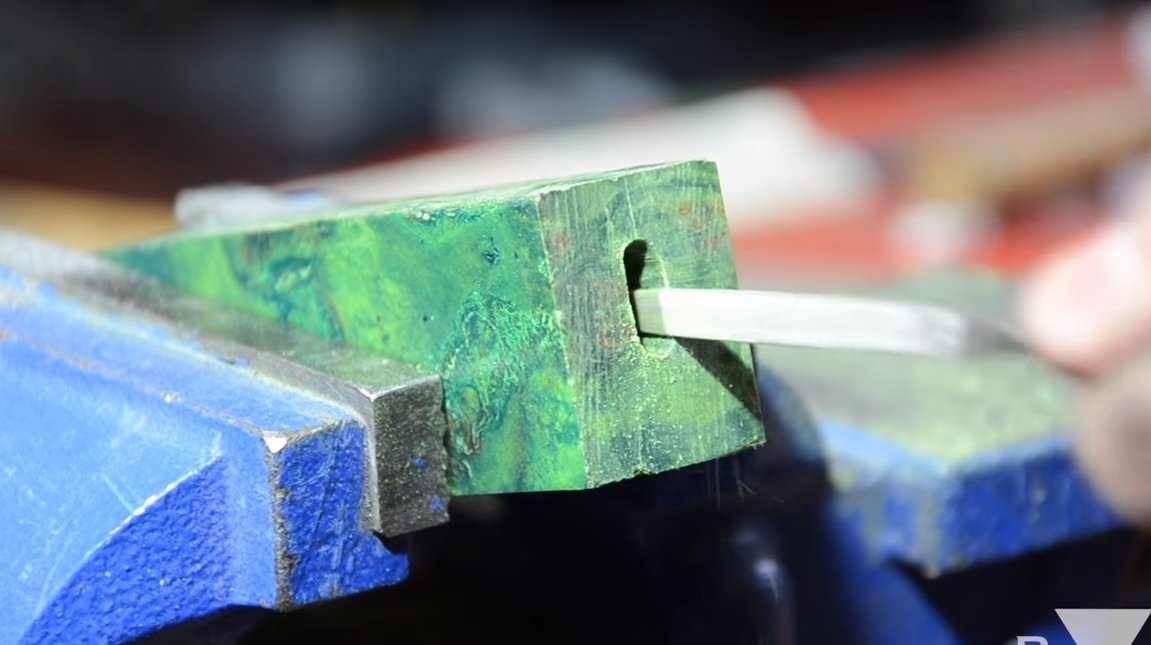
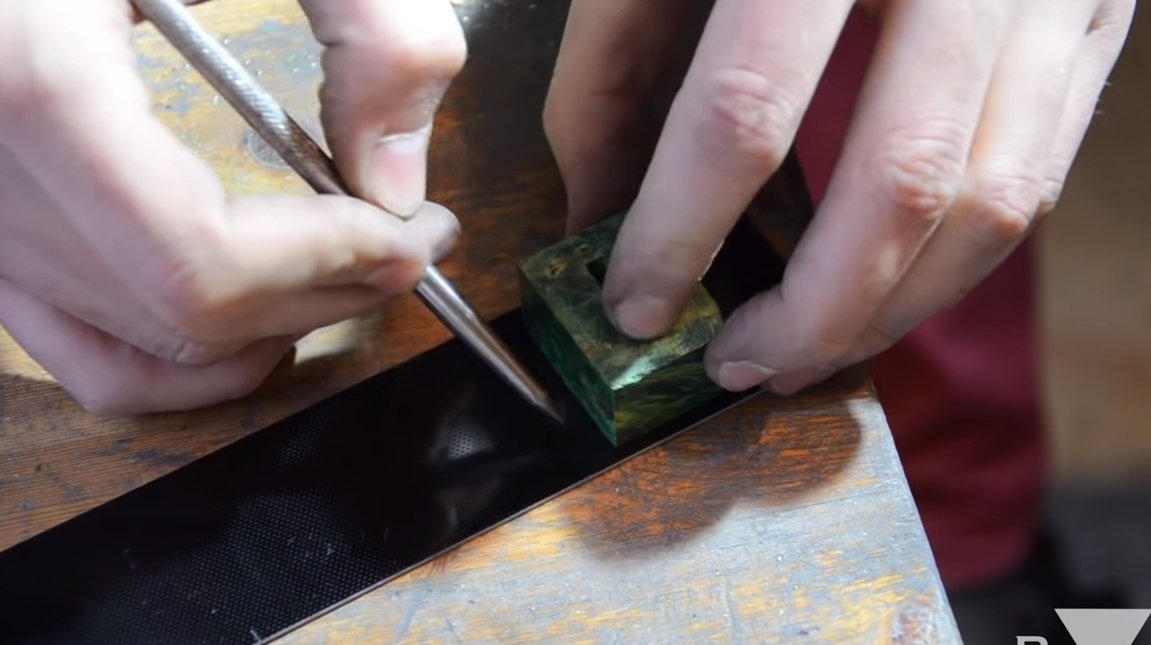
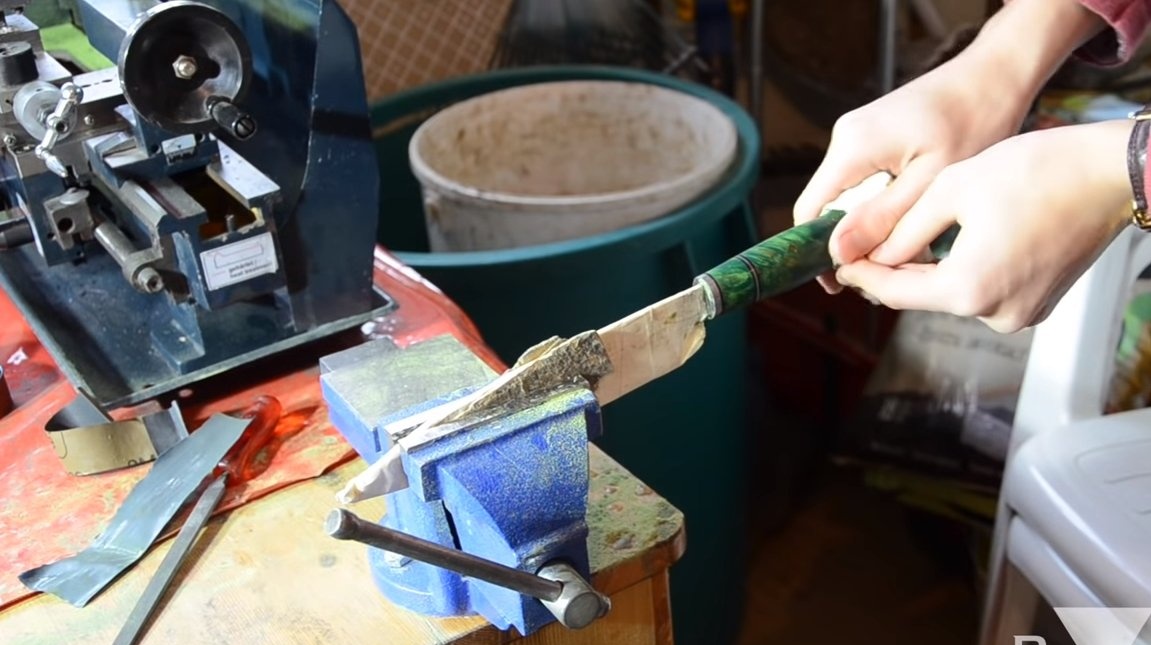
Step Six Handle assembly
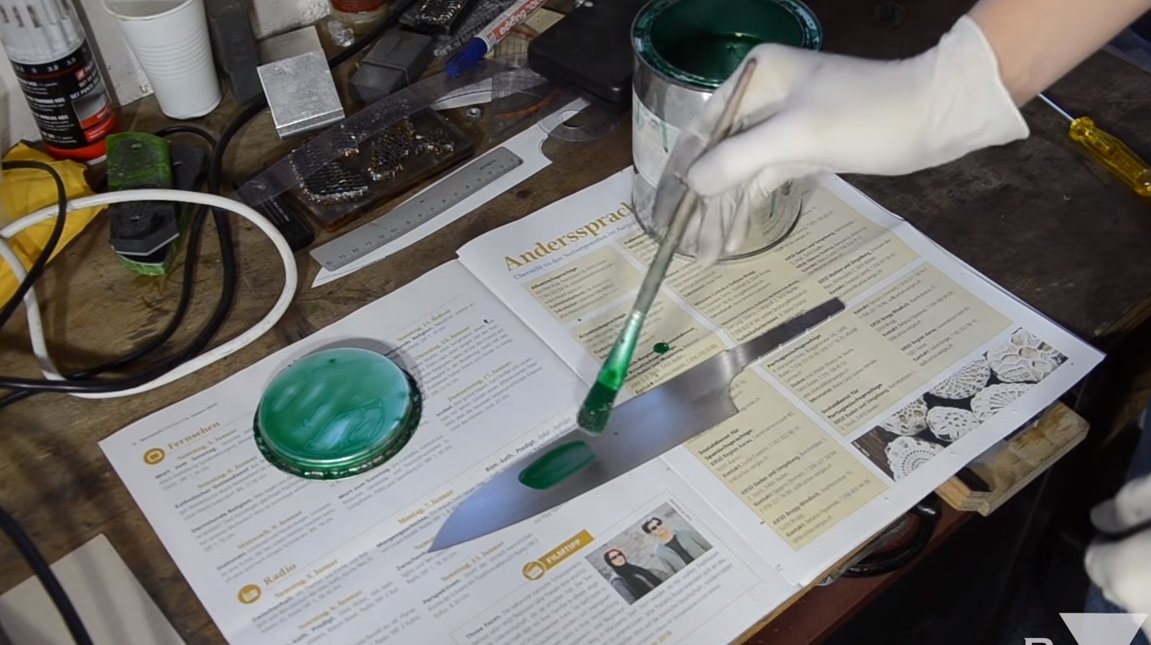
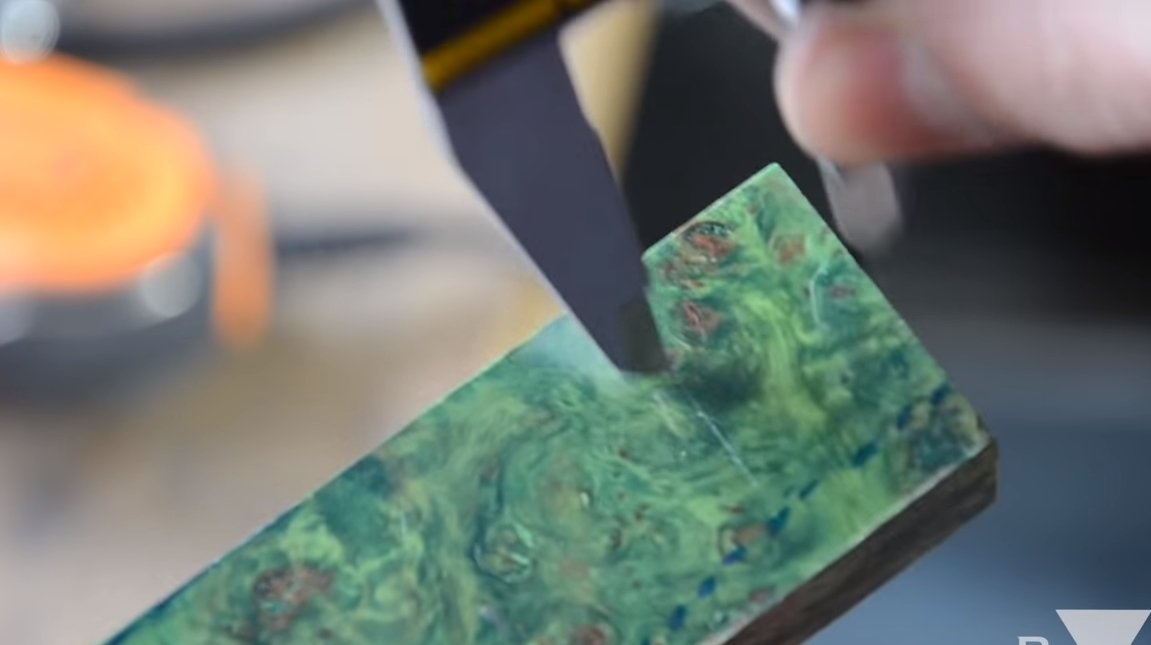
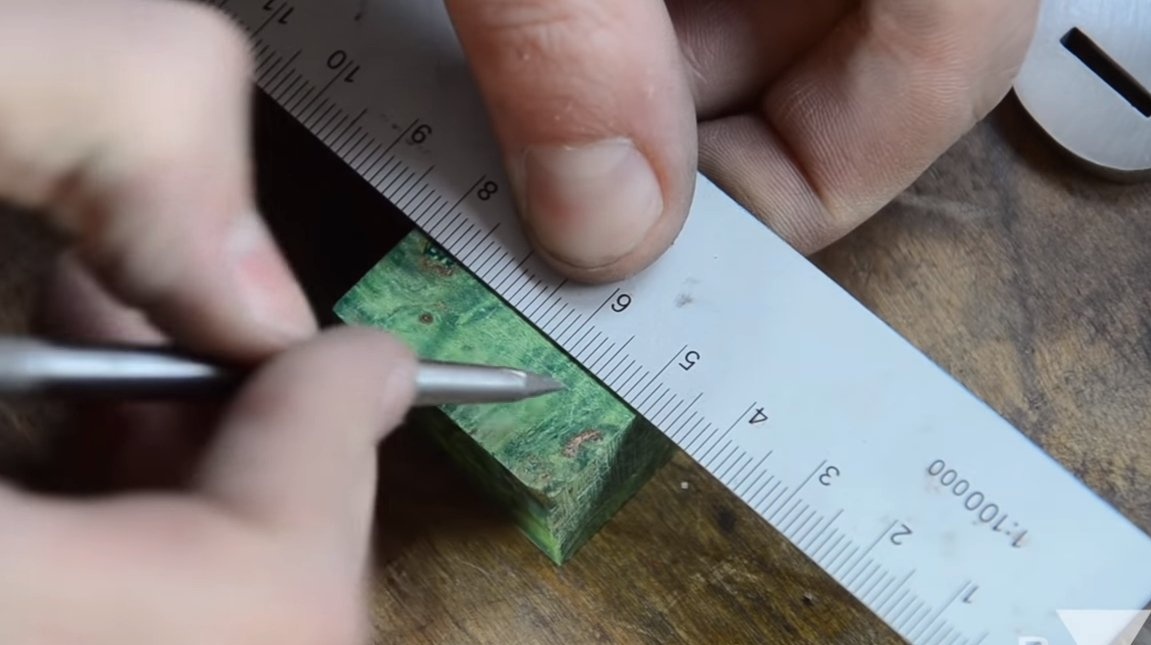
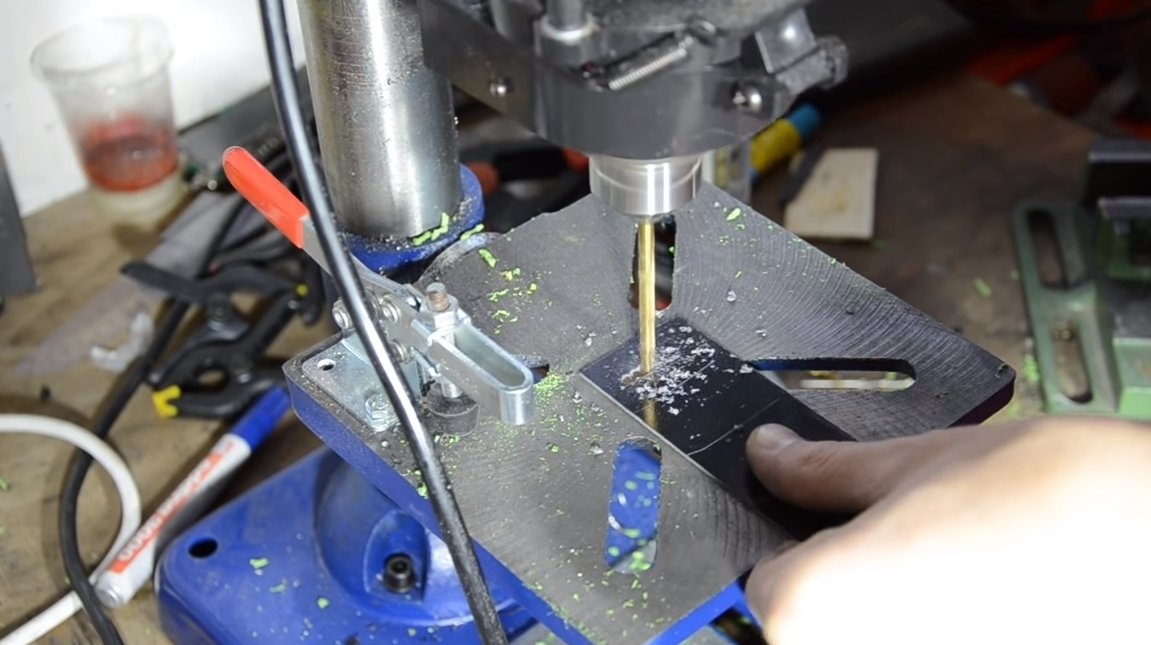
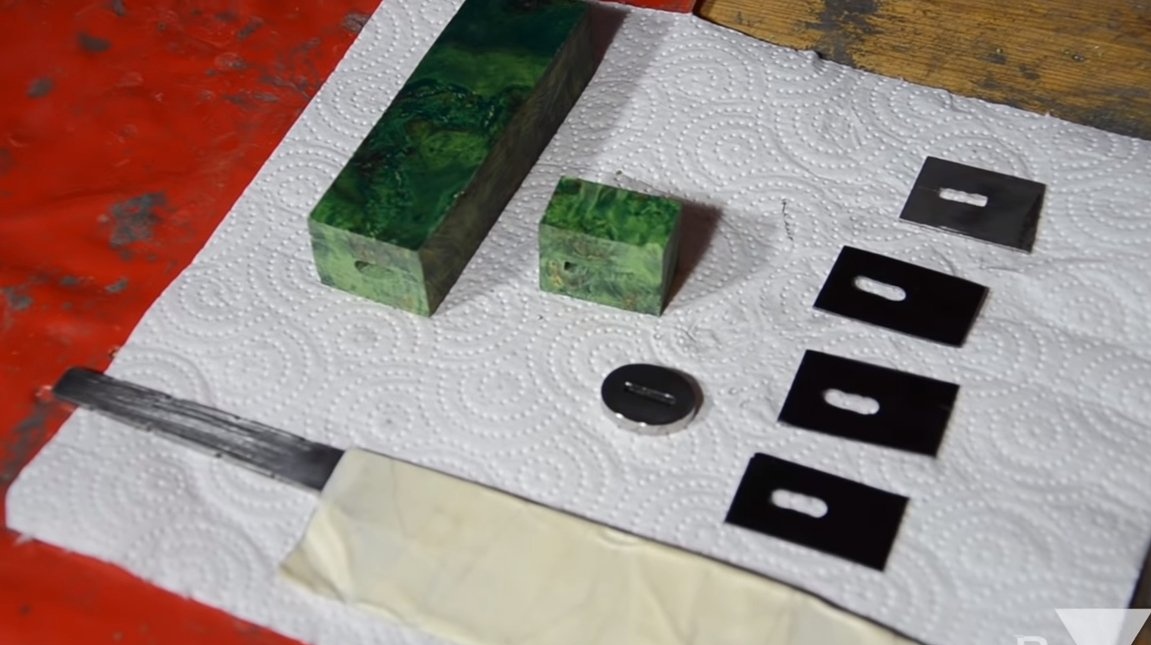
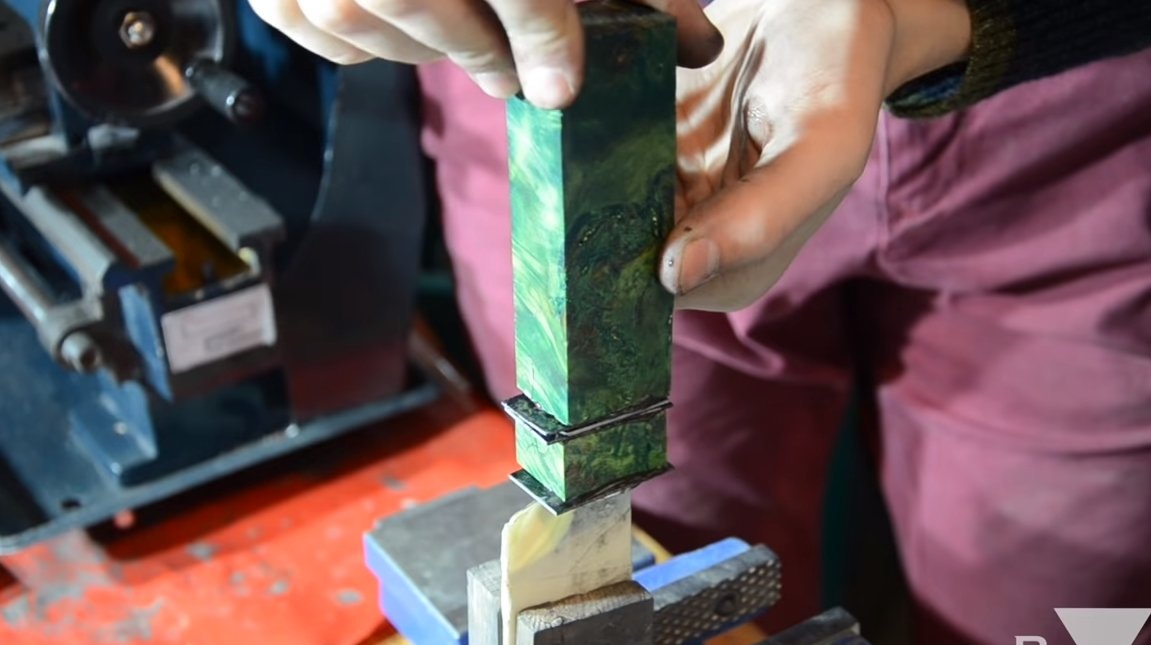
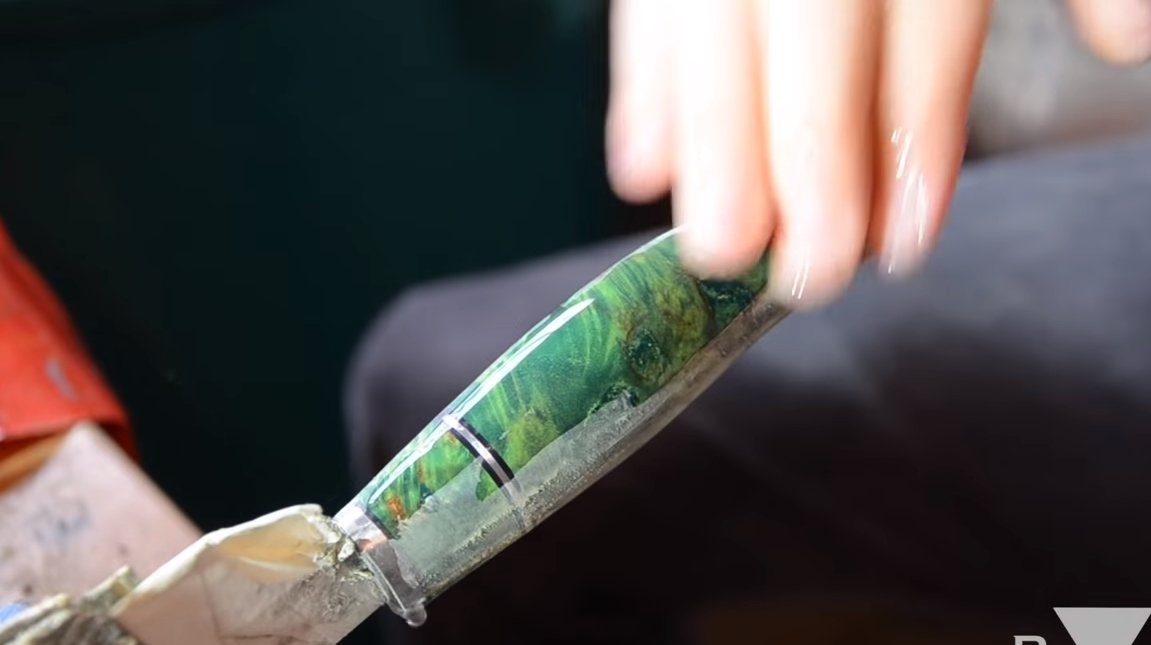
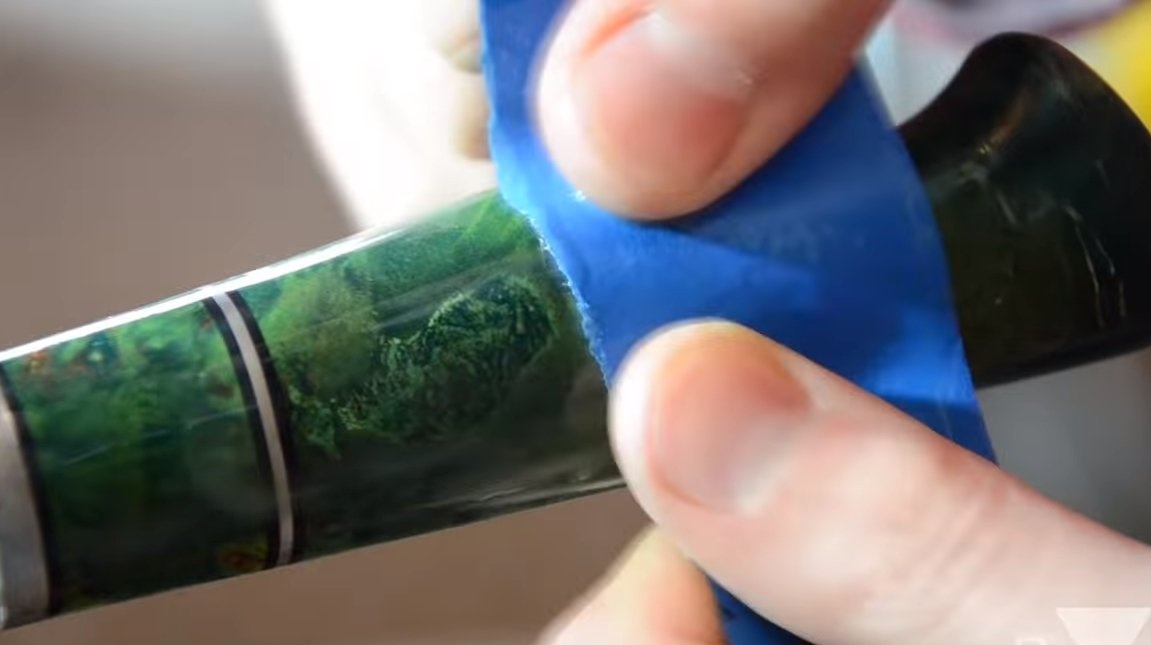
We collect the handle of the knife, as a material the author used a stabilized poplar of beautiful green color. We cut out the main part of the handle, grind a slot in it under the handle. The author also has metal and textolite inserts in the handle, and we are preparing these details.
At the end, the handle can be assembled, all details must be well glued to each other. The author used epoxy glue as glue. We clamp everything well with a clamp and let the glue dry.


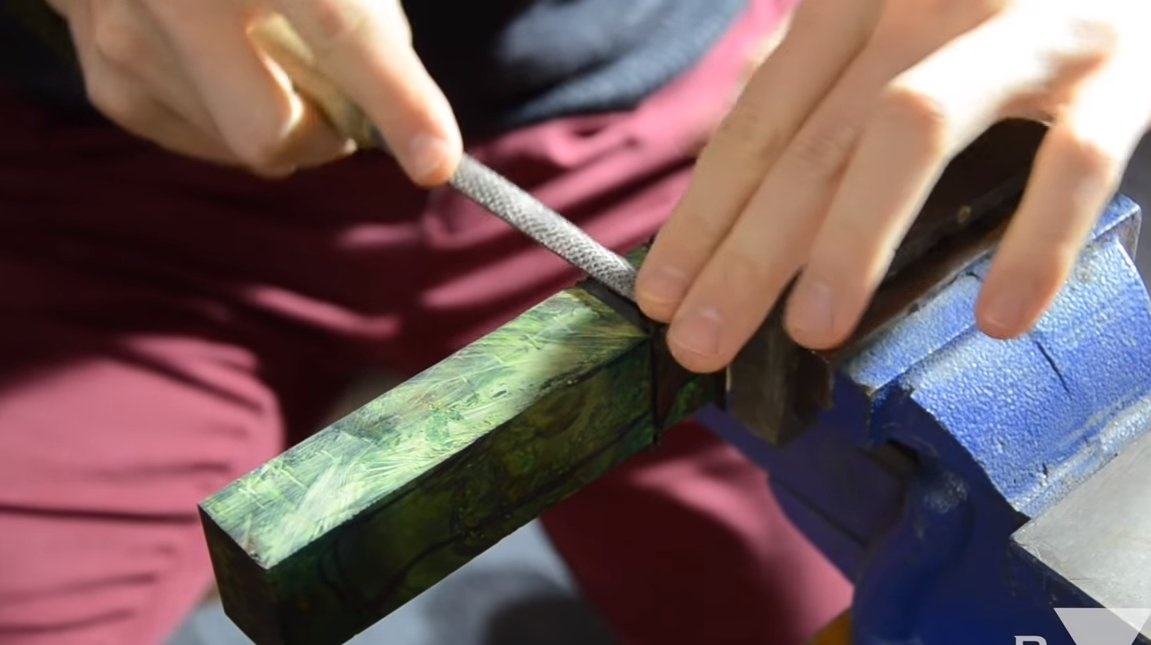
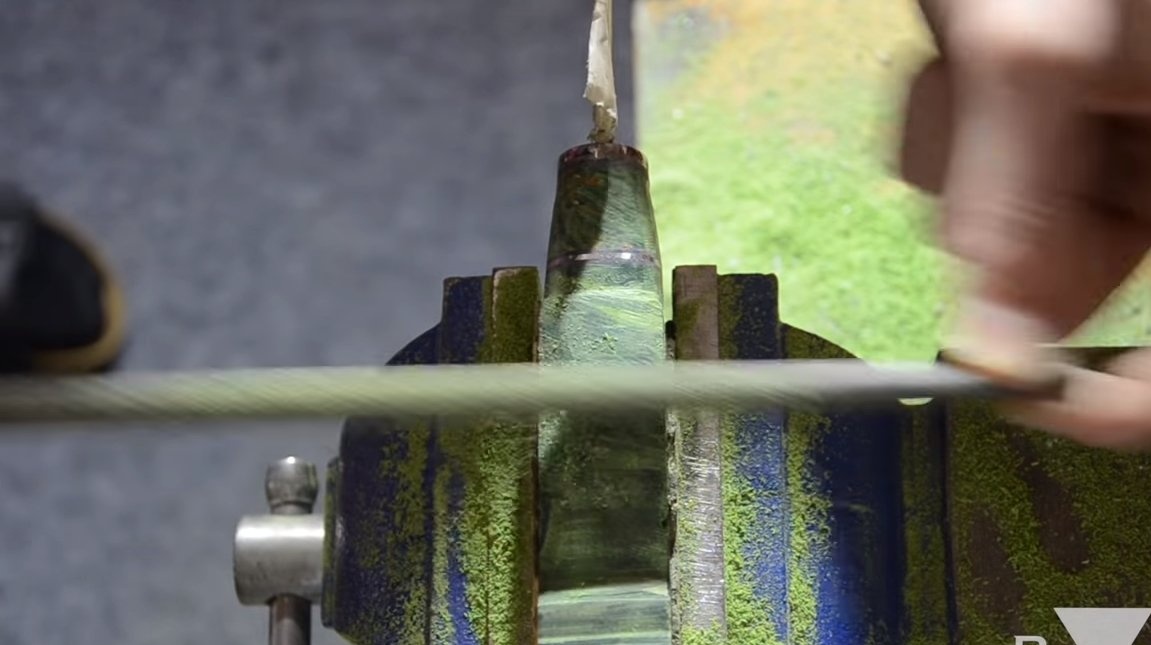
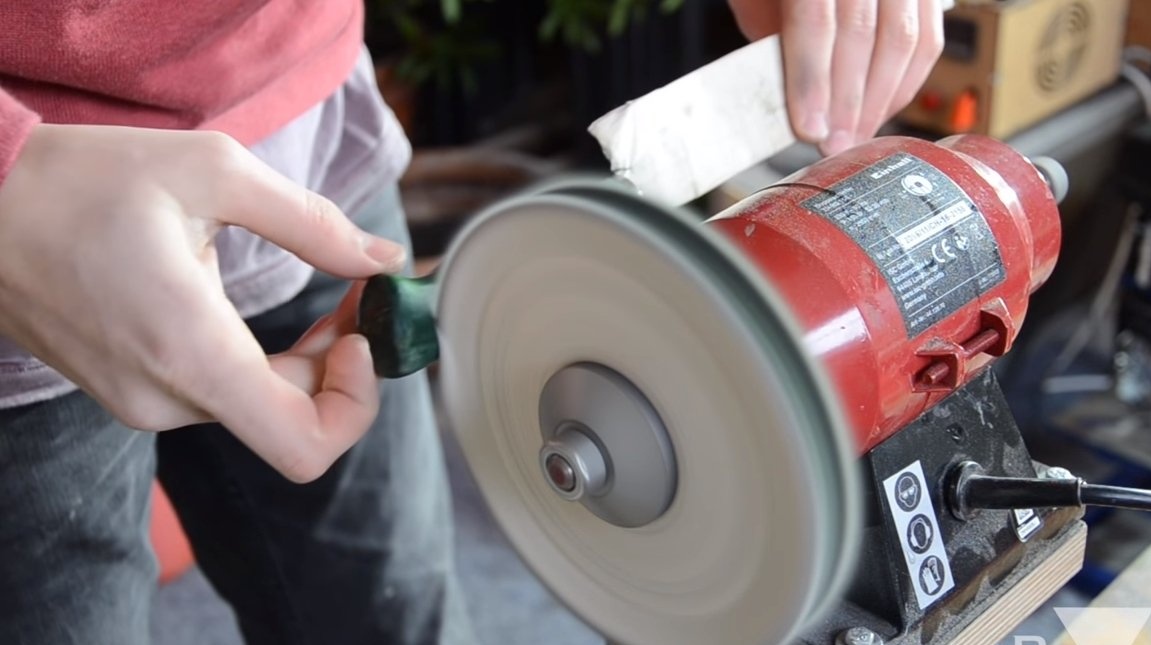
Seventh step. Handle refinement
When the glue dries, we arm ourselves with a file and set the desired profile of the handle. For finer processing, the author used sandpaper. As a result, the handle should become a pleasant streamlined and smooth shape. We perform wet sanding with fine sandpaper and polish the handle, in the end it looks elegant and is not afraid of water.

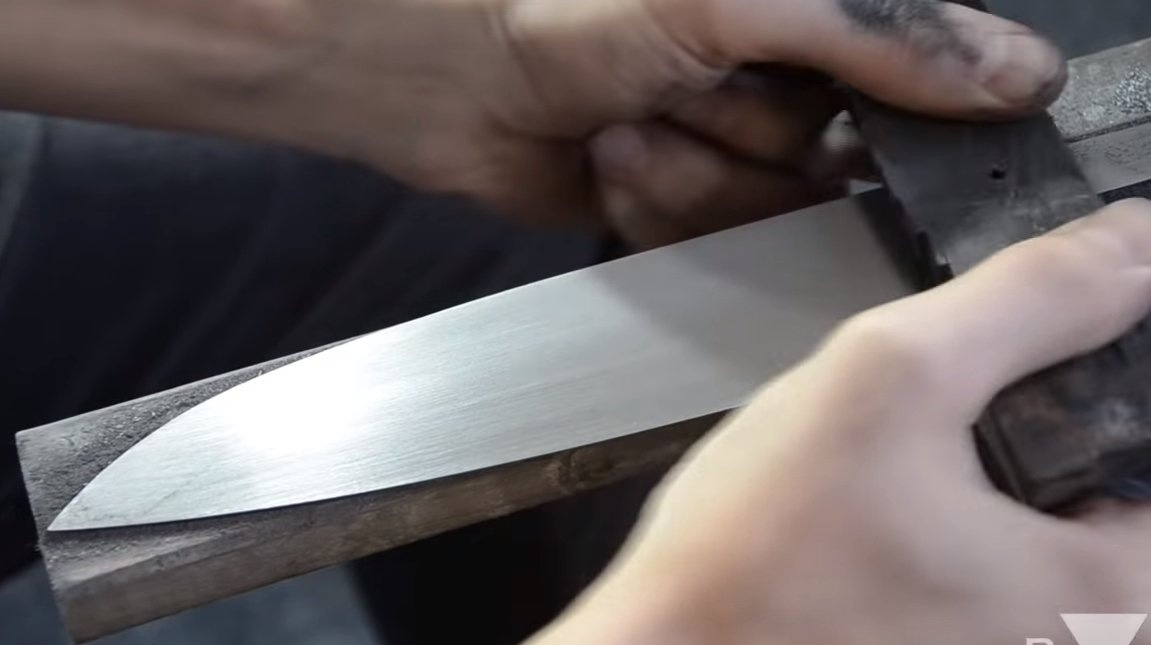
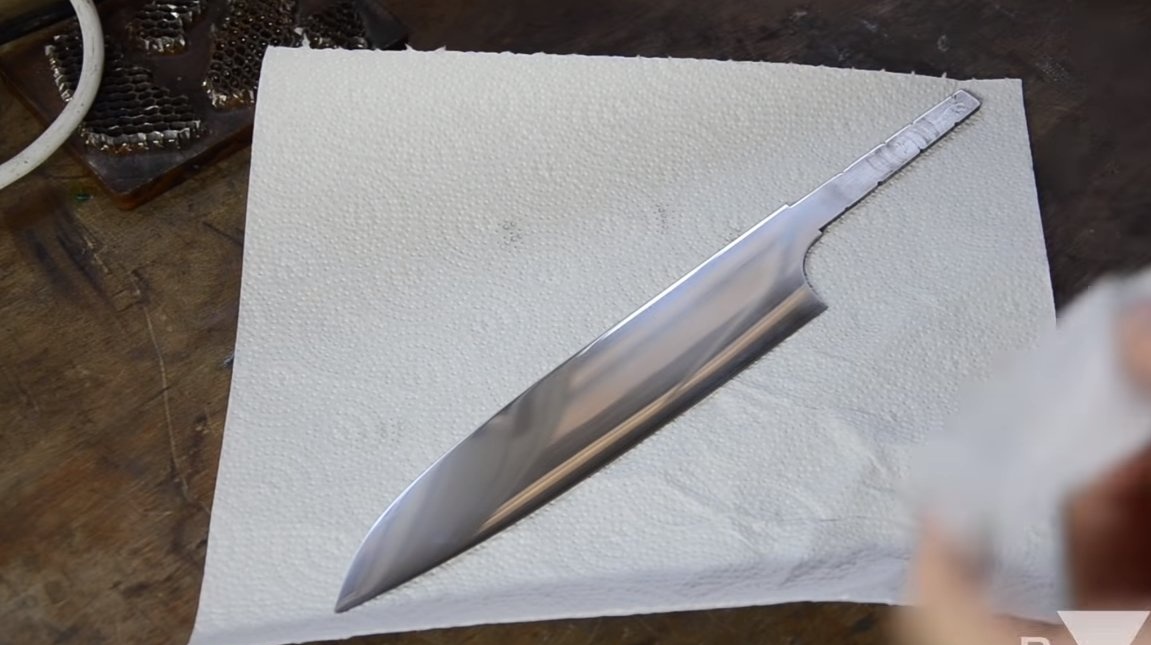
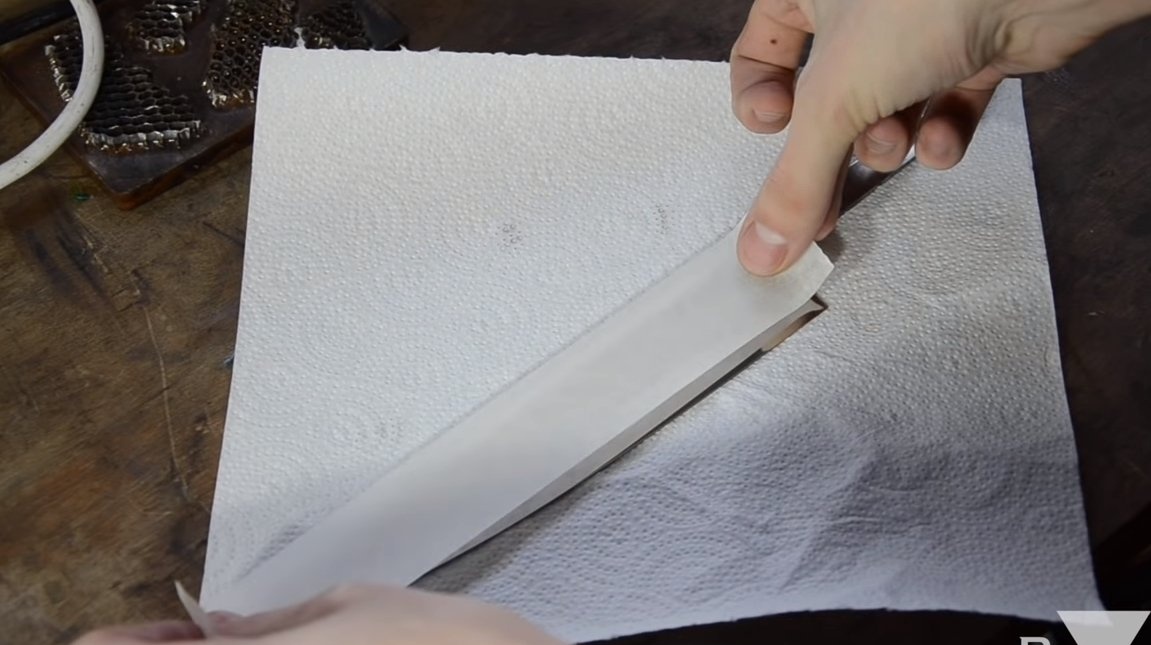
Step Eight. Sharpening and testing
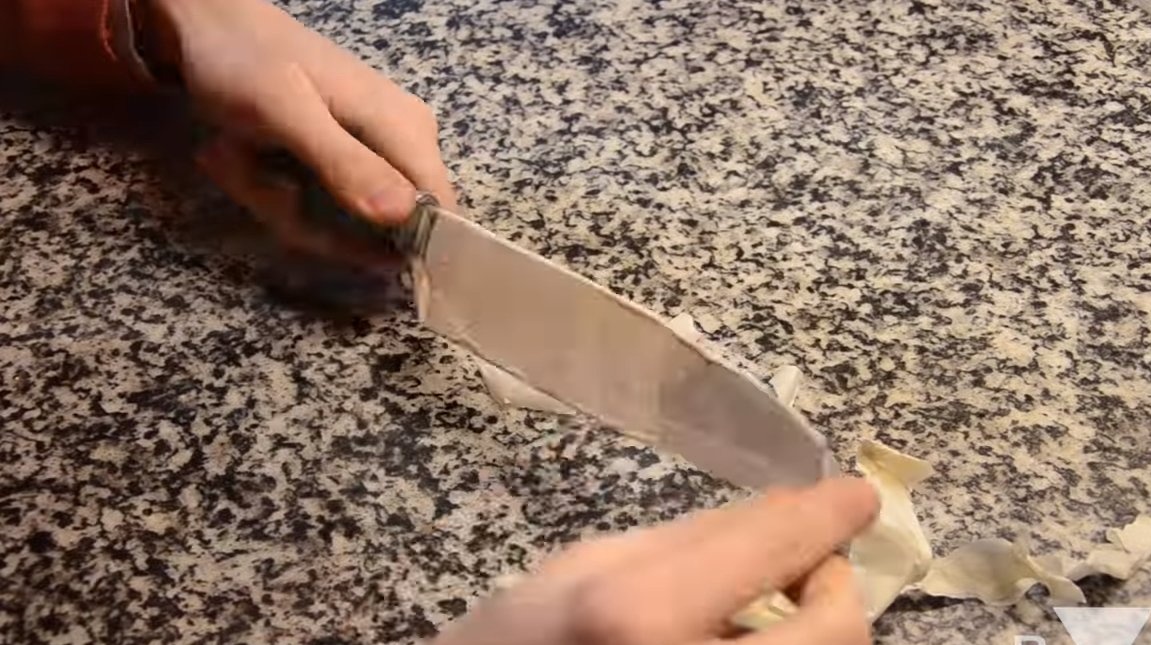
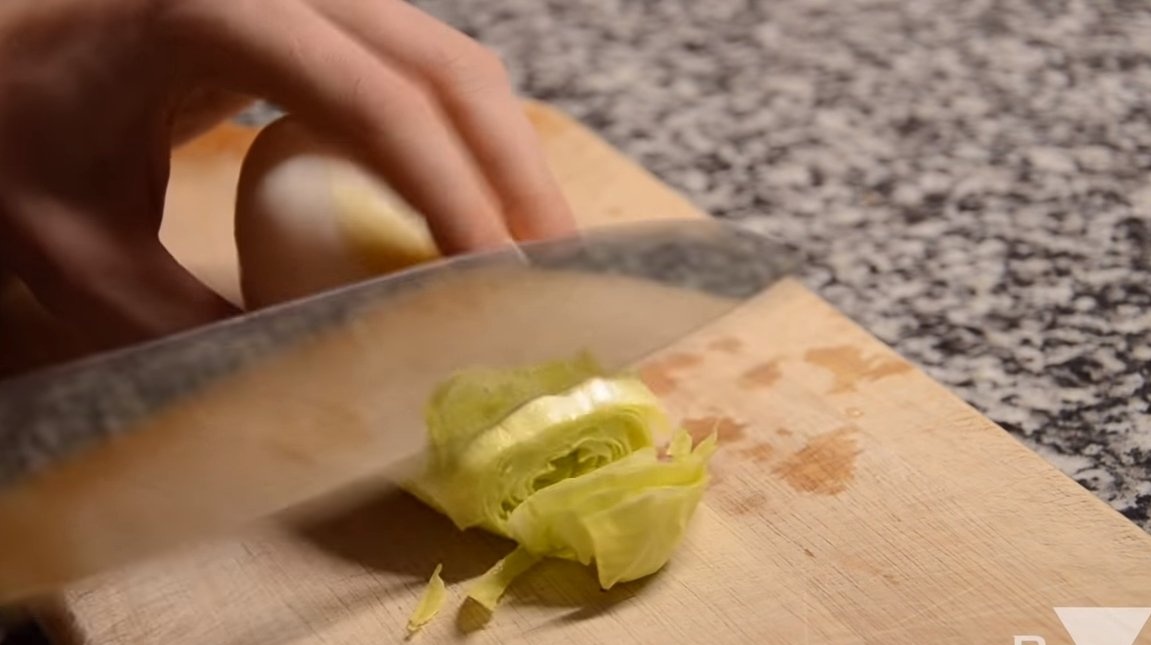
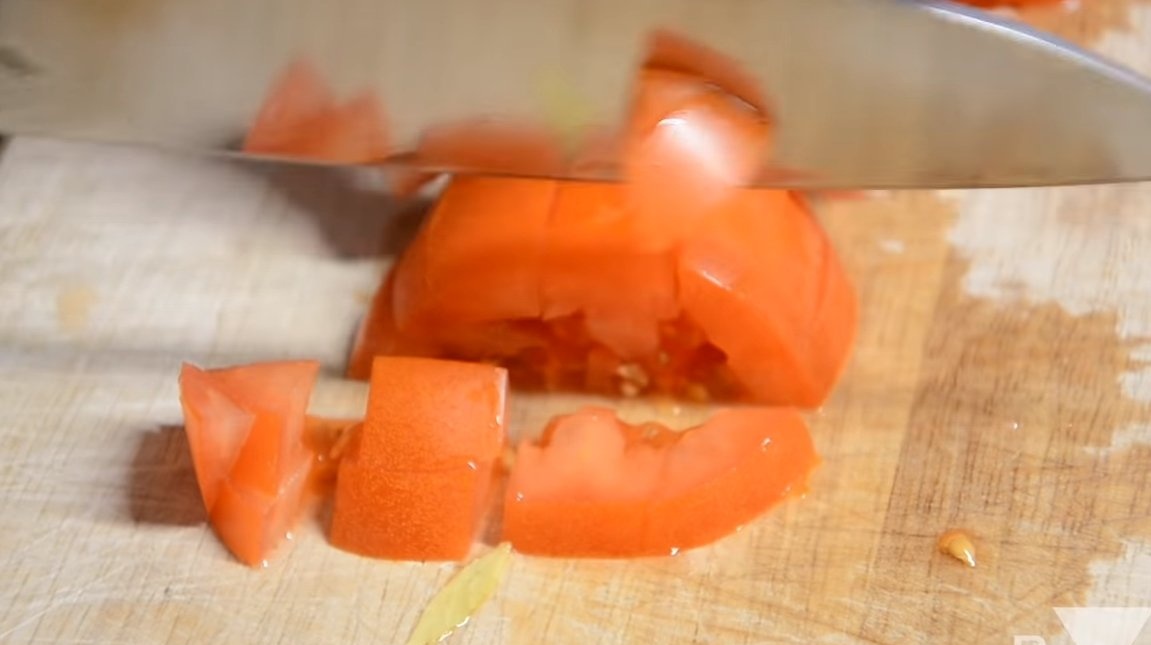
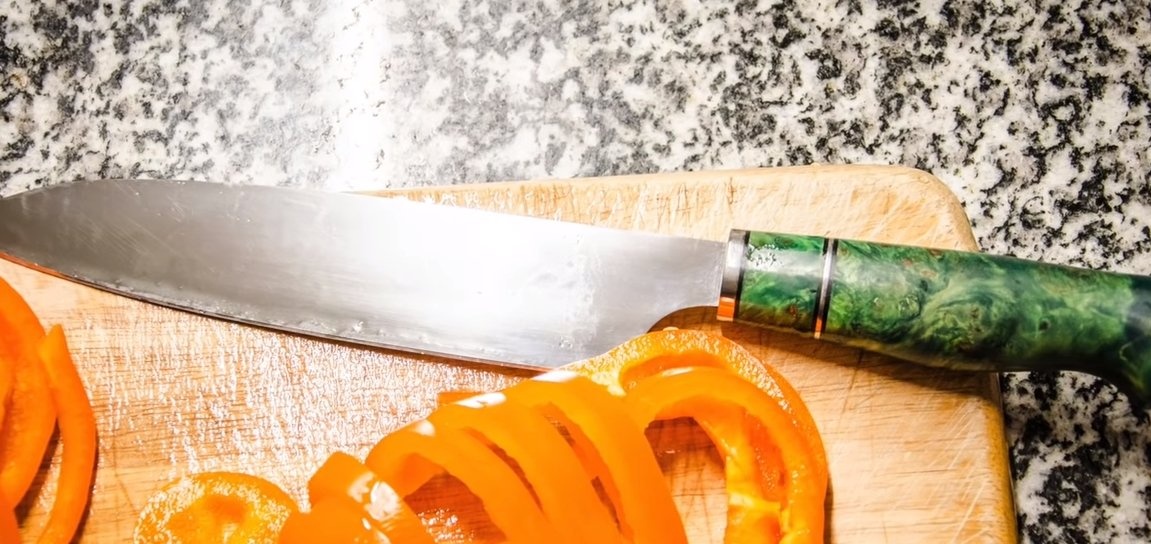
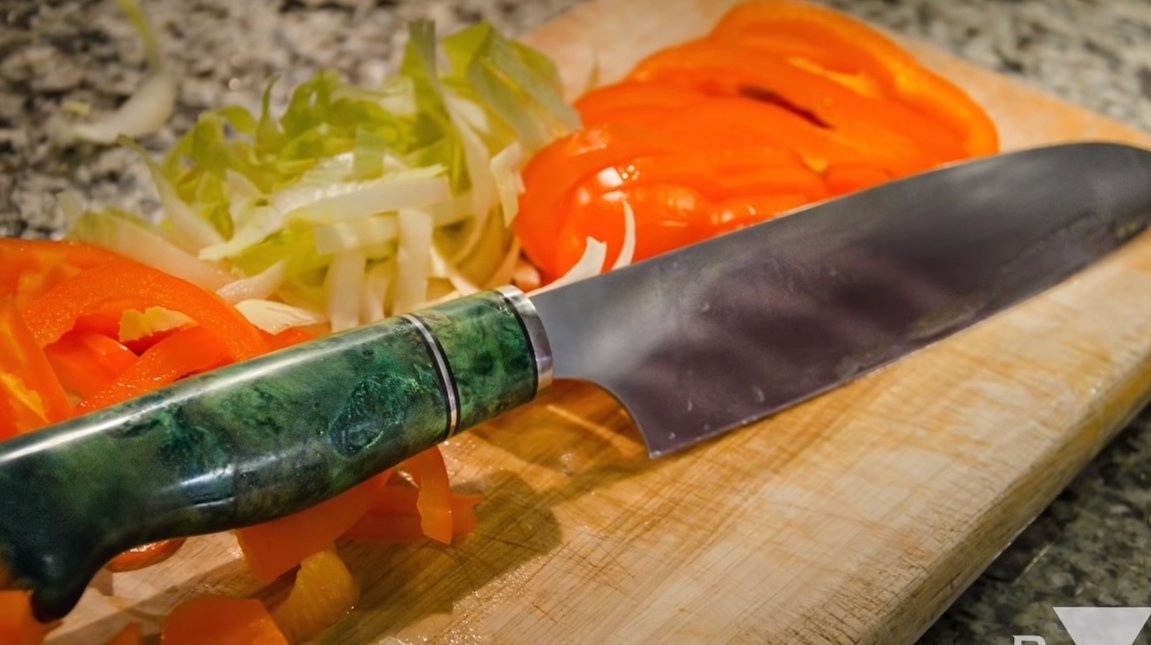
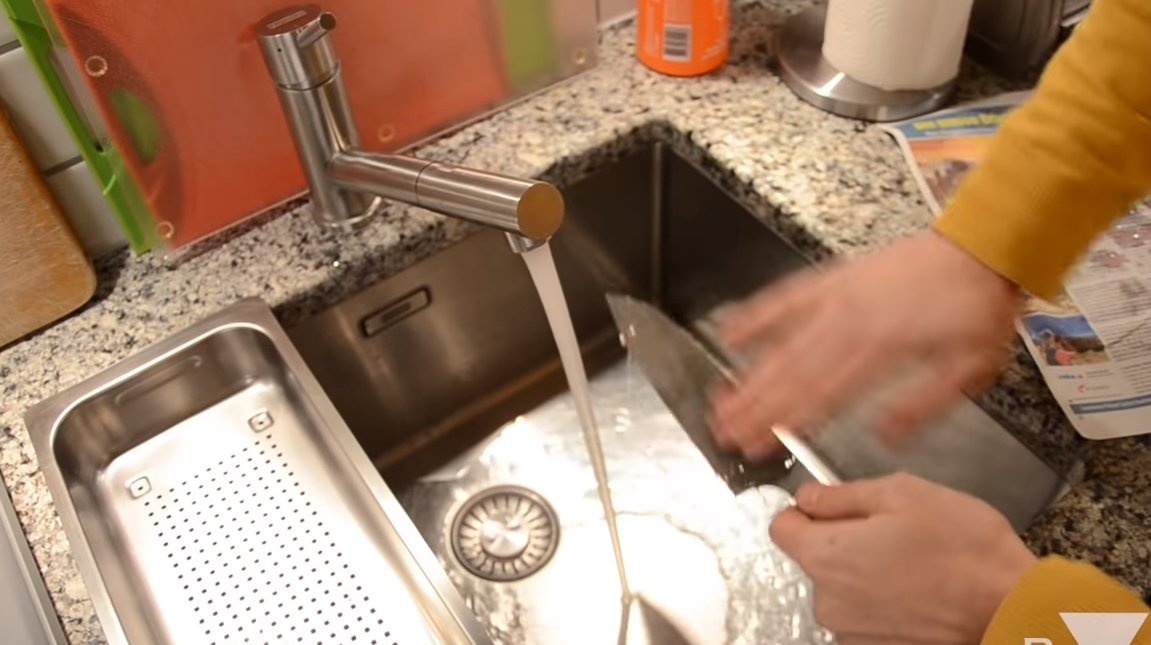
The knife is ready, it remains to sharpen it, for sharpening to the state of the blade you need a manual grinding machine with grindstones. Gradually reduce the granularity of the stones until we achieve the desired result. The author’s knife turned out to be very sharp, he perfectly cuts vegetables, and also easily cuts paper.
This is the end of the project, I hope you liked the homemade work, and you found useful thoughts for yourself. Good luck and creative inspiration, if you decide to repeat this. Do not forget to share your ideas and homemade things with us!