

The author of Instructables under the nickname lonesoulsurfer noted that stylish flash cases are well suited for flashlights. Before you is one of the possible options for such homemade. The master turned out not just a flashlight, but with a dimmer (a three-volt PWM speed controller for the collector motor was used in it), a tripod socket and a rechargeable battery that can be charged from a power supply unit and a built-in solar battery.
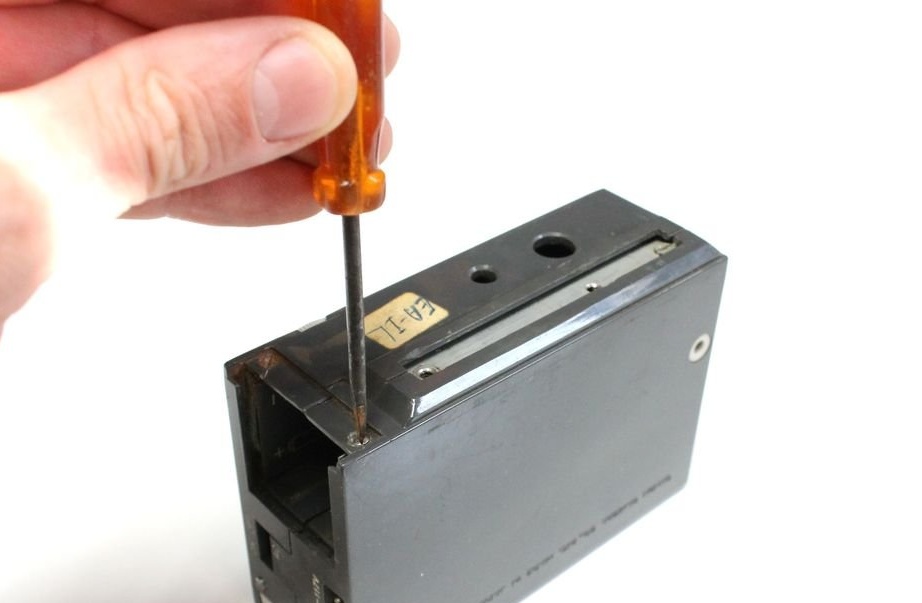
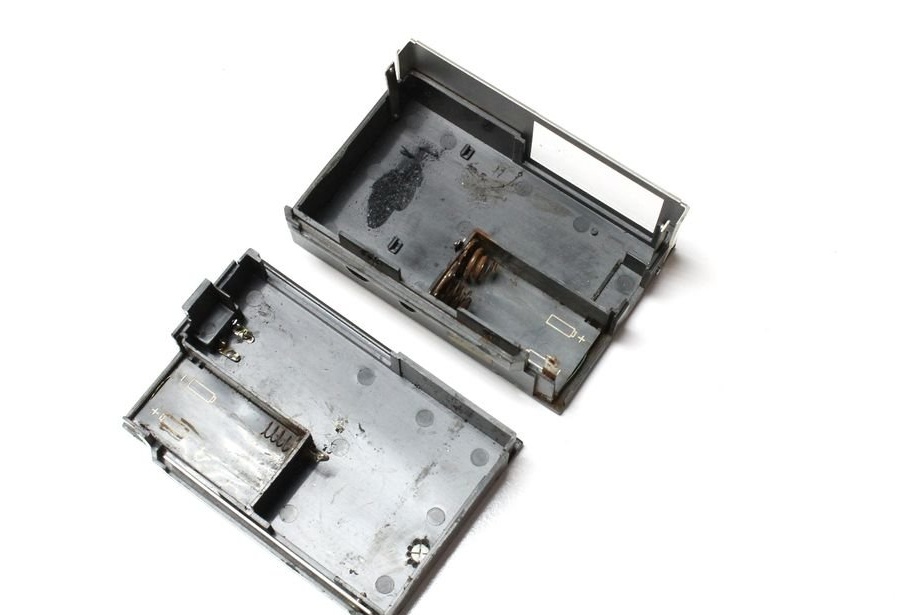
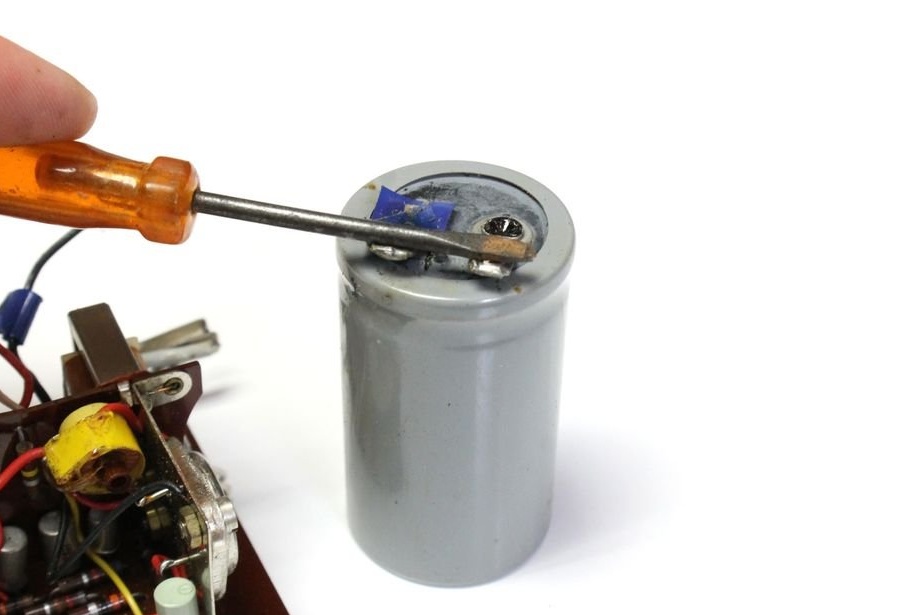
The master parses the flash, preserving all the fixtures, since it will be needed when assembling the finished flashlight. When it reaches the storage capacitor, it immediately discharges it with a screwdriver for safety. And acquires a small set electronic components for subsequent projects.
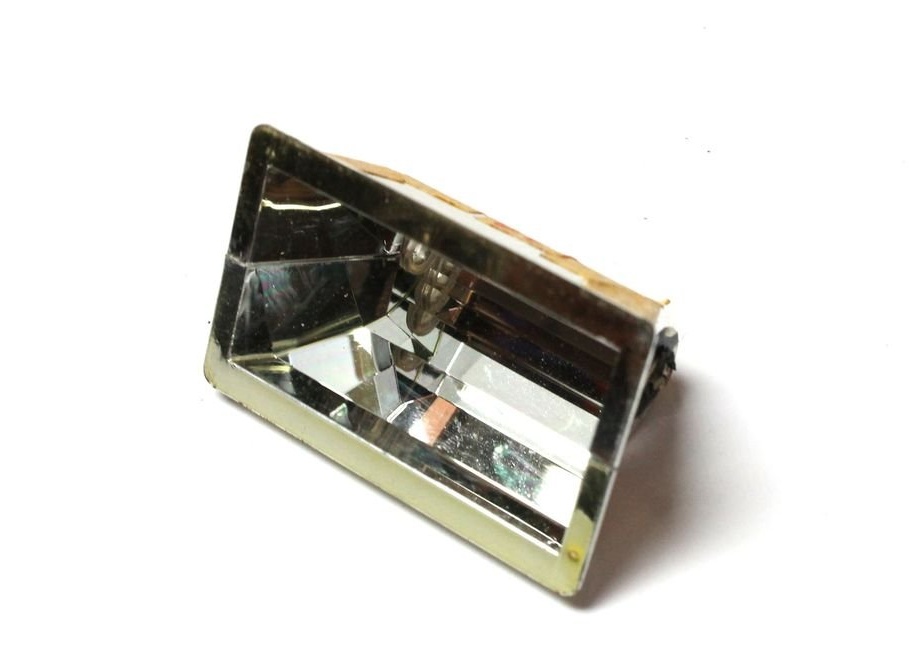
The master extracts a flash lamp from the reflector, it turns out like this:
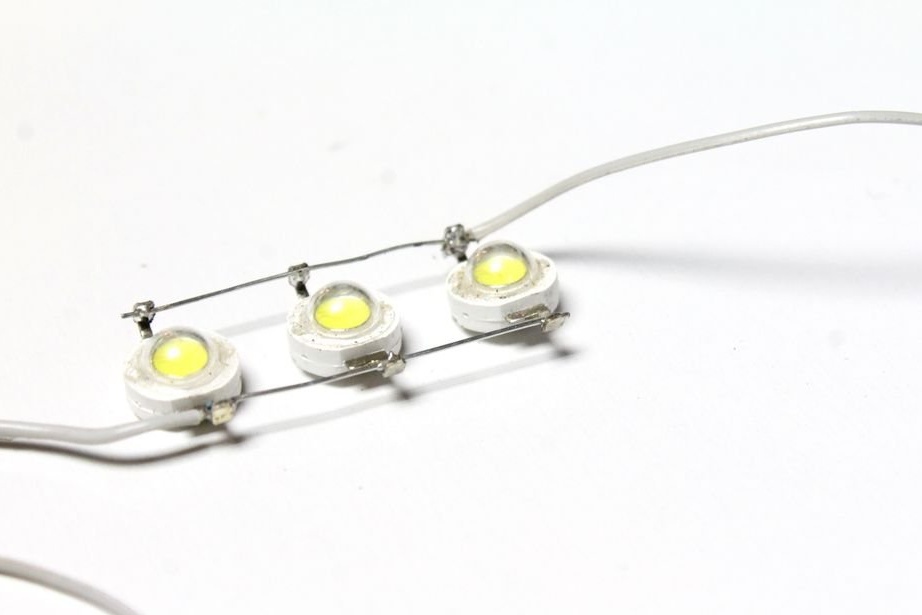
Parallels three LEDs, observing polarity:
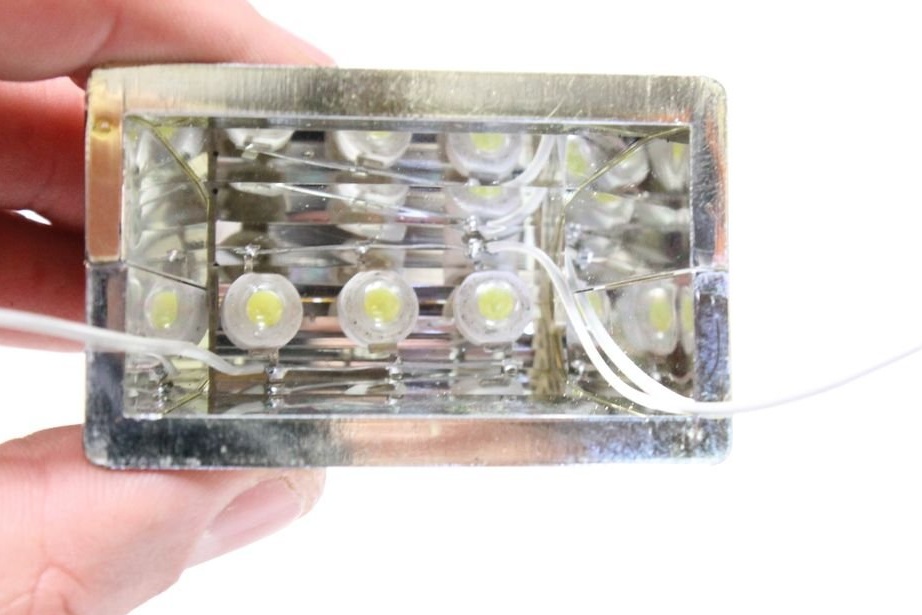
Places them inside the reflector:
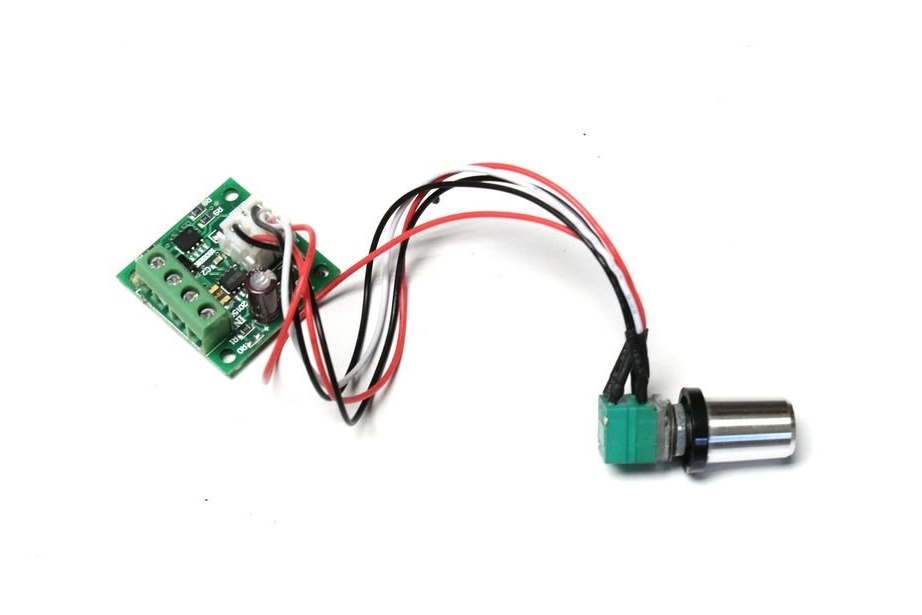
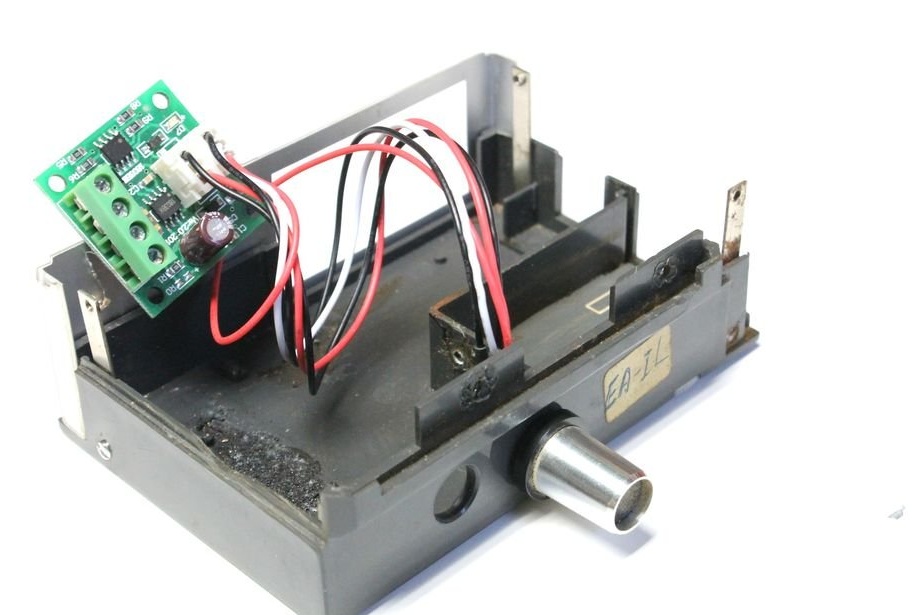
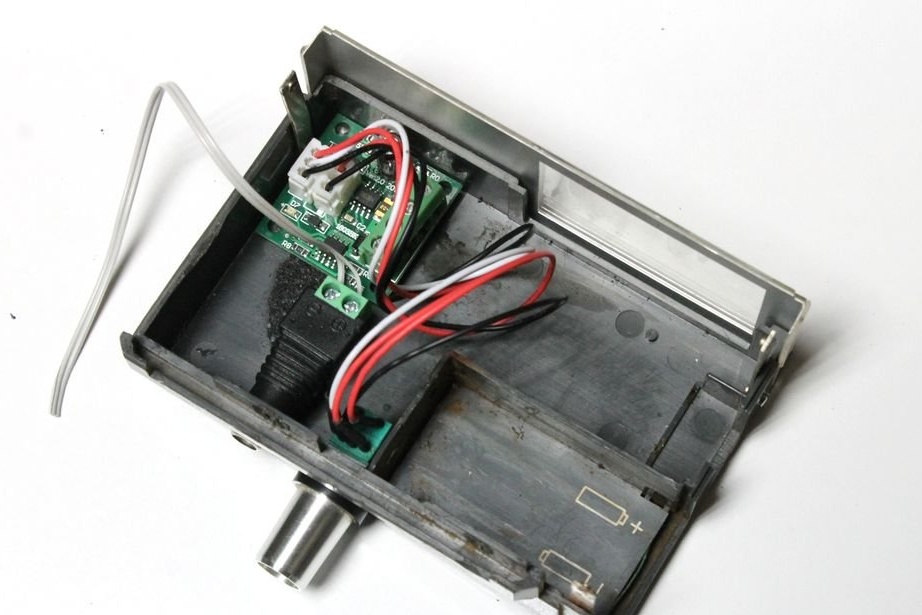
It takes the PWM controller mentioned above for the motor, which it is going to use as a dimmer:
Finds a suitable place on the housing from the flash to accommodate a variable resistor and drills a hole for its fastening:
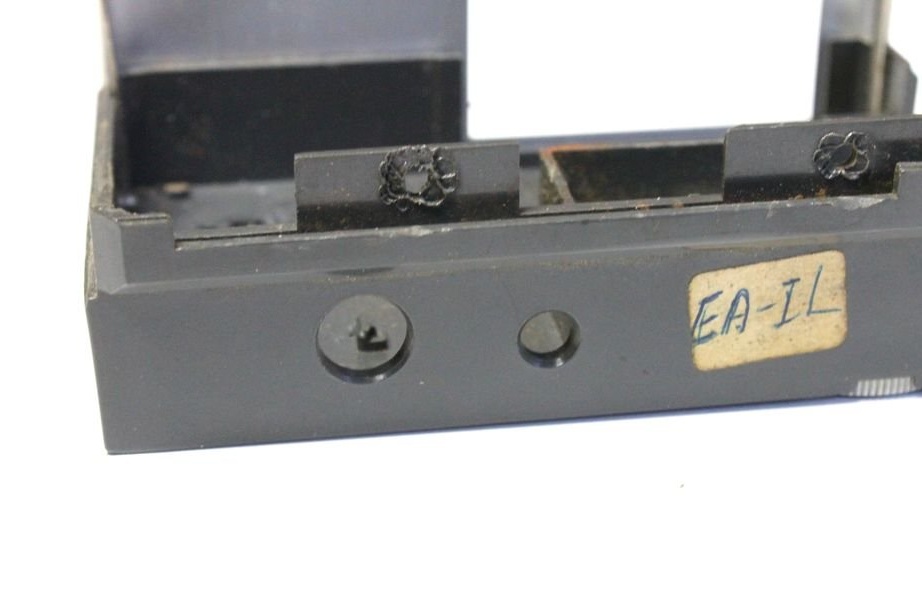
Installs a variable resistor in this hole:
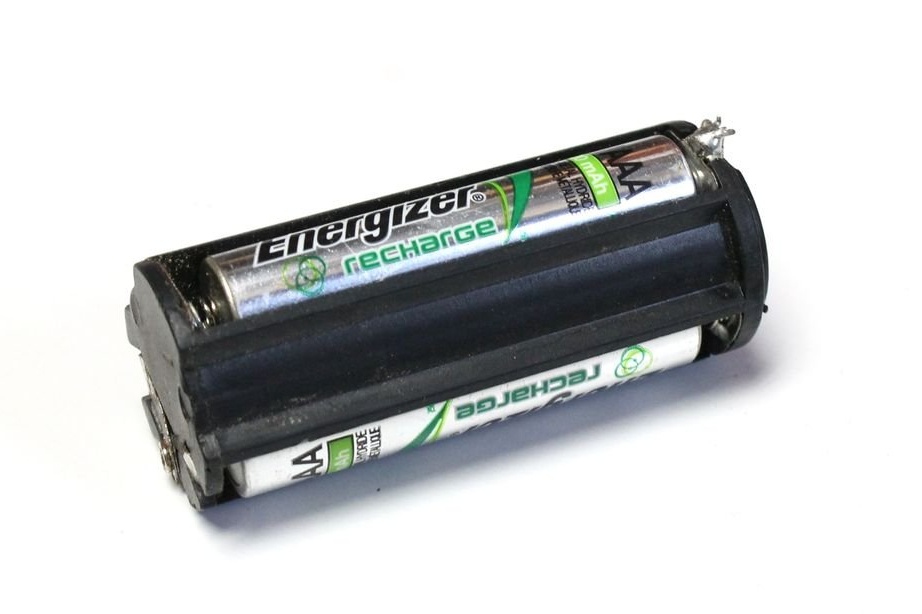
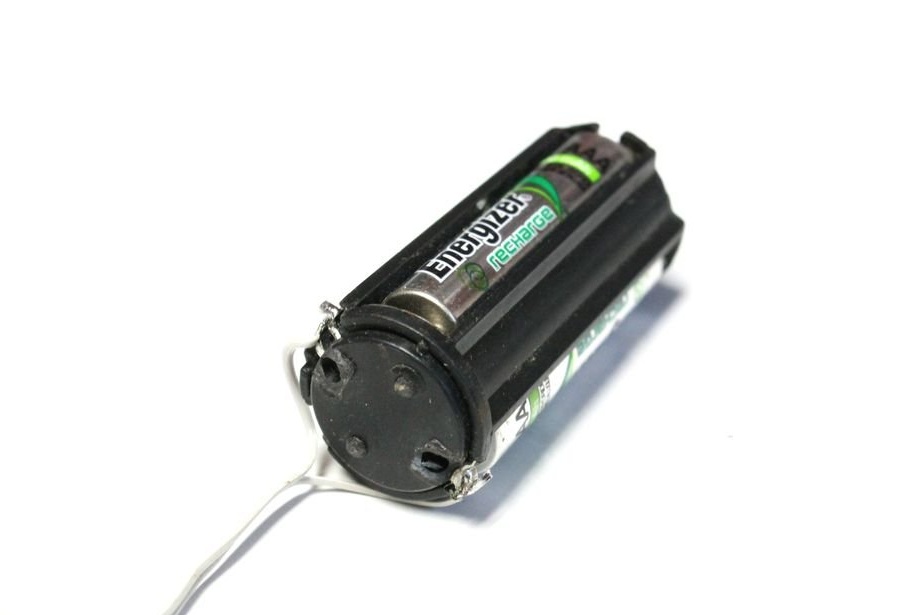
He takes a 3xAAA battery compartment from a standard modern flashlight, installs NiMH batteries of the appropriate format into it:
Solders conductors to the conclusions of the compartment:
Installs a PSU connector in the housing from the flash:
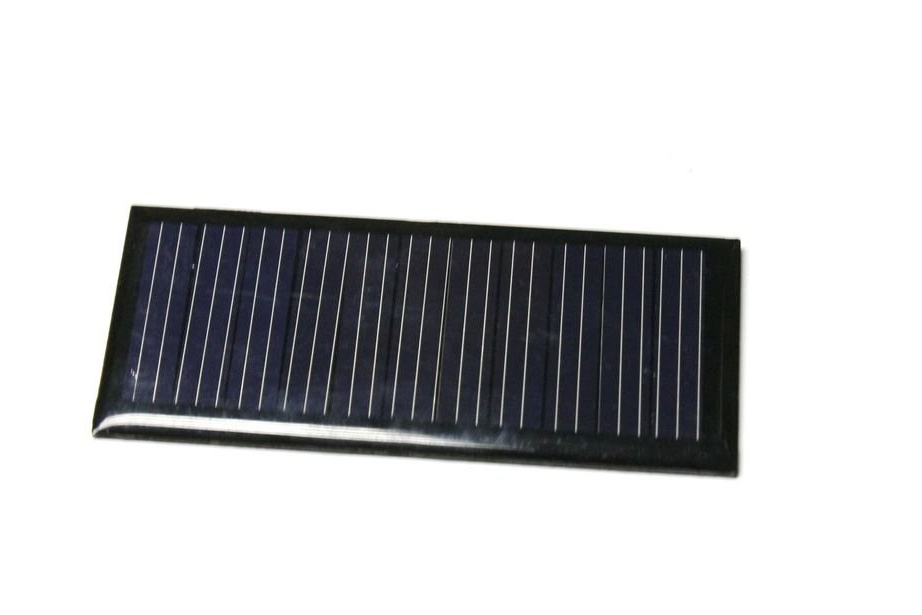
Takes a solar battery:
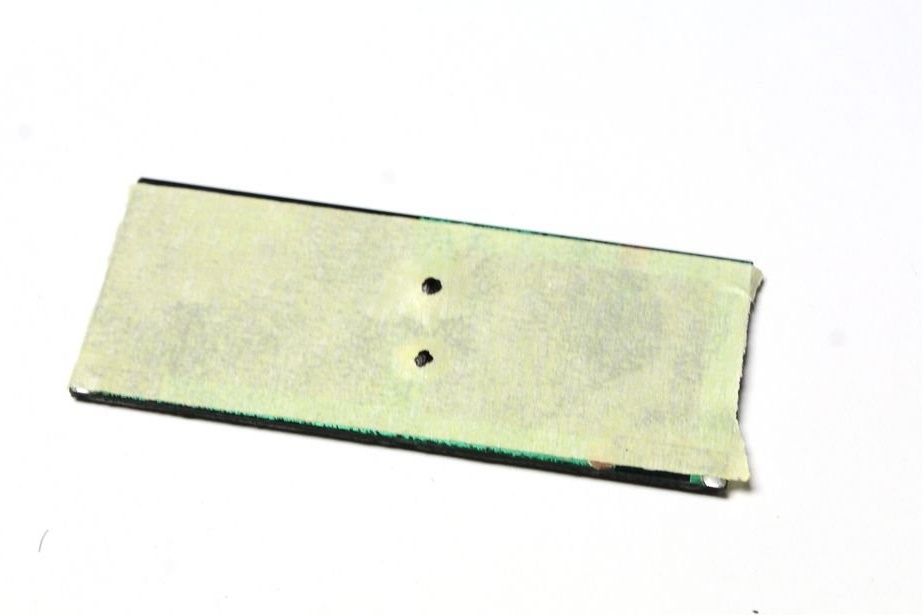
This is it from the reverse side:

The master glues double-sided tape to it with holes for the conclusions:
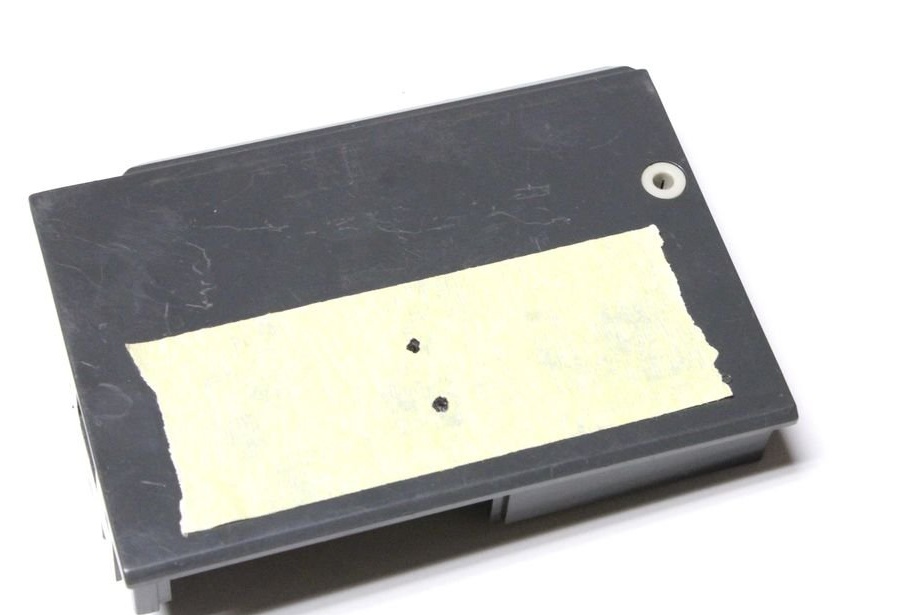
Which transfers to the case from a flash and drills holes in appropriate places:
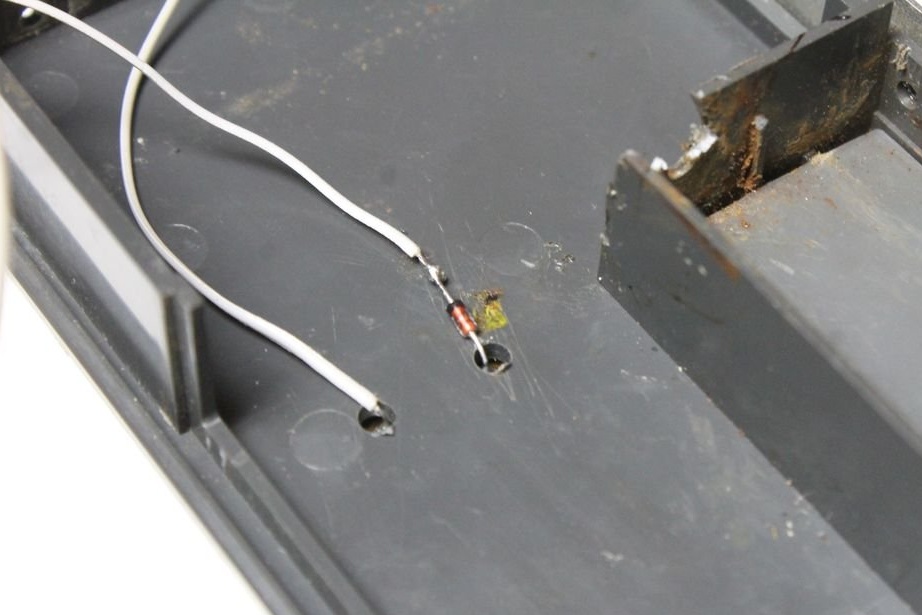
A serial diode is added to the solar battery in such a polarity that the battery does not discharge through it in the dark:

Glues the solar battery to double-sided tape on the housing so that the diode and conductors pass through the previously drilled holes:
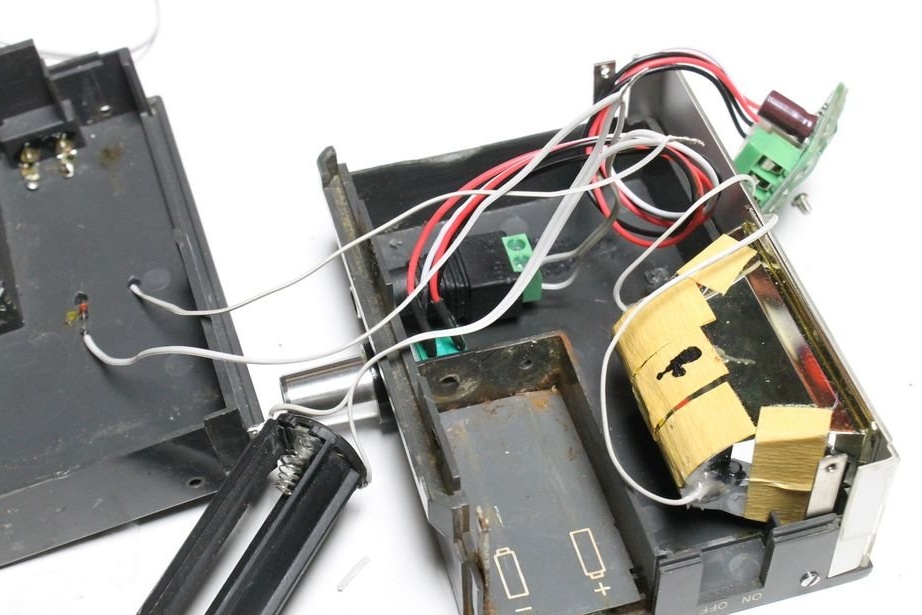
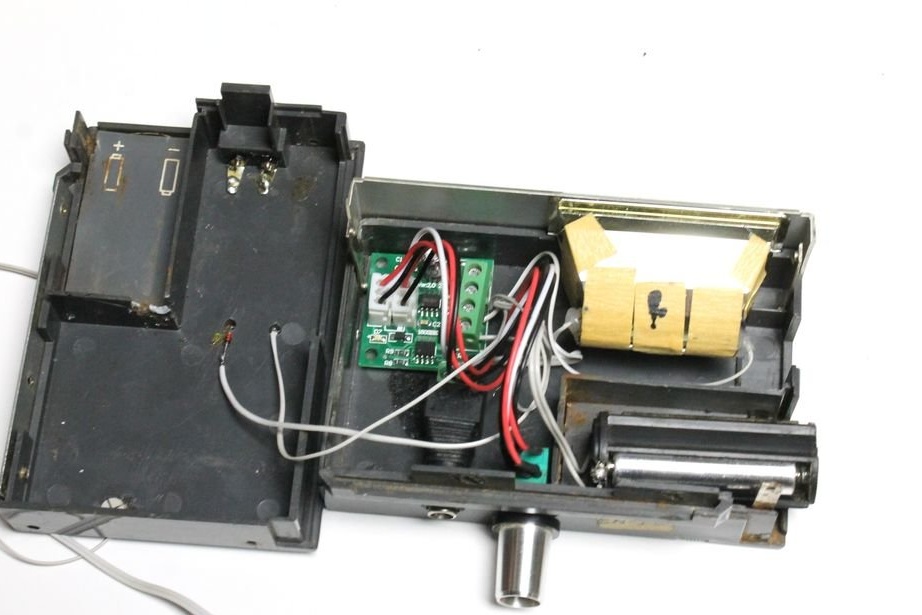
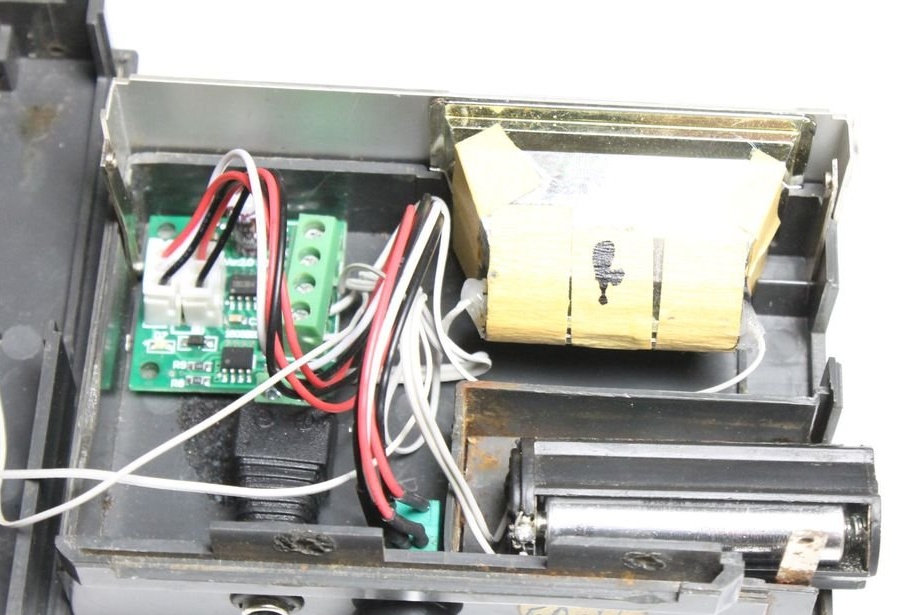
Performs connections everywhere observing polarity:
1. Connects the LEDs to the output of the PWM controller.
2. Parallels a solar battery with a diode, a power supply connector, a battery and a PWM controller input.From the translator: the connector should be connected through a current-limiting resistor, selected so that the charging current in milliamps does not exceed 0.1 of the battery capacity in milliampere-hours. A separate switch is not required, since it is built into the variable resistor of the PWM controller, so five conductors go to it. Here's what the wizard does:
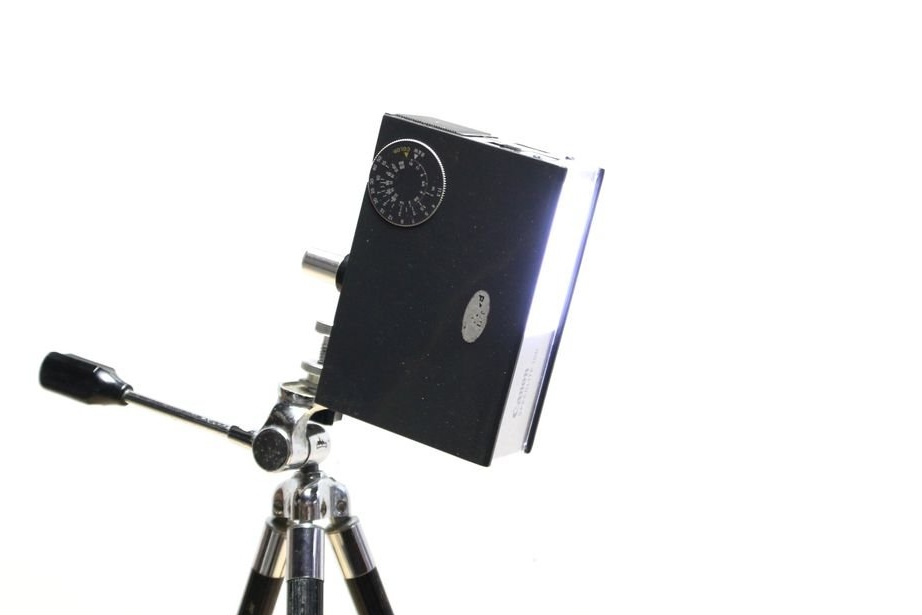
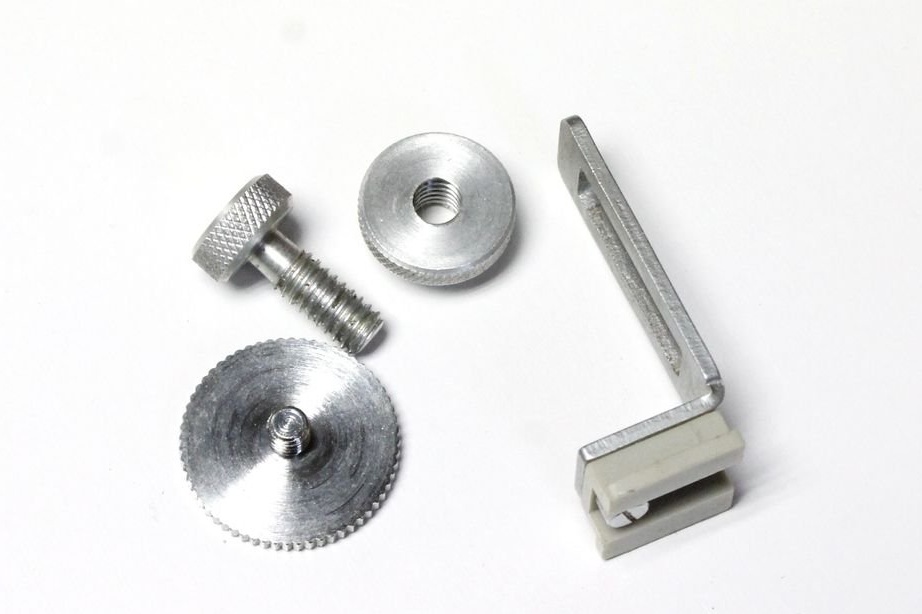
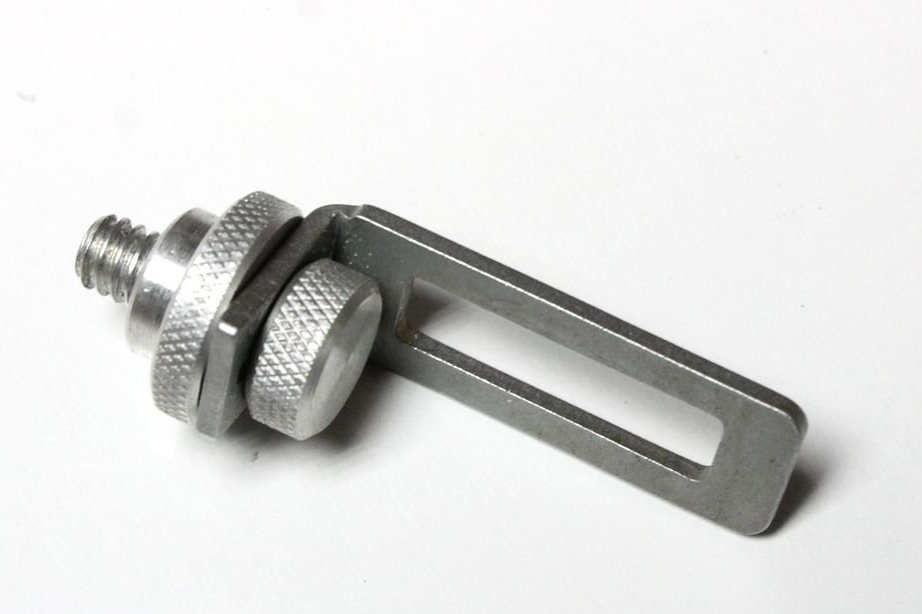
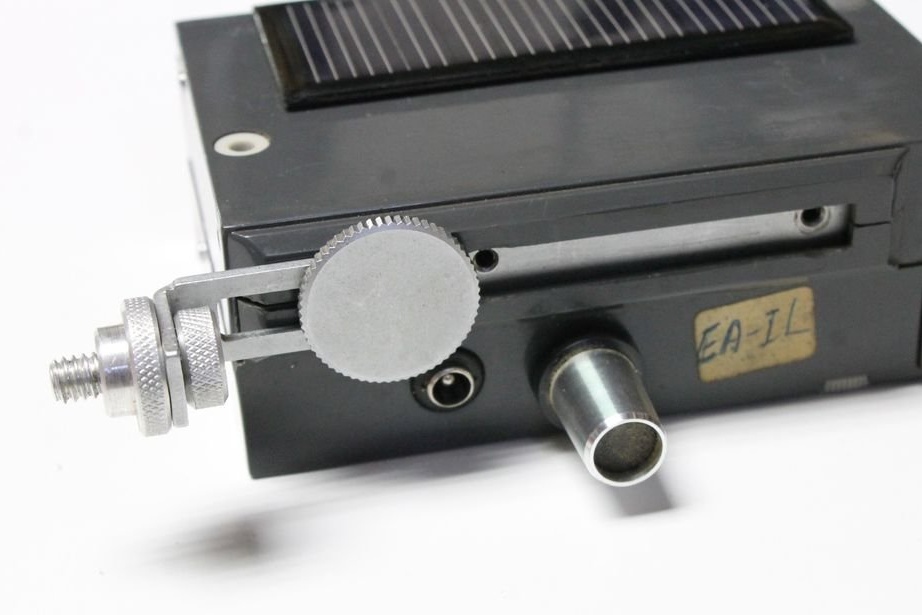
Closes the case and puts the tripod socket back in place:

Mounts the finished flashlight on a tripod, and the design is ready for use:
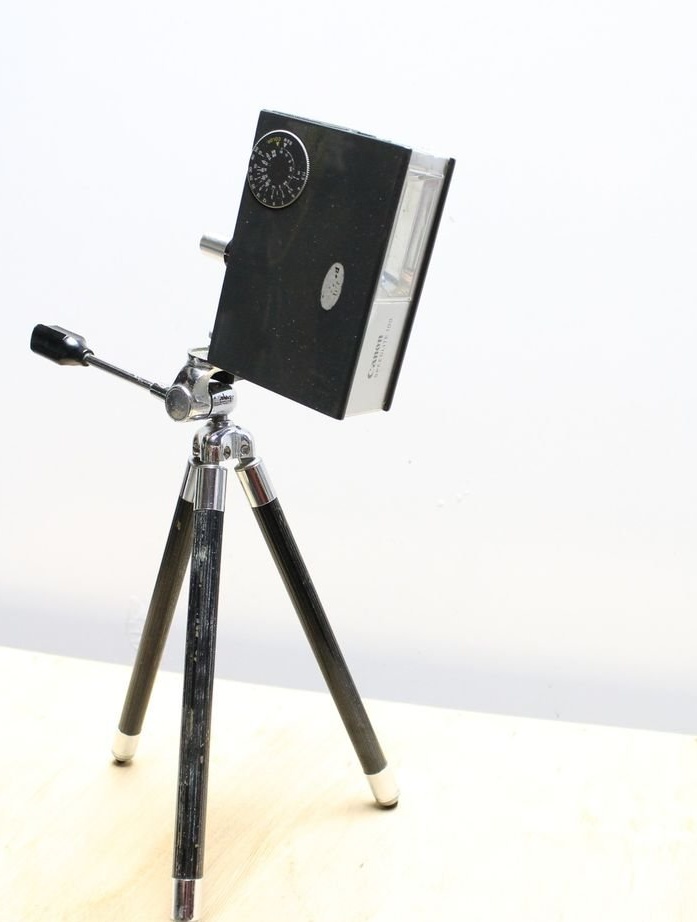
In this form, the "flashlight" is useful, oddly enough, for modern photographers with smartphones - to receive side light during macro photography.