Rat rod is the style of hot rods or custom cars that in most cases mimic (or exaggerate) the old hot rods of the 40s, 50s and 60s. Rat rods are usually carsmanually built by people using improvised tools and primitive assembly methods. More often, the construction includes used spare parts, or spare parts from another car.
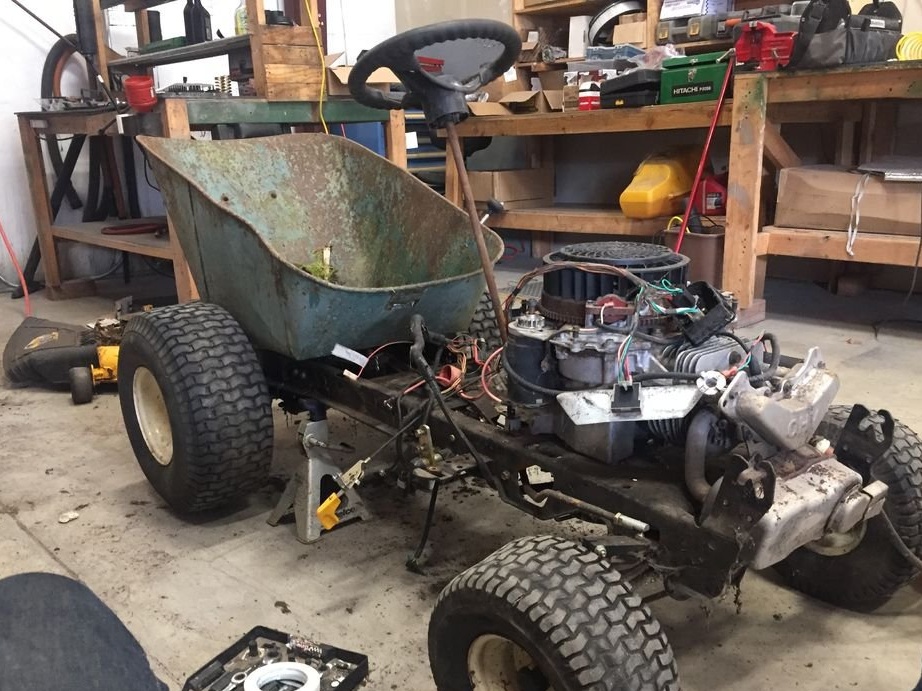
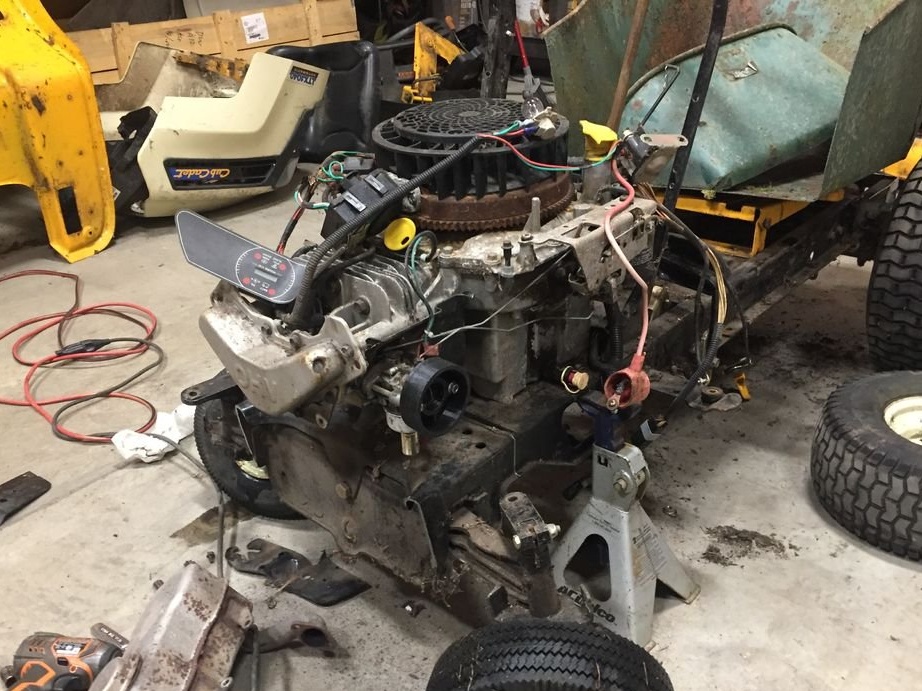
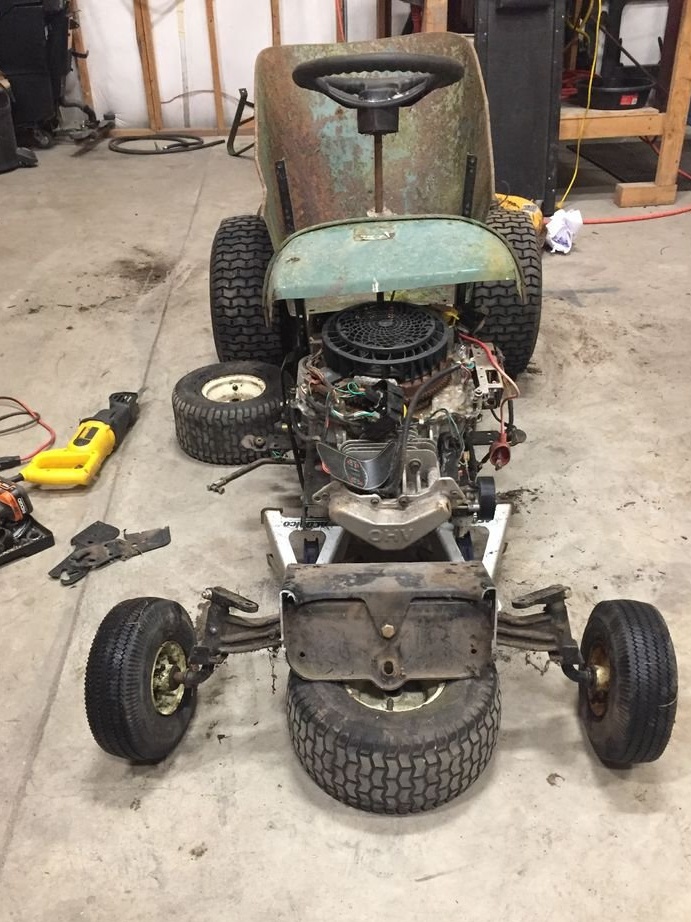
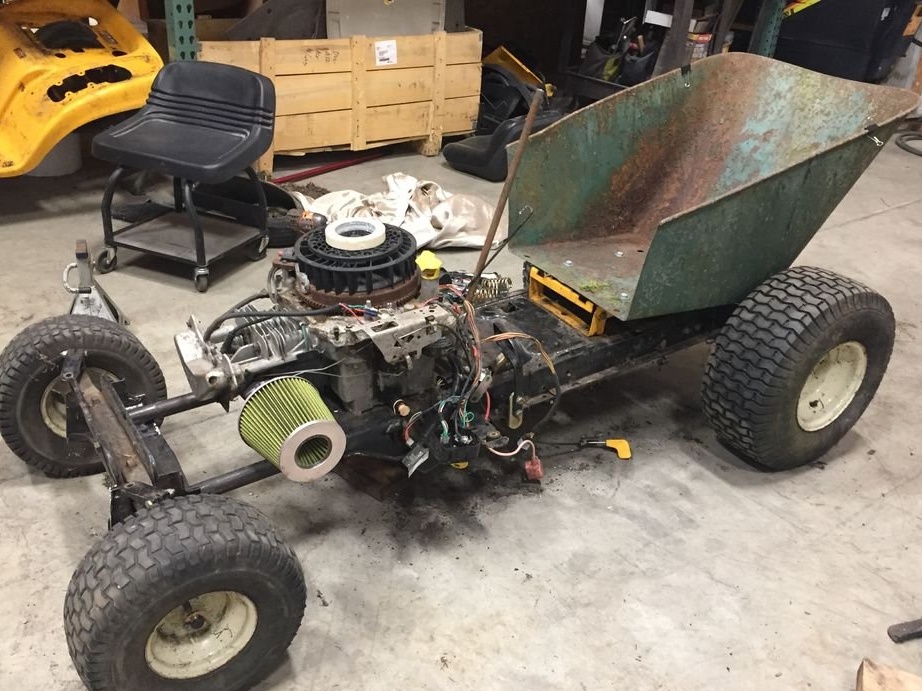
It was such a self-propelled device that the master made of an old lawn mower for his wife for a birthday. The engine on the lawn mower did not work and required a little repair. It was also necessary to redo the appearance of the vehicle, as it was supposed to participate in the local parade of such self-propelled carts.
Tools and materials:
-Old lawn mower;
-Motor parts;
- metalwork tool;
-Old garden car;
-Welding machine;
-USHM;
-Metal rolling;
-Forks garden;
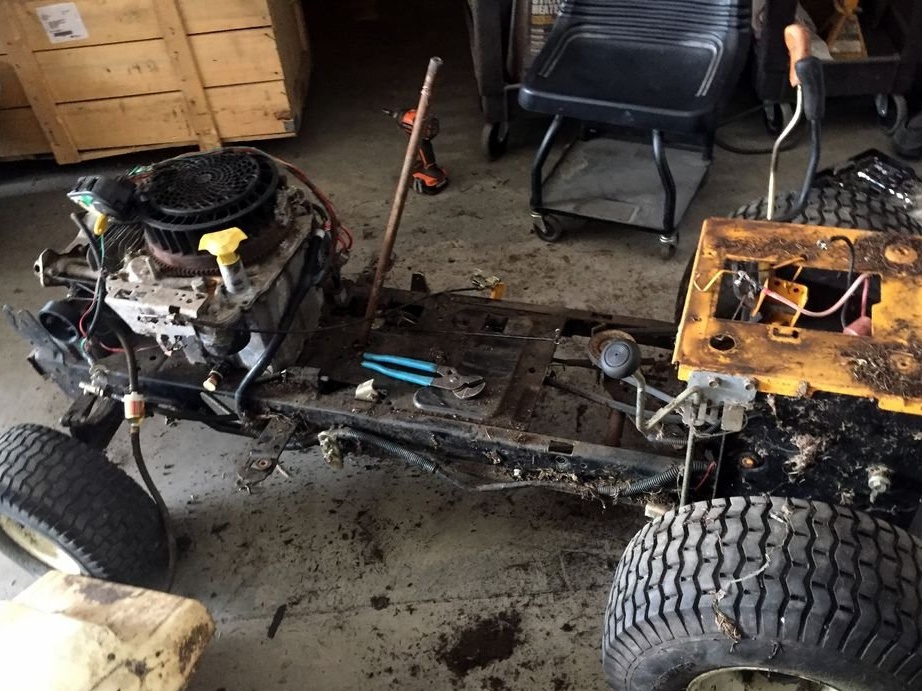
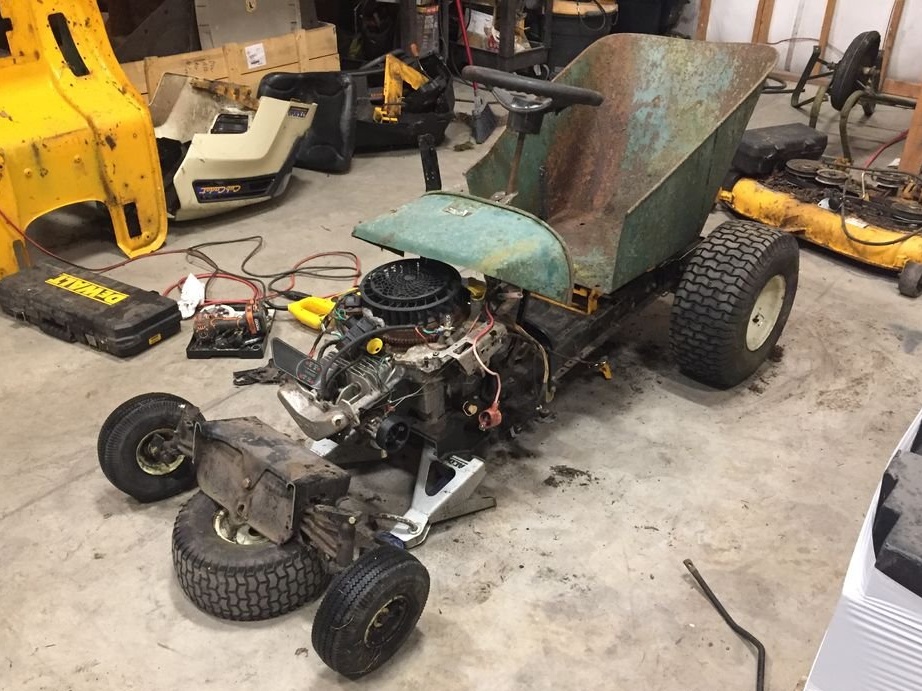
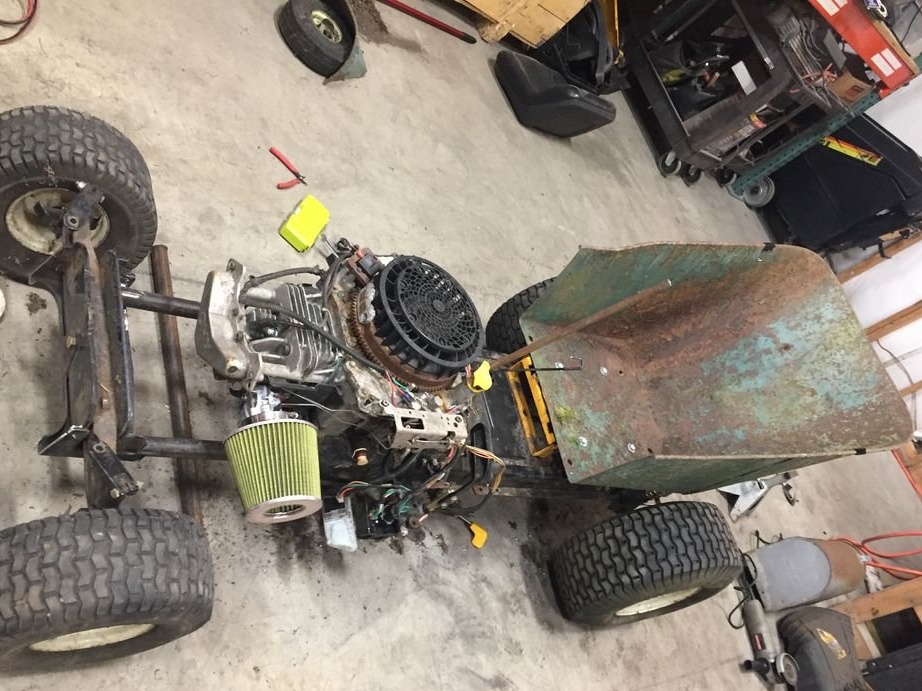
Step One: Disassembly
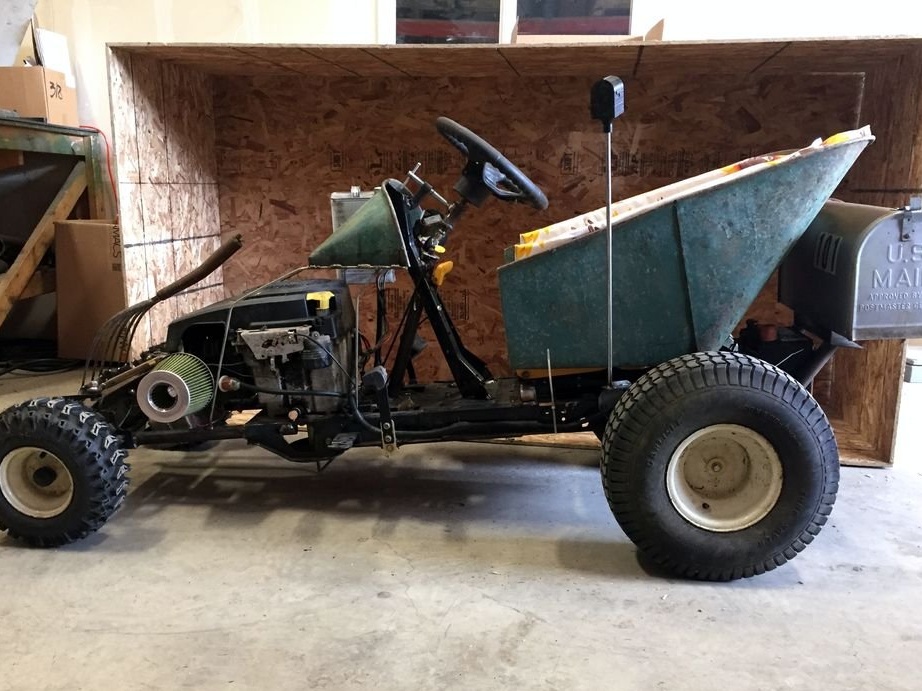
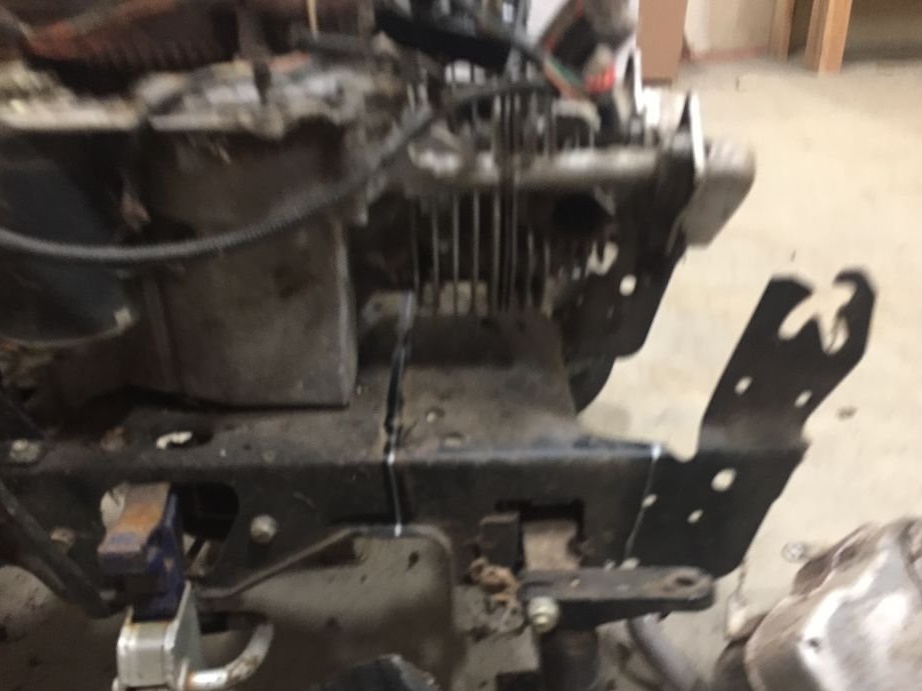
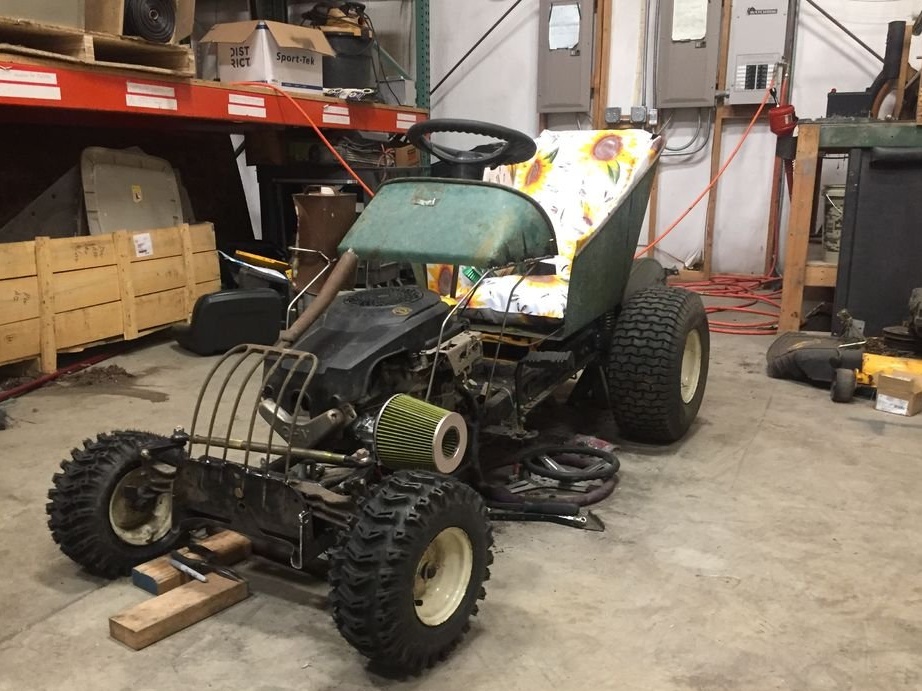
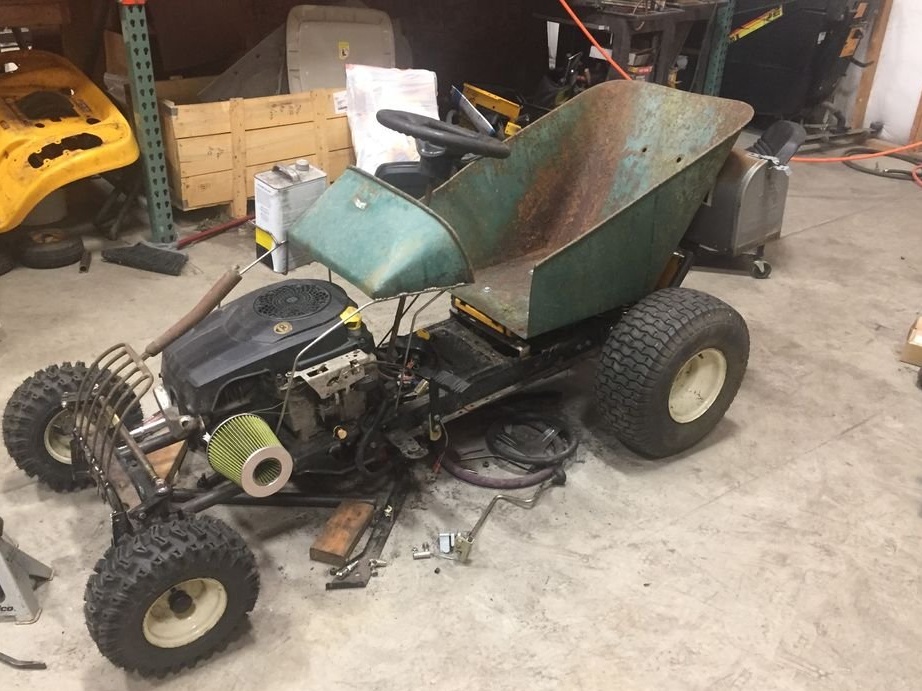
The master parses the mower. Disassembles the mower mechanism, seat, drawer at the rear.
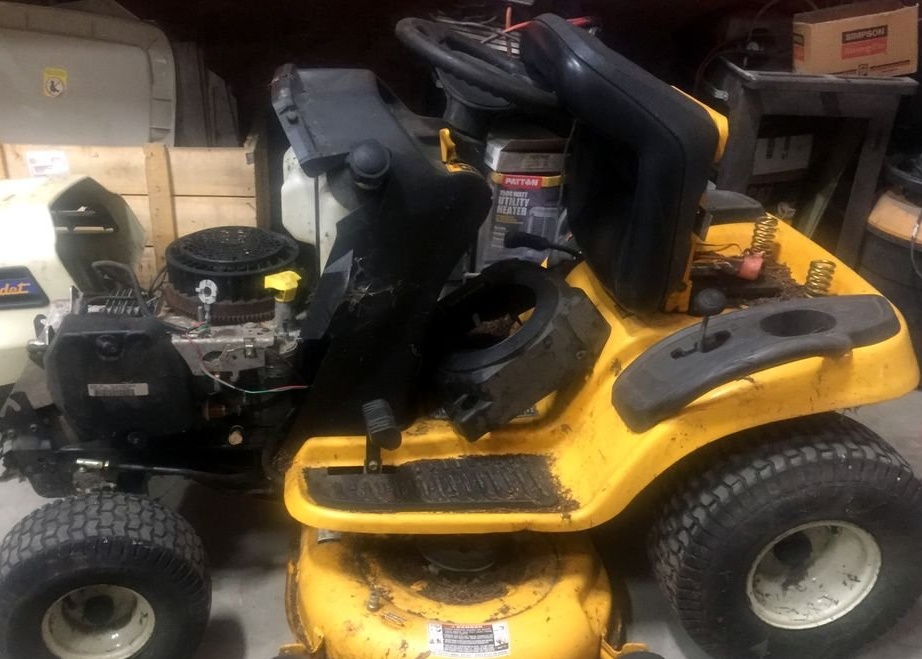
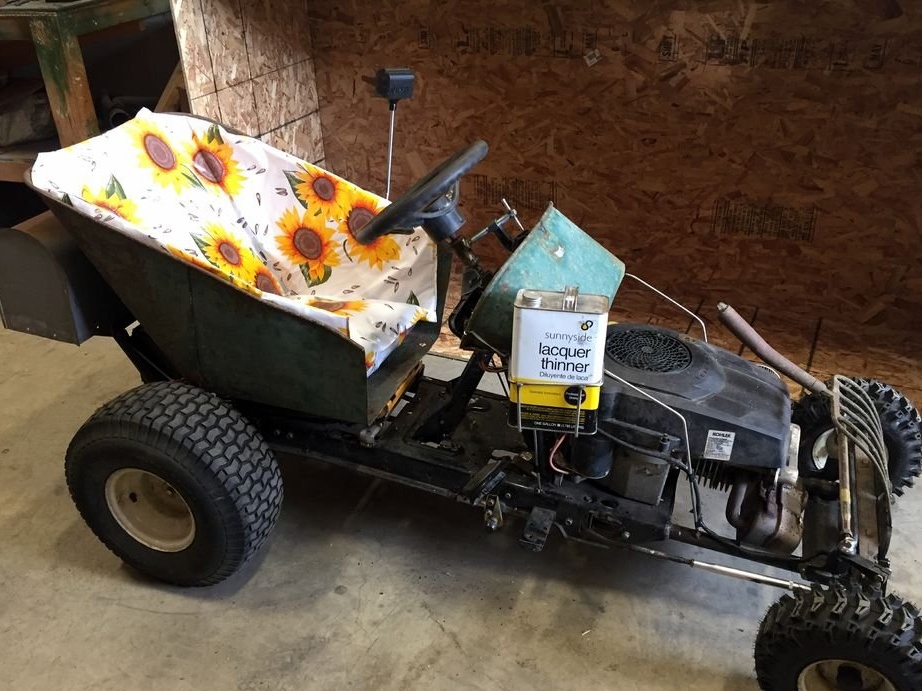
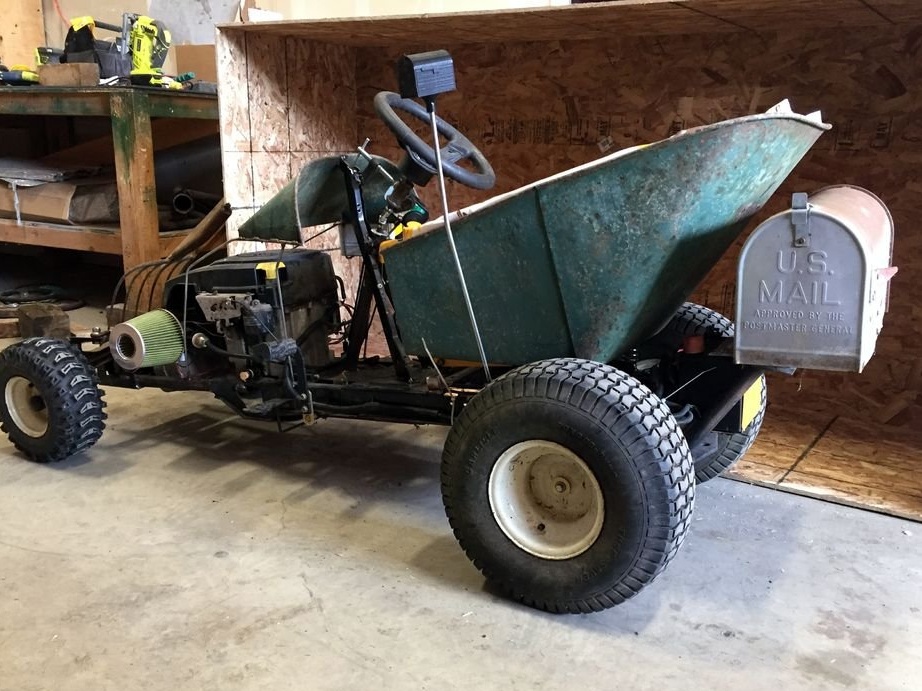
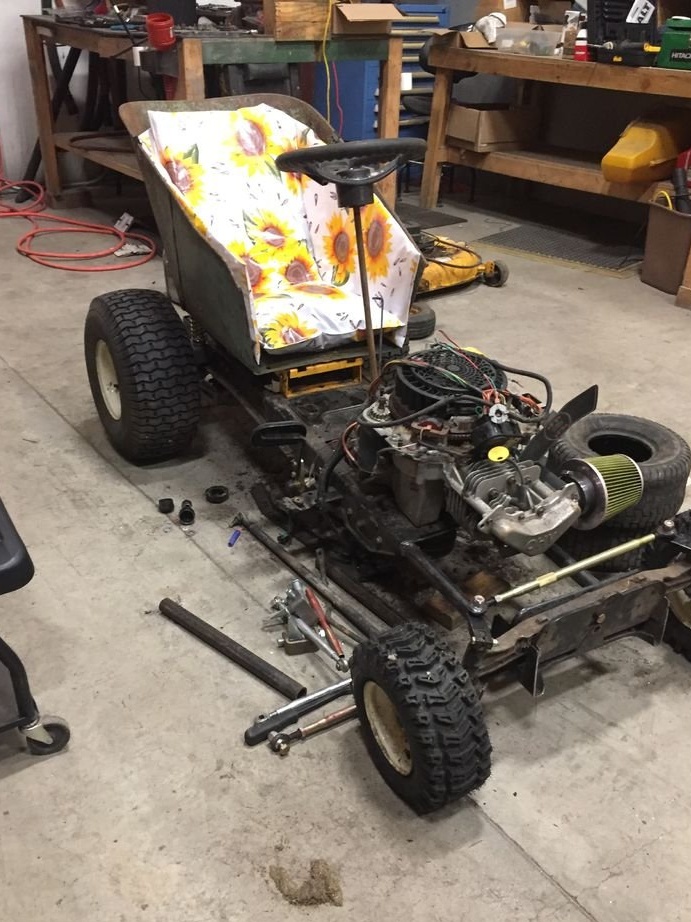
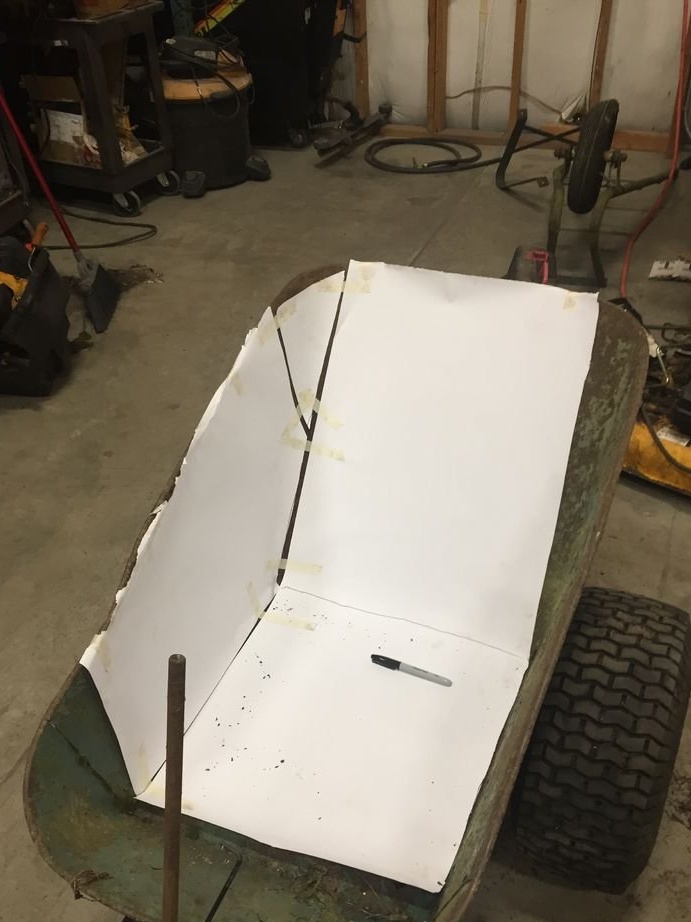
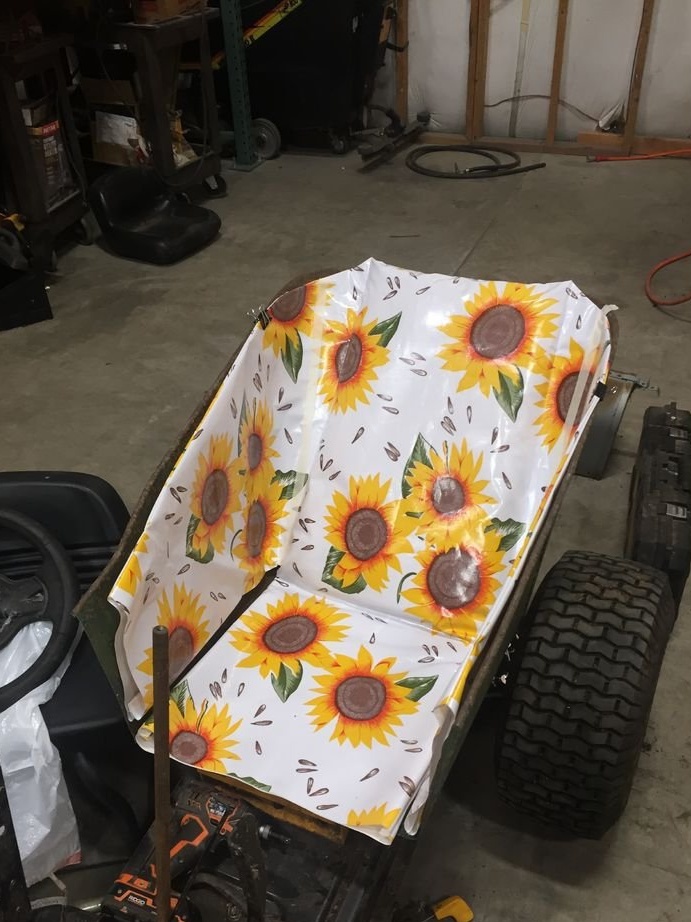
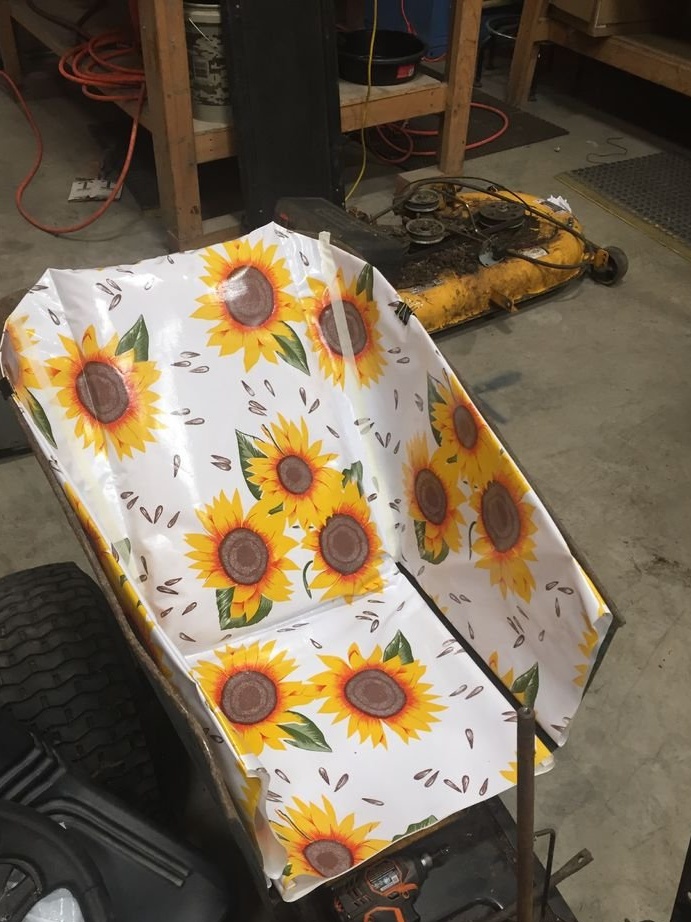
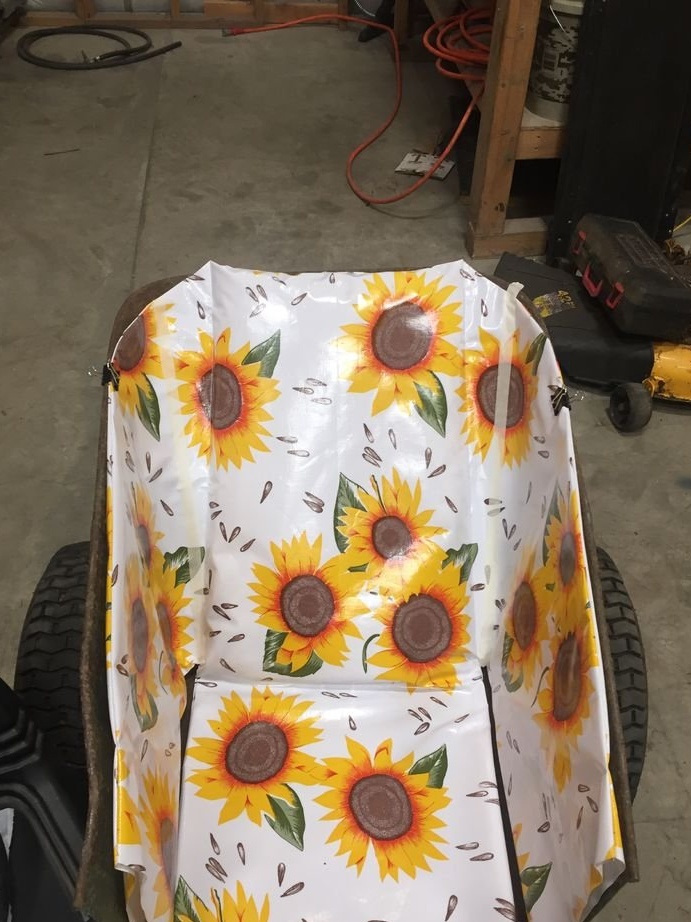
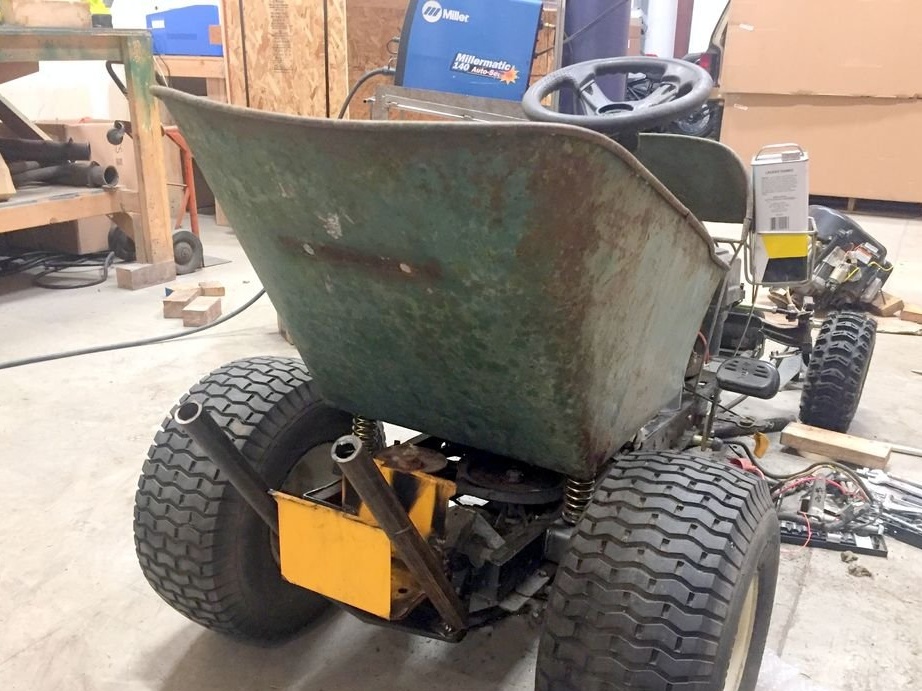
Step Two: Seat
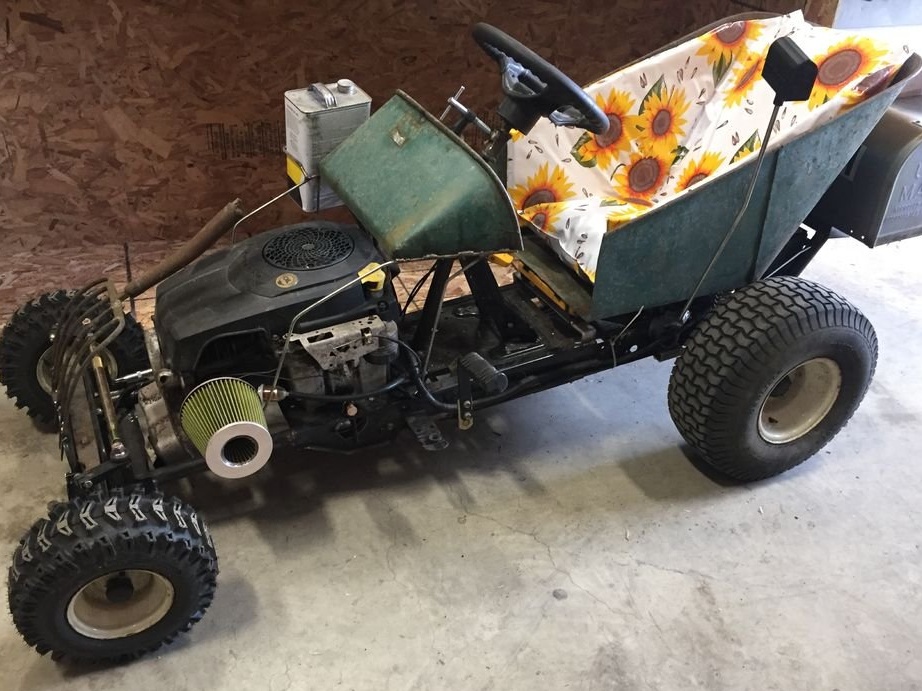
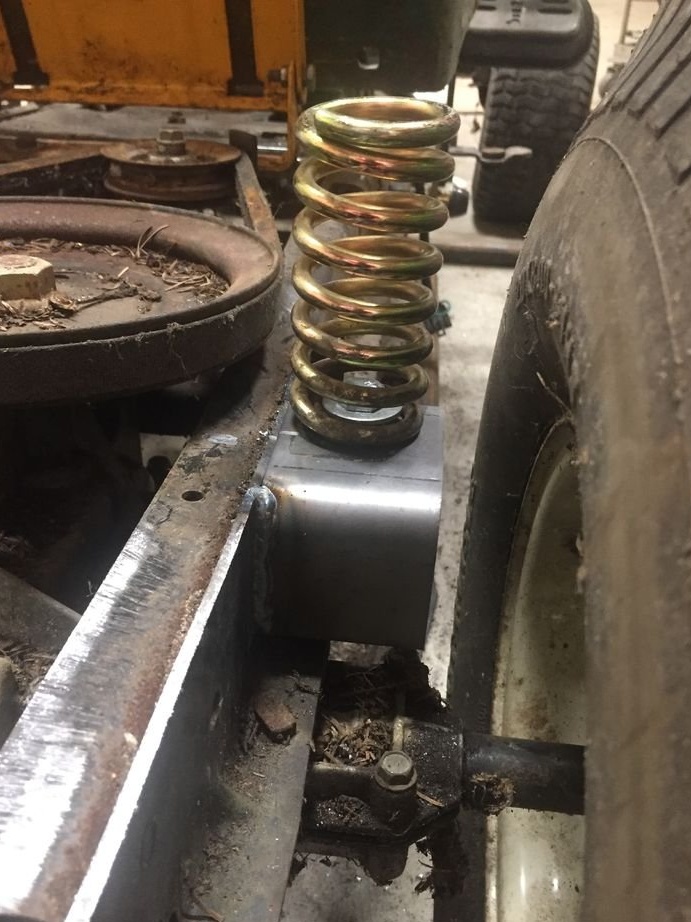
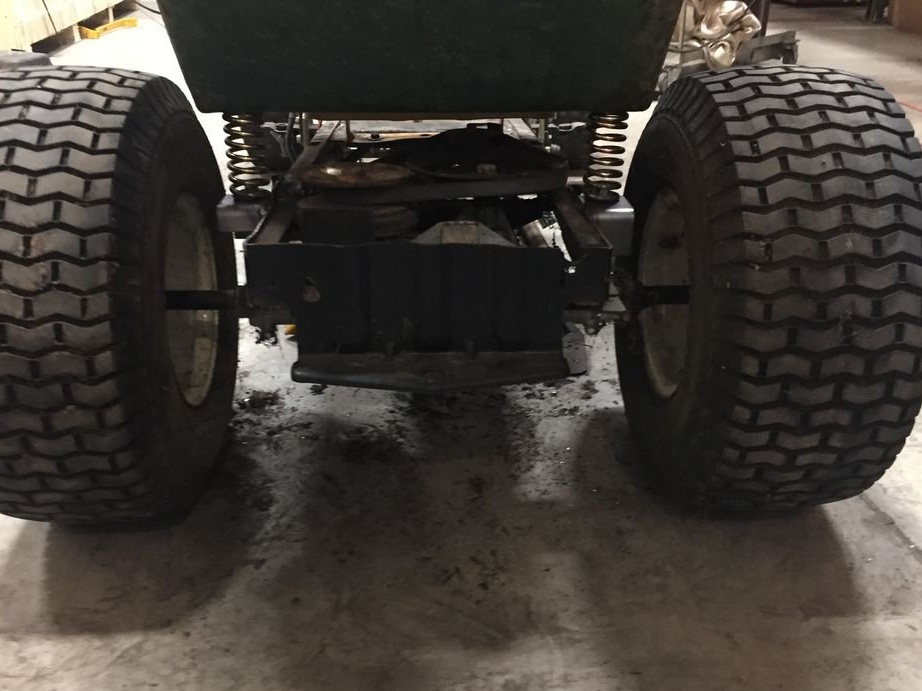
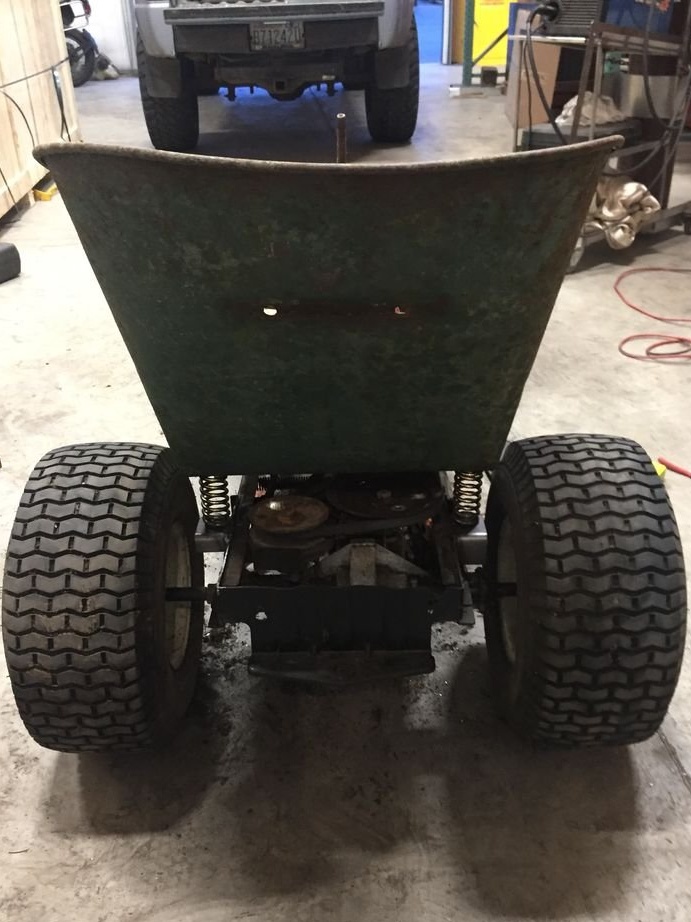
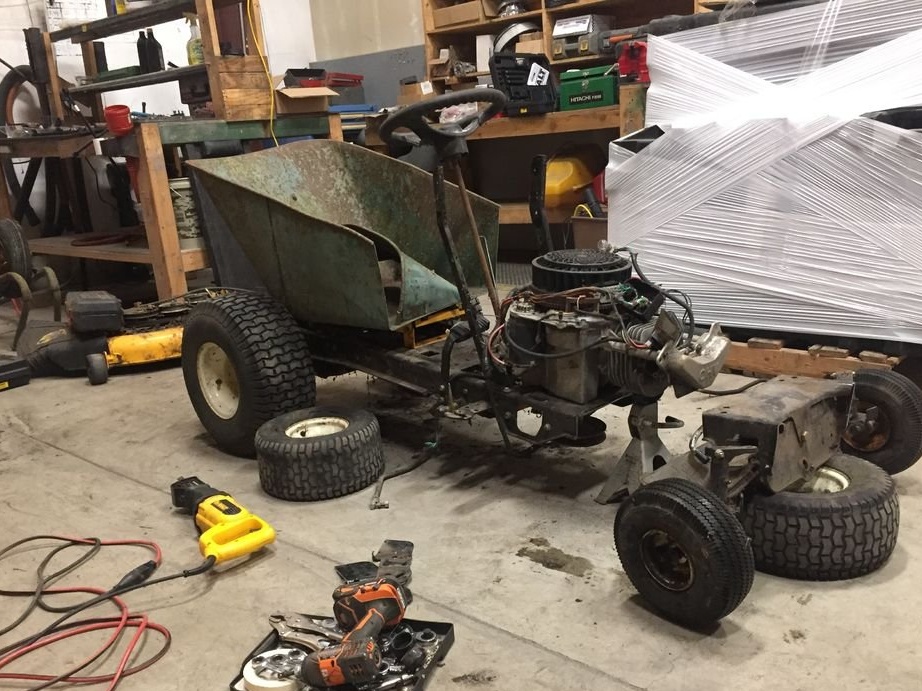
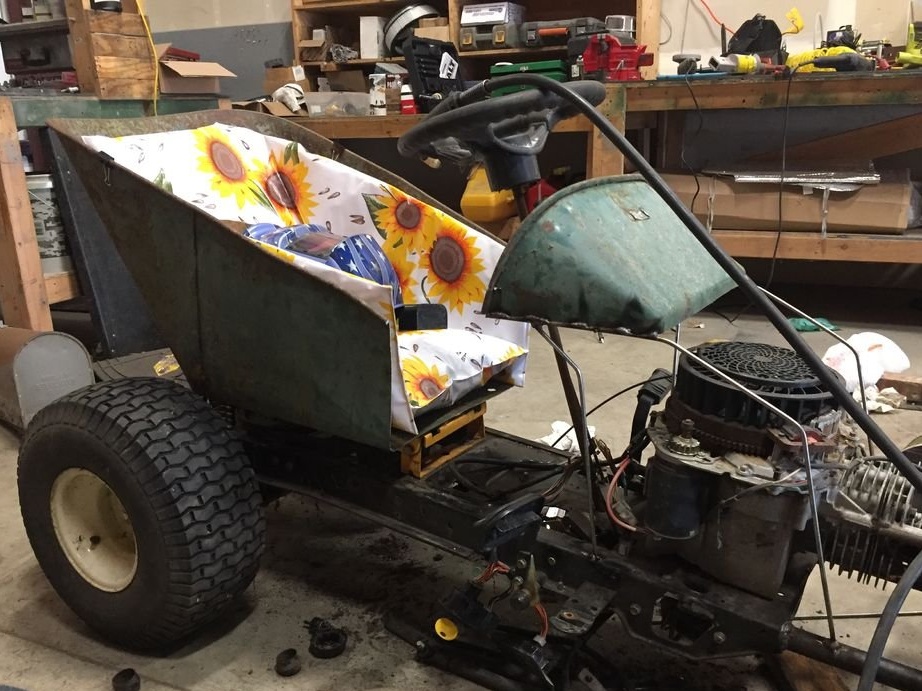
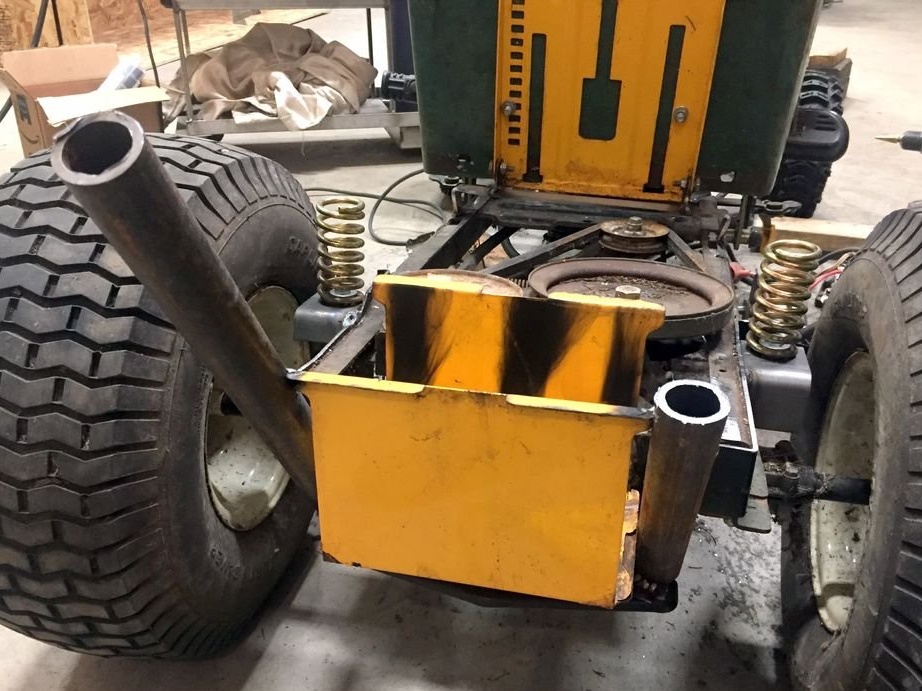
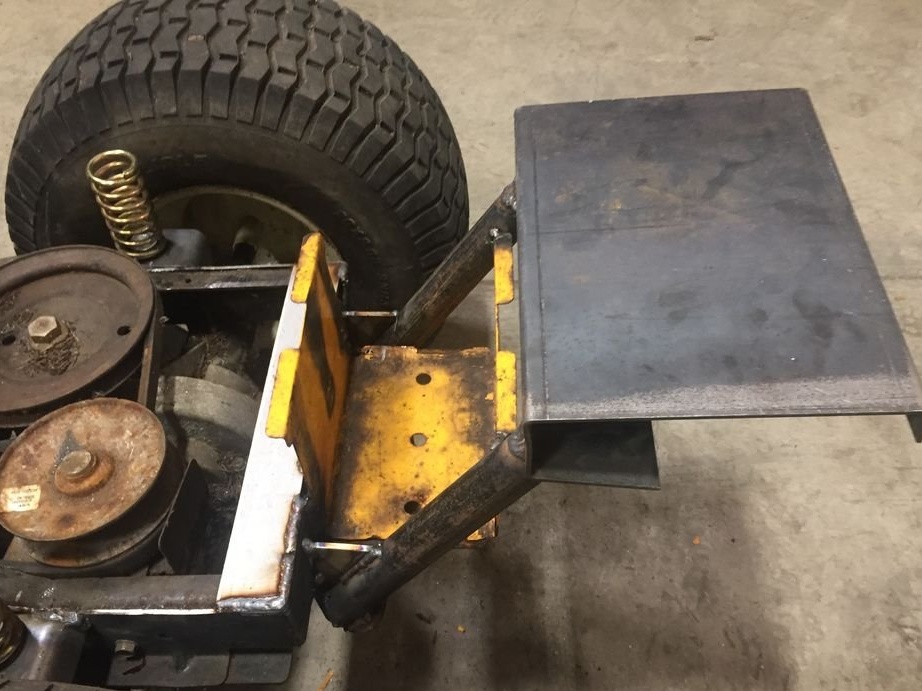
Instead of the old seat, the master installs a box of a garden car. Holes were drilled in the box, and it was fixed to the base of the old seat. For cushioning, springs were installed under the seat.
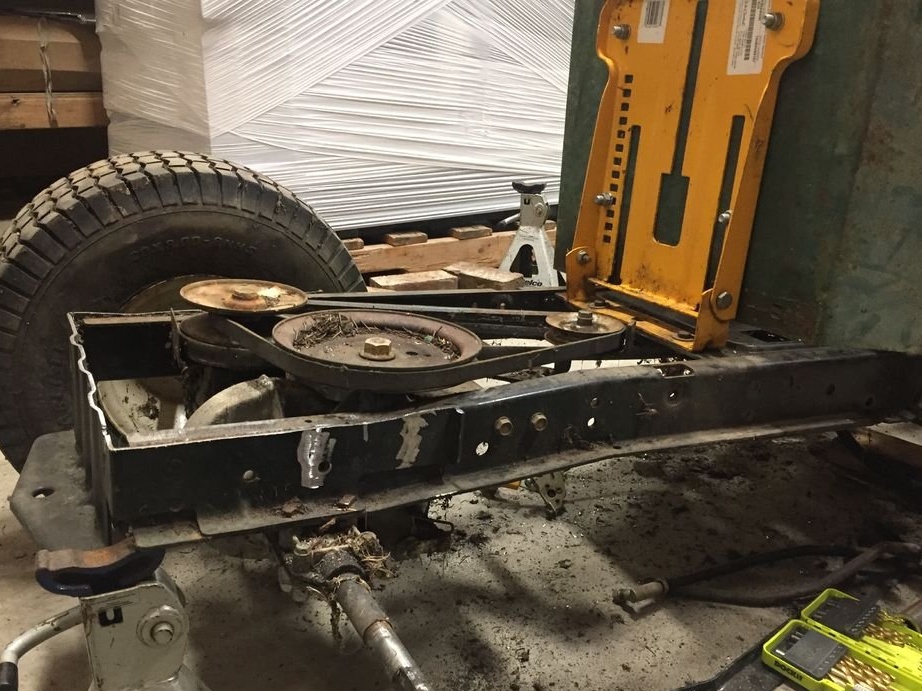
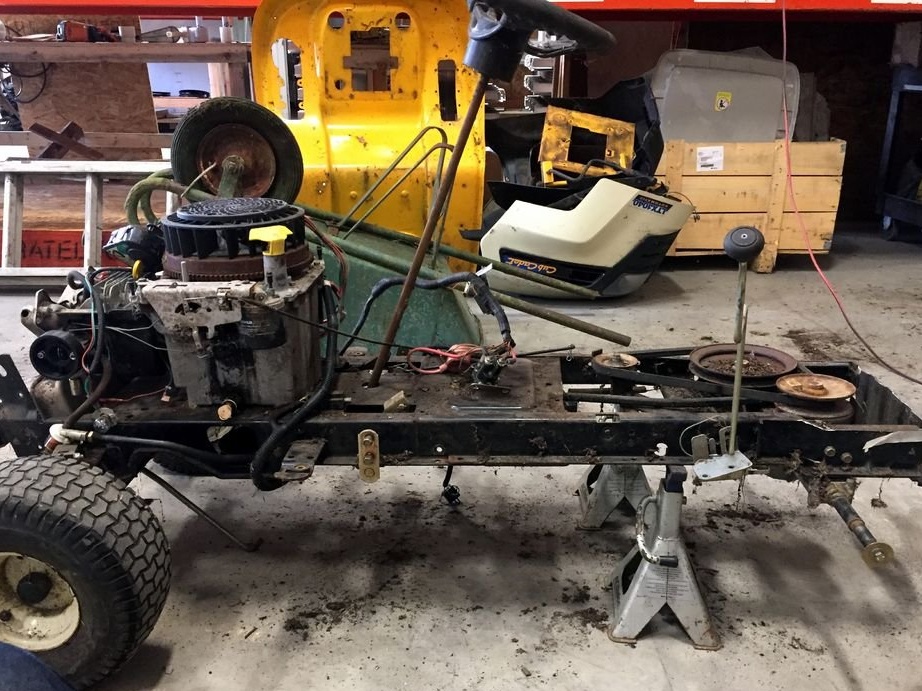
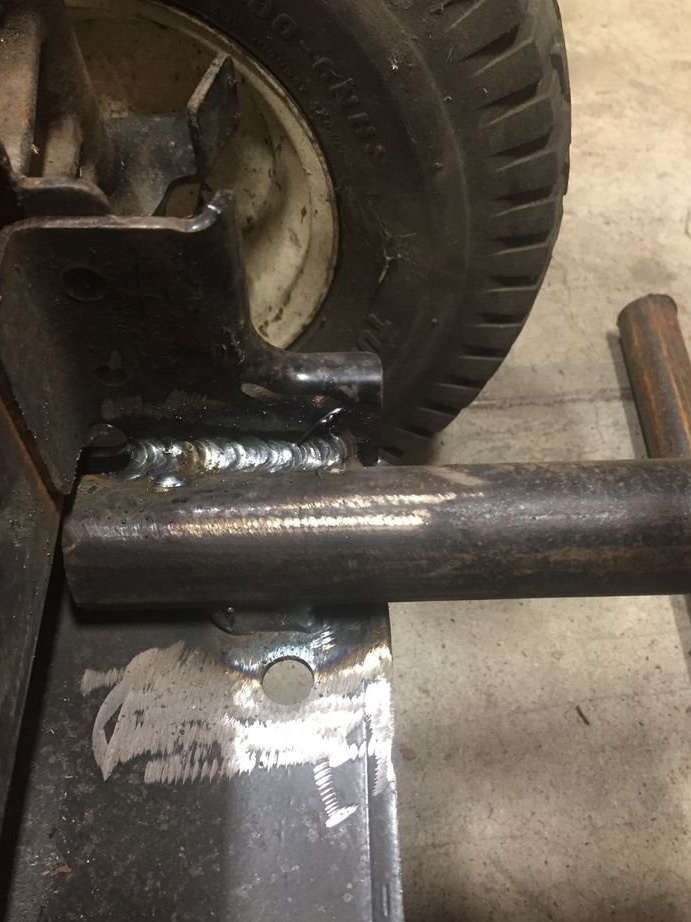
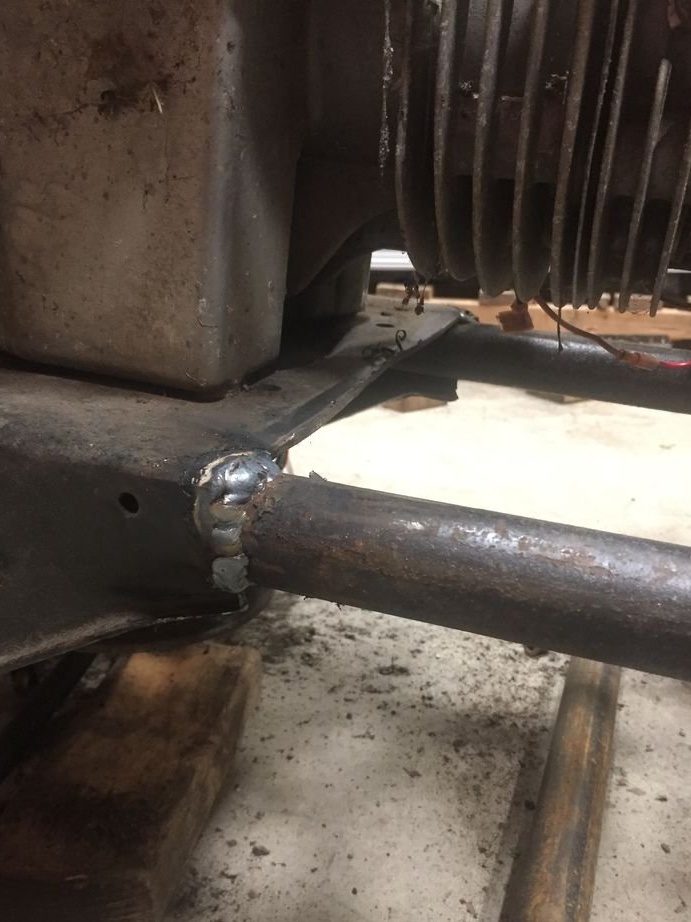
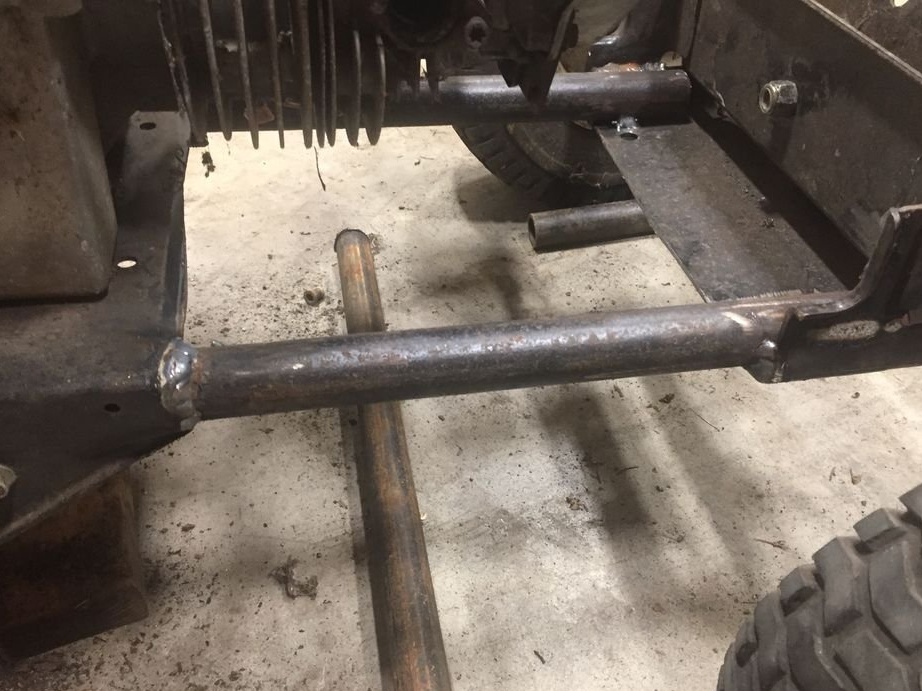
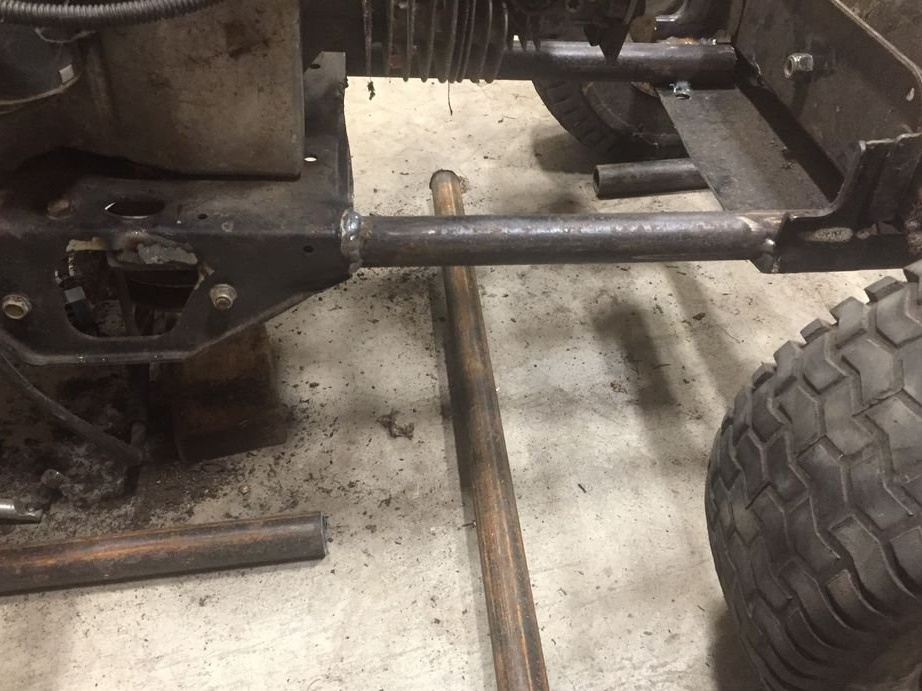
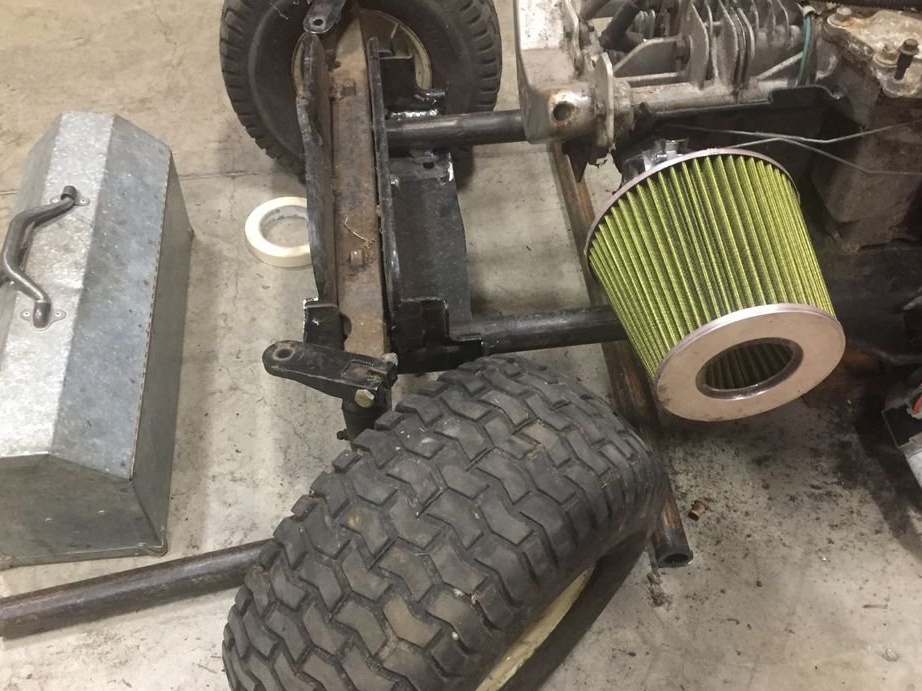
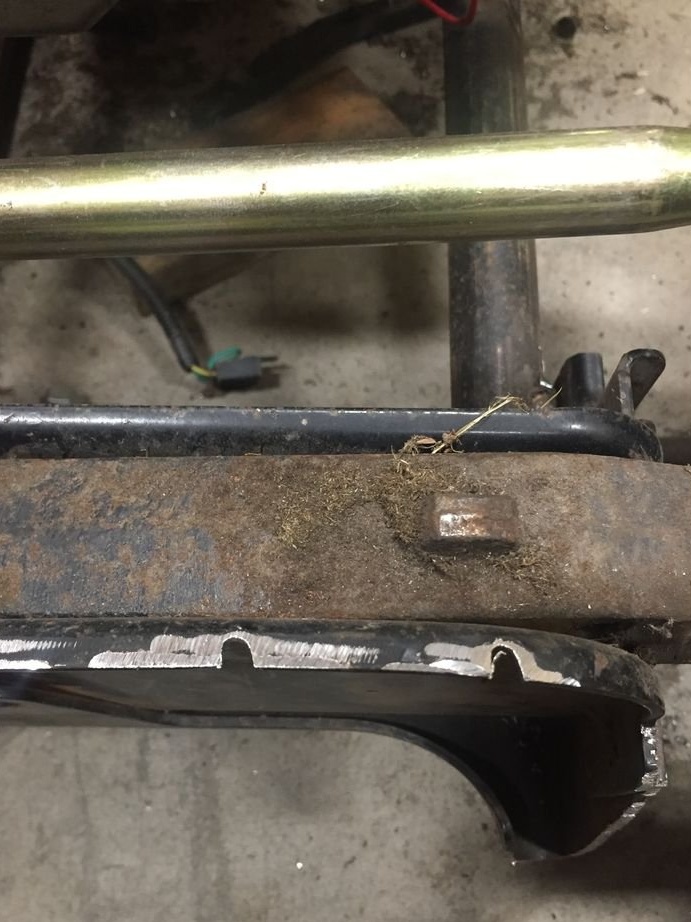
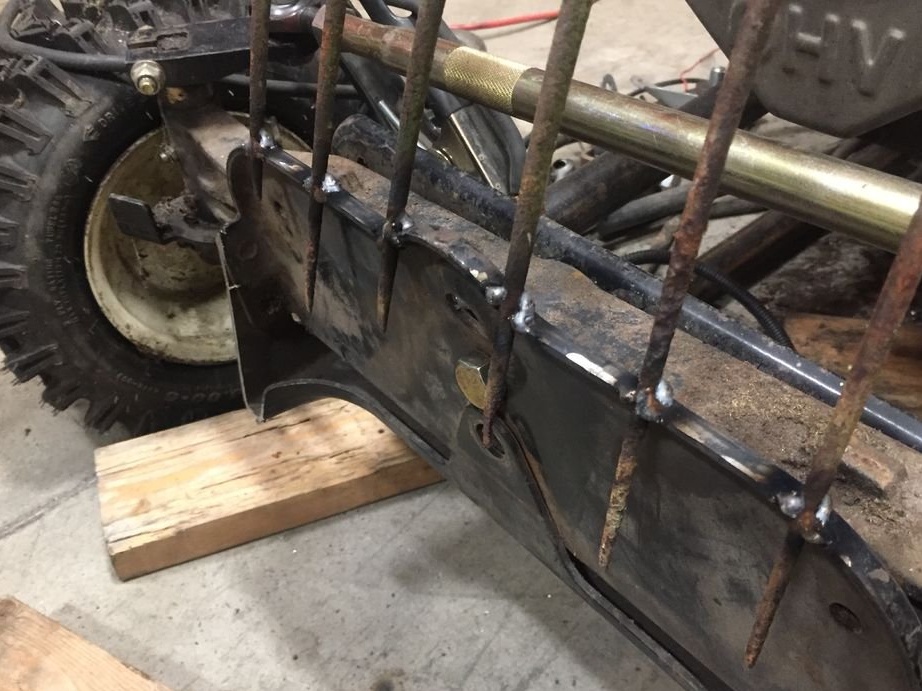
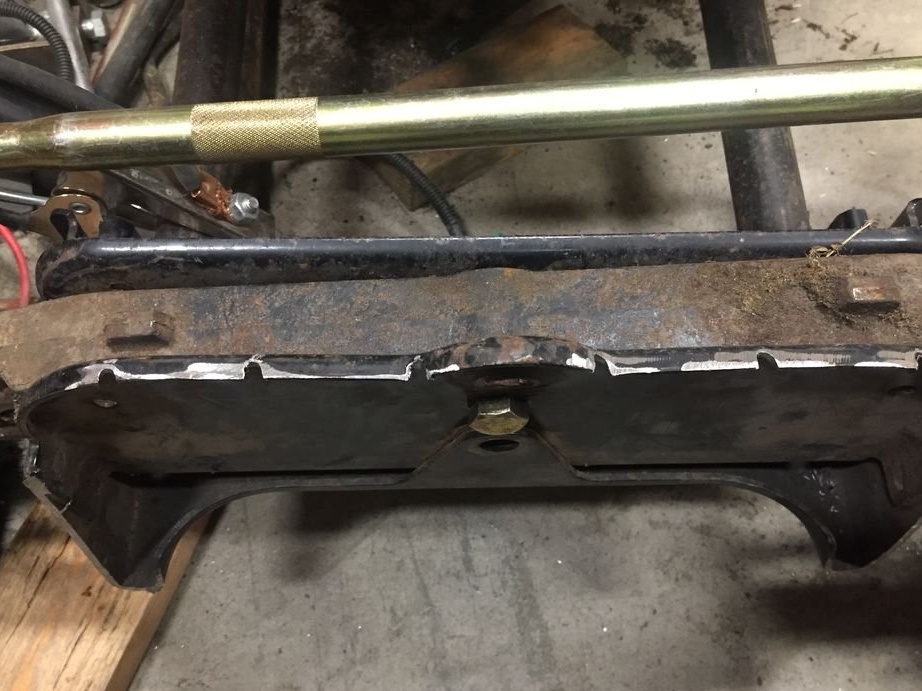
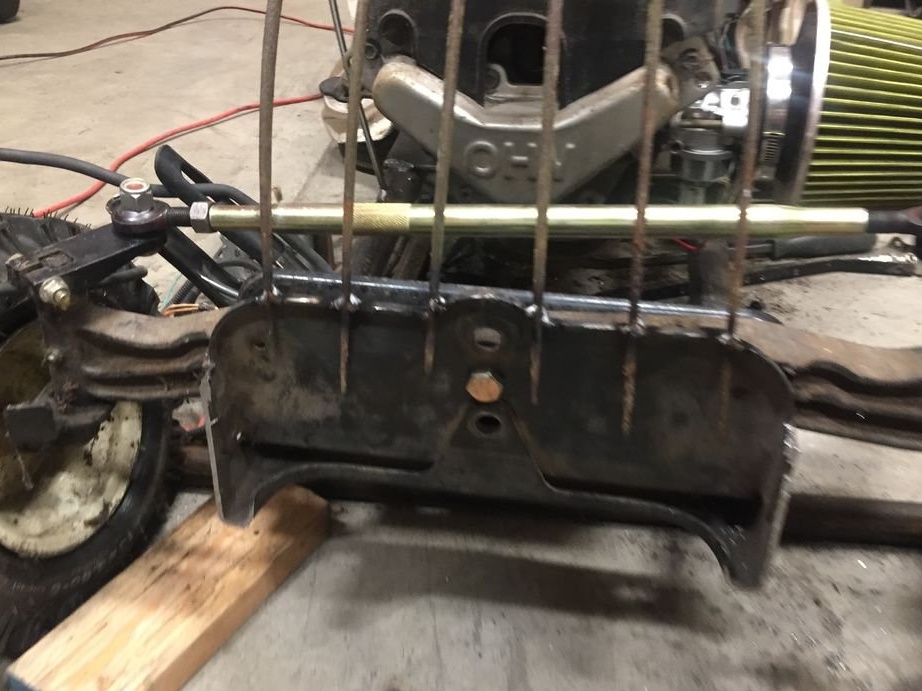
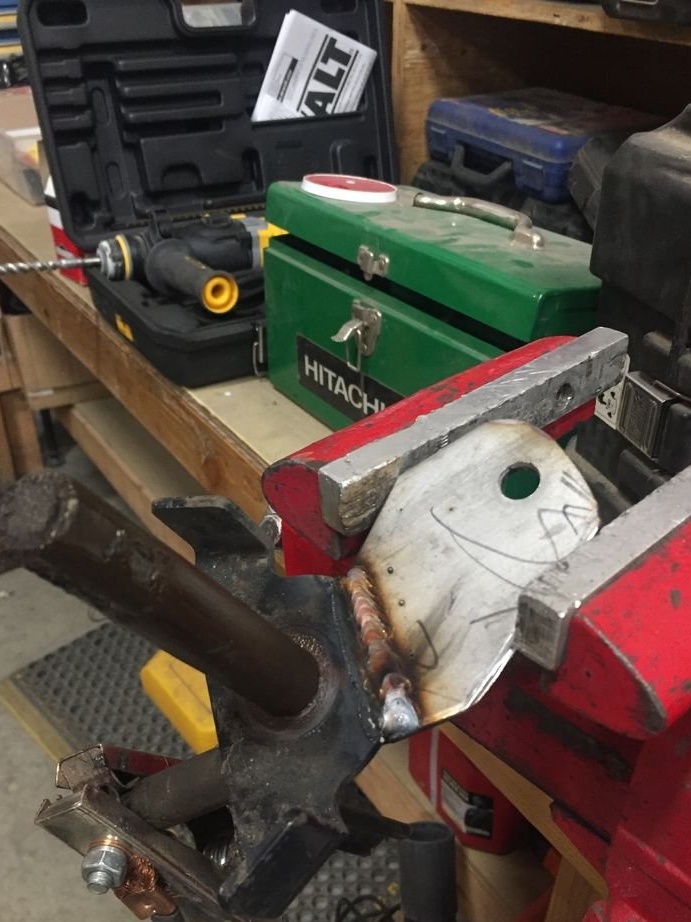
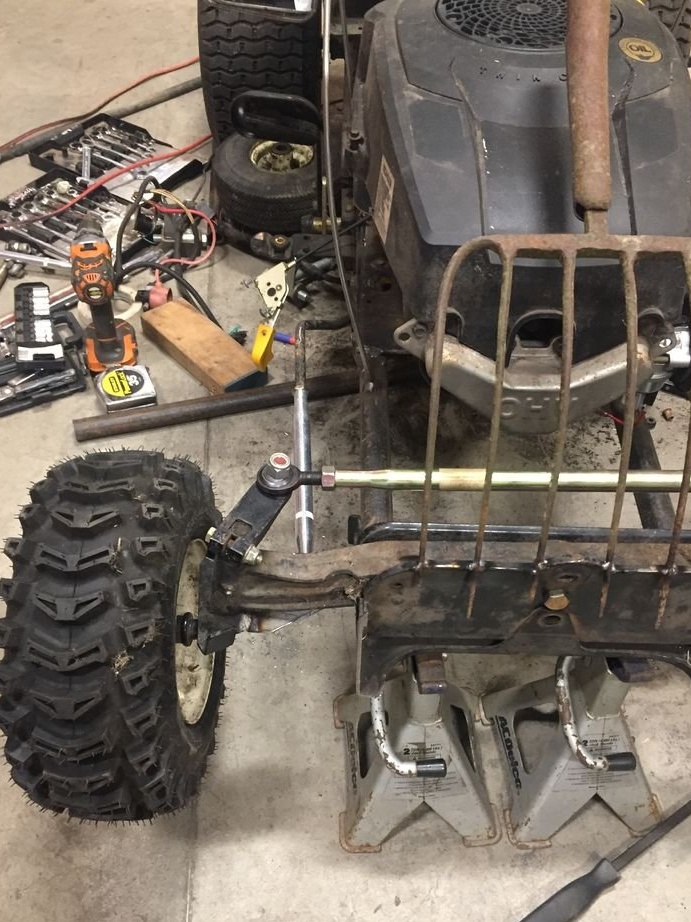
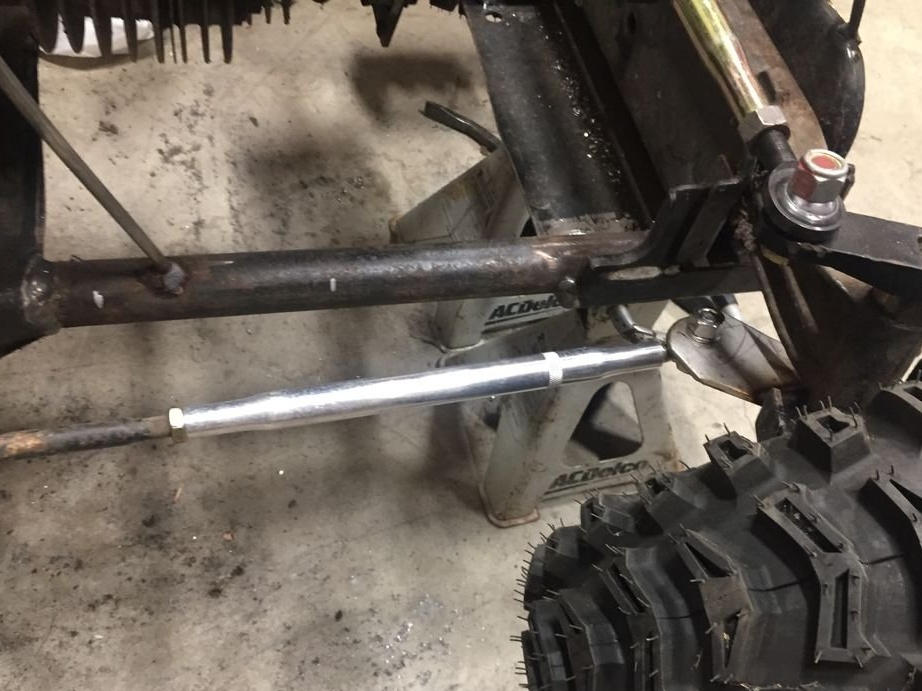
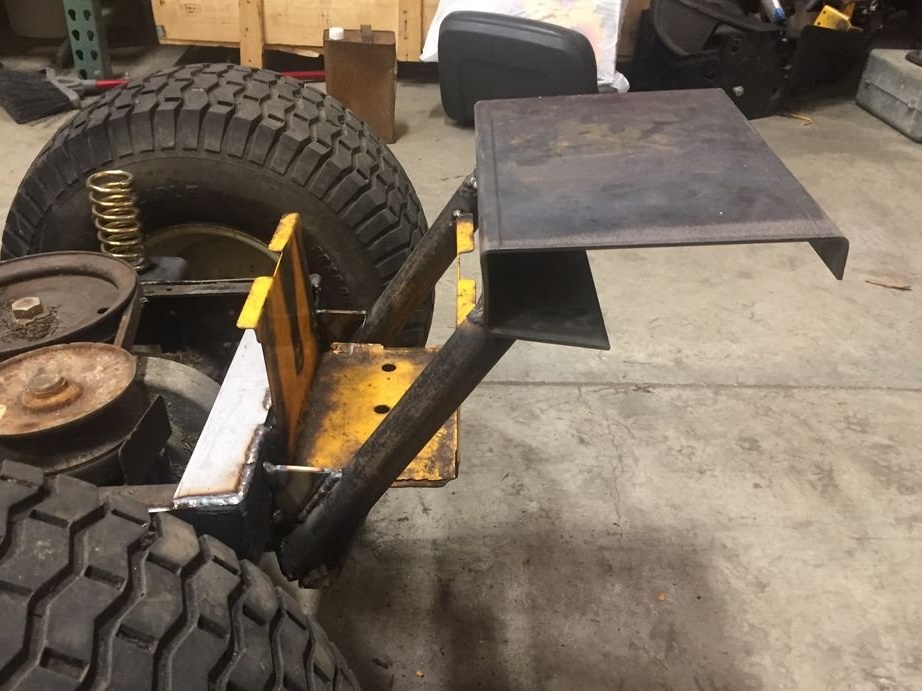
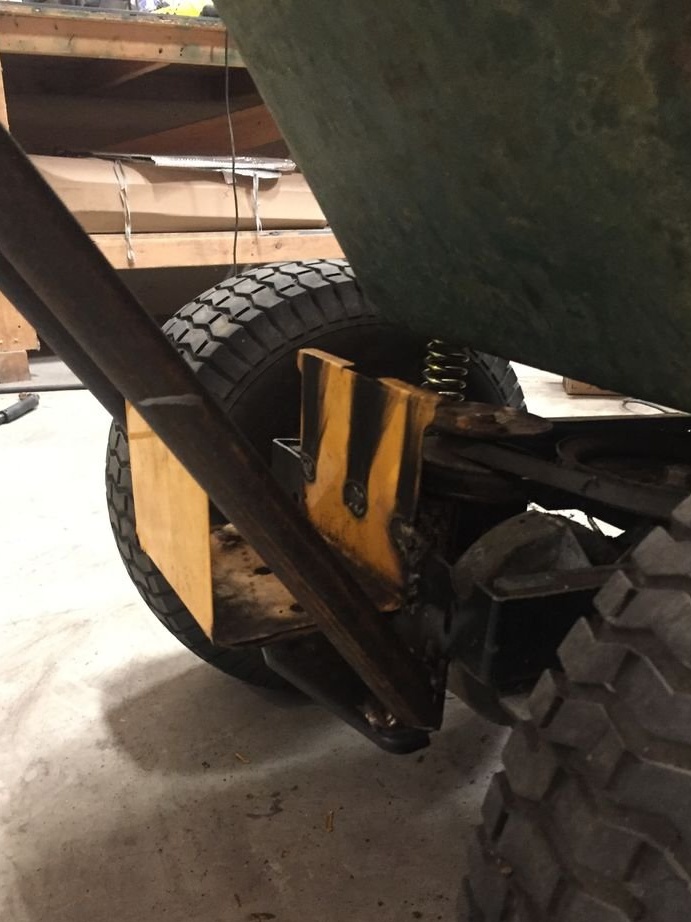
Step Three: Chassis
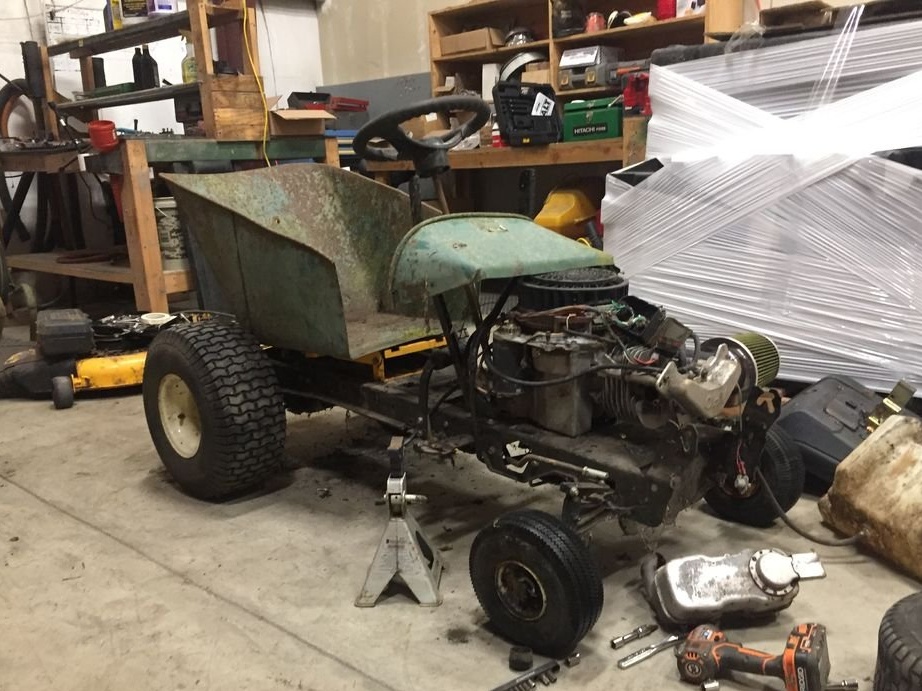
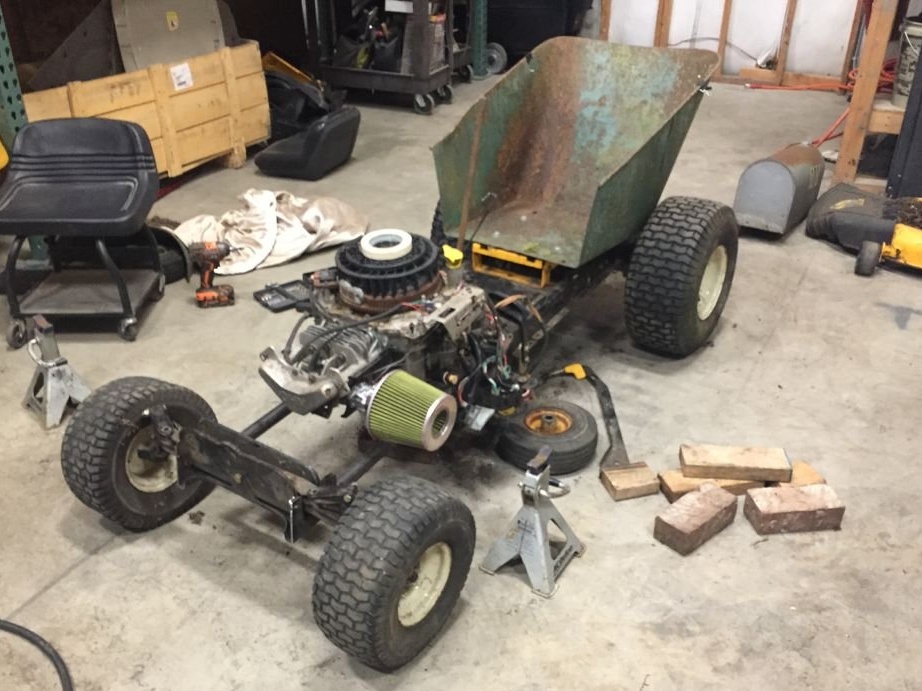
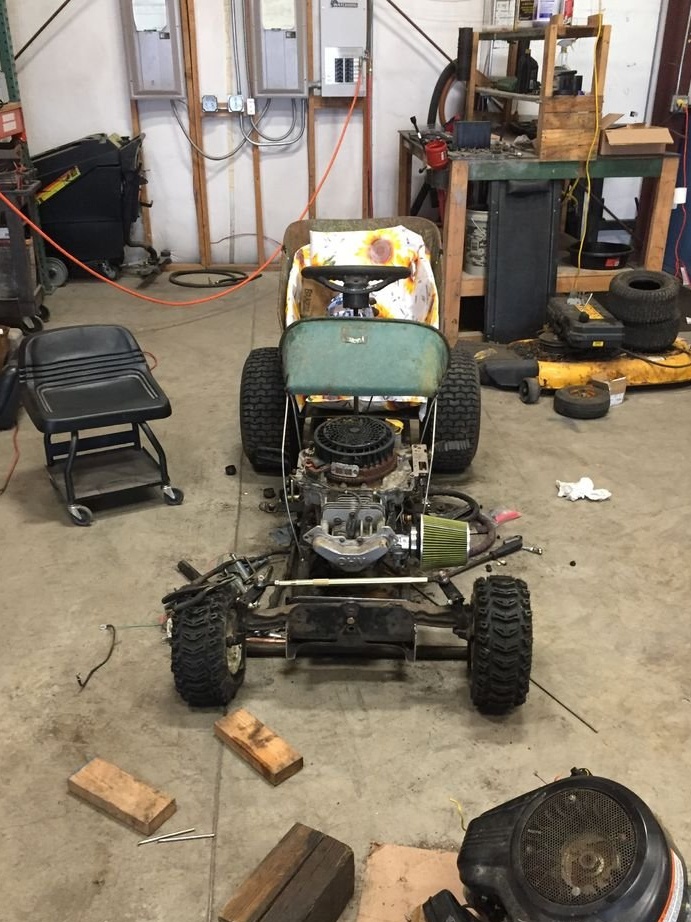
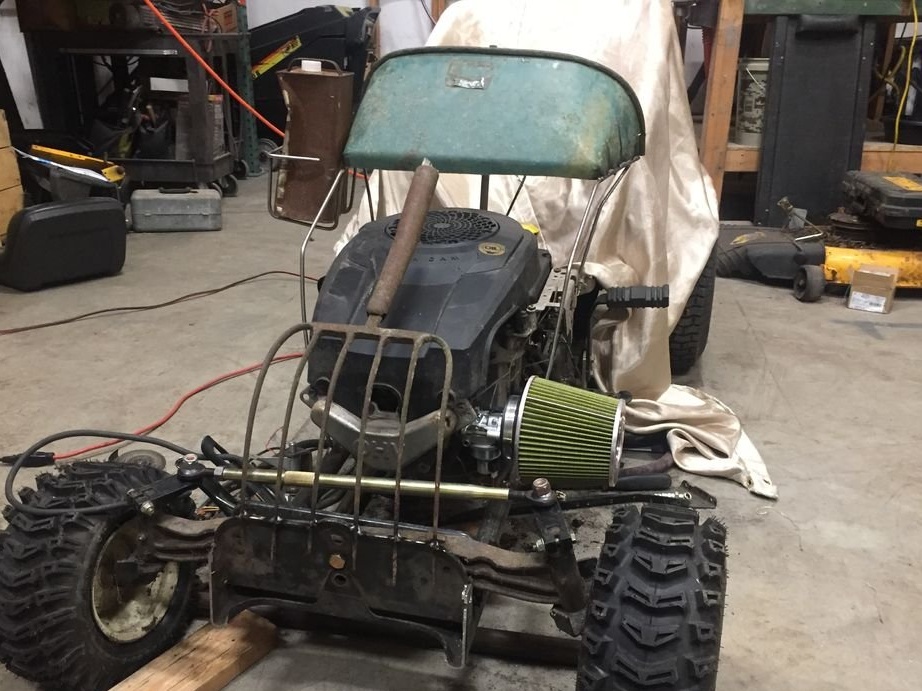
Next, the master cuts off the front of the frame. The chassis will be redone, new wheels and tie rods will be installed.
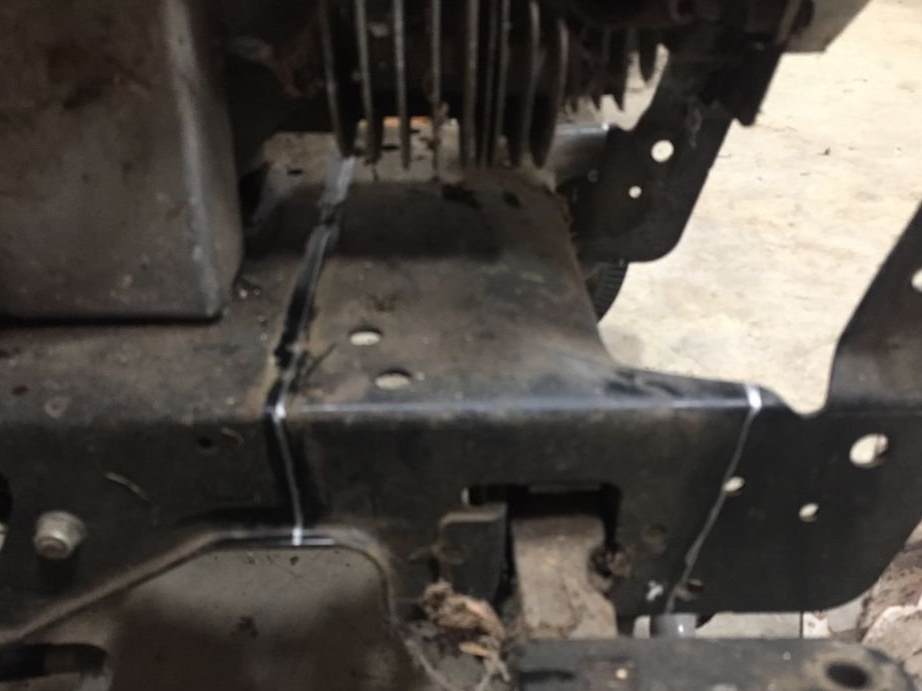
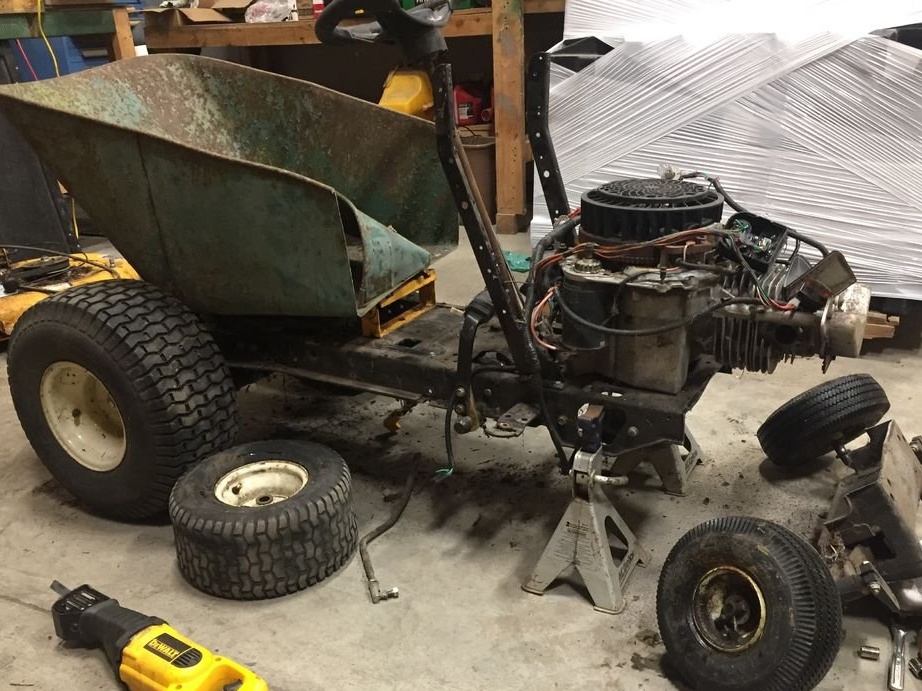
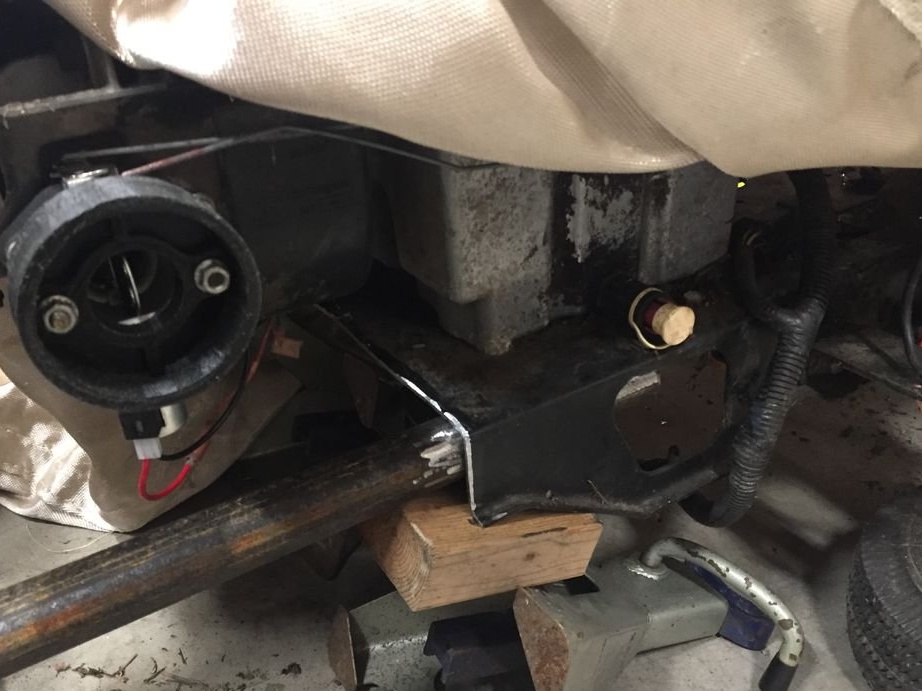
The previously cut front part is connected to the frame using a pipe. Those. the frame will be longer than before.


Step Four: Appearance
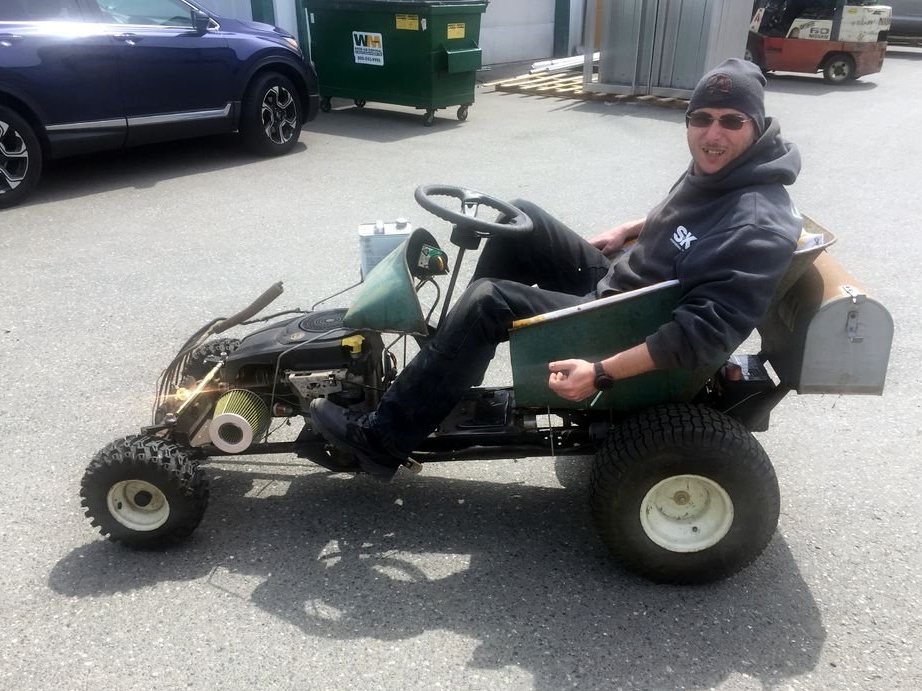
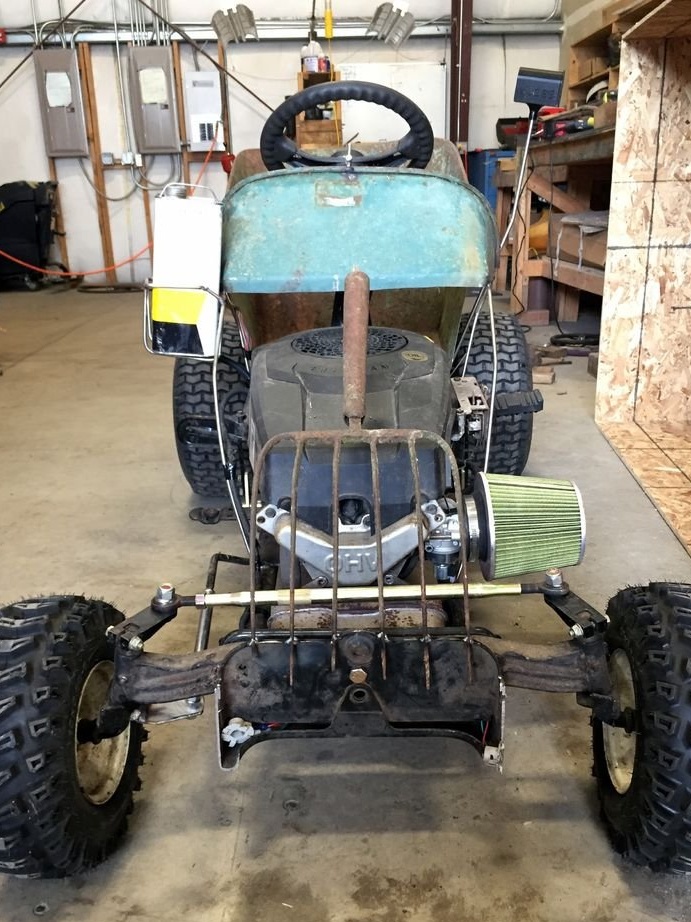
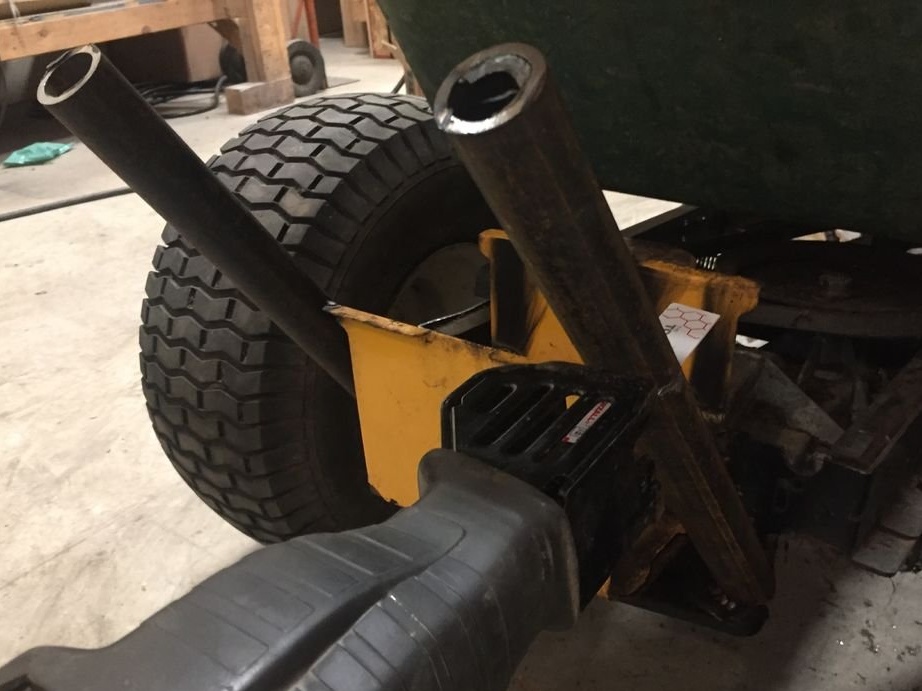
For entourage in front secures garden pitchforks.
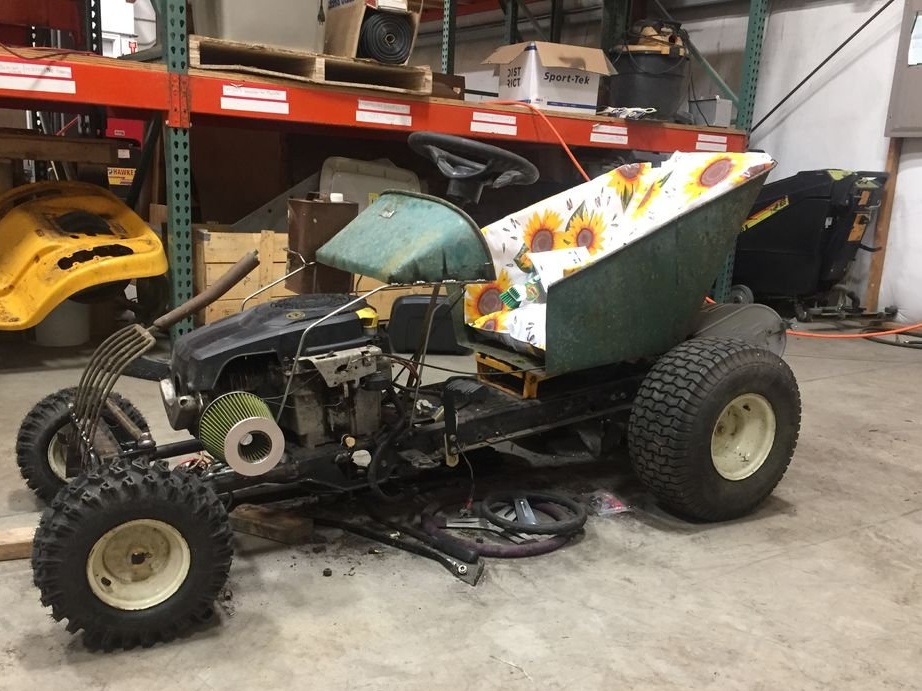
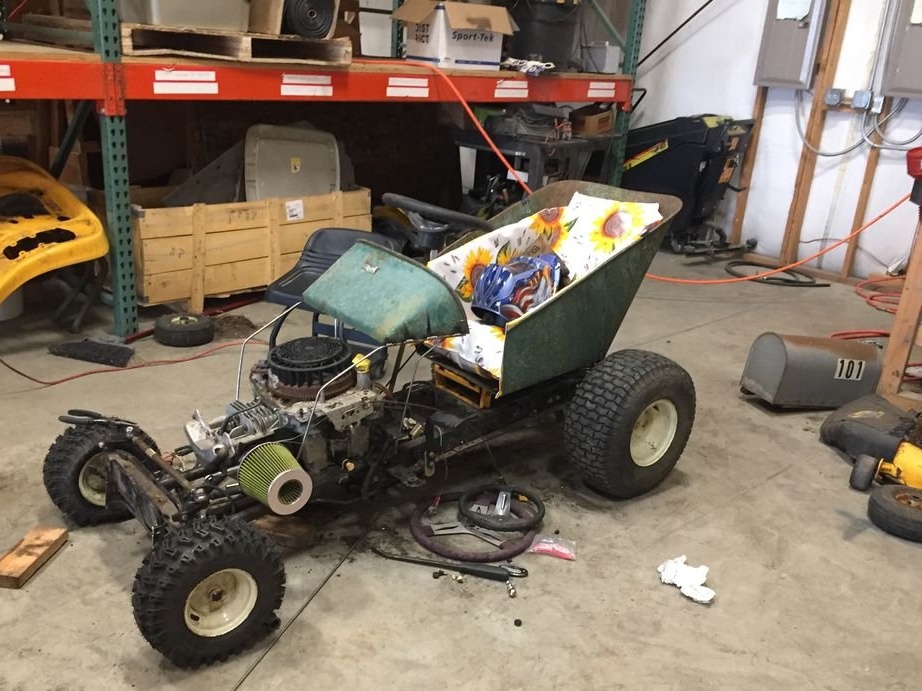
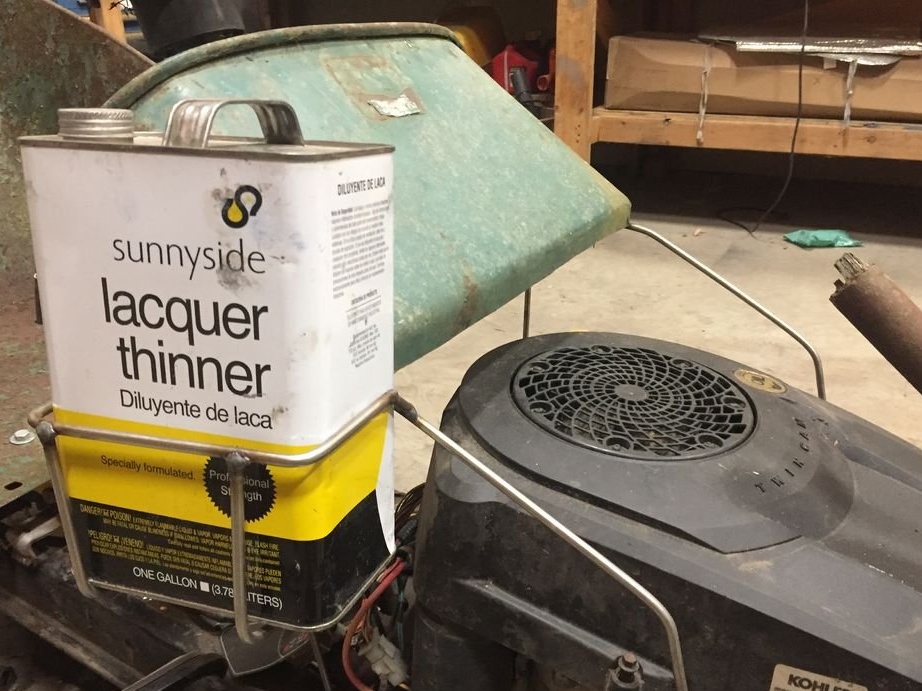
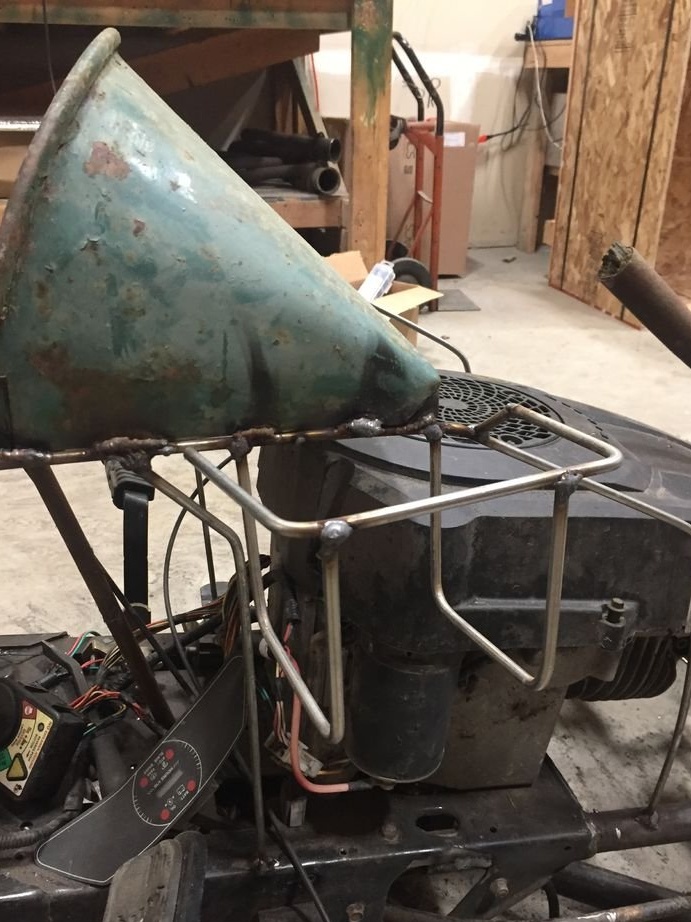
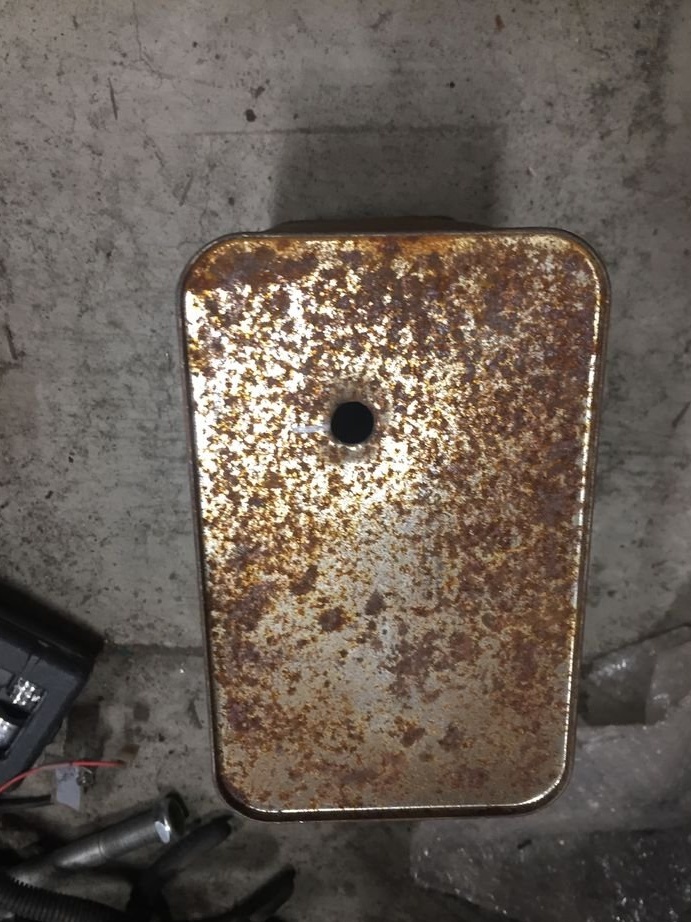
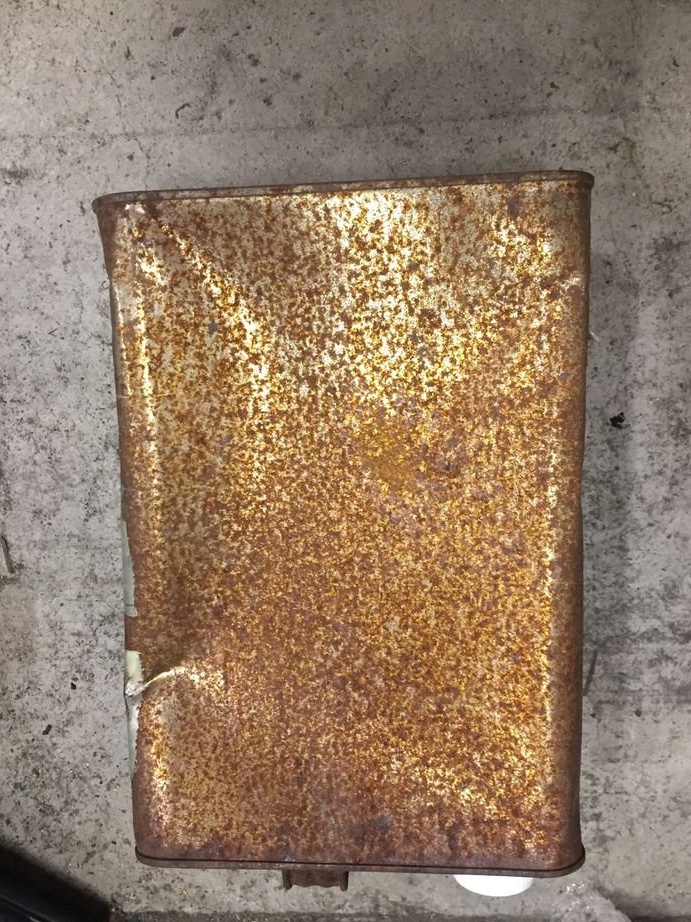
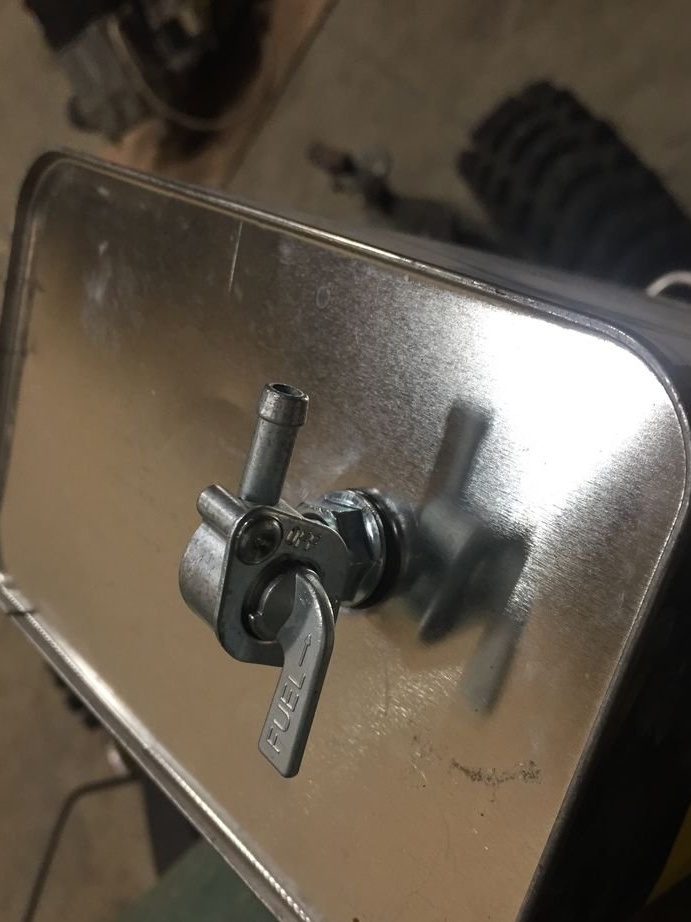
The master made a fuel tank from a metal can.
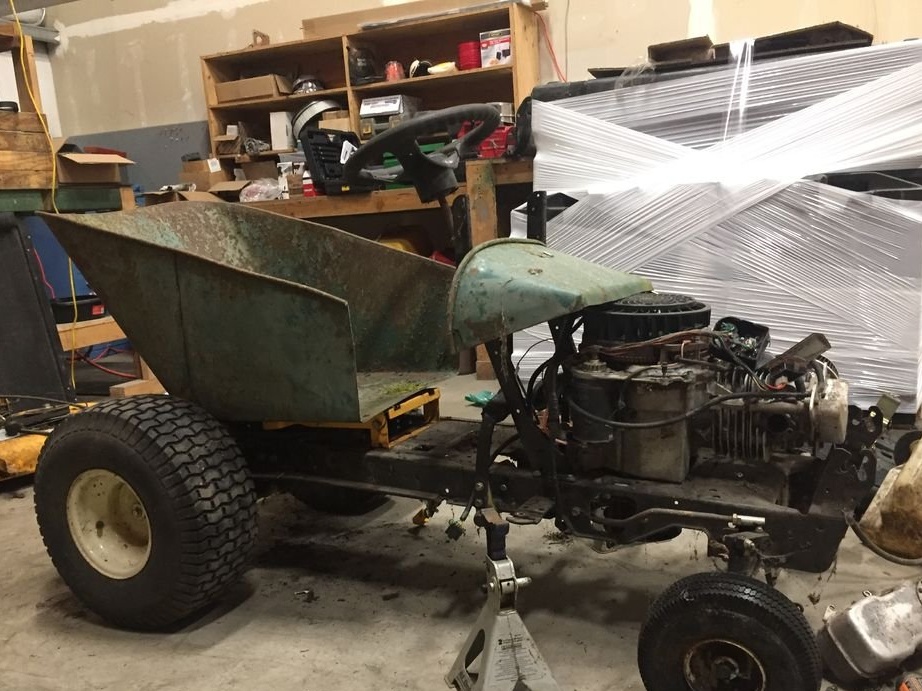
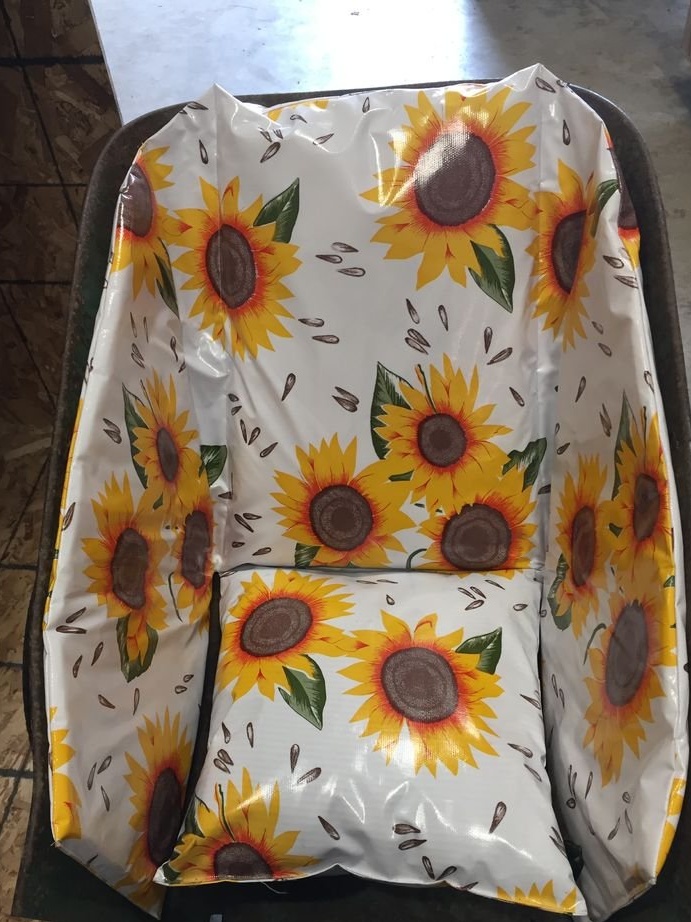
On the seat made soft pillows.
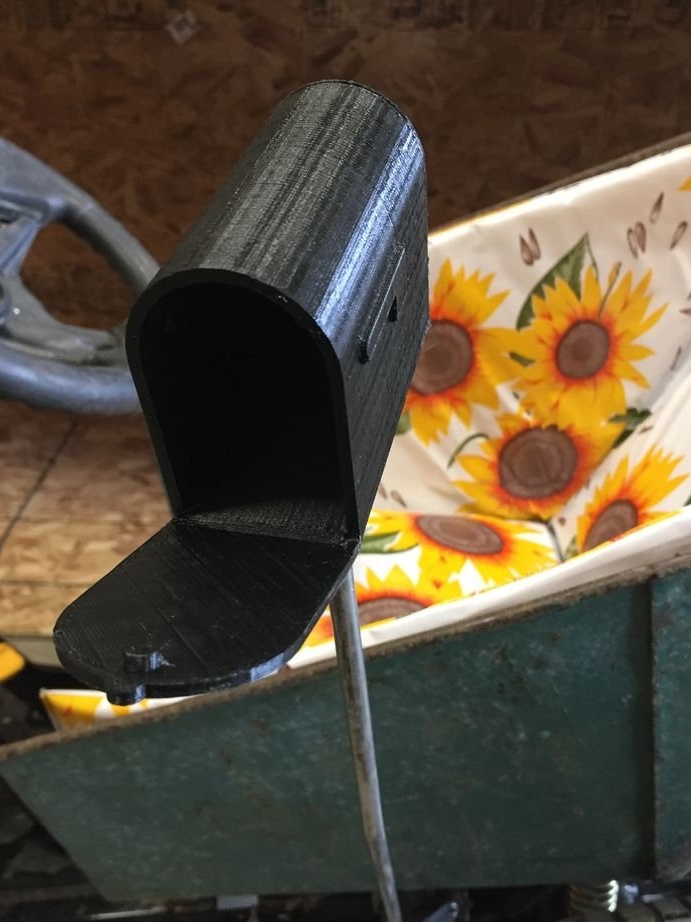
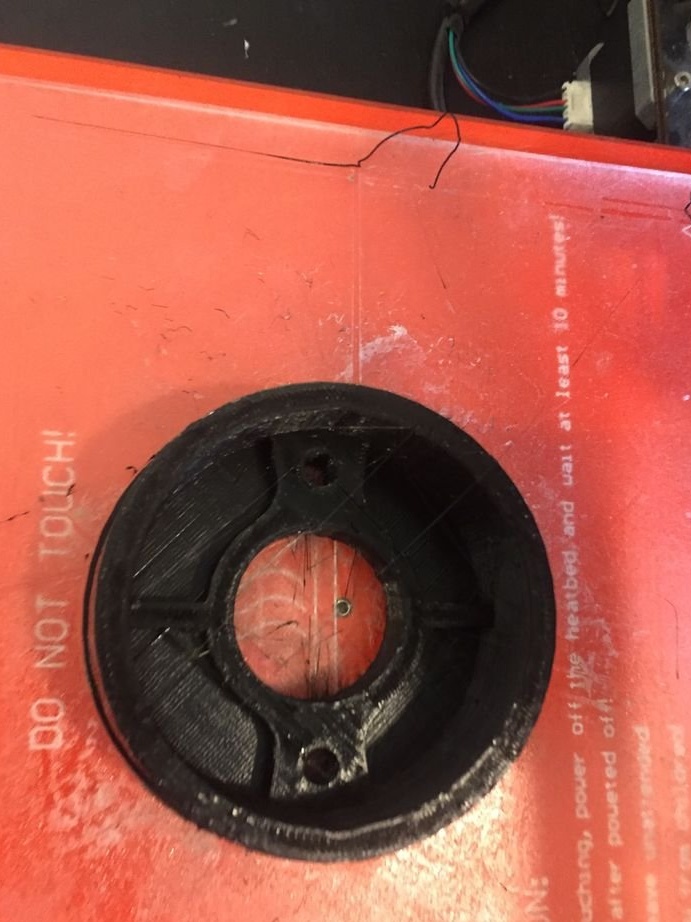
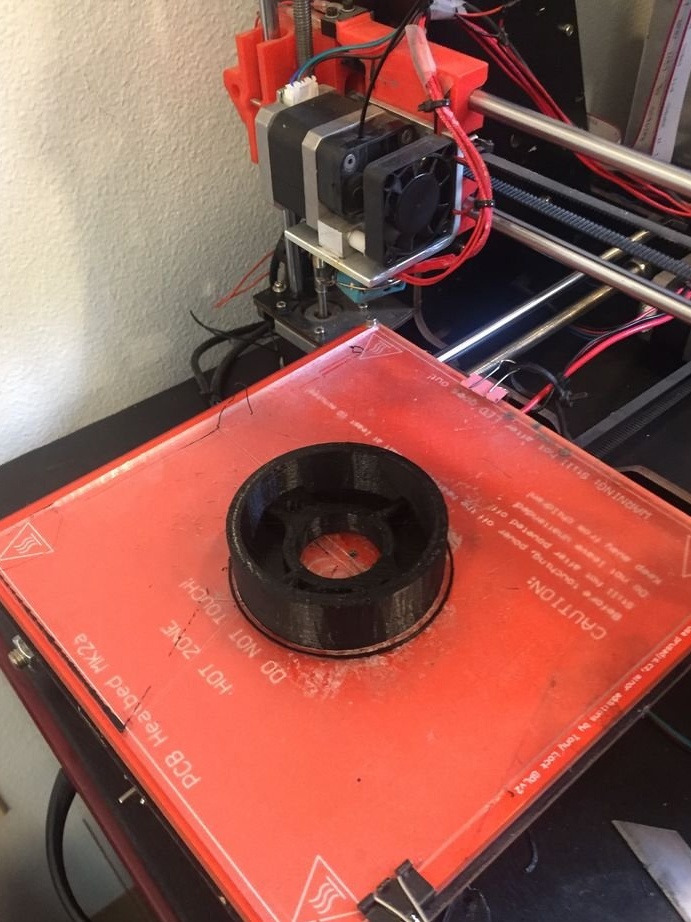
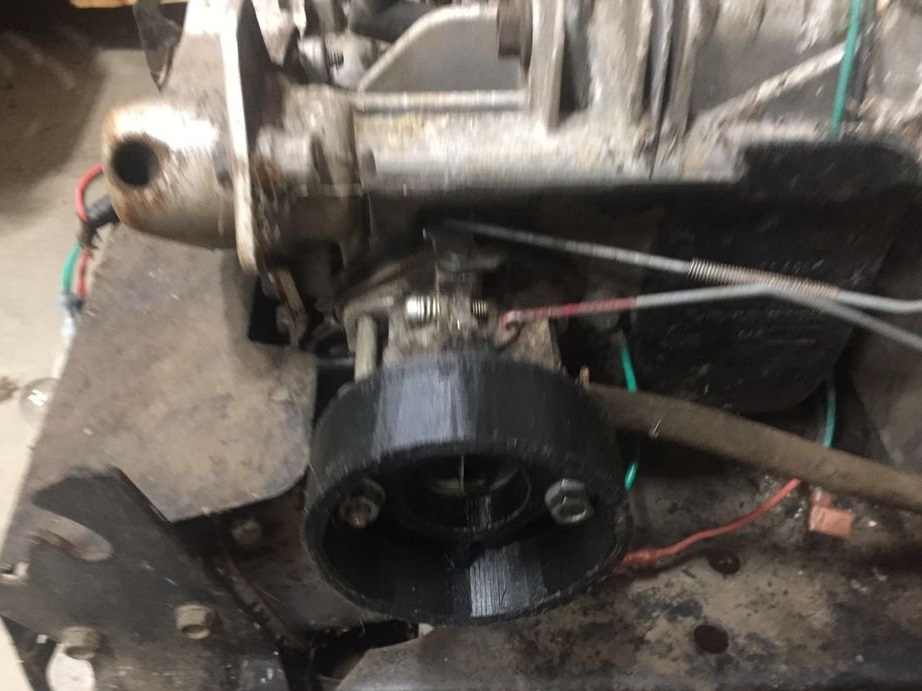
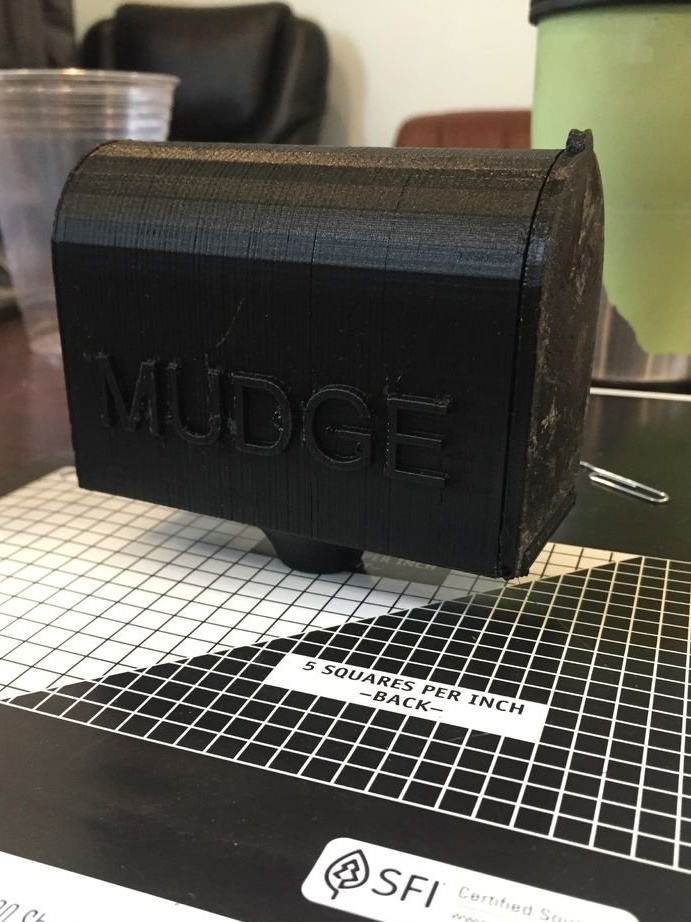
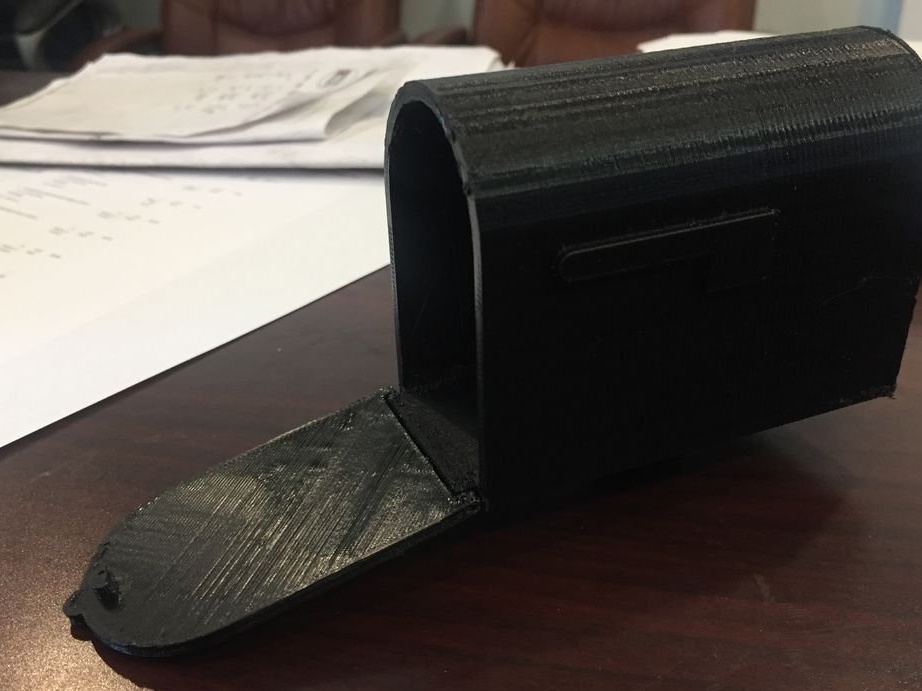
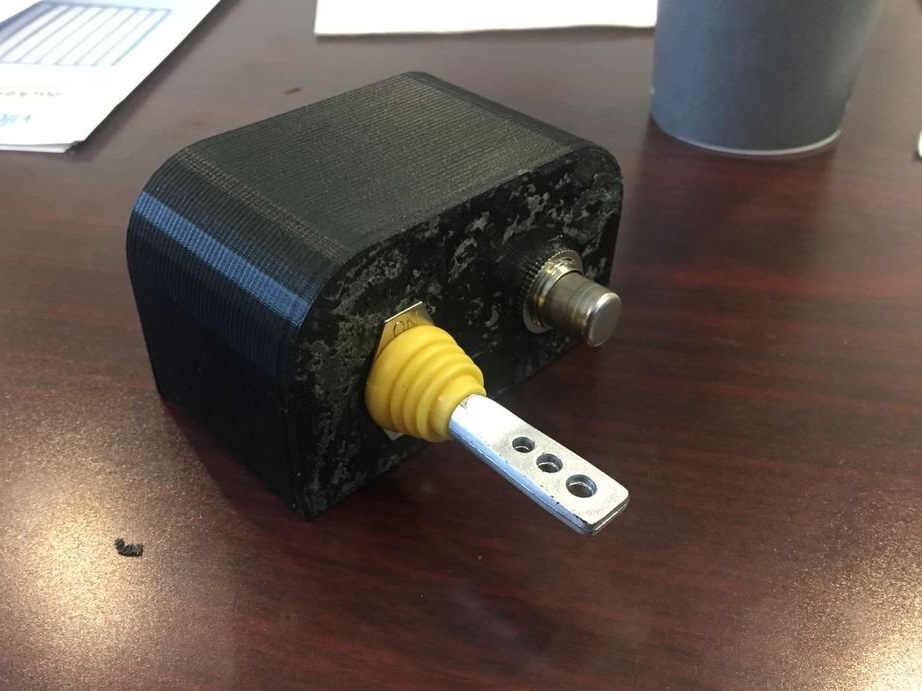
On a 3D printer, the master printed an adapter for installing an air filter, an ignition lock case and a mailbox (the master’s wife is a postman).

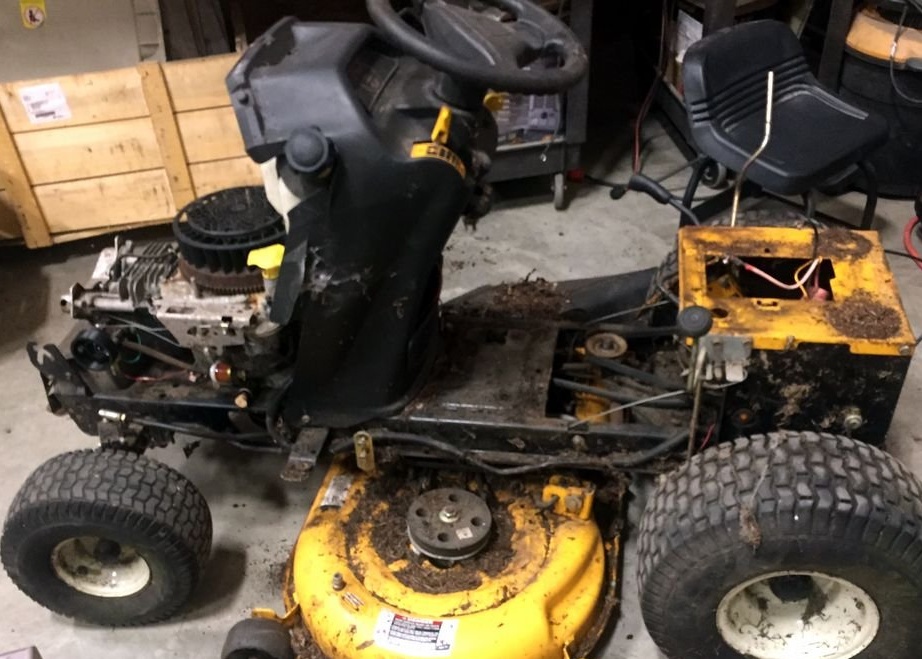
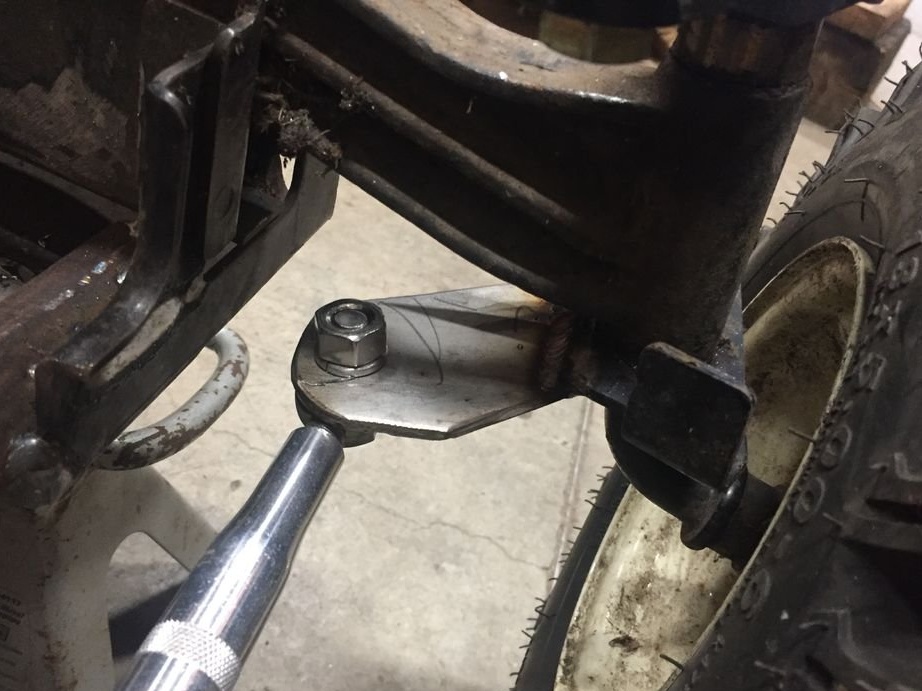
Step Five: Management
The master sets traction and steering. The photographs show that all the nuts on the steering wheel look upside down. One of the tricks is to install important bolts upside down to make it easier to follow them.
To adjust the position of the steering wheel, the master installed a screw.


Step Six: Trunk
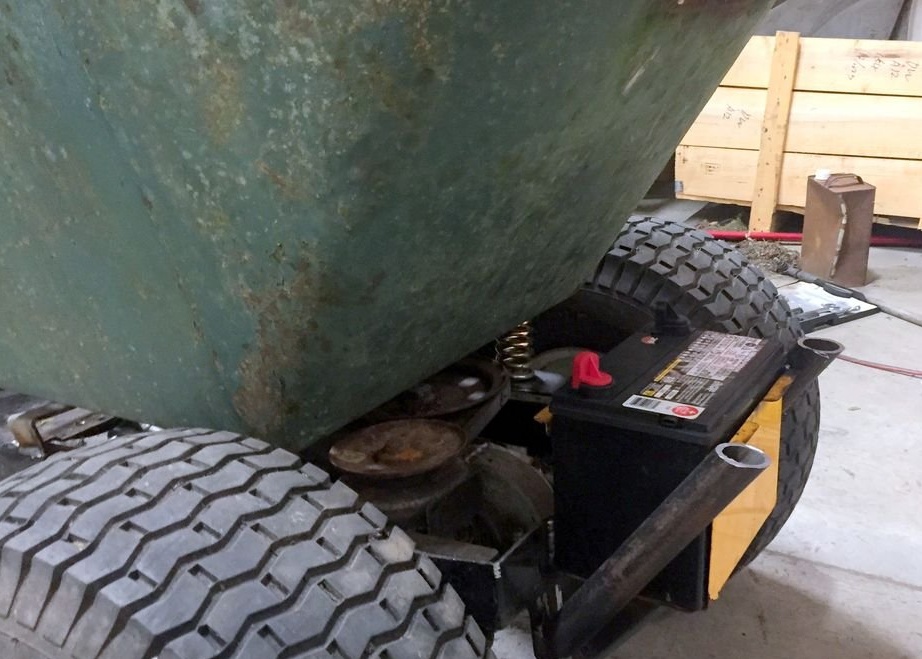
At the rear, it installs a battery and a boot.


Everything is ready, it remains to replace the carburetor and sea trials can be carried out.