
Greetings the inhabitants of our site!
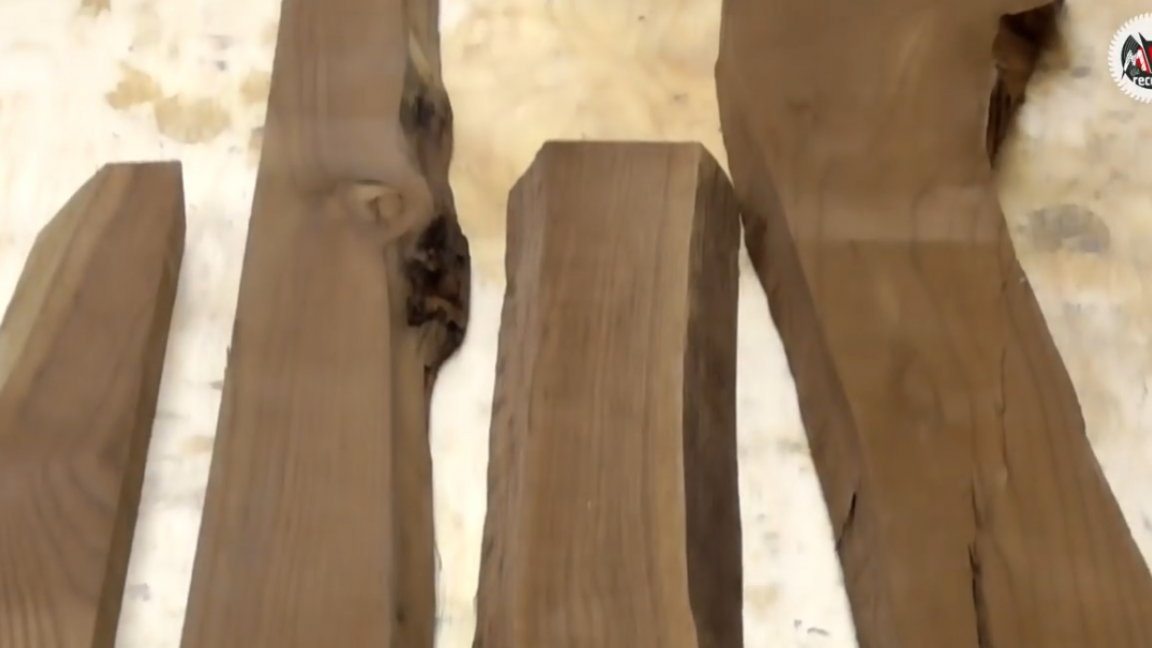
This article will show you how to do it yourself to make a unique product from these fragments of a thermal oven.
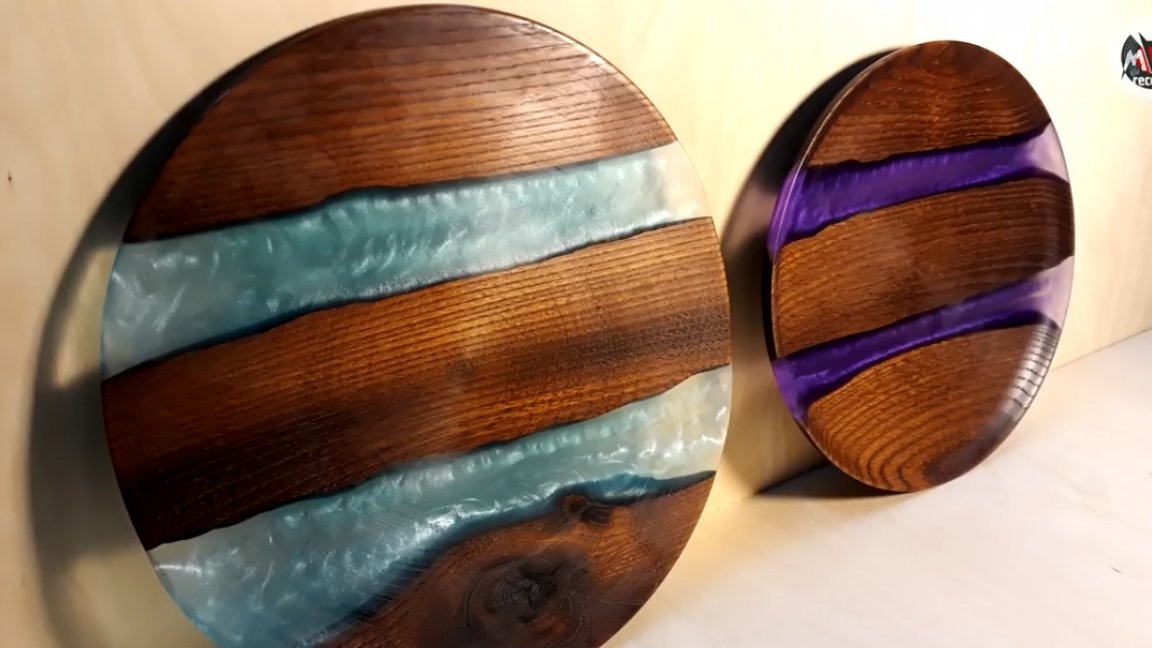
Of course, these are not really trimming, and one could cut segments into a couple of rings, but the author of this homemade product Maxim Kozlov (YouTube channel “Maxim Kozlov”) wanted to realize the classic story with river tables, but only in a turning product.
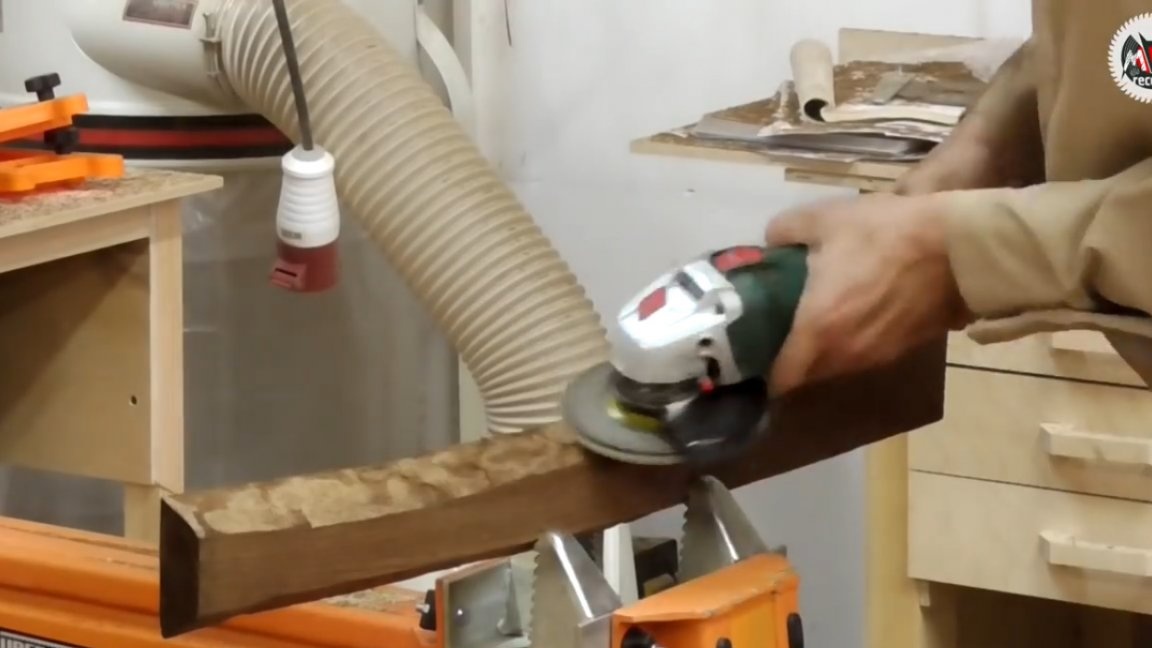
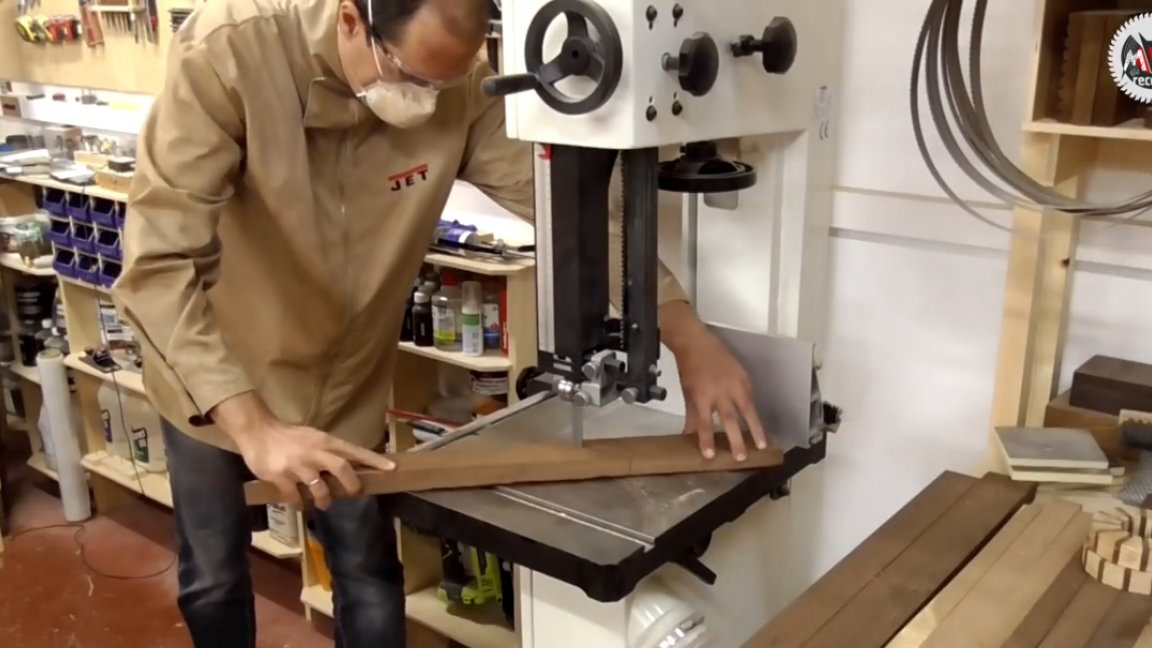
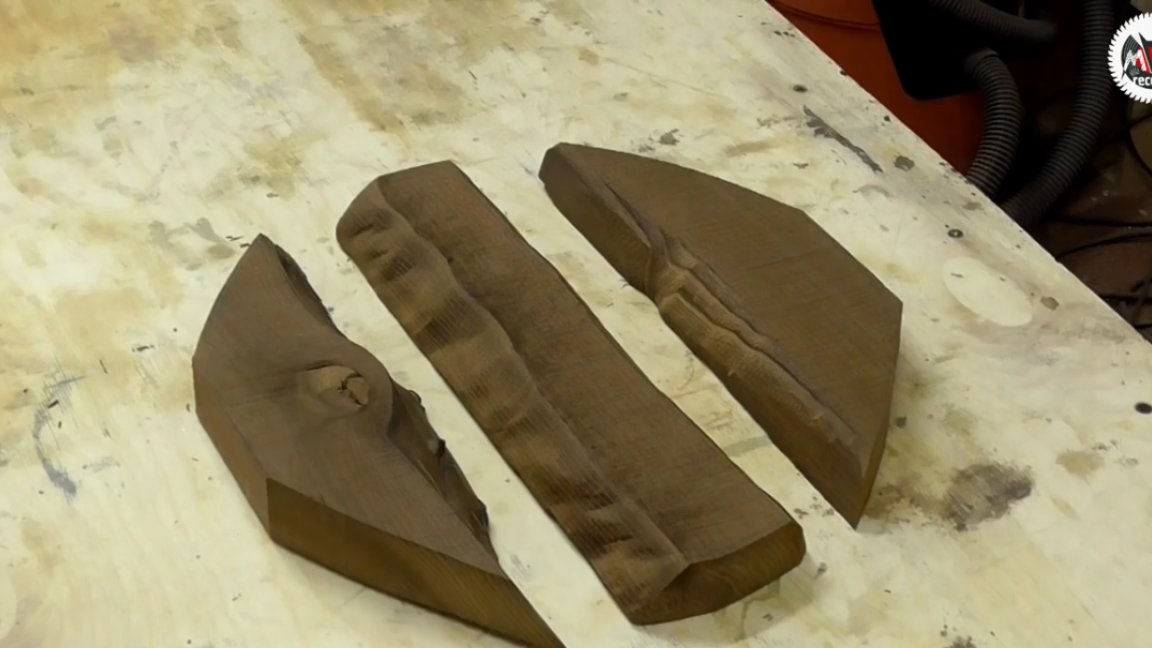
Accordingly, before you start pouring it all with resin, you first need to get rid of the remnants of the bark, because it is the bark that causes the not reliable connection between the resin and wood, especially at the moments of grinding, when the resin changes due to heating and thus the manufacturing process we can get exfoliation.
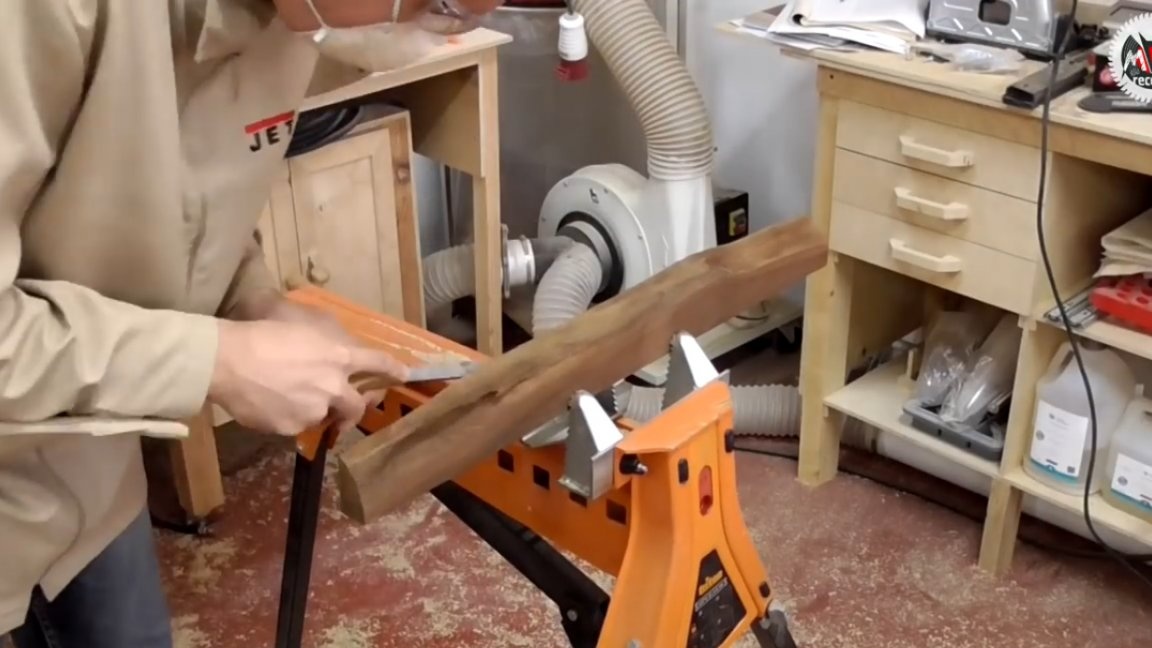
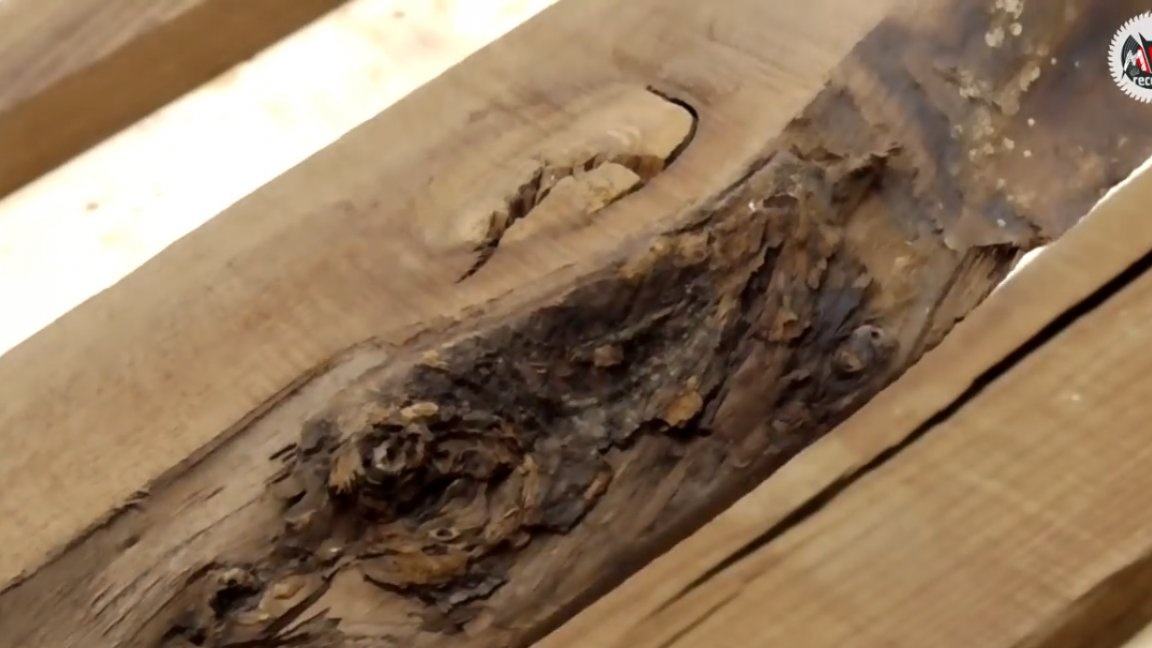
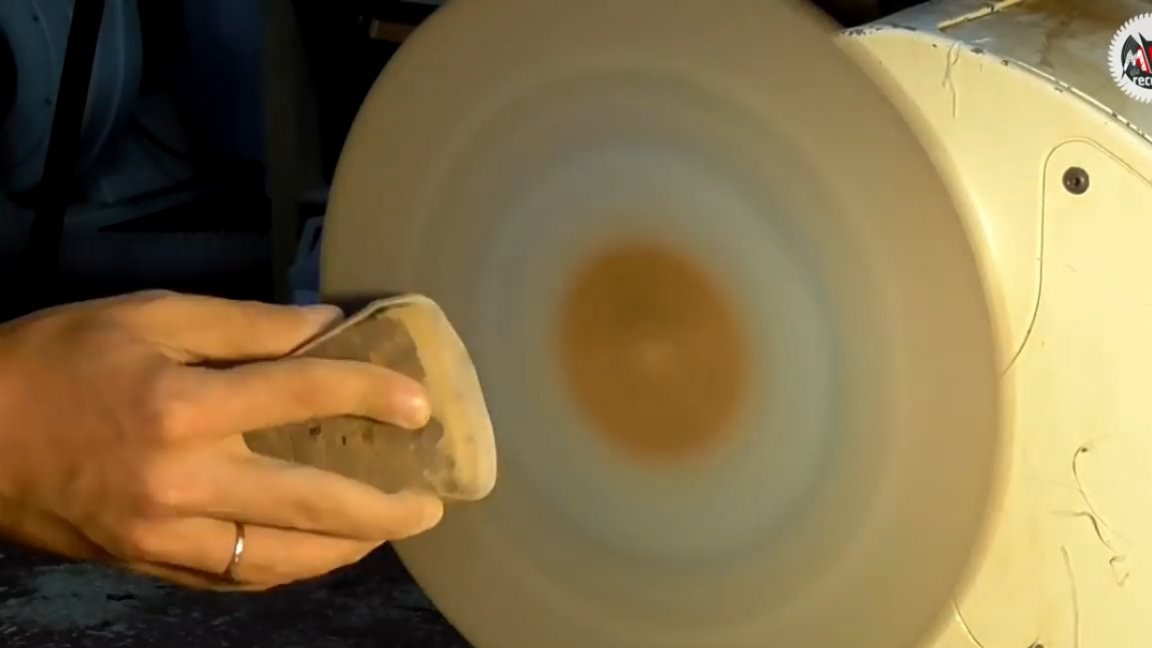
To deal with this you need a banal cleaning of fragments of the cortex, and at the finish you must ideally walk with a brush brush.
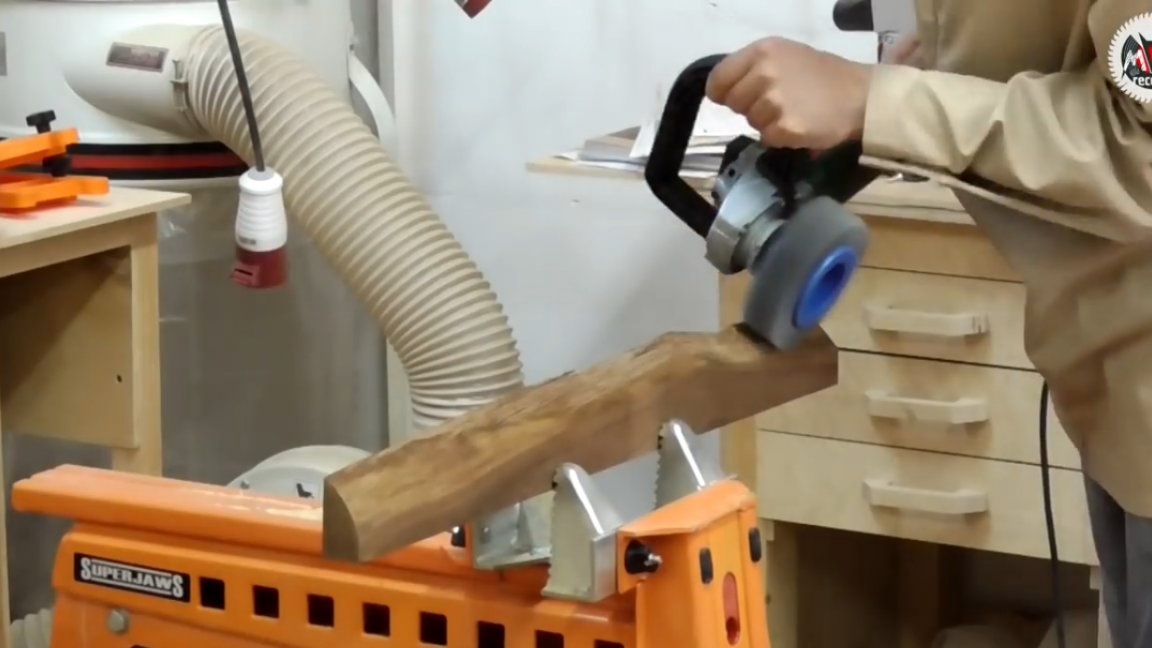
In addition to the final cleaning of the bark fragments, the brush can also distinguish the structure of the wood in the process, which, in addition to beauty during transparent pouring, will also provide additional rigidity due to the relief plane of the wood.
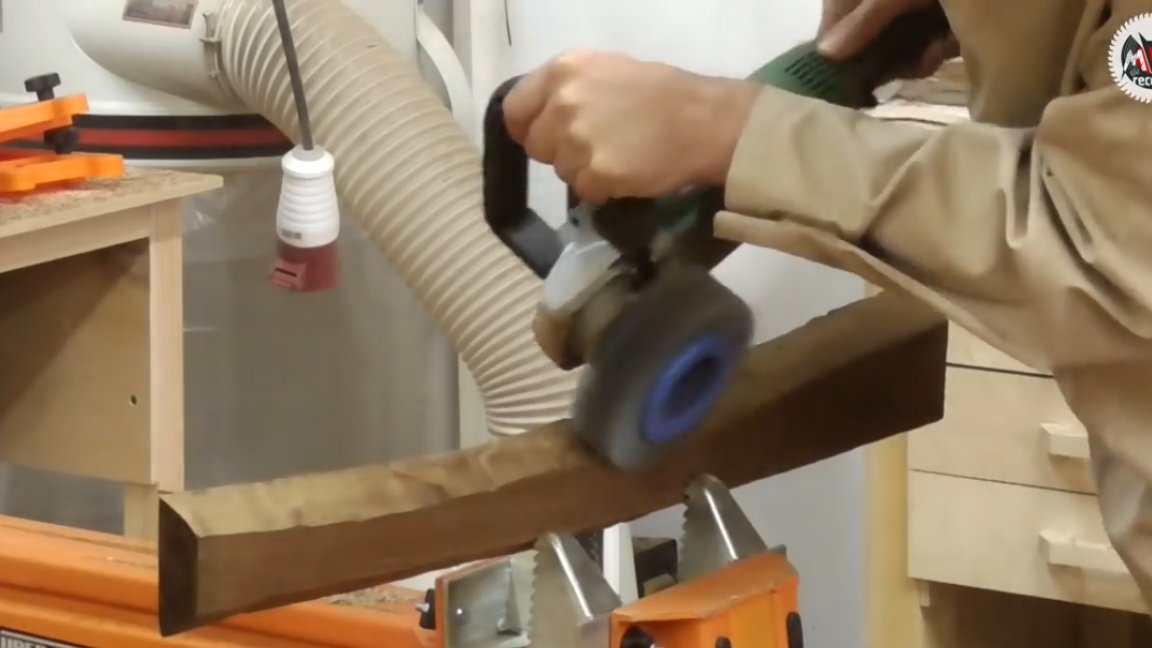
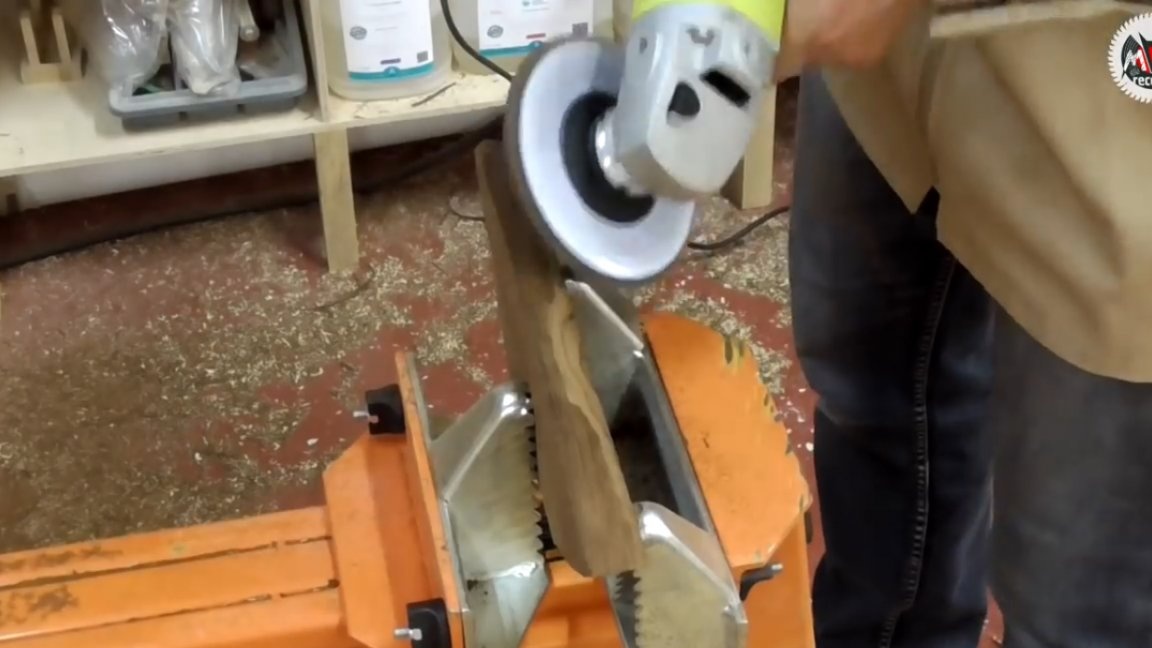
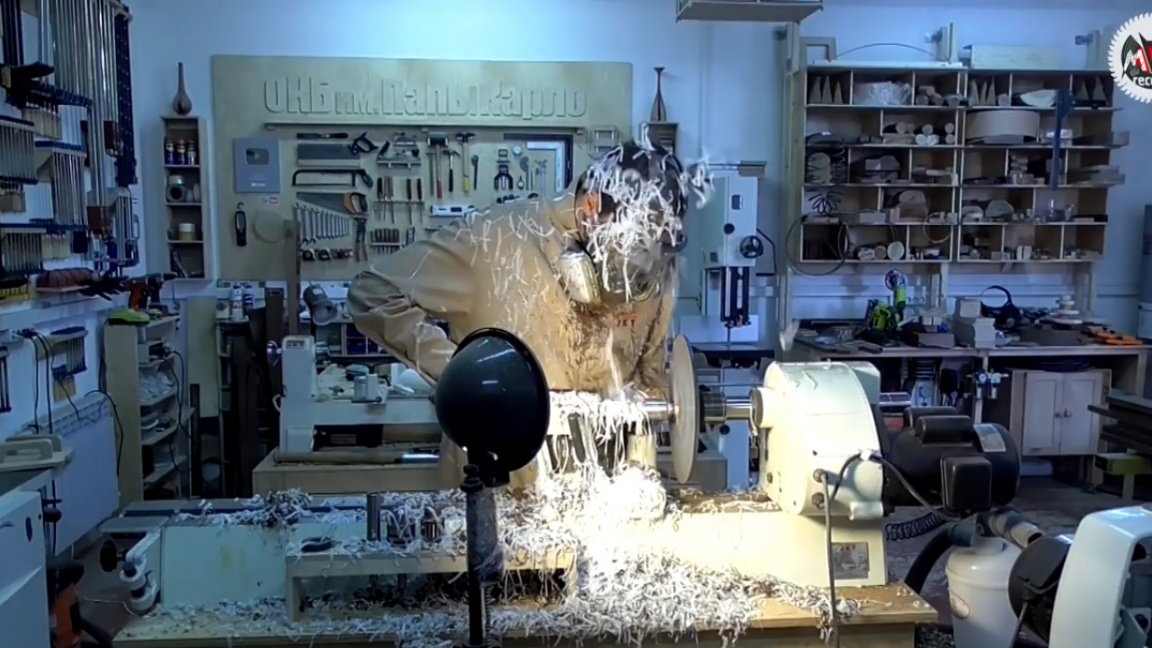
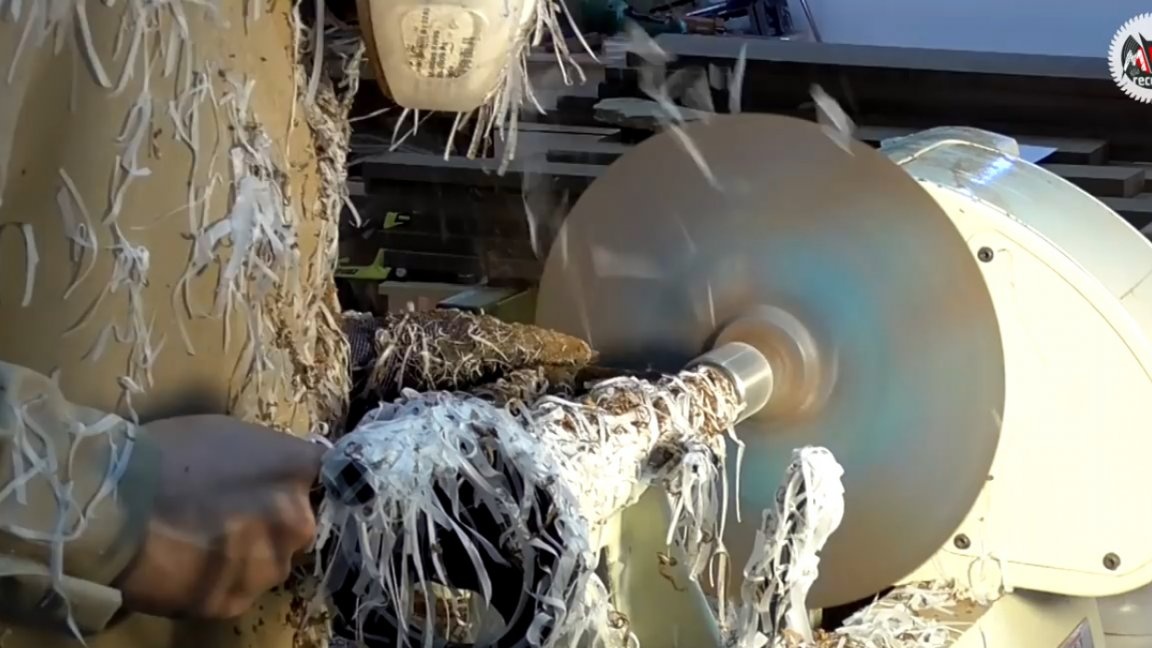
Also, during the cleaning process, you can get a little confused and further complicate the shape of the wooden parts with the help of a petal disk.
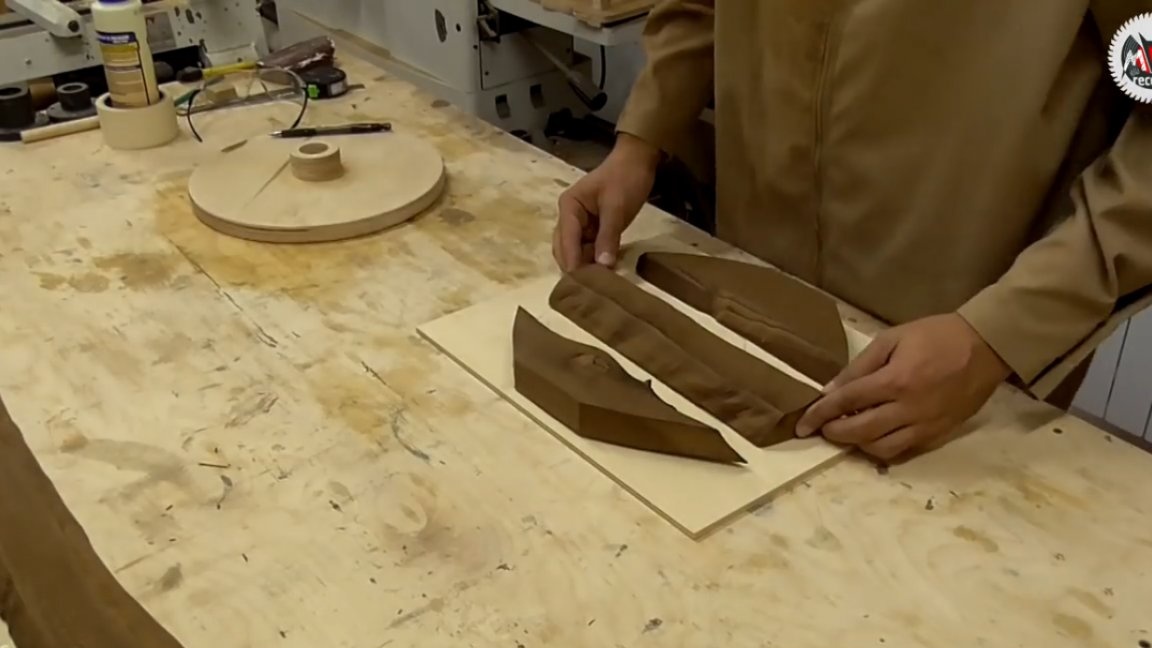
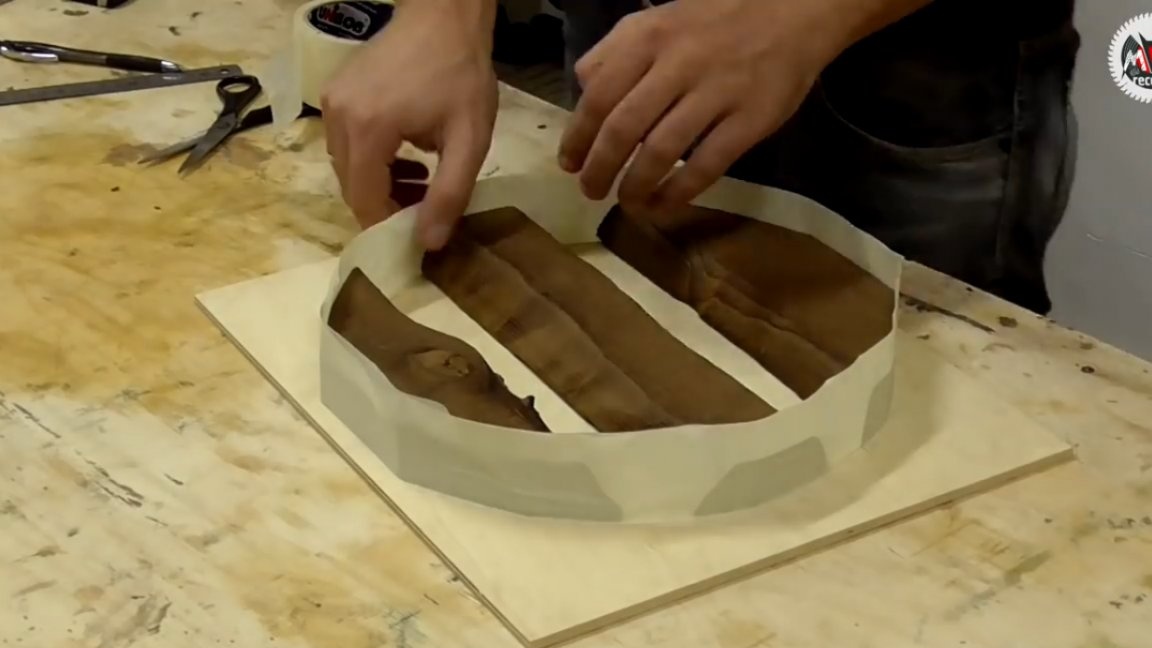
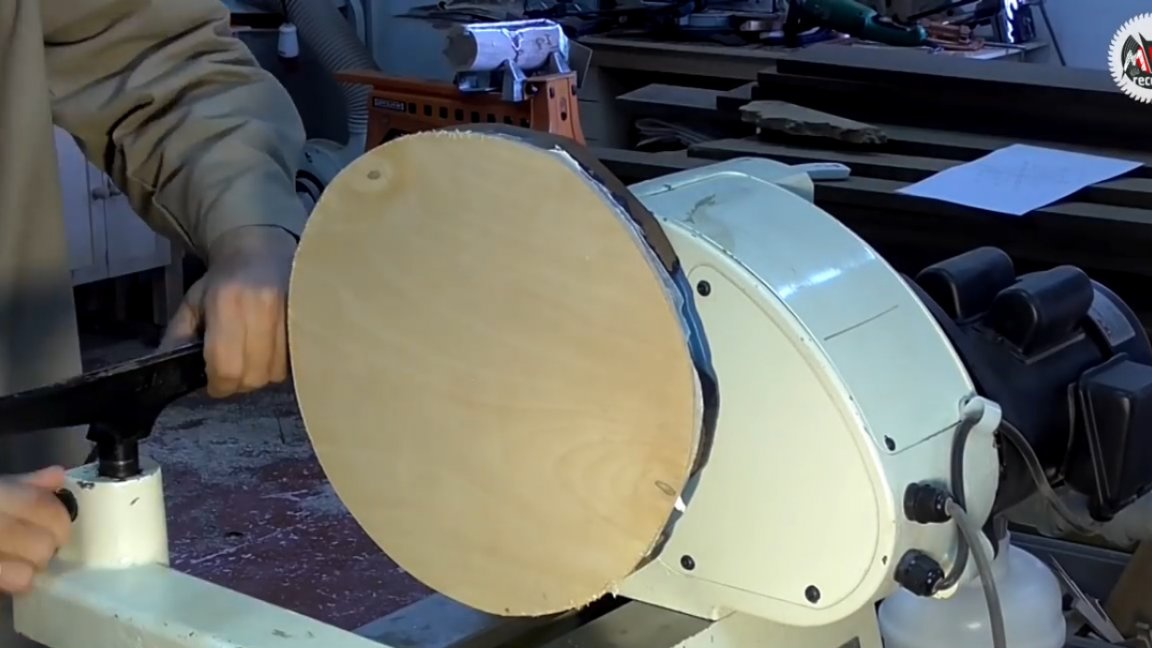
So, the preparation of wooden elements is completed, now you can proceed with the layout.
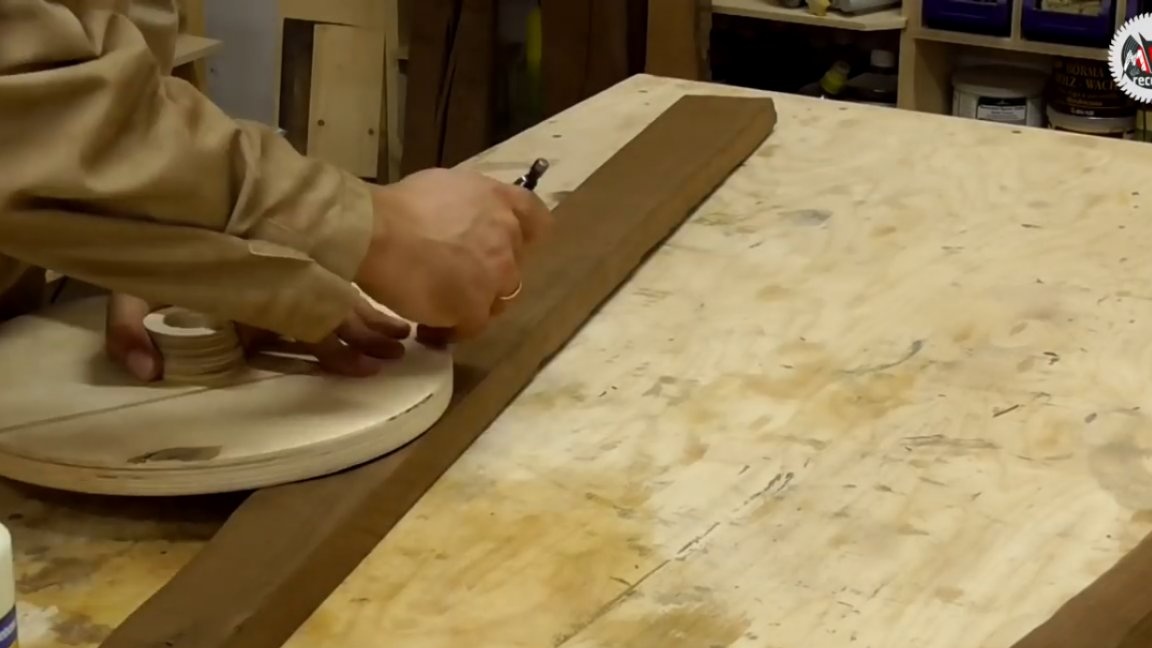
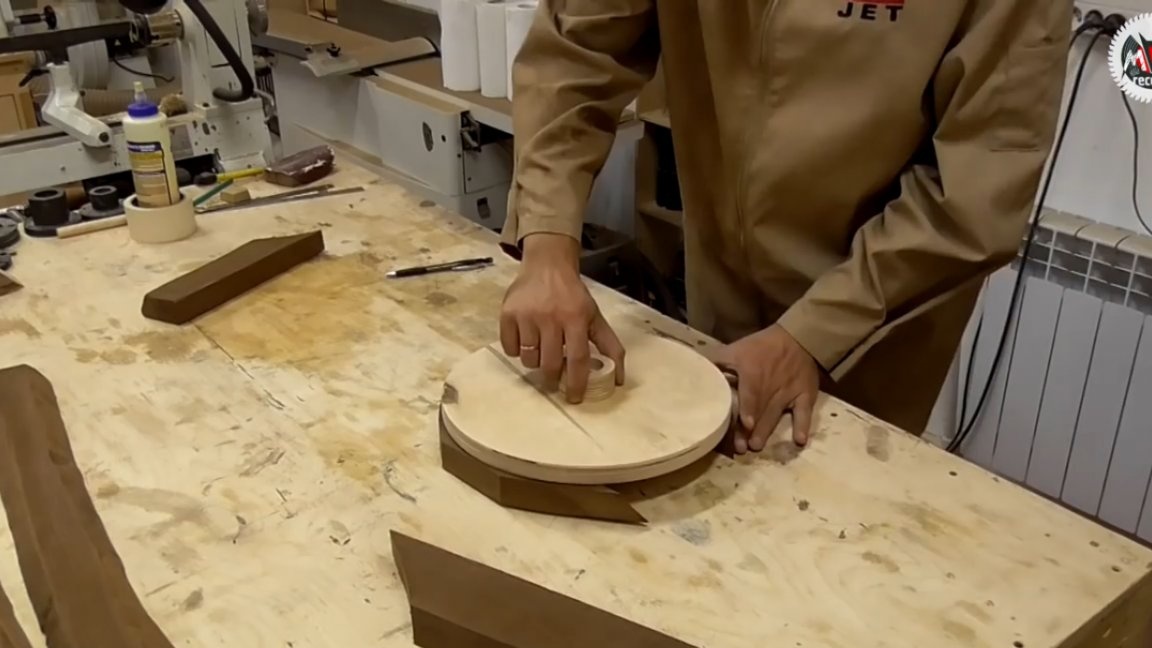
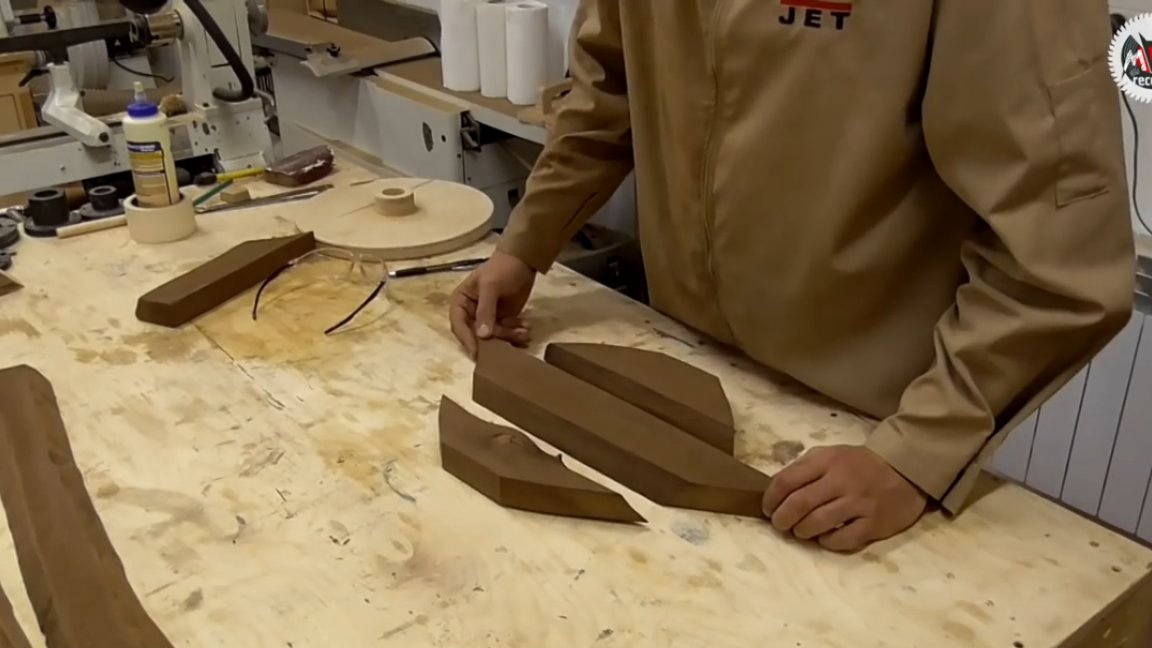
Next, you need to glue all the assembled elements to the base from plywood or from MDF, which will subsequently be completely grinded, so you will not need to think about harmless peeling from the resin.
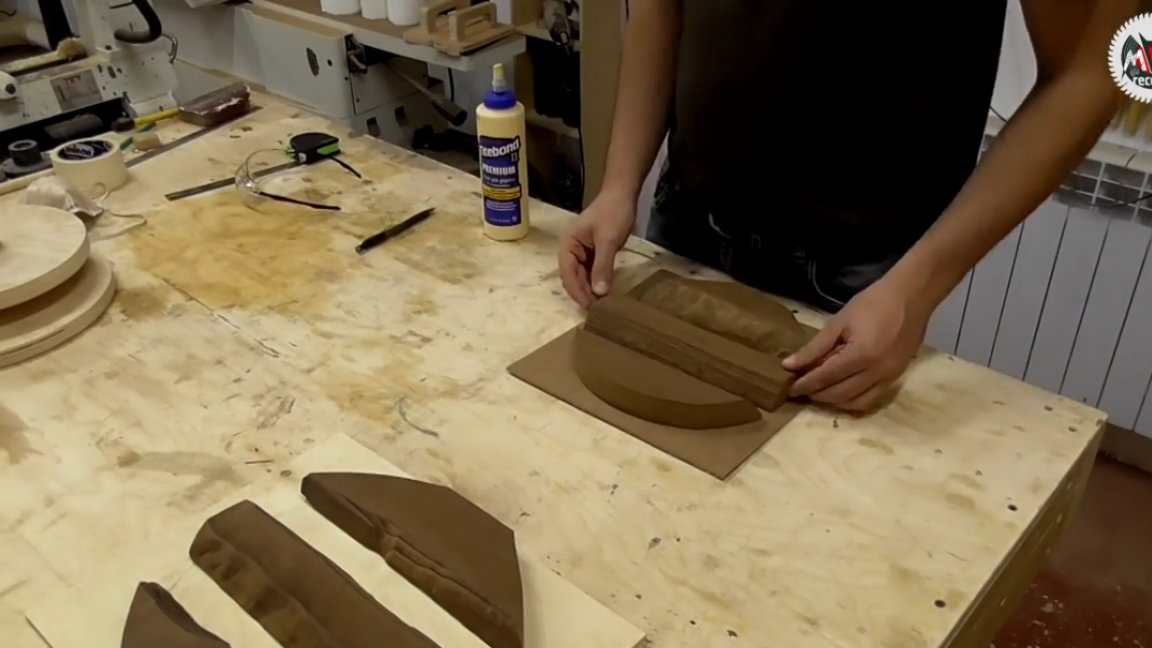
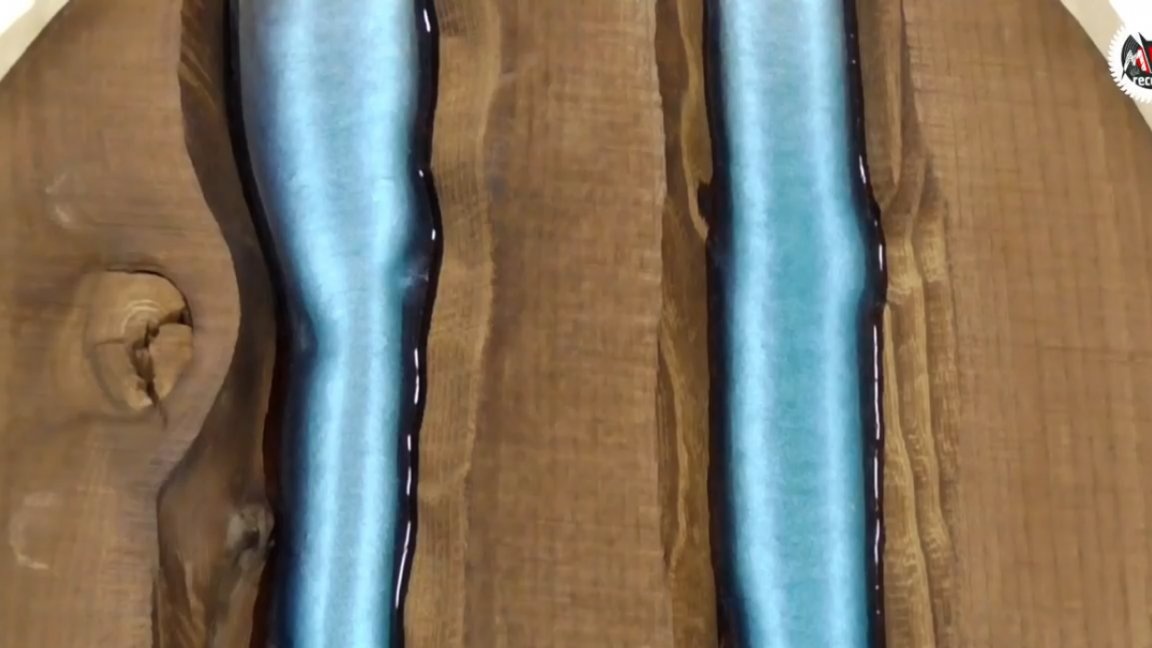
The author decided to fill immediately 2 products, since it was necessary to understand how the resin behaves when turning a similar layout, because in this case we get a fairly wide layer of resin between the wood, which, as you know, is very able to change the geometry during turning and subsequent grinding.
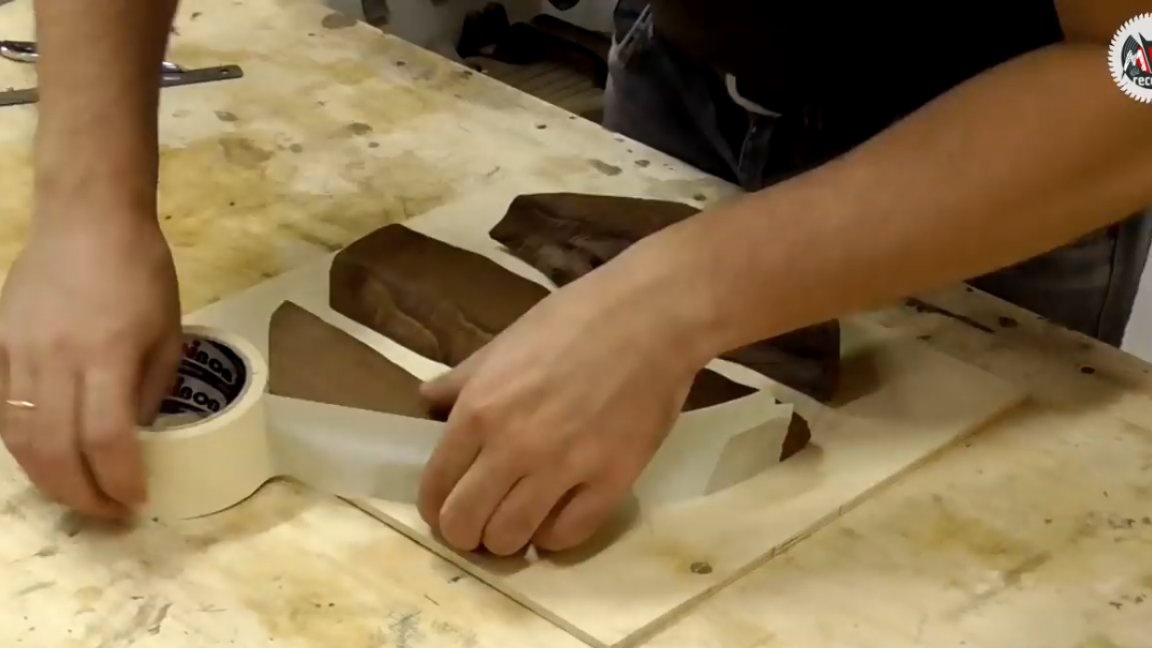
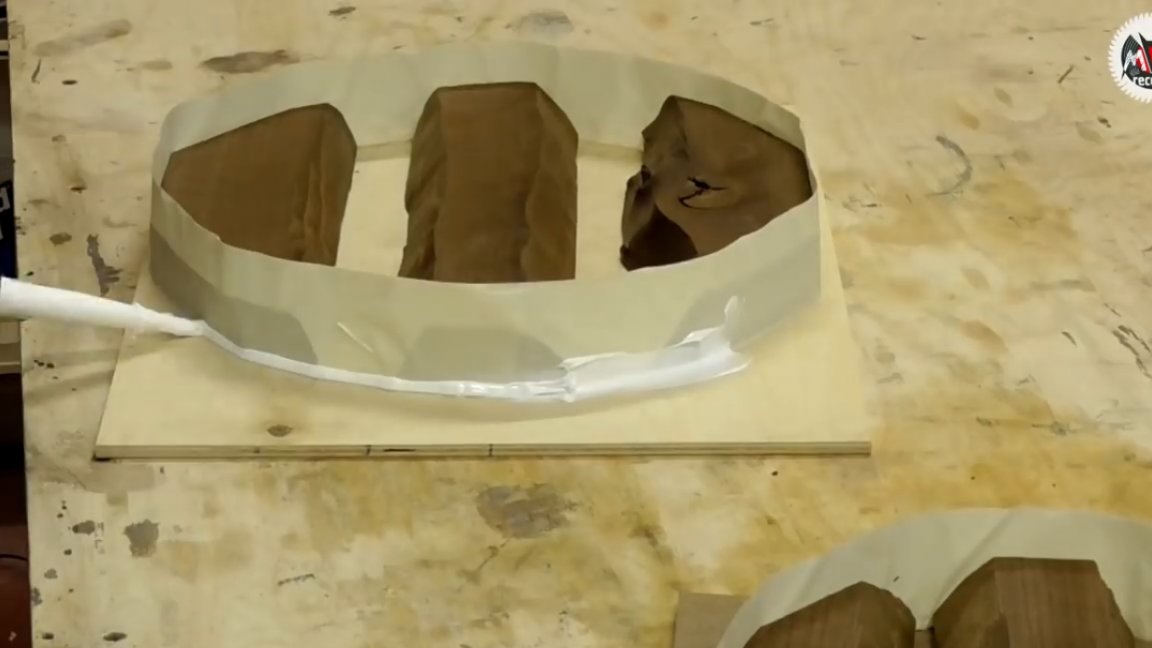
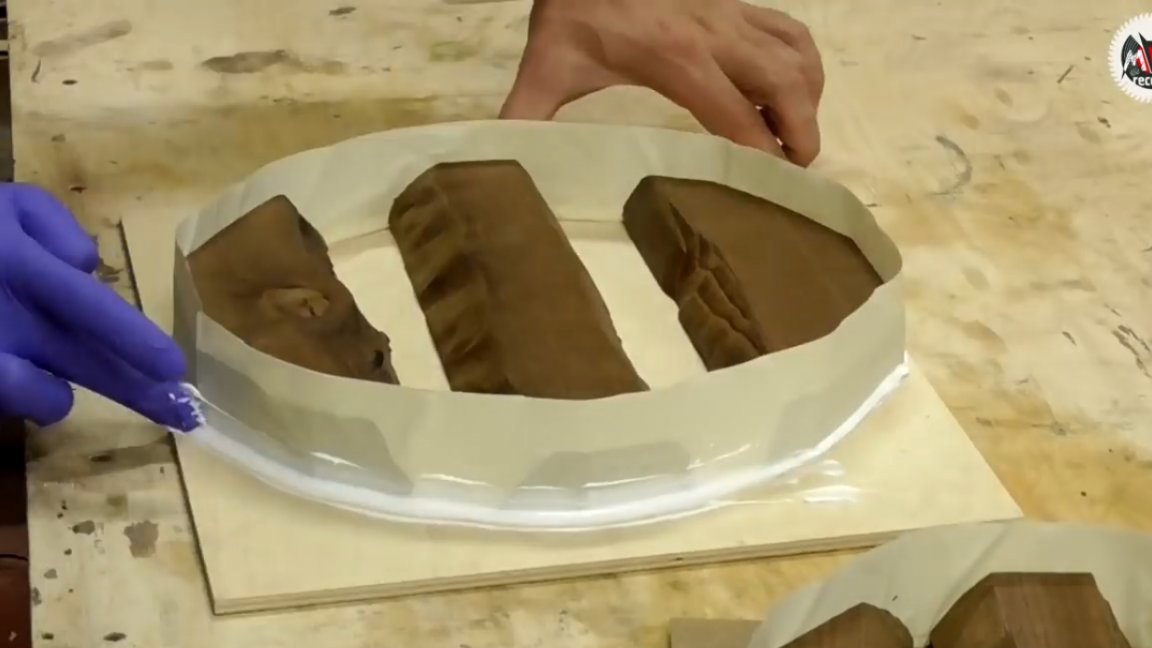
After fixing the parts with the base, you can proceed to sealing, which in this case is best done using masking tape in a couple of revolutions. Well, at the finish you must use silicone sealant at the seam with the obligatory rubbing with your finger.
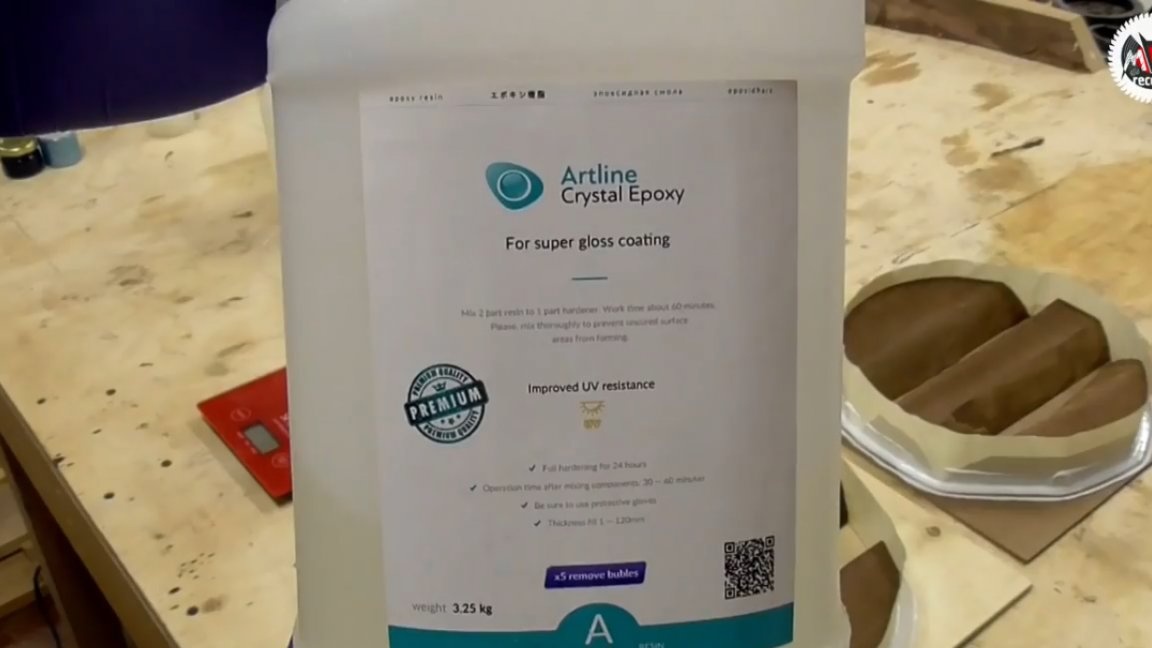
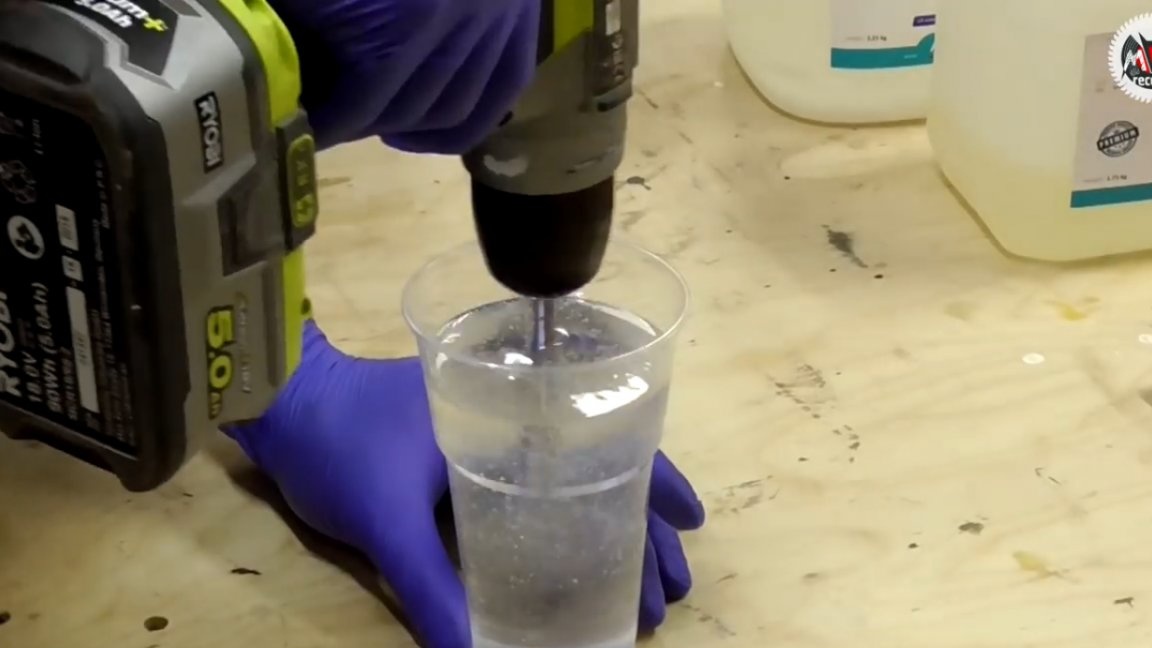
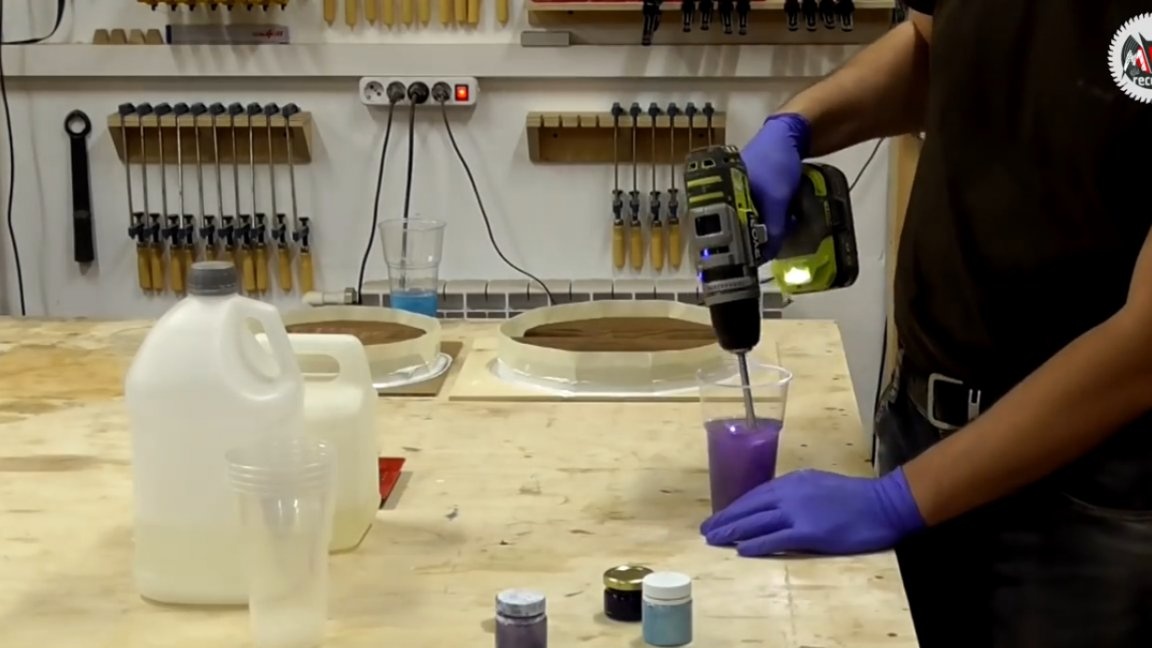
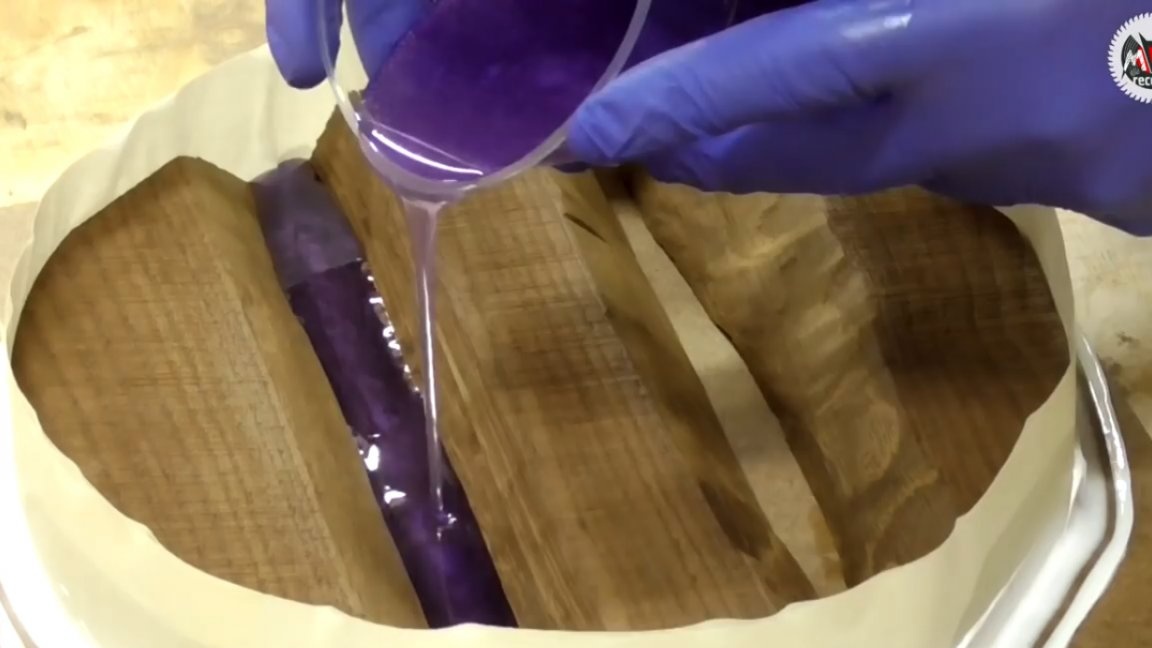
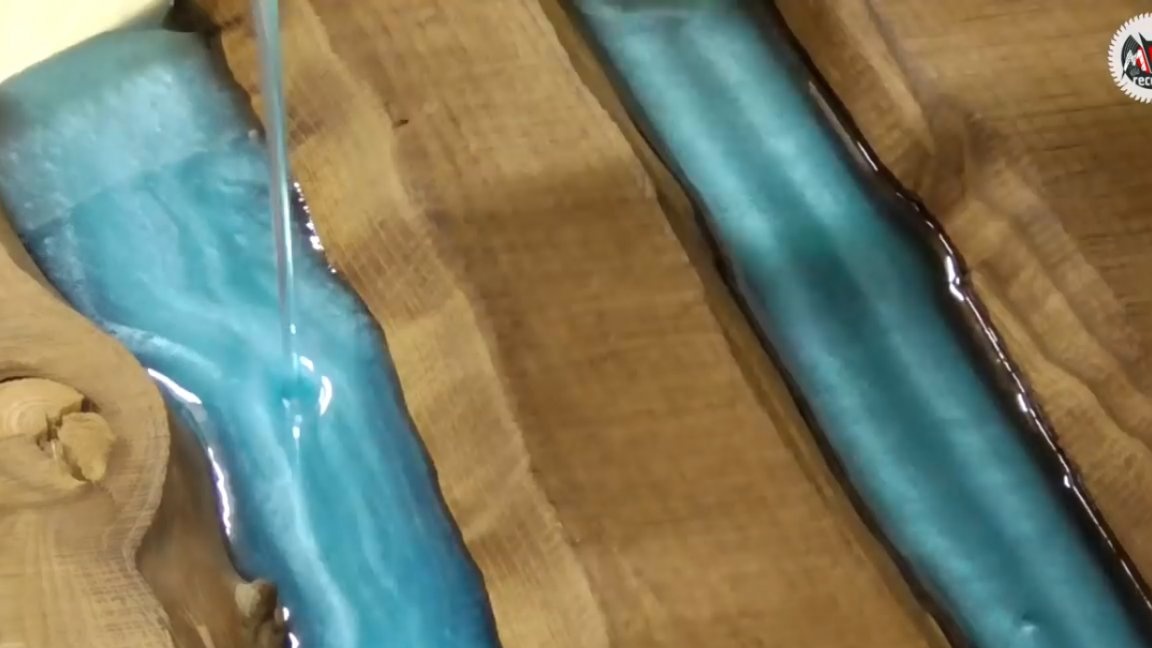
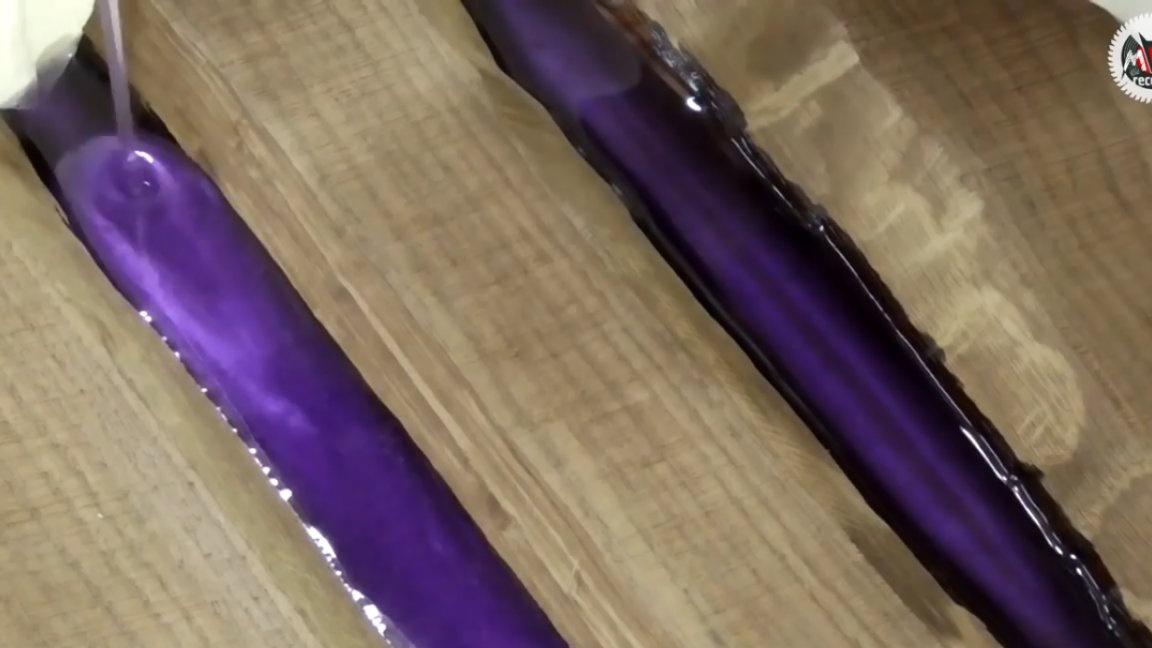
Now you can proceed to kneading the epoxy resin and start pouring. Pouring in this case will be carried out in 3 layers, since this is not a crack there anymore, but rather a rather voluminous product.And in order to avoid overheating and boiling of the resin in a hurry with this matter is not worth it.
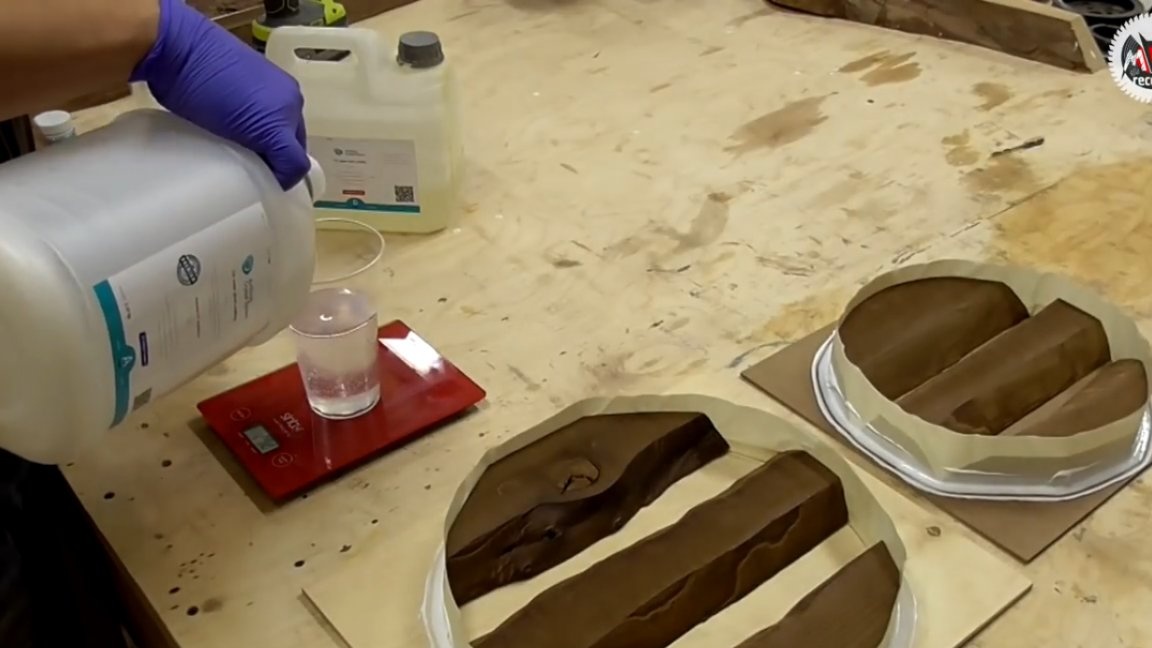
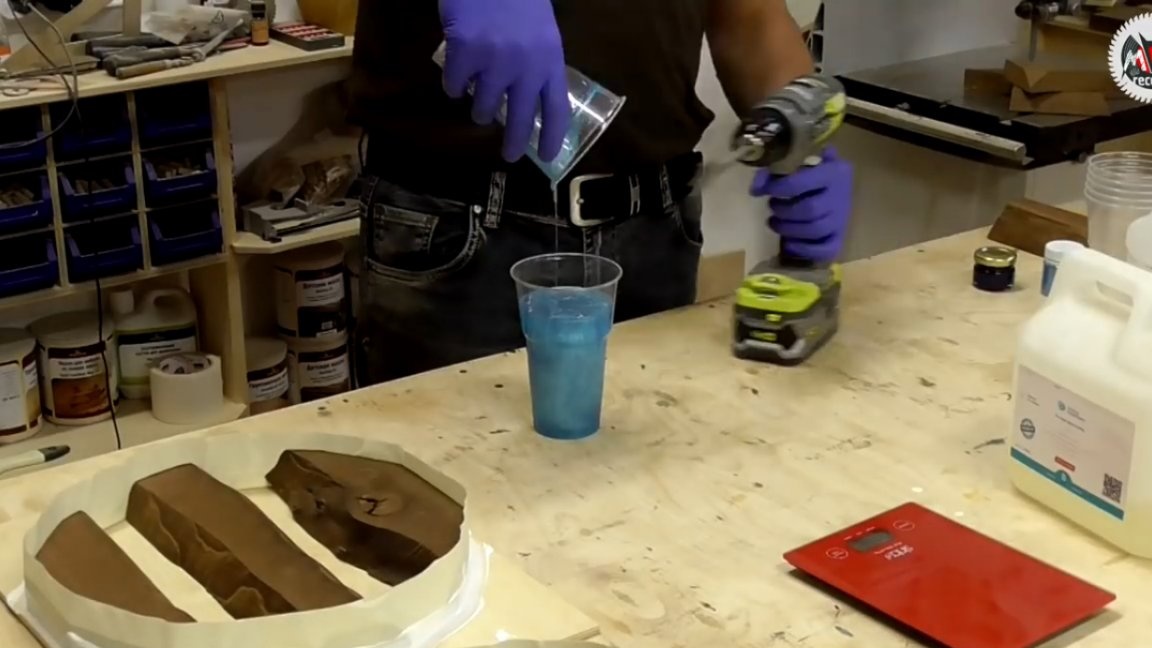
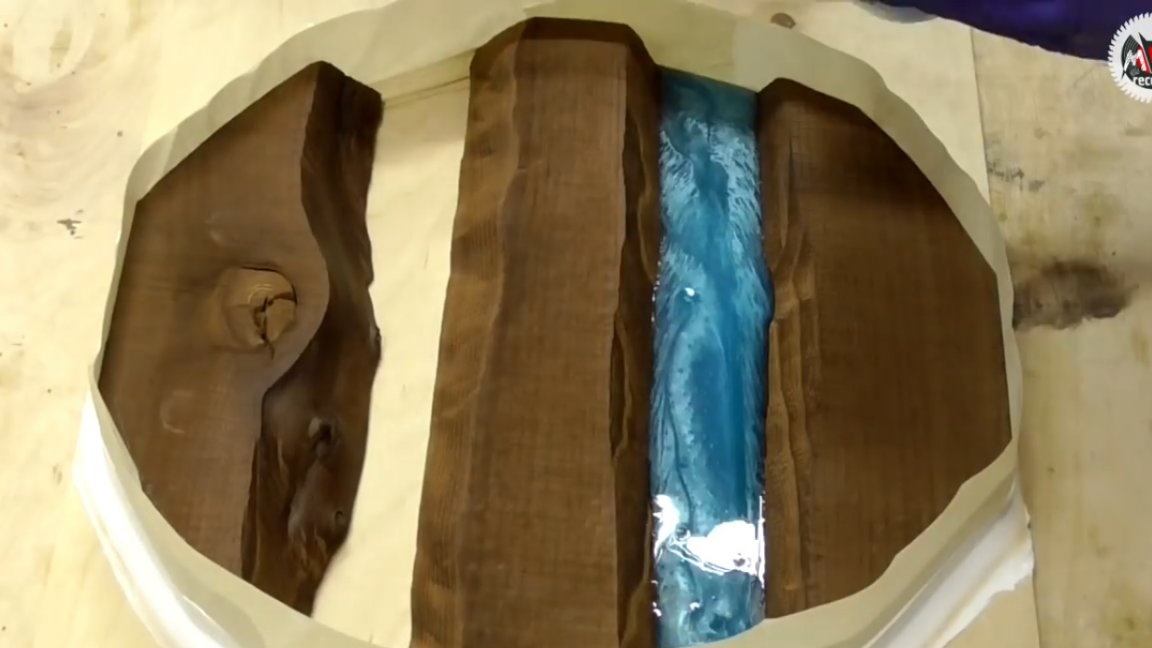
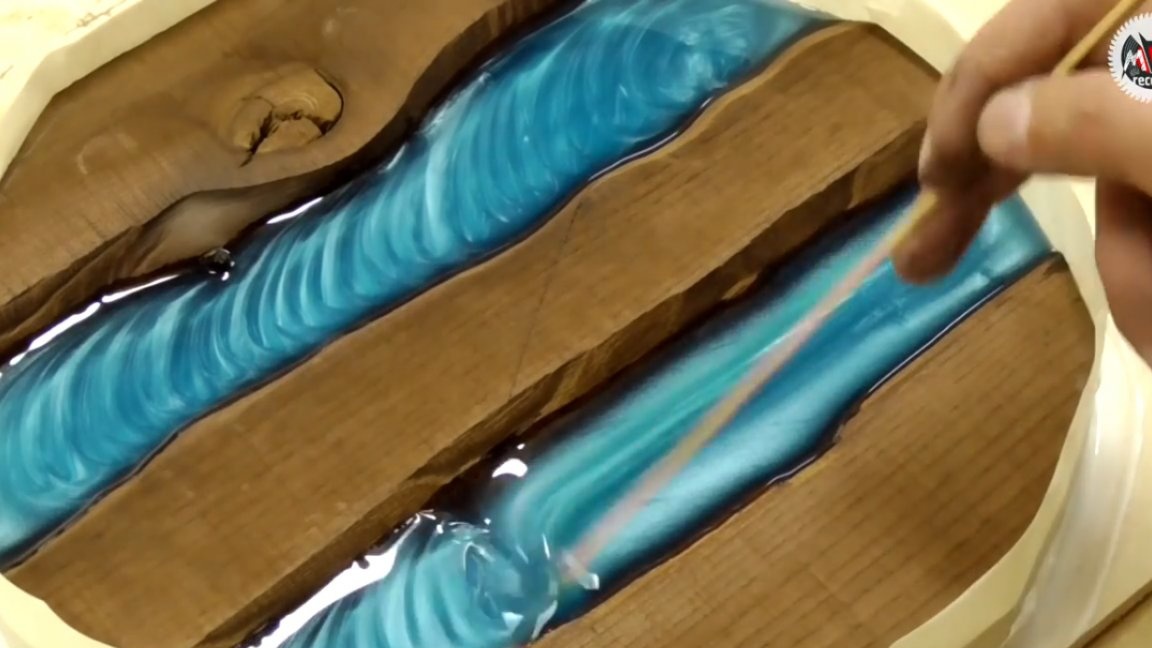
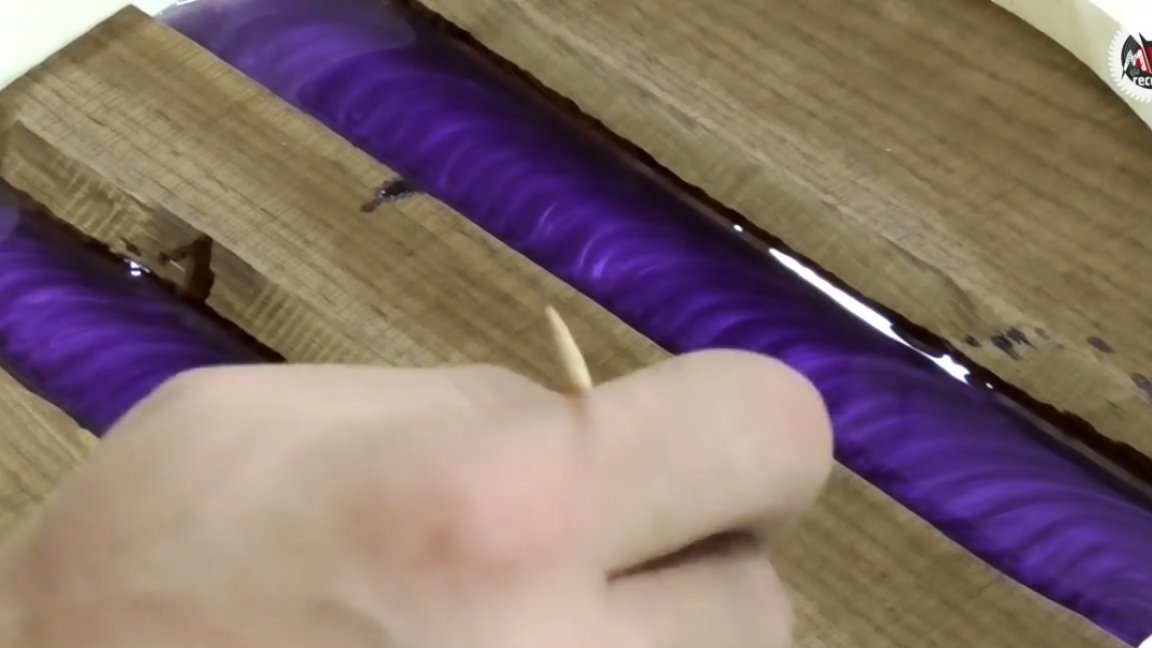
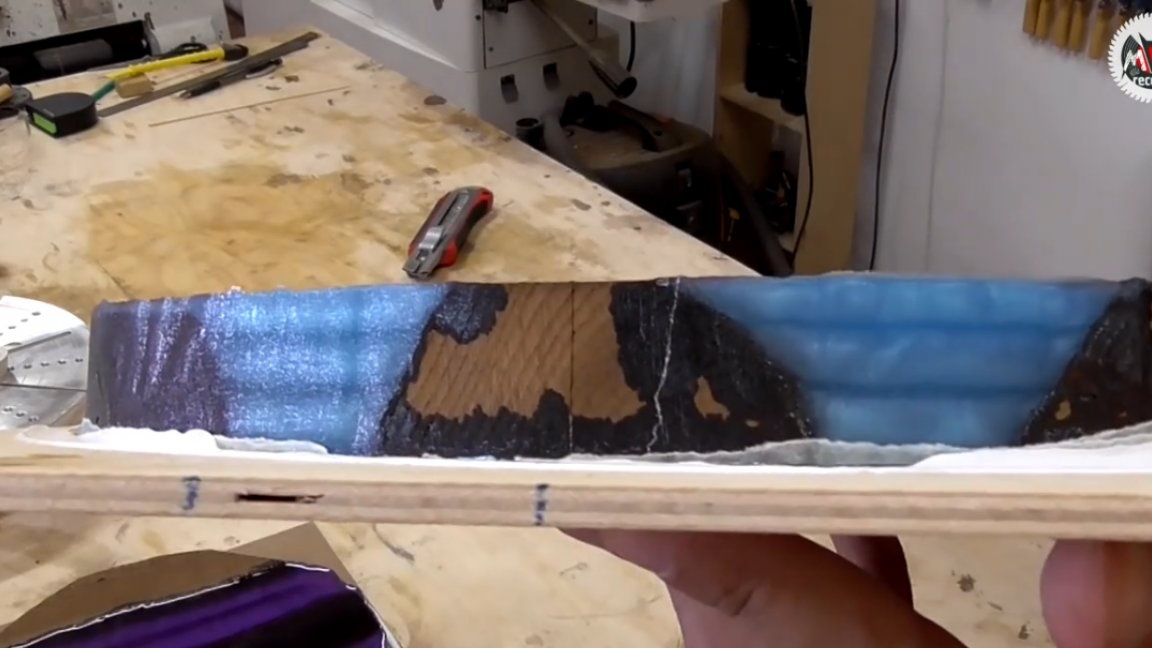
The master called the resin with metallic pigments. Accordingly, a turquoise pigment was chosen for the first product, and purple for the second. But looking ahead, of course, it is worth noting that something dark is probably better for a dark thermal tree, so that the final appearance of the product turns out to be as contrasting as possible.
15 minutes after pouring, the metal pigments in the resin somehow arranged and formed a rather interesting effect.
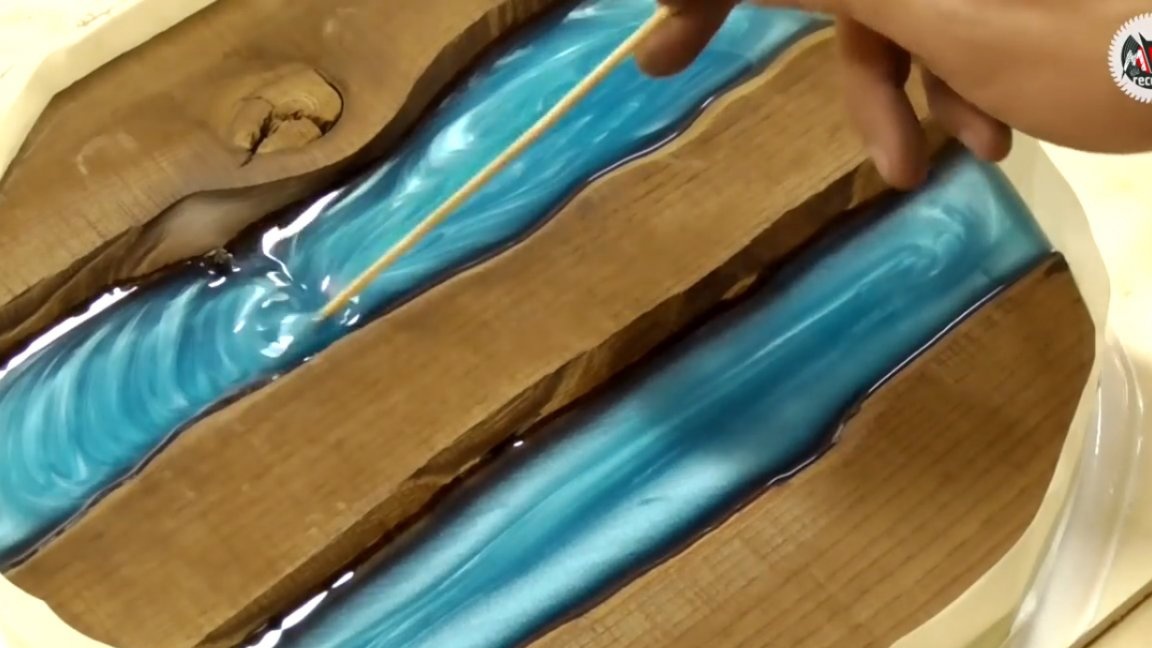
After 12 hours, you can begin to knead new servings. In fact, the layers can be filled in more often than after 12 hours, in fact, after the termination of the main polymerization process, during which heat is released, the resin can be added further.
On the second layer of the fill, the author decided to play with the pigment, drawing directly on it with a wand. This is where the flight of fantasy takes on a whole new dimension. The only thing worth noting is that you need to draw on it when the resin is already becoming more viscous.
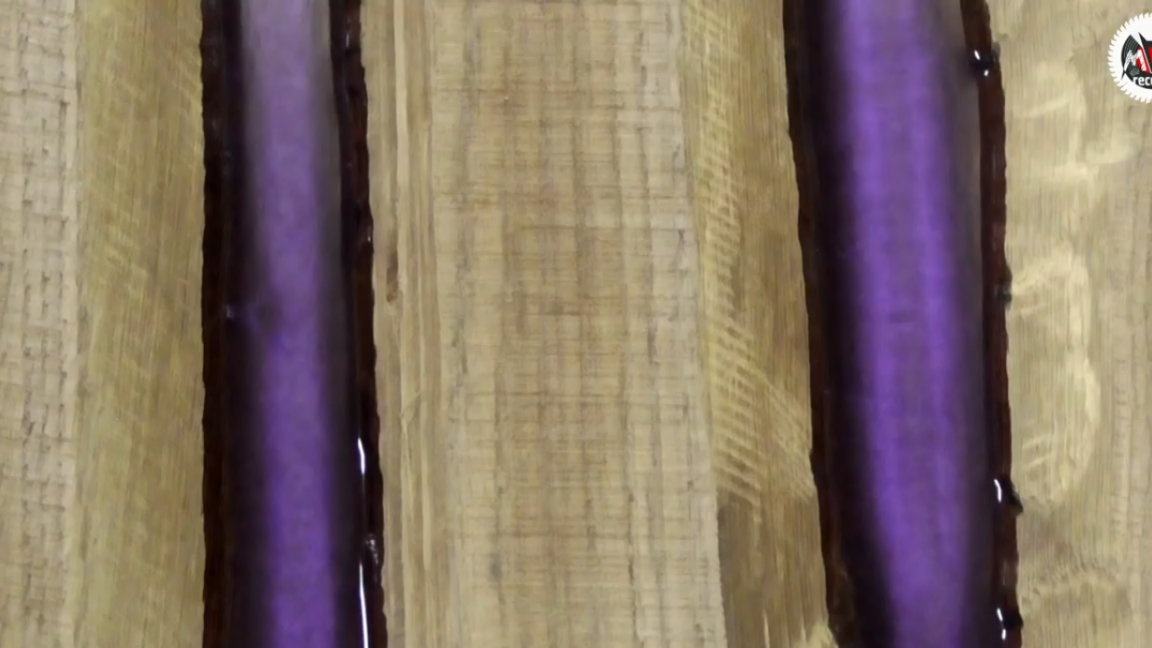
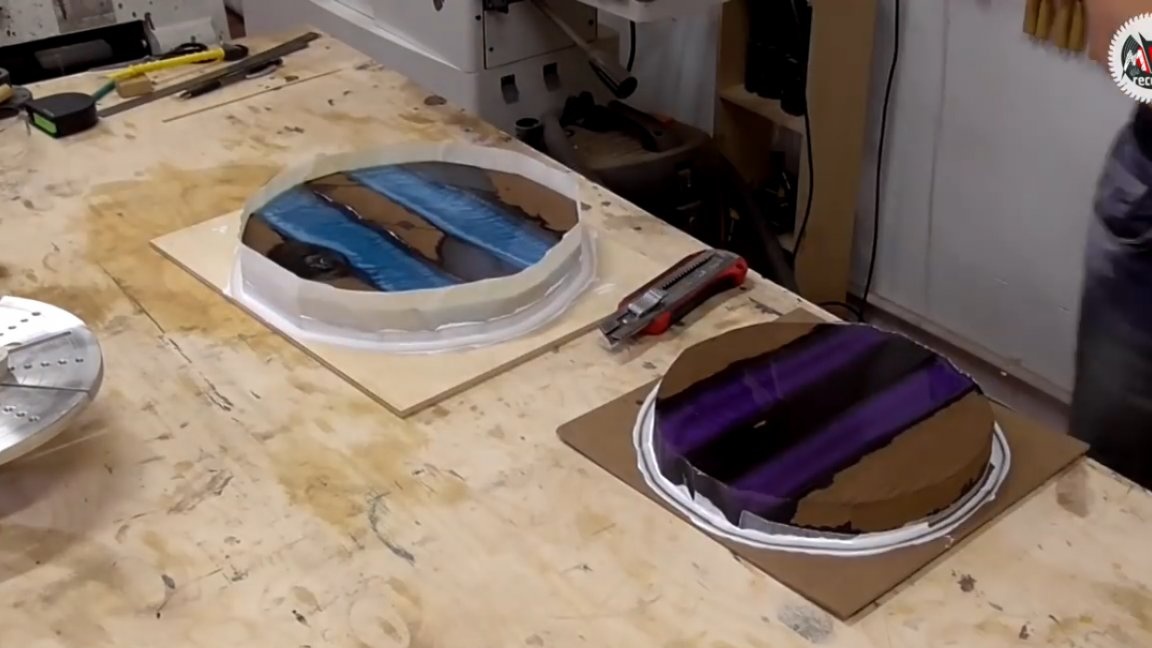
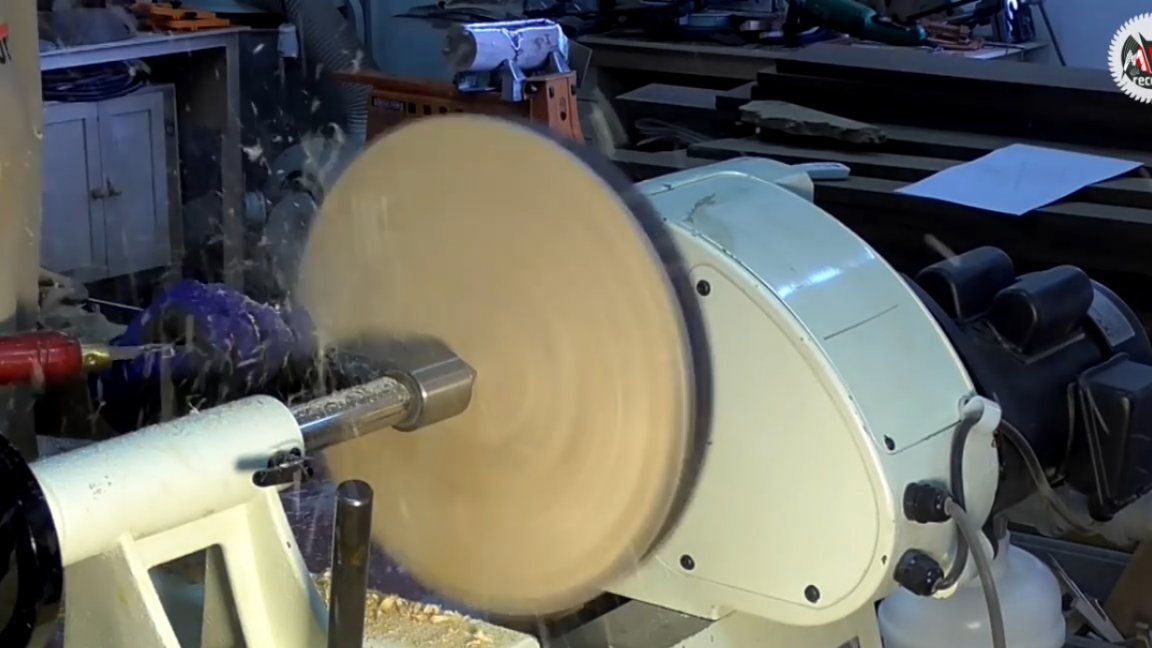
So, a day after the last fill, you can remove the masking tape. Next, we prepare the product for turning.
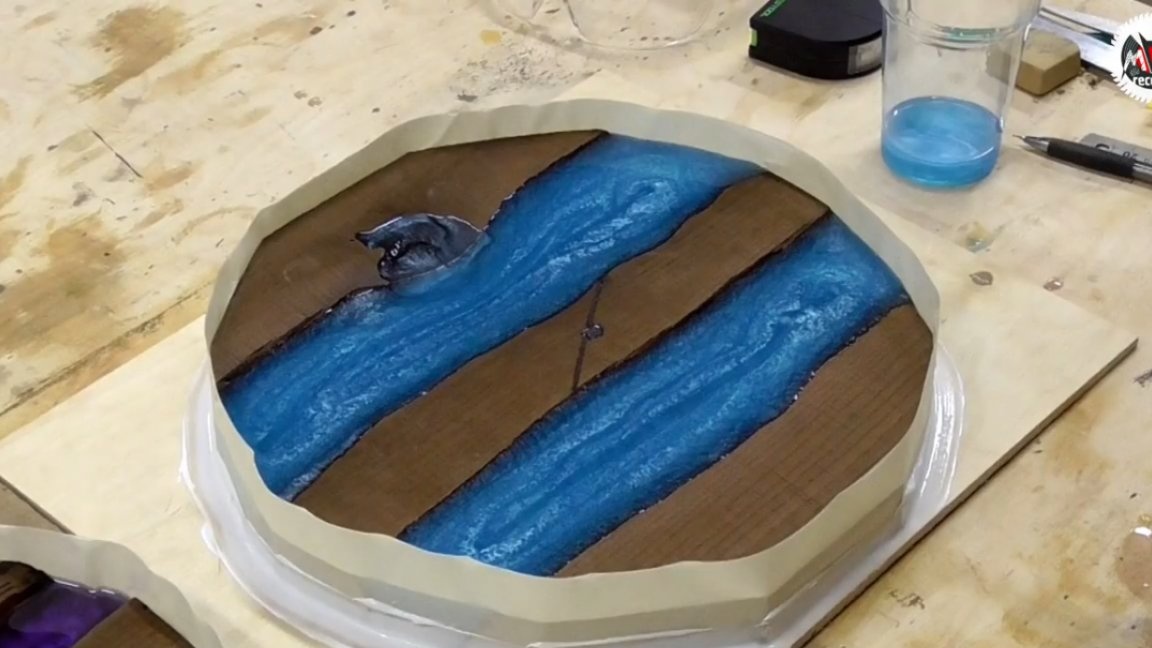
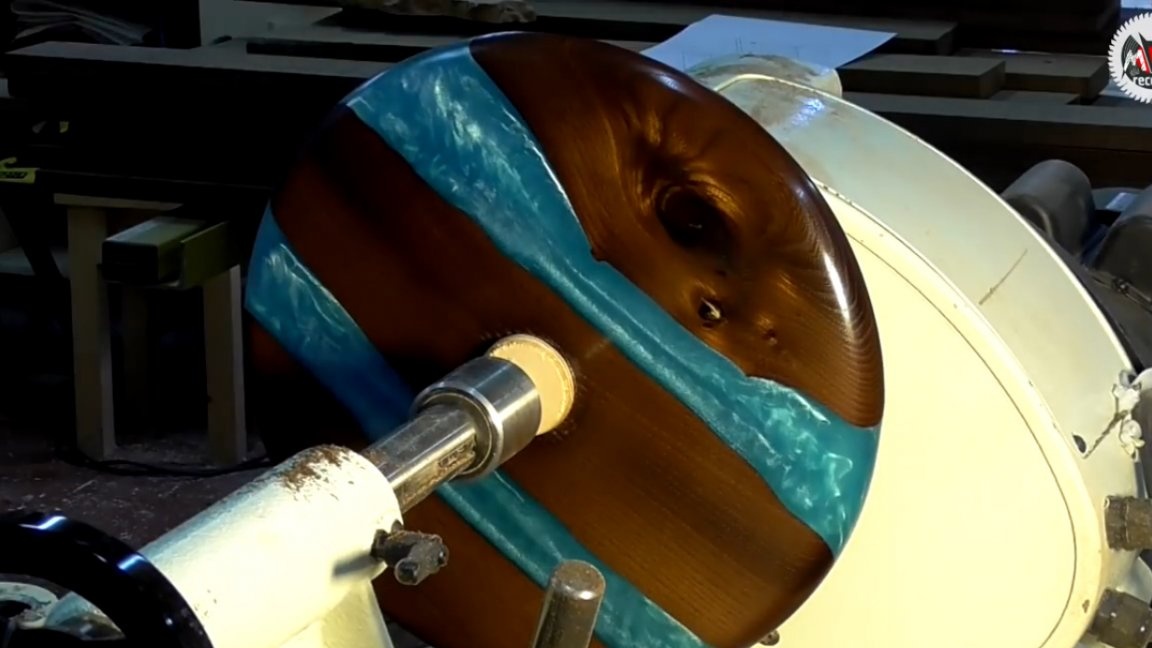
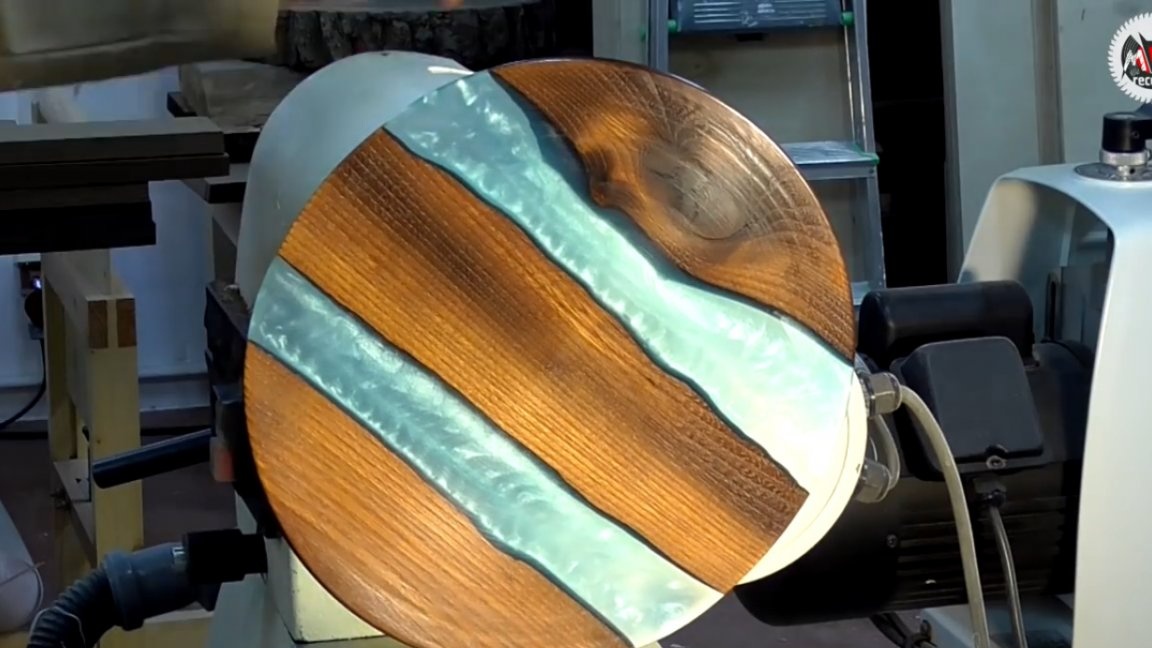
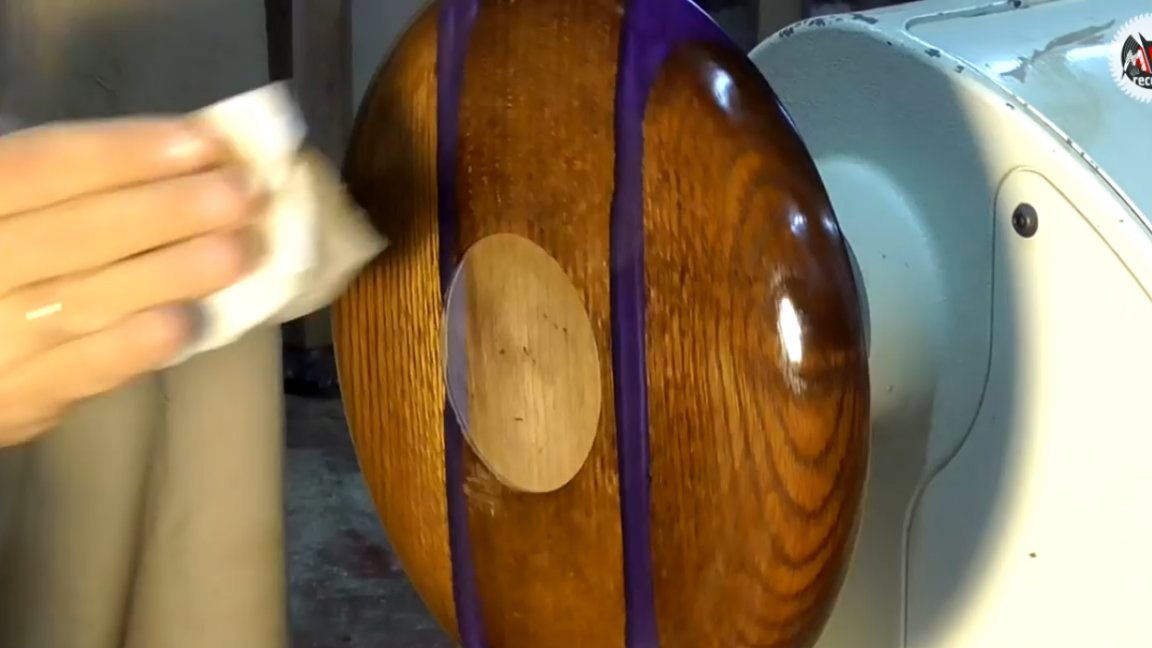
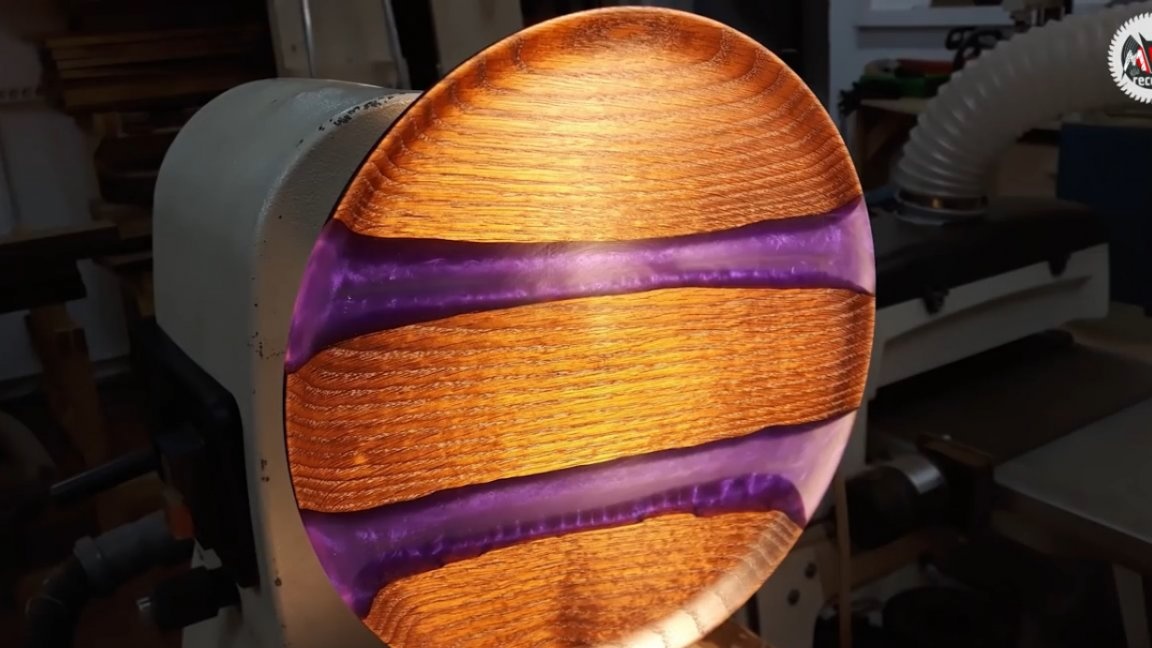
The border of the layers along the pigment is quite clearly visible, but there are no gaps, as you see.
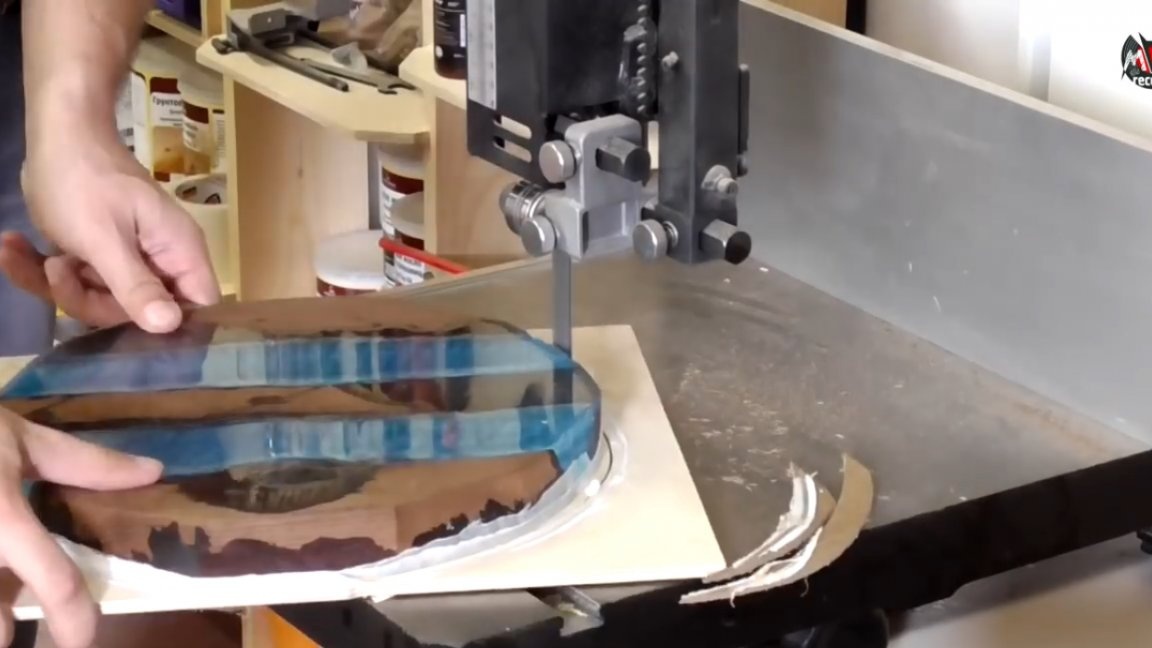
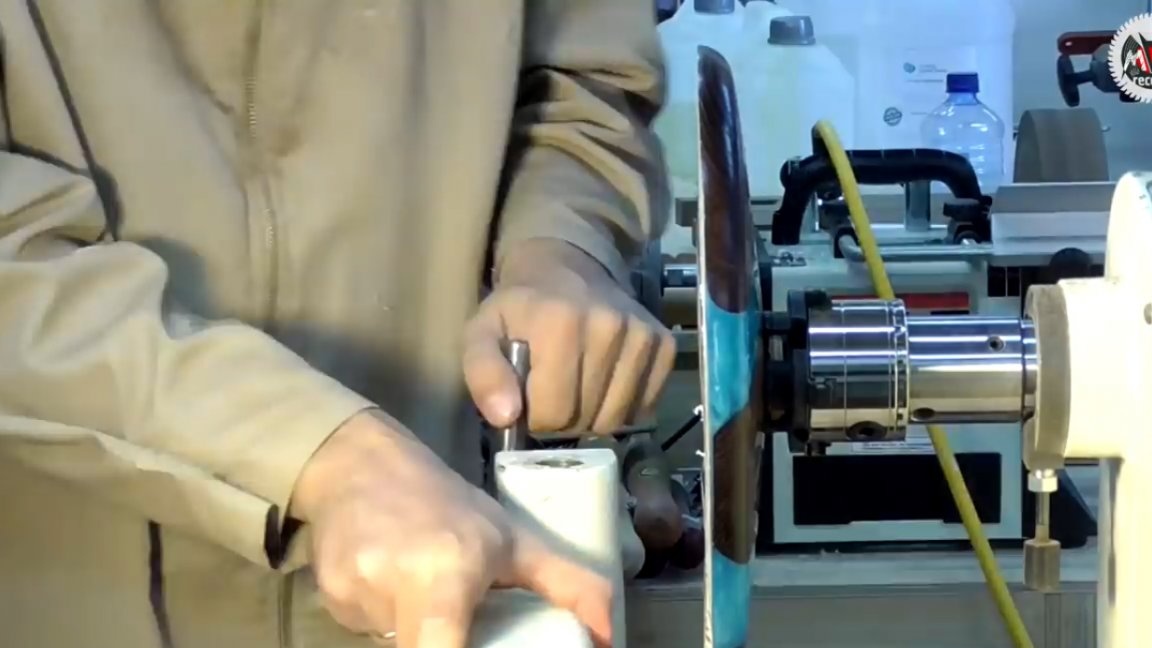
In this case, the plate was screwed only with two screws to the tree, the other four to the resin, which bears practically no strength, so then the product had to be pinched by the tailstock already with an external groove.
Attention! Do not forget when working with resin.
As a matter of fact, with the external groove no special problems arose, since the thickness of the product was sufficient. Plus, the first product went as an experiment.
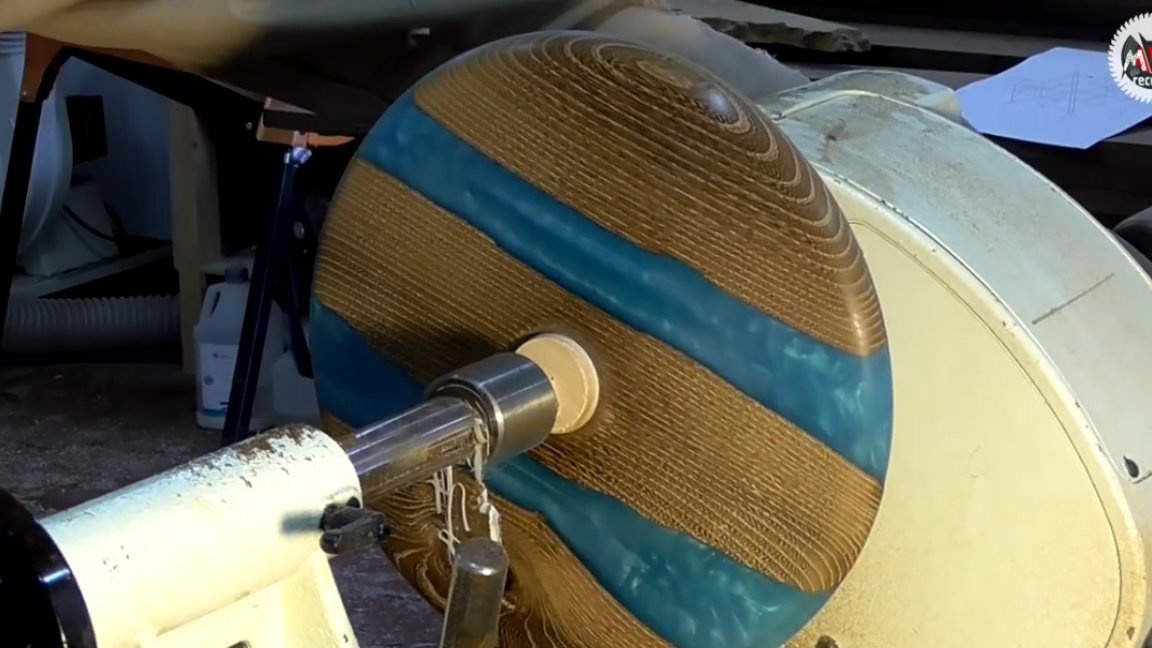
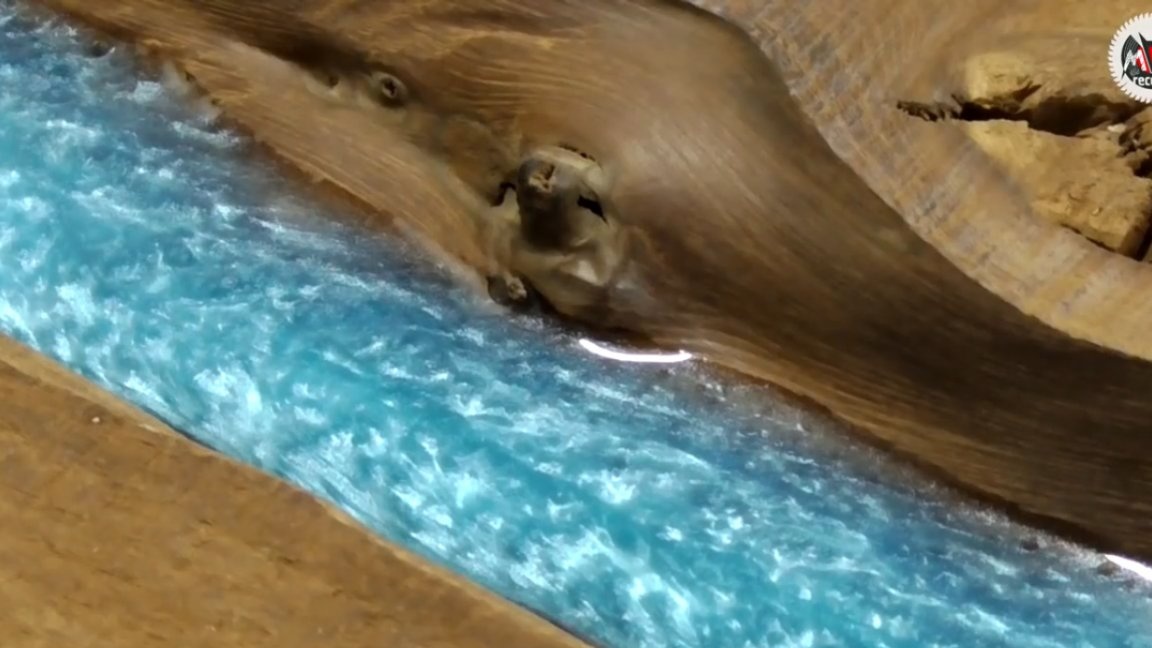
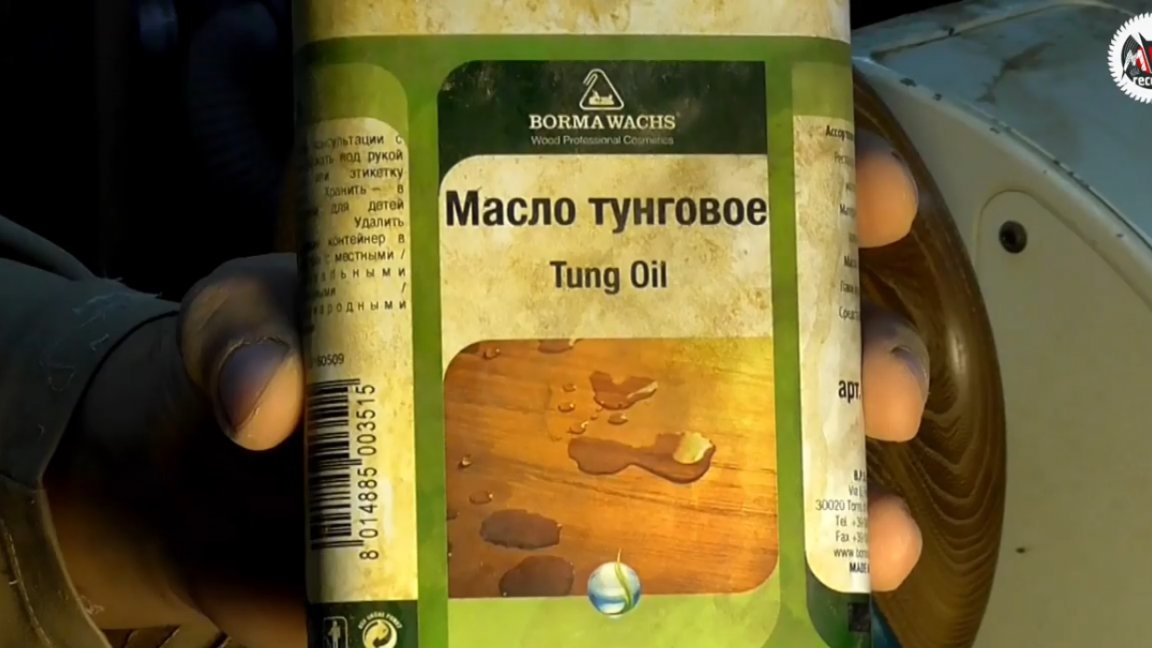
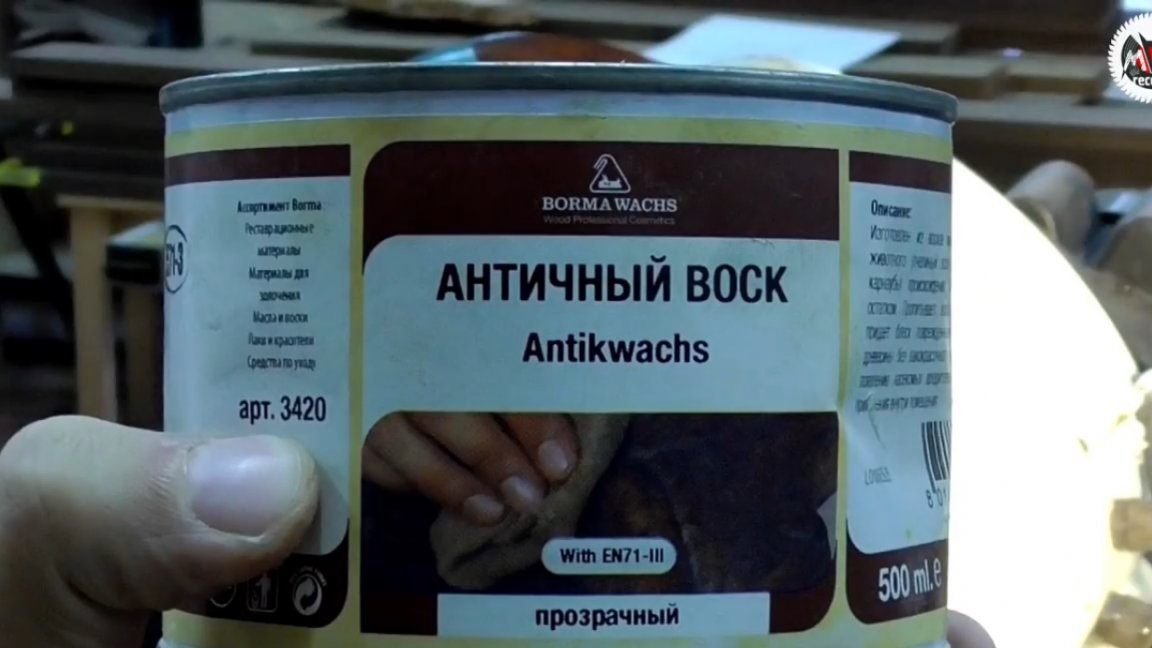
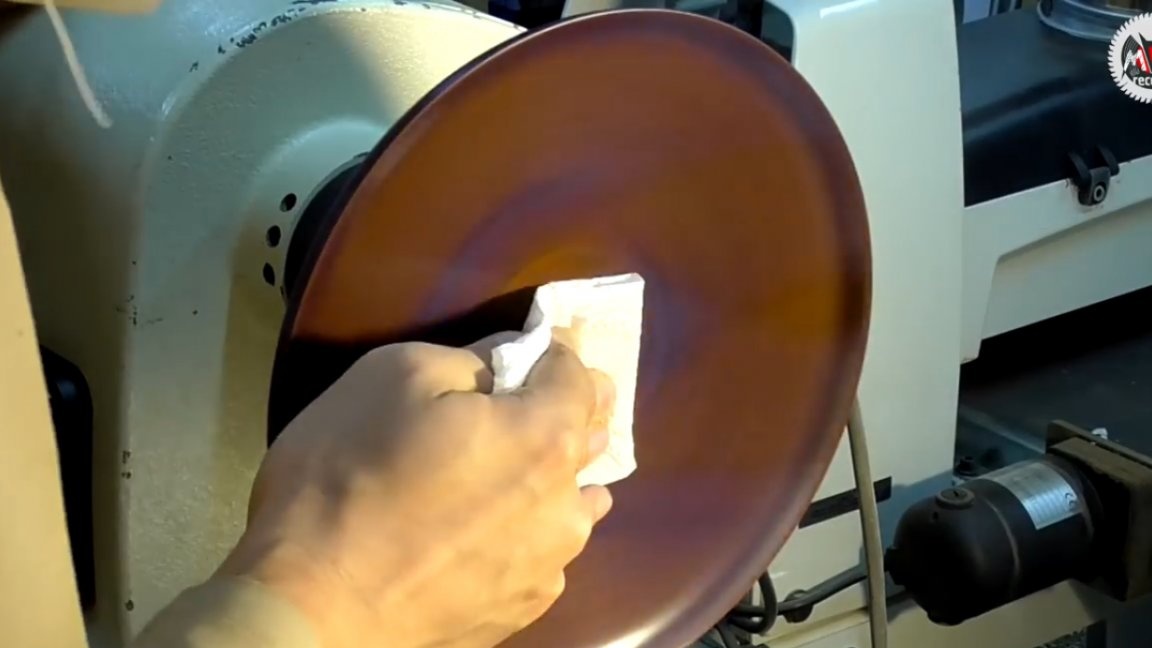
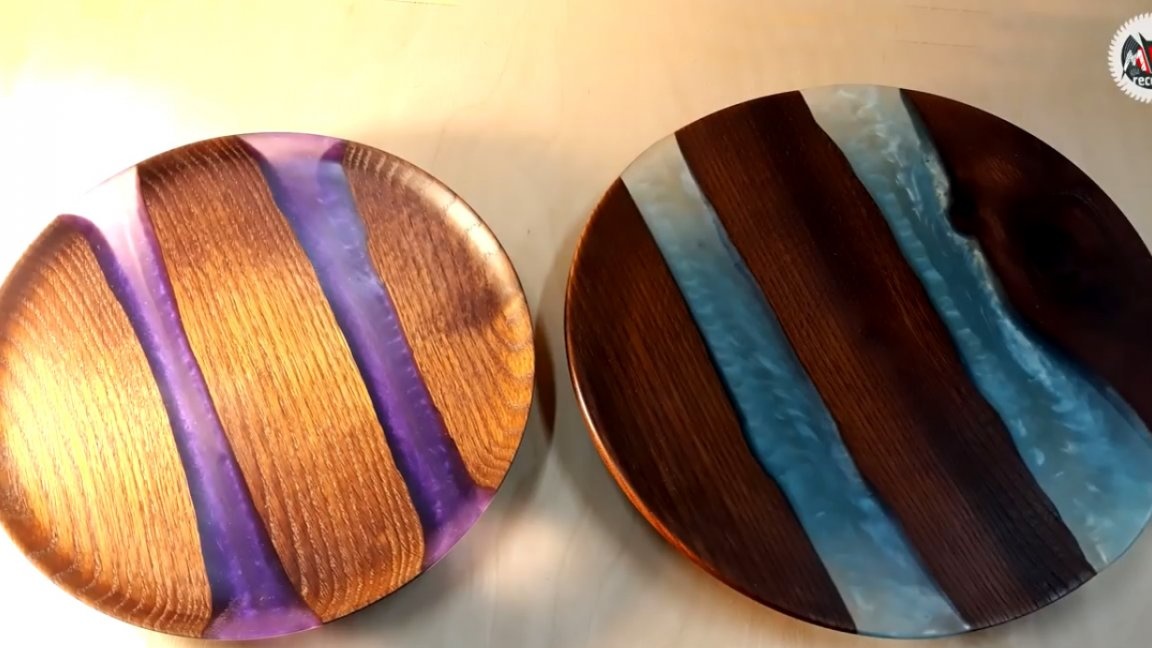
After finishing with oil, the thermal oven looks almost black, but it shimmers in the light, creating an incredible effect. And in combination with turquoise resin, a stunning contrast was obtained. In fact, we get in a plate a mini table-river.
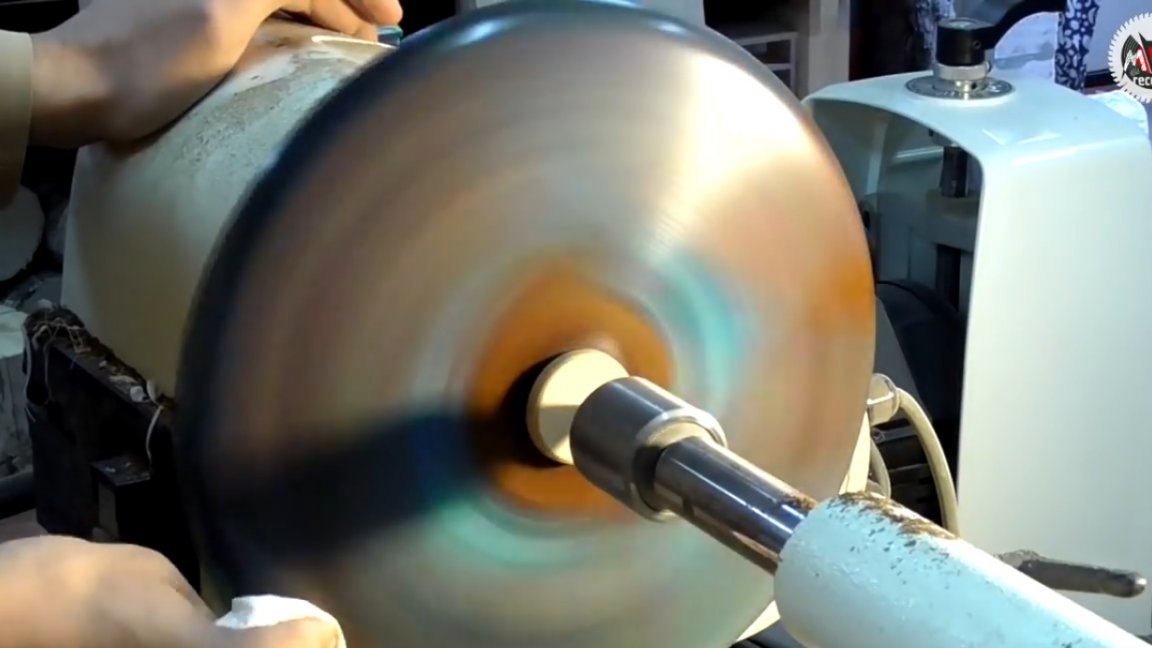
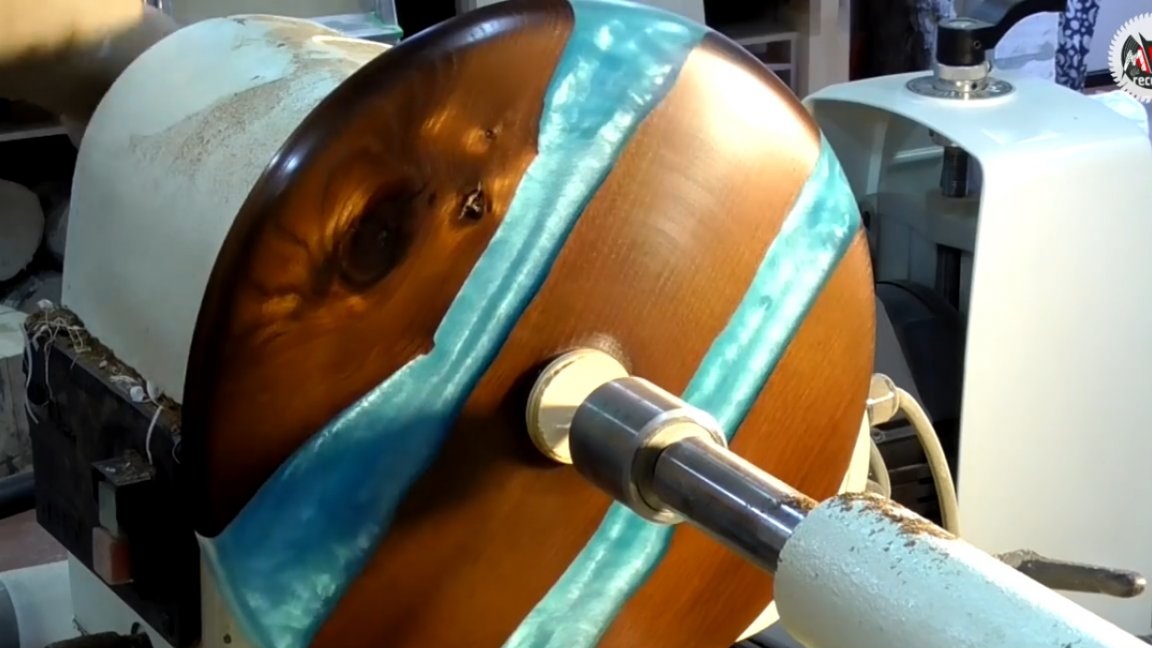
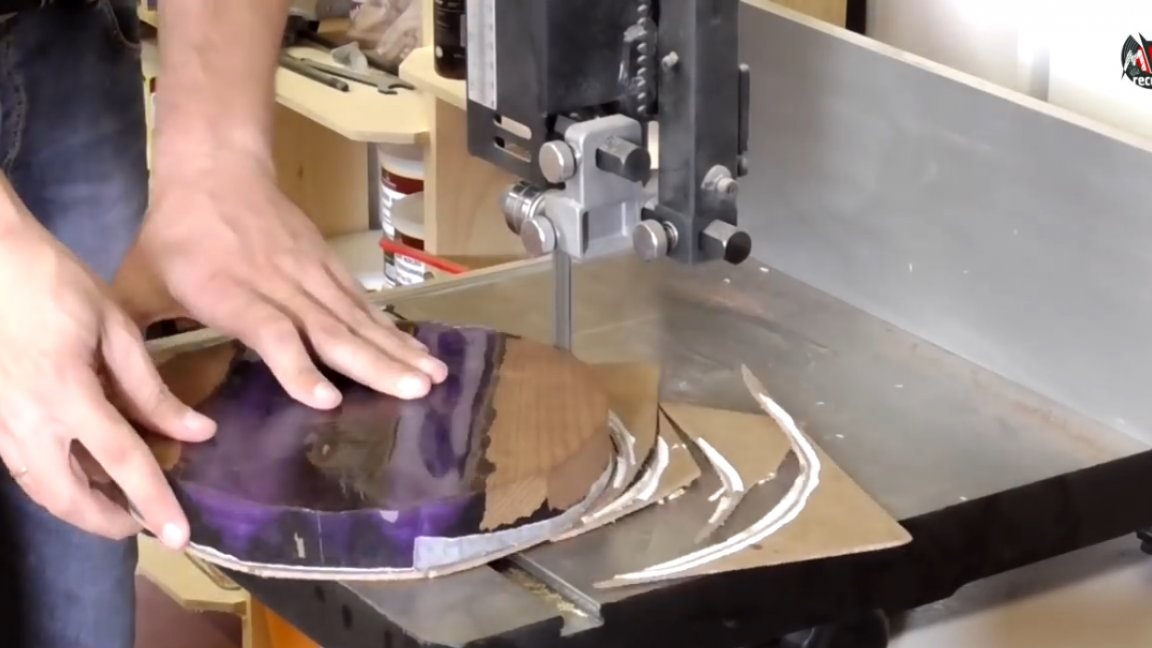
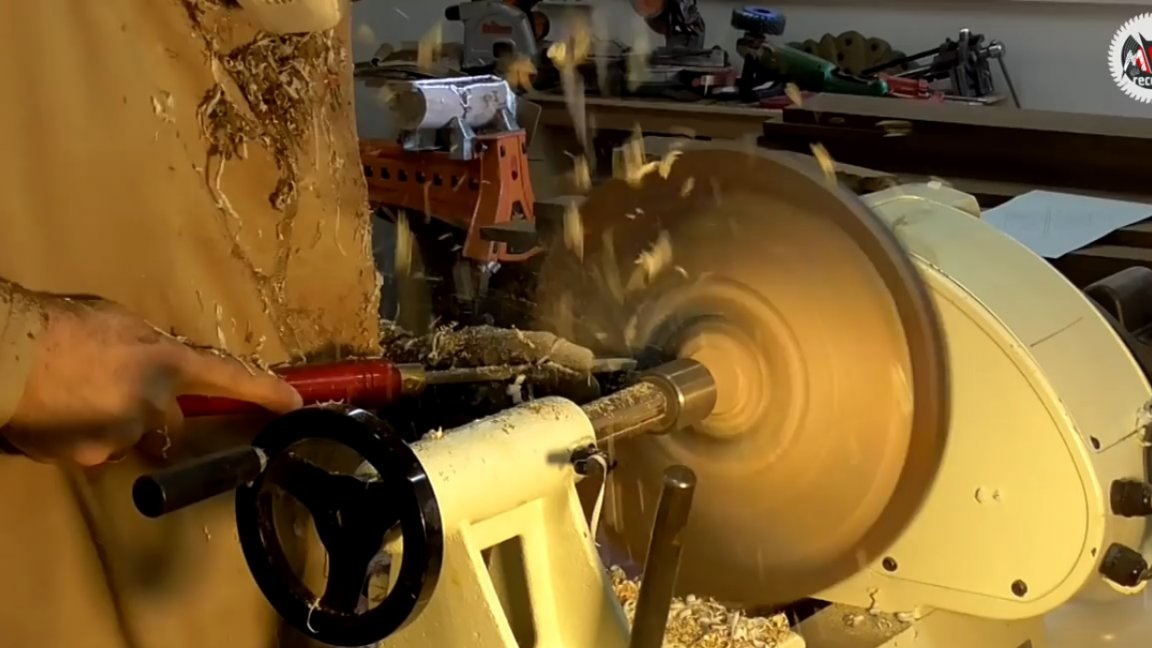
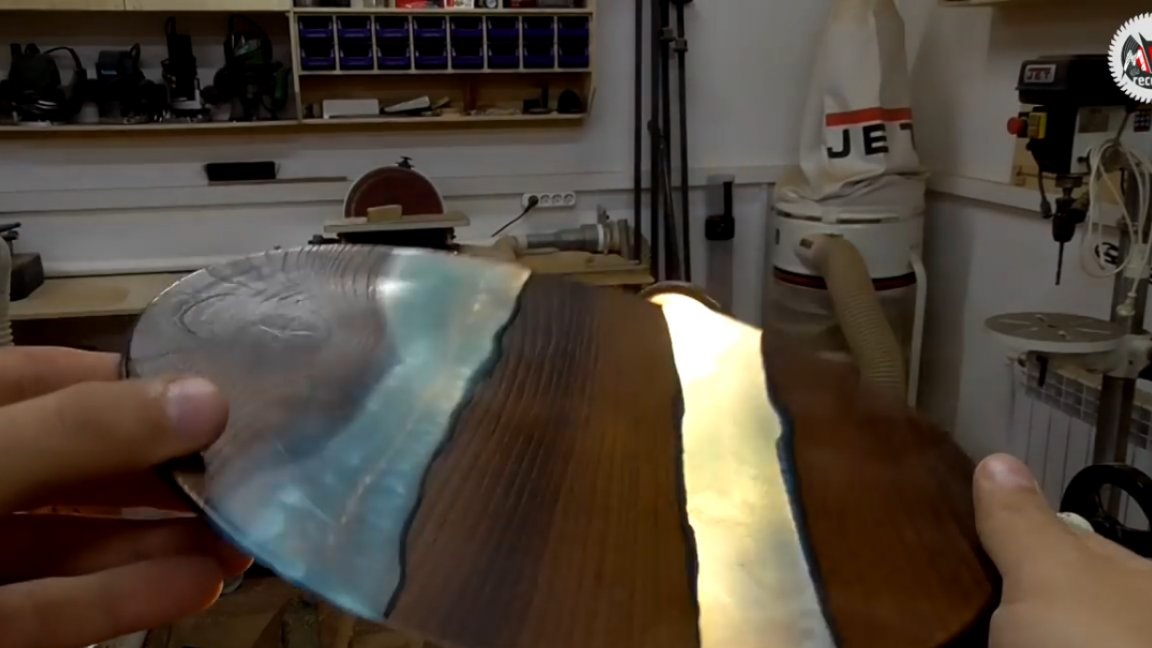
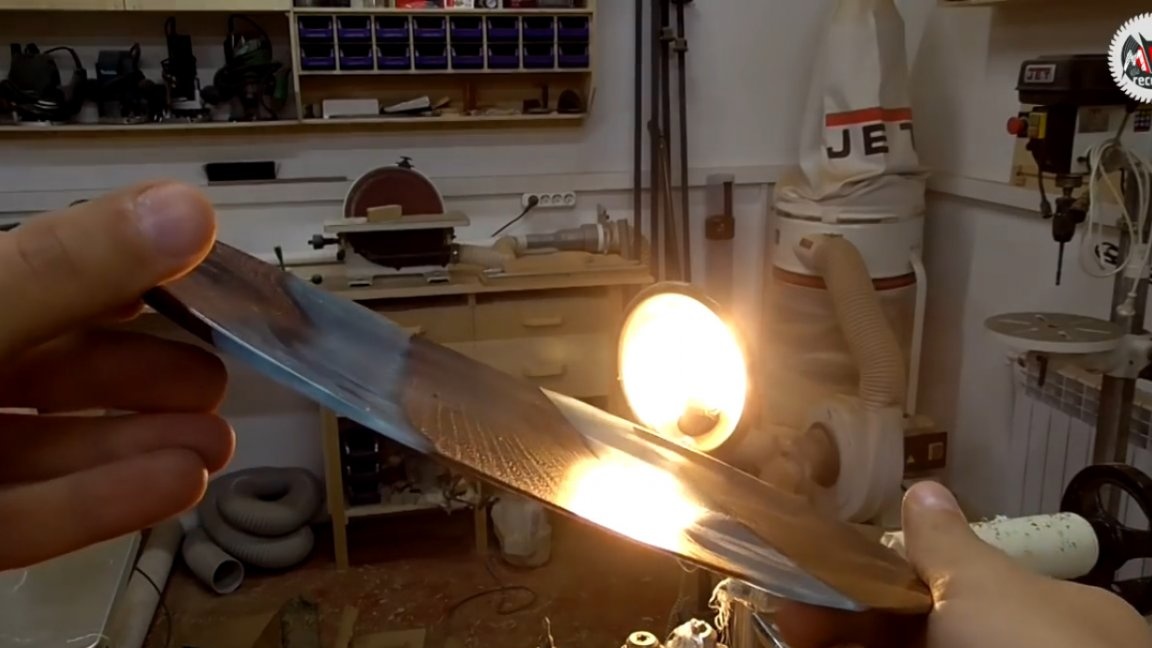
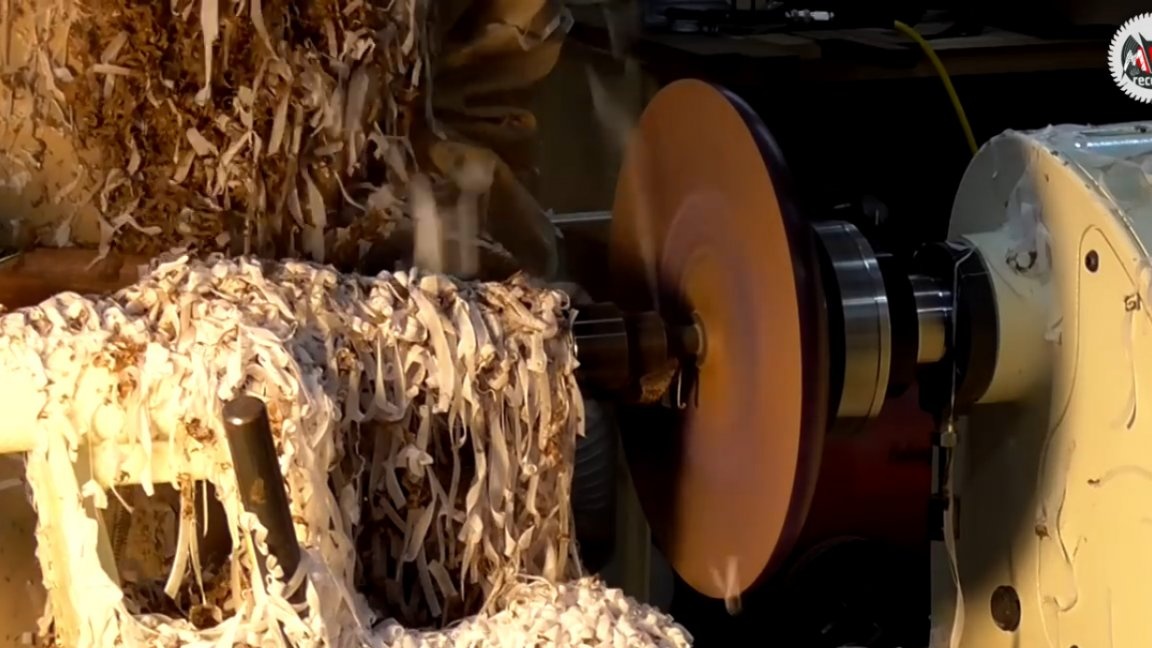
But with internal boring, these same metamorphoses with the geometry of the product began. The thinner the master made the plate, the more he received the beating and the figure eight of the thickness of the product. The very effect of softening the resin during heating and the impossibility of normal processing are to blame for everything, since the two extreme wooden elements in the product constantly bend.
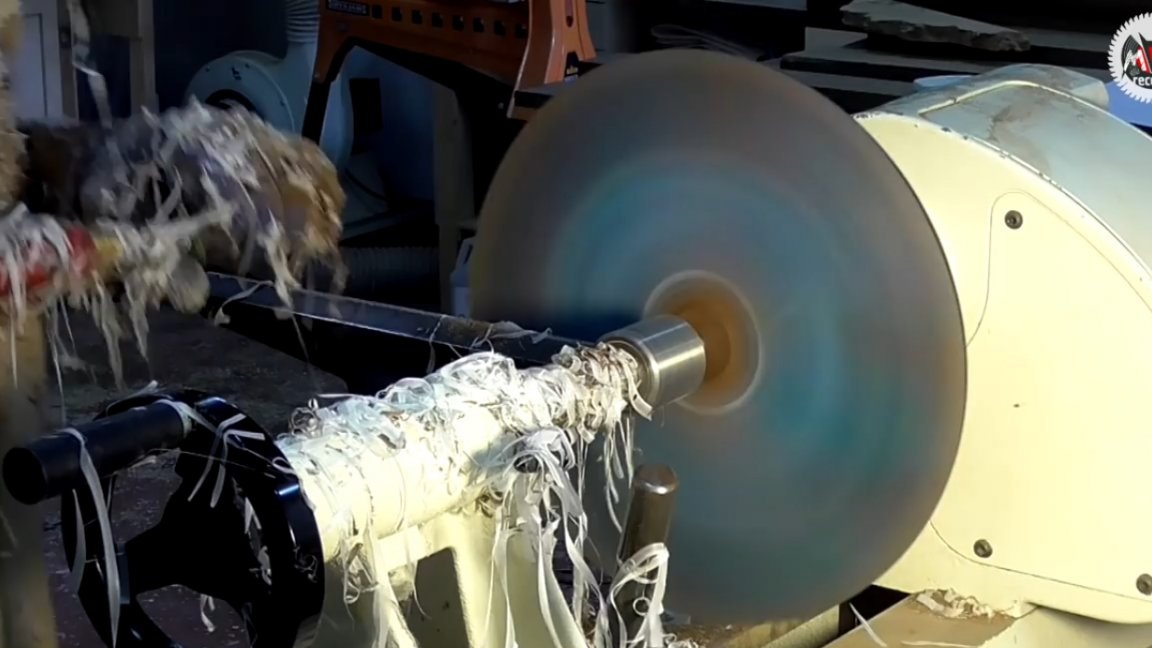
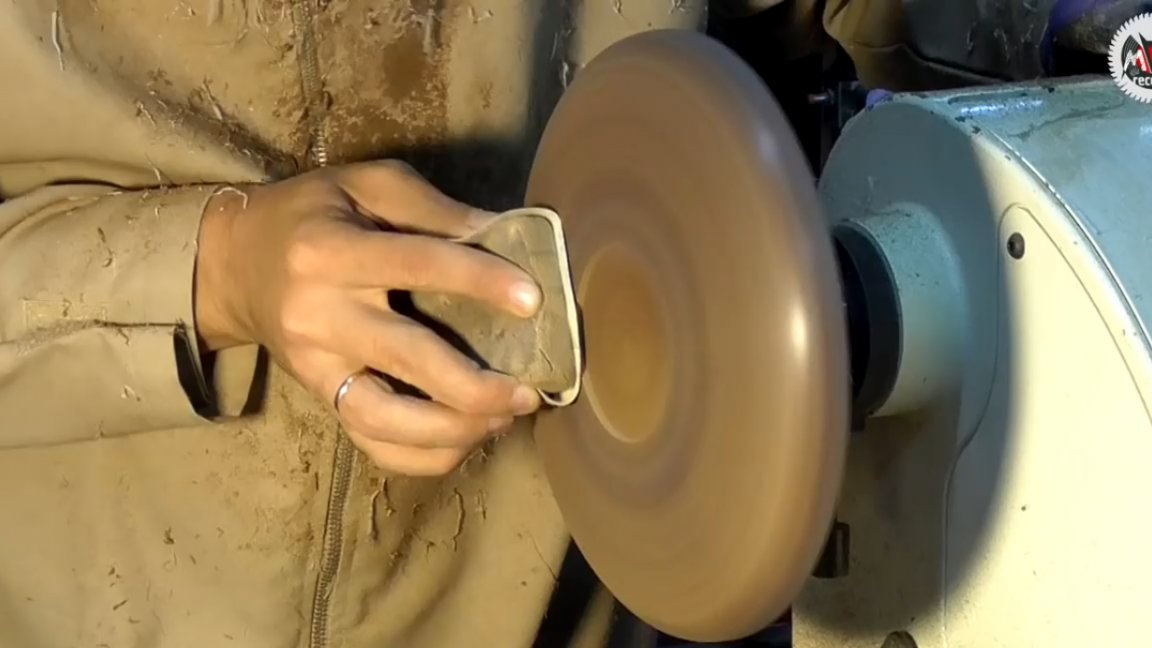
As a result, the author realized that he wouldn’t be able to pierce this workpiece humanly, he decided to remove the stump from the tailstock and set about grinding, which, by the way, caused this effect even more, since the heating there is much more than when turning.
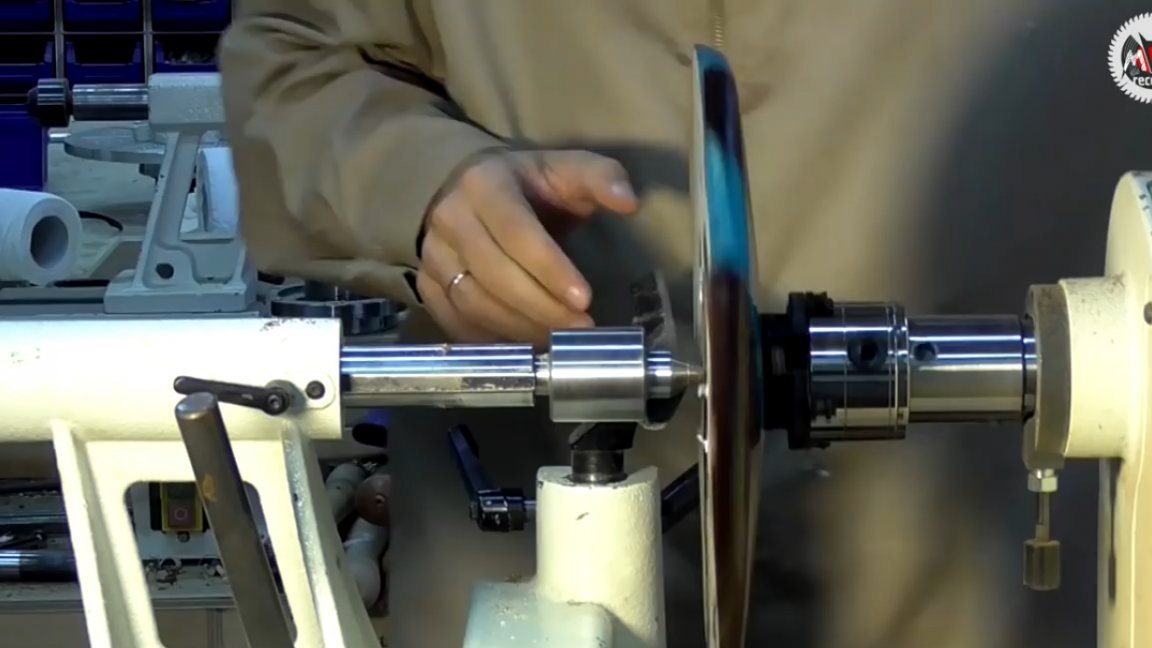
It is possible that the solution to such problems for such thin products with resin with an internal groove is a special insert on the cartridge, repeating the shape of our product on which it will be laid. Only in this way, with internal boring, the removal will be uniform, and even despite the heating of the resin, nothing will be able to deform. But in fact, such dishes as a souvenir look pretty good. And you can experiment here with almost any trim. Plus, this method will allow you to sharpen thin plates without indentation under the cartridge.
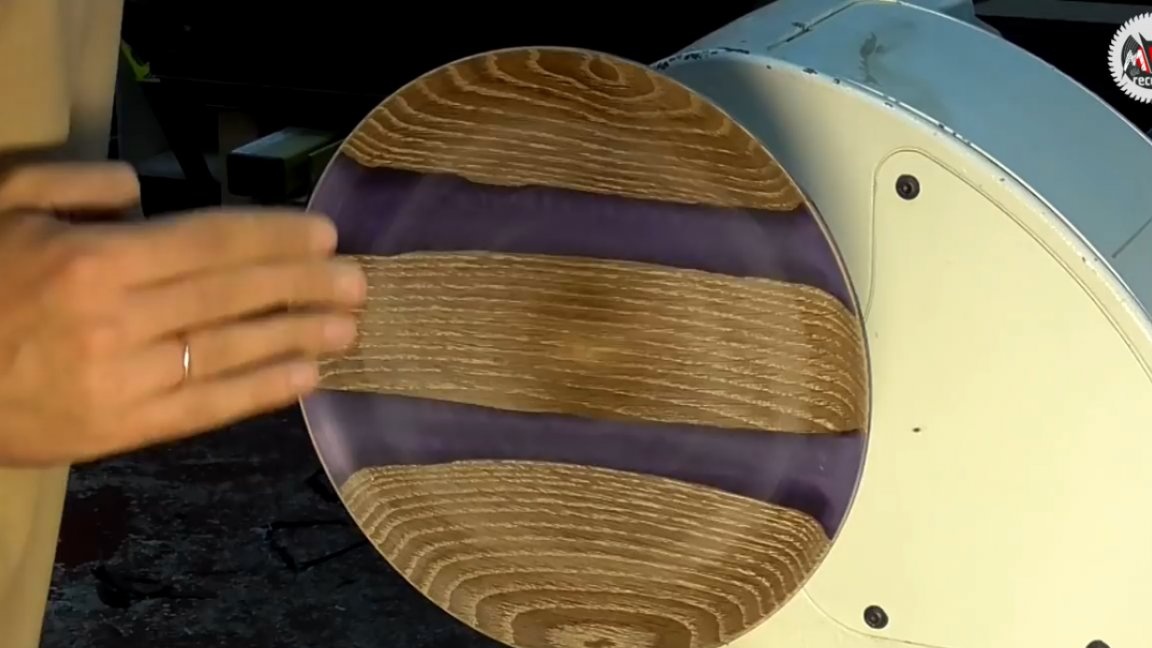
In the images below, the unevenness of the thickness along the perimeter is clearly visible.
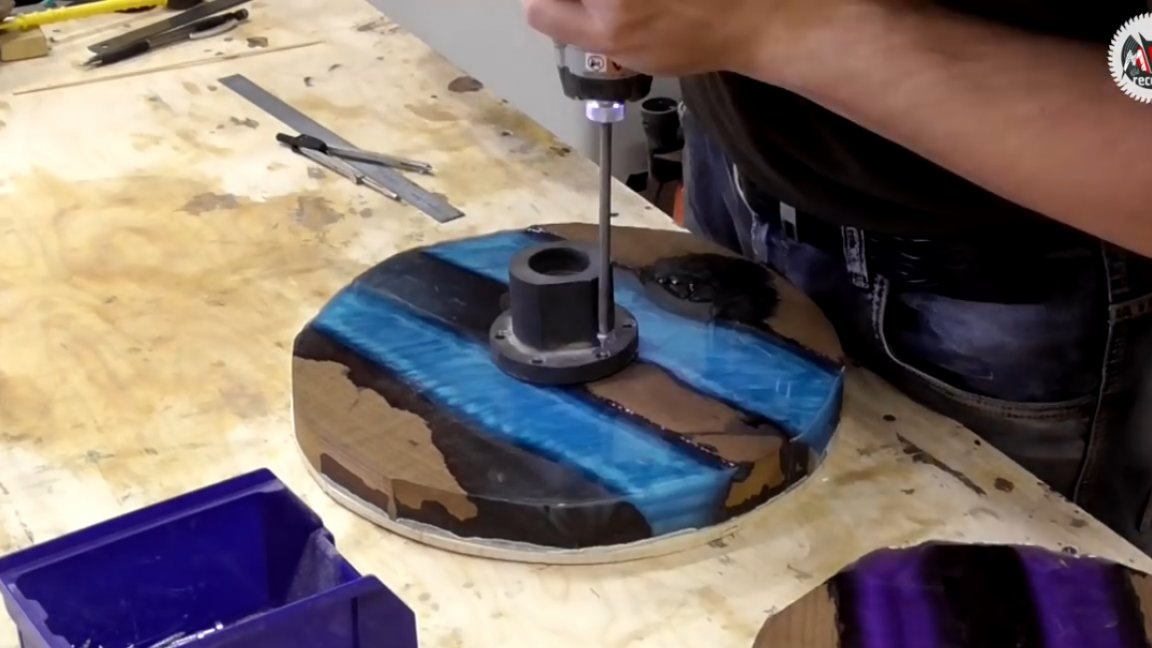
Next, the author proceeded to turning the second product. I did not stand on ceremony with this blank, since the plane for mounting on the faceplate there was excellent and it was possible to leave an adequate thickness of the product, and also make a side, which, in fact, already hints at a deep plate. Despite the fact that in the second product the width of our rivers in the plate is much smaller than in the first case, which already prevents the resin from bending so much when machining, the rim additionally serves as a stiffener.And in the aggregate of all these factors, there were no problems with grooving and further grinding of the second product, even though the ledge was chipped under the cartridge.


Here is such an experiment, which allowed us to draw the right conclusions and showed clearly how the resin reacts to temperature. As has been repeatedly said, there are a lot of nuances when working with resin. Try, repeat, and most importantly, do not forget when working with resin. That's all. Thank you for attention. See you soon!
Author's video: