Hello!
Today we will consider homemade the author of the YouTube channel "Texas". She will be very useful to those who serve their car by yourself.
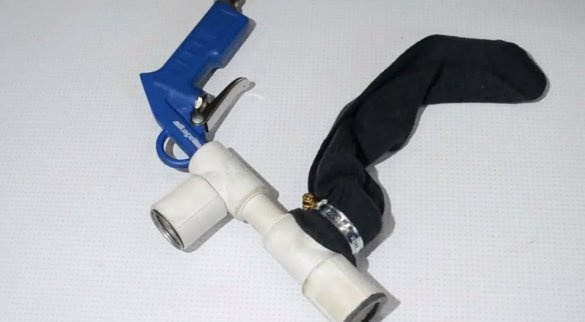
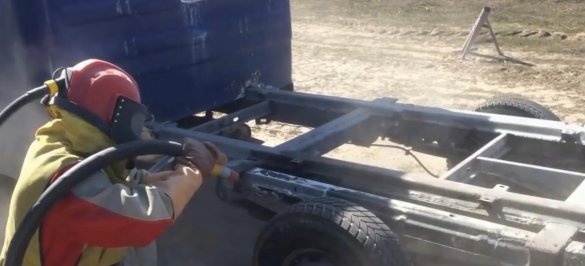
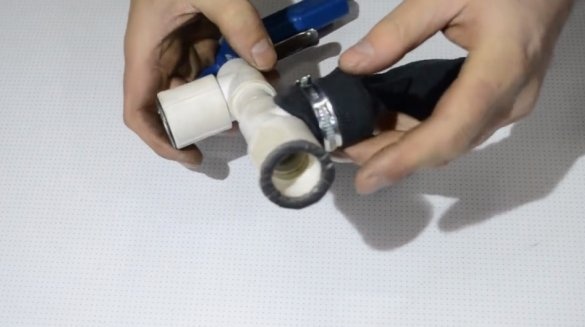
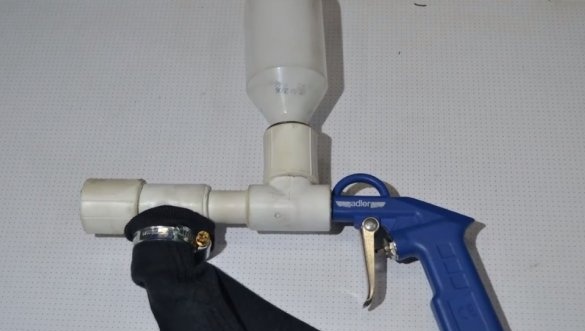
It will be a mini sandblasting machine. More precisely, it will be not just a sandblasting machine, but a device for use in local places, which can be used indoors.
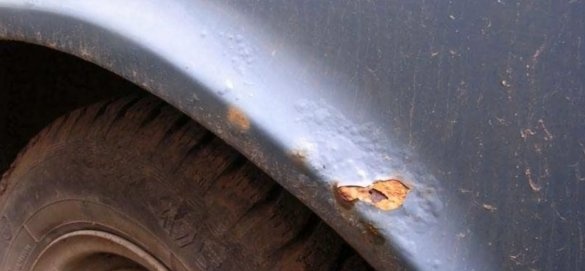
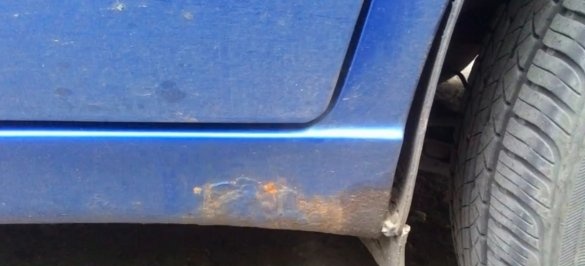
For example, you want to clean a small area of the car body or frame. To do this, drive the car out into the street, sandblast it and drive the car back into garage. For all this, it is required to uncover a sandblasting machine for 50 kg of abrasive, which I do not always want to do.
With the proposed sandblasting machine, everything can be done indoors.
Step 1: Tools and Materials
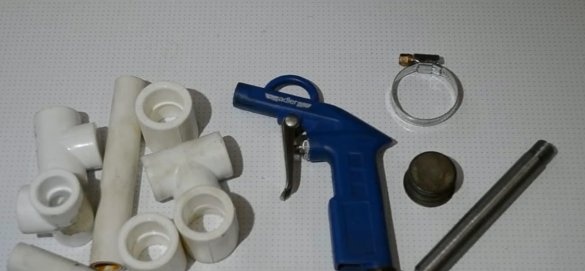
Necessary materials:
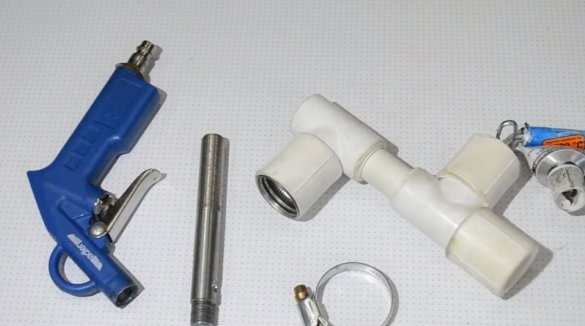
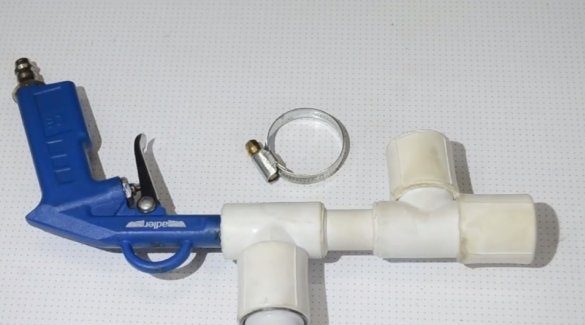
- An old purge gun for the compressor;
- polypropylene tee with a diameter of 20 mm - 3 pcs .;
- polypropylene coupling with a diameter of 25 mm - 3 pcs .;
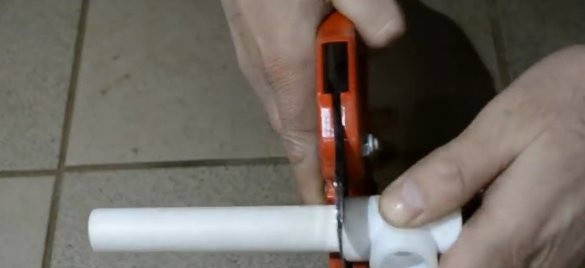
- cuts of polypropylene pipes - 2 pcs .;
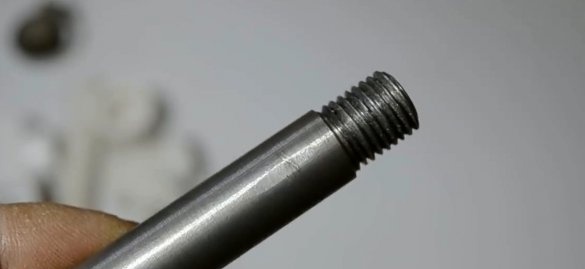
- a prefabricated metal bar with a diameter of 14 mm and an internal through hole of 4 mm with a M12 thread cut from one end .;
- metal cork;
- metal clamp;
- plastic bottle;
- an old, not full of holes, as a bag for collecting abrasive sand;
- a plastic bottle for abrasive sand;
Instruments:
- Drilling machine;
- A centering drill with a diameter of 5 mm;
- Soldering iron for polypropylene pipes;
- Sealant;
- Lathe;
Step 2: Manufacturing Process
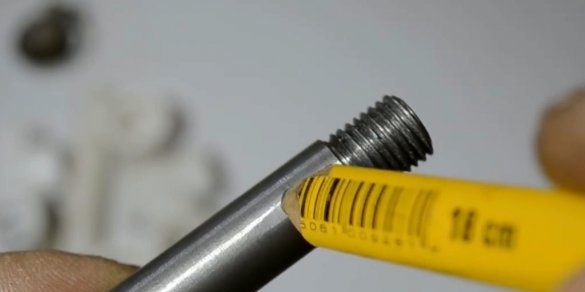
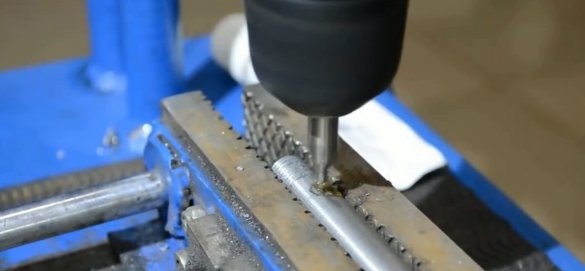
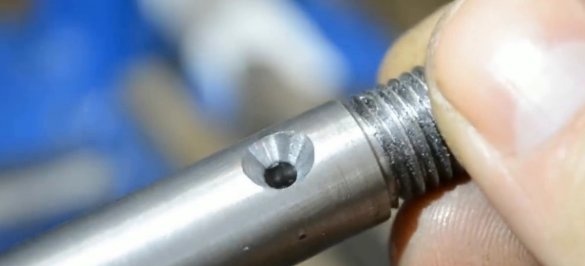
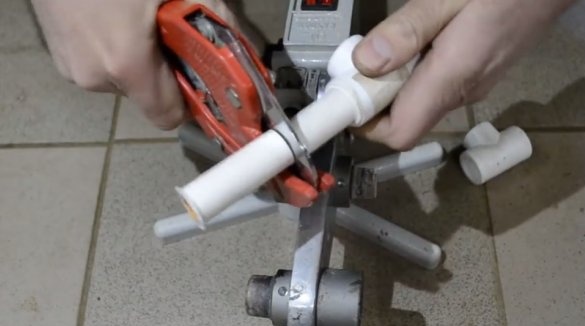
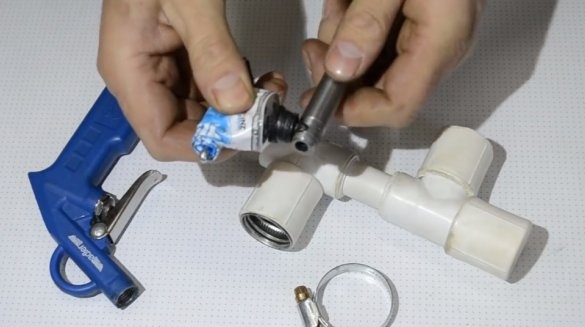
First of all, it is necessary to drill a hole in a metal bar at a distance of about 1 cm from the thread. The master drills the hole with a centering drill with a diameter of 5 mm.
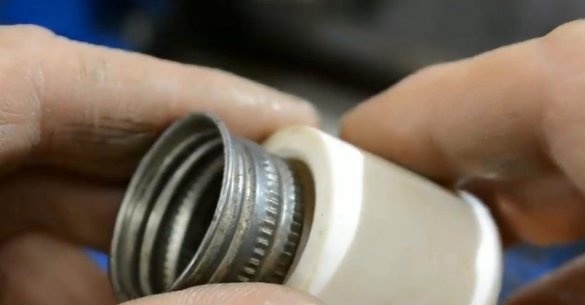
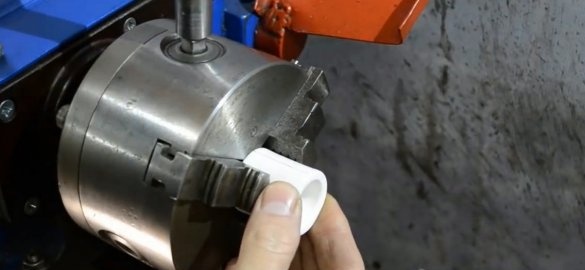
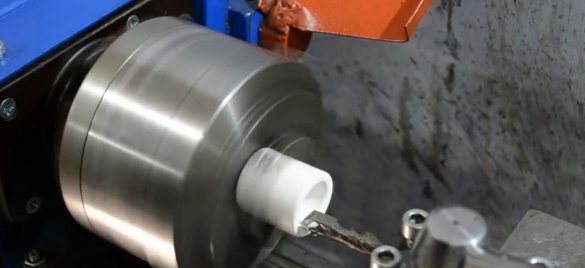
The metal cap is slightly larger in diameter than the inner diameter of the coupling. Therefore, the master decides to grind it a little on a lathe so that the cover fits tightly into the clutch.
In the same way, the remaining couplings should be grooved so that they fit tightly onto the tee. Since the tee has a diameter of 20 mm and a coupling of 25 mm.
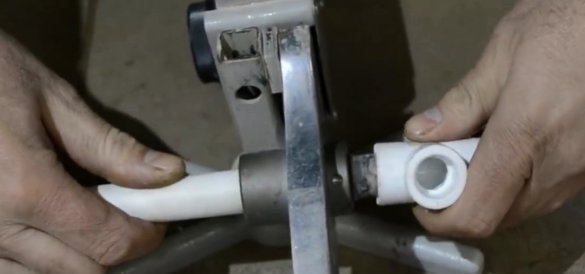
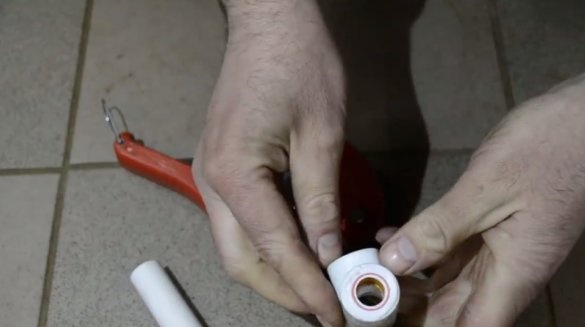
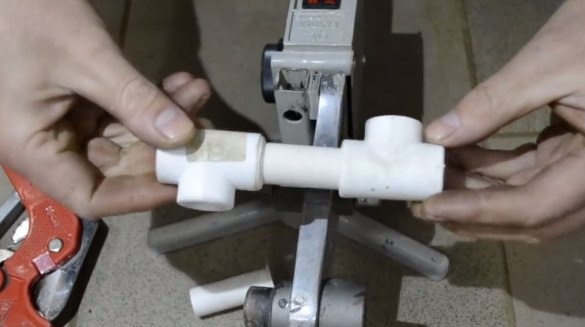
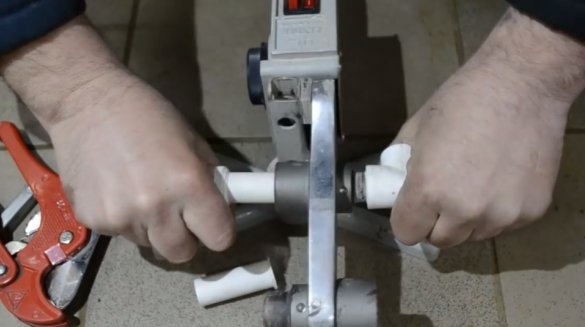
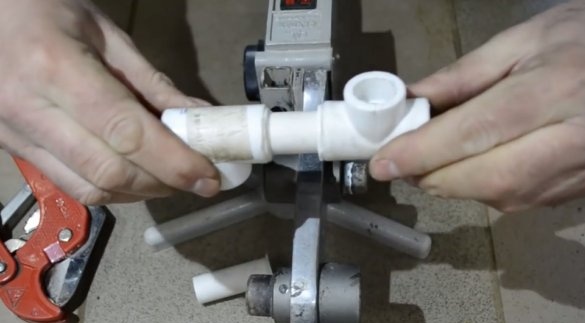
Then the master solders the next design. The master had to seal the couplings on a gas stove, since there are no necessary adapters in the soldering iron (although this can be done, you do not even have to grind the couplings).
In the metal cover, the master also made a hole for the abrasive.
Step 3: Assembling the Product
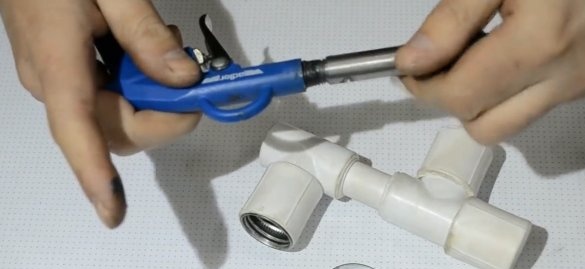
The master screws the metal bar onto the purge gun and puts it on the sealant.
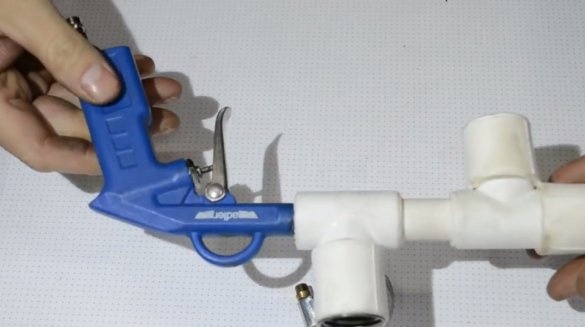
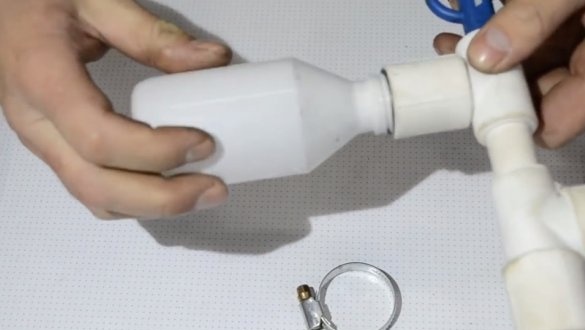
Then the master combines the two blanks into a single whole product.
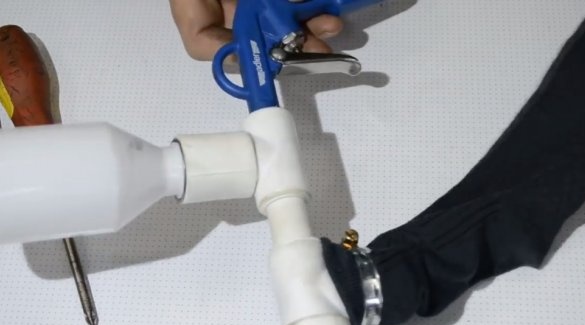
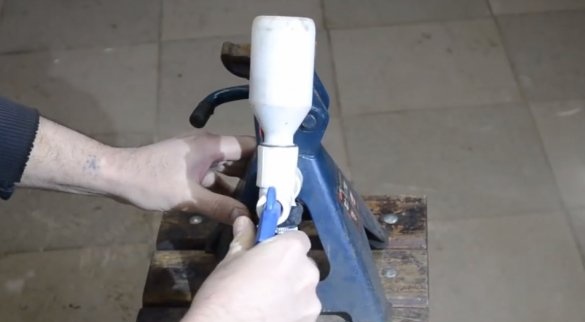
The master screws a bottle for abrasive into the lid.
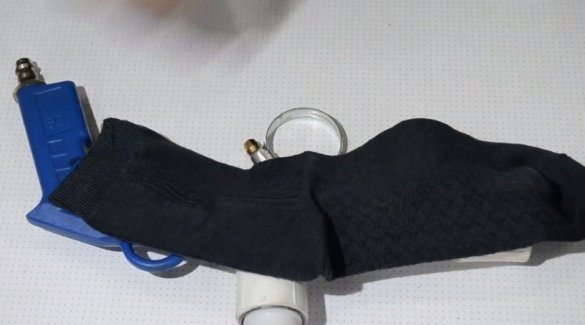
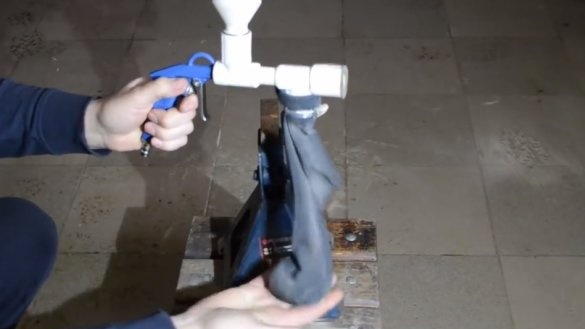
And the final touch is the sock, which will act as a bag for collecting abrasive.
At the end of the product, it is necessary to glue a foam rubber, paronite ring or seal for windows and doors.
This ring is necessary for more tight contact with the workpiece so that abrasive sand does not fly out.
Step 4: Sandblasting Testing
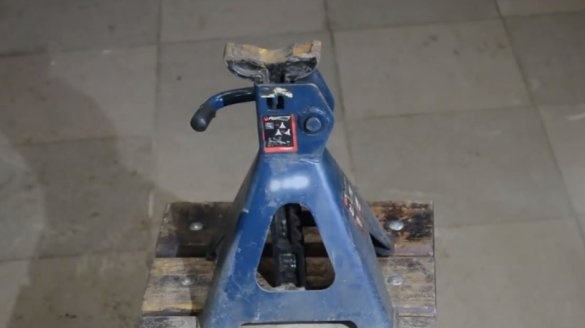
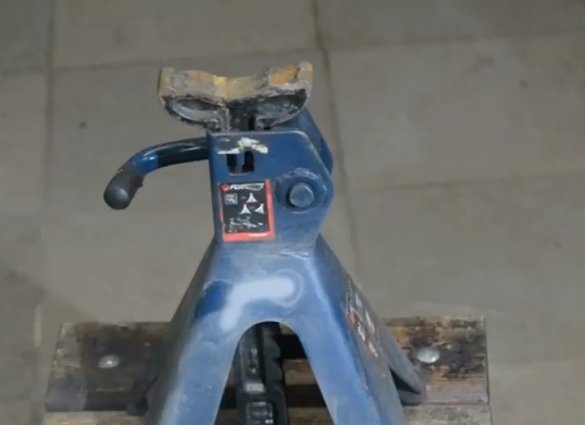
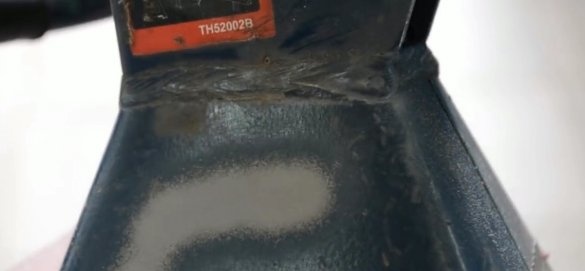
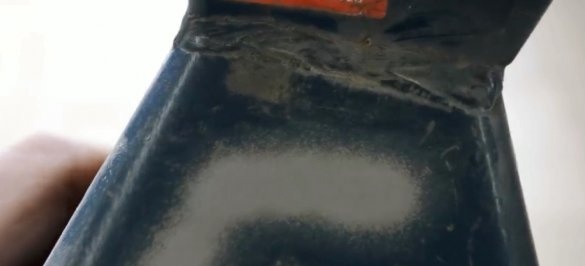
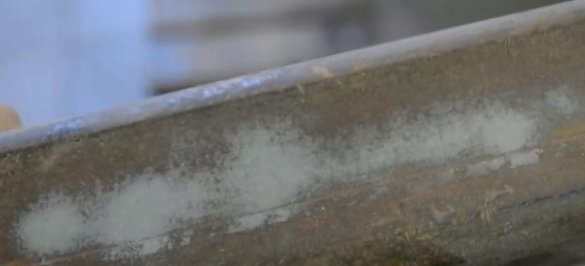
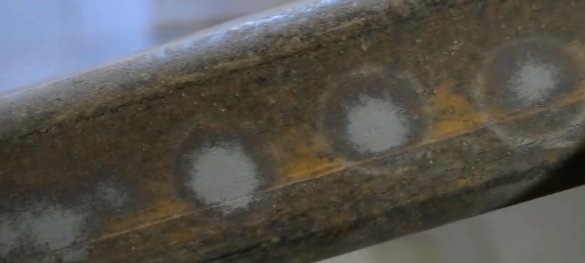
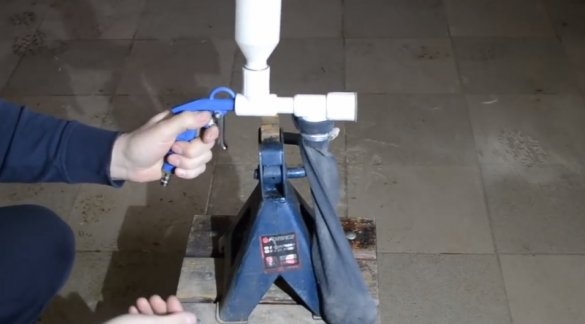
As a “guinea pig”, the master has a car safety stand. Paint is removed very well.
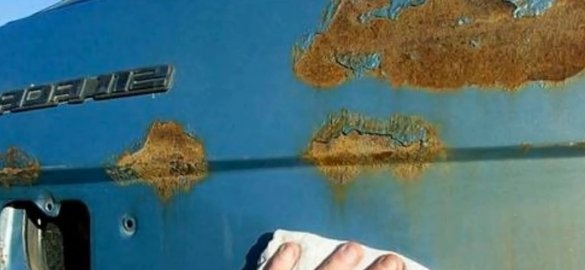
Rust is also well removed.
The bulk of the abrasive sand remained in the sock with a few exceptions.
P.S.
This product, of course, can be modified. For example, a sock is needed denser or a bag of dense fabric. Also, air exhaust with a sump and a fine mesh (for gasoline for example) and then the entire abrasive will be collected.
There is also an opinion about shrinkage of pipes. Most likely you can use other pipes, you just need to choose them by diameter. It would also be nice to make the central acceleration tube 20 cm longer, and at the end put a part of the rubber pipe from the radiator ...
You can try to solder an American with an internal thread on the edge of the gun, and make nozzles with different nozzles, using an American with an external thread so that you can change them if necessary.
Also, the process of manufacturing a mini sandblast can be seen in the video below:

