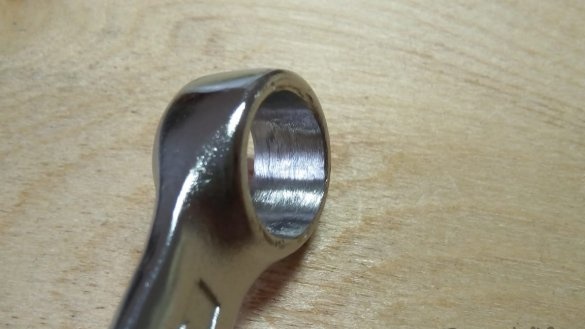
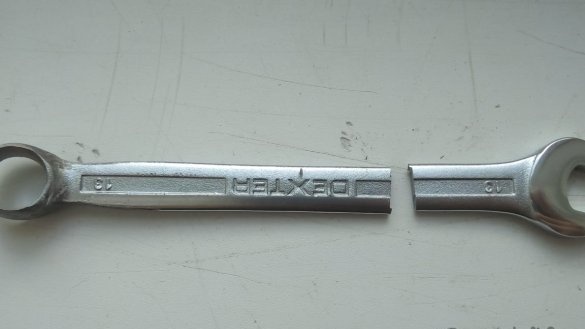
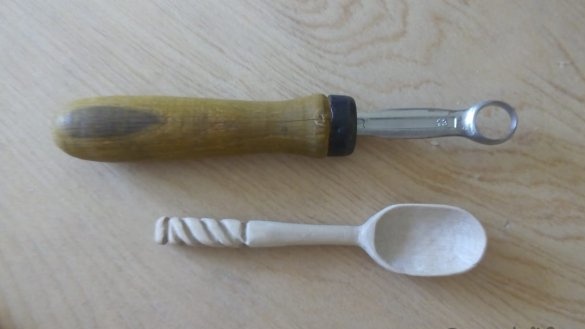
In this article I will tell and show how you can do do it yourself wrench cutter. A spoon cutter is used to cut cavities in wood, for example, in the manufacture of Kuks mugs and, of course, spoons.
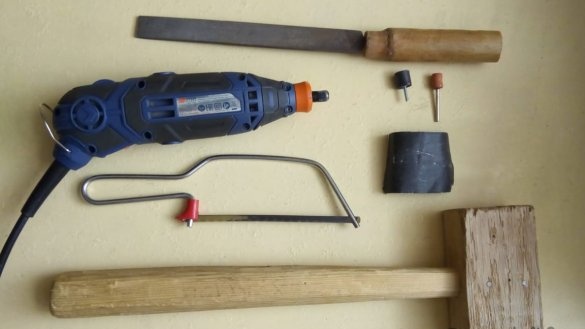
Materials and tools:
Manufacturing process:
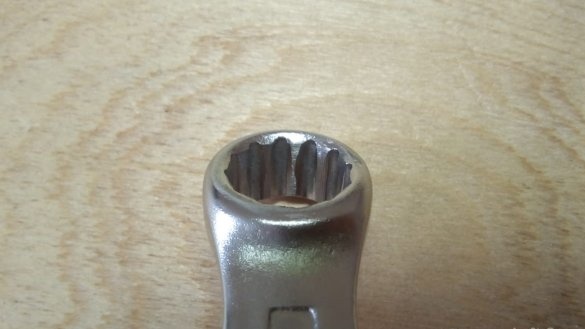
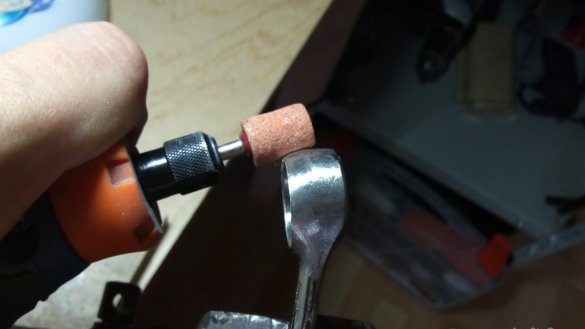
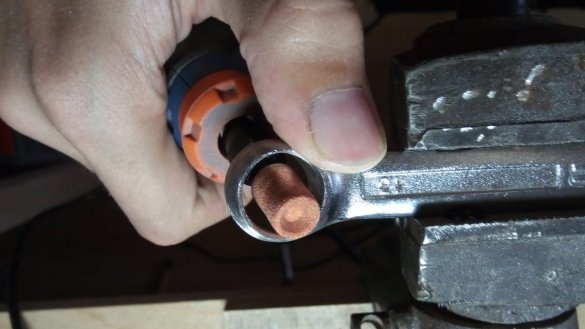
Step 1: Bore the inner hole.
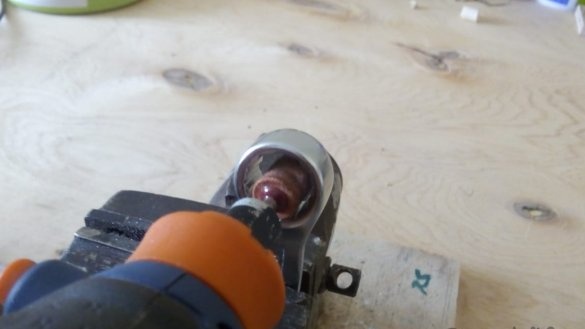
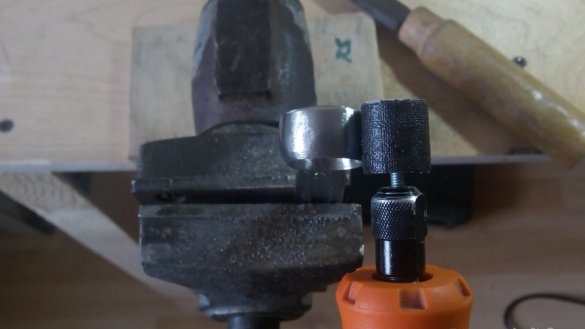
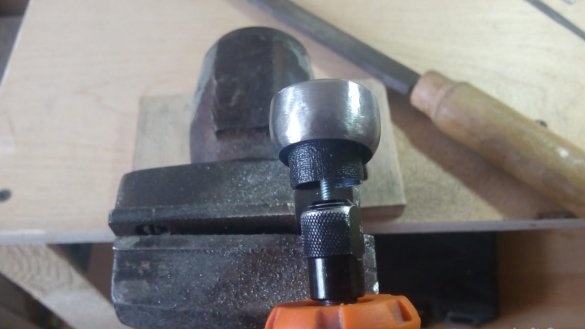
It is necessary to grind the internal protrusions, for this we use a drill and a cutter for metal.
During operation, the key will heat up, so that it does not lose strength, we regularly cool it in water.
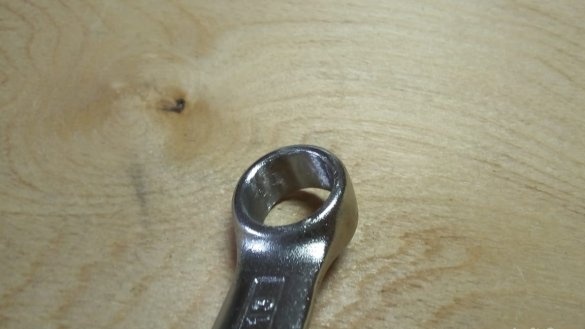
Boring Result:
Step 2: bringing out the cutting edge.
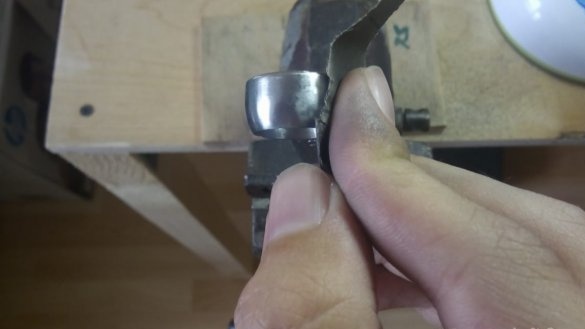
Now we need to bring out the cutting edge. To do this, holding the drill at an angle, grind the edge of the ring to almost zero, this will be the cutting edge.
And from the inside:
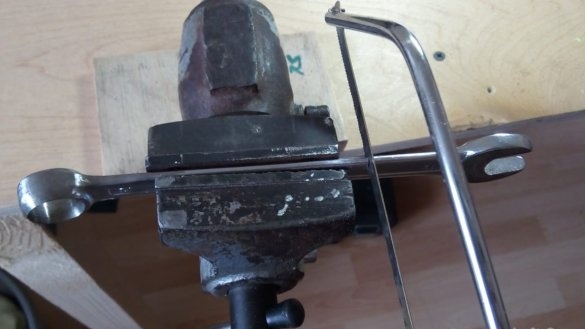
Step 3: Shank Formation
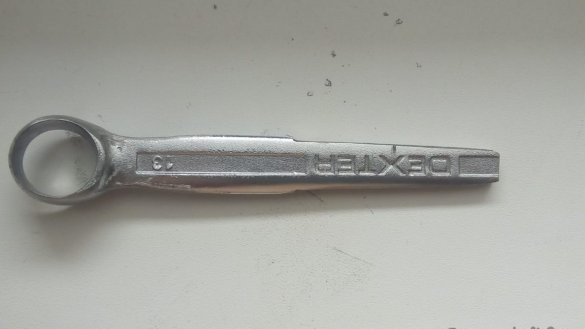
To attach the handle to the product, a shank is required. To do this, saw off the key two-thirds of the cutting edge.
Now we will give the shank a wedge-shaped shape with a file.
Step 4: grinding.
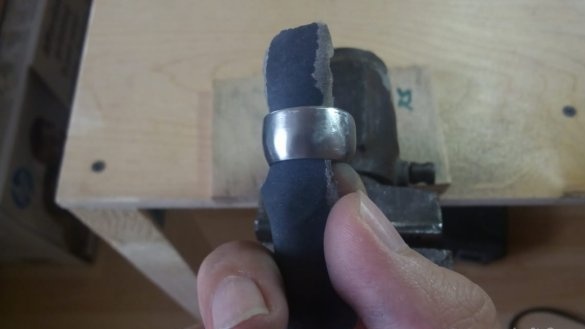
The entire workpiece is covered with scratches, including the cutting edge. You need to get rid of them, for this we will use the emery nozzle on the drill. Do not forget to cool.
Outside:
And inside:
We proceed to manual grinding, gradually increasing the grain size of sandpaper. I have 320, 400, 600, 800 and 1000 grit.
Step 5: sticking the handle.
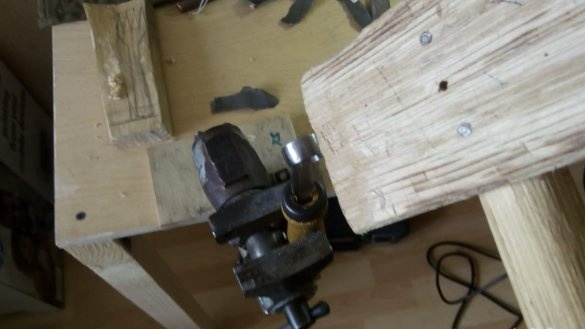
For convenient holding the cutter in your hand you need a handle. Take the handle from the old file, drive our cutter into it.
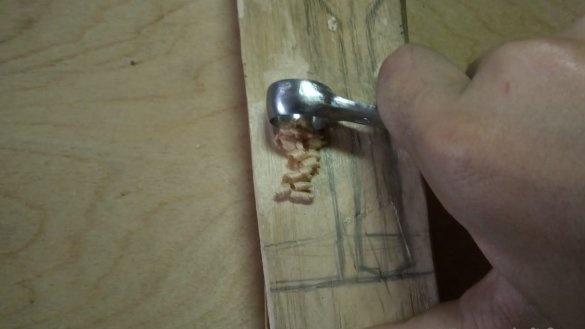
Our cutter is ready, it remains to undermine a little and that's it. Here he is at work:
A spoon made with his help:
It is worth remembering that this is a cutting tool and there is a risk of injury, so you should work with it carefully, observing TB.


