
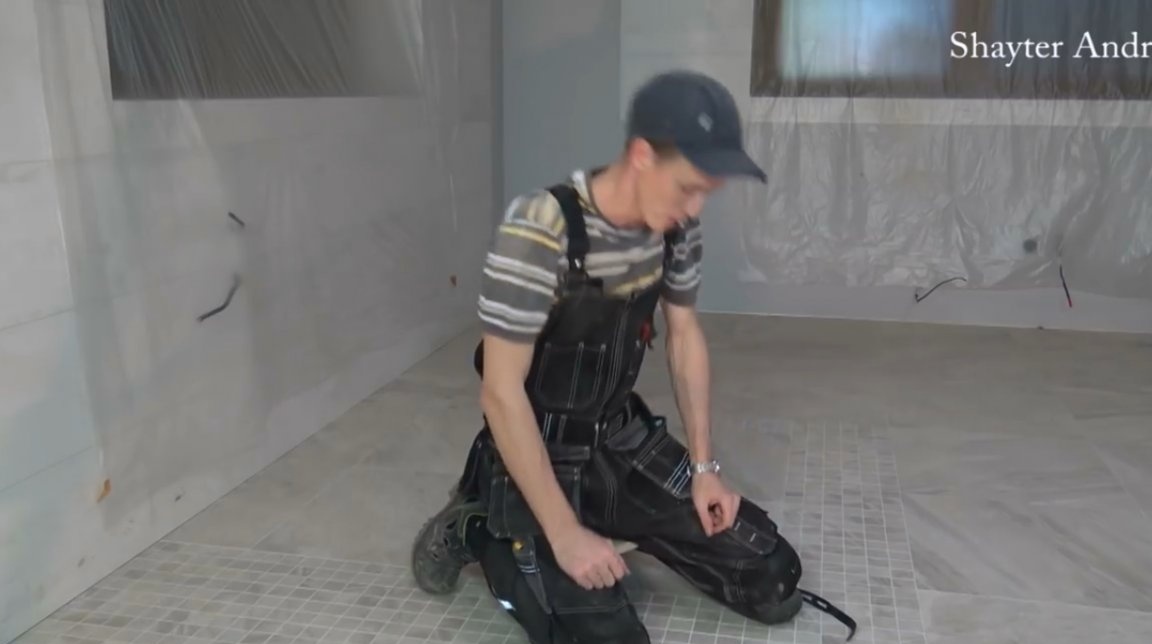
Perhaps some of you had to deal with laying floor tiles, skirting boards, and other work related to the floor, and installation at a level of up to 1 meter. They are always performed in an uncomfortable position, as a result of the legs, and especially the knees, quickly get tired.
In this article, Andrey, the author of the Shayter Andrey YouTube channel, will tell you how he made the “tiler seat”.
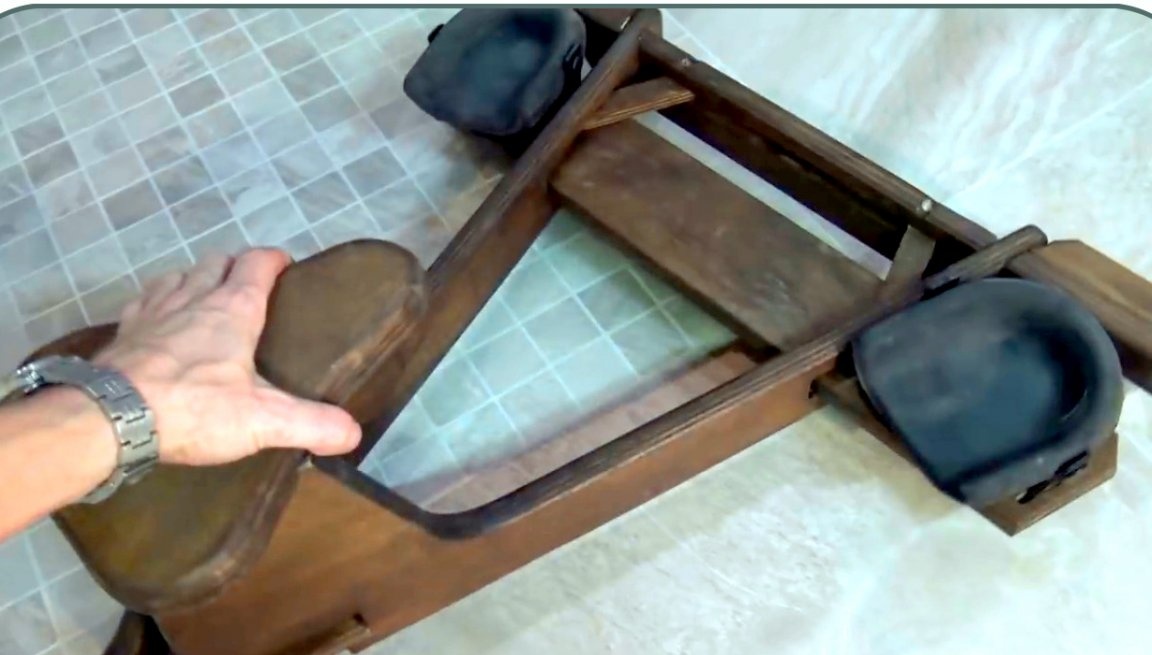
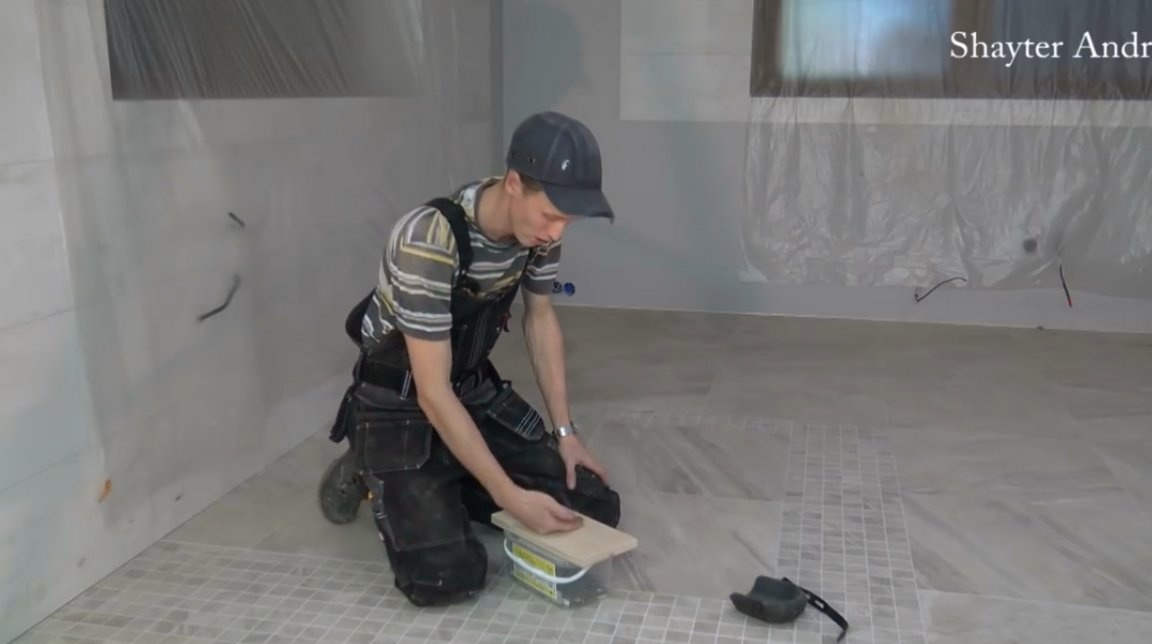
Firstly, it is folding, and convenient for transportation and storage. Secondly, it has wheels on which it moves easily.
This homemade product is not very difficult to manufacture, and the materials are cheap and affordable.
Materials
- 20 mm thick sheet plywood
- Furniture castors
- Stain
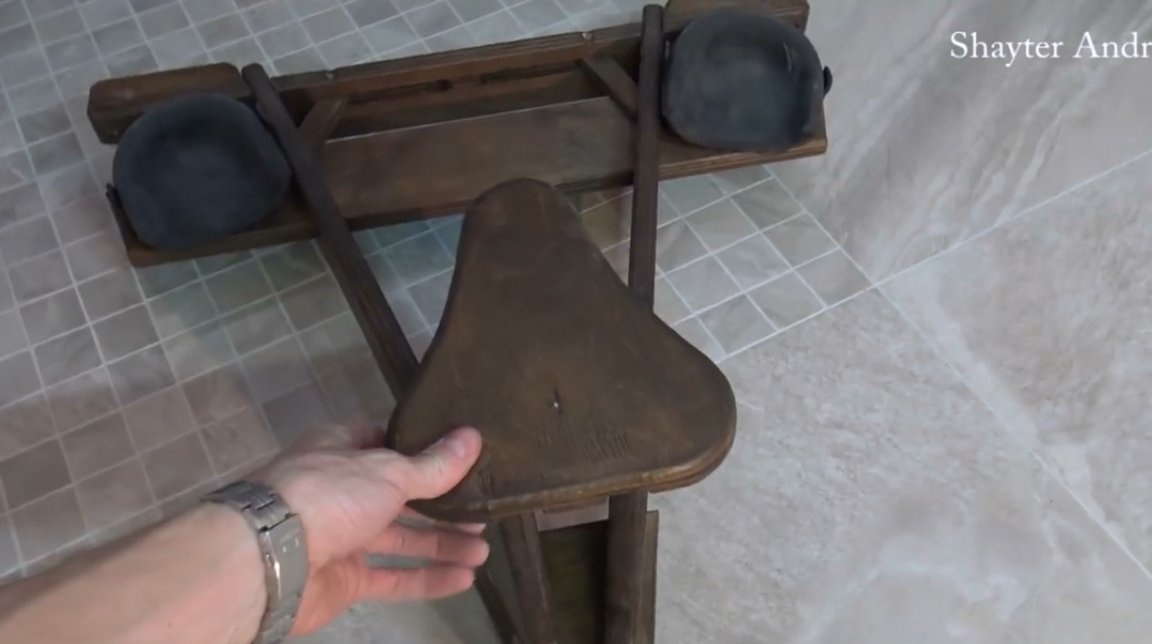
- Rubber knee pads, straps.
Instruments, used by the author.
- A circular saw
—
—
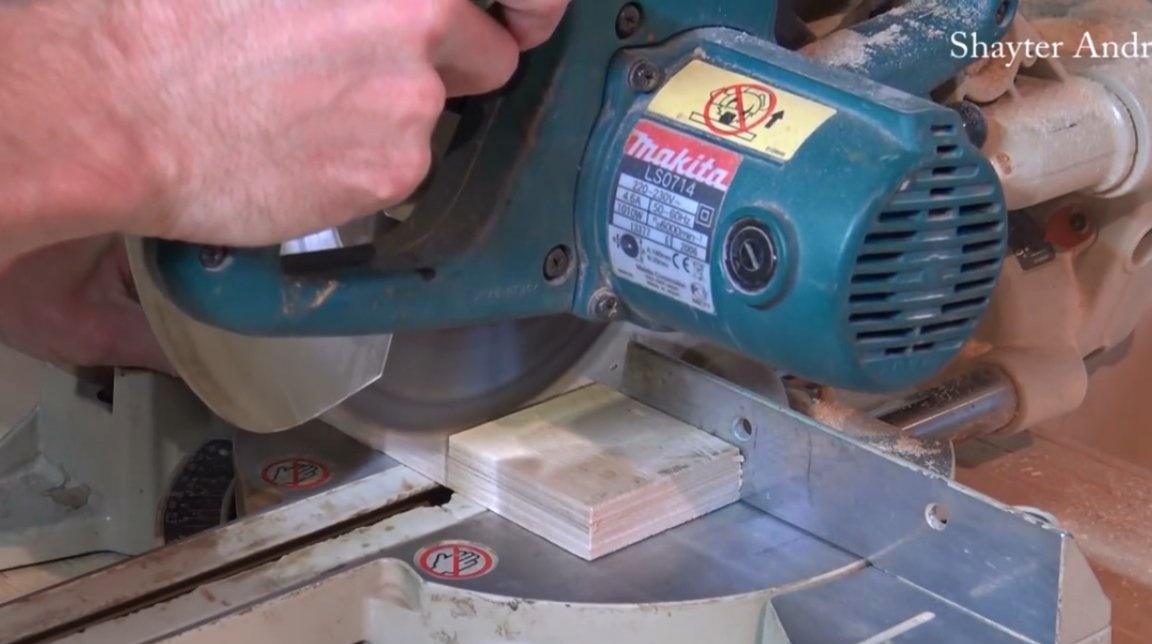
- Miter saw
—
—
—
—
—
- Roulette, square, ruler, pencil, mallet.
Manufacturing process.
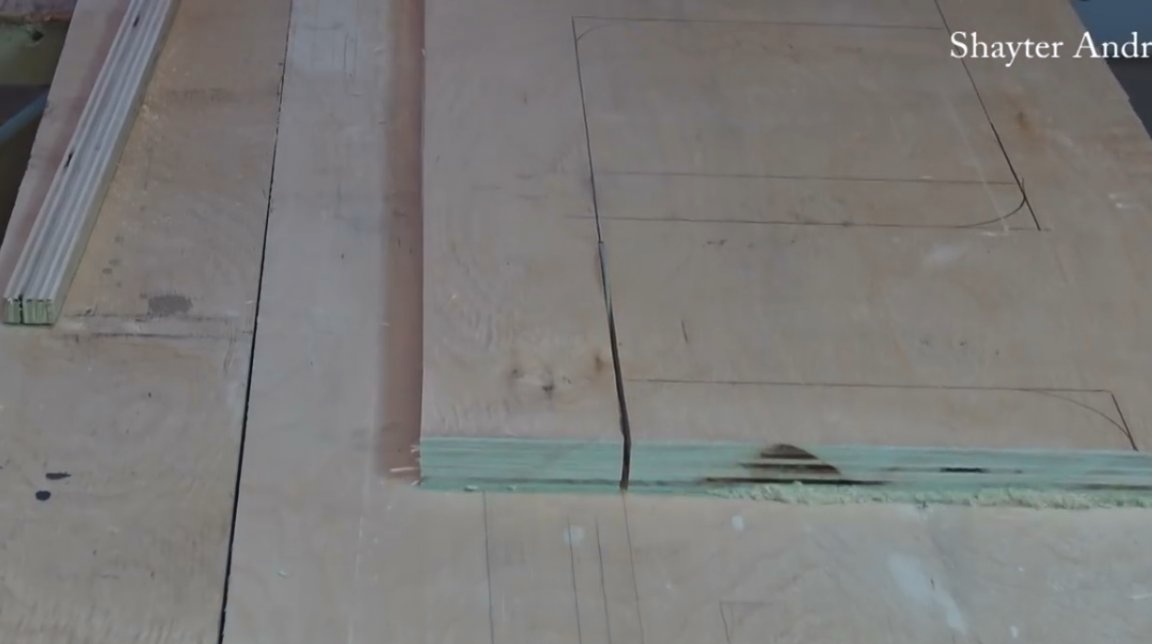
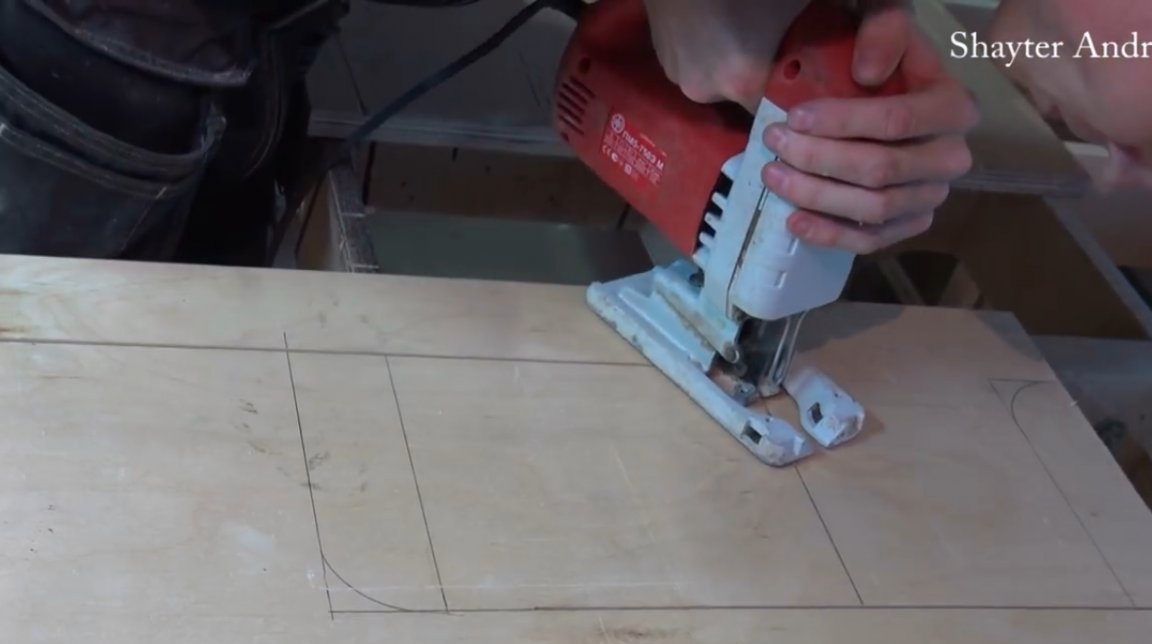
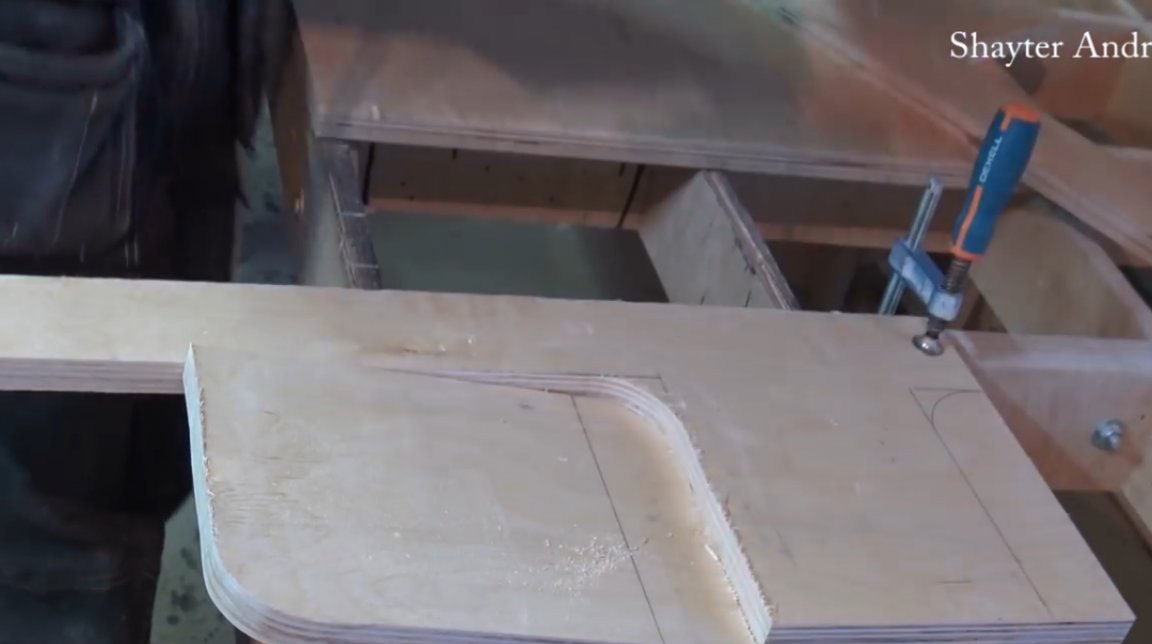
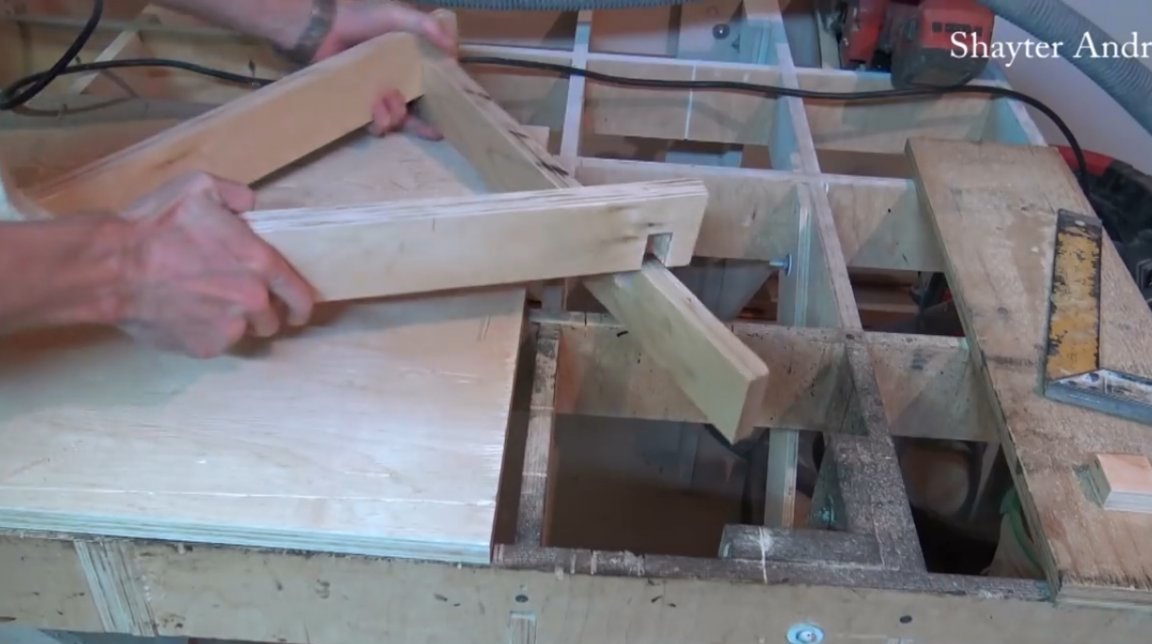
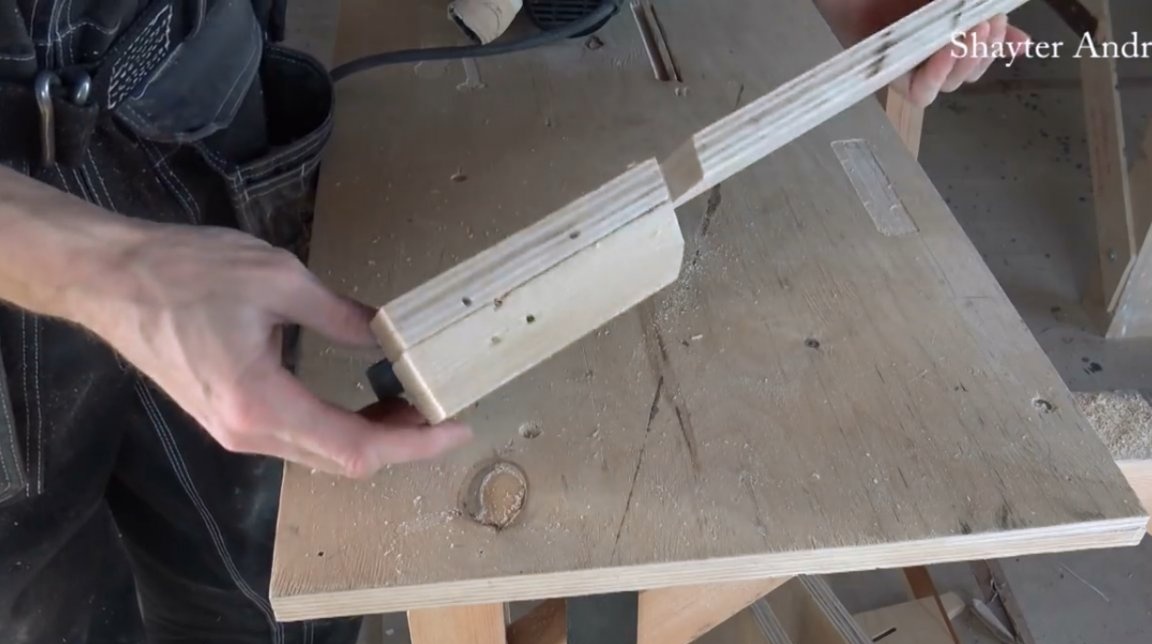
So, Andrey began with the manufacture of two identical front blanks for the seat frame. Cut them out from 20 mm sheet plywood. According to him, this is even a lot, laminated 16 mm plywood is better.
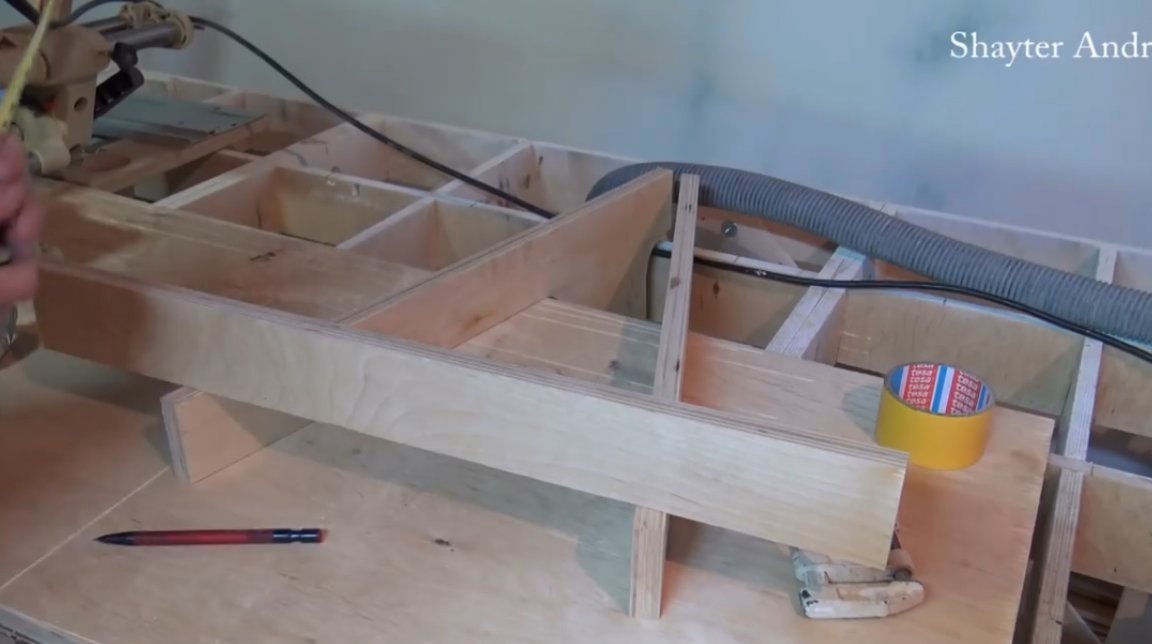
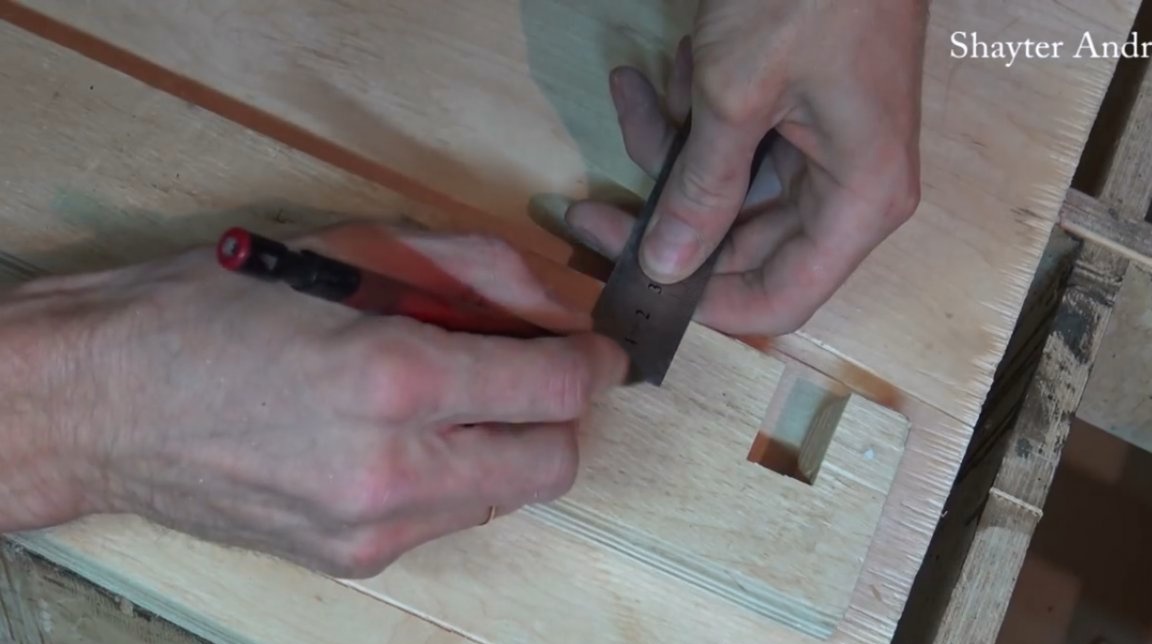
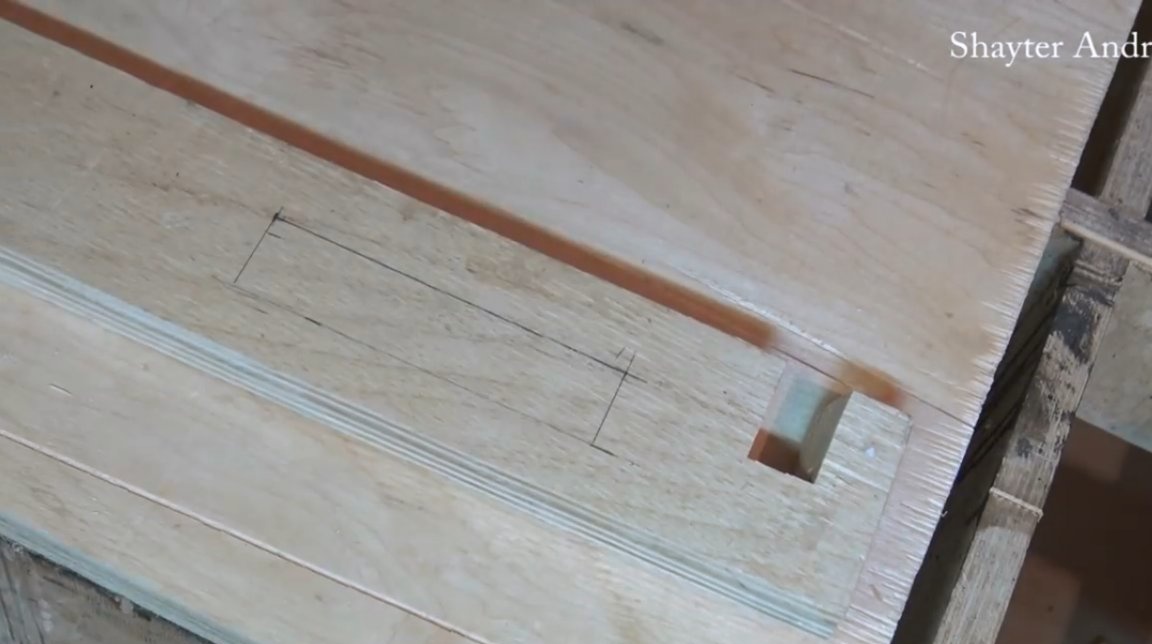
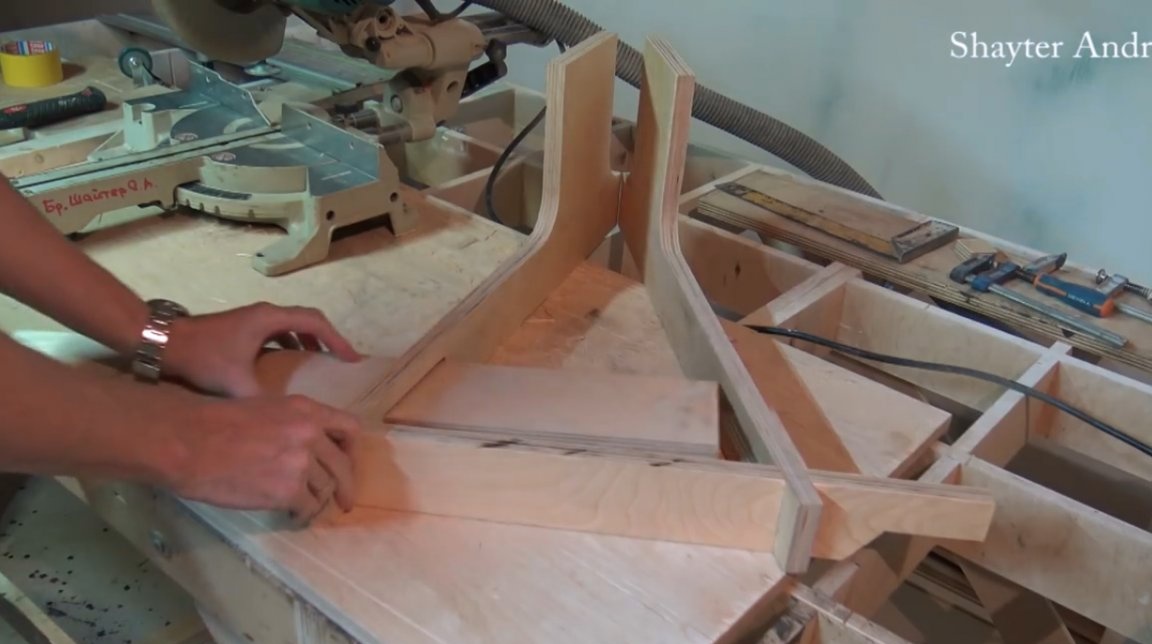
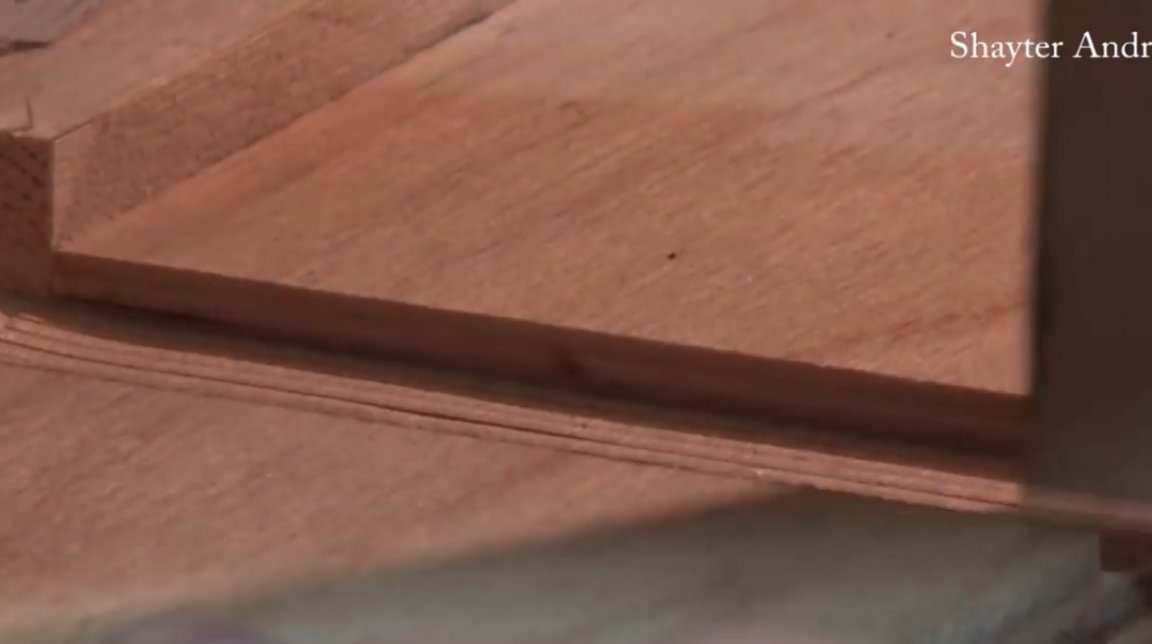
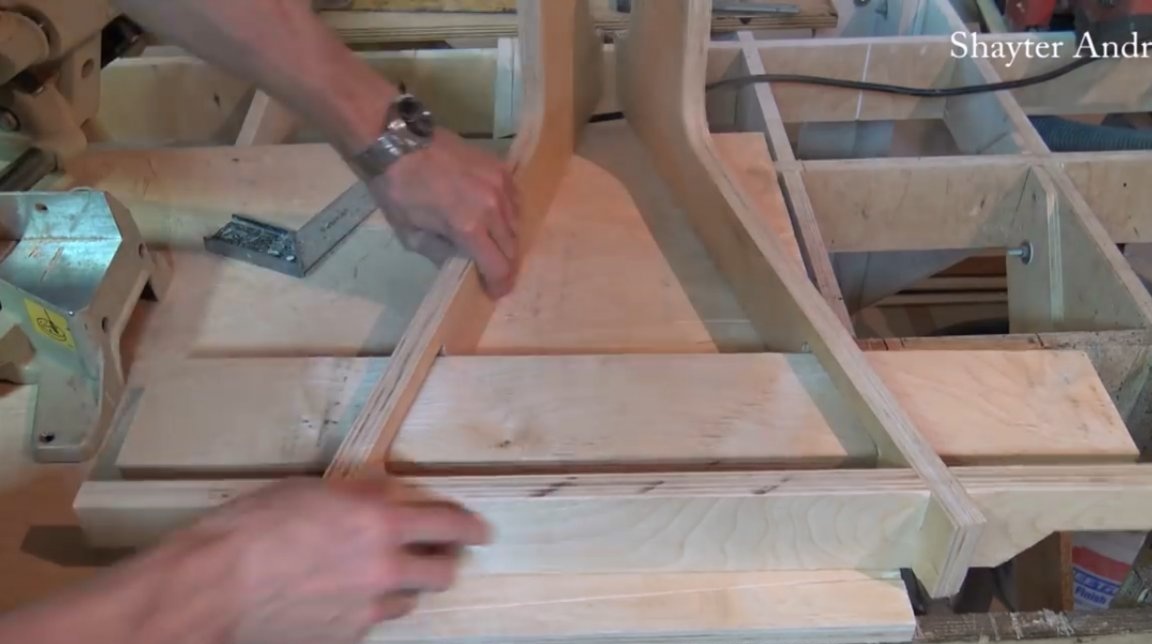
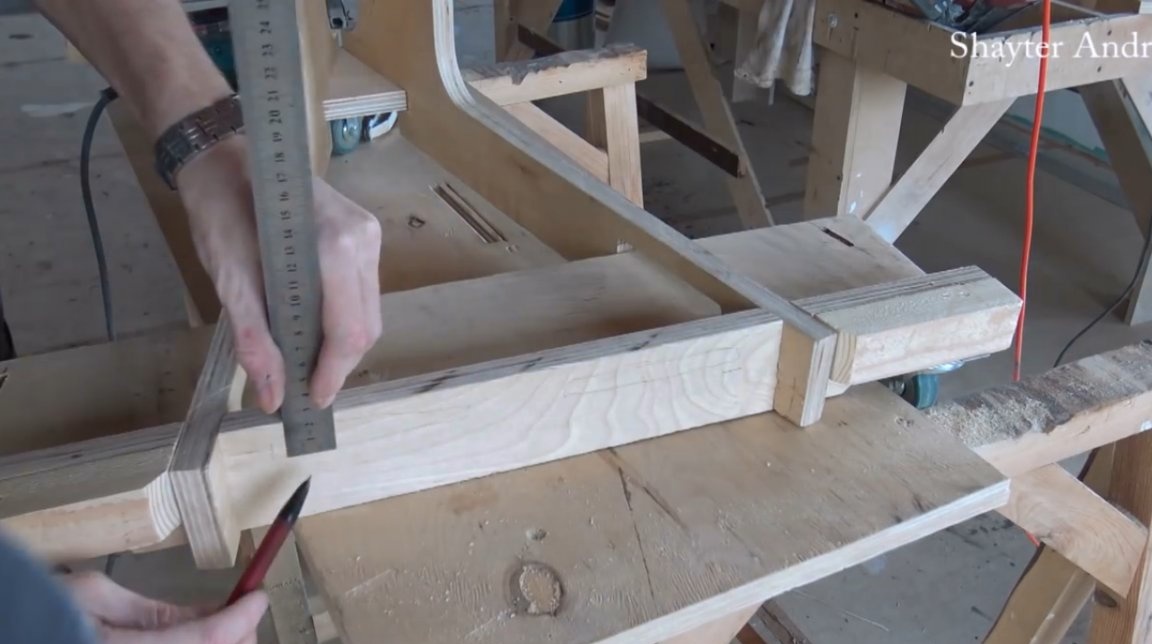
He put out the third blank of the frame, marked the grooves.
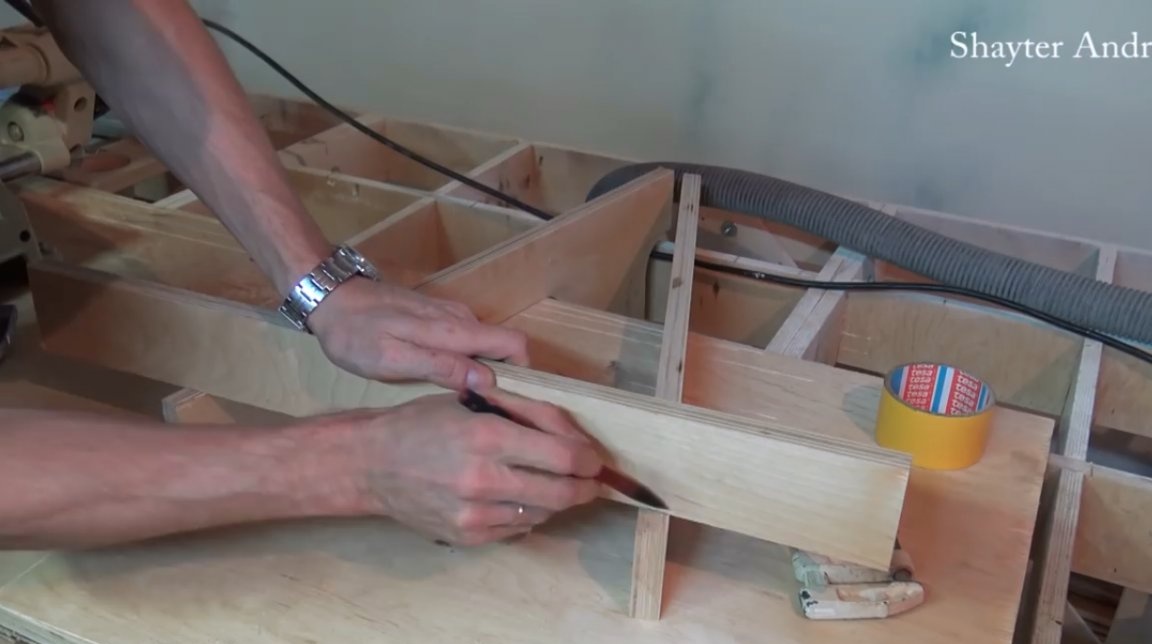
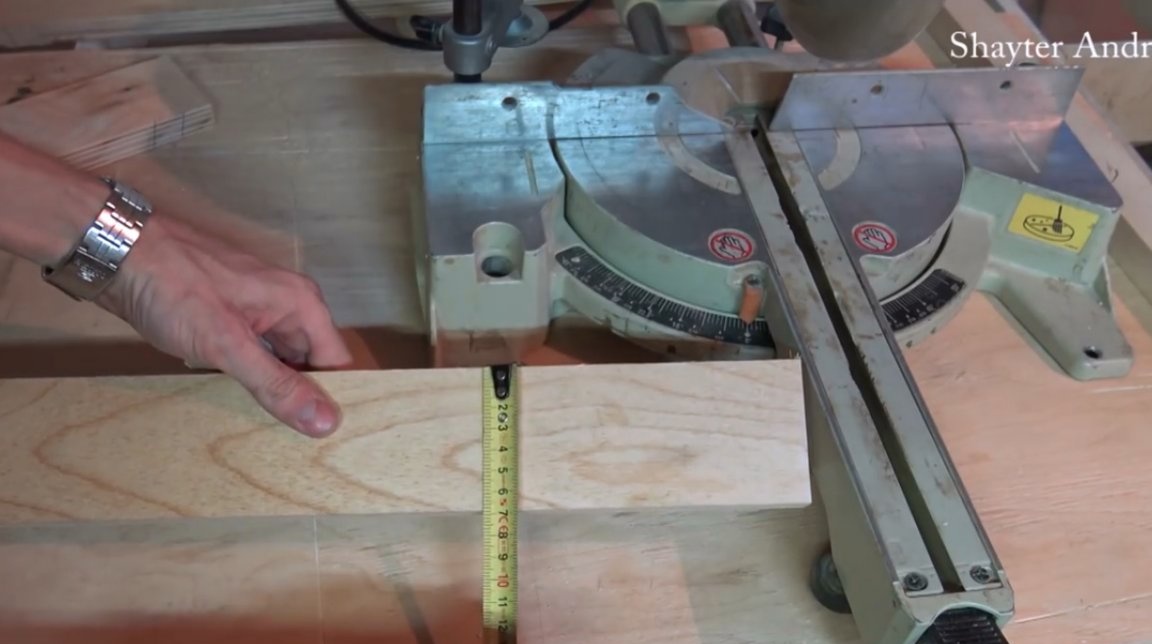
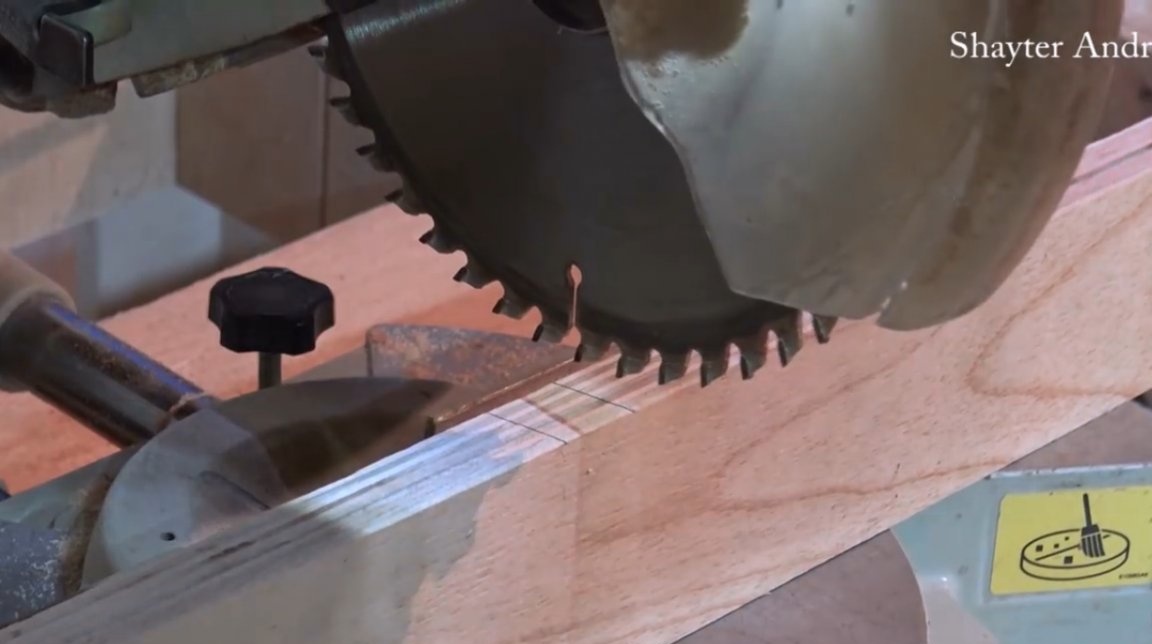
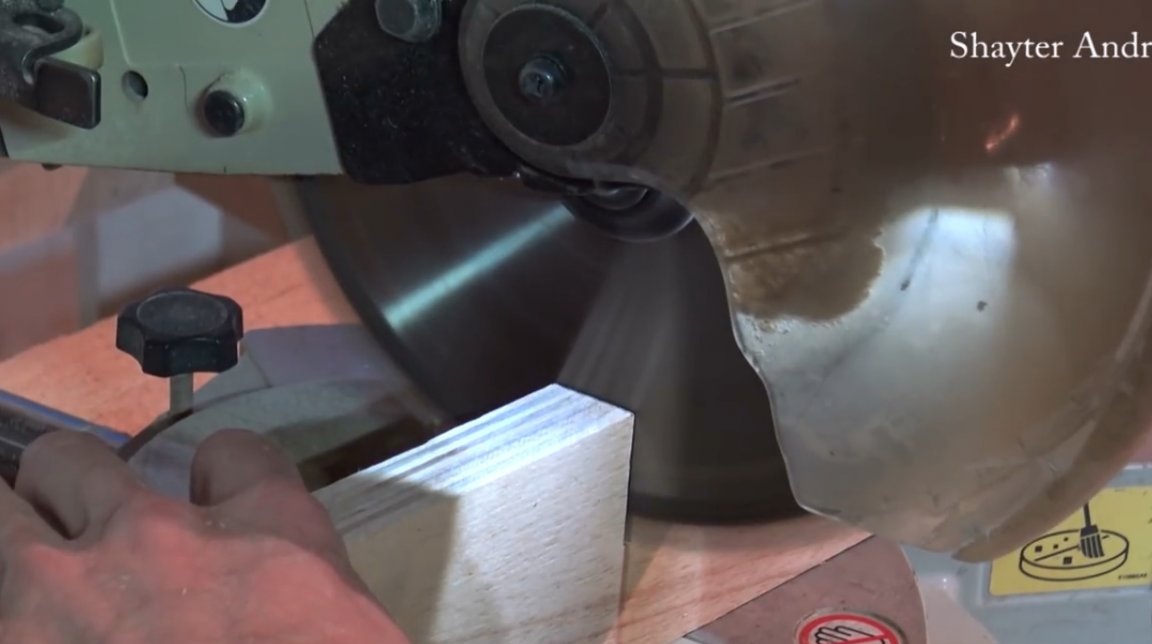
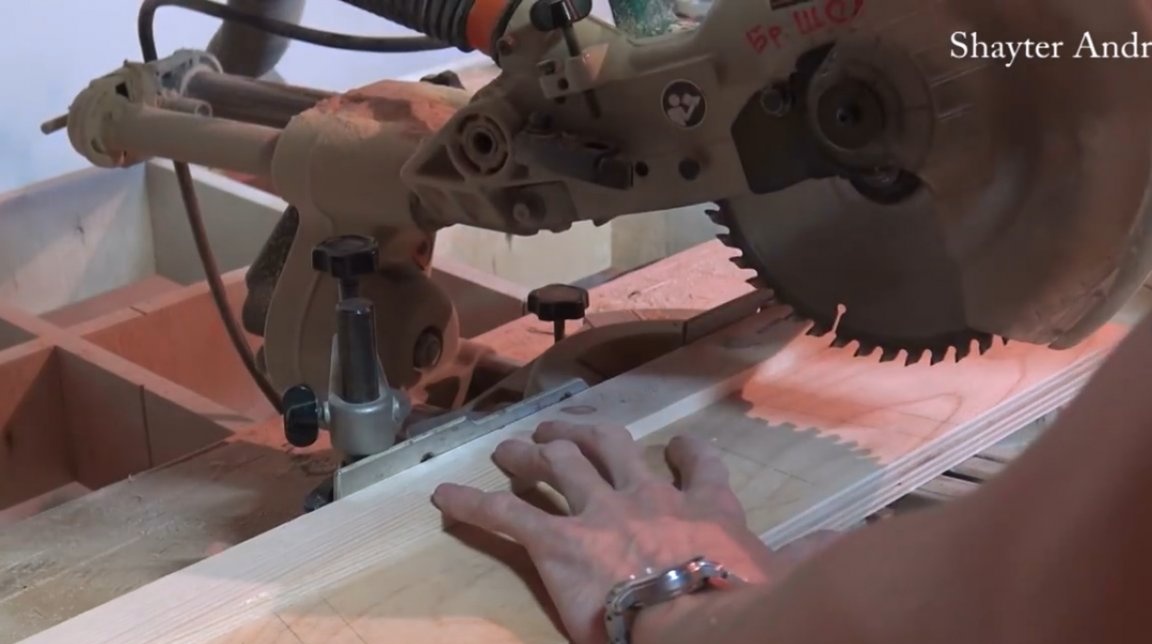
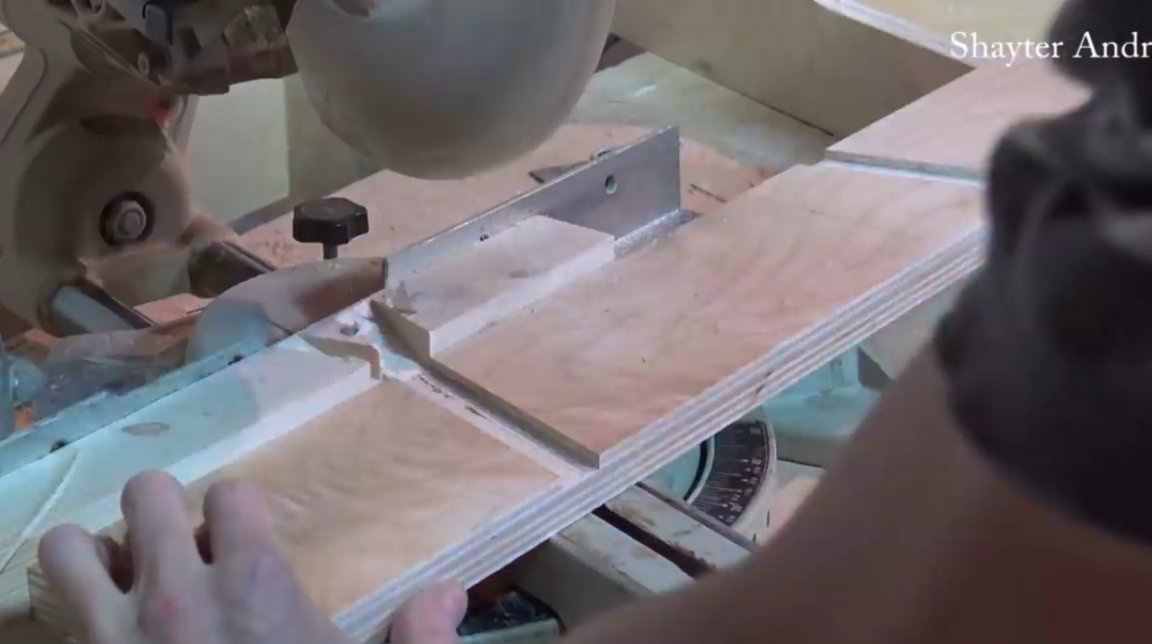
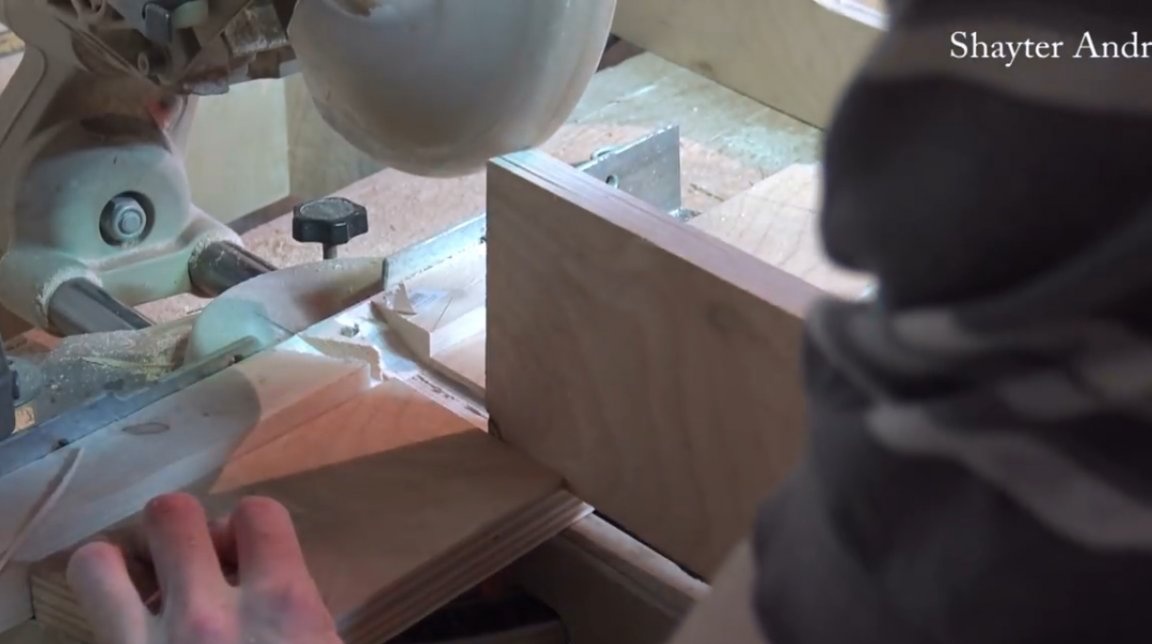
The grooves are cut at an angle on the miter saw in several passes,

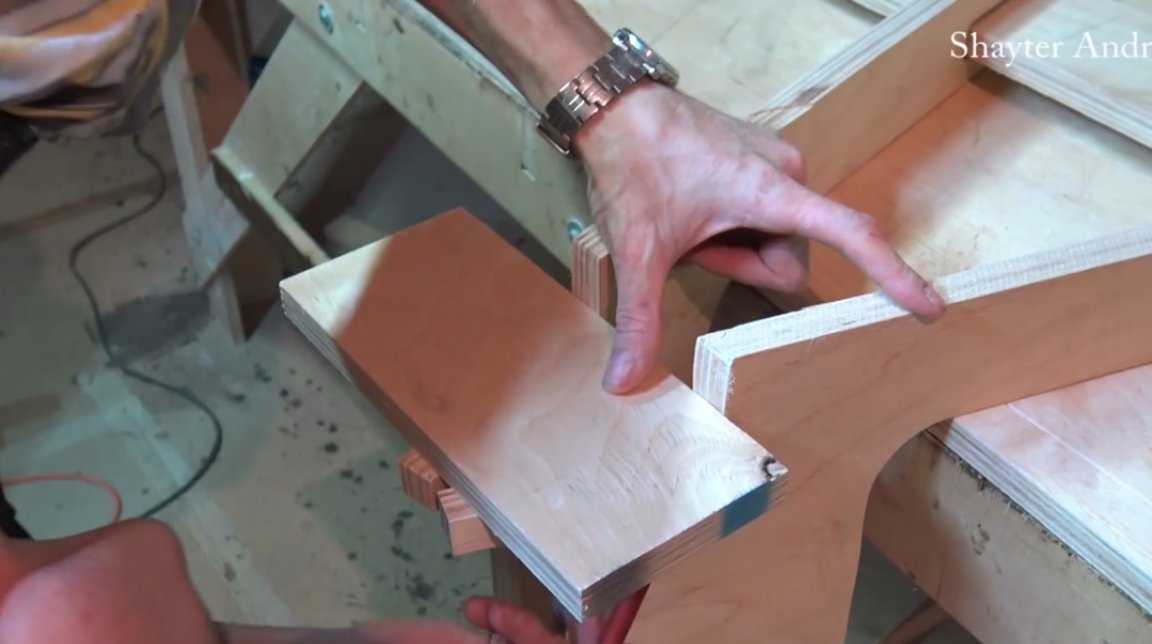
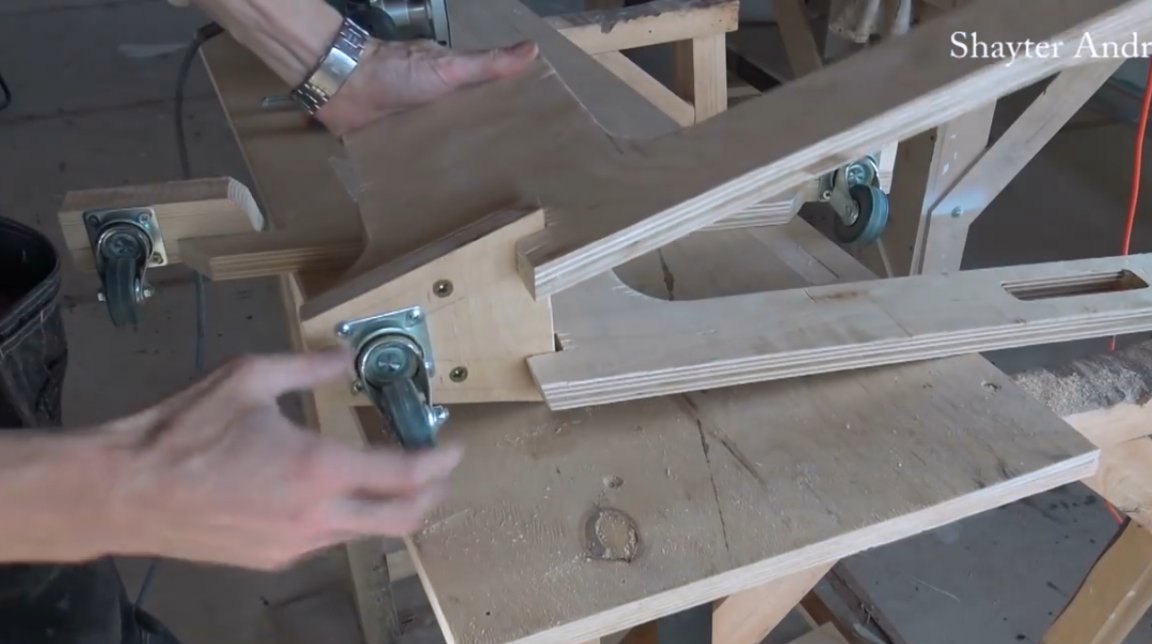
He made the same response grooves on the first two blanks. It is assembled very rigidly, there are no backlashes.
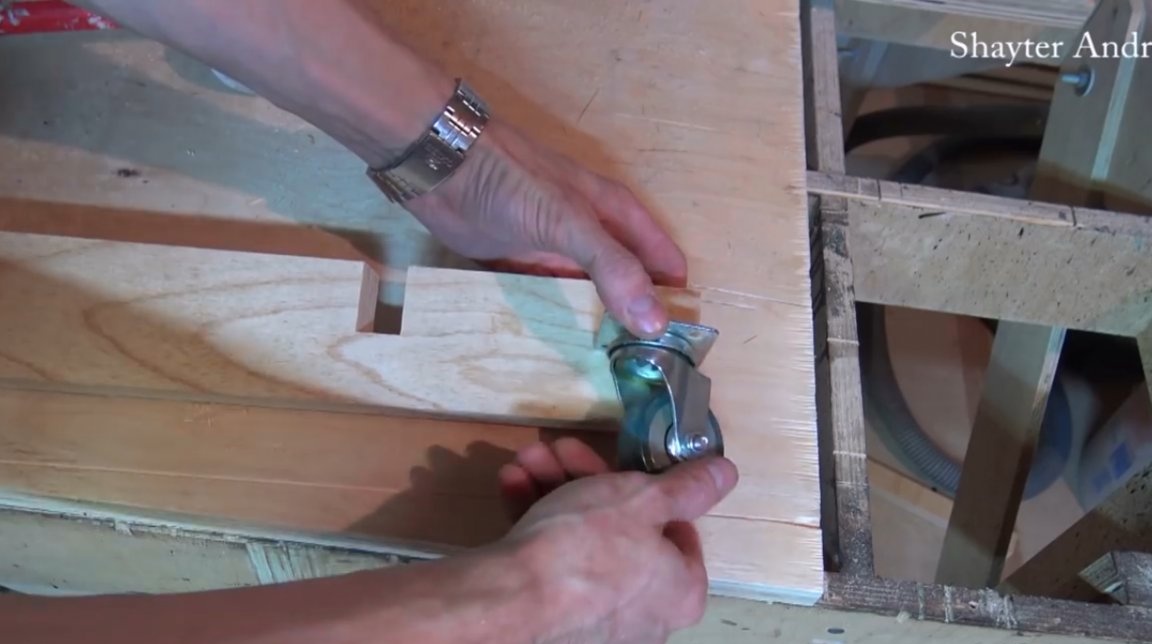
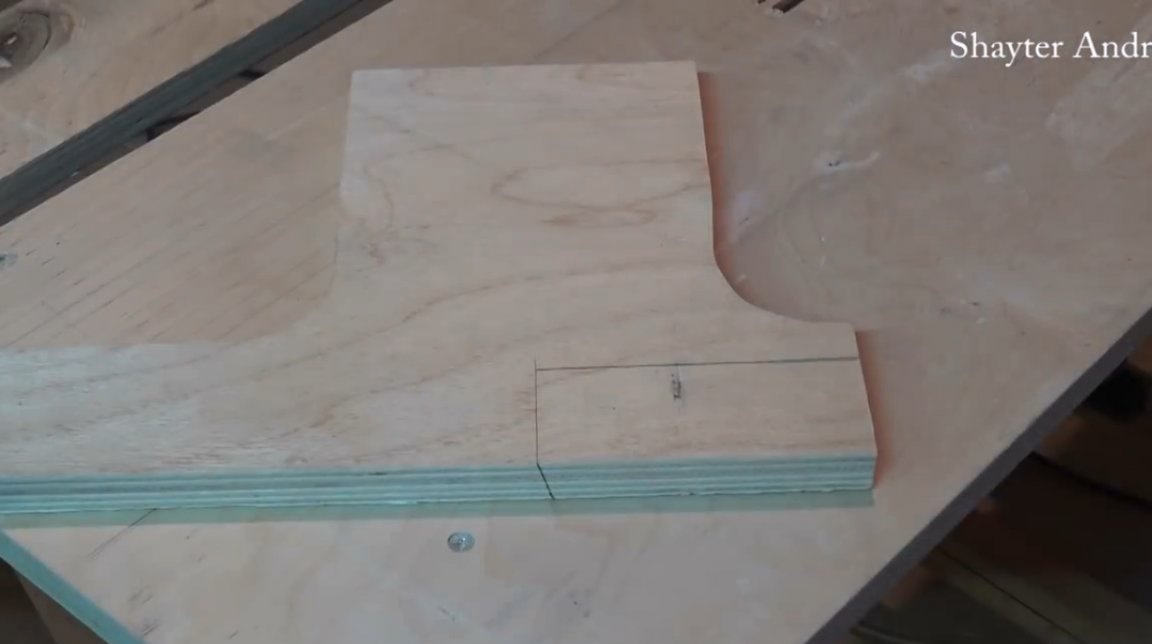
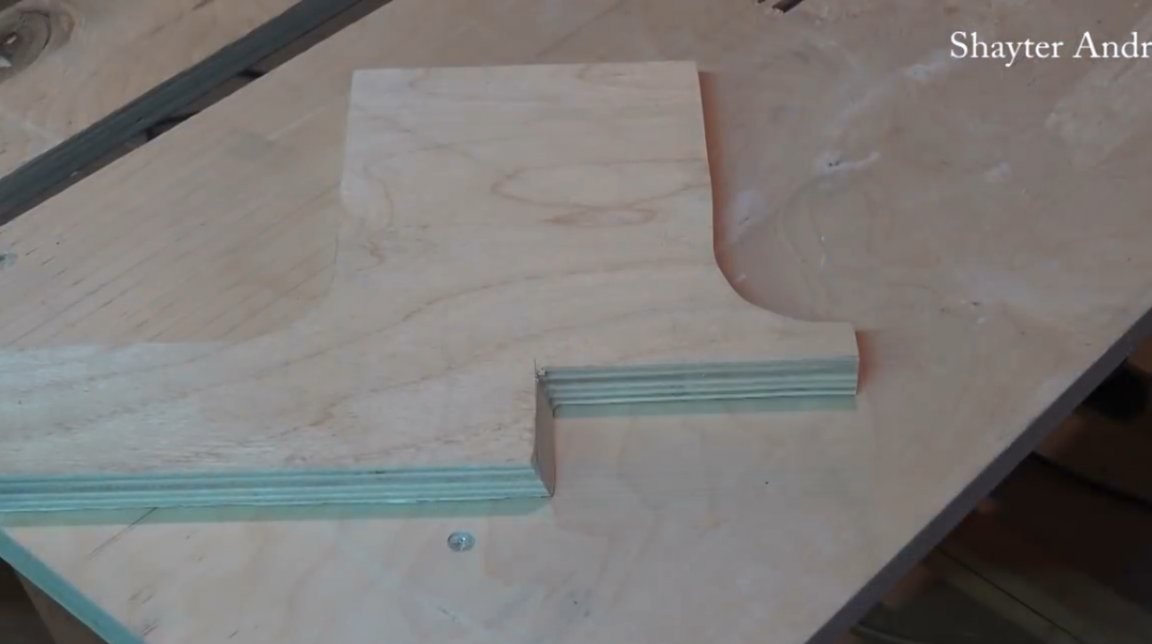
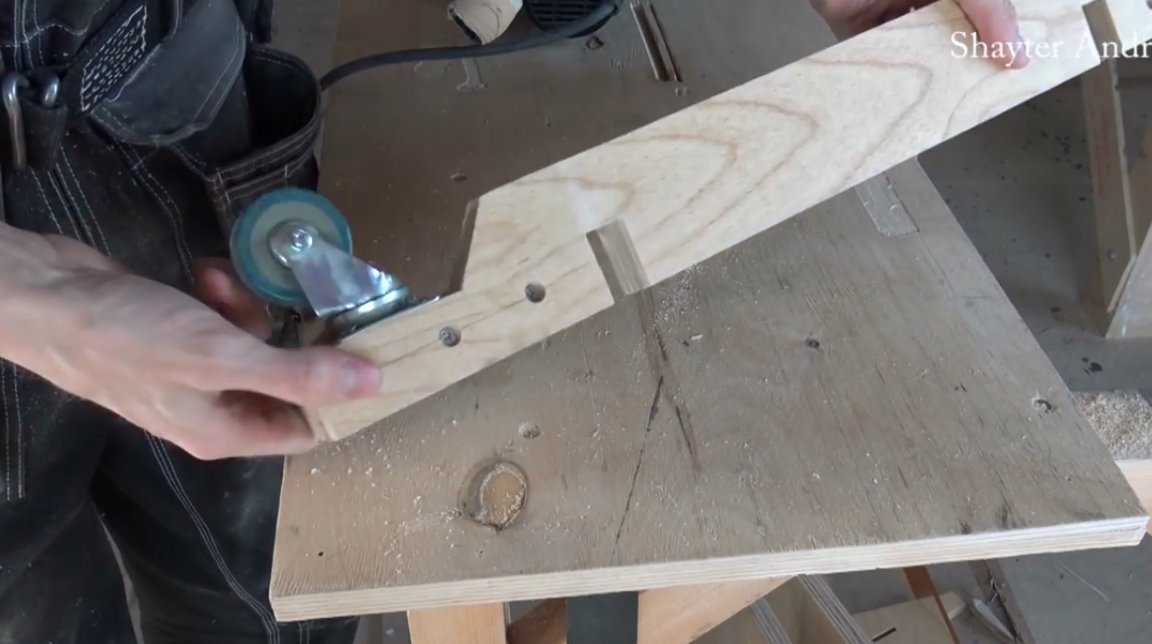
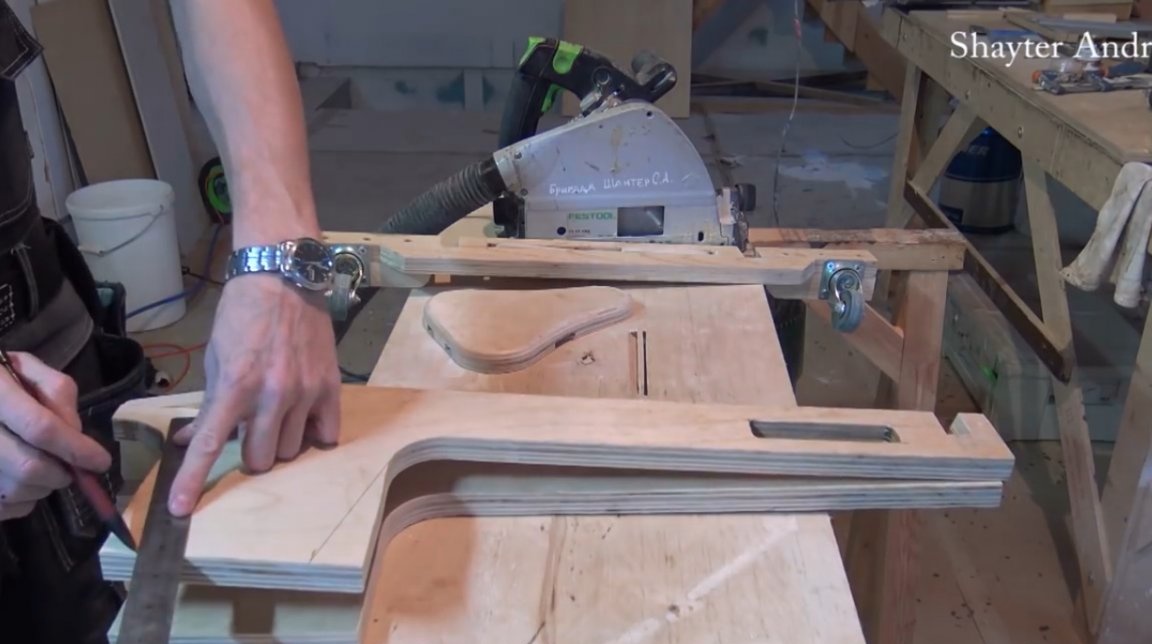
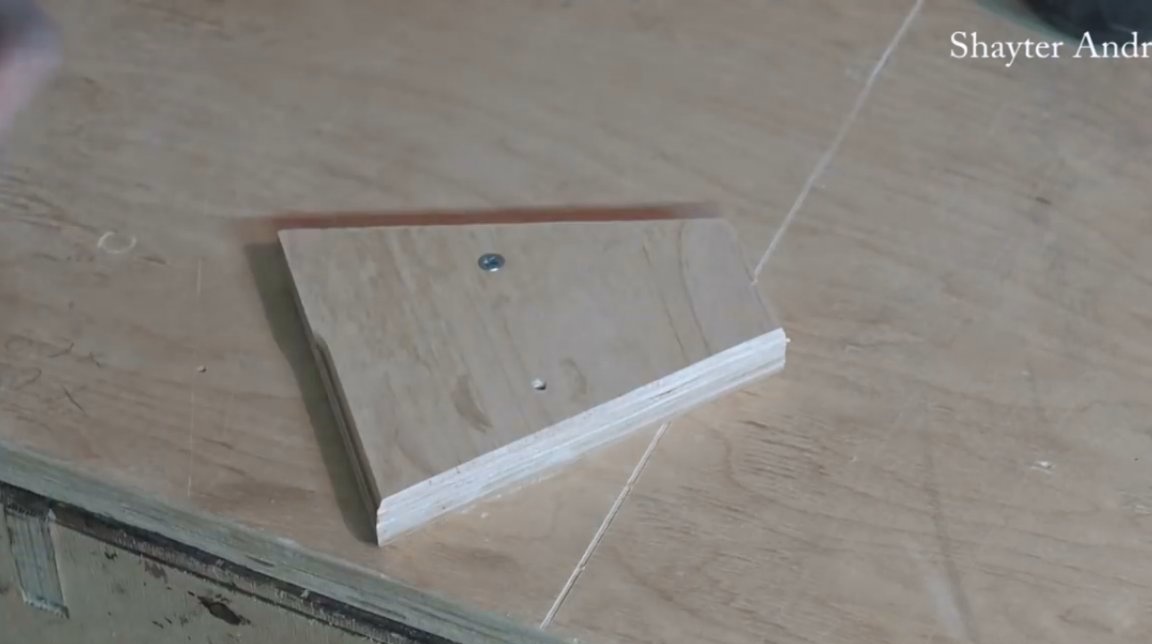
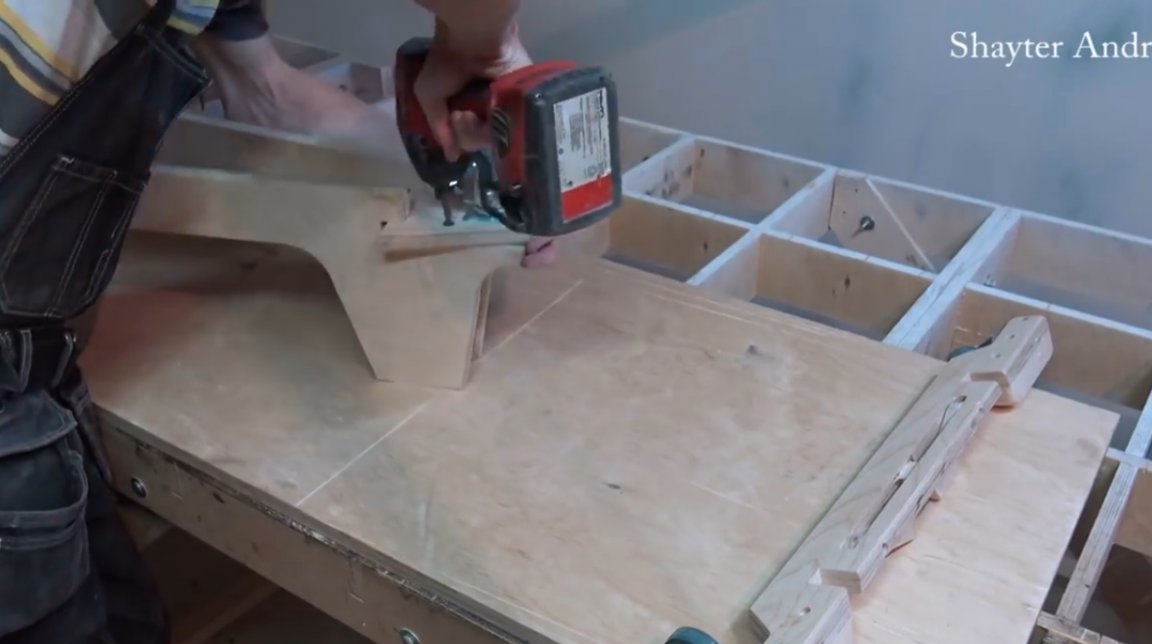
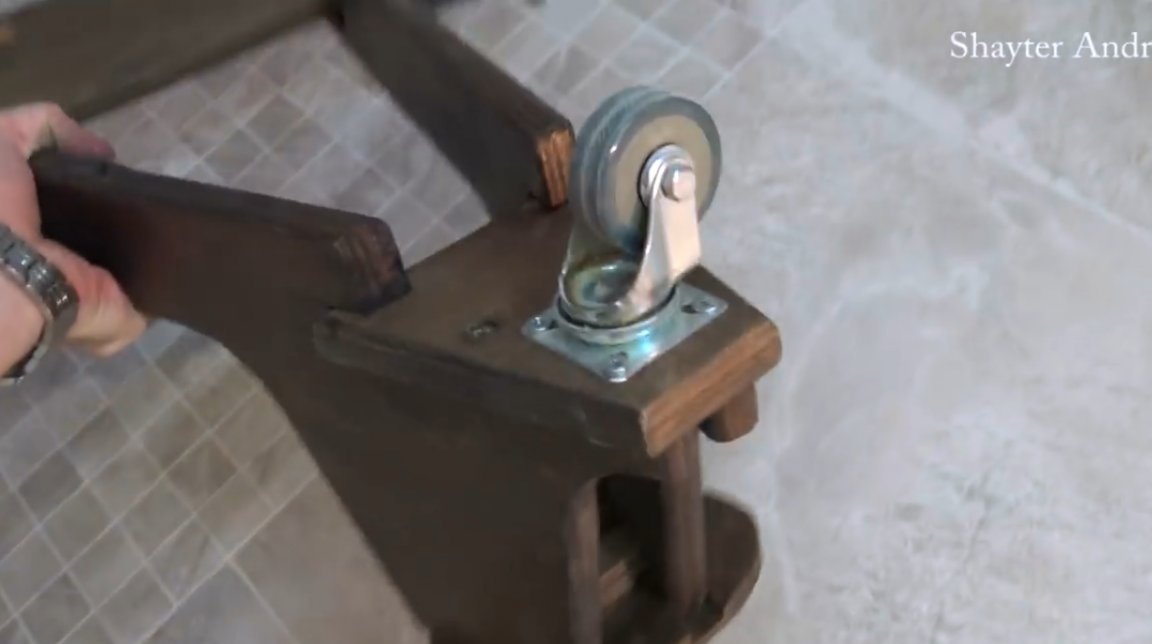
At the leading edge, you will need to make a platform for installing wheels.

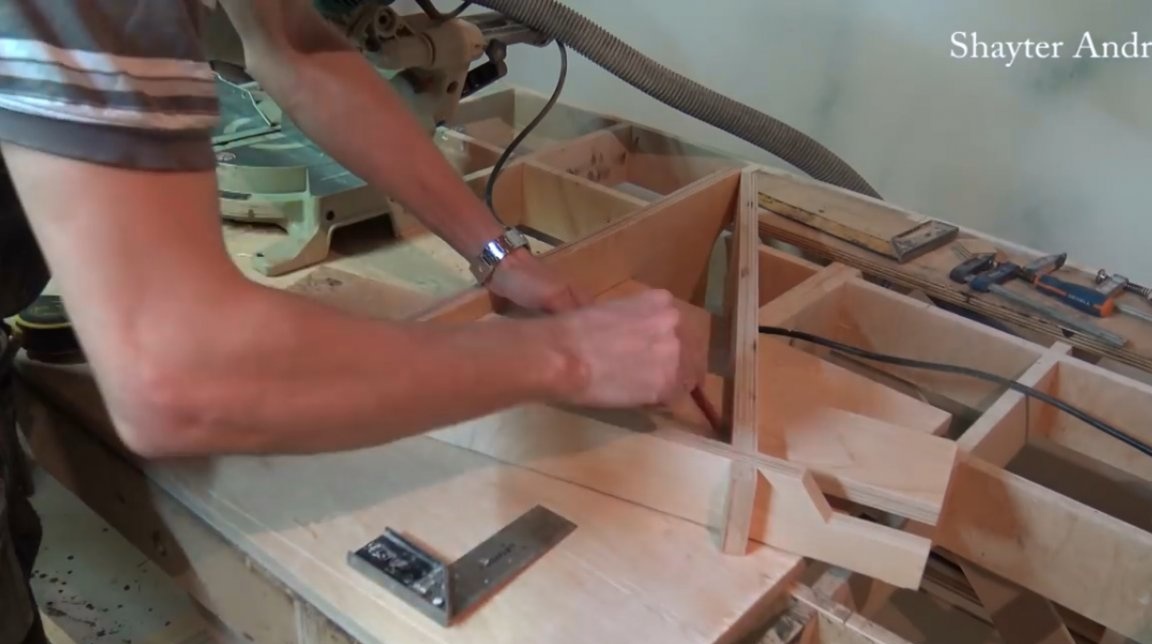
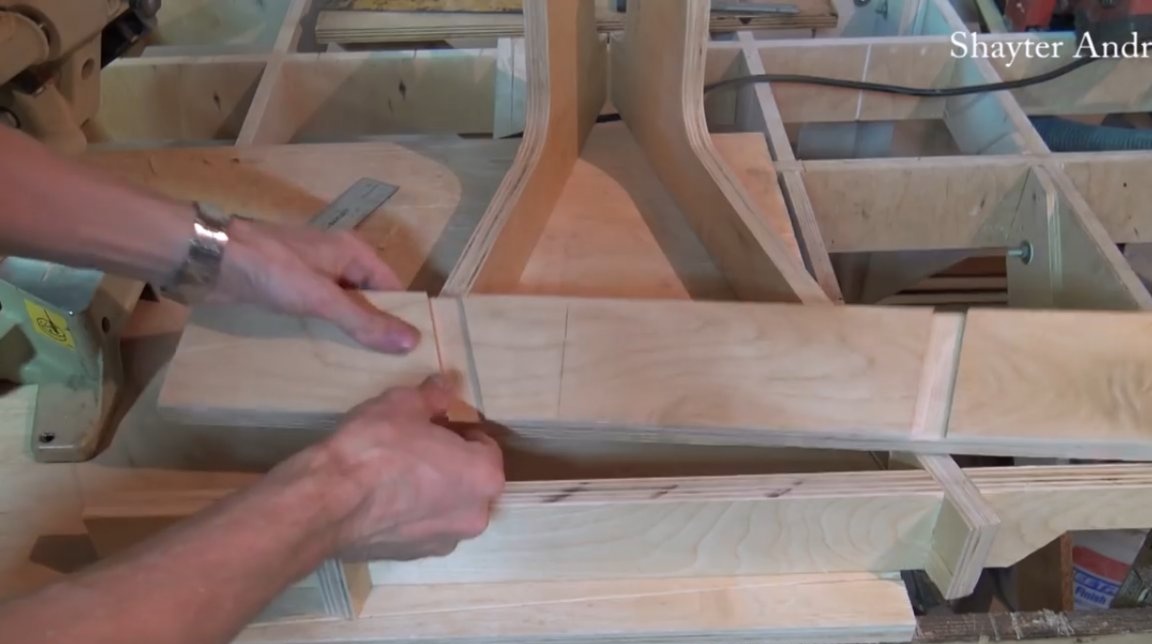
Marks and cuts off excess material.
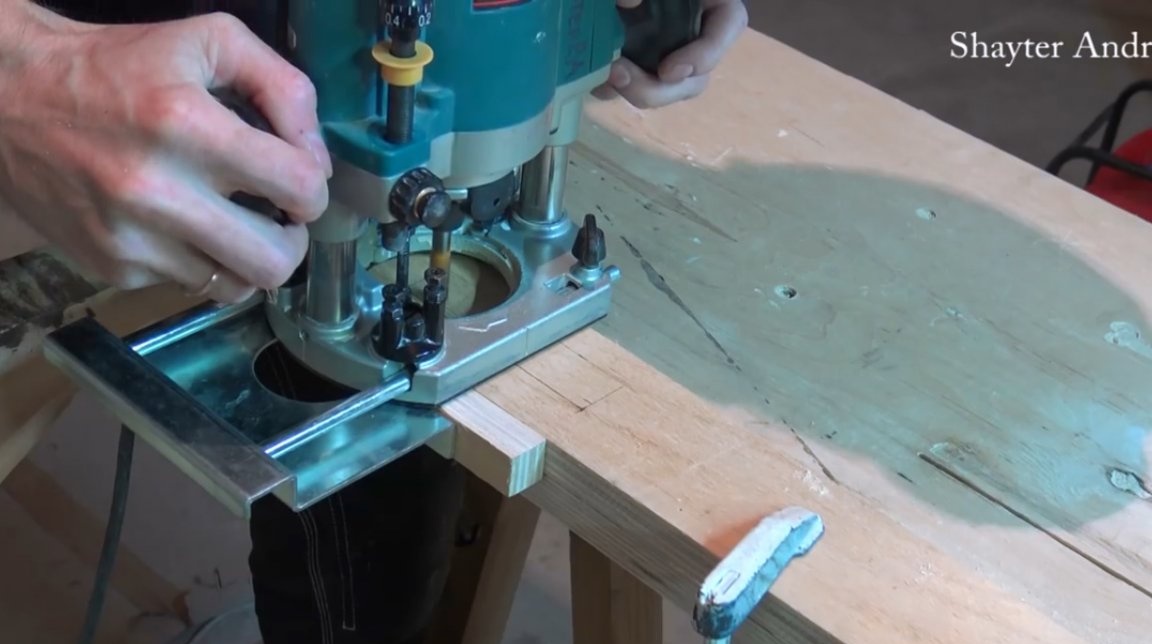
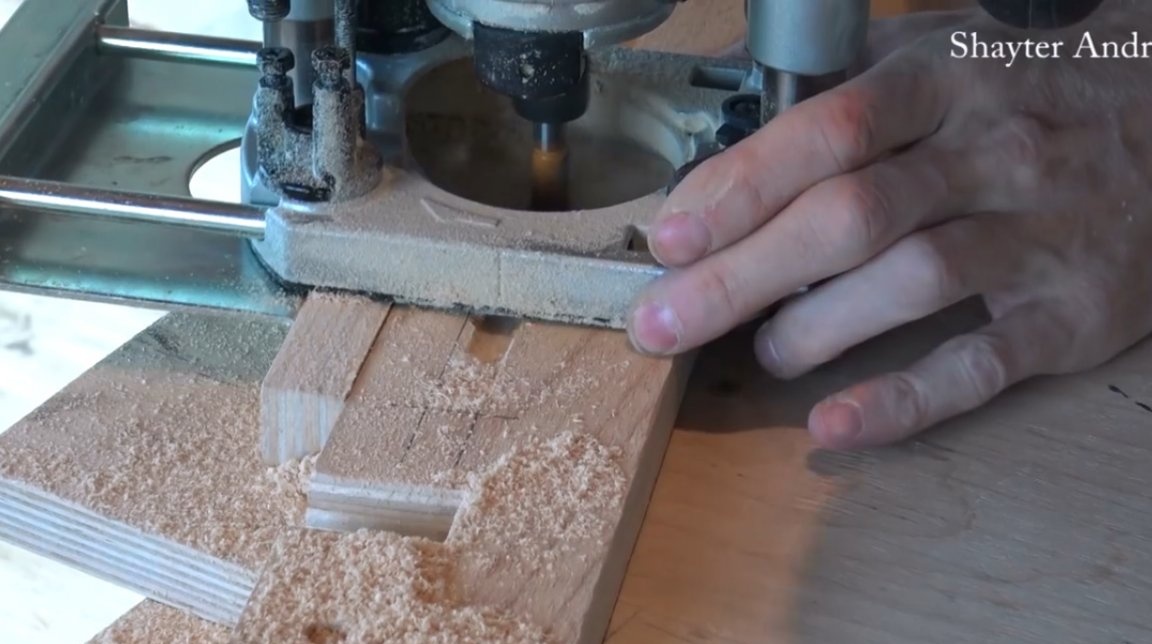
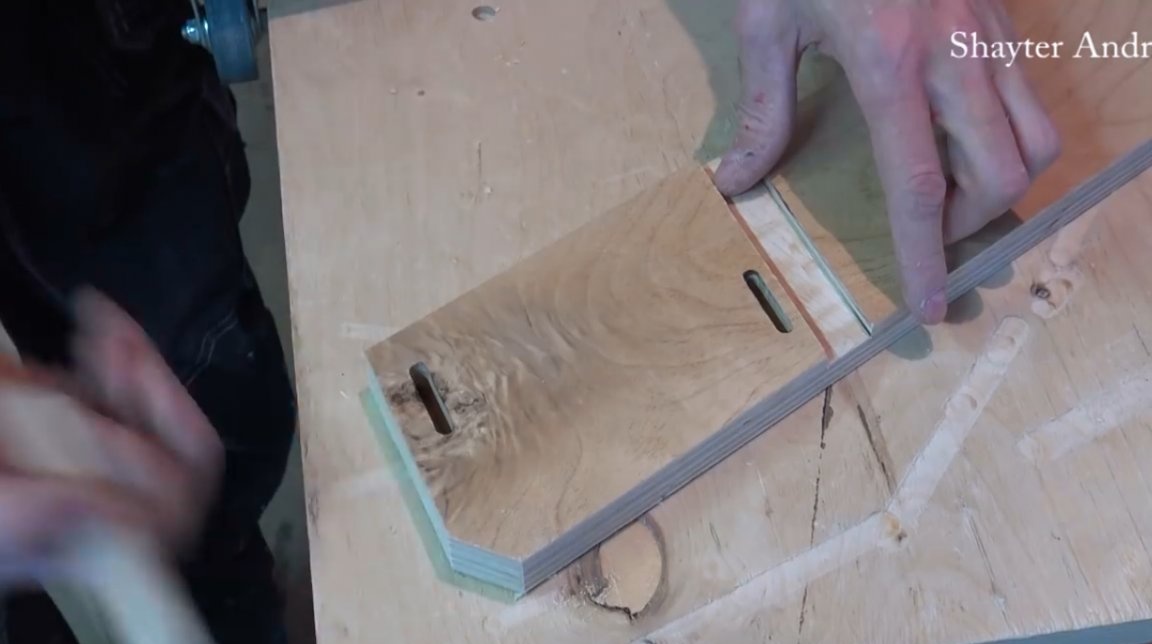
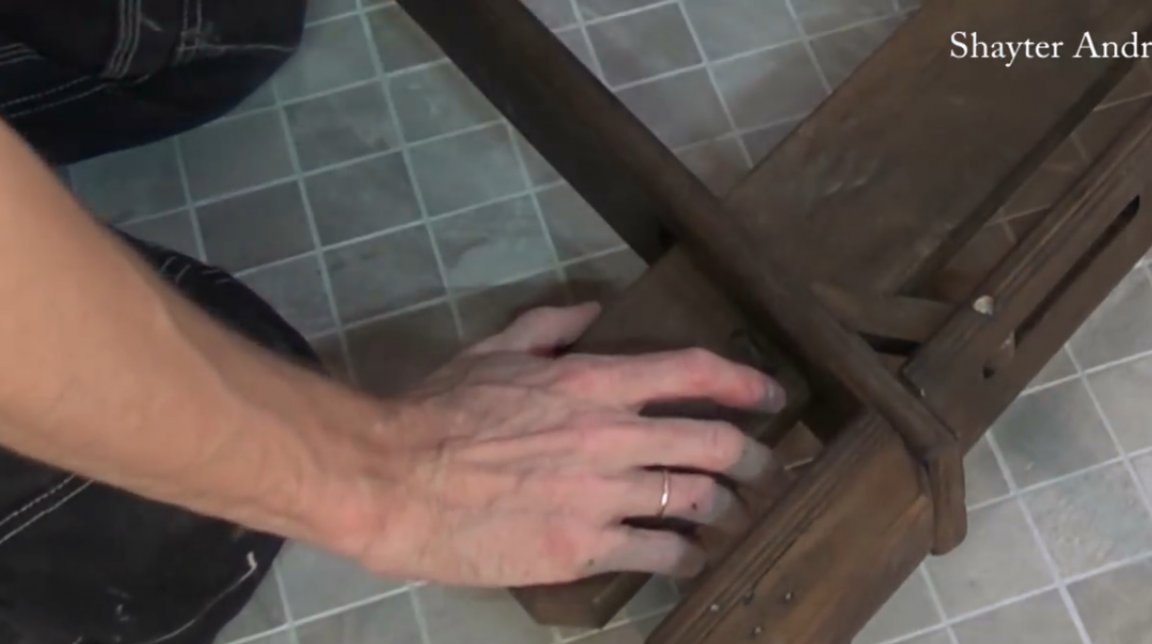
Now Andrei needs to make places for the installation of another transverse bar; knees will rest on it. Mills holes for her.

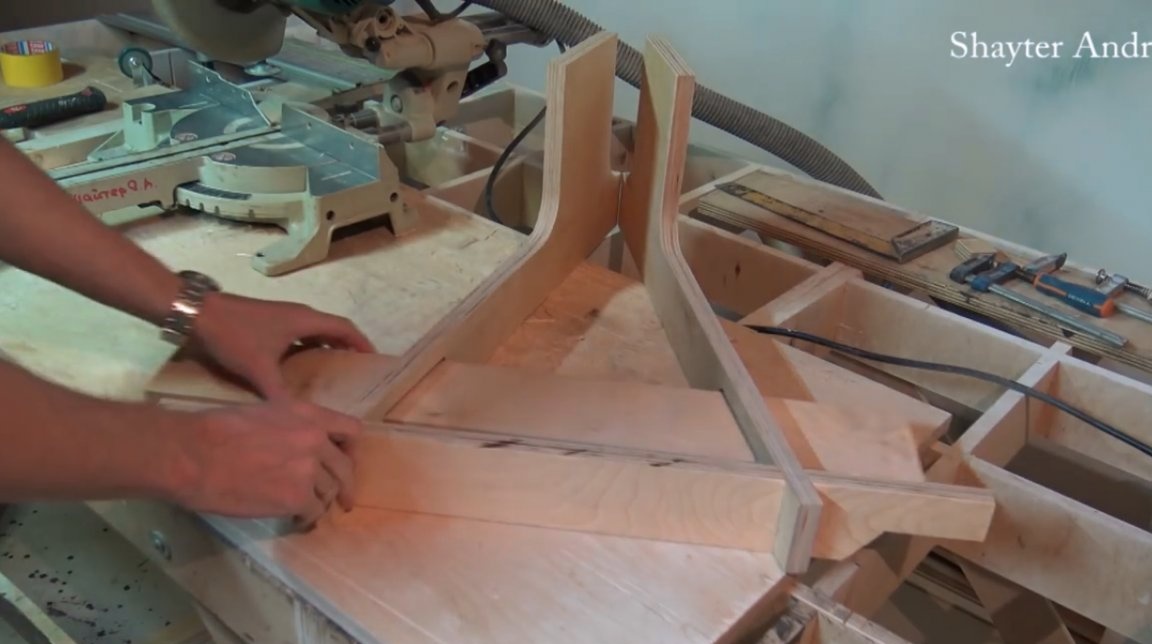
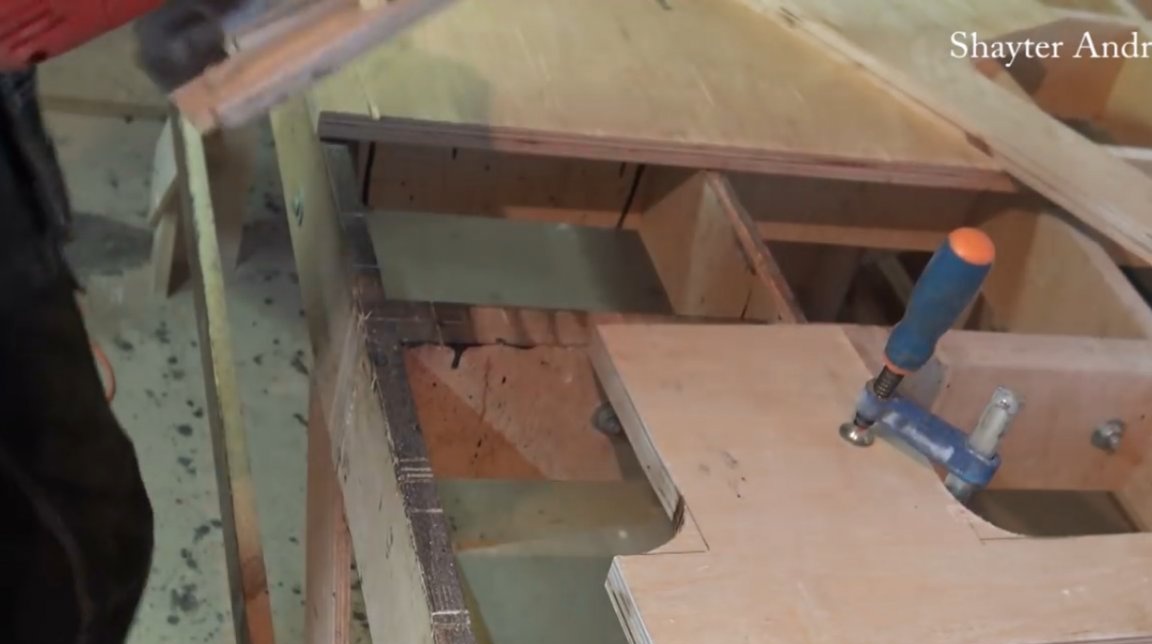
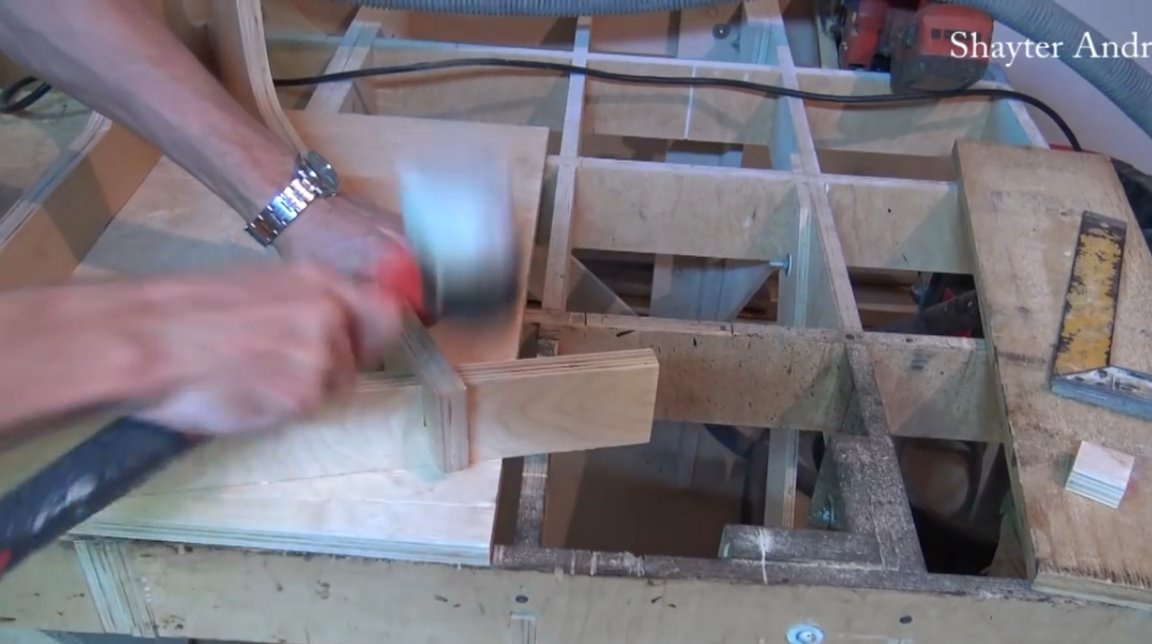
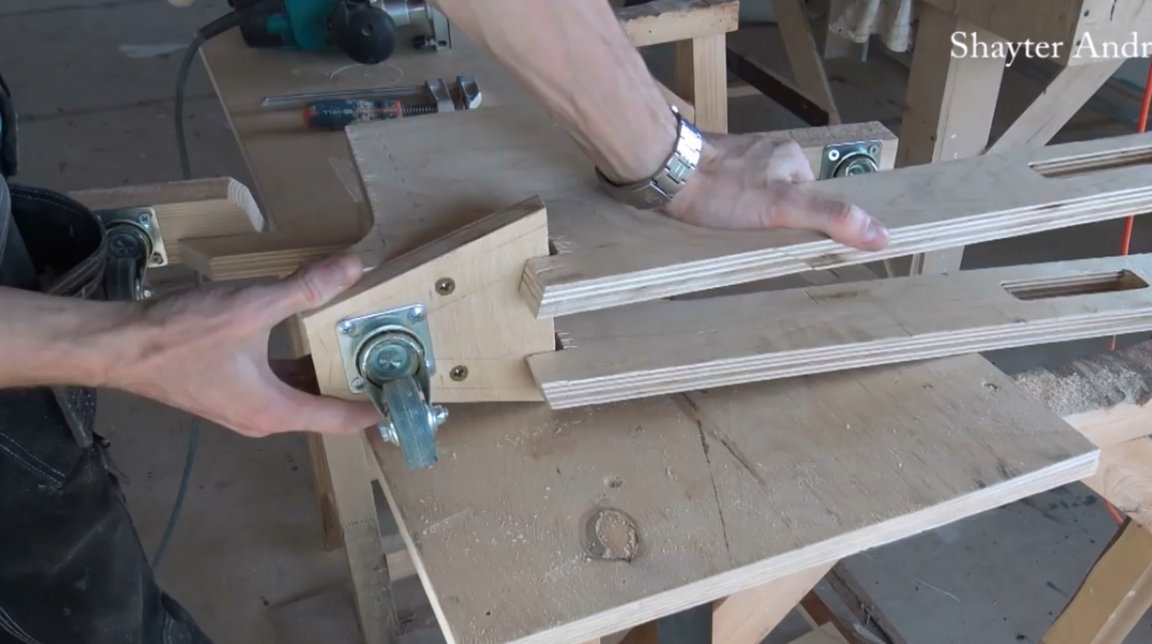
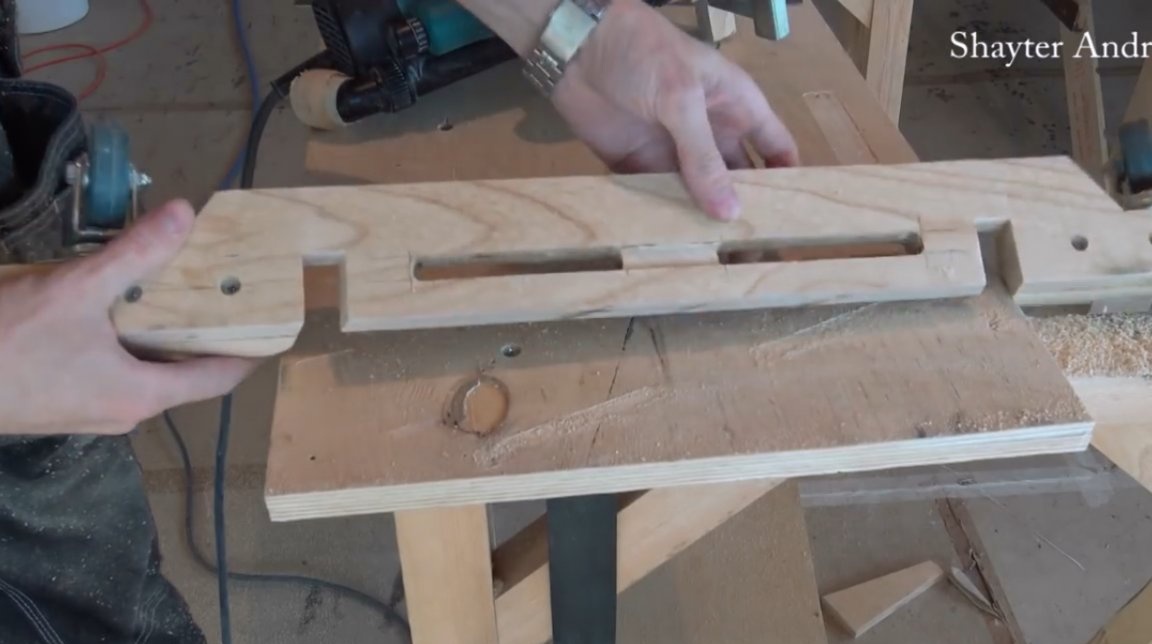
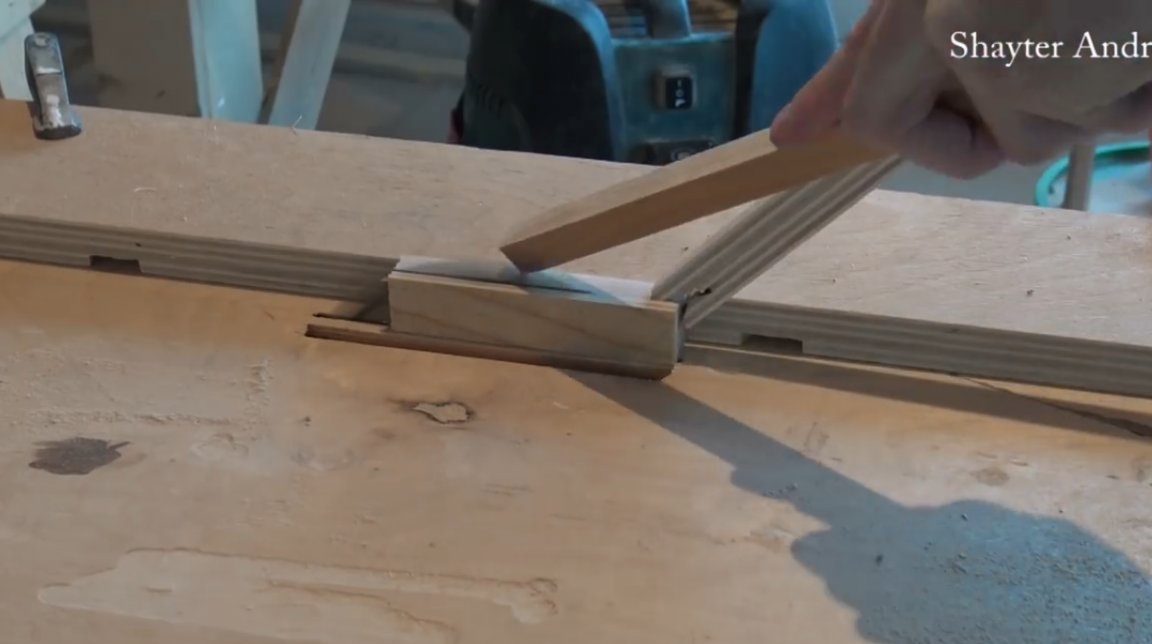
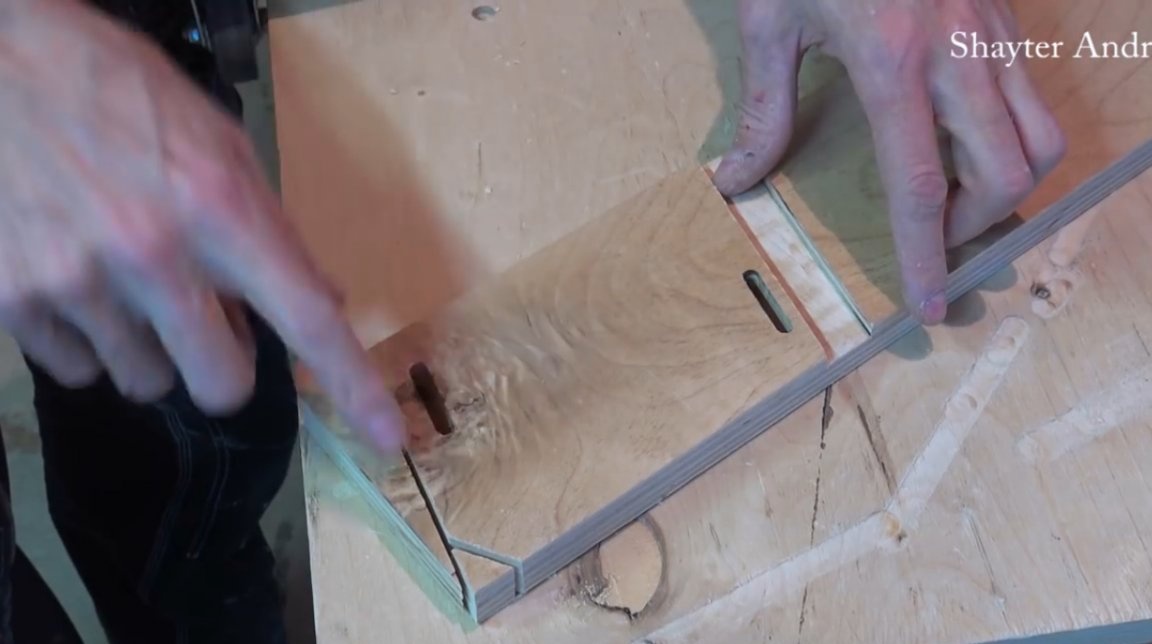
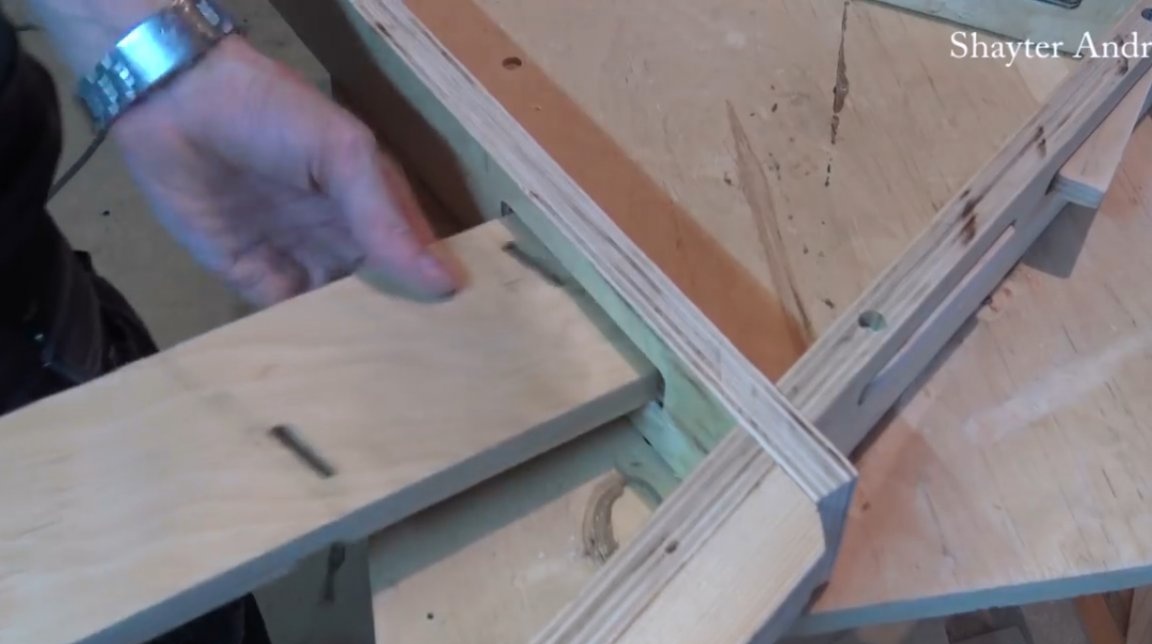
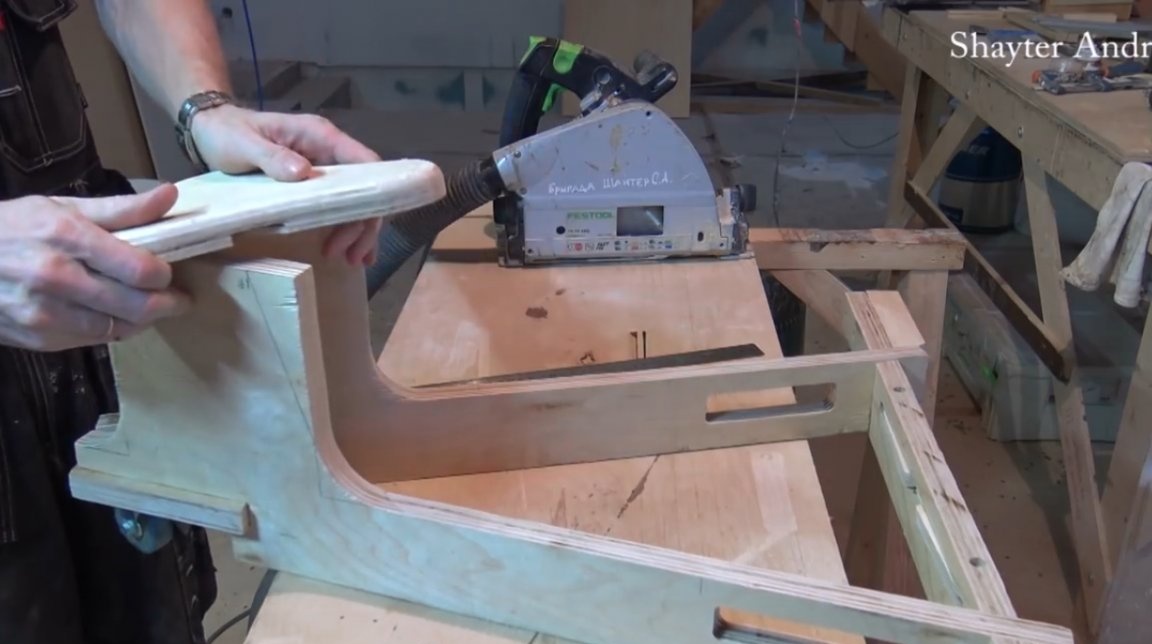
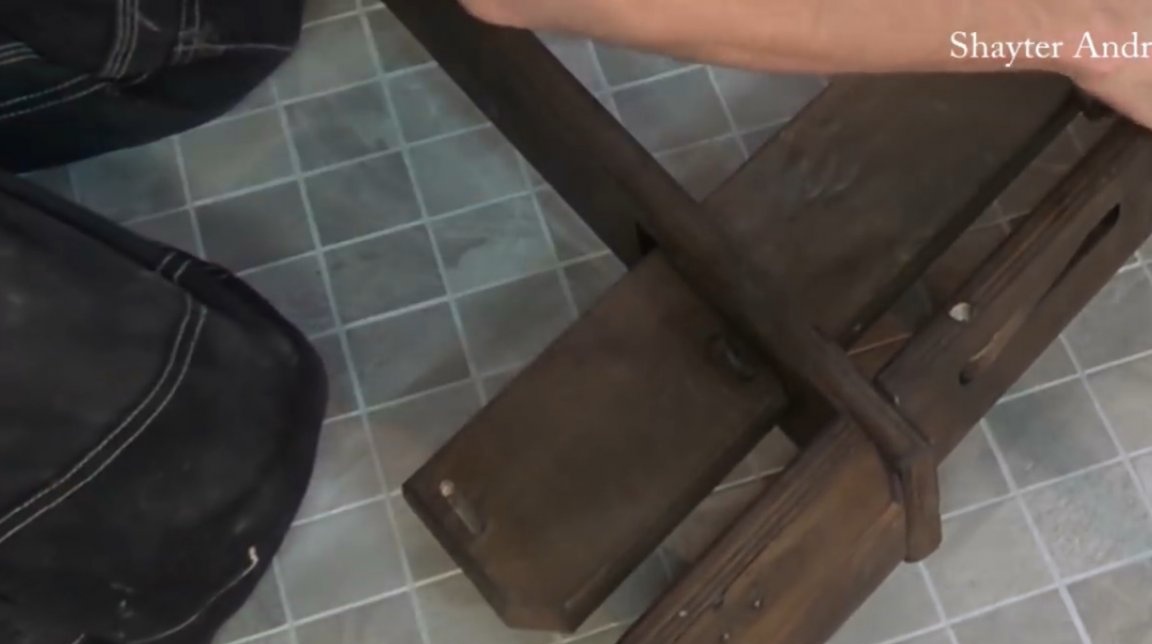
Assembles the frame again, and inserts a strip of plywood into the slotted grooves. Now you need to make reciprocal grooves in it, marks them. It also cuts at an angle, adjusting the width of the groove to the thickness of the plywood.


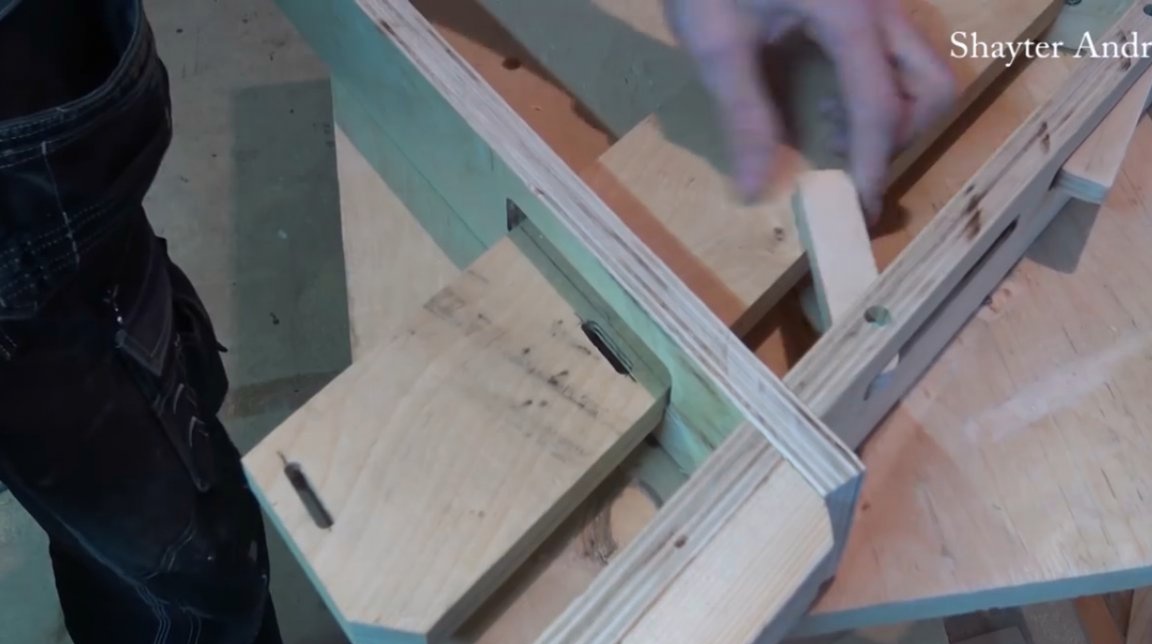
So, the grooves are ready, trial assembly. Everything connects hard enough.
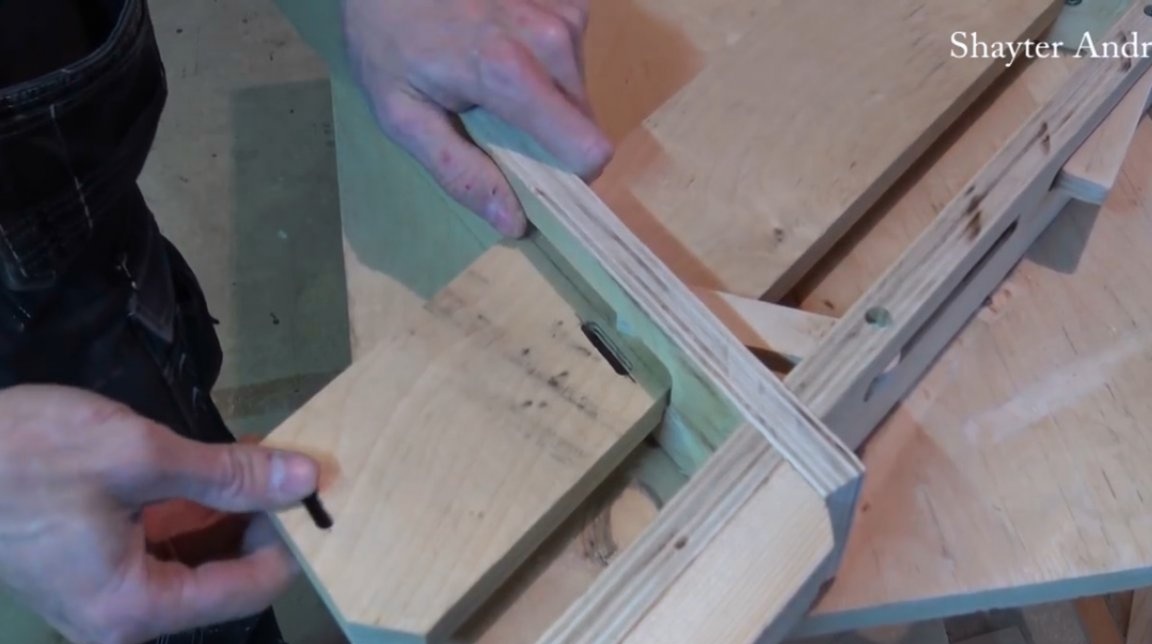
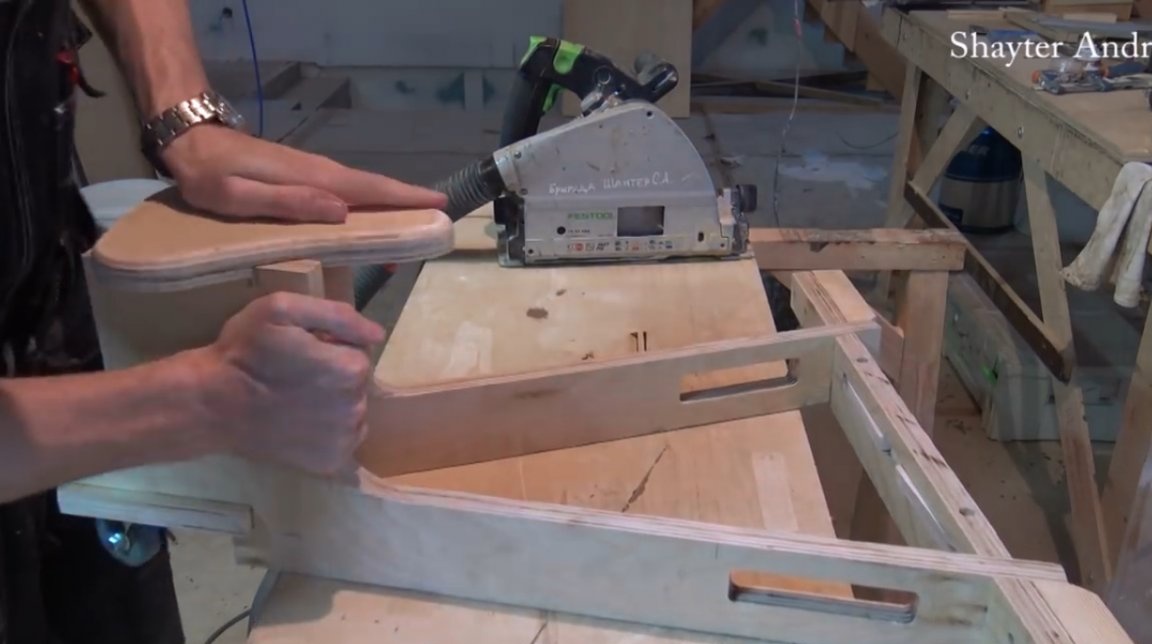
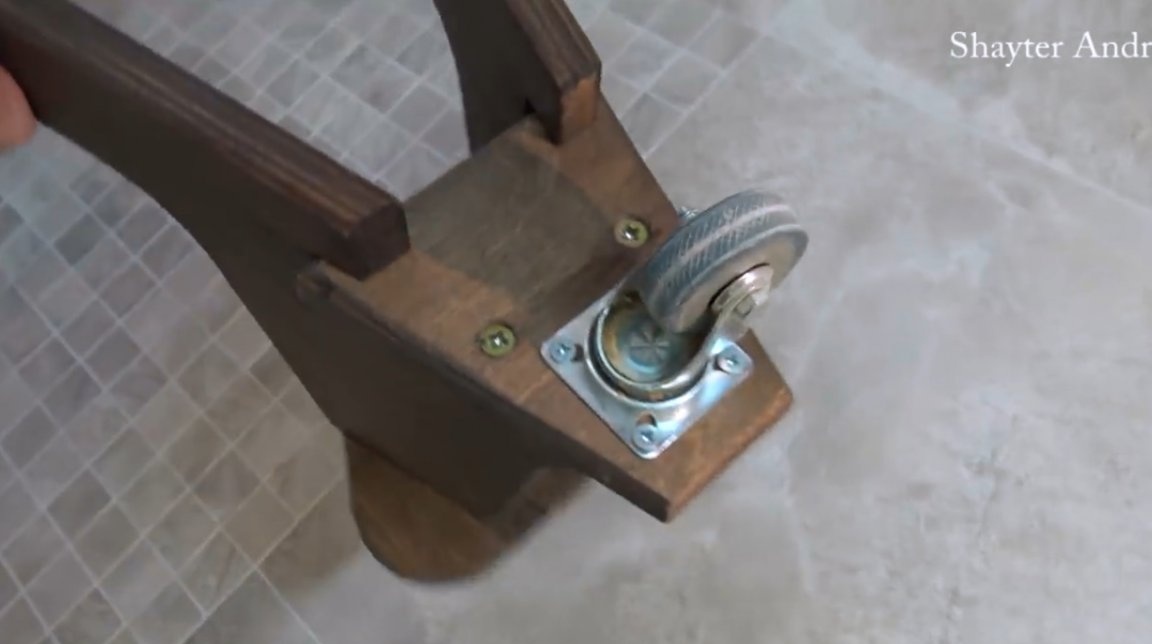
Prepares the platform on the frame under the seat, there will be another wheel. Marks the approximate shape of the site.
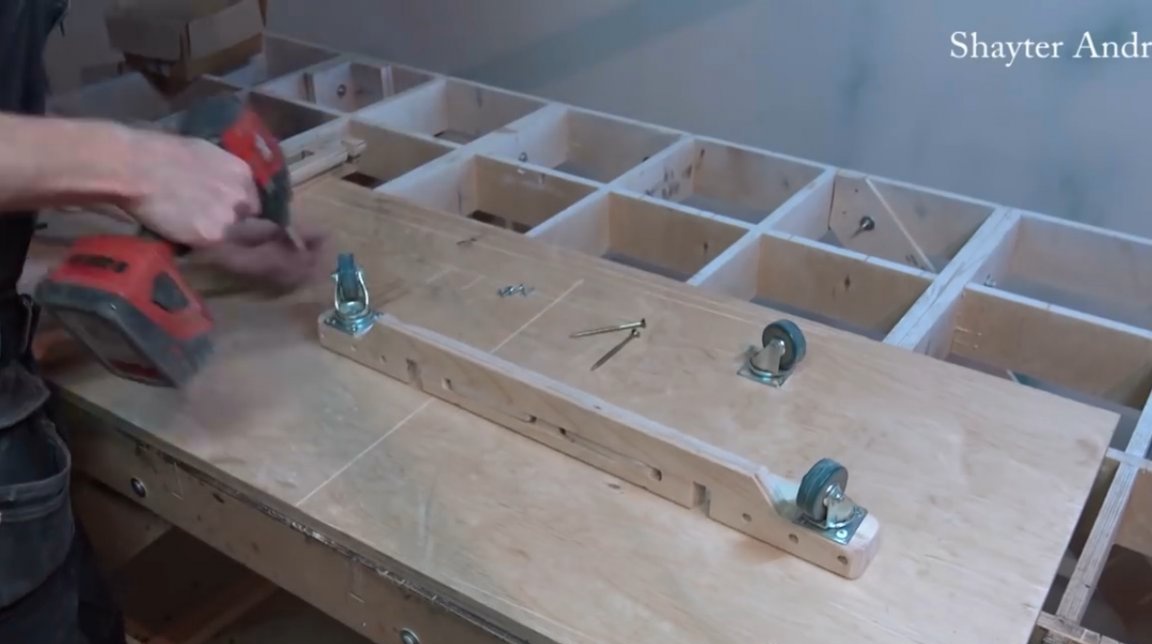
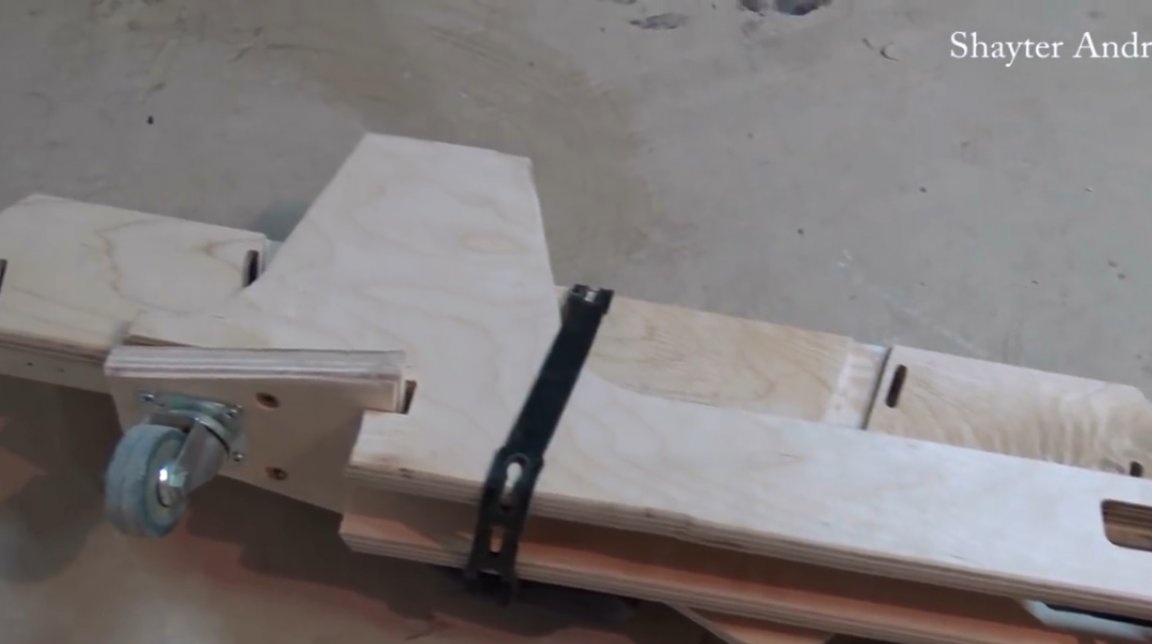
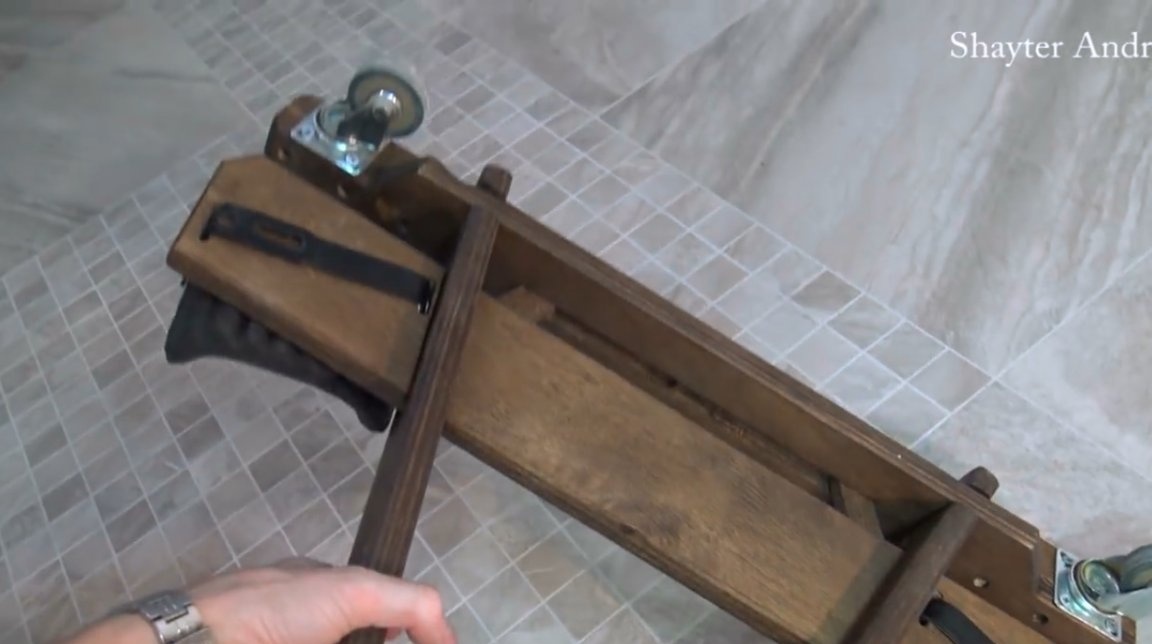
He had already expanded the front edges of the frame, and bolted the wheels to them.

The rear of the frame will be fastened with two long screws to the platform in such a way that it remains movable and will fold.
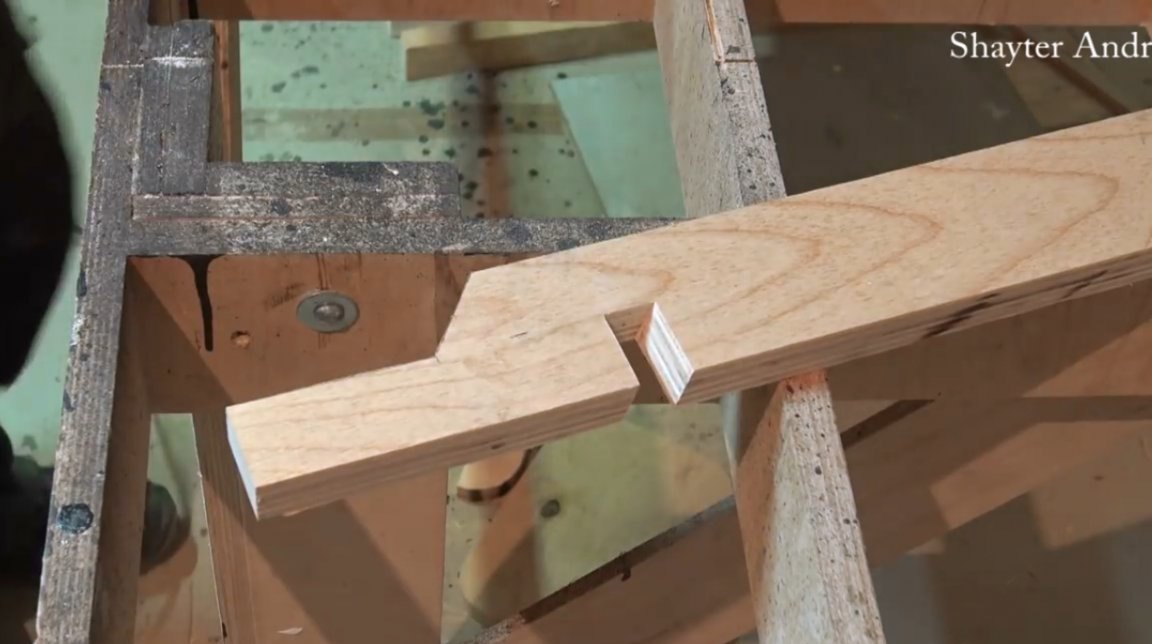
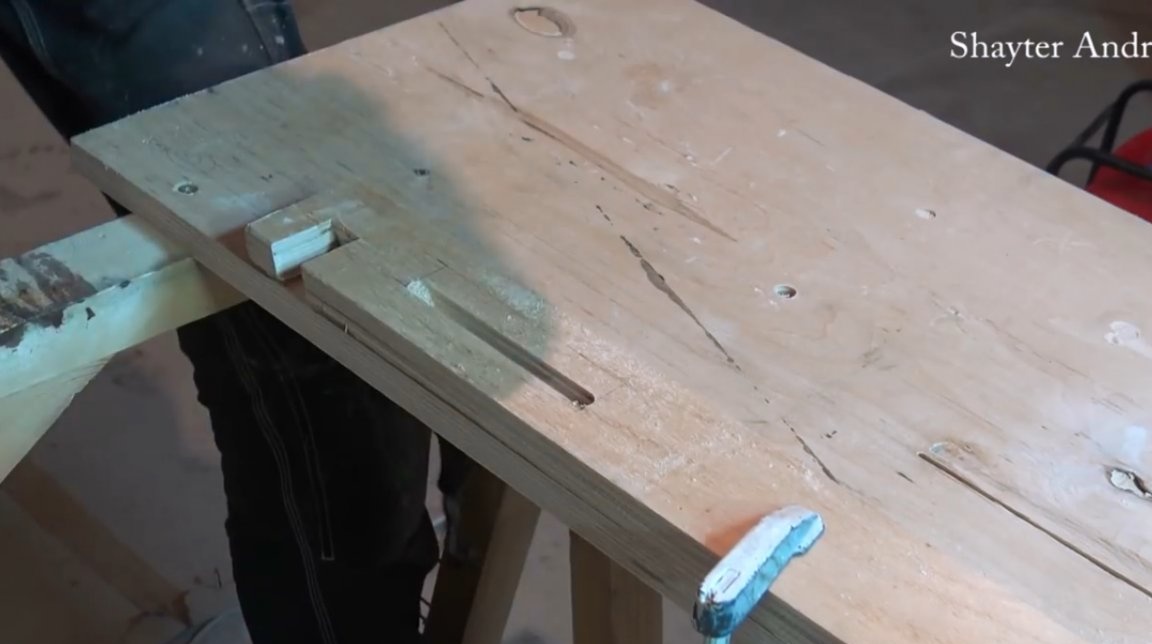
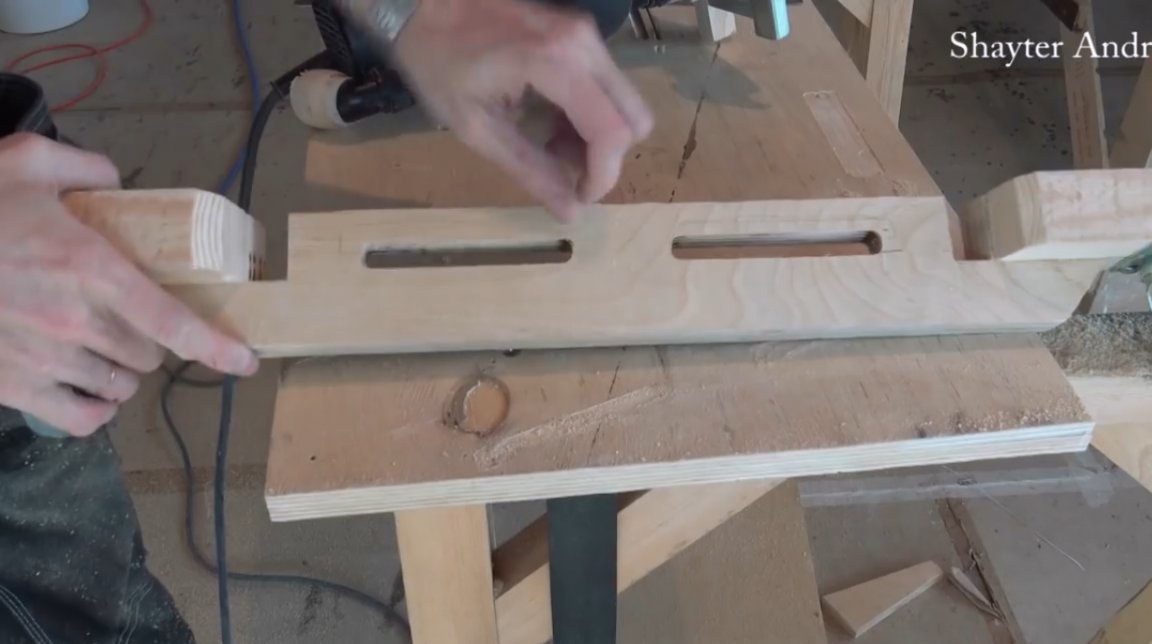
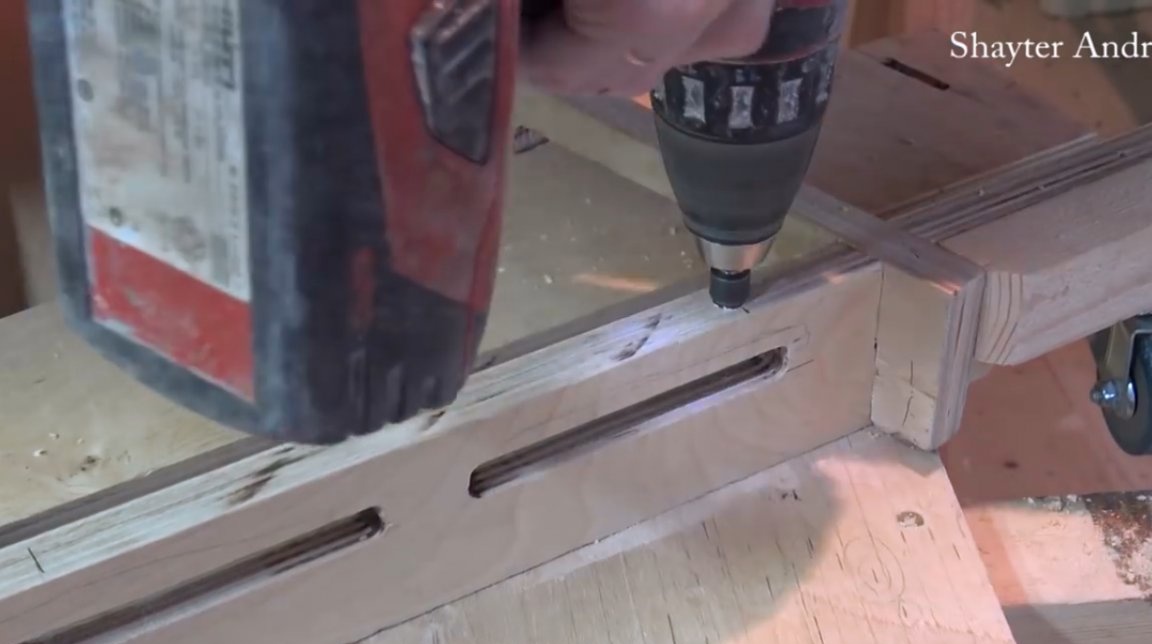
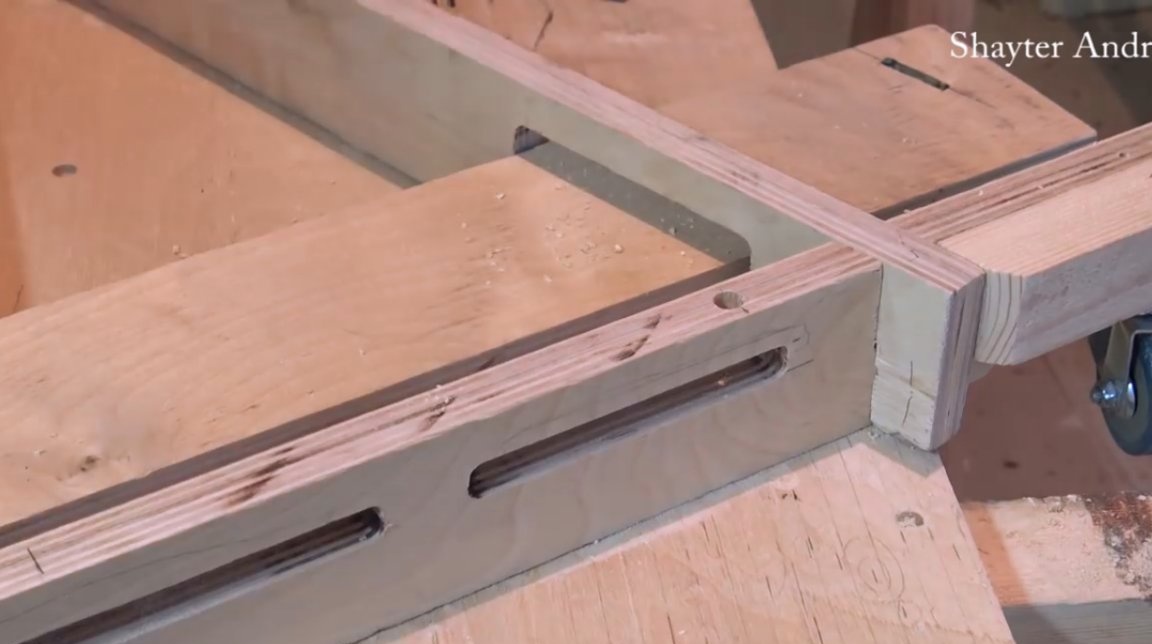
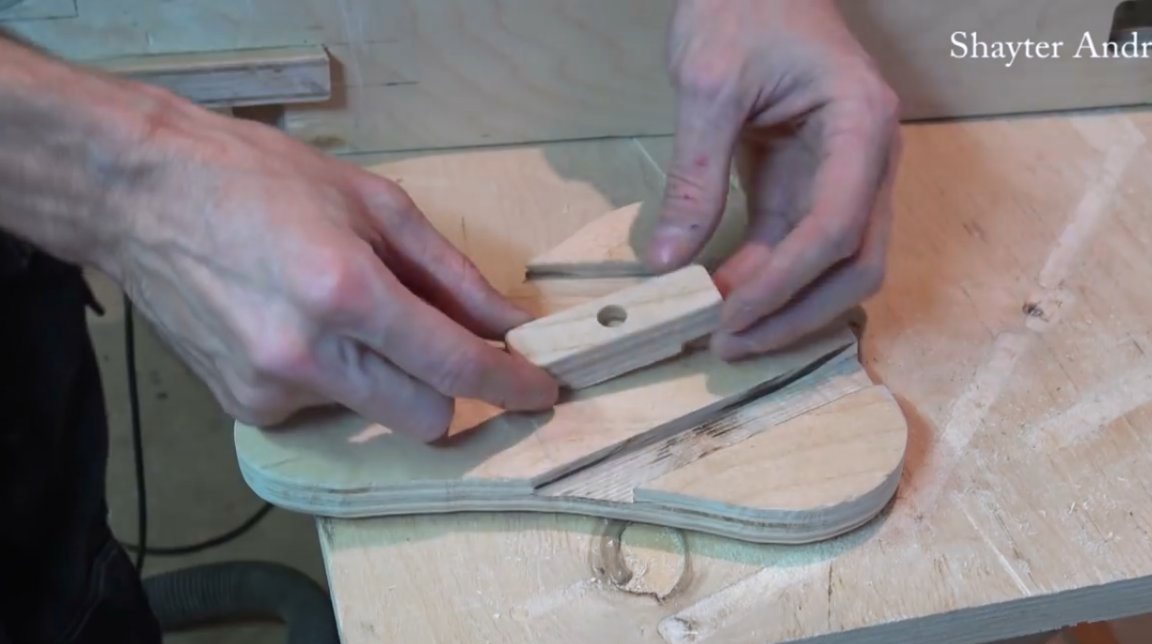
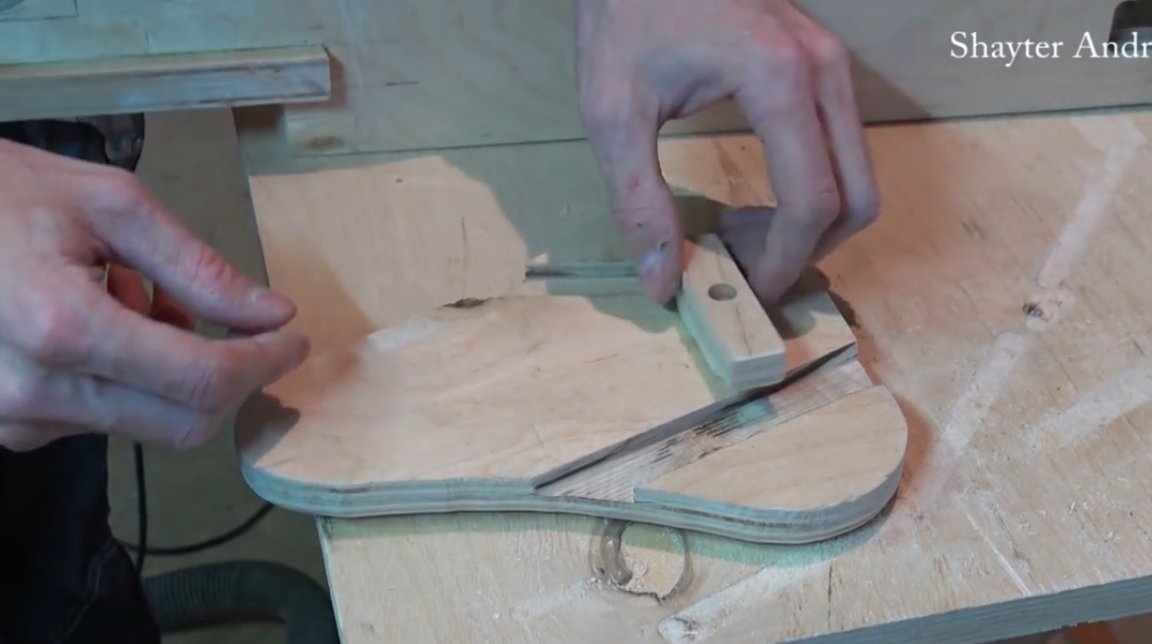
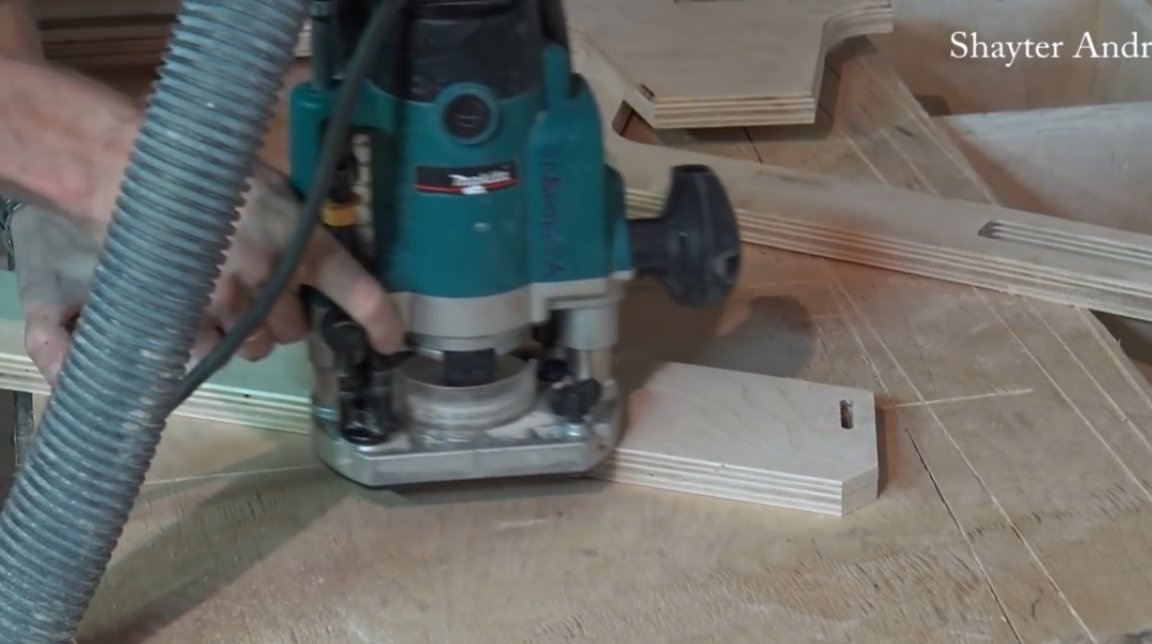
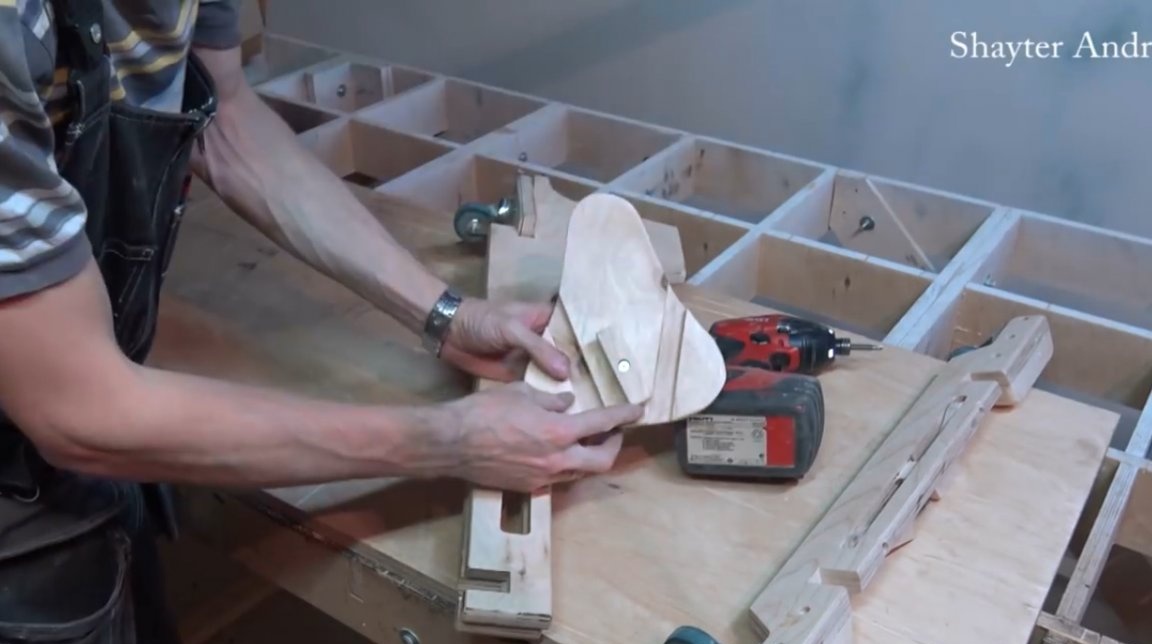
Now the master mills the grooves in the front bar. The latches will be hidden in them.
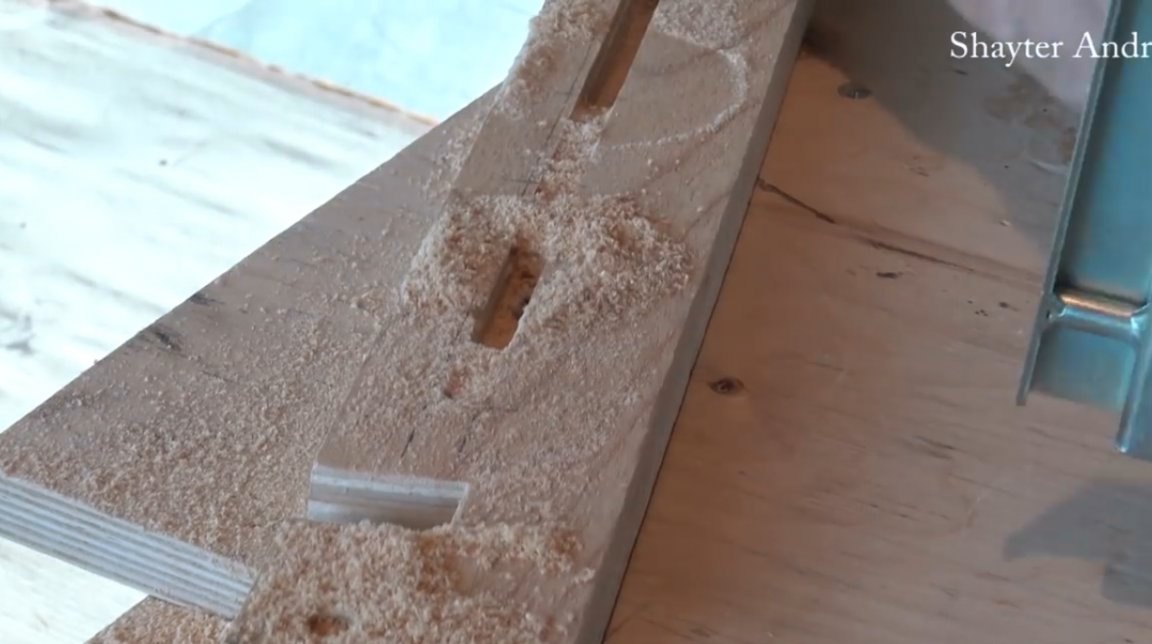
These are the two grooves turned out.
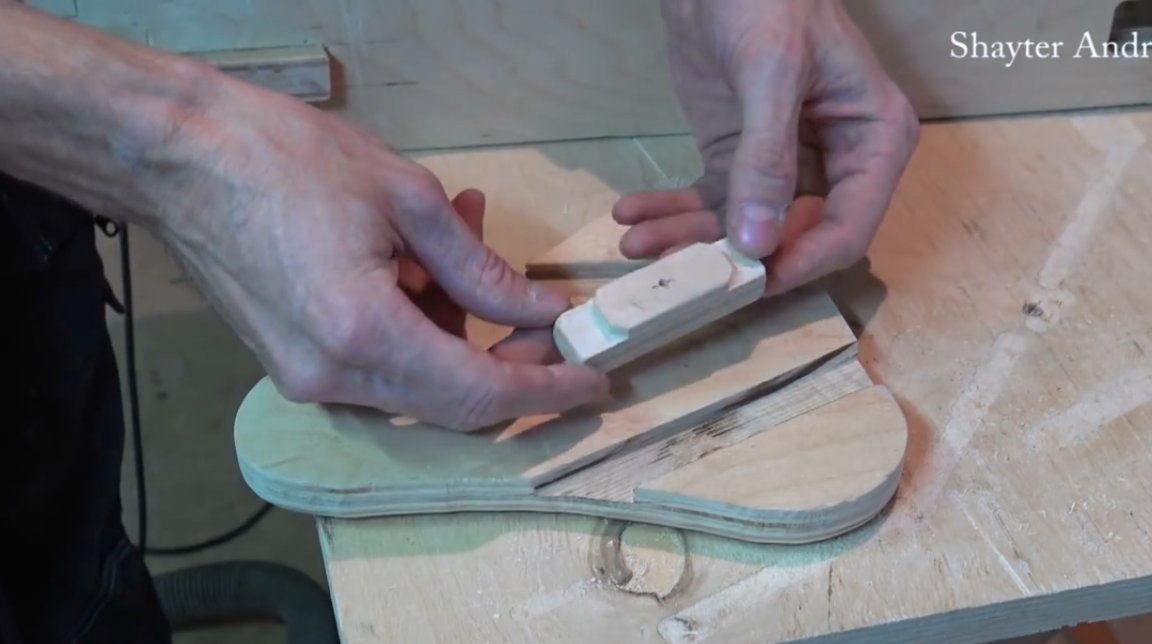
I cut blanks for latches, drilled pilot holes for self-tapping screws in them.
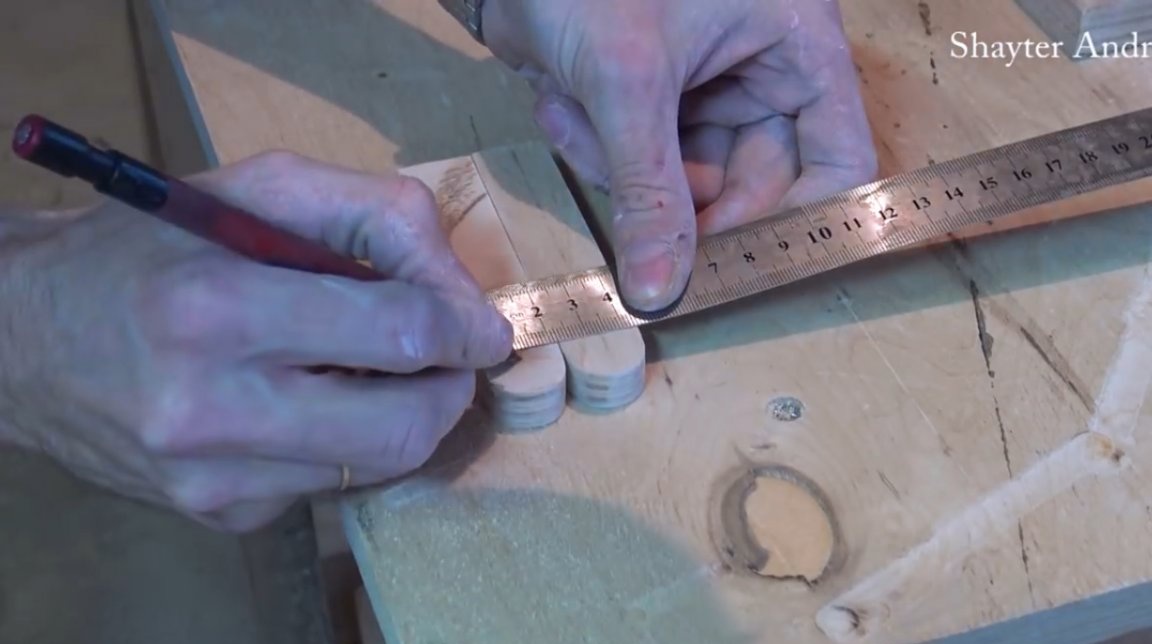
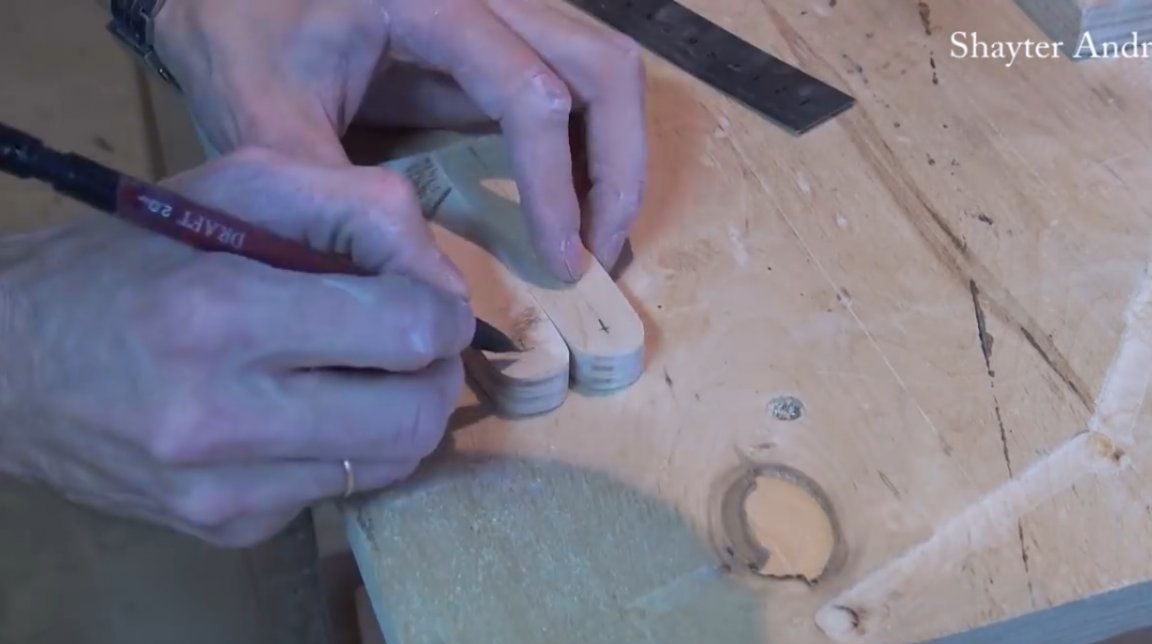
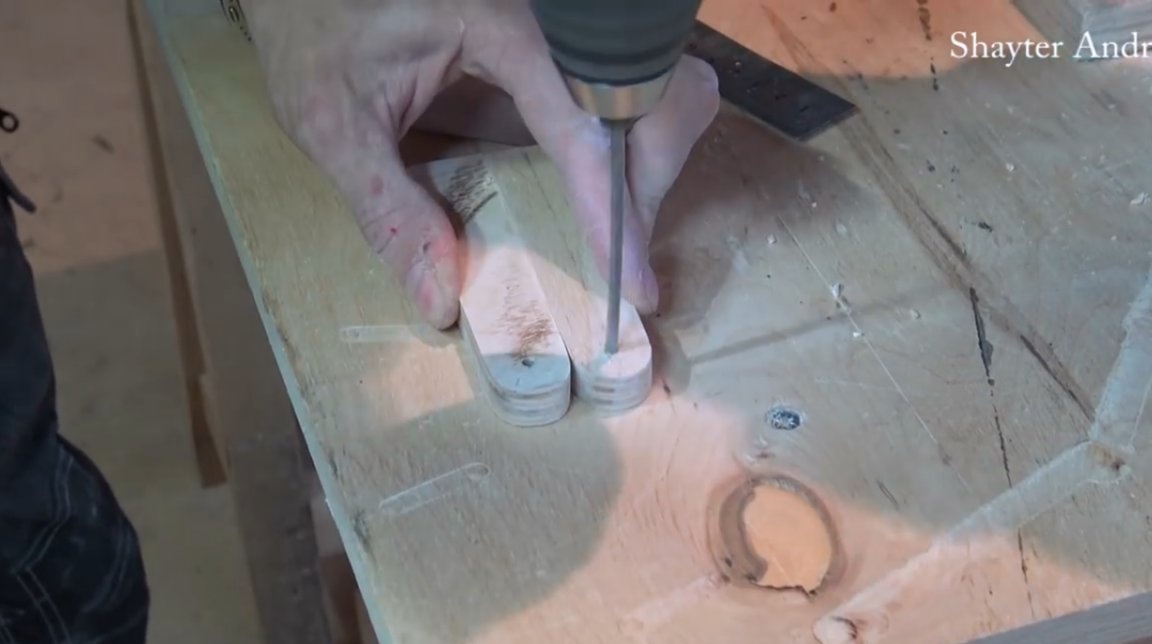
I made holes for screws on top with a countersink drill. They must rotate freely.
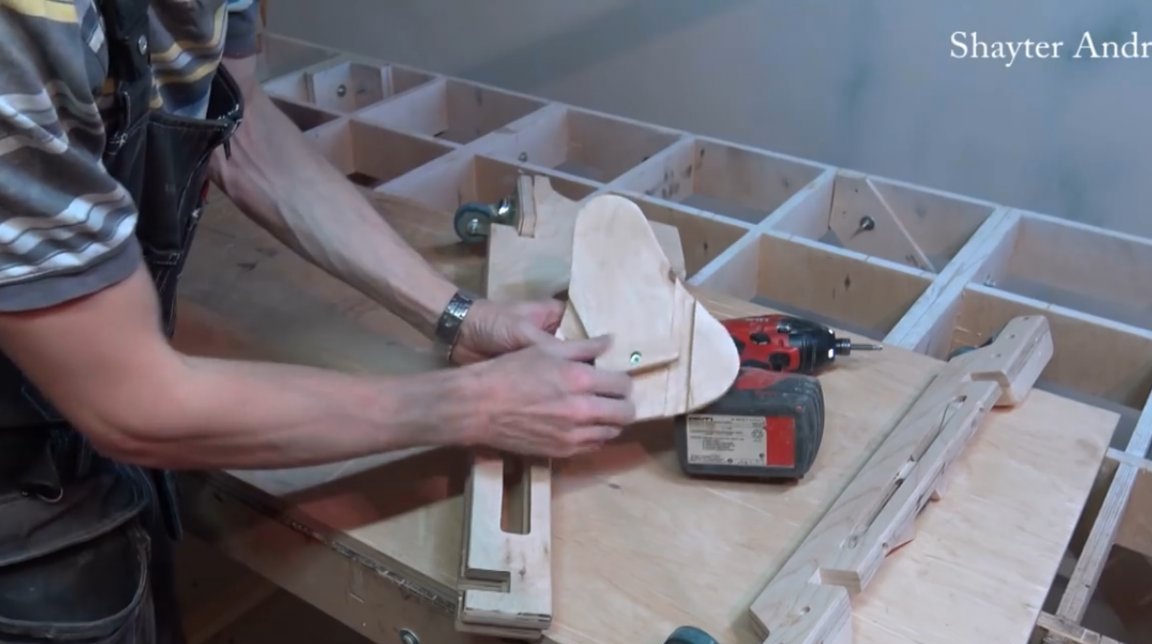
He also made two slots for belts, which will be attached to the knee pads, and cultivated the edge of the strap.
It is in this way that the latches will jam the bar in the frame.
The master has made the seat for the time being just from plywood, later it will be ennobled. I attached it to the frame, and noted the unnecessary elements, they will need to be cut.
But this kind of latch will be screwed on the seat on the bottom.
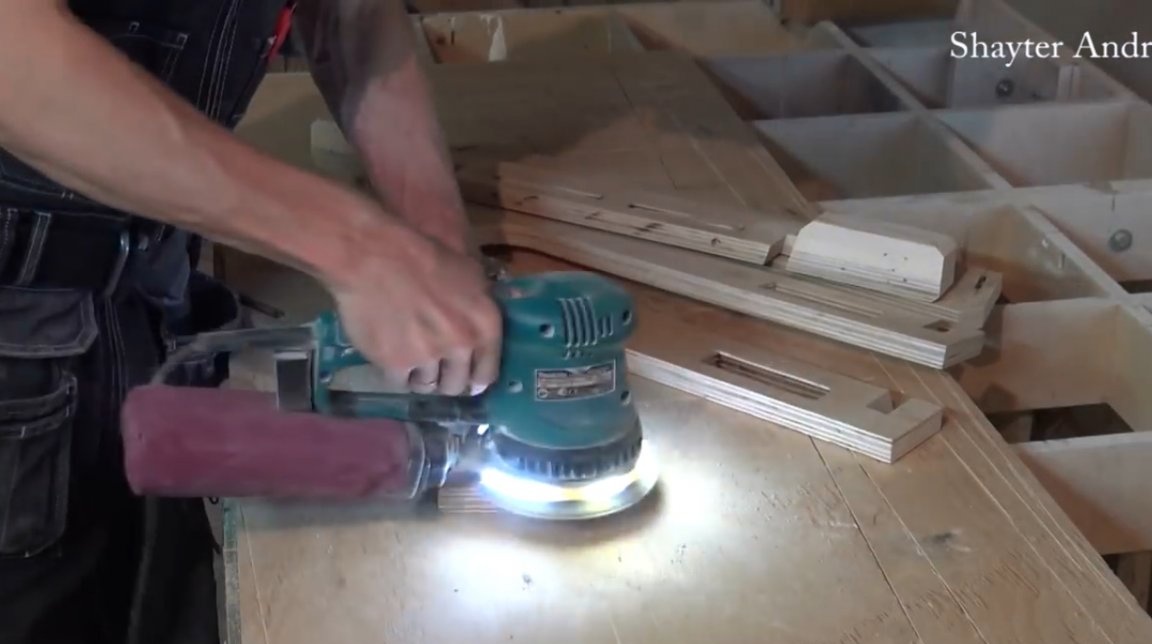
Almost all the details are ready, Andrei polishes the surfaces with an orbital machine, and mills faces with a radius mill with a thrust bearing.
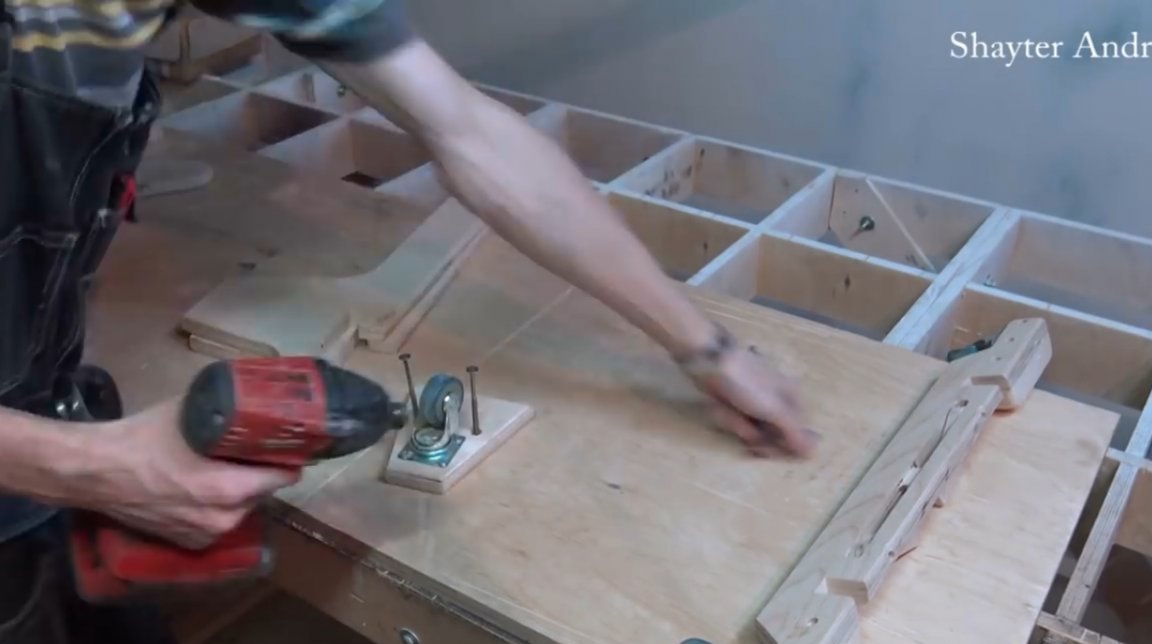
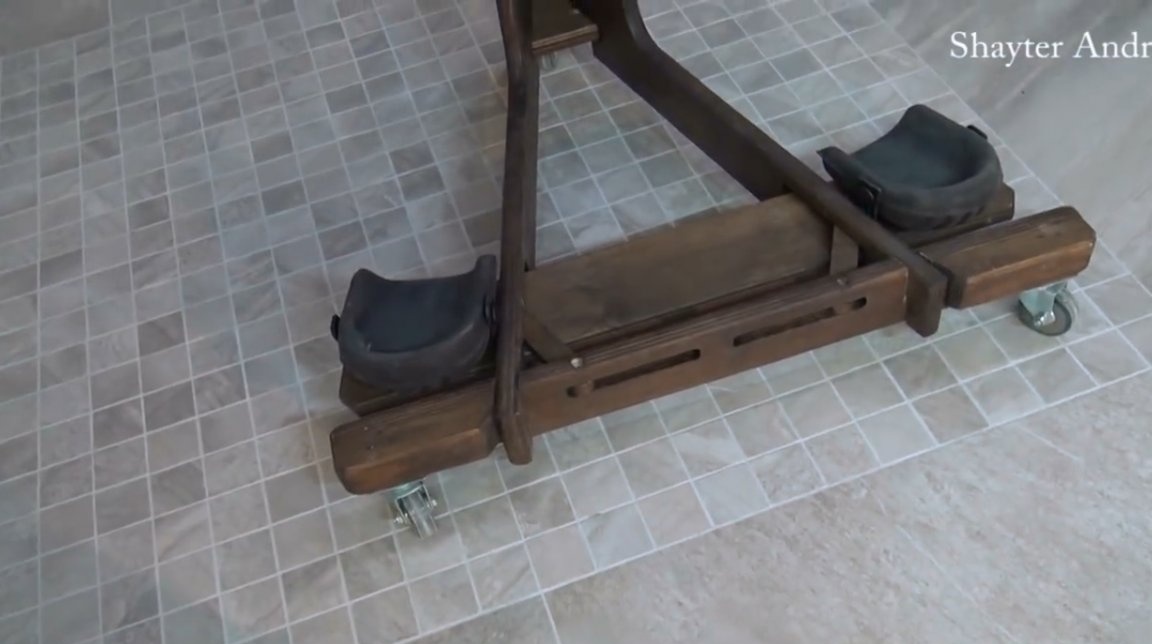
Screws the wheels to the front of the frame, and the rear platform.

Then, with the help of two long self-tapping screws, the platform is screwed.
He also secured the latch on the seat, it will go into these two grooves.

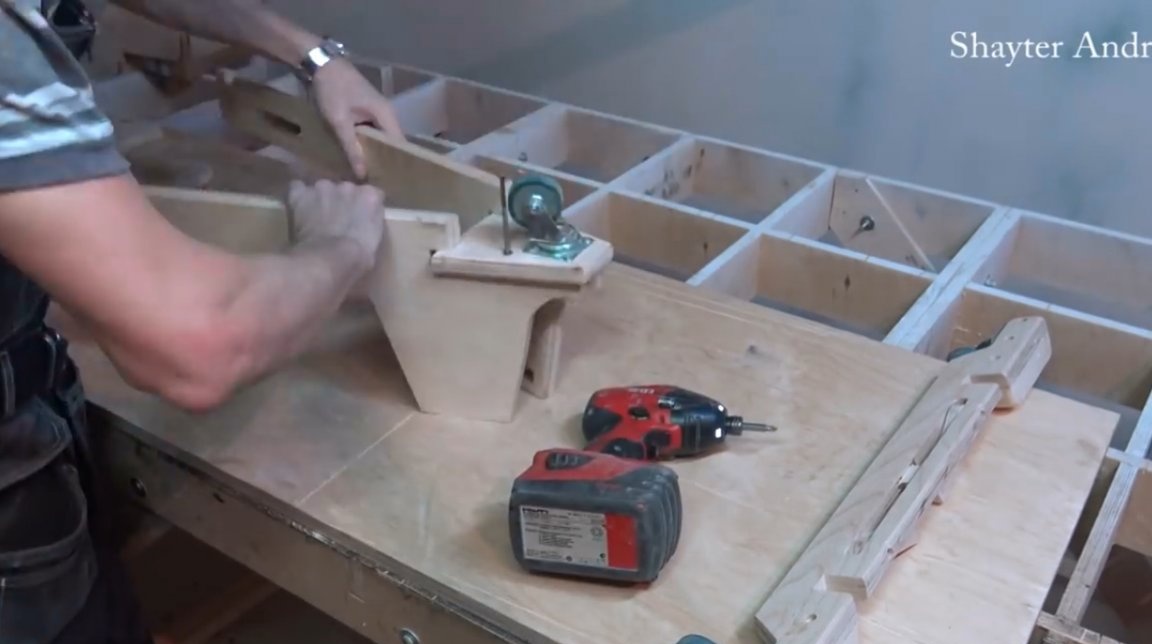
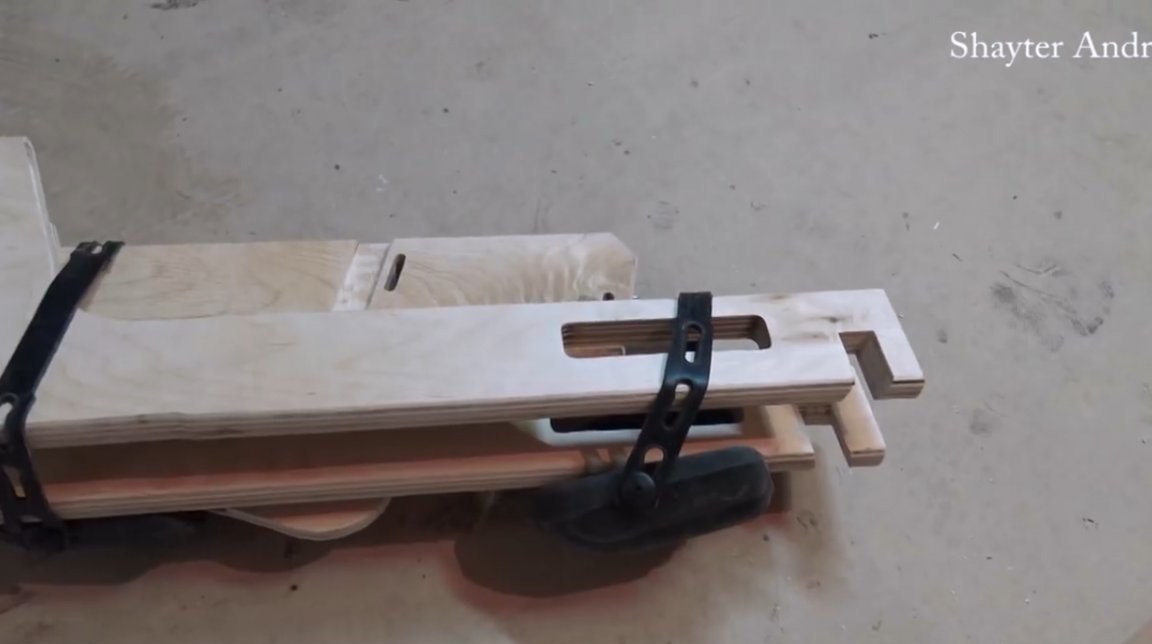
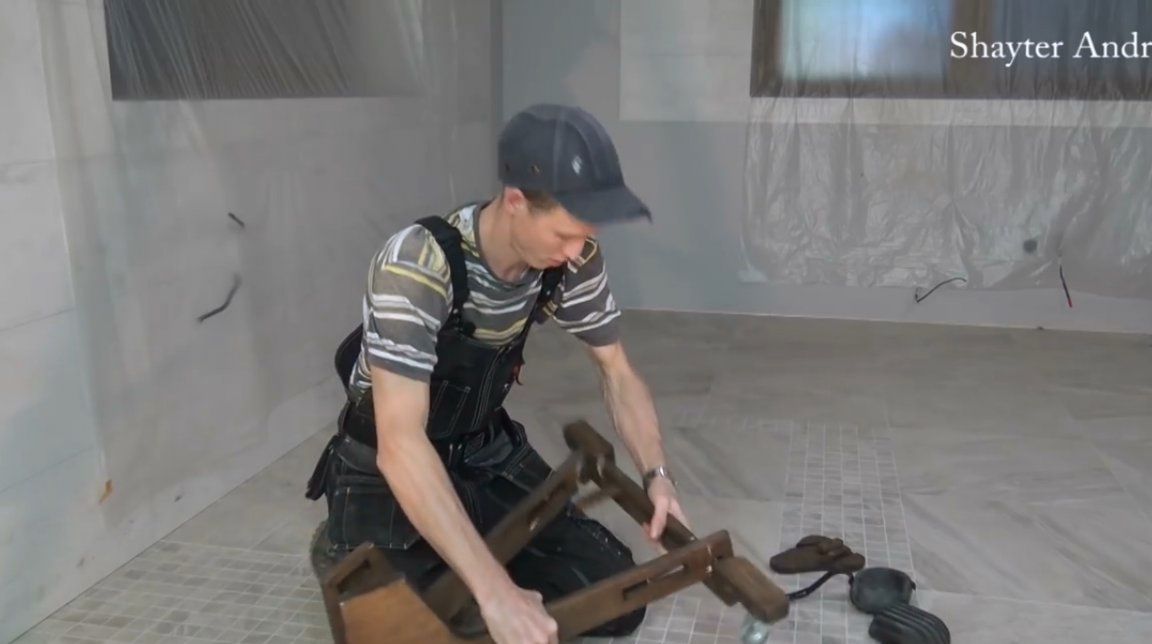
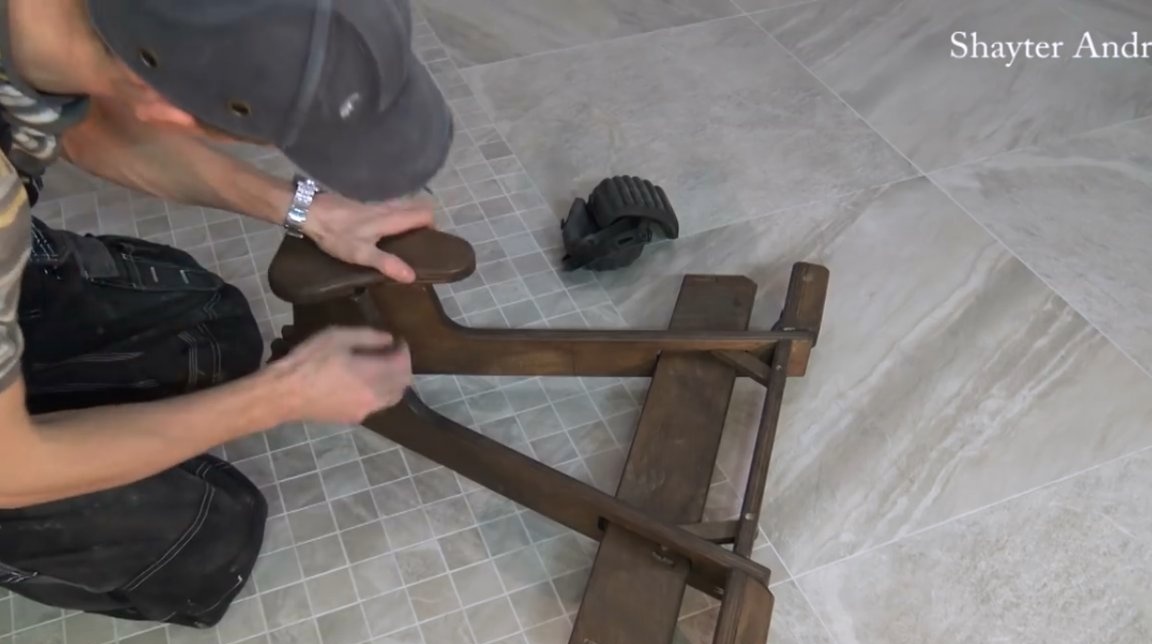
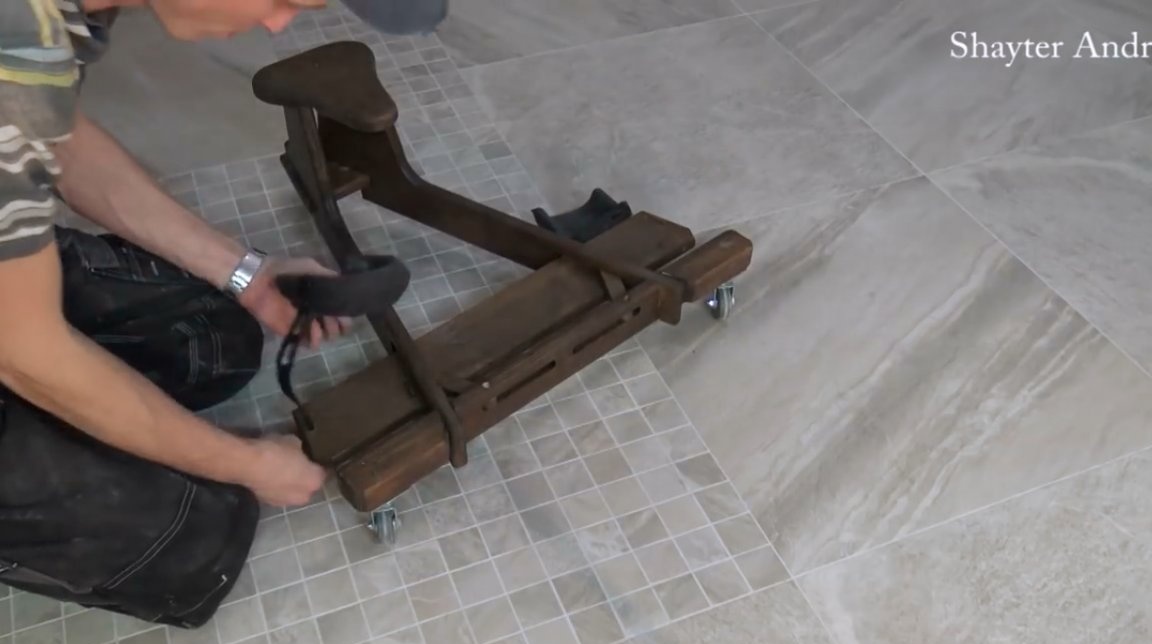
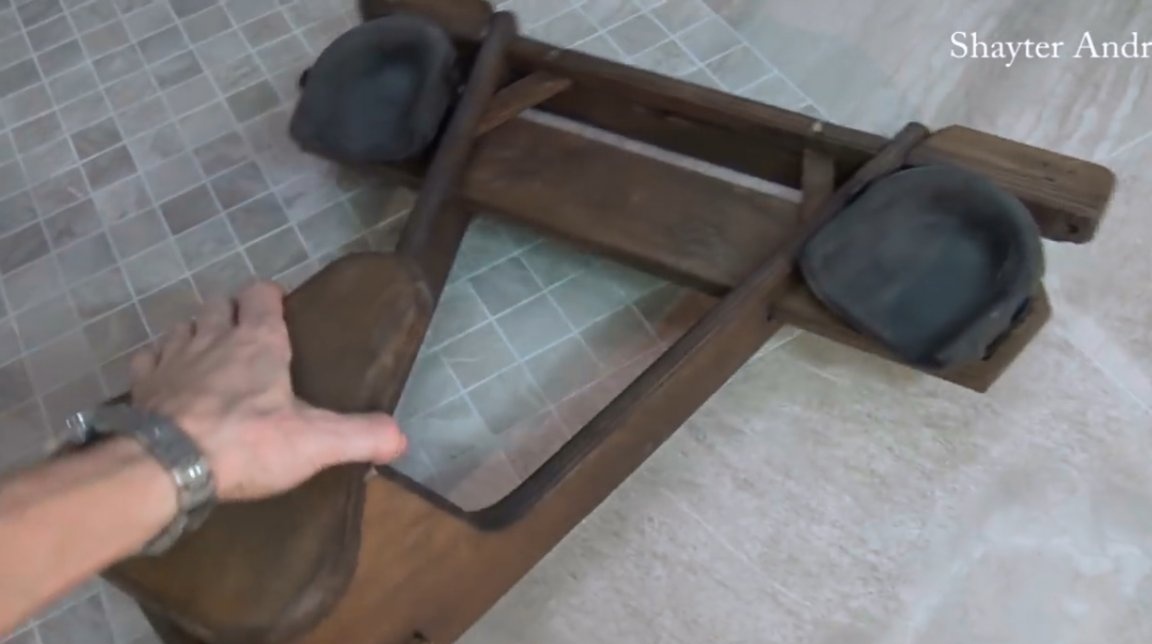
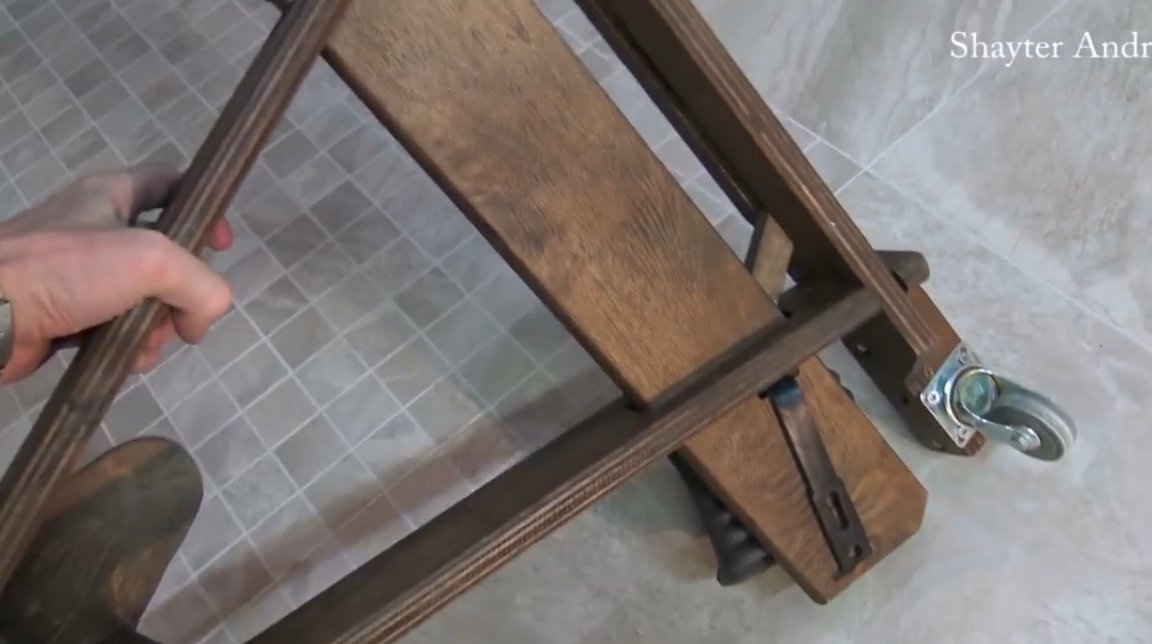
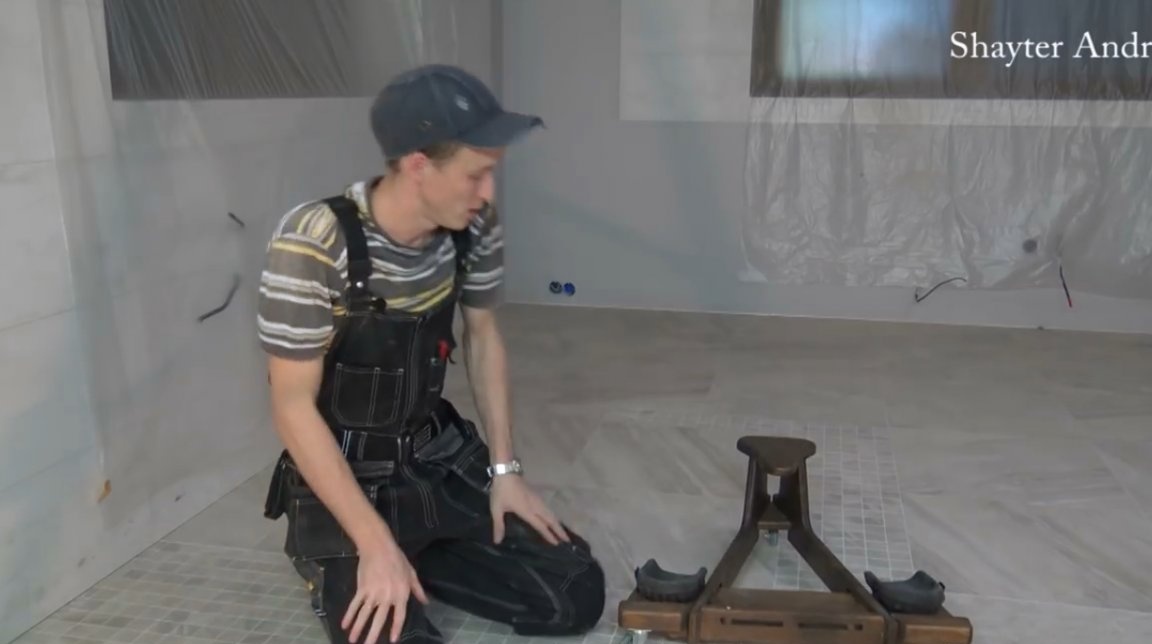
This is how the whole structure looks when folded. Compact enough.
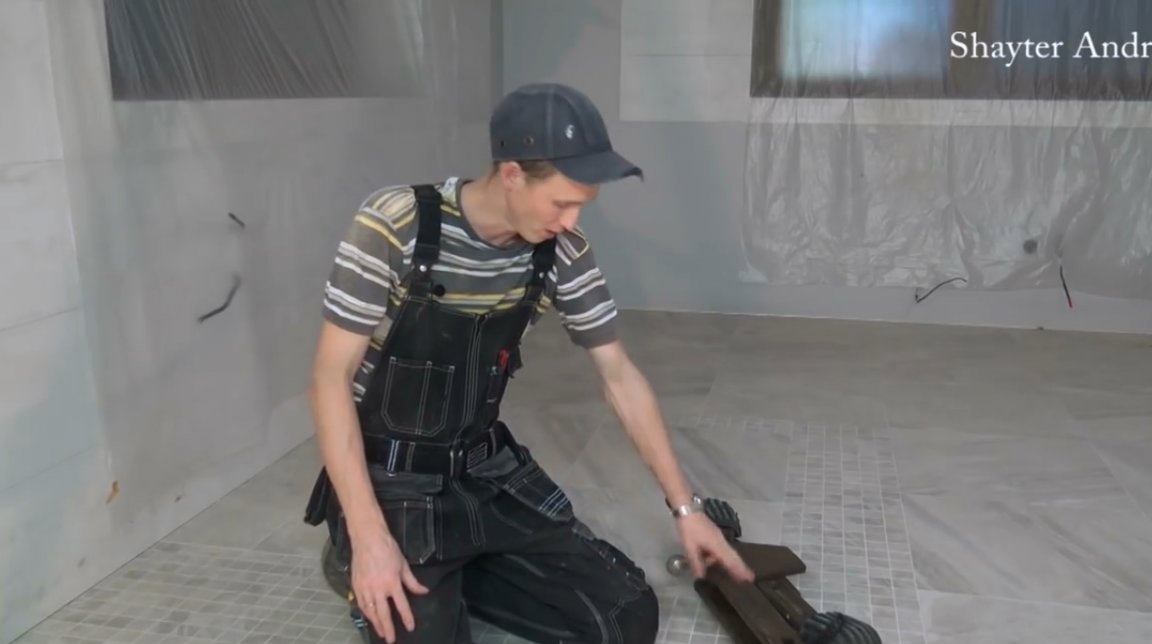
The author covered all the surfaces with a stain, and tells how all this is assembled and applied. First, the two main parts of the frame are connected.
Then the frame is inserted, and is jammed with latches on both sides.
The seat is mounted and latched.
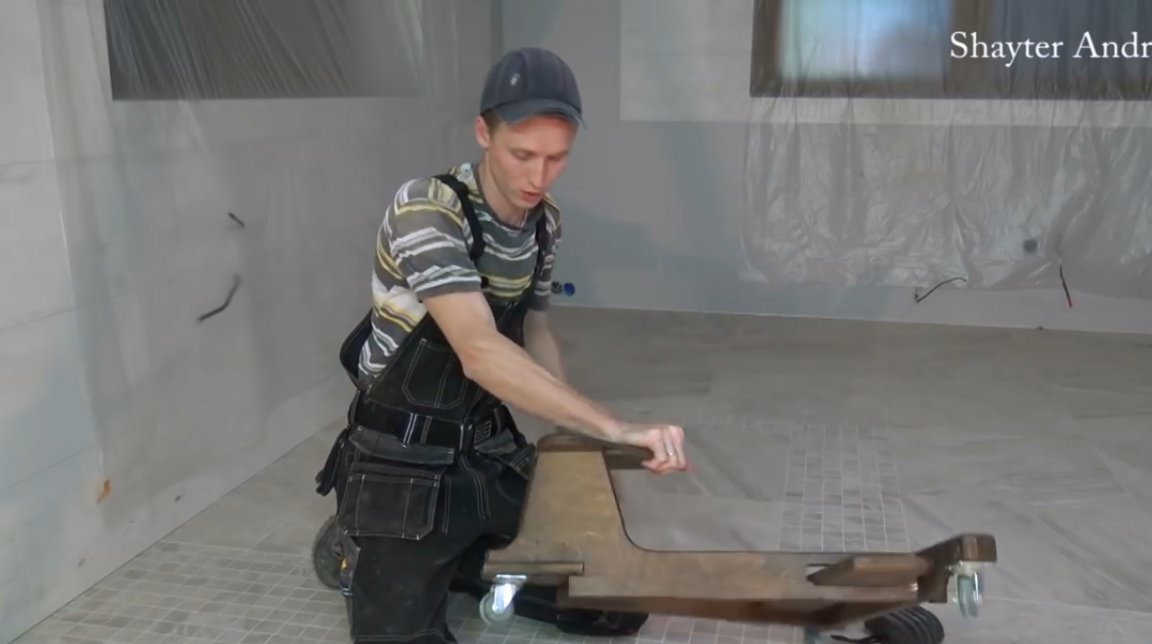
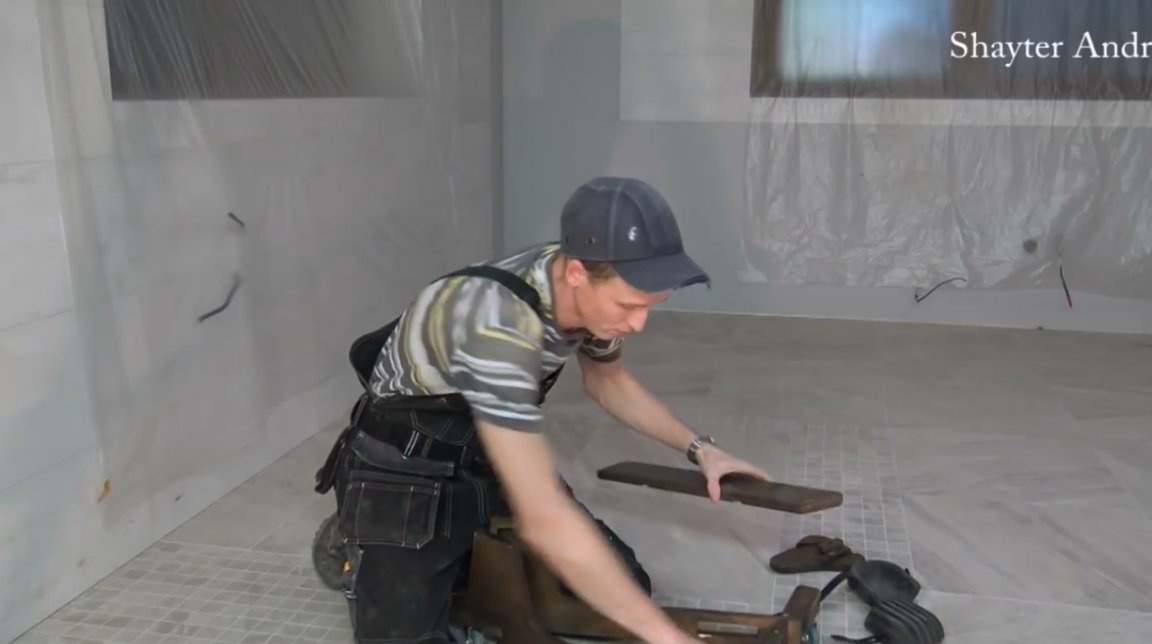
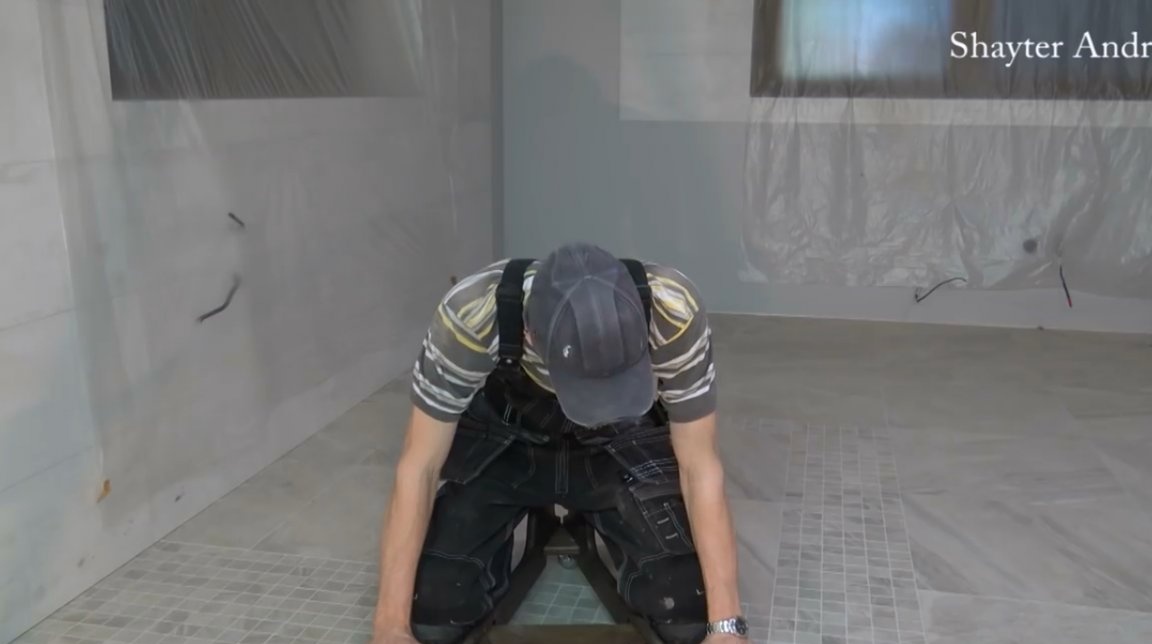
Kneepad straps are passed through slots and fastened. Everything is ready, you can work!
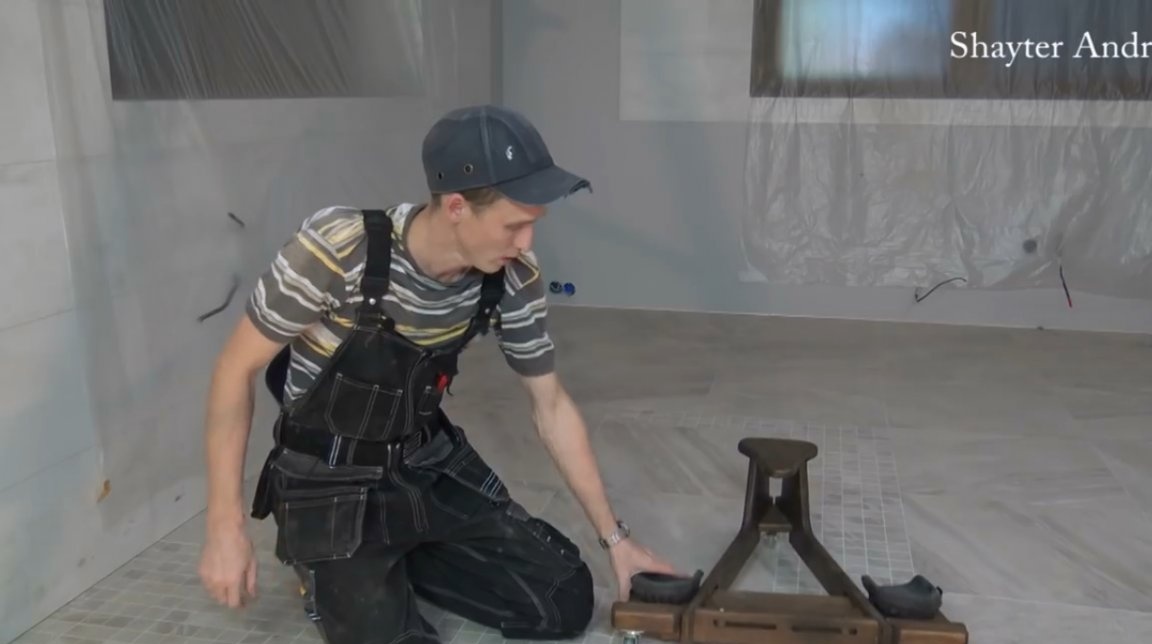

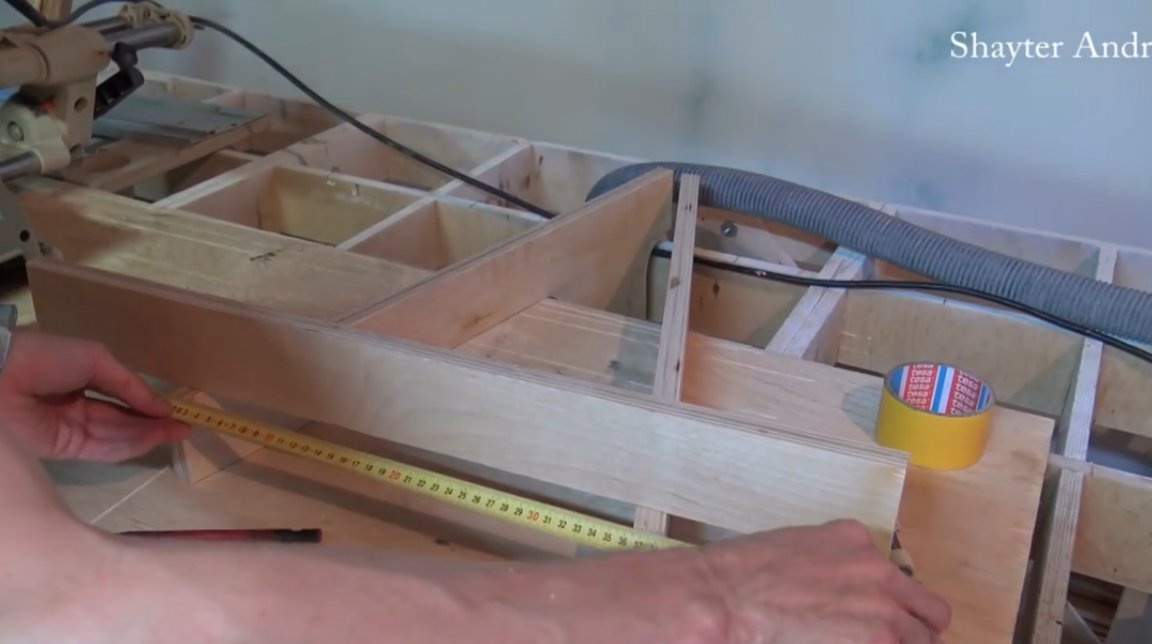
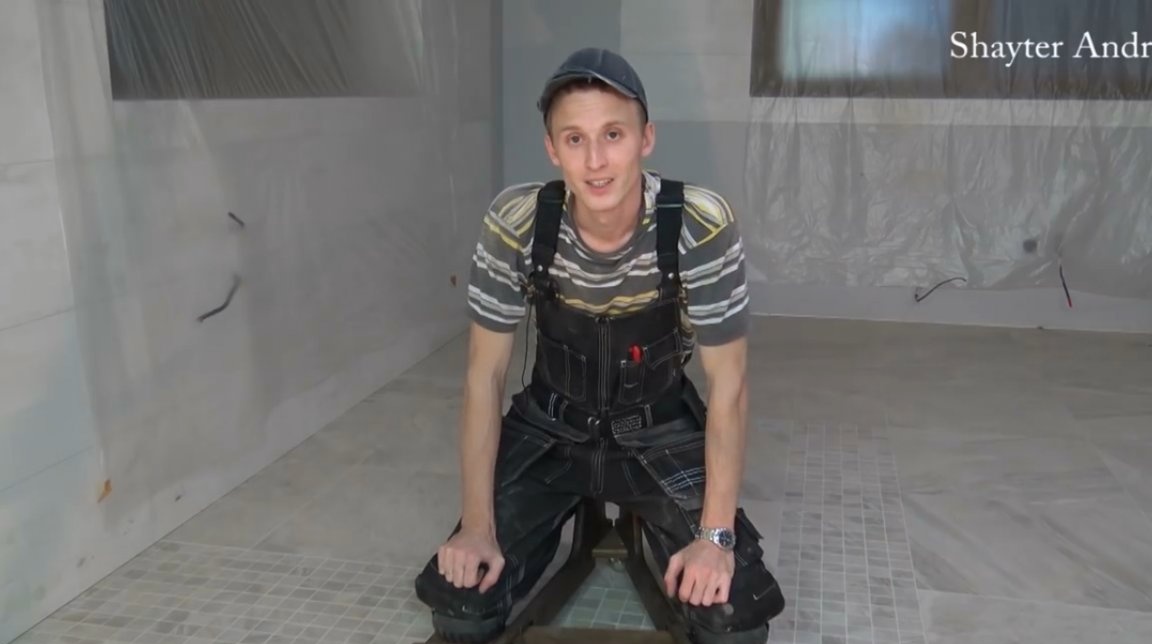
In order to determine the main dimensions of the structure "for themselves," the author recommends placing knee pads on the floor at a convenient distance between them. And then sit down on some design, which you can choose a suitable height. After that, try to hold the load or tile in front of you and determine the comfortable seat height and the distance between the knee pads.
Three parameters should be obtained - the seat height, the distance between the knee pads, the distance from the seat to the knee pads.
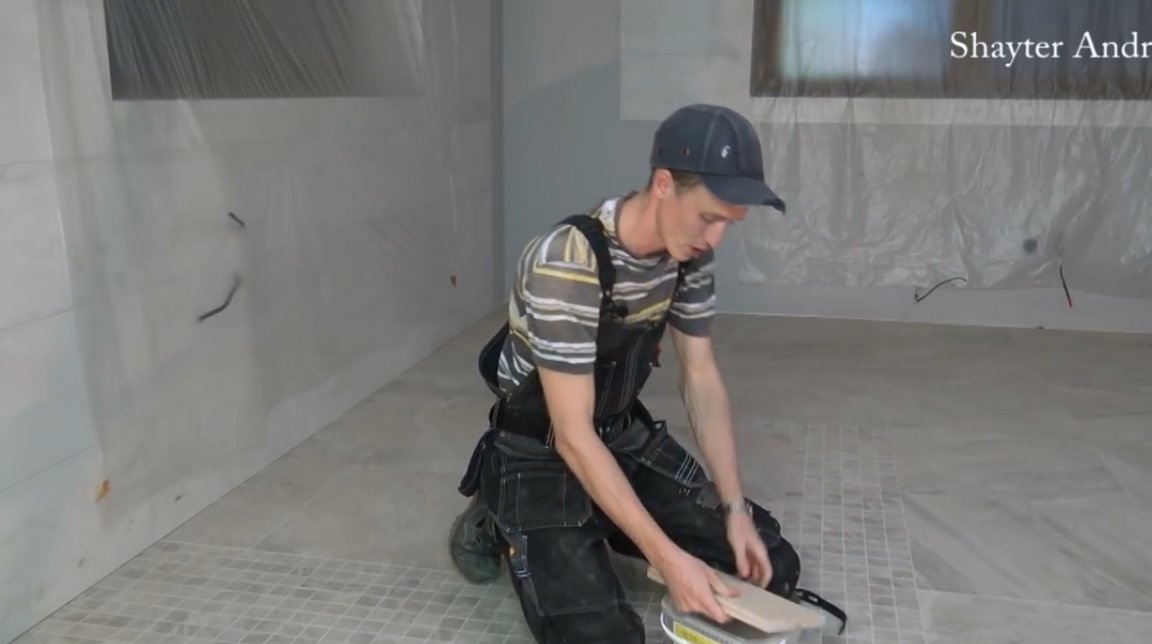
Here is an interesting folding device it turned out at Andrey. He believes that such a thing facilitates the work, and improves productivity. In addition, it will help to avoid occupational diseases, back pain, leg swelling, problems with blood vessels, and many other troubles.
Thanks to Andrey for the idea of a simple but very useful tool for builders!
Good health, good mood, and interesting ideas!
Author video can be found here.