
In this article, you will learn how AlexGyver (author of the YouTube channel of the same name) do it yourself made a steering wheel for computer car simulators from Chinese electronics and building materials.
We will do it in classics, Chinese components and plumbing will be used. It will be cheap, cheerful, and fast enough. In this project, we will try to combine seemingly very distant things, for example, such as santech and microelectronics.
Necessary materials and components:
- Santech
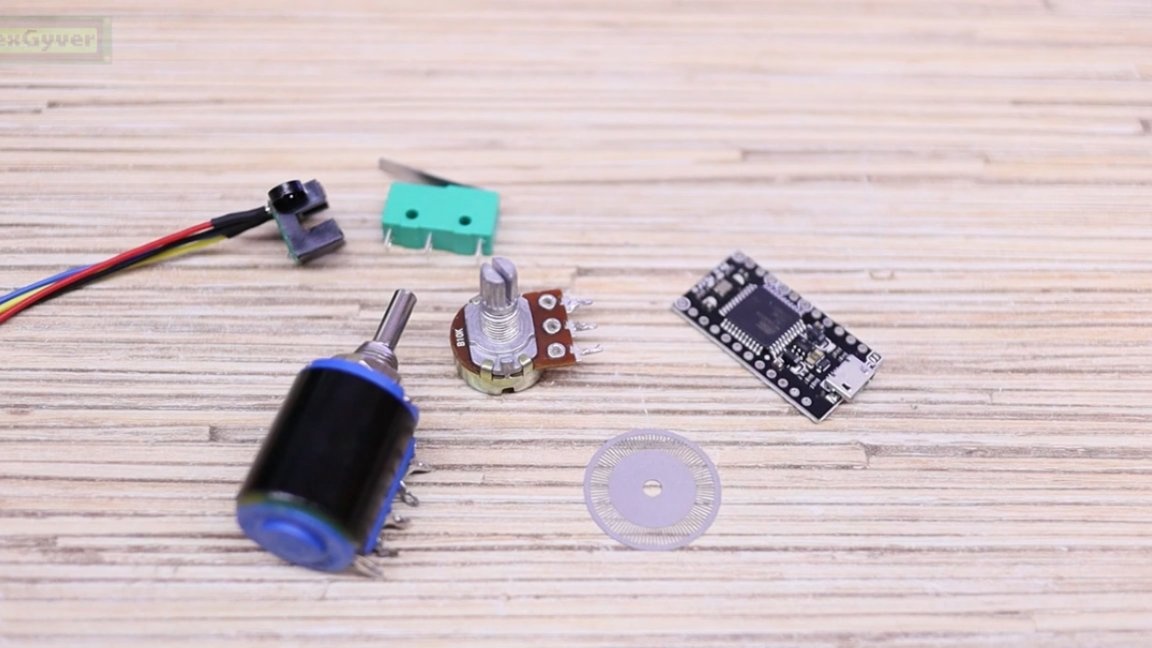
So, steering wheel for a computer. A piece is not very expensive anyway, but why not make your own unique copy. To do this, we need a controller that will be perceived by the computer as a gaming device.

We will also need input devices. The author plans to make a steering wheel, pedals and a handbrake, more for arcade racing is not necessary. We will make the handbrake with the button, and the pedals with ordinary potentiometers.
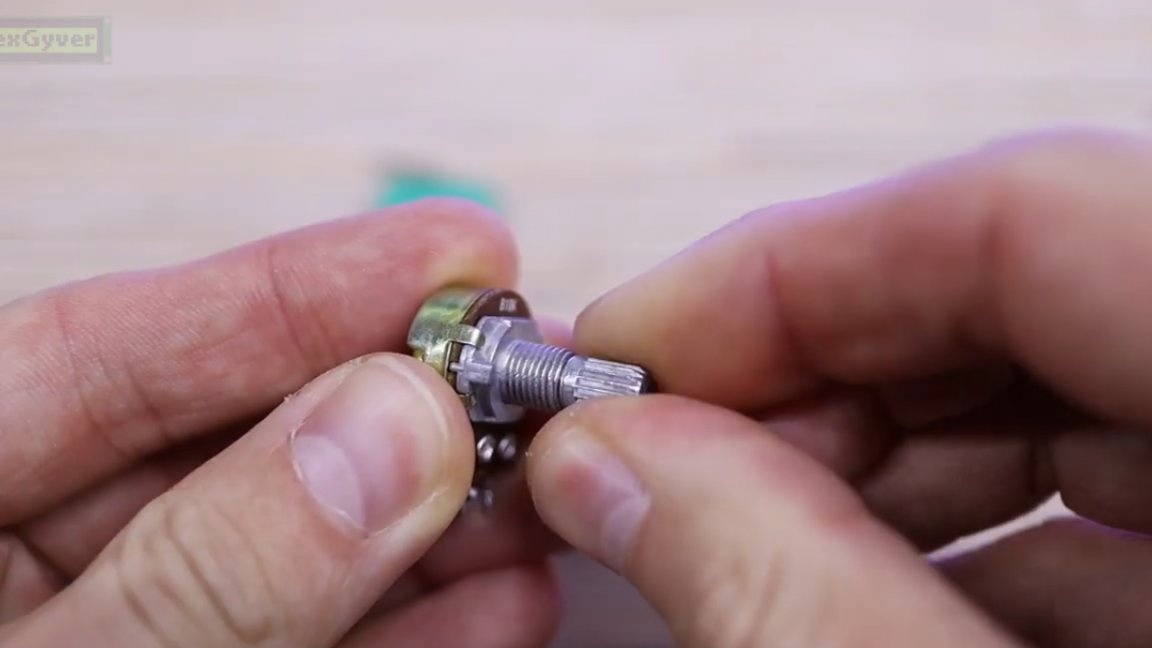
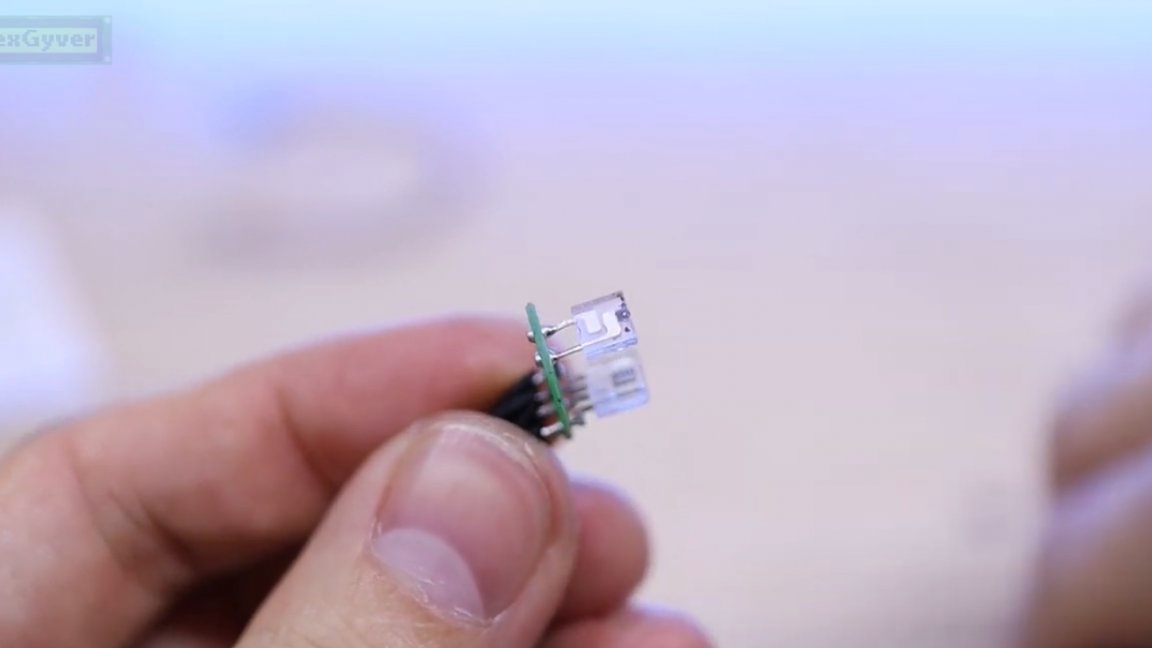
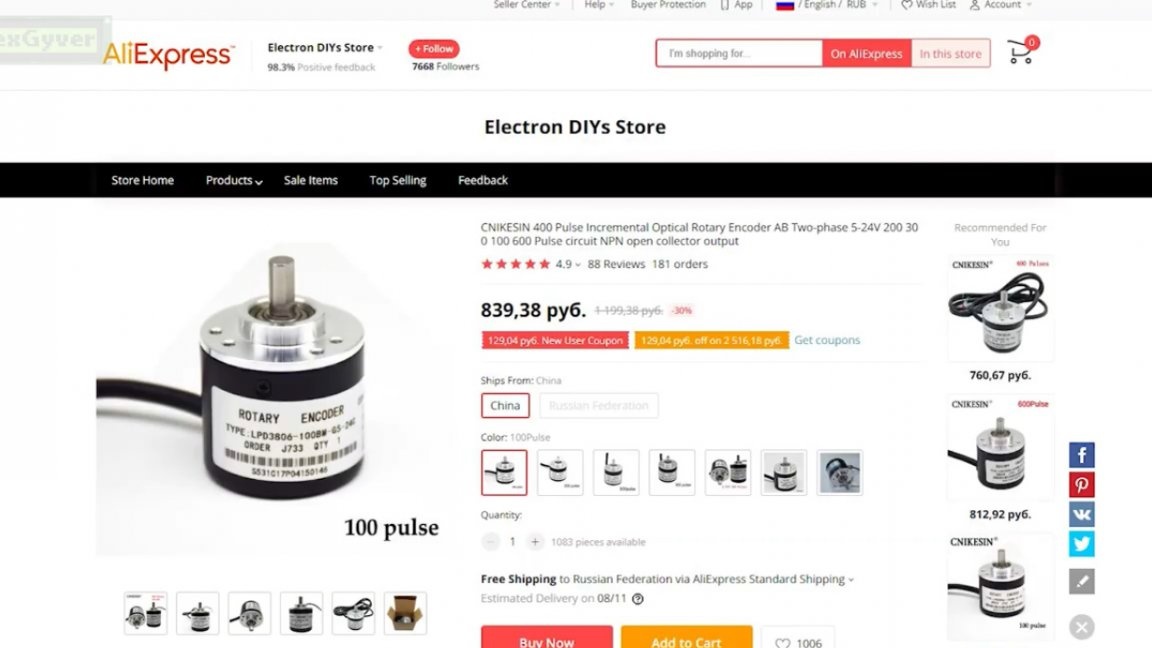
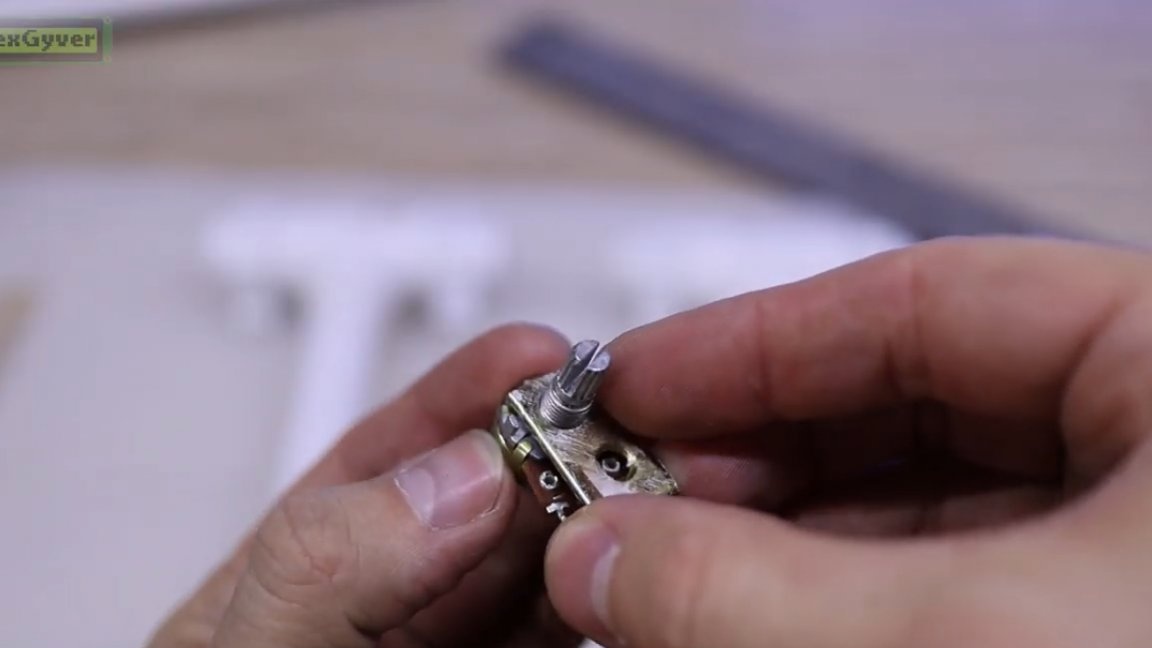
But the steering wheel needs an optical encoder.
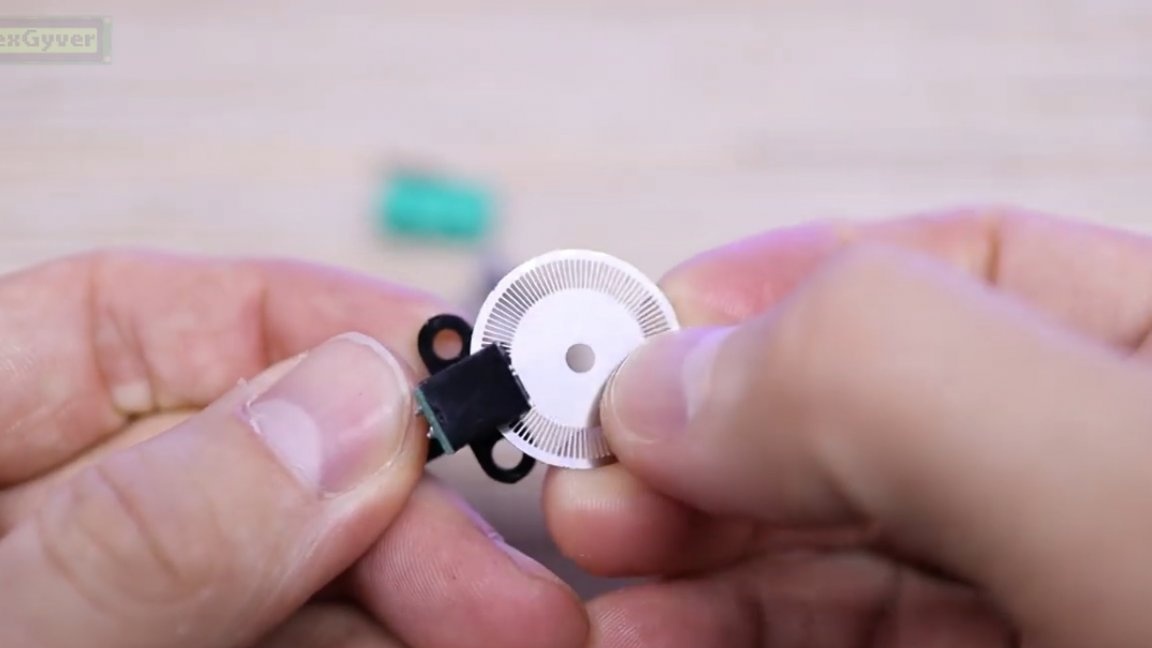
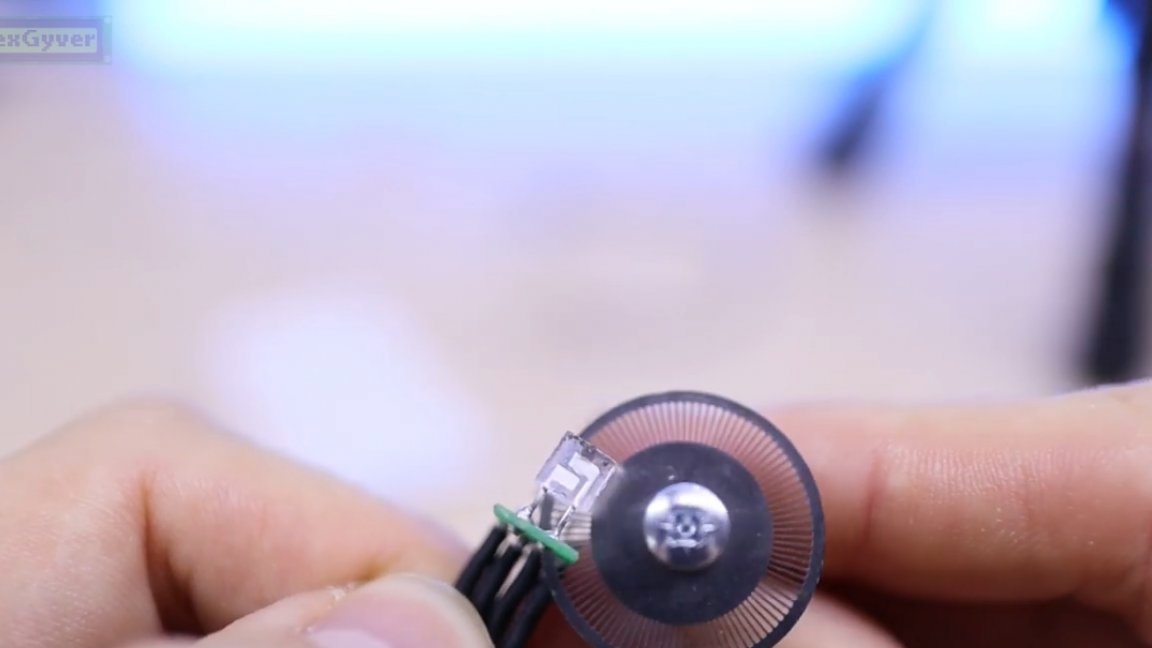
The Chinese have a 100-step disc, this will be enough for us.
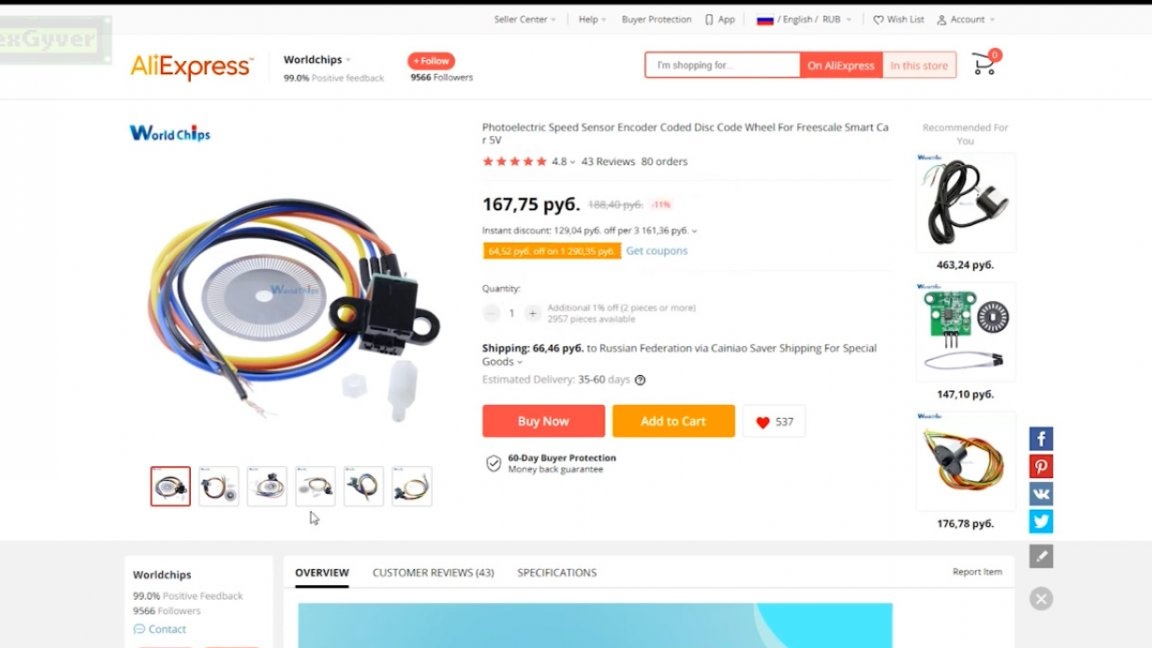
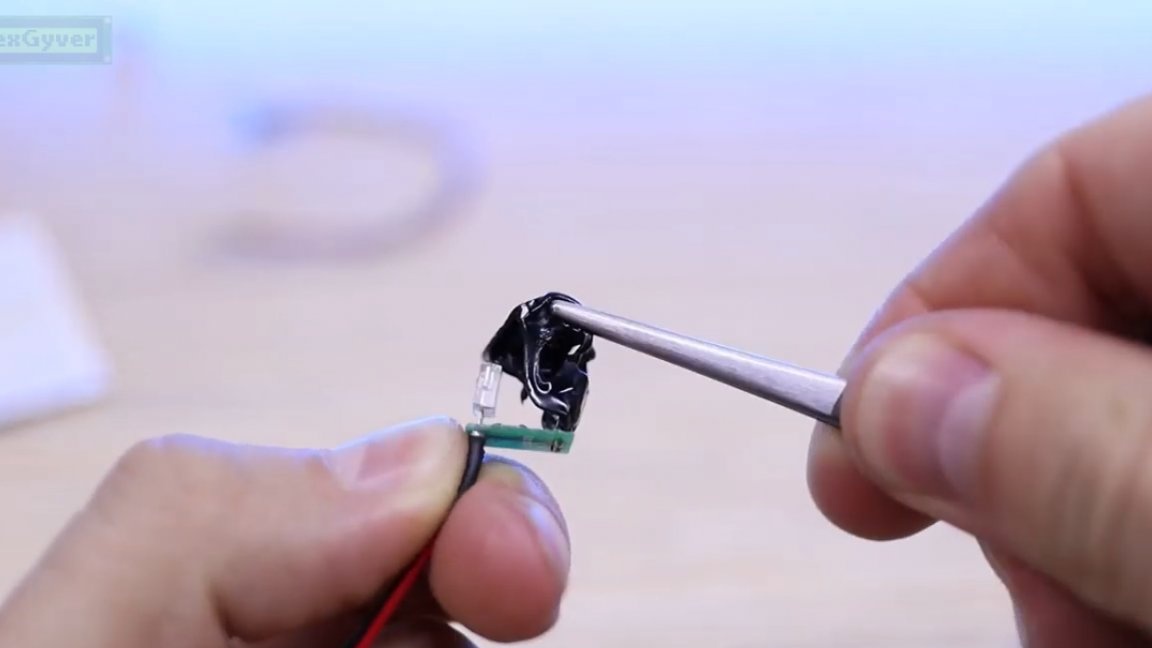
An encoder can certainly be found better, but they cost more, and today we have a budget option. The option is so budgetary that literally from the very beginning problems already appear. The fact is that the sensor for this encoder is located, the drum roll, in the other direction. That is, such an encoder, in principle, can not work.
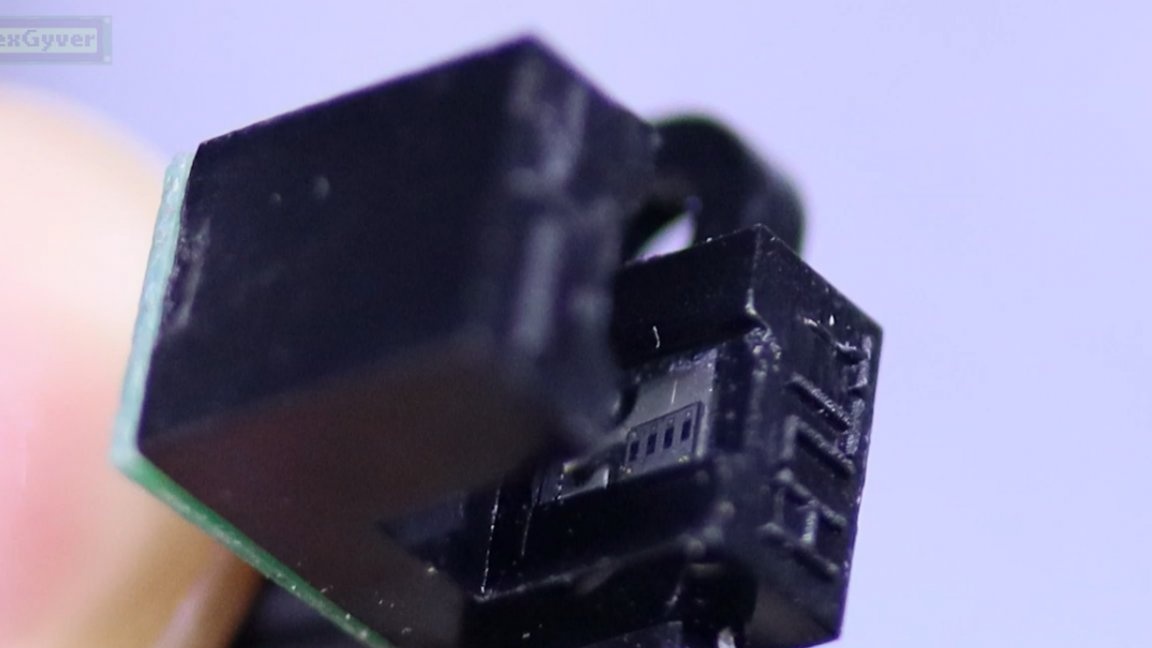
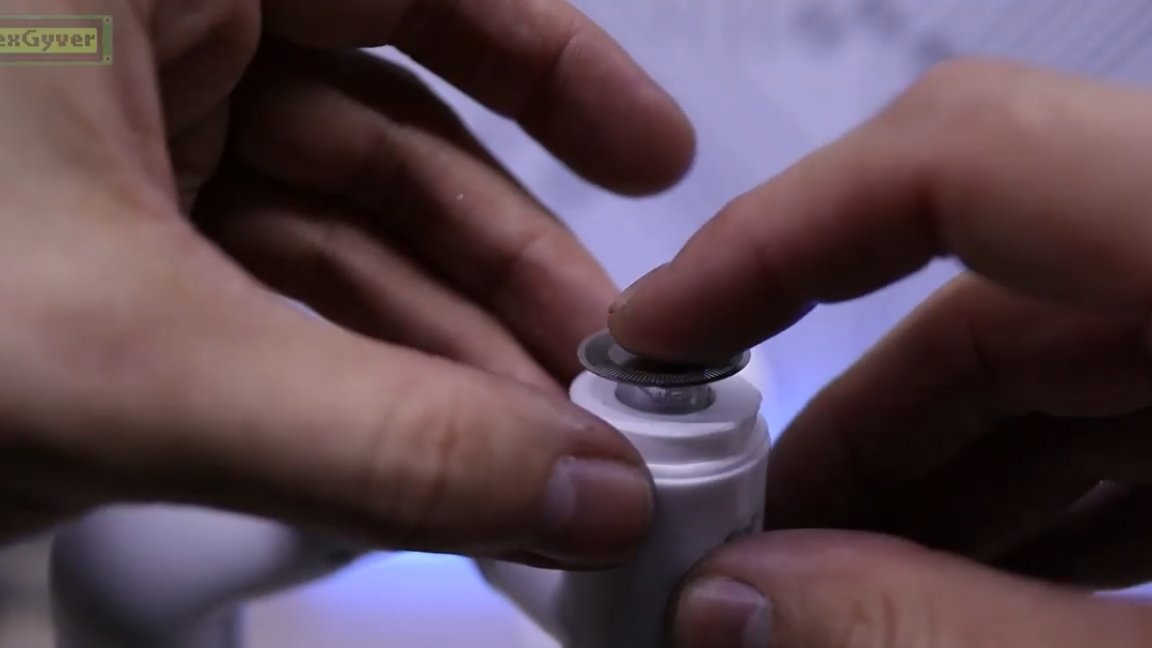
But this problem is solved. We take a lighter and heat the case. Then carefully remove it. And here we have a rotated sensor.
We won’t solder anything here, just take a file and carefully cut a notch under the disk, saw straight to the track on the board. Like this.
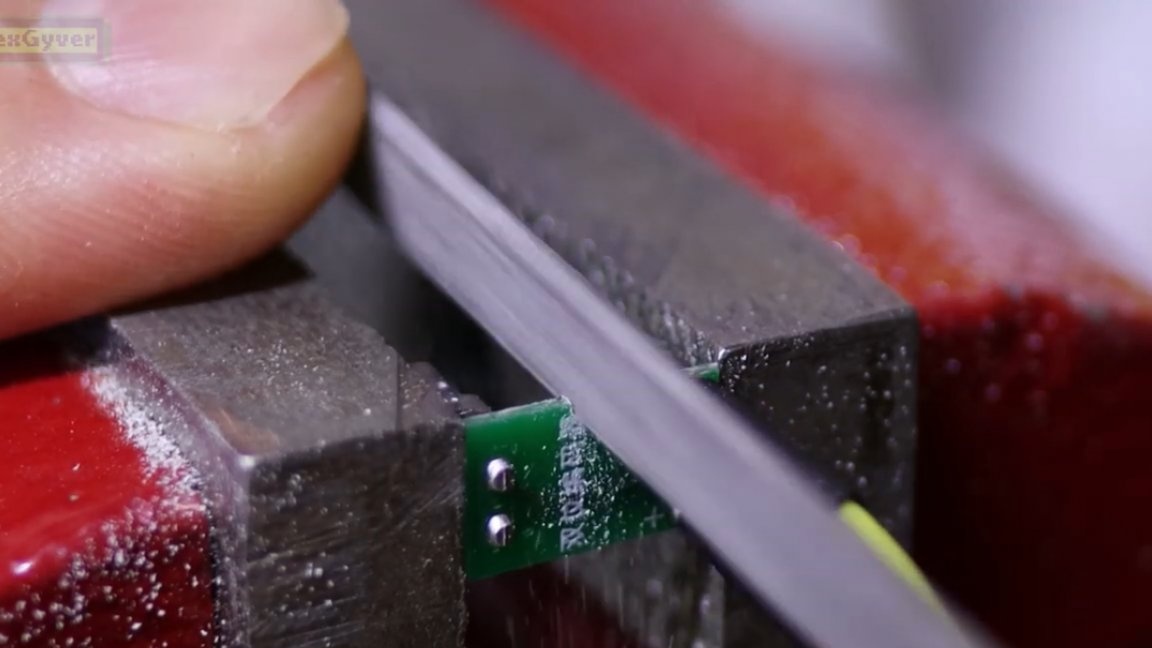
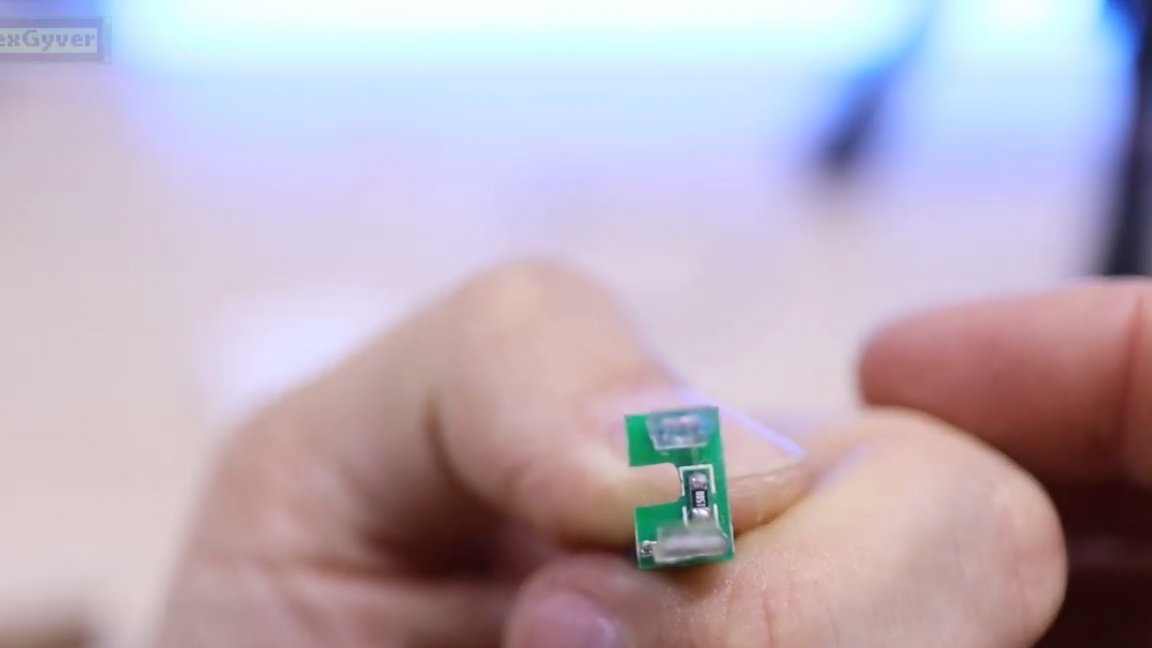
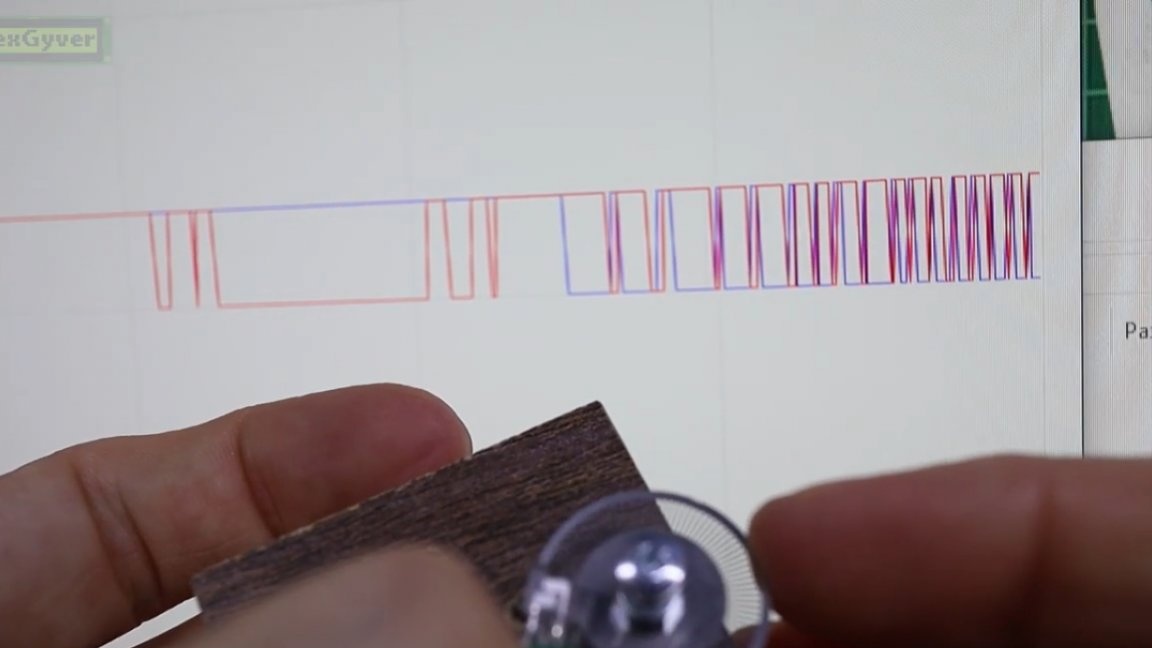
This notch will help us rotate the disk the way the sensor should read it. And actually there is a signal, everything works as it should.
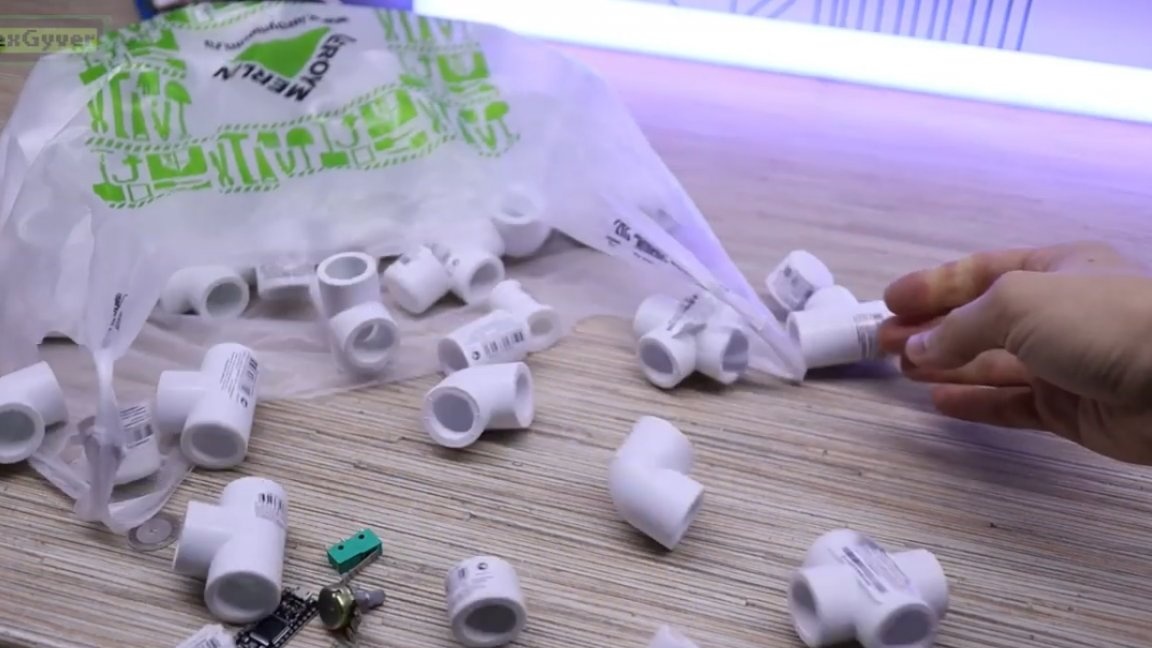
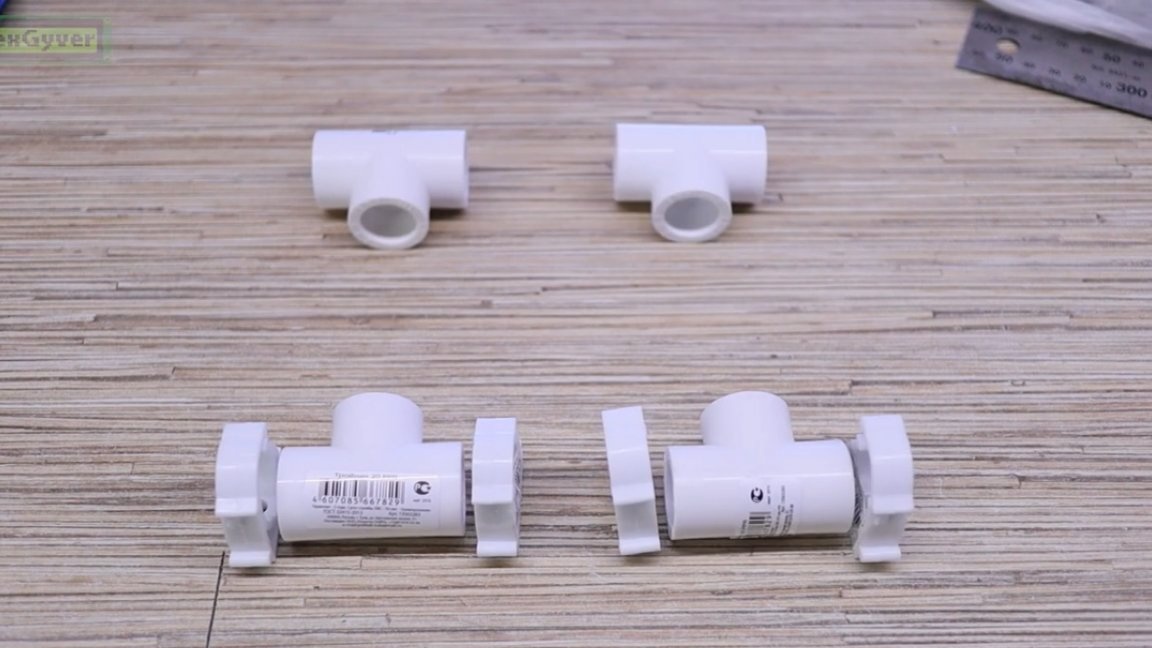
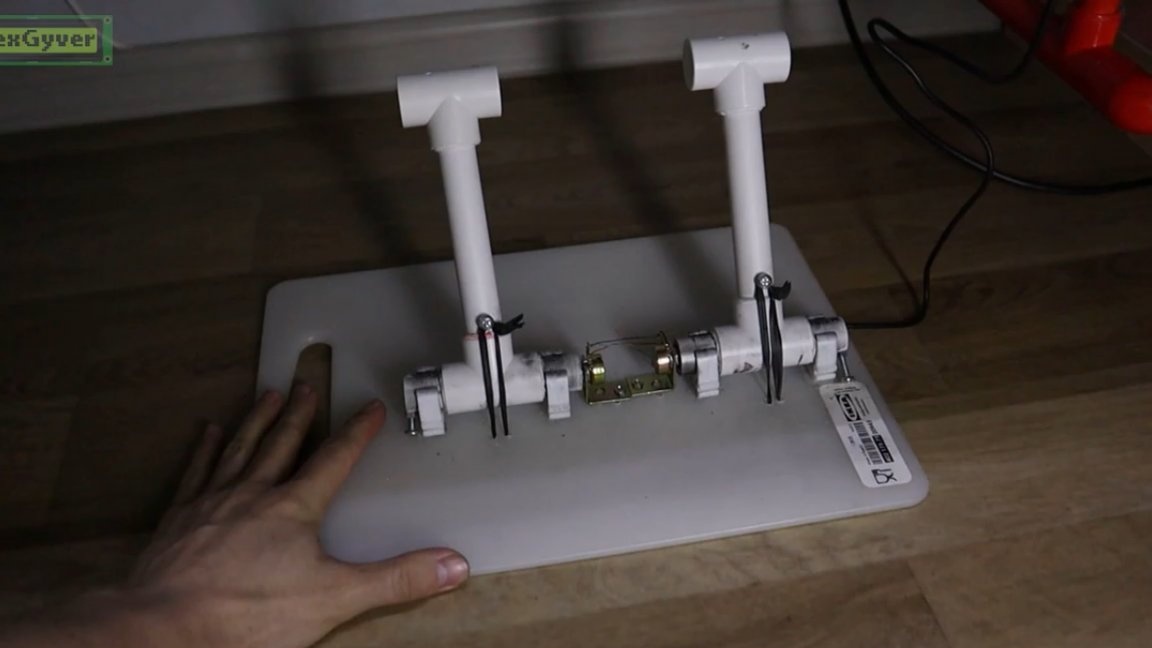
In addition to this, we will also need a housing. Why go far and invent something, we will use the same santech ... a lot of santech.
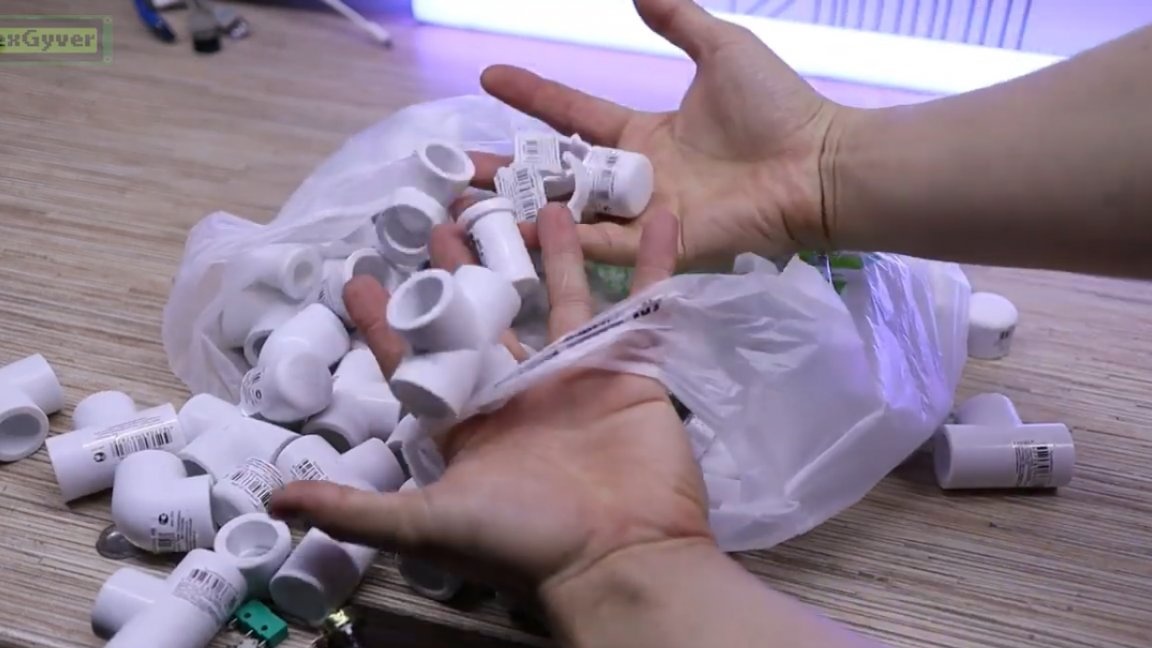
Of course, you have to contrive to make a steering wheel and pedals out of fittings.
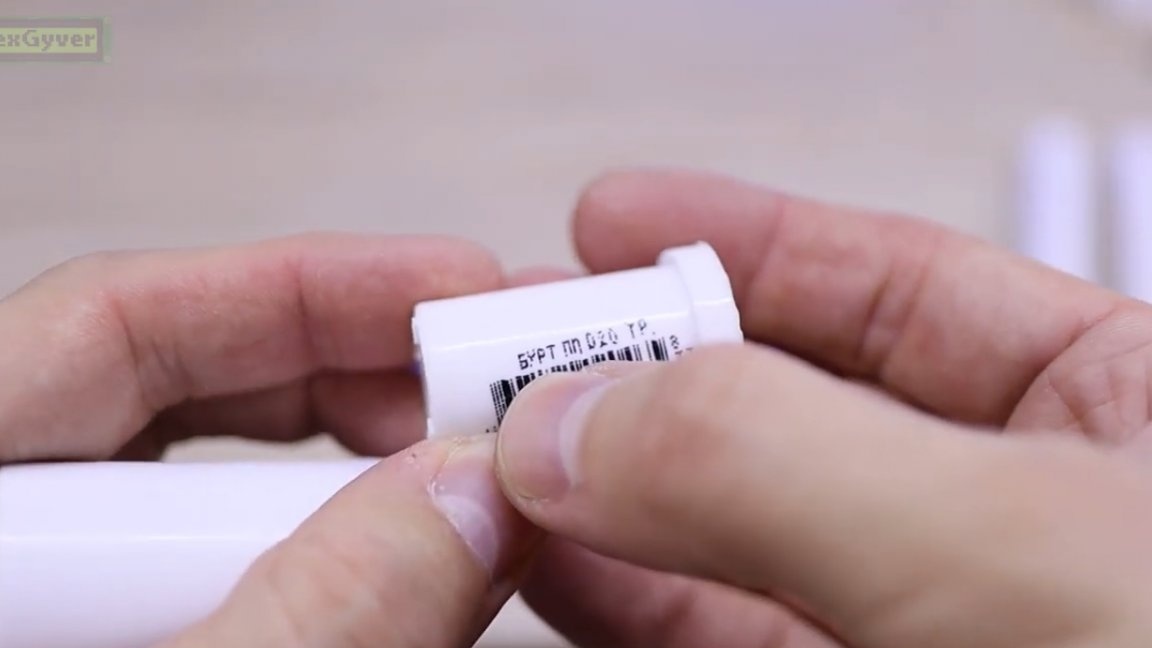
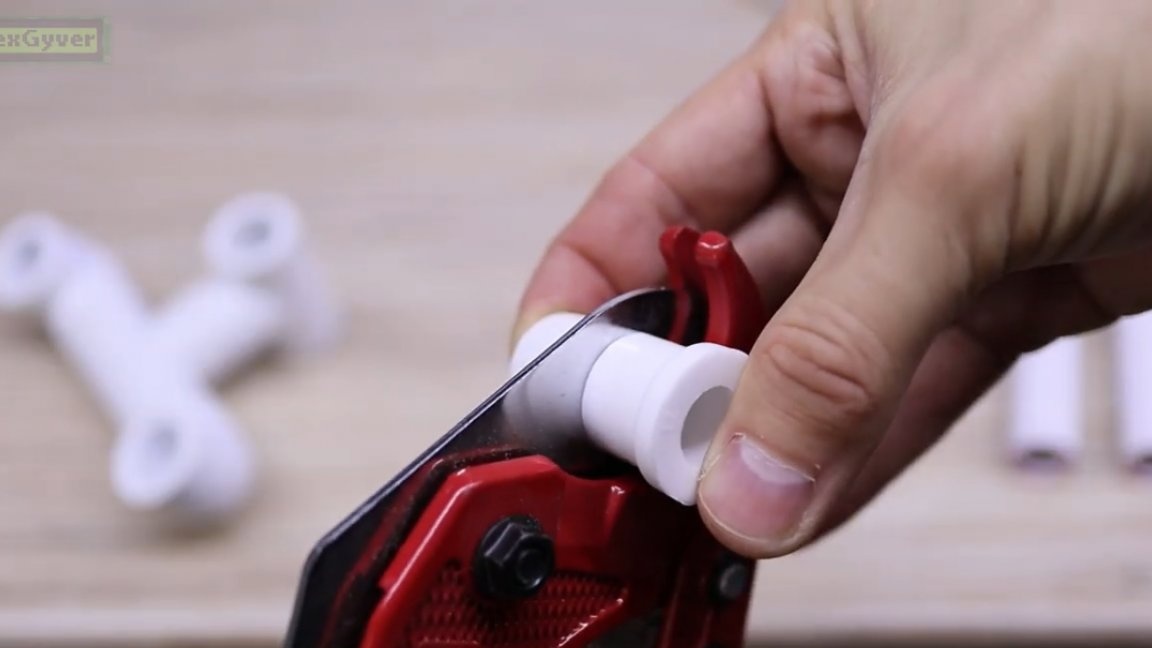
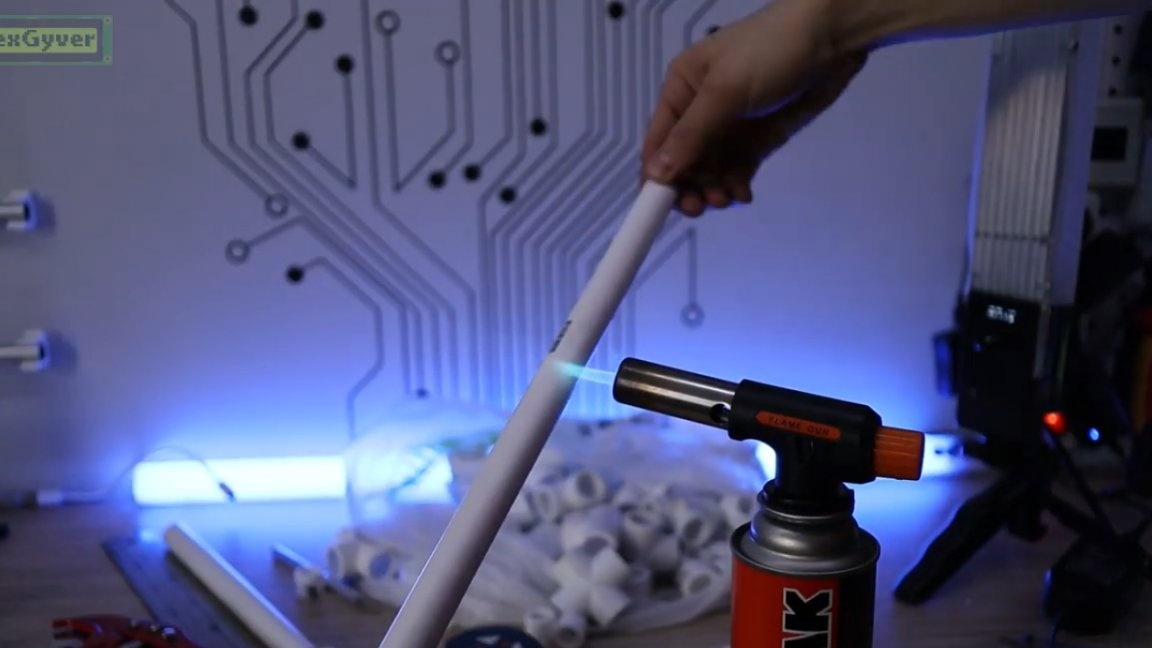
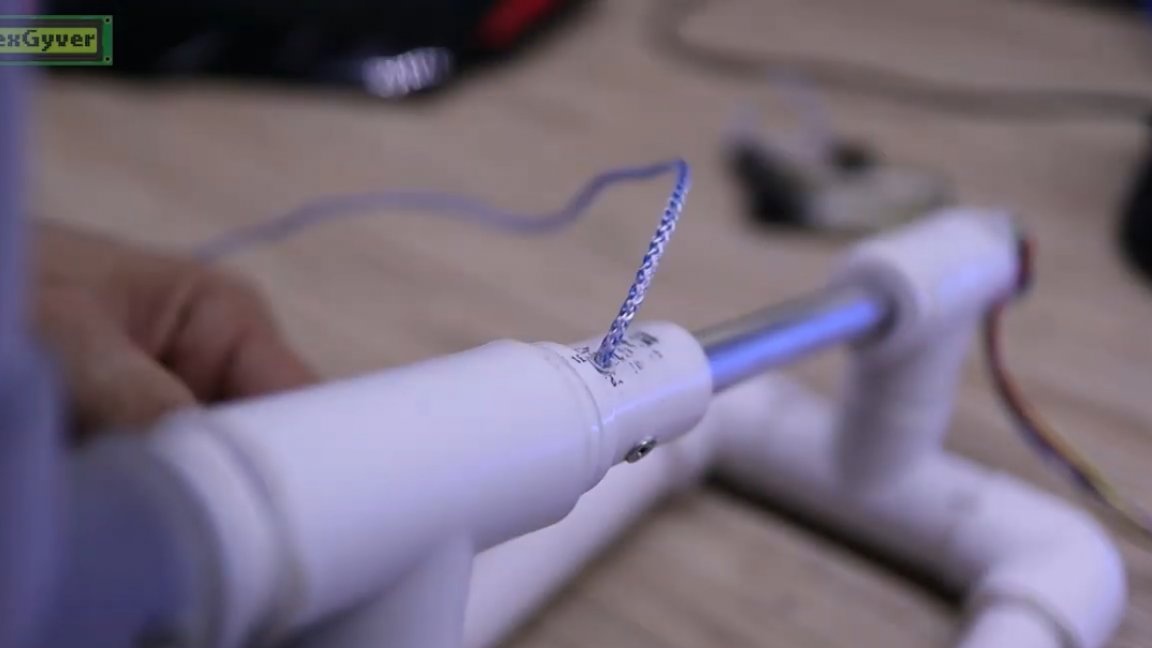
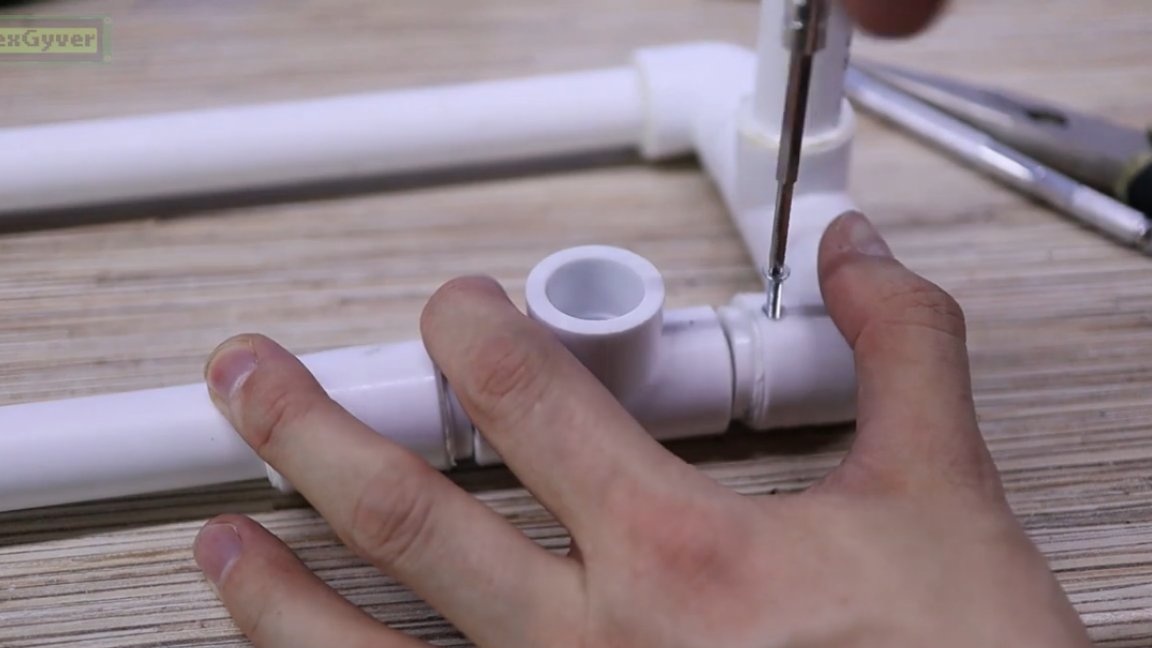
So, ahead of us is the cooking of pipes. To do this, you can use a conventional gas torch, but it doesn’t work out very carefully, so it’s best to use a special welding machine for polypropylene pipes.
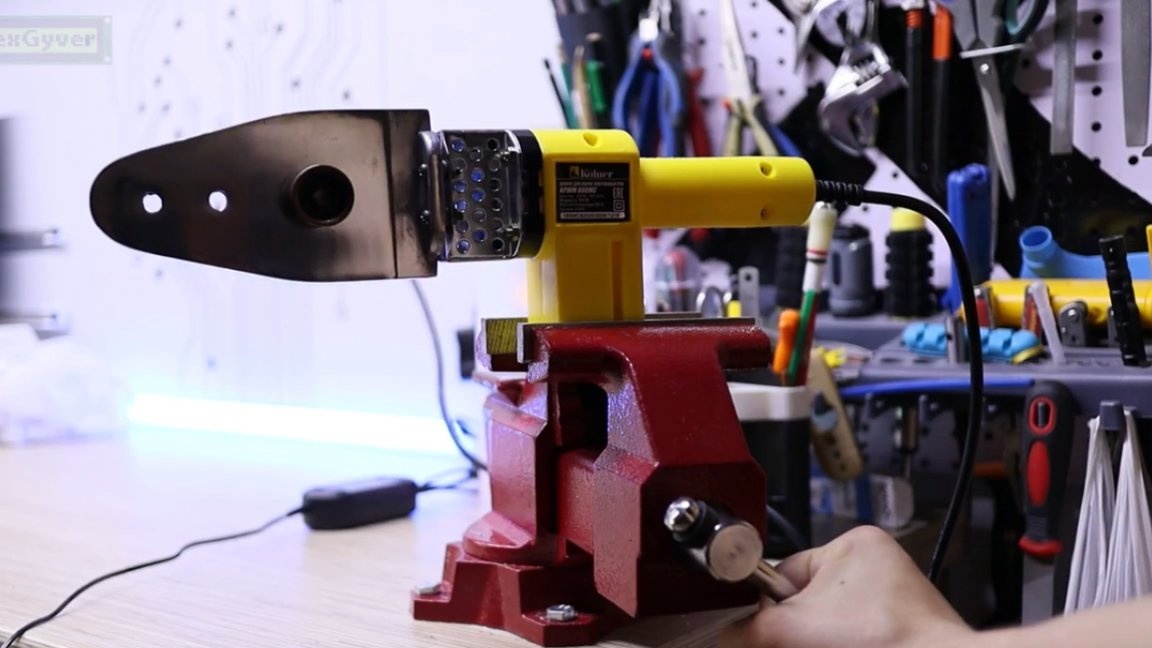
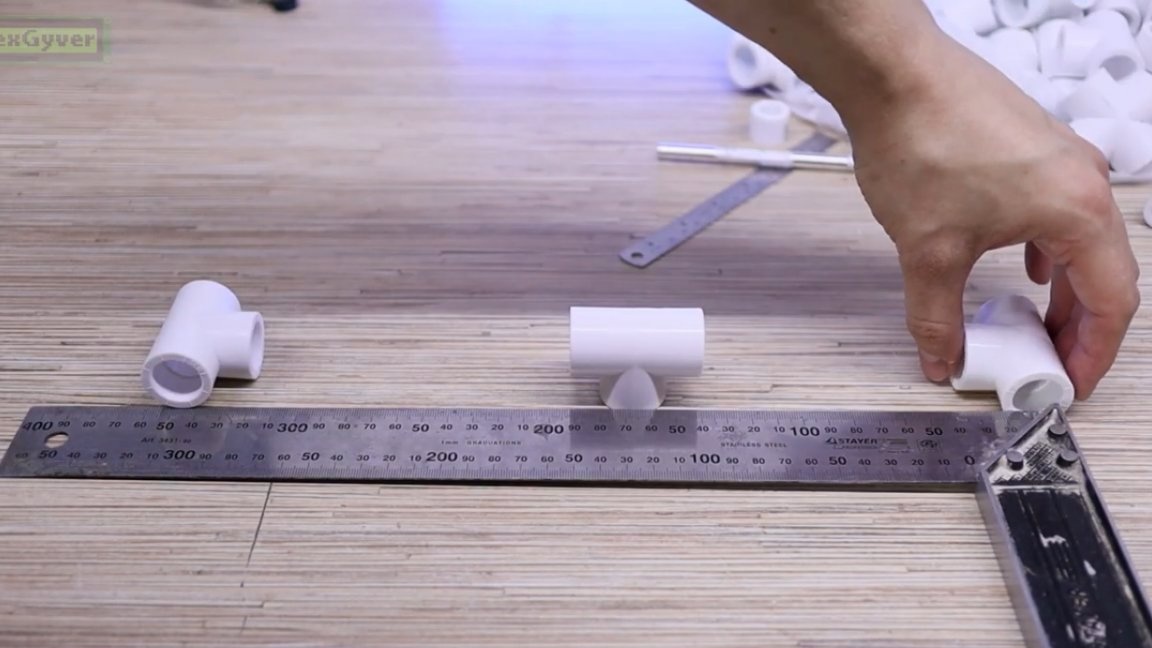
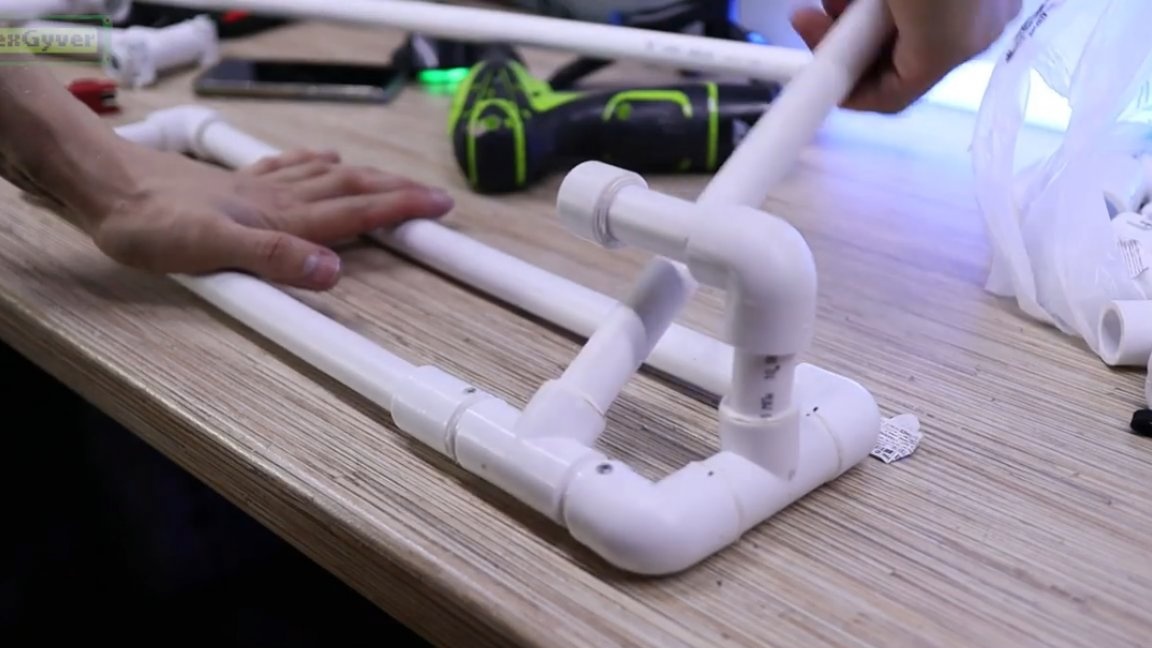
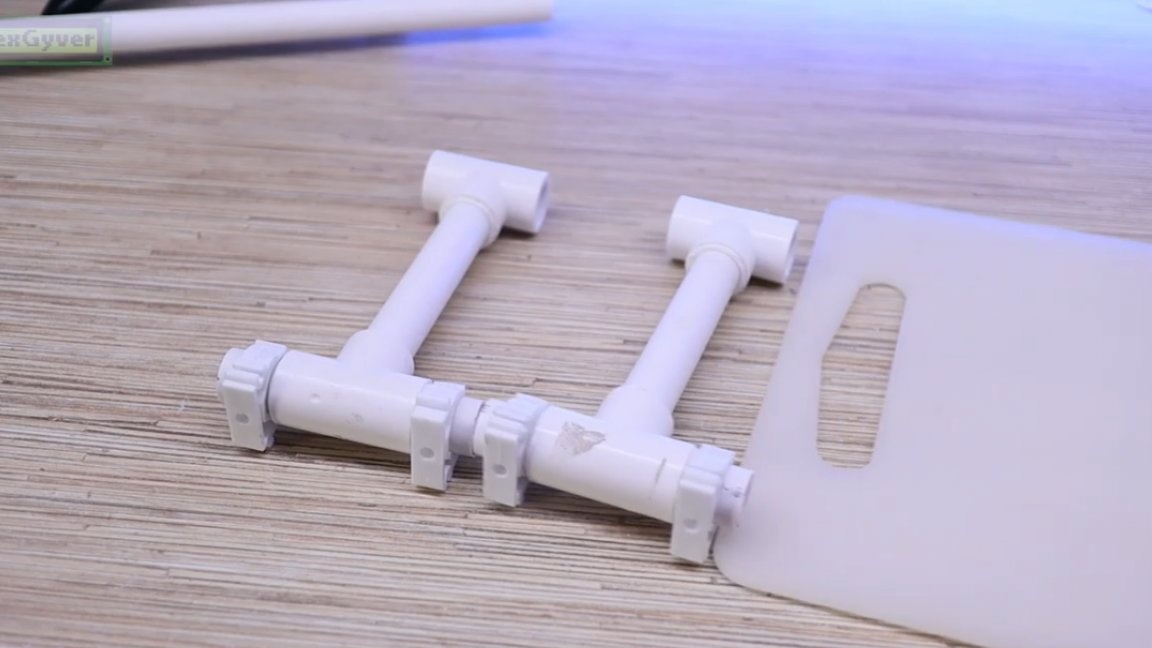
Cooking means such a detail:
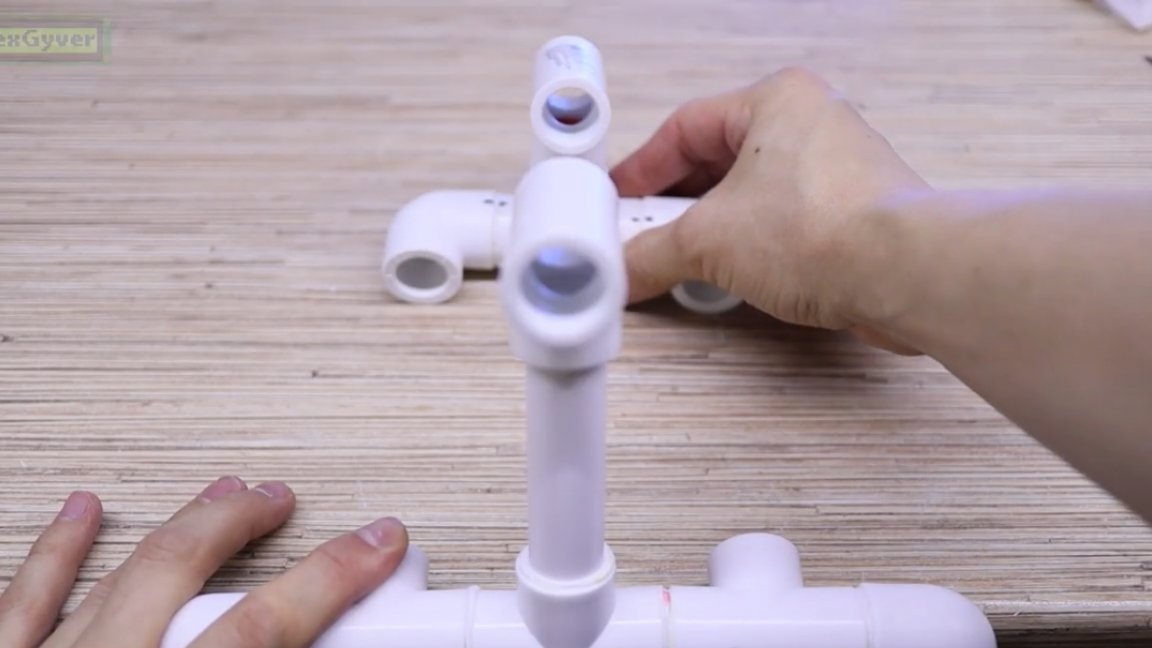
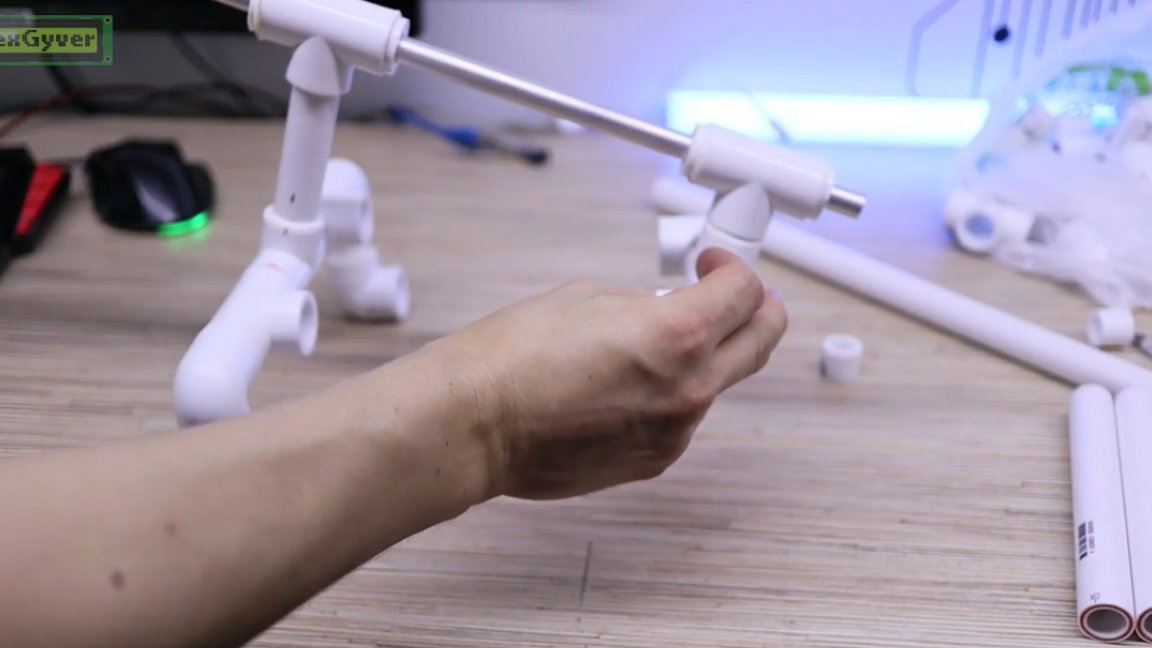
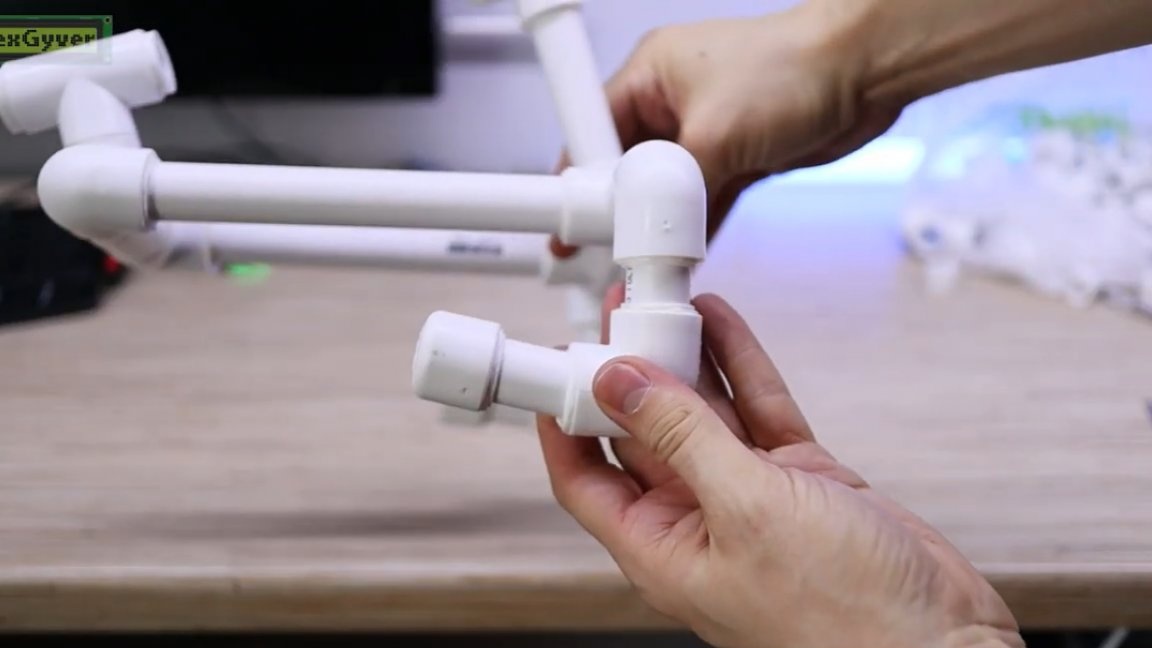
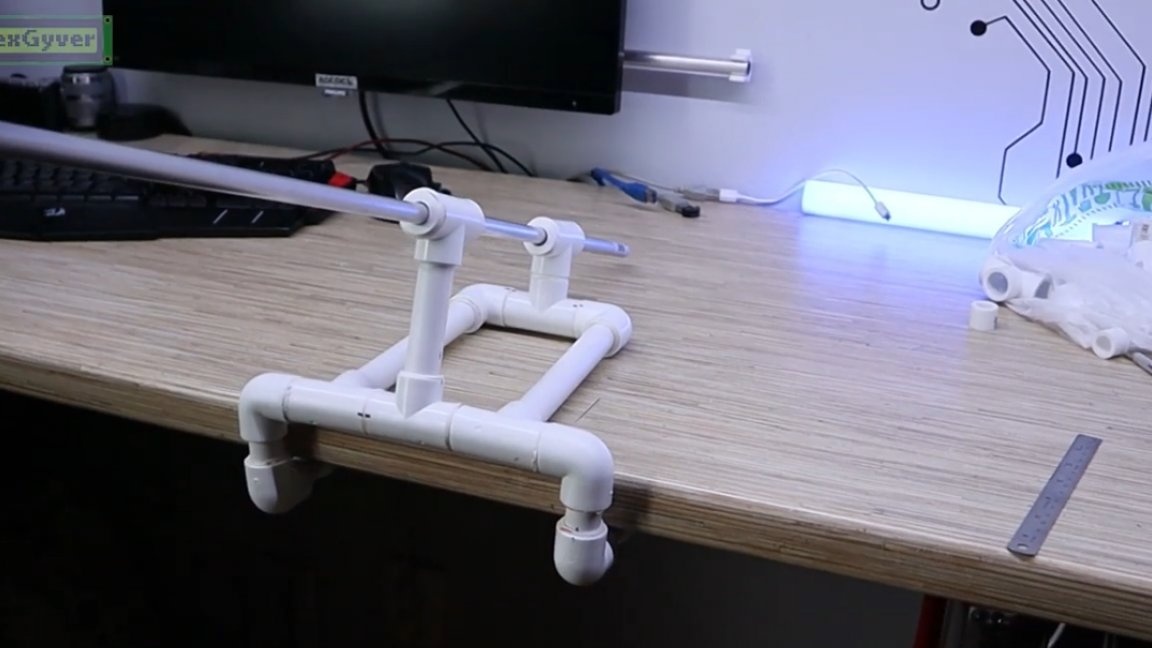
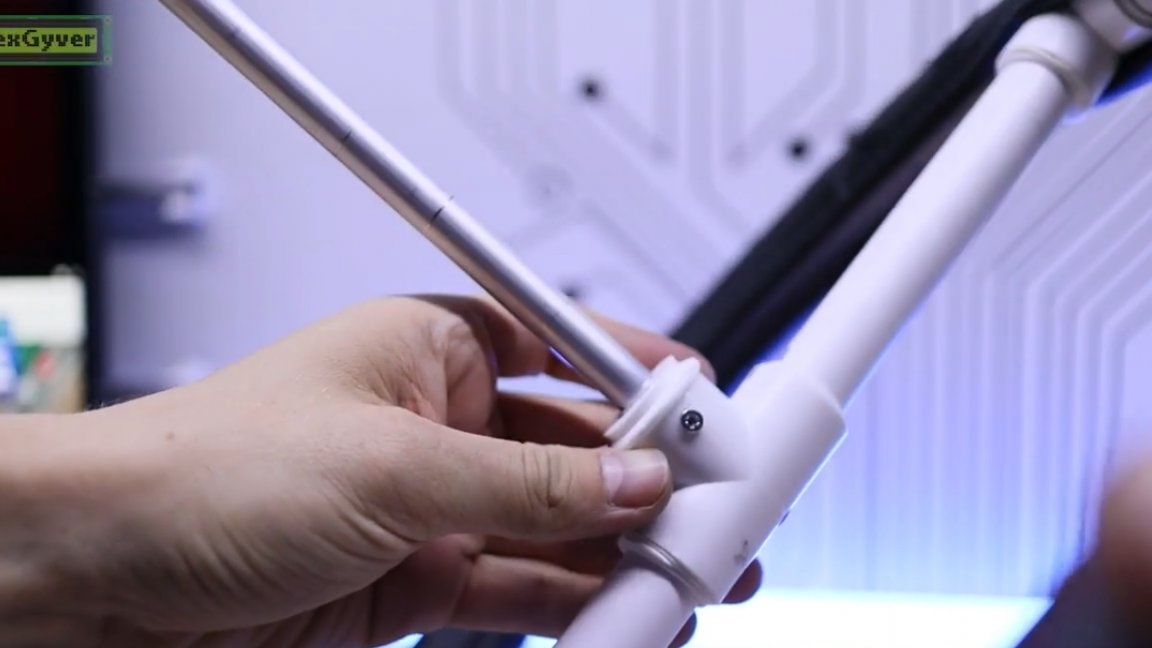
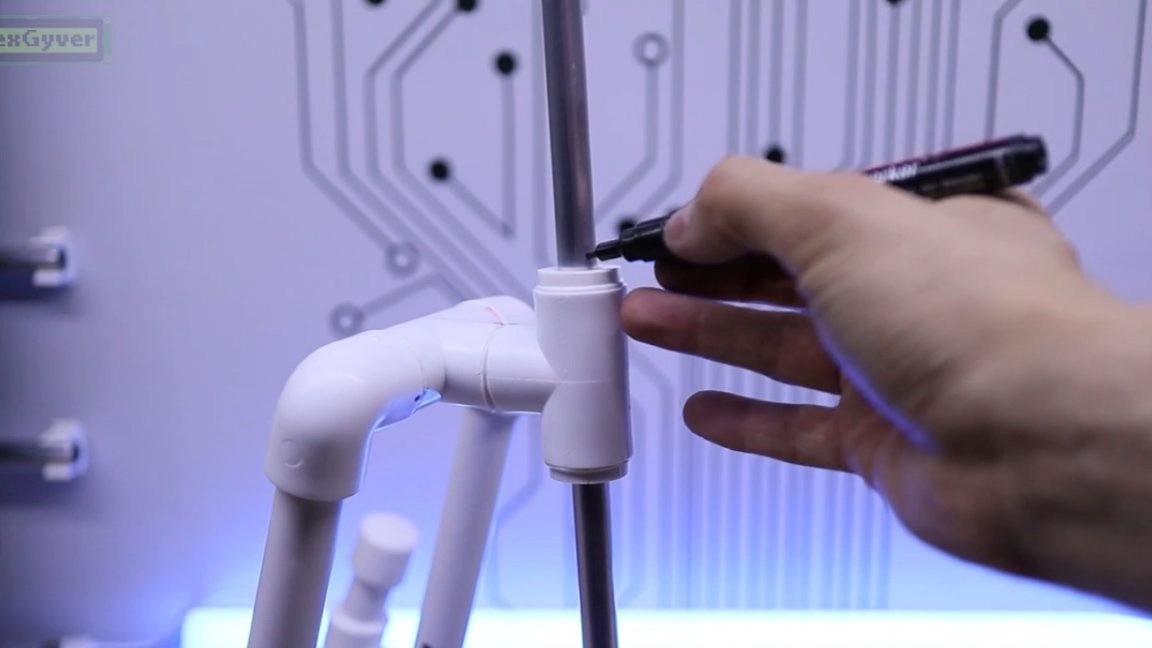
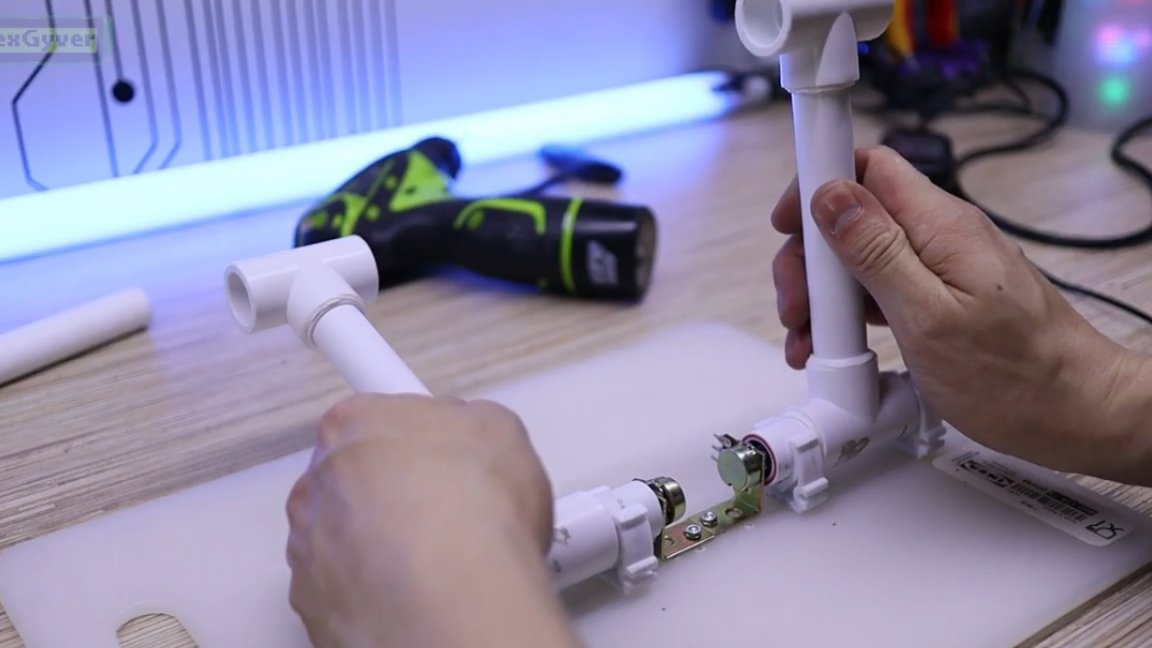
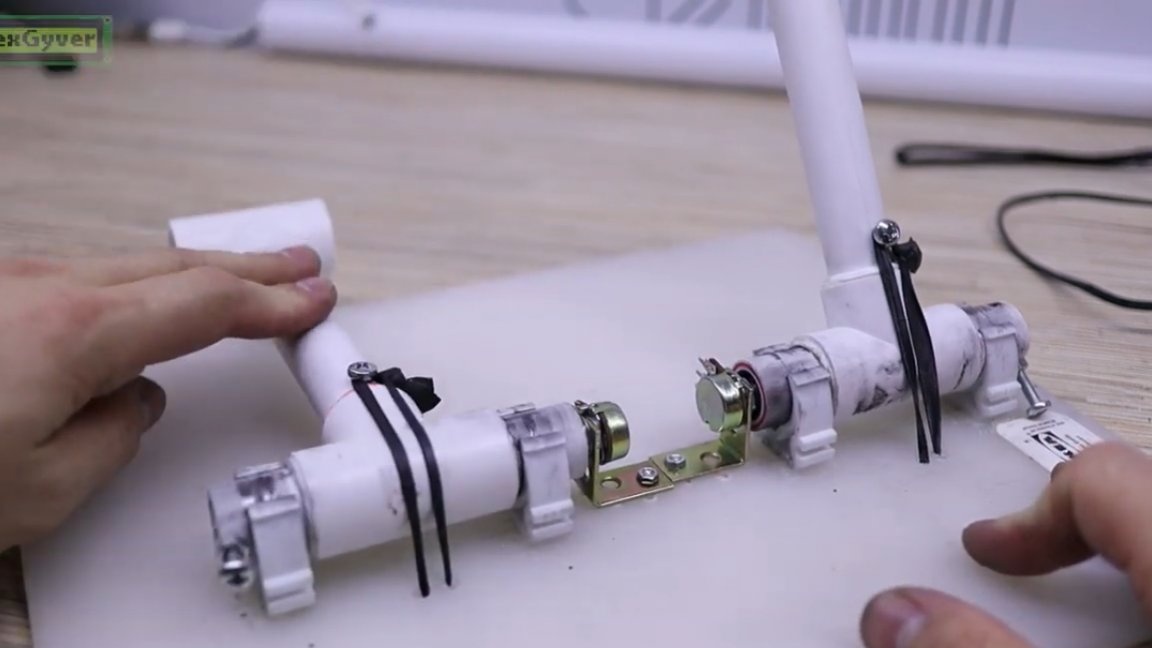
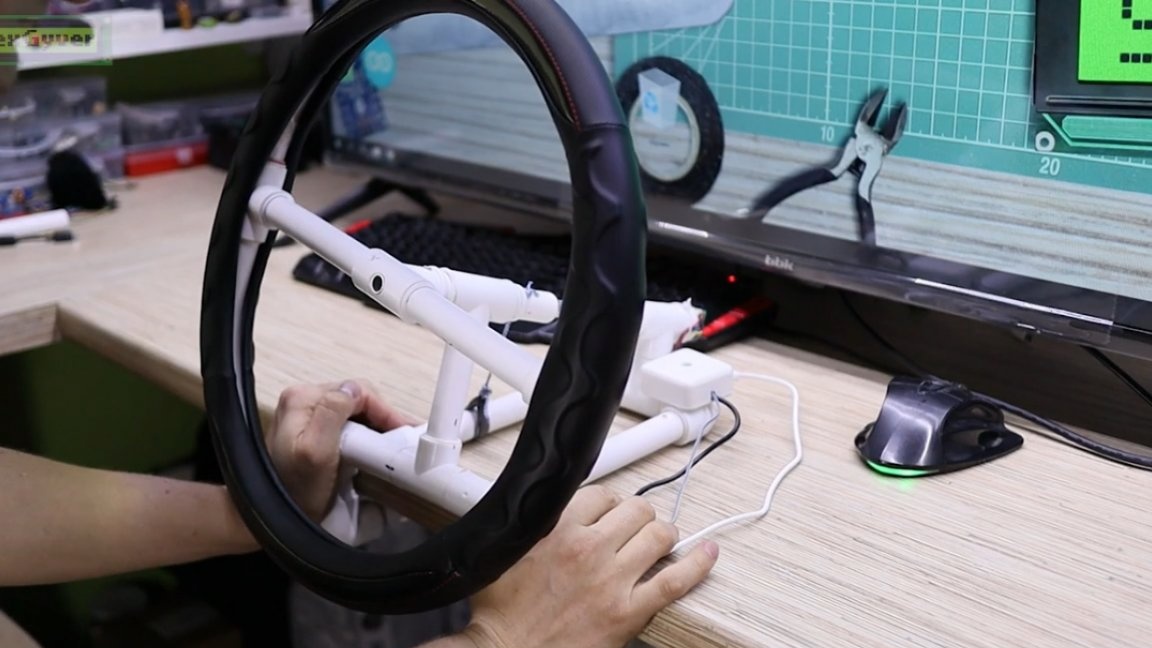
Here we will have here such racks for the steering rod, front and rear, they must be aligned. First, you need to fix the first at an angle, and then we look where the second should be.This is how it will be attached.
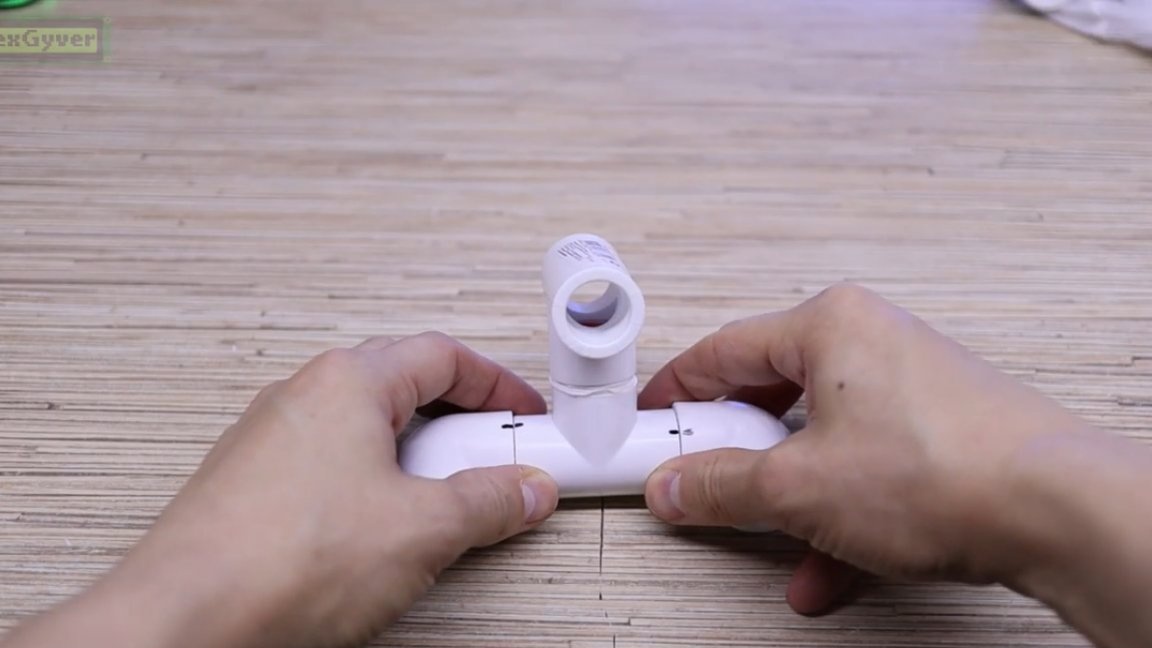
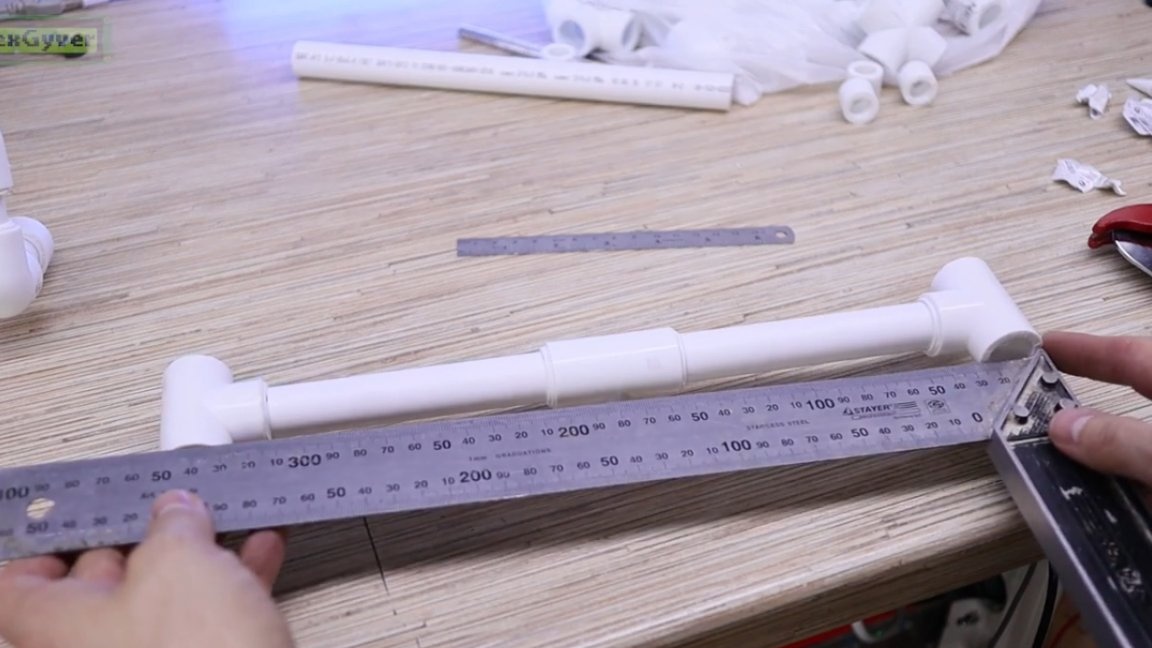
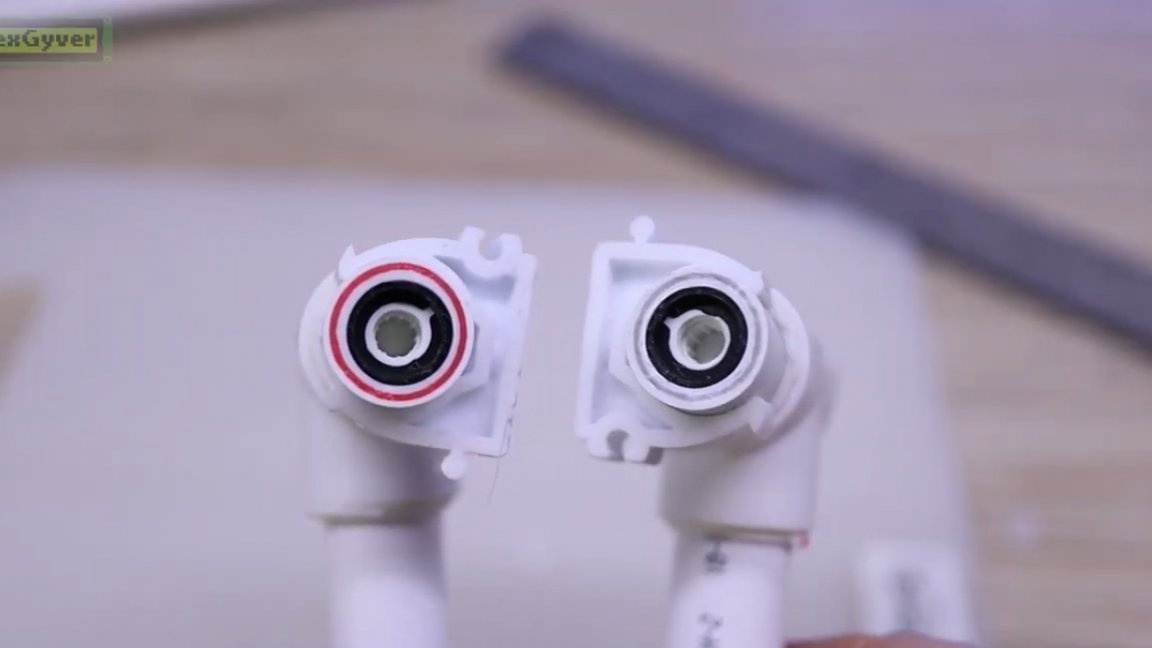
Next, we need here such a fitting, called a shoulder, it will be a sleeve for the steering rod. Cut it in half and brew.
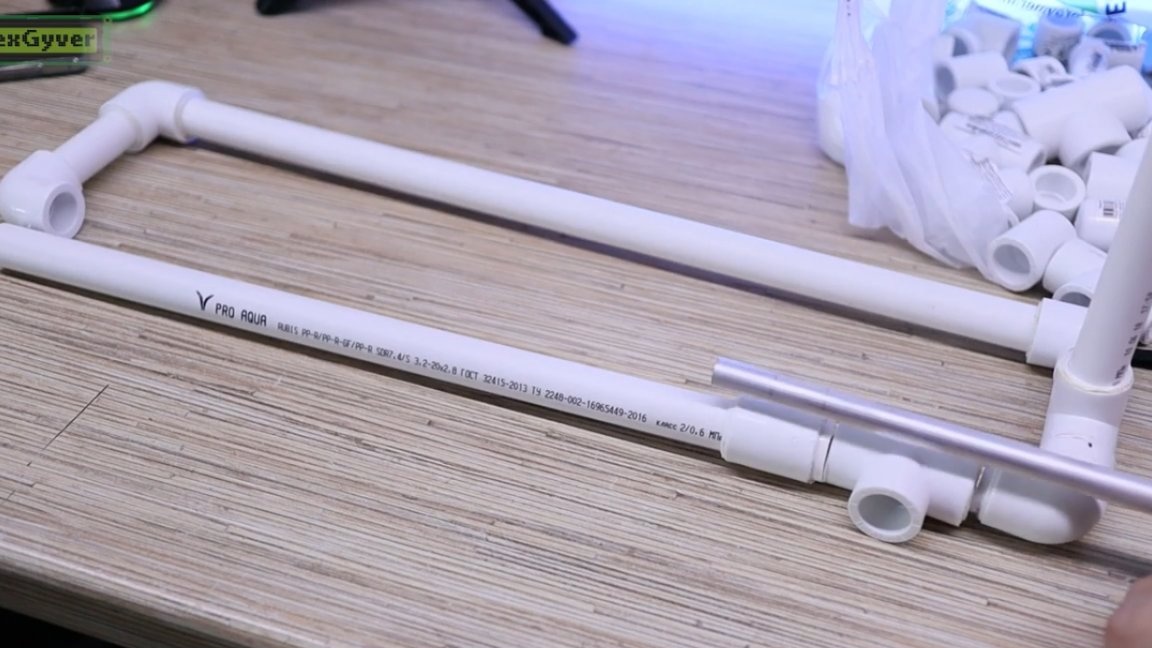
Such a 12 mm aluminum tube will serve as a stock.
We connect the racks, while heating and brewing evenly is not easy, but in the case of jambs, you can slightly bend the pipe.
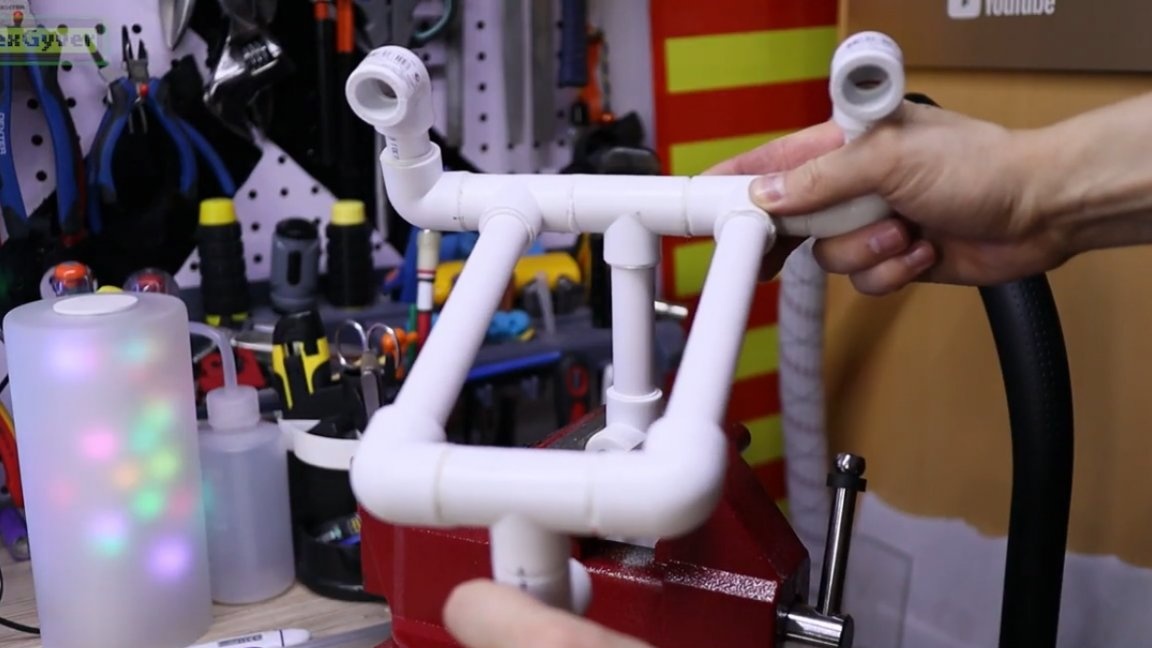
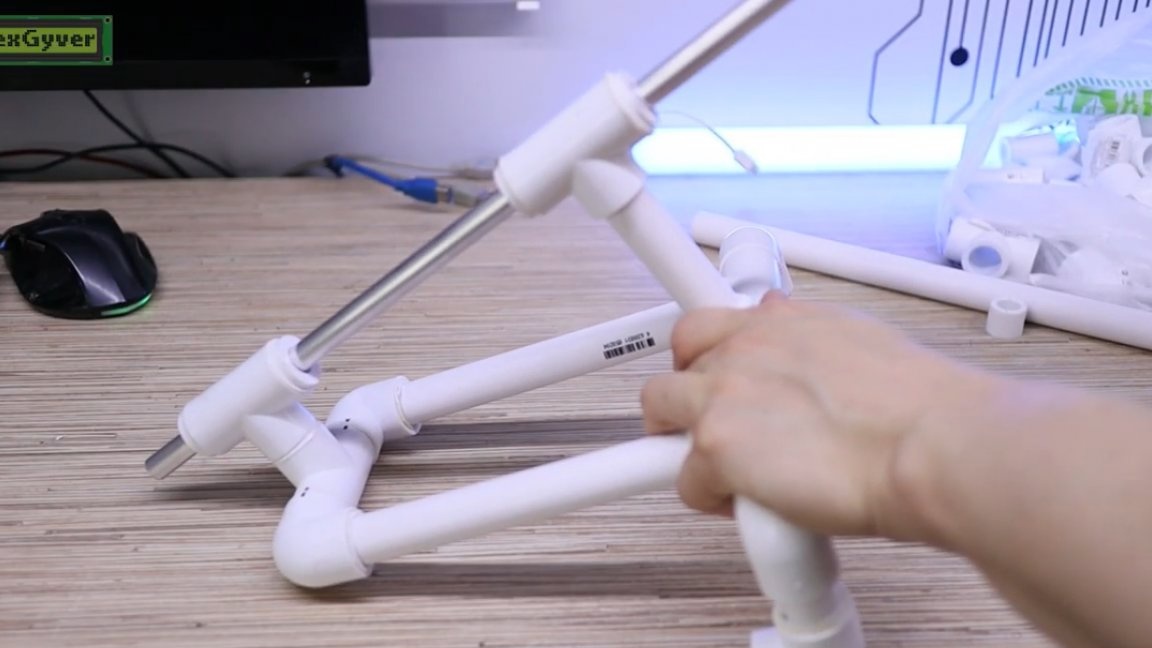
The lower corners are needed for mounting on the countertop. The author brewed them at a slight angle to better hold.
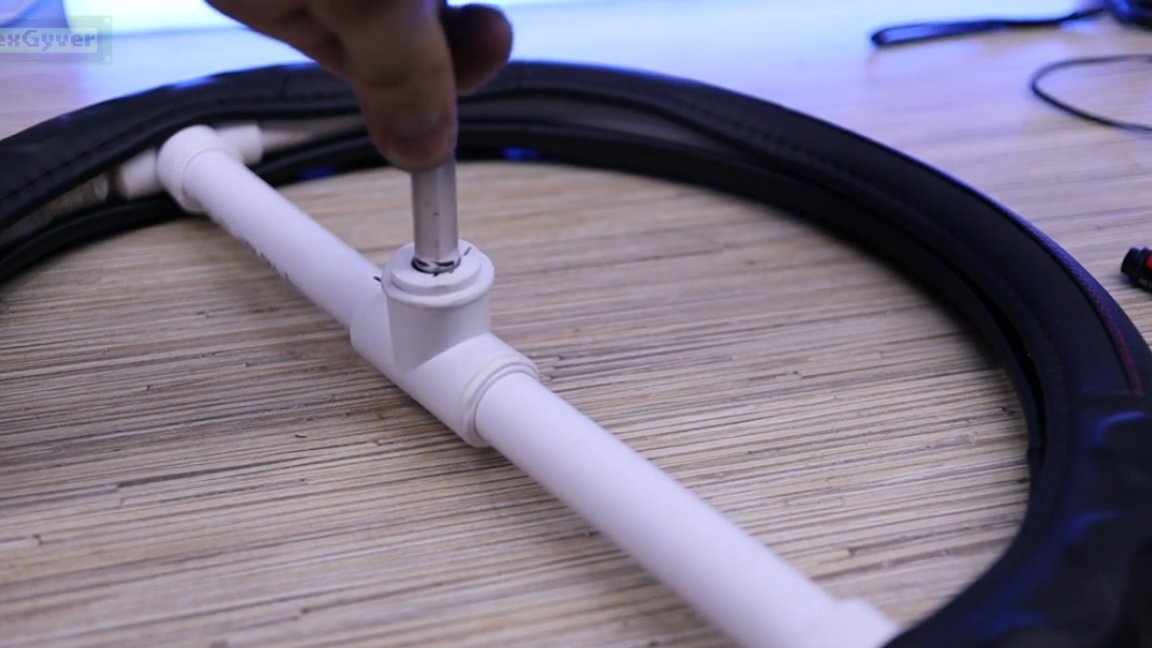
Next, you need to make a bagel. To do this, select the required diameter and connect the fittings.
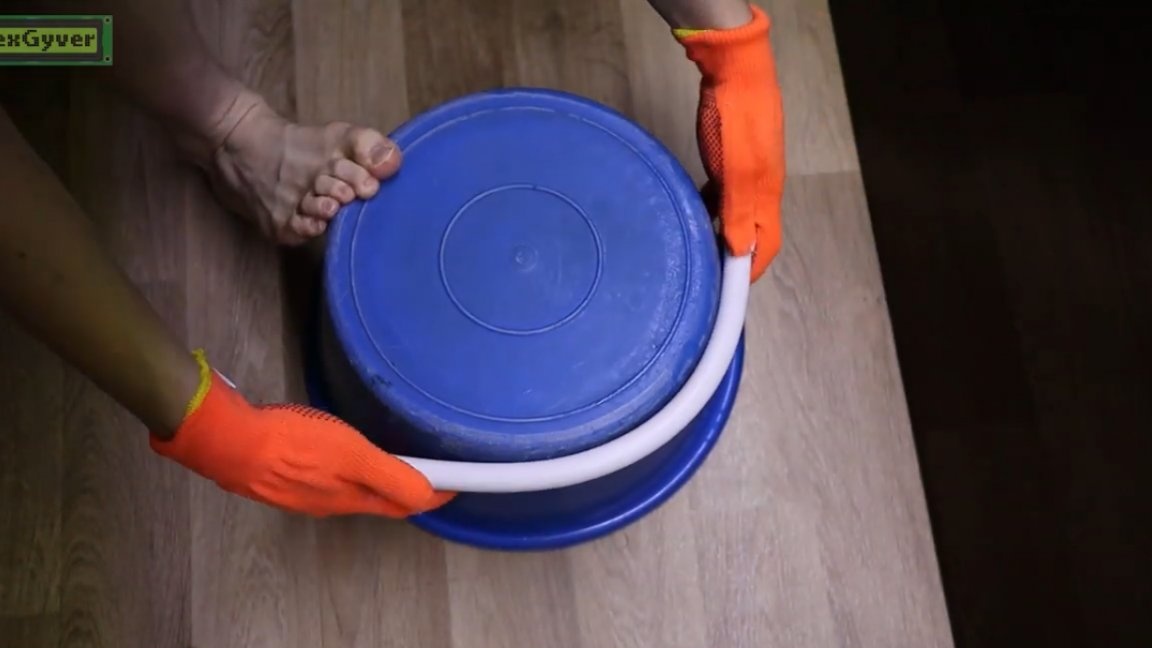
The diameter on the outer edge is 35cm. So, it turns out that for a half-bag you need a pipe 55 cm long, minus a couple of mounts. We will bend the pipe. We use for this some kind of basin as a pattern.
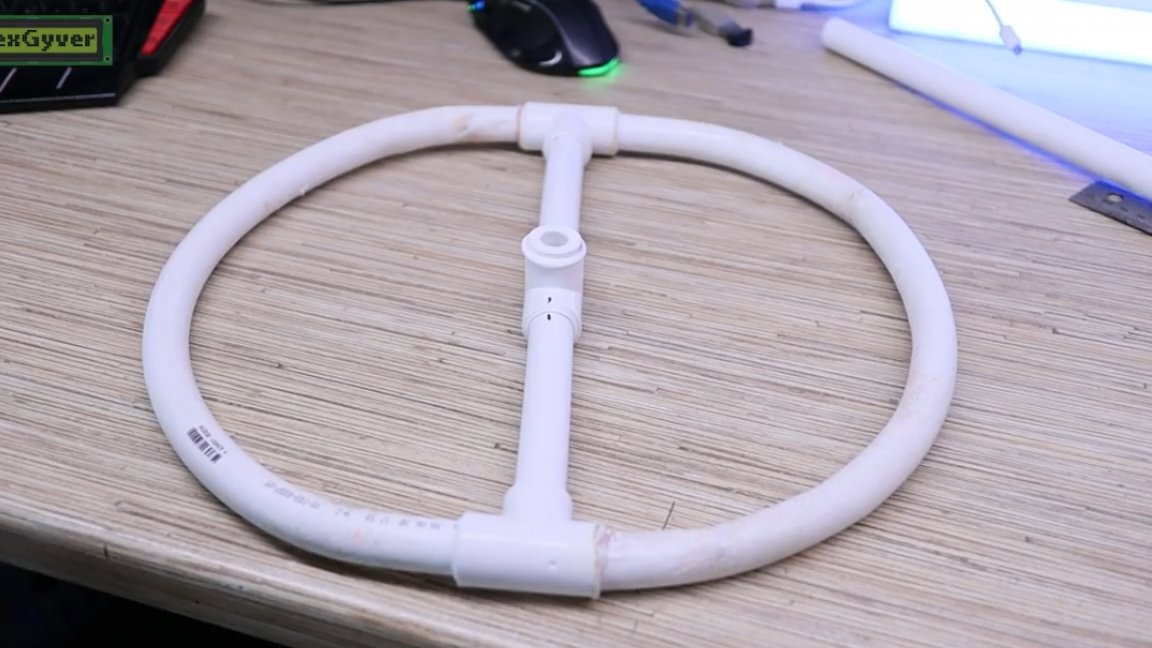
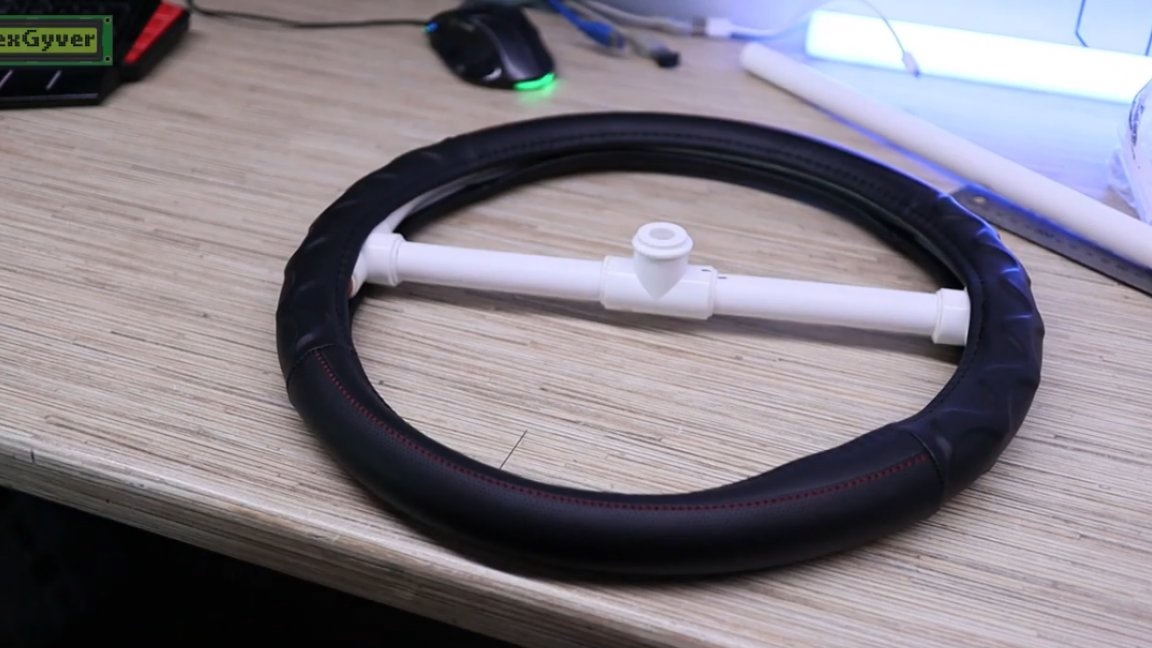
This is the kind of bagel that looks, agree, not really, but you can use the life hack from the minibuses and wrap the bagel with electrical tape, or you can go and buy just such a fashionable braid for a bagel so that everything is in style.
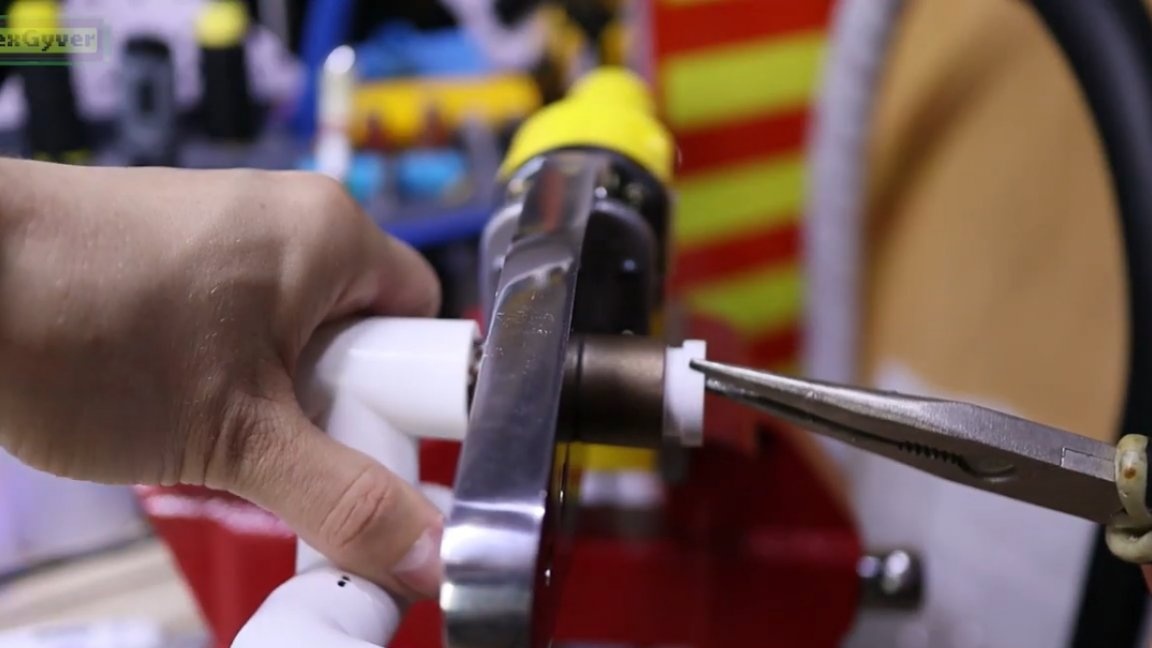
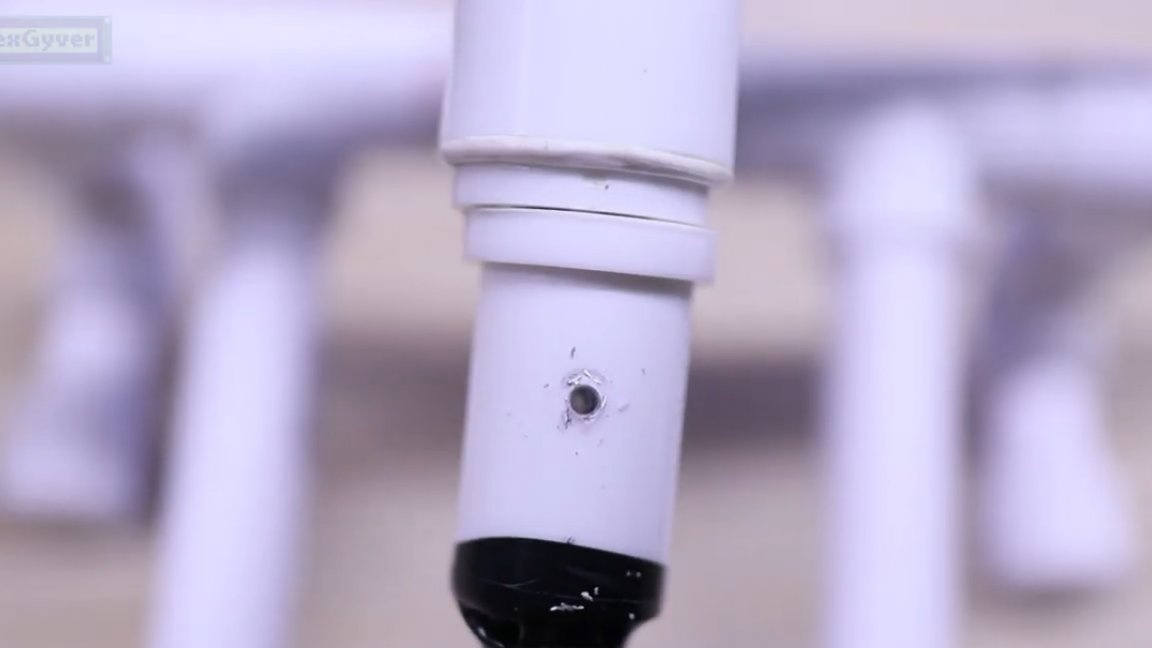
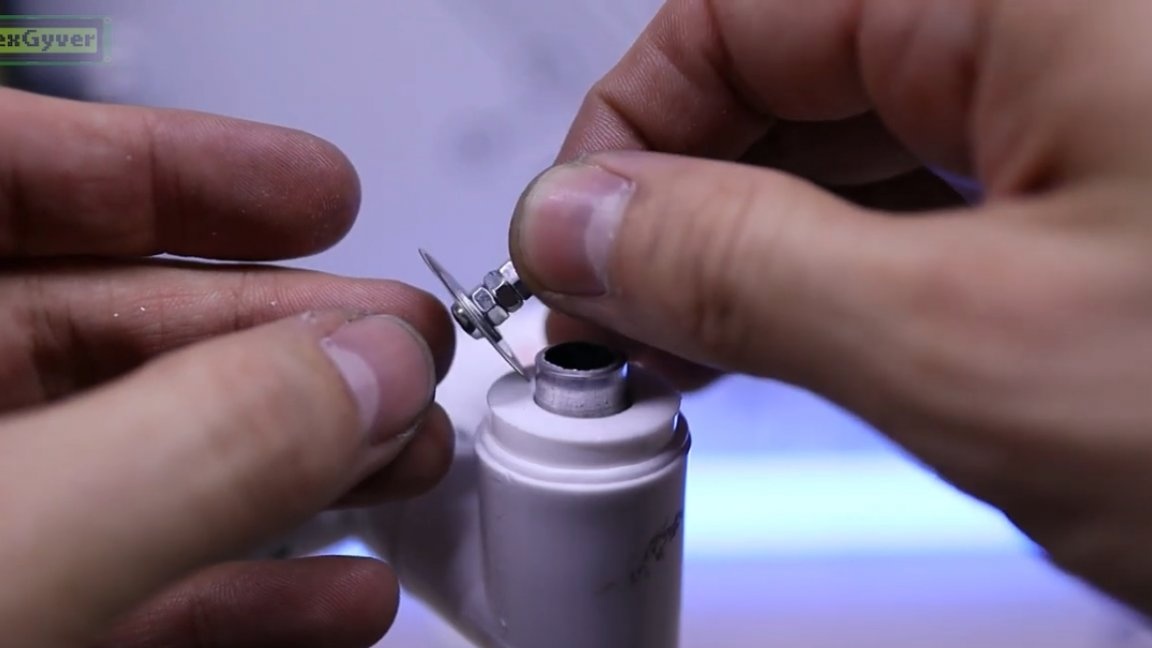
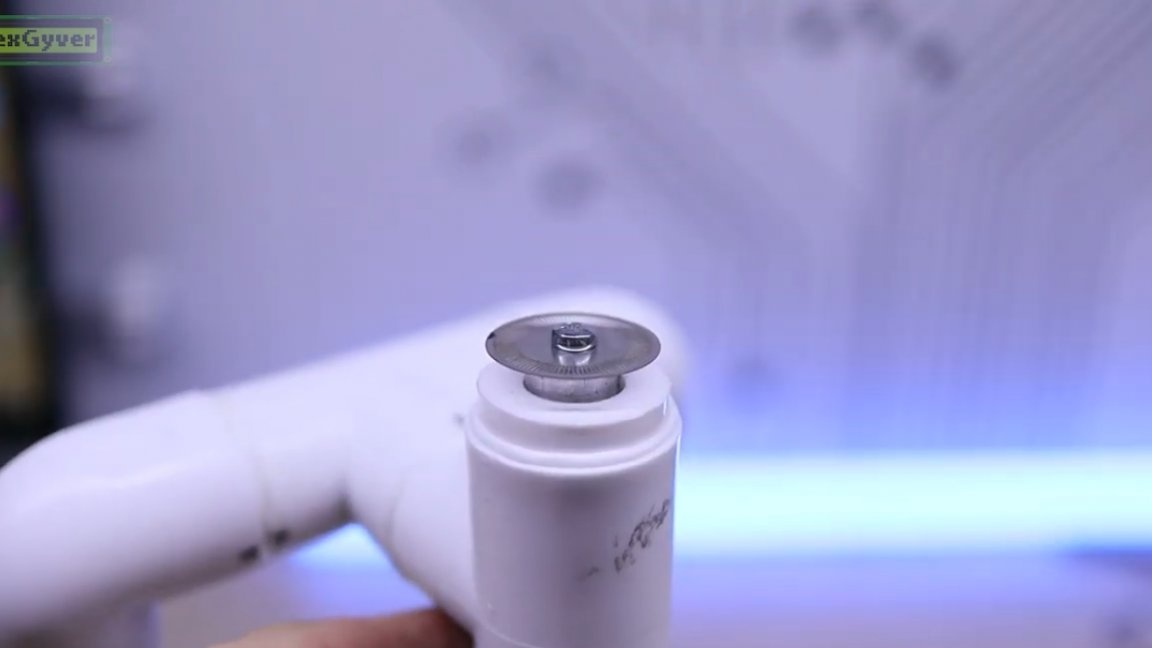
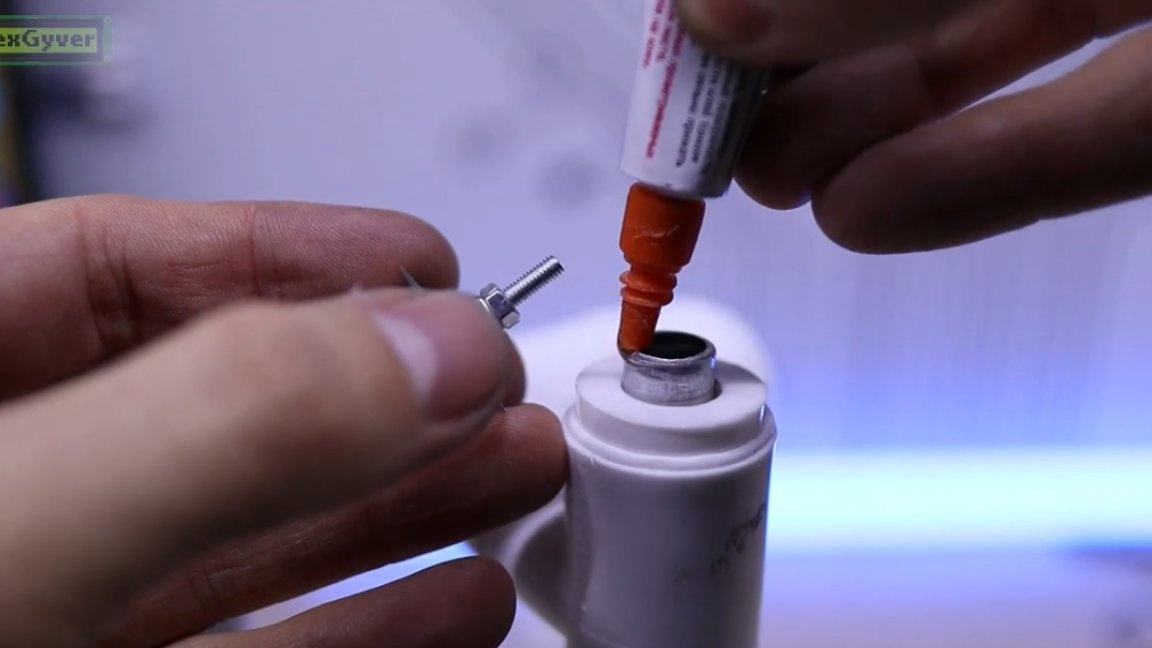
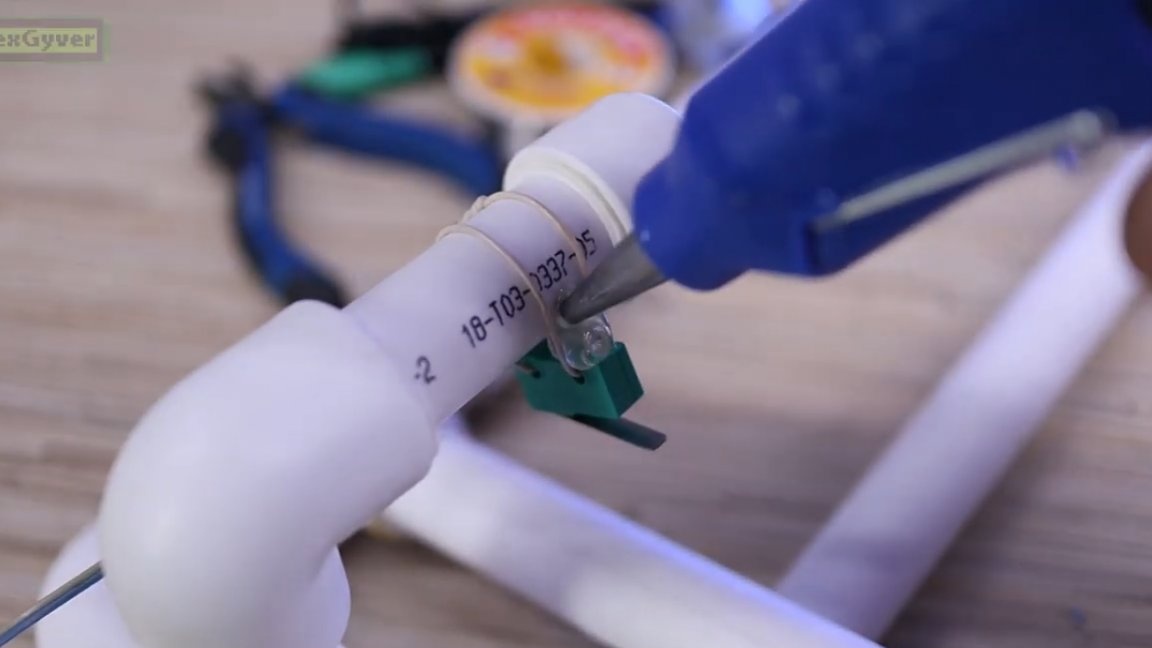
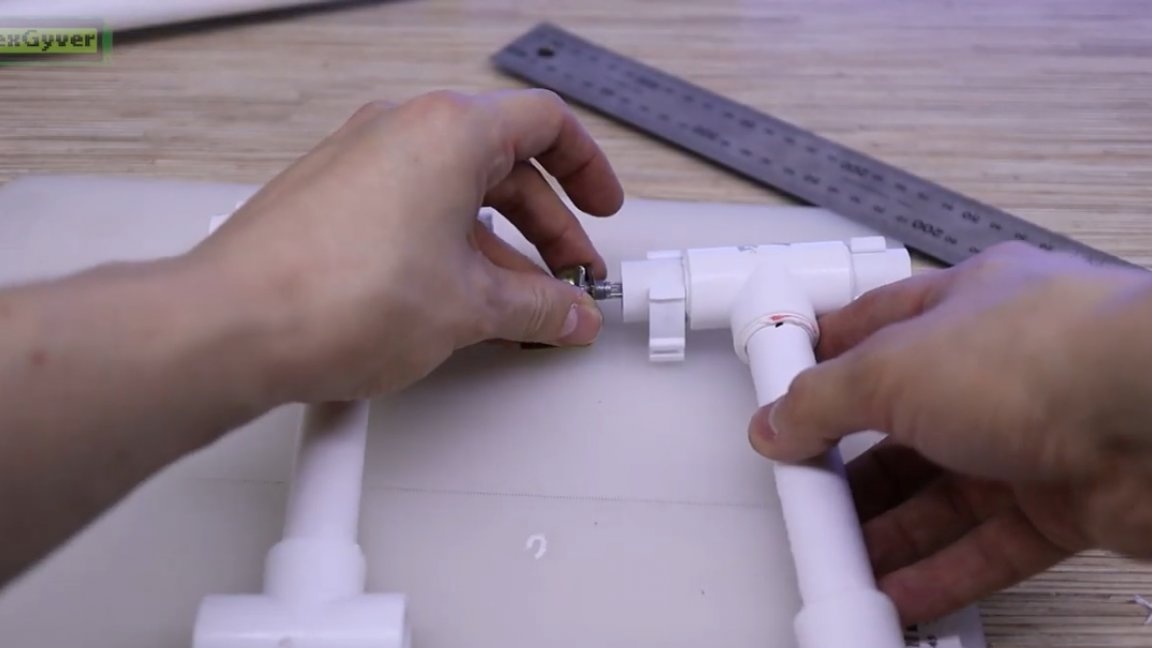
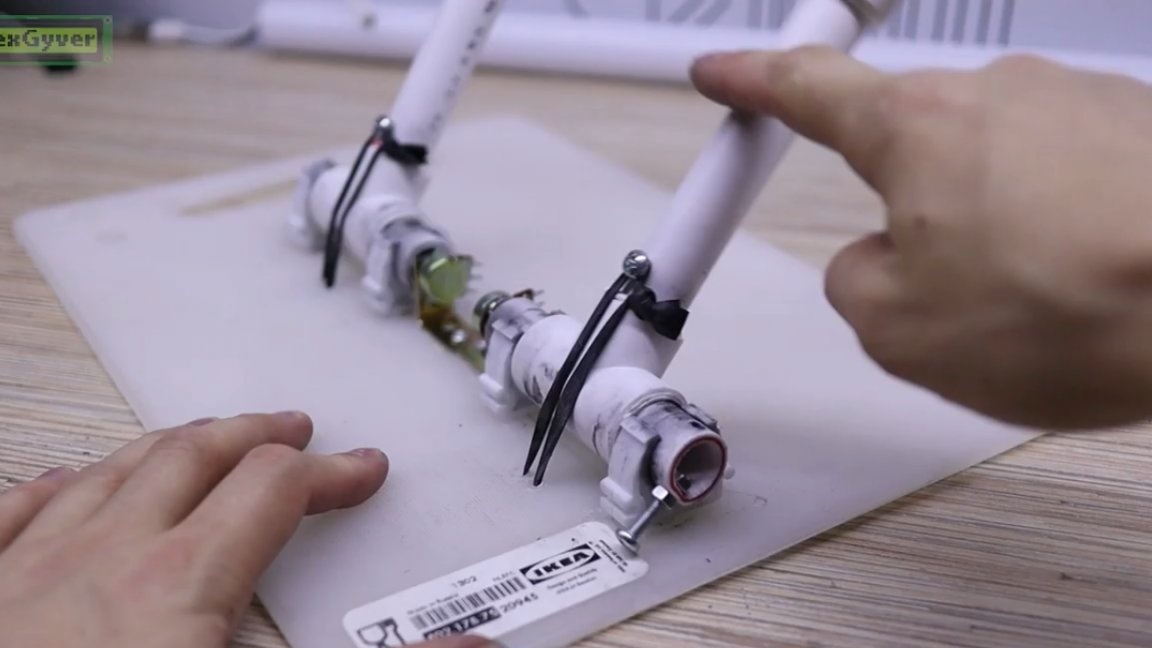
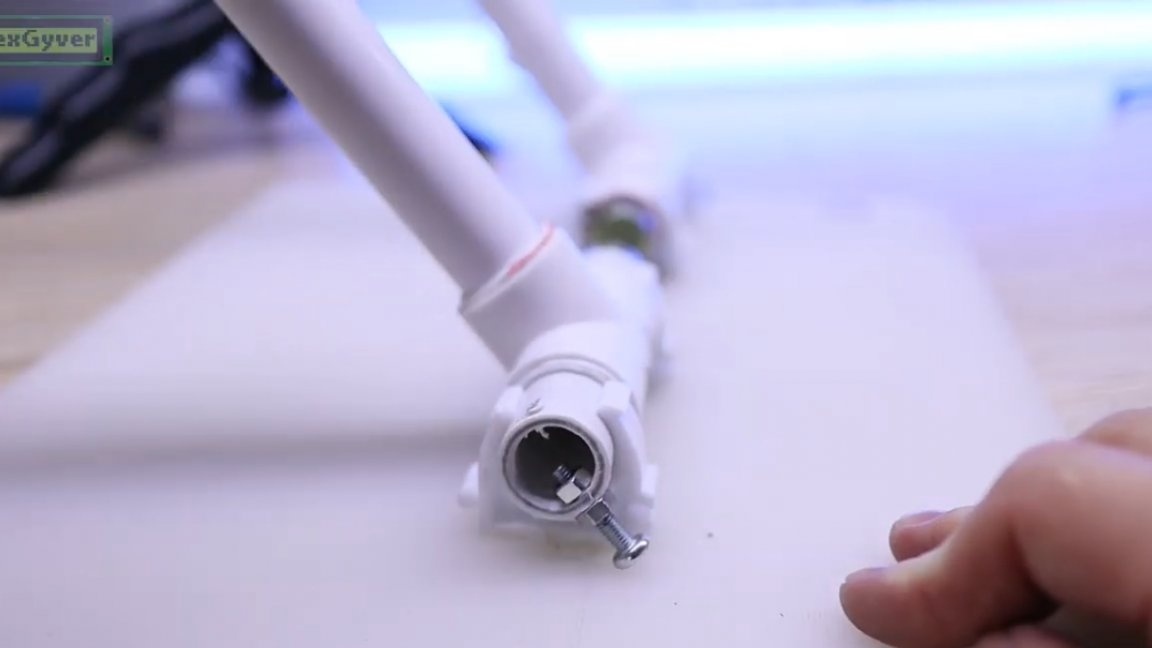
Then everywhere we weld the collars, and it will be necessary to adjust the rod to the size. Here there will be a collar that will not allow the steering wheel to fly out. It will be necessary to drill and again drive a screw there. It turned out that the washer under M3 fits perfectly into our pipe, that is, it centers the encoder disk. So do not steam and just fill everything with superglue. You can still sprinkle soda for reliability.
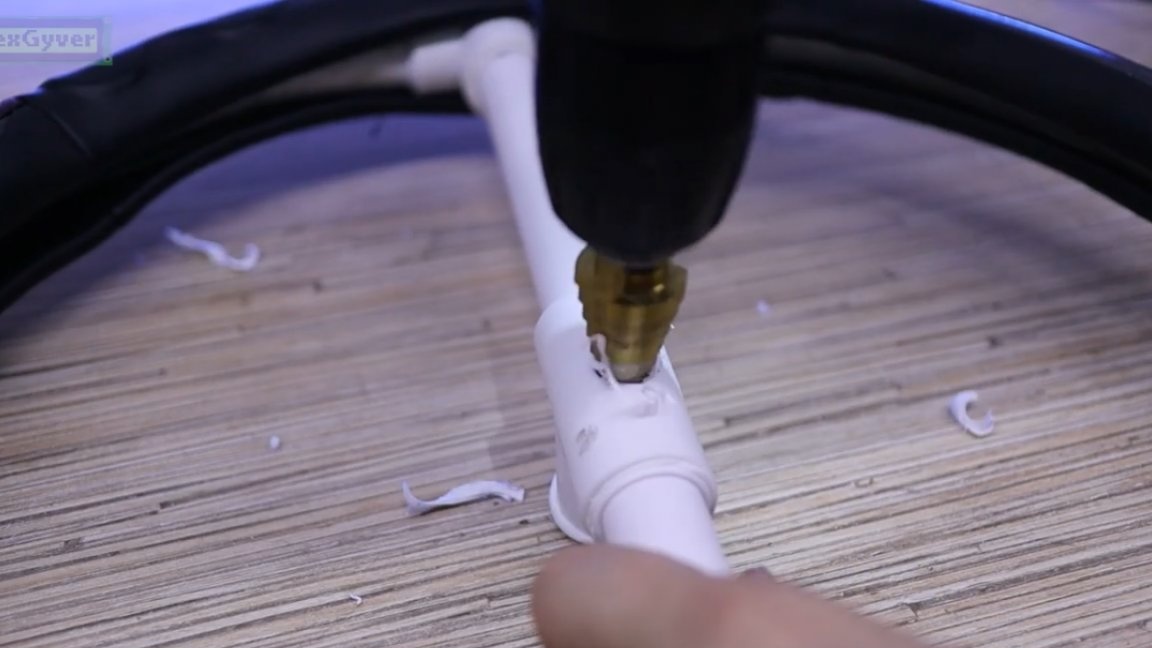
We fix the encoder sensor to hot glue, and you need to do this very carefully so that everything works.
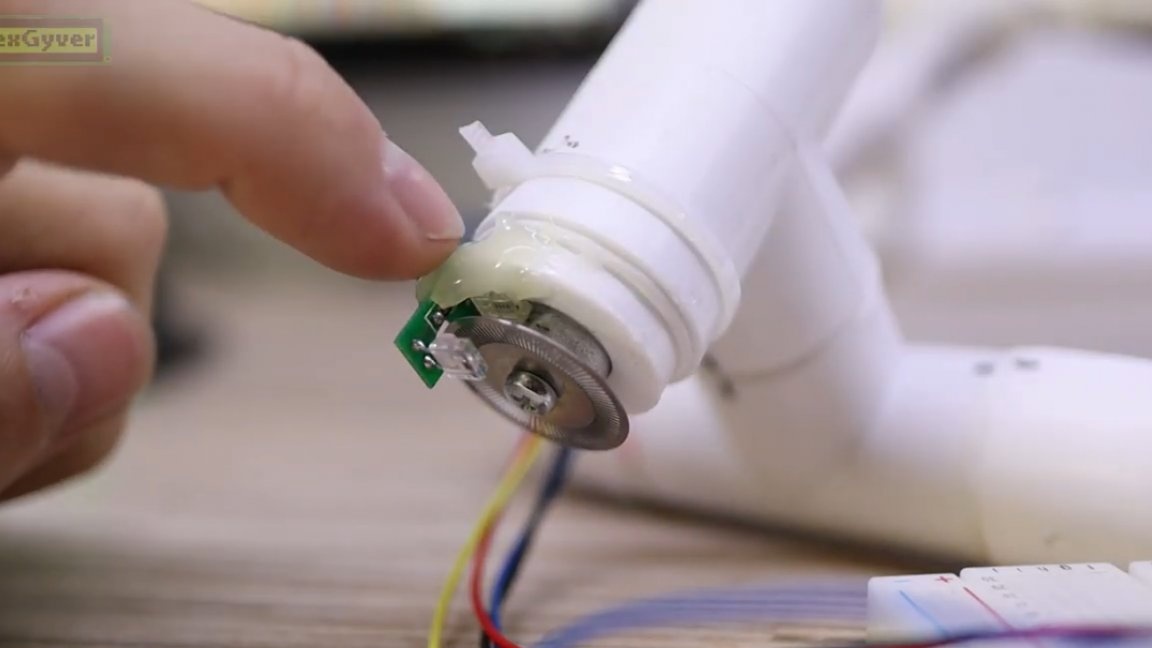
The encoder is quite moody, literally fractions of a millimeter affect the work. If anyone seriously wants to make a steering wheel - take it, it's better to overpay once than then mess around.
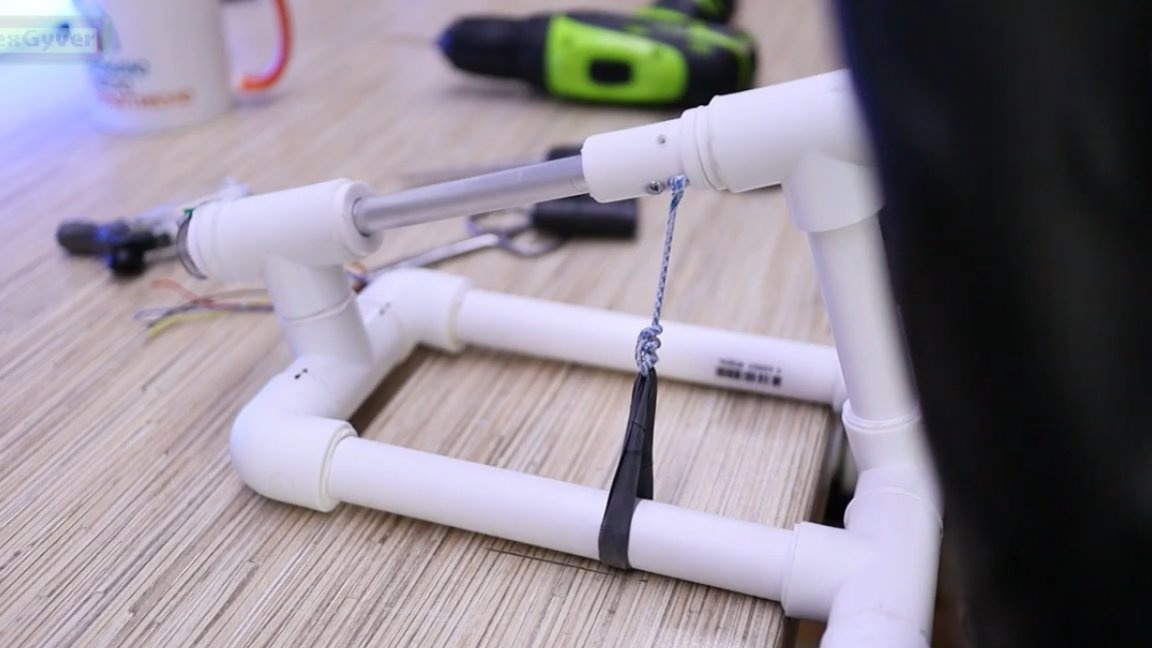
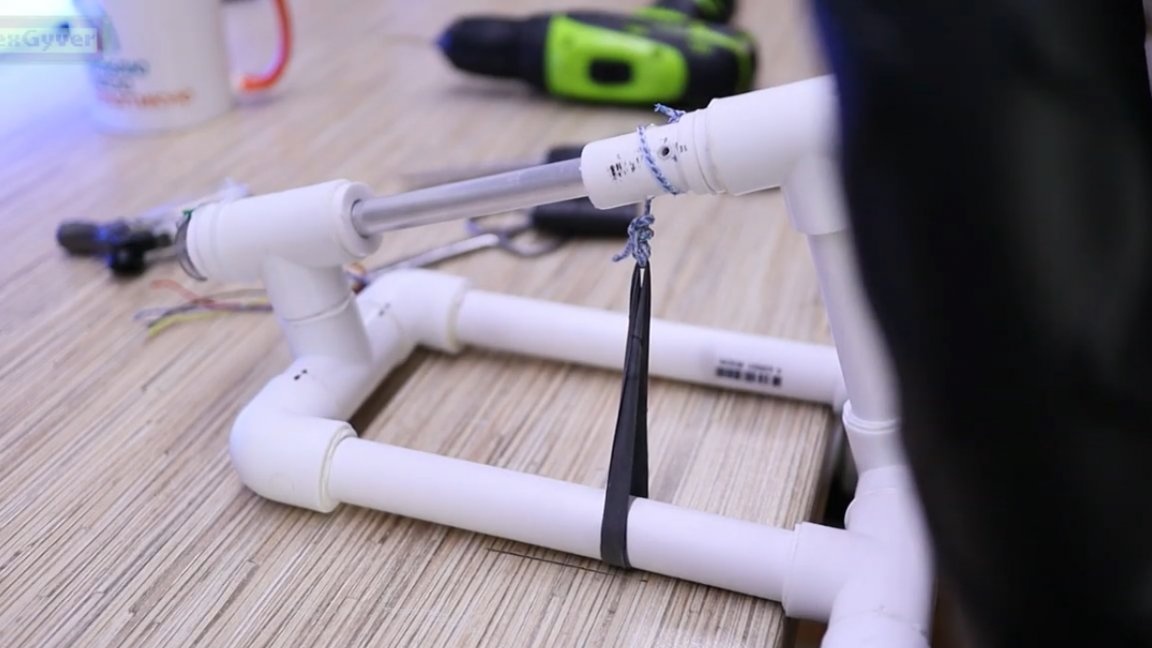
The next step is to make a helm argument. We drill a hole and tie a rope, take a ring from a bicycle chamber and an op, we have a helm argument.
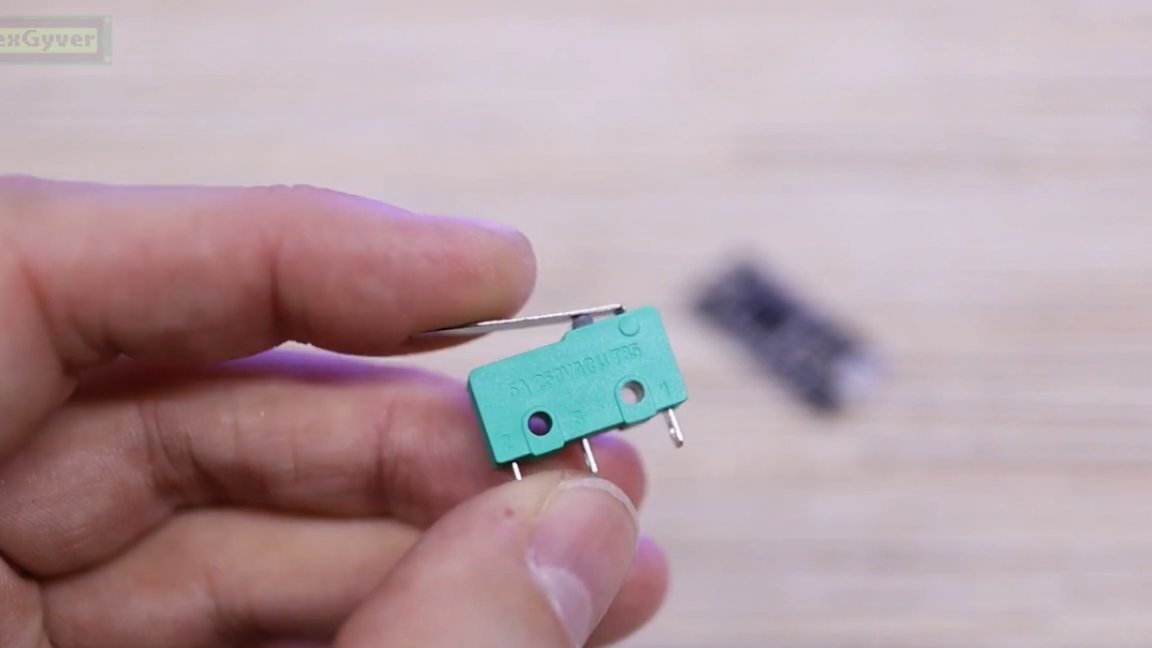
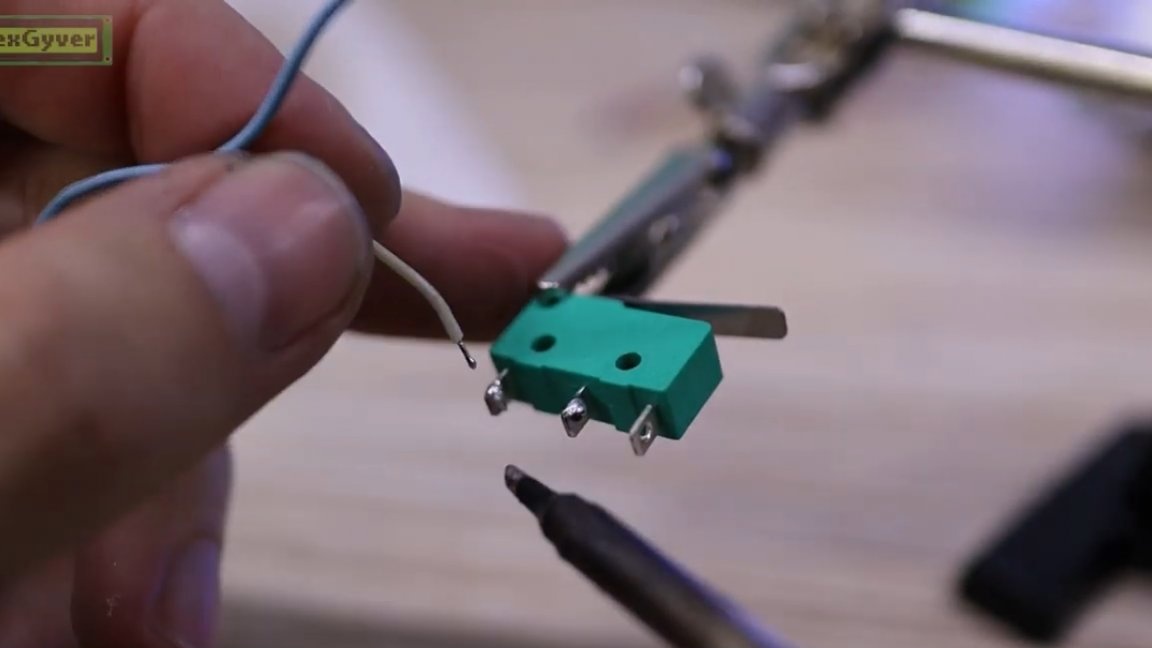
For the parking brake, you must make the following workpiece. Cook, assemble, fix and behold, the handbrake is ready.

From below, a small button will be located on the pipe. We solder and fix it in its place using the same hot glue.
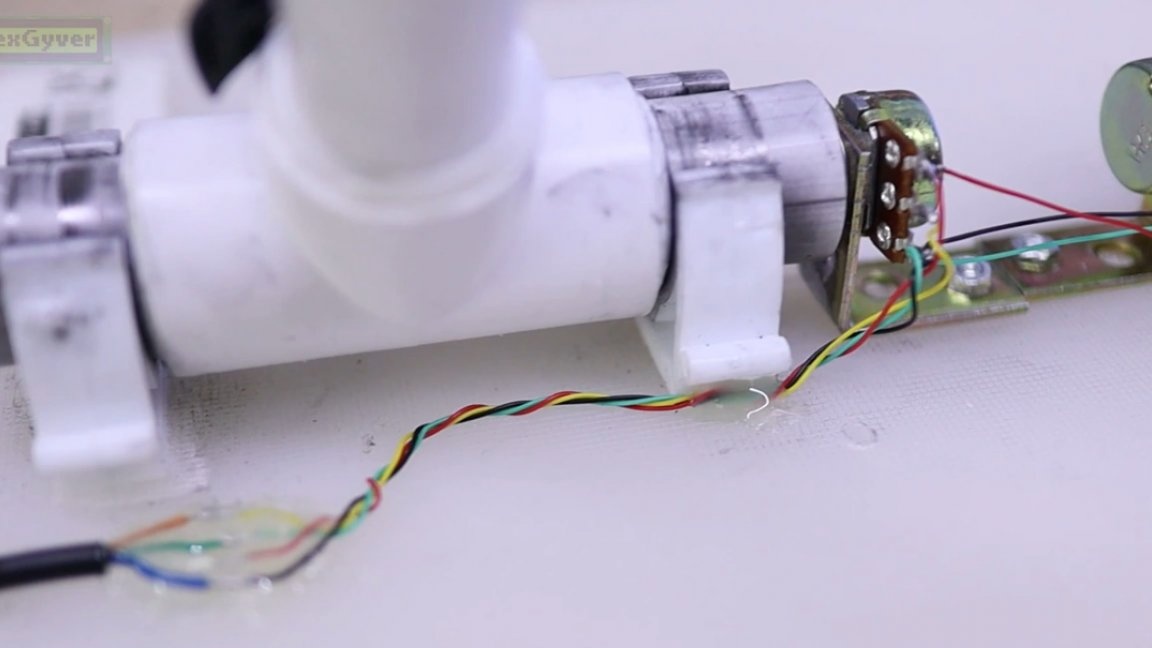
Handbrake done further pedals. We make pedals according to this scheme.
Two of the casket, ready. Next we need a corner.
We fixed everything, got pedals with rotation sensors. Now we will fill everything with superglue and make limiters and a return mechanism.
Now it remains to connect all this. This is what the circuit looks like:
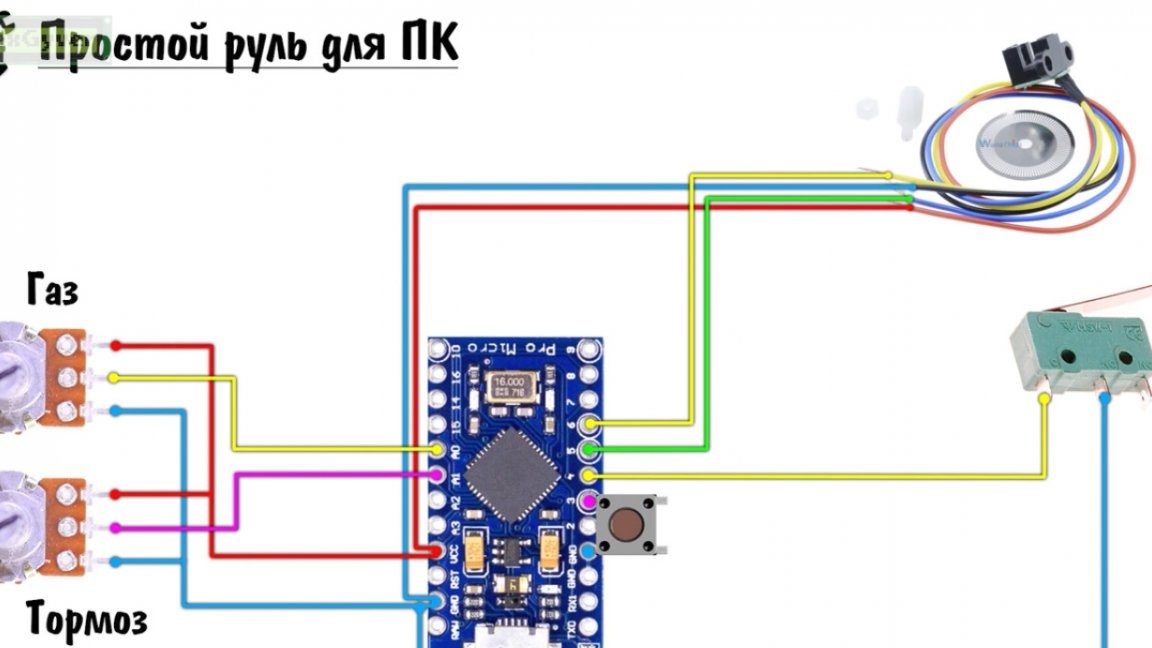
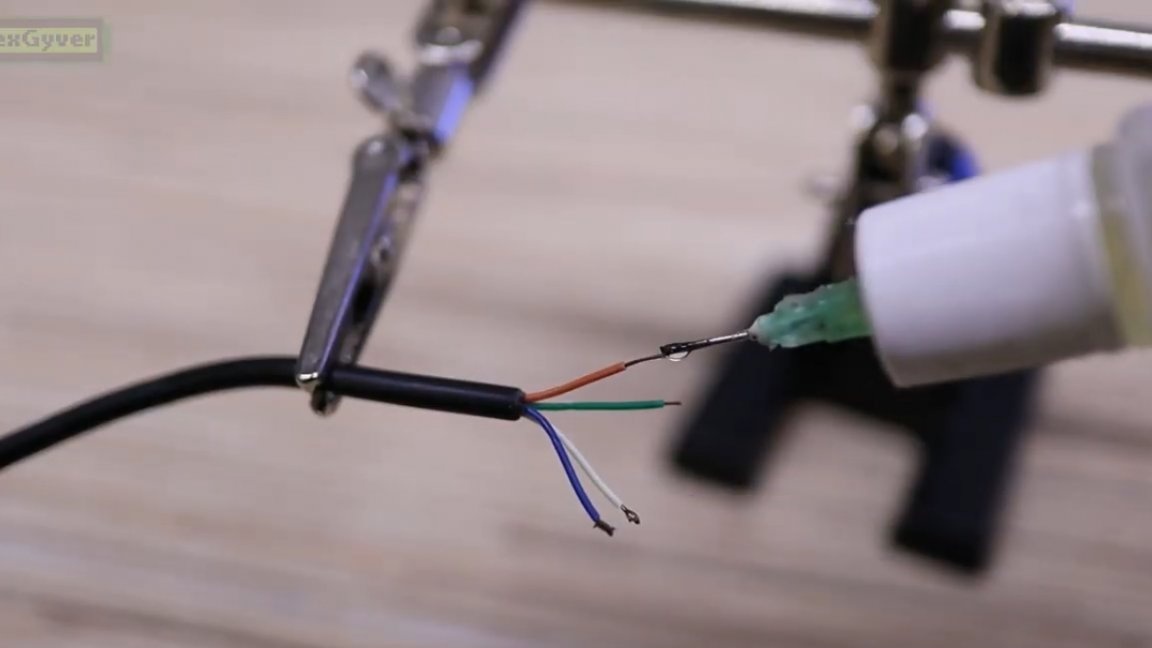
To connect, it is better to use a cable or cable from two wires for the handbrake and 4 wires for the pedals. For this, the wire from the old keyboard is perfect.
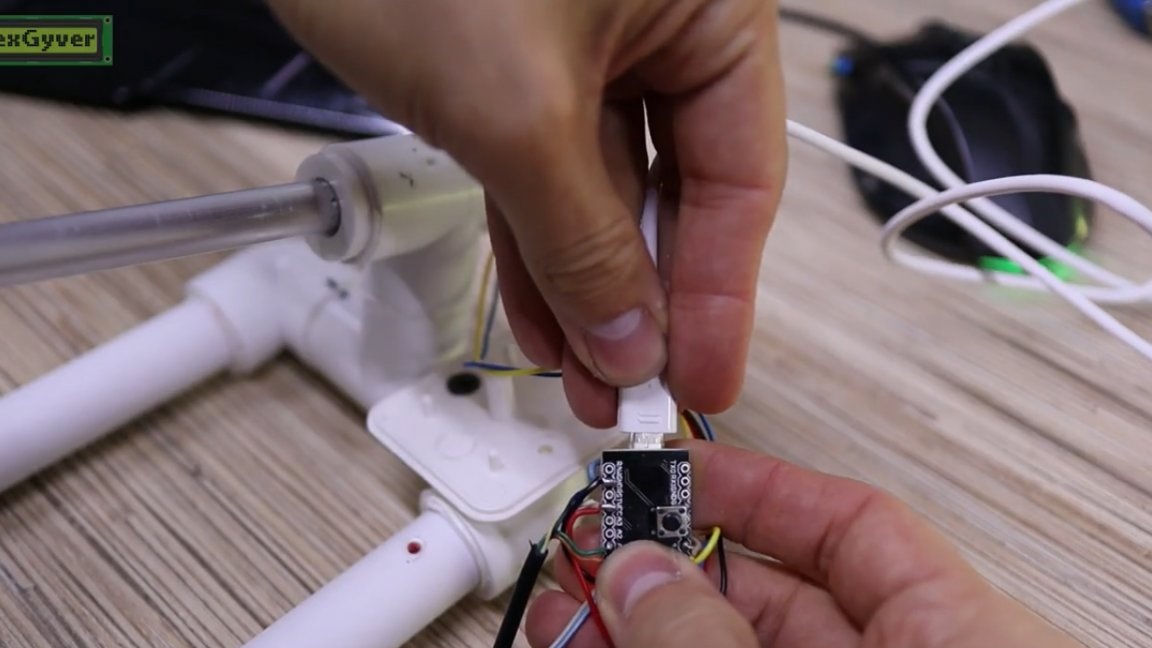
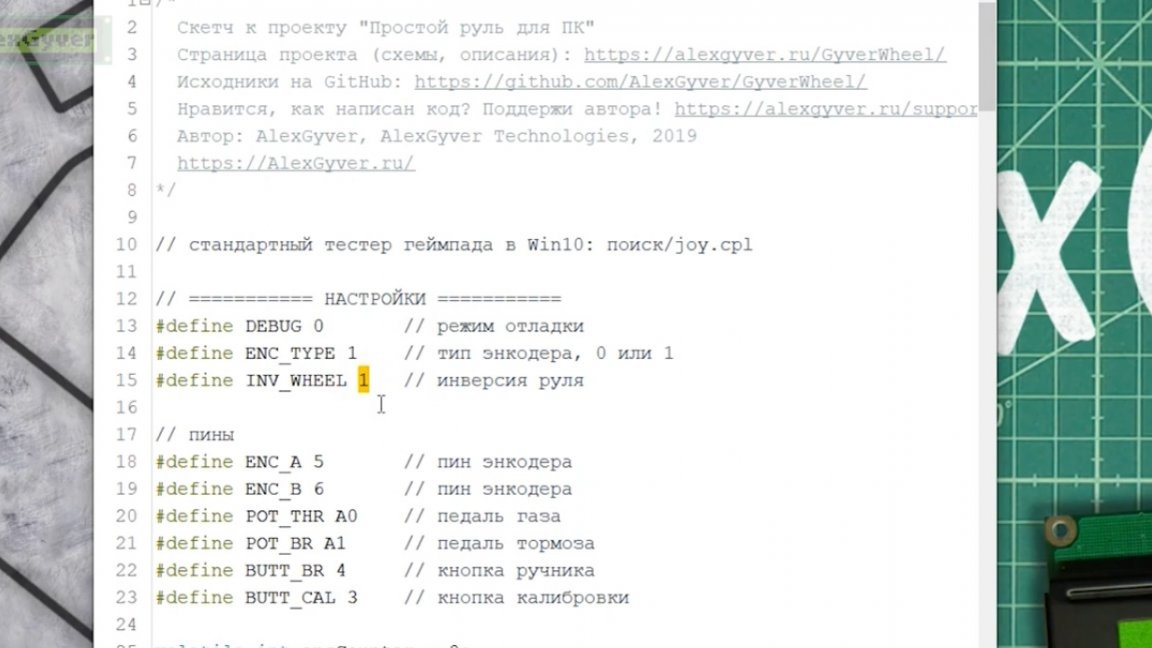
Now connect the board to the computer and load firmware.

If you have any difficulties, then go to the project page and study all the instructions, there’s nothing complicated, but everything is very important. Learn more about setting up and calibrating your device. in the author’s video:
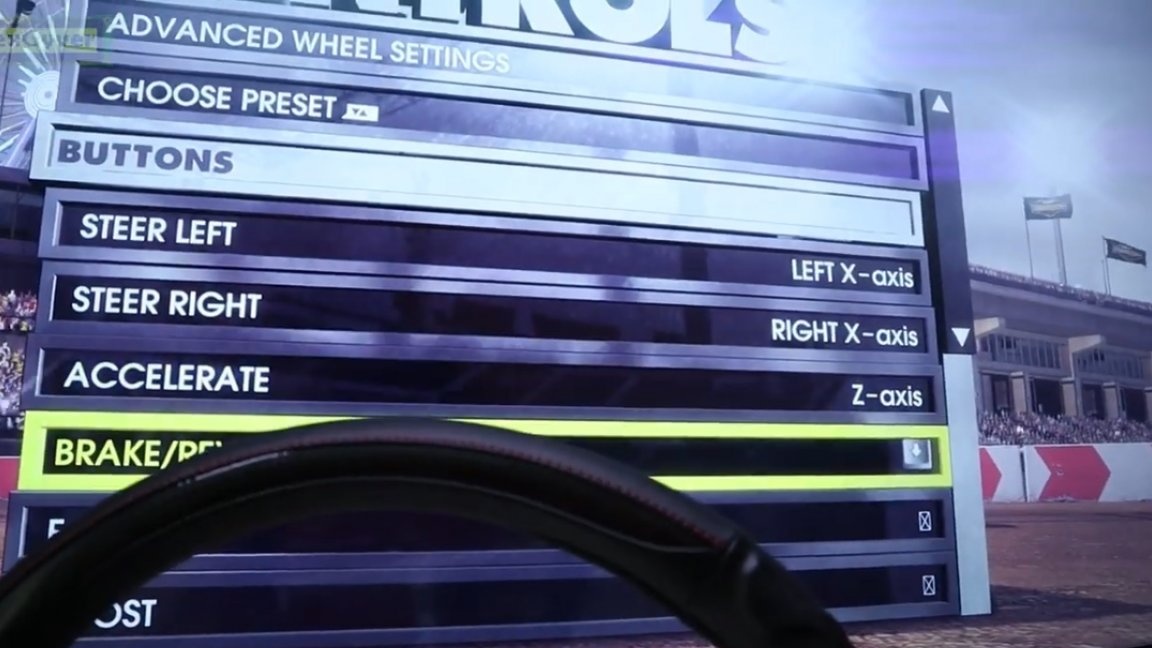
To check, we launch the standard properties for gaming devices.
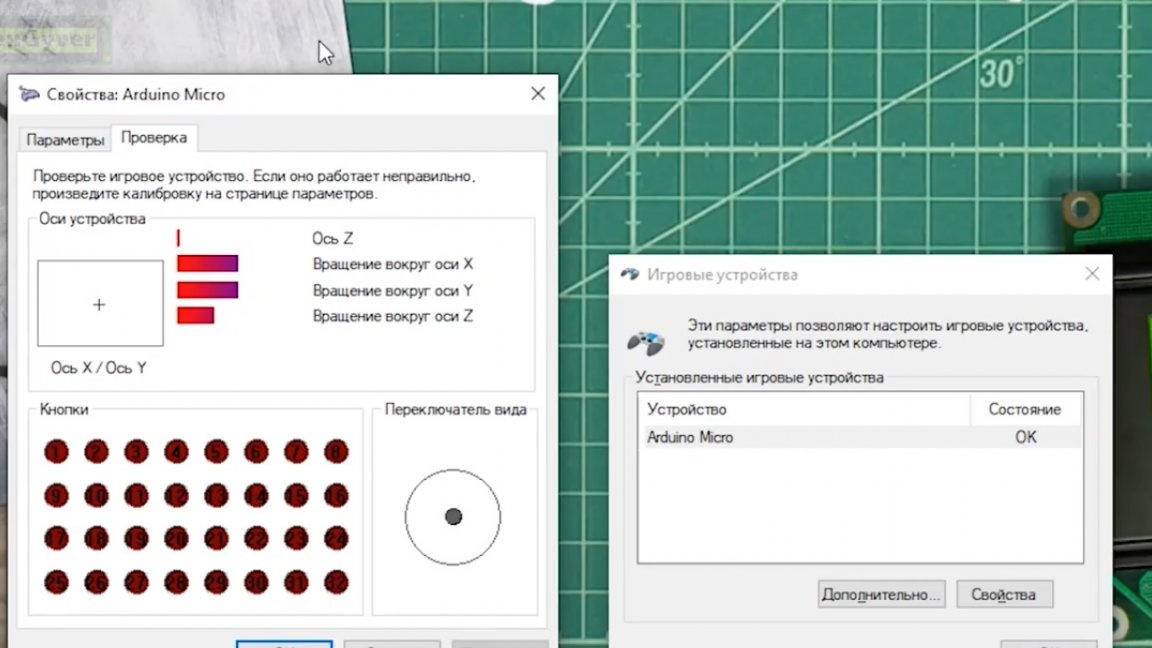
Check if everything works - you can play. You can also invert the wheel in the sketch settings if it is spinning the wrong way.
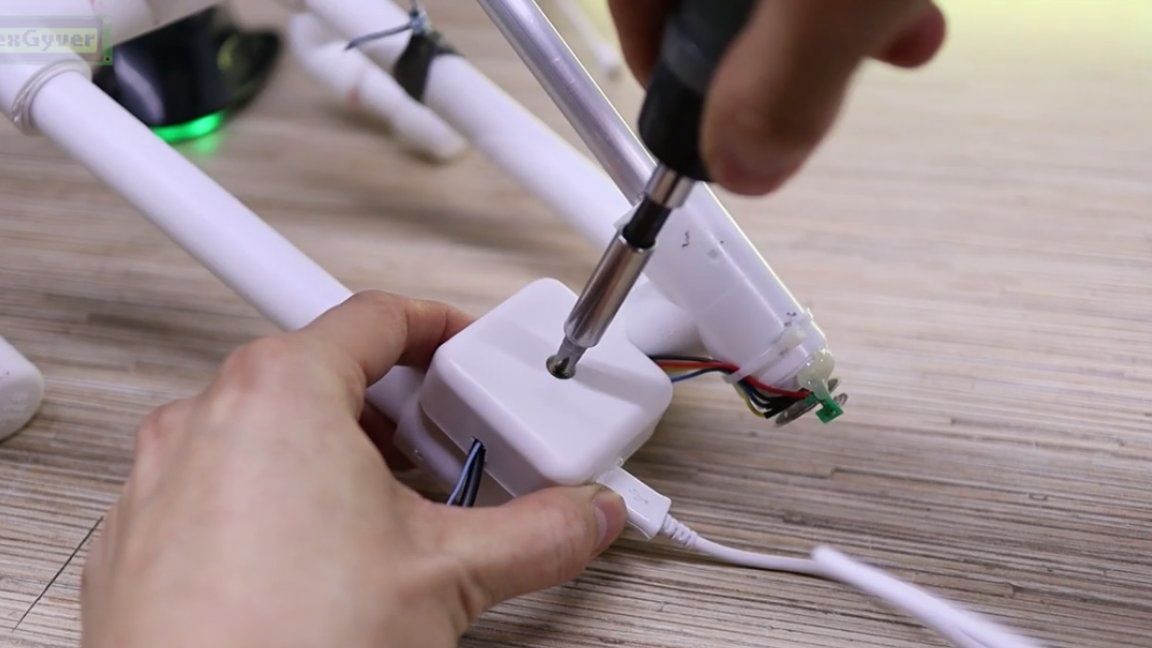
Next, carefully pack electronics into the junction box and lock.
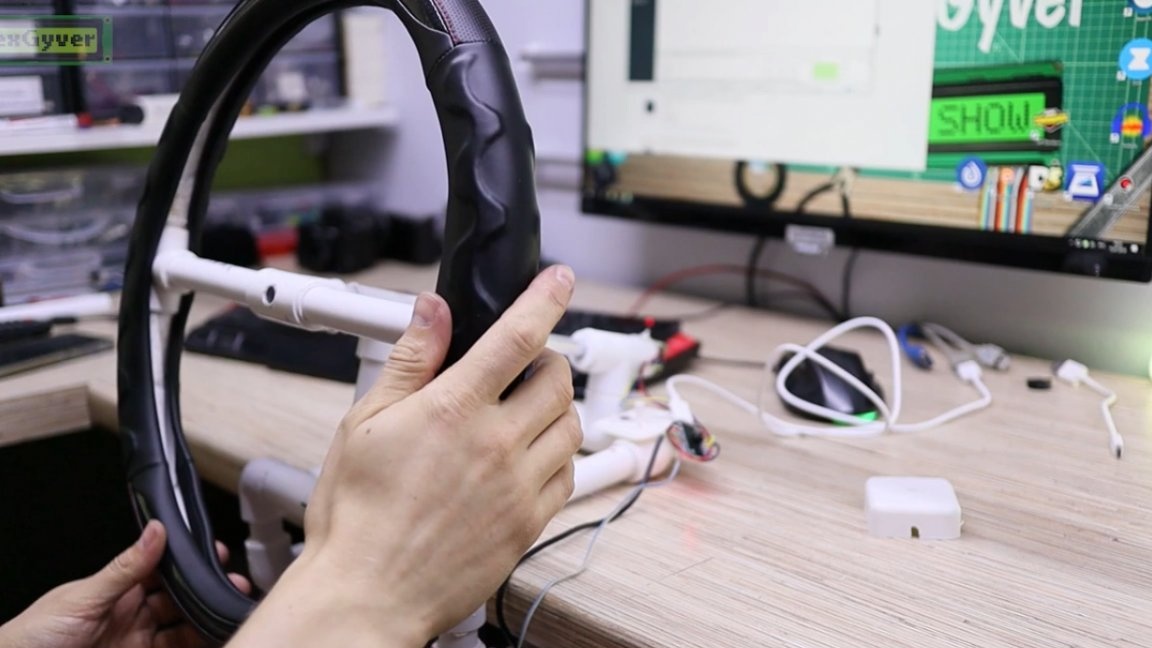
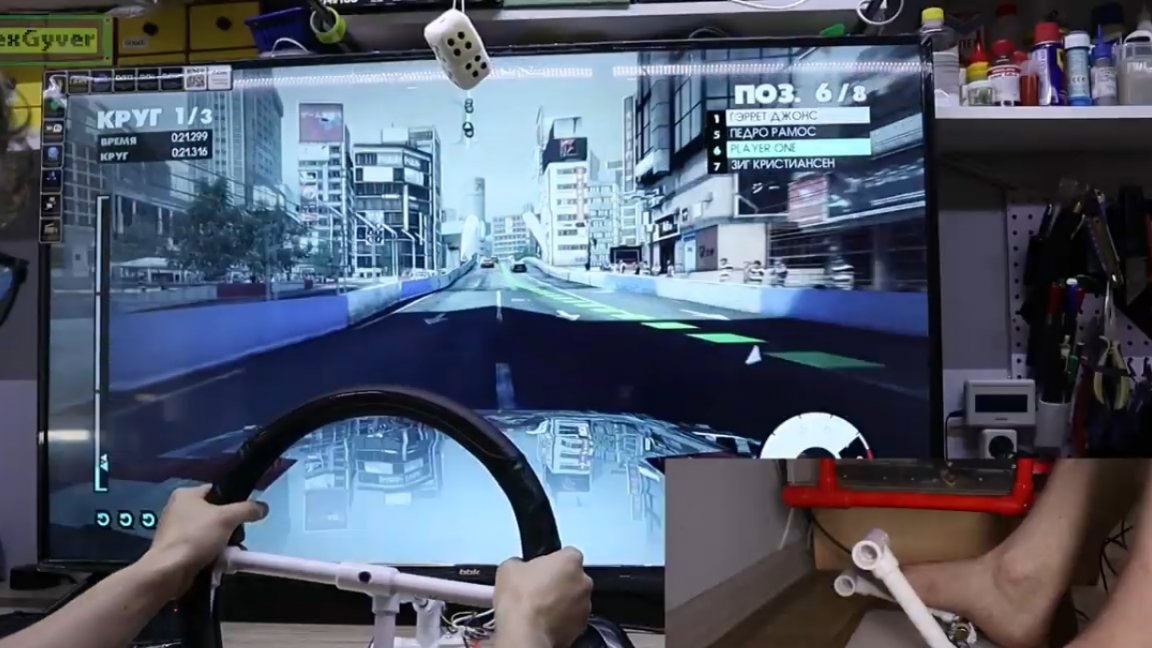
We put pedals and ... we sit on the handbrake. Yes, we sit on the handbrake, you're all right.
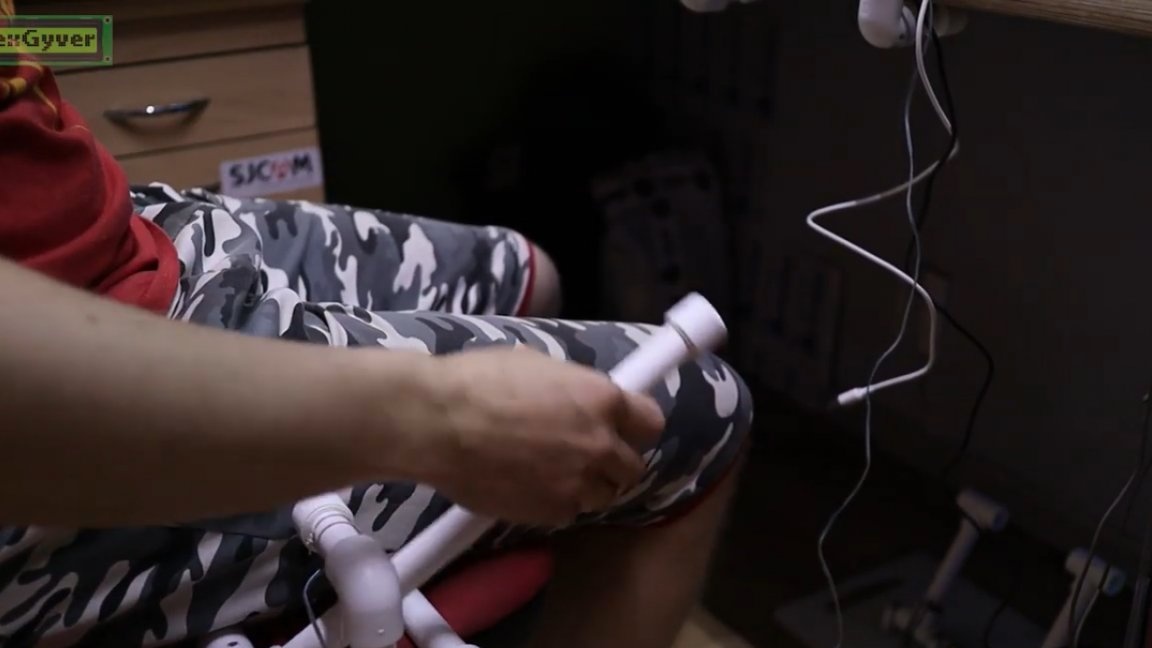
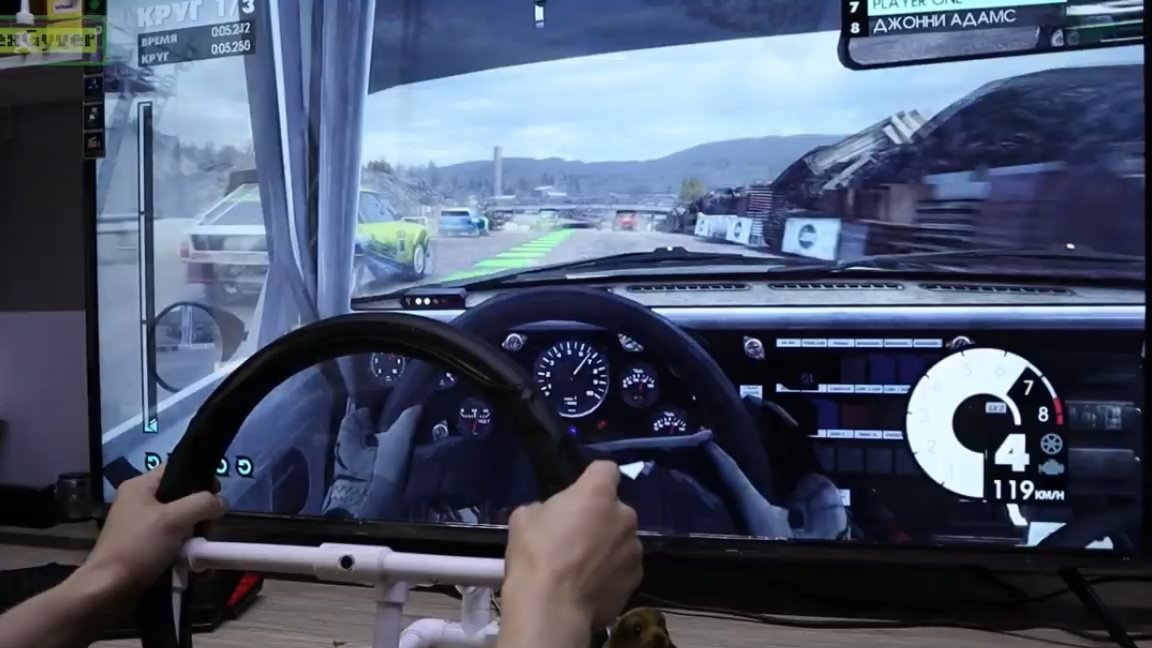
Now you can go. The steering wheel is configured exactly the same as any controller.
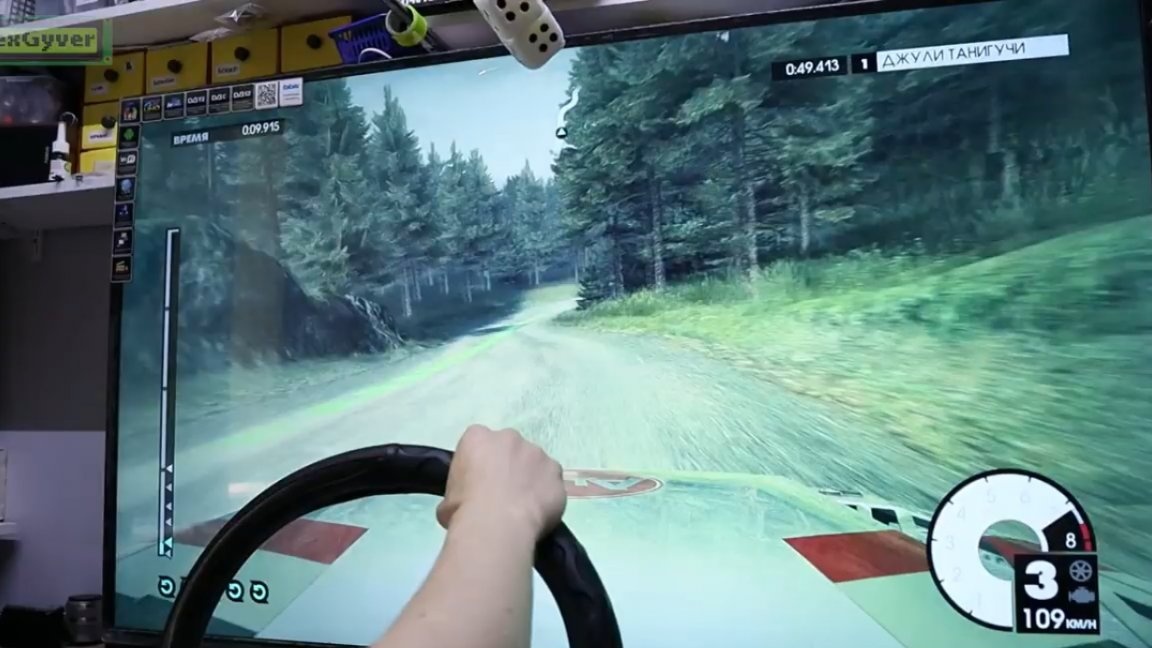
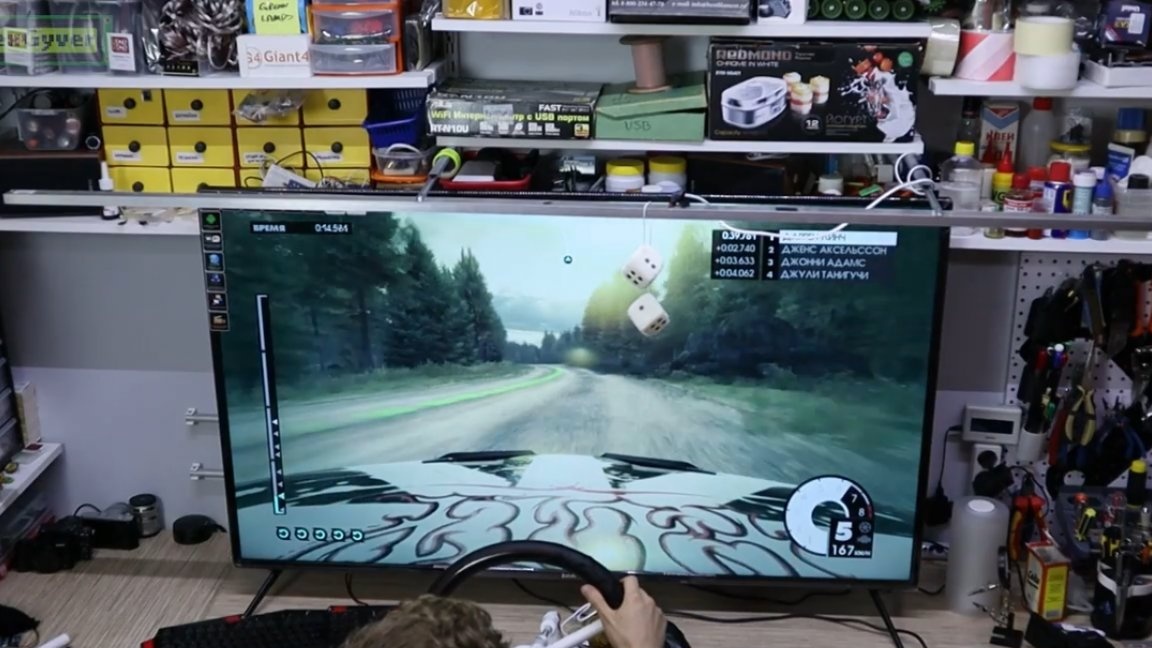
According to the author, this is his coolest attraction that he has ever made. In addition, a large 4K TV set really creates the effect of being in the cab, and a subwoofer screwed under the table only enhances this effect. It remains only to get used to managing and you can have a really cool time.
That's all. Thank you for attention. See you soon!