3D technology is increasingly becoming part of our daily lives. Of course, in Russia, this is not so noticeable as in the USA, for example, but even here, in more or less large cities, finding a service for printing parts on such a device is no longer a problem.
In this article, the Wizard will tell us how to use 3D printing to make such an original stand and flower pot. The design of the stand itself is not copyright, but is based on the work of designer Tom Davis. With the permission of the author of the original file, the wizard redid the design a bit and let's see how he did it and what came of it.
Tools and materials:
-3D printer;
-Computer with software;
-Cord;
- Two-component glue;
Epoxy resin;
-Brush;
Airbrush;
("lizun")
-Paint;
-Color;
-Lacquer glossy and matte;
Step one: change the original file
The original file can be downloaded. View 3Dmodel can .
For his purposes, the master had to slightly modify the original file.
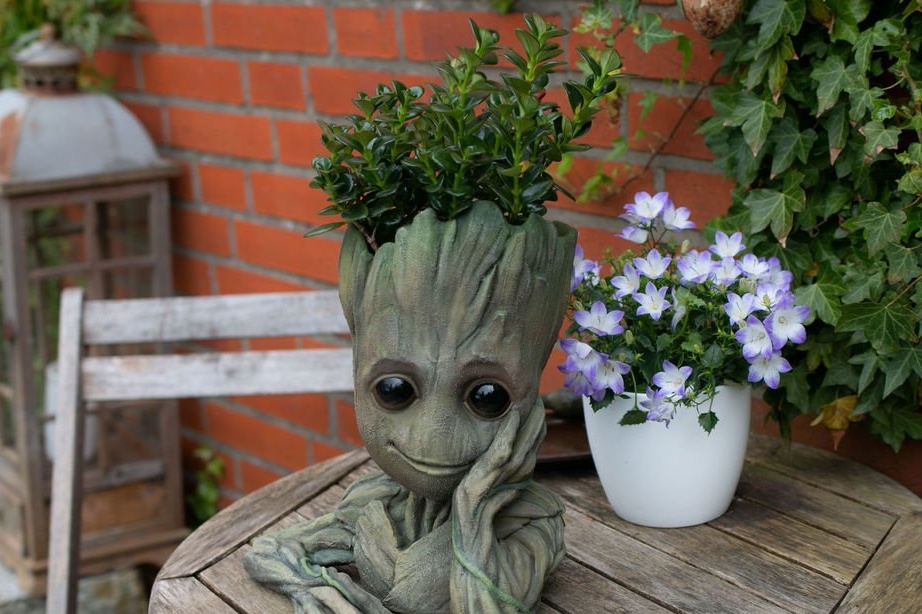
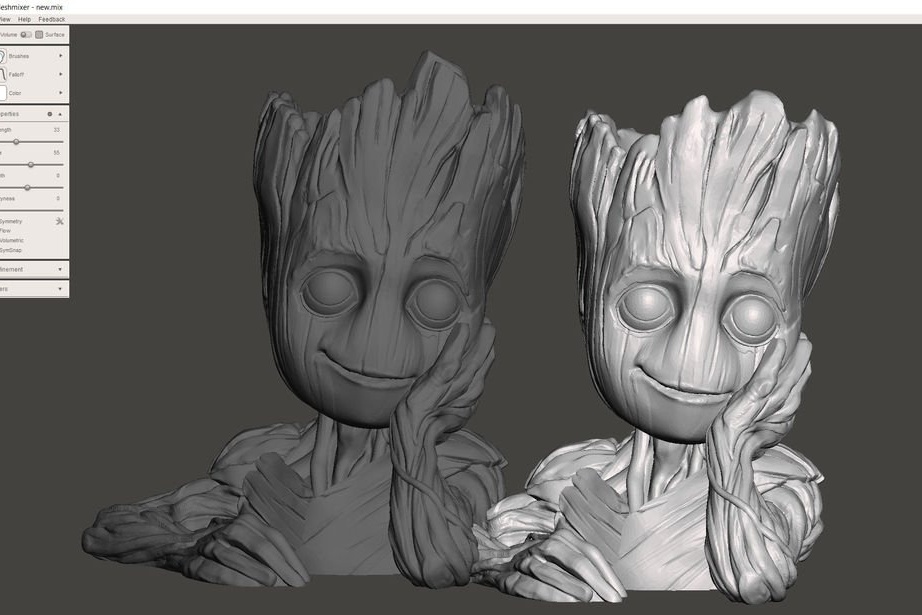
As you can see in the first image, in some places, the lowest point will not allow to fill the soil to the level of the cutoff of the figure. You also need to add drainage holes.
There are various programs that you can use to edit STL files. The master is going to introduce two different ones that are free for amateurs.
One of his favorite stl file editing software is Autodesk's Meshmixer (you can download it).
On the website, it is positioned as the “Swiss Army Knife for 3D Mesh,” and the master completely agrees with this. The program provides many features for processing STL files.
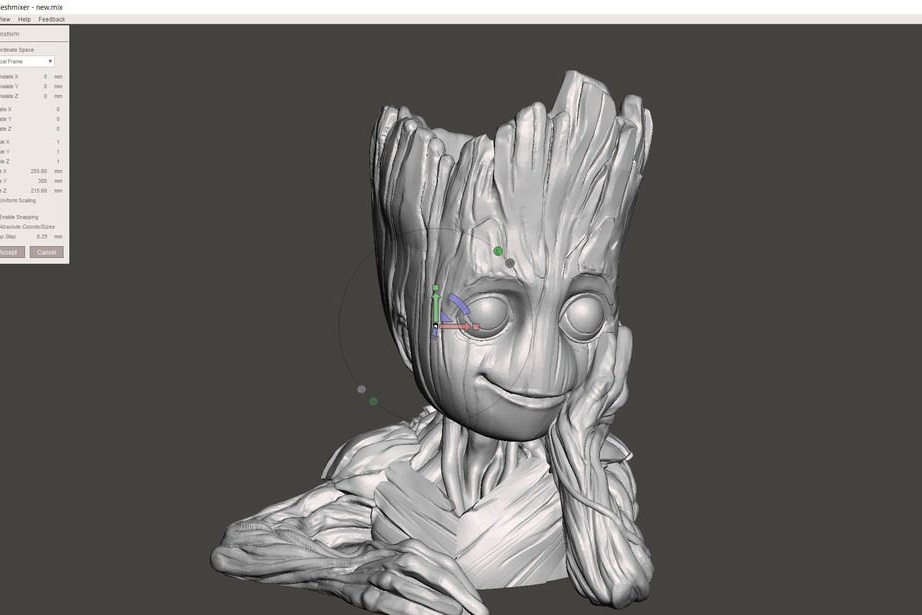
First of all, the master scaled the model. This is easy to do in Meshmixer by clicking “Edit” and then “Convert”. Make sure Uniform Zoom is selected.
The changes he wanted to apply were simple enough: lower the front and make the rear taller. Thus, the plant will be better visible and more soil can be used.If you want to make your own changes, just go to “Sculpt” and change the settings to your needs. The figures show a comparison between the original (dark gray) and copyright changes (light gray).
Later, after exporting the stl file, the wizard noticed that the file size was much larger than the original. Looking at the detail, it is noticeable that the edited parts were thinner than the original, so he returned and used Sculpt, Brushes and Reduce. Next, you need to export the stl file as “binary”, not “ASCII”. In this case, it reduced the file size by 2/3.
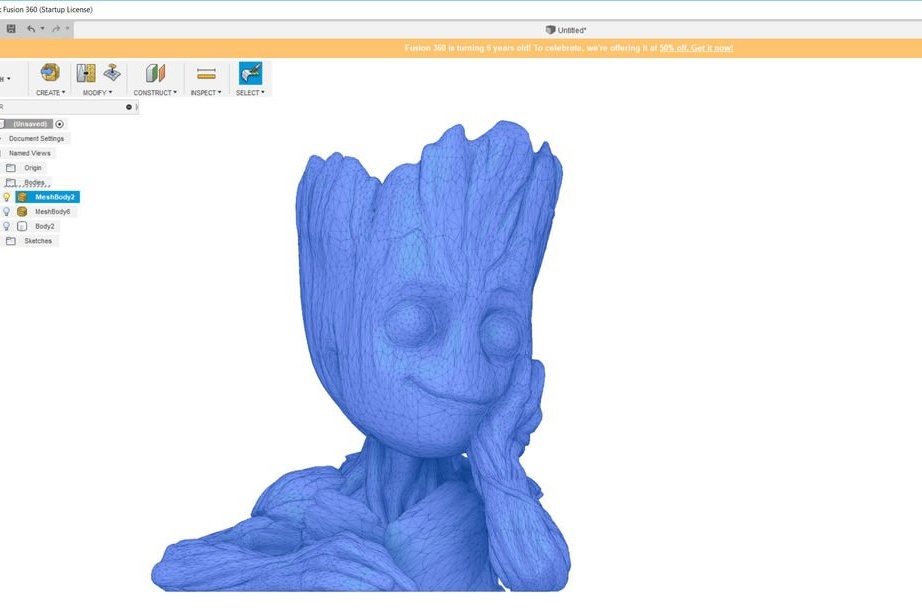
Now you need to edit the inside. The wizard does this operation using the Fusion 360 program.
Usually, if you need to edit a part in Fusion 360, then this is done like this:
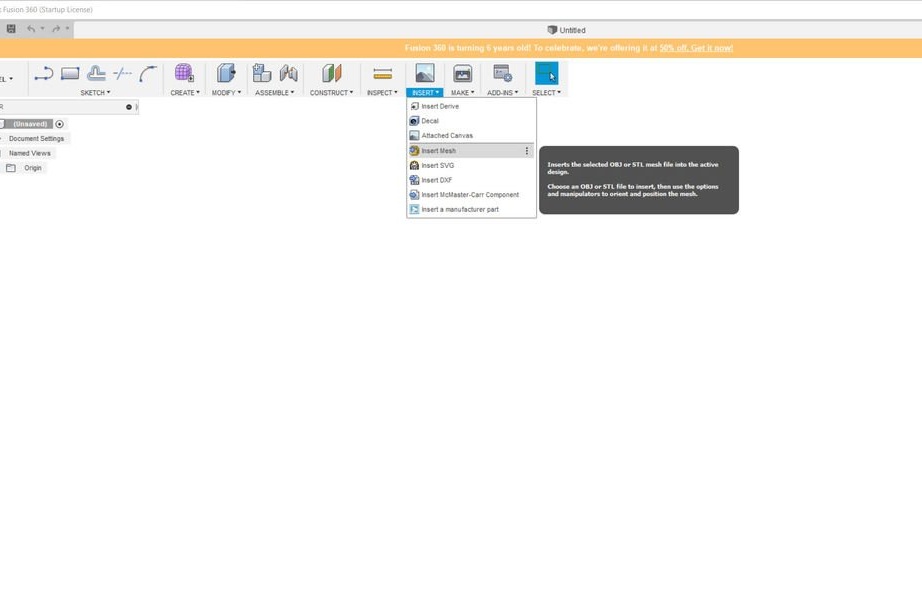
The program opens, then "NSERT" and then "Insert Mesh".
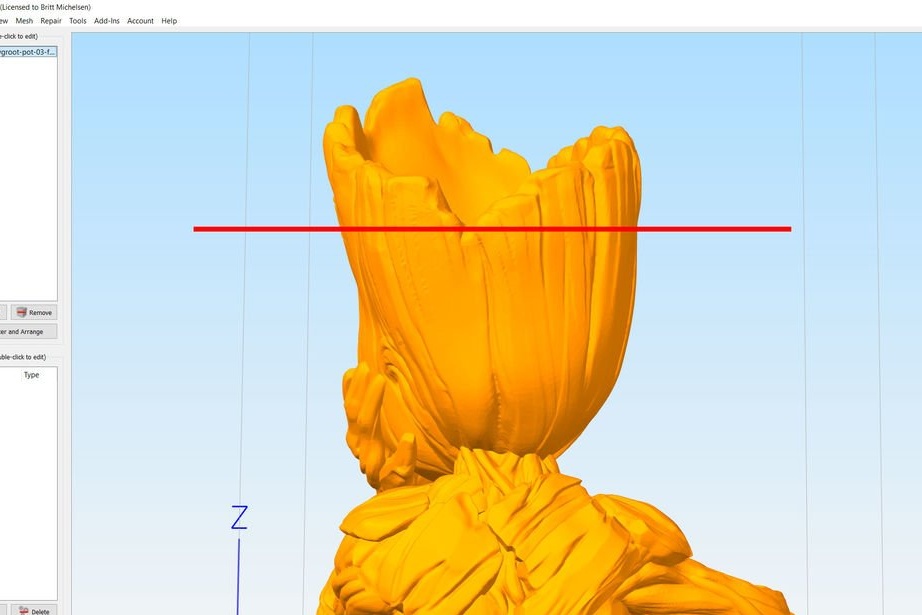
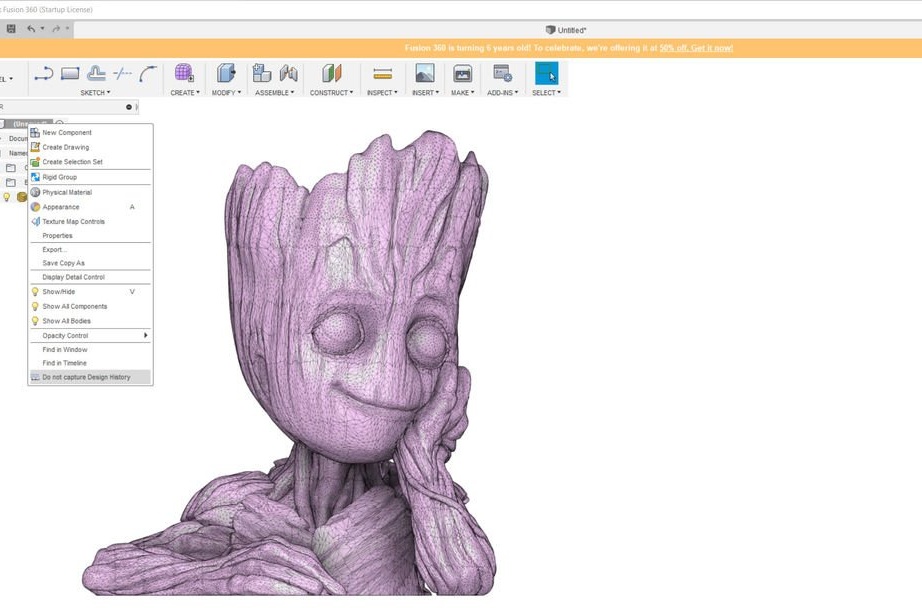
After that, to change the grid, you will need to disable the design history, as shown in the second figure, by right-clicking the design name at the top level and then “Do not capture Design History”.
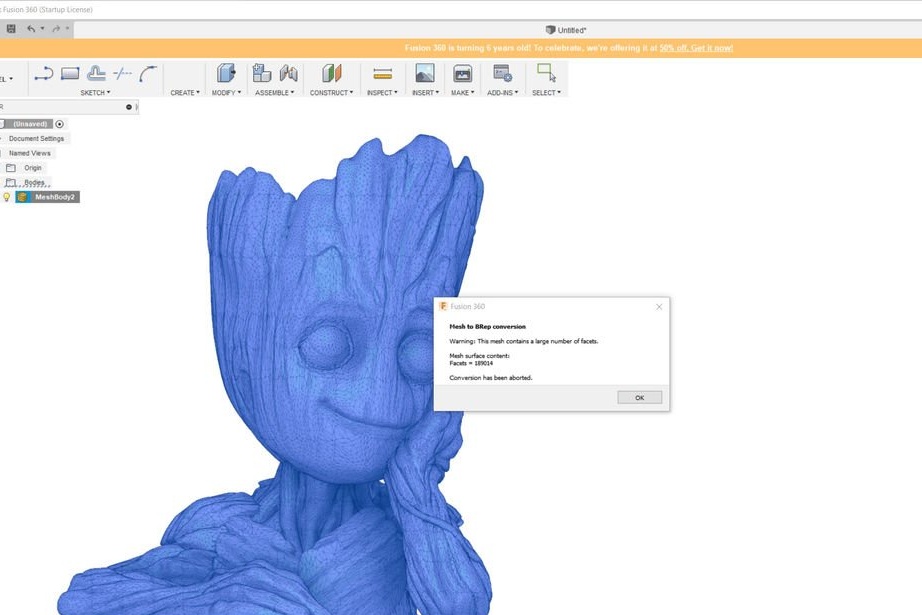
Now you need to right-click on the name of the grid and select “Mesh to BRep”.
In this case, editing is not saved and throws an error due to the large number of small details.
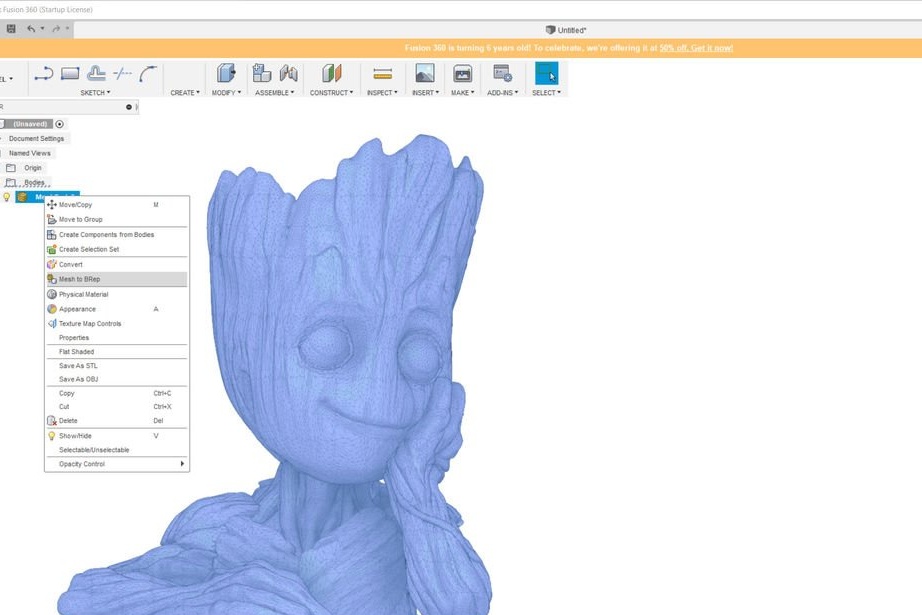
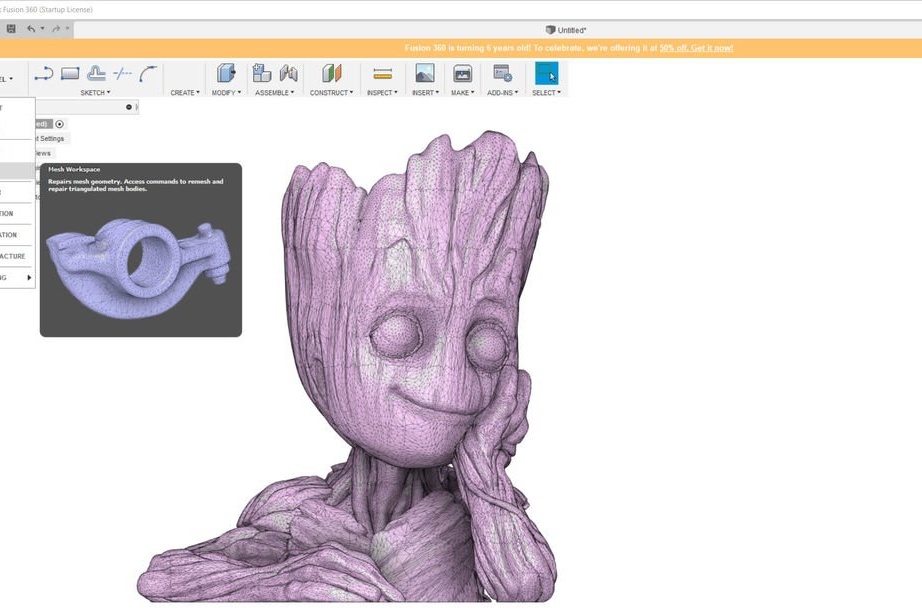
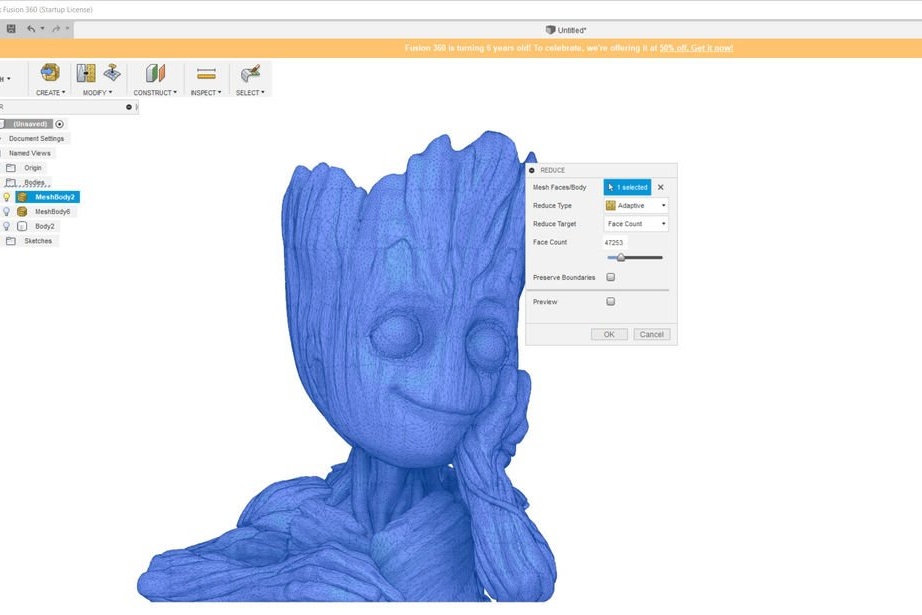
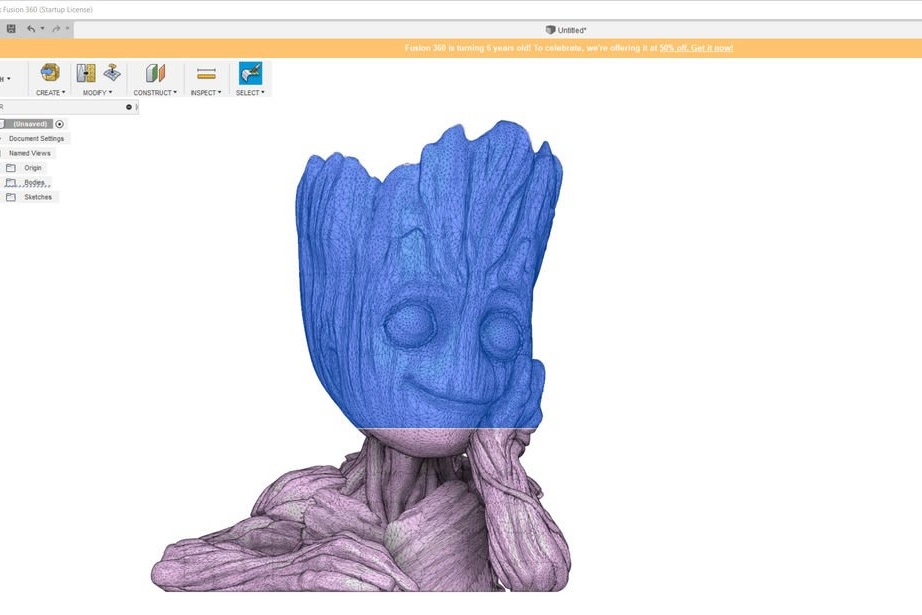
To reduce the number of parts, you need to click on the model name in the "Bodies" section and select "Modify" and then "Reduce".
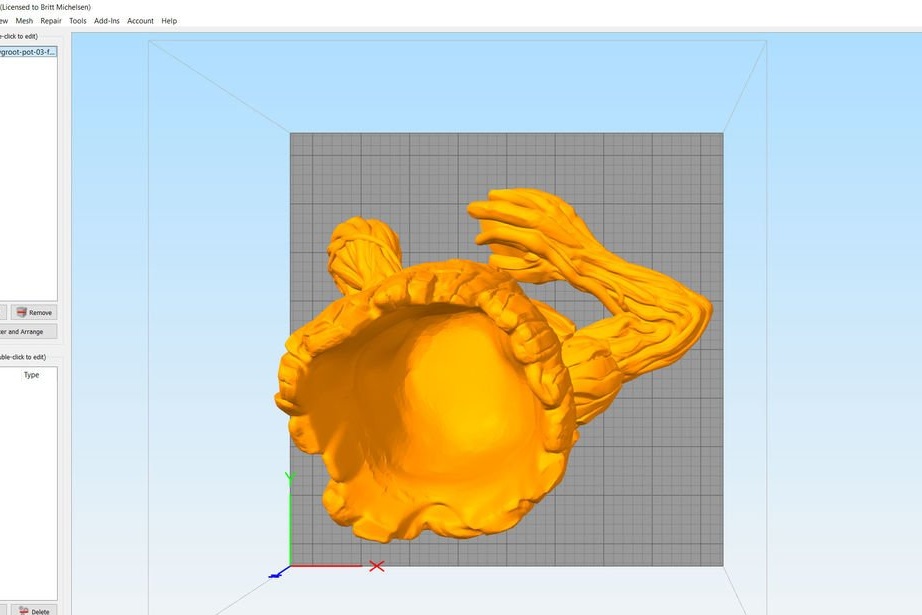
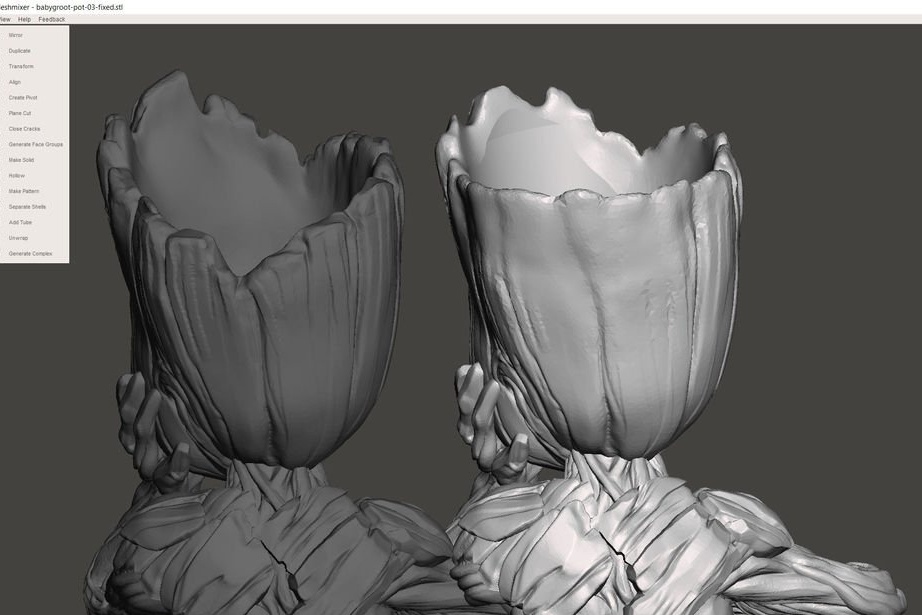
As you can see in the photos, Fusion does an excellent job, and the coarser mesh looks very good, but the master decided not to use it, because he wanted to keep the original details.
He clicks “Edit”, “Plane Cut” in Meshmixer, selects “Slice”, and imports only the top of his head into Fusion.
Once the file is converted, you can change it the way you need. This means that you can add or remove any part you can think of.
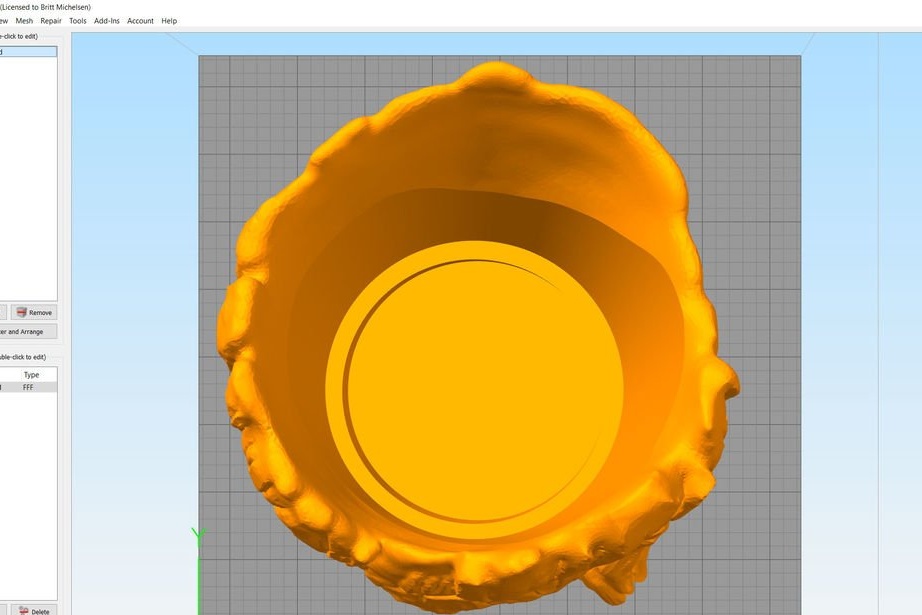
Step Two: Pot
Then the master made a pot that fits perfectly into the head. Inside the head, he flattened the bottom and increased the edges.
Since the final size of the product was not suitable for his printer, he cut it into three parts.

Files for printing can be downloaded below.
Right.stl
Head.stl
Left.stl
Pot.stl
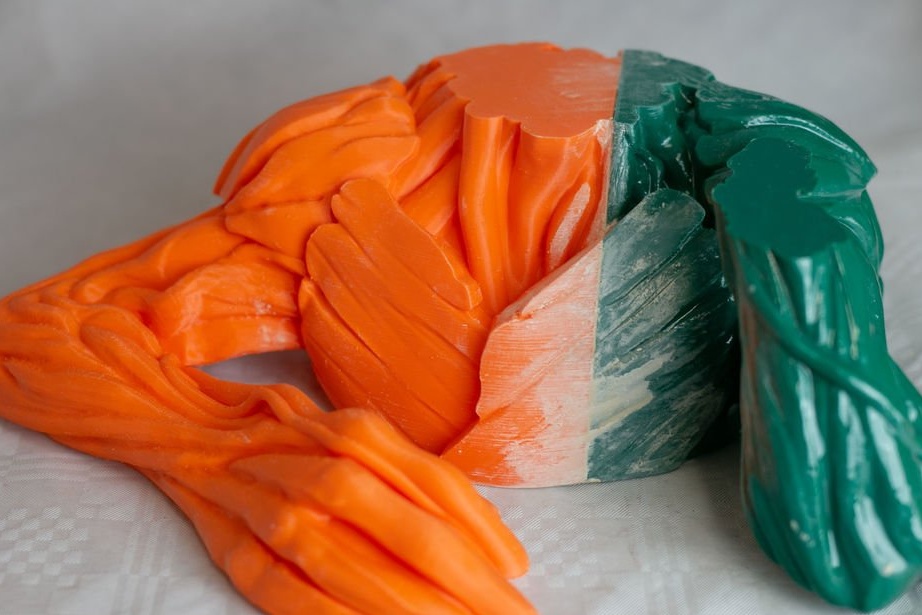
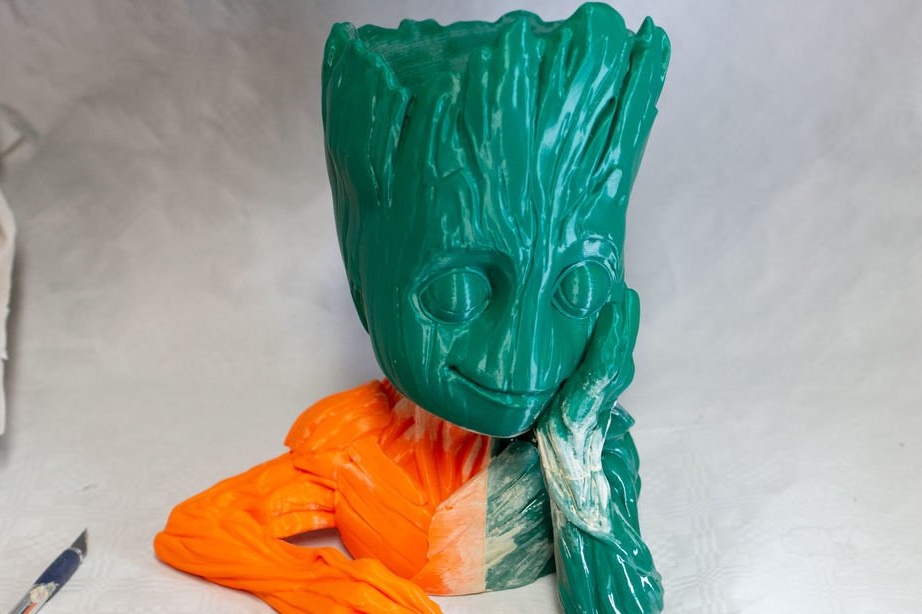
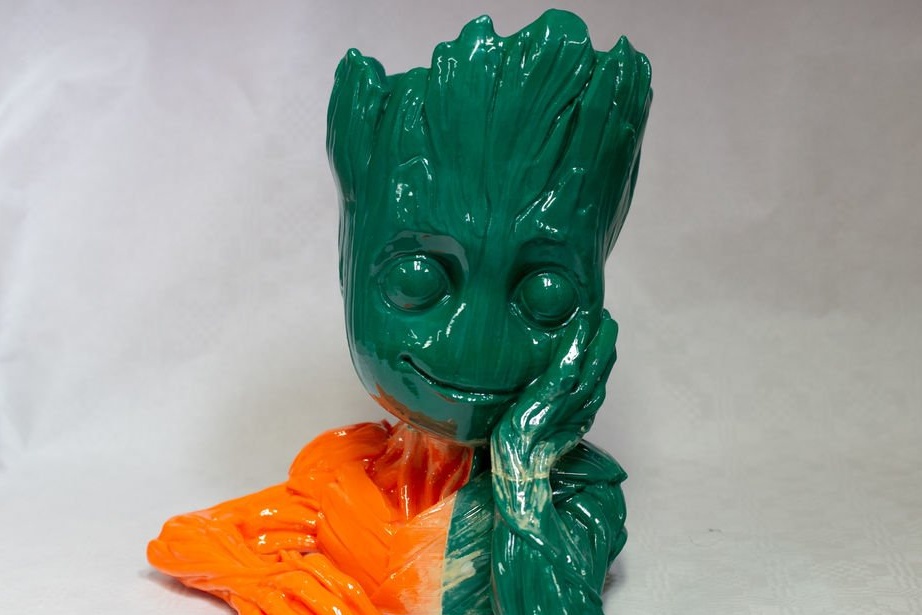
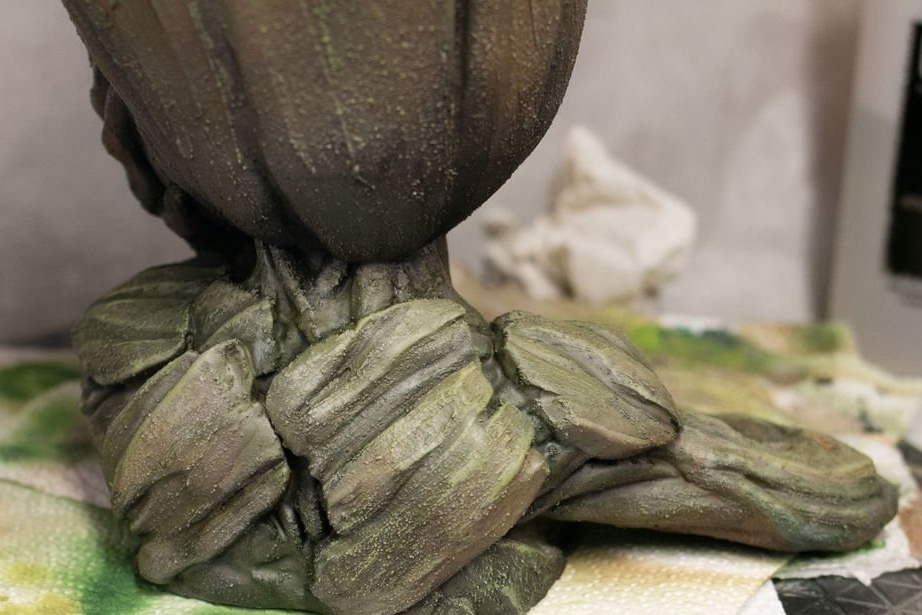
Step Three: Build
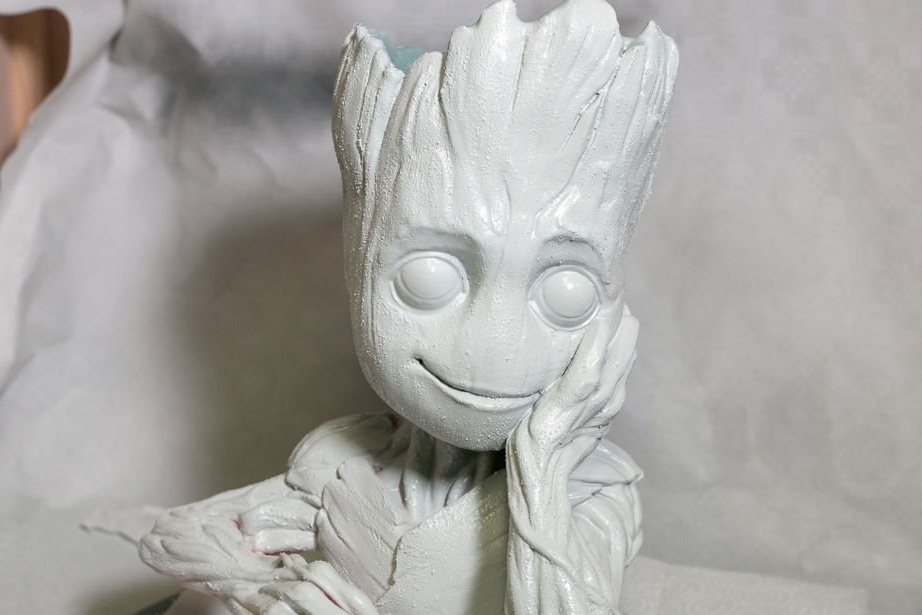
After printing the parts, the master glues them with two-component glue, puts it on and covers it with epoxy resin on top, so that the surface, especially the eyes, is smooth.
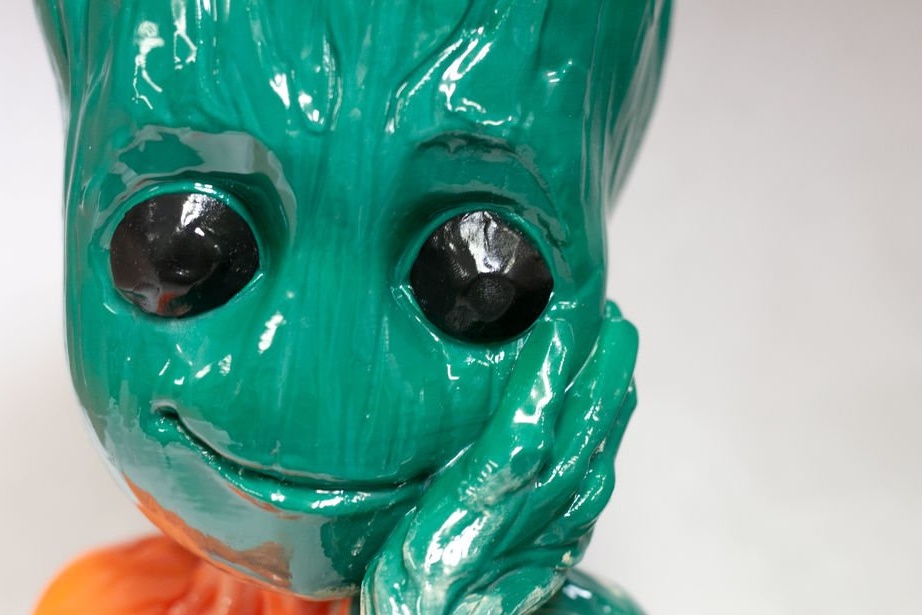
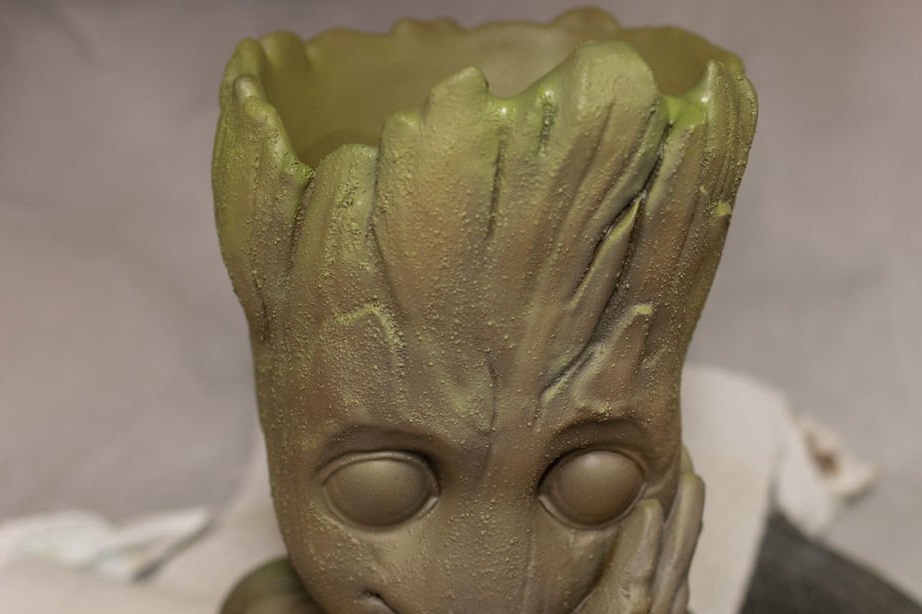
Step Four: Painting
Further, the master closes his eyes with a "lizun" and applies paste to the figure for modeling. After the paste dries, the surface is primed.
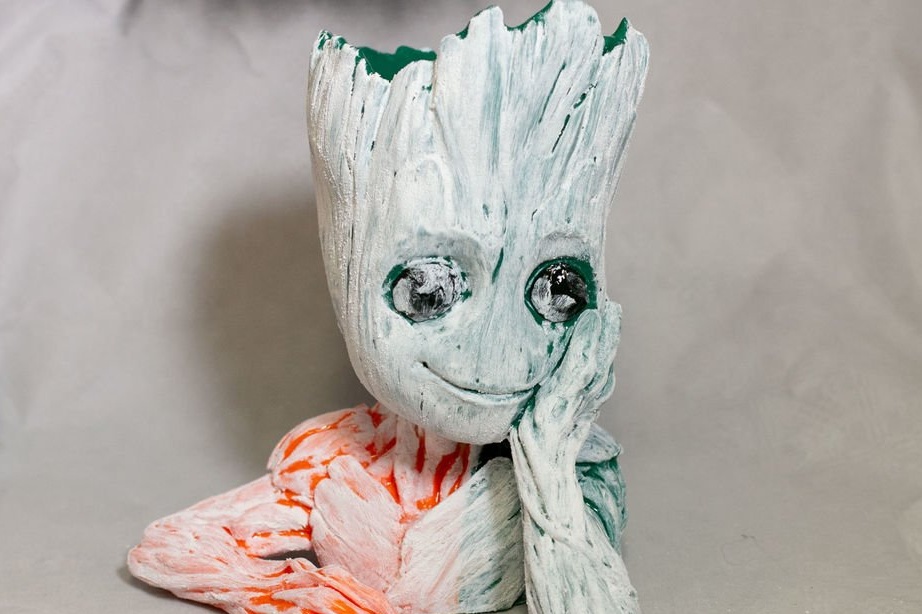
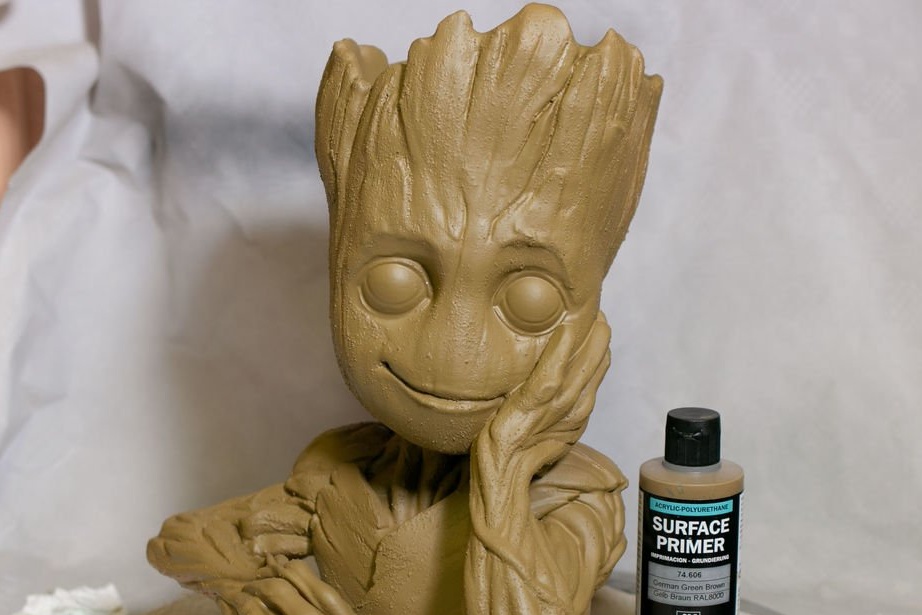
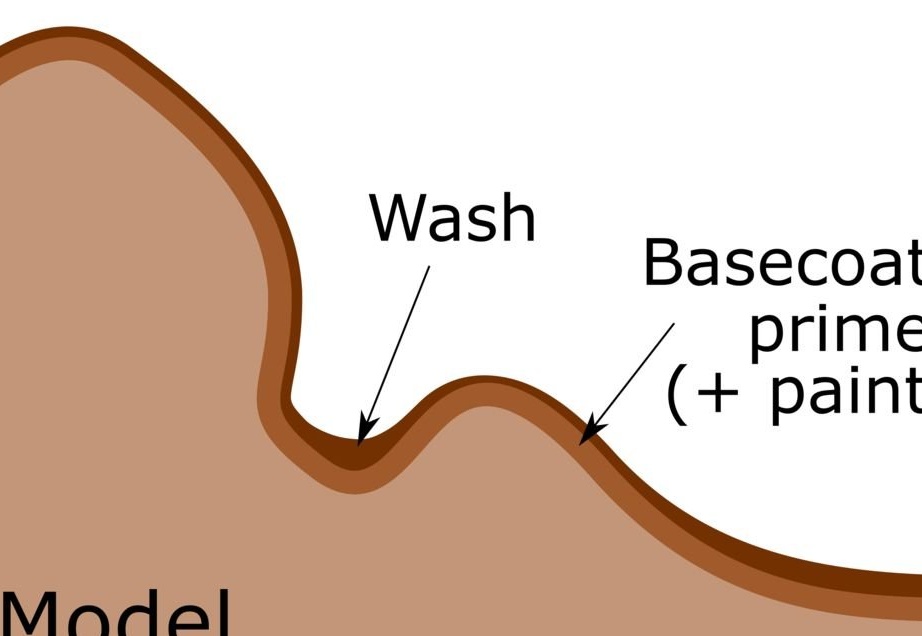
Next, the master paints to achieve the desired color of the figure. Paint is applied with a brush, a thin layer. If you apply a large layer of paint, it will accumulate in the folds.
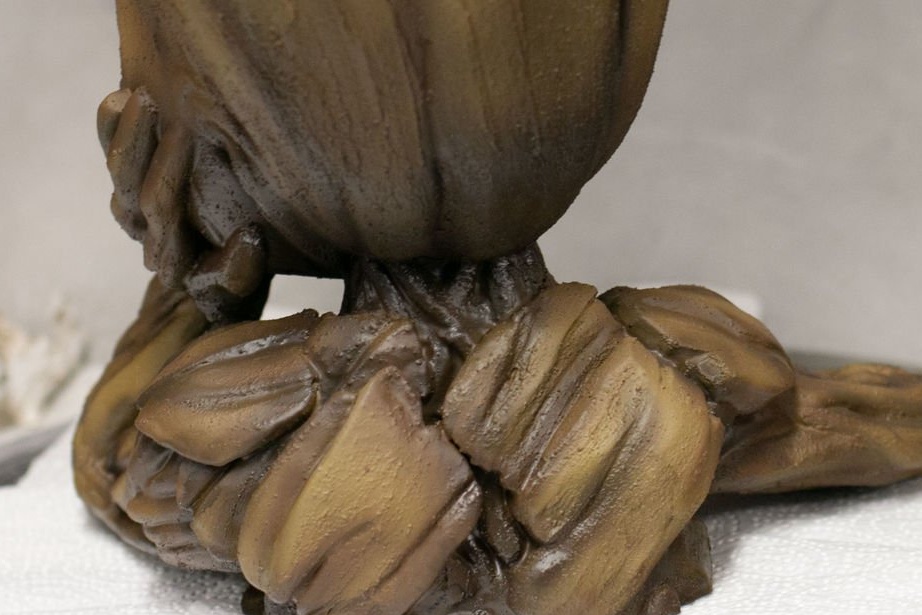

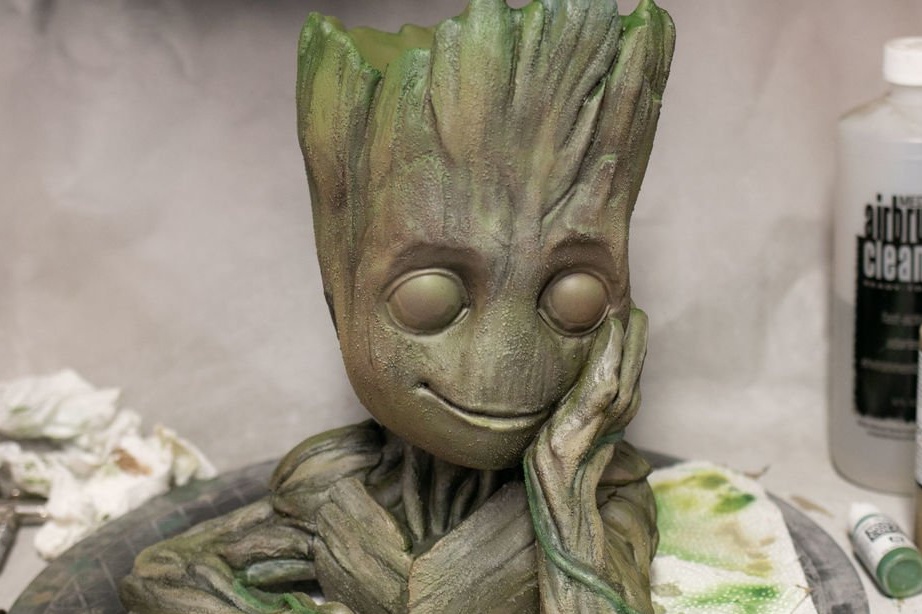
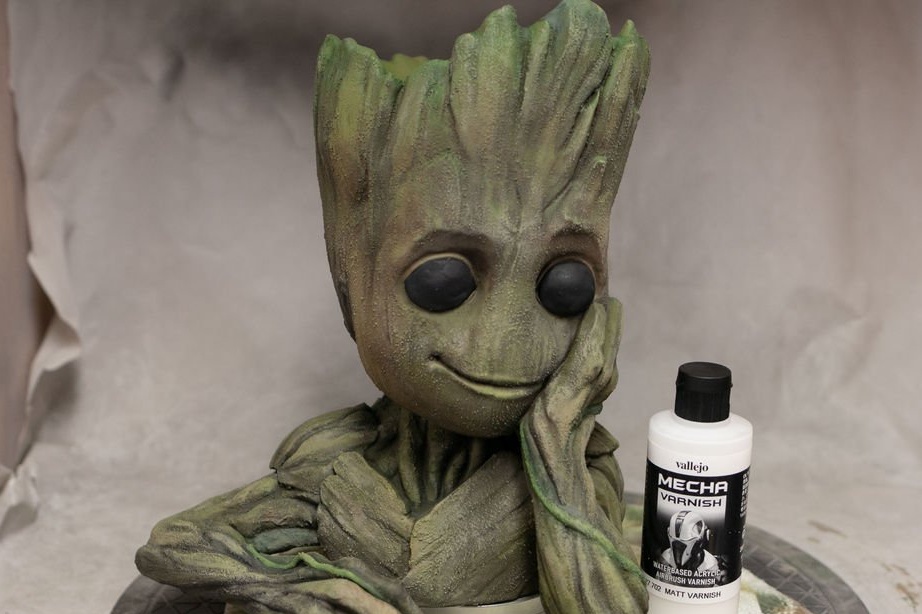
After the paint dries, the master applies, first glossy, and then matte varnish.


Step Five: Flower
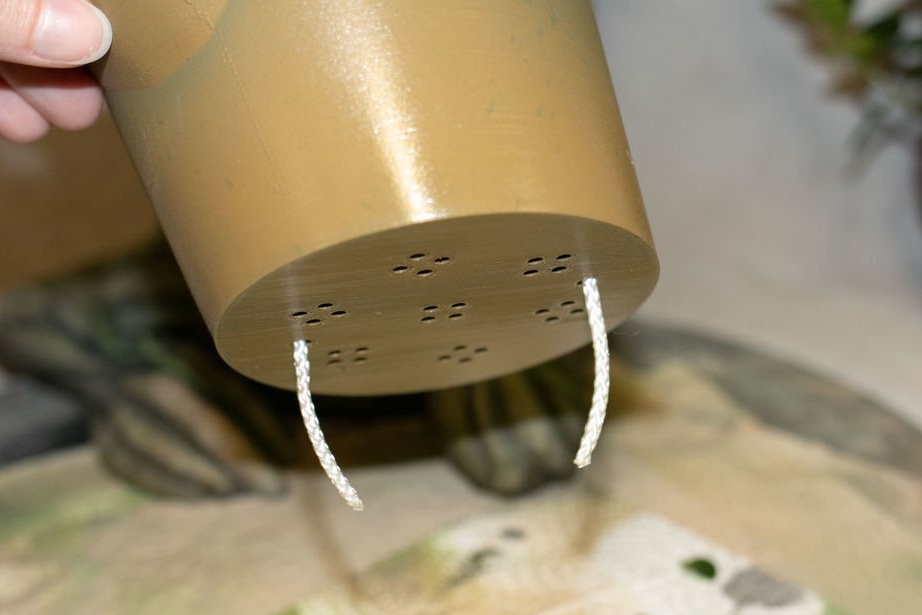
Now you need to plant a flower. The master passes the cord through the holes in the pot. The ends of the cord should hang down. Moisture will rise along the cord to the roots of the plant.

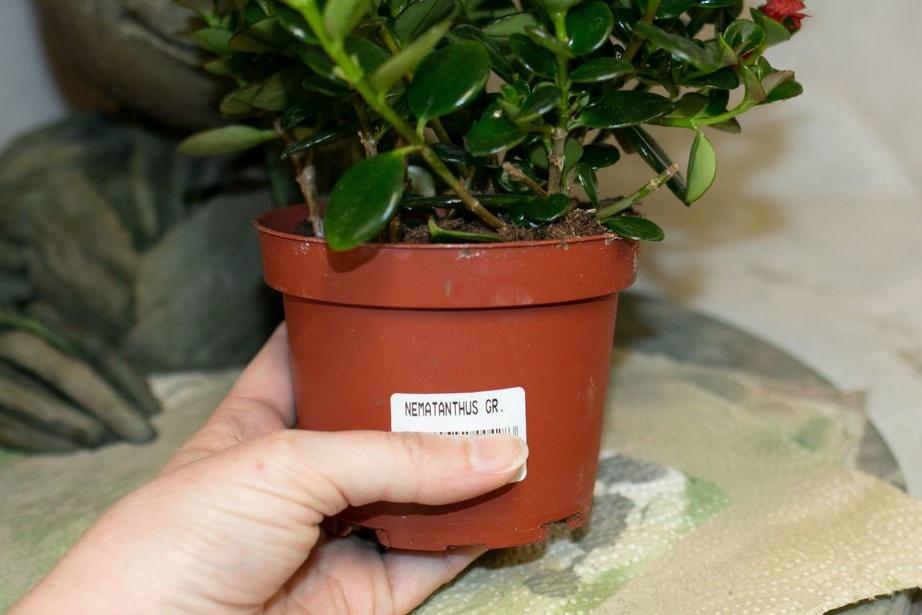
Transplants a flower in a pot.
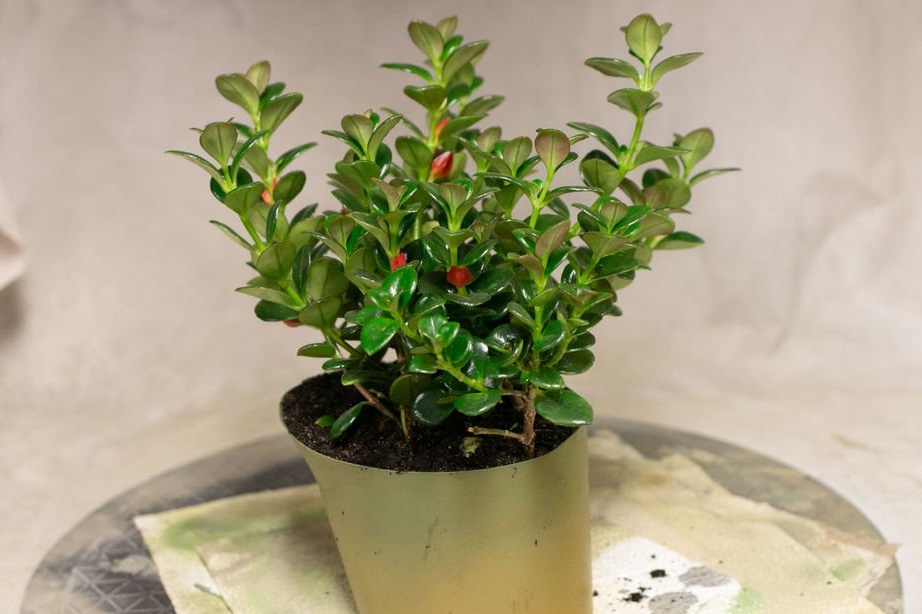
And you're done.