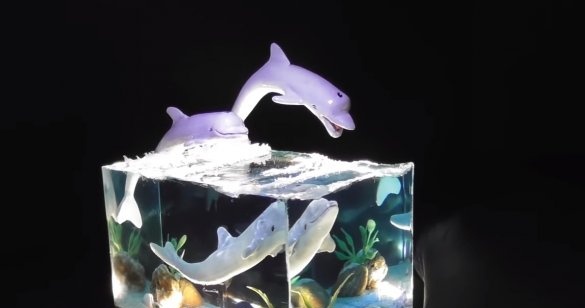
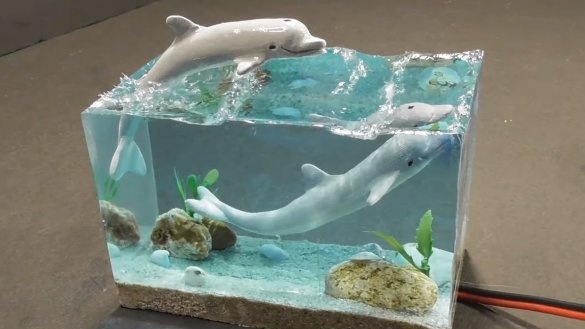
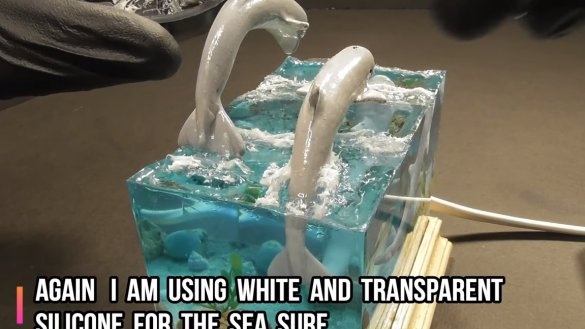
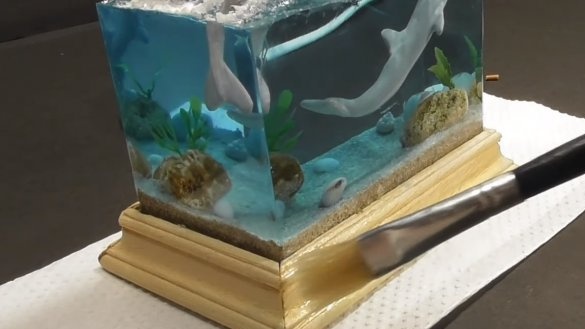
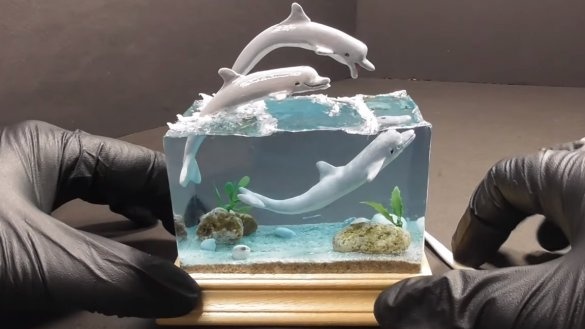
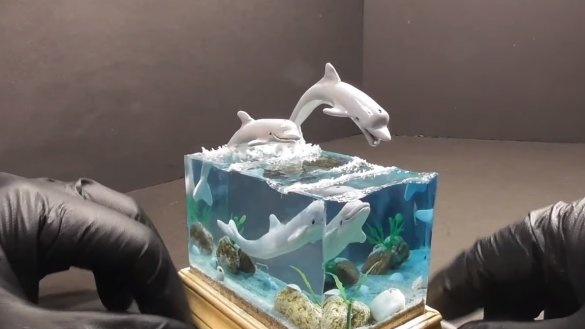
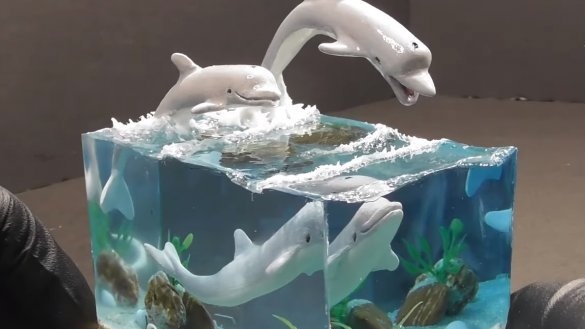
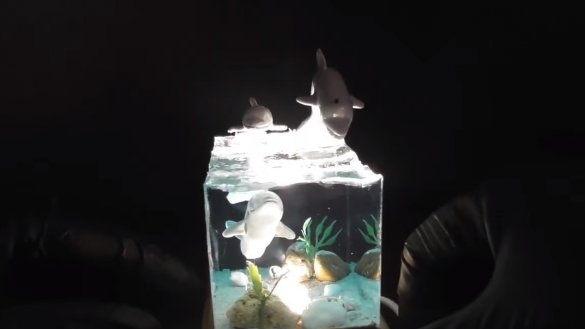
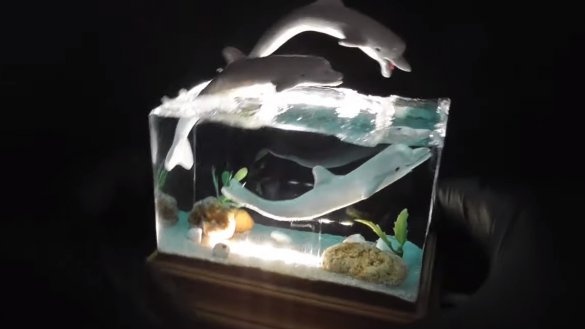
I welcome all fans to craft, today we will consider how to make a unique nightlight that will create a cozy atmosphere in your home. Homemade represents dolphins, which the author poured into epoxy. Homemade looks very interesting, but not difficult to manufacture. The author made dolphins from polymer clay, and the waves can be formed using an acrylic texture gel or the like. If you are interested in such a project, I propose to study it in more detail!
Materials and tools used by the author:
Material List:
- polymer clay;
- acrylic paint;
- plexiglass for formwork;
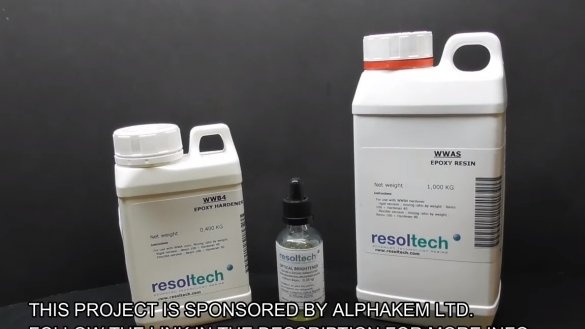
- epoxy resin for pouring;
- sea or quarry sand;
- decorative algae;
- pebbles or pebbles as desired;
- some wood for the base;
- LED strip or LEDs.
Tool List:
- glue gun;
- stationery knife;
- ruler;
- a tool for modeling;
- glue hardening from ultraviolet radiation;
- belt grinding nozzle on the grinder;
- soldering iron.
Homemade manufacturing process:
Step one. Dolphin sculpting
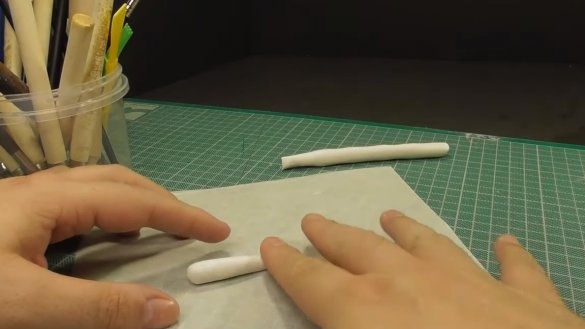
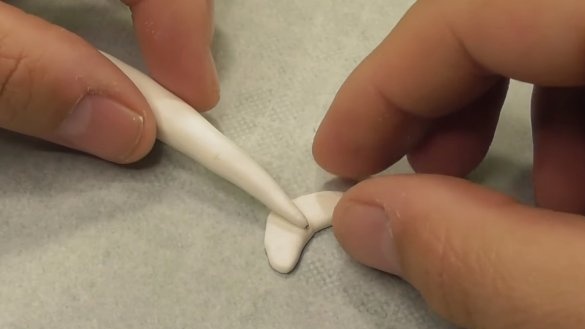
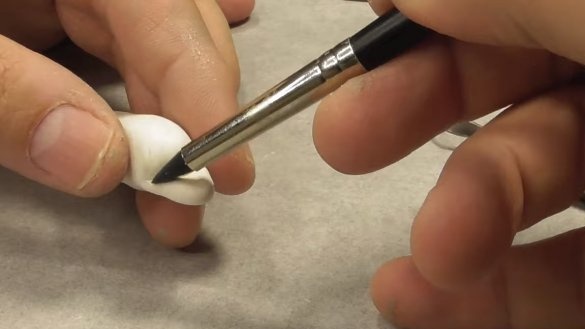
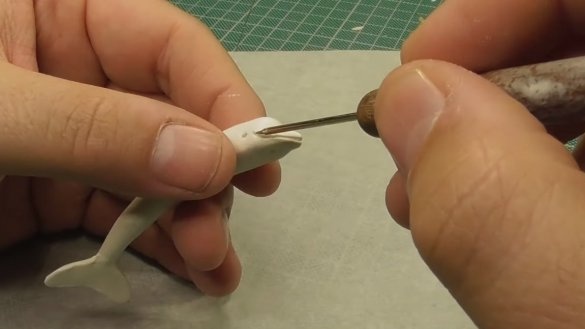
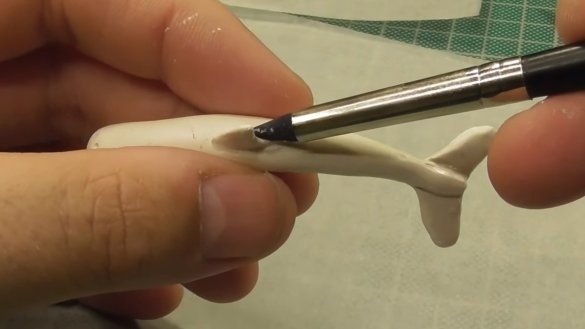
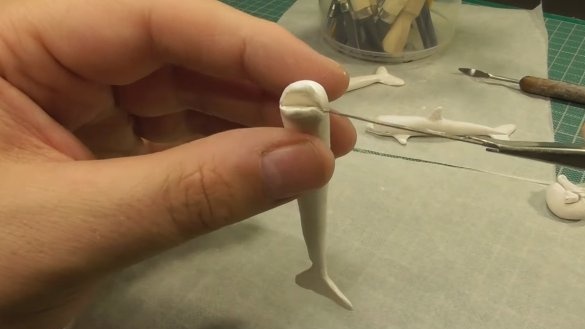
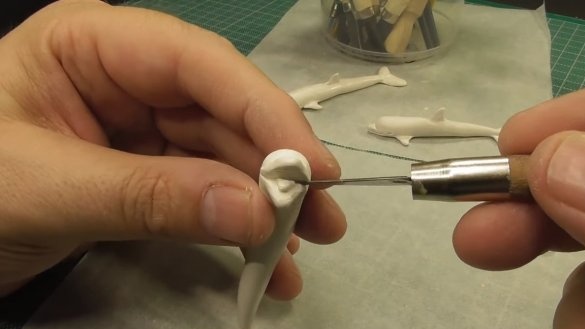
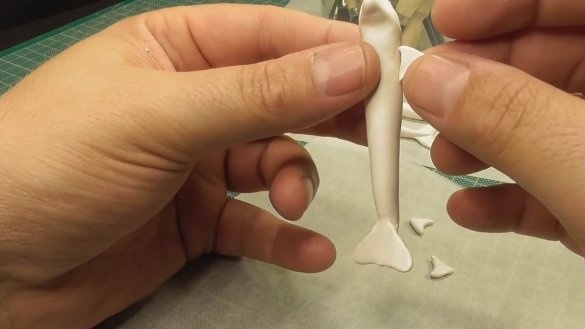
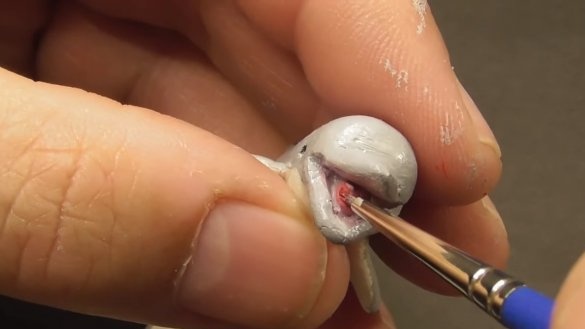
We start making nightlights with dolphins, for the manufacture we need polymer clay. To begin, we sculpt the body, and then we attach separately made fins and tail to it. With a special tool auto forms the eyes, nose and other details of the dolphin. If desired, the dolphin can open his mouth with a clerical knife, we also insert the tongue if necessary.
the finished product is sent to the oven, the clay needs to be baked for 30 minutes at a temperature of 110 ° C, after which it will harden.
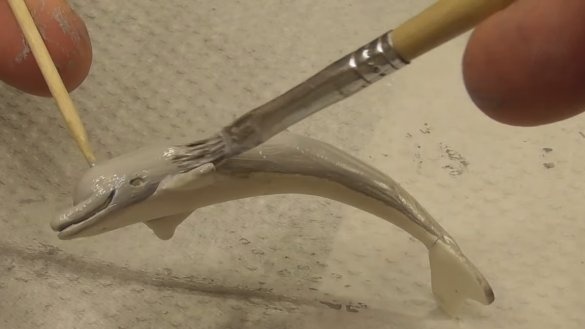
Further dolphins will remain to colorize. The author uses acrylic paints as a dye. Products are quite interesting.
Step Two Preparation and Filling
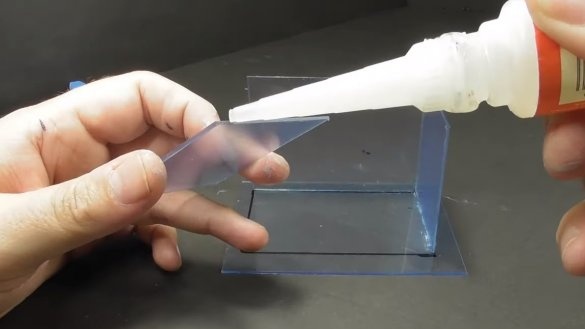
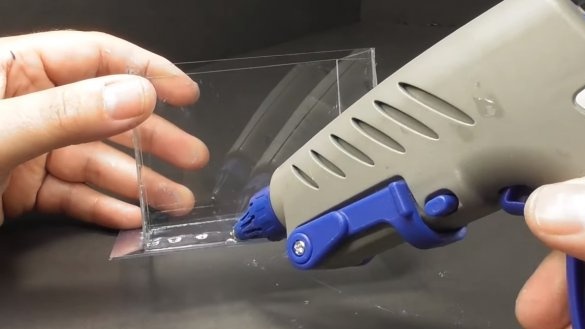
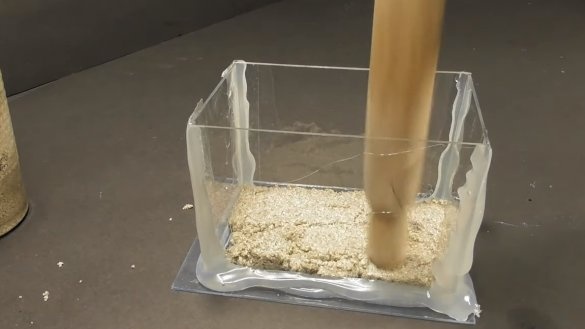
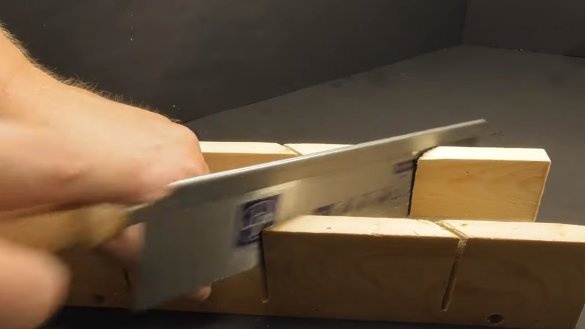
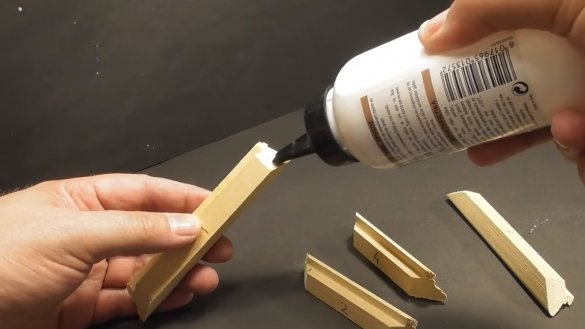
We are preparing the formwork for pouring epoxy resin, here we need acrylic. We cut the material with a clerical knife and glue the formwork on superglue. Next, we tightly seal the joints with a glue gun.
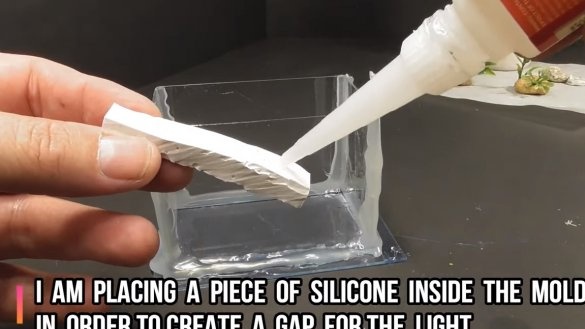
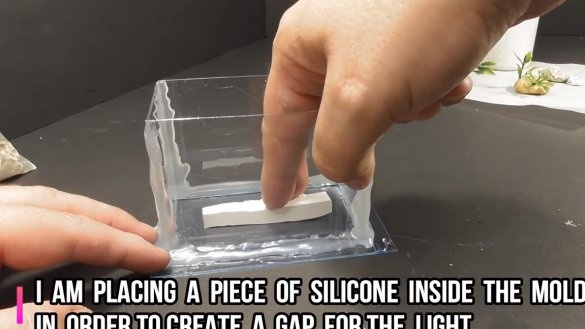
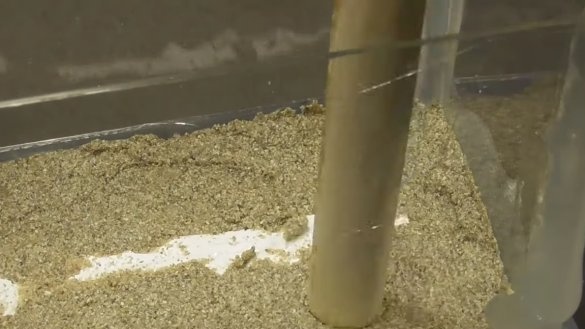
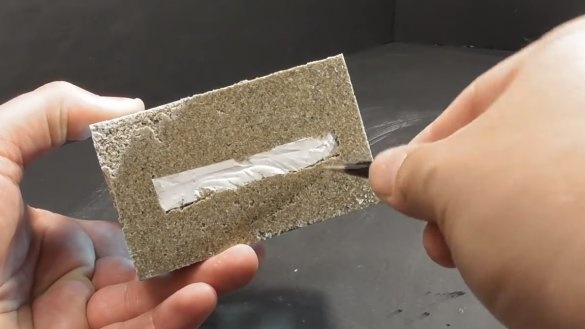
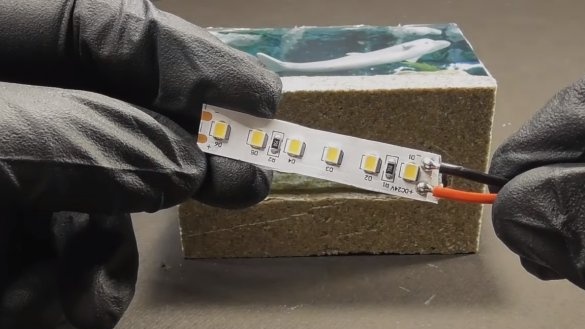
At the bottom of the formwork in the center we lay an elongated piece of silicone, under it there will be LEDs. You can form the desired product with a glue gun or using plumbing sealant.
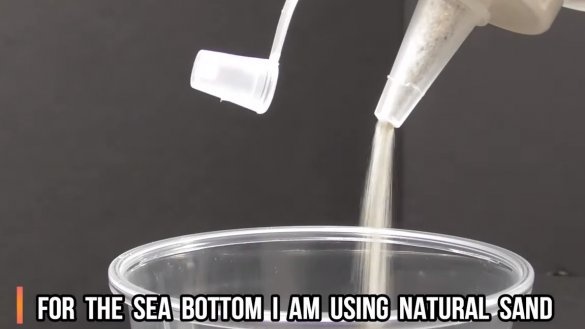
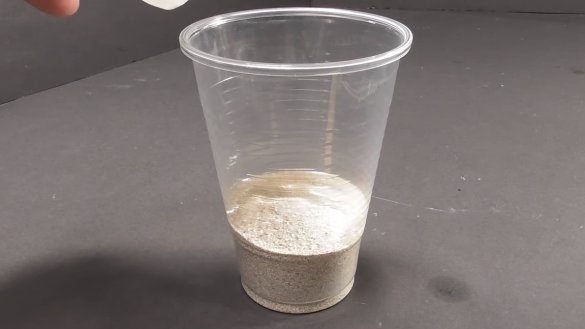
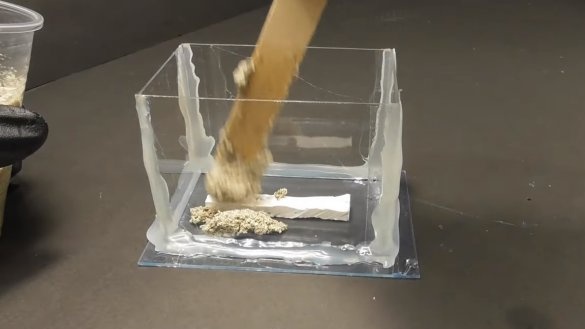
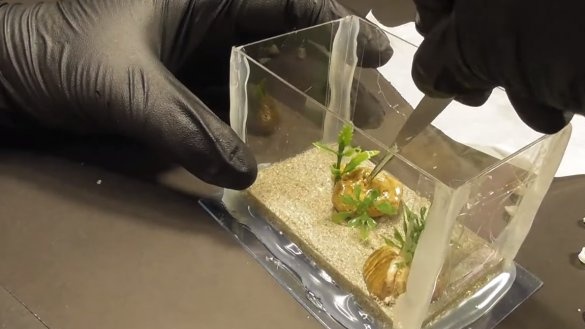
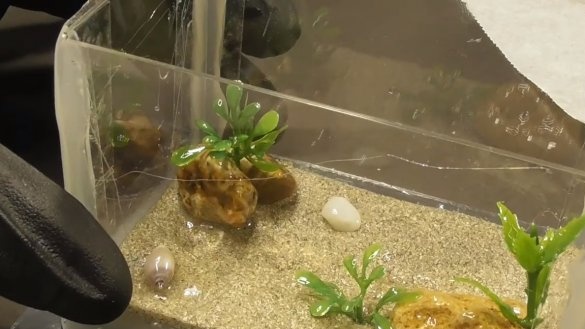
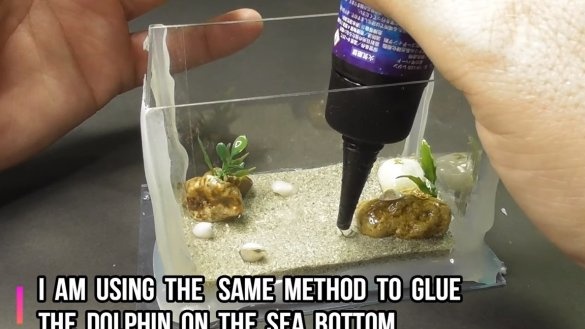
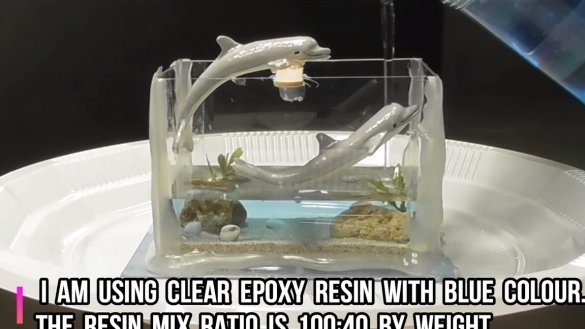
Then you need to lay the sand on the bottom, to start, mix the sand with epoxy glue, you should get a homogeneous mass. We lay the sand on the bottom and give it a relief to your taste. Do not forget to remove the sand from the central part of the silicone, it will glow.In addition, we place pebbles on the bottom as a decor and fasten decorative algae.
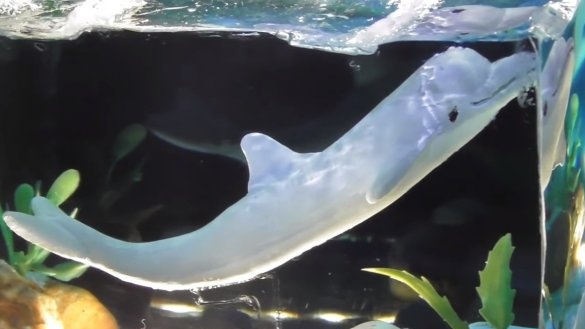
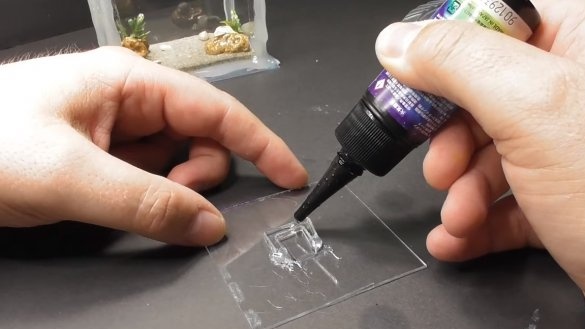
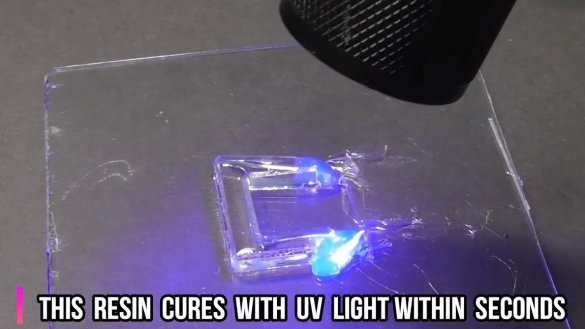
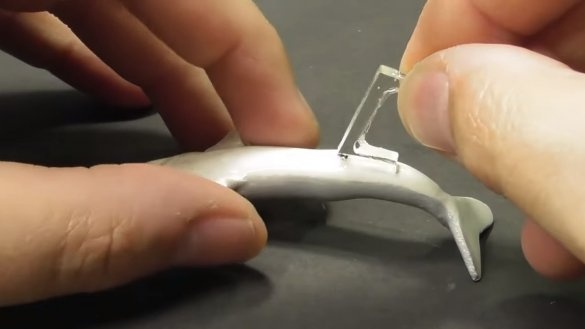
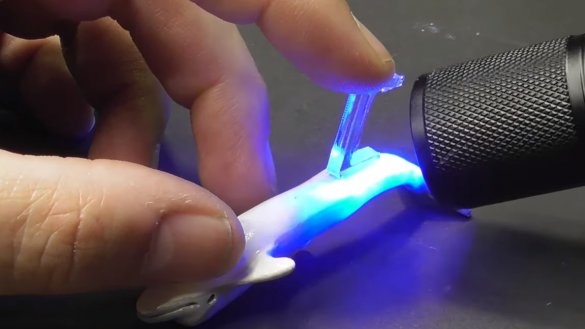
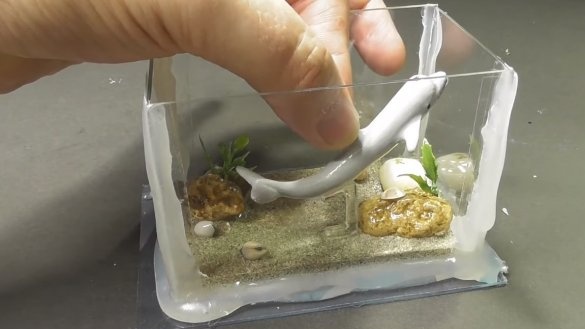
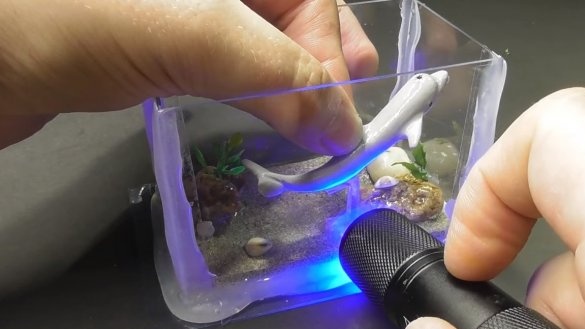
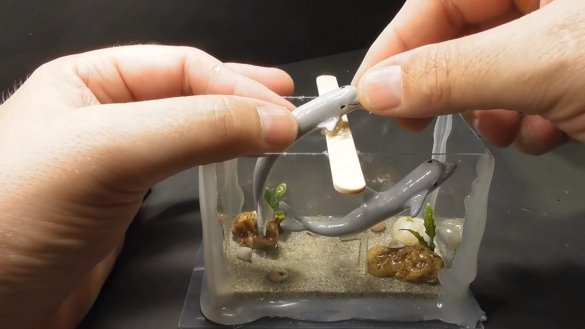
In the end, it remains to install dolphins in the form, for the installation of the lower dolphin, the author made a special bracket made of epoxy resin. When the formwork is flooded, this fixture should no longer be visible.
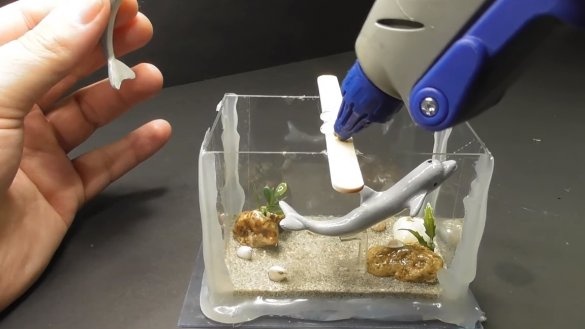
As for the upper dolphin, we fix it with hot glue and an ice cream stick. When everything is ready, epoxy can be poured into the formwork.
Step Three Waves, base and assembly
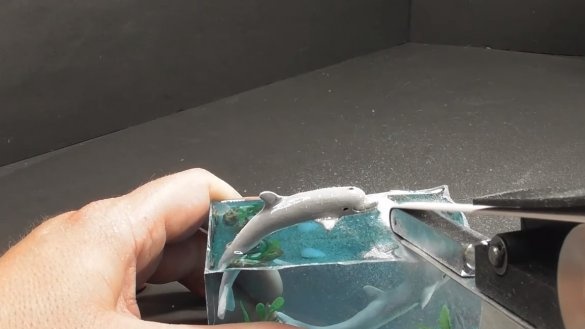
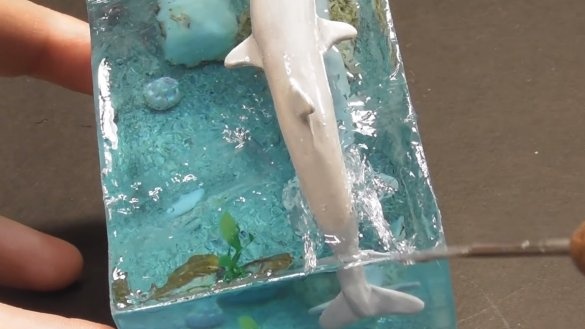
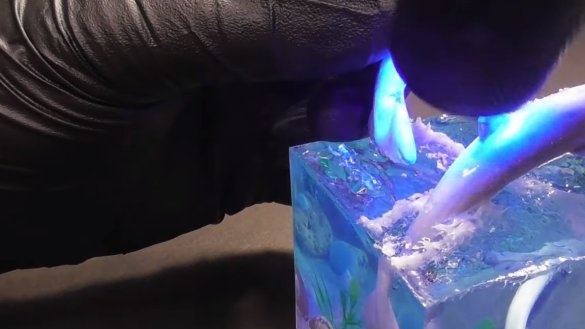
When the resin hardens, remove the formwork, now we need to refine the upper part, namely, we need to form waves. The author uses a belt grinding nozzle for a grinder, and waves were formed to her. You can also work with files or a drill. Then a layer of epoxy can be applied on top to hide the sanding points.
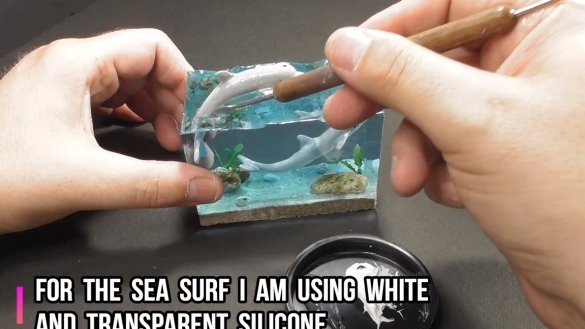
As for small waves, for their detail you can use acrylic texture gel and white dye. The third dolphin is simply glued on top with an epoxy resin, which solidifies under the influence of ultraviolet light.
As for the basics, we make a border for the lamp made of wood, and also make a place for the LED strip. We install the LEDs under the silicone insert and, if necessary, mount the switch in the base. After that, the nightlight is ready, the homemade look looks very interesting, dolphins look like alive. This is the end of the project, I hope you liked the homemade work and you found useful thoughts for yourself. Good luck and creative inspiration, if you decide to repeat this. Do not forget to share your ideas or homemade things with us!

