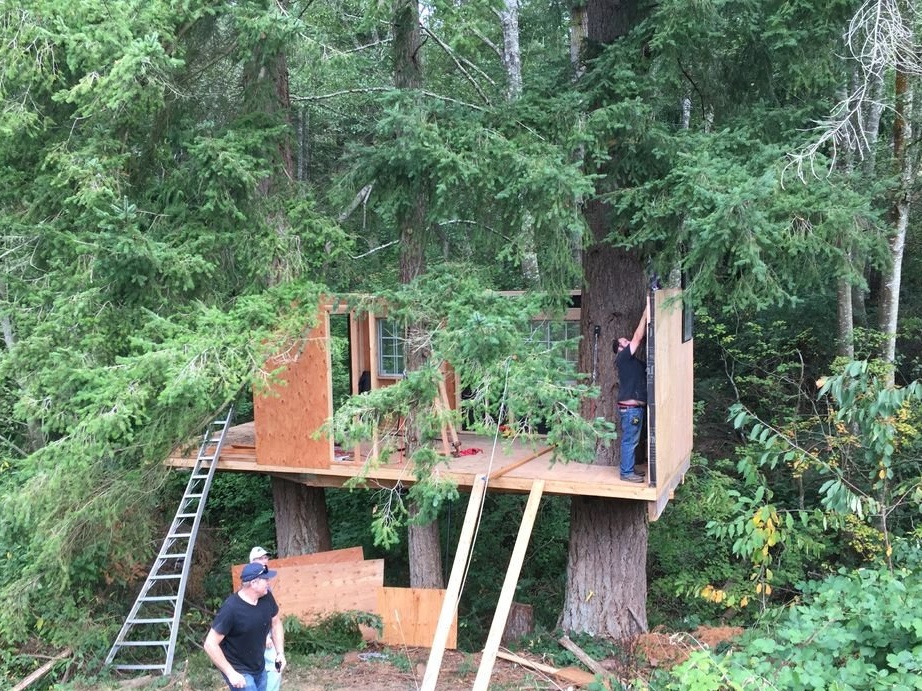
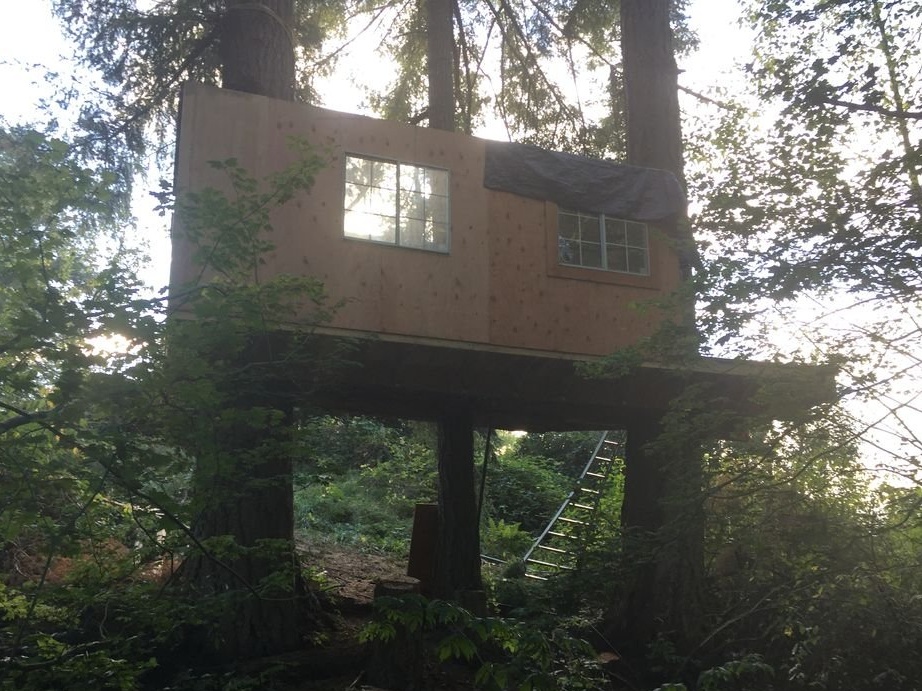
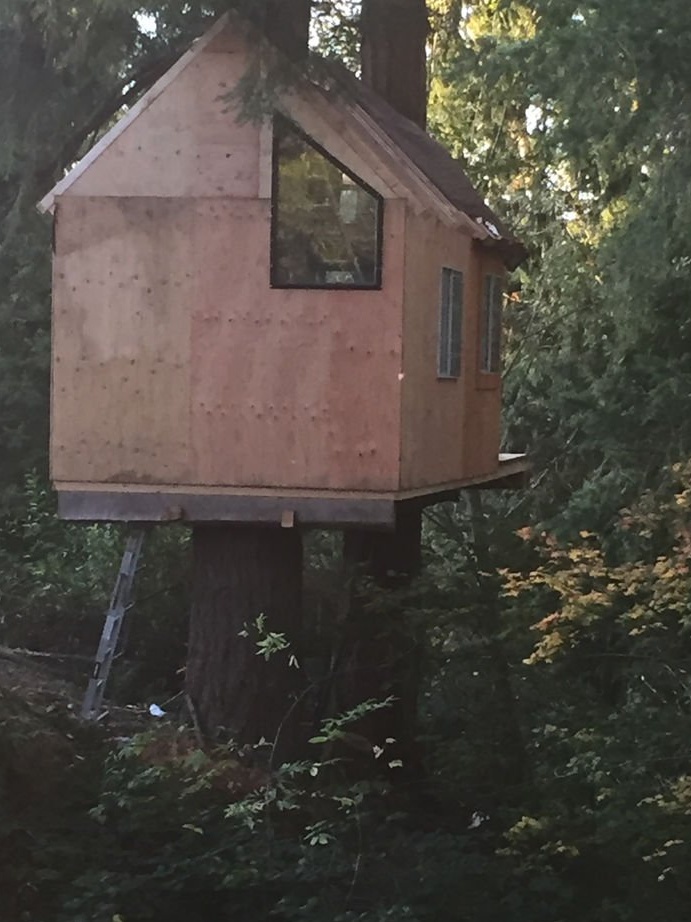
Construction The master took up this house about a year ago. The construction of a treehouse is individual, depending on the conditions, but there are general techniques. In essence, this treehouse is a house on top of a wooden frame foundation, bolted to several trees.
This article will show how this treehouse was built, some design and manufacturing problems unique to tree houses, and how each step of construction looked like.
Tools and materials;
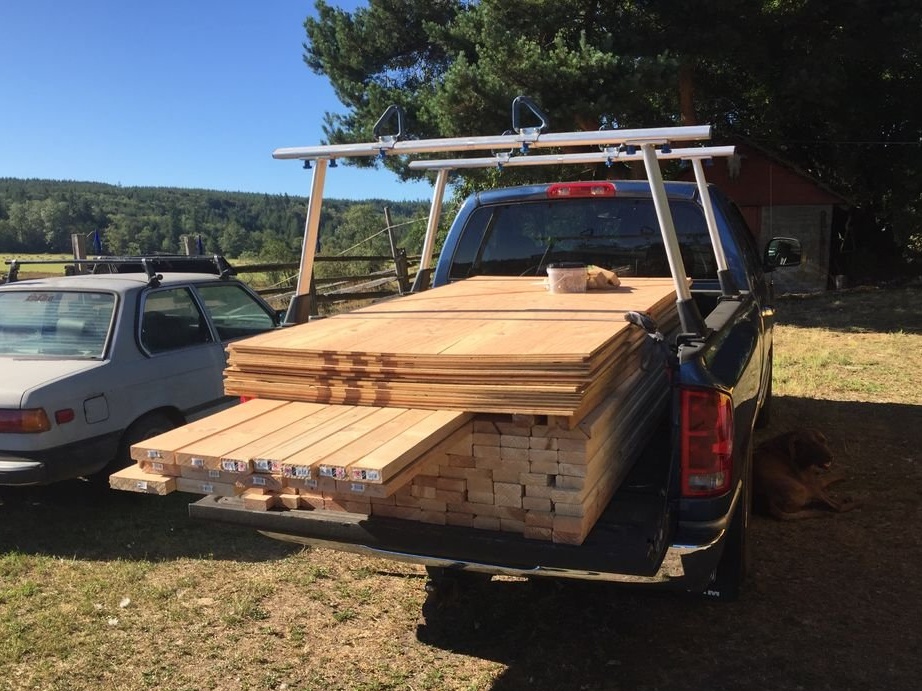
-Lumber (beams, boards, etc.);
-
-Drill;
-Drill;
-Brackets;
-Stairs;
-Rope;
- Electric jigsaw;
-Saw;
-Nails;
-Hammer;
-Pipe metal;
-Plywood;
-Heater;
- Window frames;
- Profile metal slate;
-Waterproofing material;
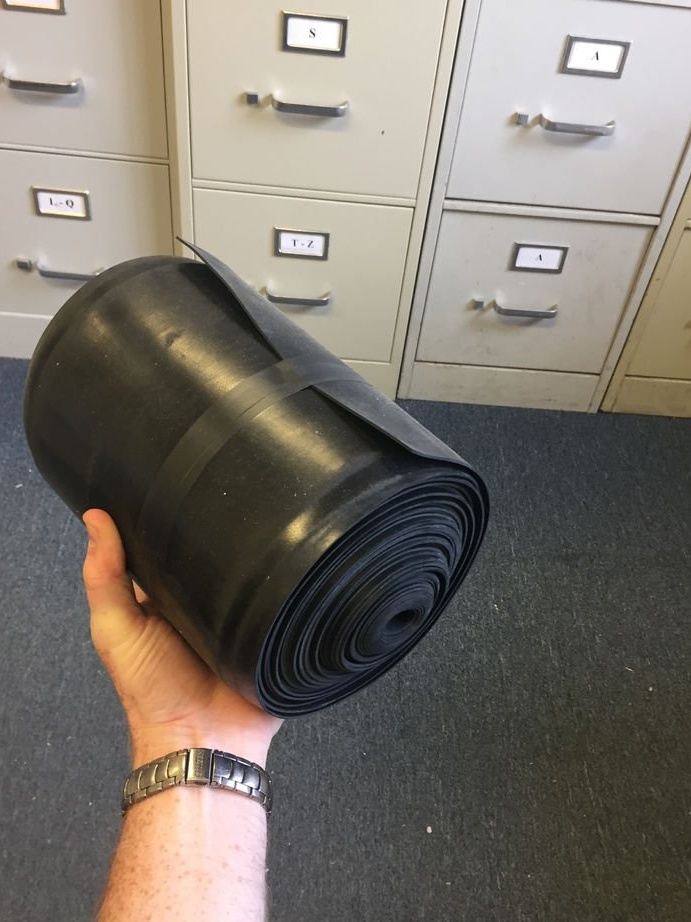
-Rubber;
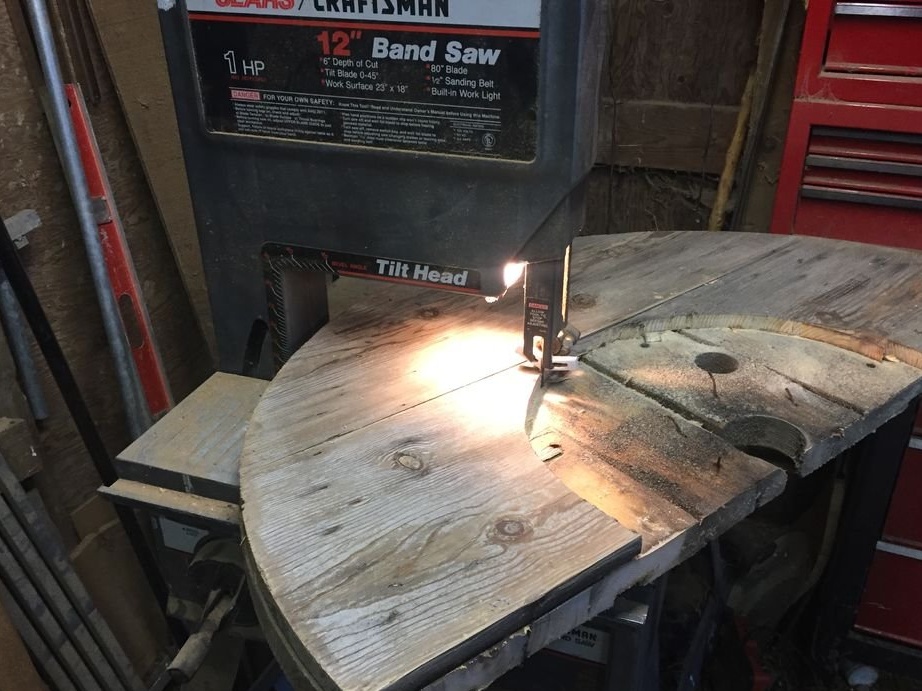
-Bandsaw machine;
-Grinder;
-Chainsaw;
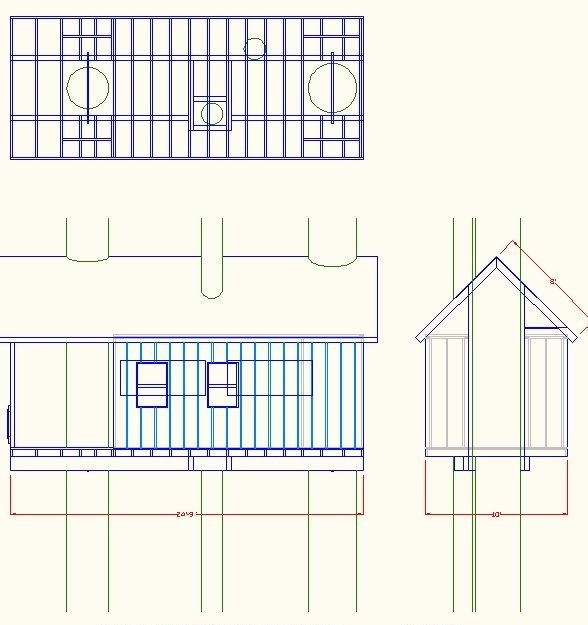
Step One: Planning
The most important part of building a tree house safely is planning. The master spent several months planning. He read various training material on such construction and watched videos. As a result, the master made the calculations and tied them to the terrain.
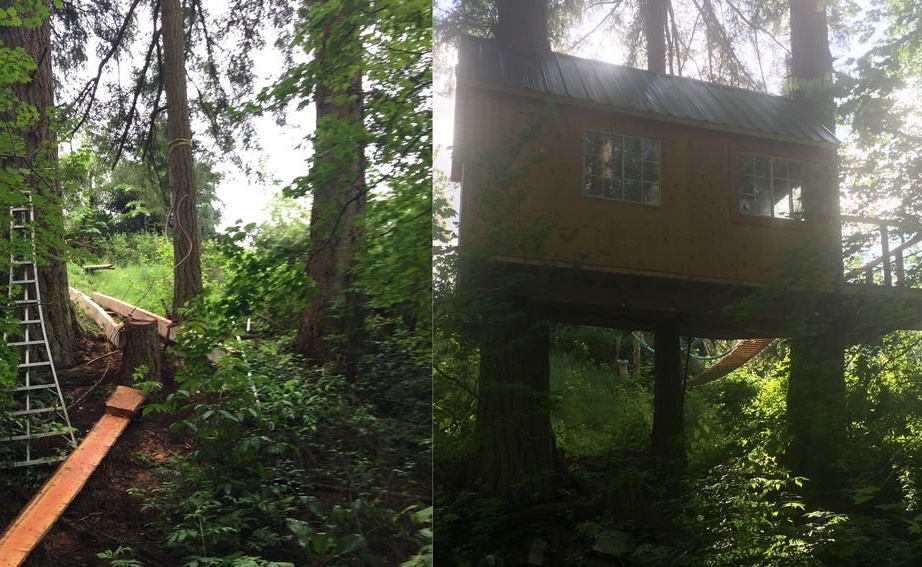
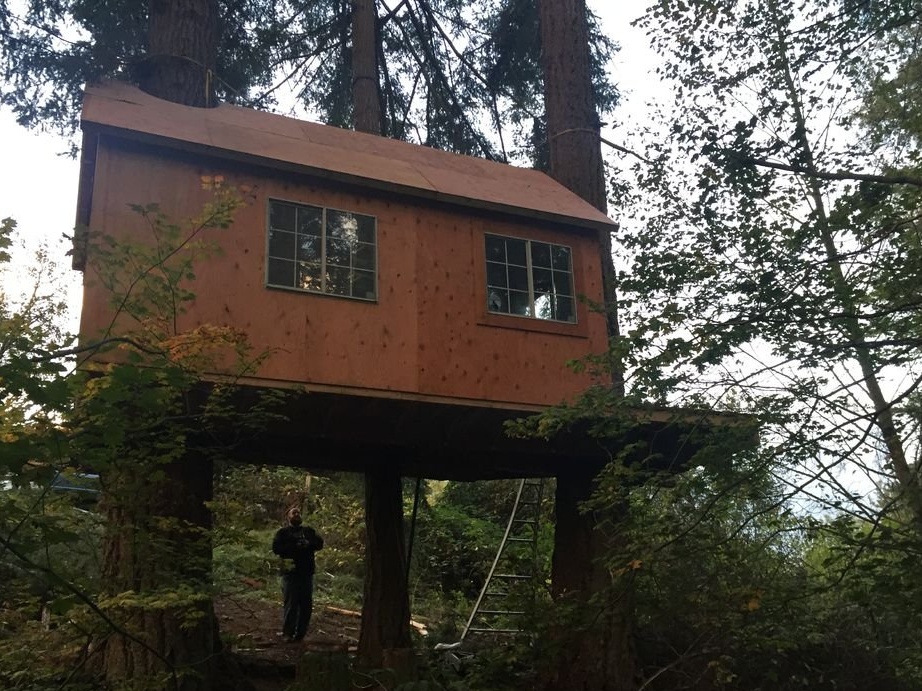
The whole structure will be supported by two trees with a diameter of 30 and 45 cm. A house will be built around these trees. Another tree grows next to the house and a wooden foundation rests on it.
It is important not to overload any of the load-bearing elements of the treehouse: mounting bolts, wooden frame, floor cantilever beams and the trees themselves.
Wind is the main problem for any treehouse. The higher the house, the more the wind will swing it. When designing, you have to take into account the strength of the wind swinging the structure, and how much each tree will swing during maximum wind.
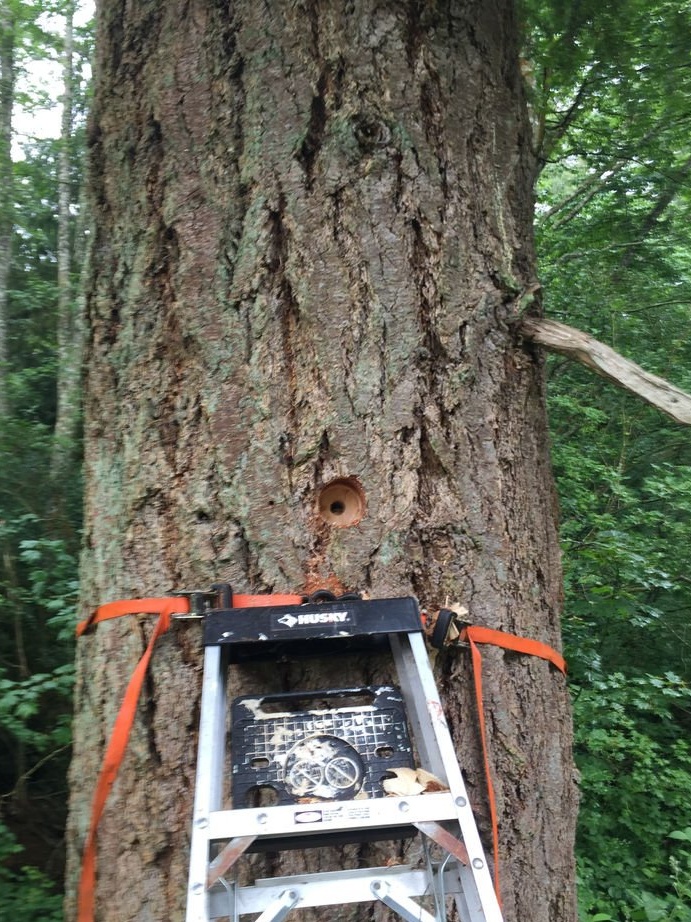
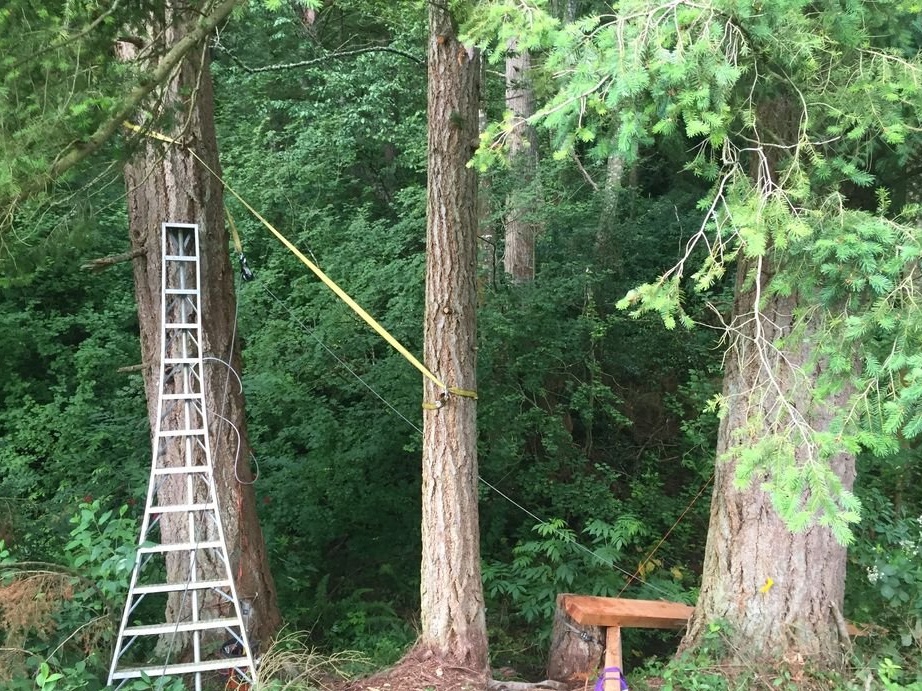
Step Two: Mount
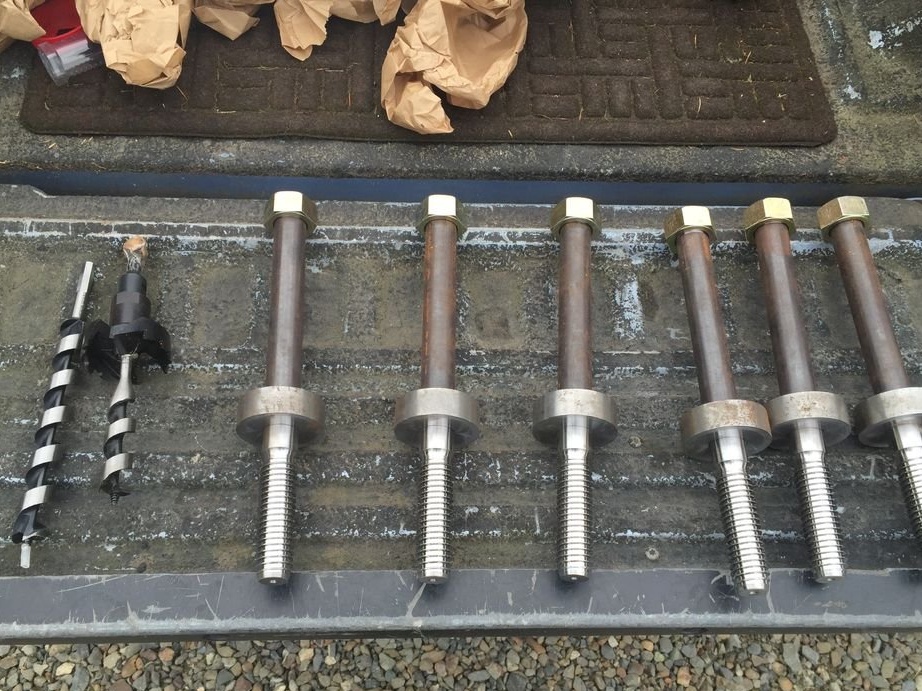
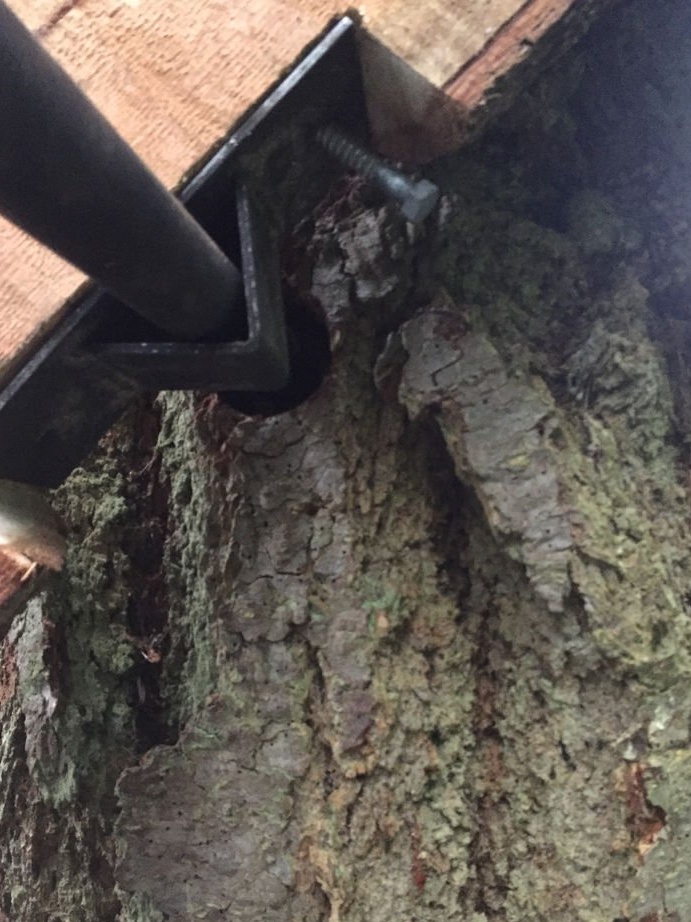
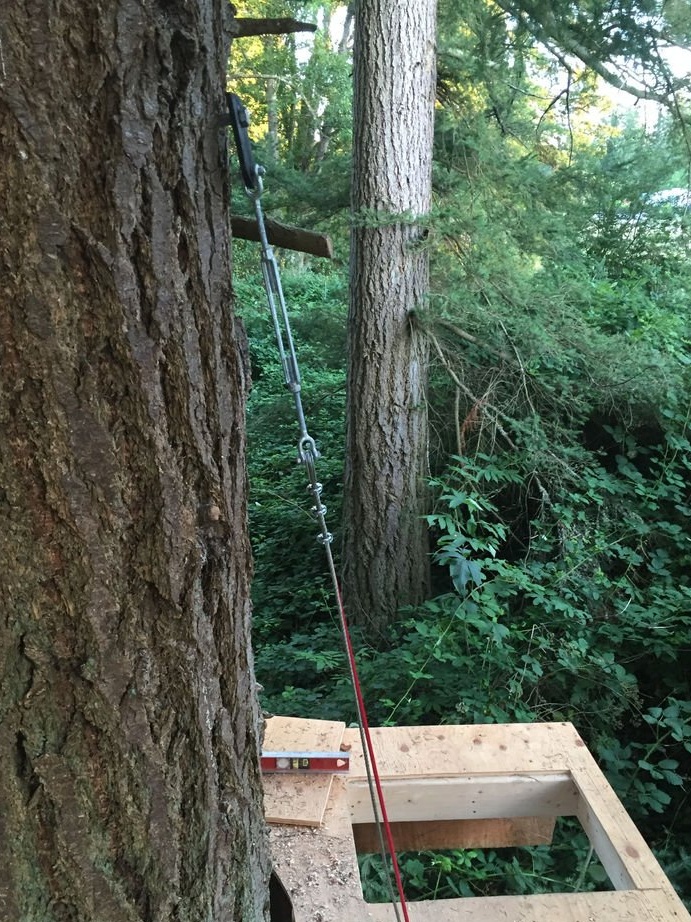
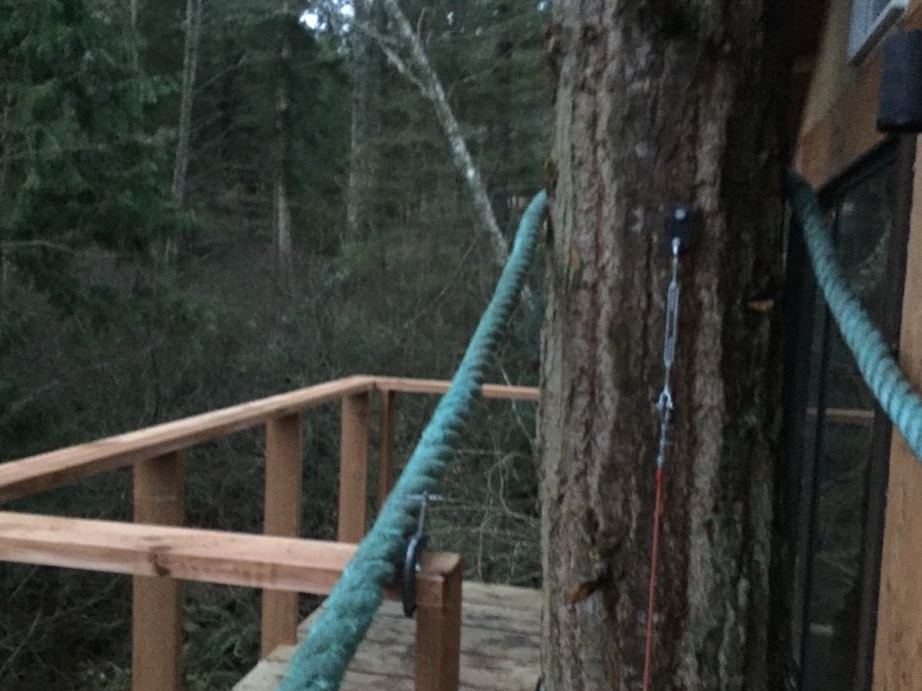
A standard method for attaching a treehouse of this size to several trees is to use a tree bolt. These bolts are specially designed for this, and they are produced only by a couple of companies. The wizard decided to use the Garnier Limb, which is designed and manufactured by Cave Junction, OR.
Each Garnier bolt can withstand about 3.5 tons, and this is more than enough for a house like the master did. His house weighs about 3 tons + 3 tons with the furniture and people.
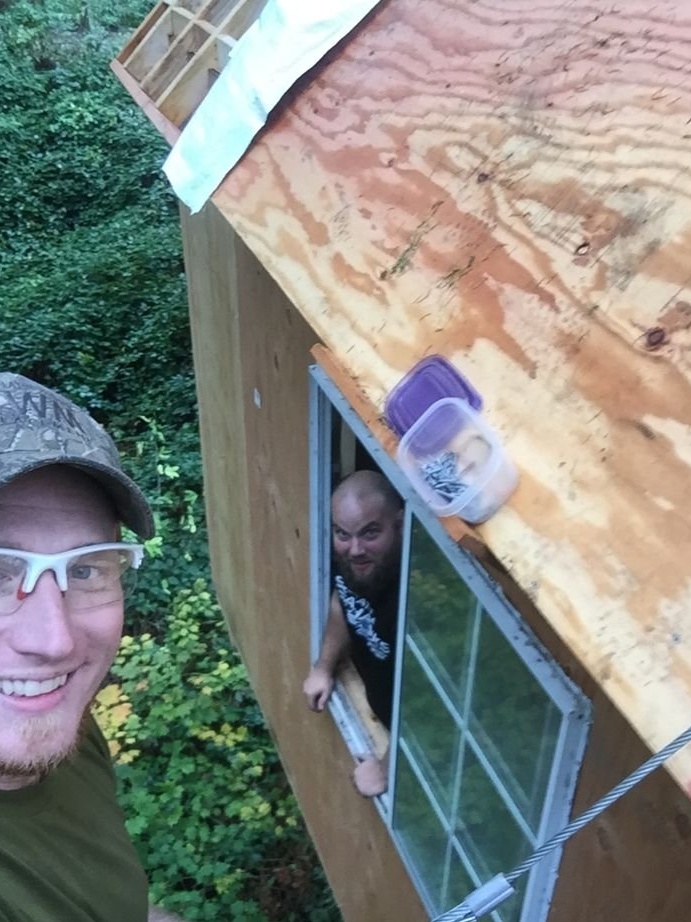
Despite the reliability of fastening, the master for insurance will fasten the structure with nylon-coated cables.
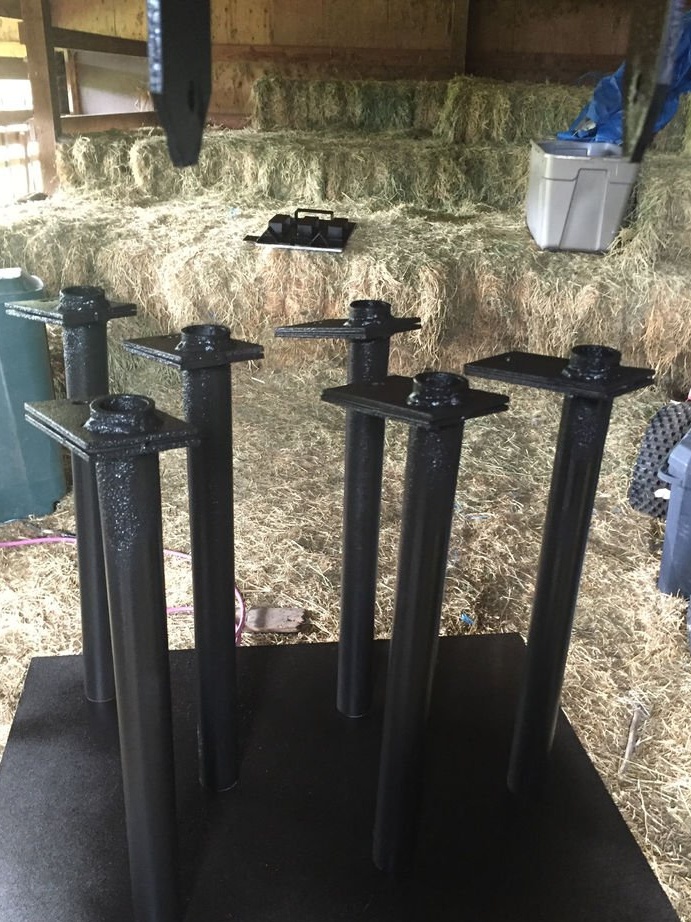
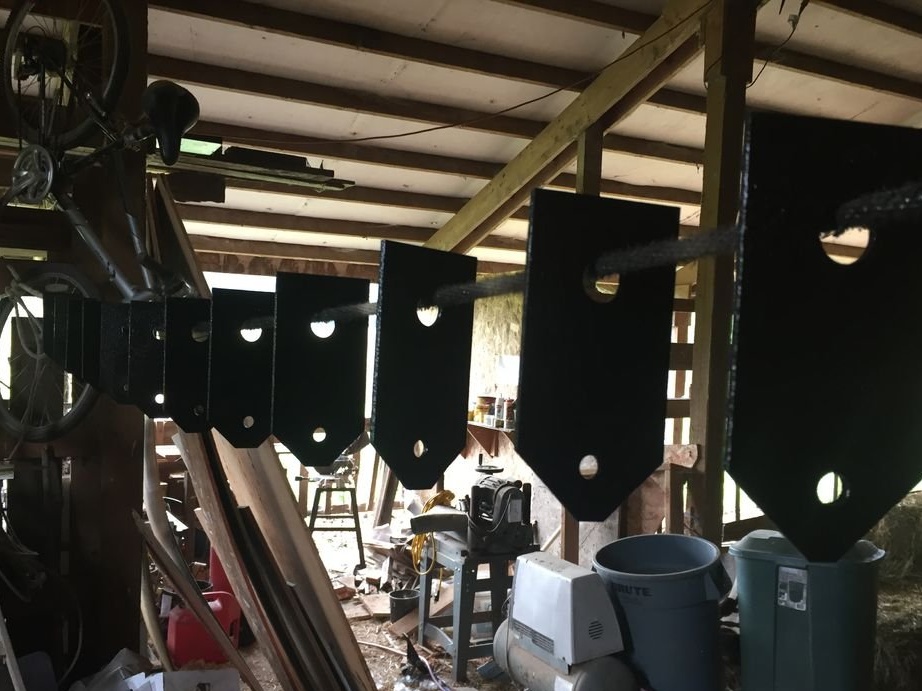
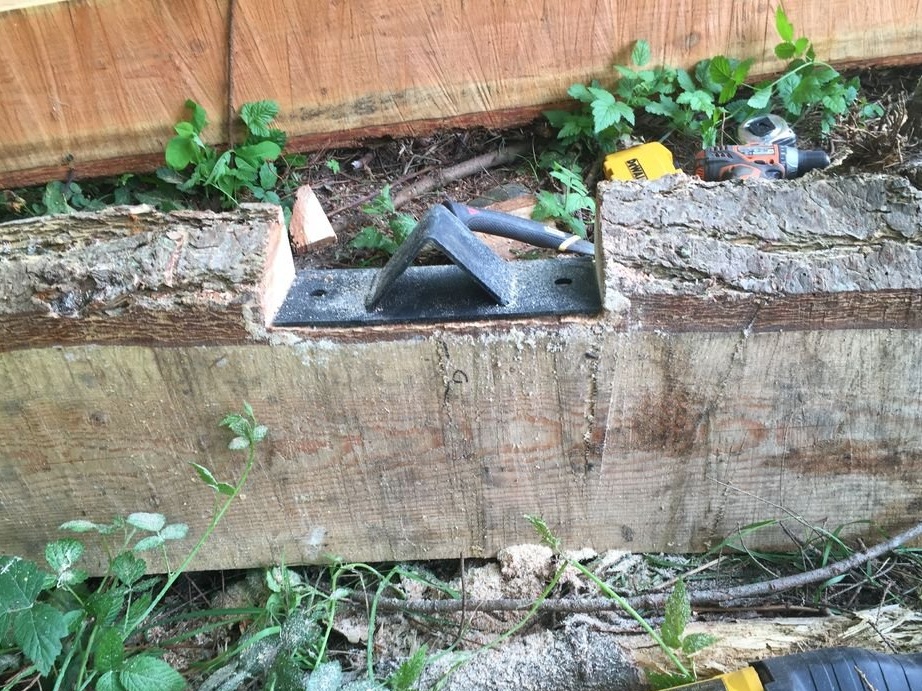
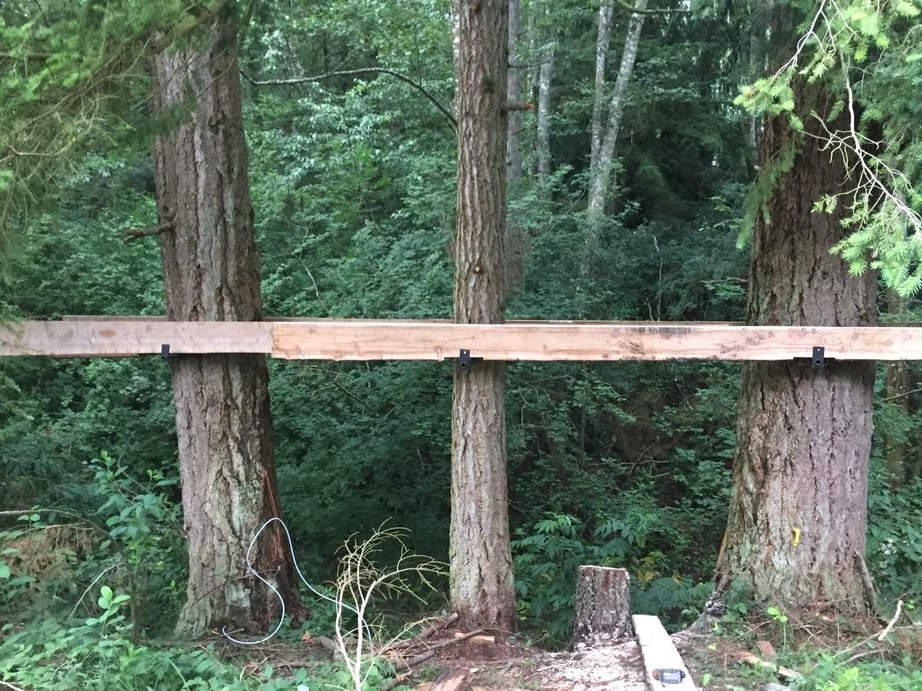
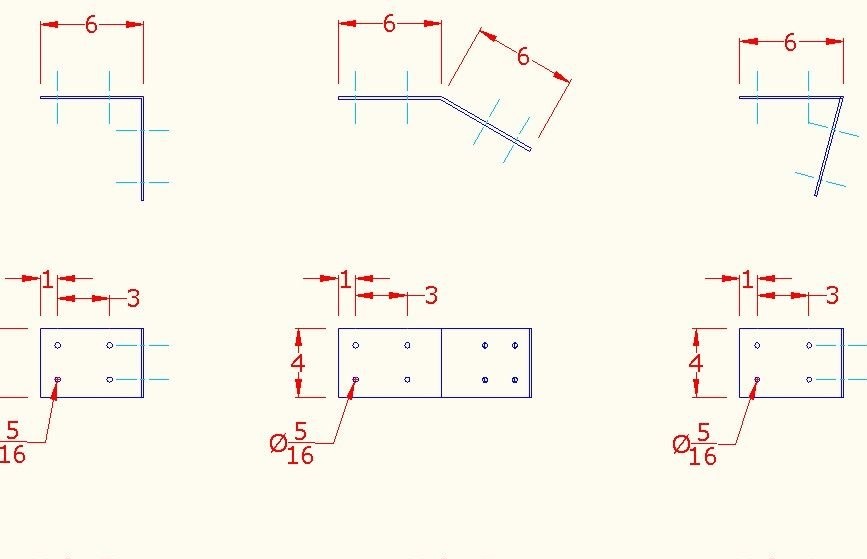
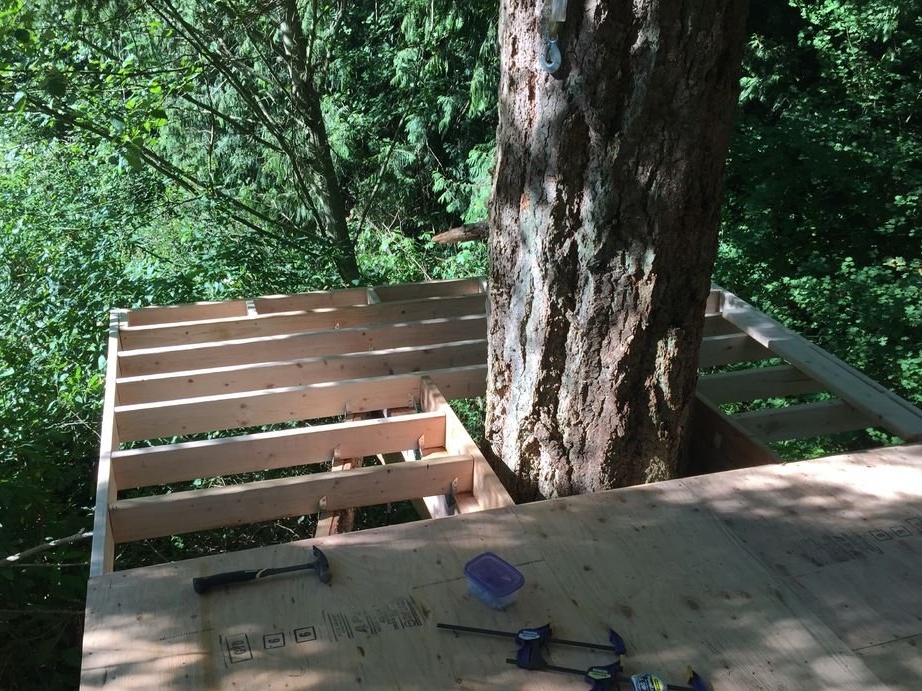
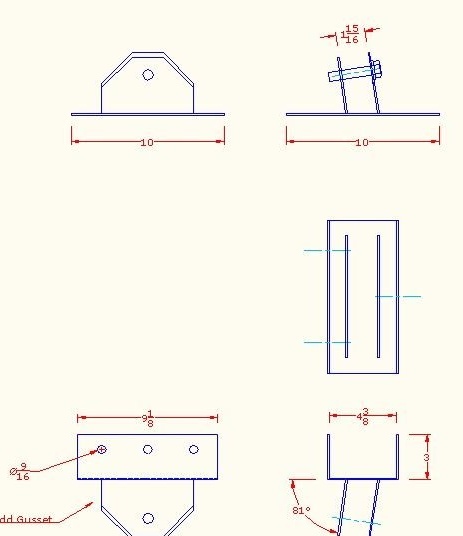
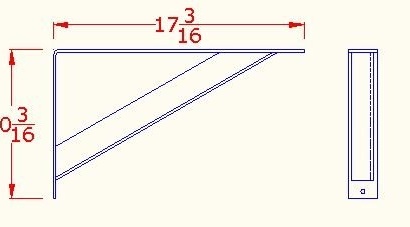
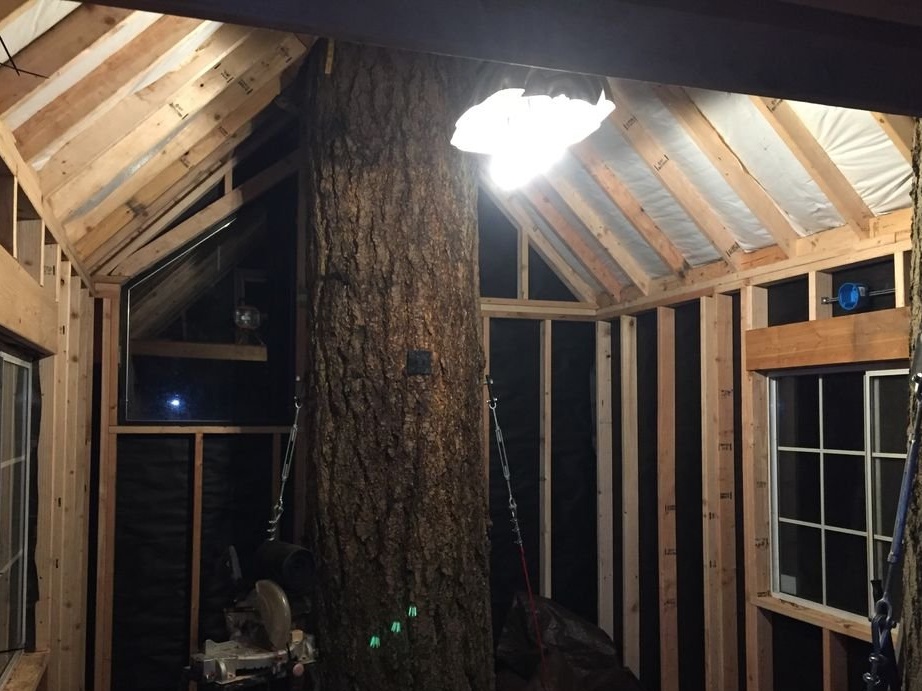
Each bolt is attached to the wooden frame of a tree house with a special bracket.There are two static brackets and four sliding brackets. Static brackets are attached to a wooden frame near the largest tree. Thus, when the largest tree moves, it moves together the entire tree house. The sliding brackets are attached to the wooden frame on smaller trees, so that the trees move synchronously with each other, the tree house floats on top of the sliding brackets. If the tree house were bolted directly to the trees without sliding brackets, a strong gale would tear the tree house apart.
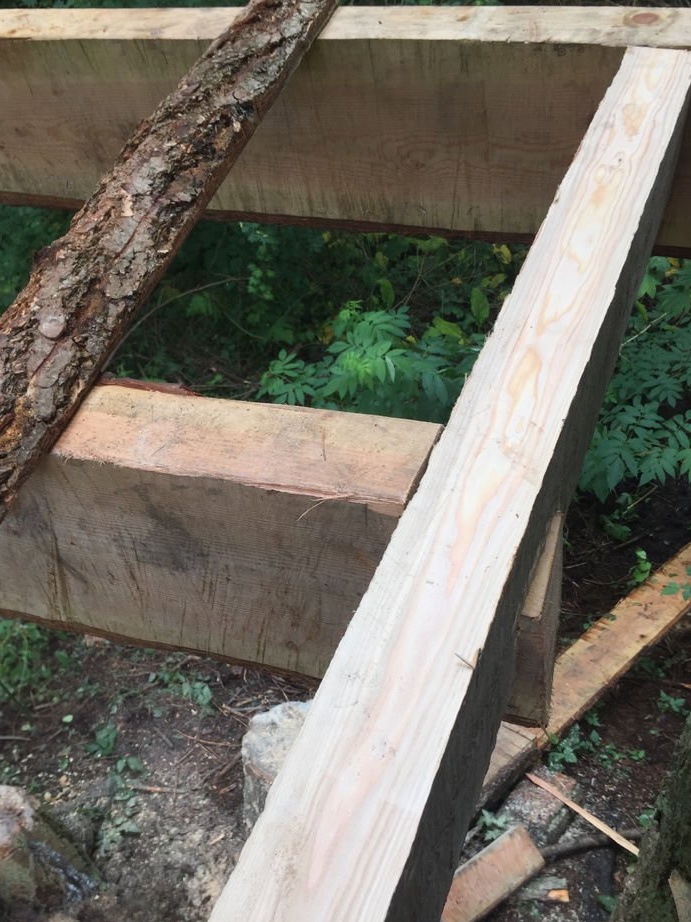
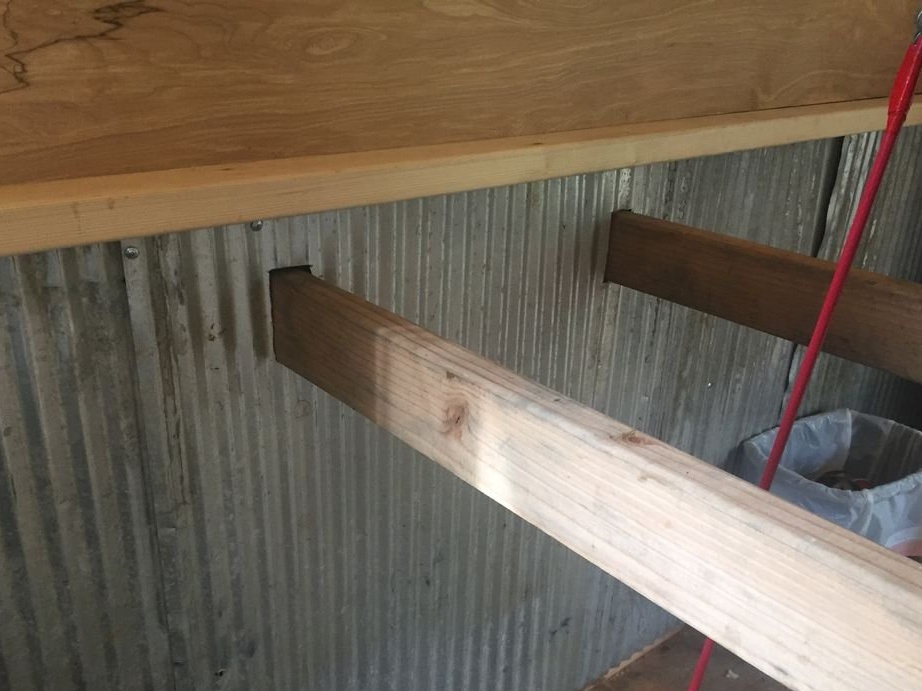
Each bar has a groove for the bracket, and the brackets are mounted using galvanized screws.
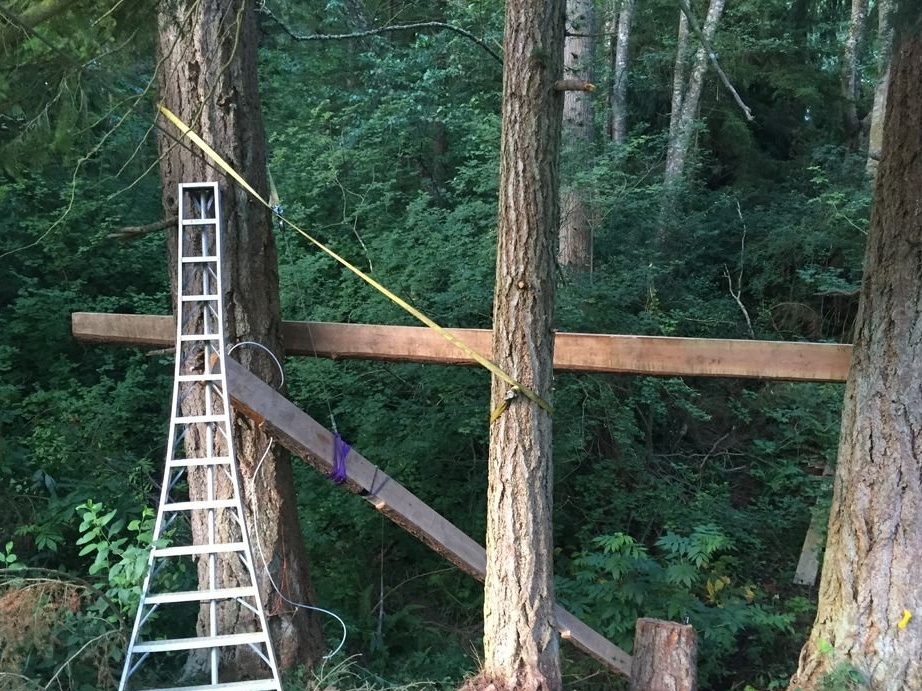
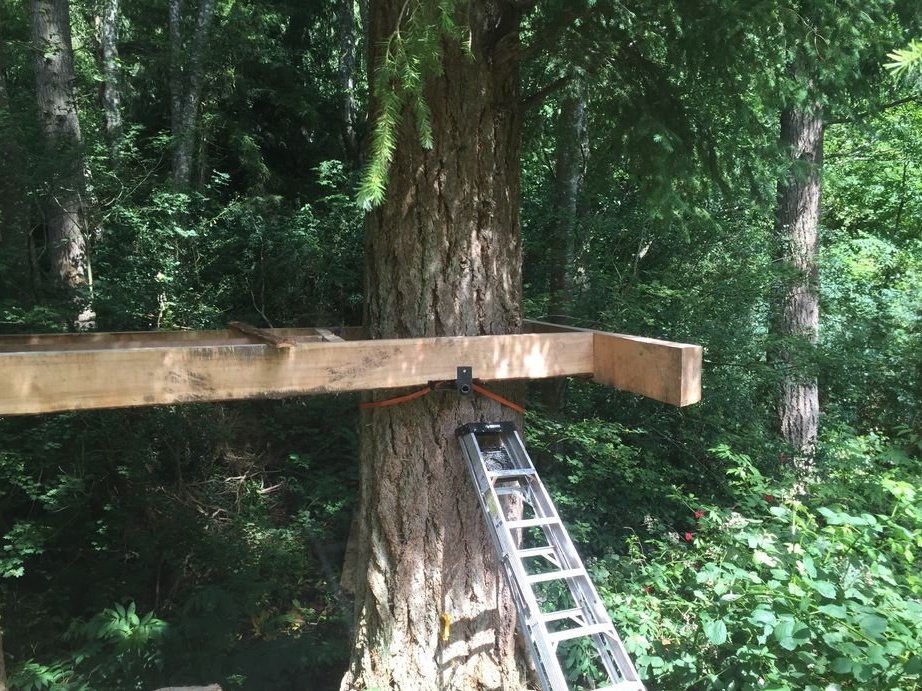
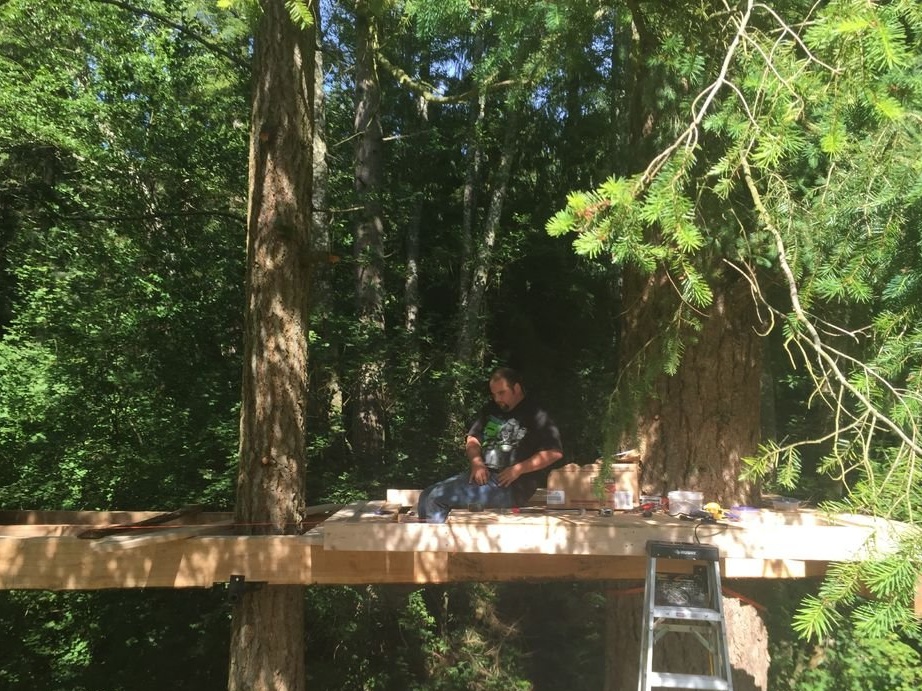
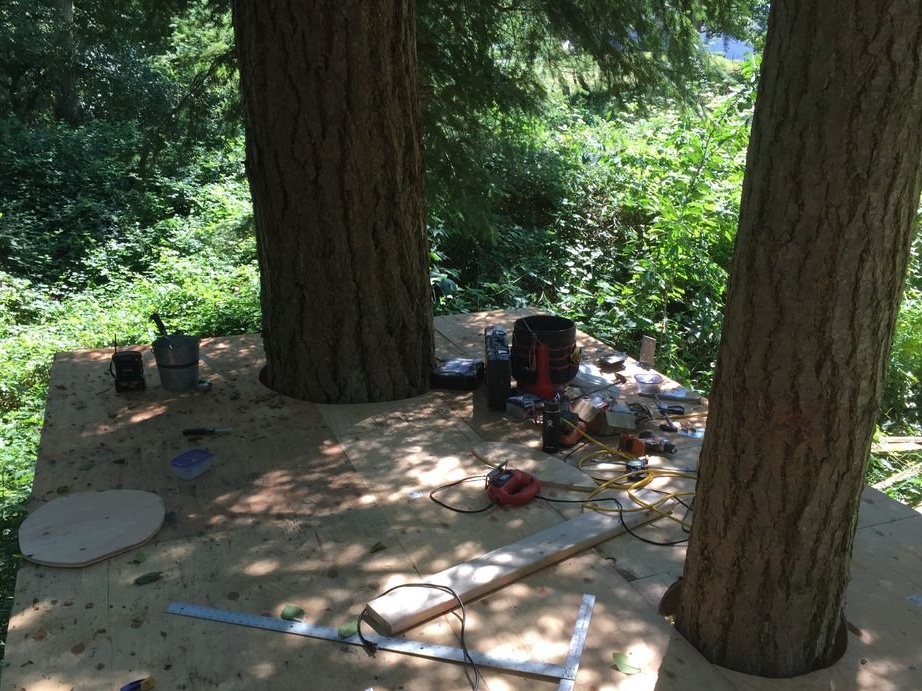
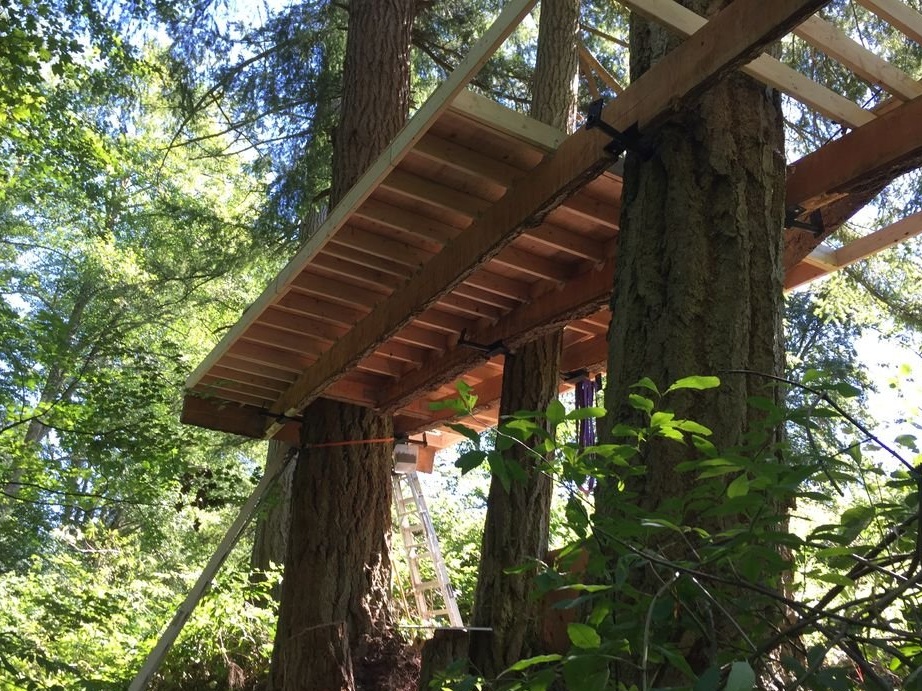
Step Three: Foundation
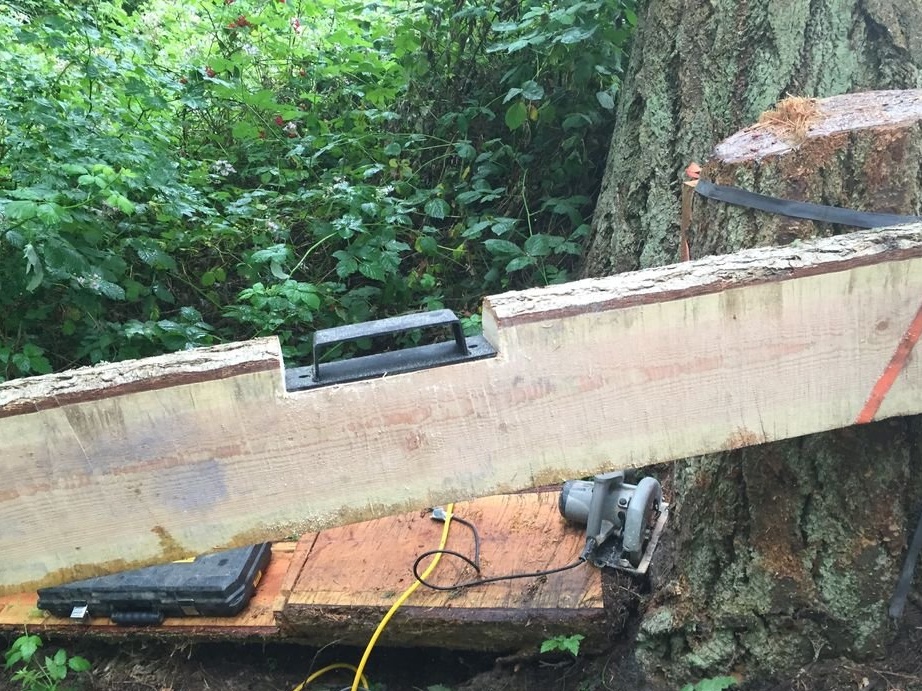
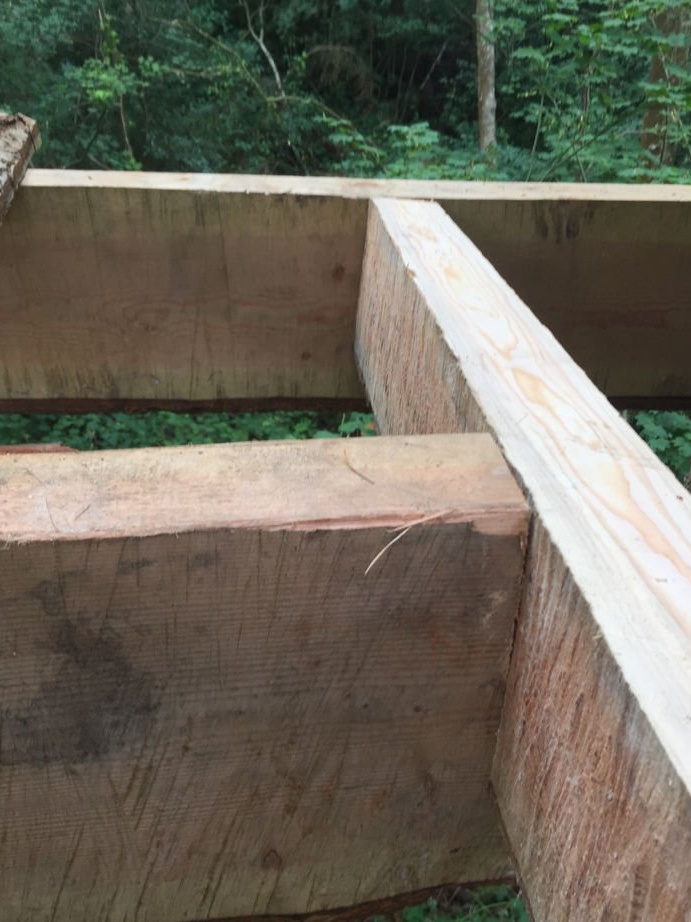
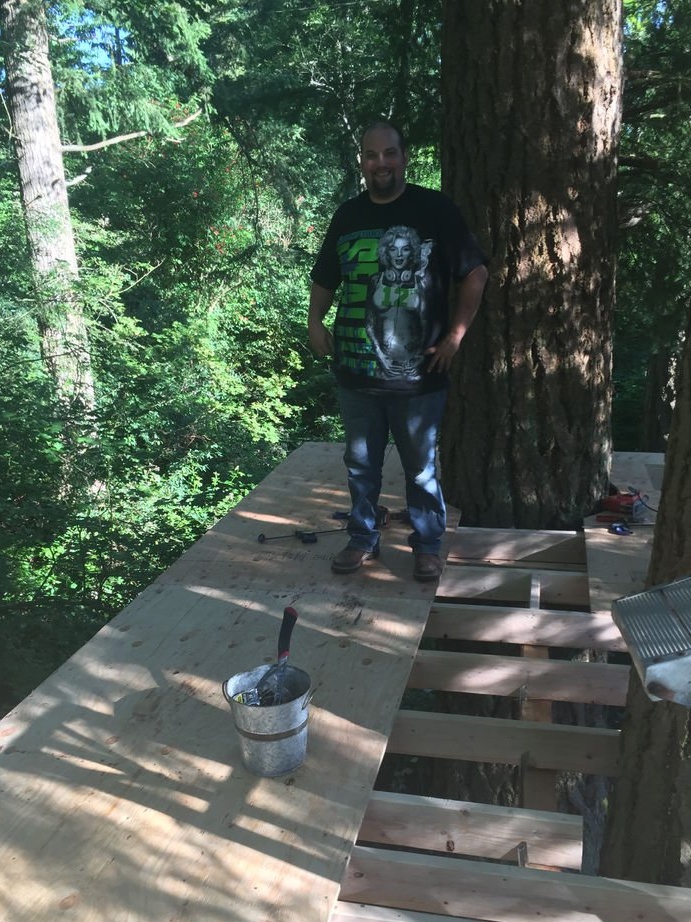
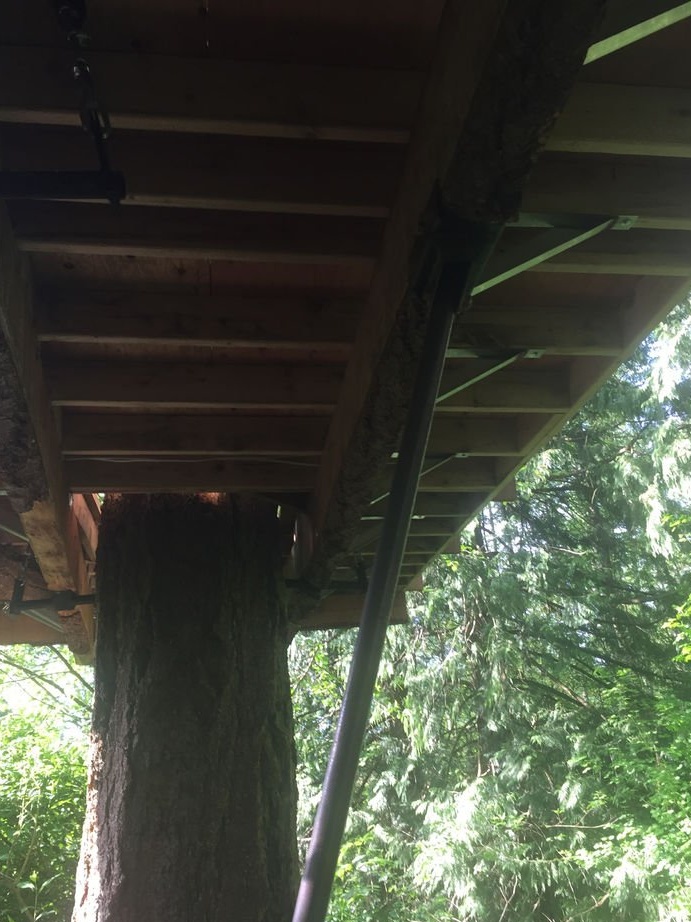
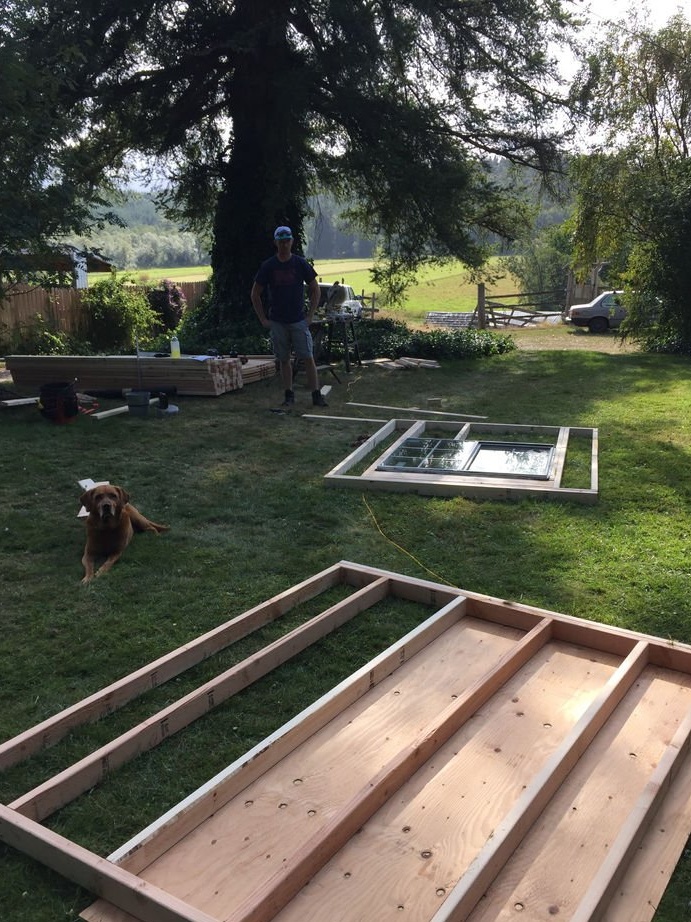
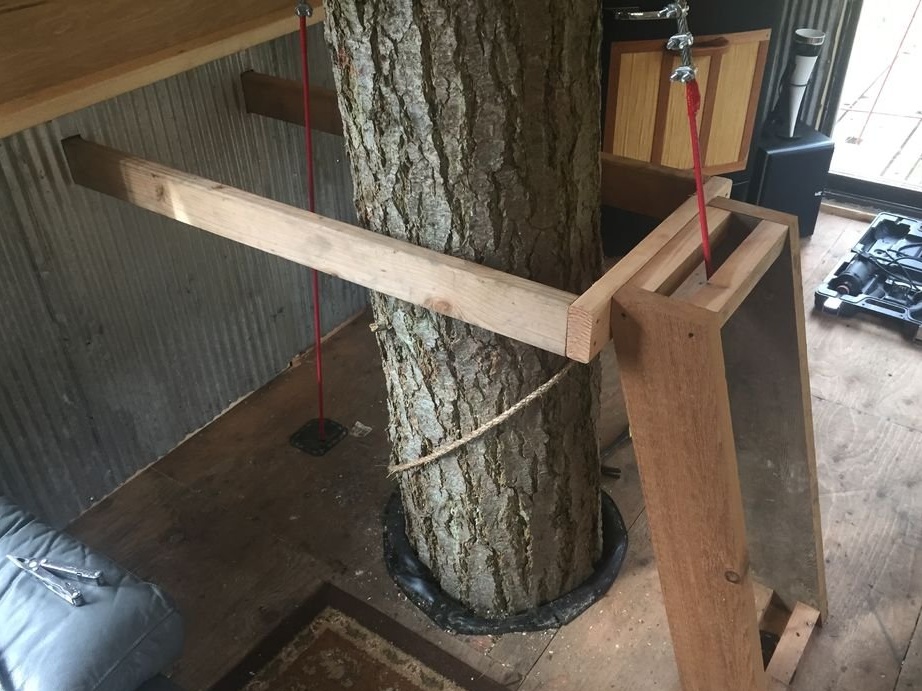
The base is a beam mounted on trees. Across these bars, the master places three more bars. In the joints of the beams, the master makes cuts, and additionally fixes the connection with brackets.
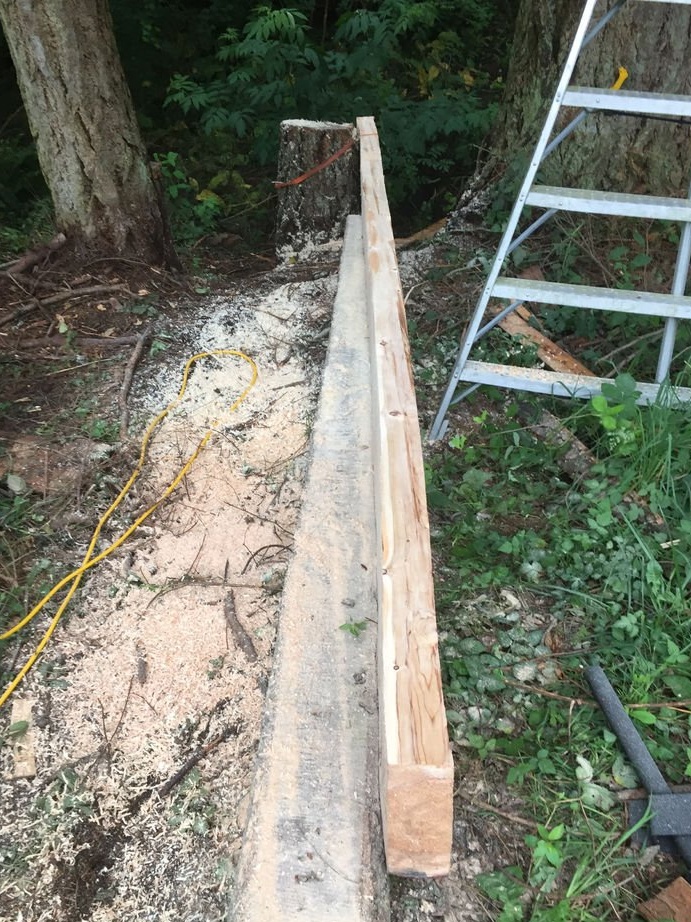
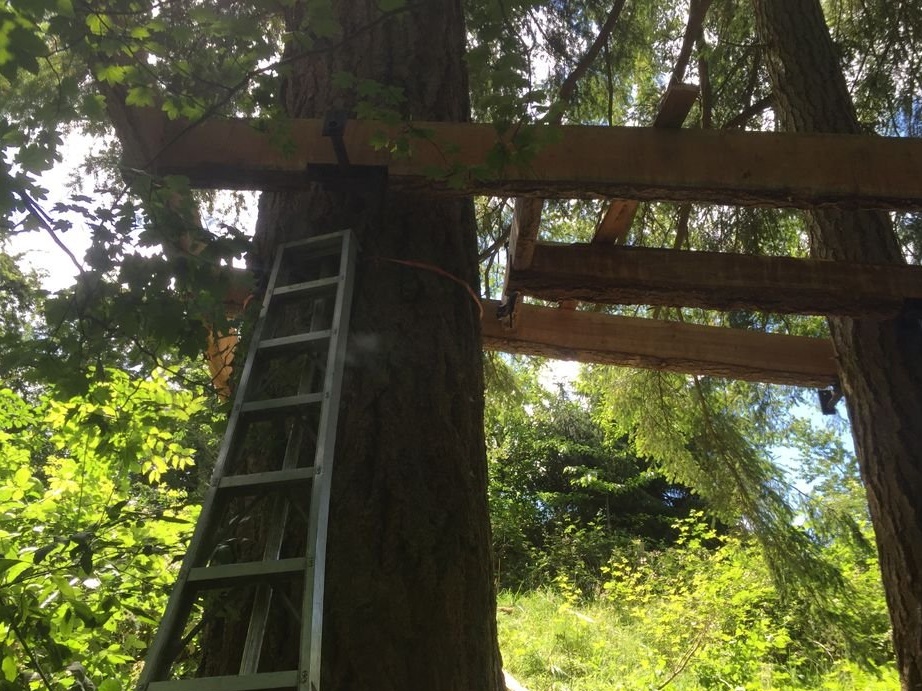
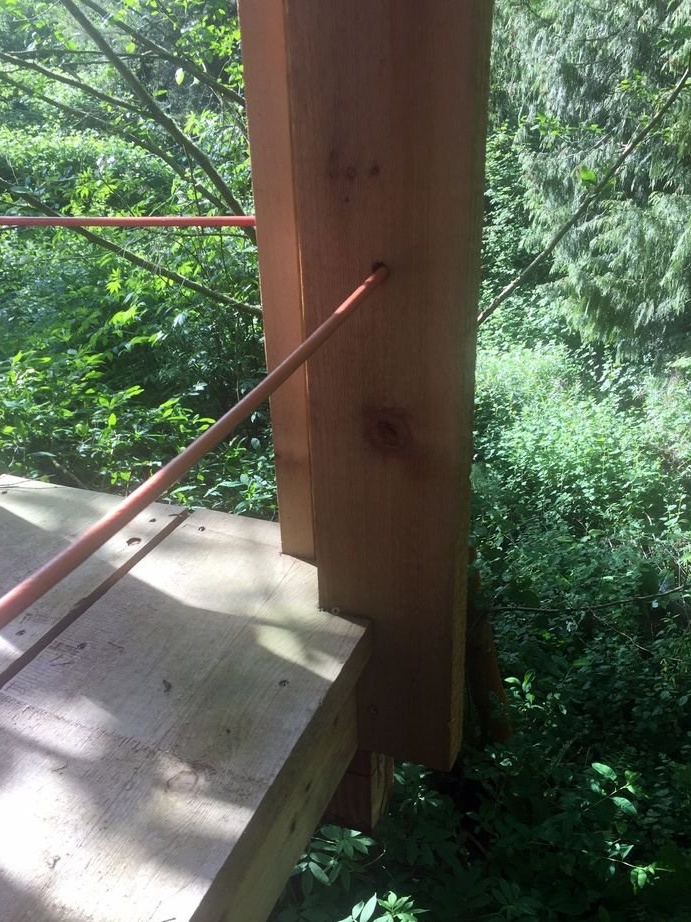
Across the boards, a board is mounted on the edge. Above the board is sewn up with plywood. In places where the flooring is attached around the trees, the master makes it from the board. Around the flooring and wood leaves space. In the future, rubber will be fixed in this place.
Supporting cables pass through the holes in the flooring to the bolts. Below the master additionally secured a metal pipe.

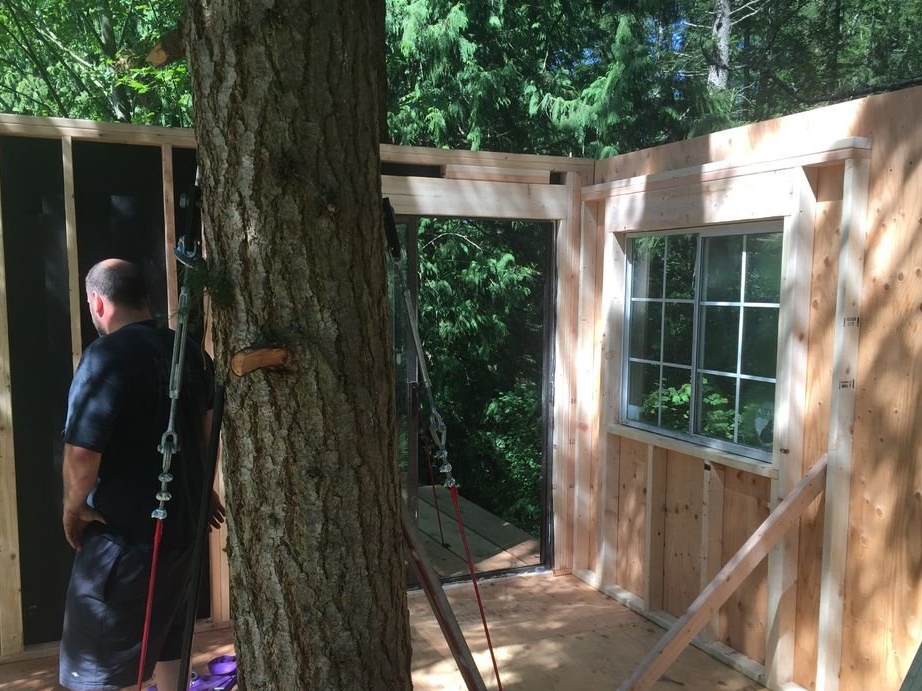
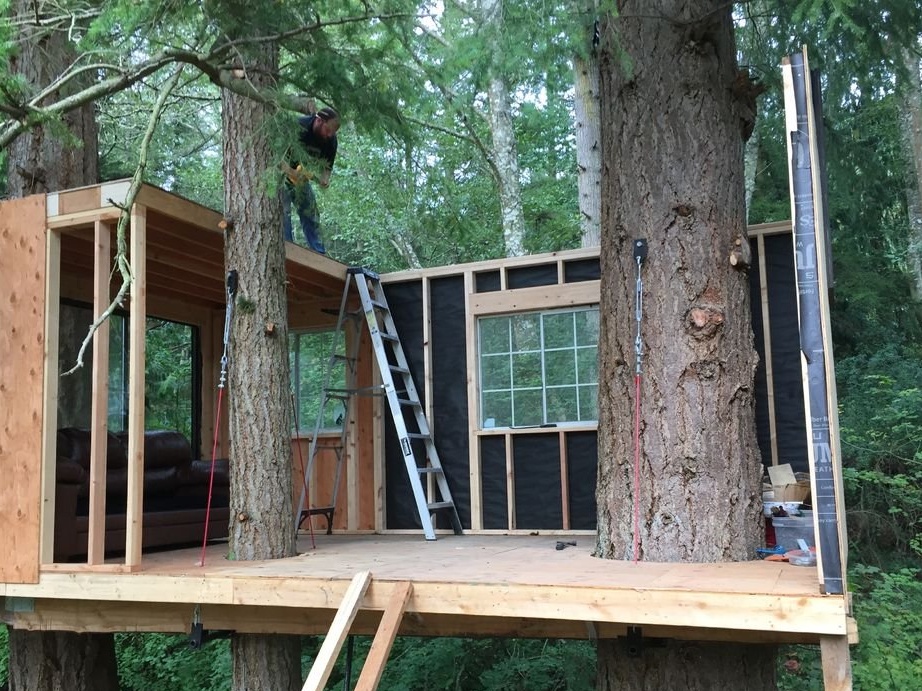
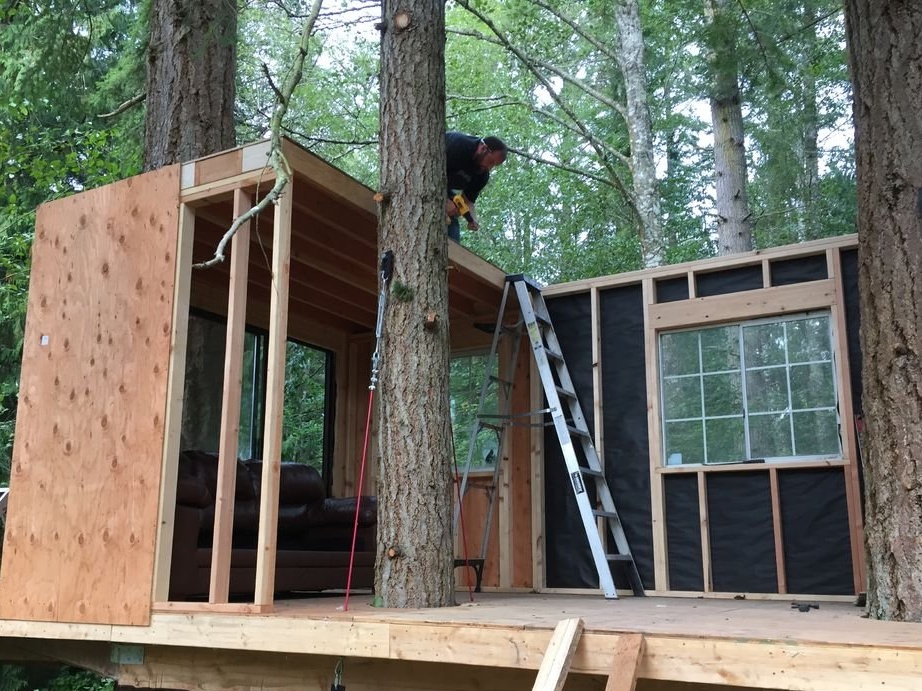
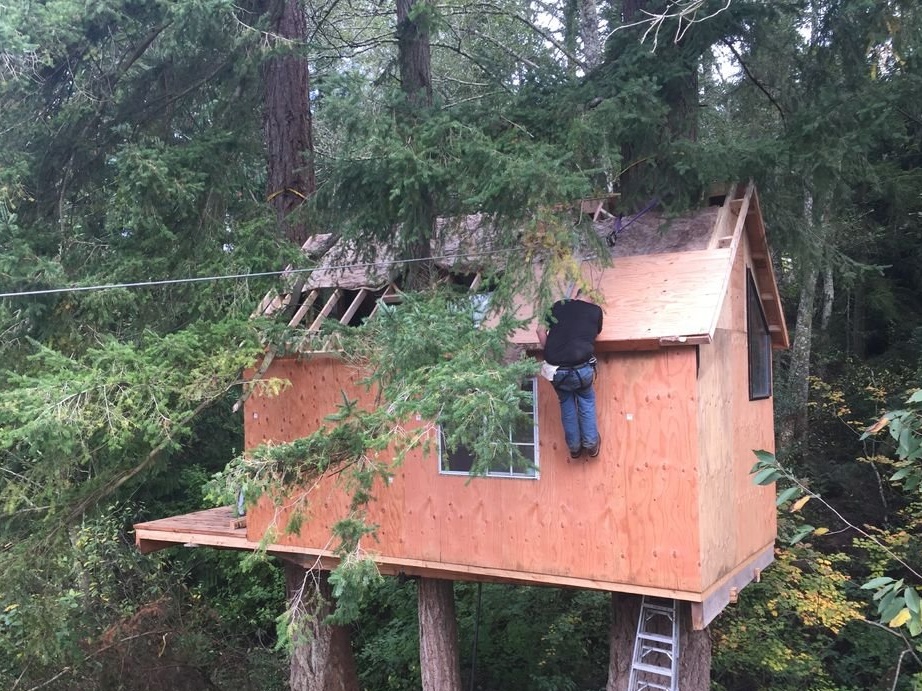
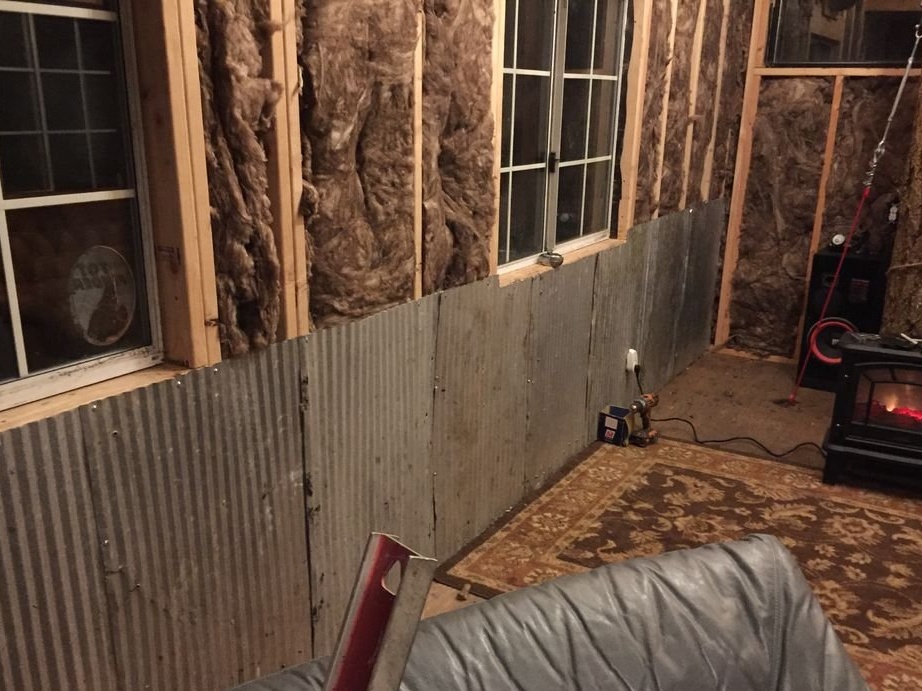
Step Four: Walls
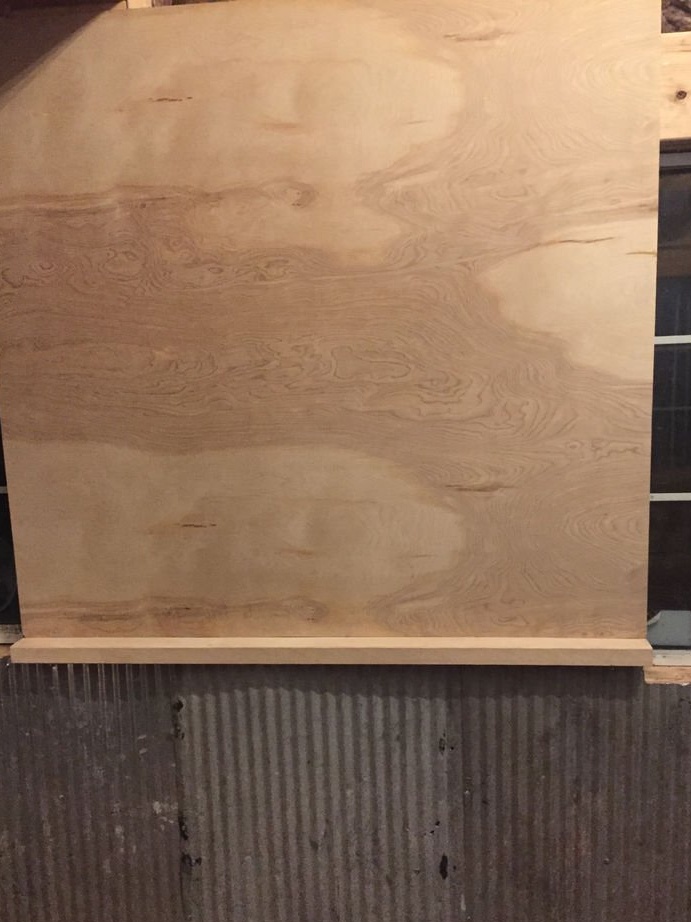
The walls are made of wood panels and sheathed with plywood and insulation. The master collects the panels on the ground and, with the help of a winch, raises and sets in place.
As you can see in the photo, plywood protrudes on one side of the panel, and on the other there is an unclosed piece. This is done in order to overlap the joints between the panels. One panel is installed, then another protruding part of the skin of the first panel is nailed to the second panel.

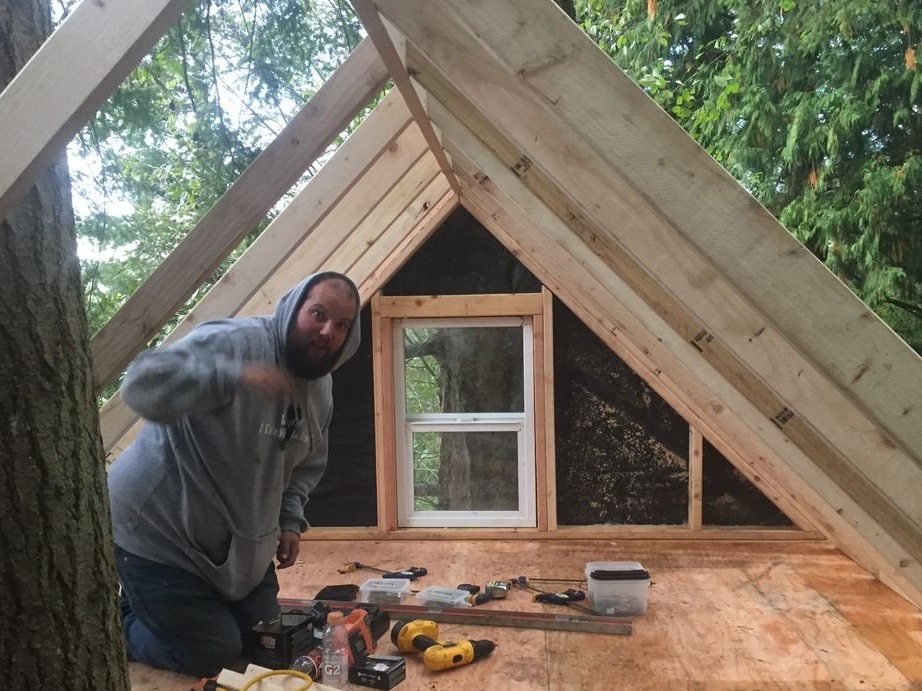
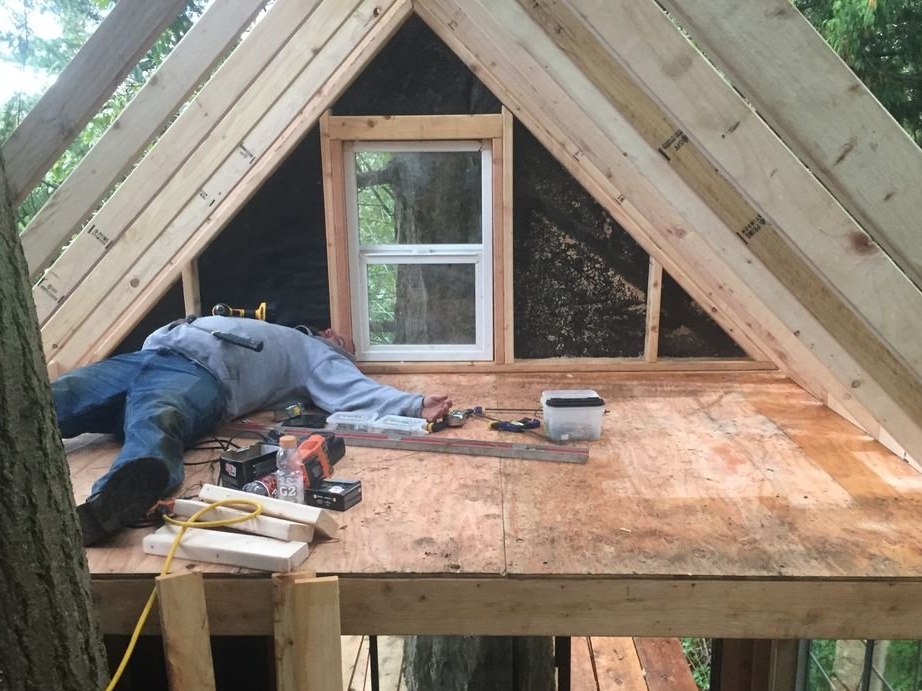
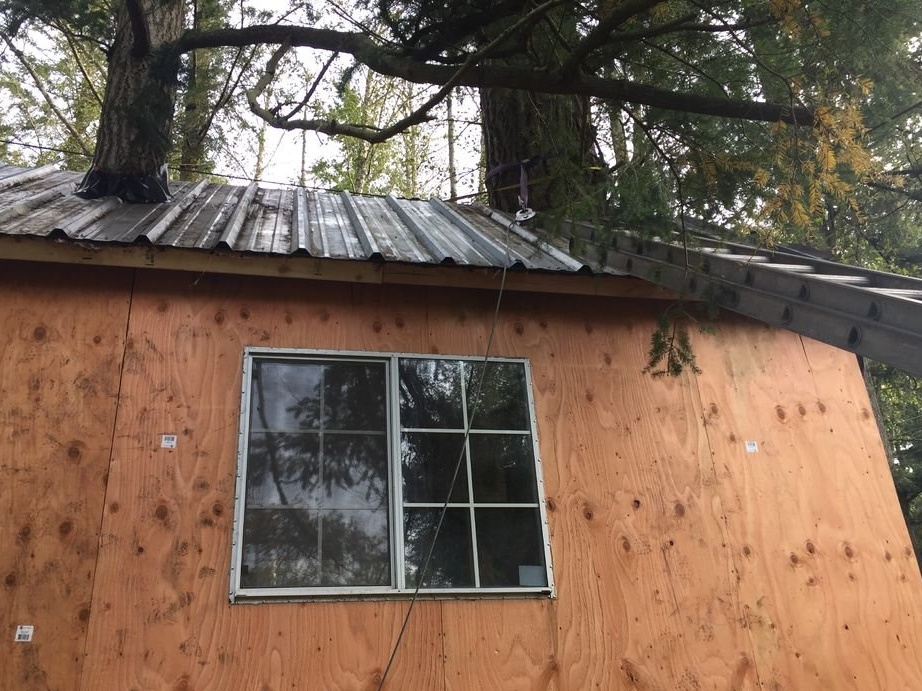
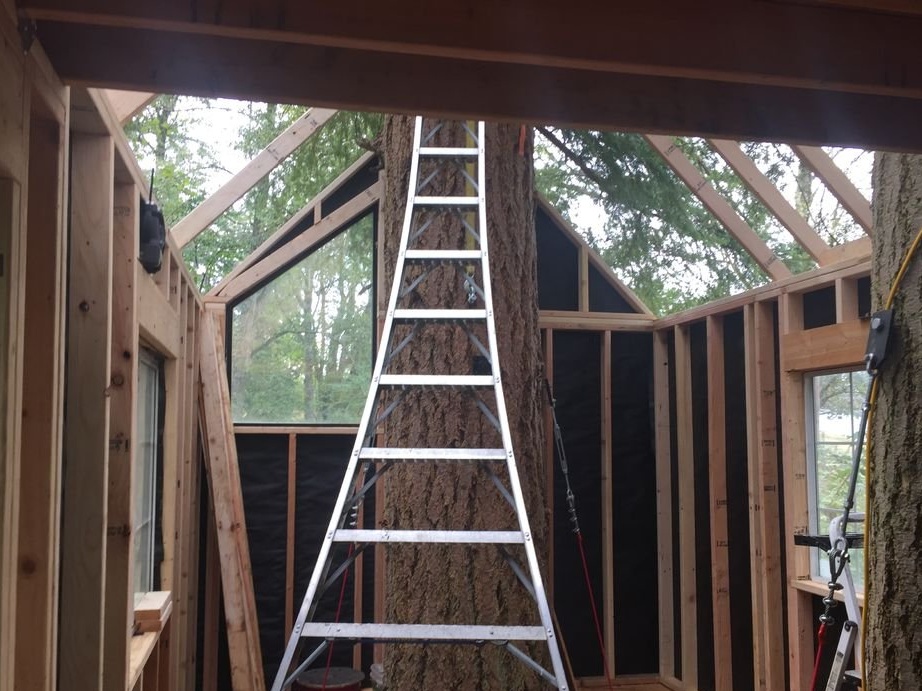
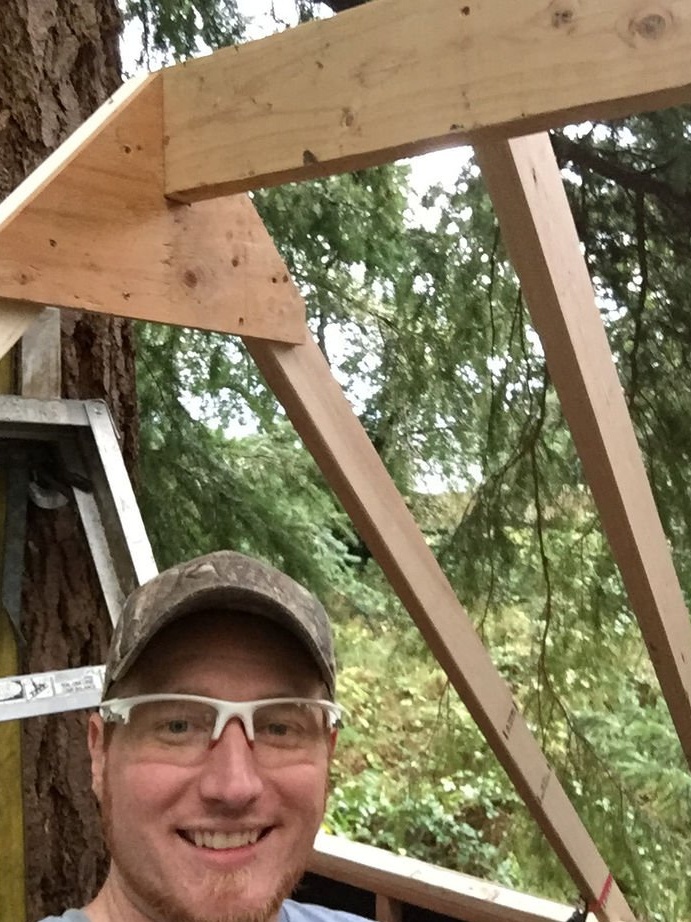
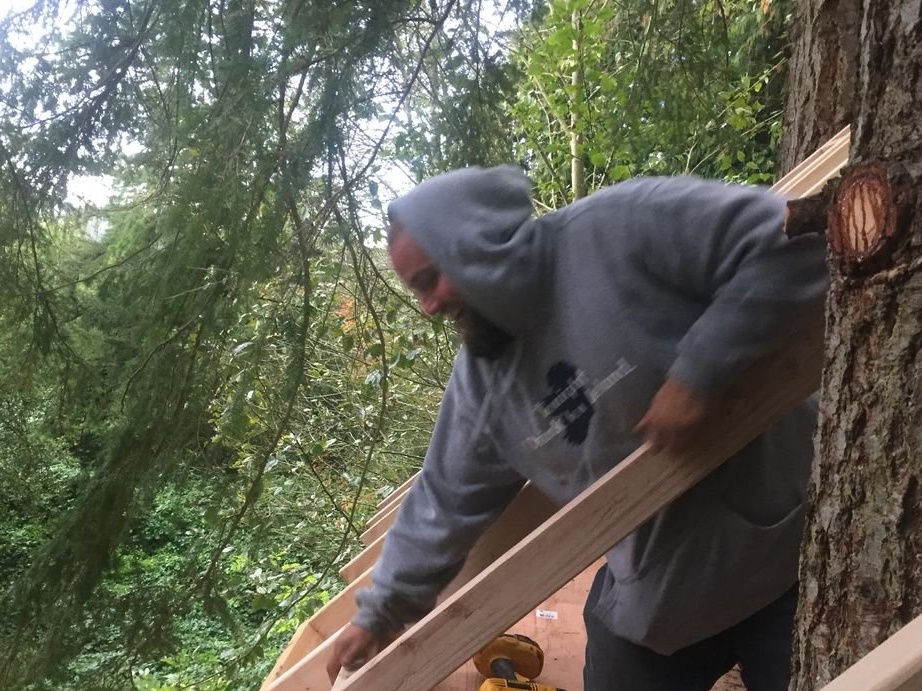
Step Five: The Roof
The roof is going in place. Slope angle of 45 degrees. The roof is covered with metal profile slate at the top. Under the slate laid hydro and thermal insulation. Together the connection of the roof with the tree, the slate is trimmed and this place is sealed with rubber. This practically solved the problem of waterproofing, only in very heavy rain, a little water can get inside the house.


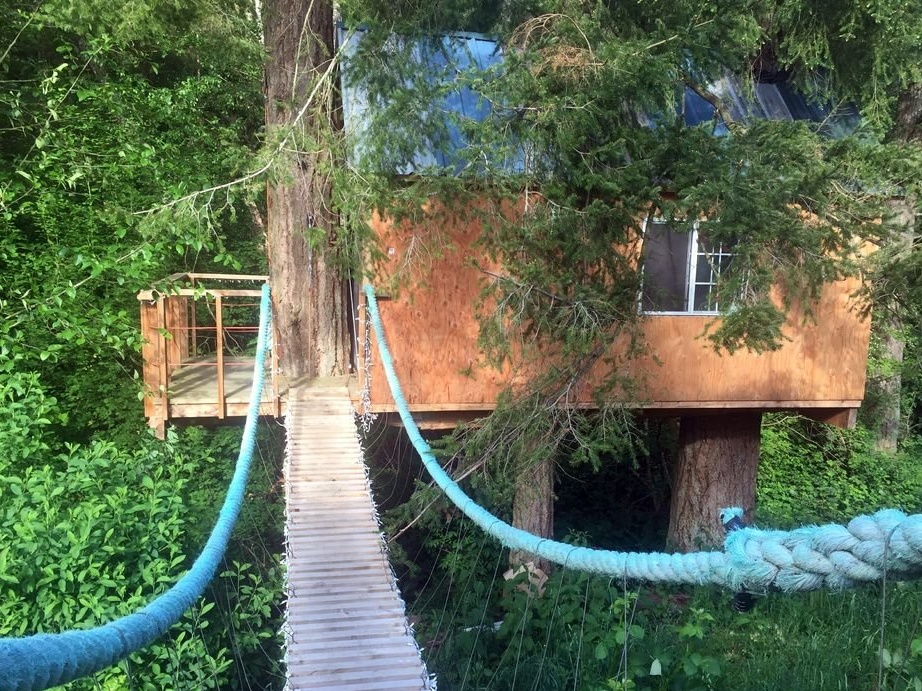
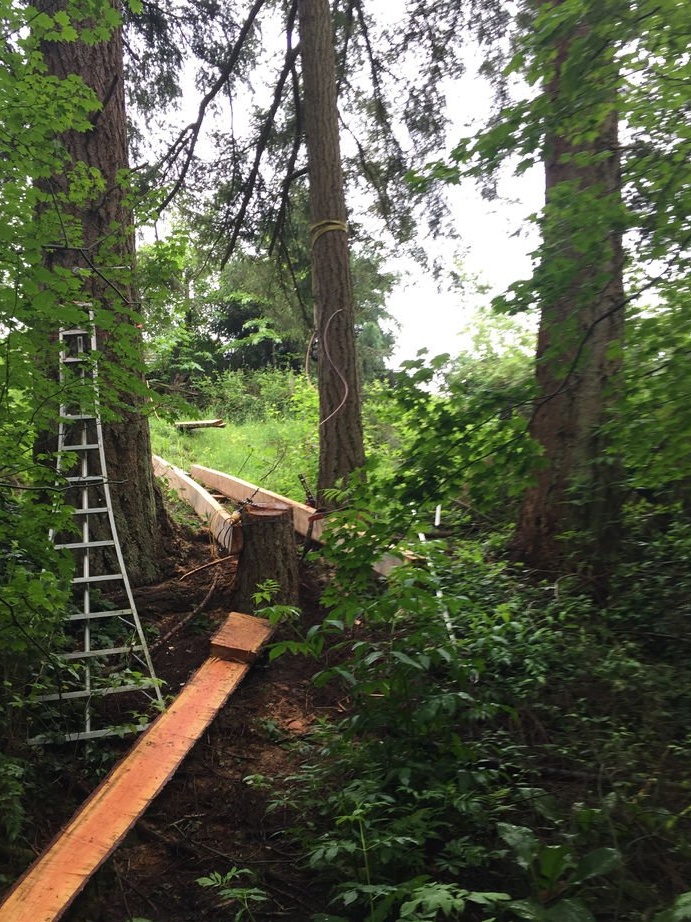
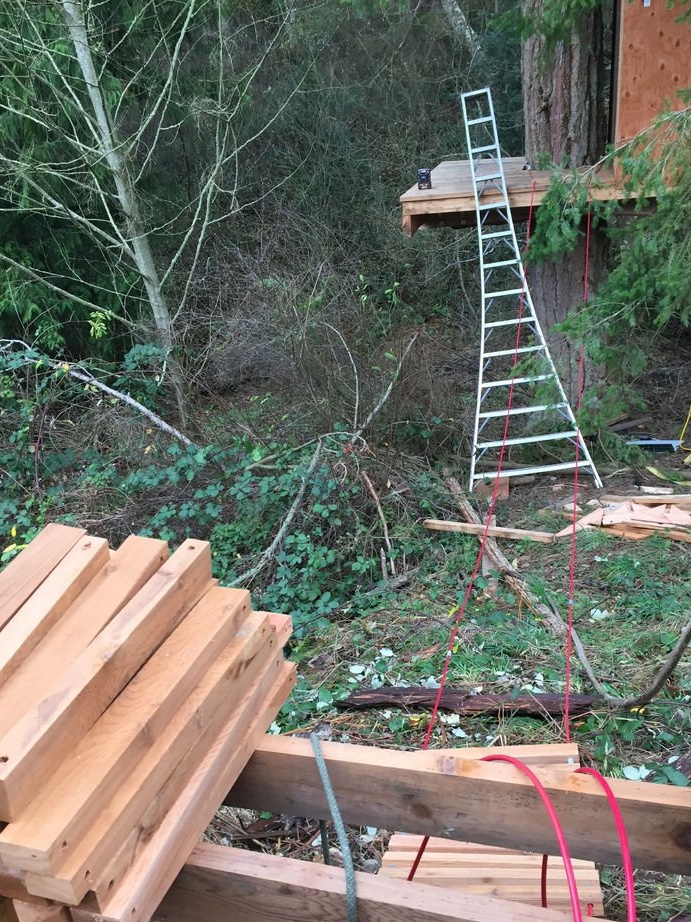
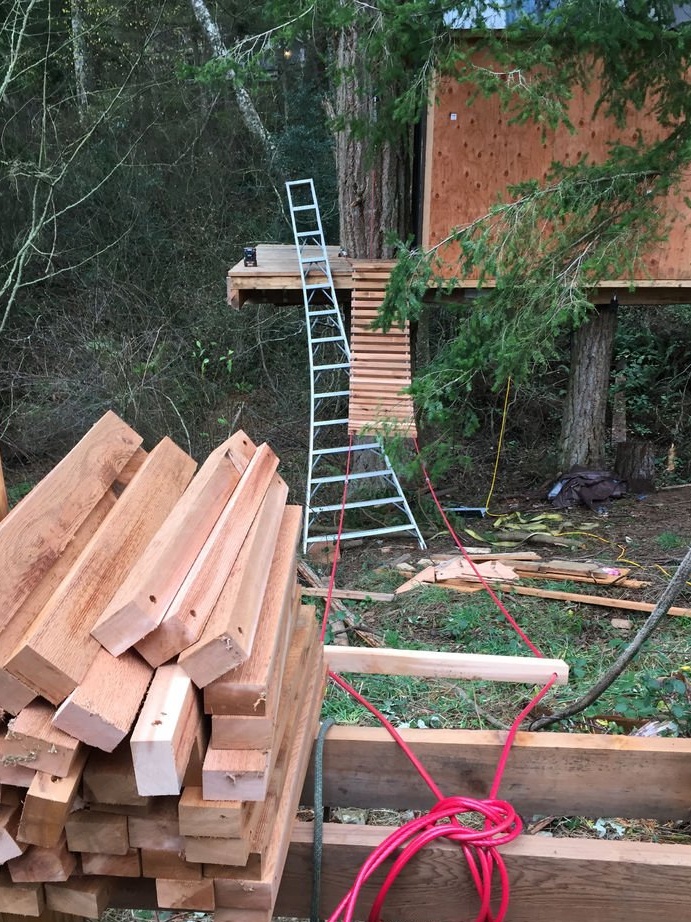
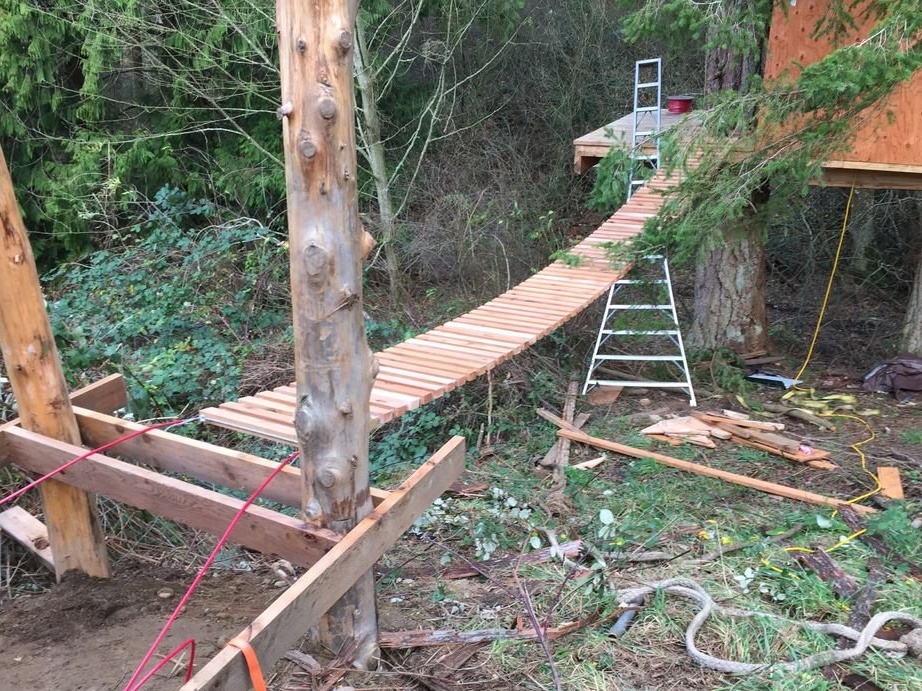
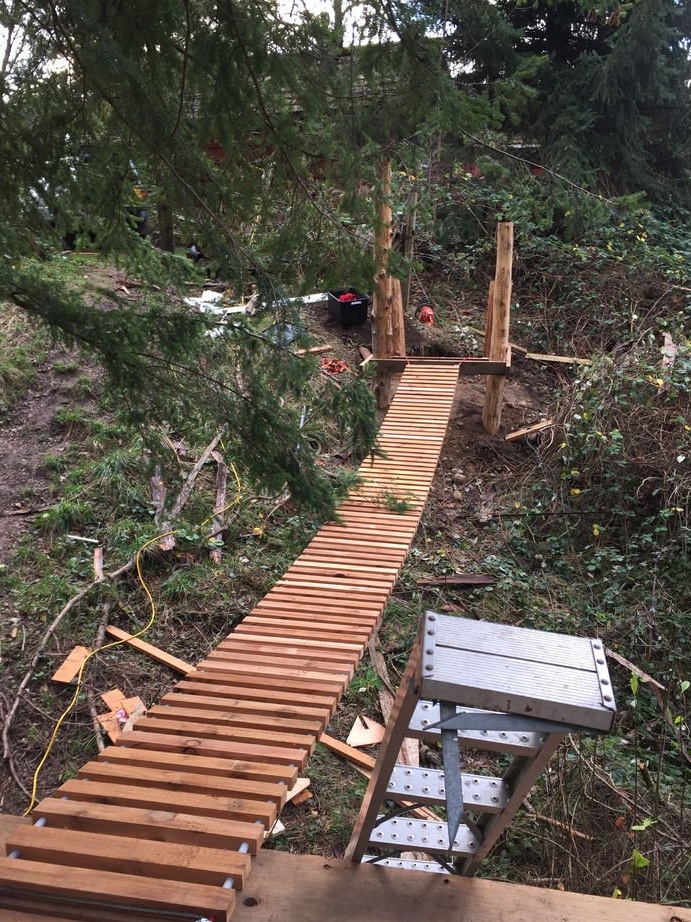
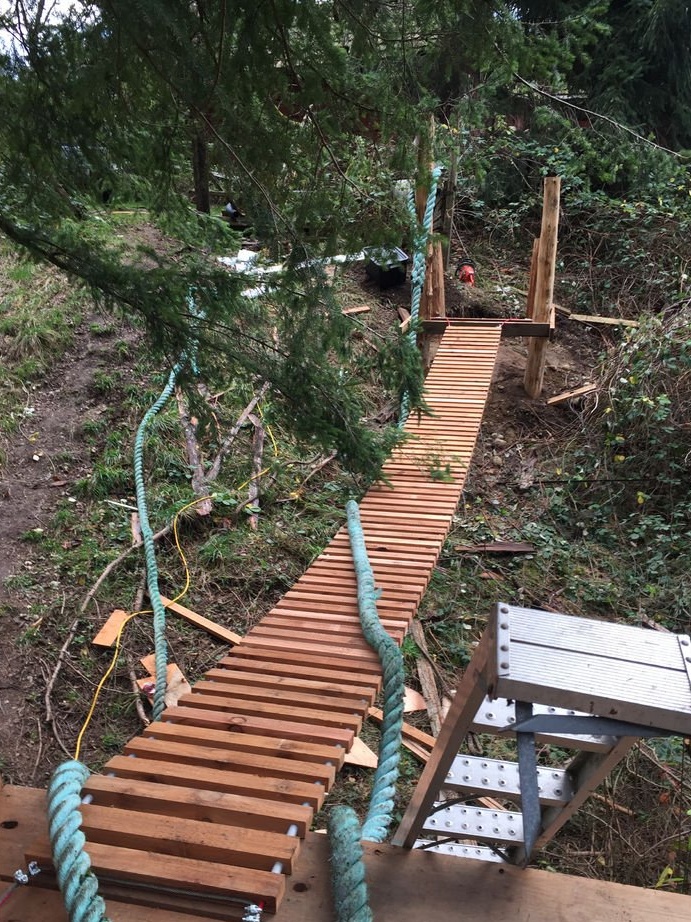
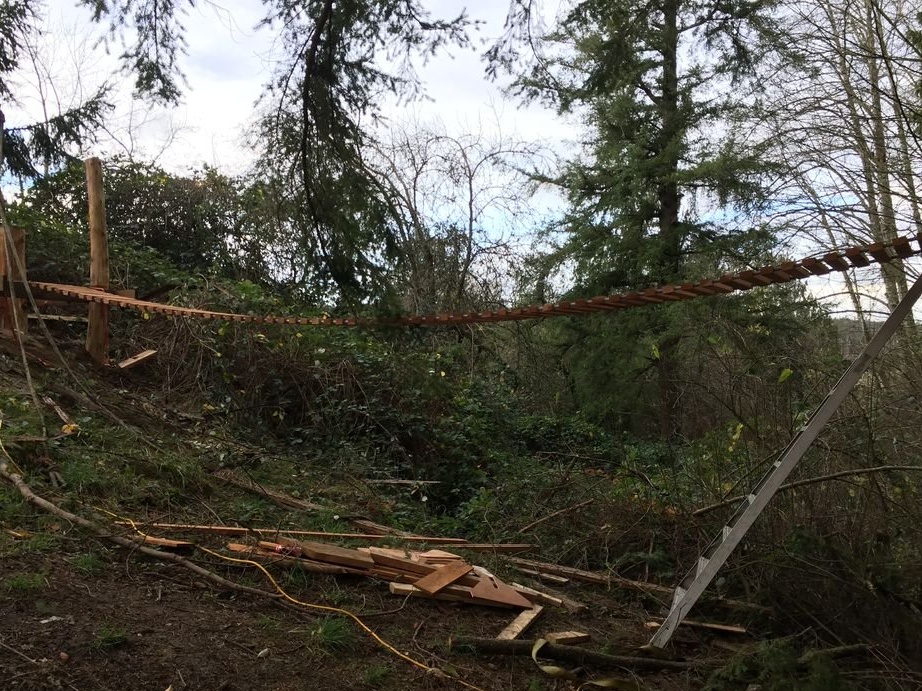
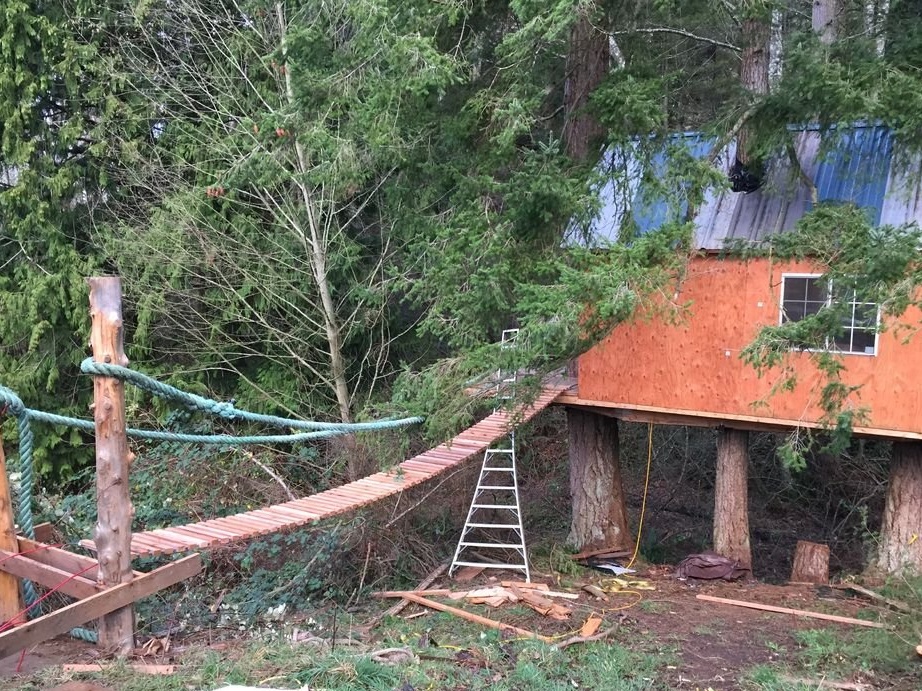
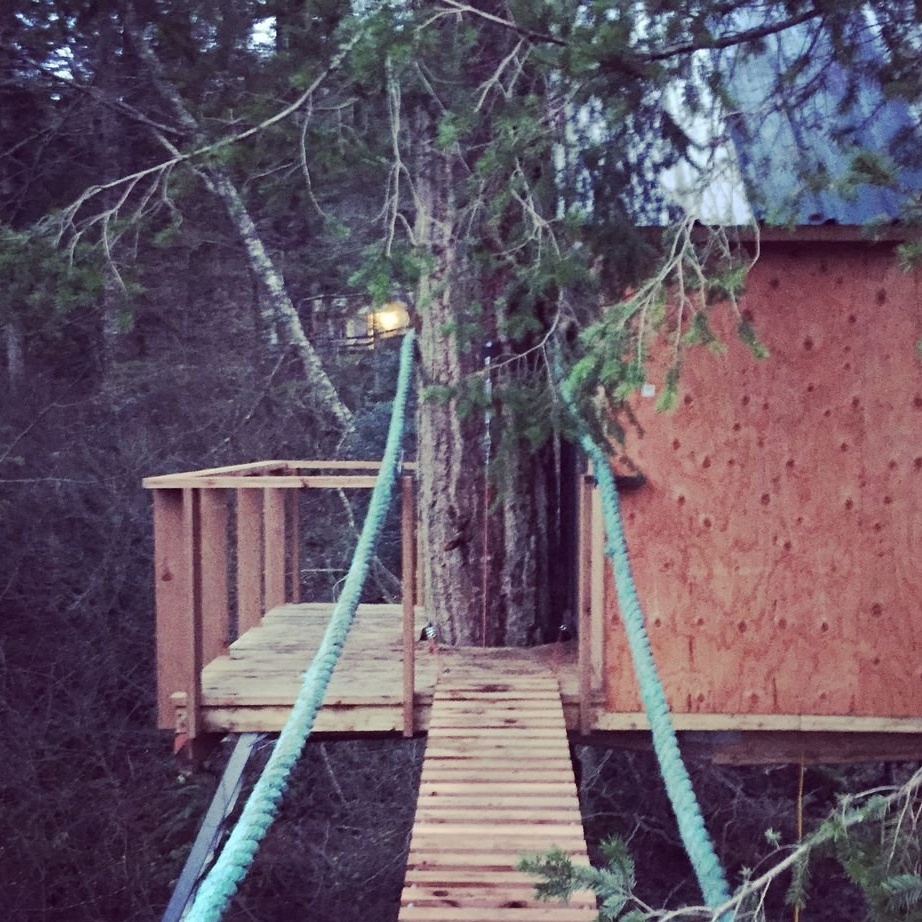
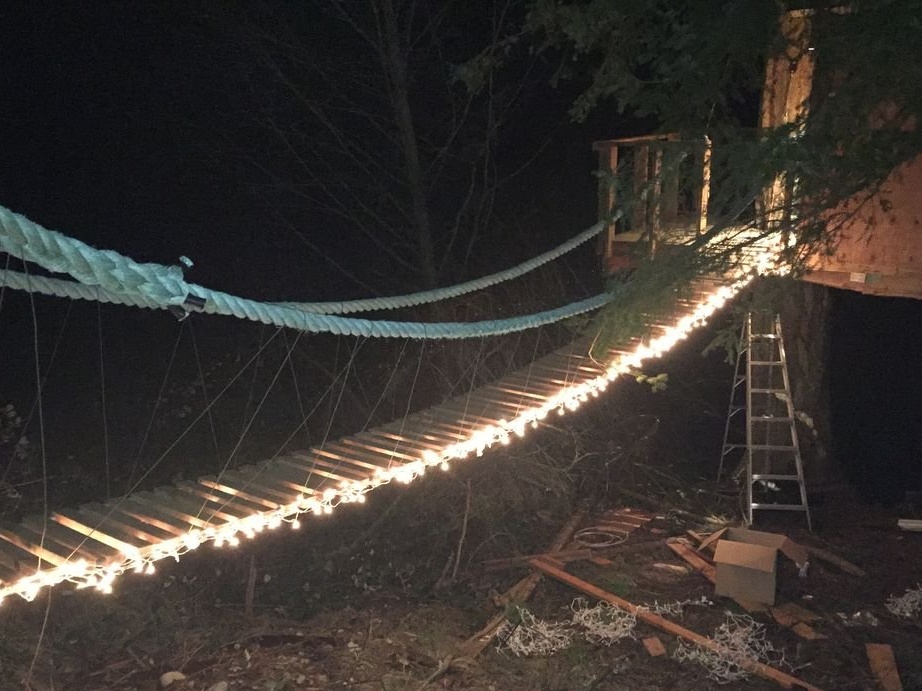
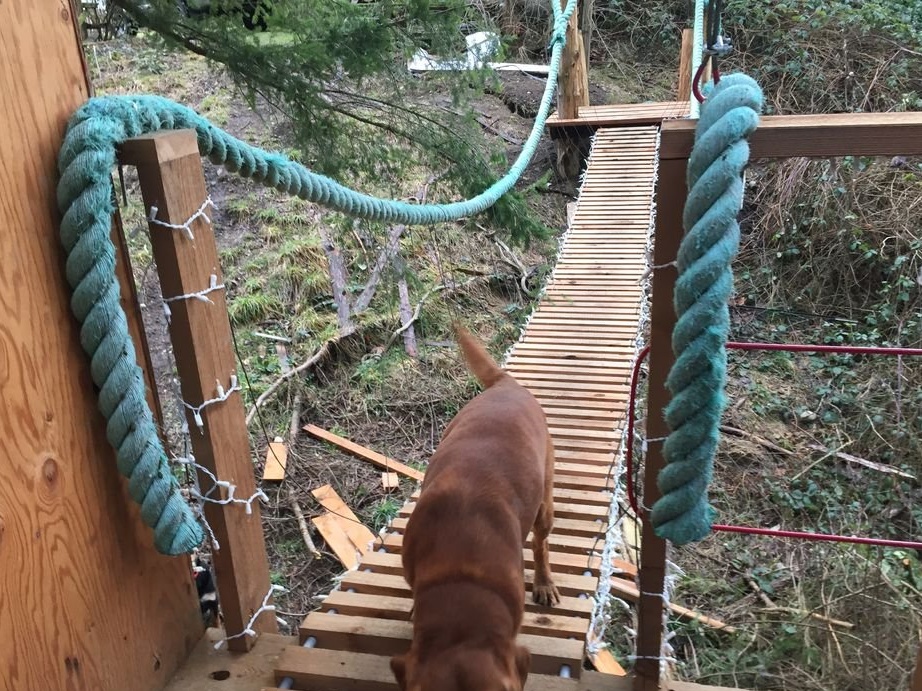
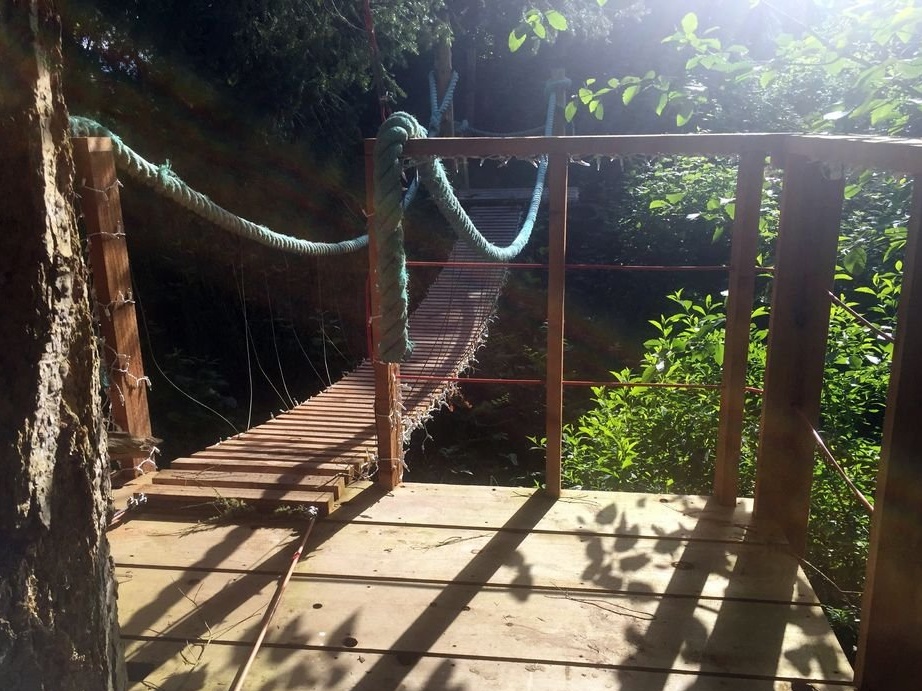
Step Six: Suspension Bridge
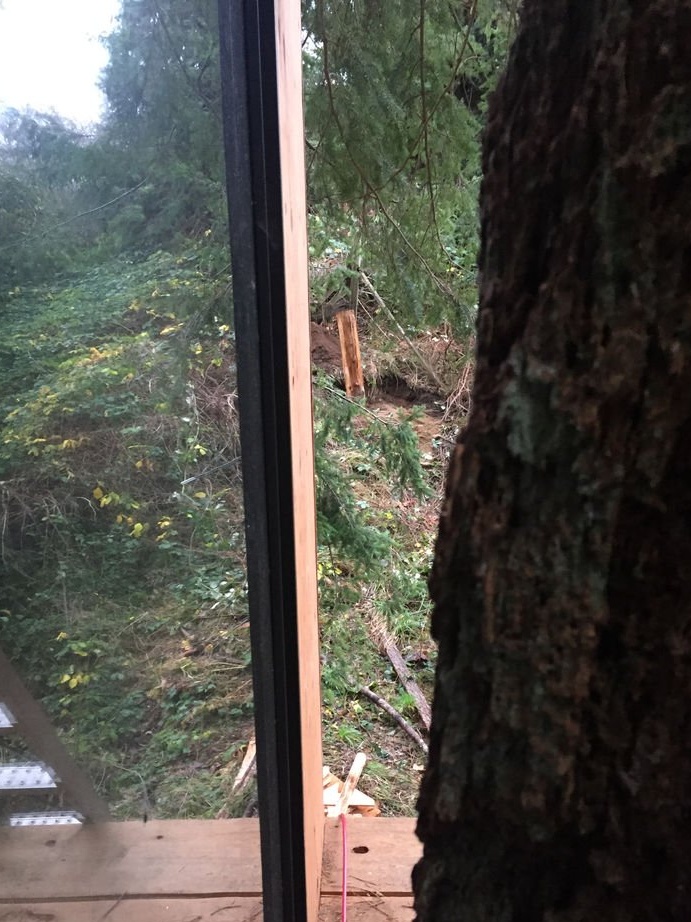
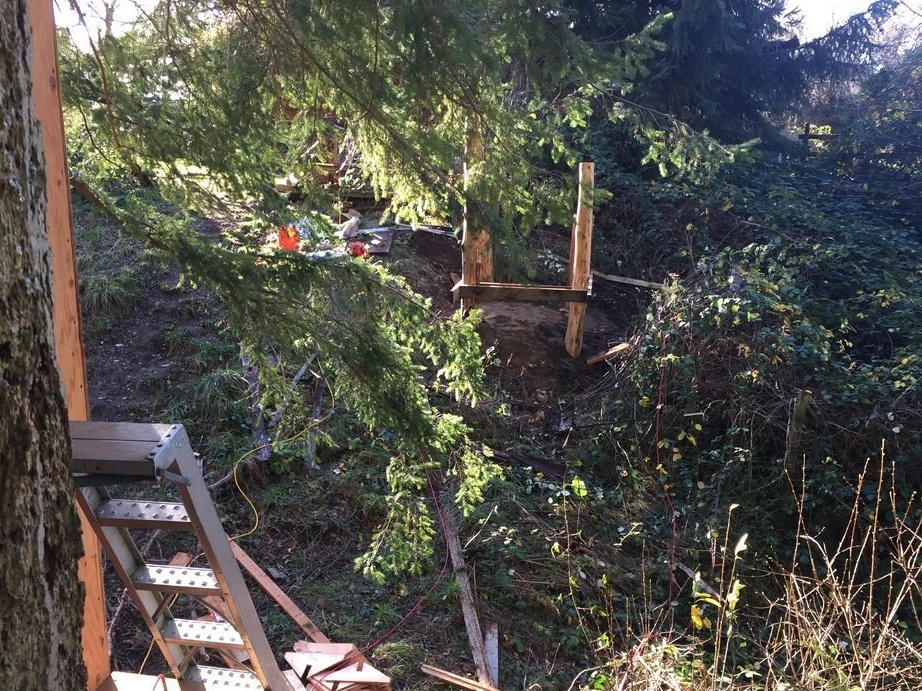
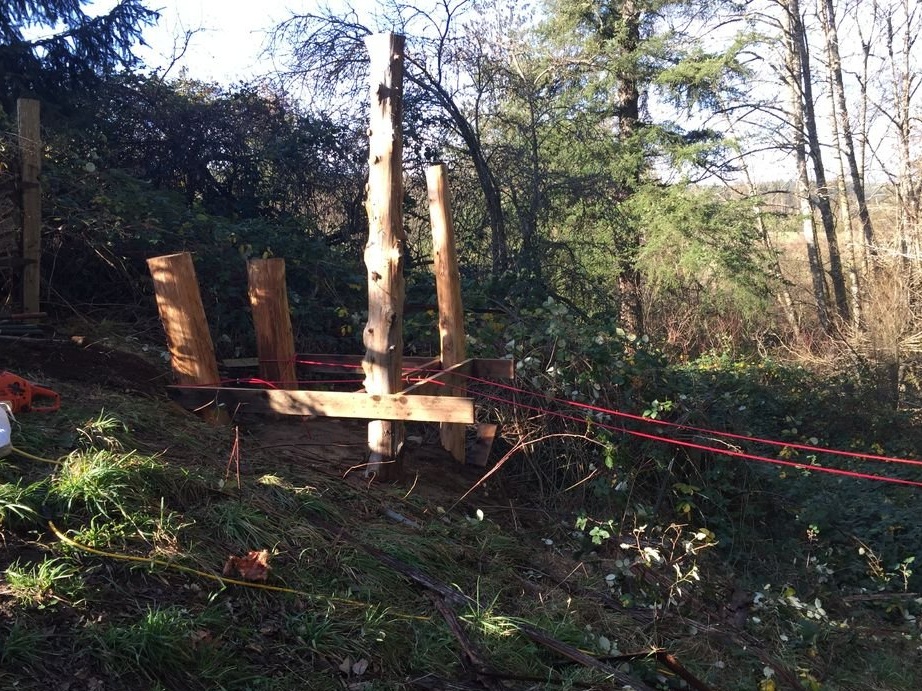
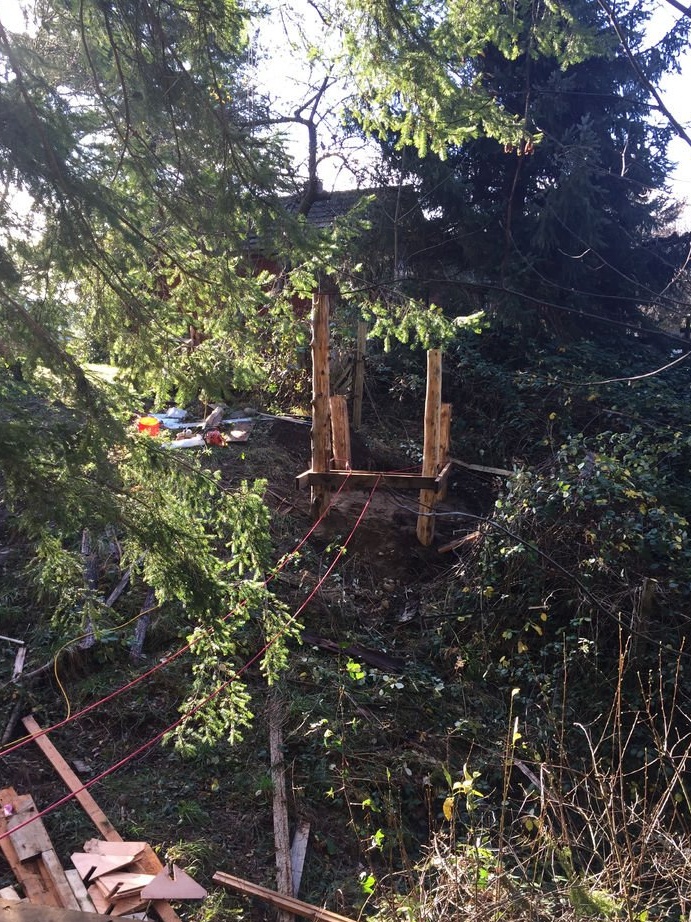
To rise into the house, the master made a suspension bridge, going to two vertically buried wooden poles. The pillars are buried on a hill and the end of the bridge opposite from the house is located almost at ground level.
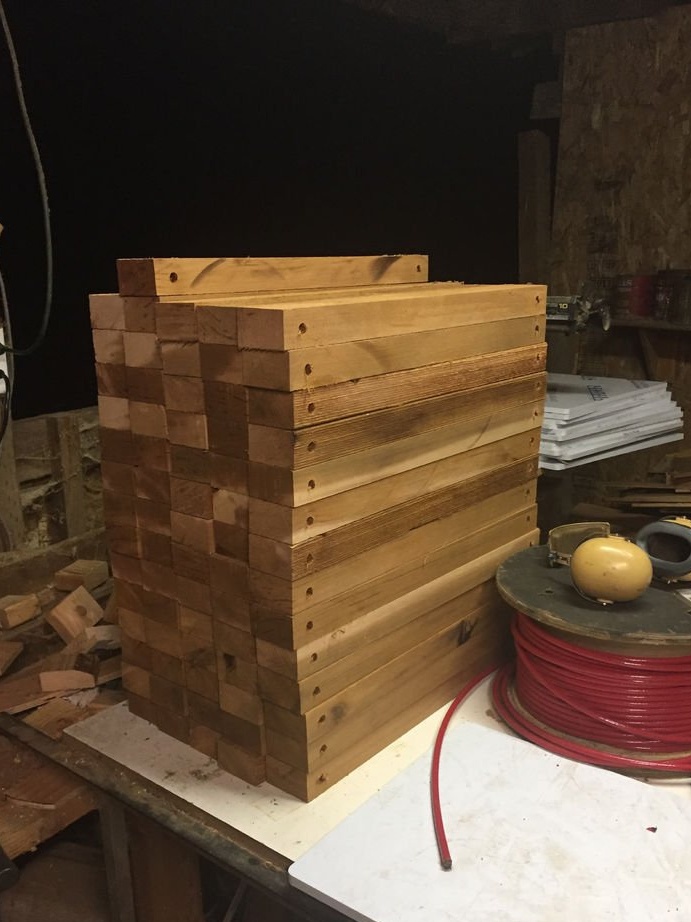
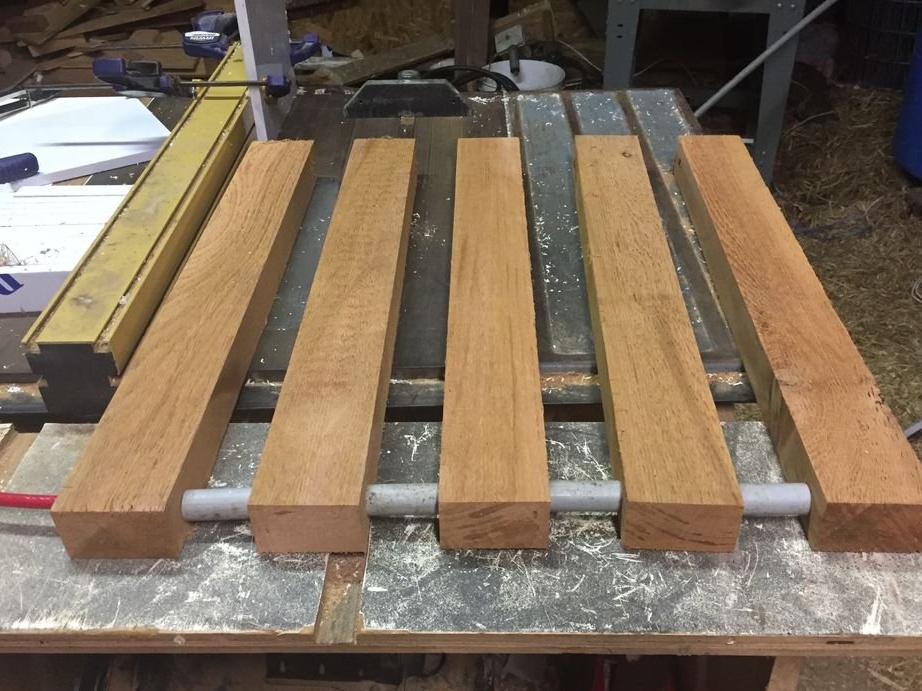
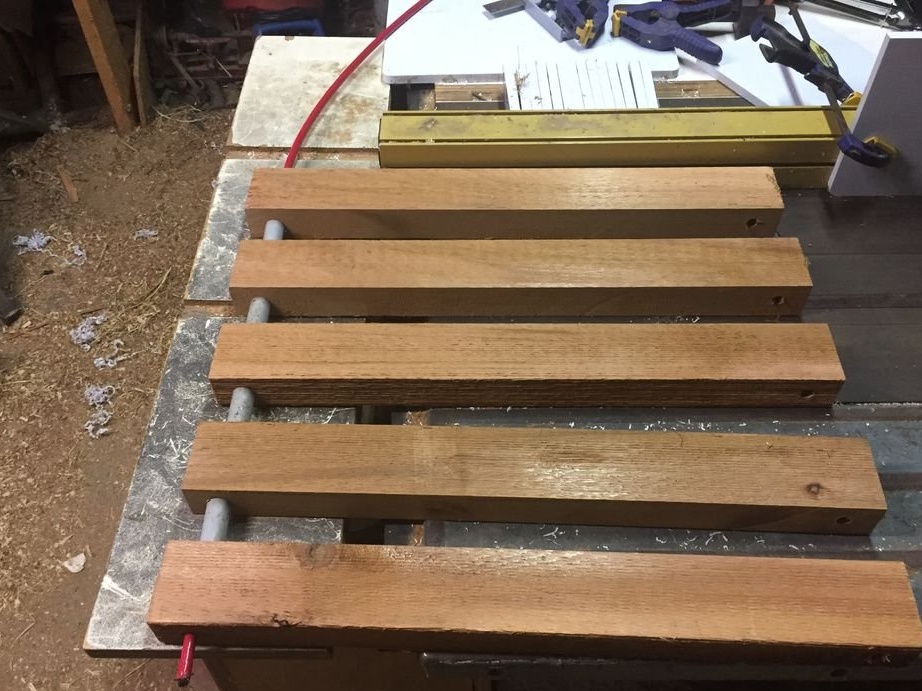
The bridge itself is a wooden block with holes on both sides. A rope is stretched into the holes. Between each bar spacers are installed. Rope railings are fixed on both sides of the bridge. At the ends of the bridge, the master laid a wire with bulbs.

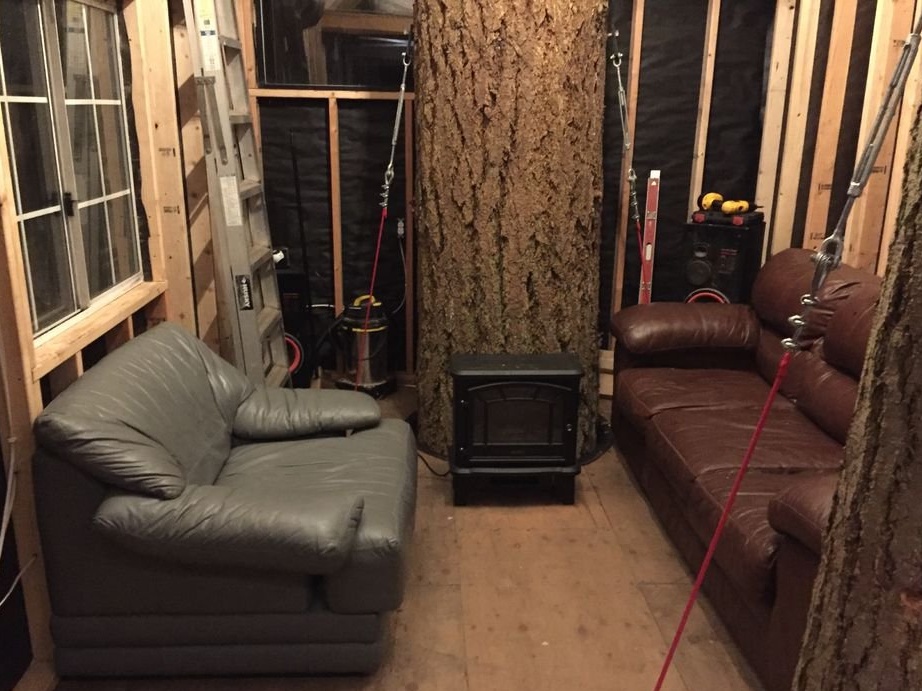
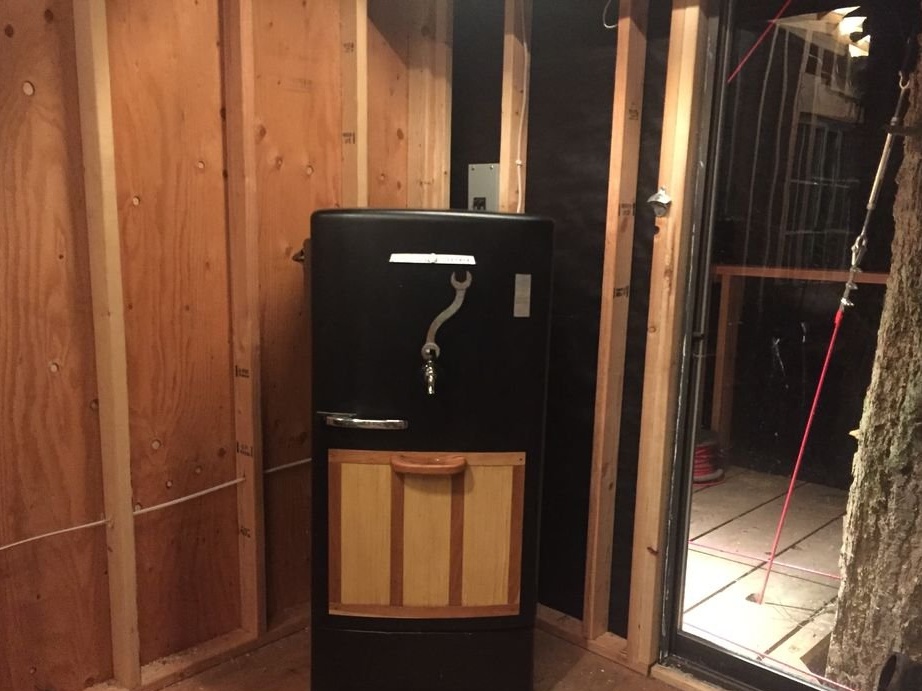
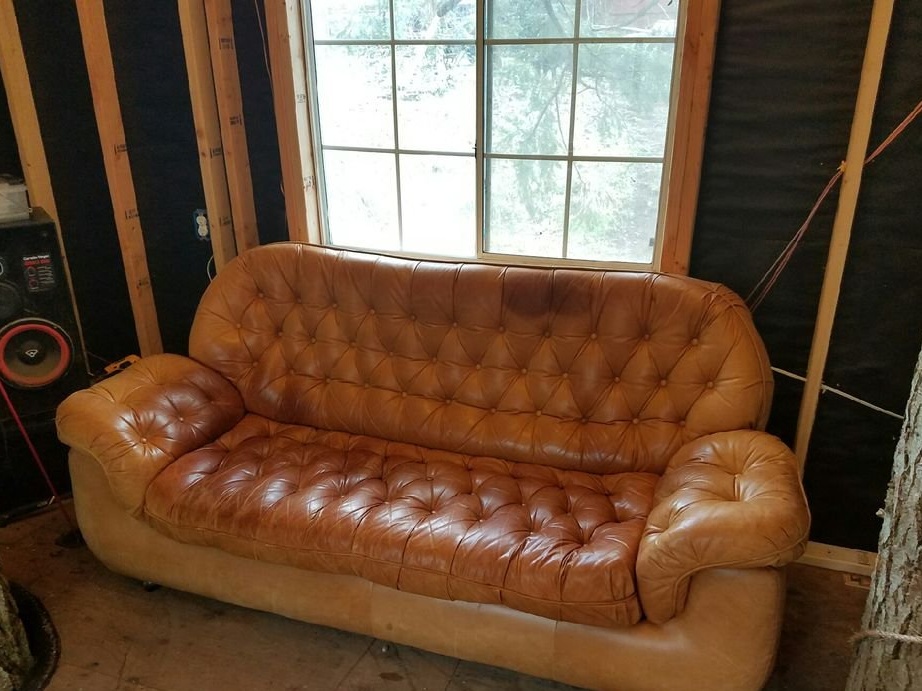
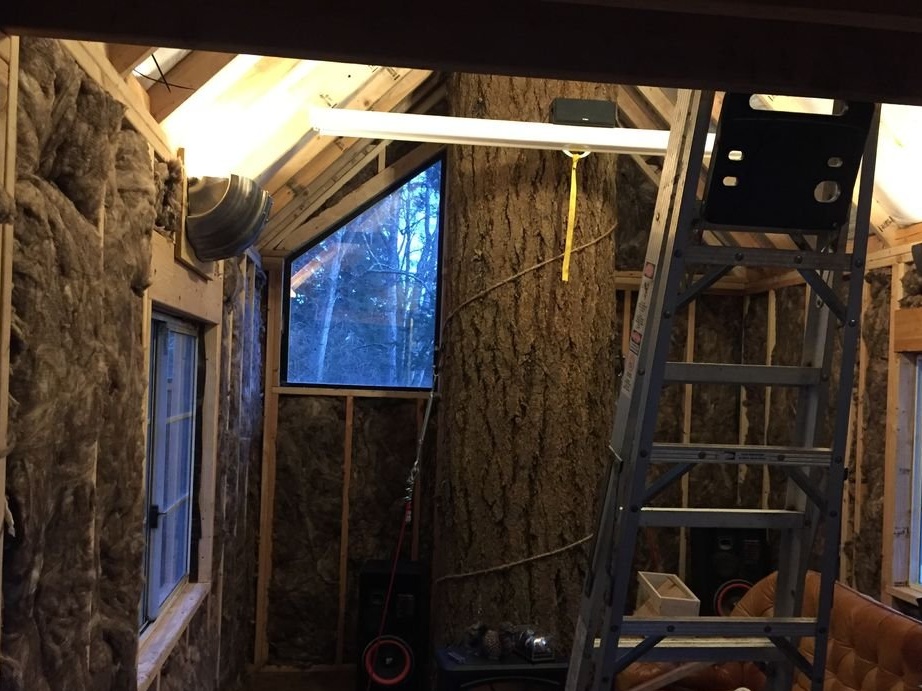
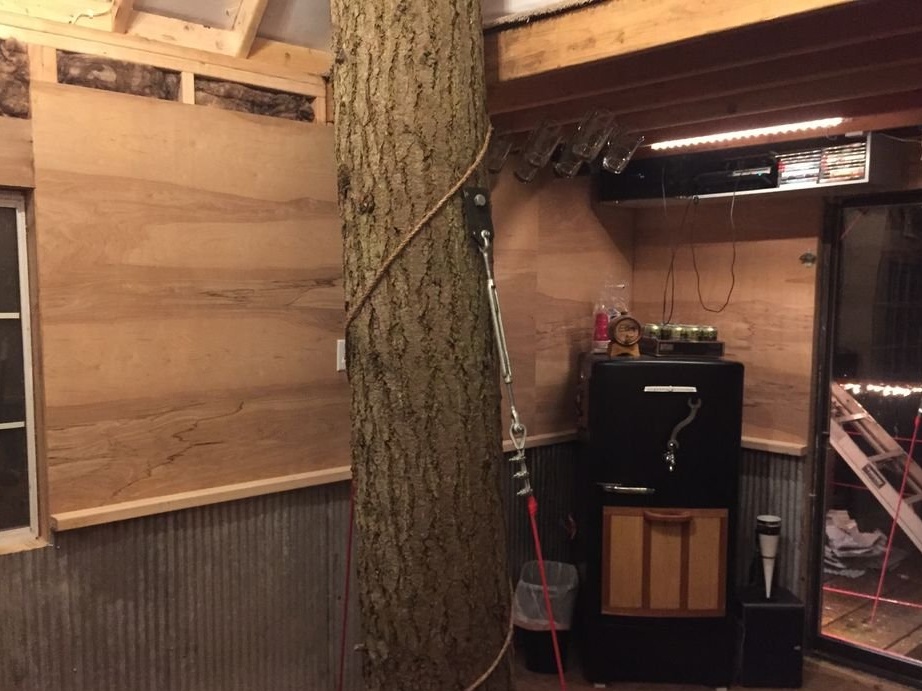
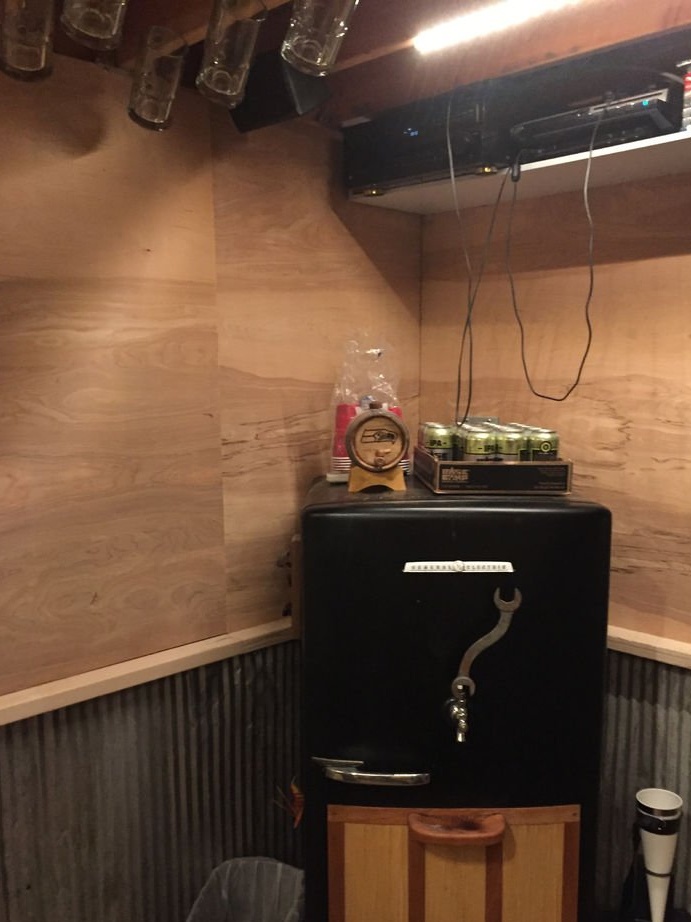
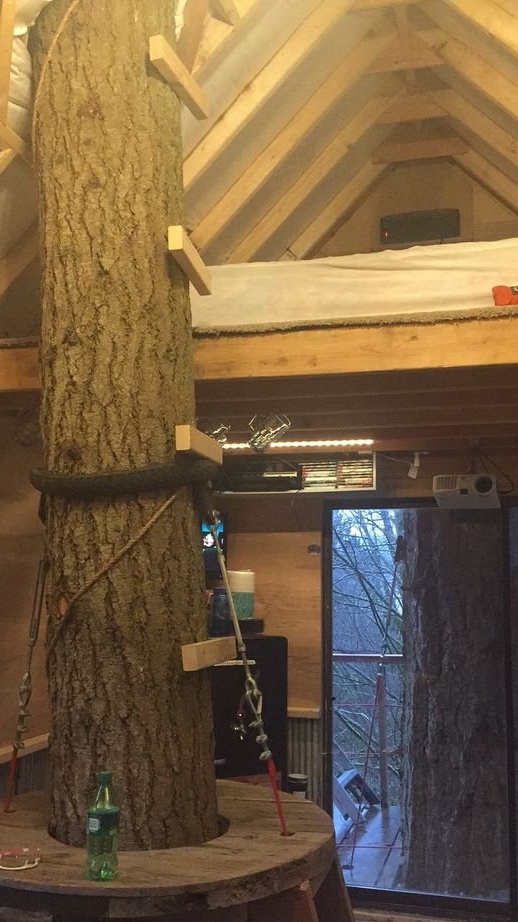
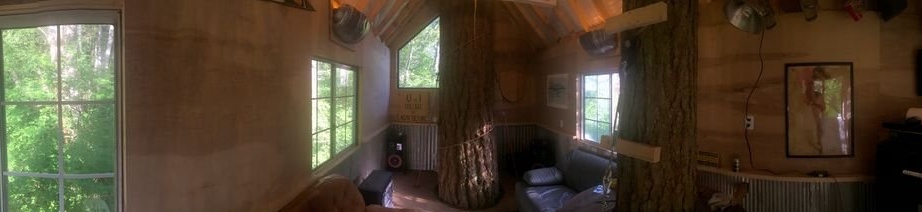
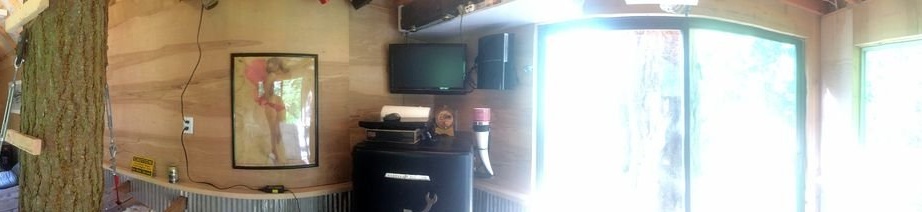
Step Seven: The Interior
Then the master laid the wiring inside the walls, insulated the walls and covered them with aluminum panels and plywood. Inside the house I installed a sofa and an armchair. Placed musical equipment and a fireplace. On the second attic floor I installed an LCD panel.


From the old cable reel I made a table and the first step for the stairs to the second floor.


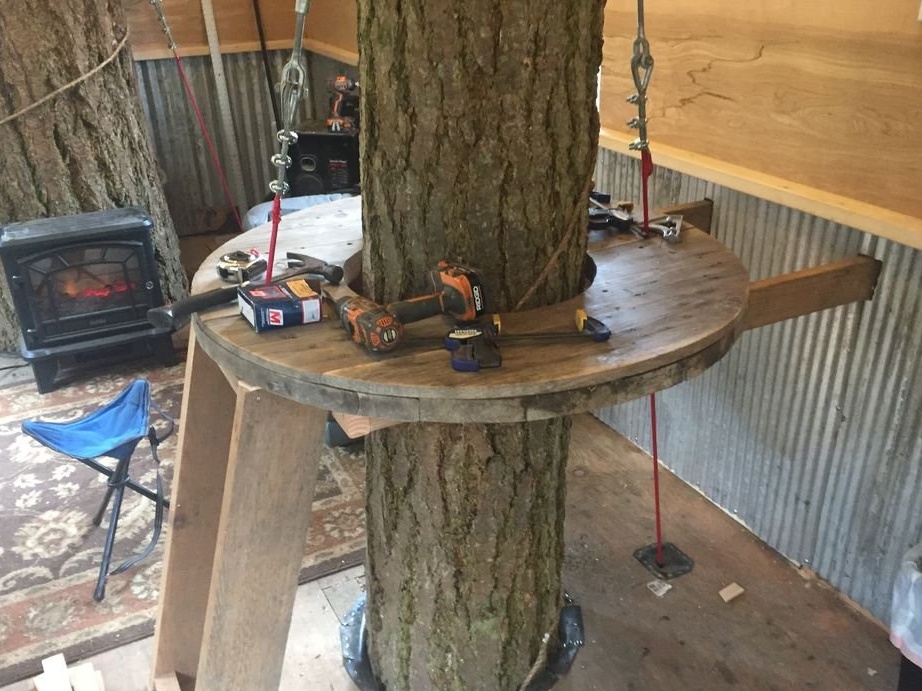

Here is a house on a tree turned out by the master.