
The master is interested in surfing, and making surfboards. The site presents several of his works, we will analyze one more. There are two main types of wooden surfboards: a hollow wooden surfboard and a solid one. After some thought and research, the master decided to make a hollow board.
Tools and materials:
-Wood;
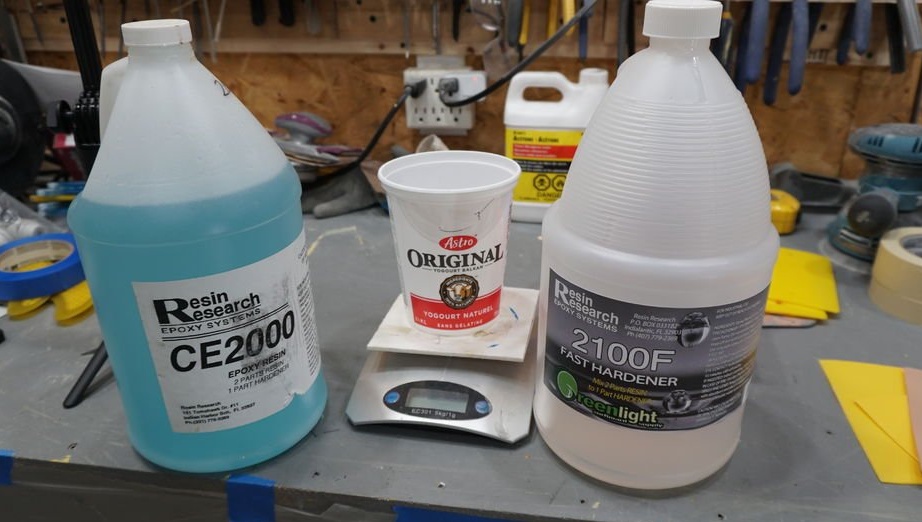
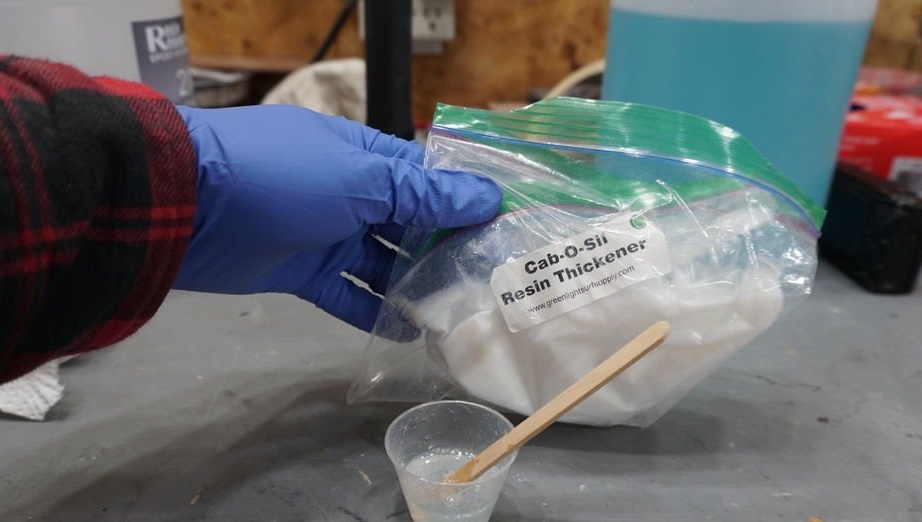
Epoxy resin;
-Glass cloth;
-Fasteners;
-Waterproof adhesive;
-Automotive varnish;
-Surfing accessories;
- Electric jigsaw;
-Grinder;
Milling cutter;
-Drill;
-Sandpaper;
-Rule;
-Polishing paste;
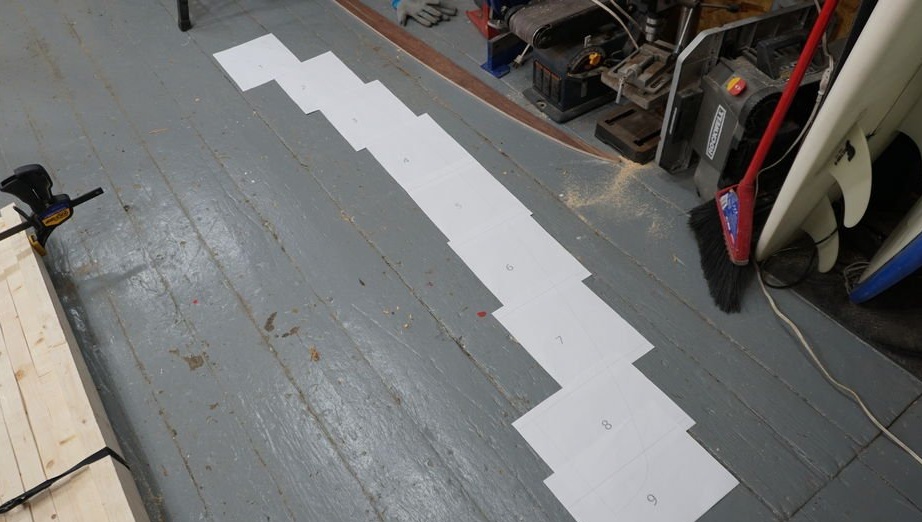
Step One: Design
First, the master designed the board.
The design of the surfboard can be discussed to the end, but it is important to remember that the lines of the surfboard must be smooth and even. You can experiment, but do not forget about how the board will behave on the water.
When designing, you need to take into account a lot of factors, the weight of the surfer, water temperature, buoyancy of wood, etc.
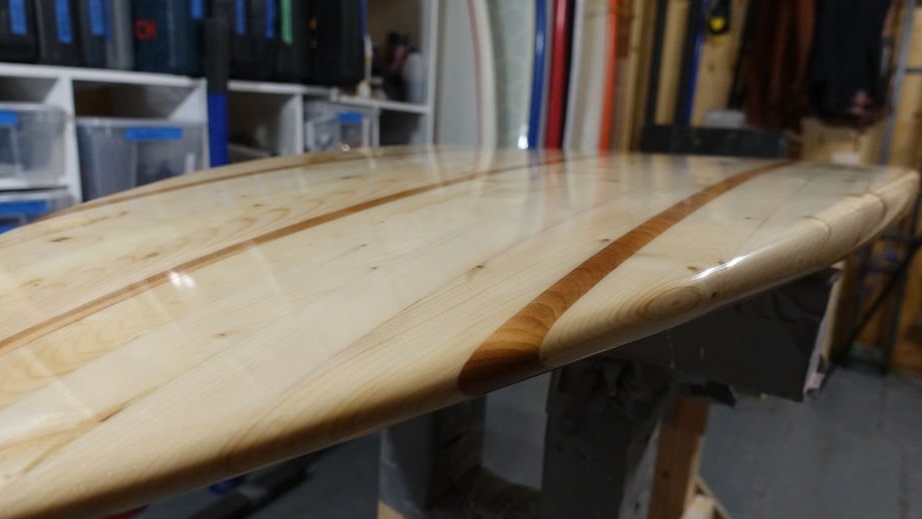
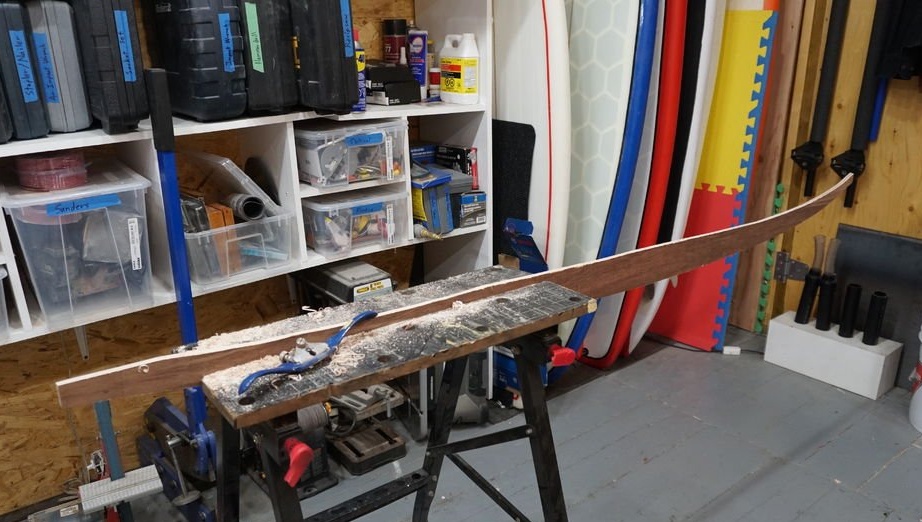
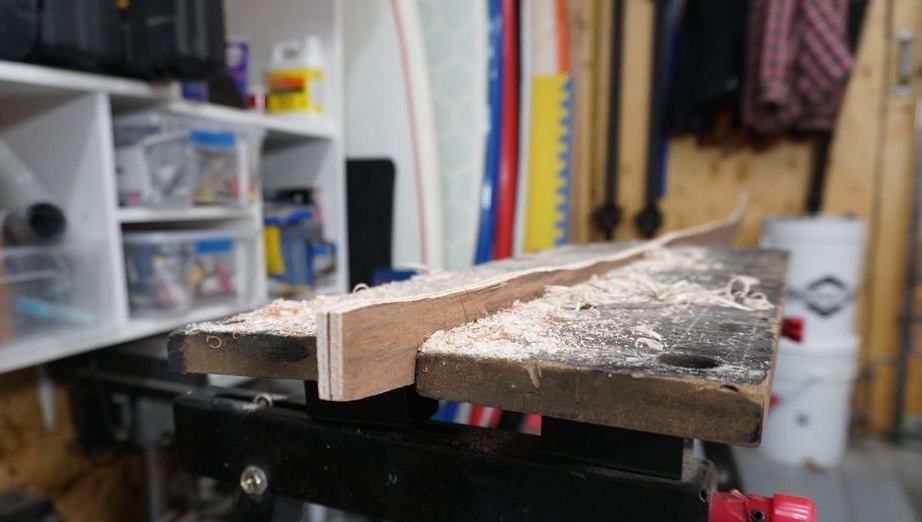
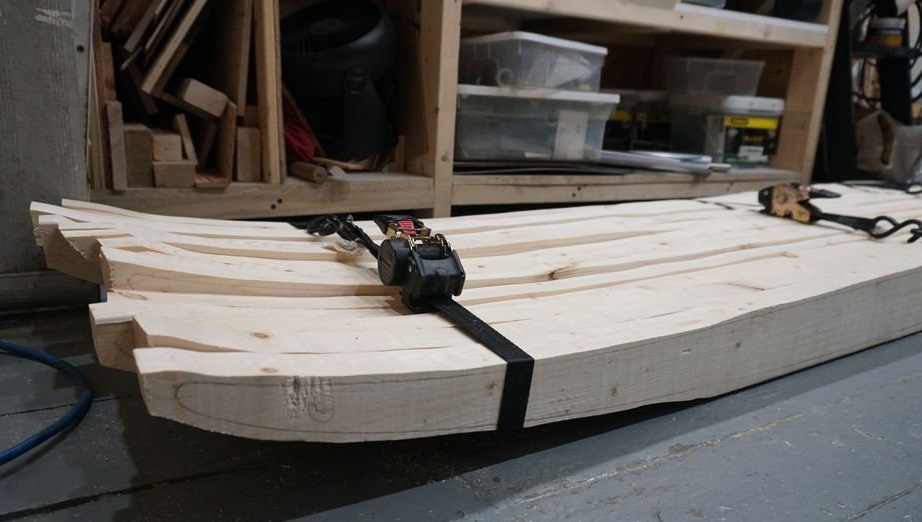
Step Two: Stringer
In the design of the board, the stringer is called the core, which goes down the middle of the deck from the bow to the fins. Stringer will determine the shape of the rocker. Rocker is the lower curvature of the nose-to-tail surfboard, which determines how water flows under the board, ideally it is shaped to fit the bend of the wave surface.
The master makes a stringer from plywood, but any thin wood is also suitable.
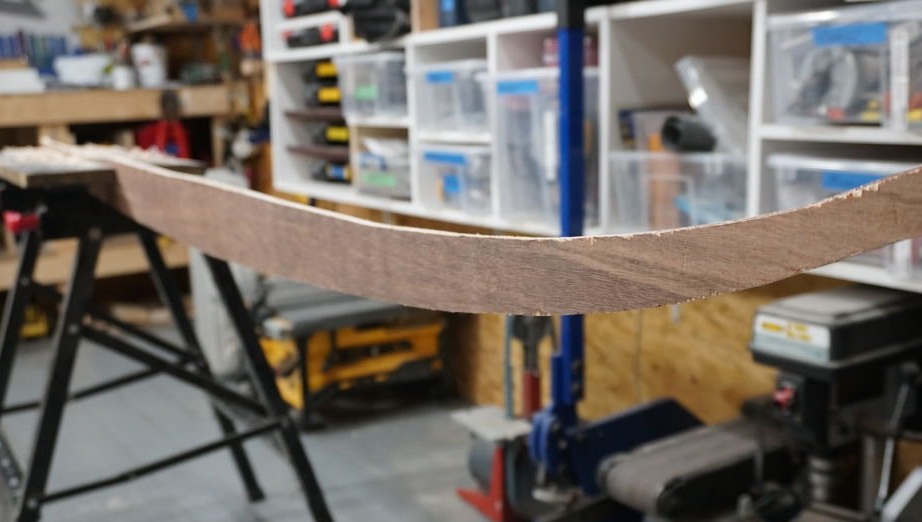
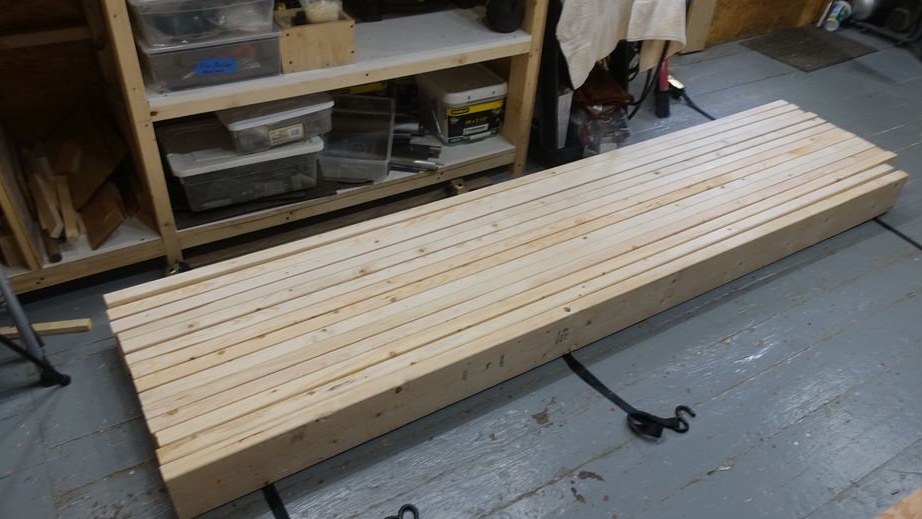
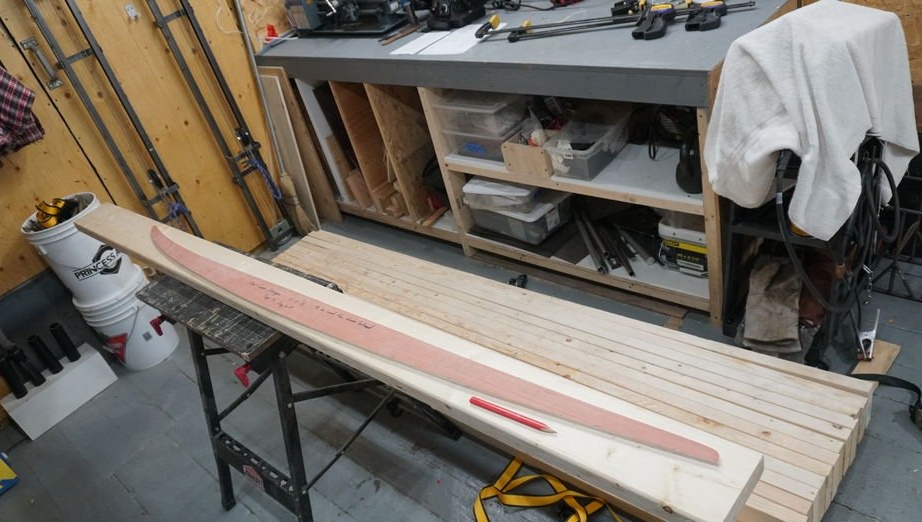
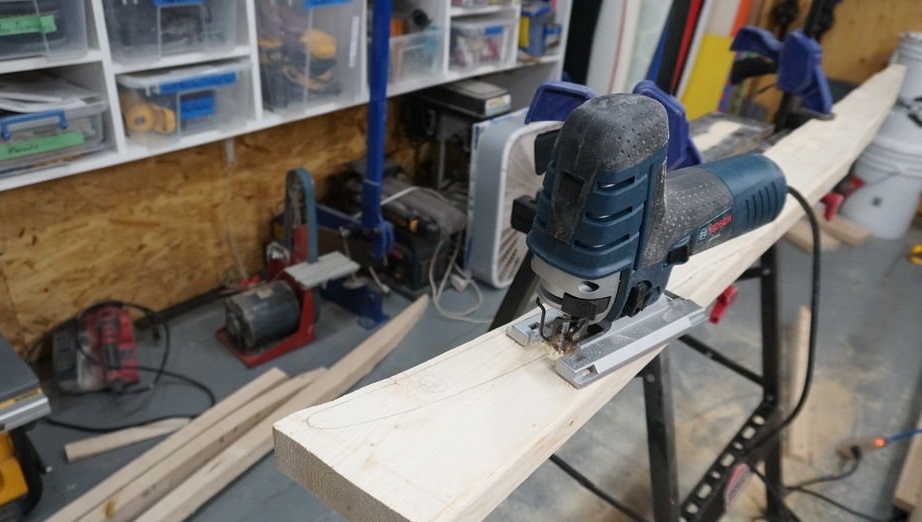
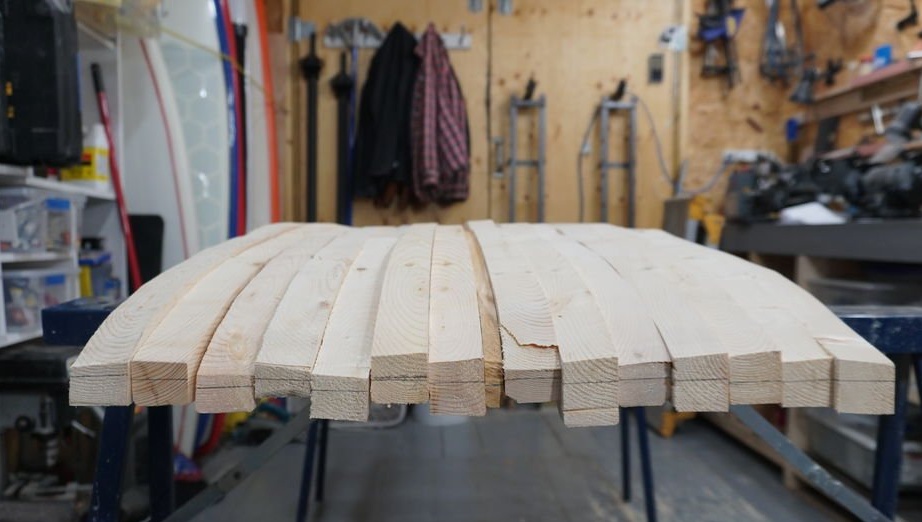
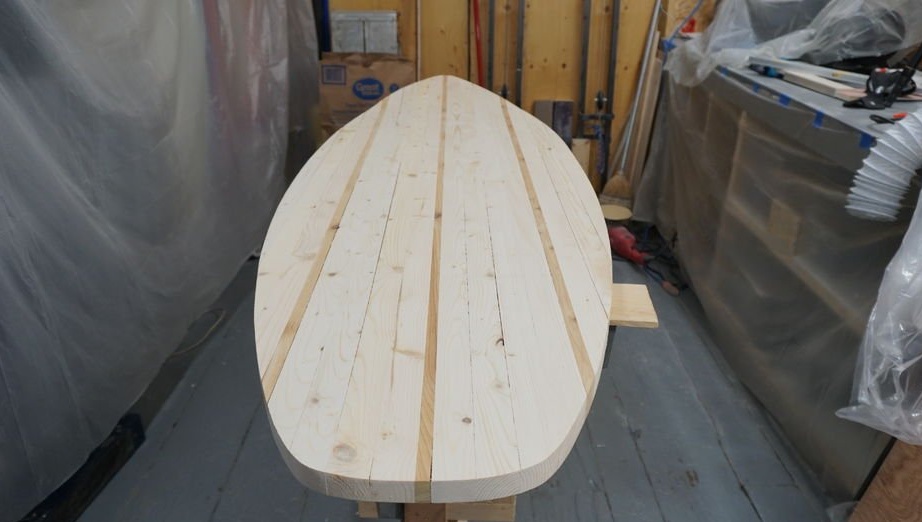
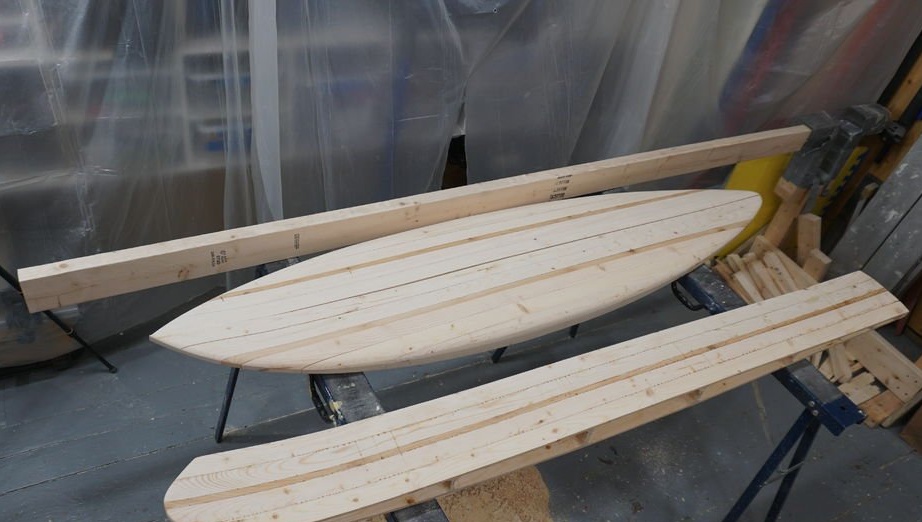
Step Three: Harvesting
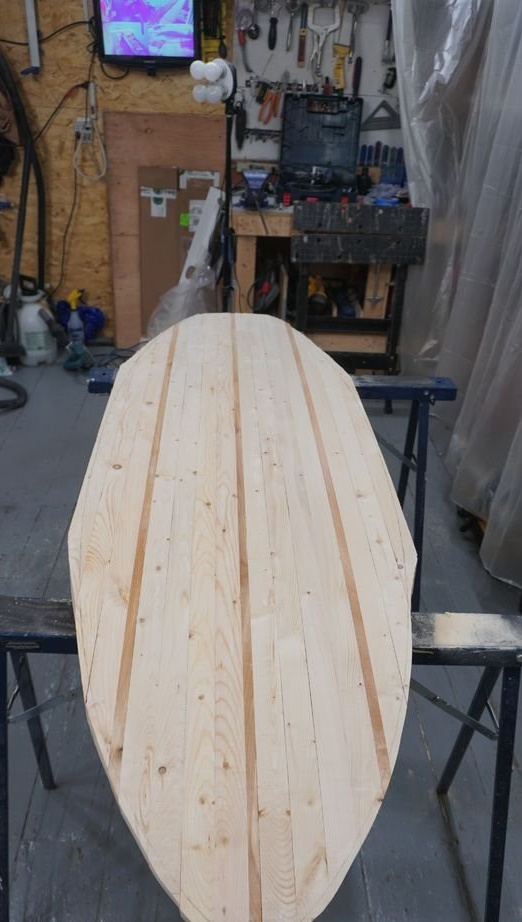
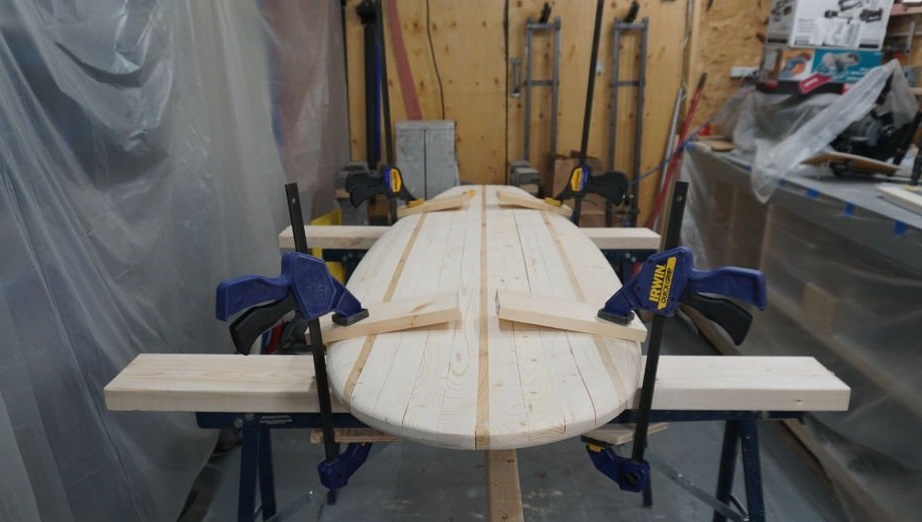
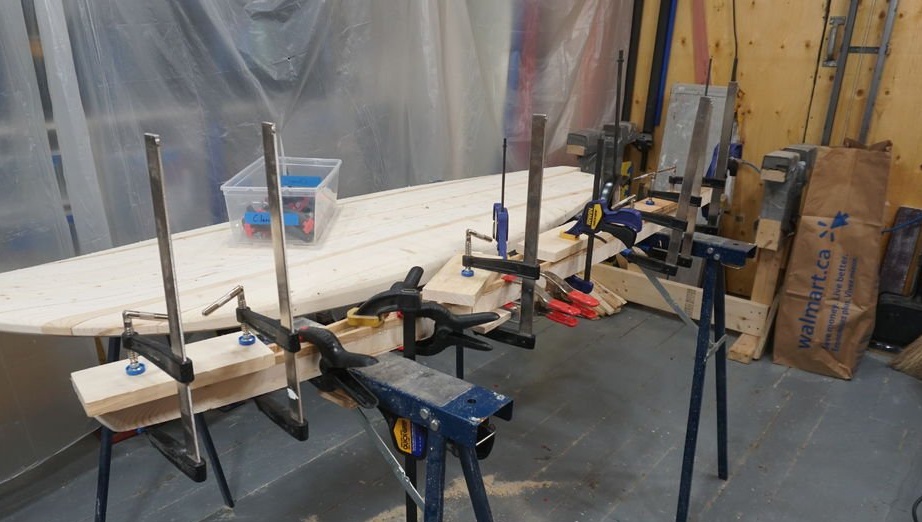
The first step, in the manufacture of the workpiece, mark the stringer template on each piece of lumber. Boards should be chosen without knots and cracks. After marking the master with a jigsaw cut out every detail. Then, with the help of screws and glue, the workpieces were temporarily joined together.
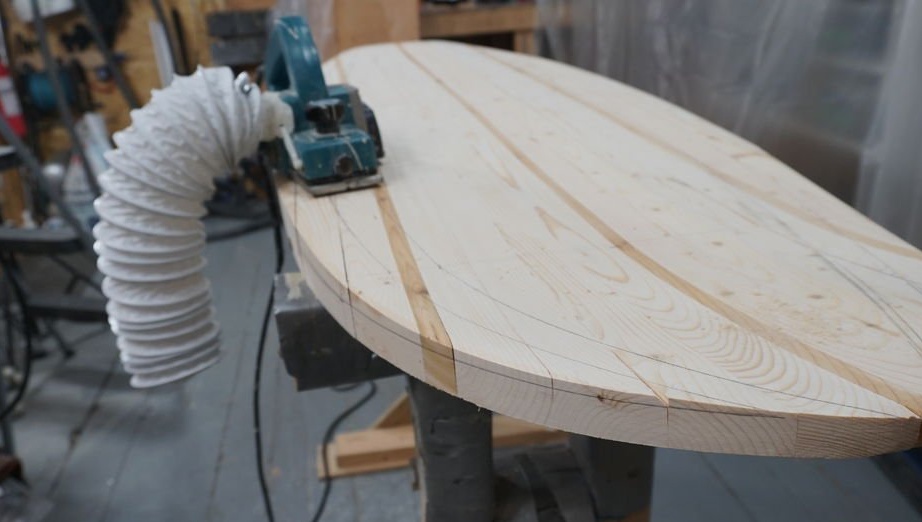
Then the master begins to process the workpiece. This treatment is rough, rough. You need to fit the boards under one plane, remove various irregularities, etc.
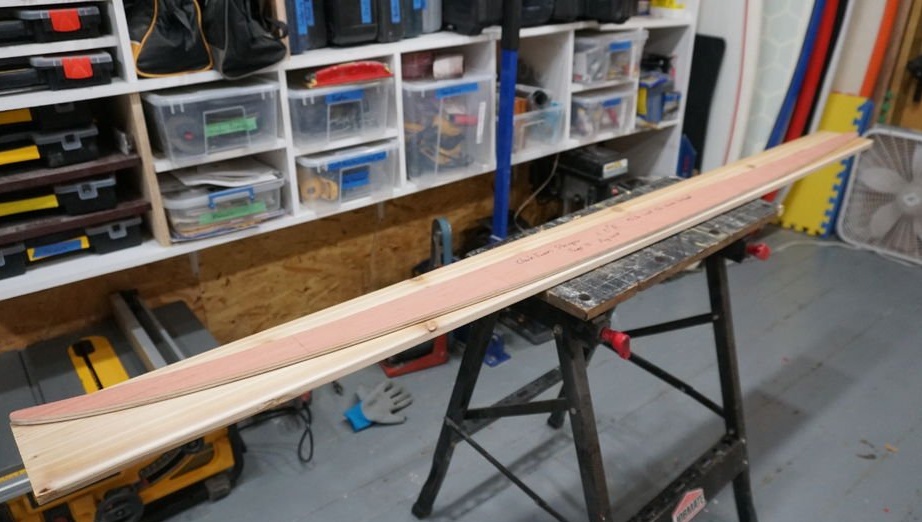
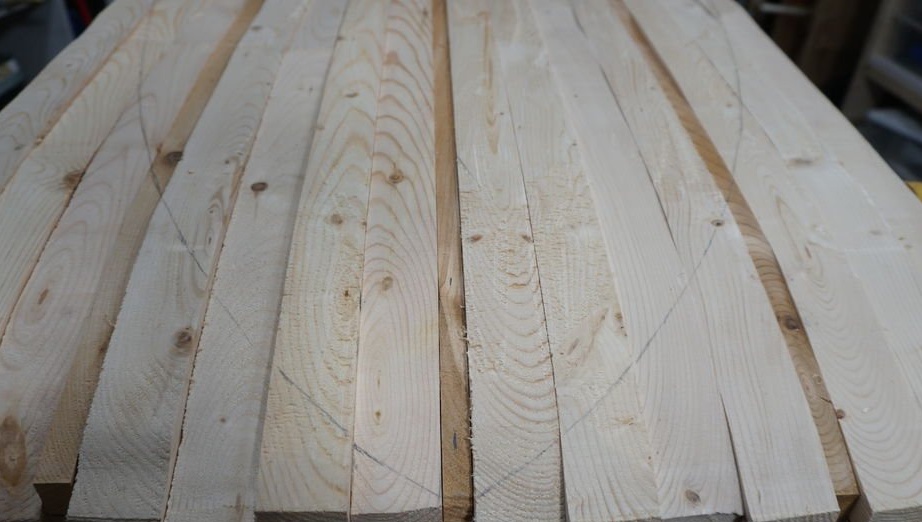
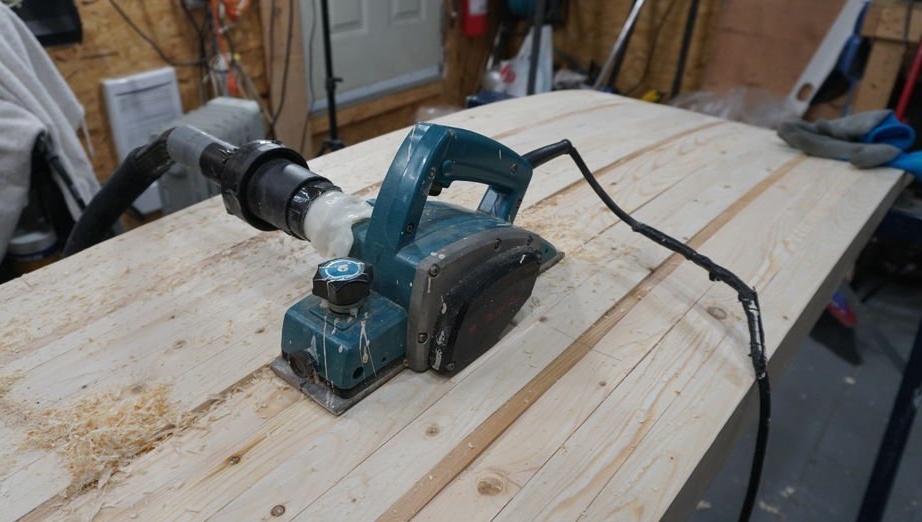
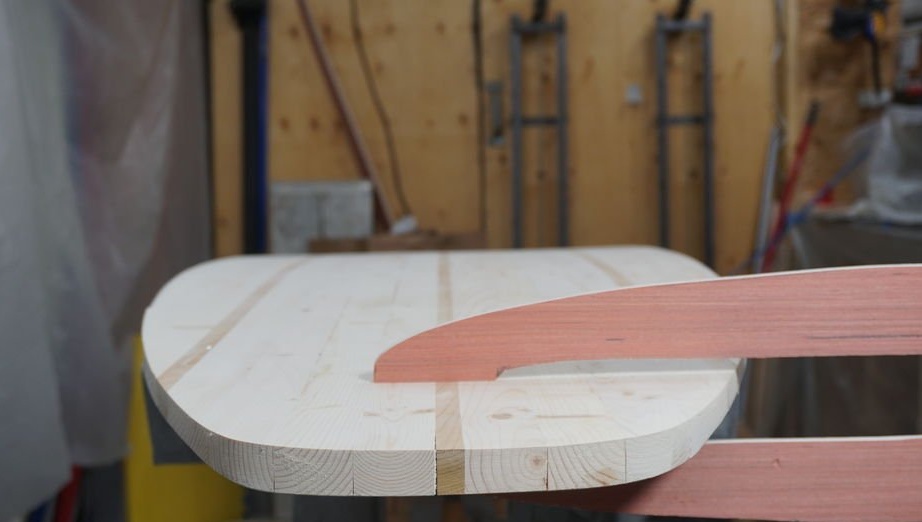
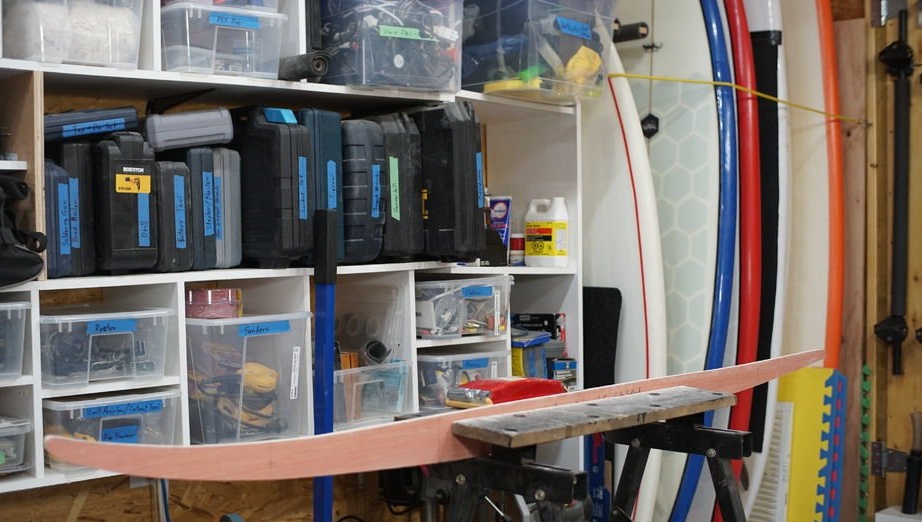
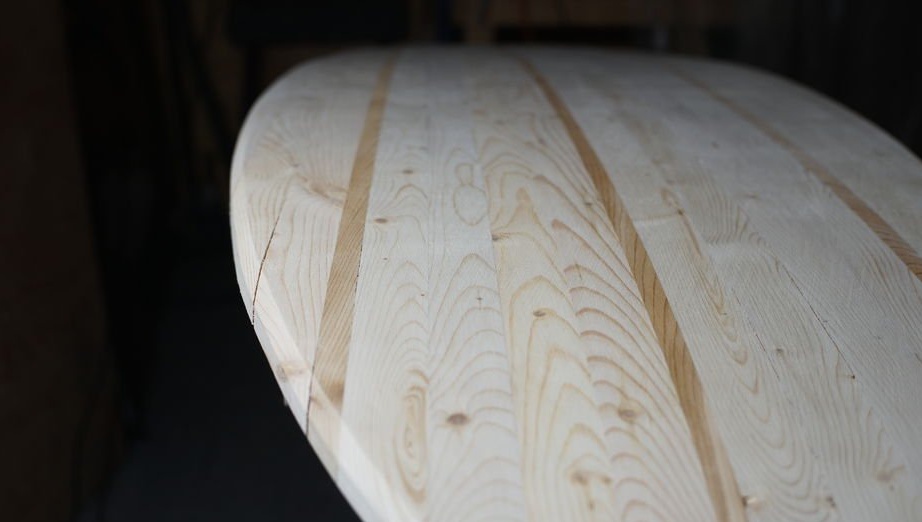
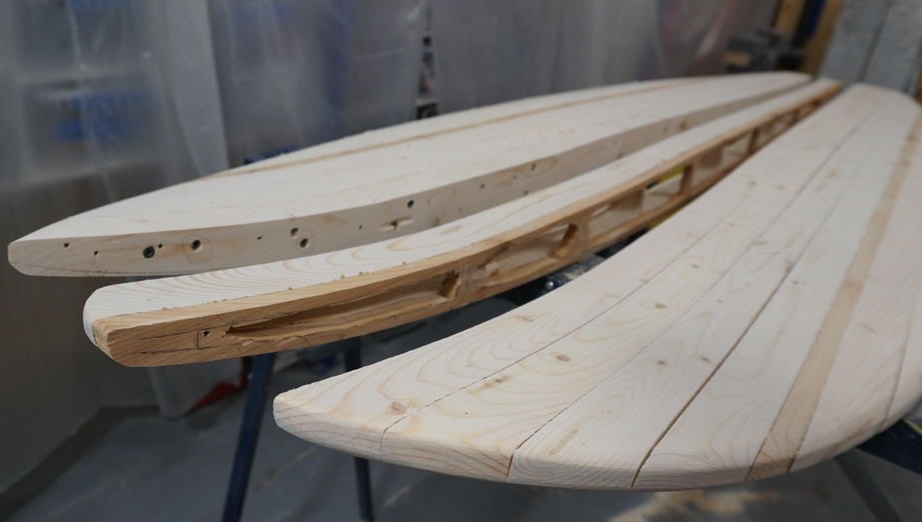
Step Four: Shaping
Now you need to give the board the desired shape. The wizard recommends marking up following the instructions on this link.
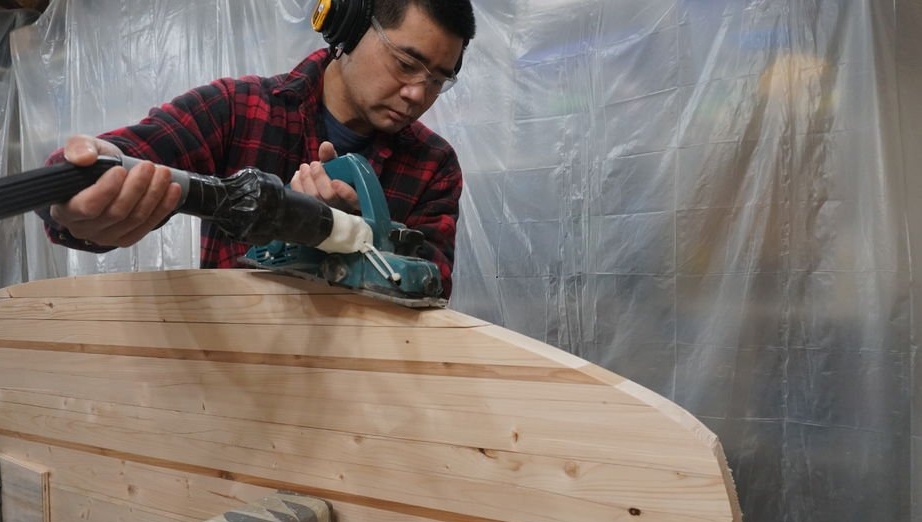
After marking the master, begins to process the workpiece. You need to try to process the board symmetrically. The master uses such a simple trick: on one side he makes as many passes with the tool as on the previous one.
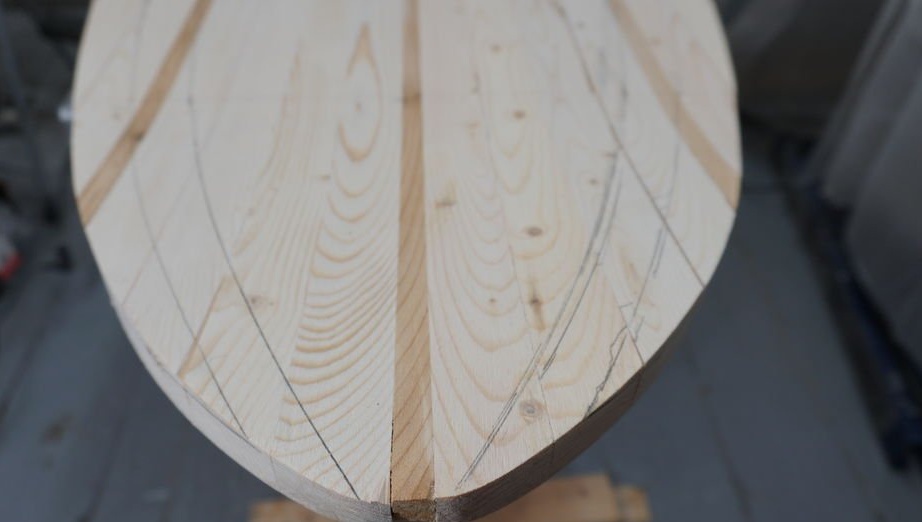

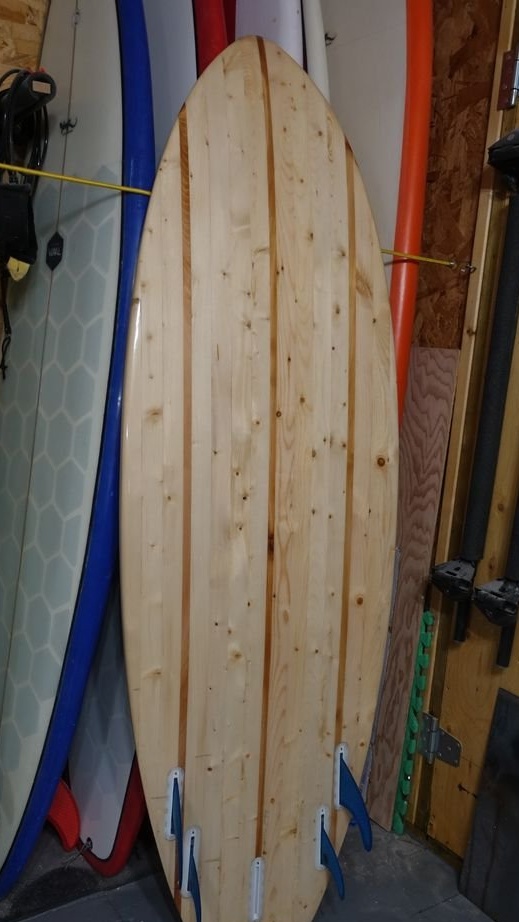
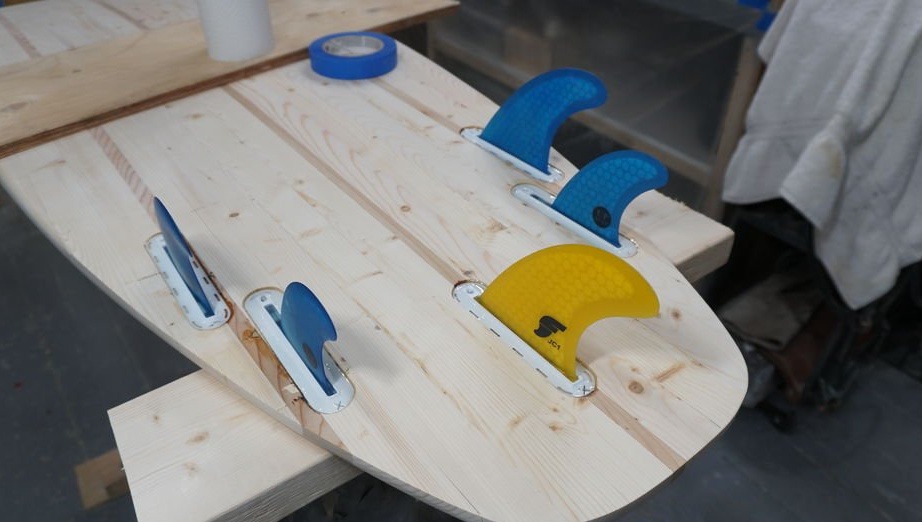
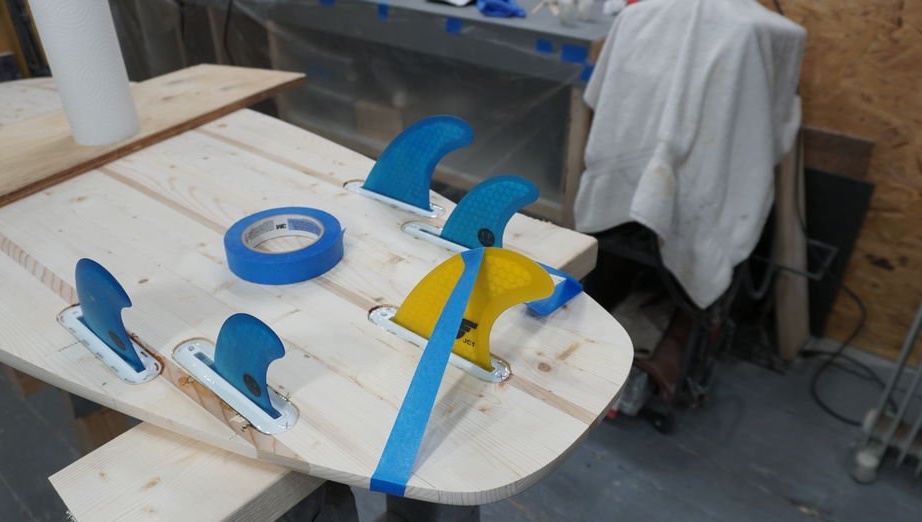
After processing marks the places for the installation of fins.
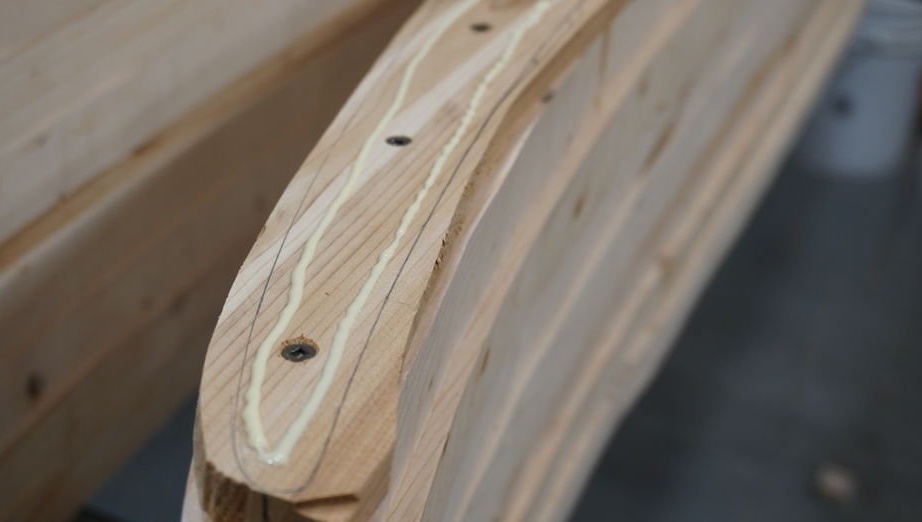
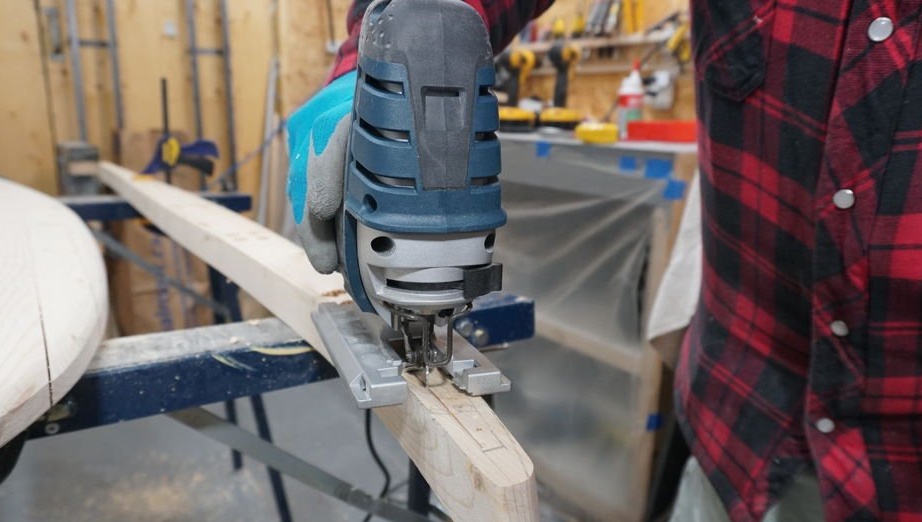
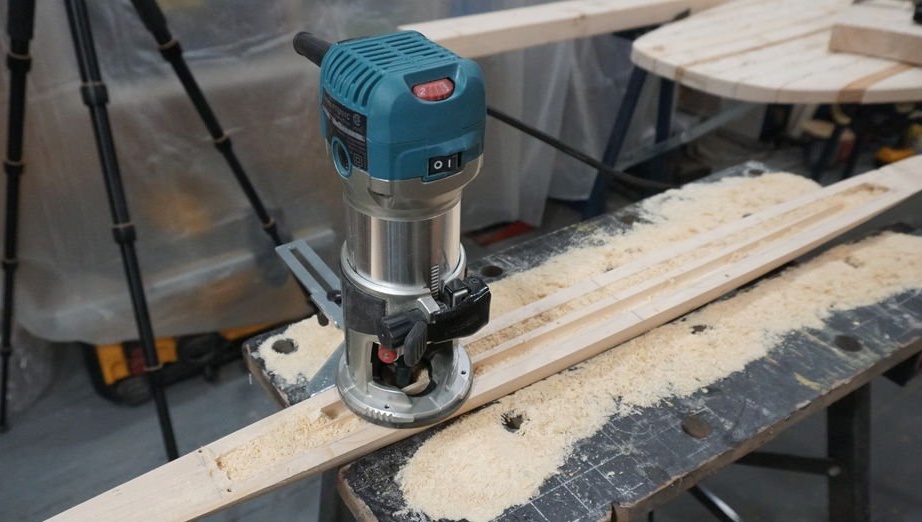
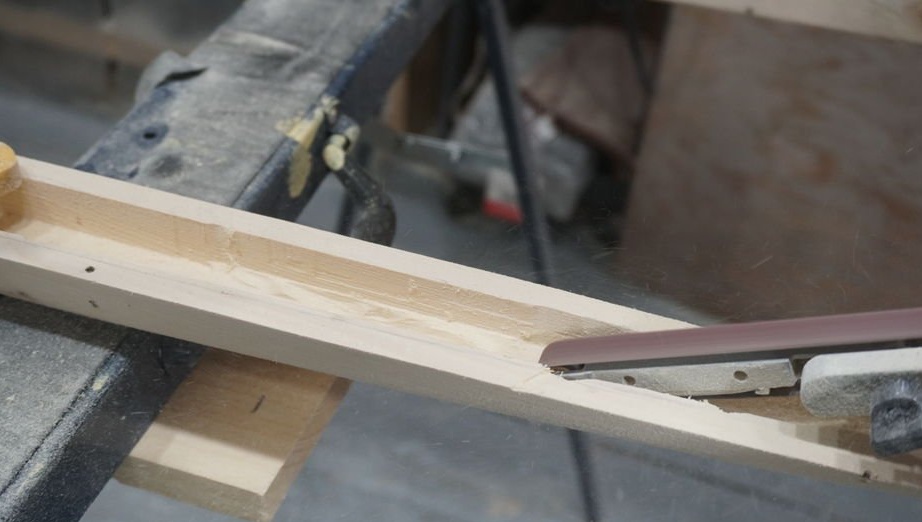
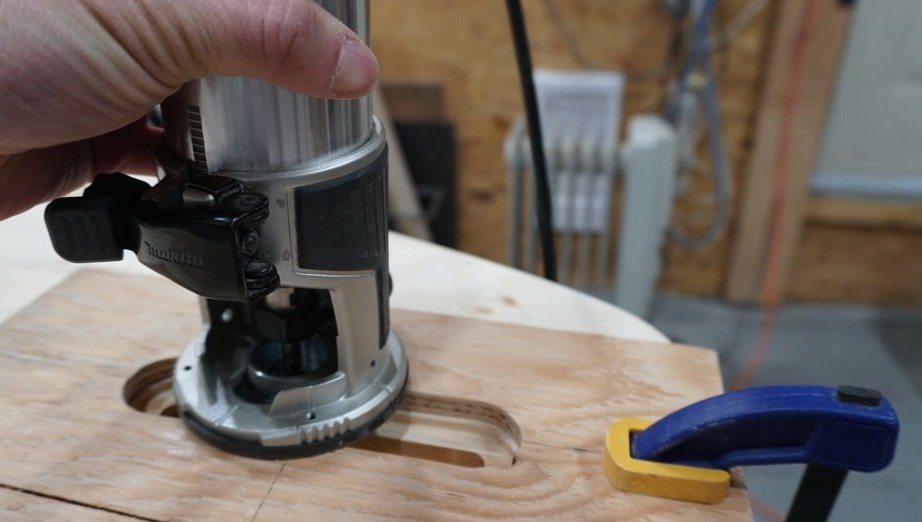
Step Five: Milling
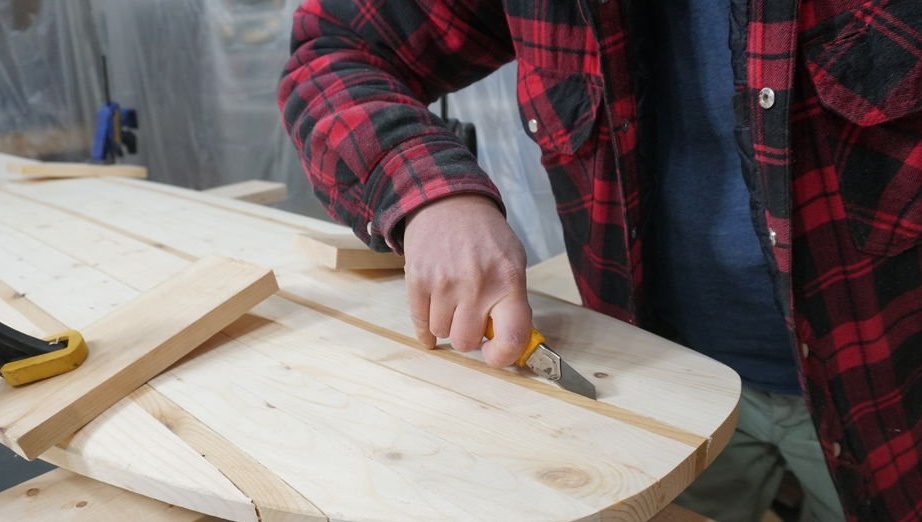
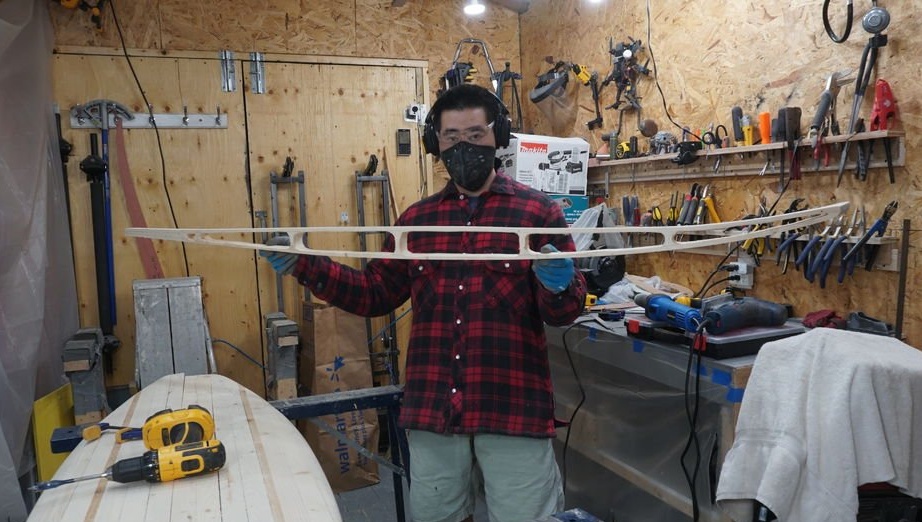
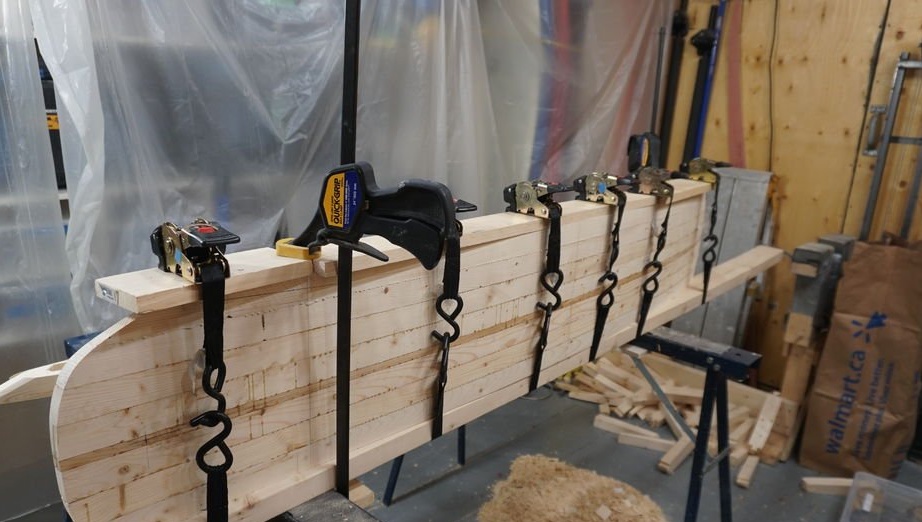
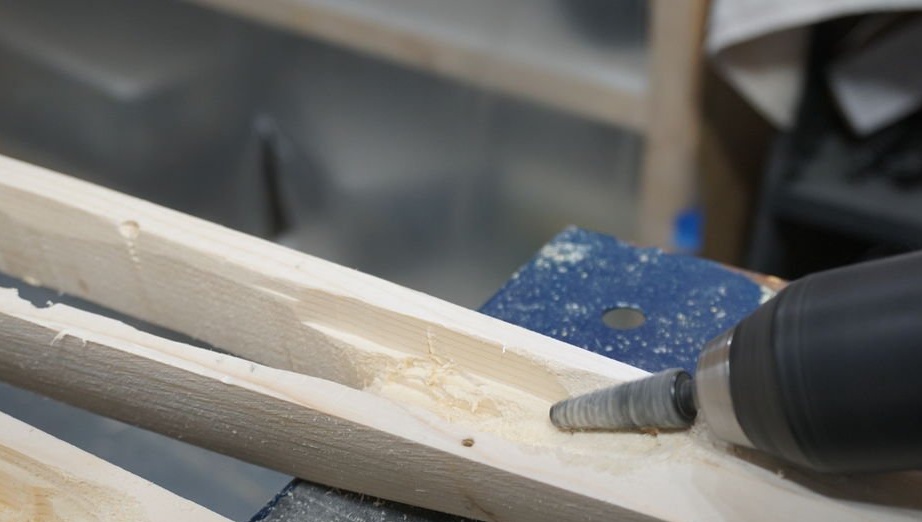
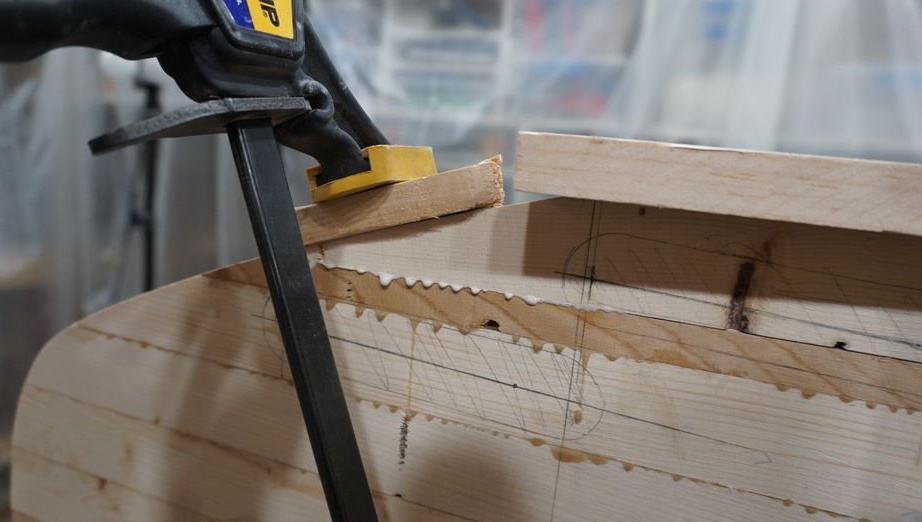
This is probably the hardest part of the job.It is necessary to disassemble the board and cut the core of the board from each part, while maintaining the partitions. In this case, you must not disrupt the form. The master clamps the board around the edges with clamps and divides the board into two halves, and then separates the two middle boards. Then, with a milling cutter, she cuts wood from two middle boards. Both blanks should be symmetrical. After milling, glues these two parts together.
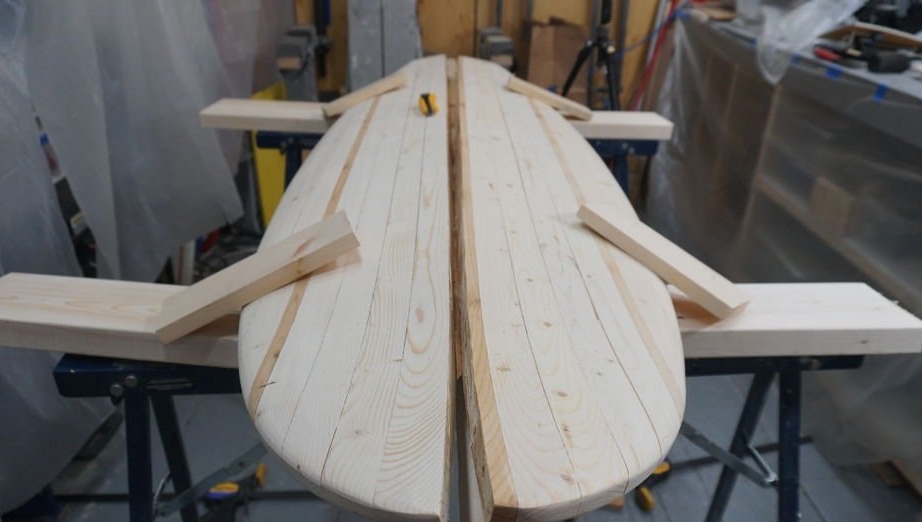

Separates the next two parts and repeats the previous operation.

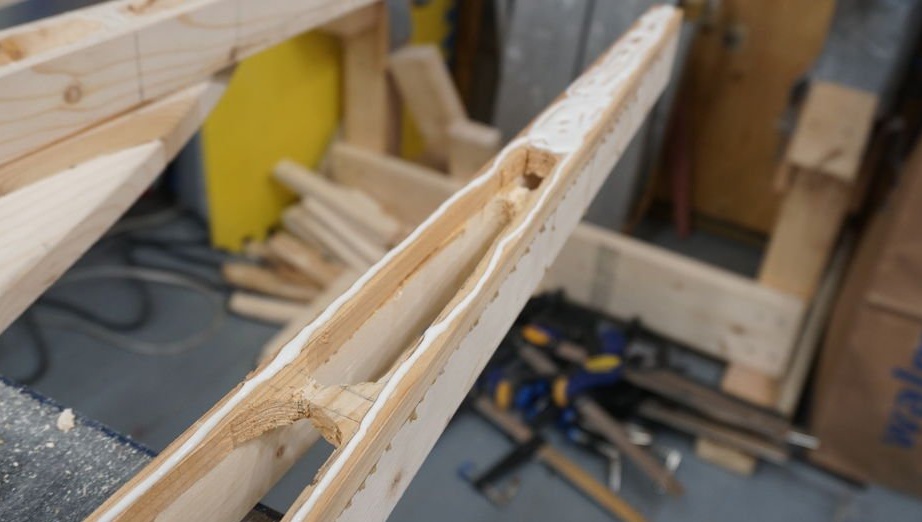
Carries out the same operation with all the blanks.

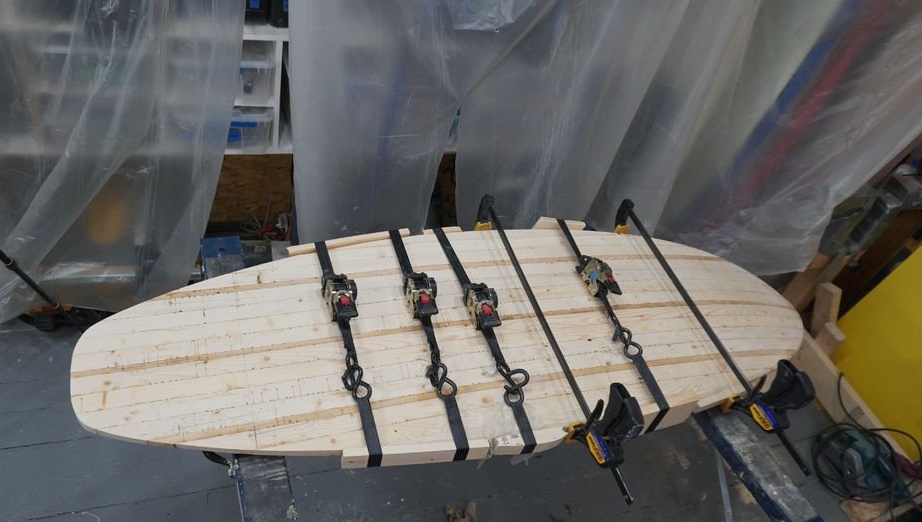
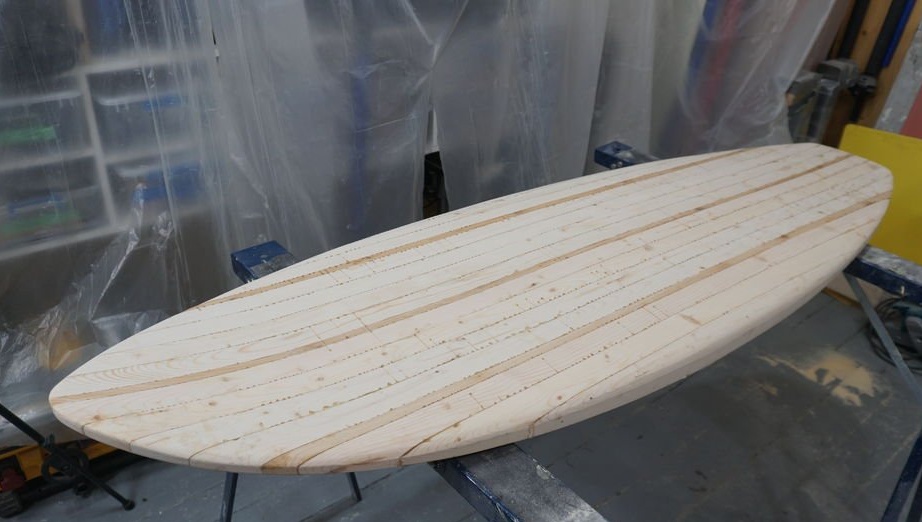
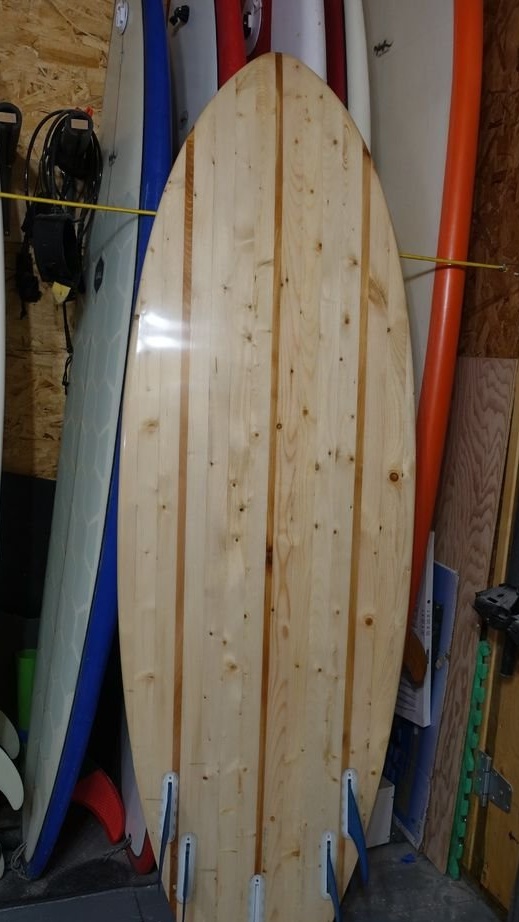
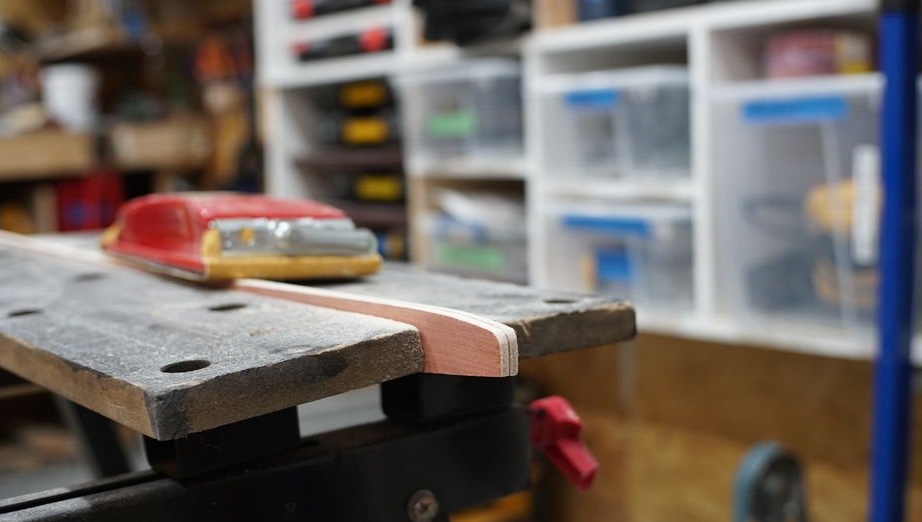
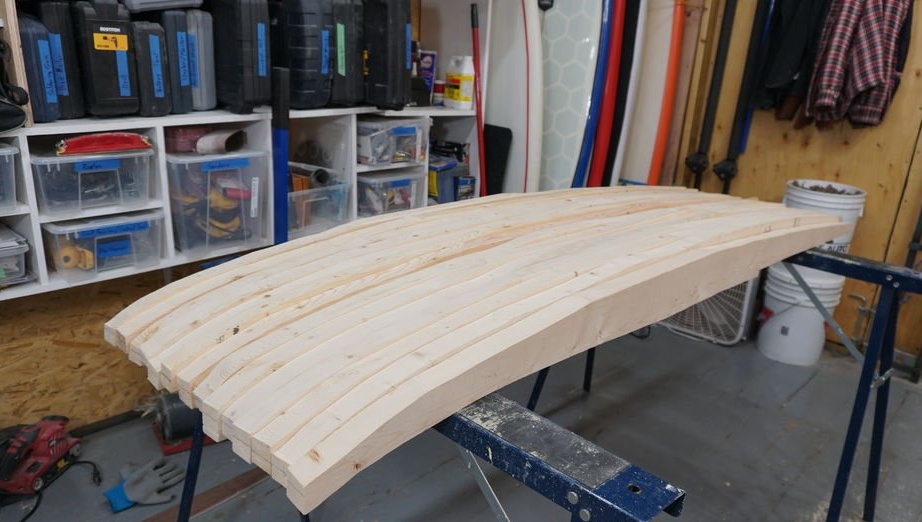
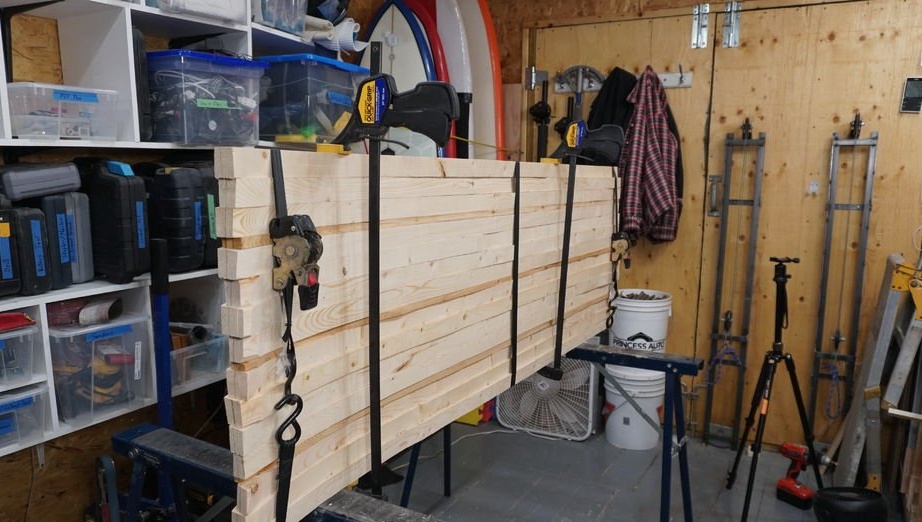
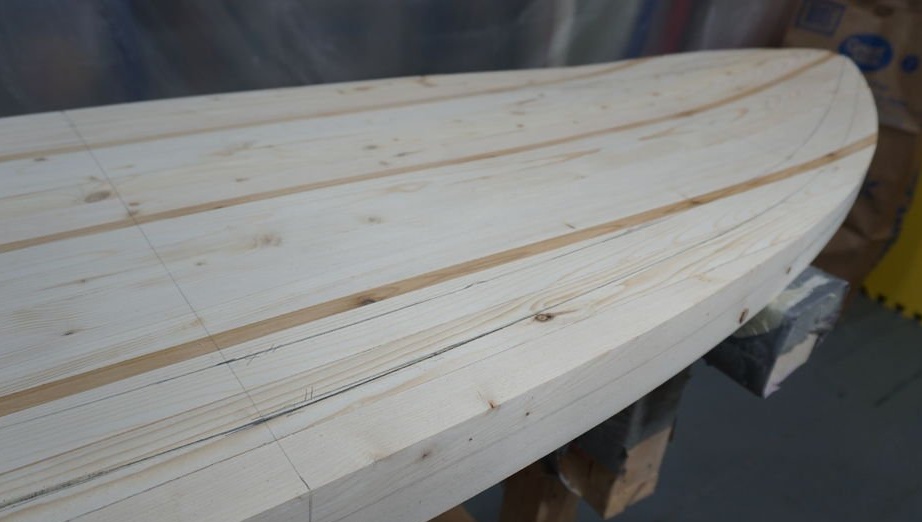
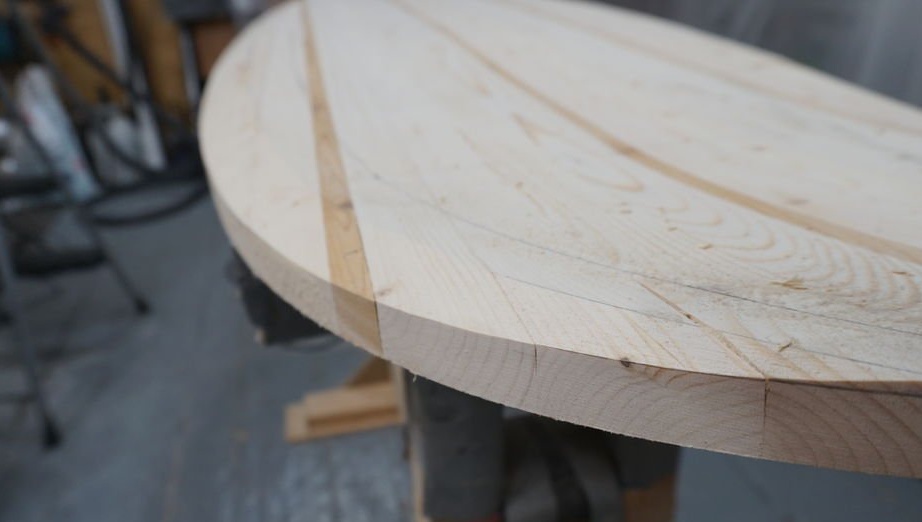
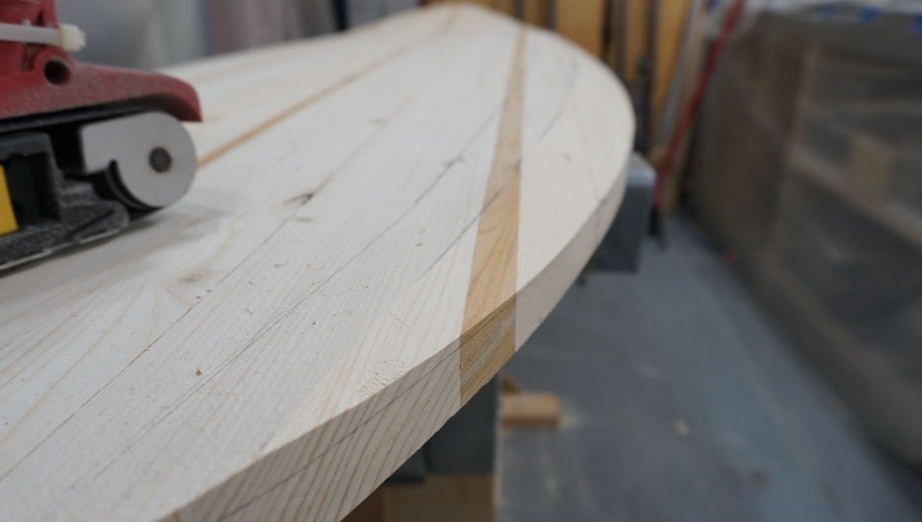
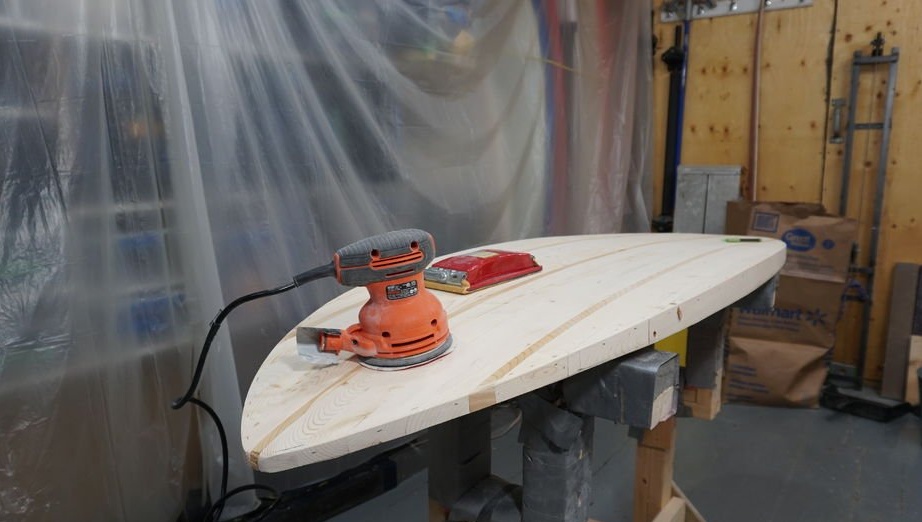
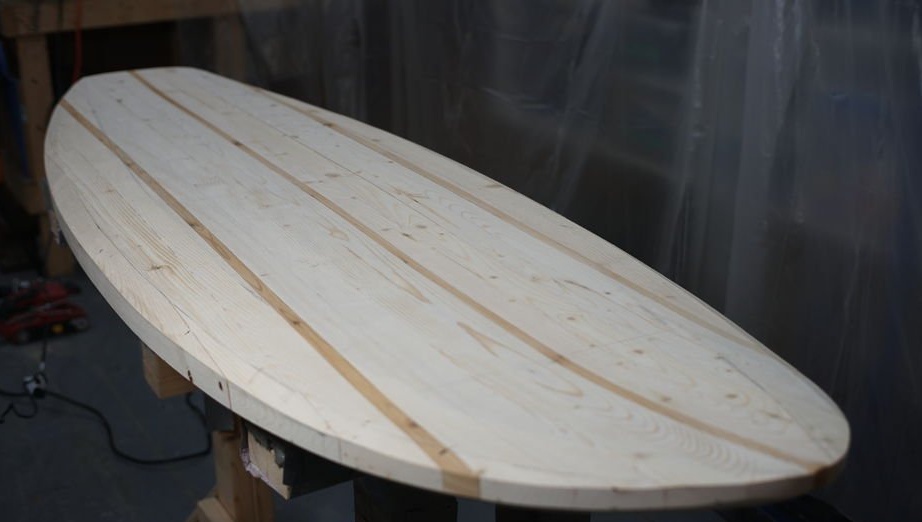
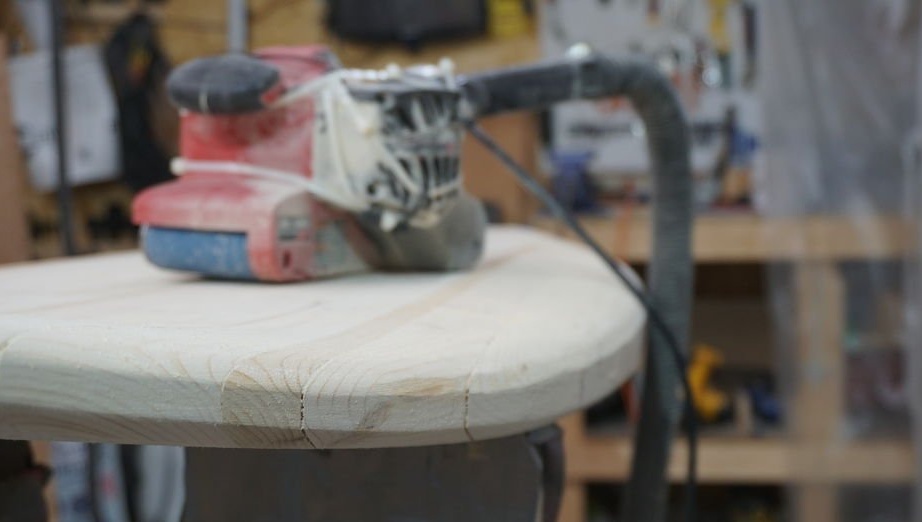
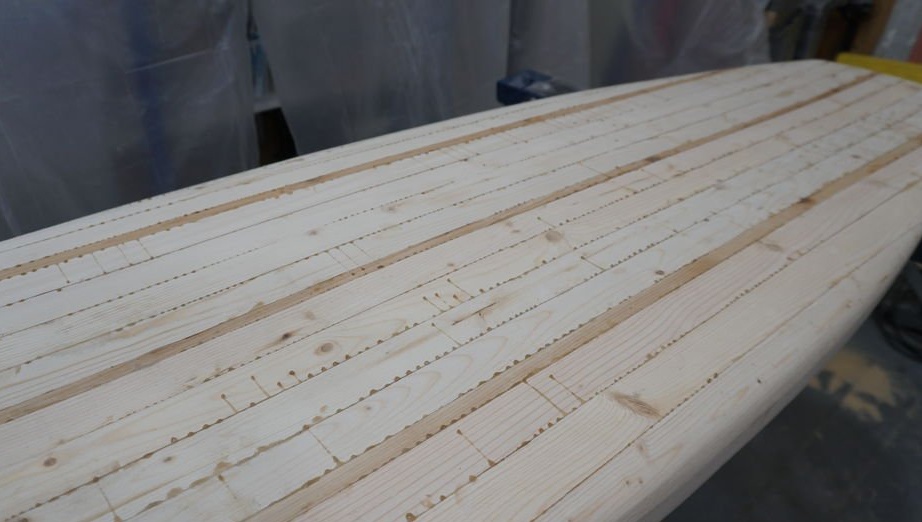
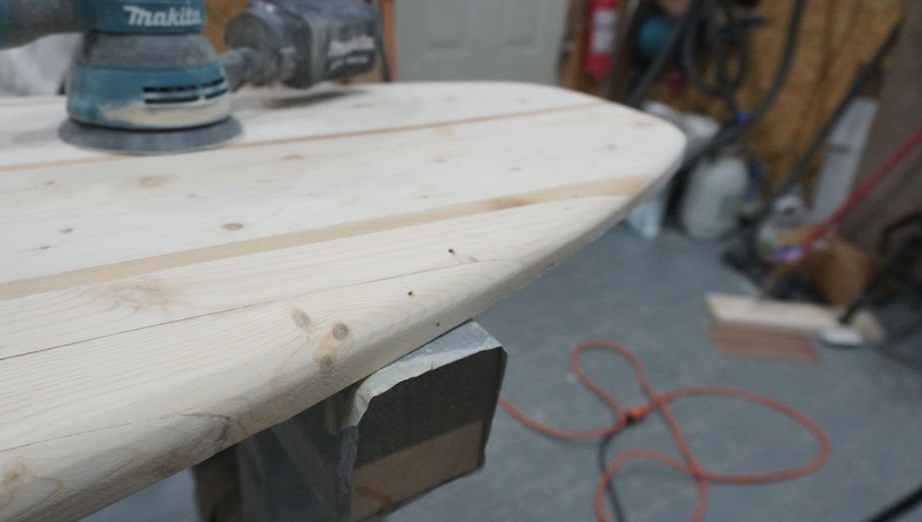
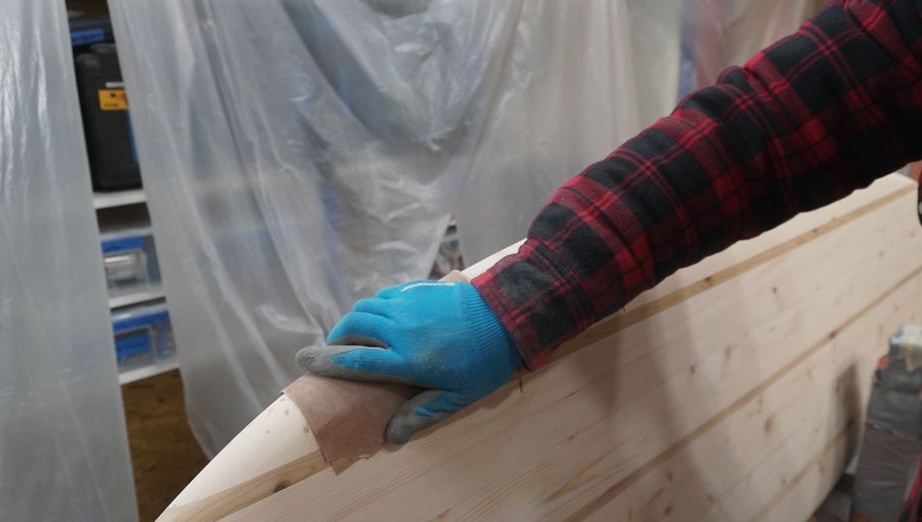
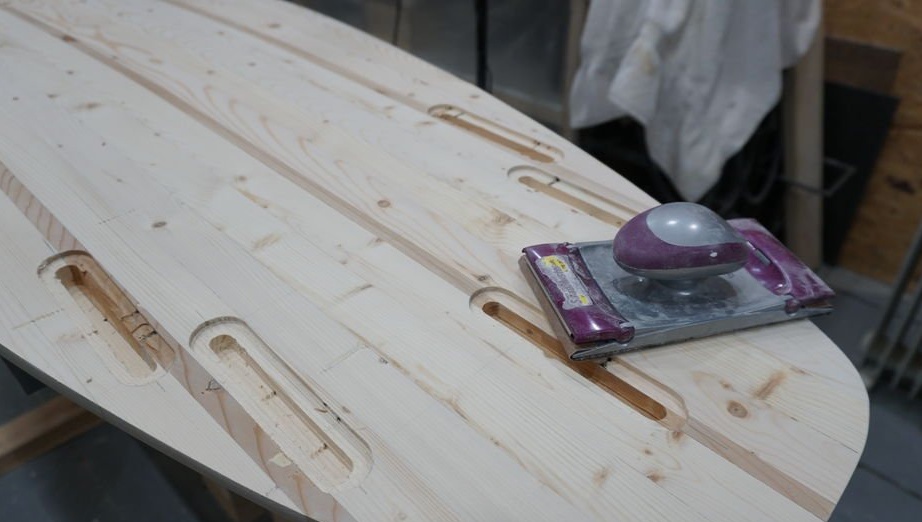
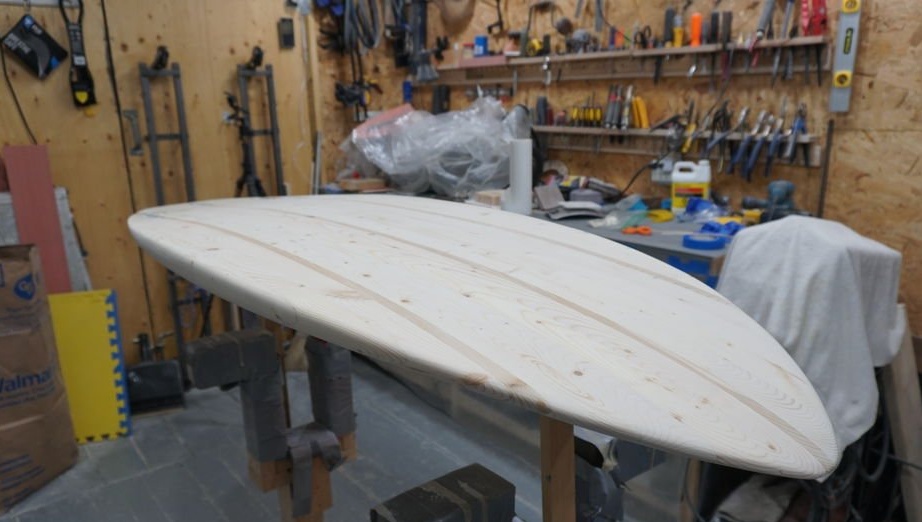
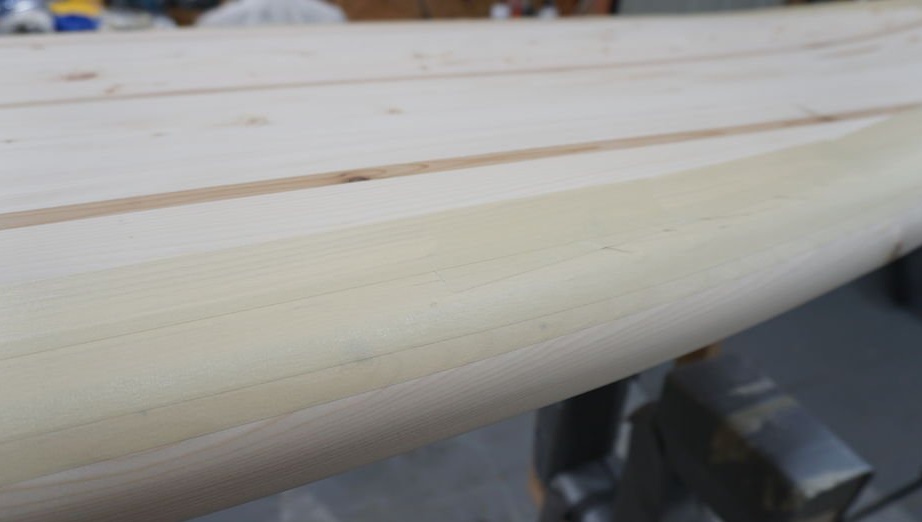
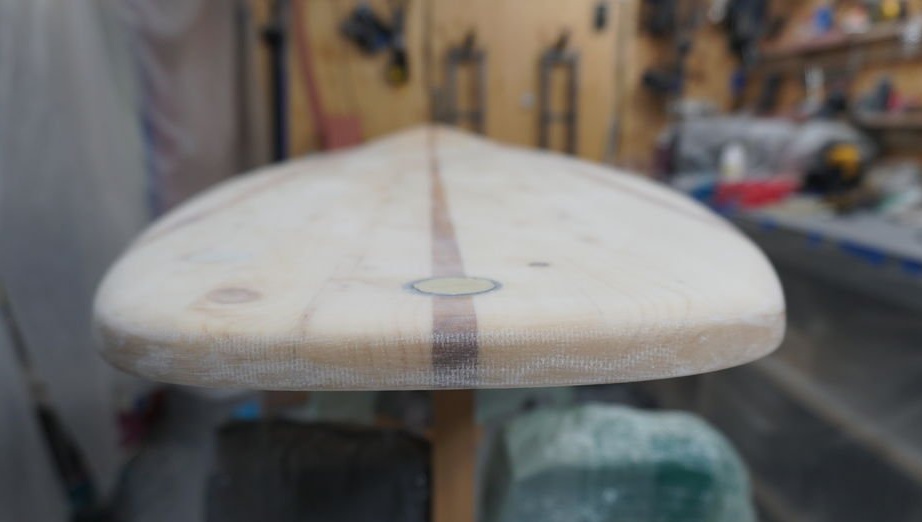
Step Six: Final Forming
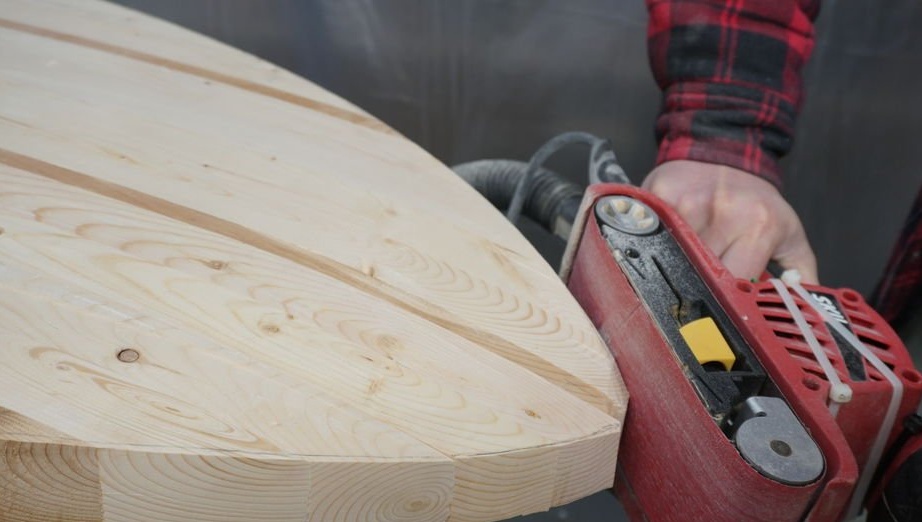
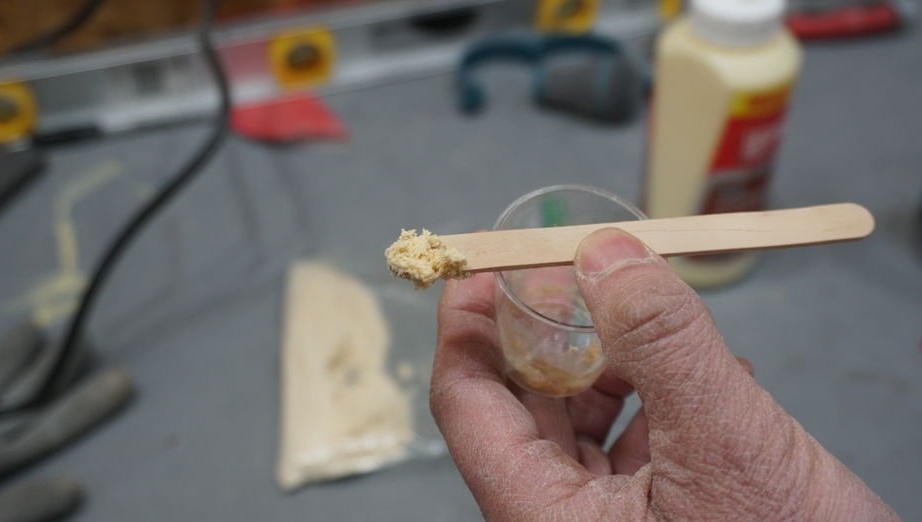
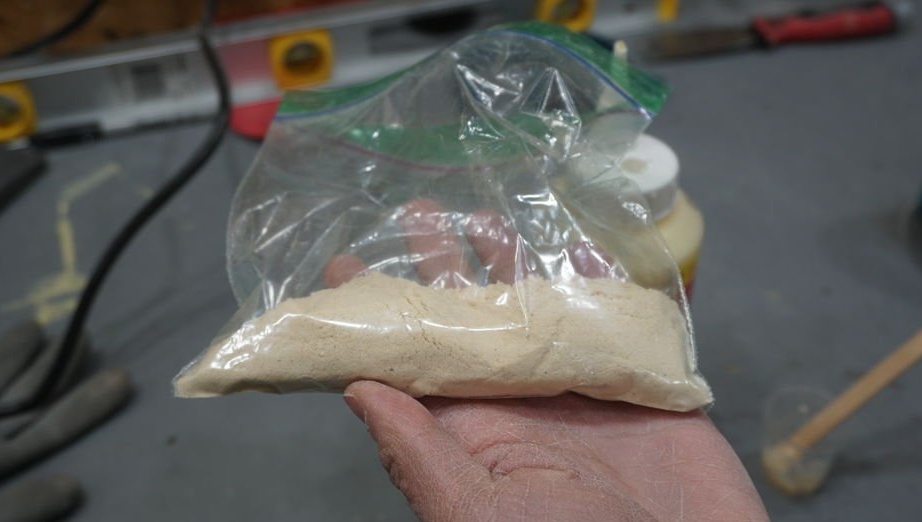
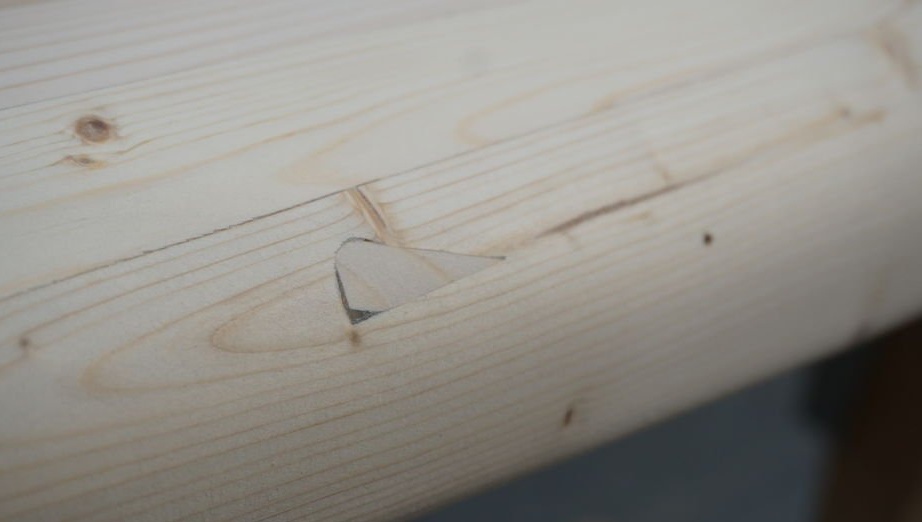
After gluing the board, the master processes the surface with a grinder. No matter how he aligns the parts when gluing, you still can’t connect the parts exactly. To remove all the shortcomings, the master processes the board. If necessary, fills chips and sinks with putty.

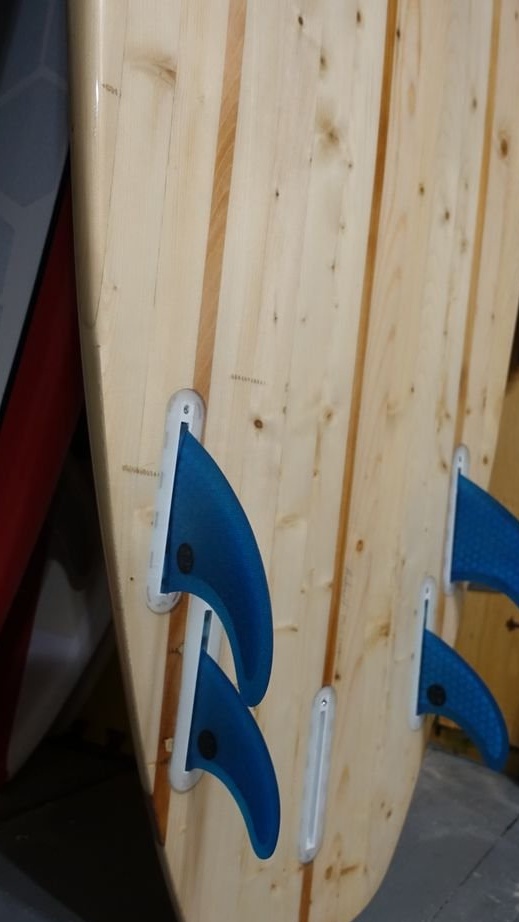
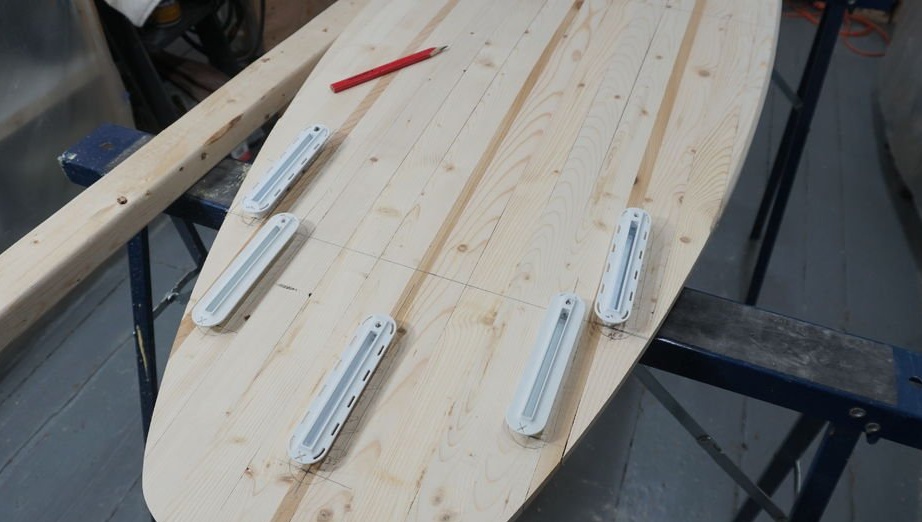
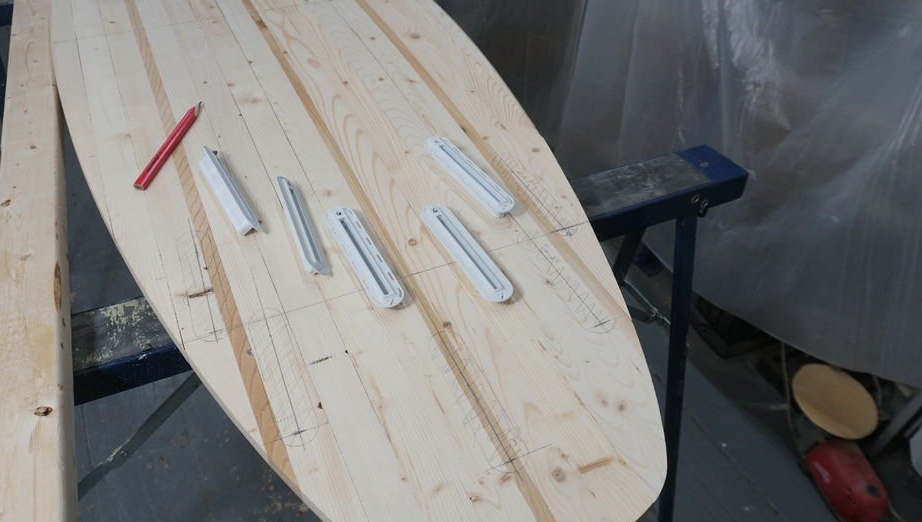
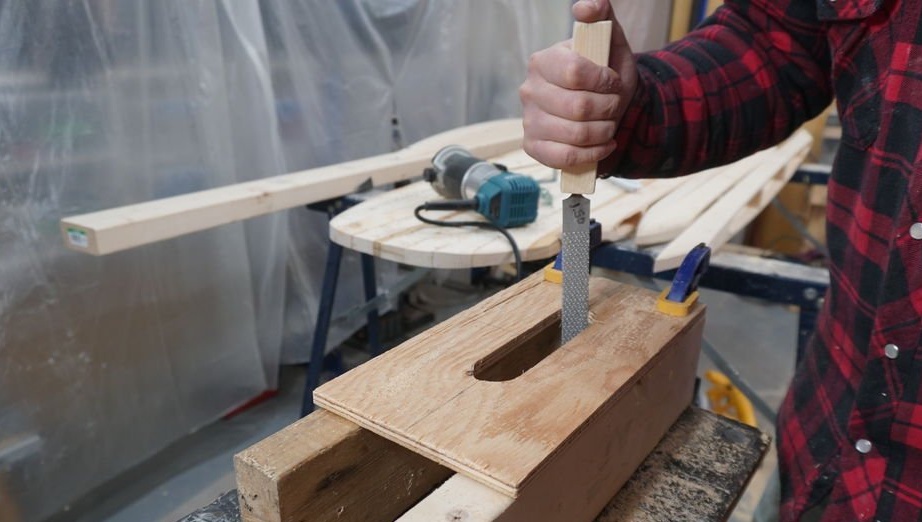
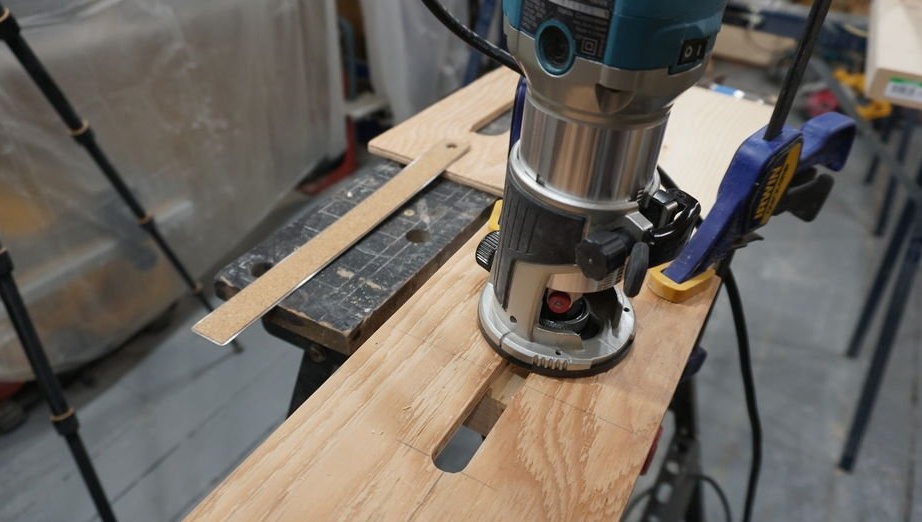
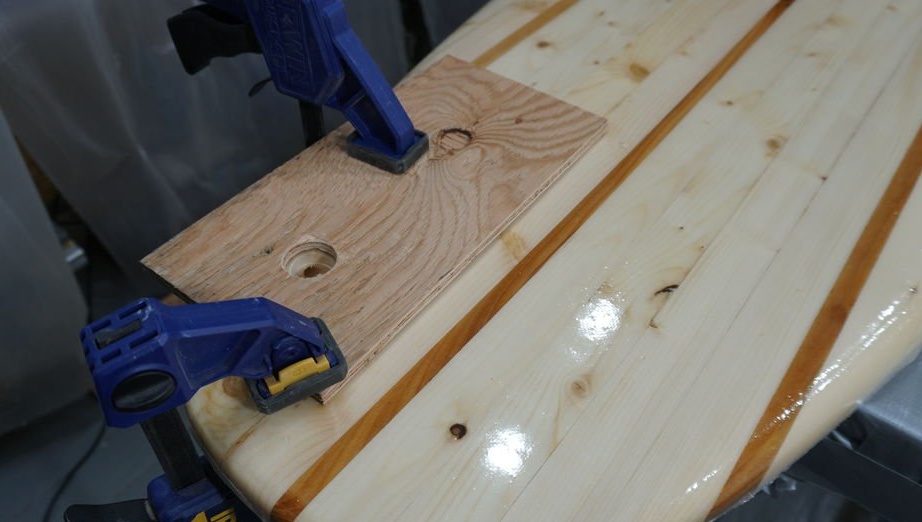
Seventh step: installing financial boxes
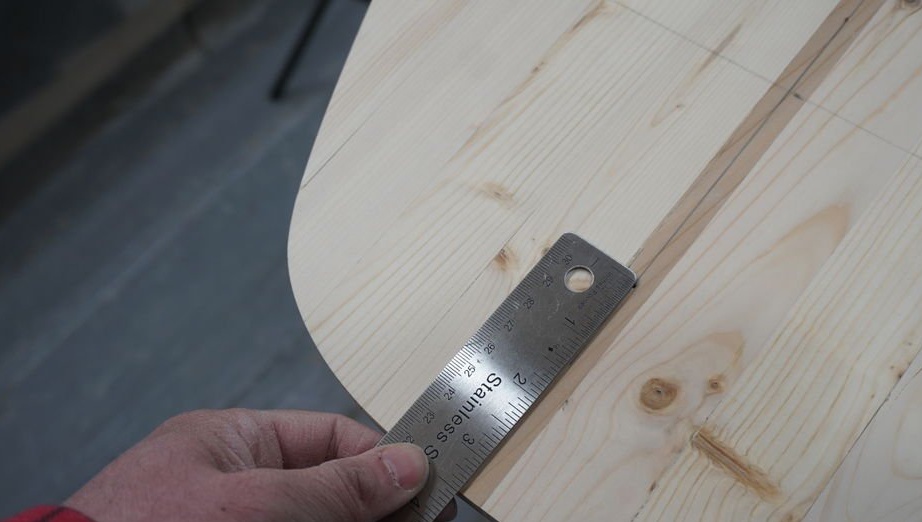
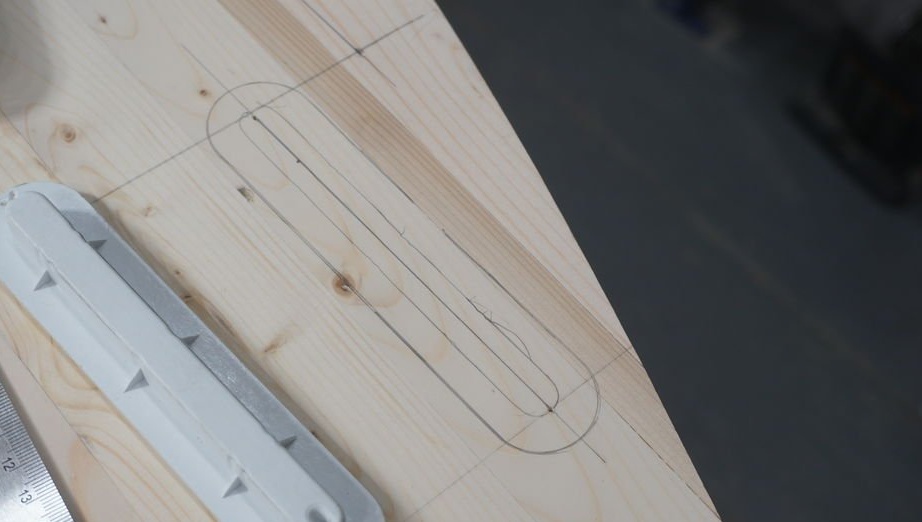
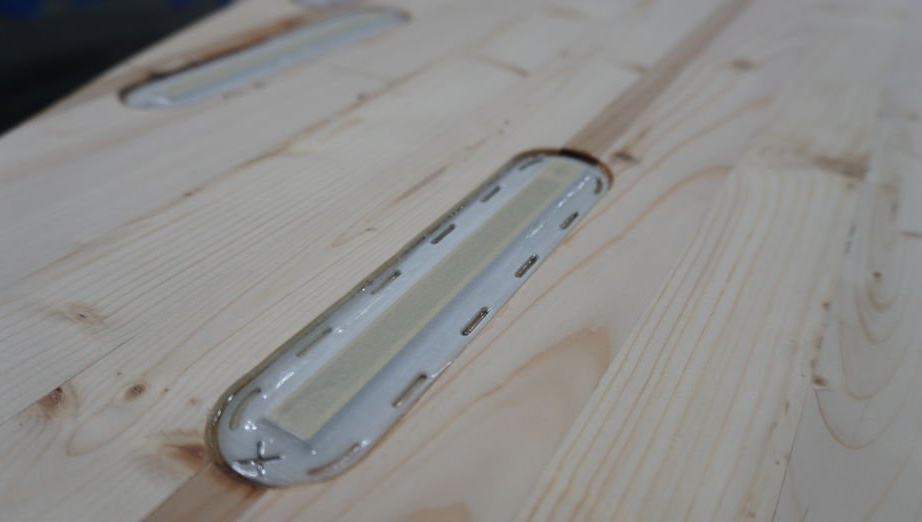
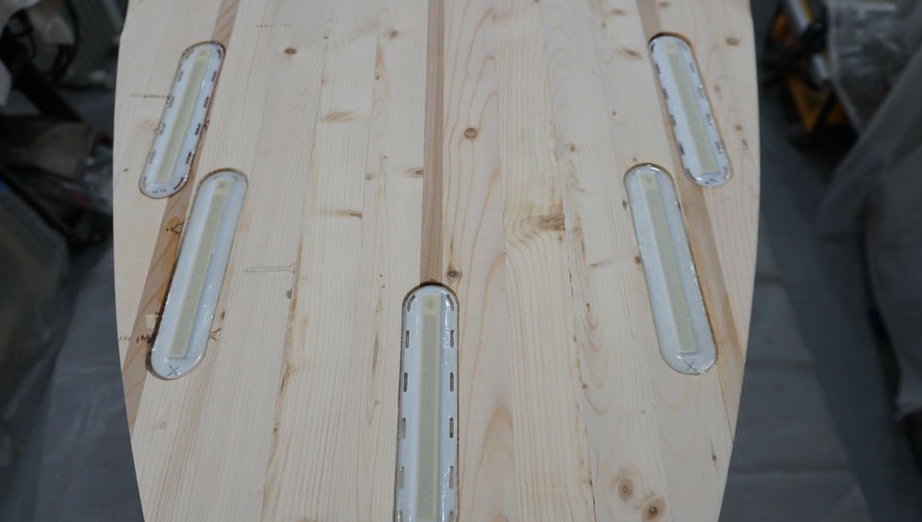
Finboxes are fixtures for fins. They are installed on the underside of the board and allow you to quickly install or replace the fin. Finboxes must be installed before gluing the board with fiberglass. The master makes the template first. Then, the pattern cuts out the grooves.
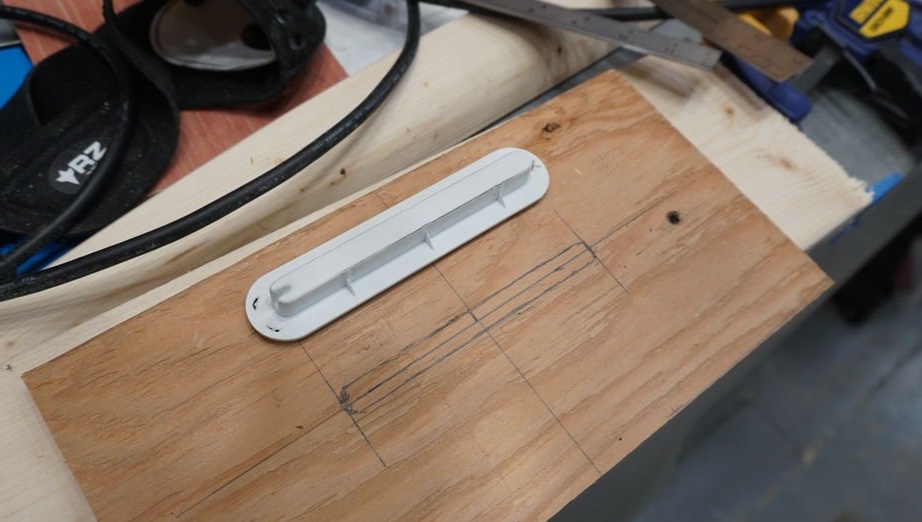
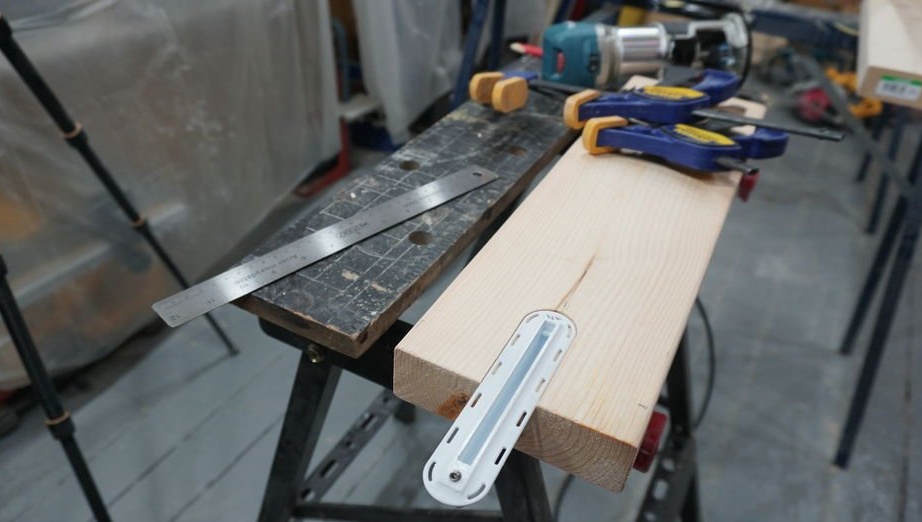
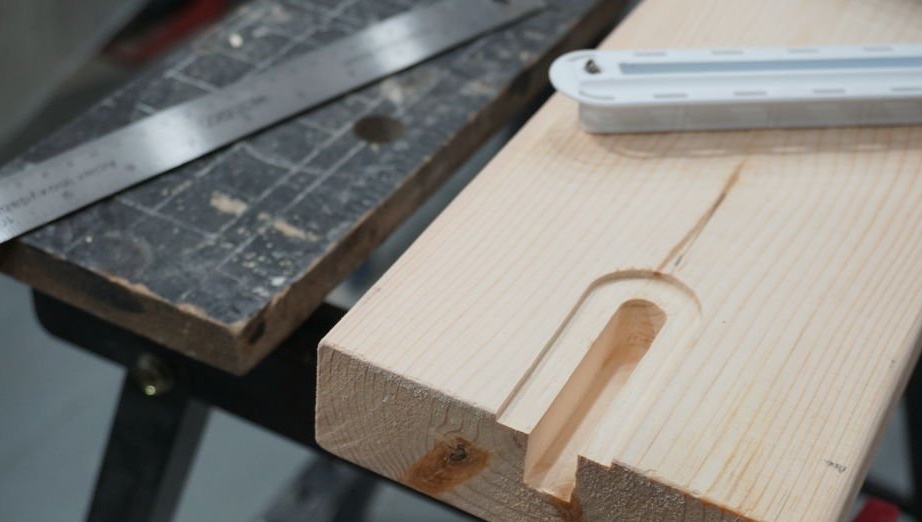
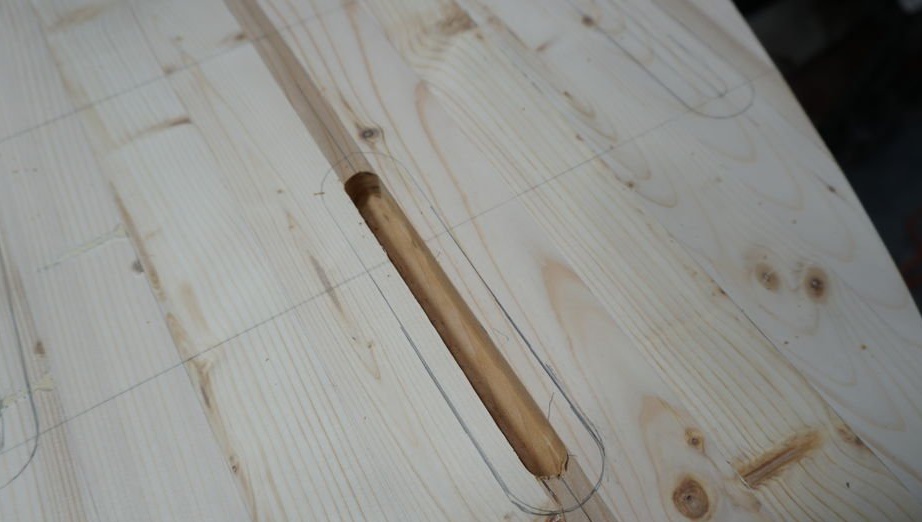
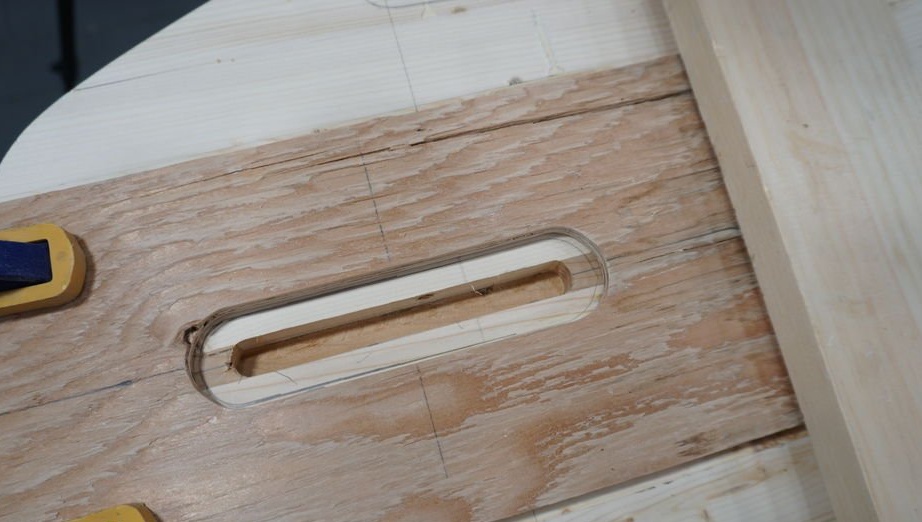


Paste finboxes into grooves.
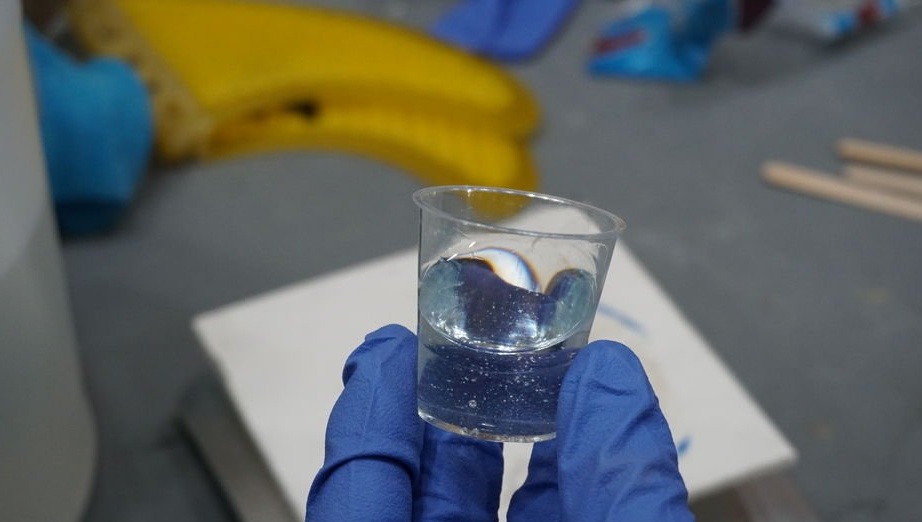
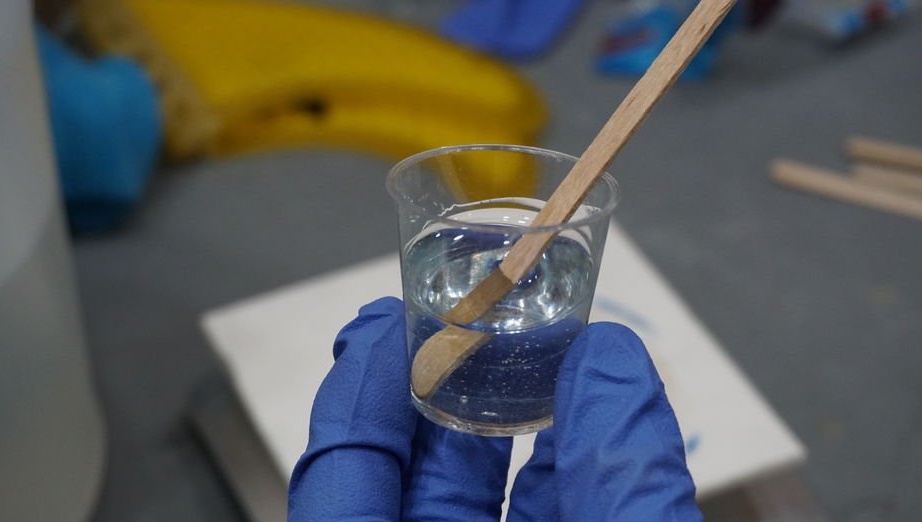
Step Eight: Fiberglass
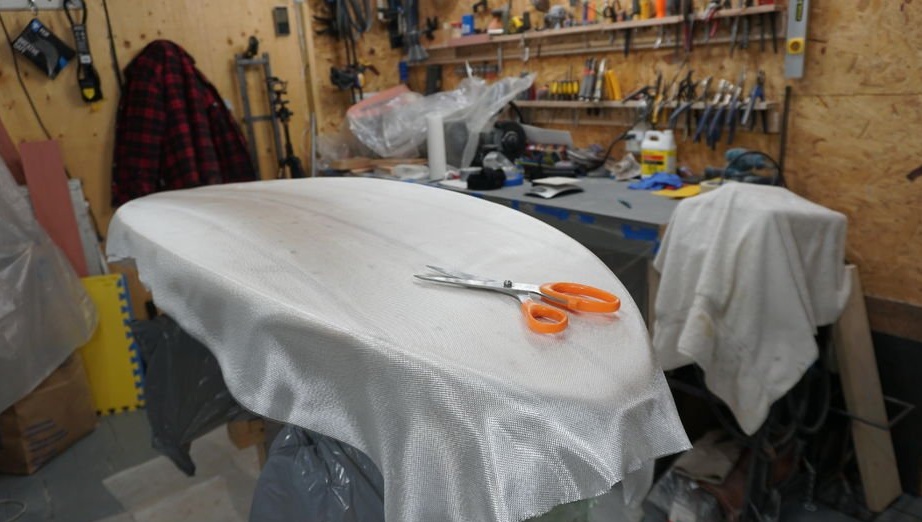
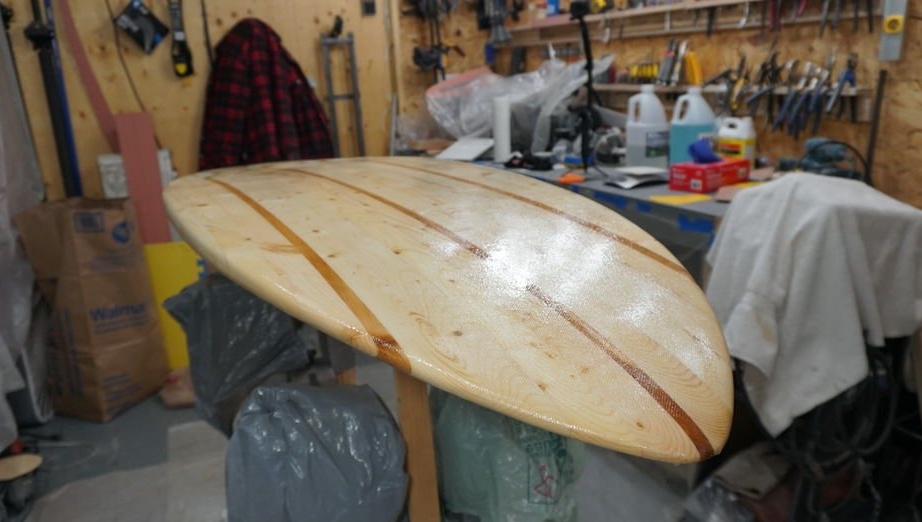
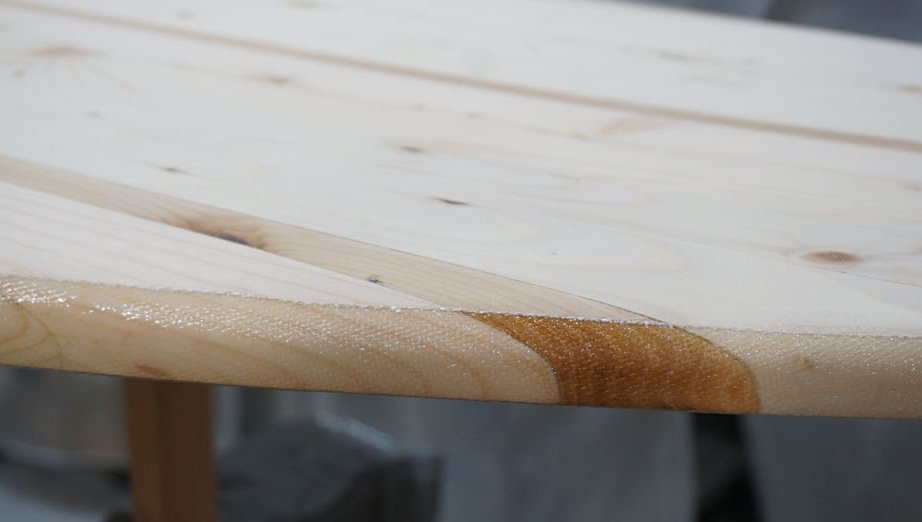
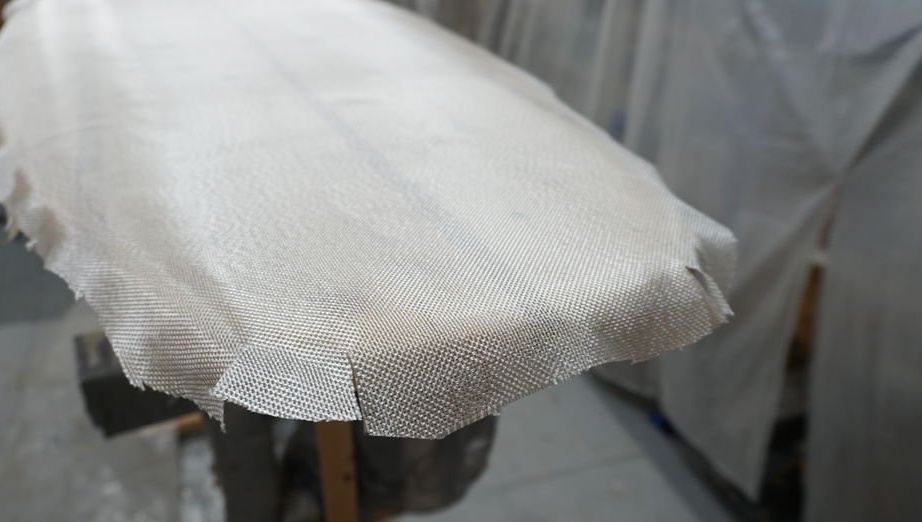
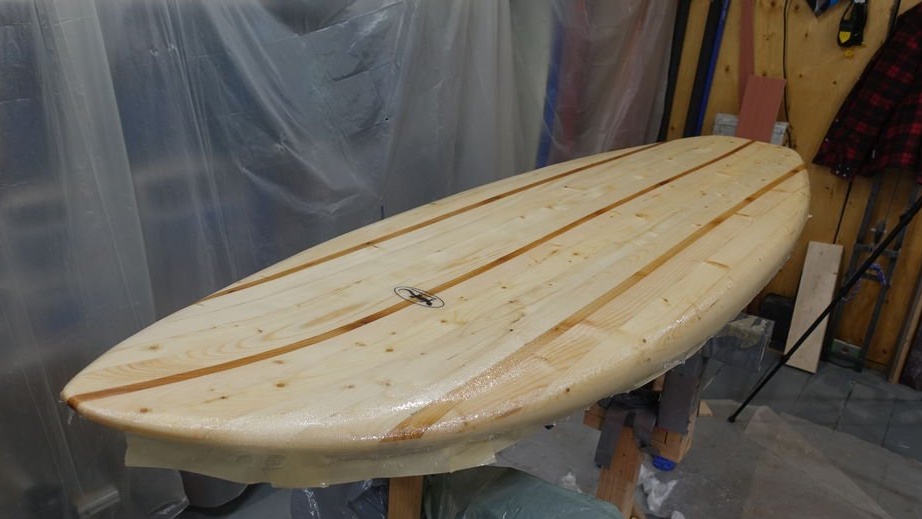
Now you need to paste the board with fiberglass. Pasting is carried out in two stages: first, the master pastes the lower part, and then the upper.
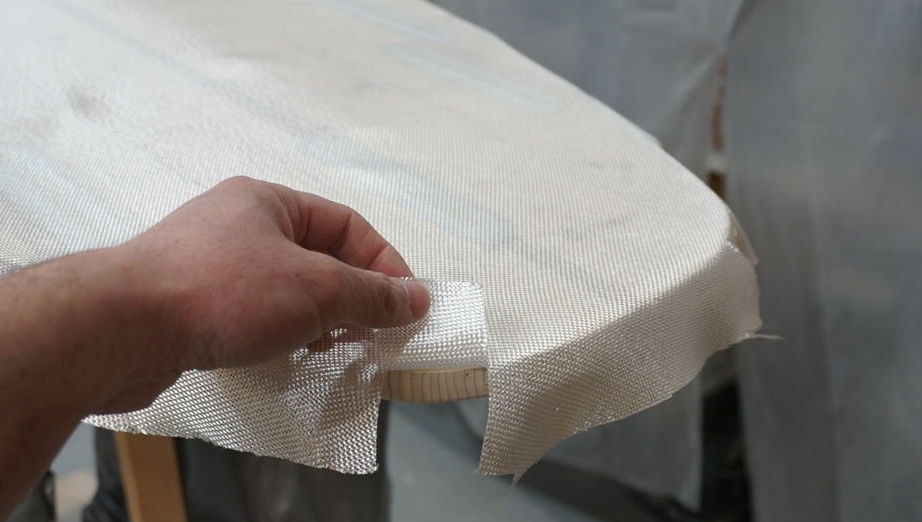
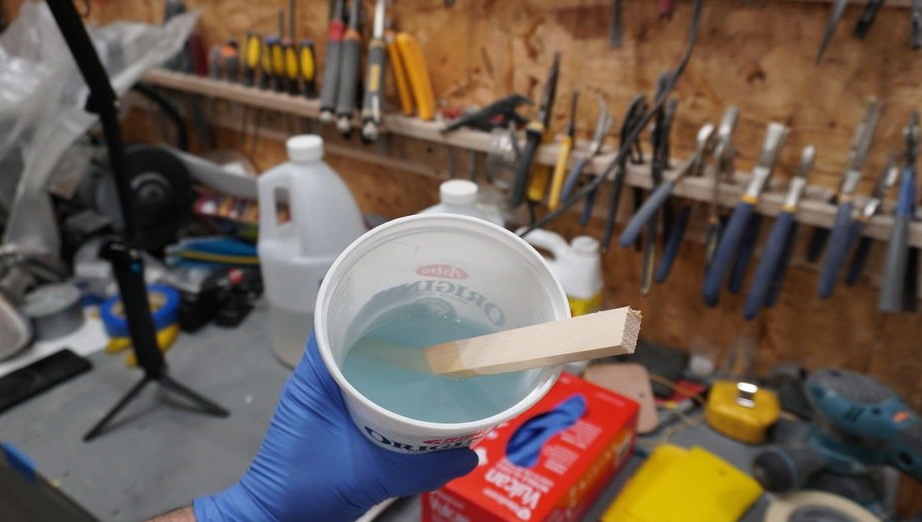
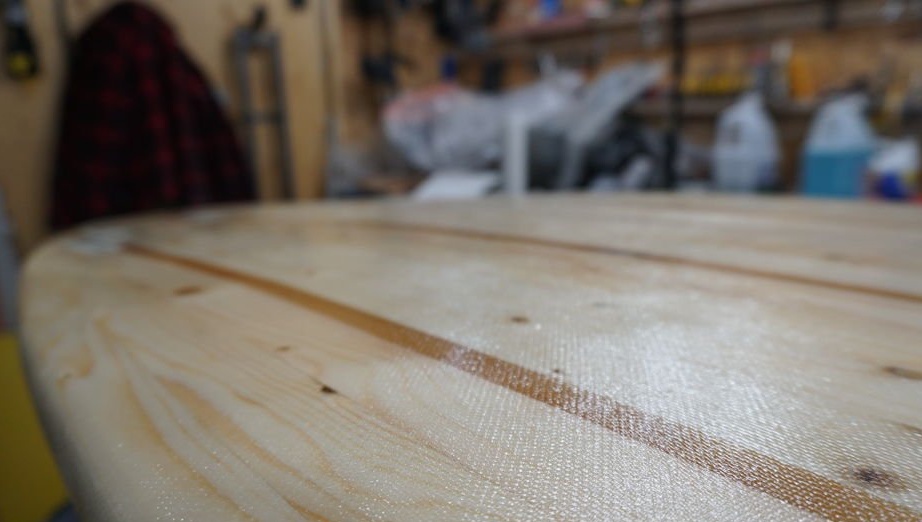
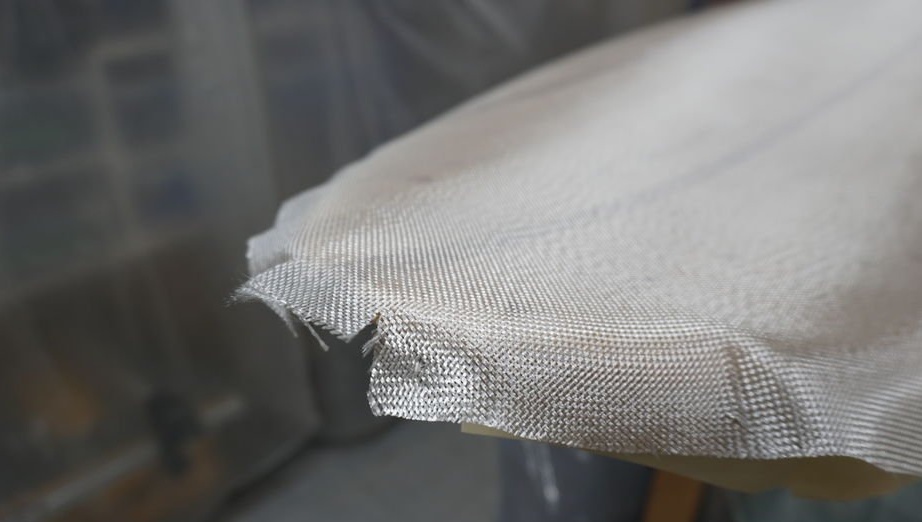
The master cuts fiberglass into the shape of a board. At the junction of the upper and lower parts, masking tape is glued. Covers the board with fiberglass. Makes cuts in places of bending of the material. Then knead the epoxy according to the instructions. It pours it on the surface and impregnates the fabric. Smoothes the fabric. There should be no bumps or bubbles. When everything turned out as it should, leaves the board to dry.
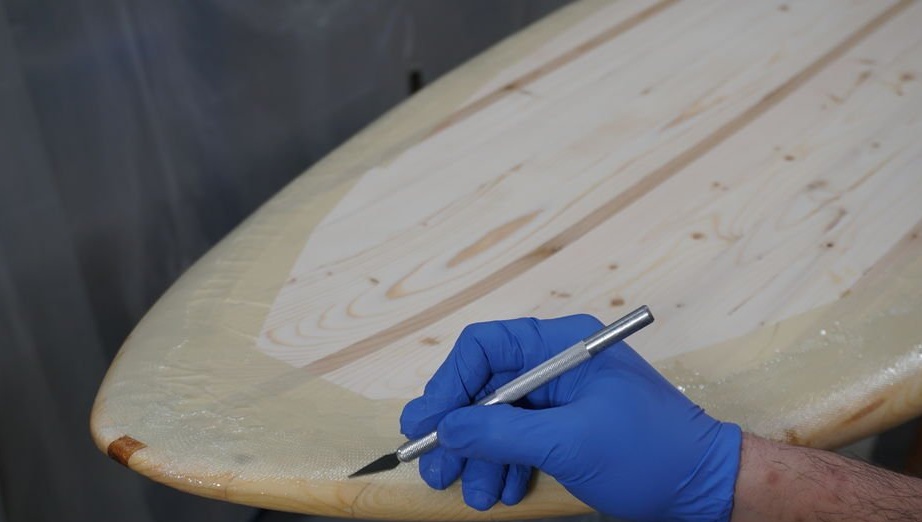
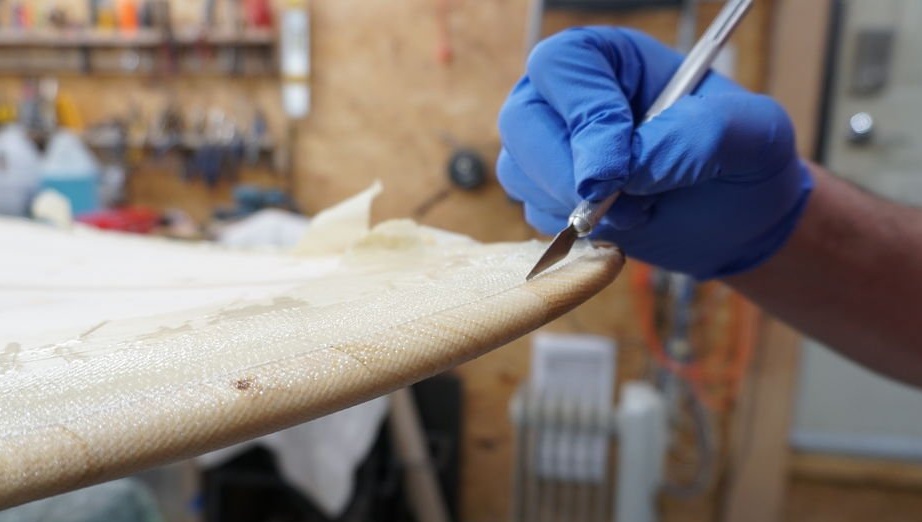
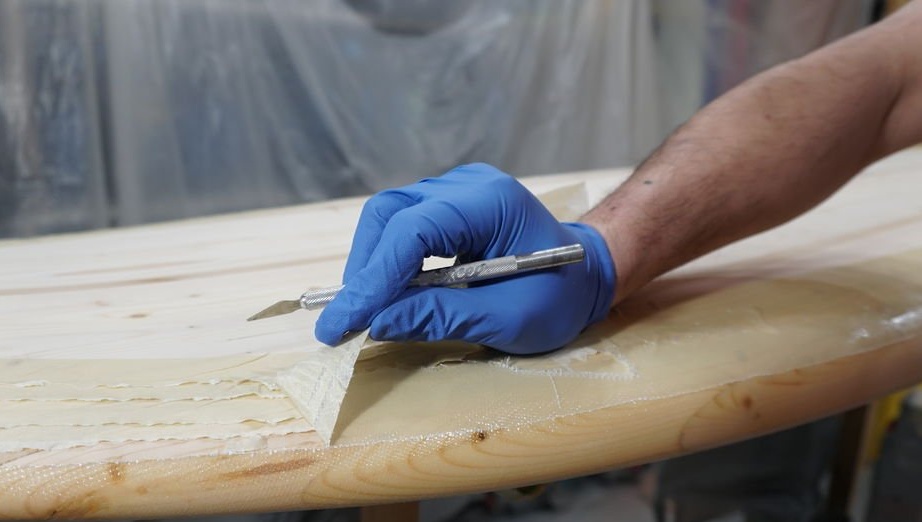
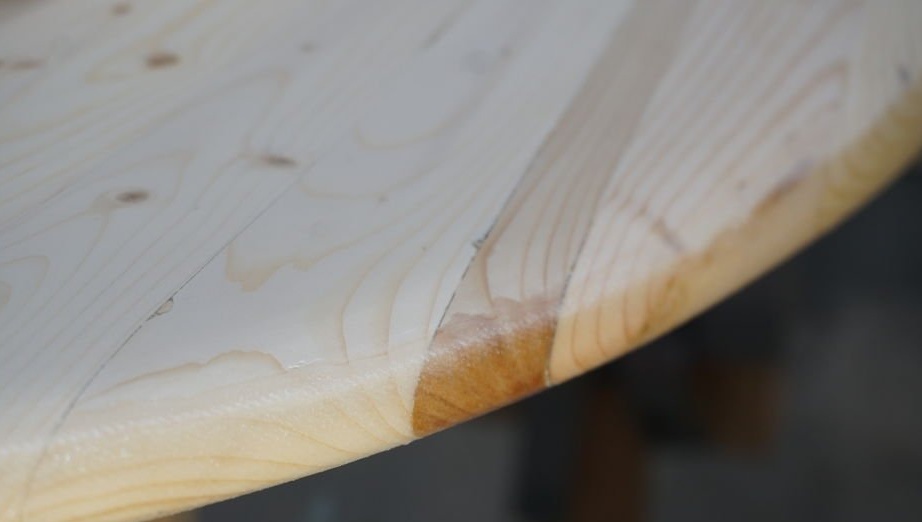
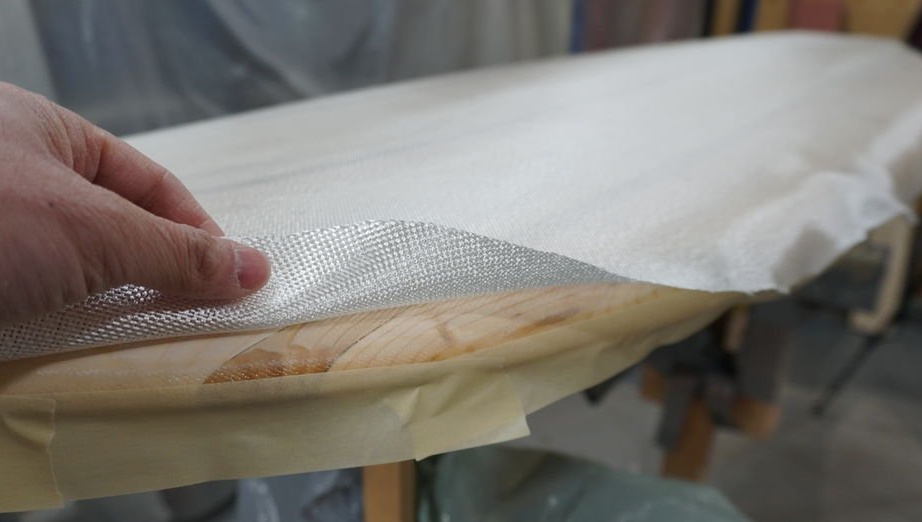
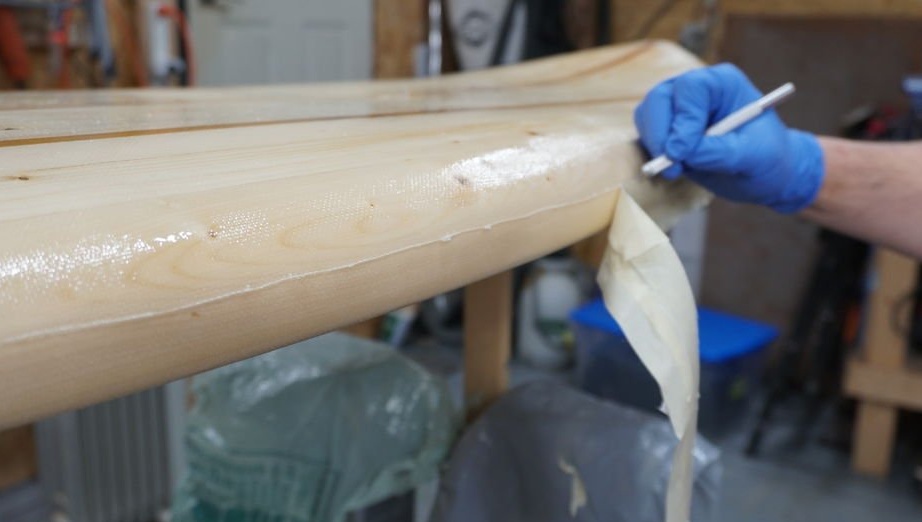
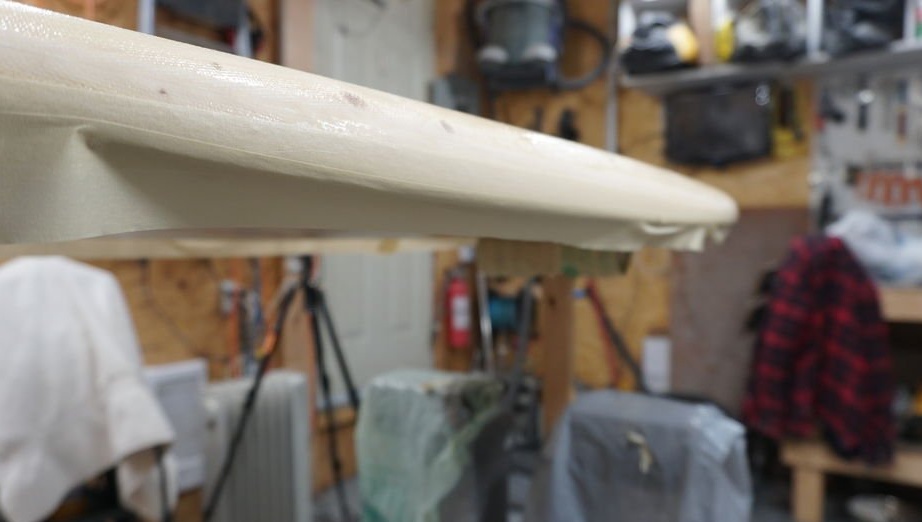
Pasting the upper part is similar to pasting the bottom, but before pasting you need to perform a series of operations. First you need to cut the masking tape and the edges of the fiberglass. The master makes this operation with a scalpel. Then the edge is ground.
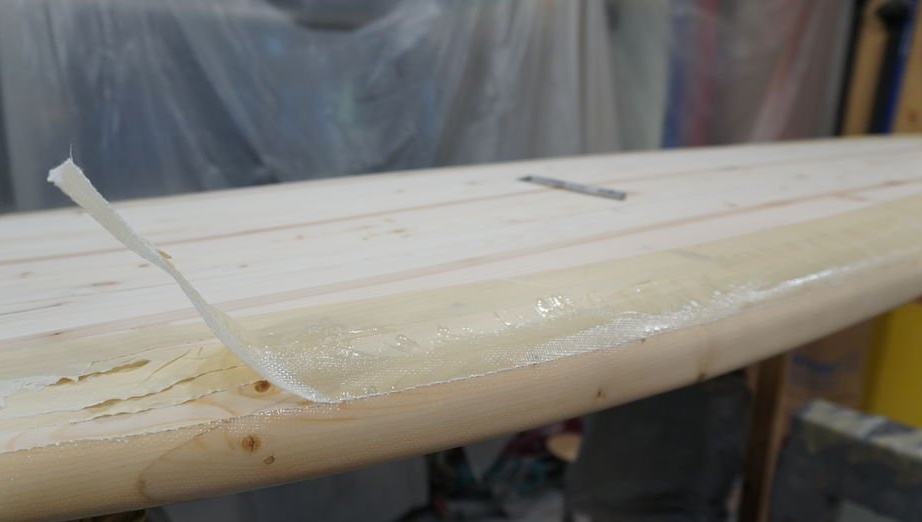
Now you need to glue the masking tape on the bottom of the board. Adhesive tape should overlap the seam.

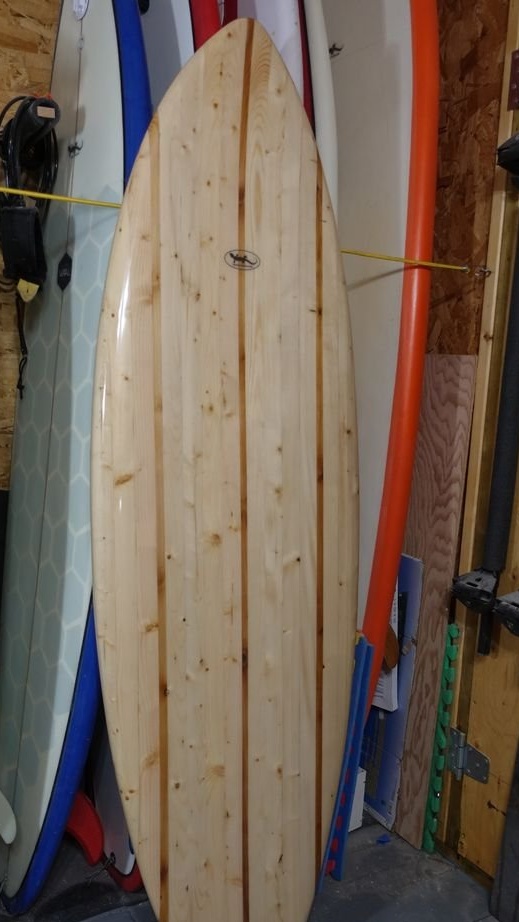
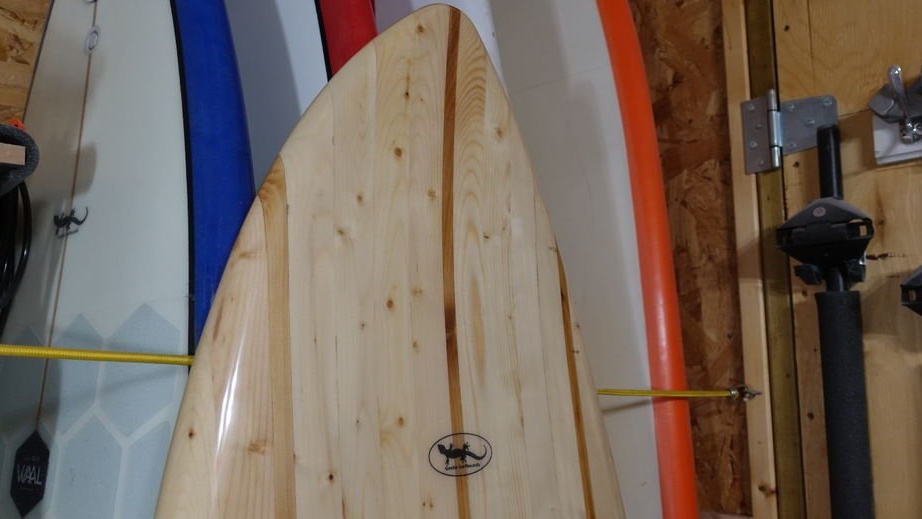
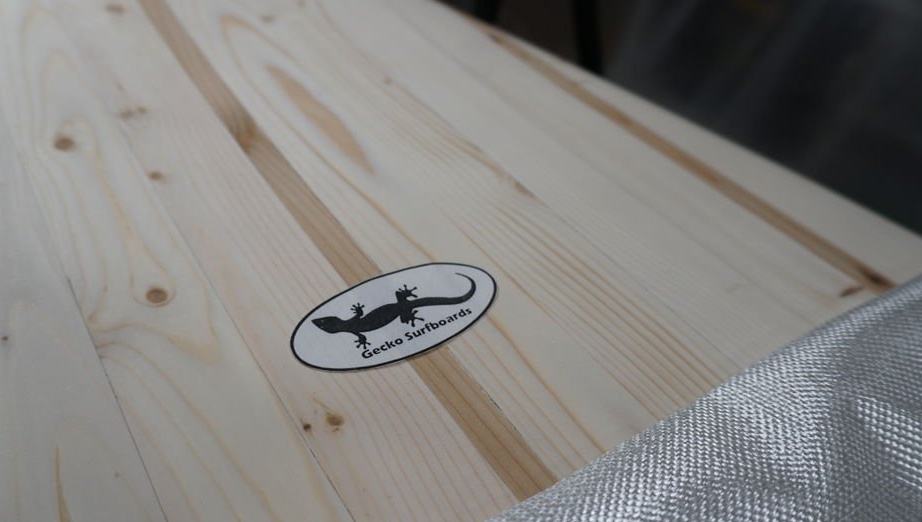
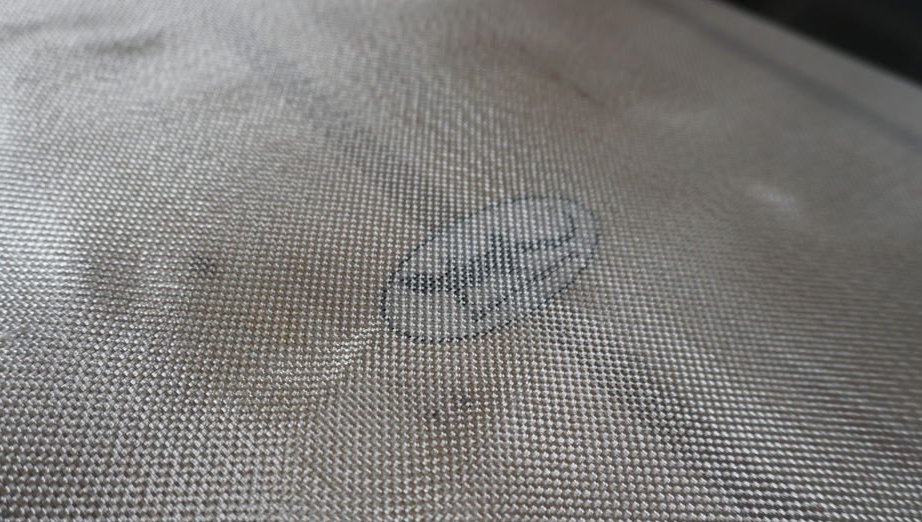
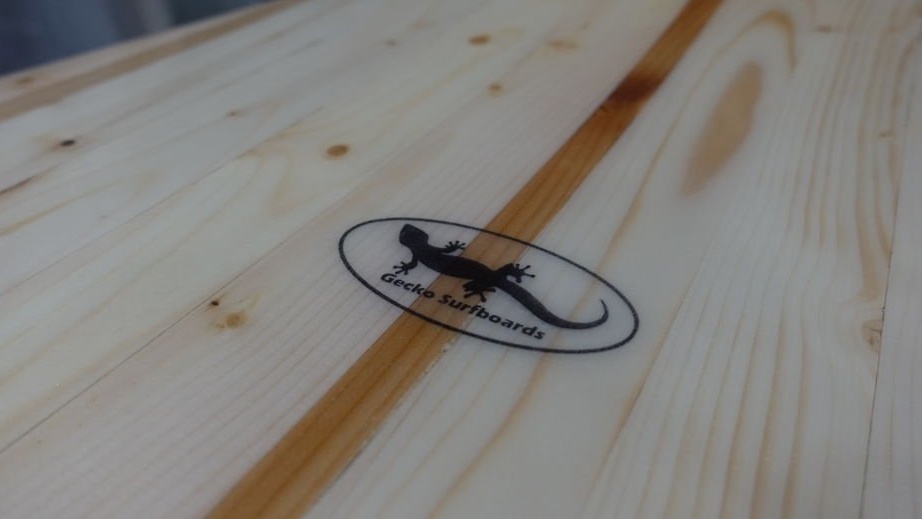
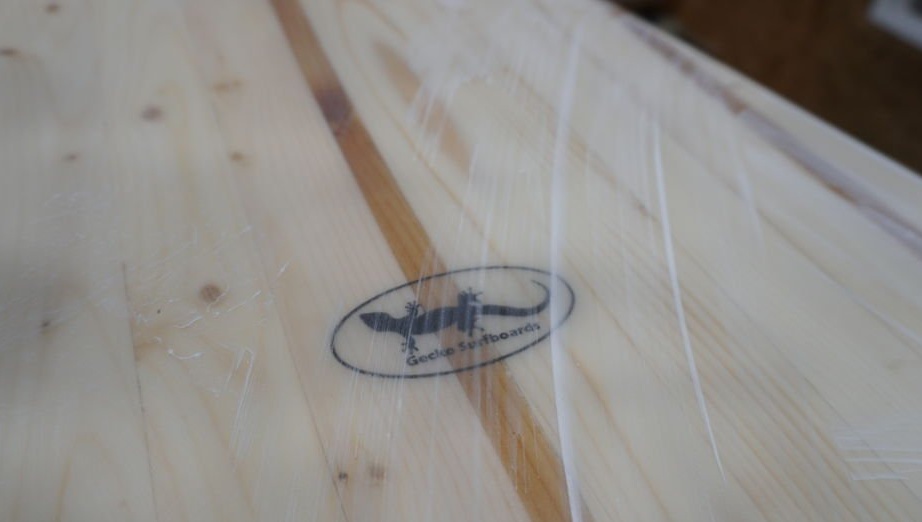
If you want the logo to be visible on the board, then the picture is glued under the fiberglass.

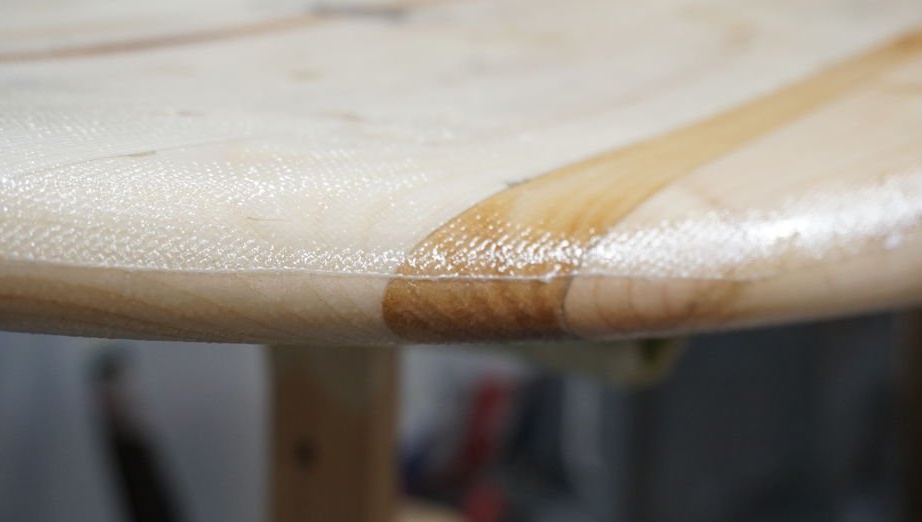
After applying epoxy and drying it, it cuts off masking tape and polishes the junction.

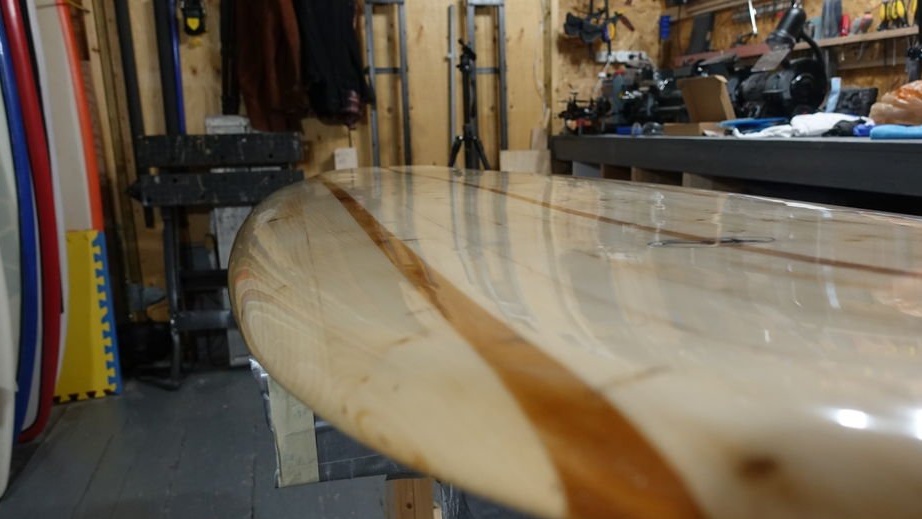
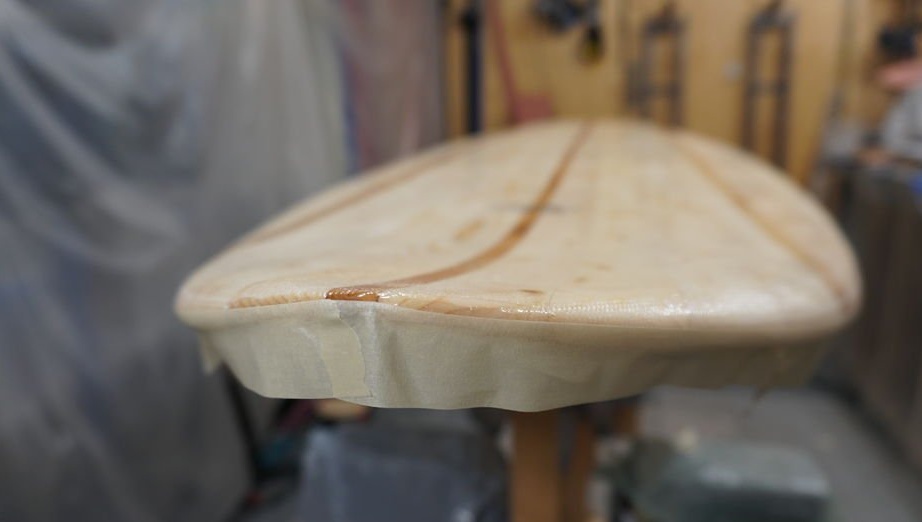
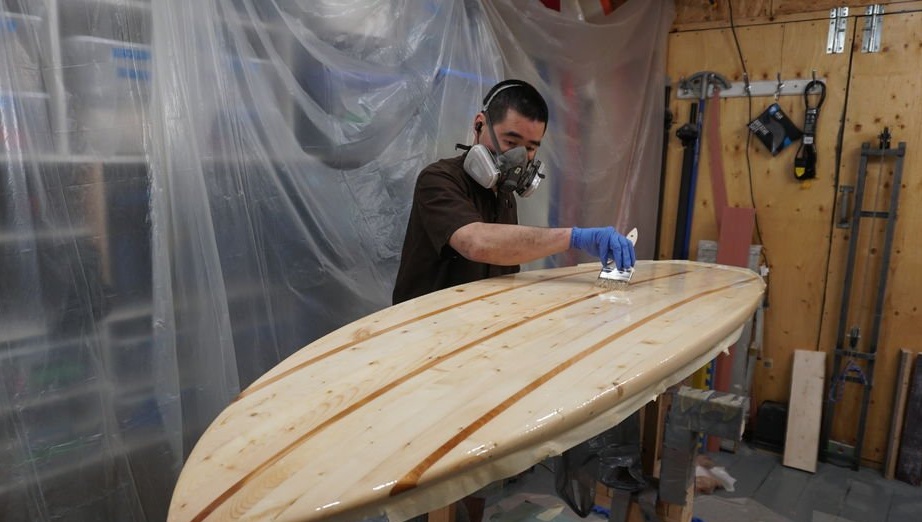
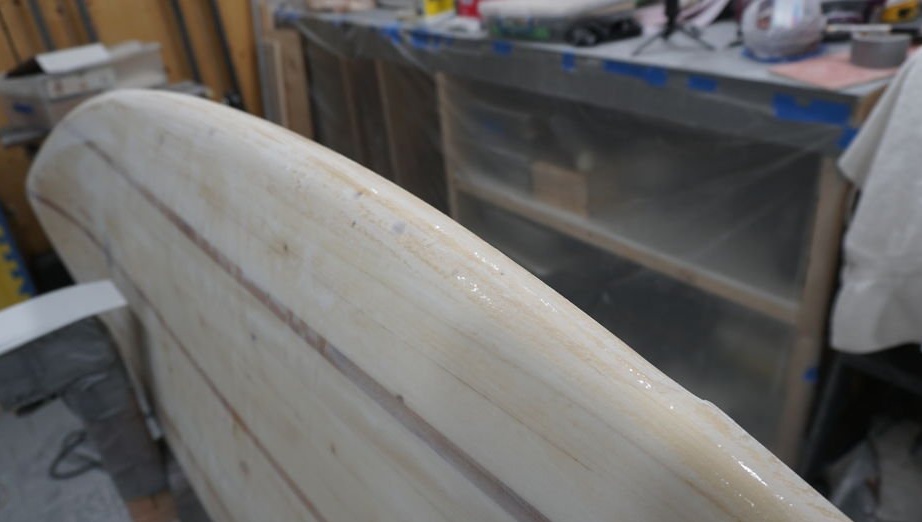
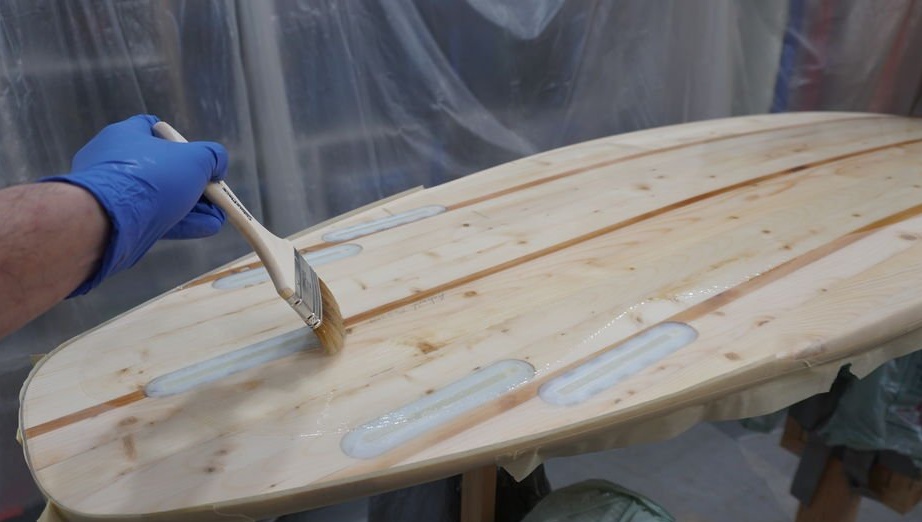
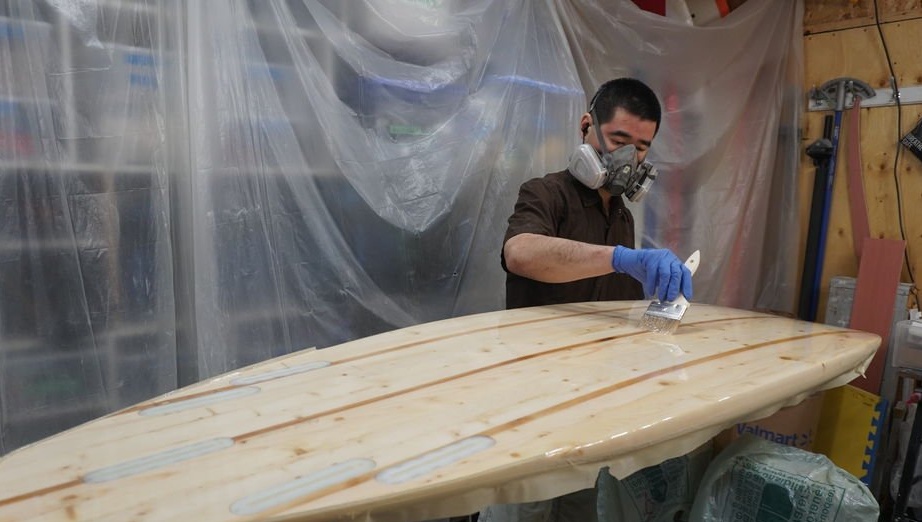
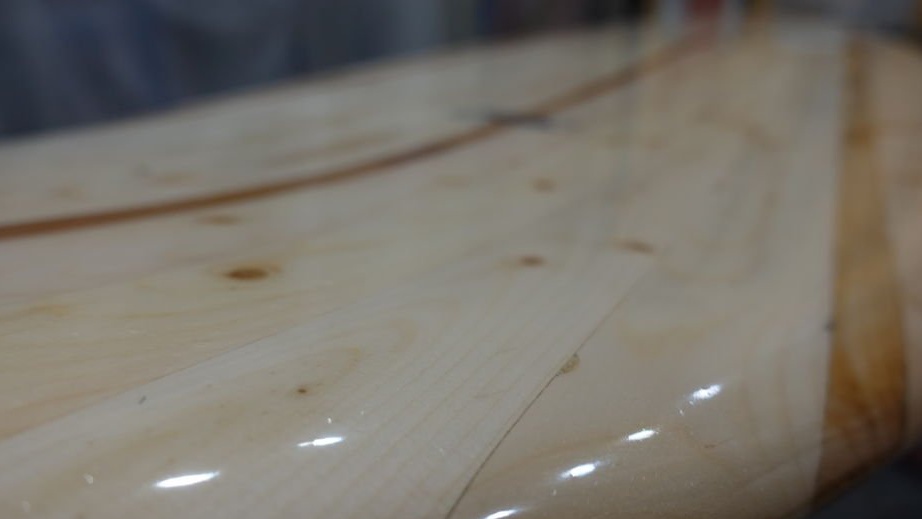
Step Nine: Hot Layer
Now you need to apply a hot layer of epoxy. The hot layer is an epoxy layer that will be applied on top of the fiberglass, it fills the visible binding of the fiberglass and seals the surfboard. In order to get a good coating, it is important to apply epoxy at a temperature of at least 15 ° C, and ideally at room temperature. Do this in a place where there is no drafts, and, if possible, in a place where there is no dust.
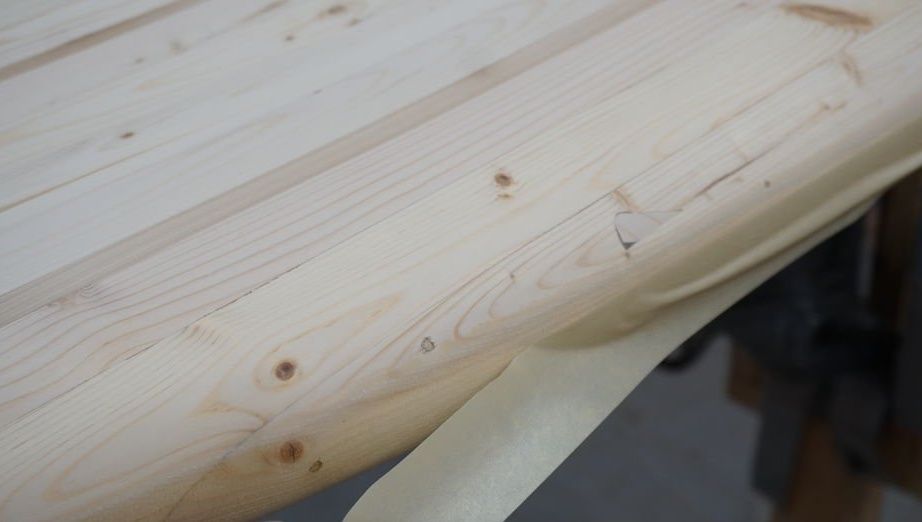
The master wipes the surface with alcohol and sticks tape around the perimeter. Adhesive tape helps to create a clear, even coating line and saves grinding effort. The master performs the same operation on the other hand, after the upper part has hardened.
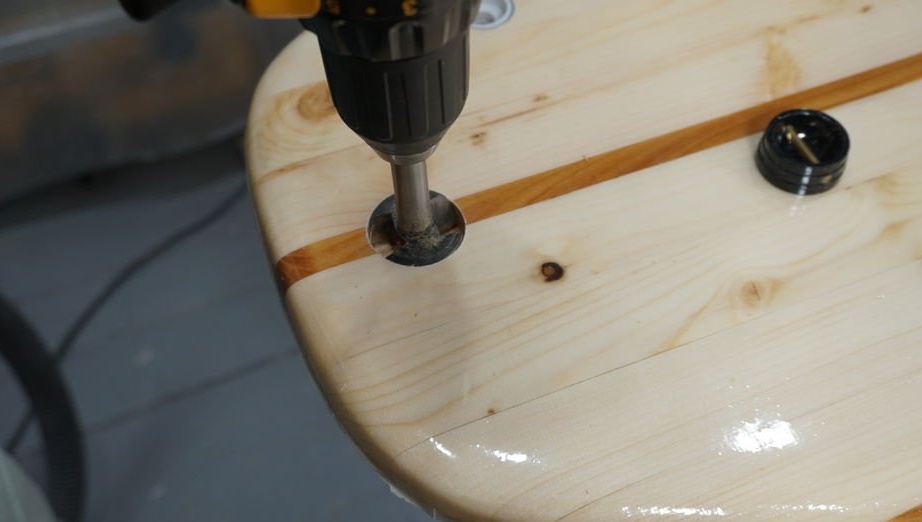
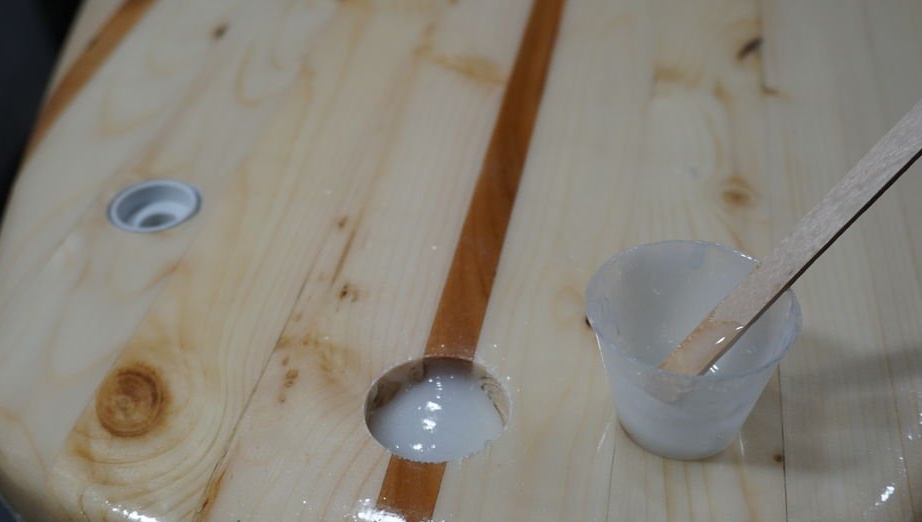
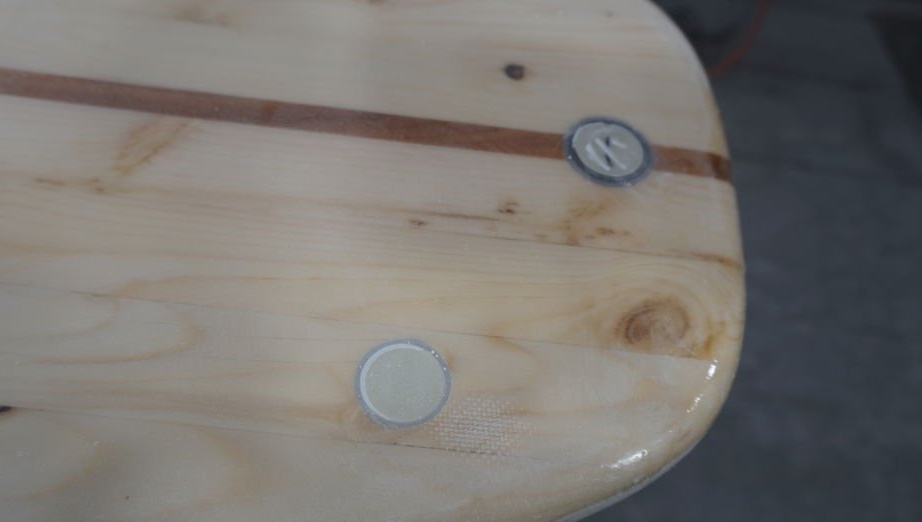
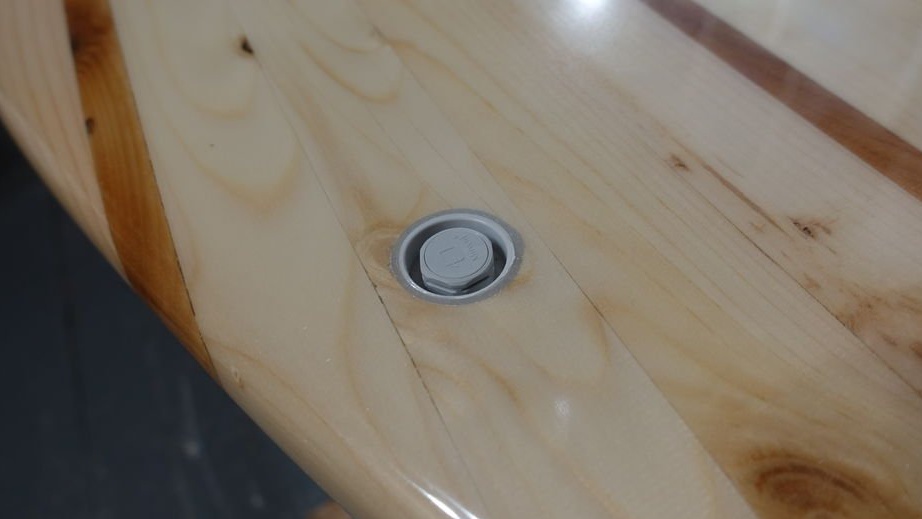
Step Ten: Vent Plugs
It is very important to ventilate this surfboard, because the cameras are filled with air, when the temperature changes, the air expands and contracts. If the surfboard is not ventilated, the air has nowhere to go, and pressure can damage the surfboard either with delamination or with the appearance of bubbles on the board.
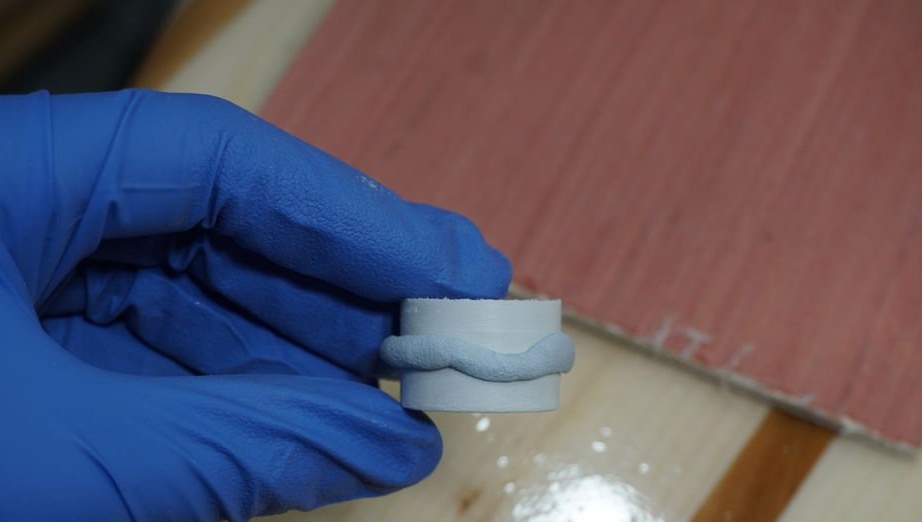
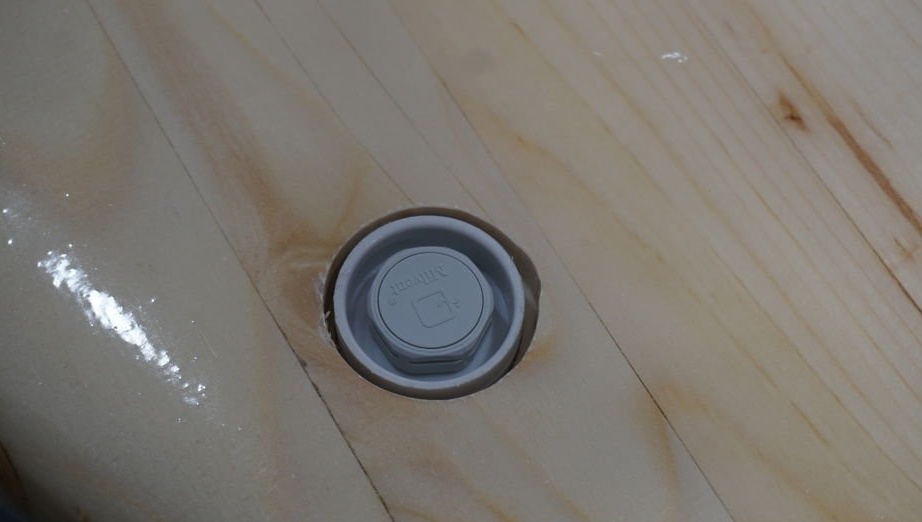
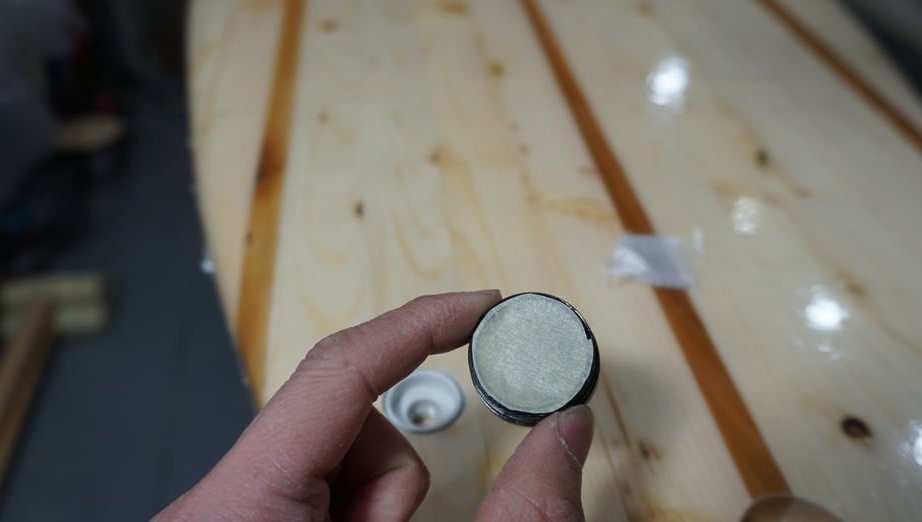
The ventilation plug that the master uses has a dual purpose: it has a built-in Gore-Tex membrane that automatically ventilates the surfboard, and you can also unscrew the plug to manually ventilate the surfboard.
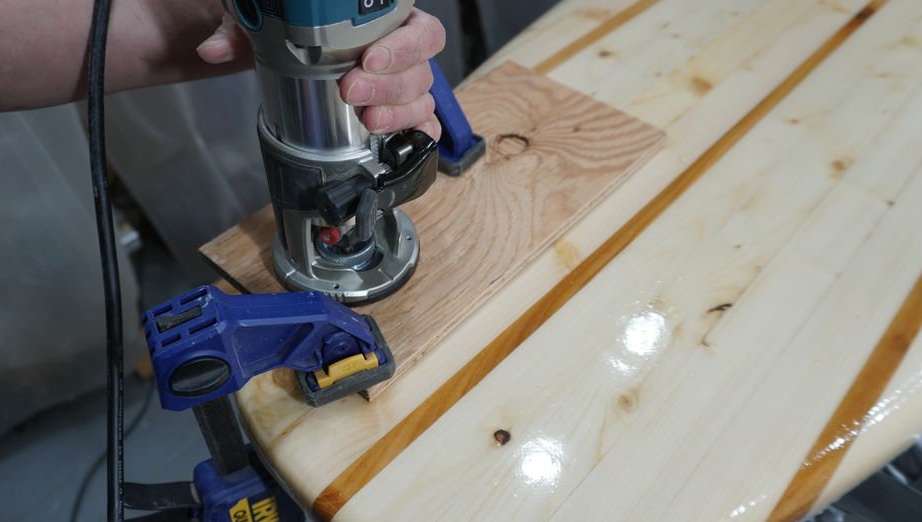
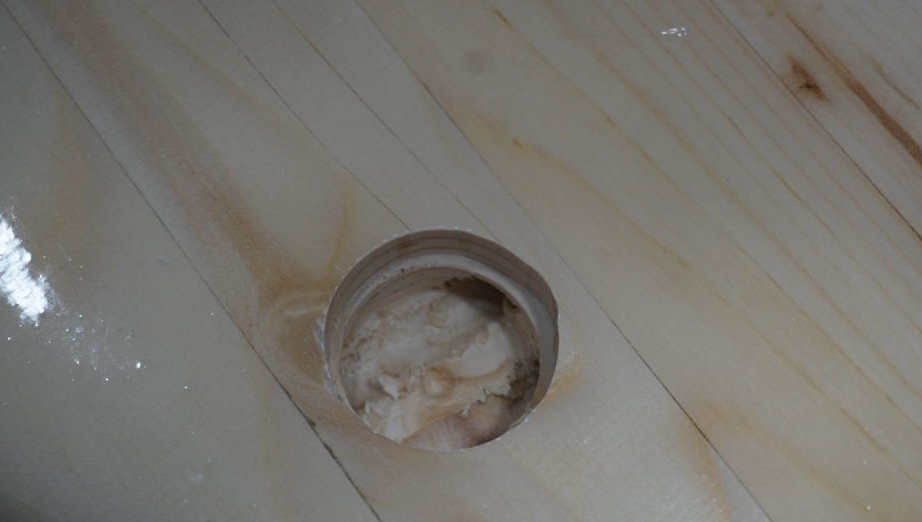
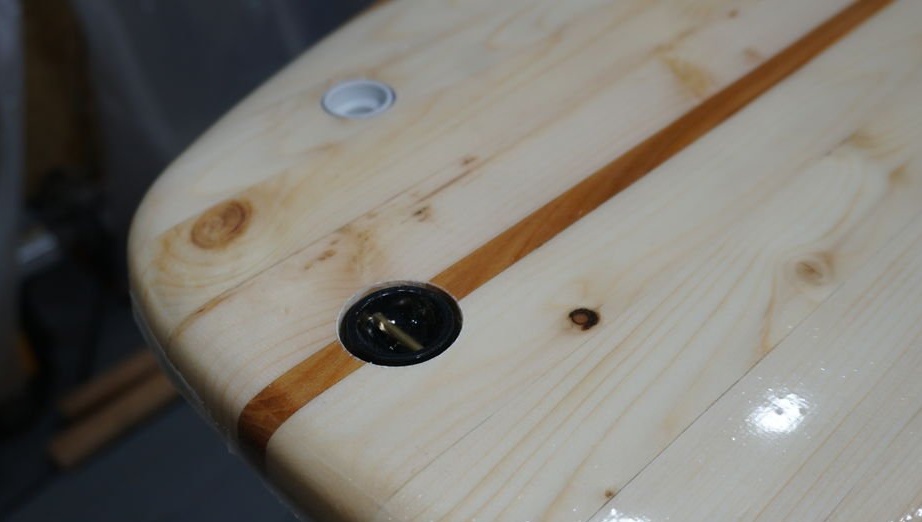
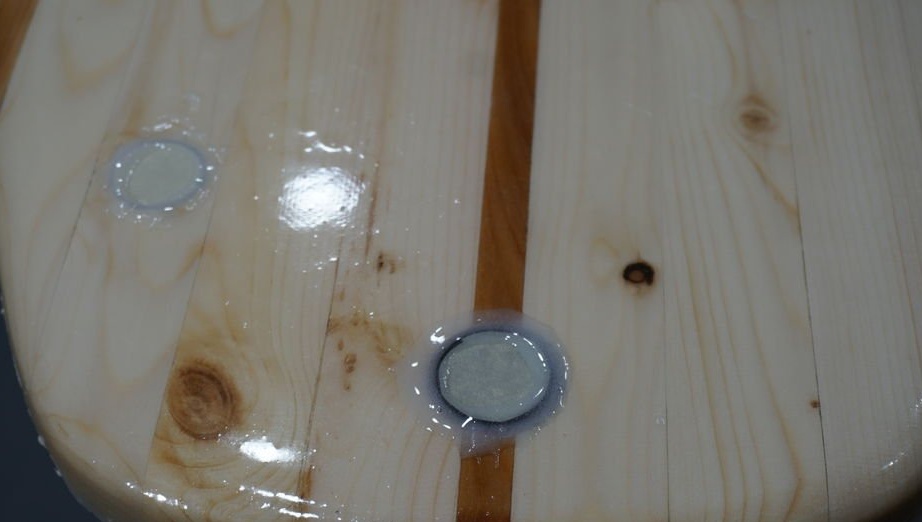
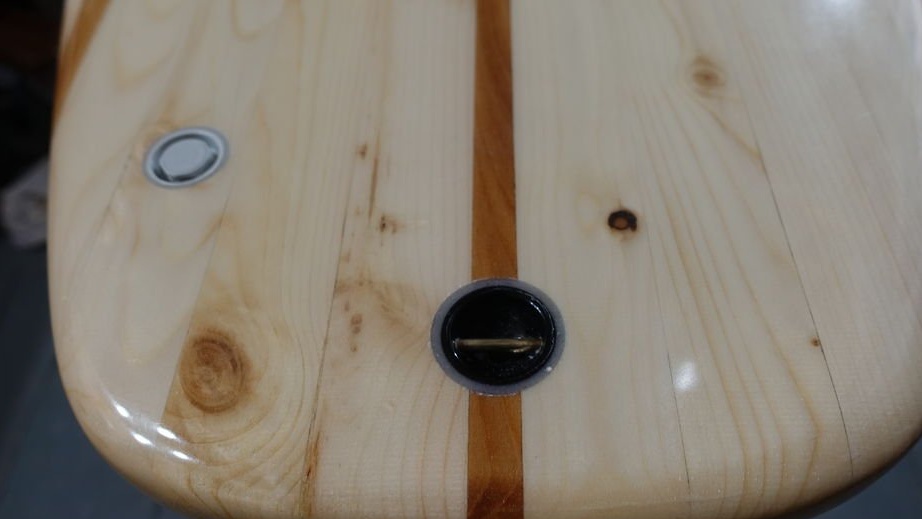
To install the ventilation plug, you need to drill a hole and stick the plug into the hole. Since the board is hollow inside, and the cameras are connected to each other, one stub is enough.

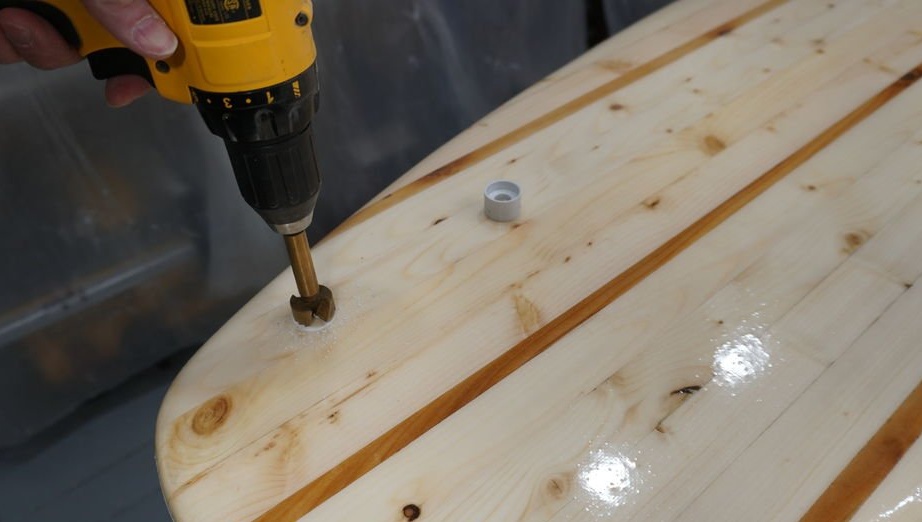
In the same way, the master installs the mount for the leash.
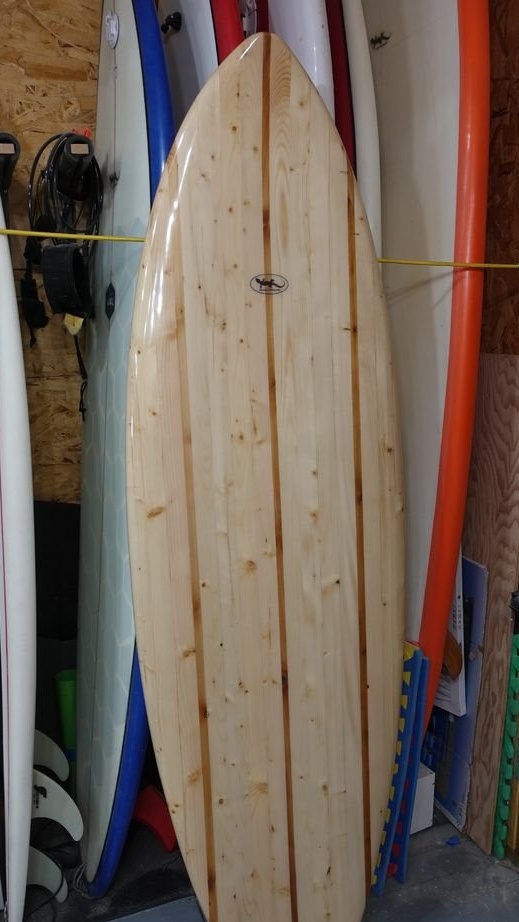
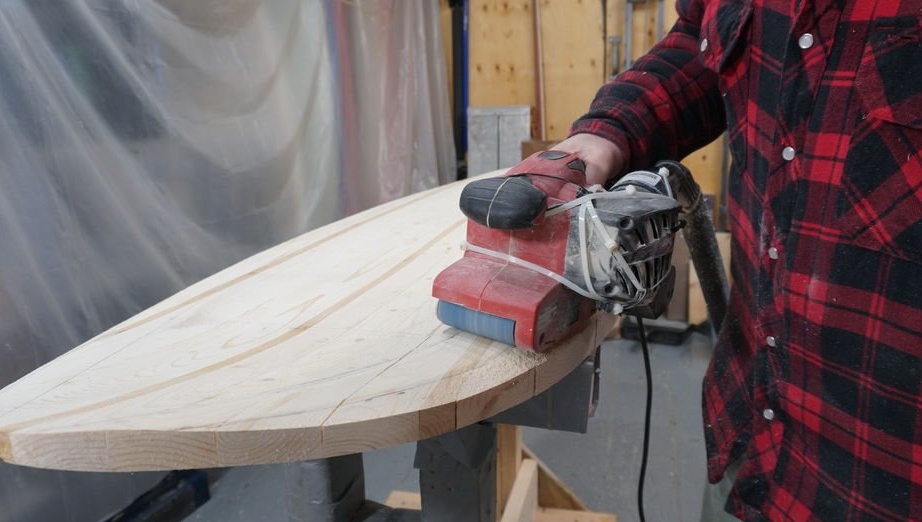
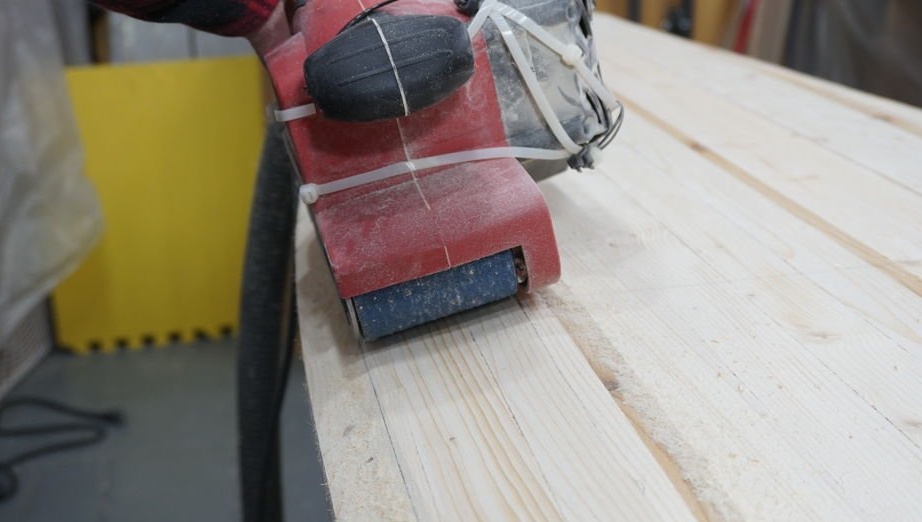
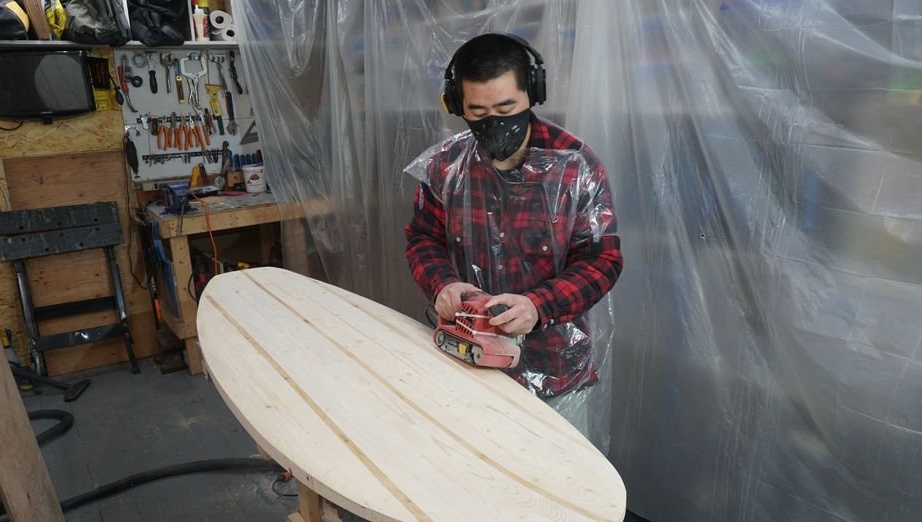
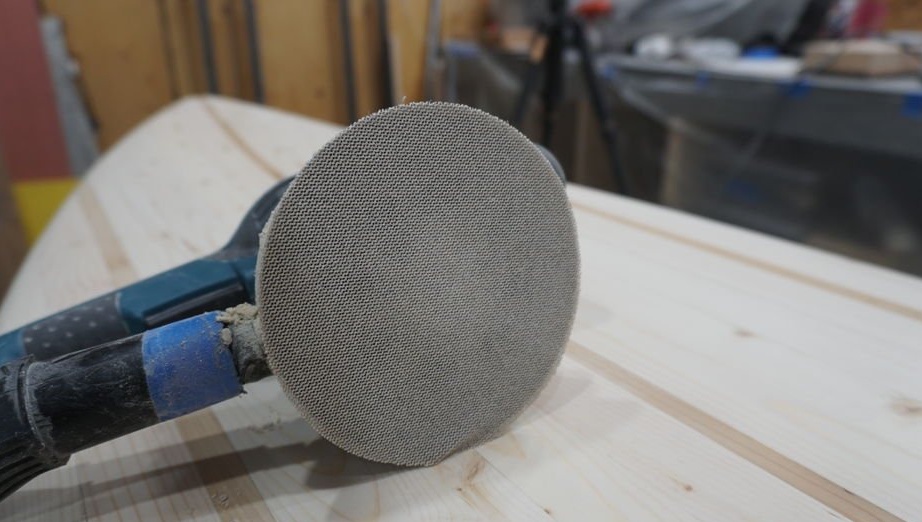
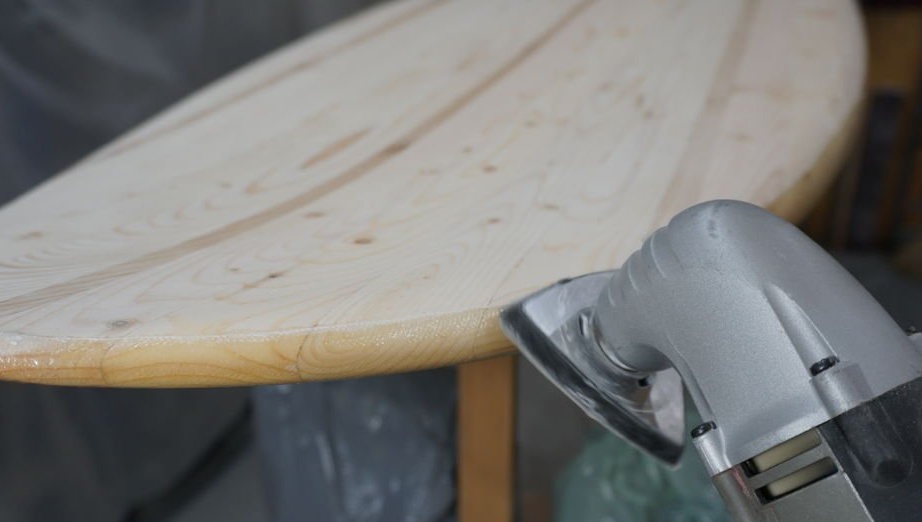
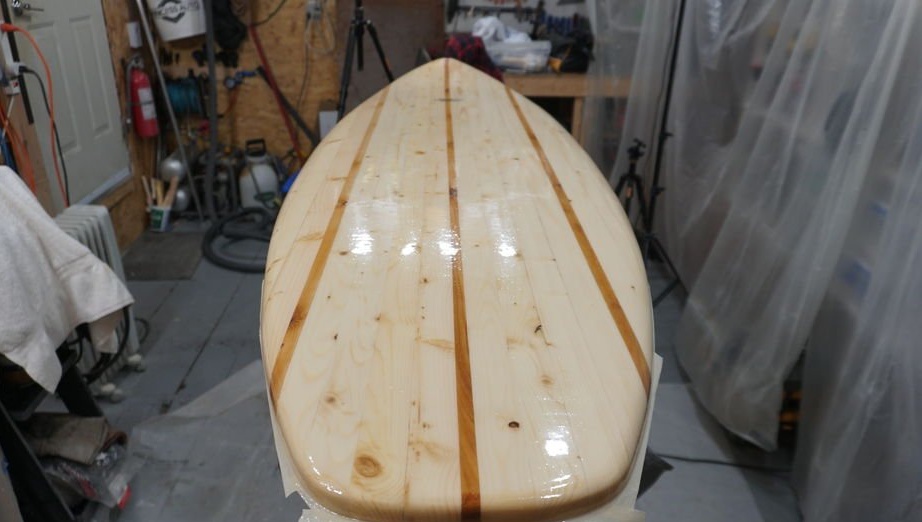
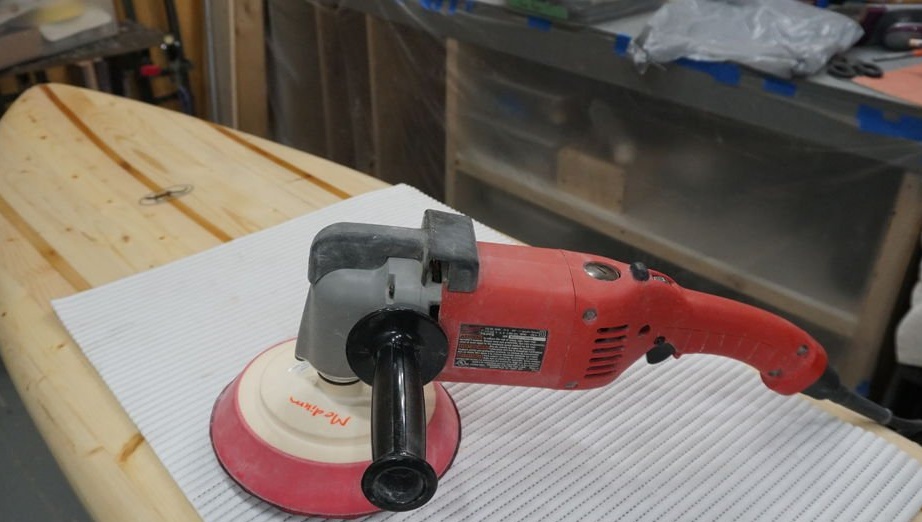
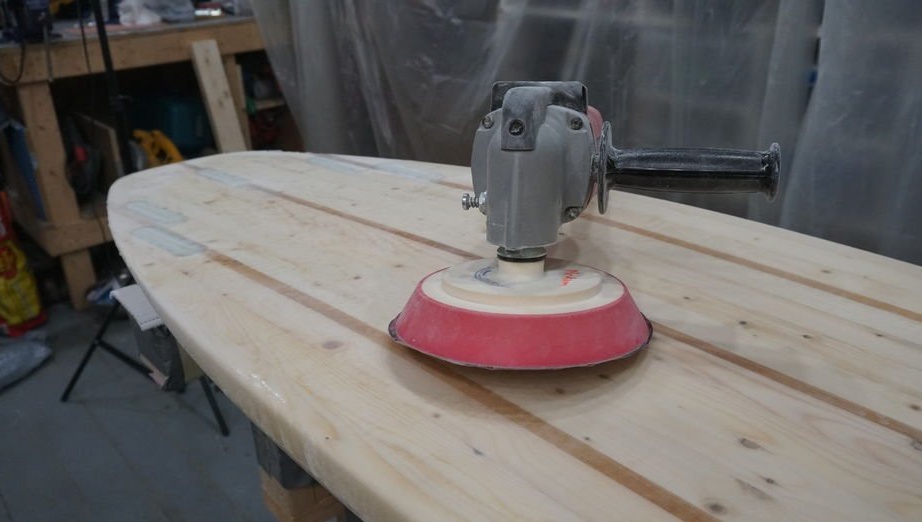
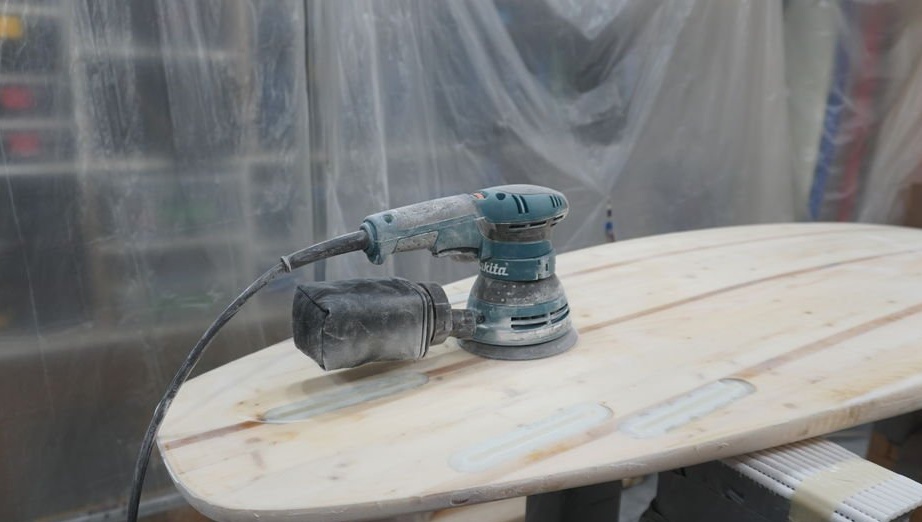
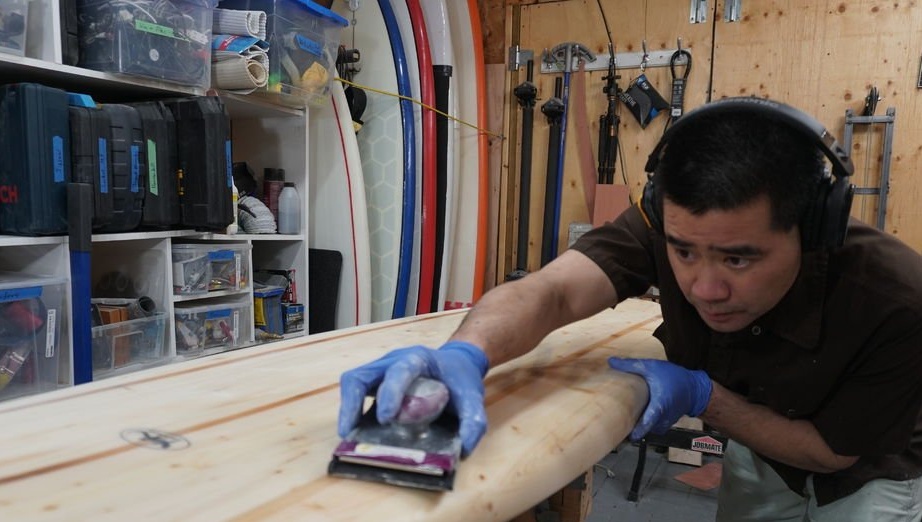
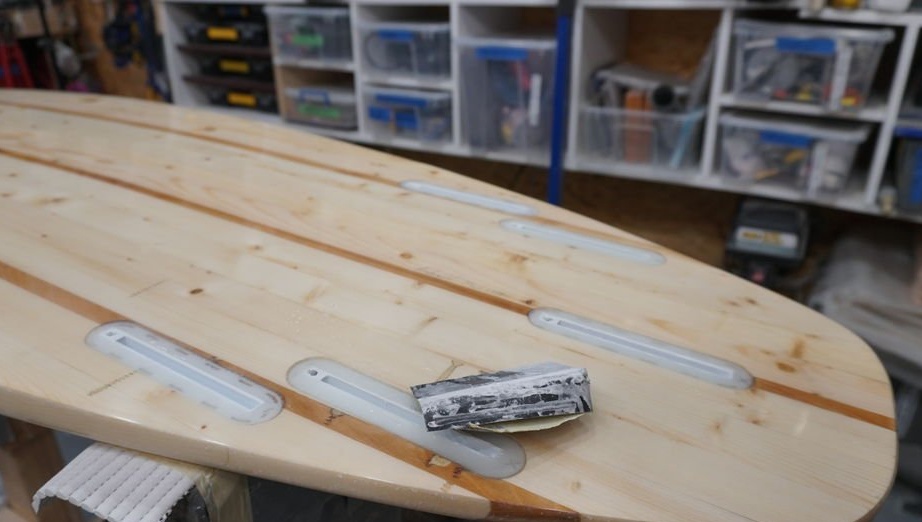
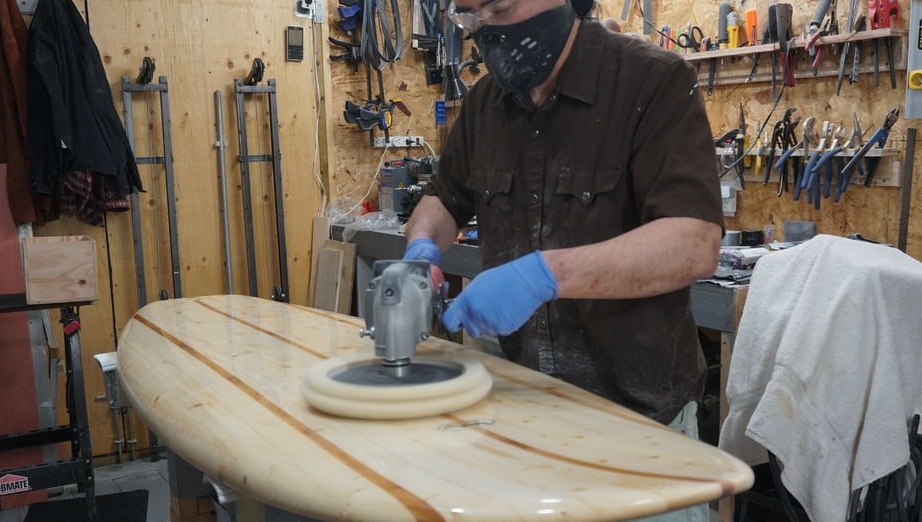
Step Eleven: Grinding, Polishing
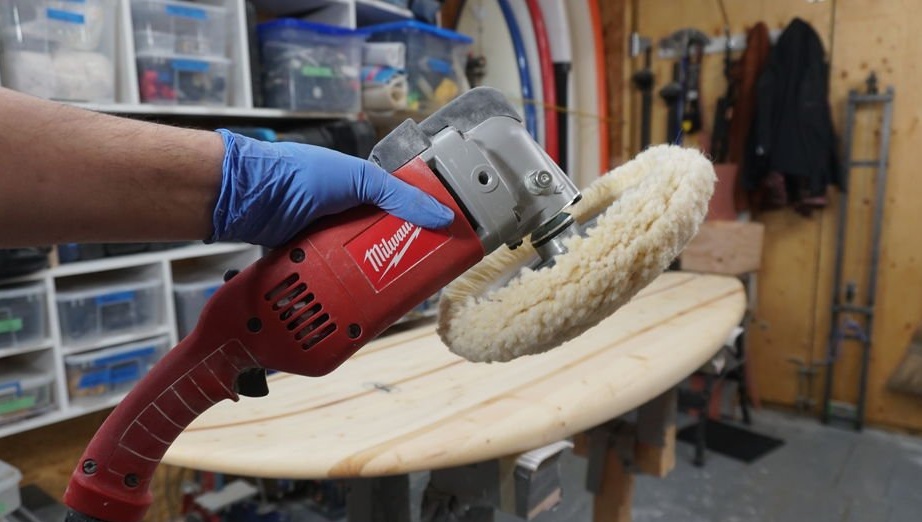
The final finishing of the board takes place in several stages. First, the master polishes the surface with a special grinding nozzle for surfboards. The use of such a nozzle accelerates the grinding process, compared with conventional grinding wheels.

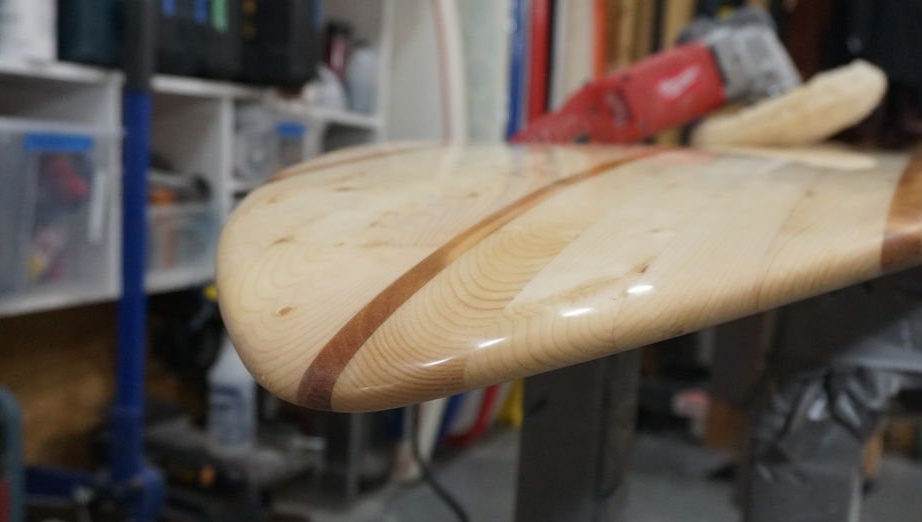
Then the master applies a layer of epoxy.
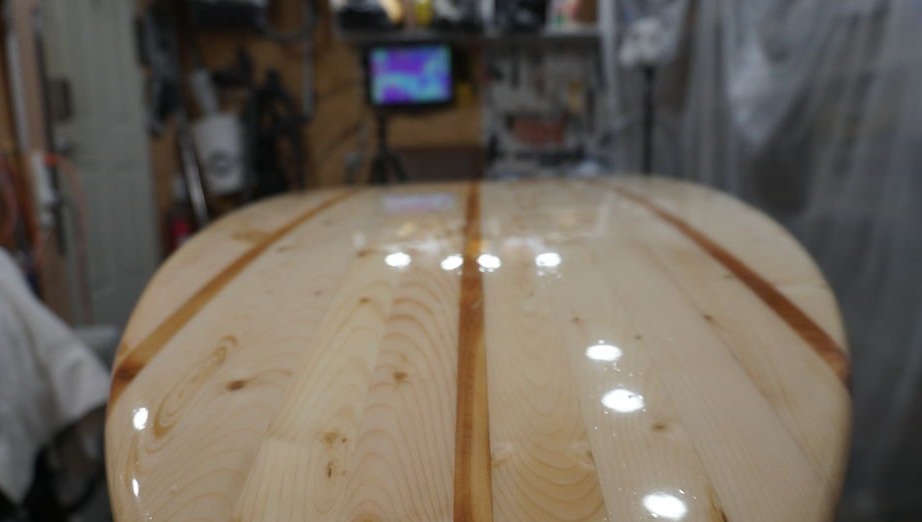
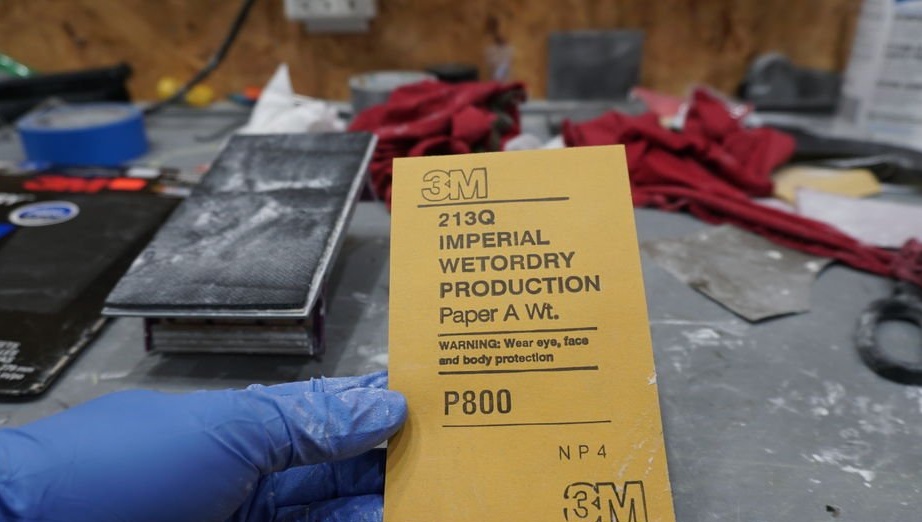
Finally polishes the board. Uses 400 sandpaper at the beginning and 1200 at the end when sanding.

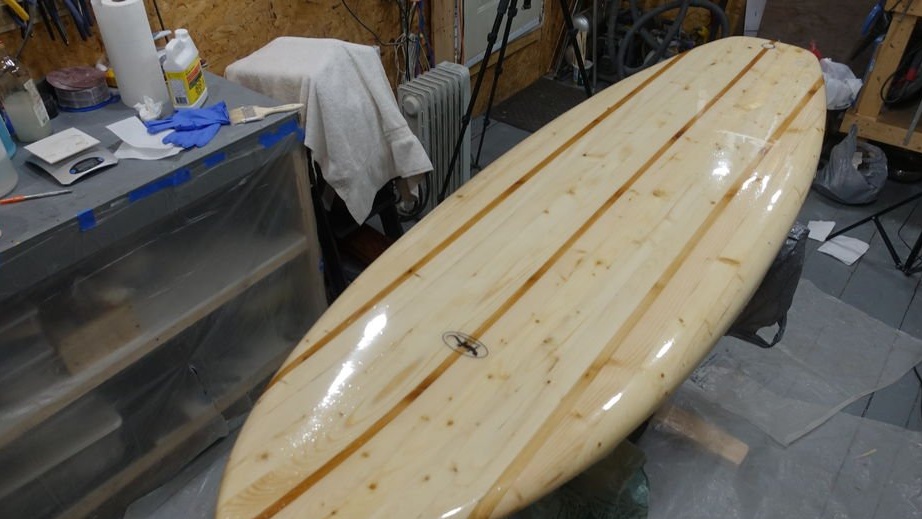
After grinding, it remains to polish the board using a polishing wheel and paste.
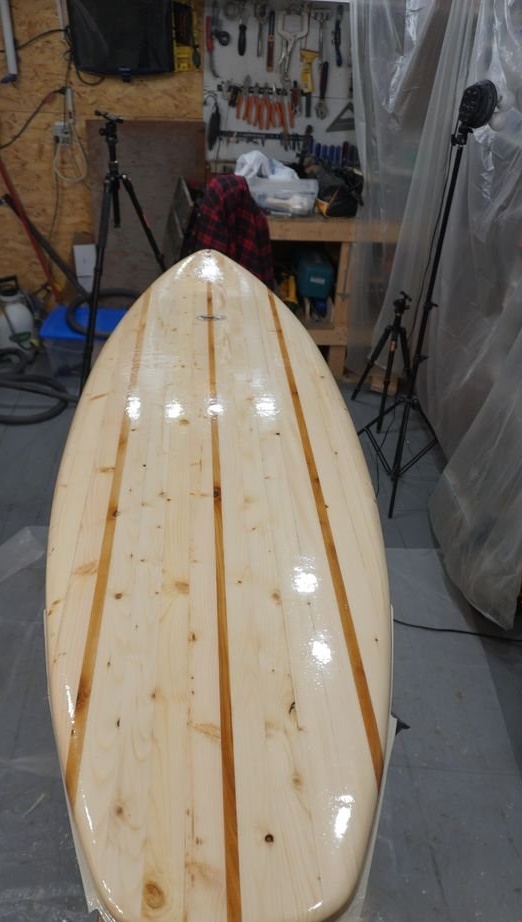
All is ready. Now you can install additional equipment and forward, behind the wave.