
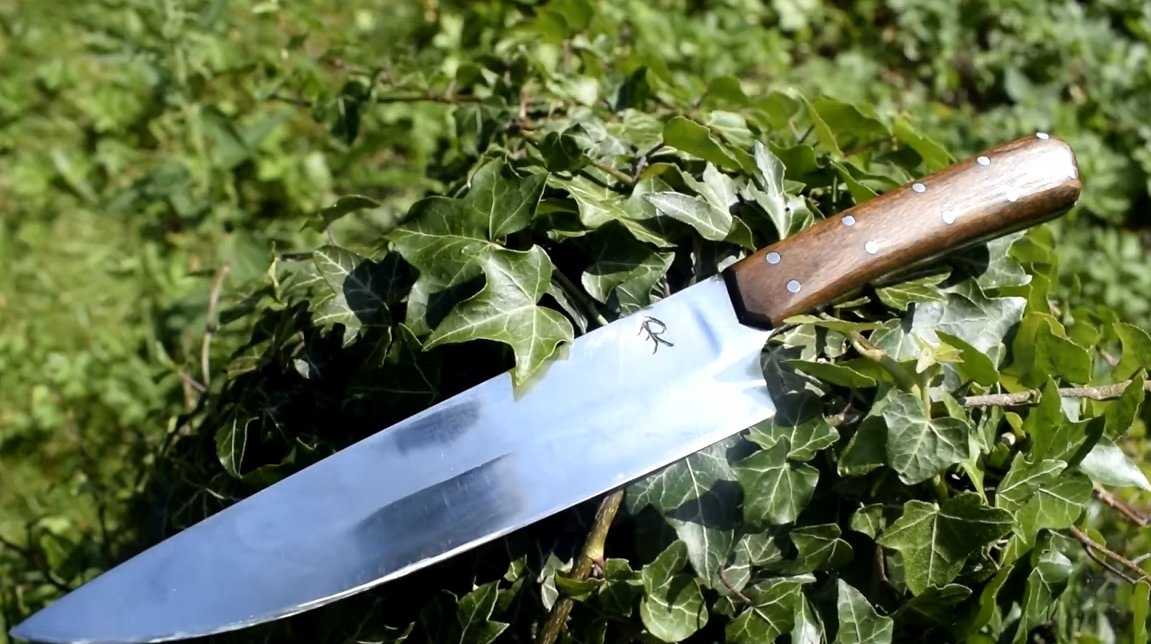
I welcome fans to work with metal, masters of the hammer and anvil. Today we will look at how to make a good knife for the cook by forging. The author used steel carbon and inexpensive, O2 brand. Such steel is hardened to a hardness of 65HRC, and it can be hardened quite easily in oil. Of course, the corrosion resistance of this steel is not very high, so you need to either burnish or protect the steel in some other way. One way or another, if you are interested in the project, I propose to study it in more detail.
Materials and tools used by the author:
Material List:
- steel O2;
- a tree for overlays;
- nails or brass rods for pins;
- epoxy adhesive;
- not enough for a tree.
Tool List:
- blacksmith tools;
- drill;
- belt sander;
- hardening oil and oven;
- drilling machine;
- polishing machine;
- a hacksaw;
- whetstones for sharpening.
The process of making a knife:
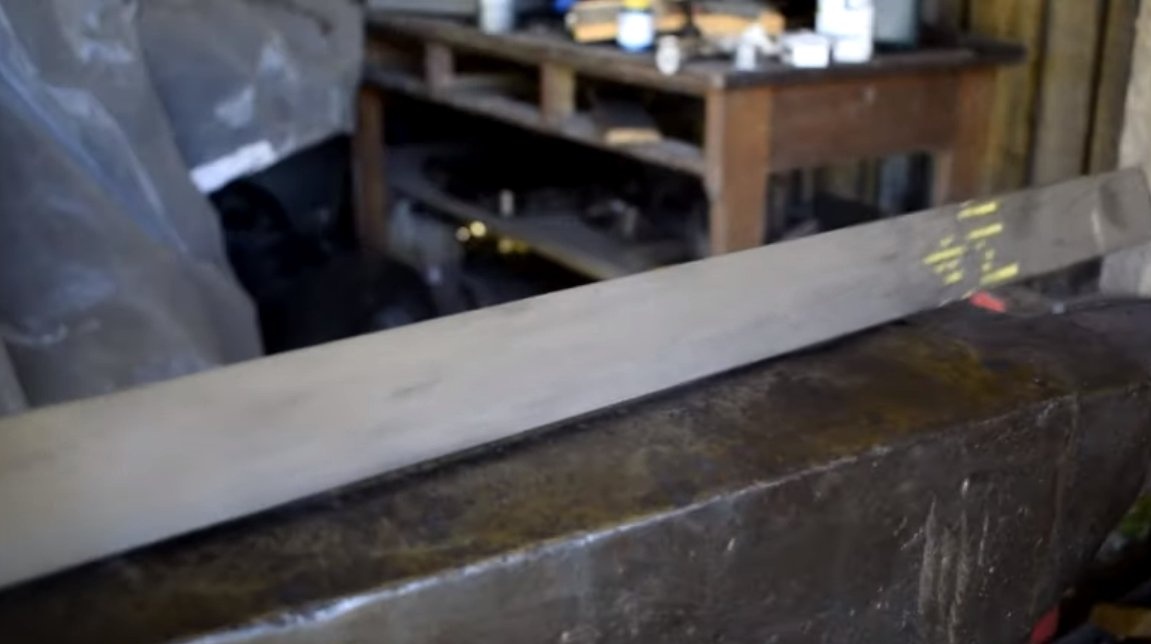
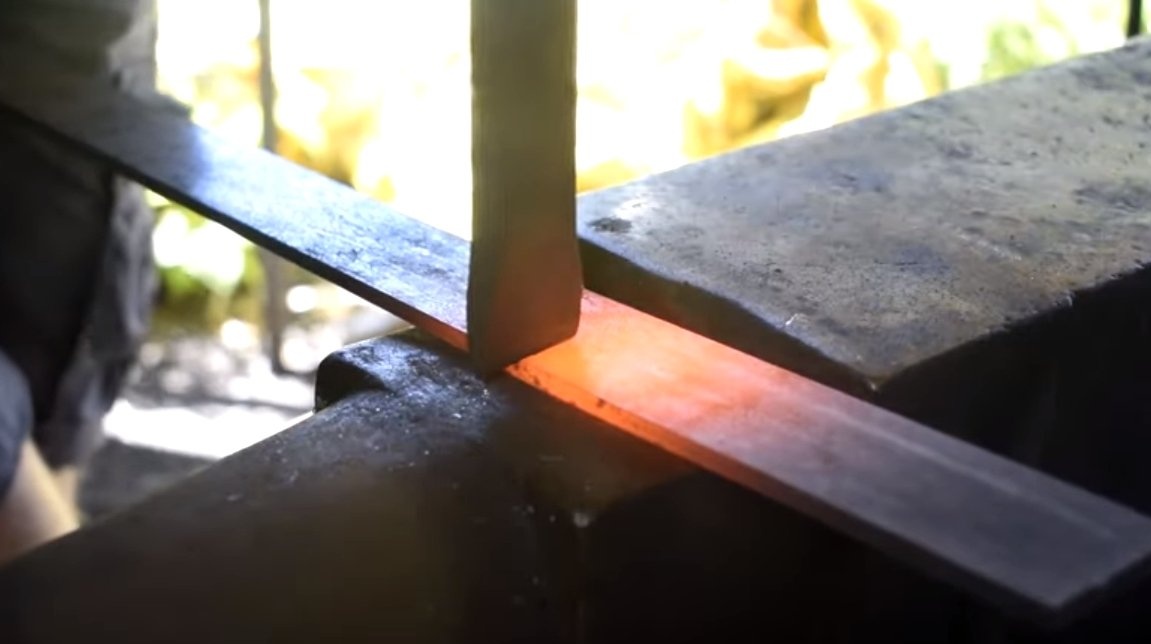
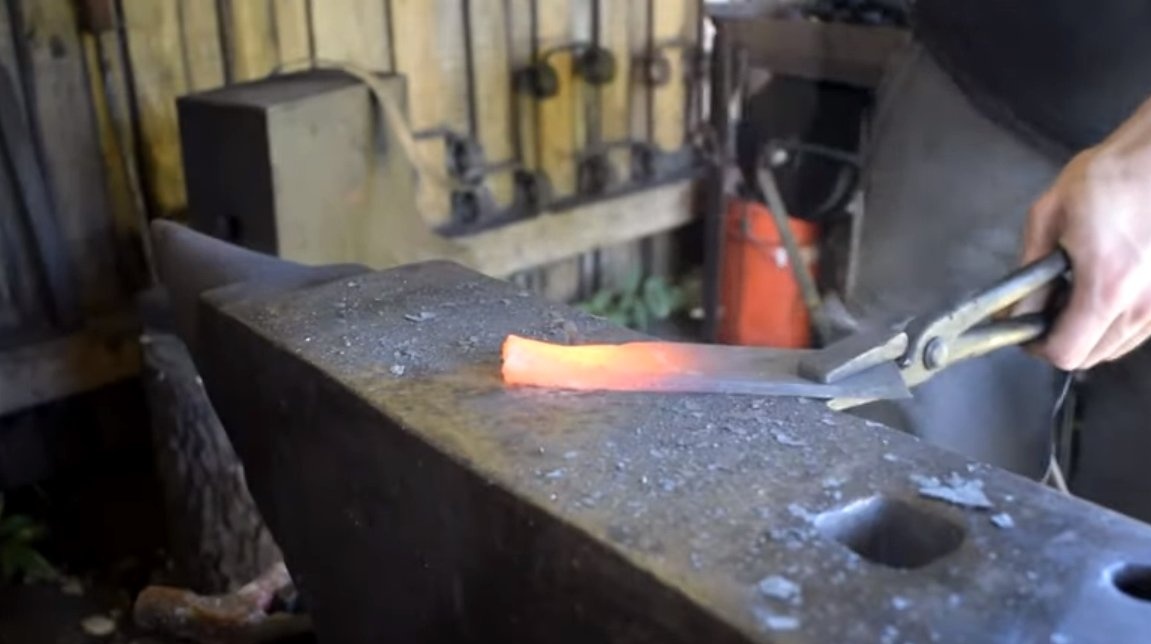
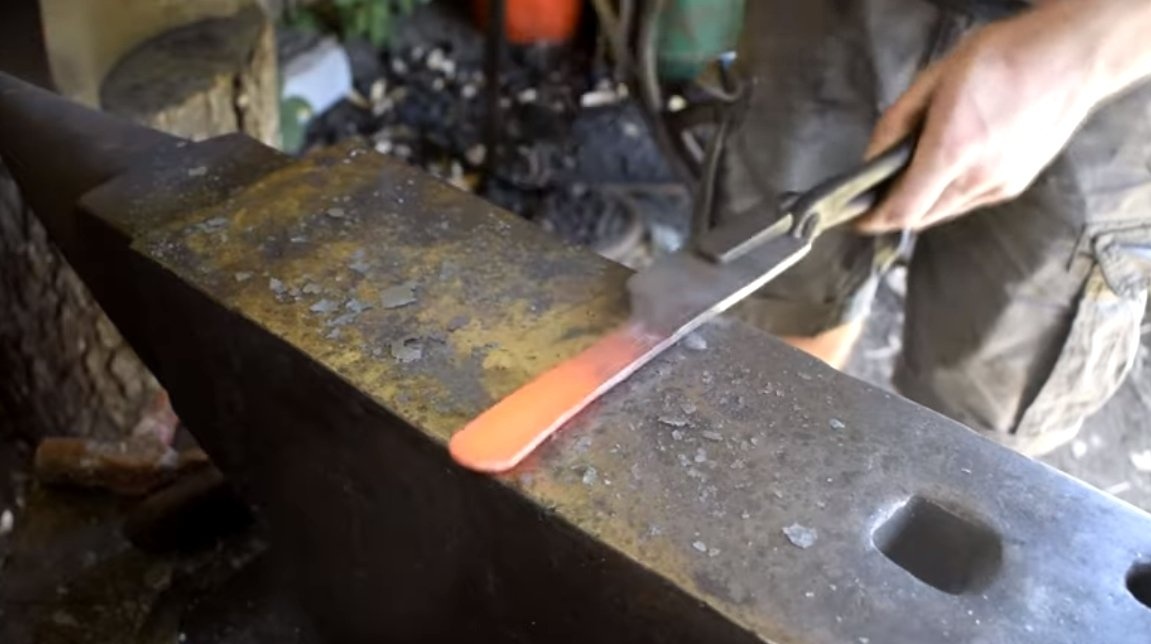
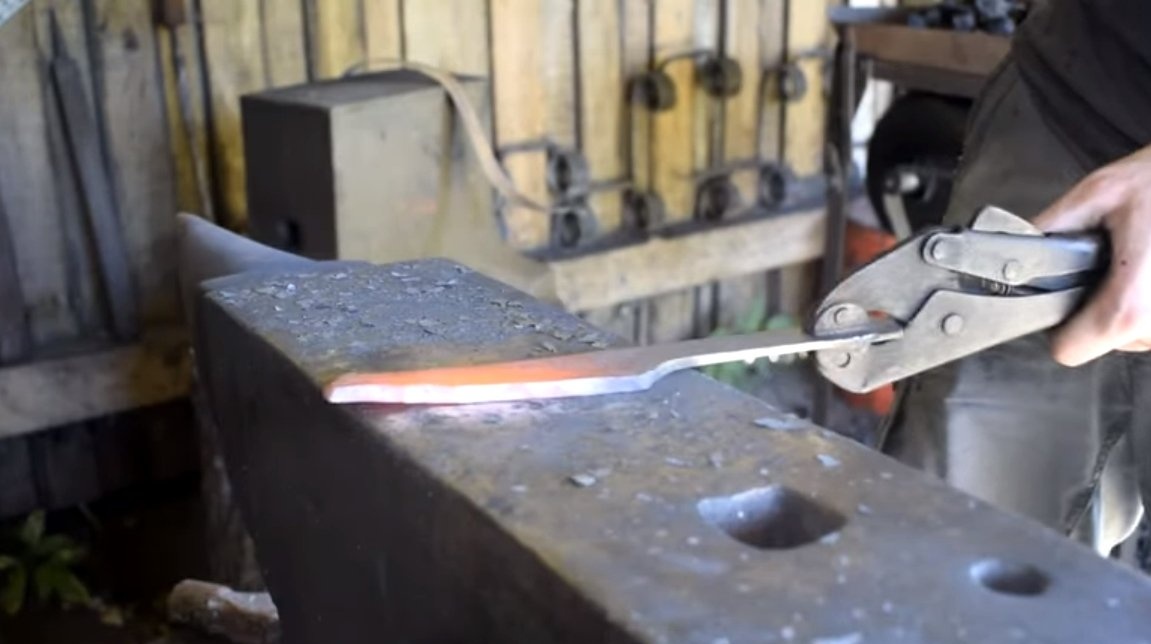
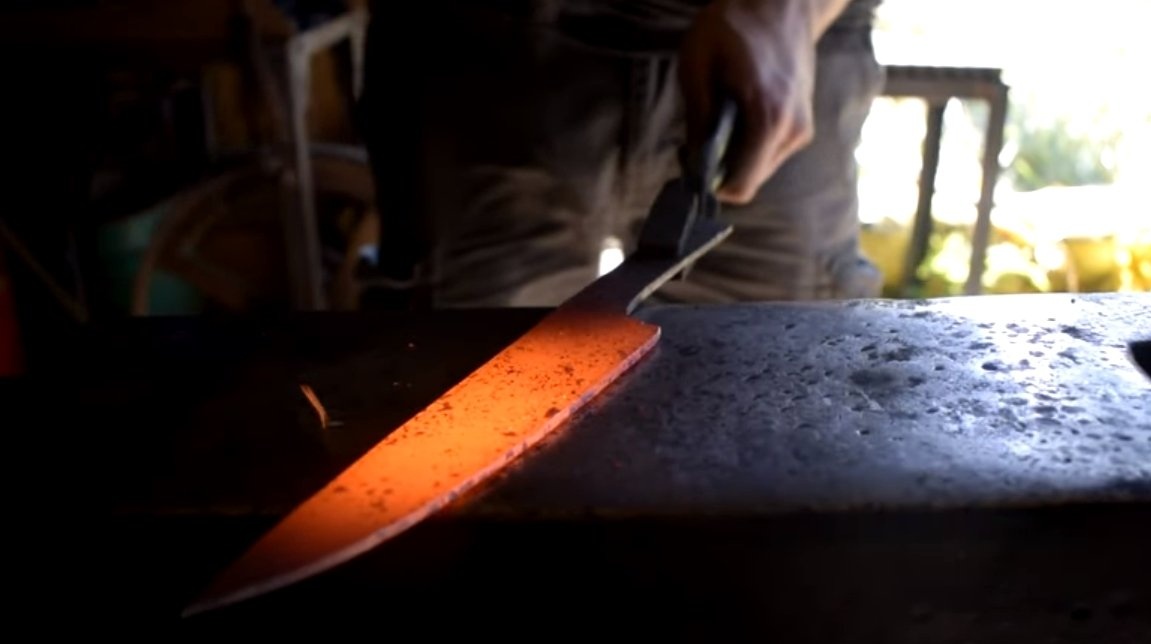
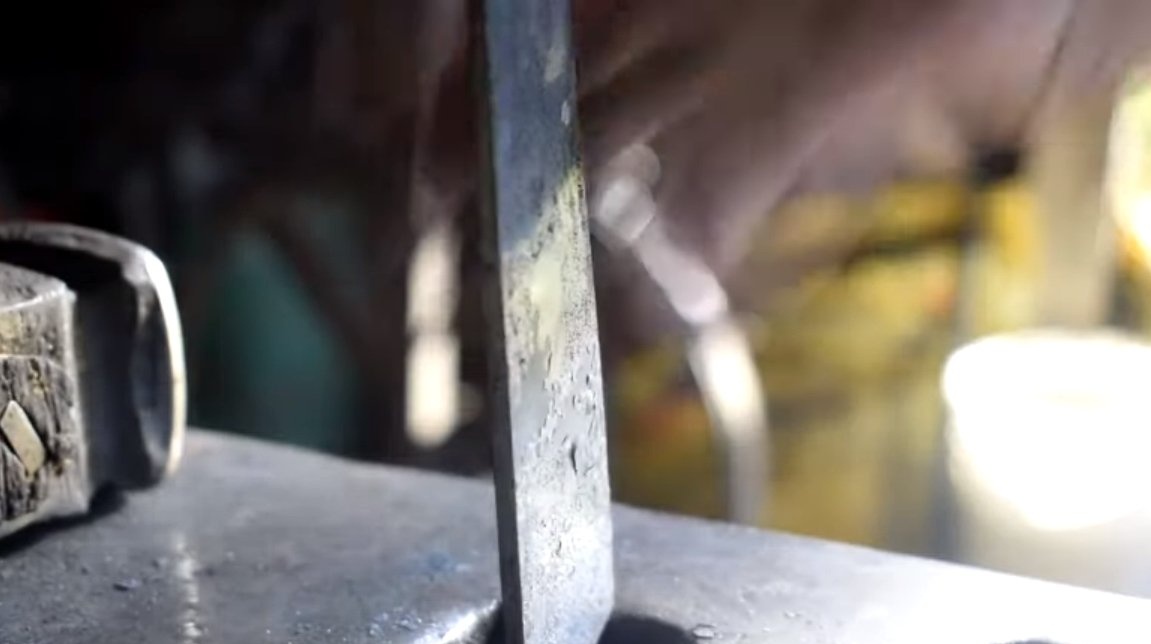
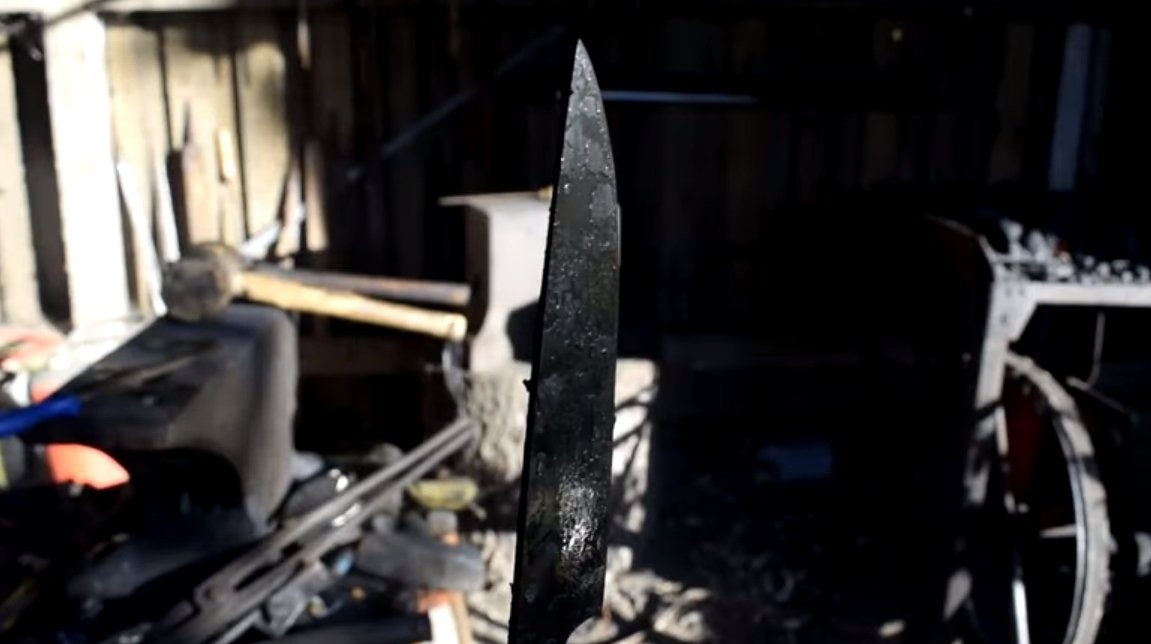
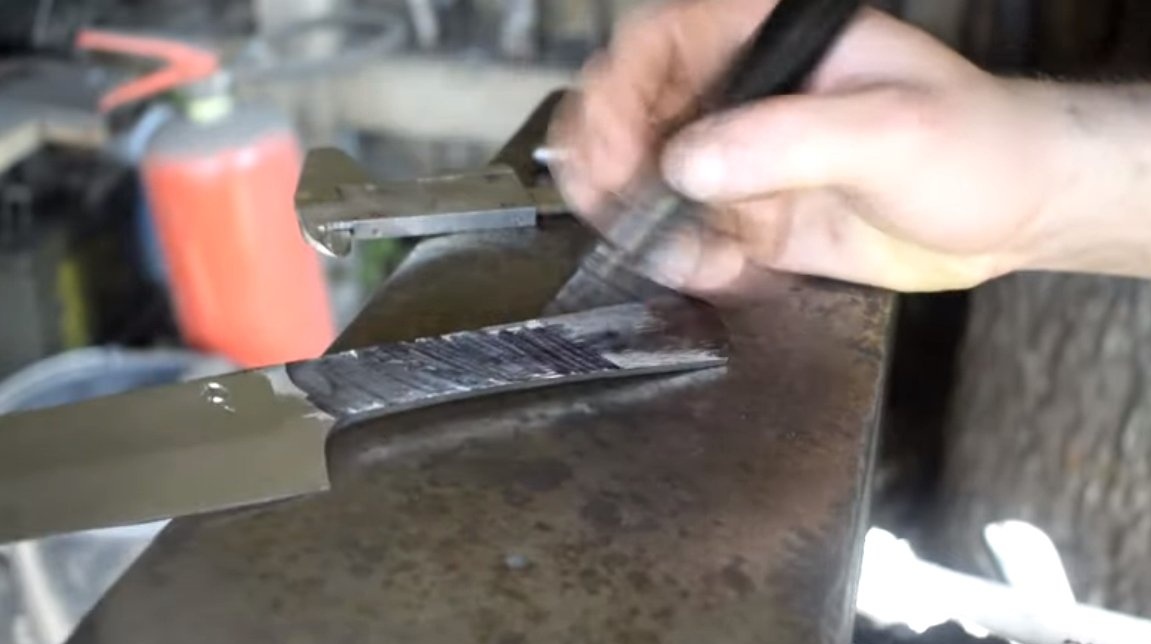
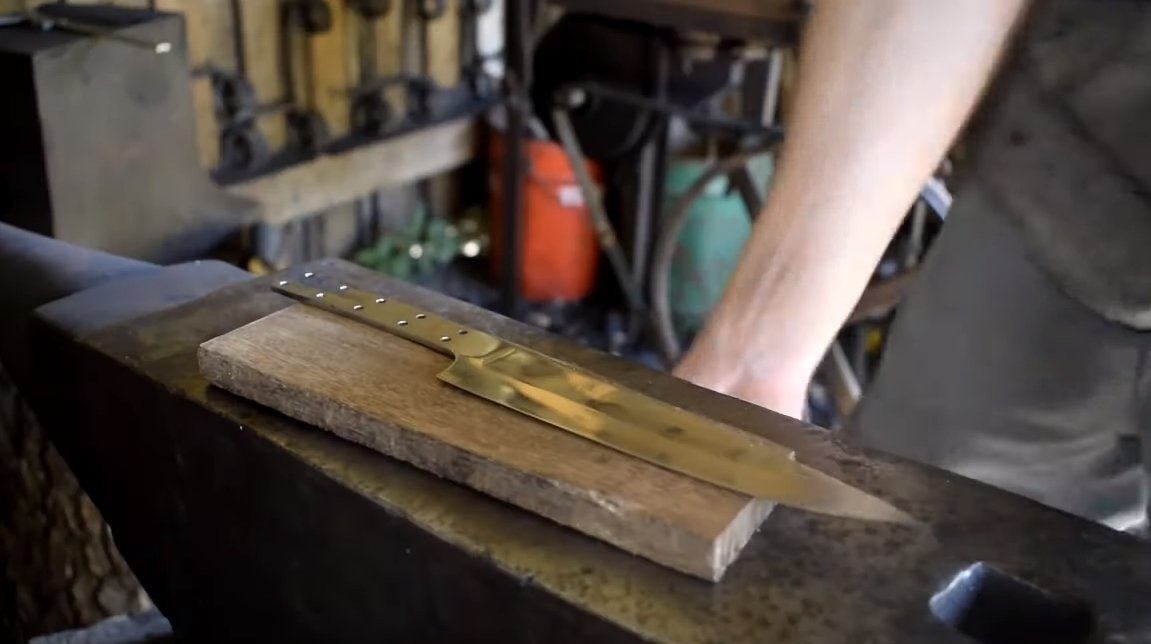
Step one. Forging
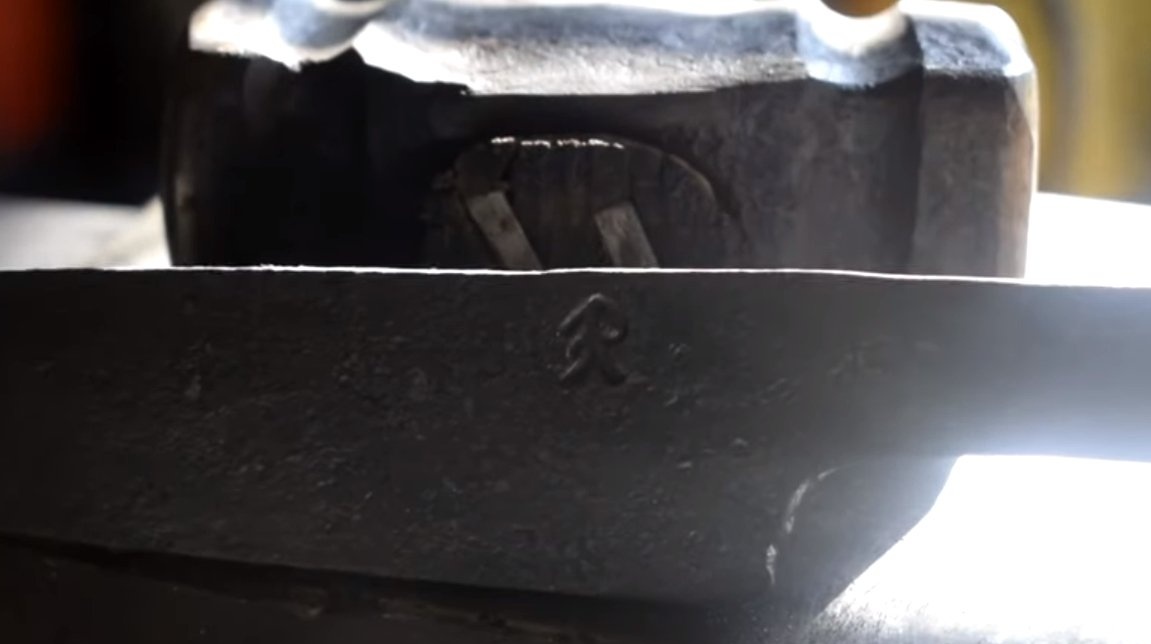
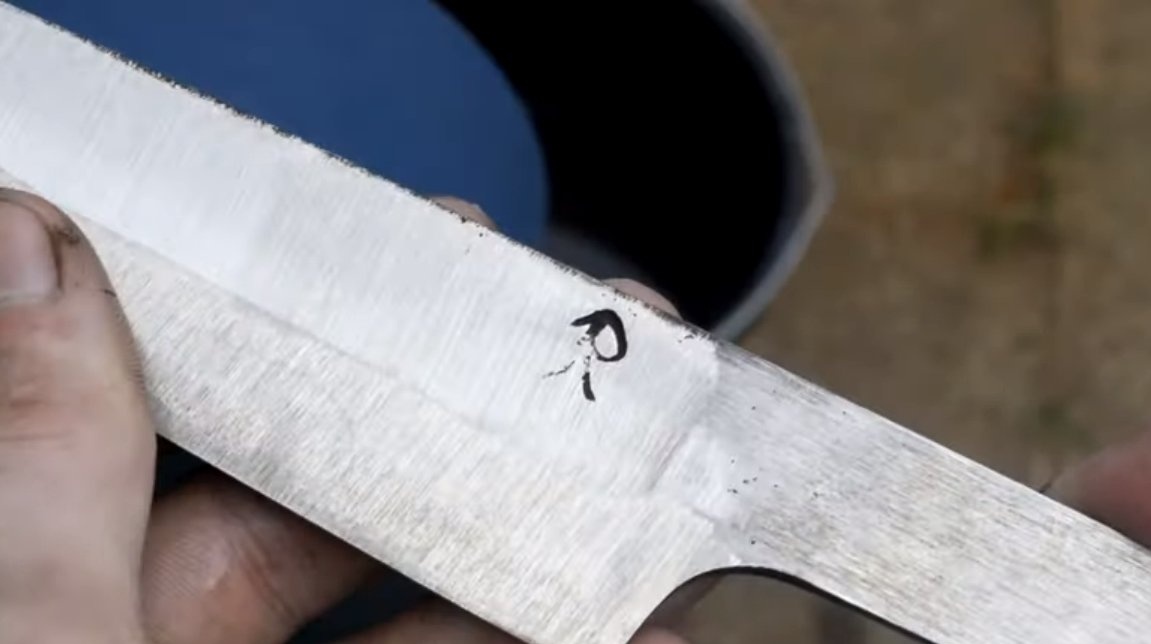
We have forged a knife, as the product will become more durable and will look more interesting. If you are already familiar with the forging process, then in this way you can make a knife profile much faster, you do not need to grind, cut, and so on. First of all, we heat the workpiece and chop off the desired piece. Well and then, slowly, with a hammer, we form the handle and blade. The author also made the descent on the knife by forging. As a result, having experience, the main profile of the knife is made quickly and with a minimum amount of waste. If desired, you can knock out your unique brand on the blade.
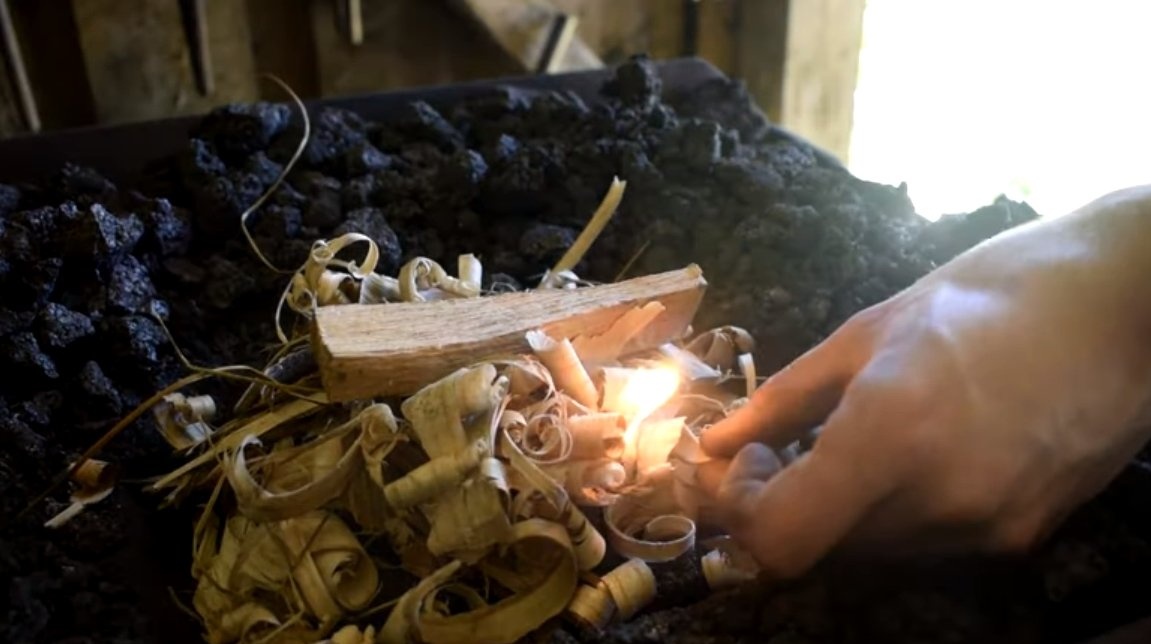
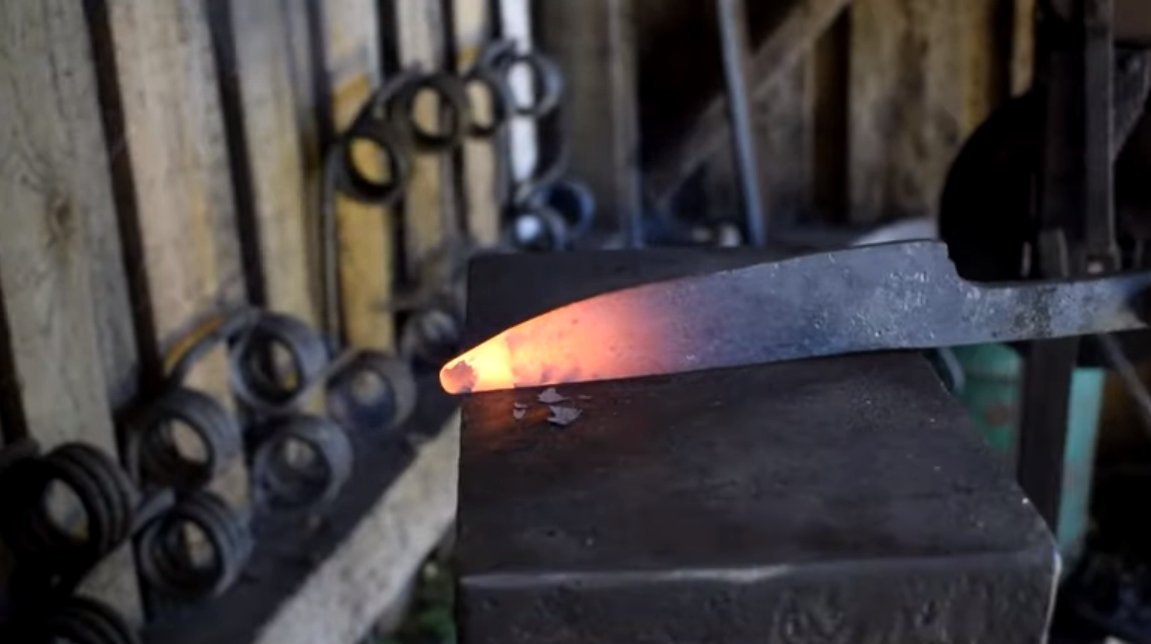
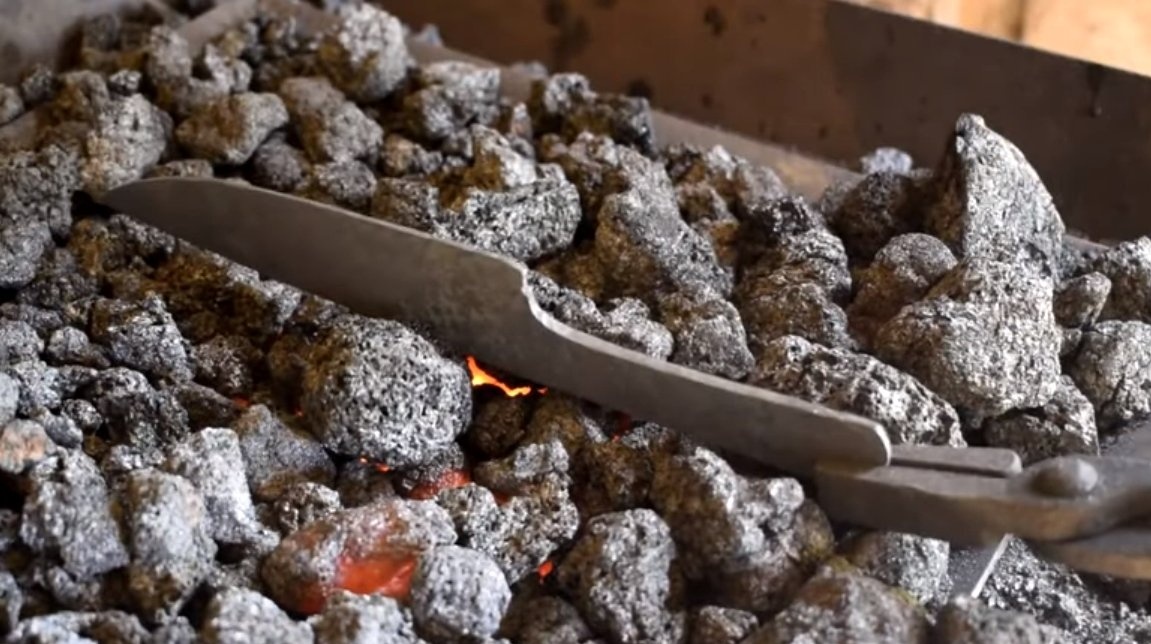
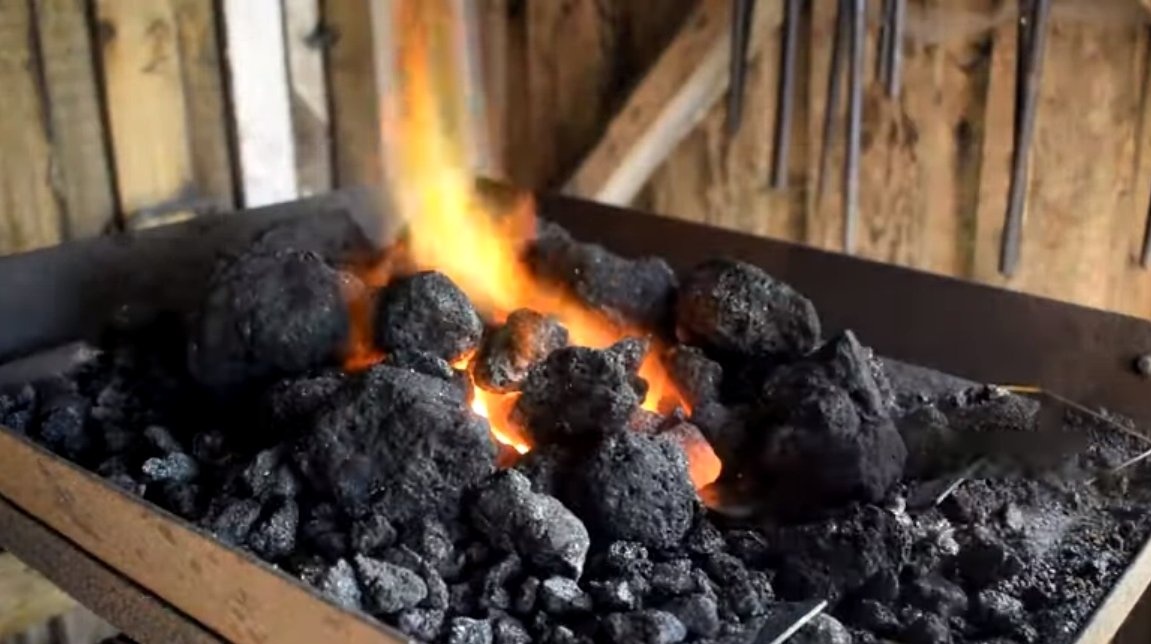
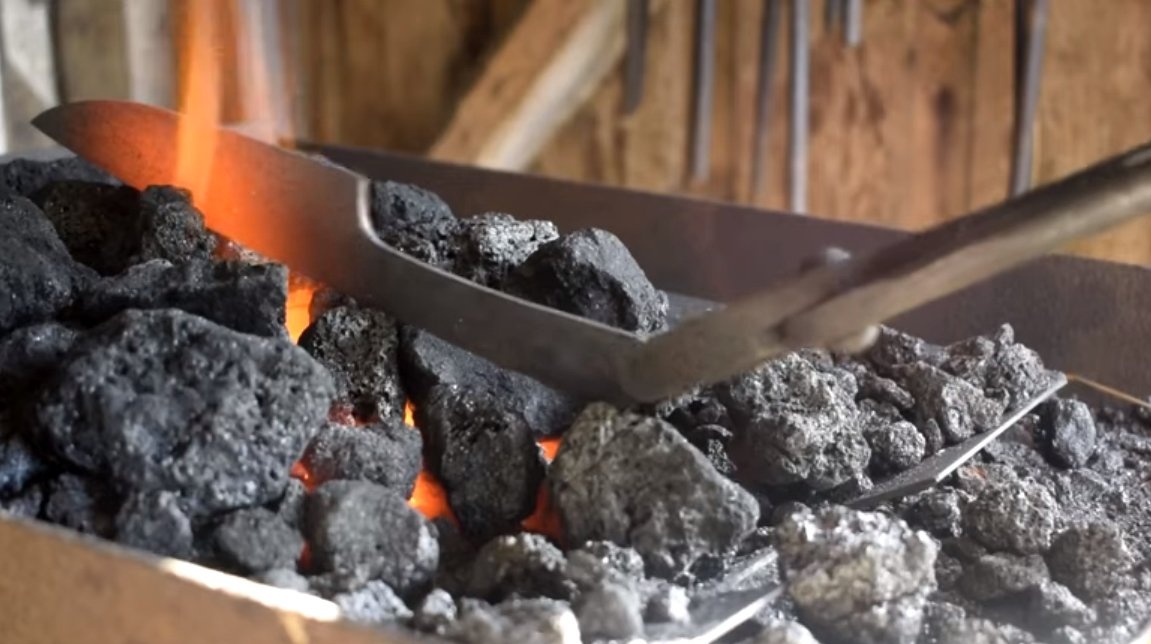
At the end, the blade must be normalized to relieve internal stresses and eliminate the risks of the formation of deformations and cracks. We simply heat up the blade and let it cool smoothly on coals near the fire.

Step Two Completion
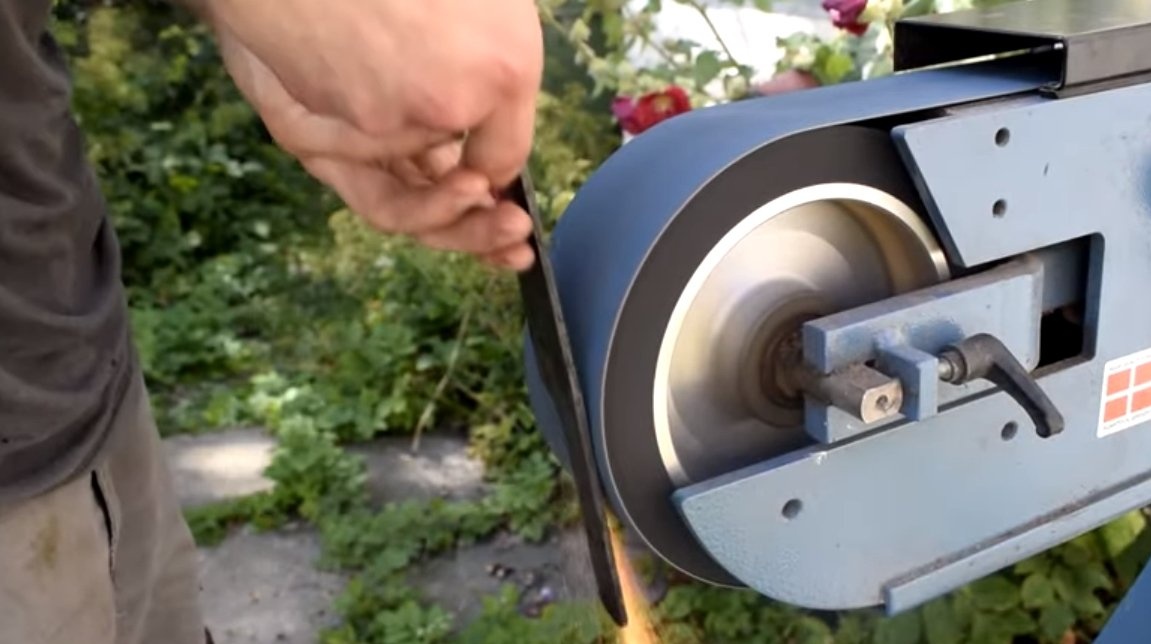
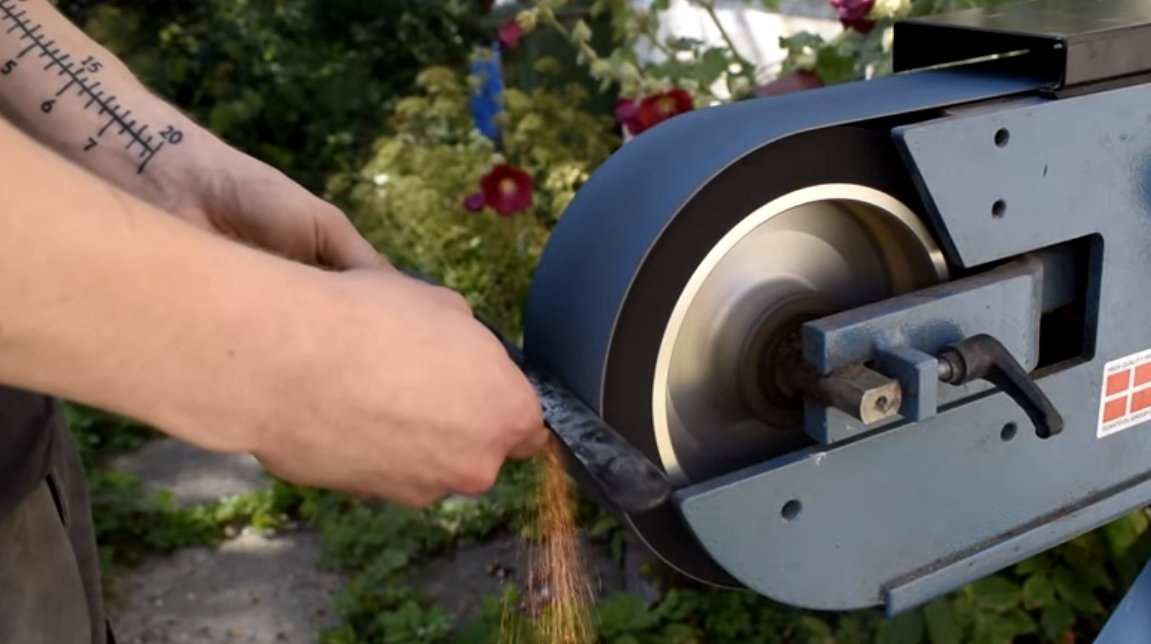
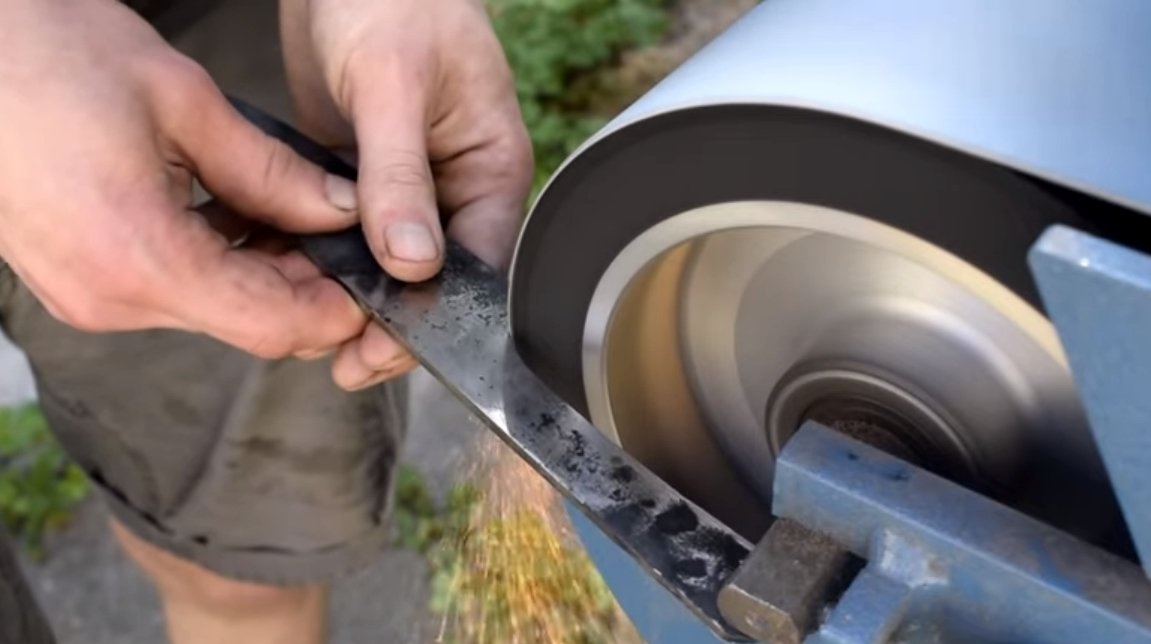
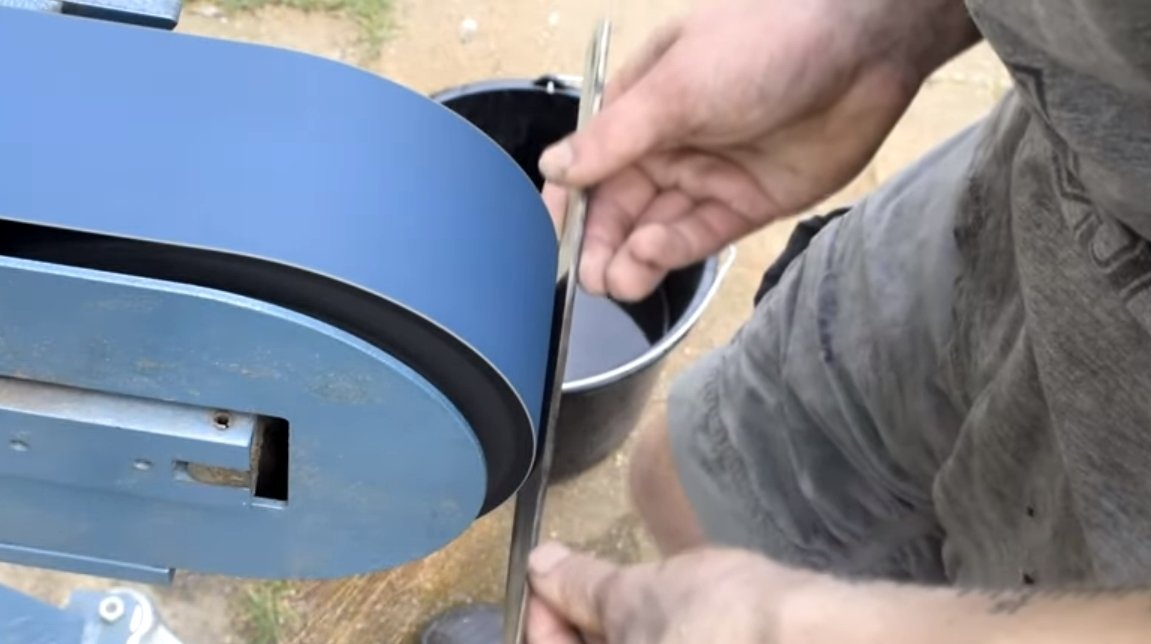
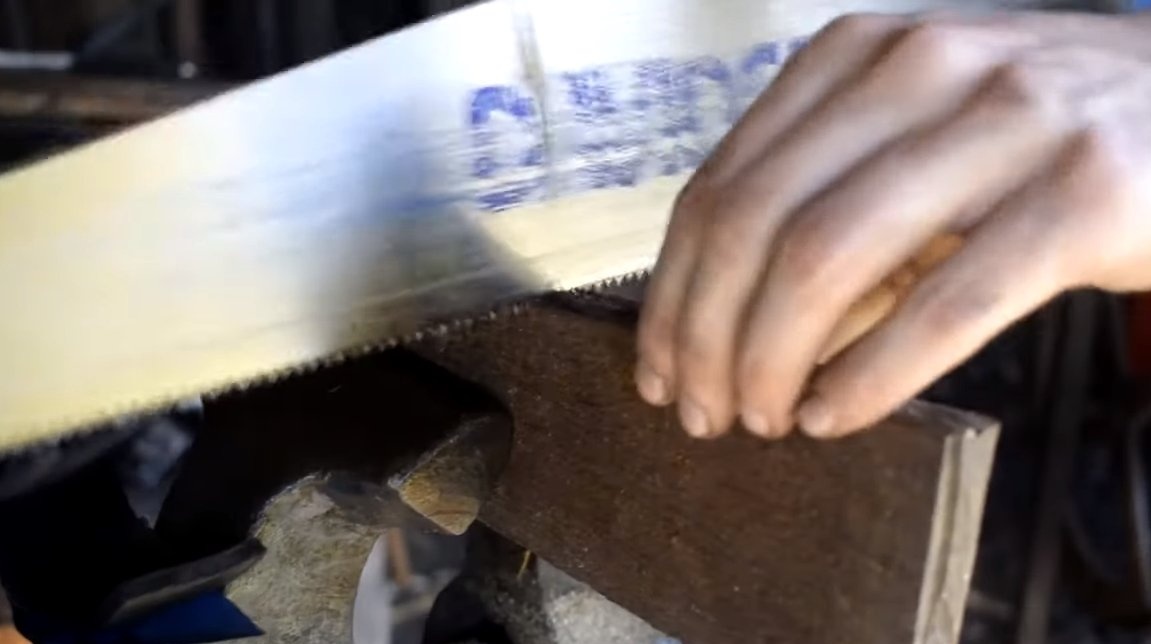
Even after perfect forging, the blade will need to be finalized, the only question is the volume of improvements. We grind the plane of the blade, for this the author used a belt grinder. We also need to process the knife along the contour, for hard-to-reach places we use a drill and files.
Step ThreeHeat treatment
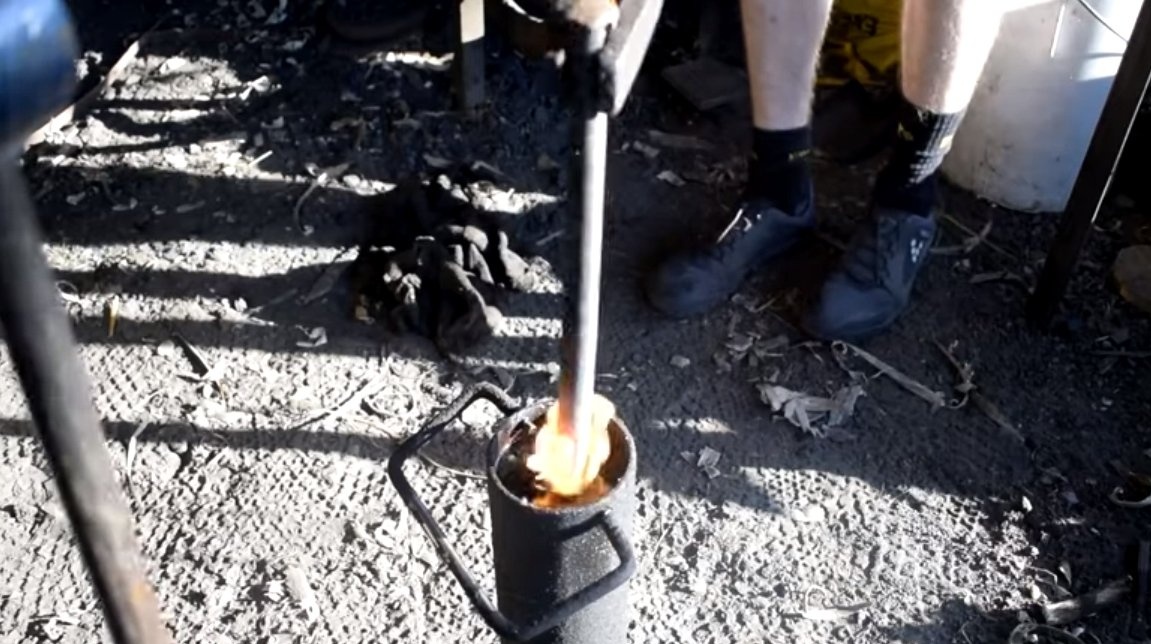
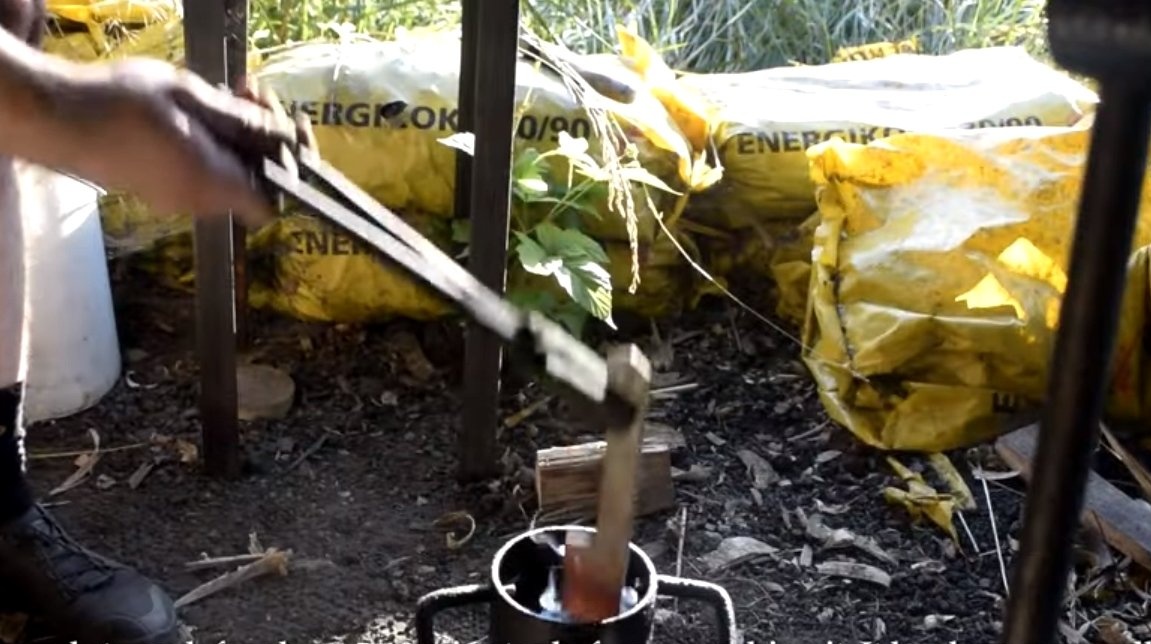
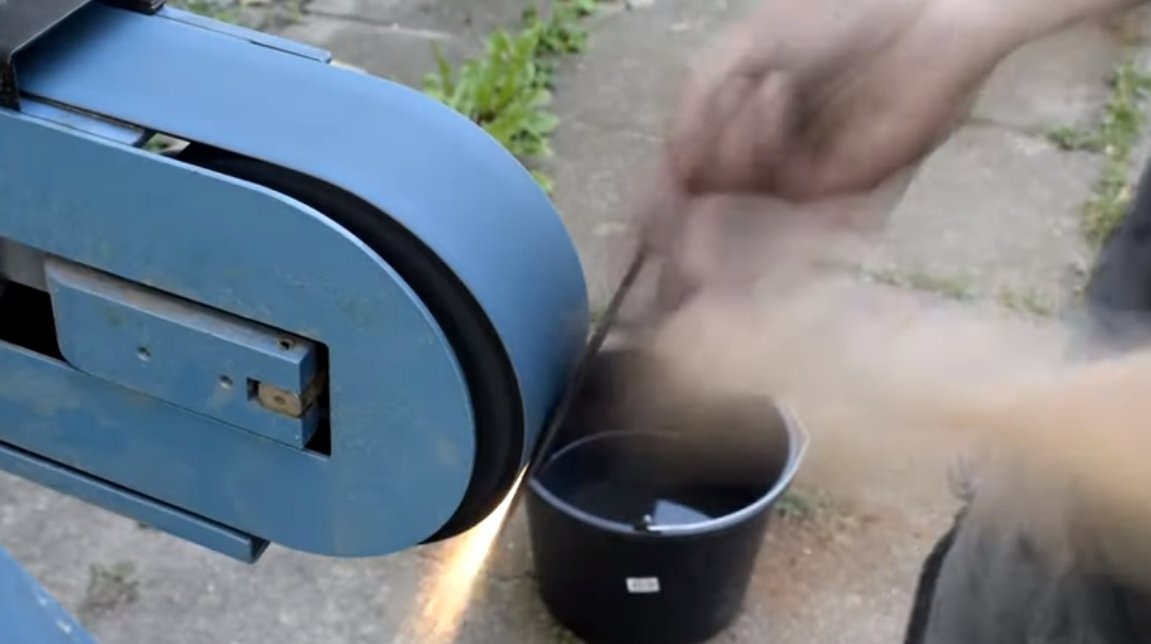
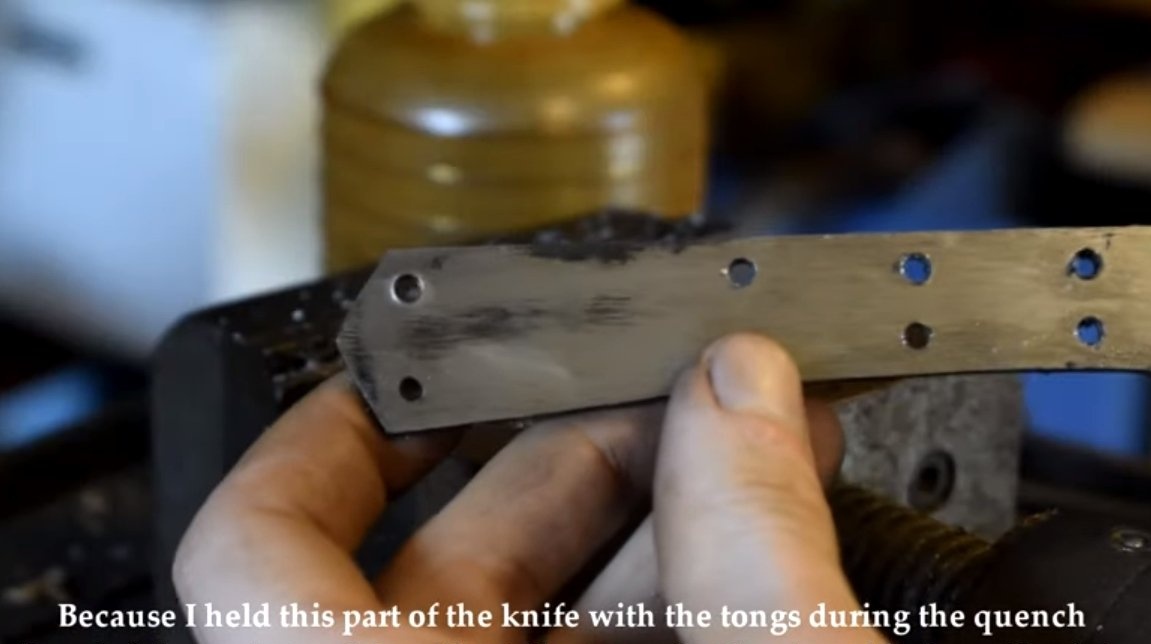
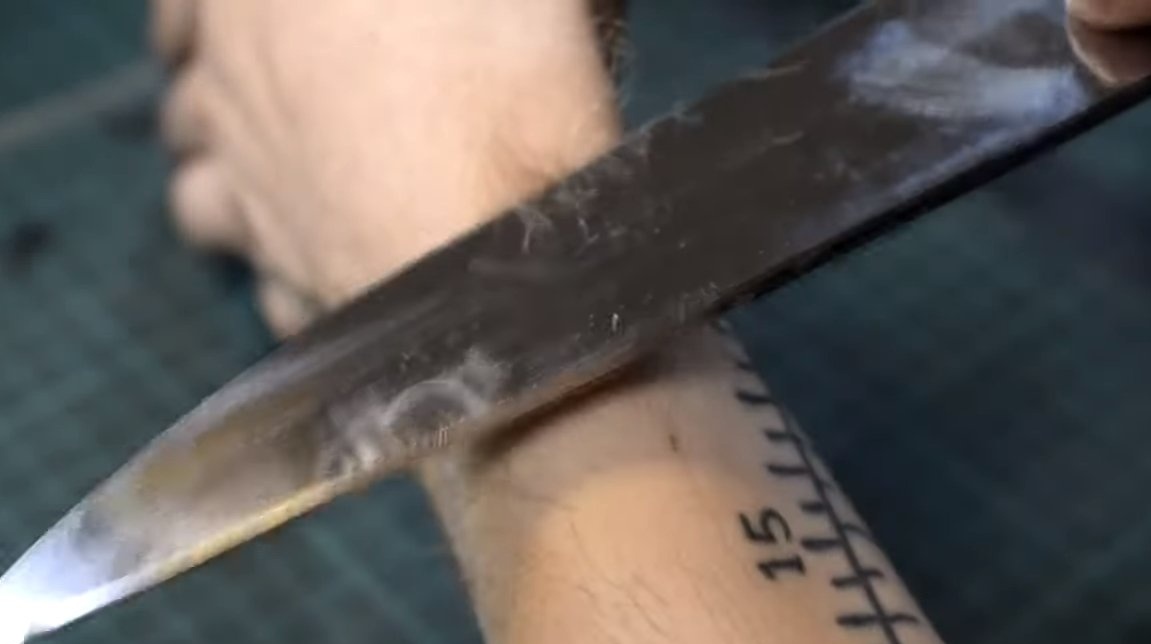
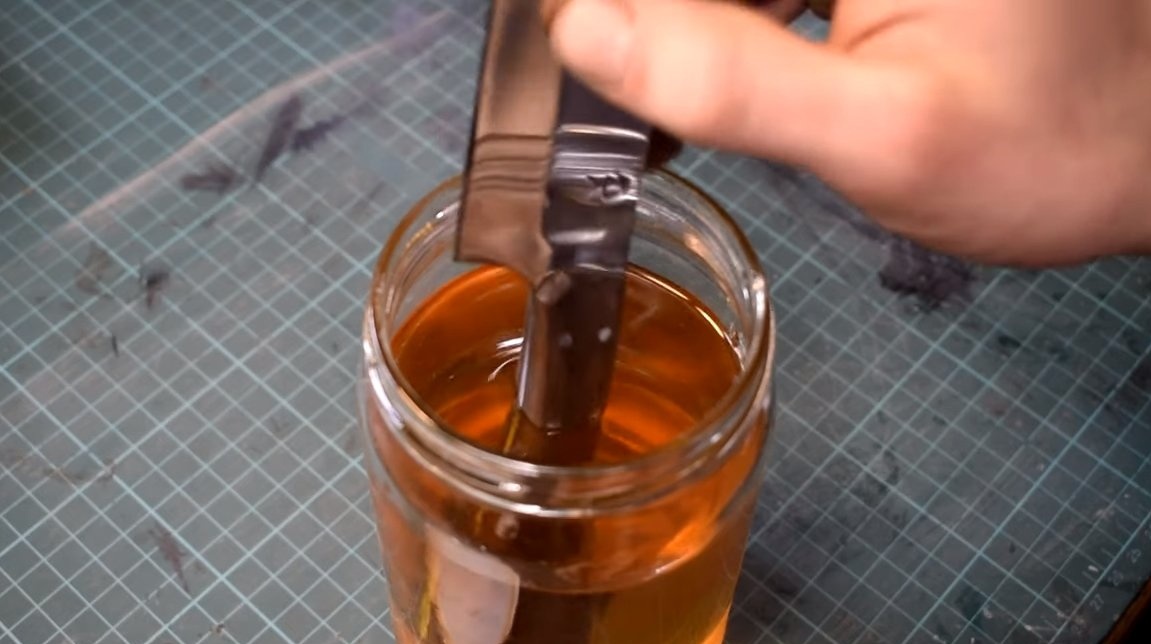
First of all, the blade needs to be hardened to eliminate the risk of cracking and deformation, we again normalize. Well, then the blade is heated to a yellowish glow and dipped in oil. After that, the steel will no longer be taken with a file, but be careful, the blade will be fragile.
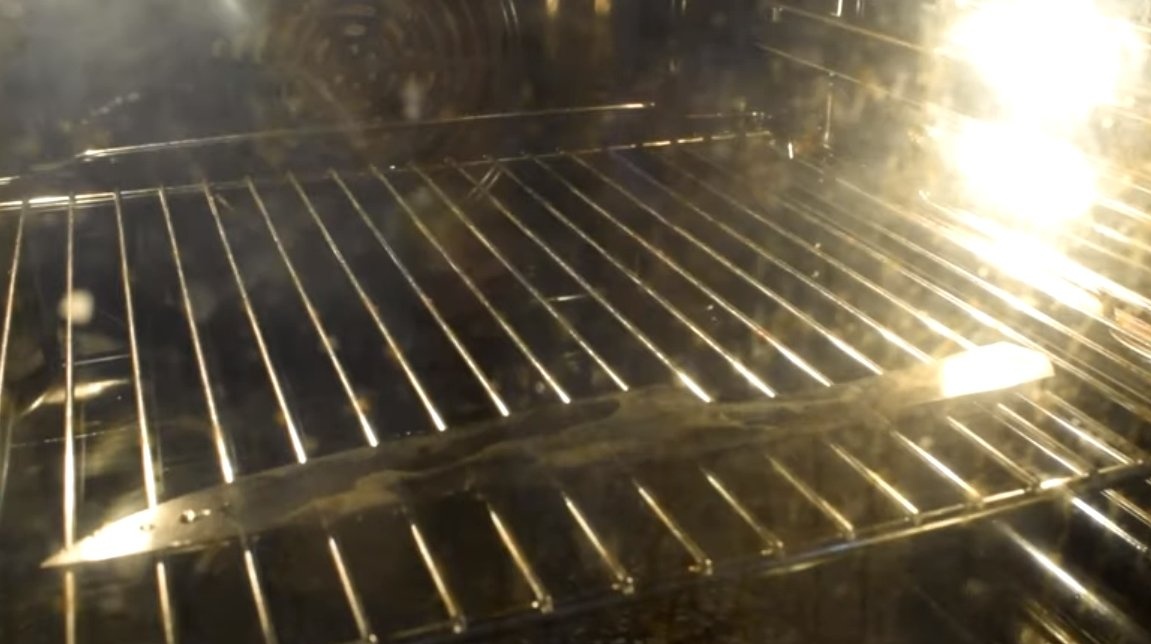
We clean the blade from oil and easily grind, well, then you can make a vacation. Here we need an oven, usually steel is heated at a temperature of about 200 ° C. You can navigate by the oxide film, usually with proper tempering the film has a straw color.
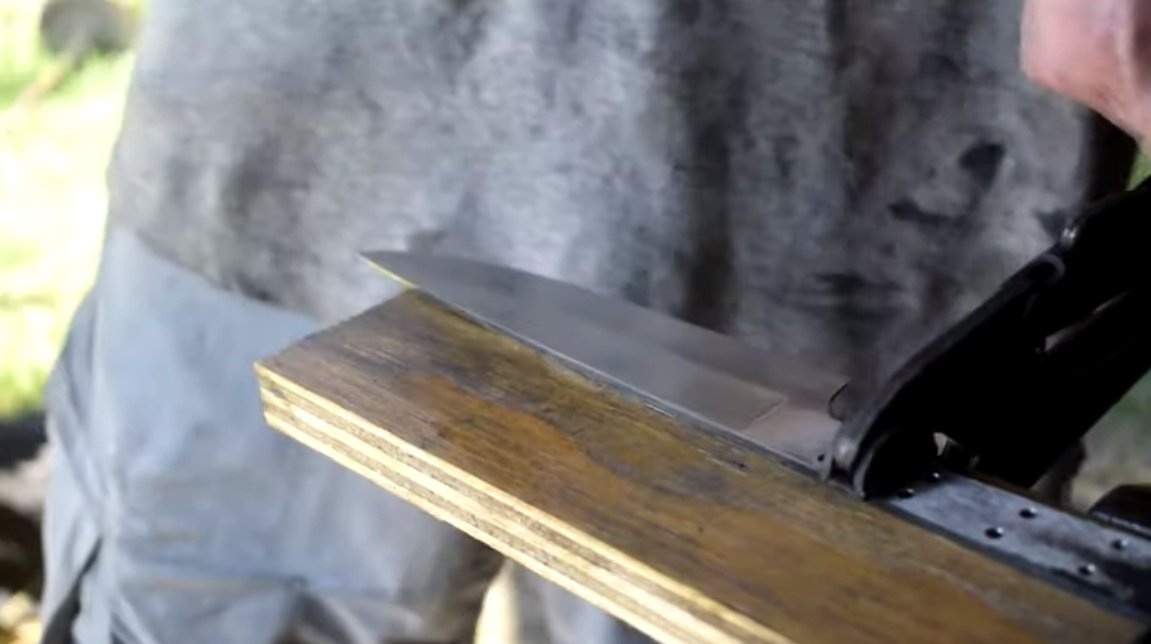
Step Four Blade finishing
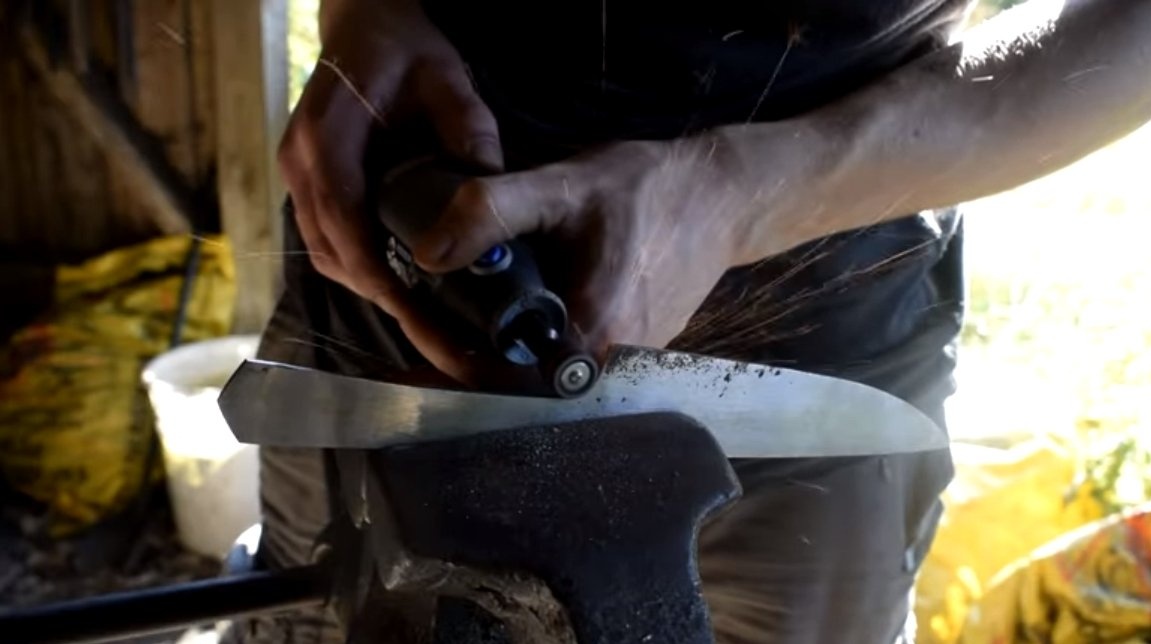
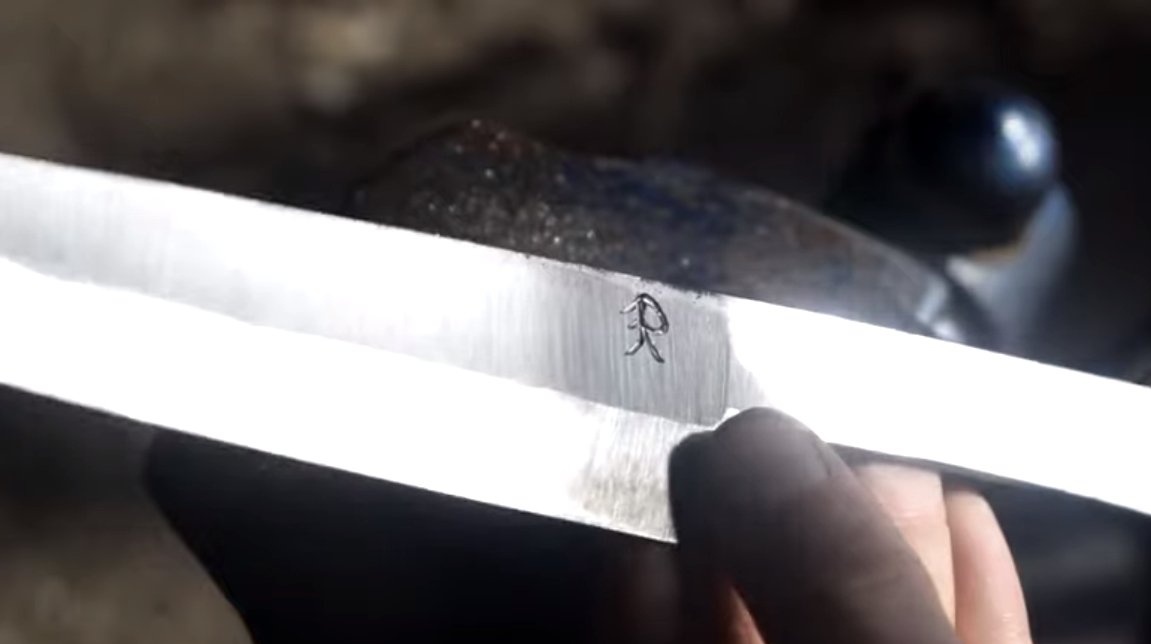
At the end of the plane of the blade, we grind well and, if desired, form a dol, as in the author. With a knife, the knife looks more interesting, and it also has a higher bending strength. The author brings down the blades to the eye. The blade will heat up during grinding; overheating must not be allowed, otherwise the steel will be released. From time to time we cool the blade in water.
In conclusion, we proceed to manual grinding, here we need fine sandpaper, we need to grind with water or some kind of cleaning agent such as WD-40. As a result, after manual grinding, the blade can be polished to a mirror shine on a polishing machine.
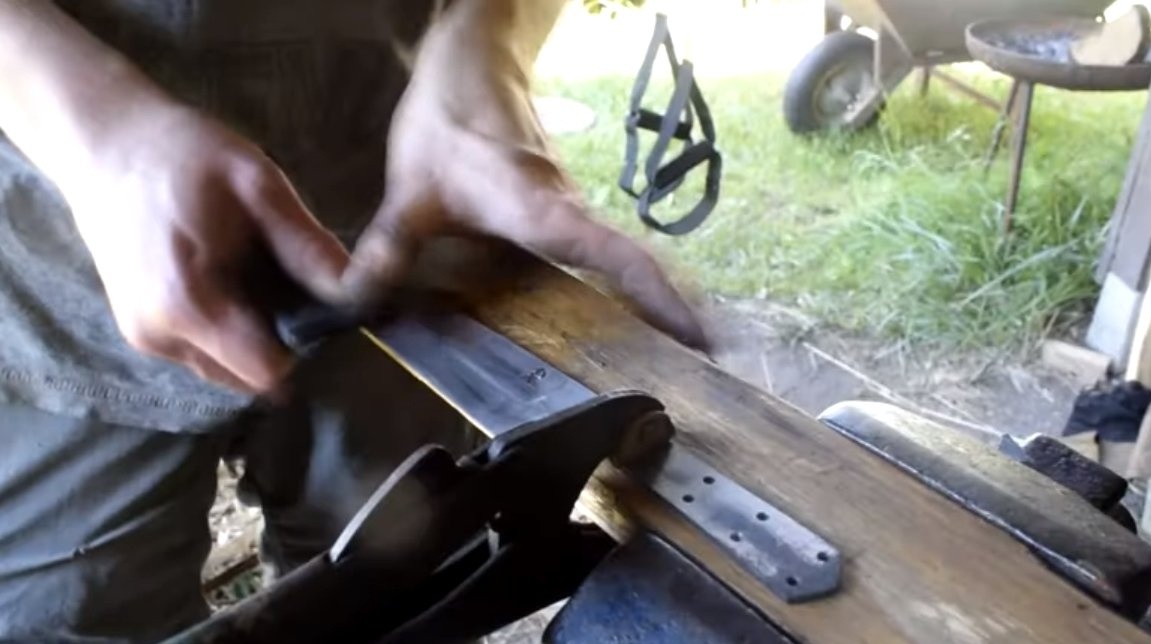
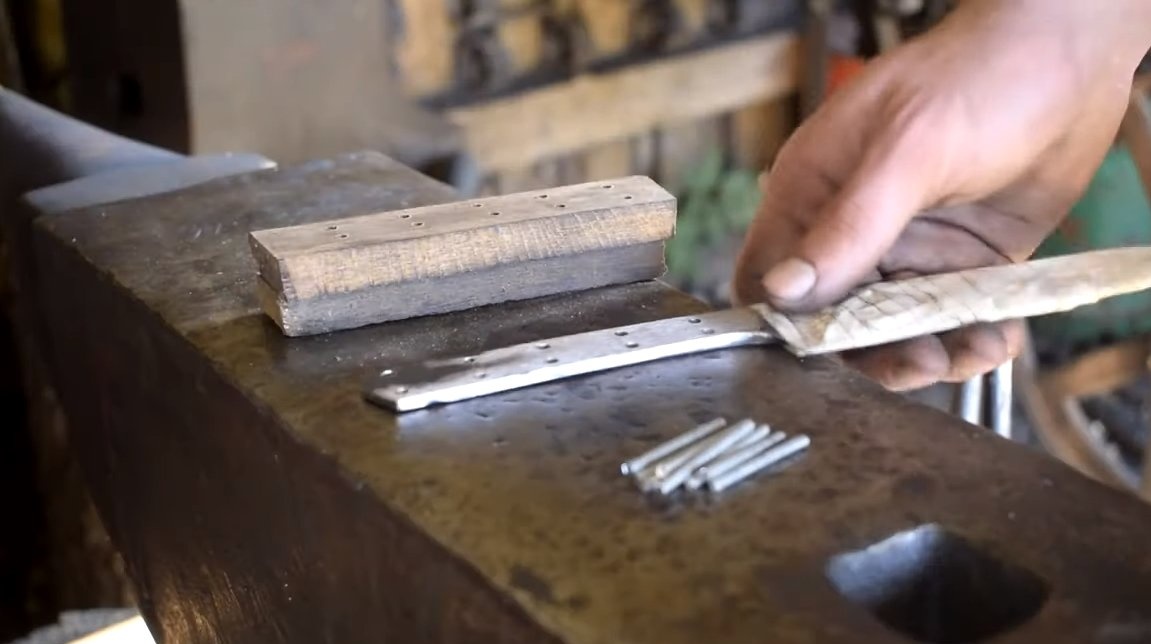
Step Five Handle
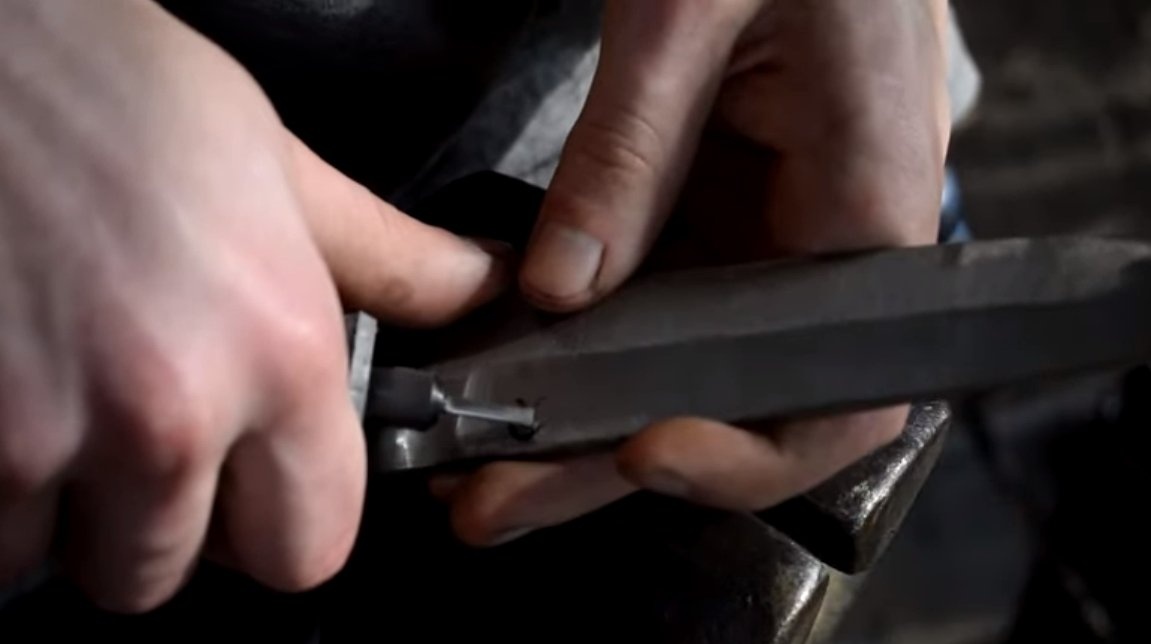
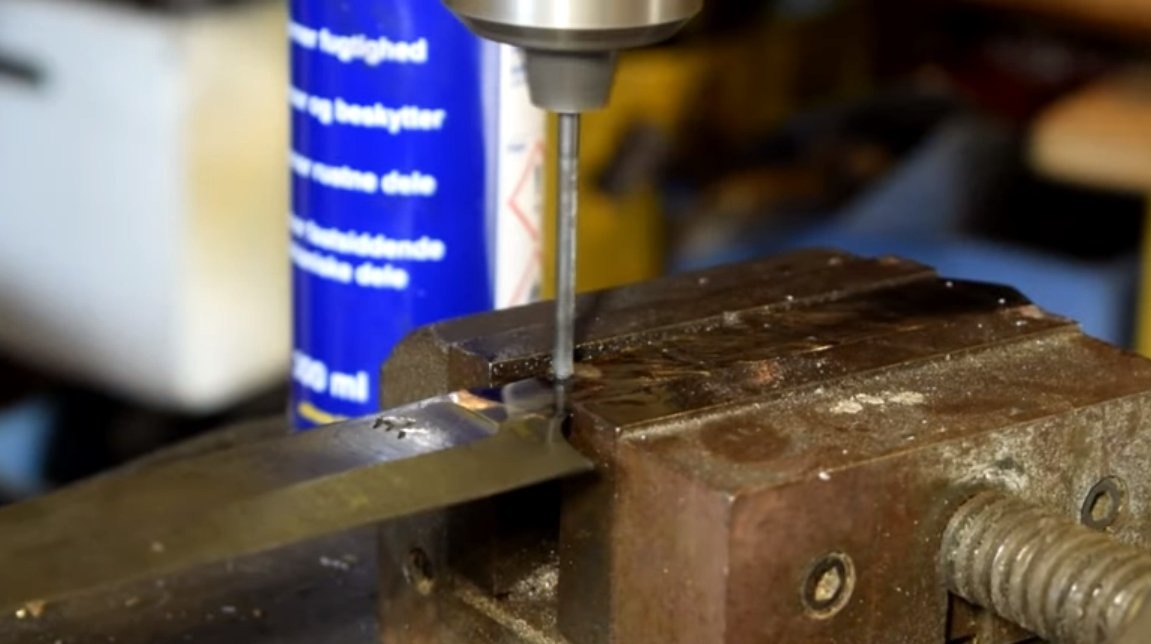
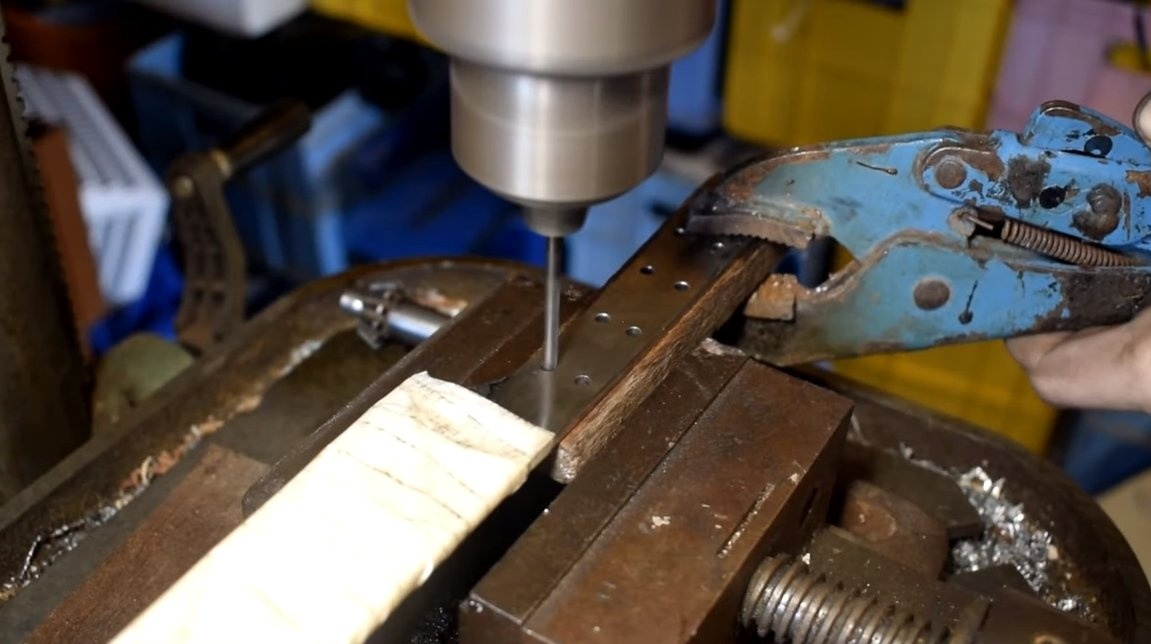
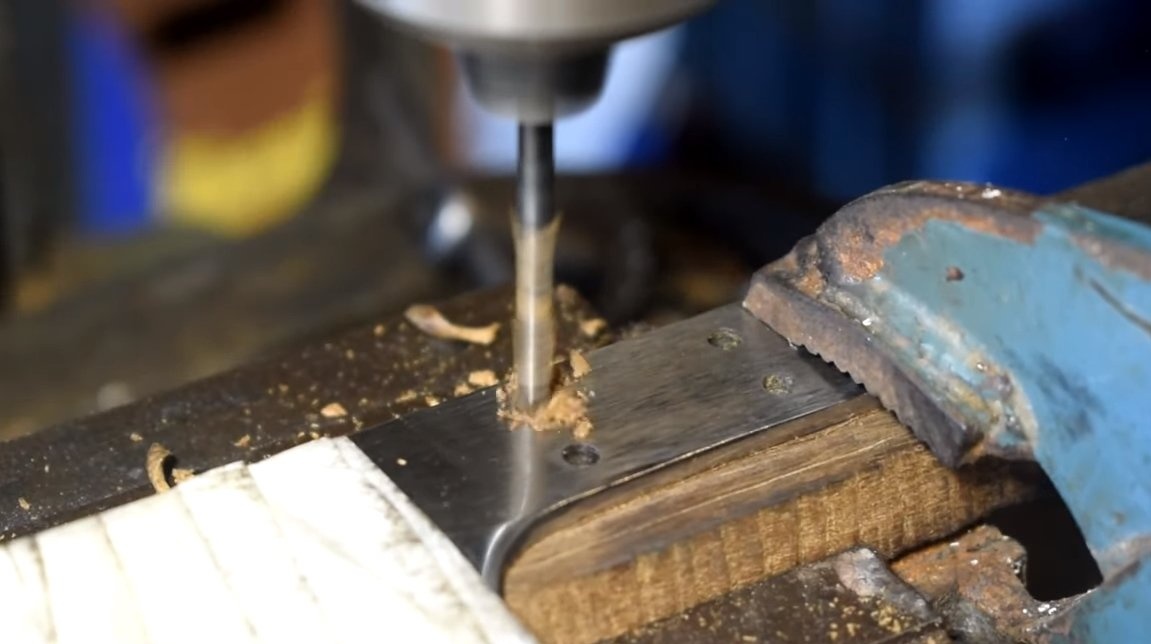
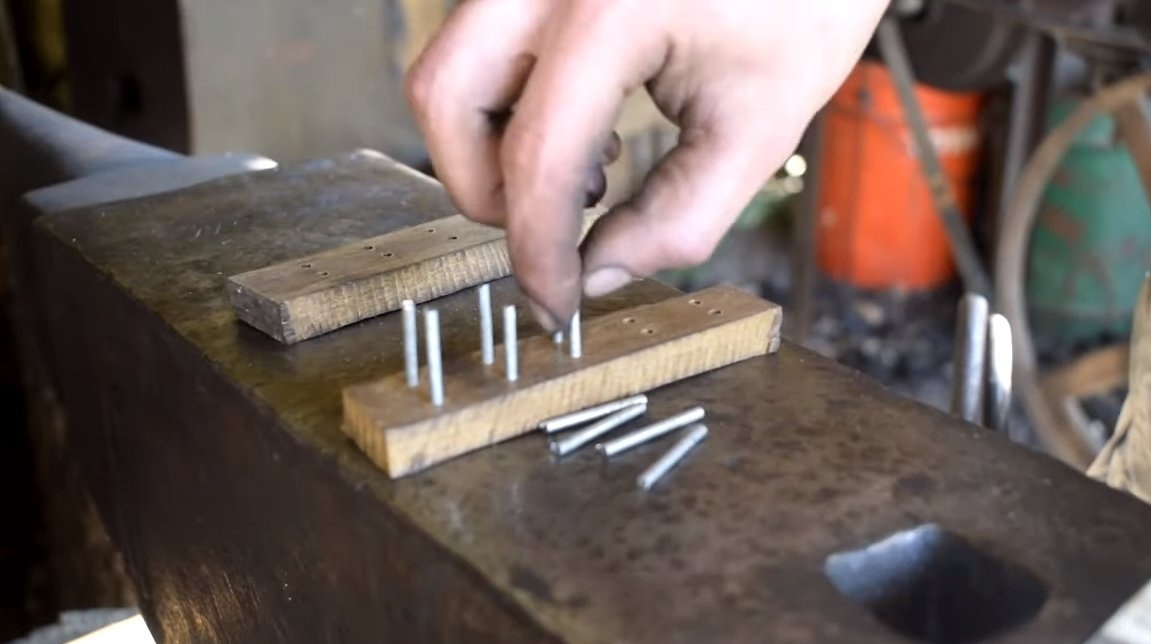
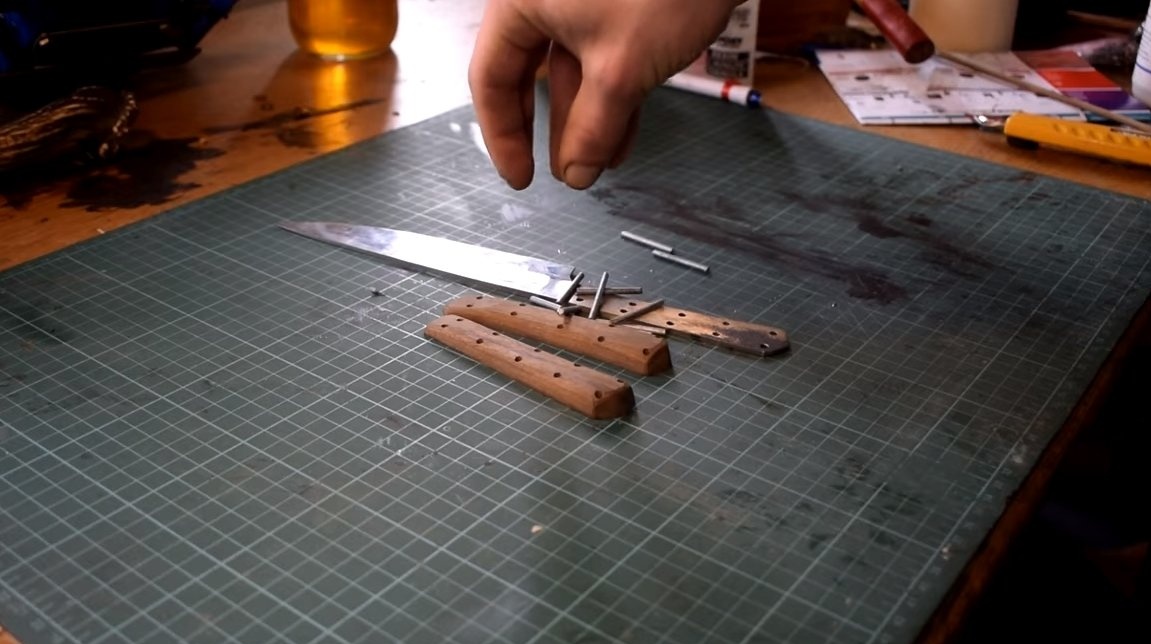
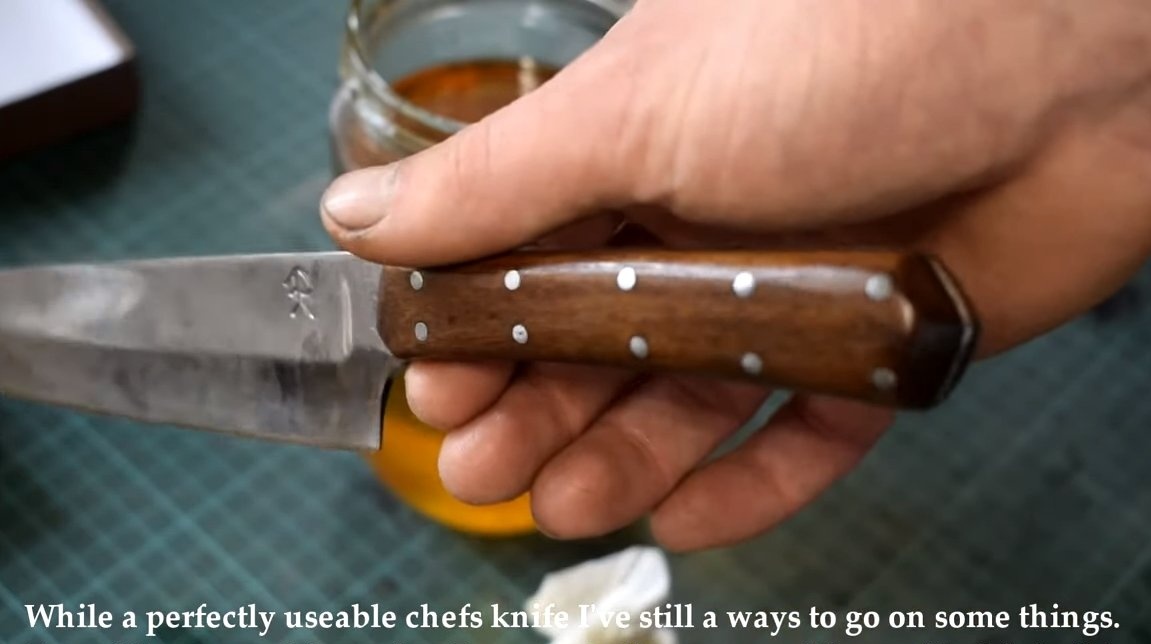
We assemble the handle of the knife, to begin with, drill holes for the pins. We will have quite a few holes, but on the whole experience shows that two pins are enough to securely fix the handle. As pins we use nails or brass rods to your taste.
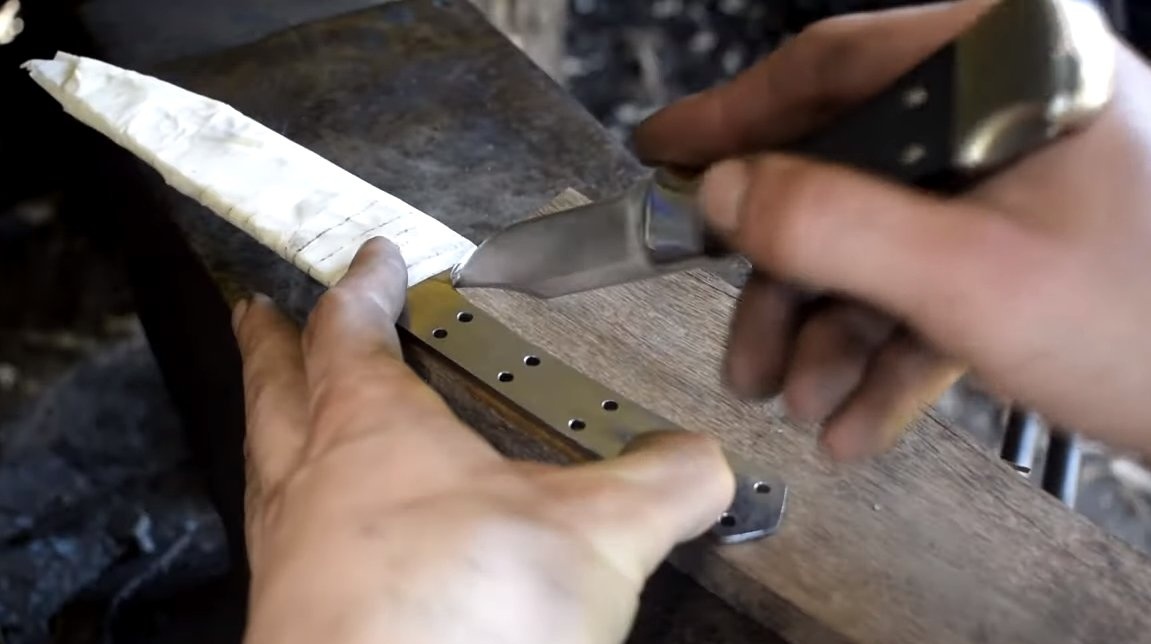
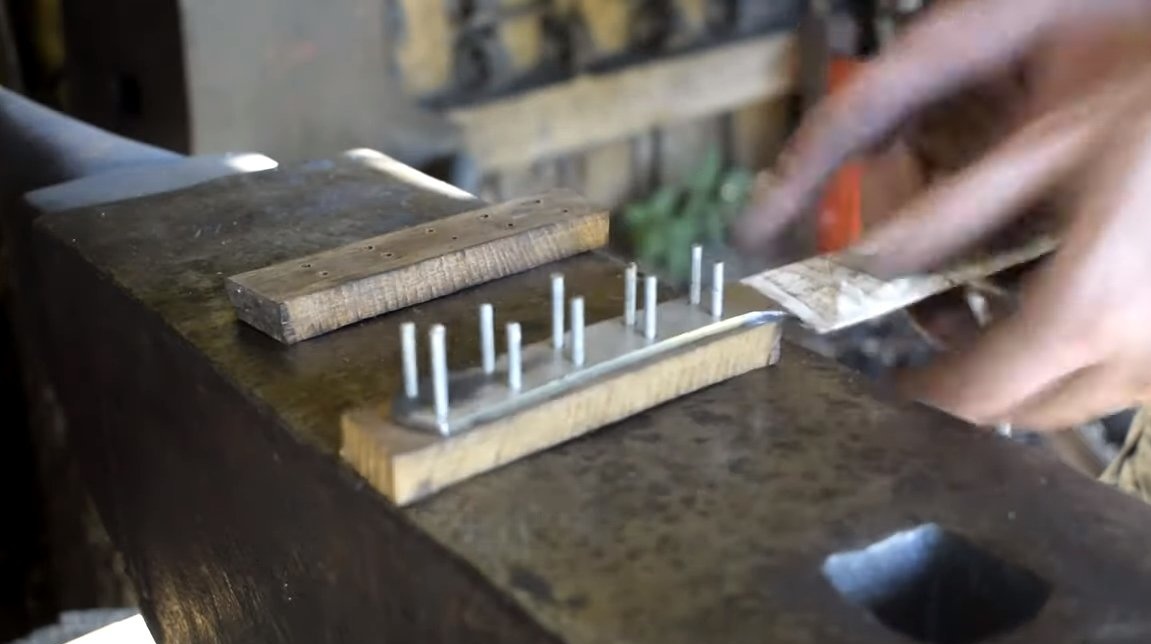
As a result, for assembly, it remains to cut two lining of wood. In general, for a kitchen knife, textolite or other material that is not afraid of water is more suitable.
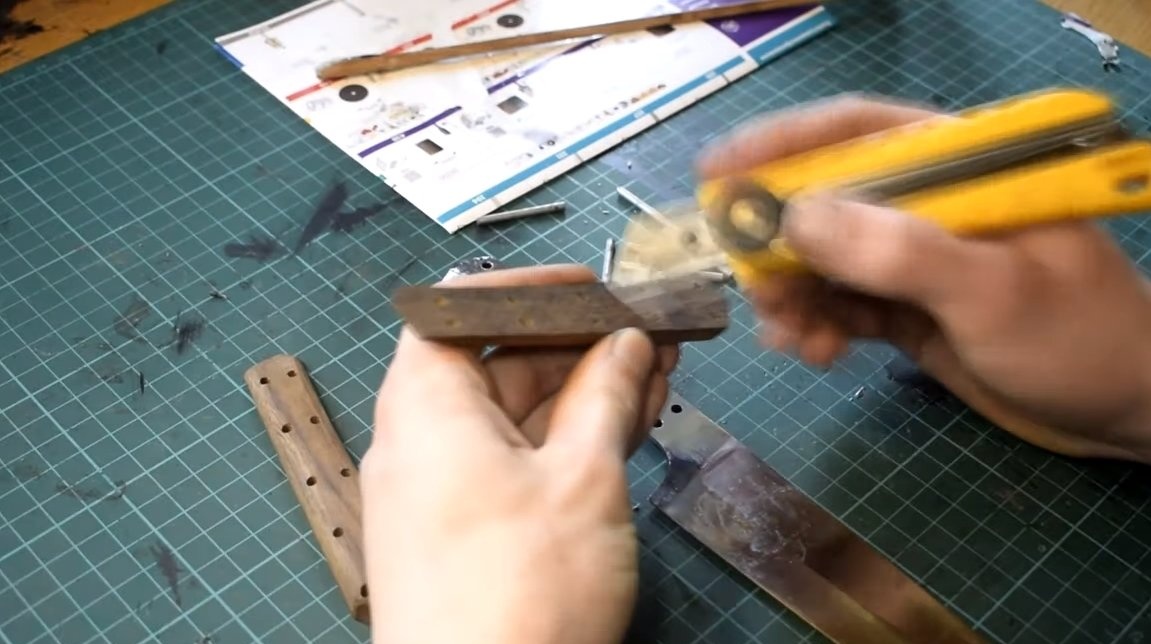
When all the parts have been prepared, the handle can be glued together, then we need epoxy glue. We clean the glued surfaces well so that the glue sticks, and then we tighten the handle with clamps or other clamps.
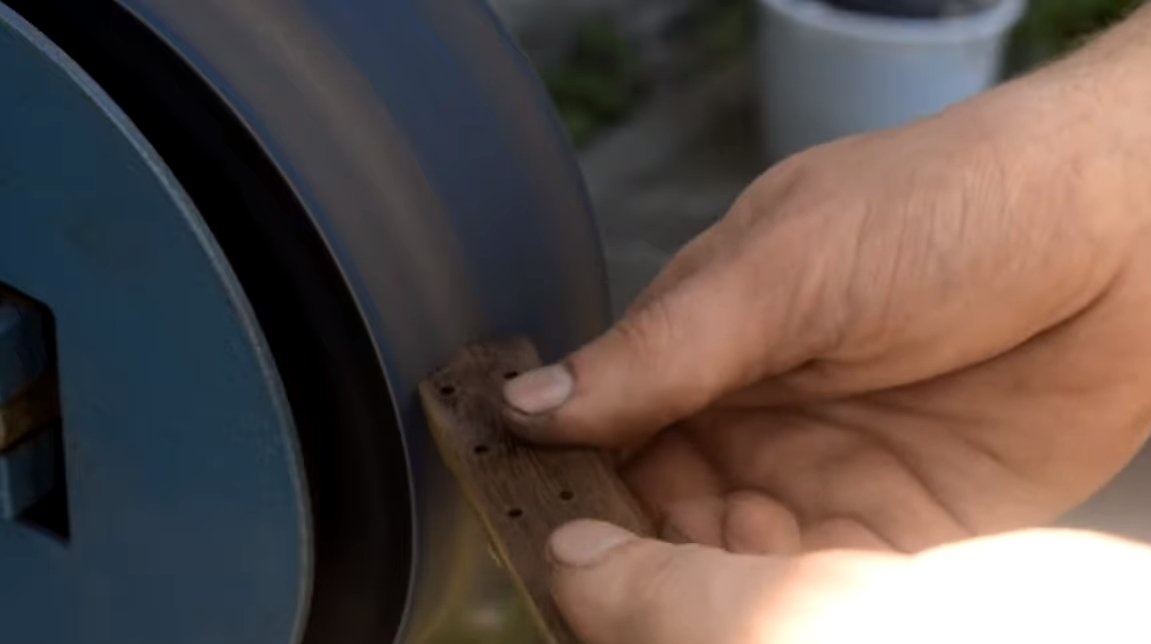
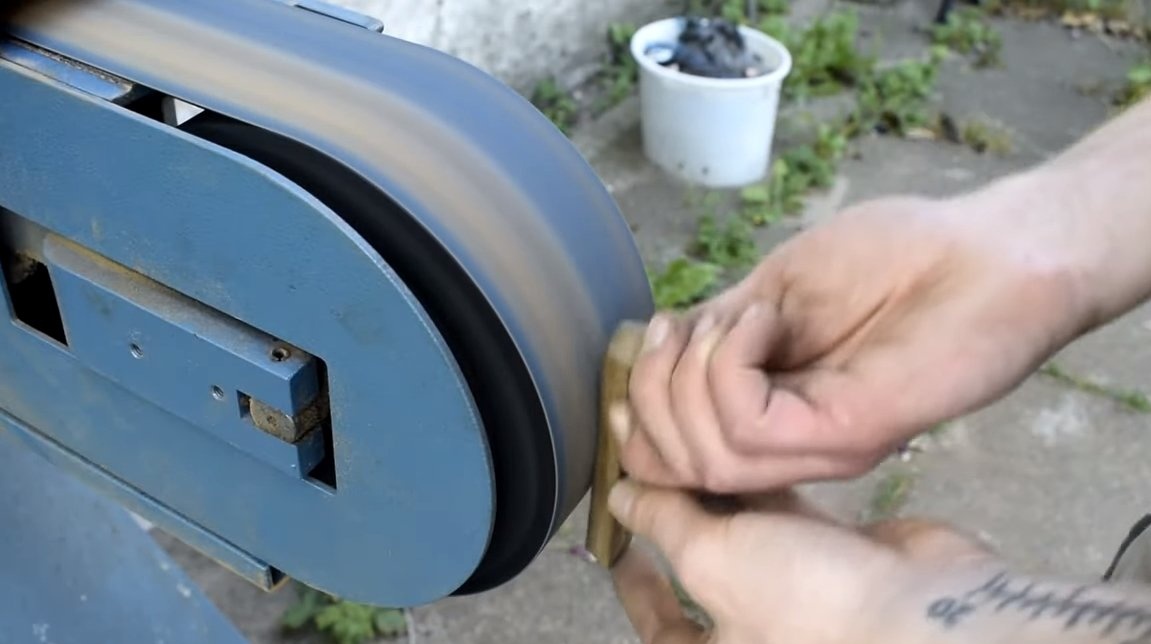
After drying, it remains to polish the desired handle well and bring it to a perfectly smooth state.

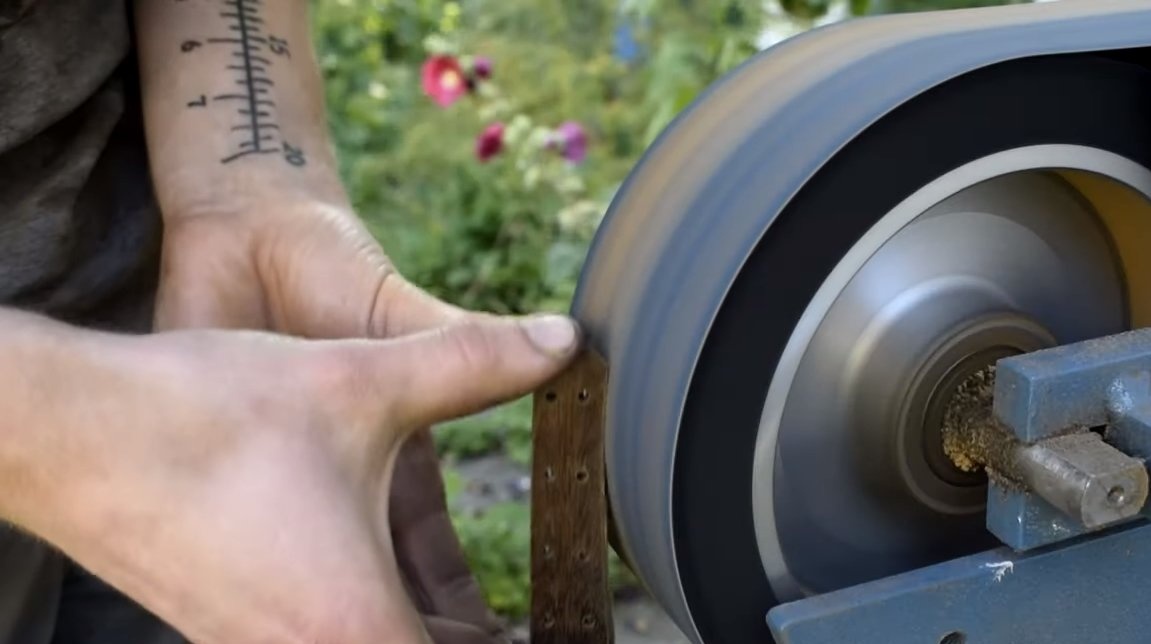

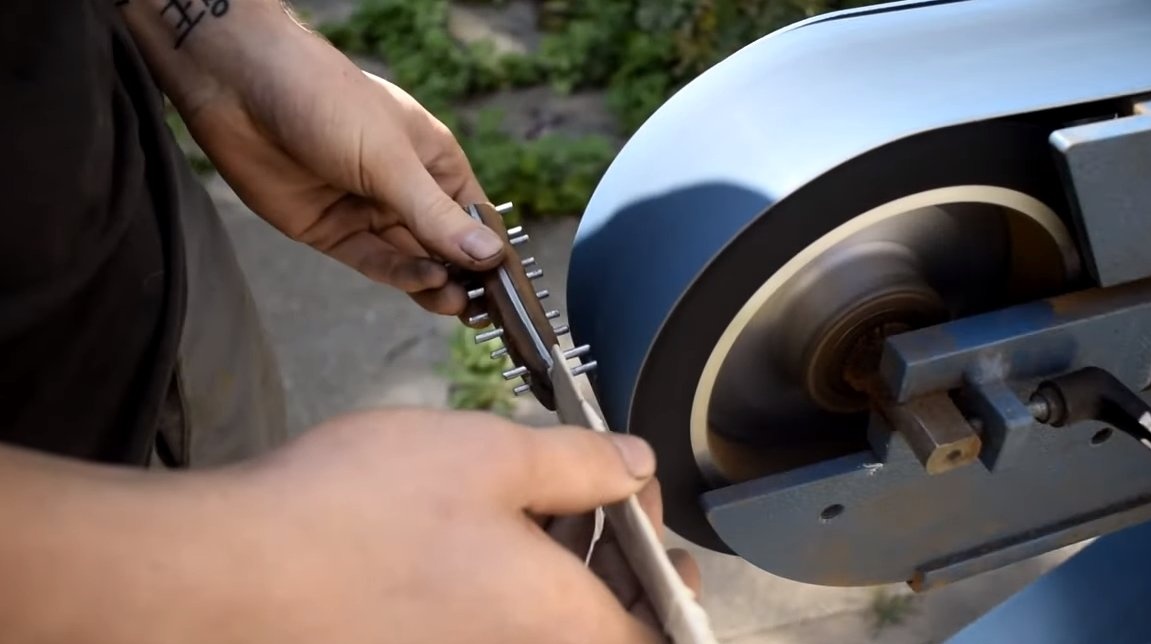
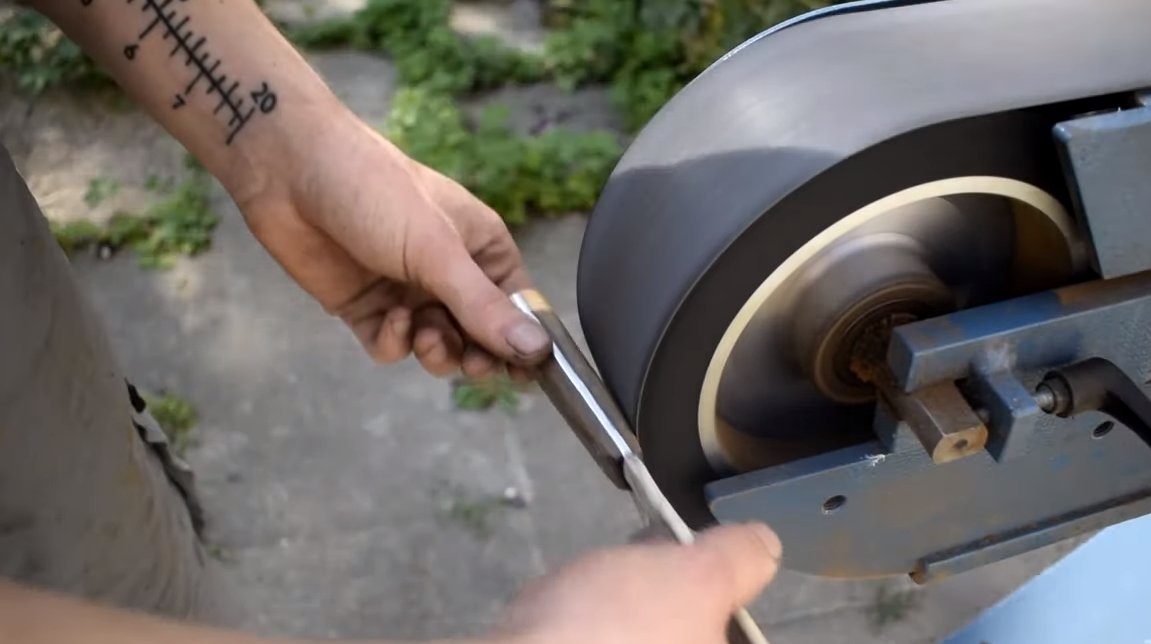
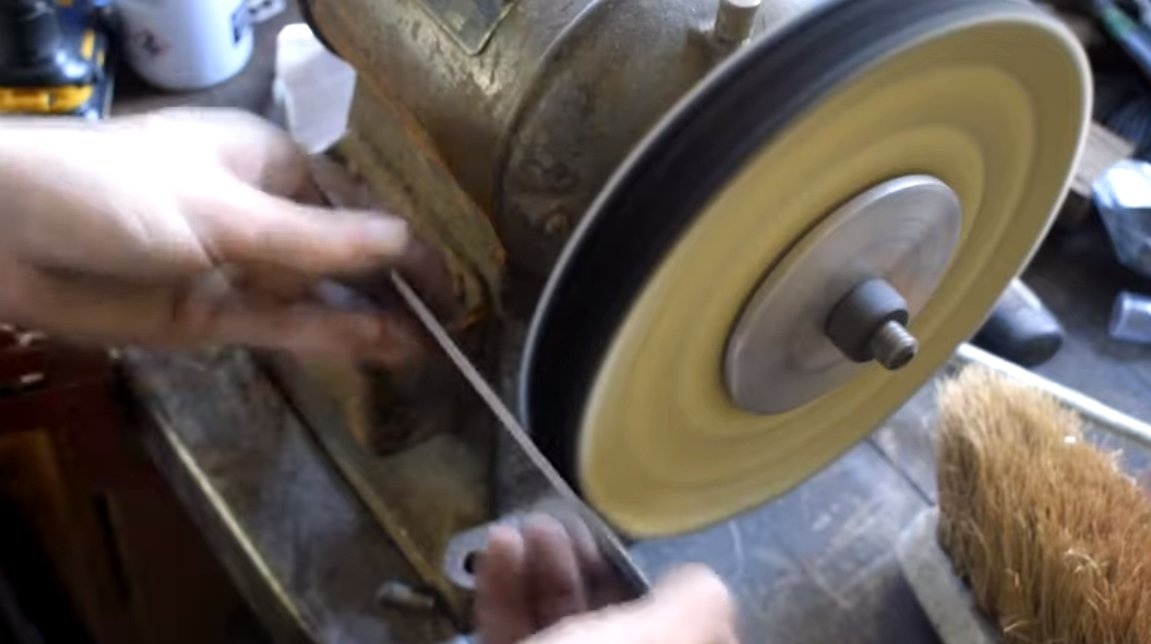
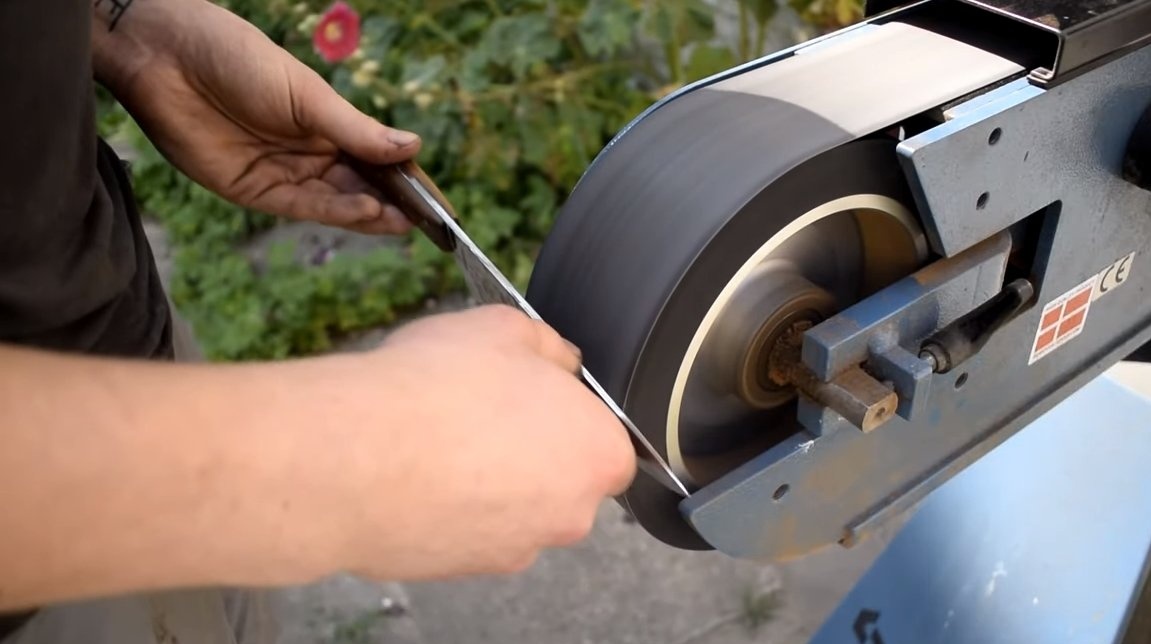
Step Six Final touches
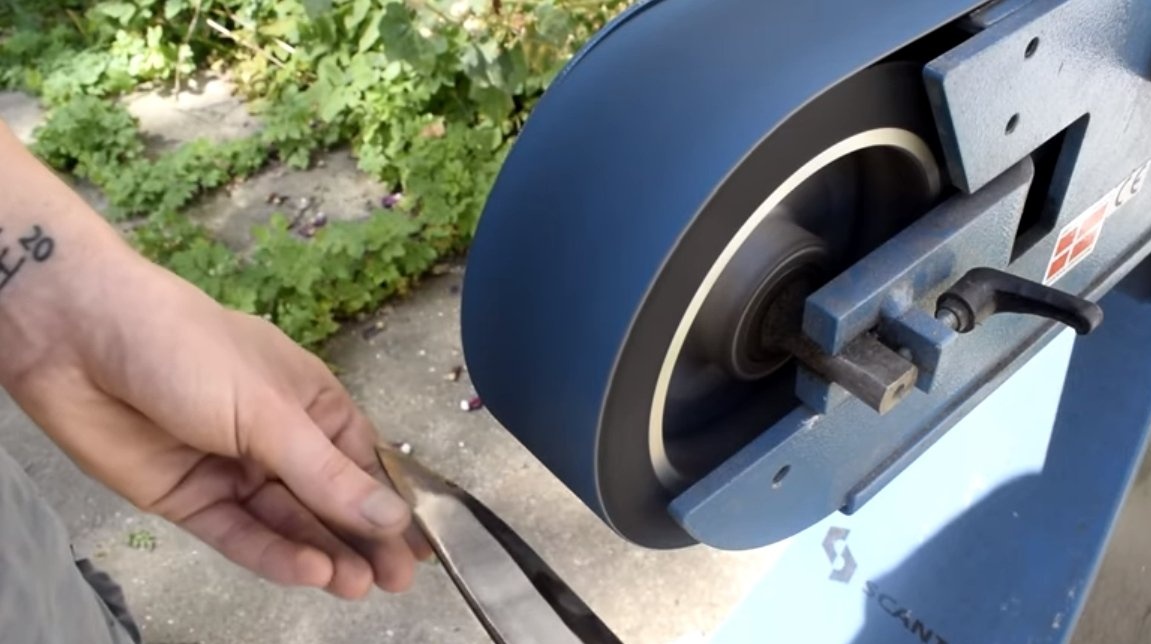
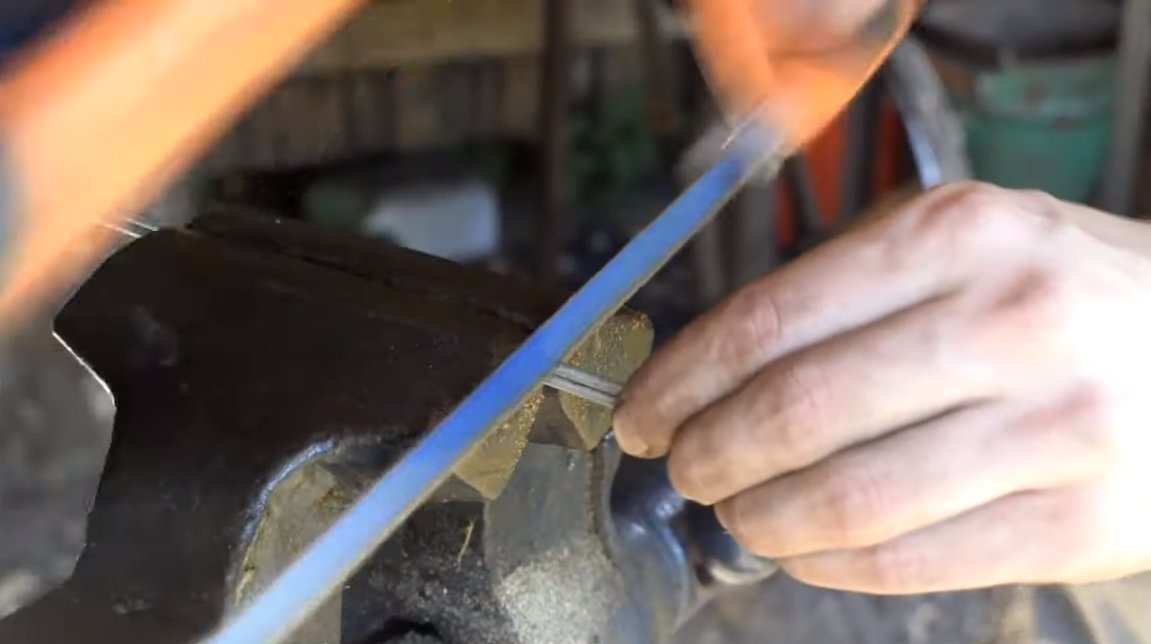
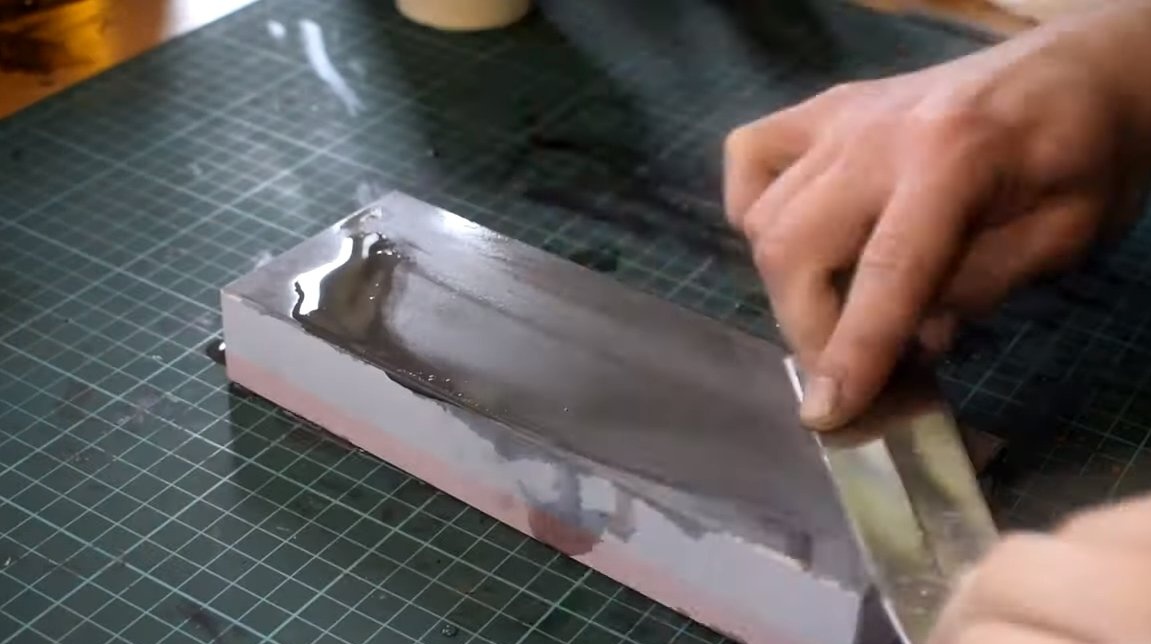
The knife is ready, now you need to sharpen it. Primary sharpening can be done on a belt grinder using a tape with a fine abrasive. Next, we sharpen it with whetstones, and the thinnest sharpening, if necessary, we produce with abrasive paste. As a result, a knife made of good steel can be brought to a razor condition.

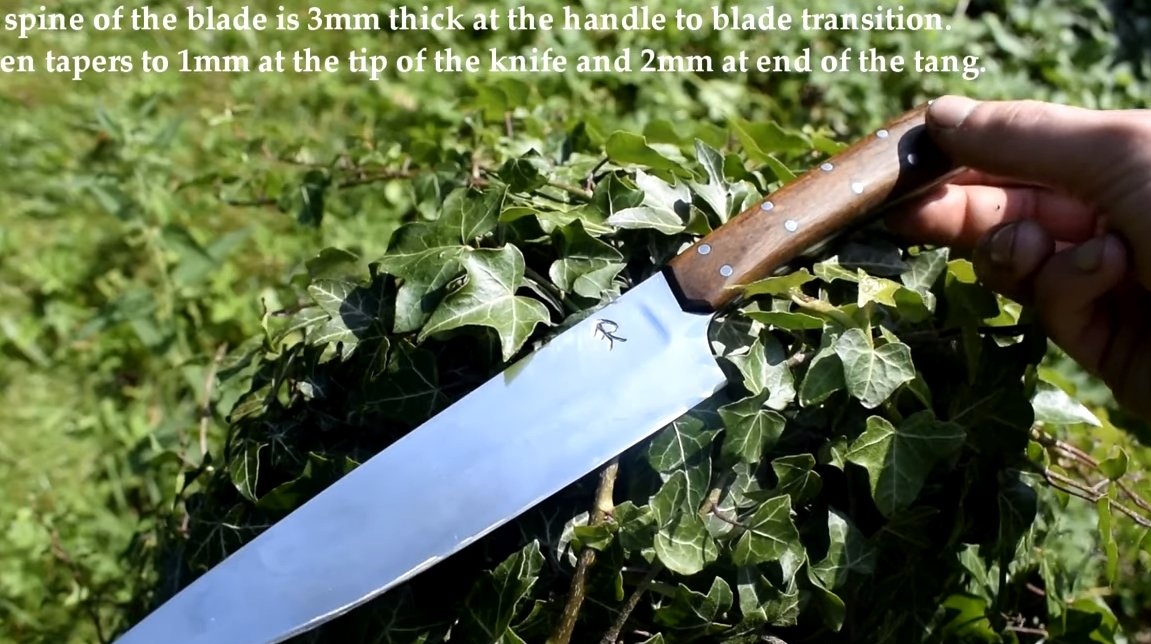
In the end, do not forget to protect the handle from water, lower it for a while in oil for wood impregnation. Then we take out the handle, wipe off the excess oil and let the handle dry. Now the knife is completely ready, it looks gorgeous and has excellent cutting characteristics. The project can be considered completed on this, I hope you received useful information and new ideas from reading. Good luck and creative inspiration, do not forget to share with us your ideas and homemade!