
Maxim Kozlov, author of the YouTube channel of the same name (Maxim Kozlov), began decorating and home improvement and in this article will show and tell how he made a chandelier for the living room.
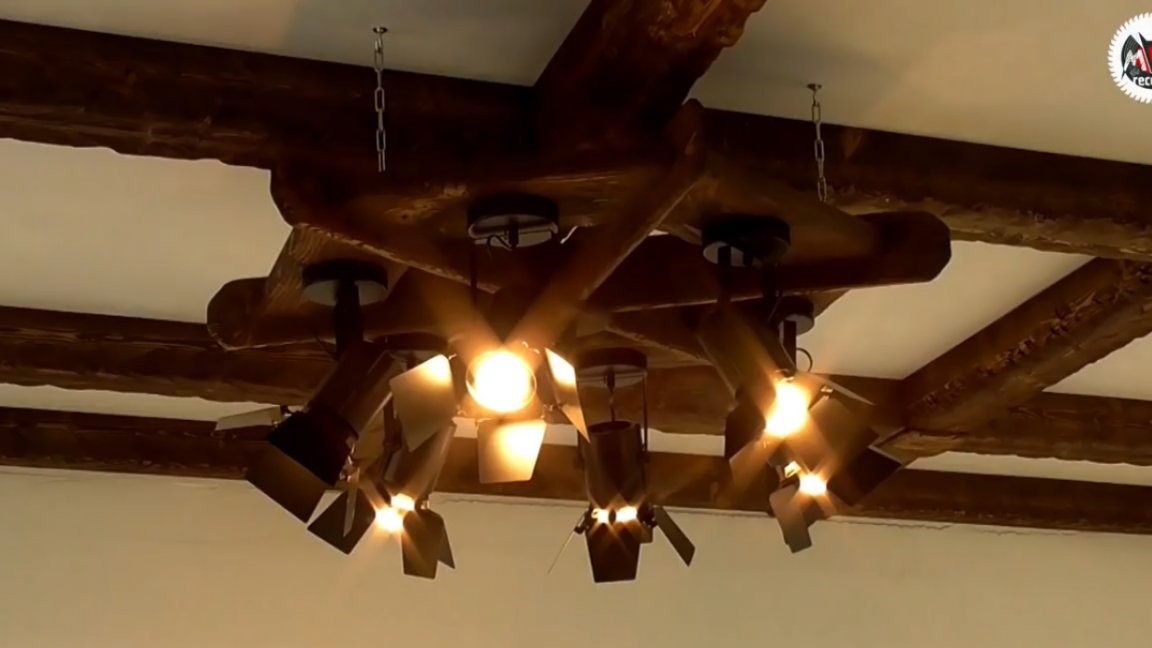
As a matter of fact, the lamps themselves were bought in a store and the main task was to make the very detail that is able to combine them into the original chandelier. On the concept previously adopted at the family council, it was decided that the entire kitchen-living room would be decorated in different styles, and the ceiling lighting fixtures would serve as a kind of transition from the rustic style, in which the coffered ceiling was made, to the loft style through stylized lamps, in this case of studio spotlights.
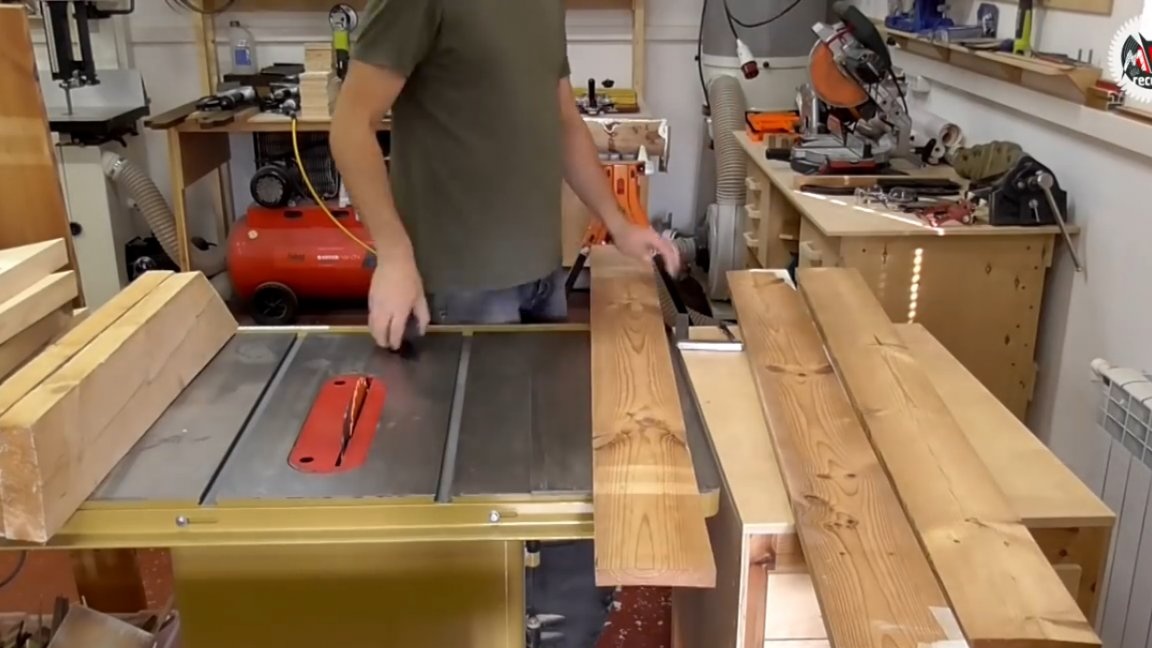
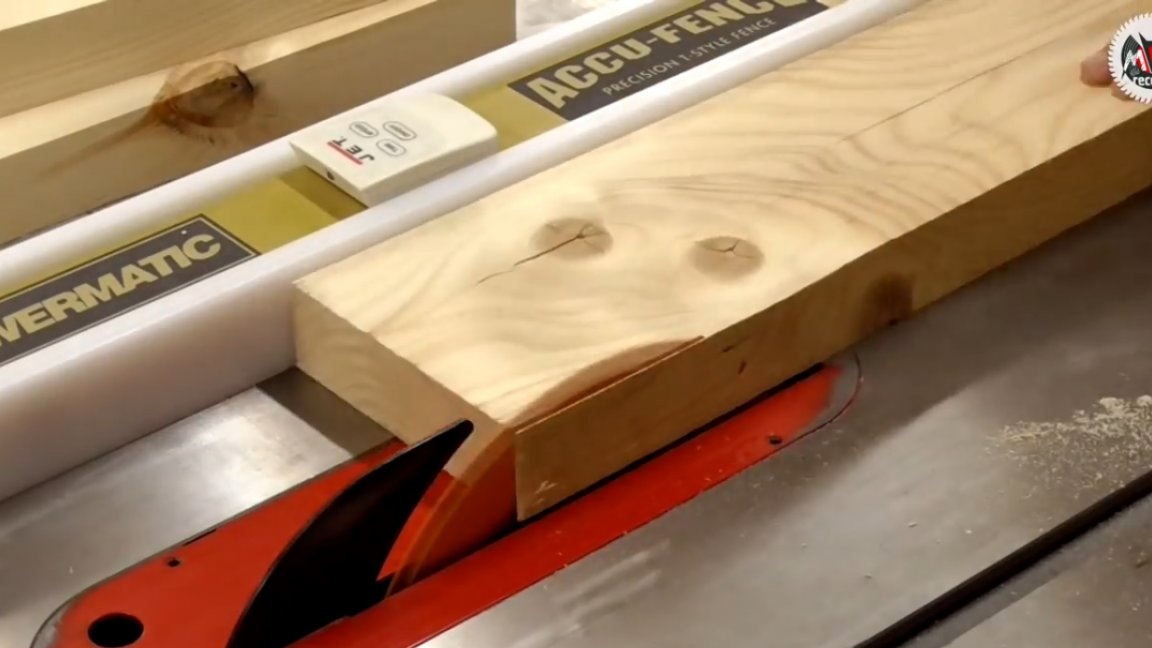
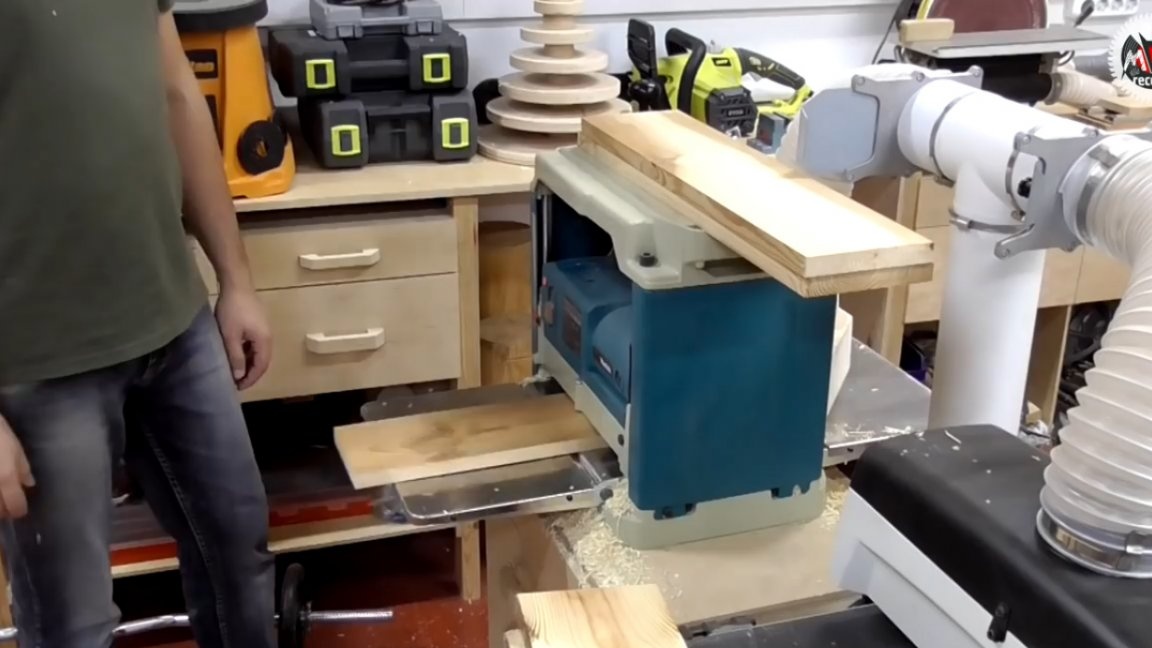
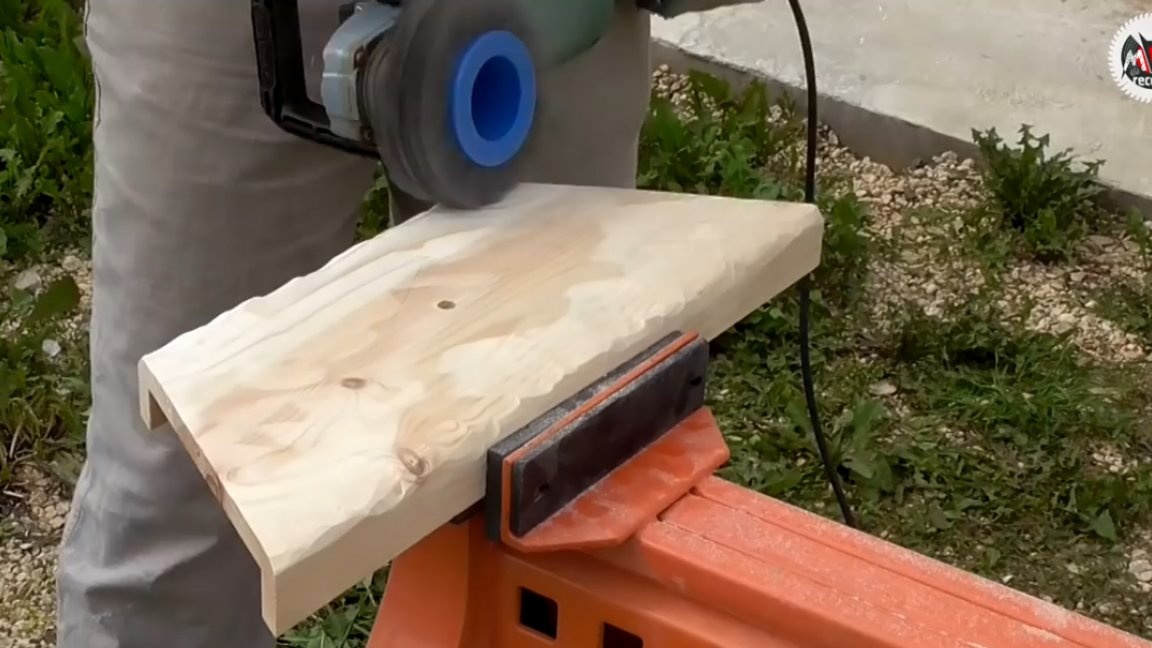
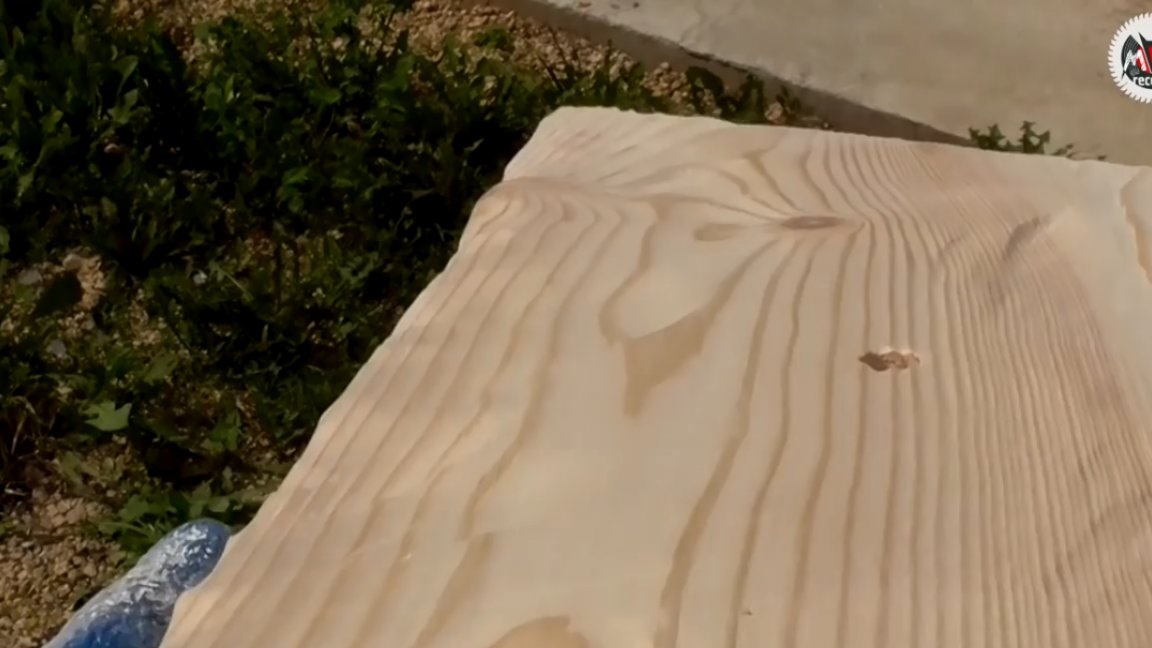
To make this very foundation, the entrance went to the old boards left over from the construction of the workshop. The quality of this material is far from suitable for every project due to the presence of various kinds of defects, such as cracks or holes from brackets and screws, but for a chandelier that will be styled in antiquity this material is just the point.
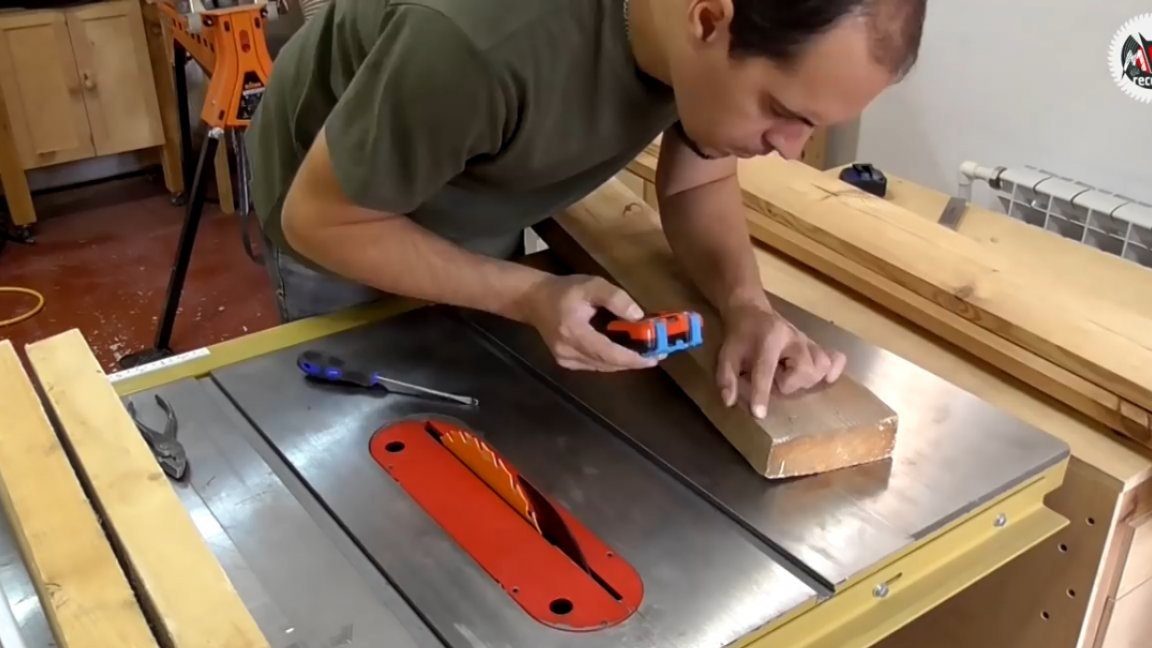
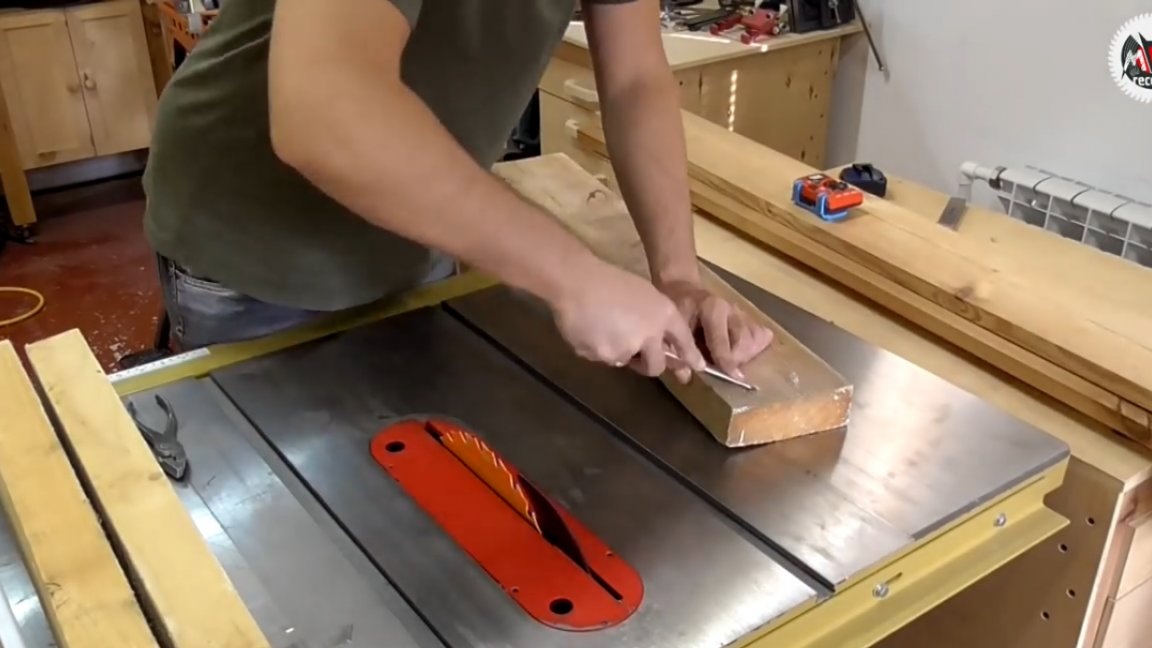
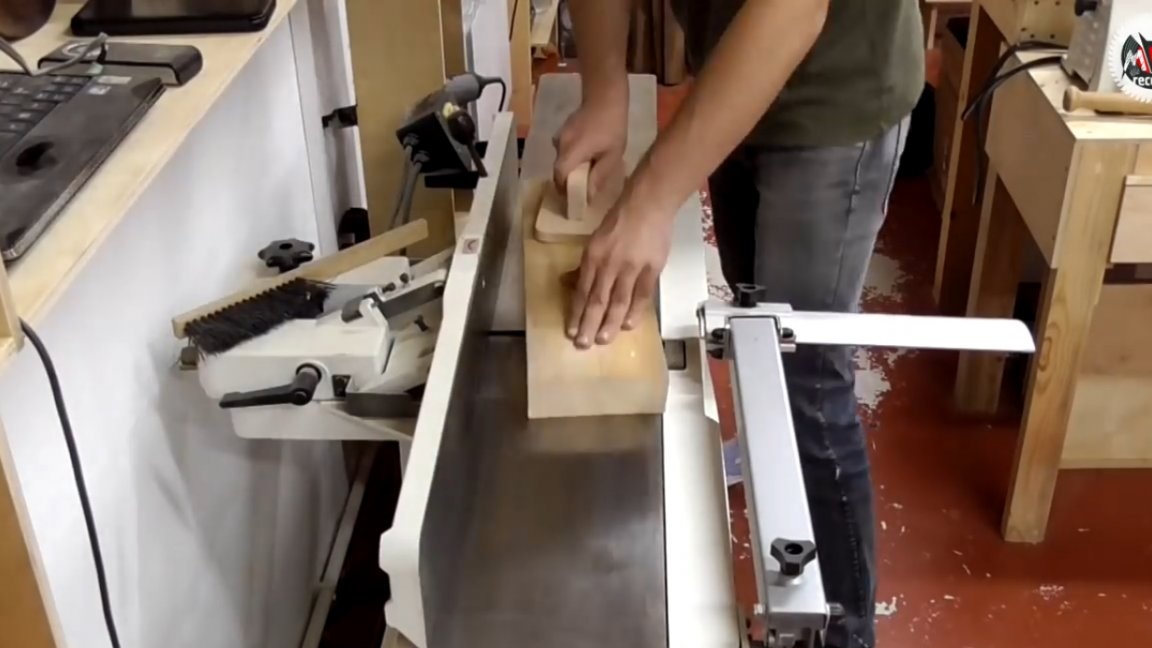
In general, it is necessary to work with used material very carefully. It is imperative to check the entire surface for metal. It is also necessary to identify possible hidden metal fasteners, this will help to preserve the knives of planing machines in integrity and eliminate possible chips. This task will perfectly cope.
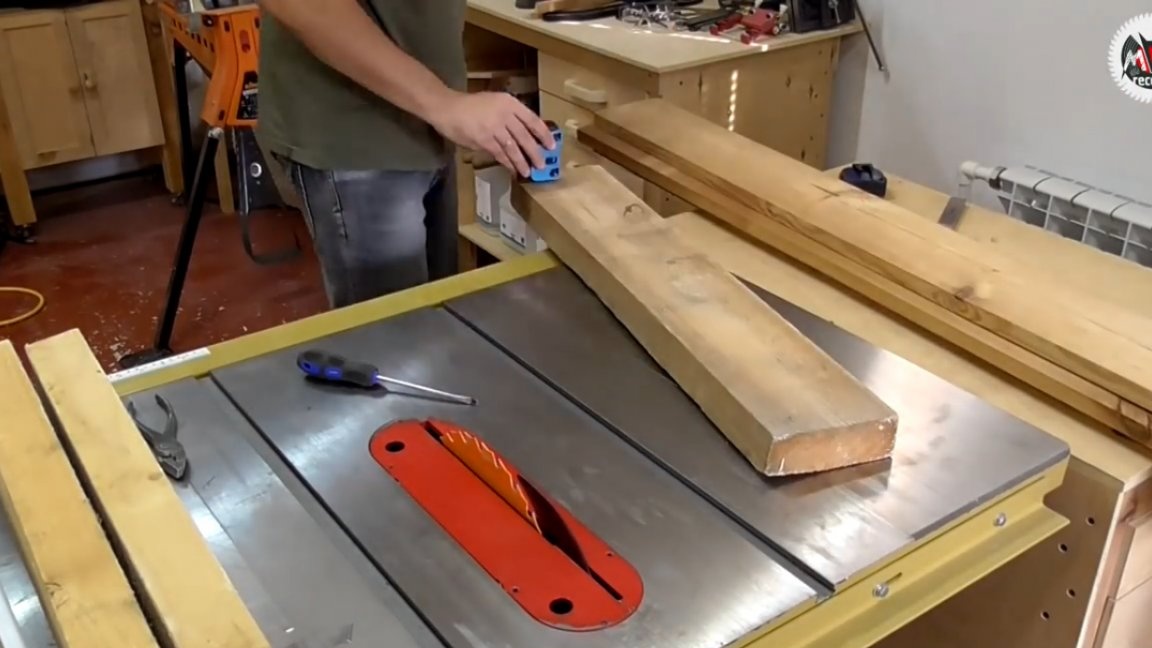
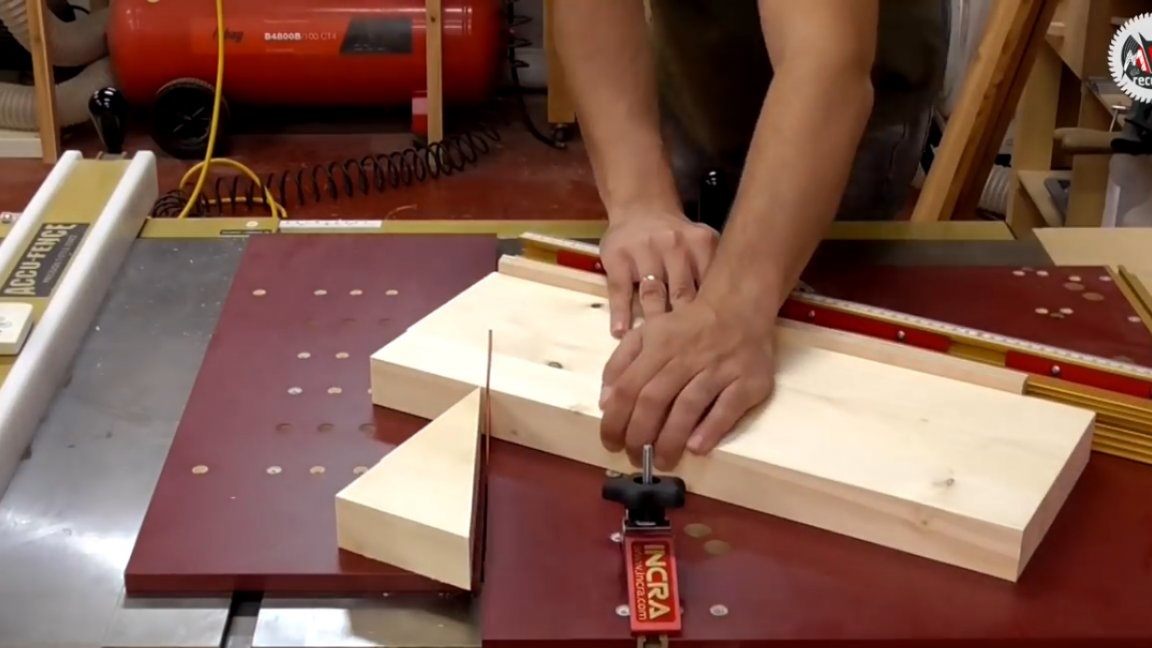
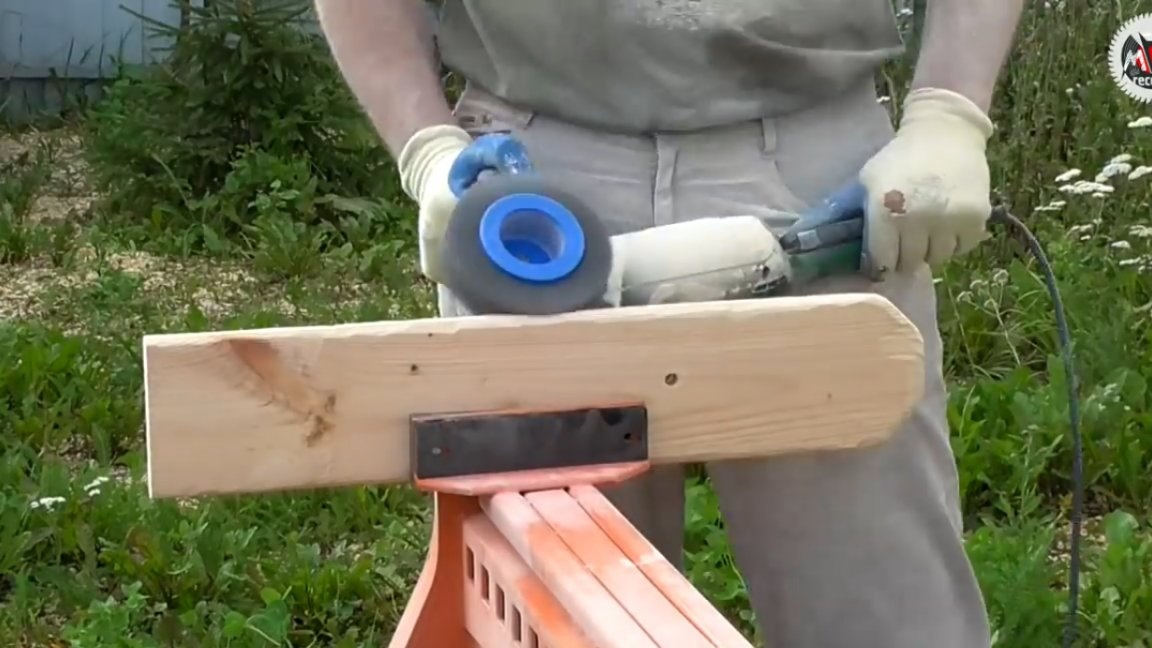
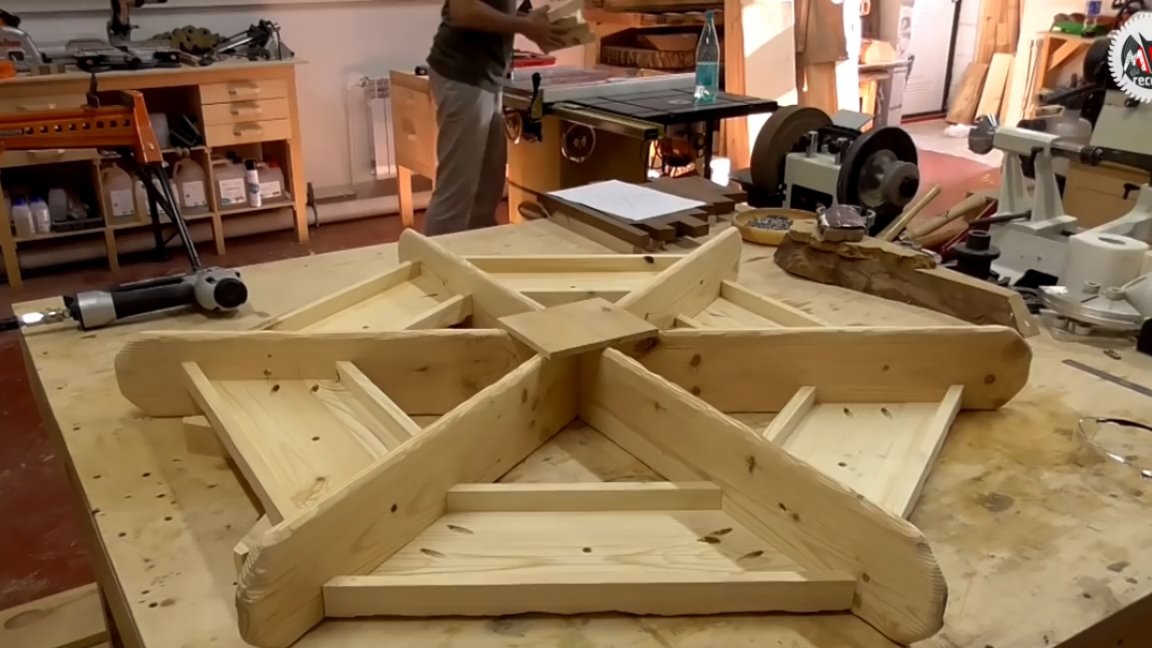
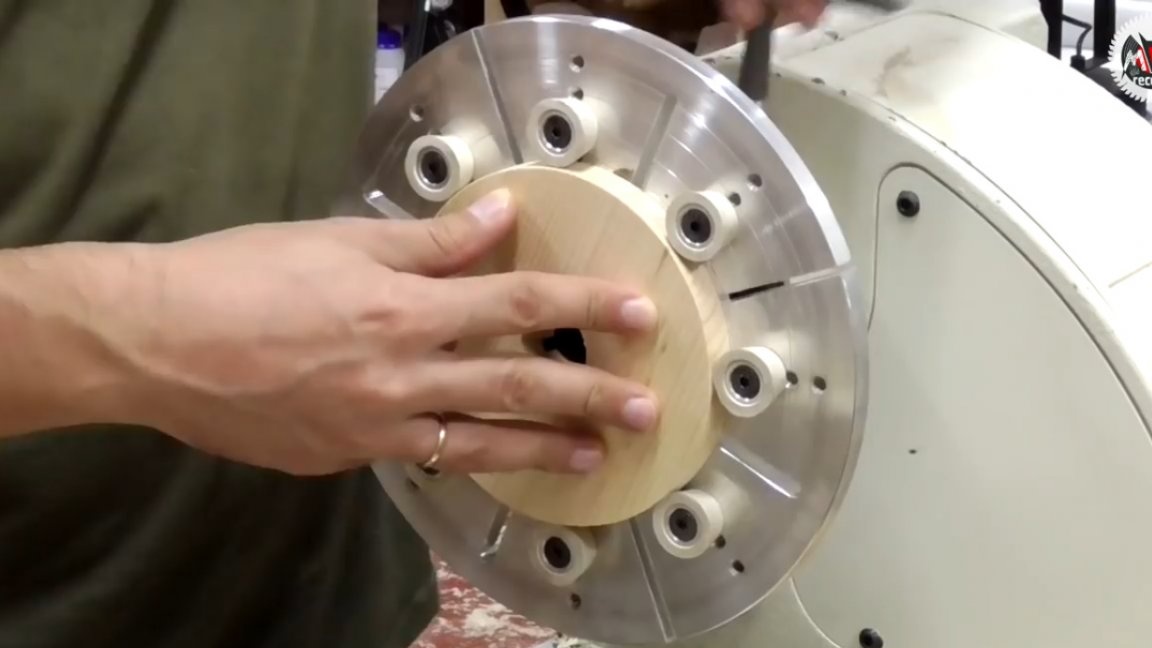
Based on the fact that 6 spotlights were purchased for the future chandelier, it was decided to make the base in the form of a hexagon. For this it is necessary to prepare 6 blanks with a section of 45 to 200.
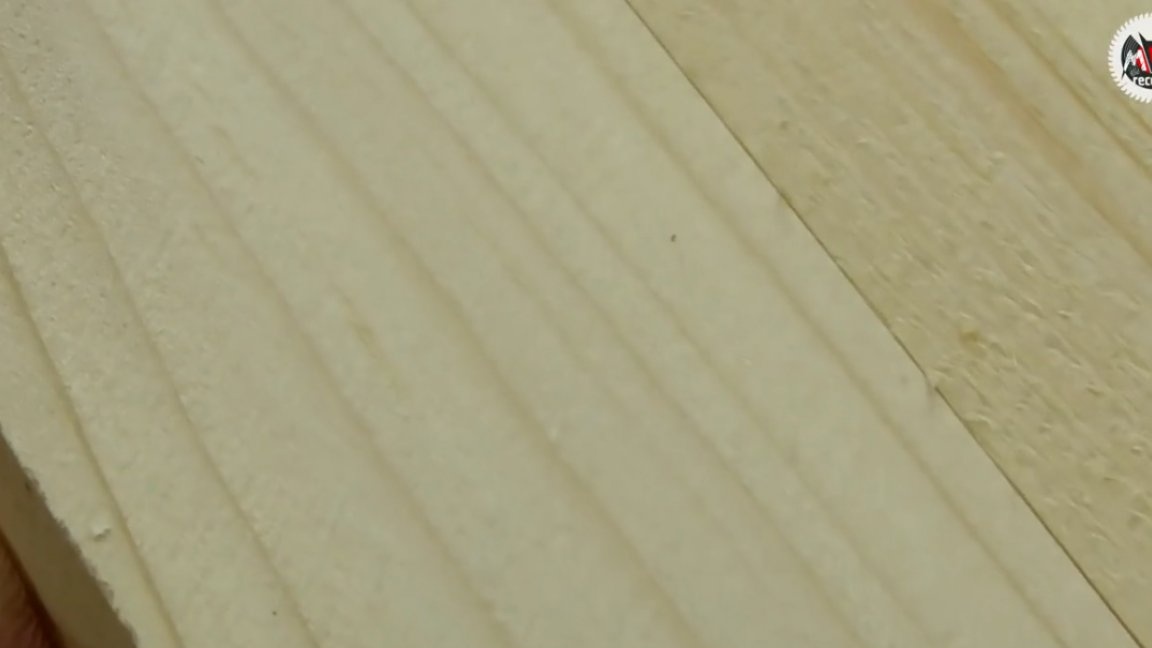
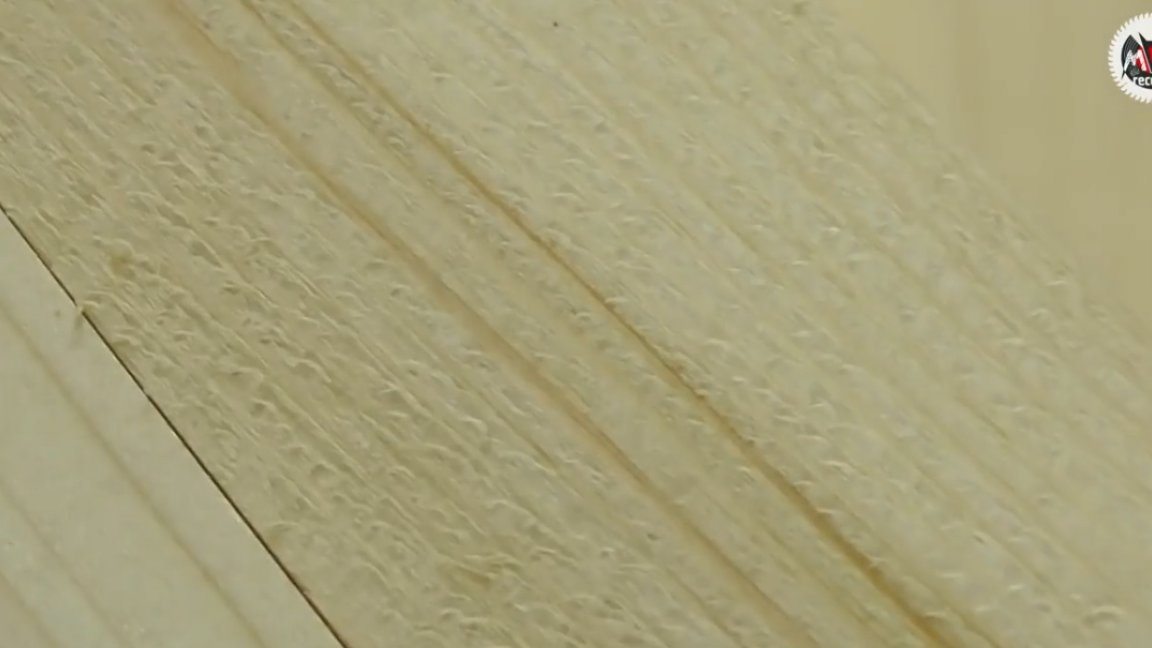
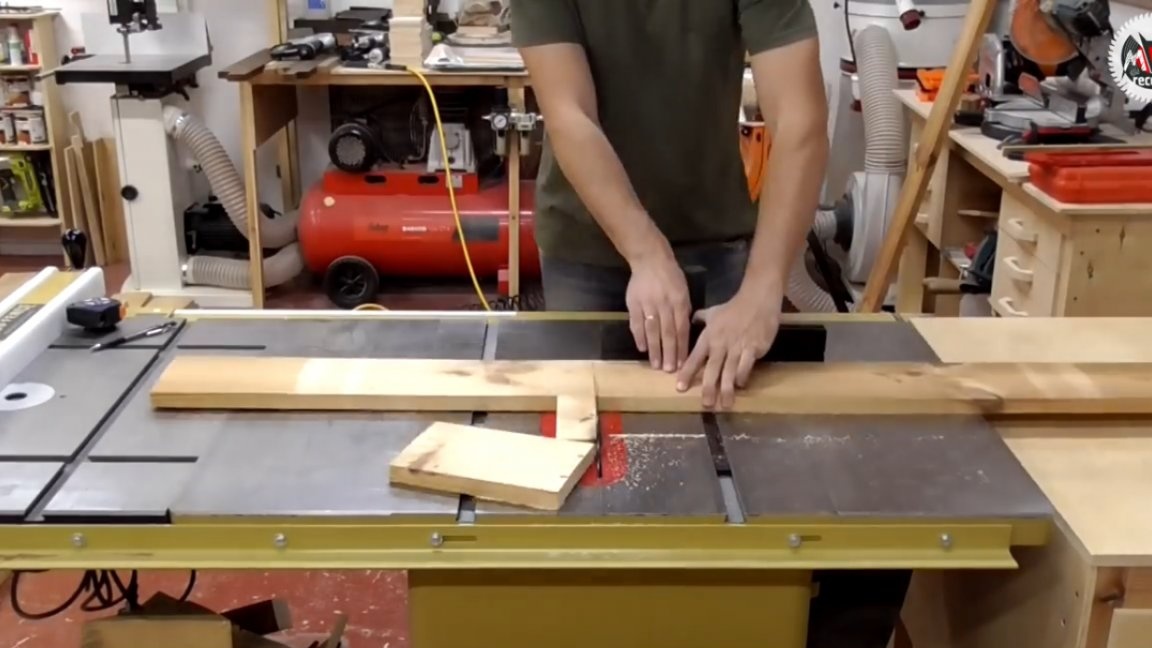
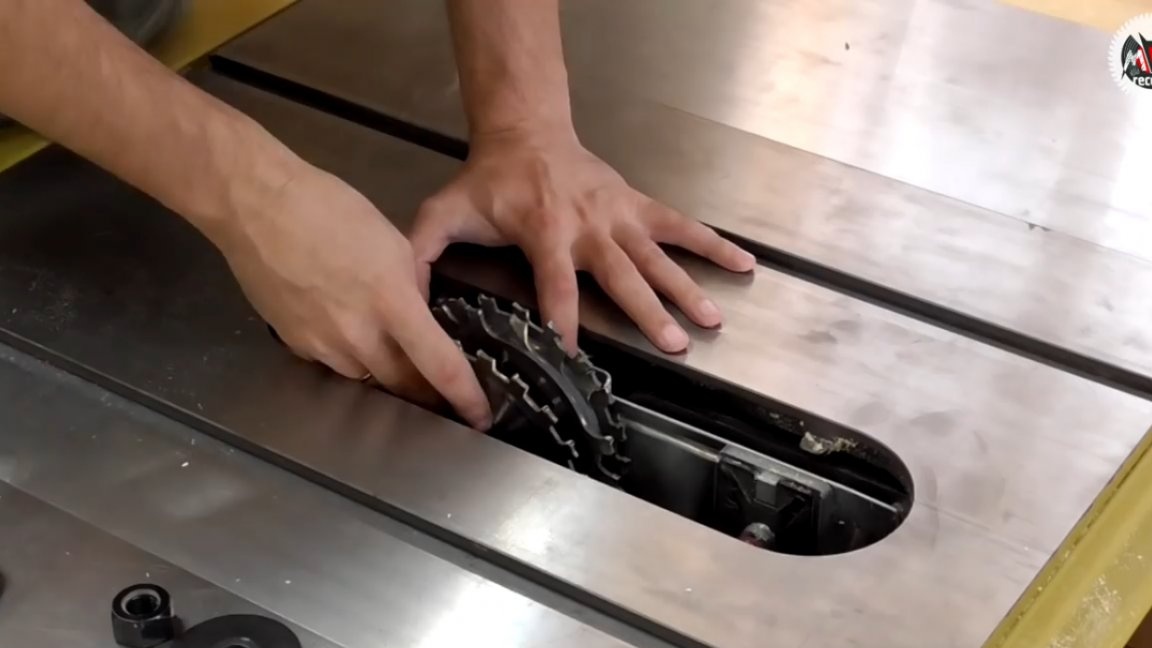
And here is the difference between a blade for longitudinal sawing, which is 24 teeth and 30 teeth industrial series:

Next, go to gluing the shields. To save time, the author decided to glue two shields at once with the help of case clamps.
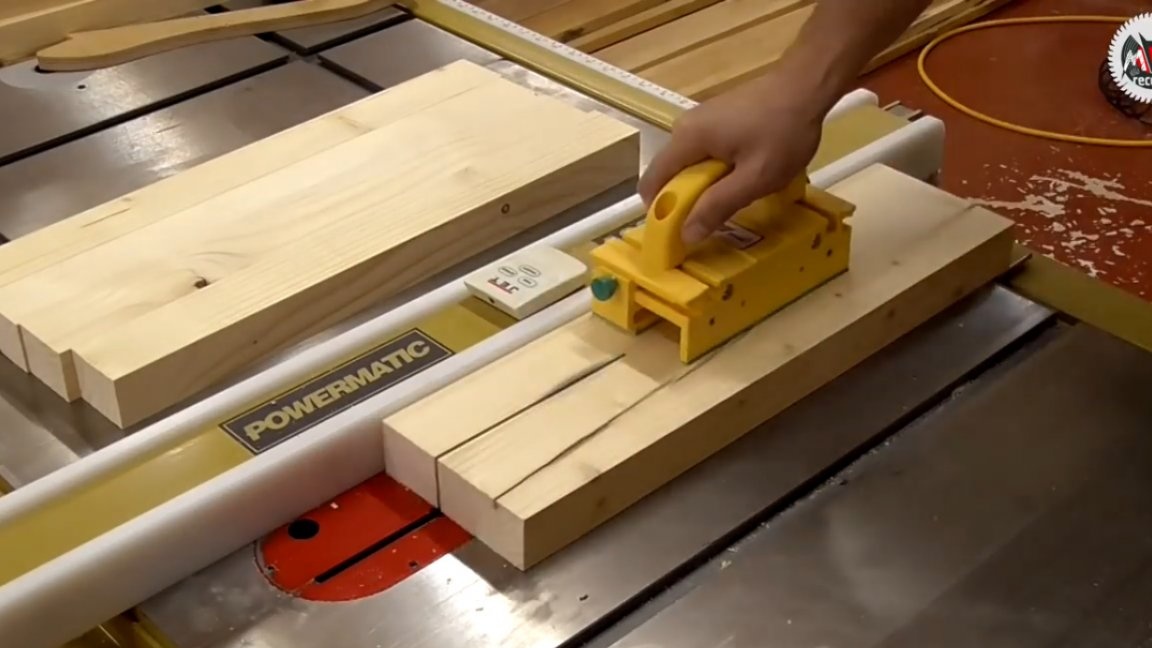
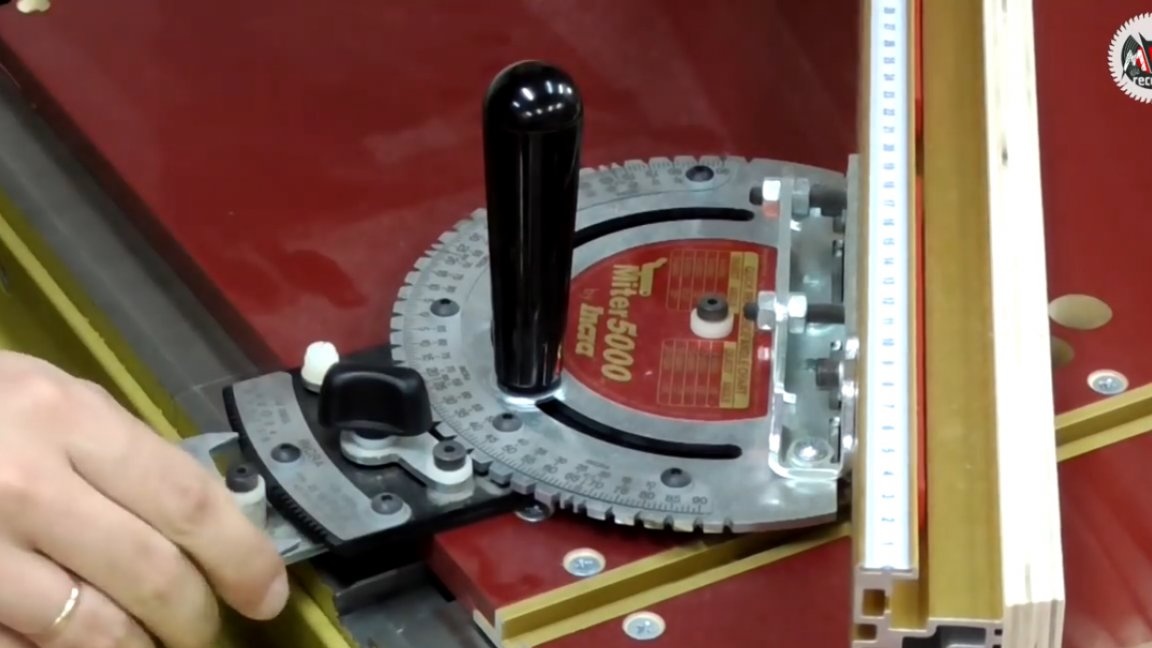
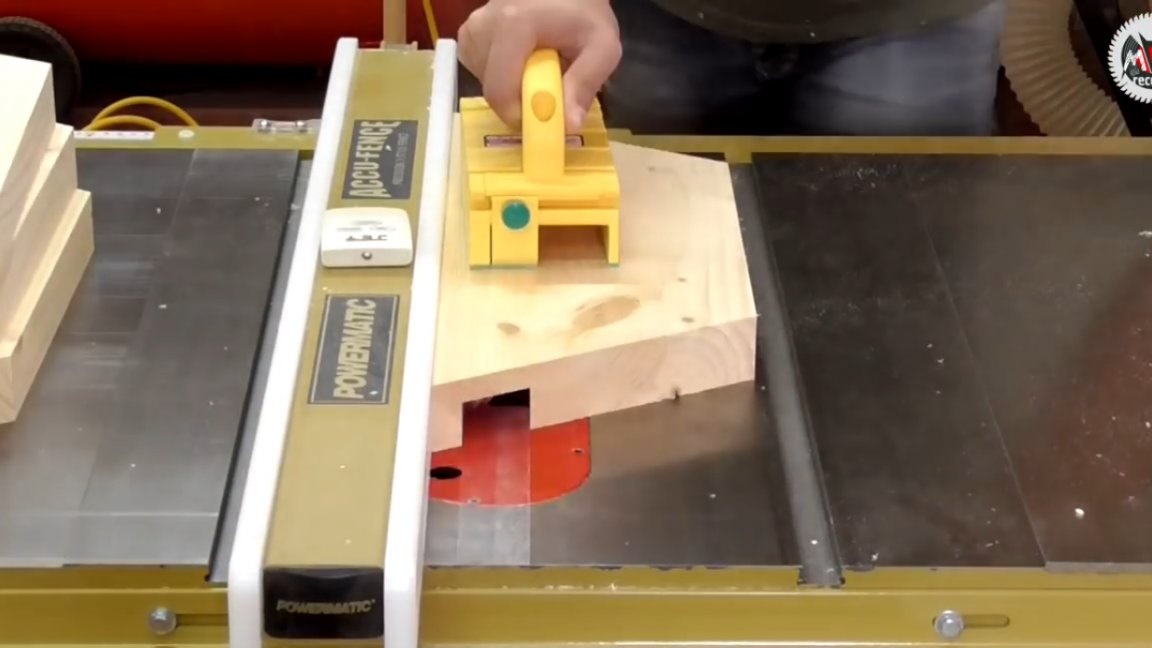
Now we file the shields at 30 degrees, which corresponds to 6 segments. The length of the segments at the base of the trapezoid in this case is exactly 500 mm.
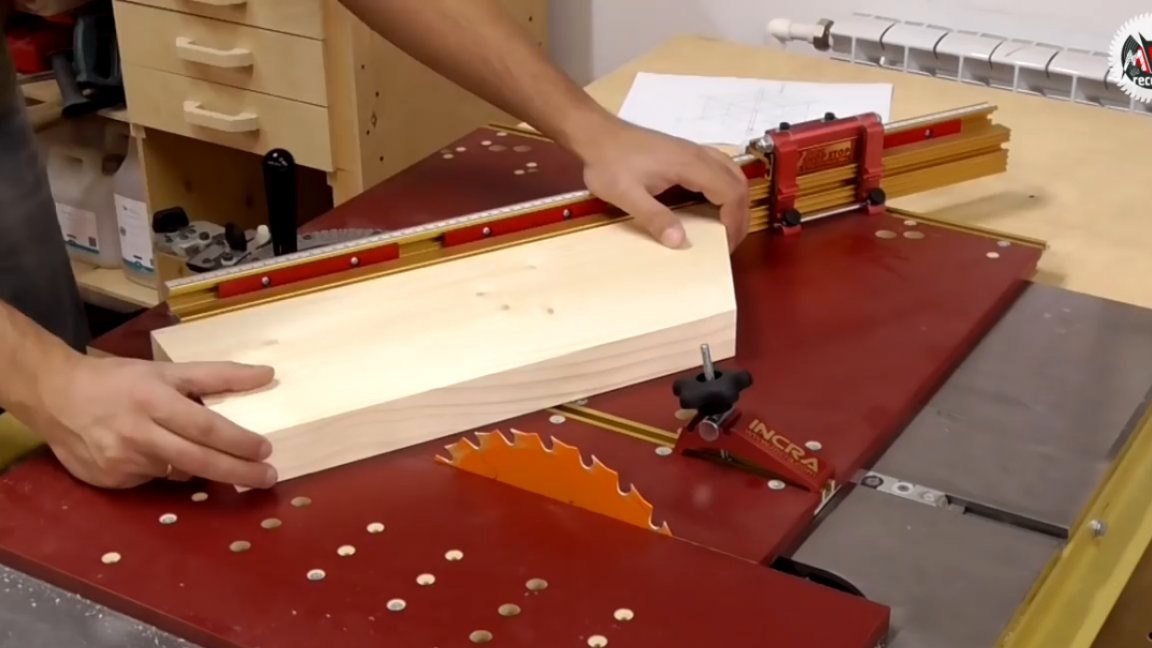
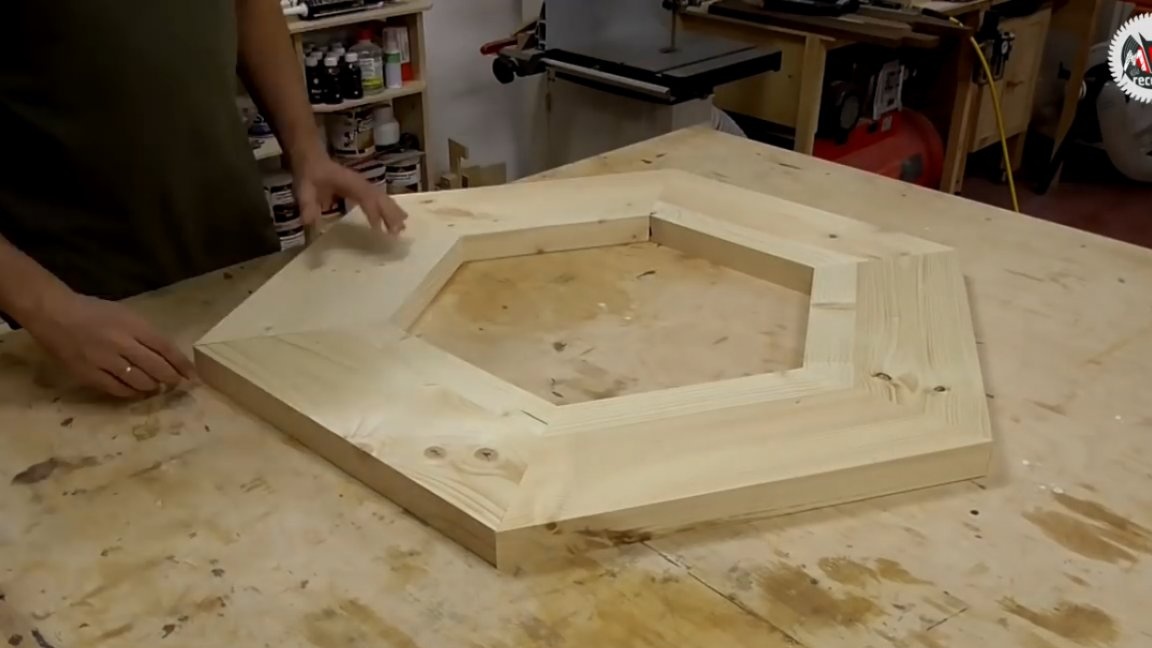
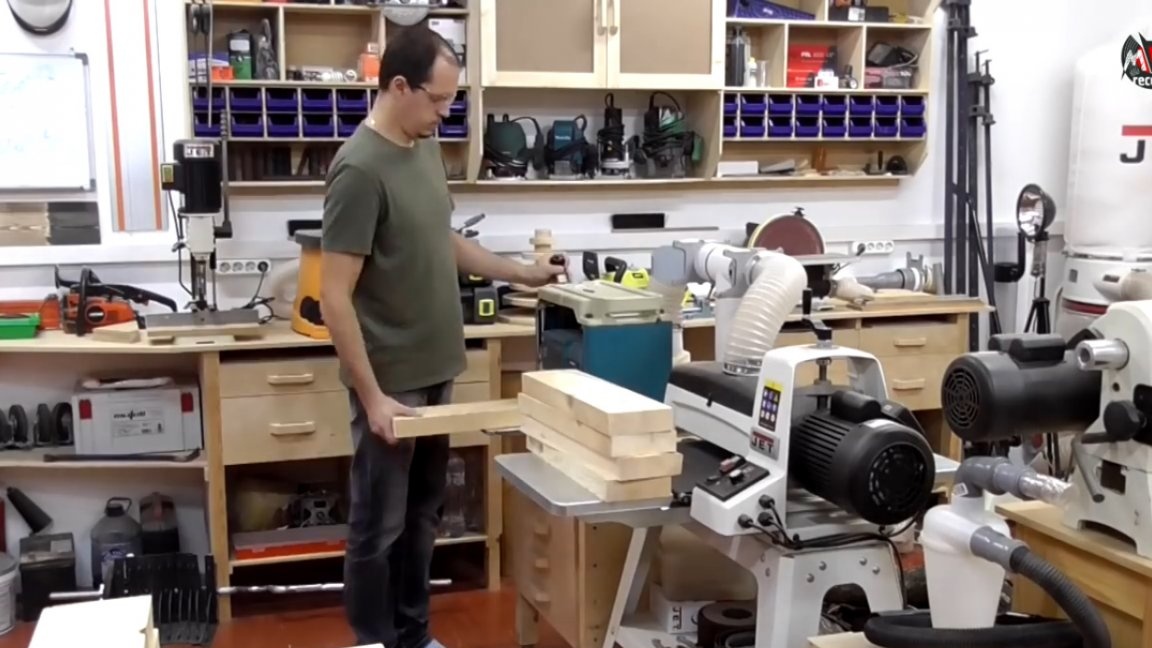
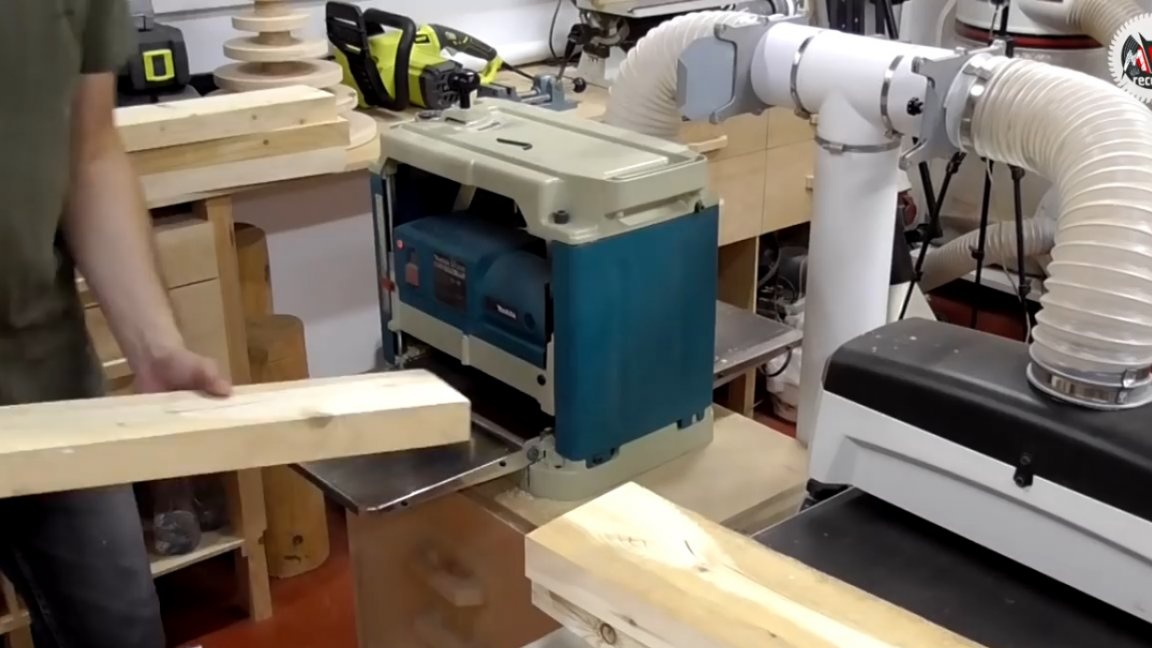
After all the hexagon segments have been formed, you can start cutting and preparing the details of the ribs, which, in addition to the conceptual function, should have served as connecting elements of the entire structure.Glue in this case would not be enough, and fastening to the end face of the workpiece is also not the best option, so this whole thing will be fixed in the layer of these same ribs.

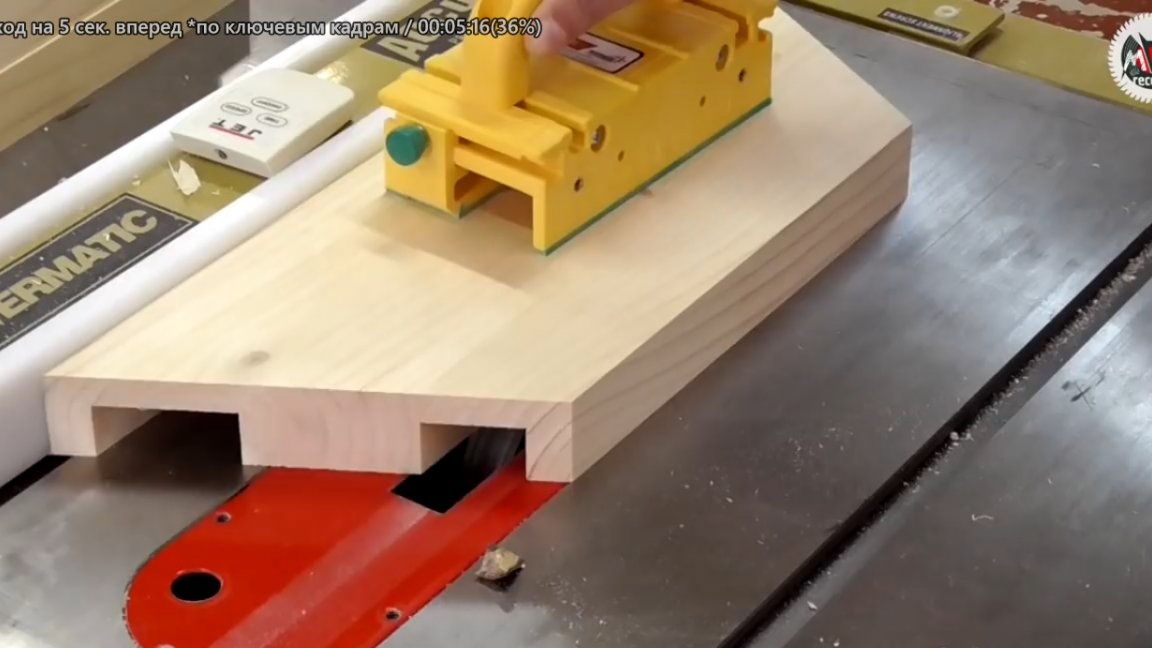
Next, you need to select the groove for the wiring. For this purpose, grooved discs are used.
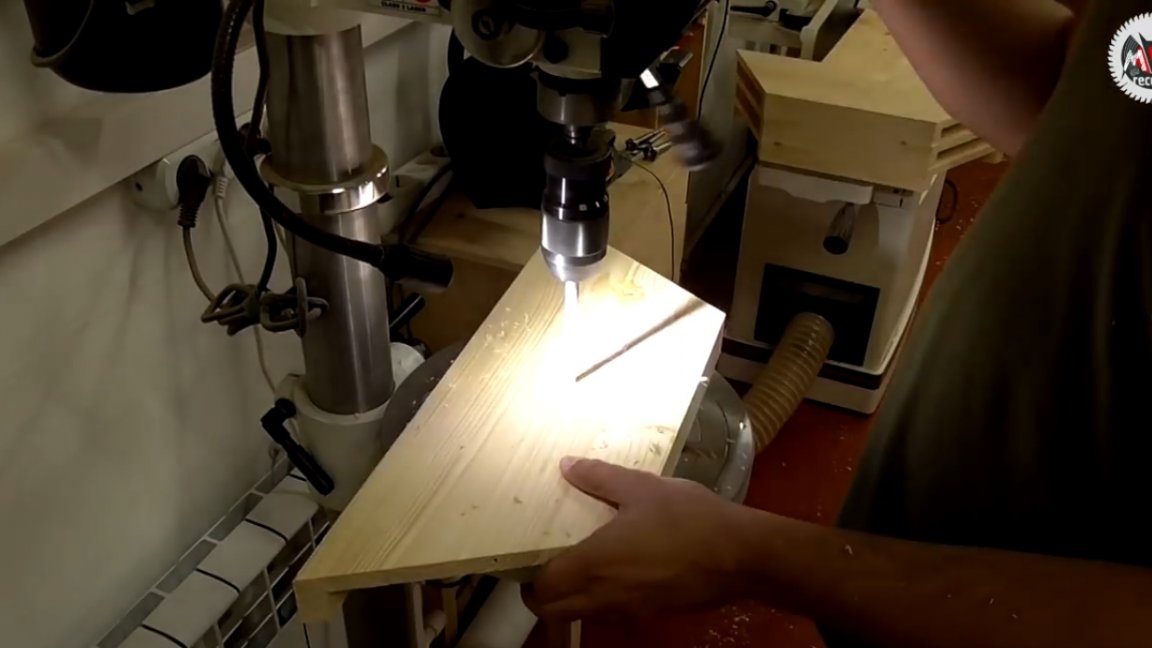
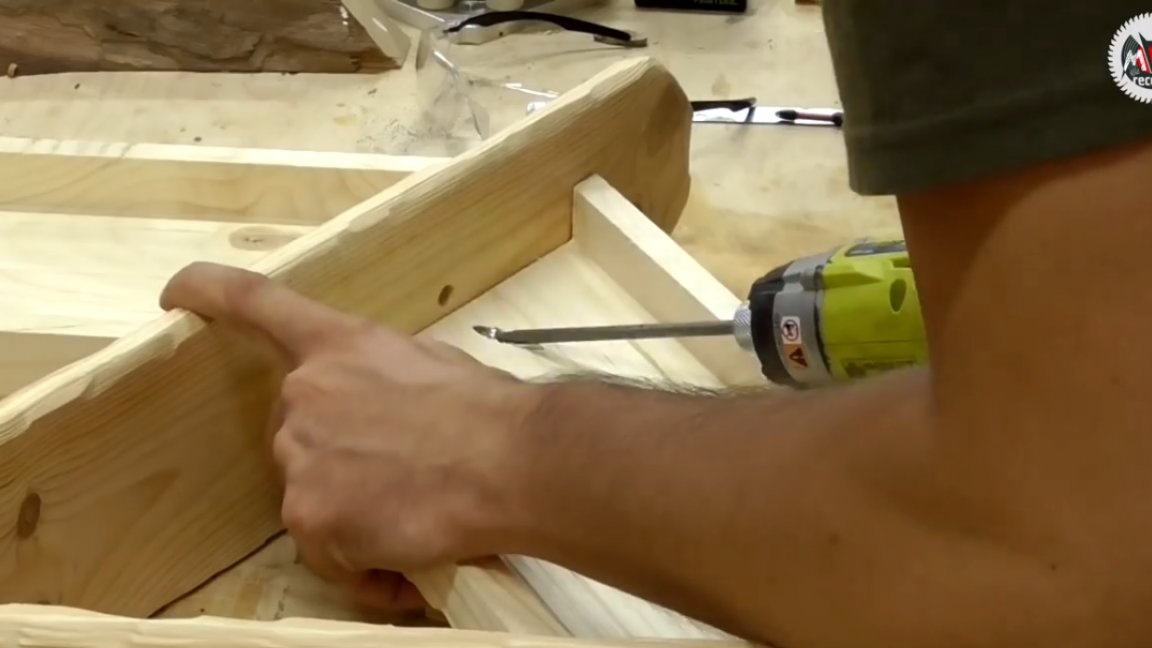
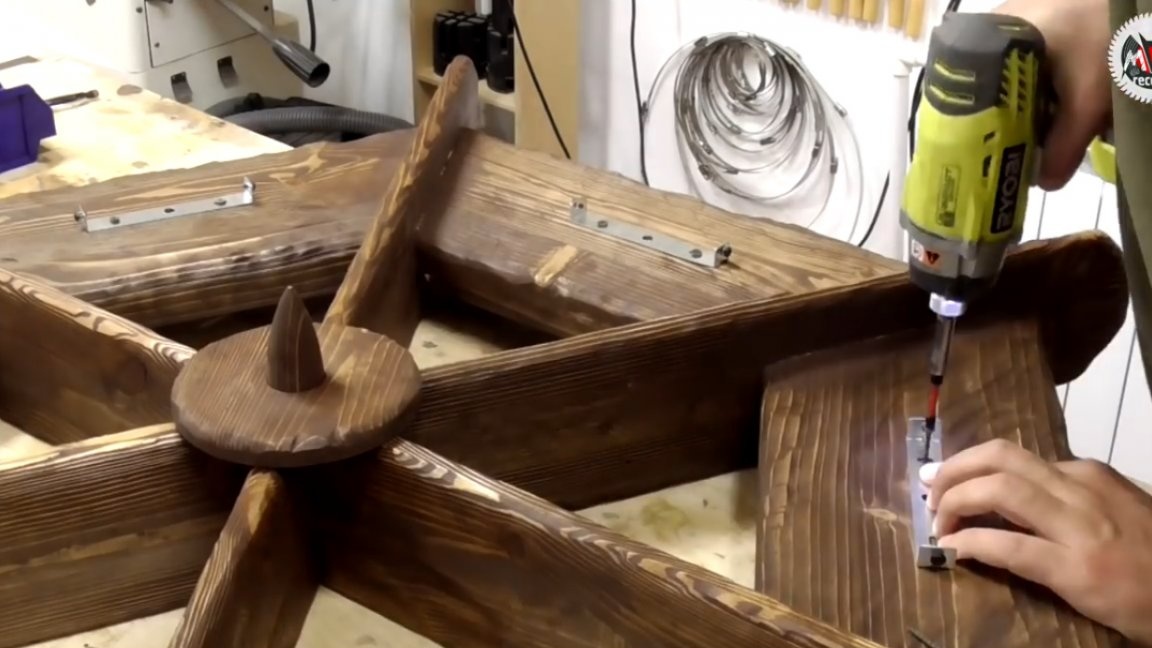
Now you can start drilling oblique holes for fasteners, which of course need to be done on the upper side of the segments, which will not be accessible to the observer.
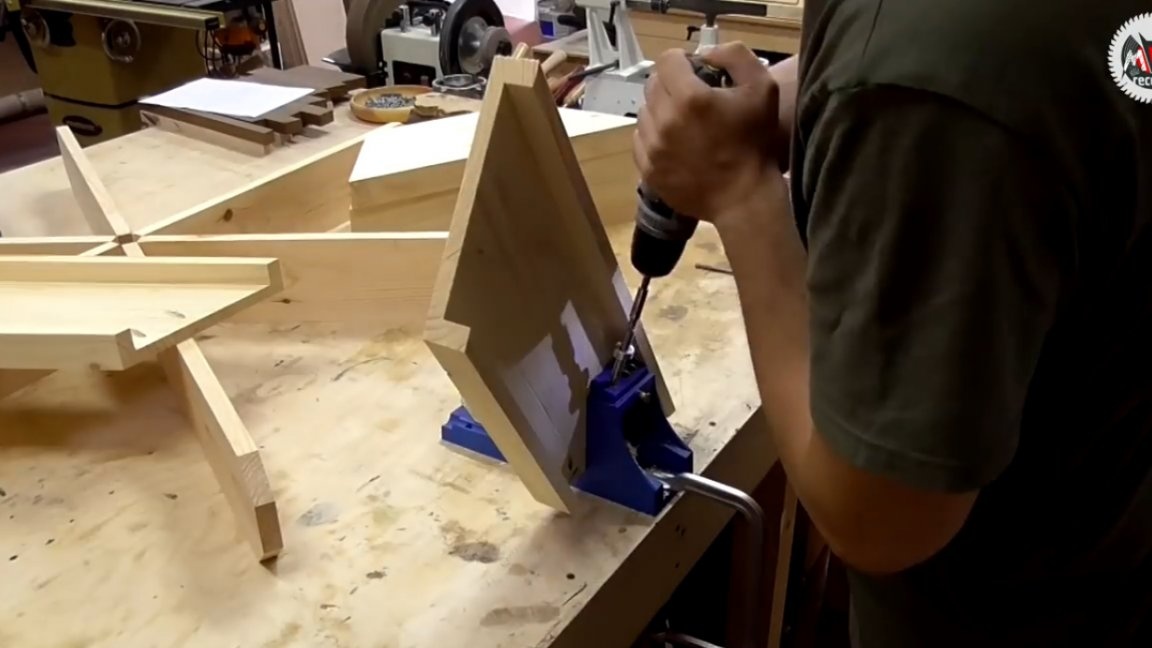
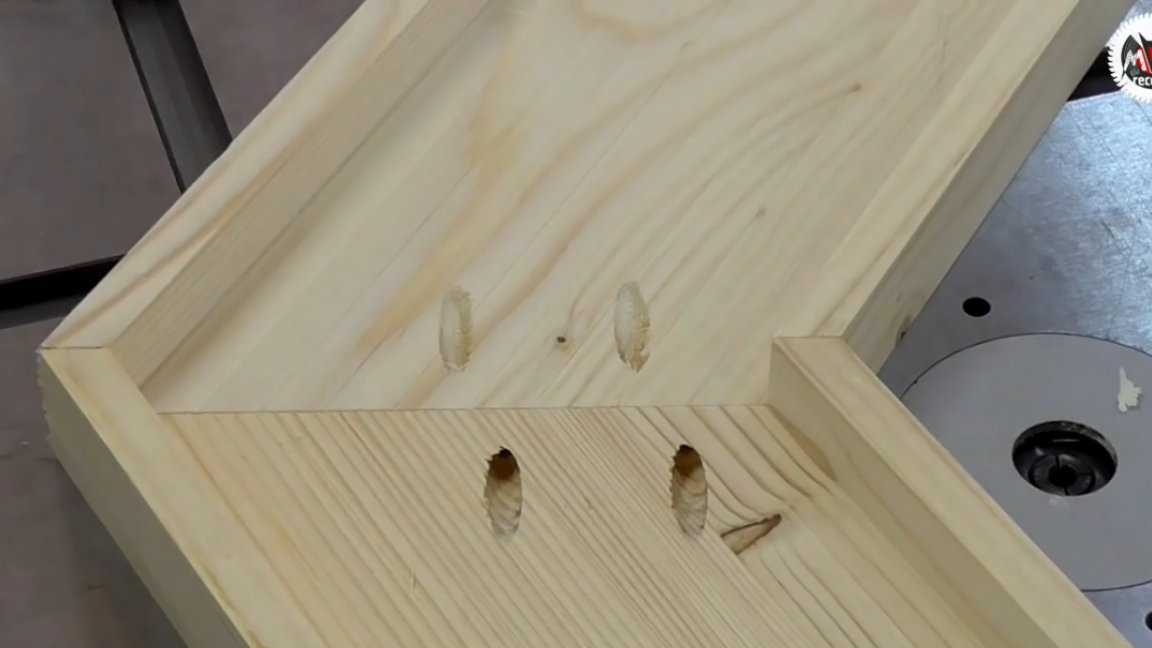
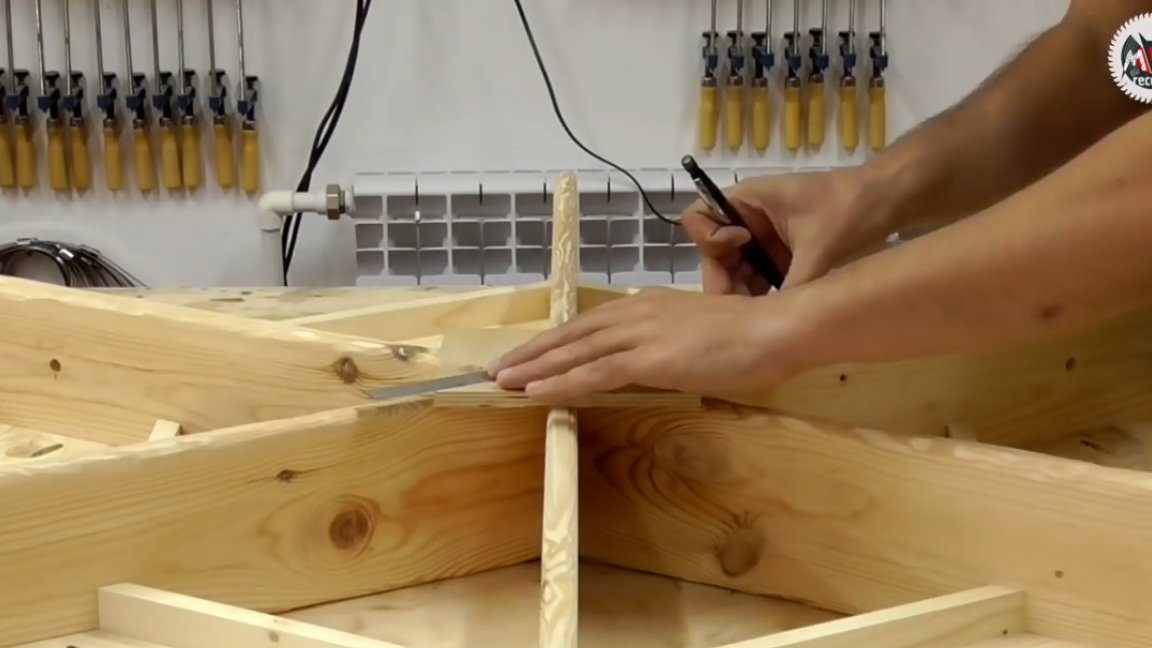
Next, we start marking all the holes, which at this stage are much easier to make than after assembly.
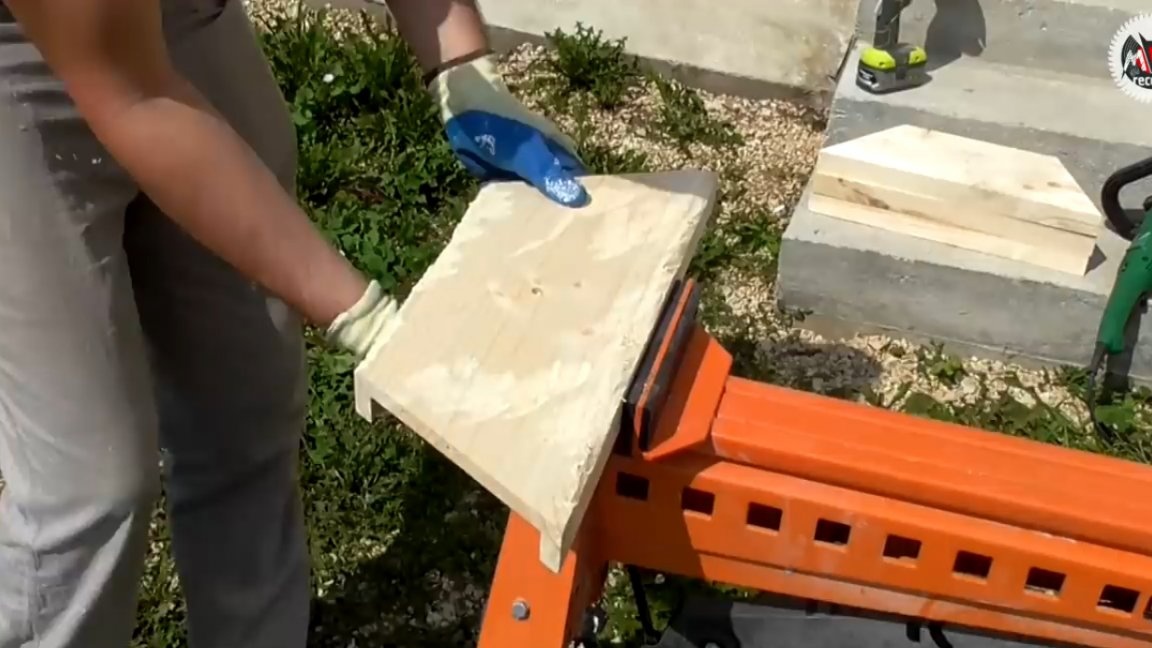
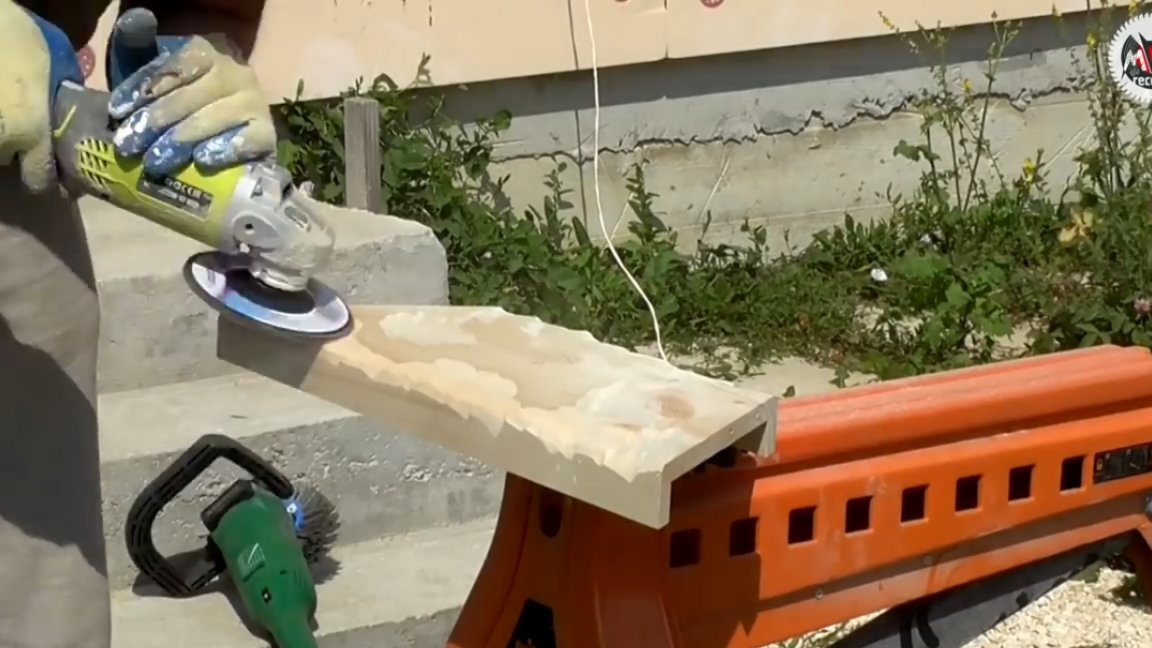
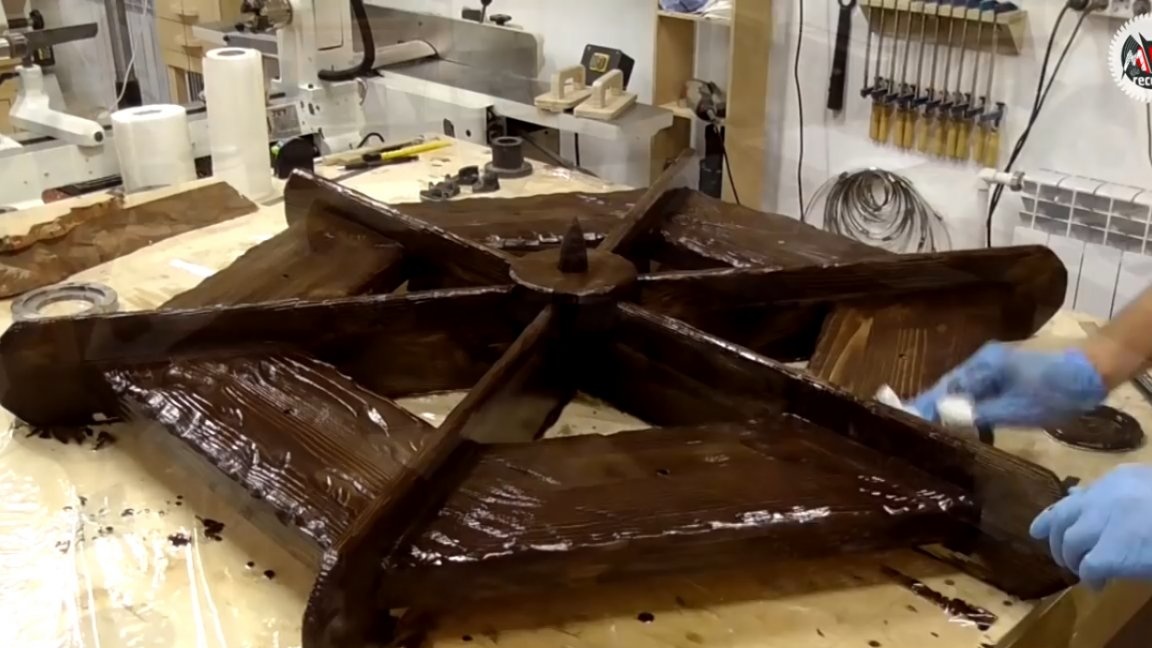
Well, then the most creative, but terribly dusty process begins - a rustic and brushing of all structural elements, since the base for the chandelier should be in the same style as the pseudo-beam ceilings that the author made earlier. If the weather permits, it is better to carry out these manipulations in the open air, otherwise the whole workshop will simply be covered with a decent layer of dust.
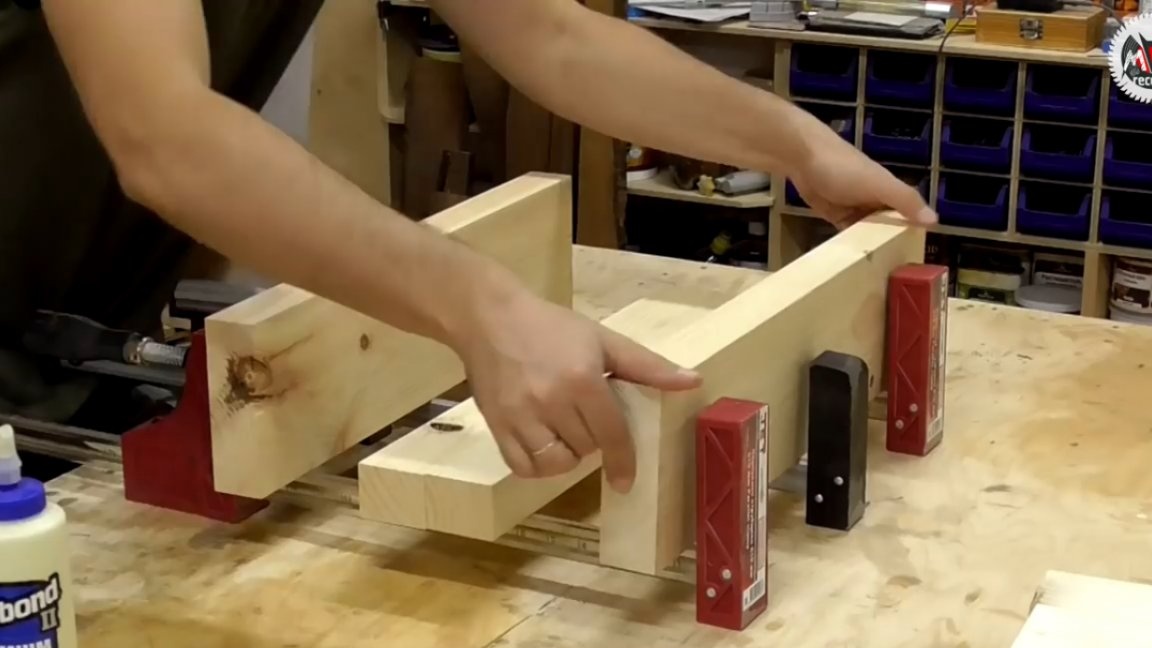
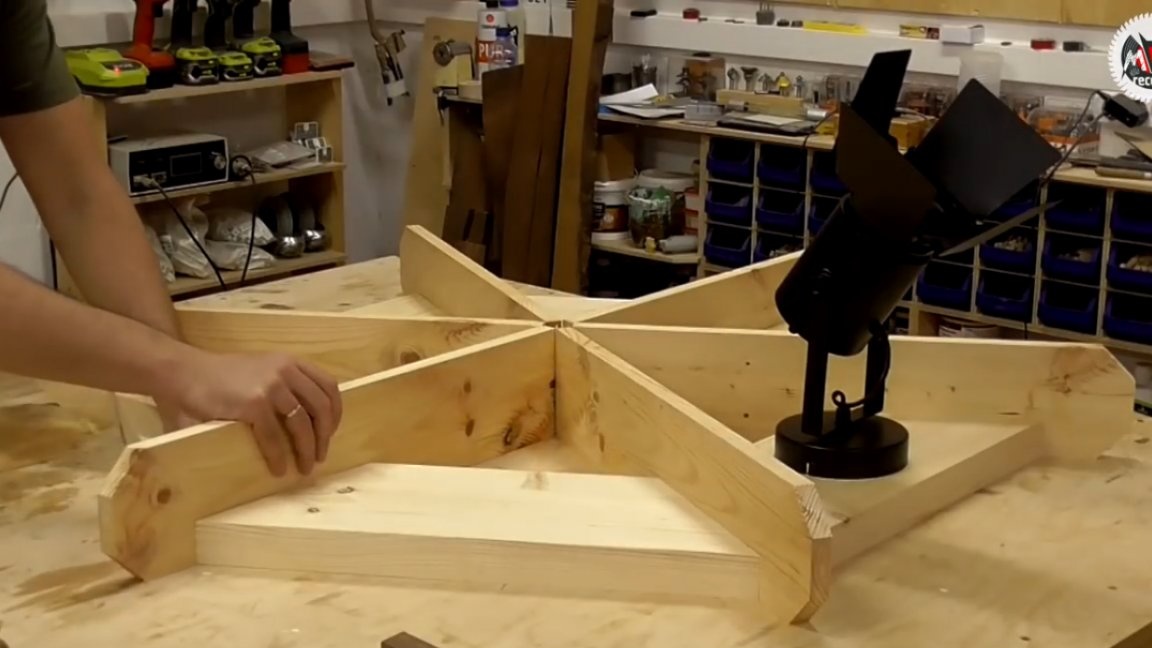
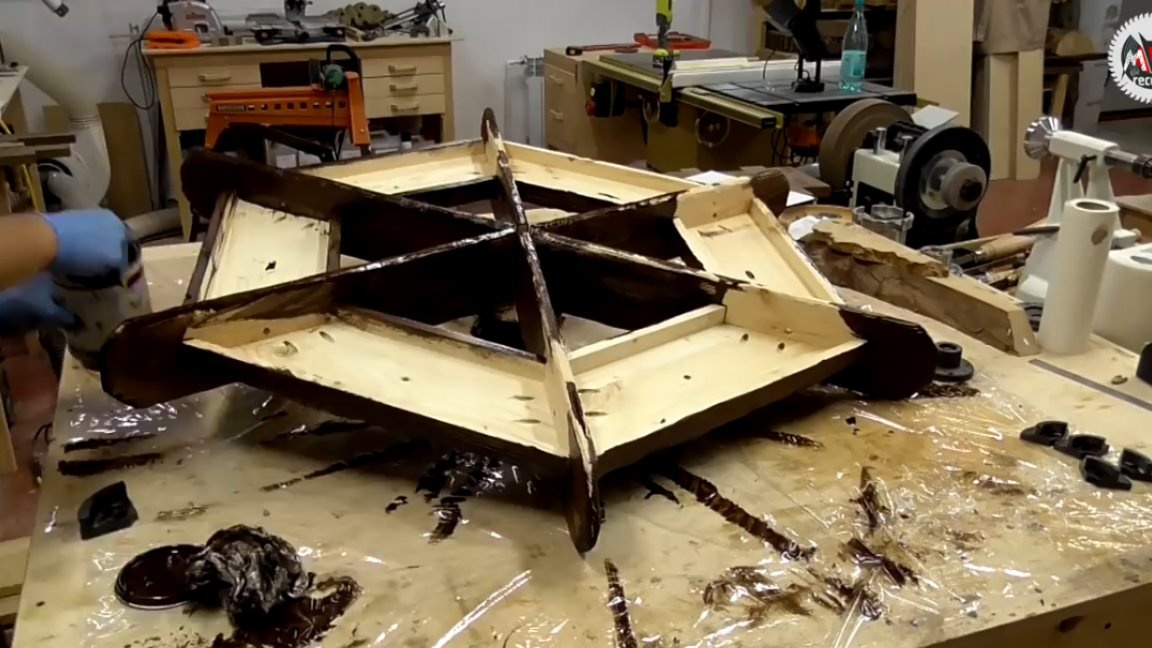
Before you start assembling the entire product, first you need to lay out all the details on the table, while putting everything as it should, and fasten the edges of the structure with a temporary piece of plywood so that nothing is moving anywhere when the segments are connected.
Next went the process of twisting on an oblique, which was accompanied by the obligatory sizing of the parts between each other. That is why the master did not brush these places in order to observe the plane of the glue spot. Despite the fact that the fastening in this case is not located in the center of the ribs of the segments, it presses the entire plane with the oblique screw and is quite reliable at the same time.
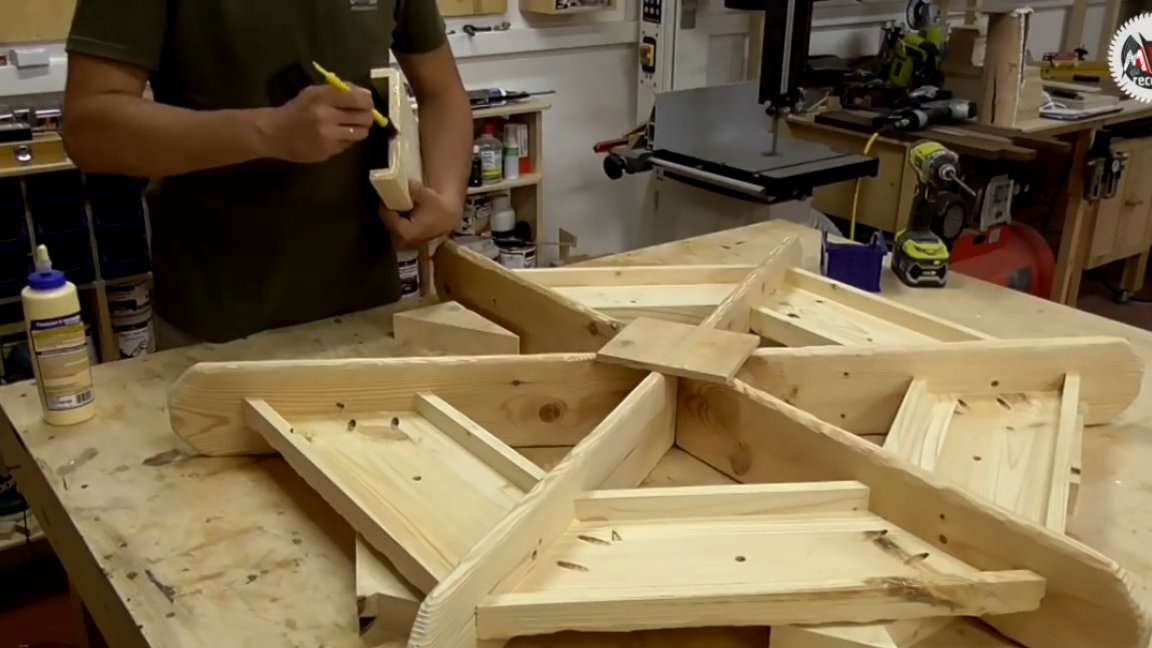
Immediately after assembly, it is necessary to carefully remove the excess glue that has protruded, since when coated with oil, this will in any case come out sideways, since the oil simply will not lie there. A wet rag is perfect for this task.
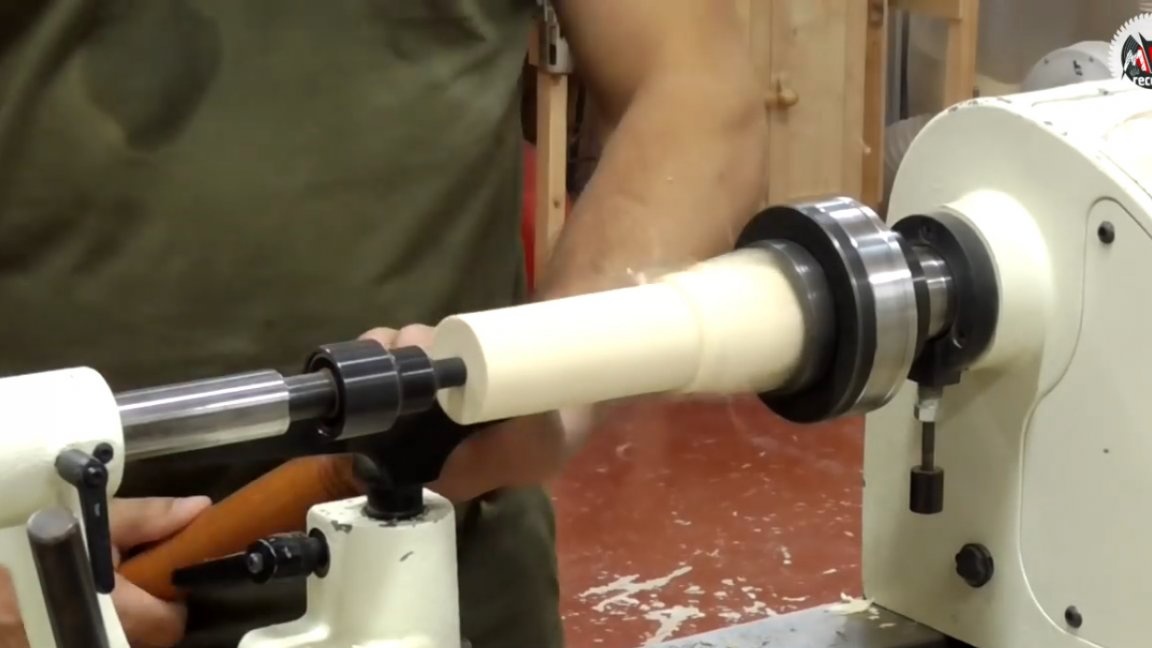
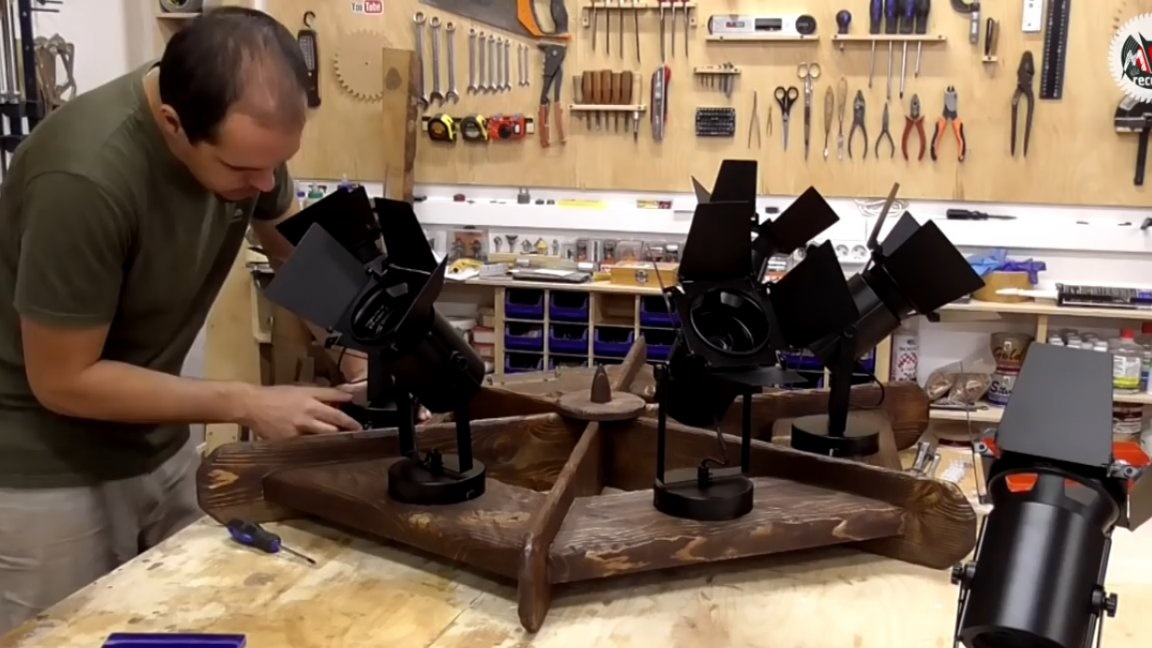
Now you can do the stub for the center. It was decided to grind it on a lathe so as not to bother with a hexagonal section. This detail is necessary not only for beauty, but also for strength. This part will not allow the entire structure to walk on a plane, although the chandelier will be suspended at the centers of gravity of the ribs.
Also, just in case, the author went through a nail on the base of the trapezoid segments.
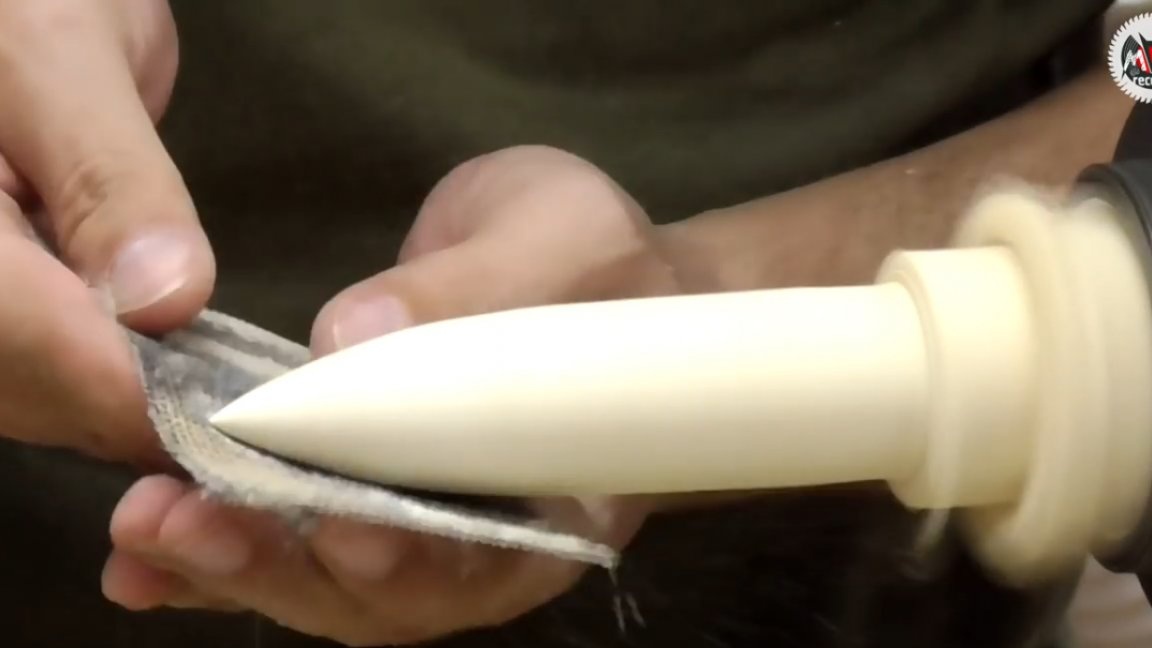

Well, at the finish line, it was decided to add another element that was not originally included in the plans, namely the ring covering the convergence point of the ribs.
Since our resulting “bullet” had a non-standard diameter, moreover going to the cone, I had to squander this part a little on a lathe, and of course give it a conceptual look with the help of a rustic and brushing.

Now you can proceed to the finish. And the material for this will be a dark oak priming oil.
It is necessary to cover the product in two stages, first the product is on top, then below. At the same time, it is very important to monitor smudges, since if they dry, it will be quite difficult to remove them.
Accordingly, having covered the first segment with oil, the author set about removing the excess from the first. This time was quite enough for the necessary part of the oil to be absorbed, fixing the pigment. Then you need to turn the product over and you can start coating on the back side, with the same removal of excess.
Well, in the end, we turn the product over again and remove the smudges already on the front side.

The next step was to drill a hole for the cable in the fastening strips of the fixtures, for some reason they were not there, but according to the author's idea, they had to be made so that it would be easier to position the whole thing on the chandelier through the transition hole in the segments.

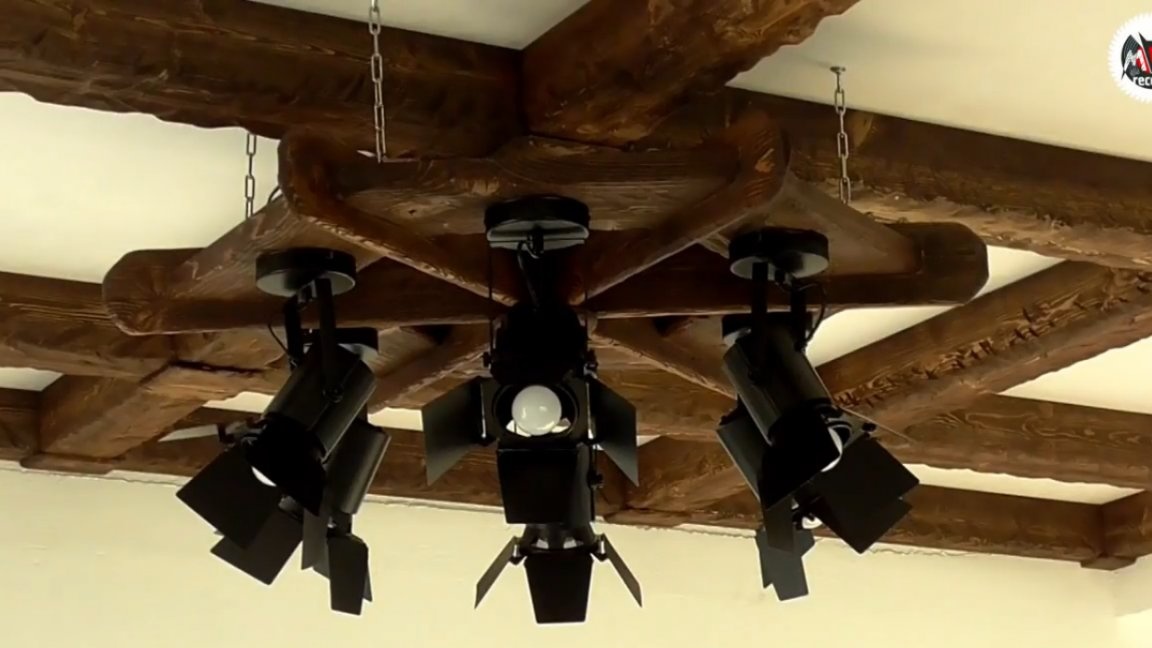
And finally, you can screw all 6 fixtures to the base.
The resulting base for the chandelier allows the installation of almost any fixtures, as it turned out to be a pretty classic story.By the way, there is a rather unusual and quite interesting budget solution for stylized shades from the same aluminum cast-iron, or flower pots, which, if desired, can be painted in any desired color, or left in its original form. Next, let's take a simple electrician. No corrugation is needed here, since each lamp has only 11 watts of load.

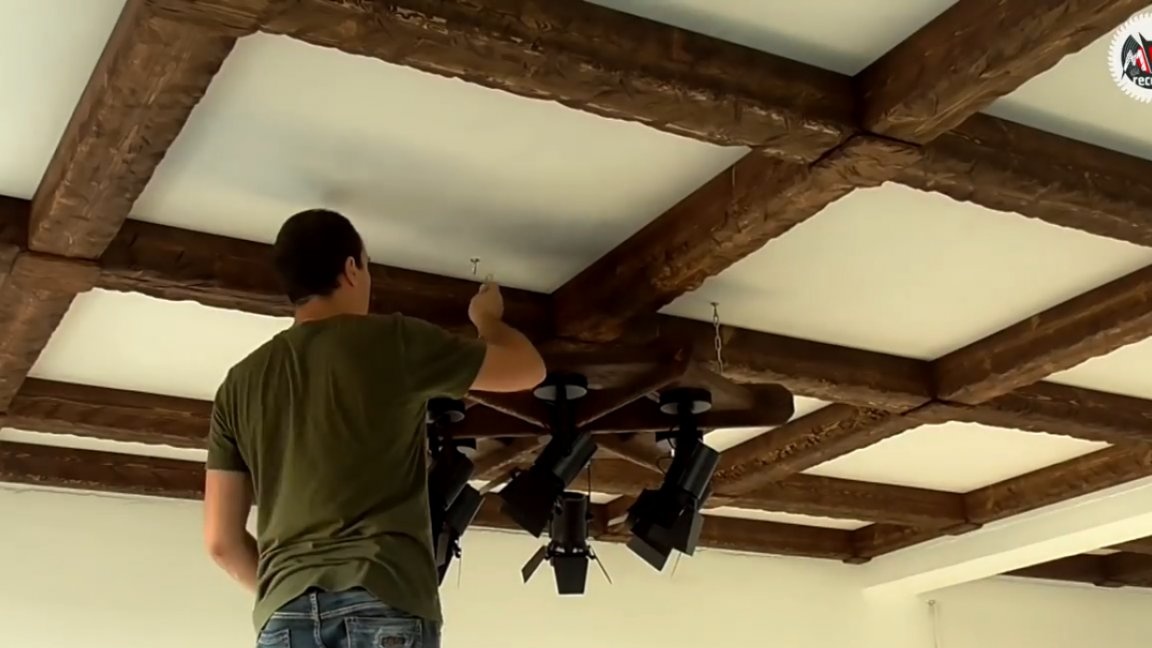
The author thought for a long time how to hang a hexagonal product under the crosshair of the ceiling and in the end decided to do it on 4 chains in two adjacent diagonals. Perhaps this is the only solution when it looks good and you do not need to cling to the beam.
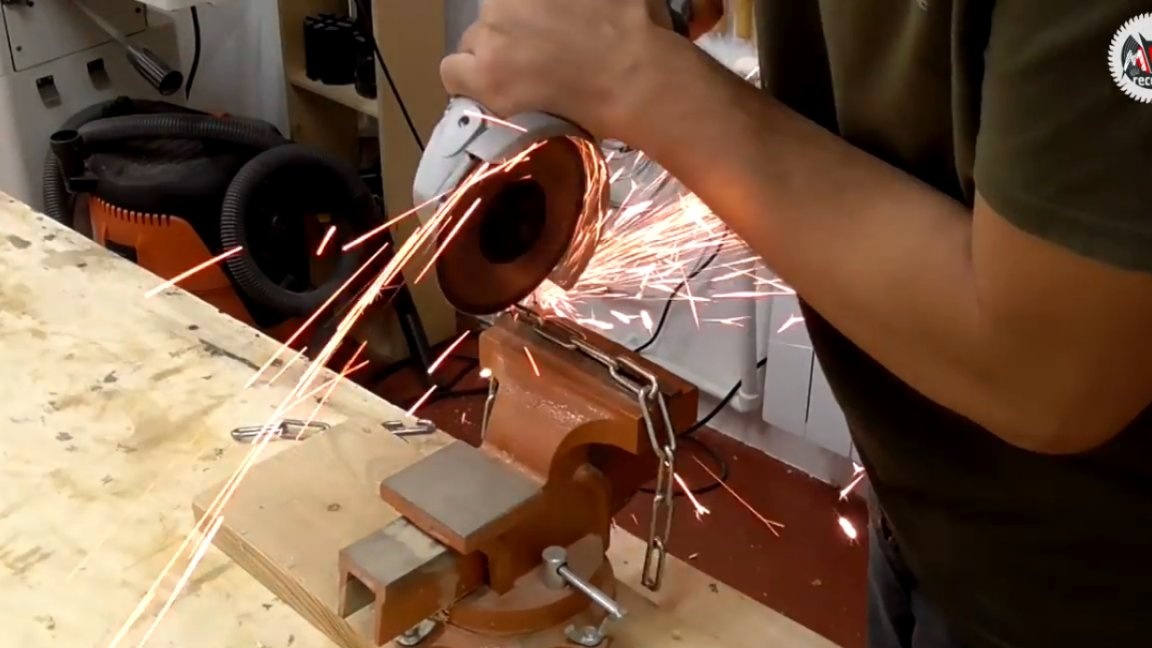
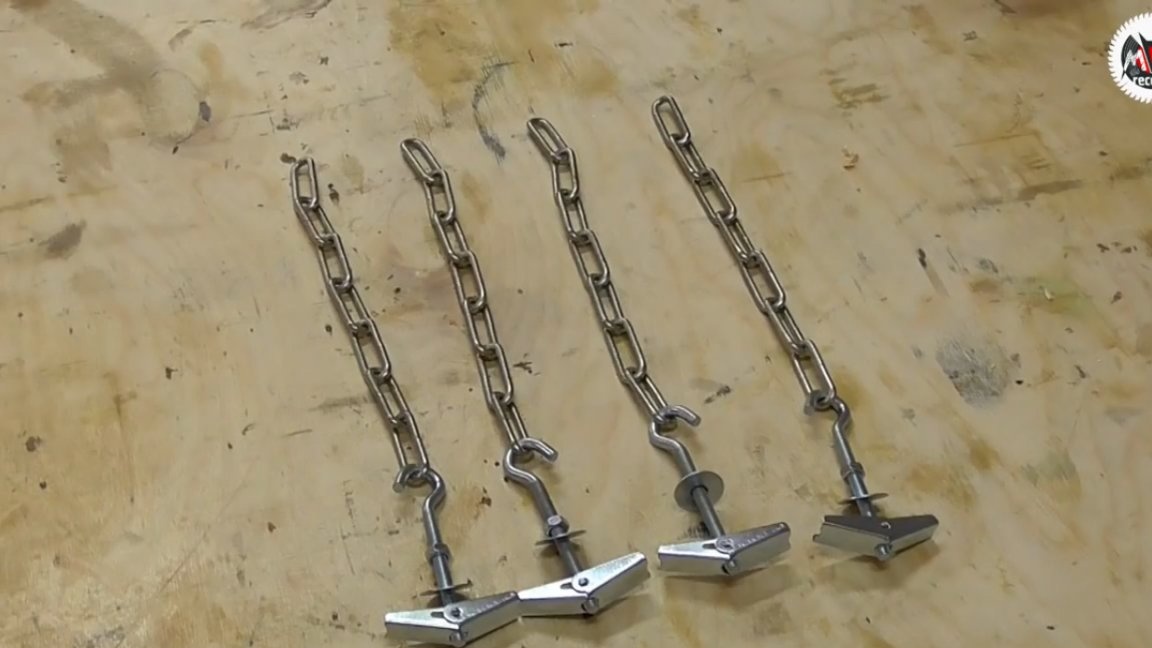
As a ceiling mount, it was decided to use hooks with anchors for hollow structures, since simple self-tapping screws into the inch of which the draft ceiling consists is not an option. Well, in the chandelier itself, the chains are bolted with m6 bolts to the ribs.
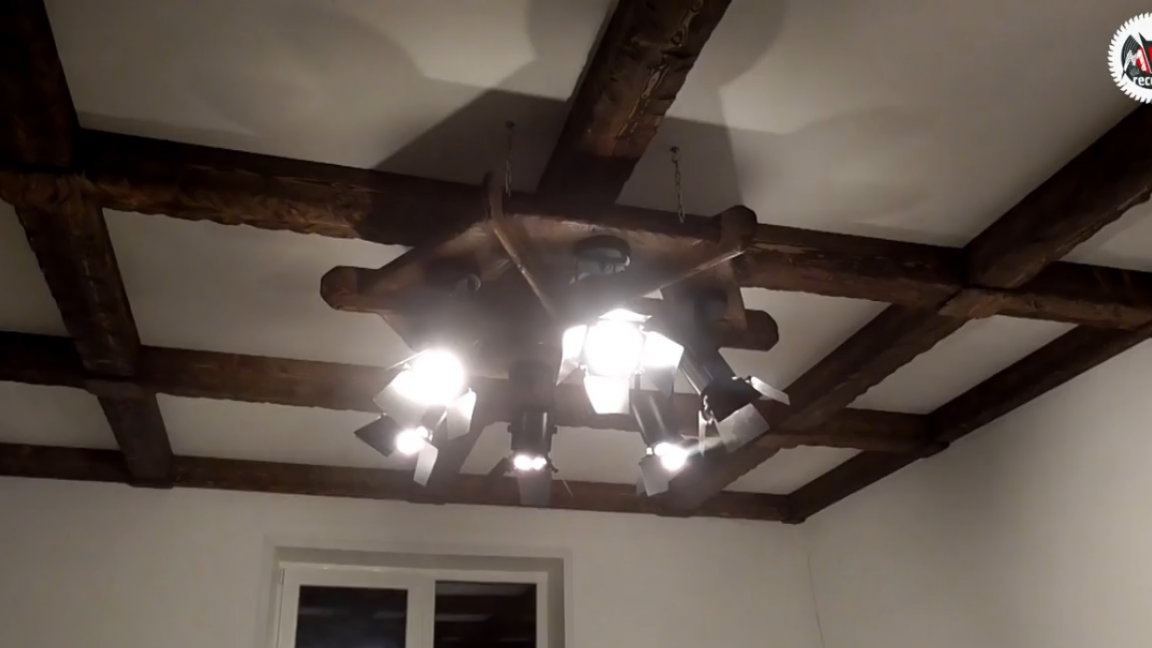
As a result, this is the solution with the main light in the living room. In the future, the author plans to place eight more pendant lamps, but more on that another time. That's all. Thank you for attention. See you soon!
Author's video: