
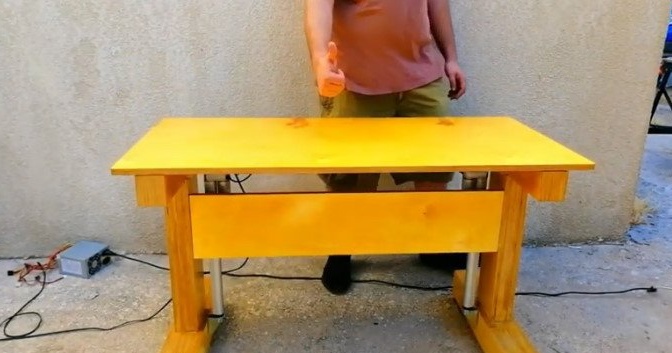
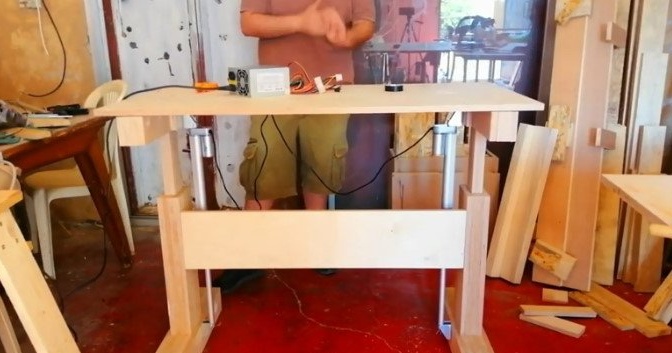
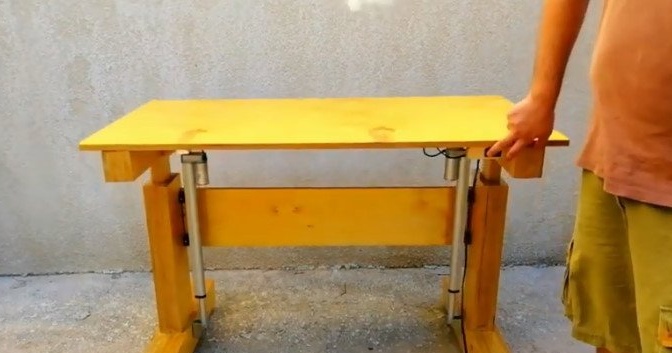
In this article, we will consider the manufacture of an unusual table. At this table, the height of the countertops can be adjusted using two electric drives. The stroke of the drives is 40 centimeters, respectively, and the tabletop can be raised to this height relative to the normal position.
So, to make such a table you will need the following
Tools and materials:
-Plywood;
-Two drives;
-Fasteners;
- Joiner glue:
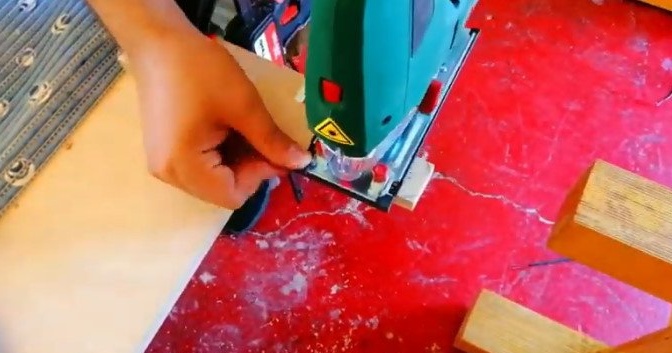
-A circular saw;
- Electric jigsaw;
-Rule;
-Pencil;
-Threaded inserts;
-Foot plastic;
- mallet;
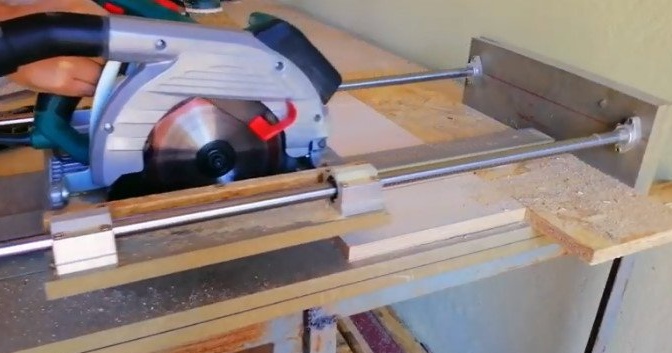
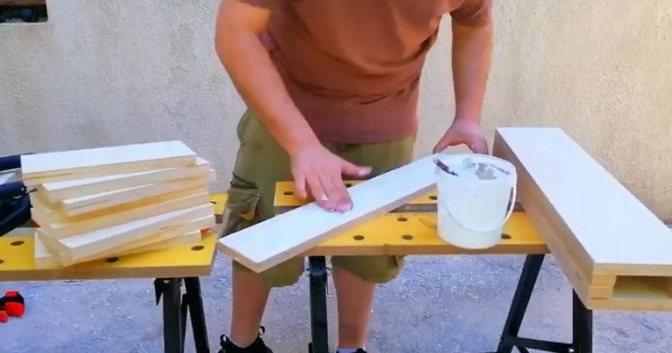
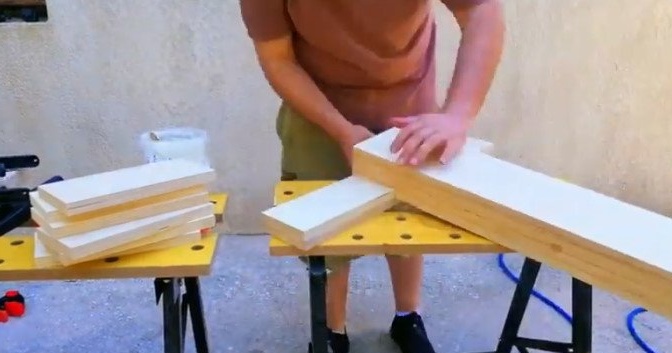
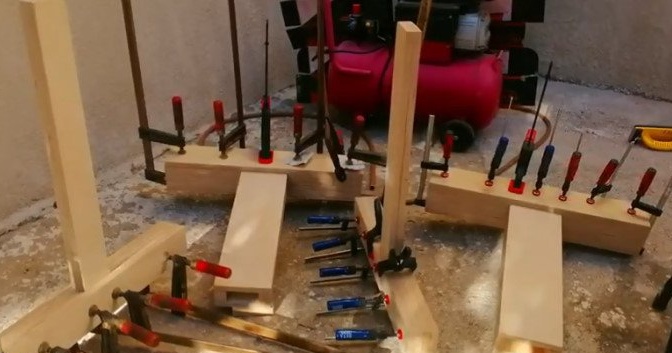
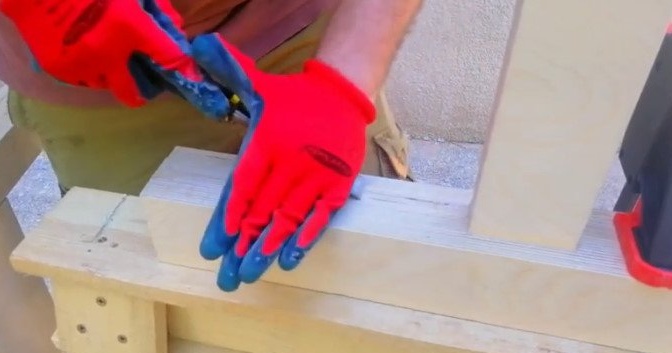
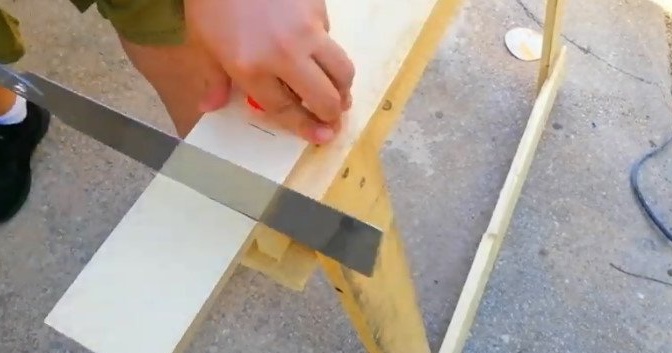
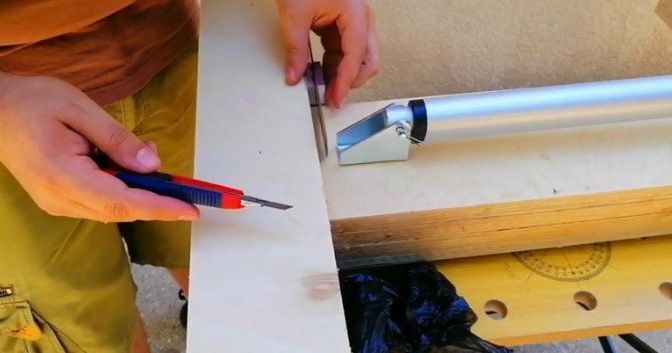
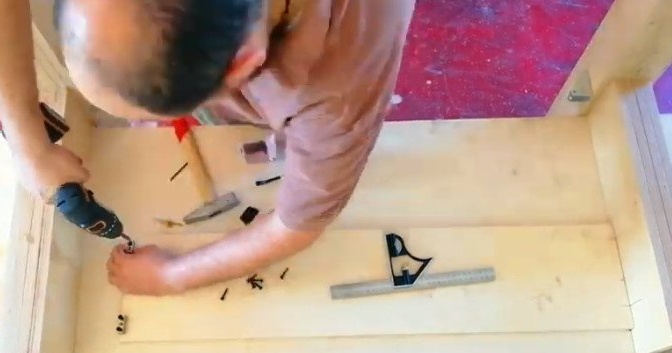
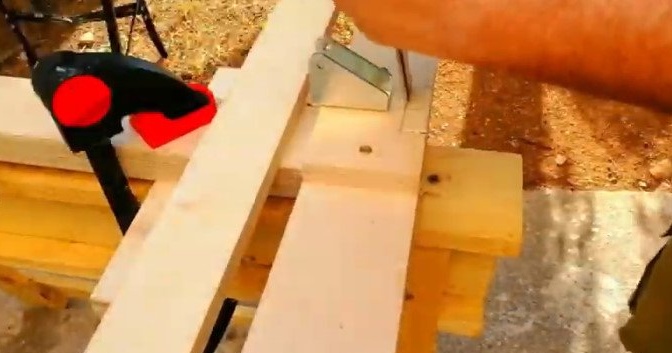
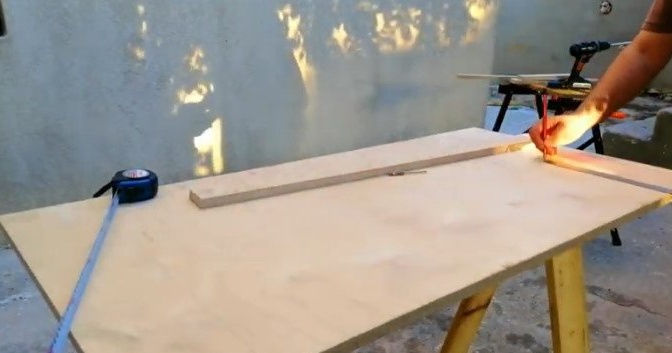
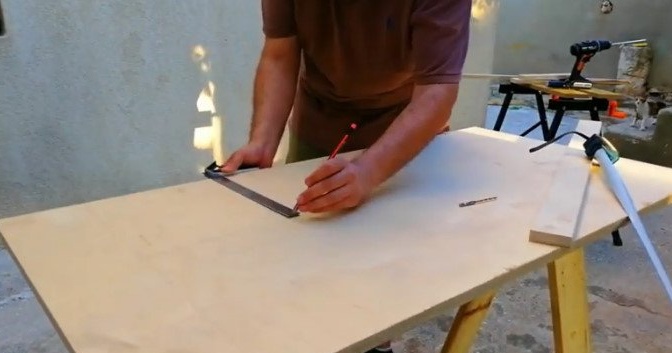
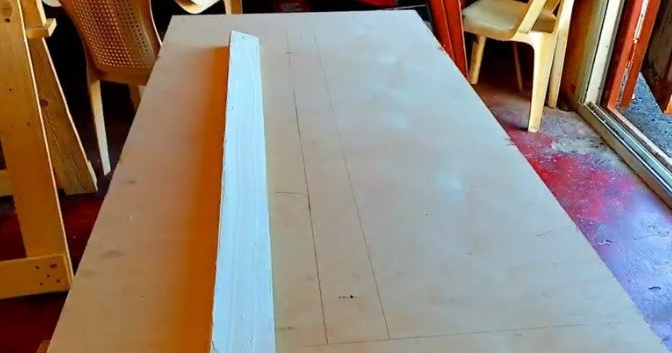
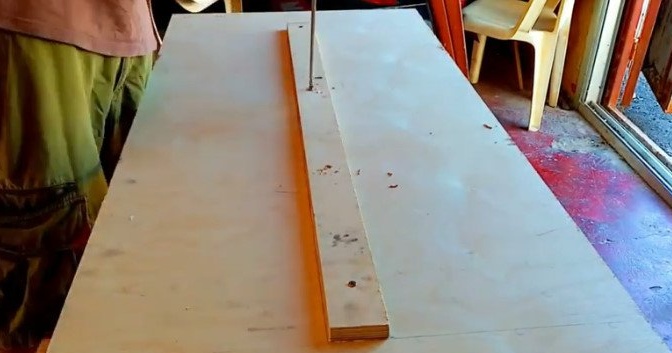
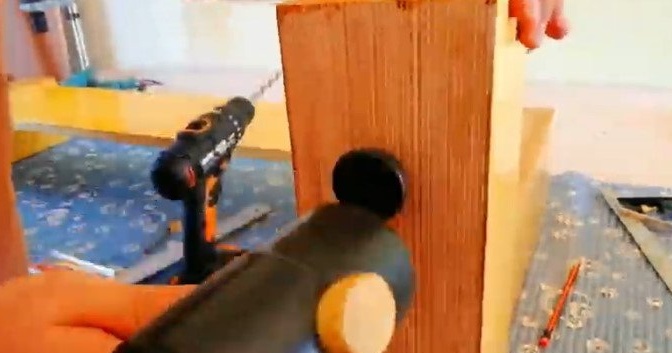
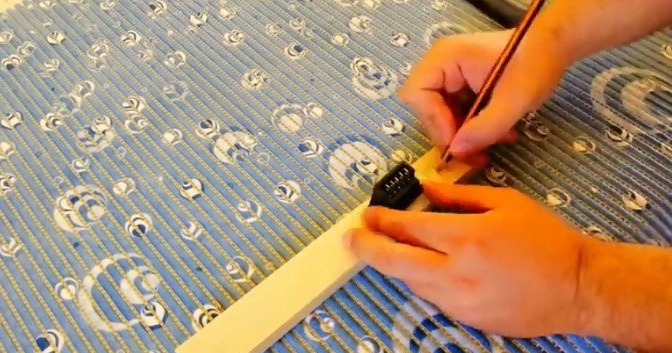
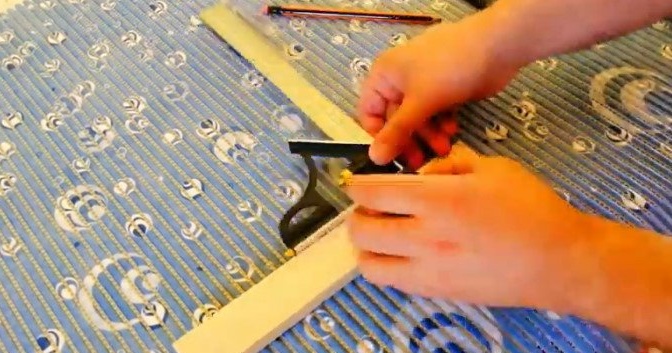
Step One: Sawing
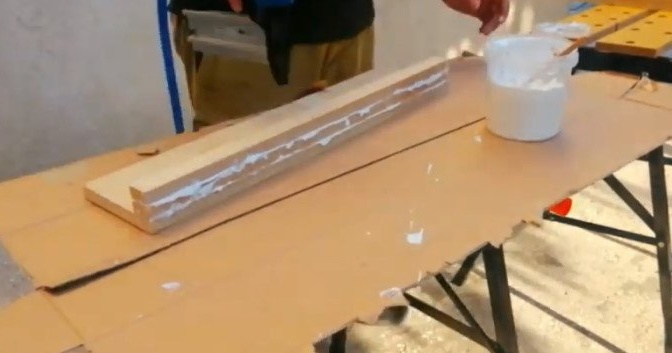
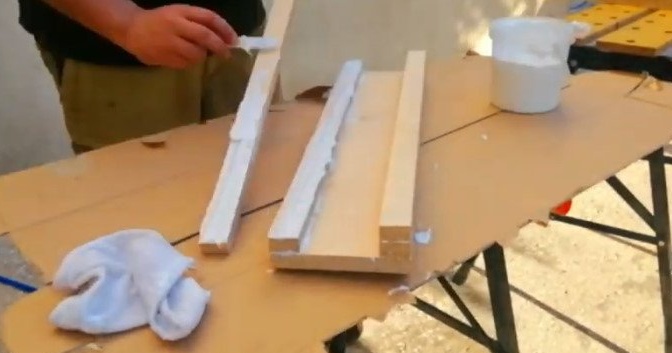
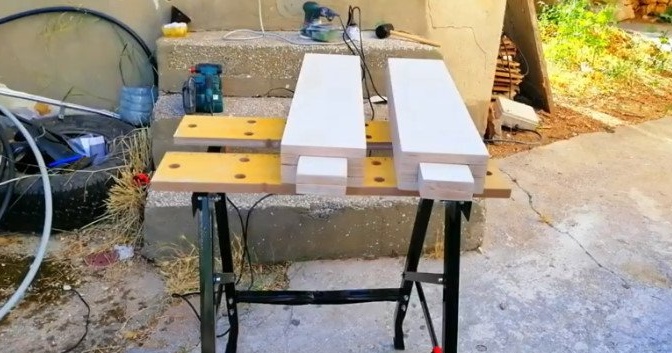
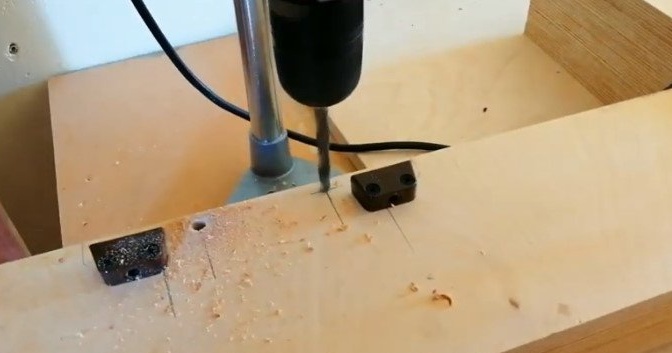
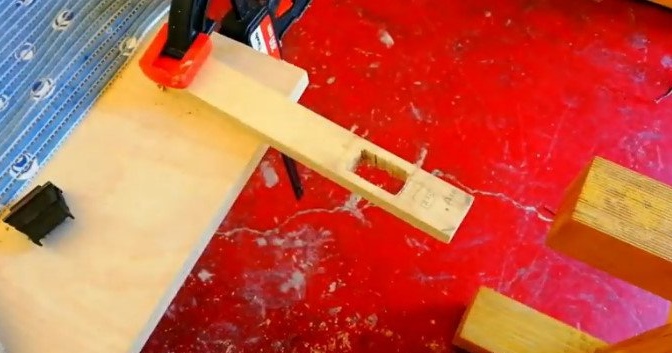
The whole table is made of plywood. The tabletop is made of solid sheet, and the remaining parts are glued from plywood slats. First, the master performs the sawing of the material. The following blanks need to be made:
-60 cm x 14 cm - 4 pcs;
-60 cm x 3 cm - 8 pcs;
-60 cm × 10 cm -4 pcs;
-23 cm x 10 cm - 16 pcs;
-68 cm x 7.8 cm - 4 pcs;
-26.1 cm x 8 cm - 8 pcs;
-60 cm x 8 cm - 4 pcs;
-120 cm x 60 cm - 1 pc;
-92.8 cm x 20 cm - 1 pc;
-96.4 cm x 6 cm - 1 pc;

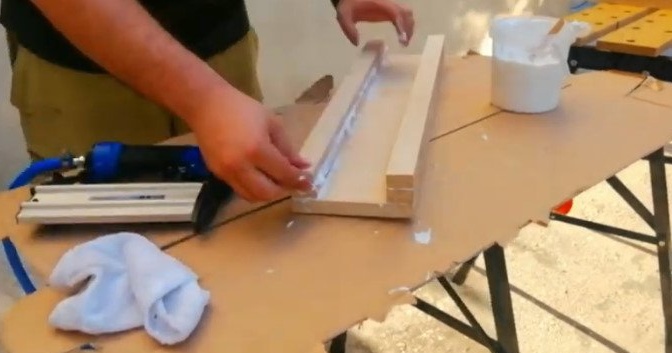
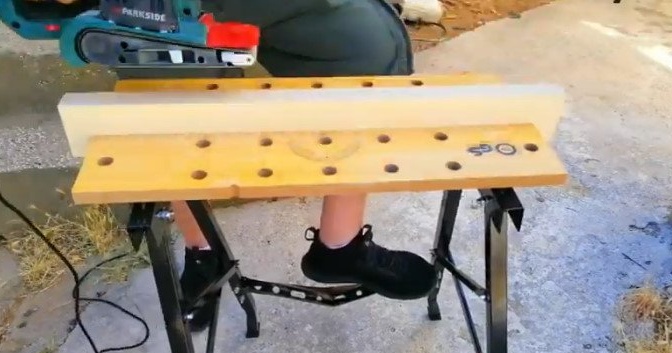
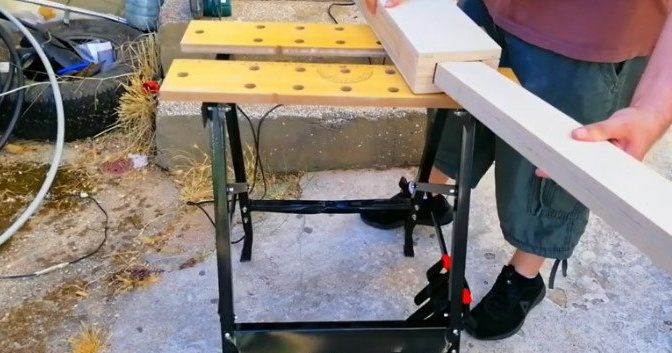
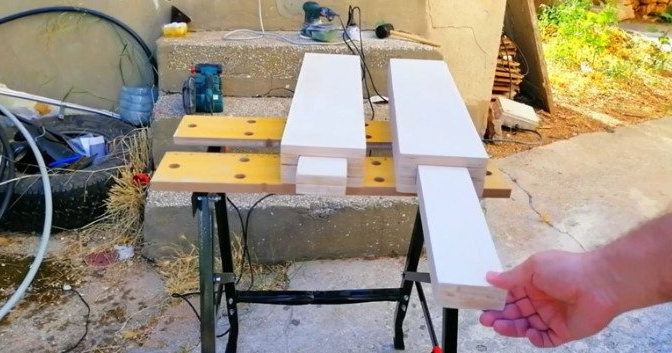
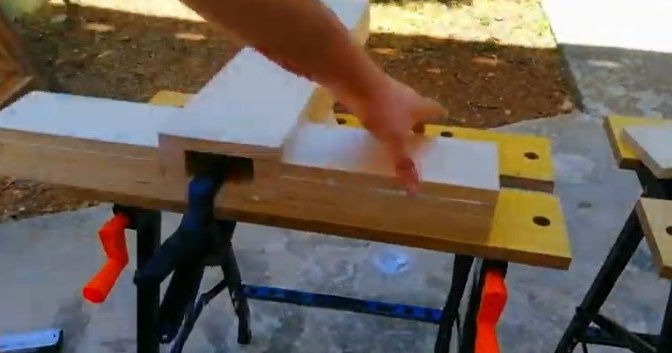
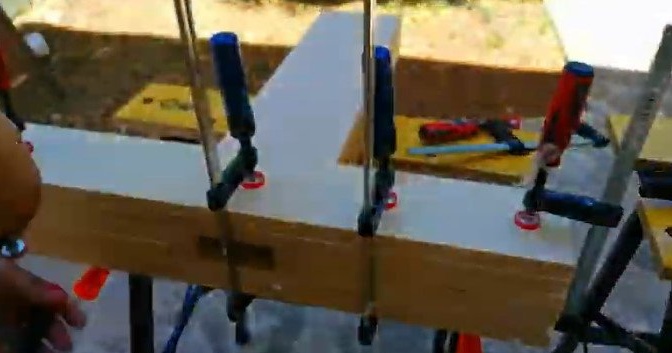
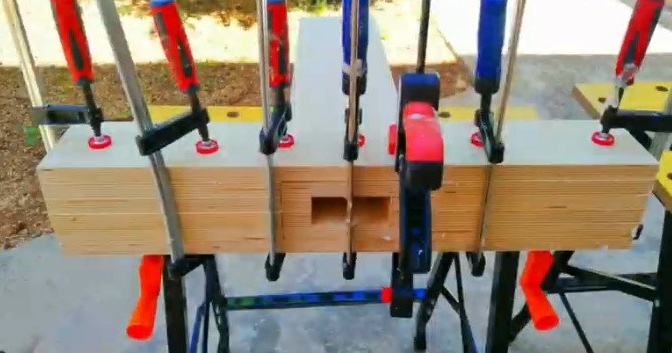
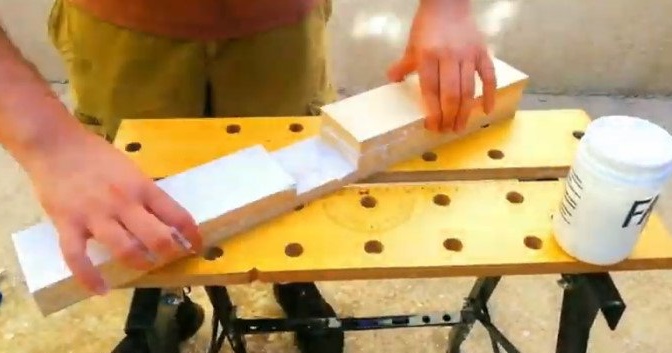
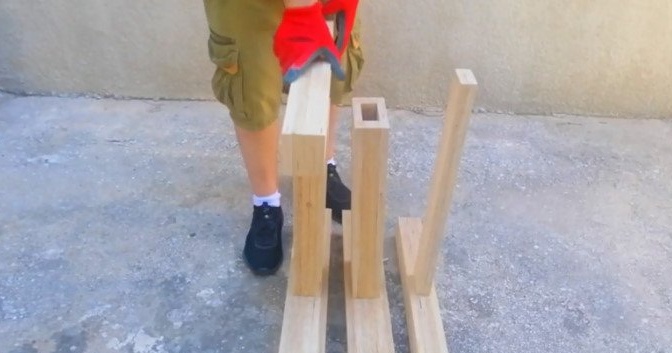
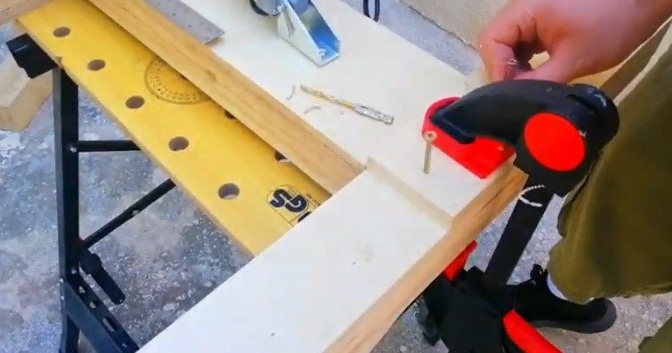
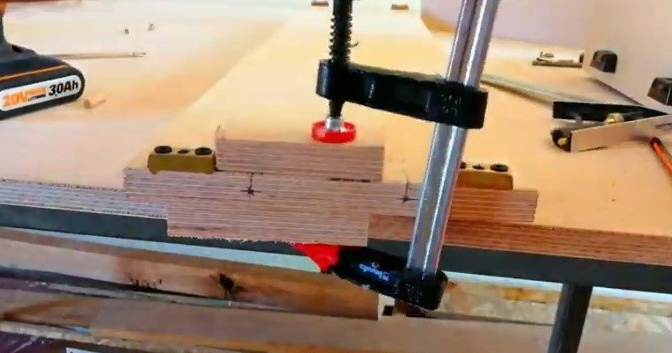
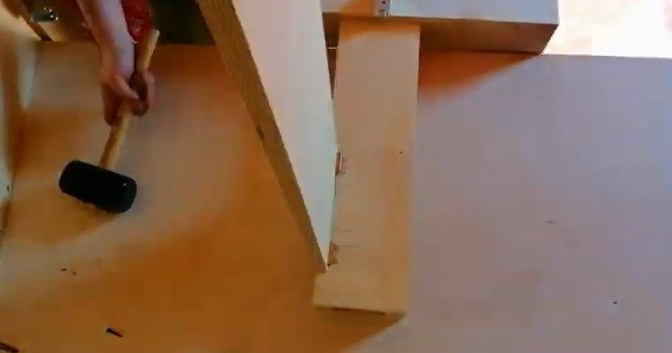
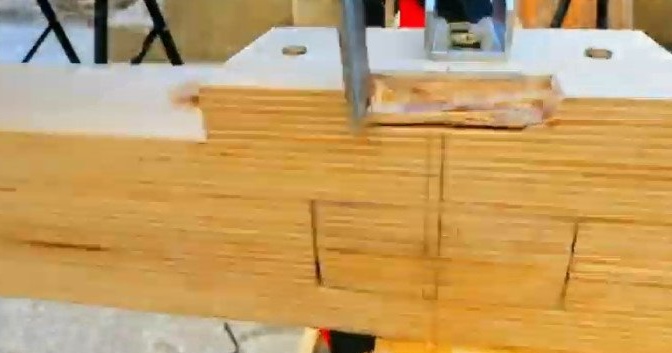
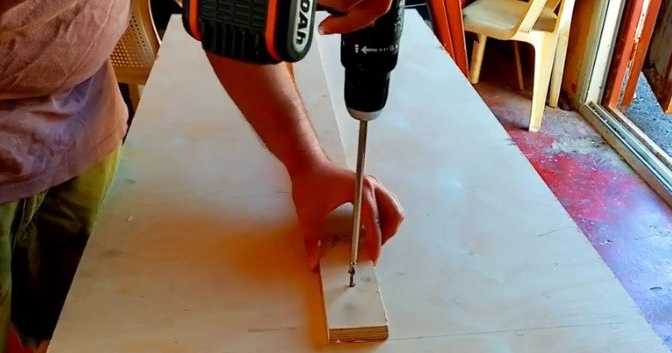
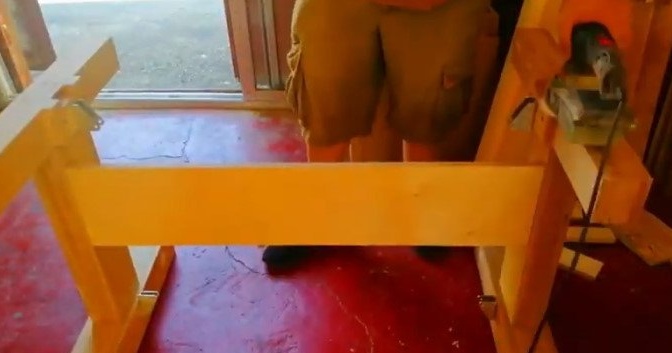
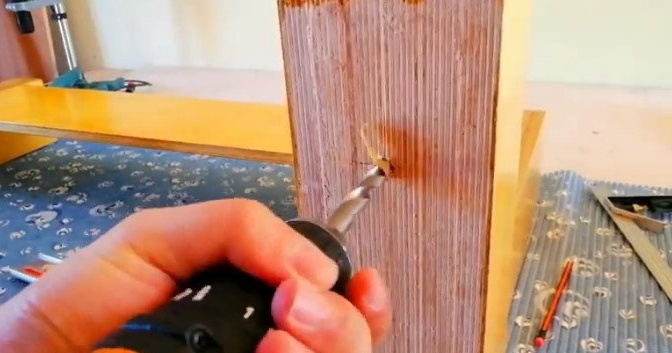
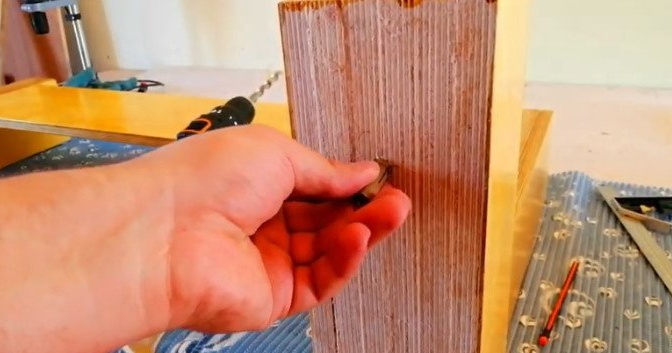
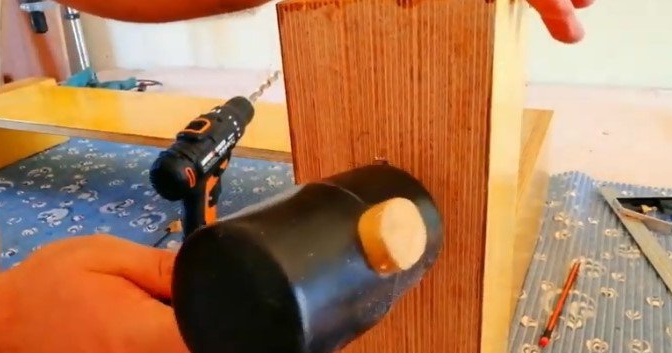
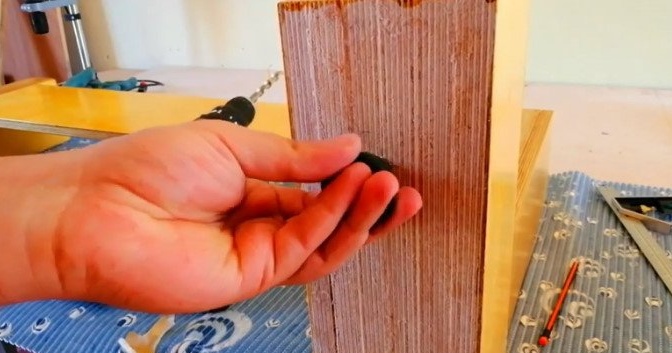
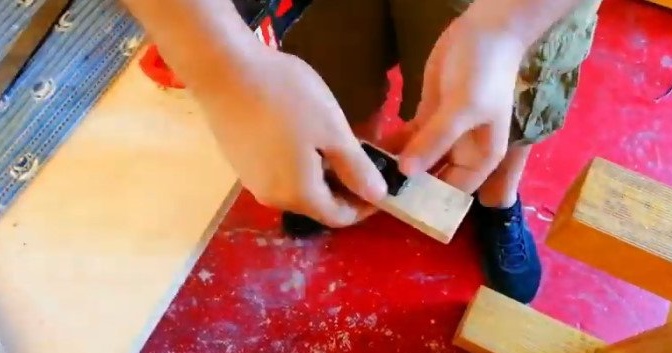
Step Two: Feet
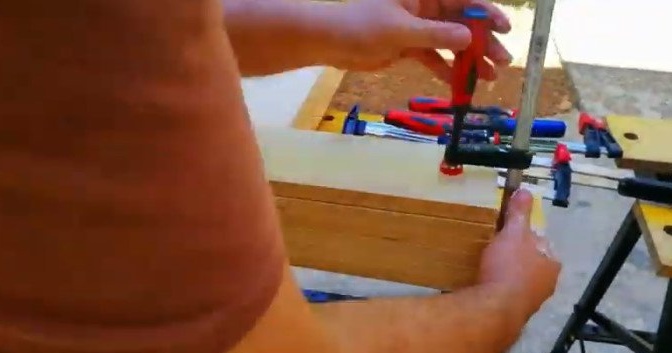
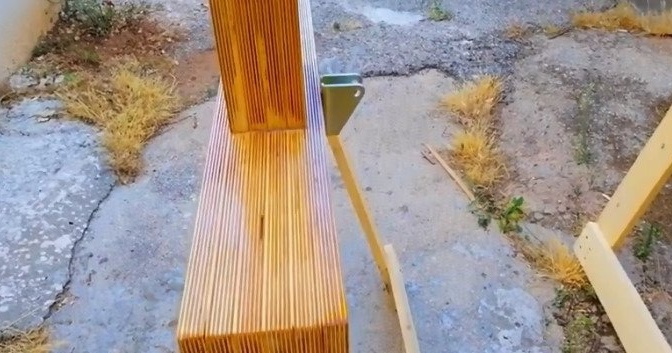
Now you need to glue the legs. The table legs are square and hollow inside. Racks will move inside the cavity. The master glues them and leaves them to dry.
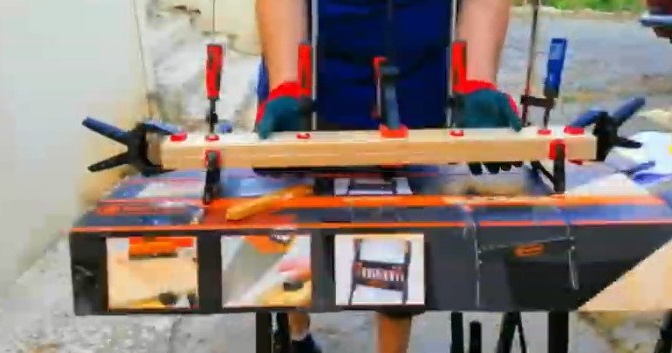
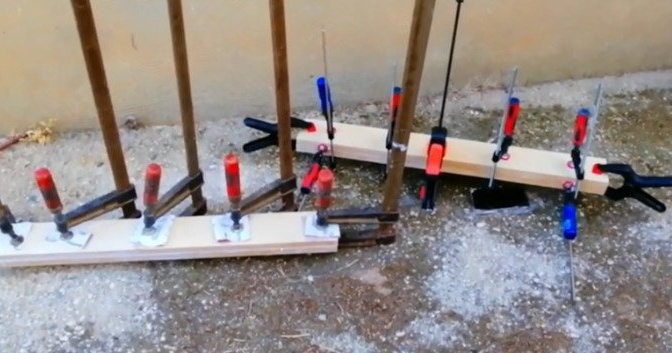
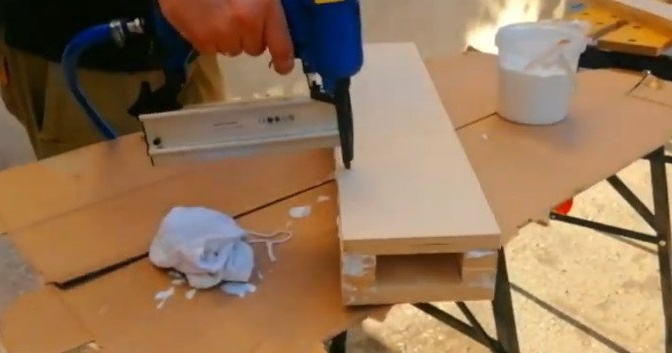
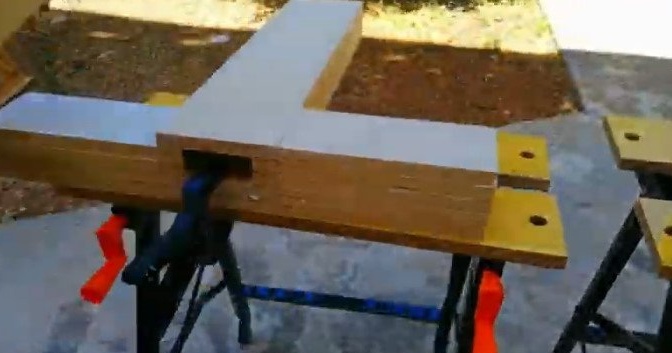
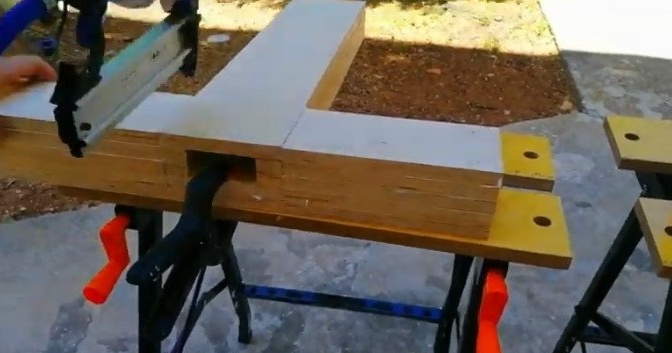
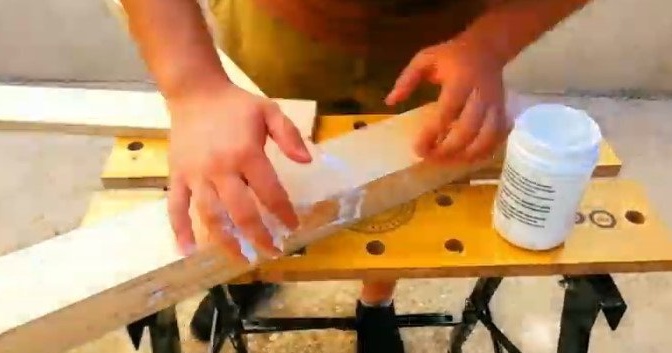
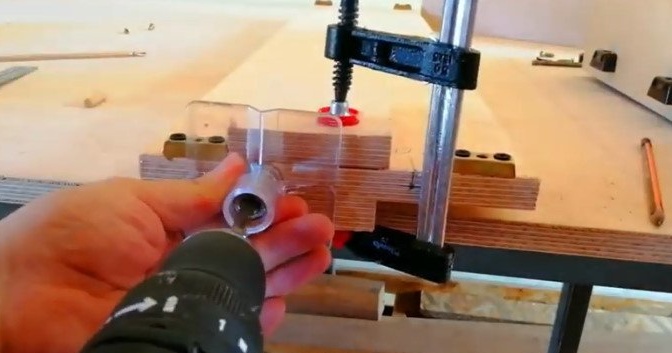
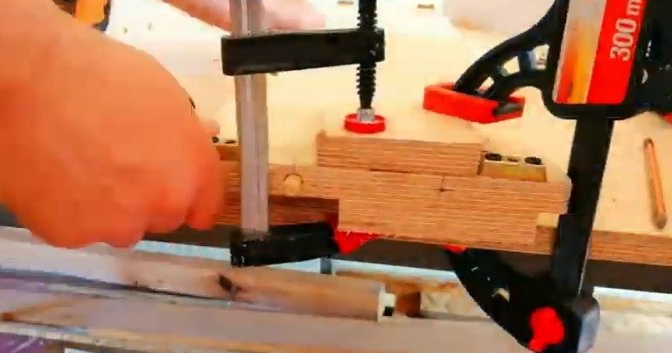
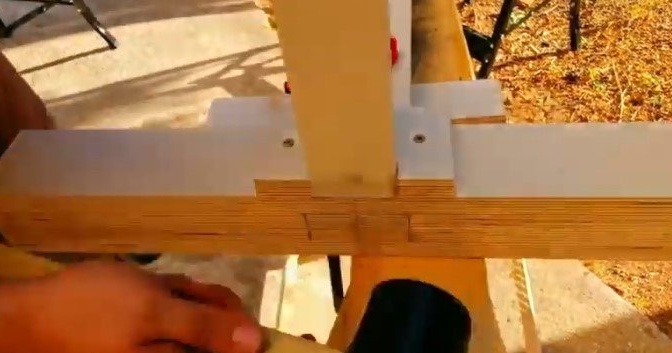
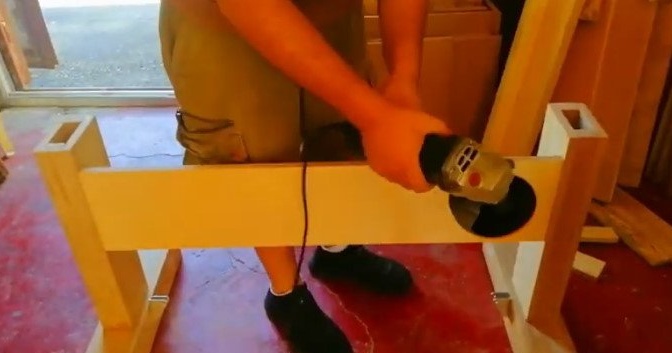
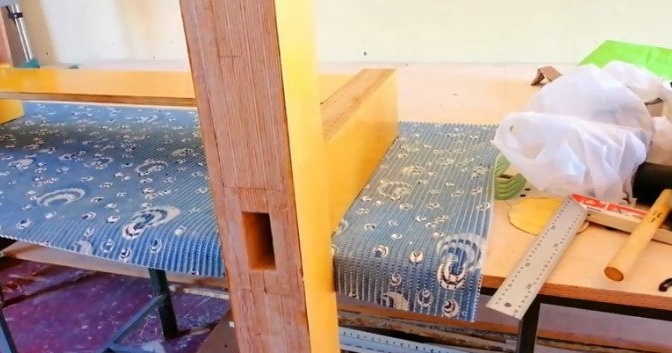
Step Three: Racks
Next you need to glue the racks. The racks are movable and will move inside the legs.


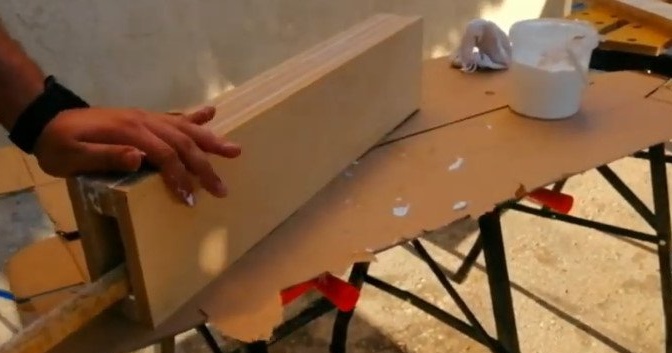
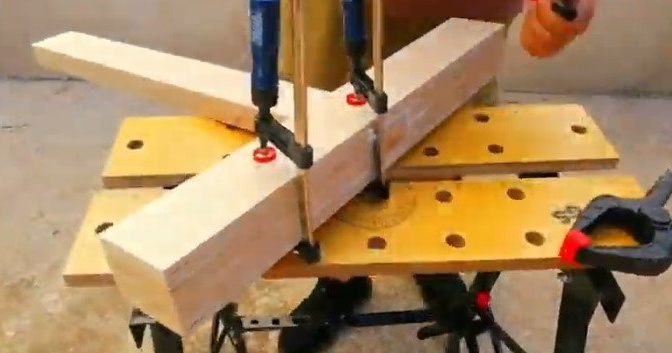
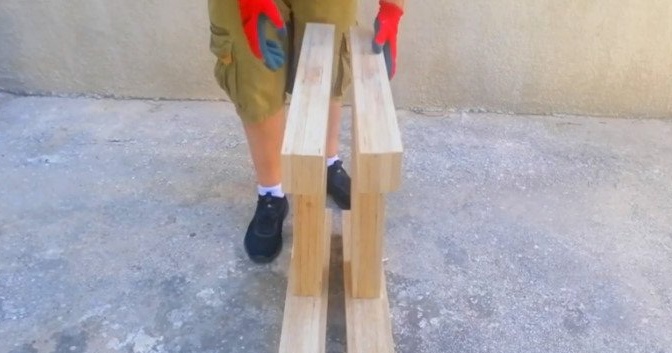
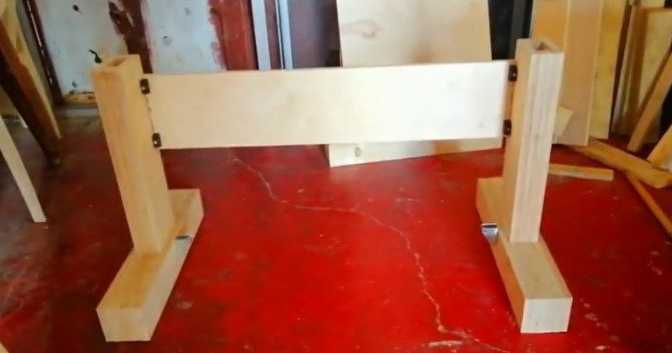
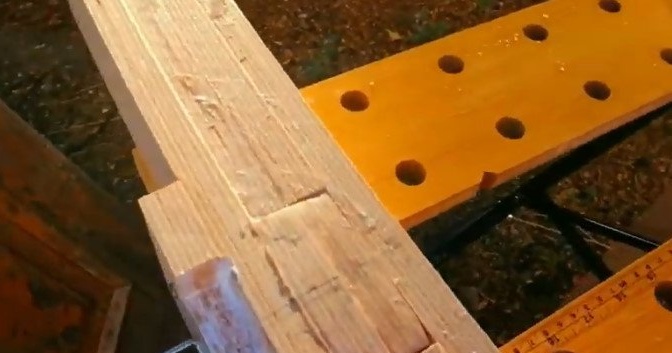
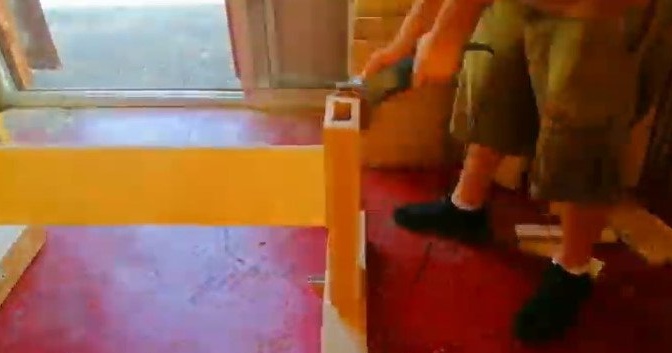
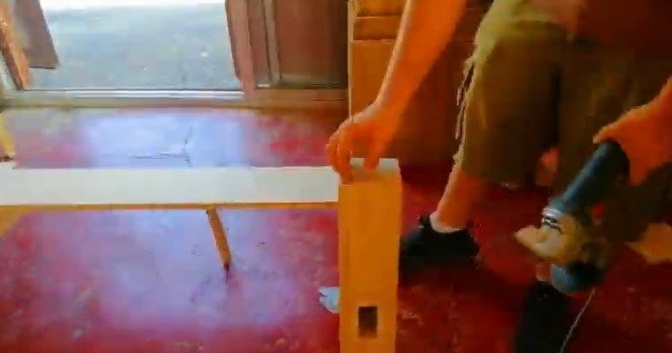
Step Four: Pillars
Now you need to glue and fix in the lower part of the legs of the support.

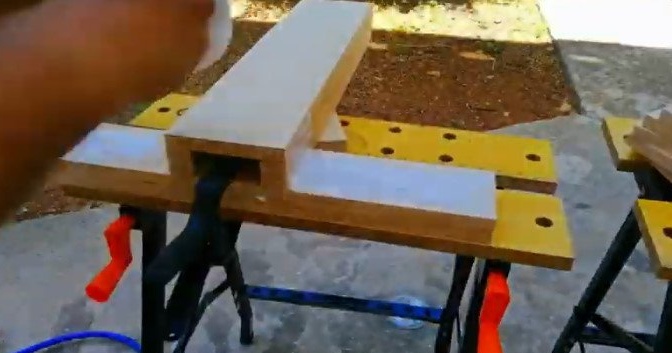
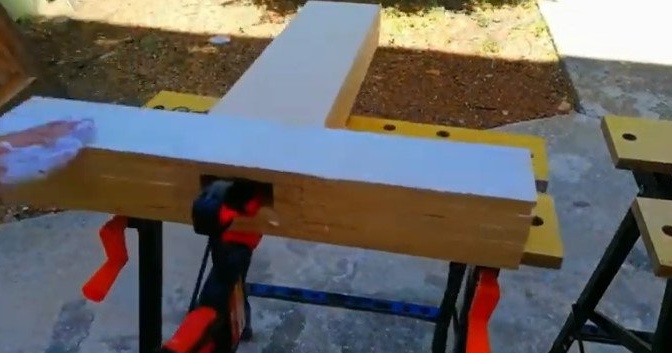
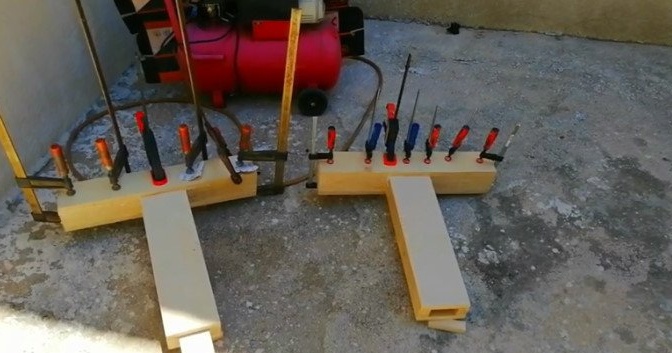
The master fixes such supports in the upper part of the racks.

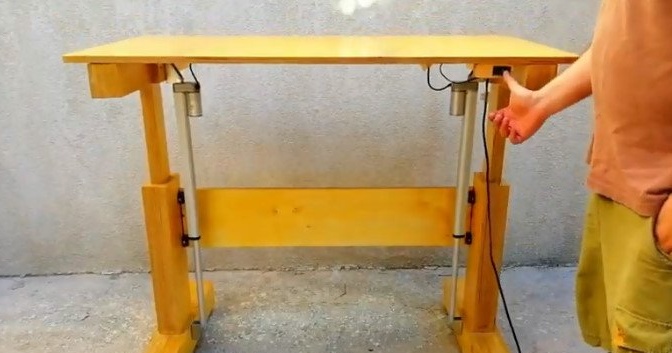
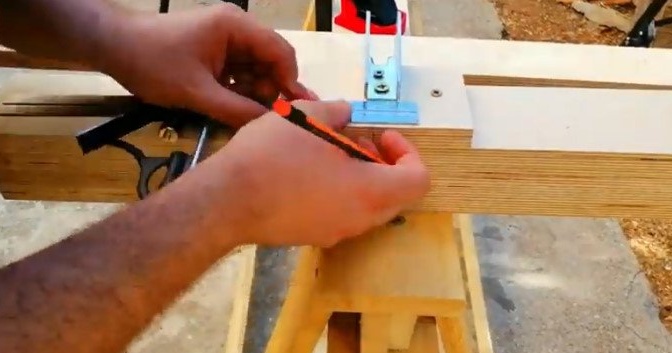
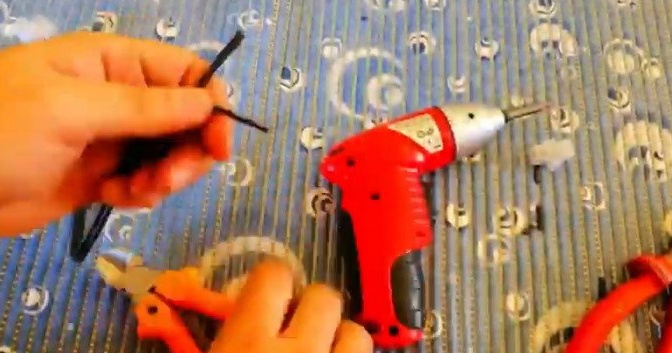
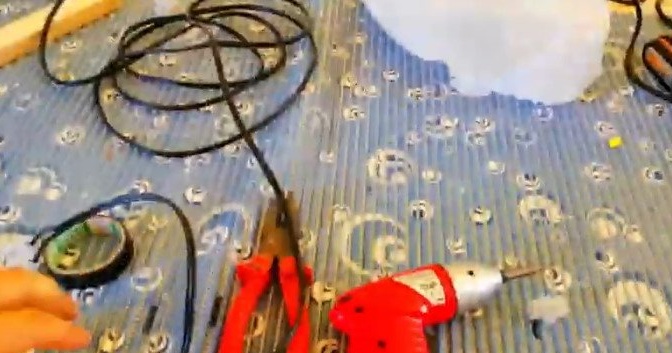
Step Five: Drive
Marks and fastens the lower elements of the mounting of the drives.
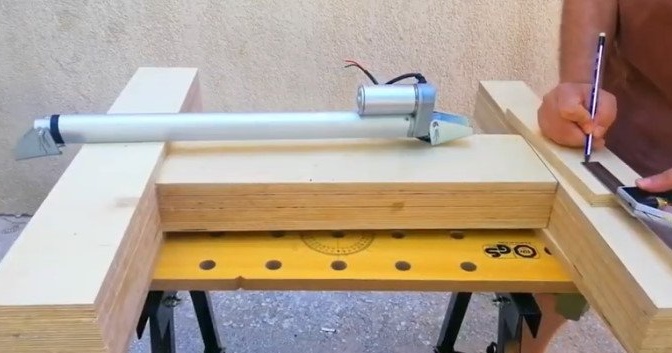
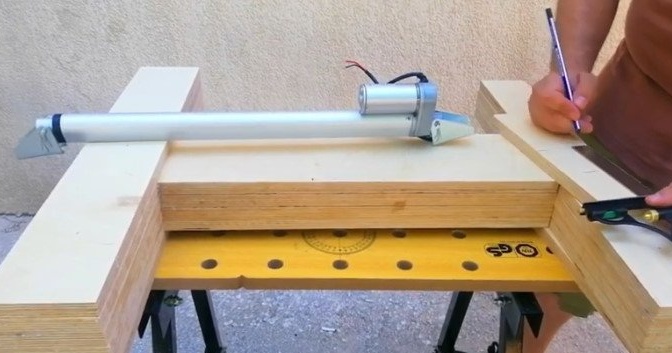

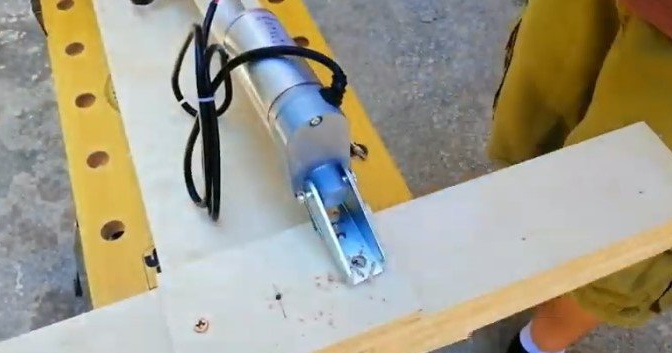
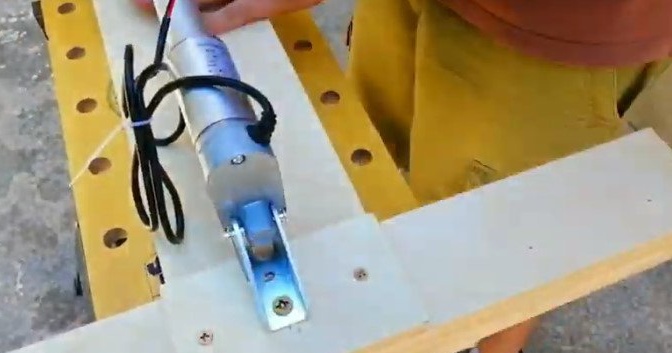
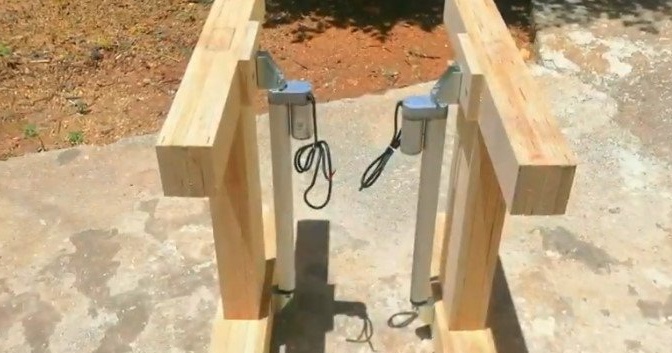
The lower part of the drive is mounted on the leg, the rod on the element of the rack.
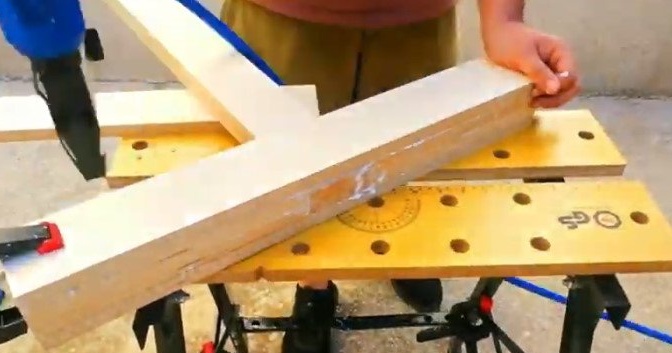
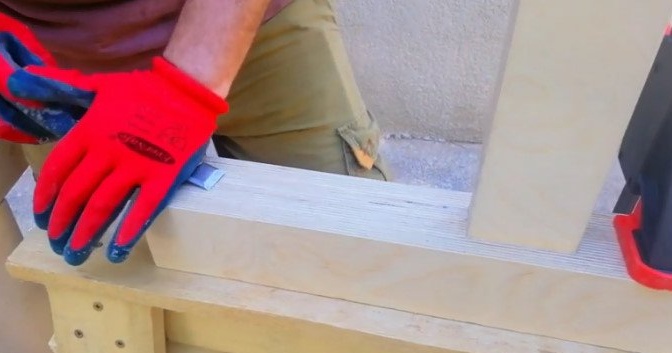
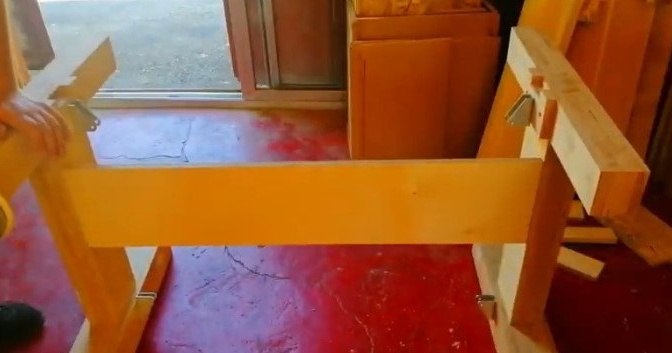
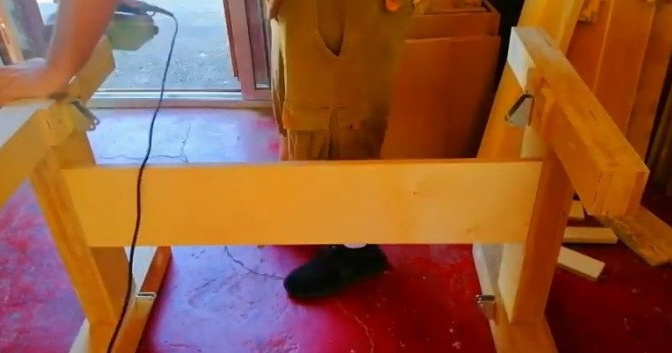
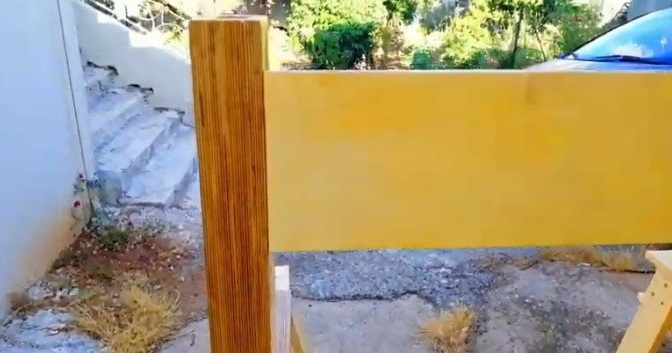
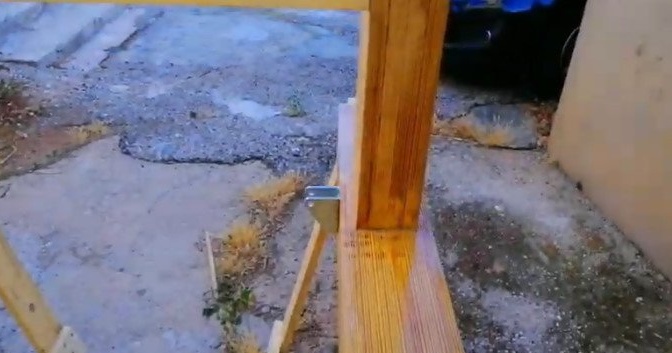
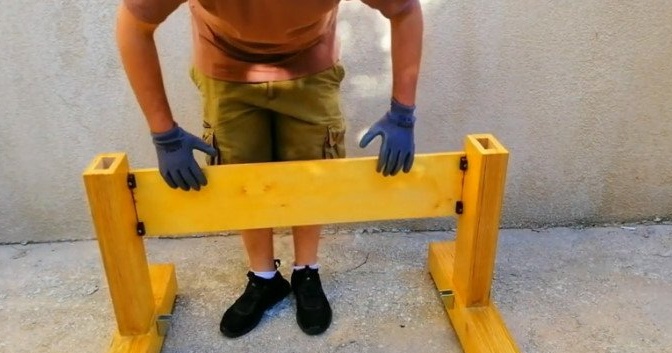
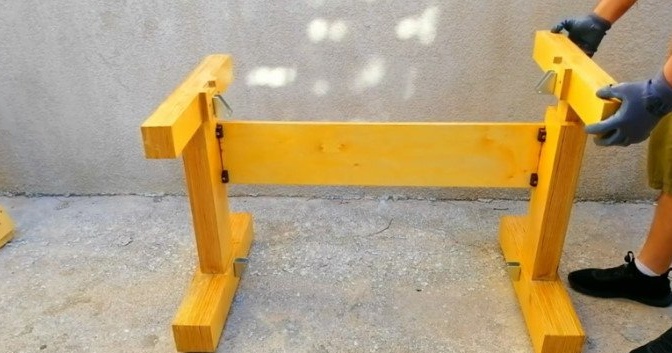
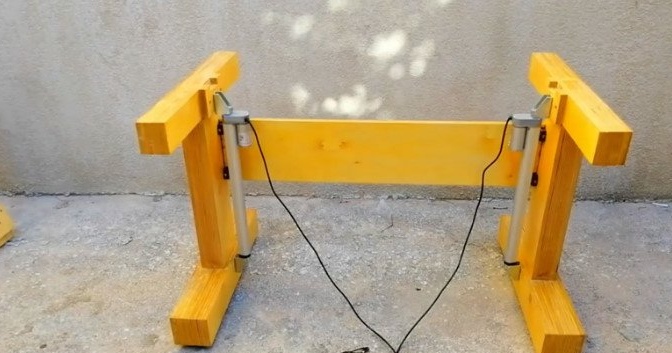
Step Six: Cross
A crossbar connects two legs. Since the actuators are still attached to the legs, the cross member is fixed closer to one of the edges, so as not to interfere with the actuators.

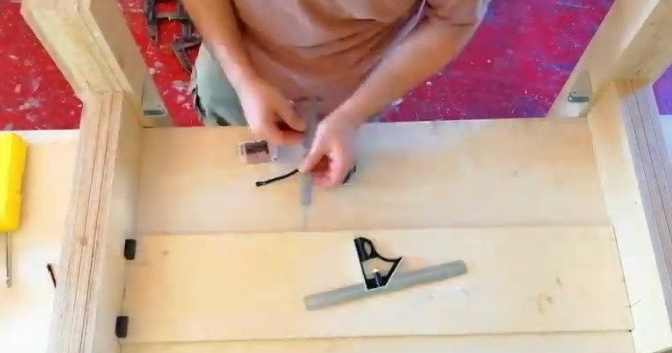
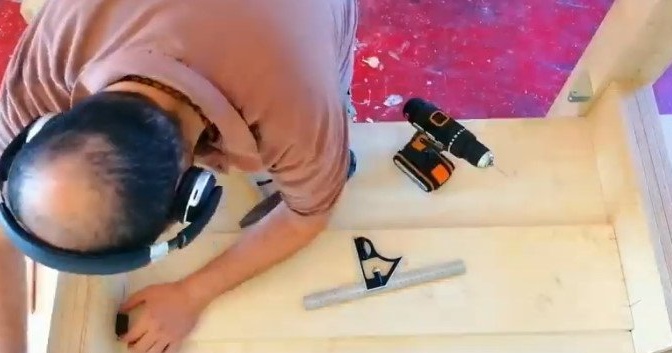
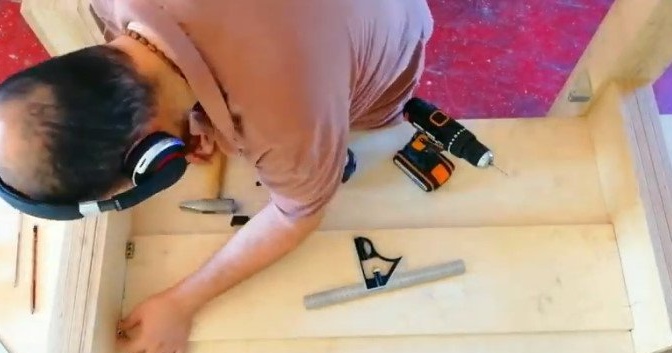

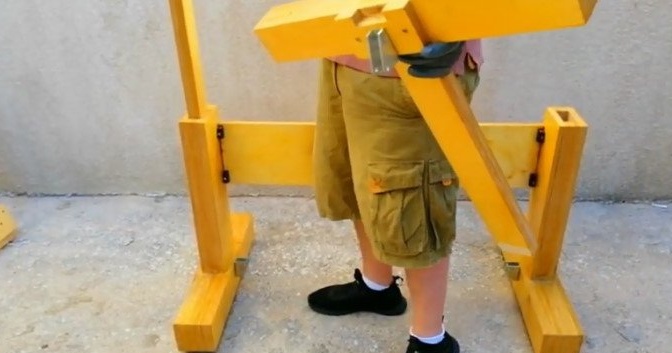
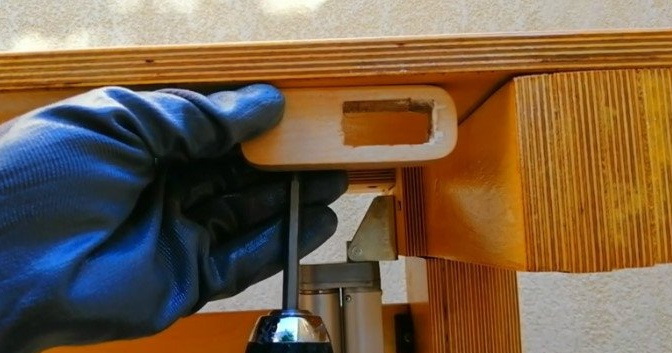
Seventh step: support plate
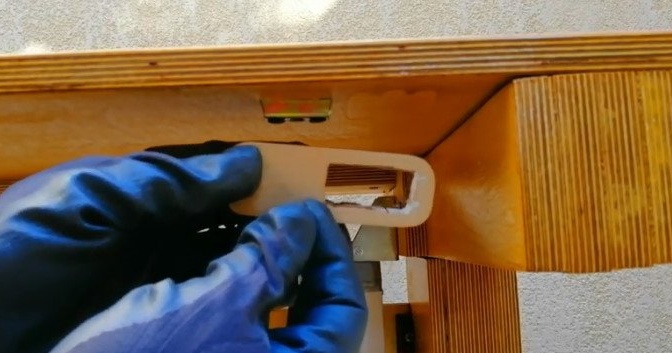
Further the master fastens additional levels on a rack. The actuator stem is attached to the straps. At the top of the racks makes a recess for the support bar.

The support bar is fixed at the bottom of the countertop along the center line.
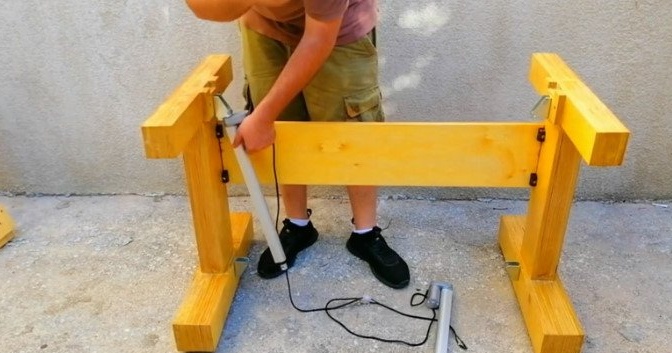
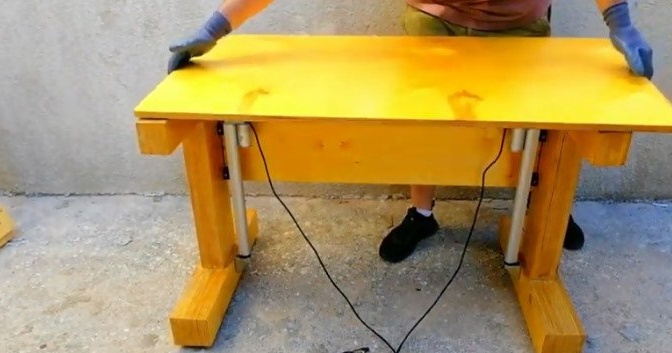
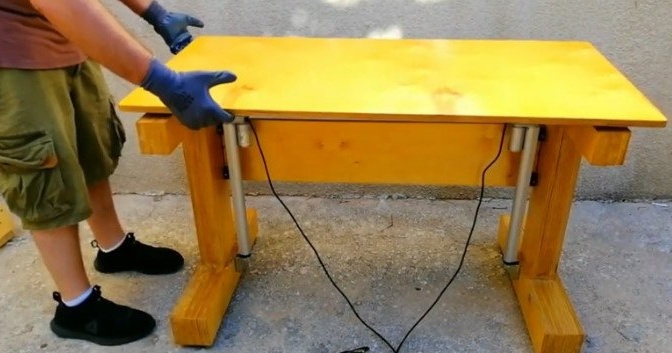
Now you can install the countertop, connect the drive to power and test their operation.

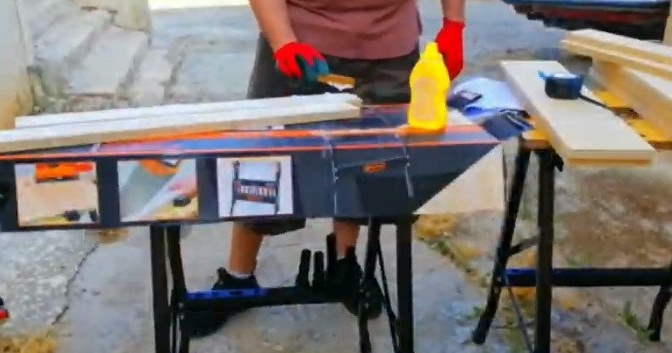
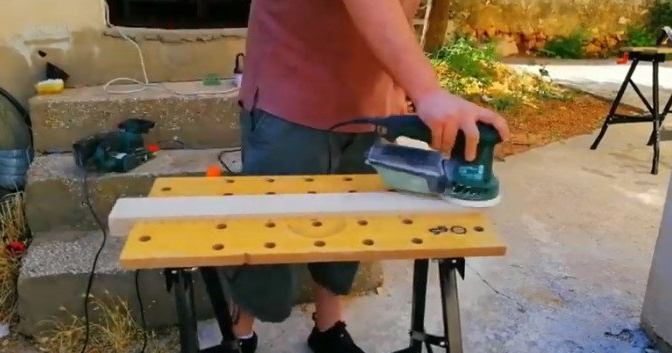
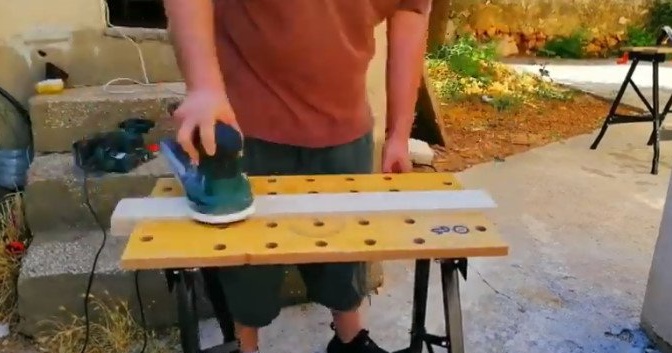
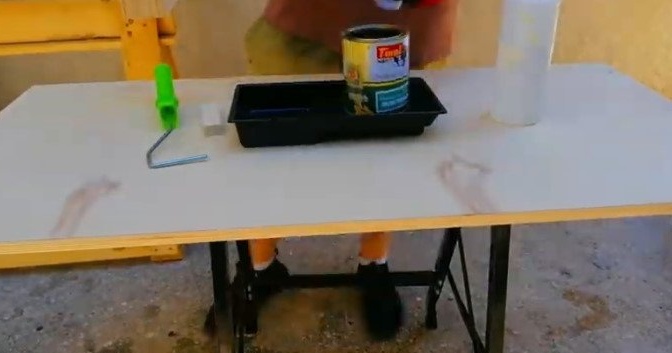
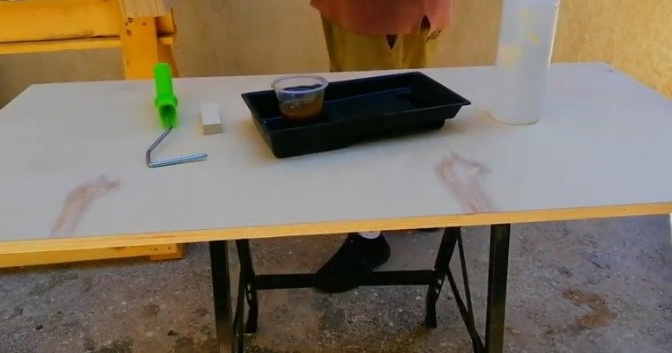
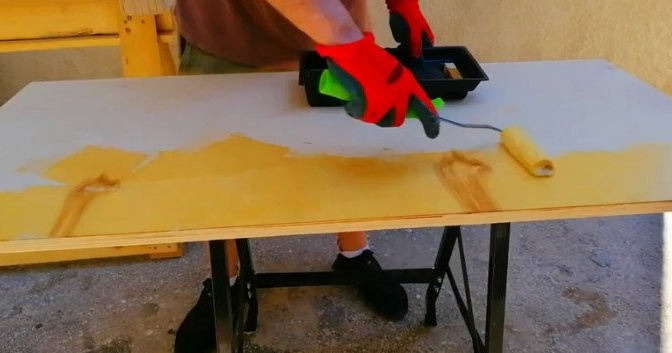
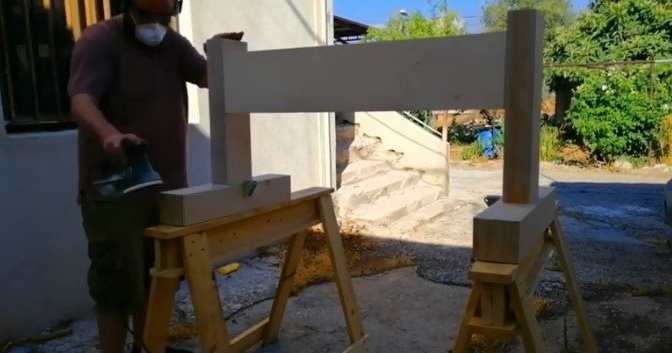
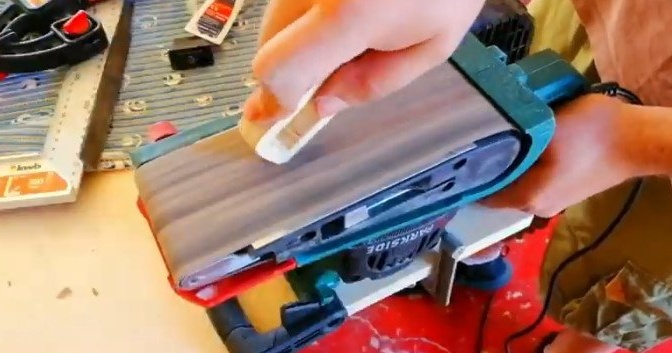
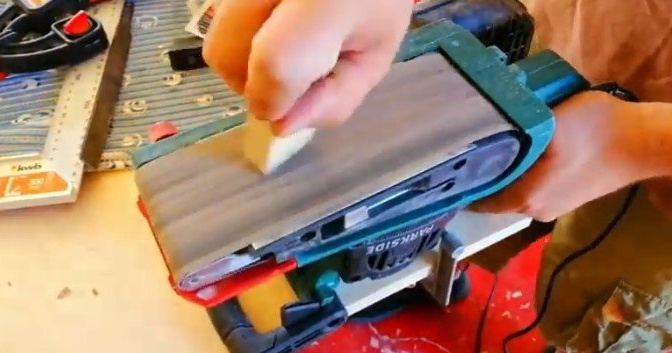
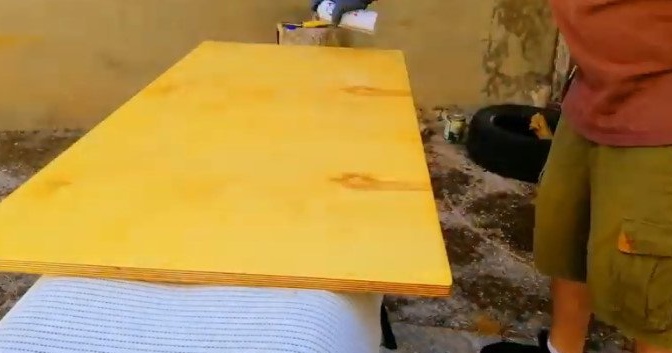
Step Eight: Sanding, Coating
Everything works, and the master partially dismantles the table and polishes it.
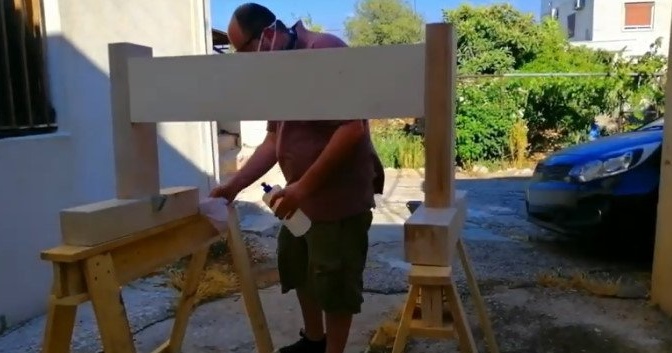
Apply varnish to the countertop

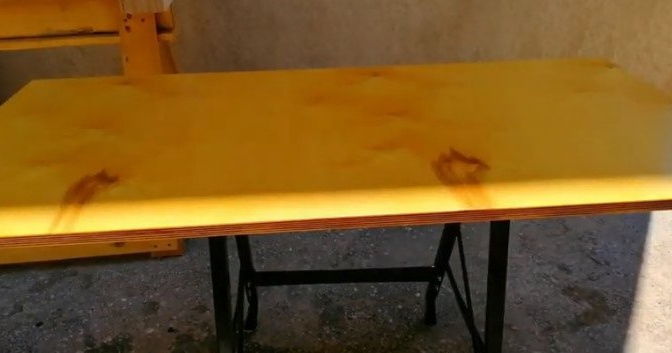
and legs.
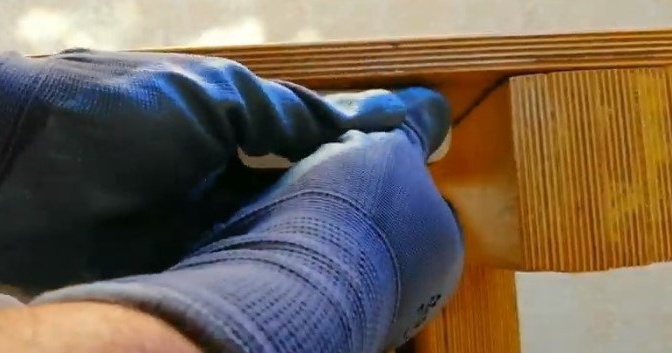
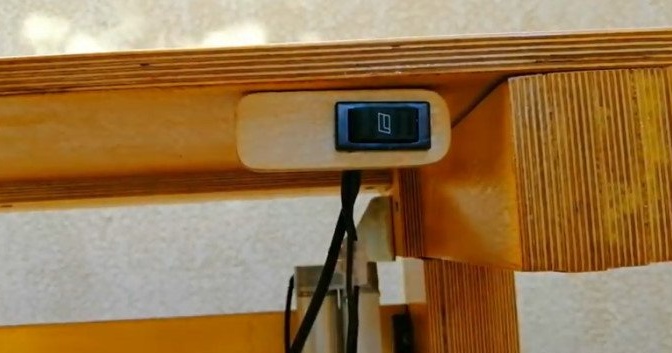
Step Nine: Leveling Feet and Power Button
Drills holes in the lower supports, installs threaded sleeves, screw in the adjusting legs.
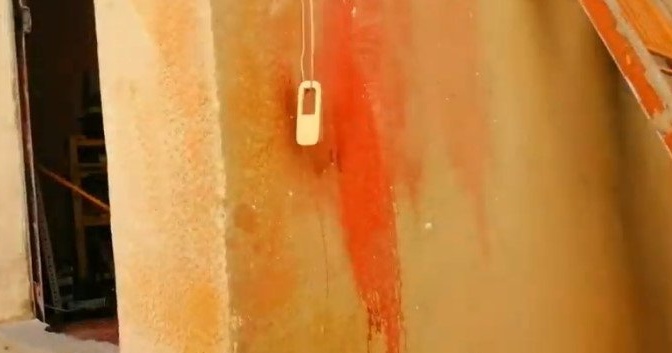
Cut a hole in the bar for installing the switch. Apply varnish to it.
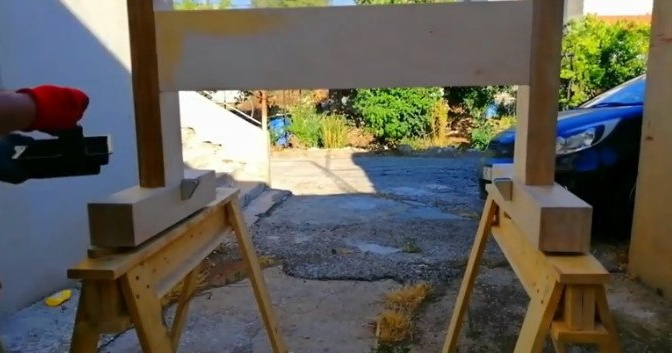
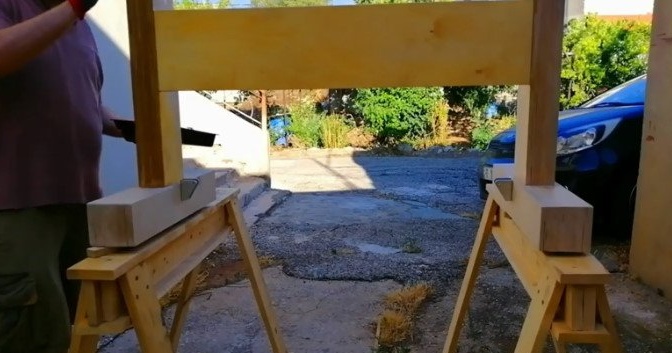
Step Ten: Final Assembly
All intermediate operations are completed and the master begins assembling the table.

Everything is ready, the master is pleased with his work.
The whole process of making the table can be seen in the video.