
In this article you will learn how to do it yourself. do it yourself the author of the YouTube channel "On TV Review" made just such an arbor.
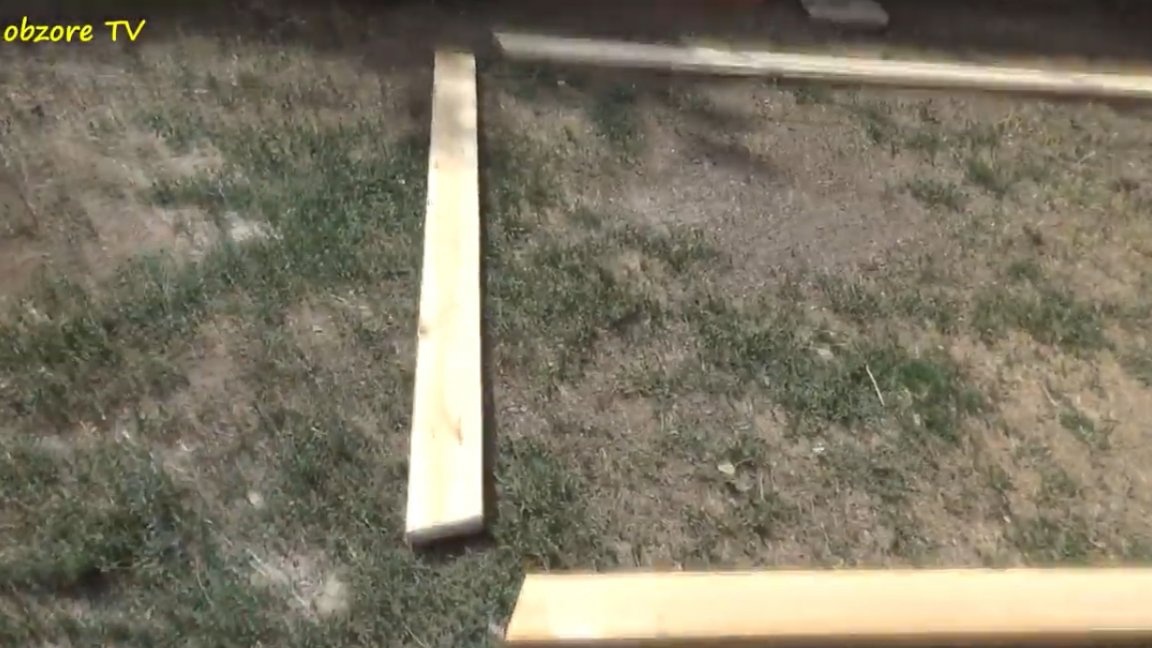
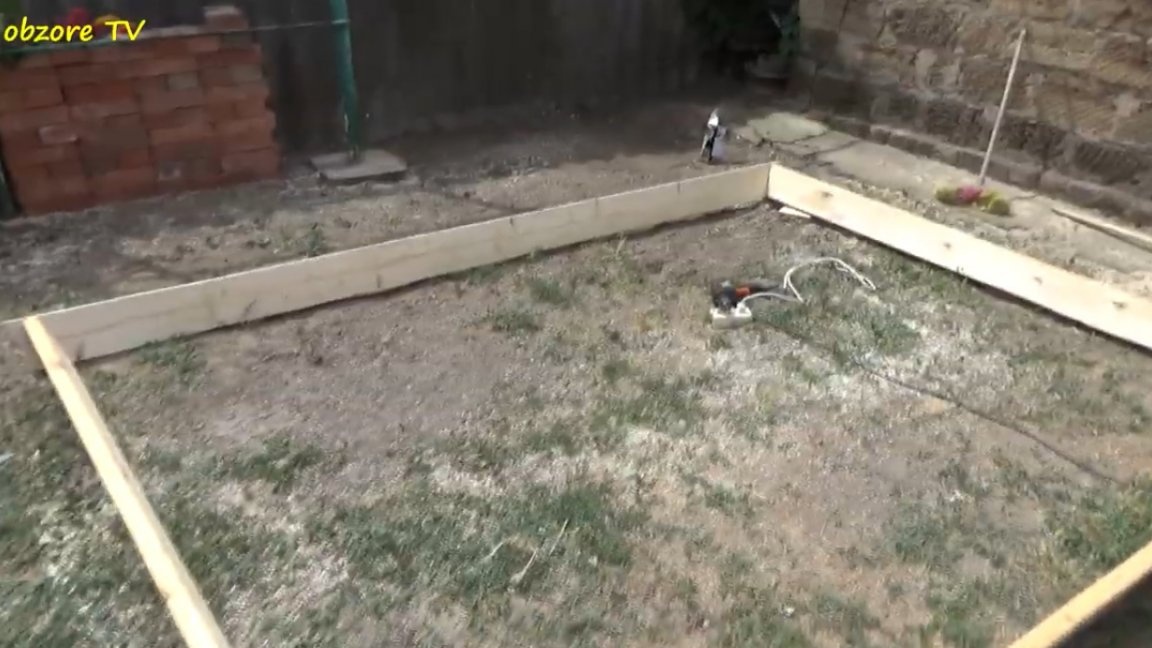
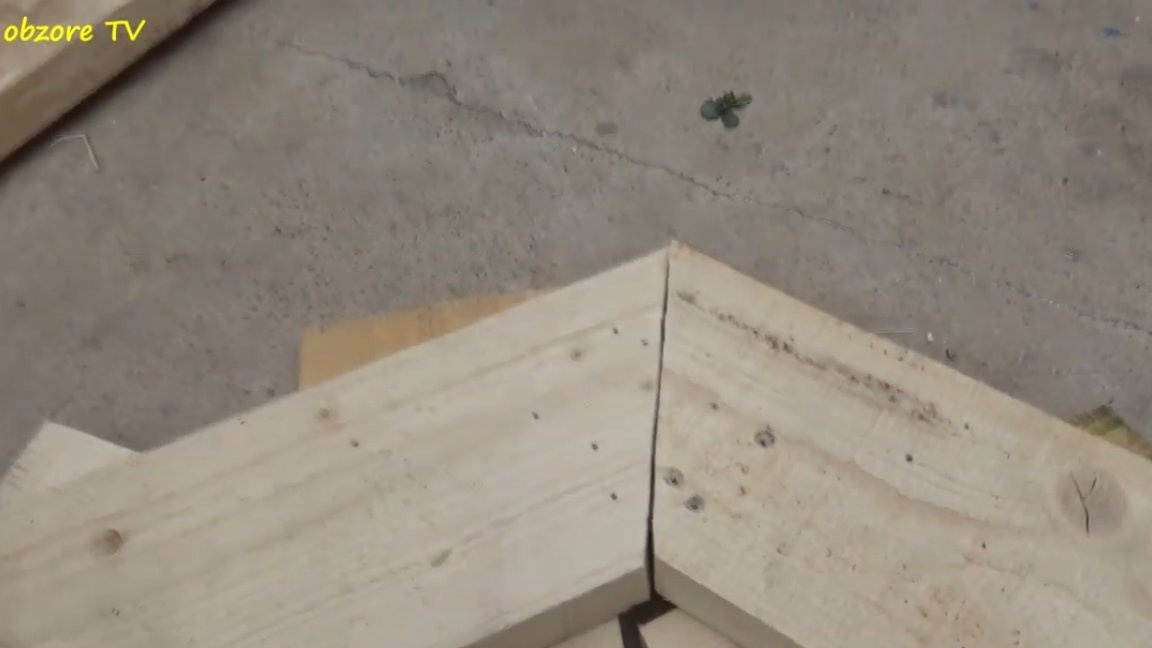
The basis for the future gazebo was 150 by 40mm boards. Prepare the base.
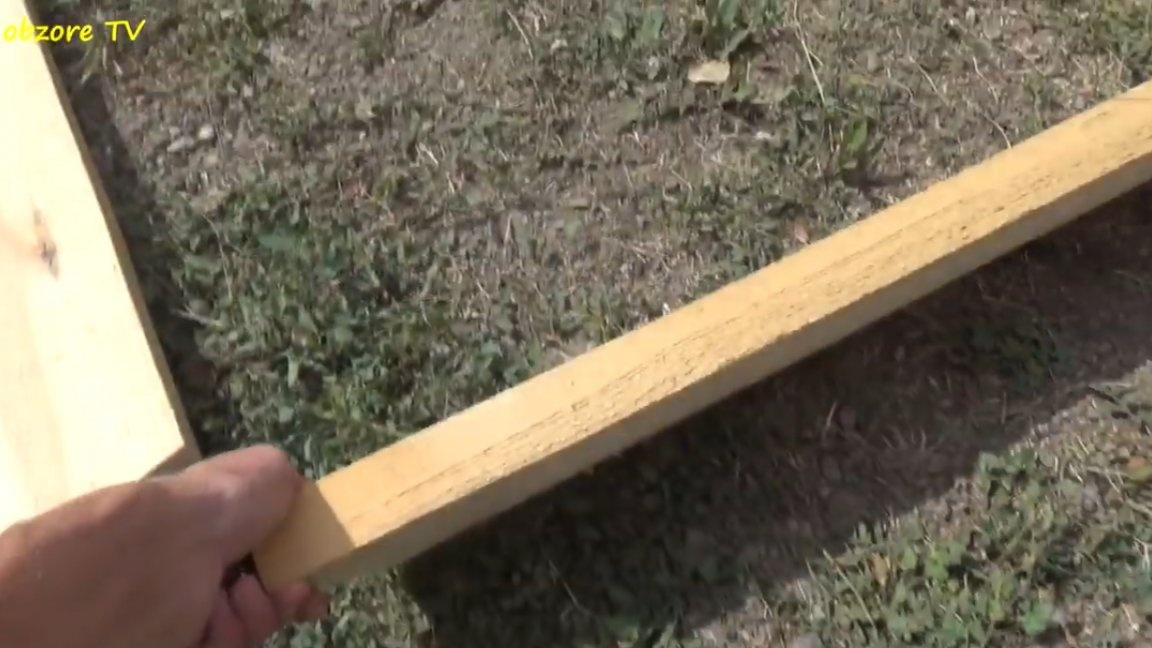
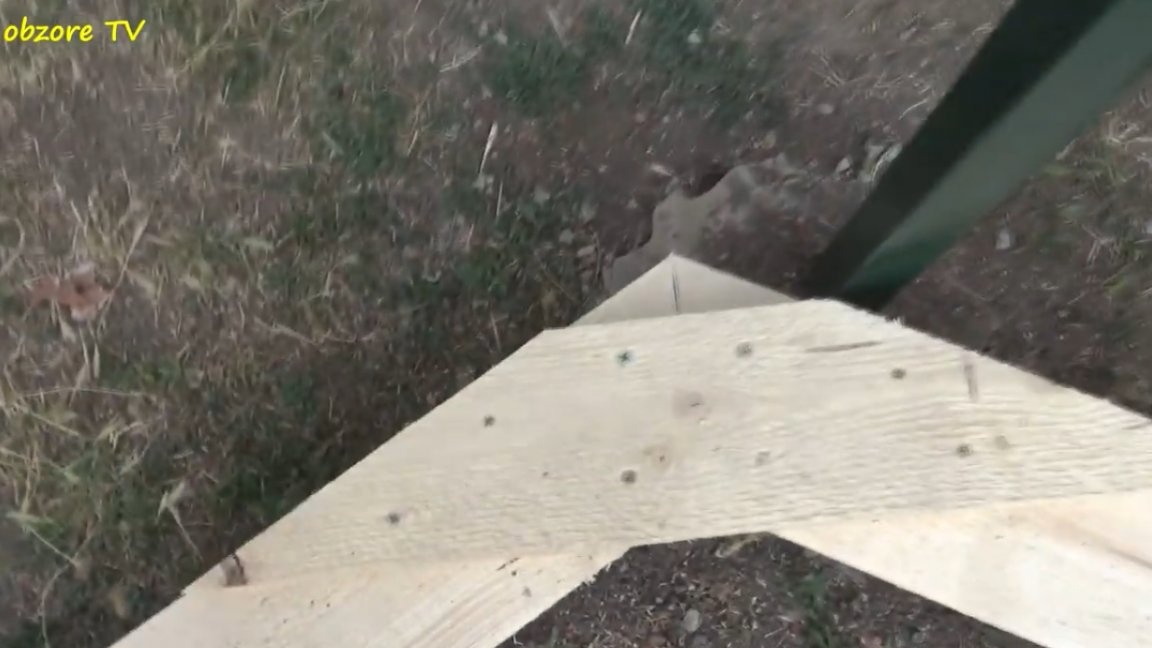
The length we get is 3m, and the width is 2.20m. Also, the author sawed each board at an angle of 75 degrees.
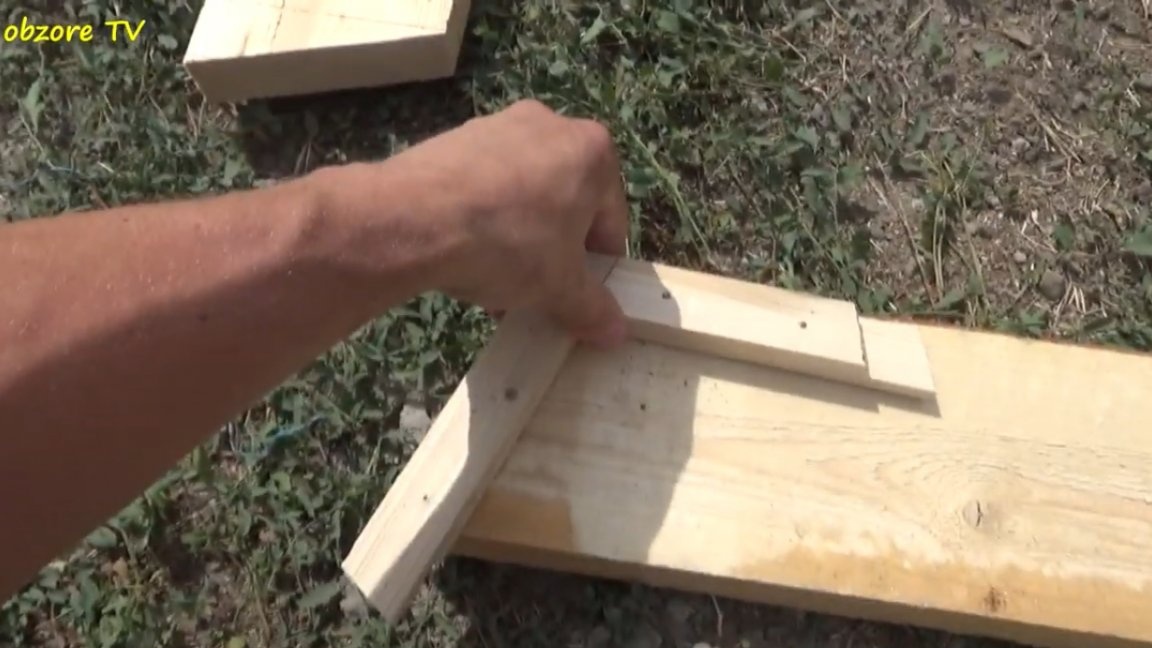
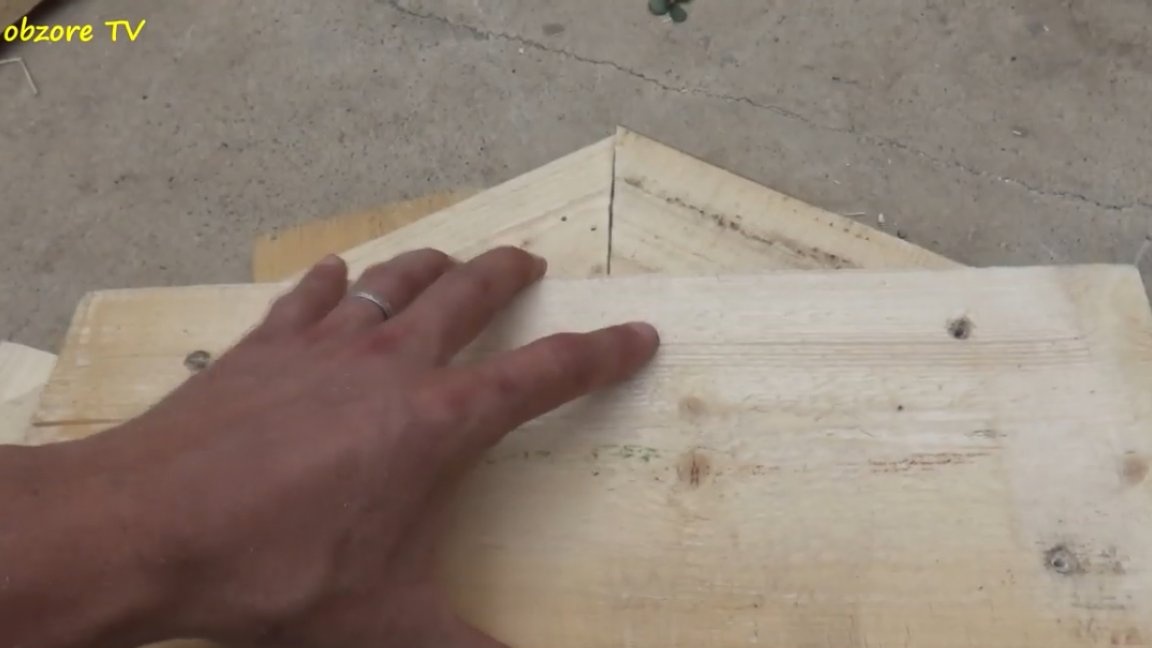
And in order for the angle to be the same everywhere, the master made such a conductor.
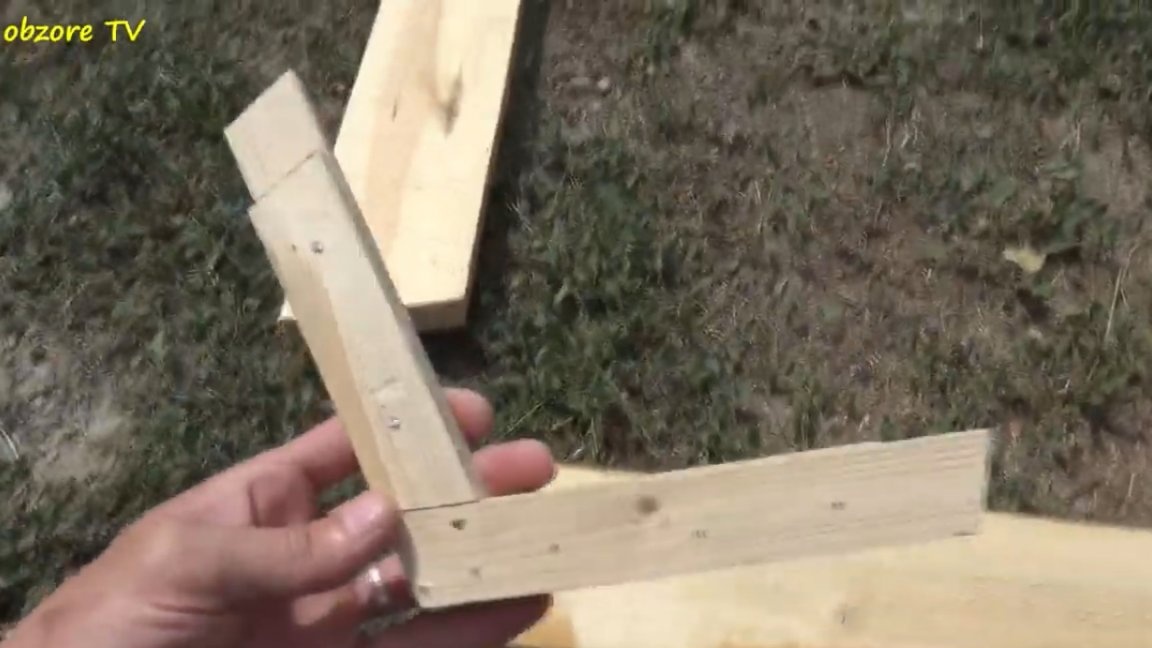
It must be attached to the board and saw off the excess part on it.
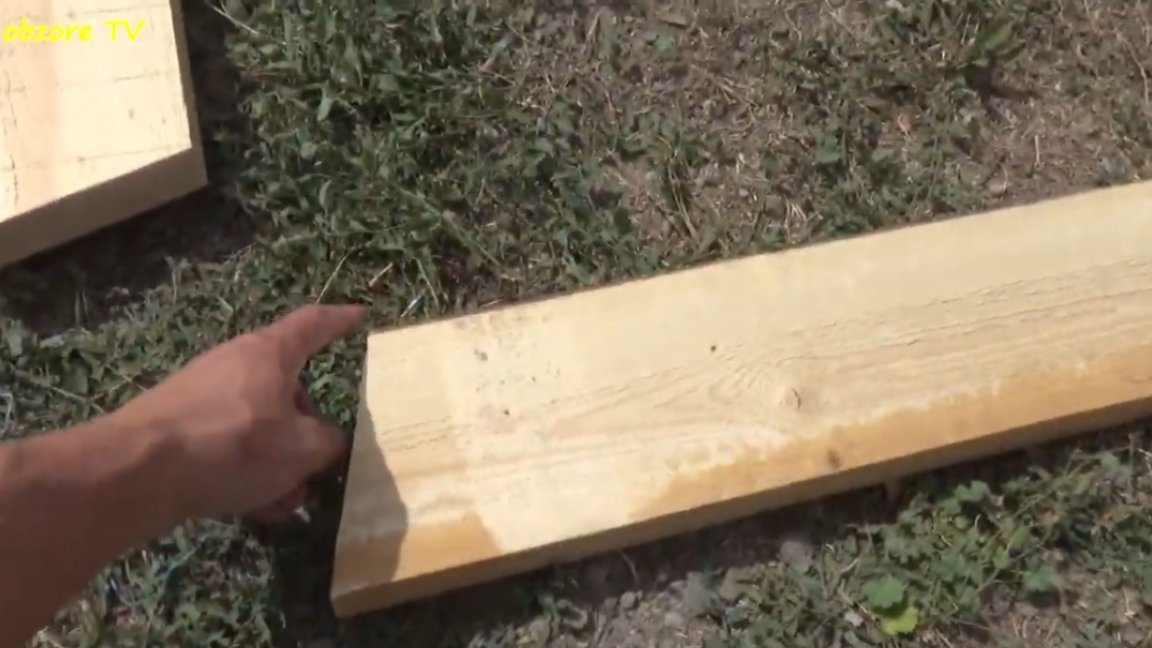
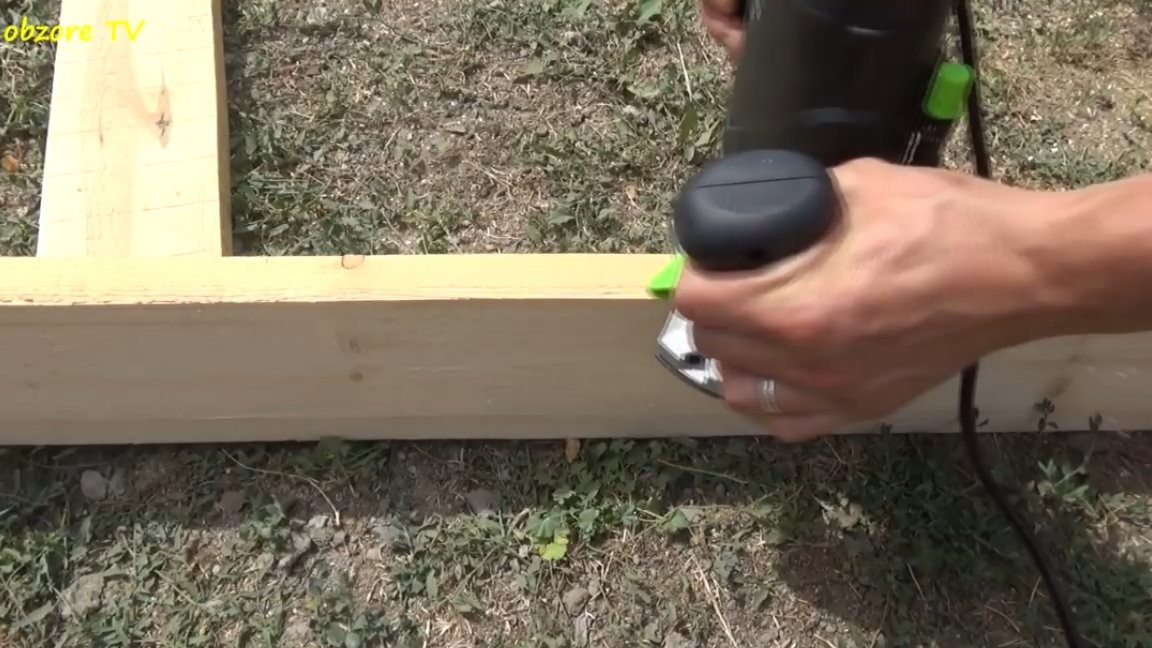
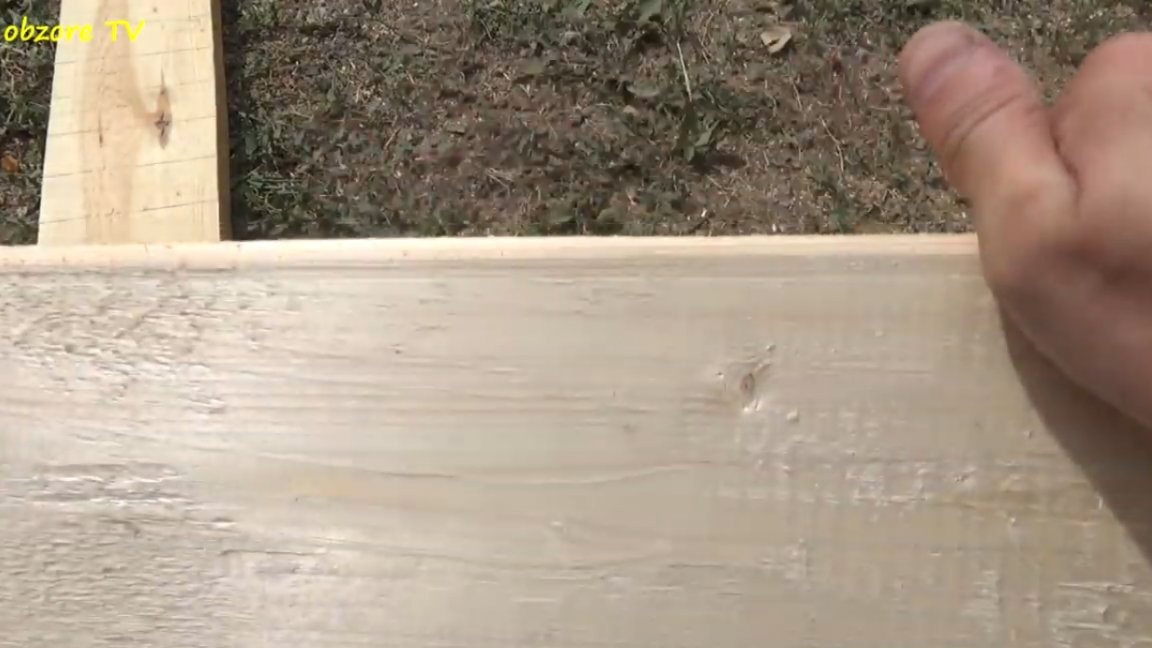
All front parts of boards need to be processed with.
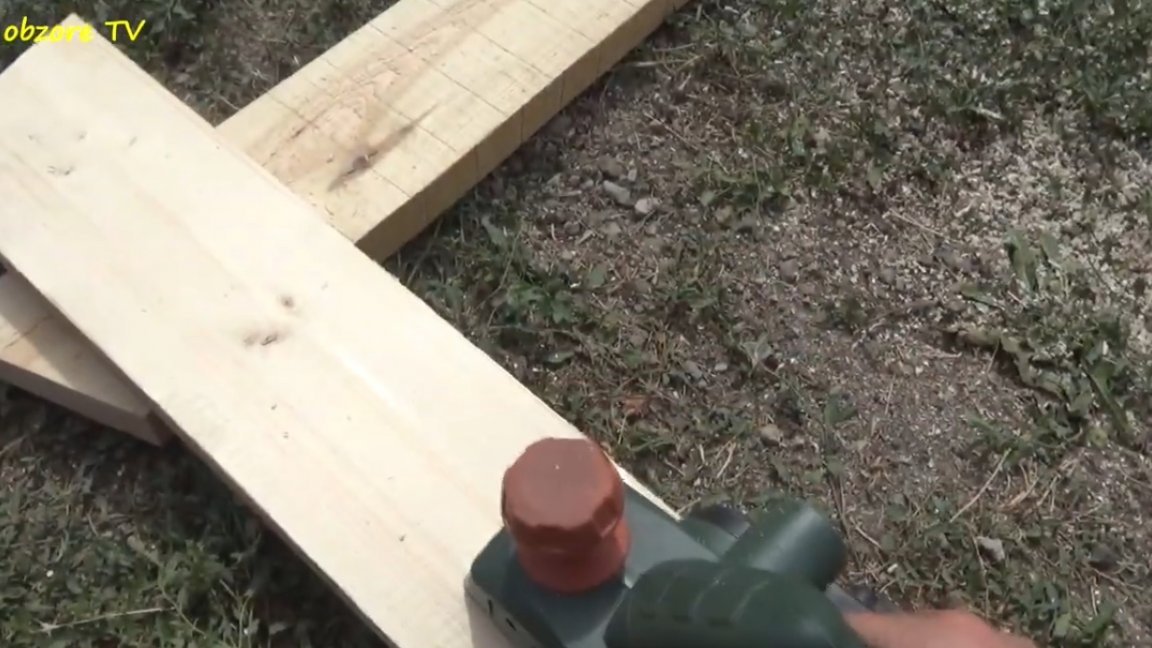
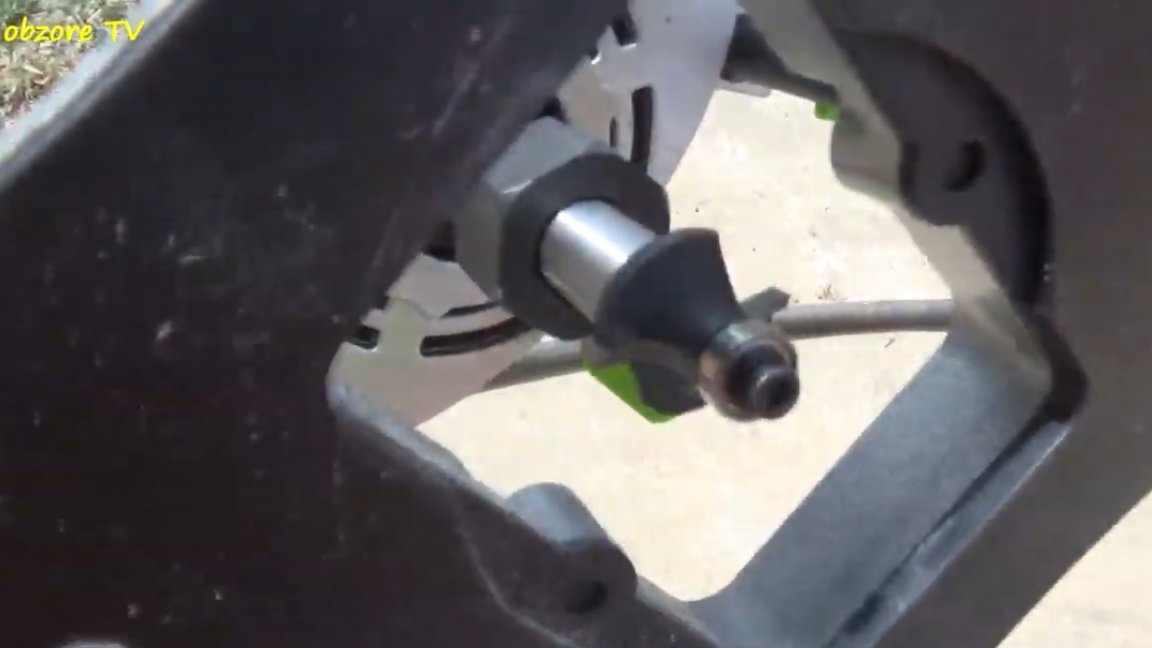
And also, using a special cutter, we remove the edge.
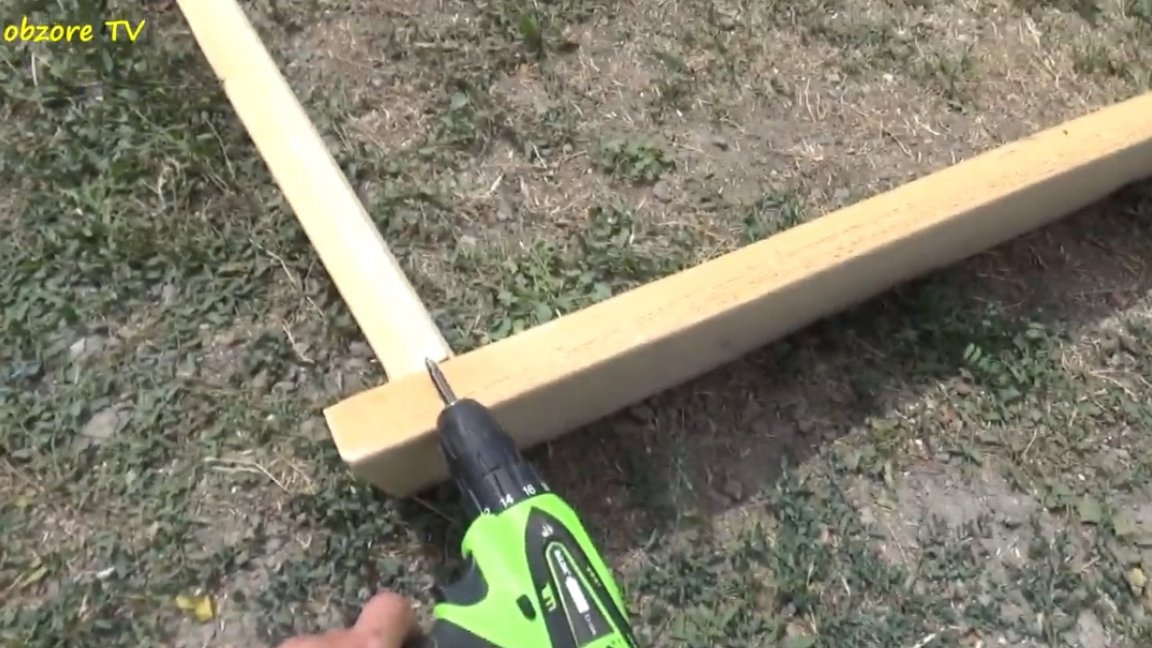
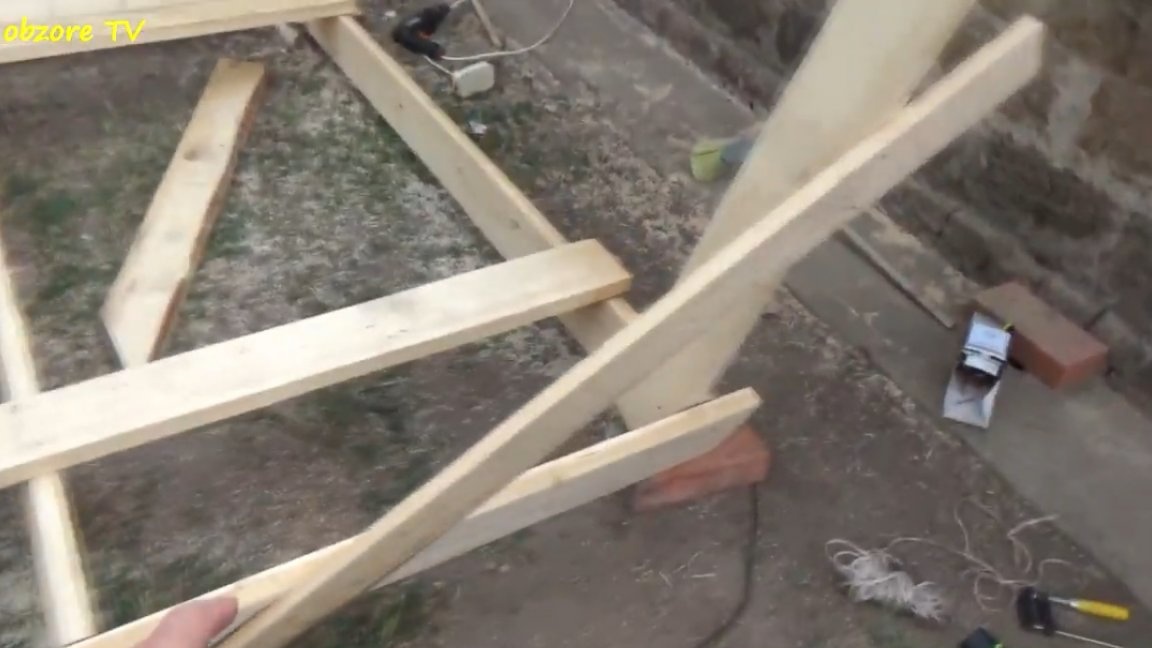
Next, the resulting workpieces must be folded into a single structure, set the diagonal and fasten them with screws with each other.
In addition, the author laid down two more transverse boards in order to lay floors on them in the future.

Next, you need to saw 20 of these workpieces with a length of 1.95 m, they are needed directly for the frame itself.

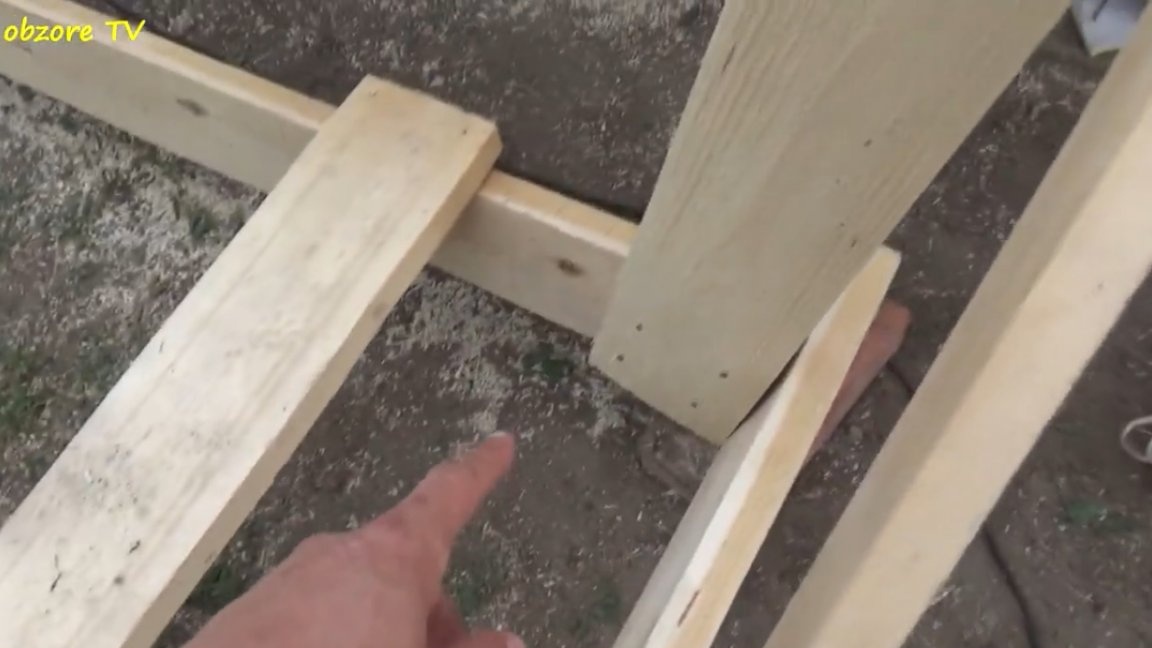
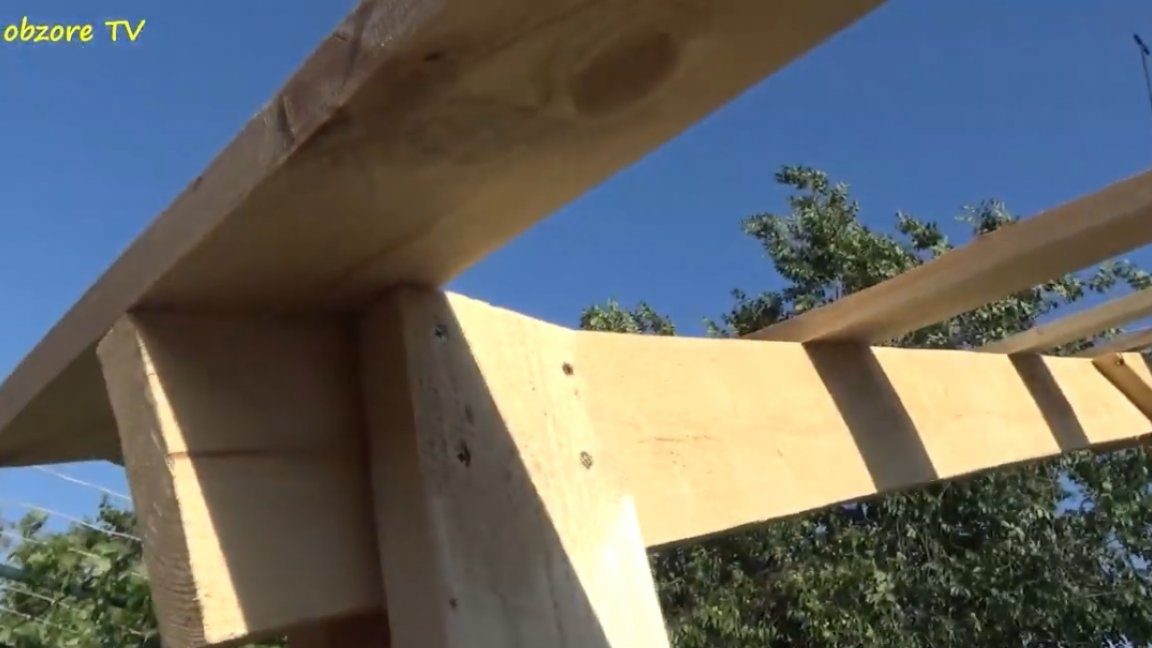
Now let's take a closer look at how to make such a frame. First, a cut is made and with the help of a small jumper (later we will replace it with a more attractive one), the parts are connected to each other as follows.
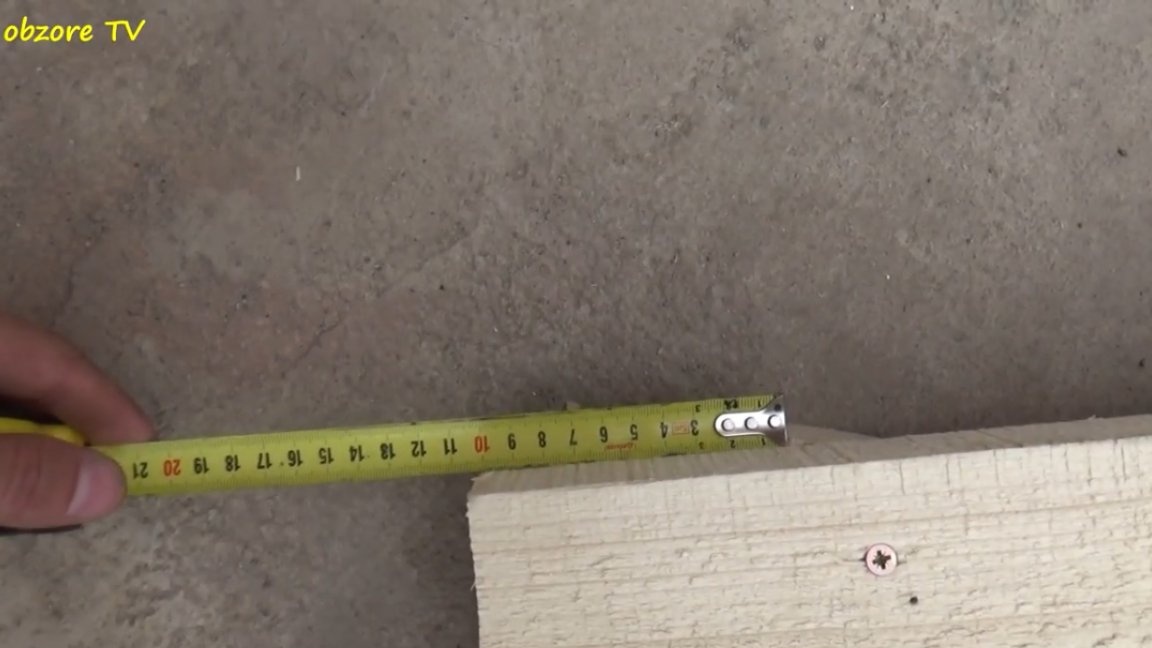
Protrusions leave 10cm on both sides.
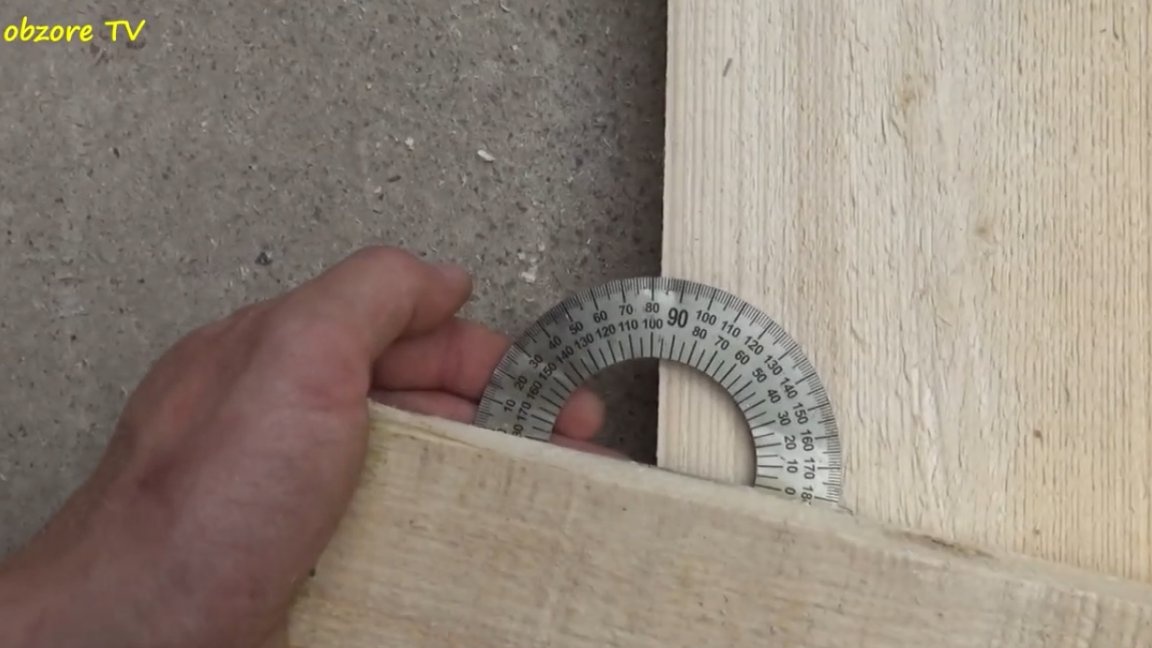
The angle here is 100 degrees.
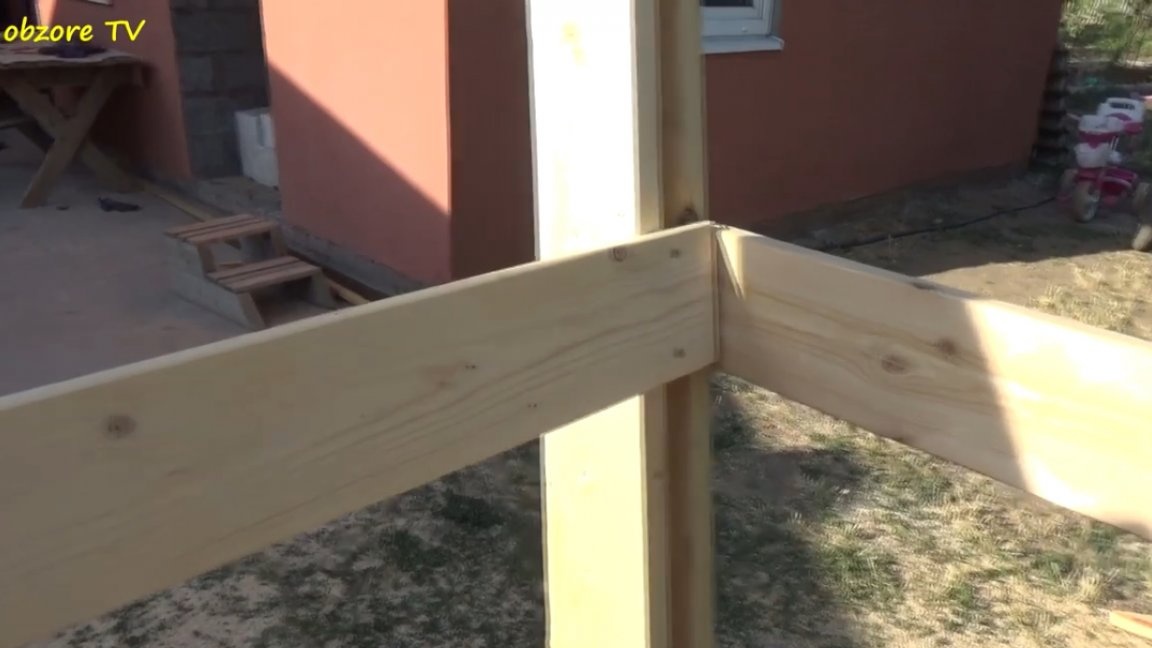
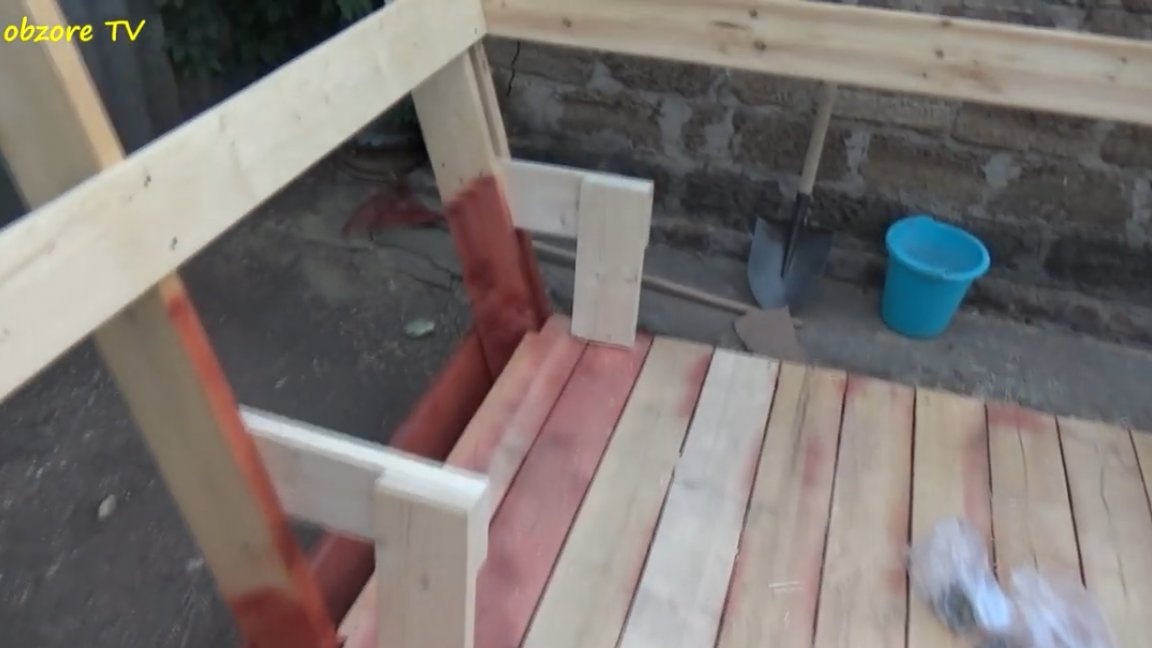
So, you can begin to install the first rack.
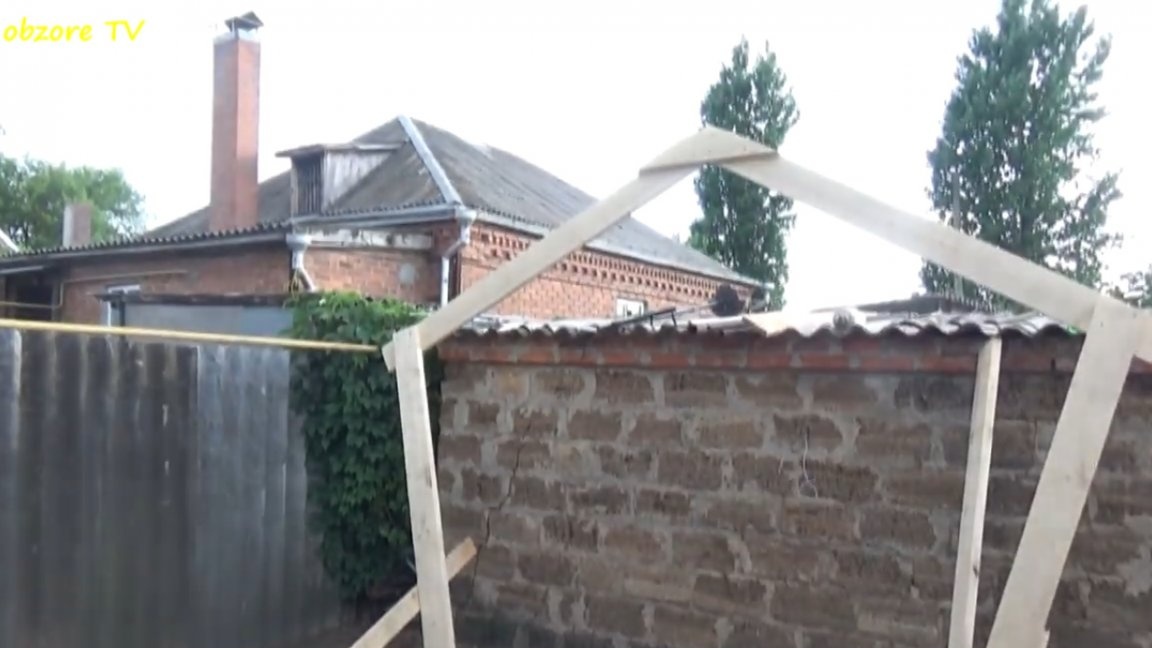
The rack is installed and pulled while temporary jumpers. The author pulled the construction together with the help of yellow self-tapping screws. Here are such small ones and others a little bigger.
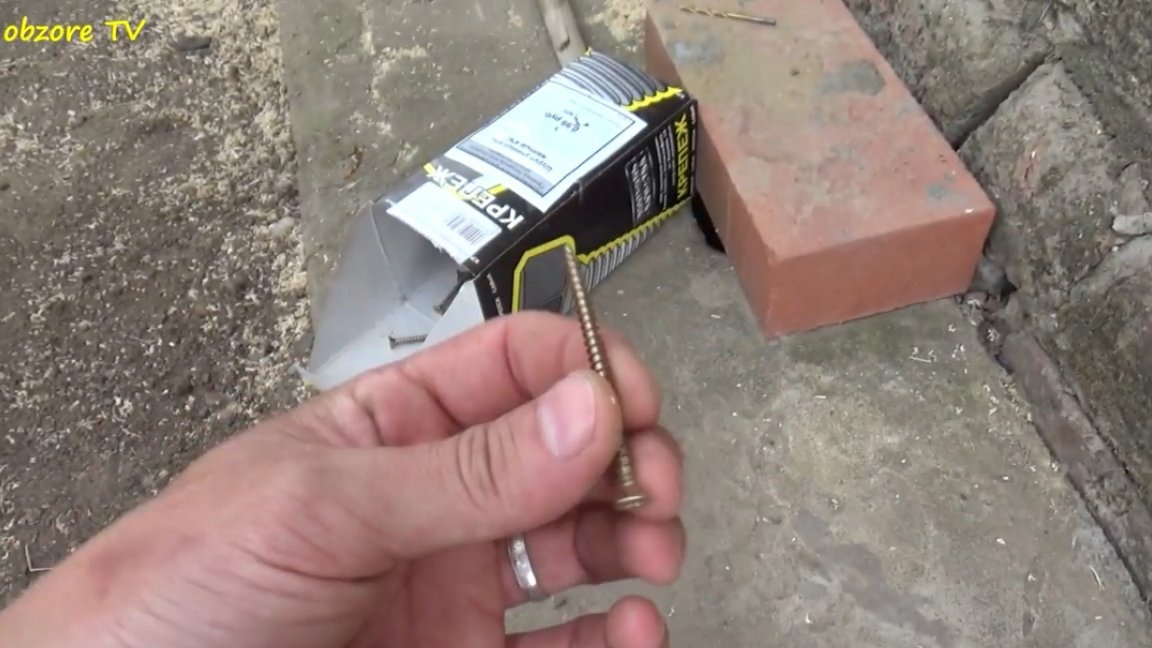
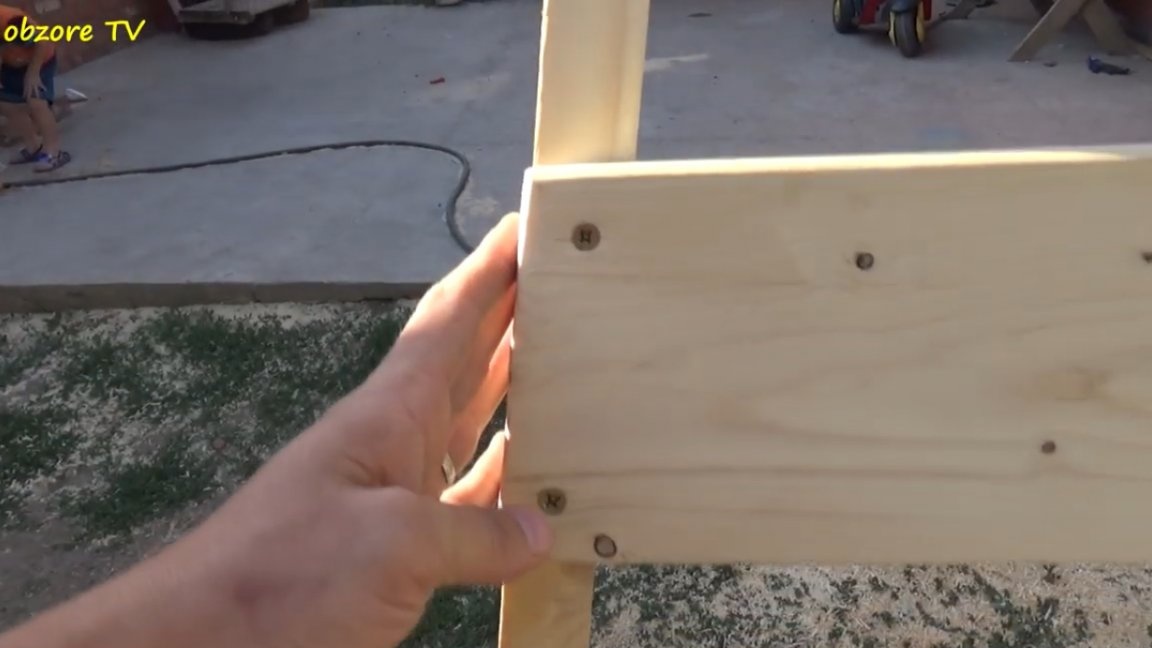
In this case, it is better not to use black self-tapping screws, since they simply burst at the first tightening. And also right away, let's remake these jumpers.
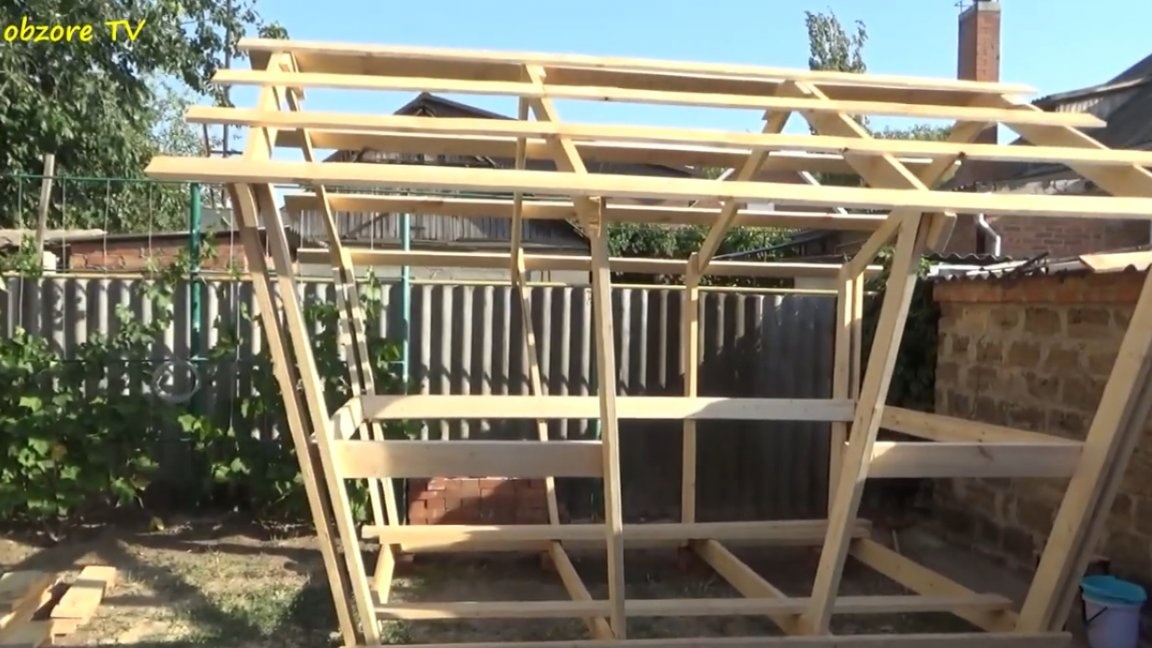
This is how our design looks at this stage, we will do next.

We continue to assemble the arbor frame further. The author admits that doing it alone is quite difficult.
The frame is fully installed. Next, you need to make a crate. The whole crate is 4 meters. There are 4 pieces on each side.
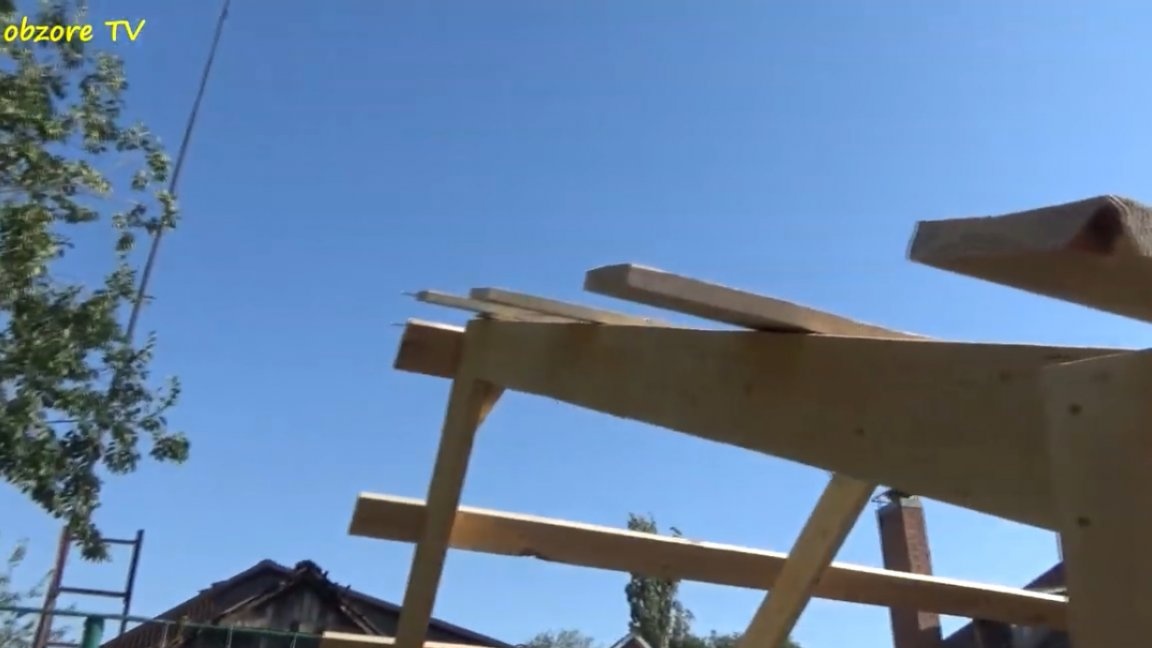
It was also decided to strengthen the extreme beams on each side, putting another one.
That's how it is all connected and pulled together with self-tapping screws.
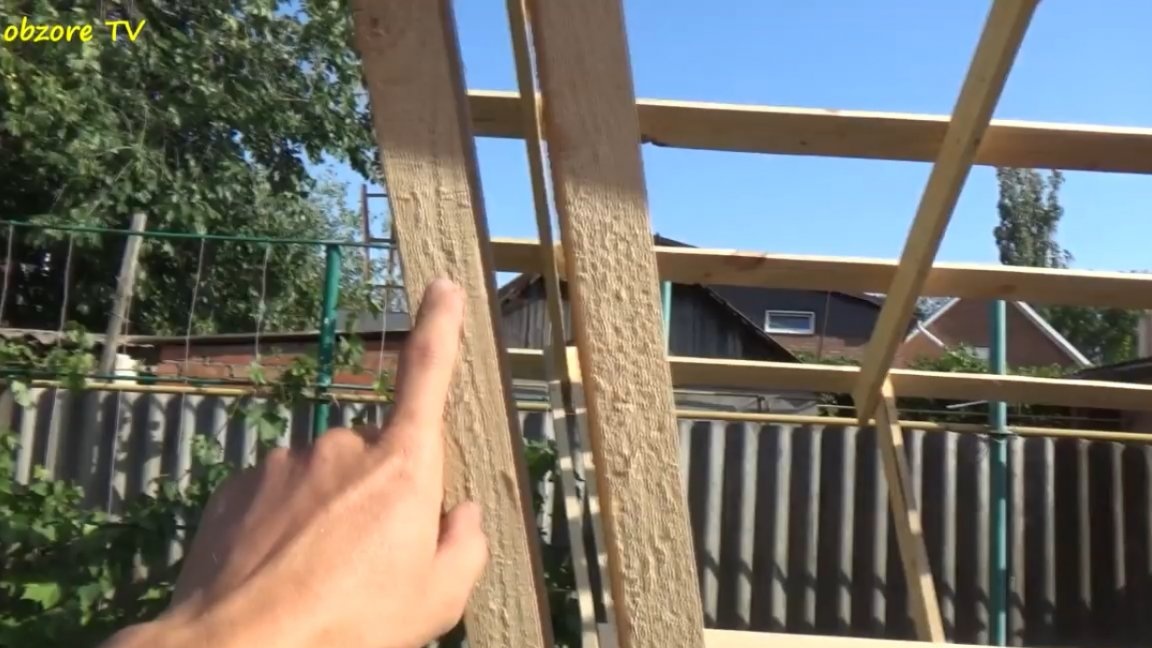
The frame of the gazebo turned out to be quite stable, nothing staggers anywhere. Also, these jumpers, which in the future will be the backs of the seats, give additional rigidity to the frame.
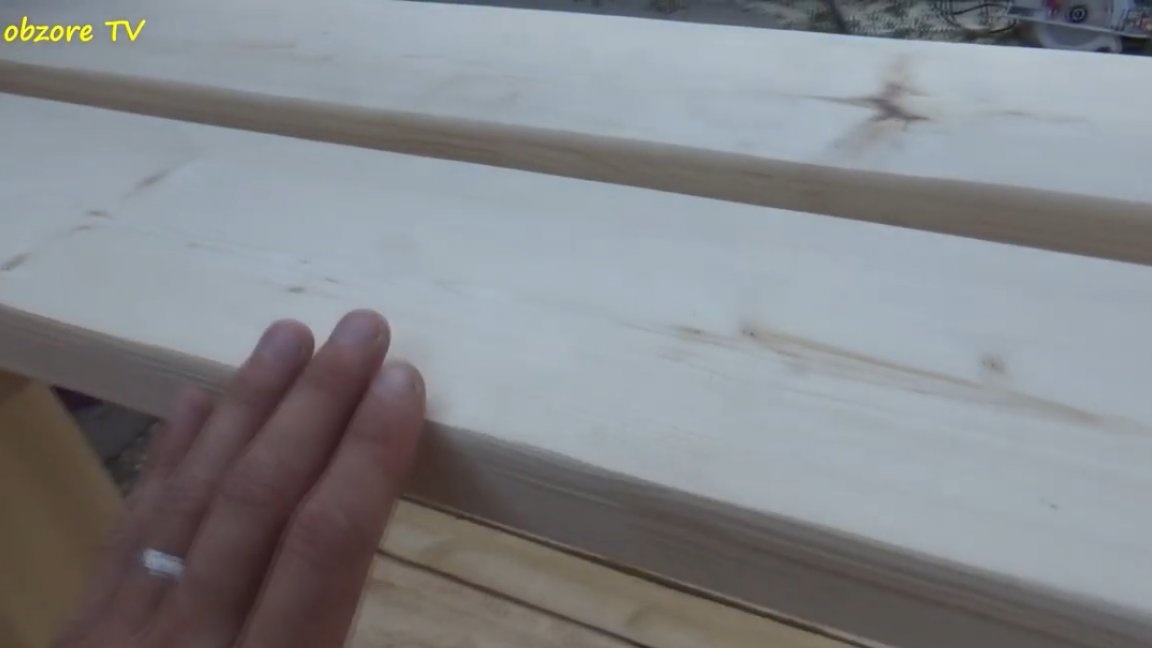
They must be completely cleaned and all corners processed.
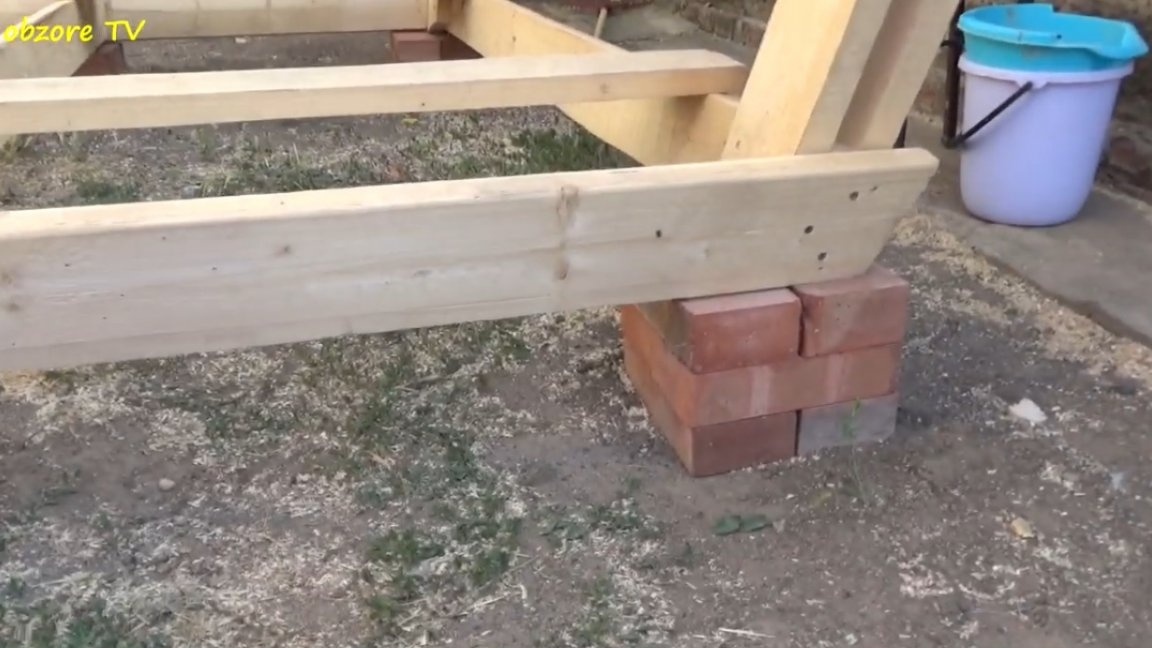
Now the gazebo needs to be leveled using the building level and installed on red brick posts.
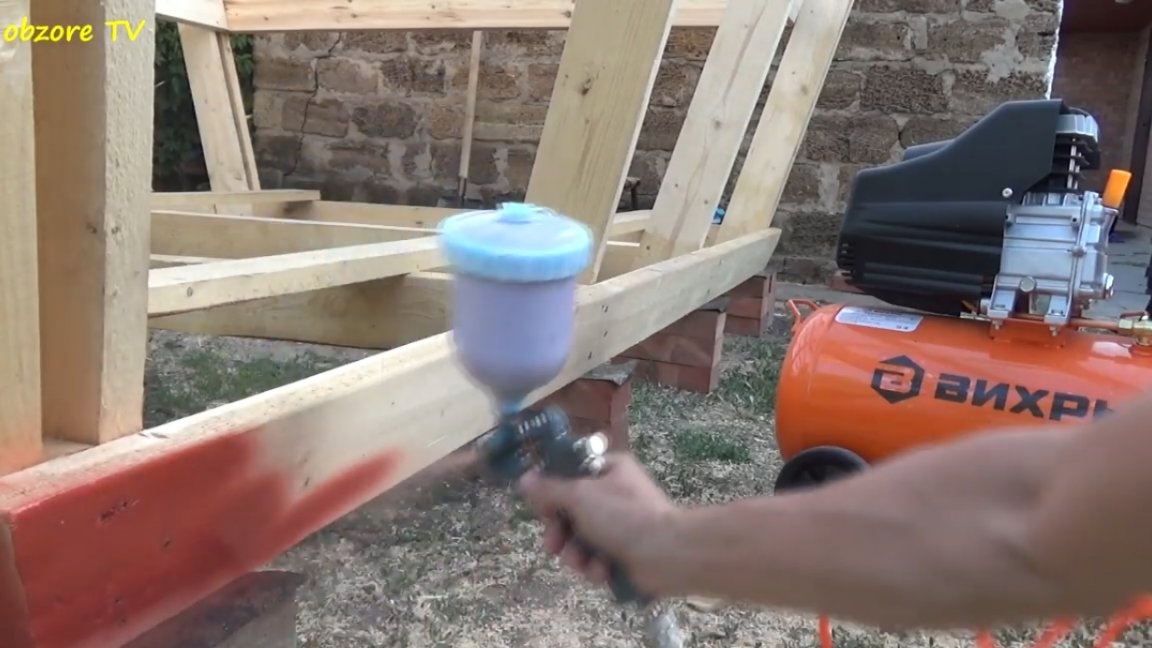
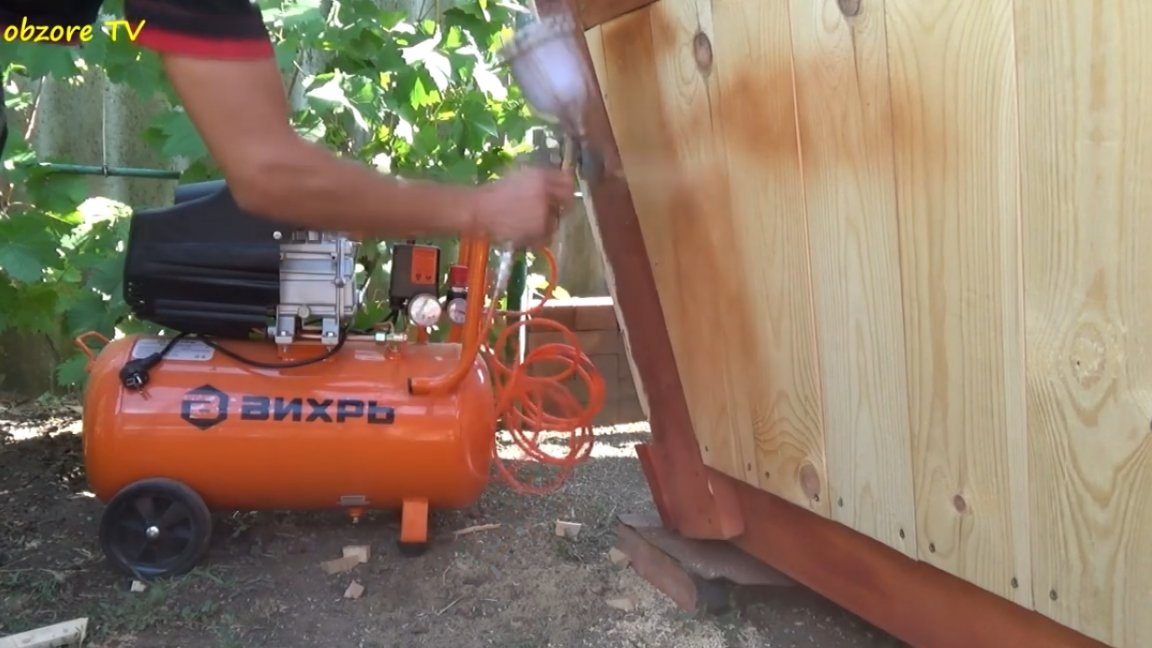
Before laying the floor, it is first necessary to treat the lower part of the structure with special impregnation for wood. The author chose this one, based on varnish.
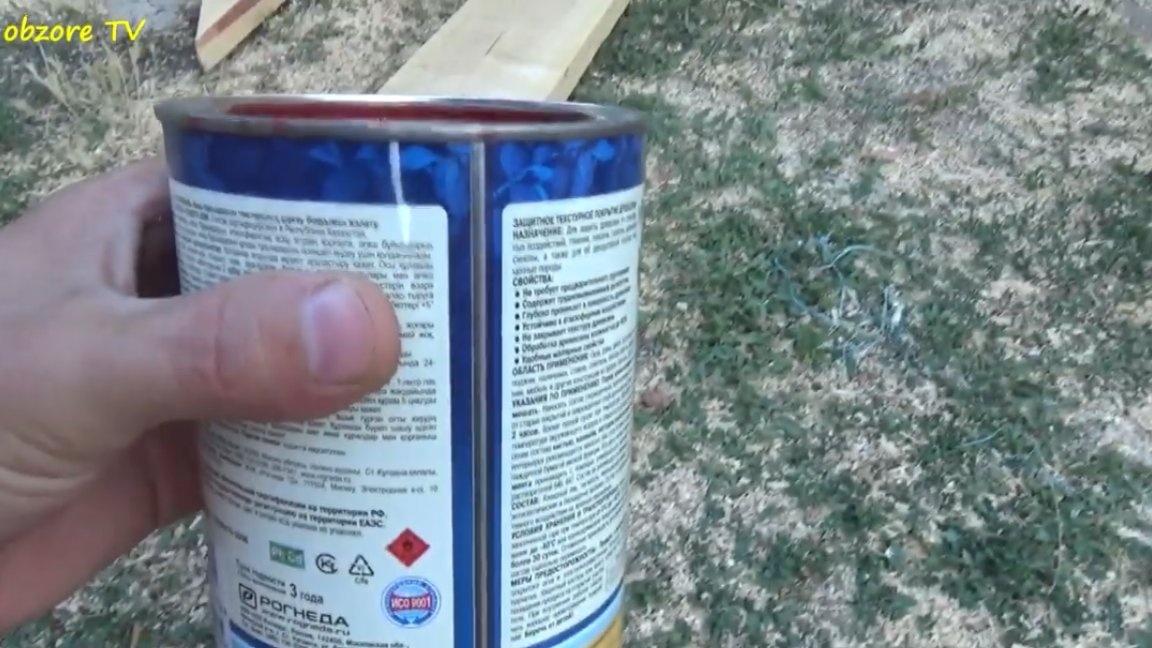
The master decided to apply the impregnation.
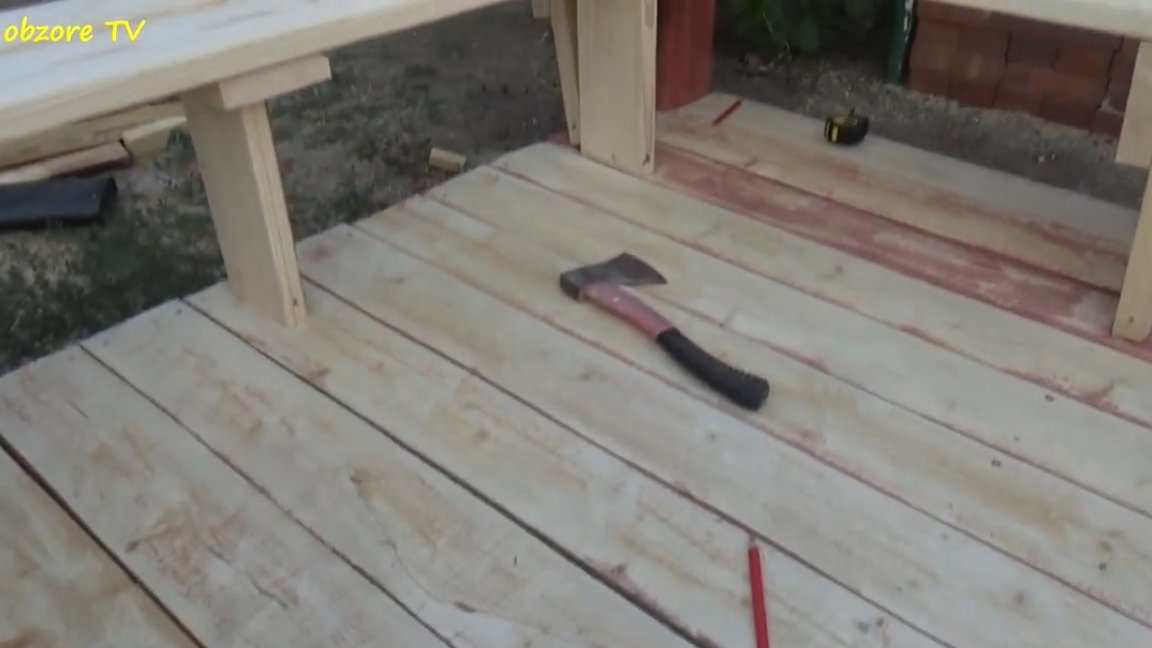
Now you can lay the floor.
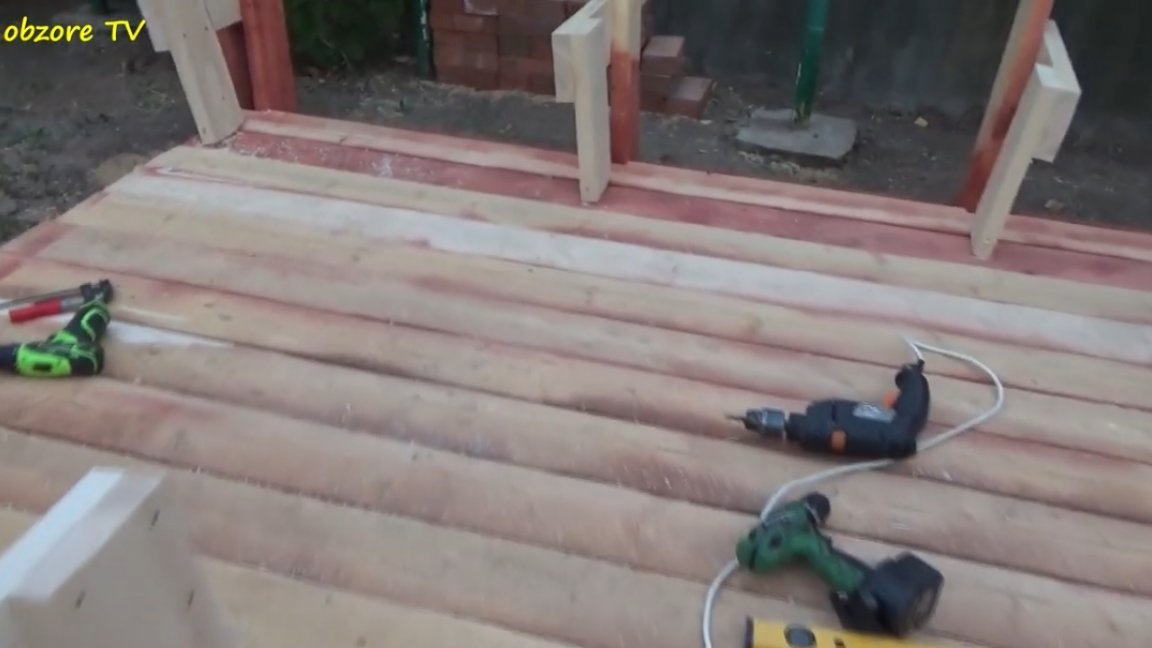
So, the floor is completely made up, the only thing left is to make inserts a little - in this place there was not enough wood:
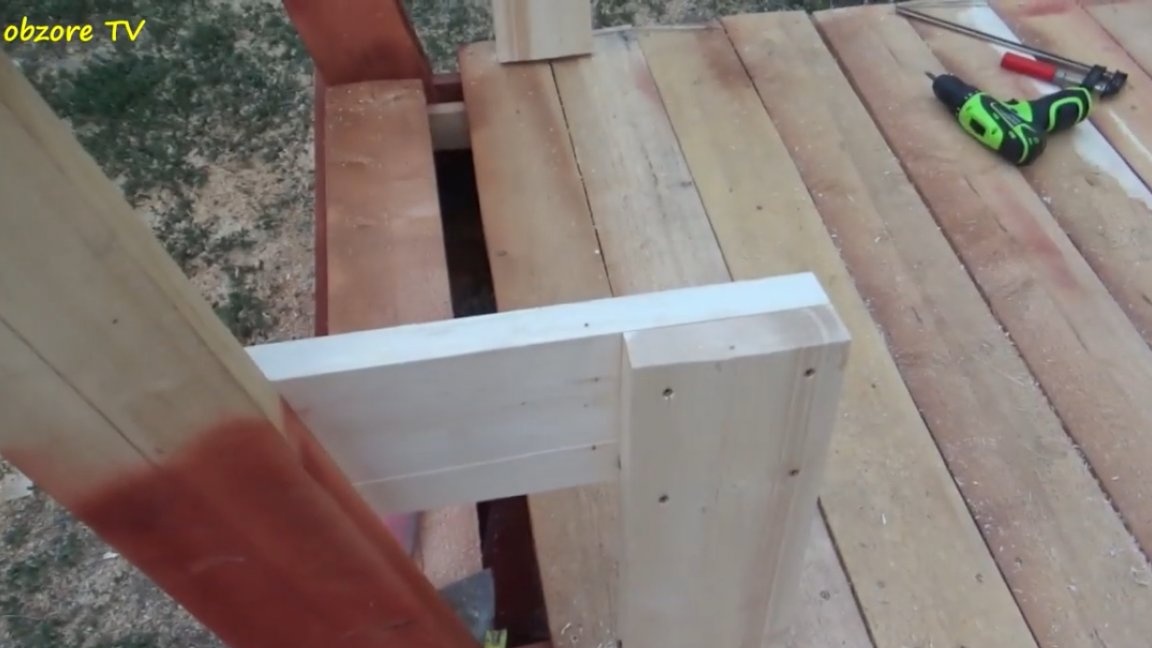
Also, the master made still such racks for future shops:
Next, proceed to polishing the floor.
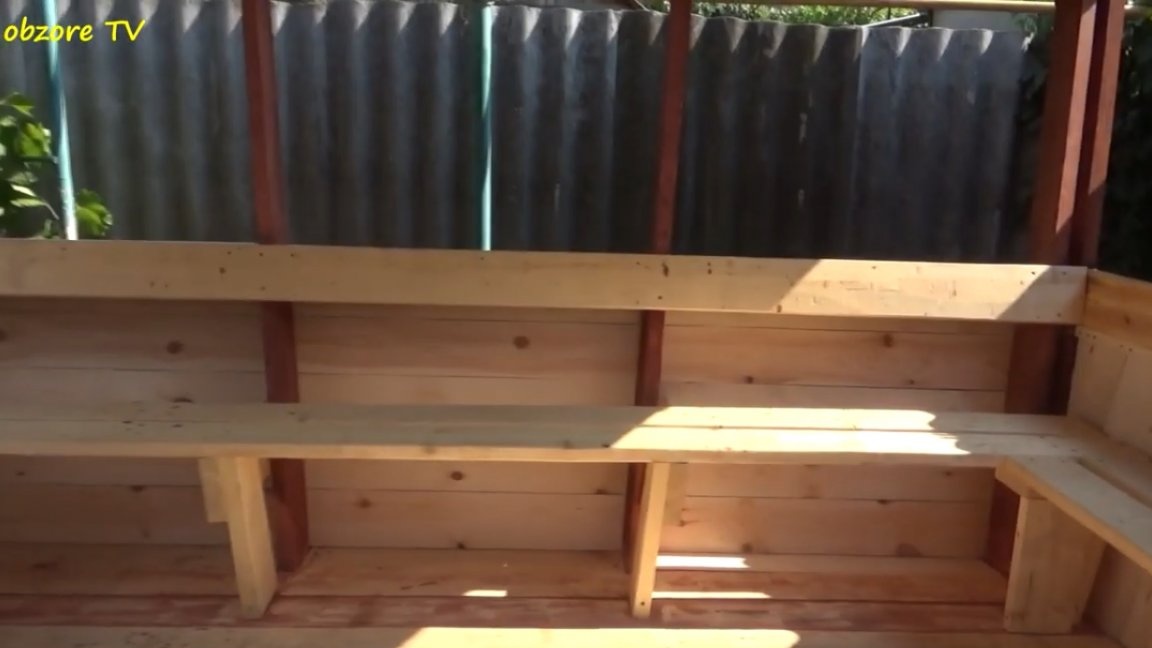
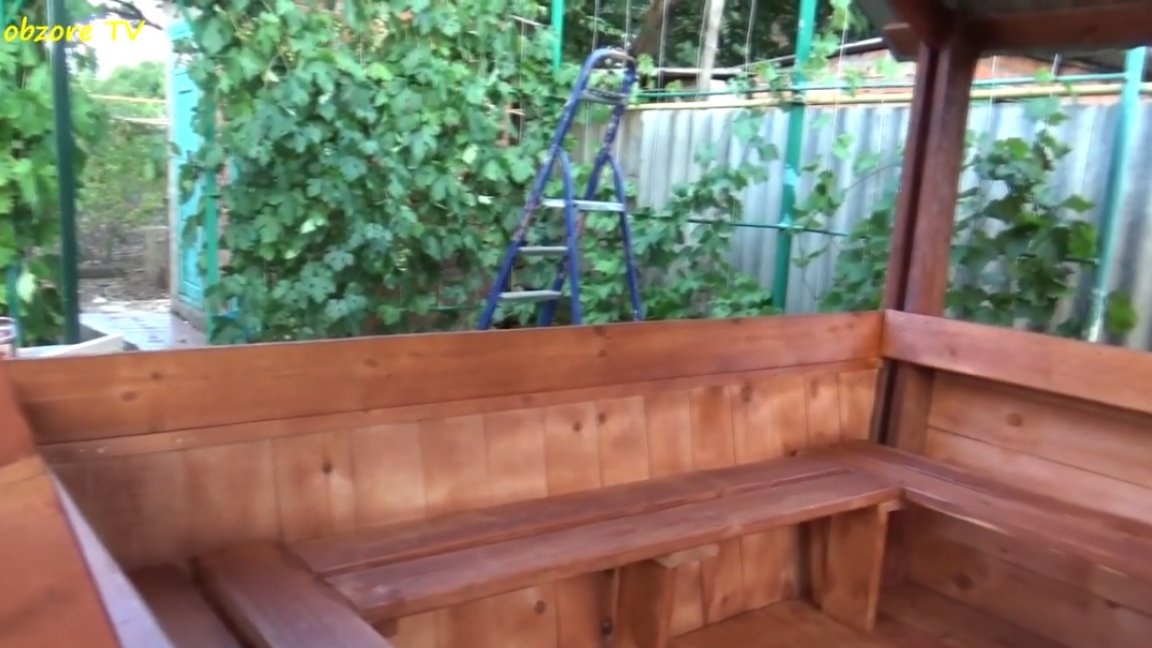
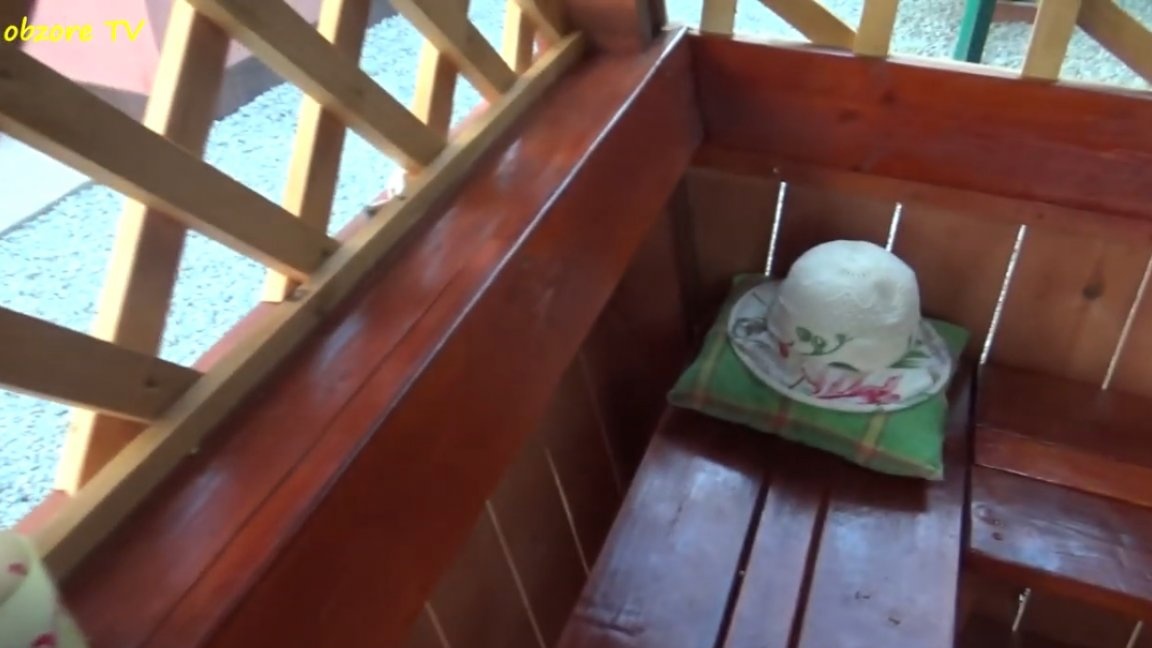
Now we are laying benches.
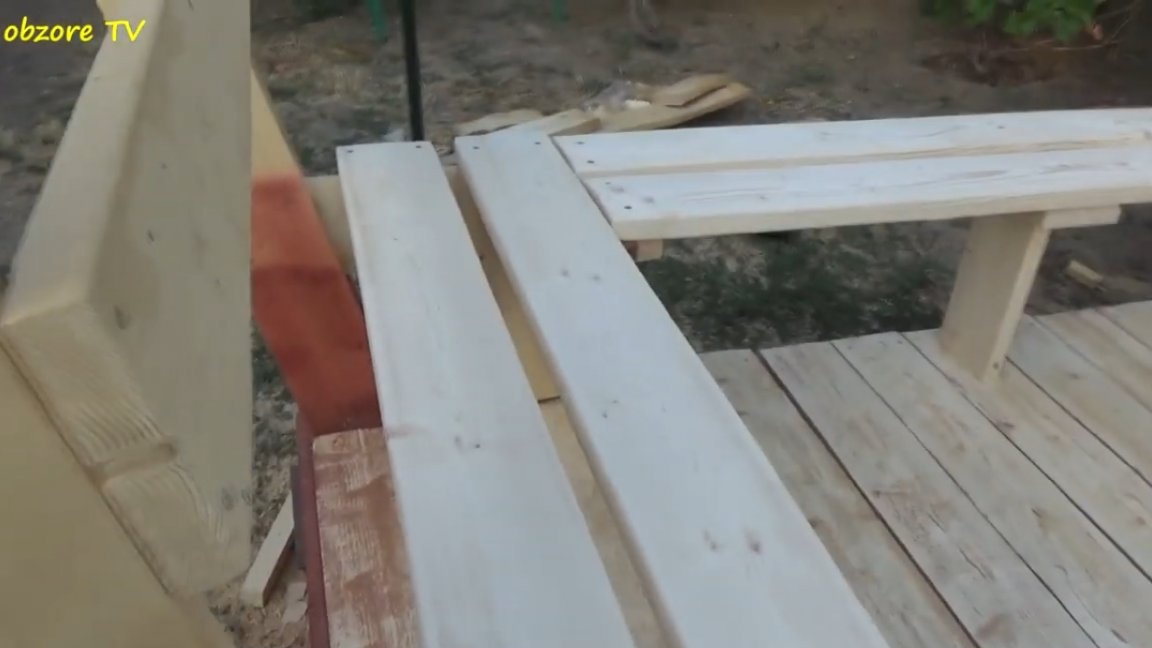
All benches must be cleaned, and also with the help of a cutter, you can remove the edges so that everything is more neat.
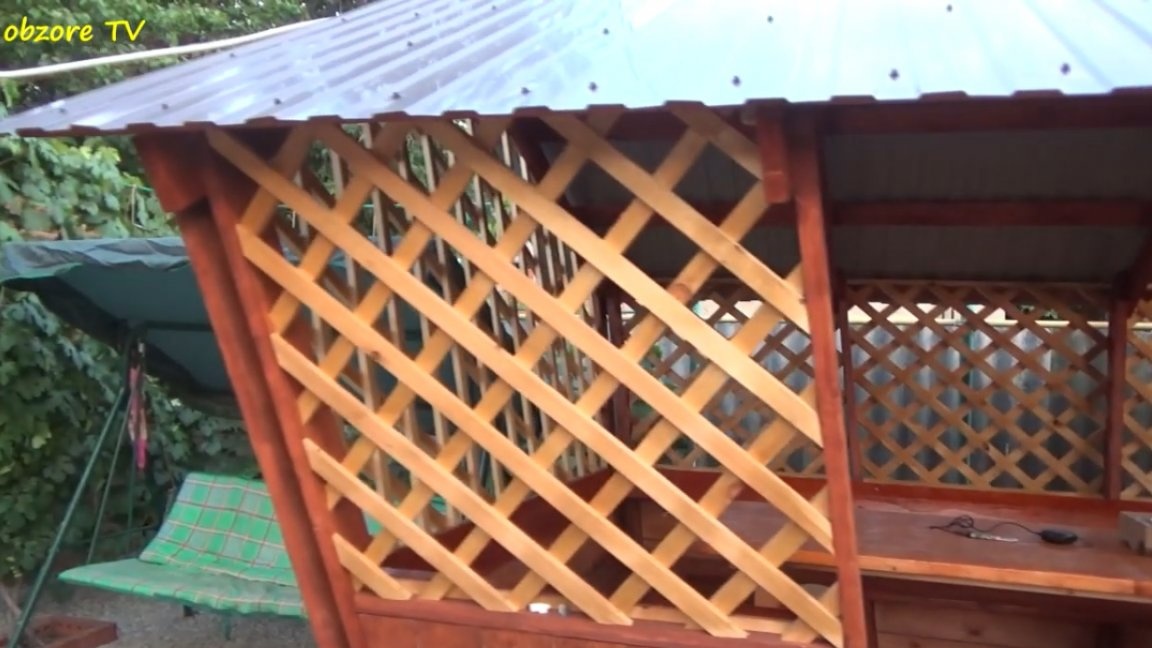
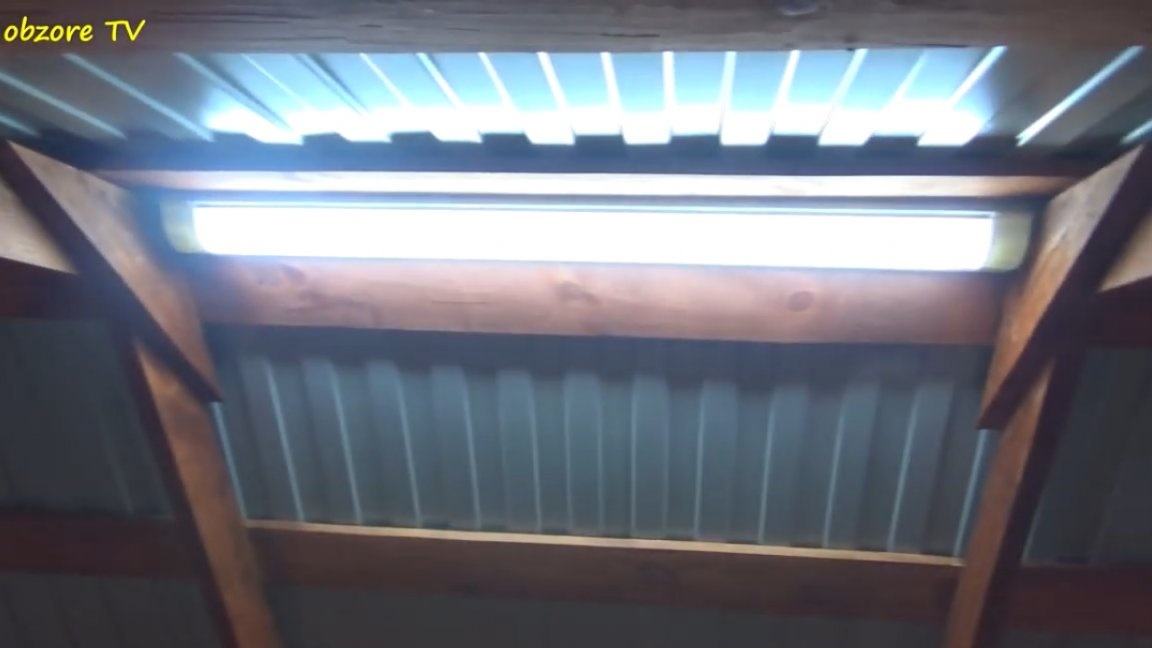
The next step is the roof. It was decided to make it from corrugated board. Also do not forget about the skate.
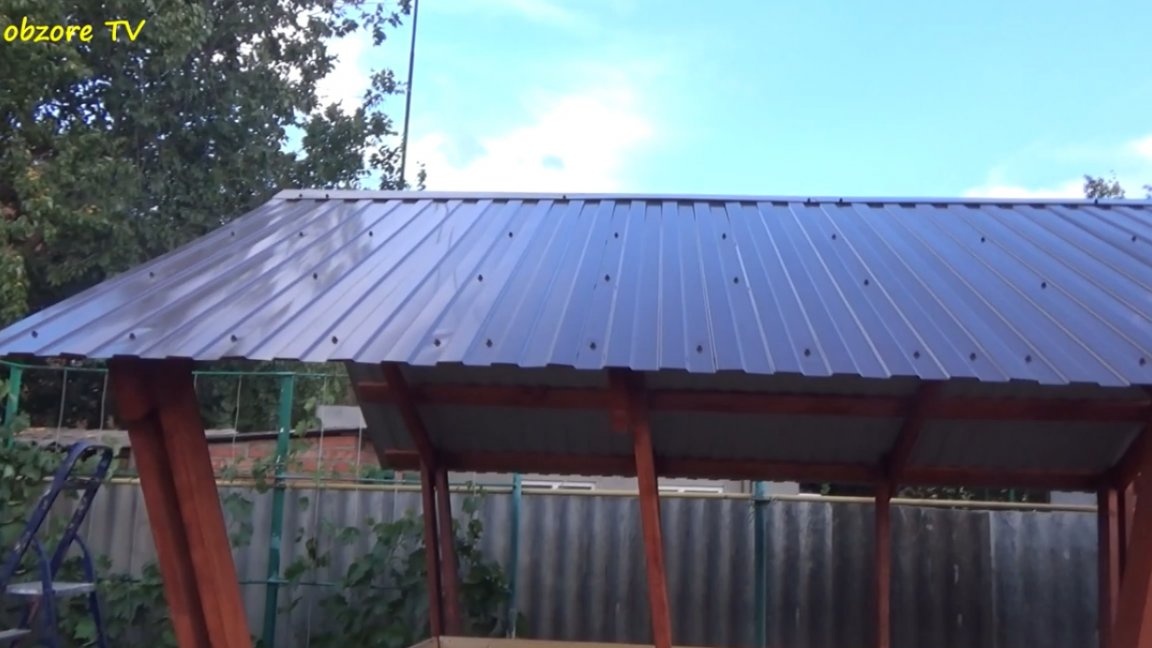
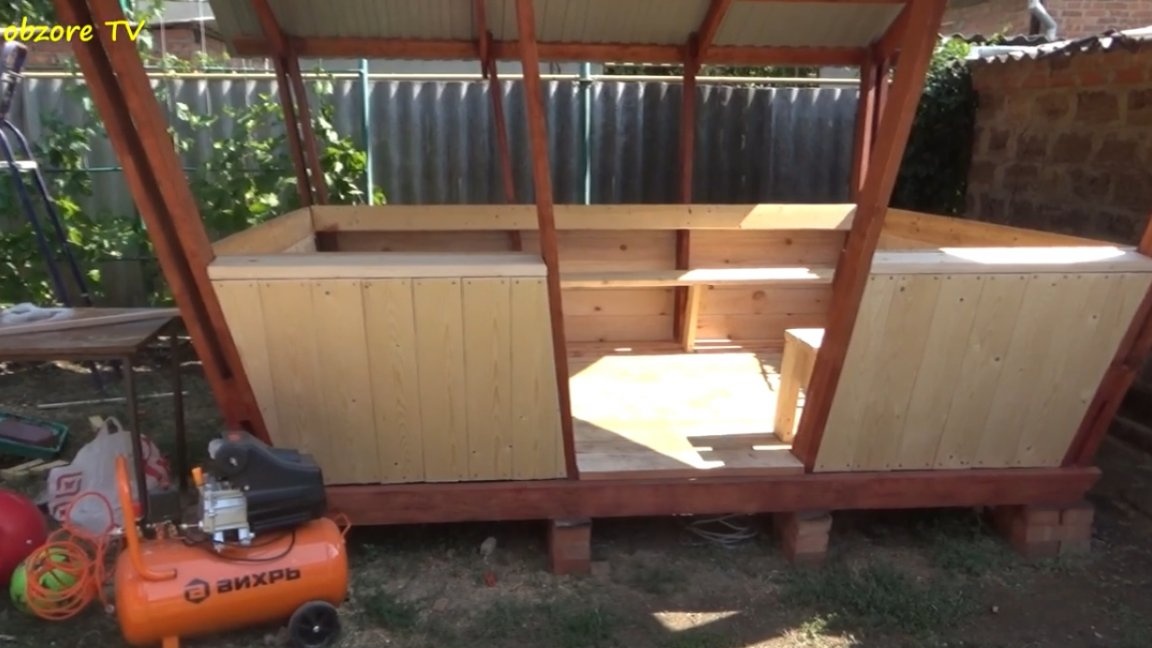
The consumption is as follows: 4 sheets are obtained on each side (two-meter sheet). This is how the gazebo looks from the inside:
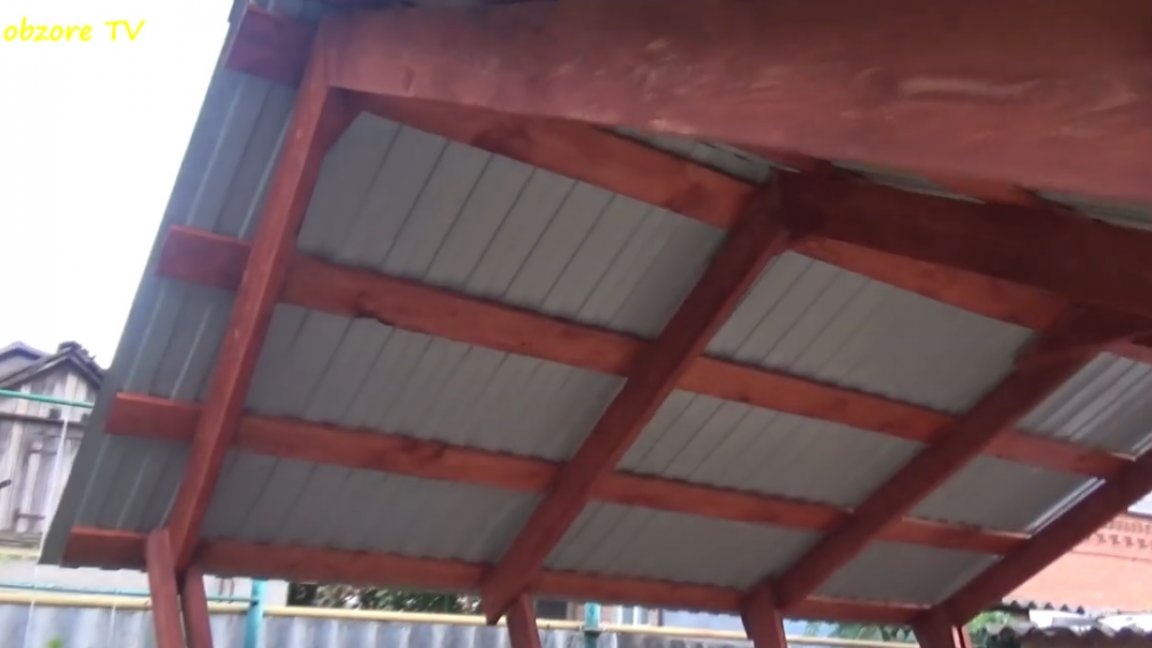
Accordingly, before you lay a decking, this whole thing is necessary. Further, the crate was made, so far only on two sides. It is sewn close to a 150 by 25 mm board, the length of the boards is 66 cm.
On the reverse side, this is how it looks:
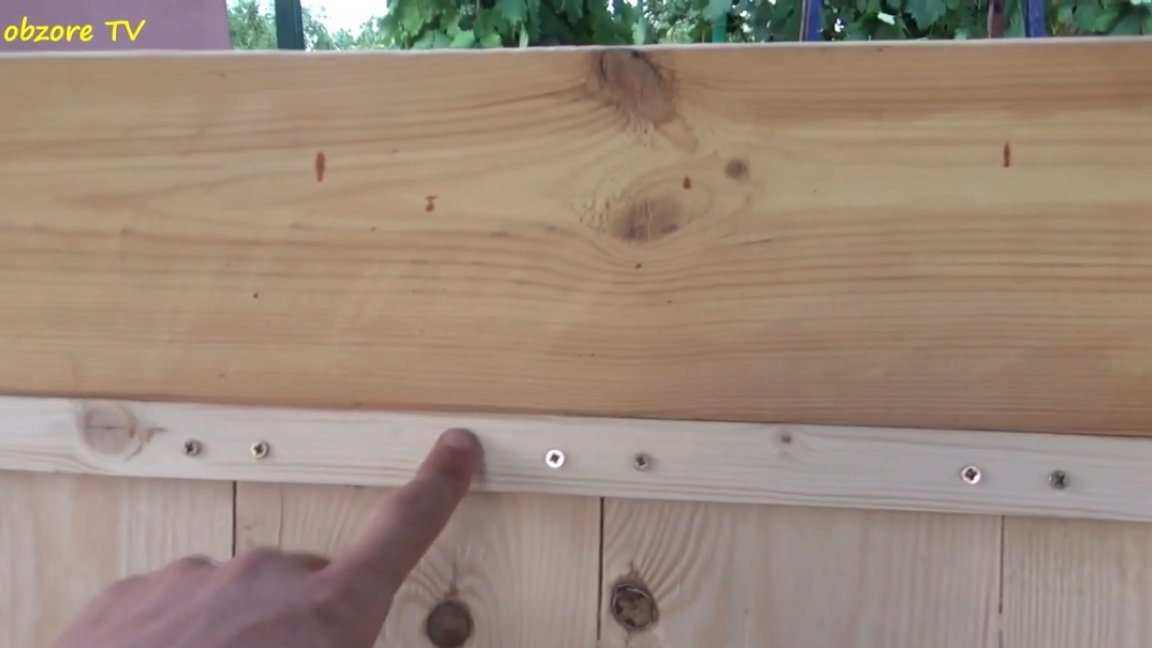
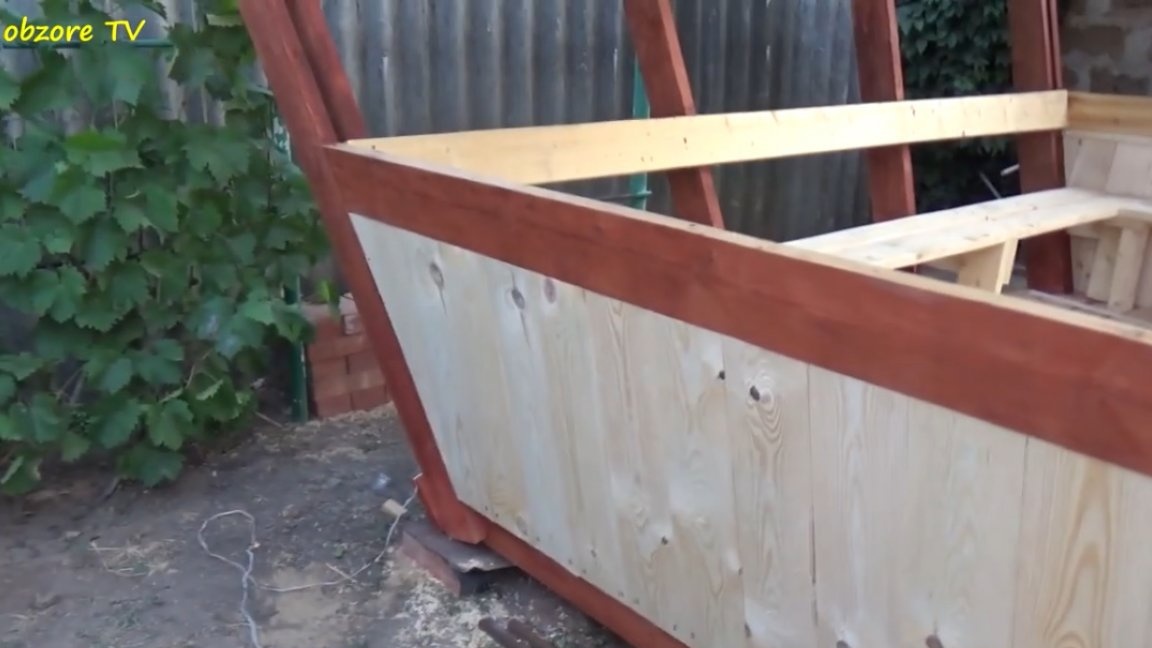
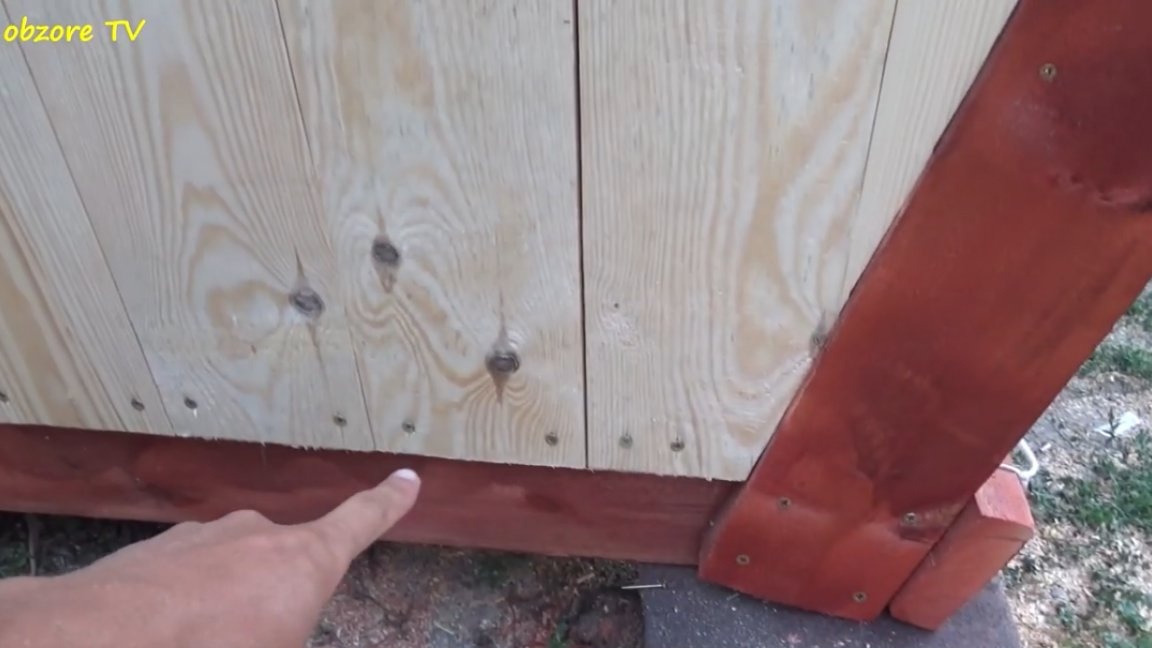
As you can see, the plank is screwed on and the boards are already attached to it using the same screws. Further, the same thing needs to be done with the remaining parties. The front part is sewn with vertical stripes at a slight angle, and the rear part is sewn with horizontal stripes for the entire length.
Now you can proceed to.
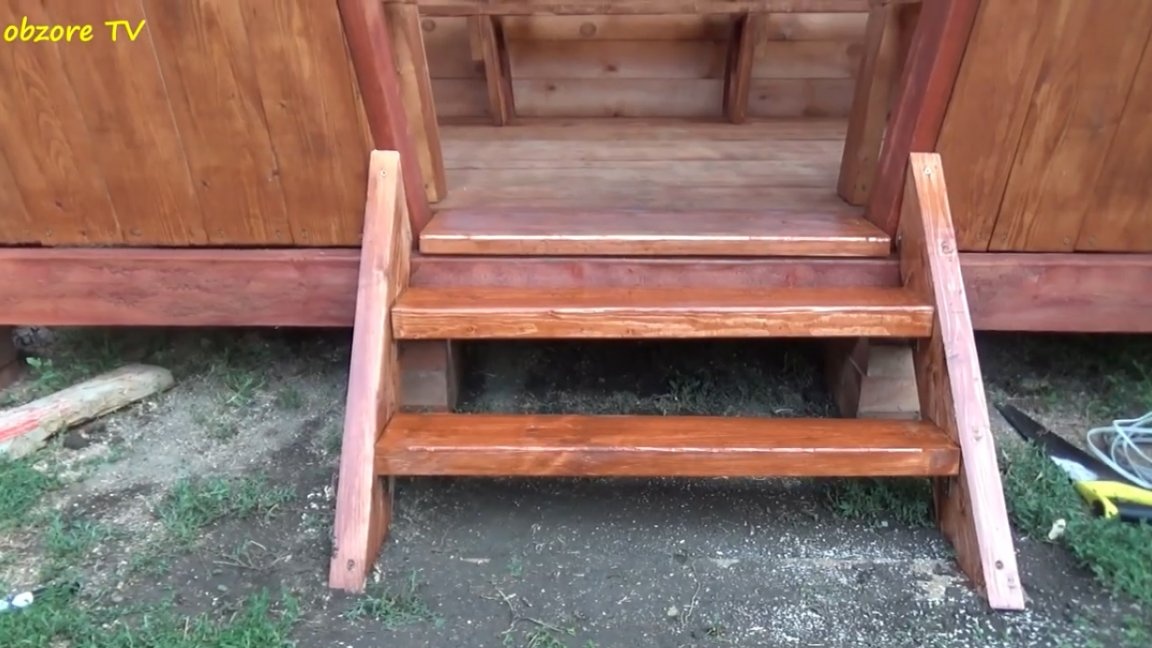
Let's continue on. After painting, everything began to look much better. Such a step was also made.
Next, we make such a crate:
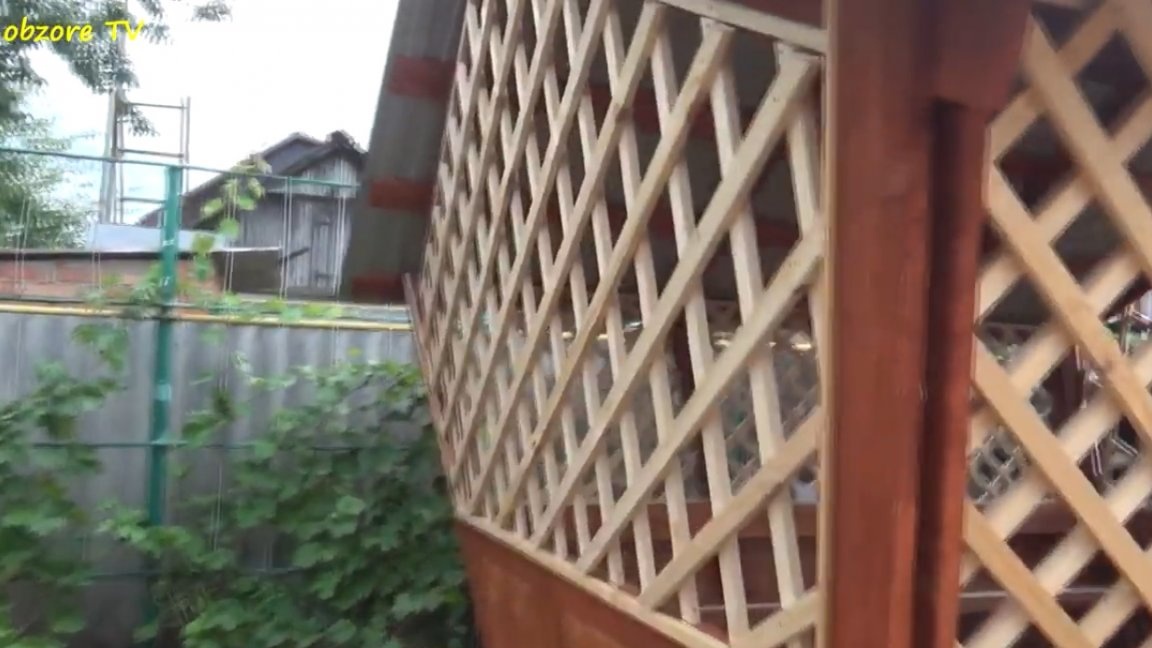
This lathing is made of 40 mm wide bars. From the inside it looks like this:

Further, the author decided to increase the width of the benches, adding another strip in the middle of each bench.
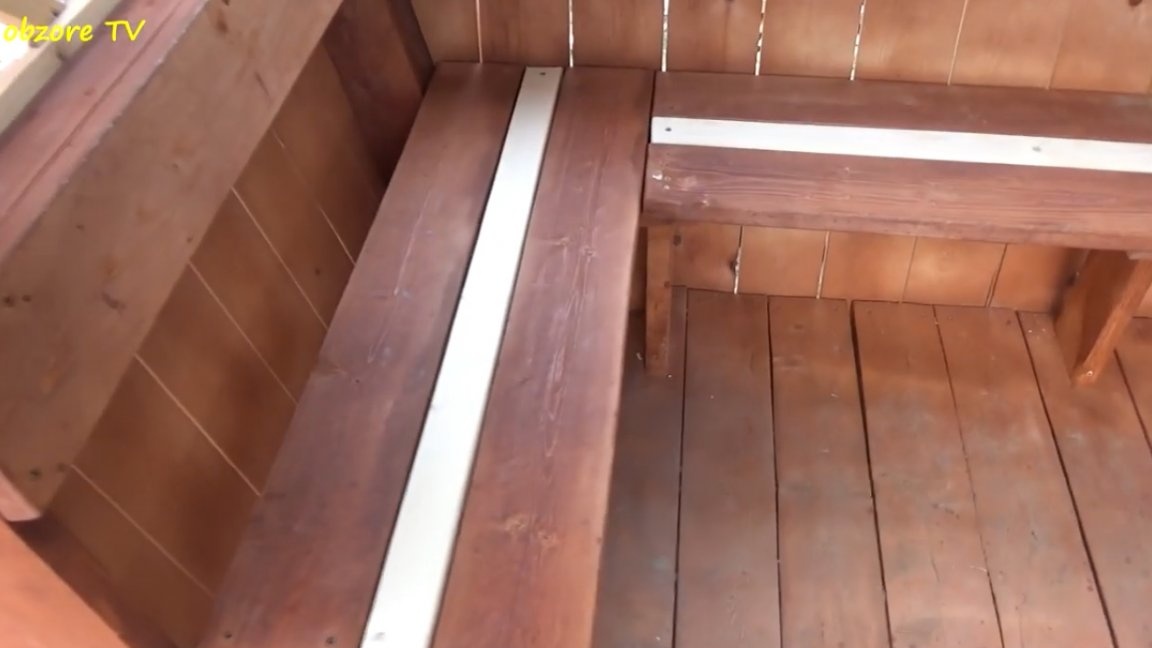
After the alteration, the width of the shops became 35cm.

Now let's crate.
The author chose this color and it turned out pretty well. Next, paint and varnish the shops. This color turned out in the end, it also looks pretty pretty.
In addition, specially for the gazebo, the master made such a table here:
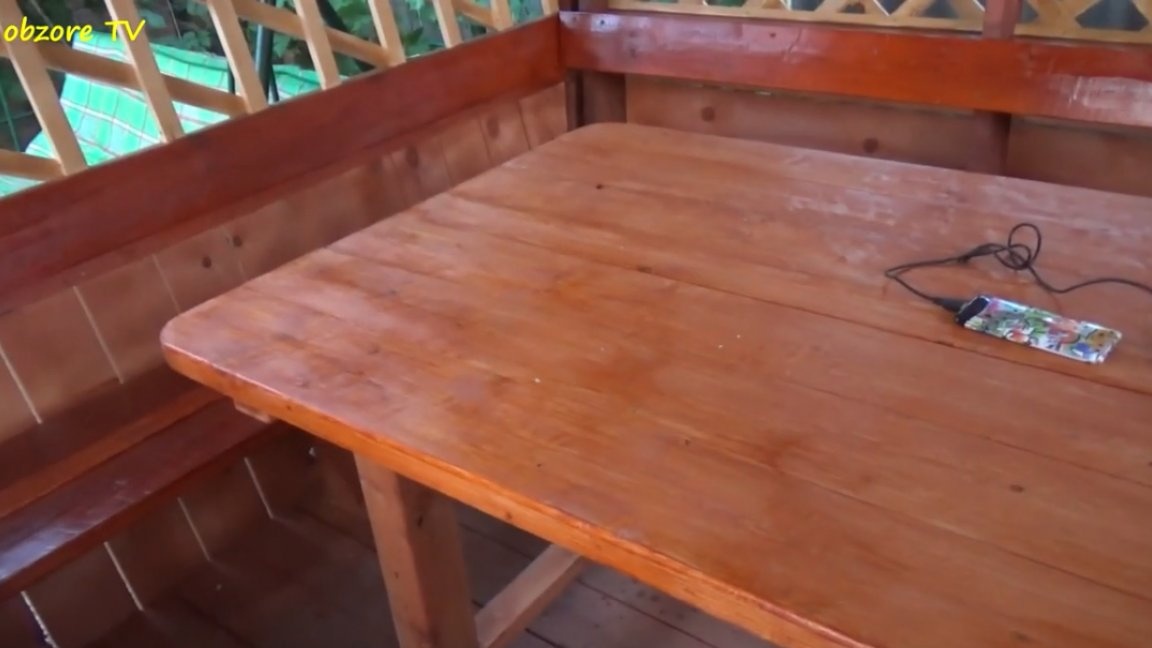
The countertop is made of a magpie board. All this was polished and varnished. Here are such bars, connected by jumpers from below, as legs.

The table turned out to be heavy and massive, which in turn affected stability. As you know, she’s great here.
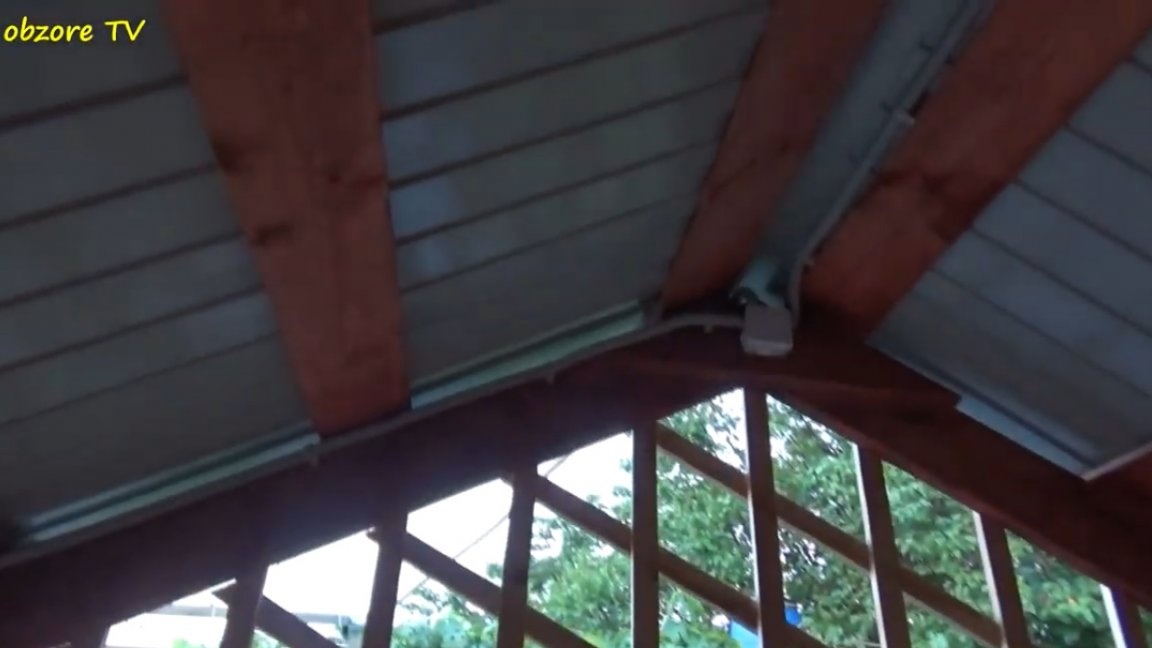
Next, we conduct electricity to the gazebo. In the junction box, unsolder the wires to the lighting and socket.
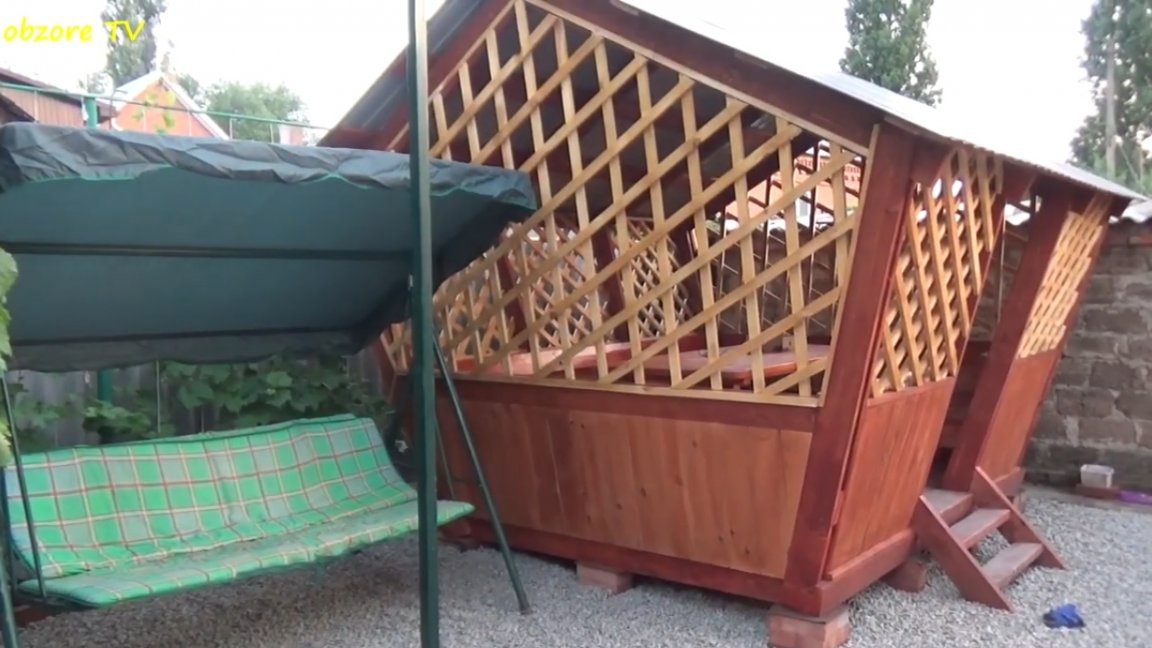
The area around the gazebo, it was also decided to ennoble, completely covered with gravel.
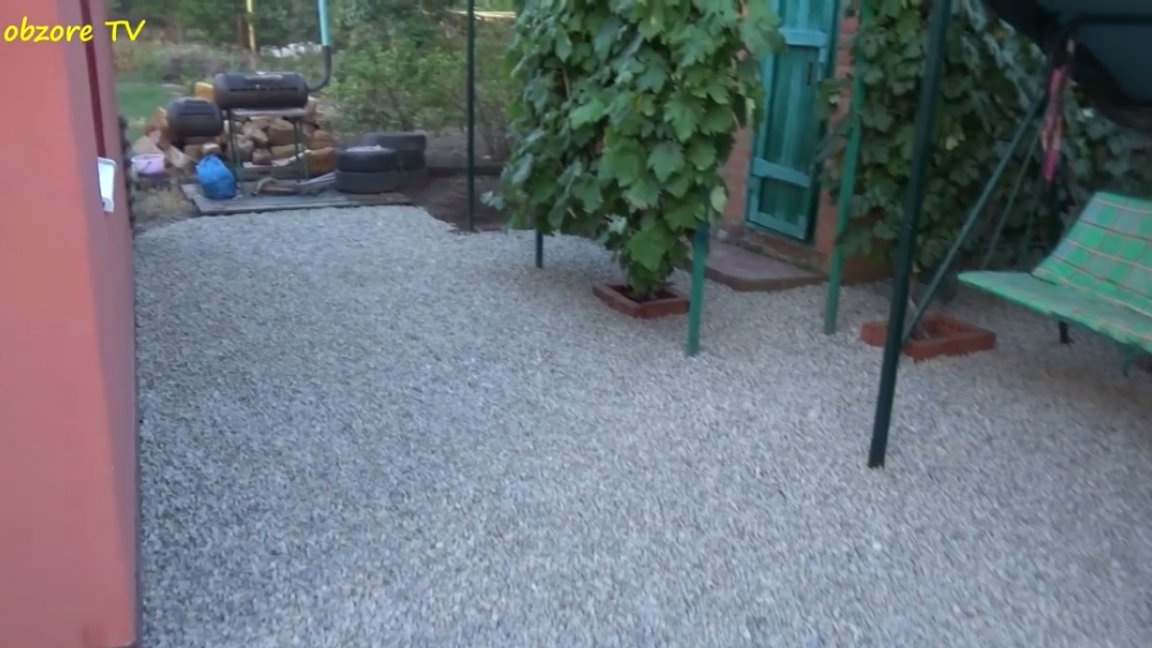
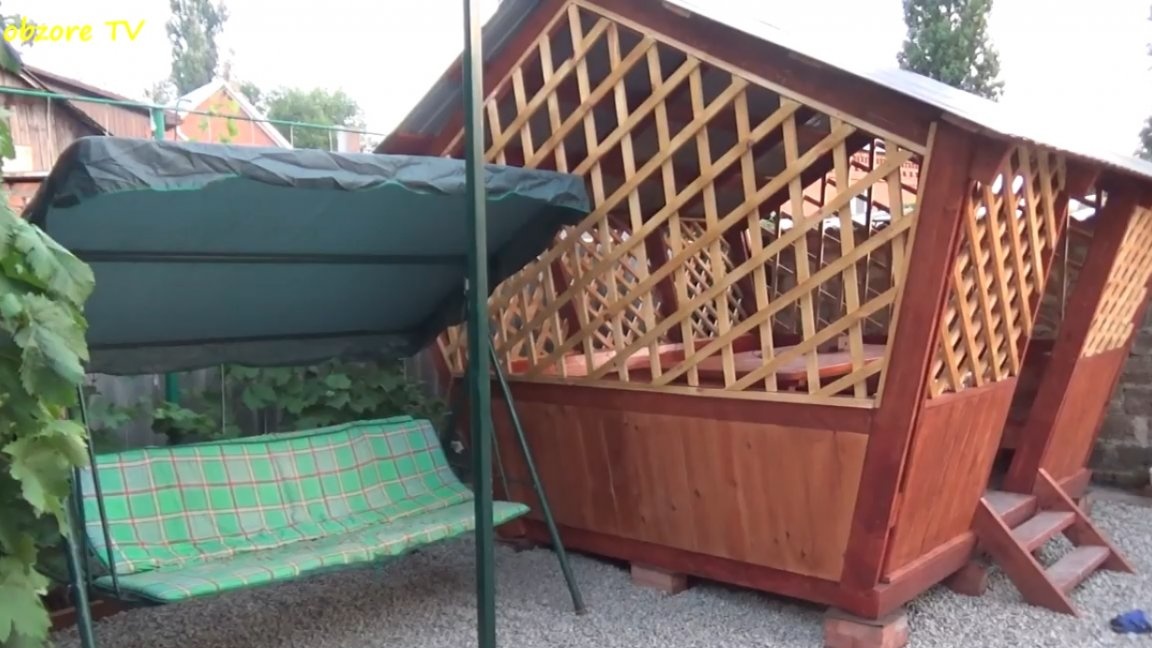
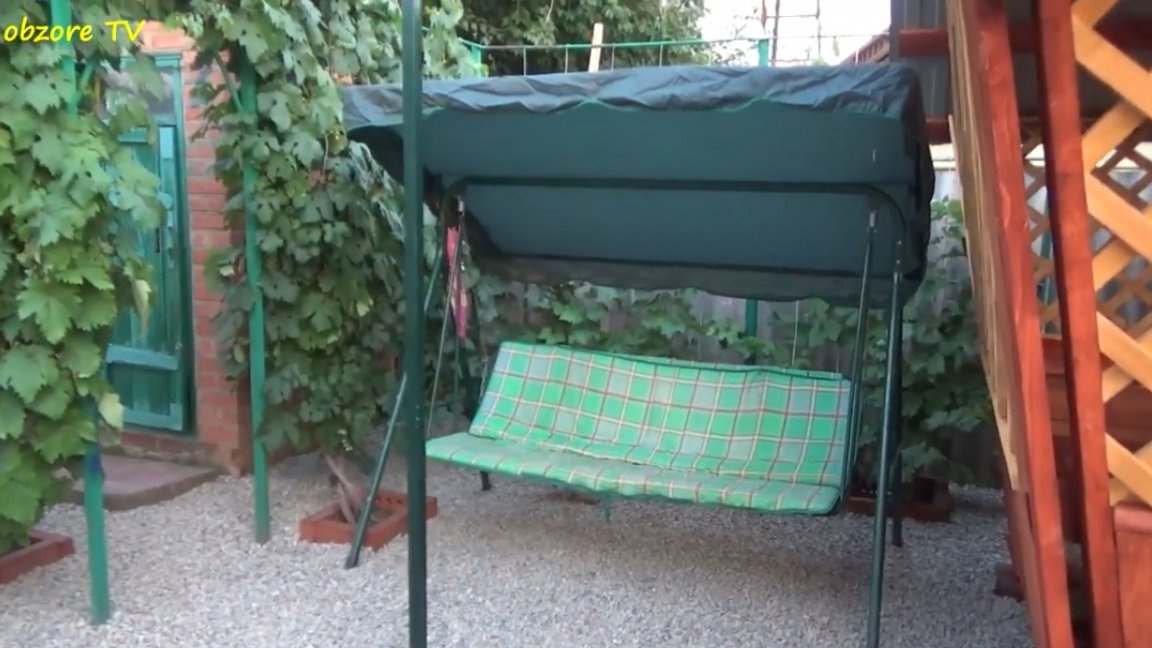
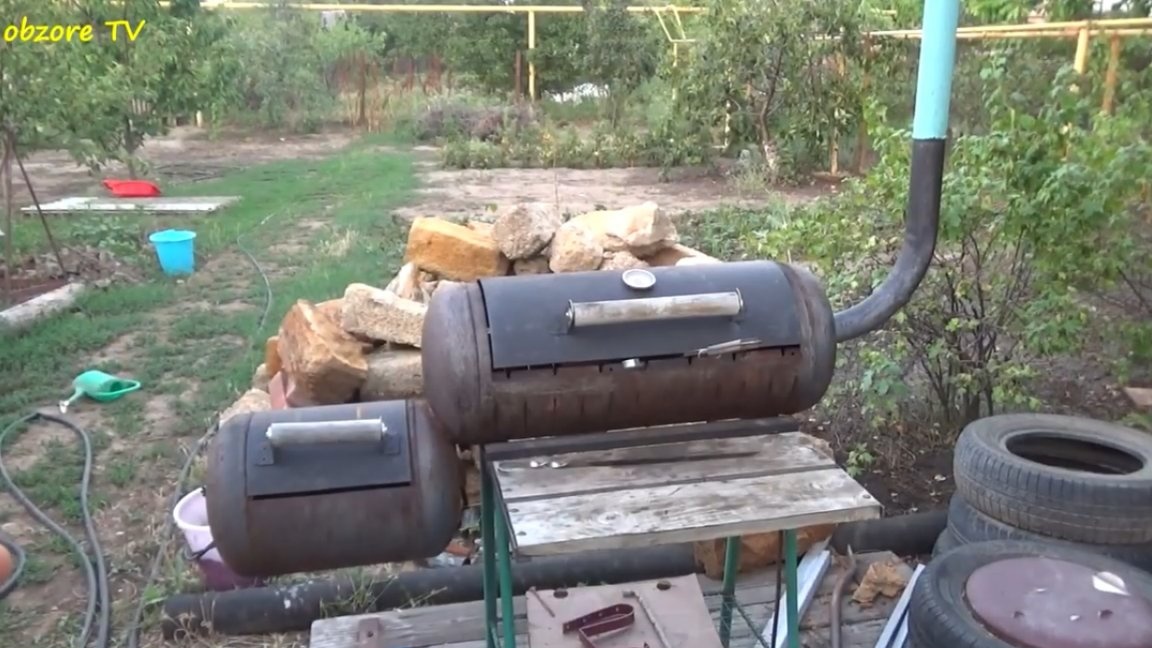
The result was not a bad recreation area. Nearby there are swings and barbecue facilities.
That's all. Thank you for attention. See you soon!
Author's video: