In this article, we will consider material on the manufacture of gloves, with which you can control various devices. The author of the material will introduce us to the theory and show in practice how to make such a device. This material is more likely educational and I hope it will be useful to children and adults. To children - to arouse interest in physics, electronics, adults - to remind some material from a course in physics.
DIY IRglove remote control. By connecting two fingertips, you can send a signal to the device using an infrared transmitter. IRglove uses the principle of transmitting control signals through invisible wavelengths (in the infrared range) to allow the device to move or rotate. From the article you will learn how to implement optoelectronic components and manage them using a microcontroller.
Tools and materials:
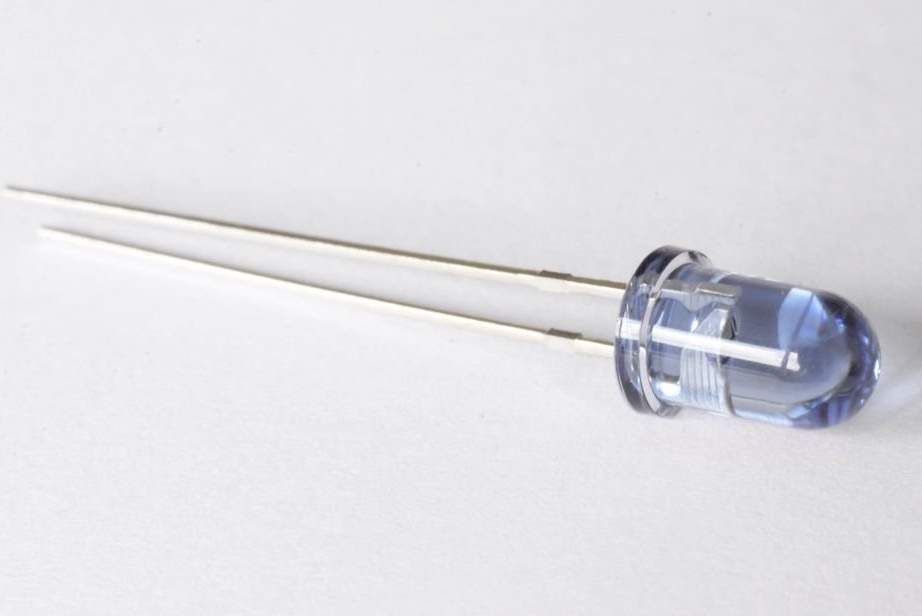
-IR transmitter;
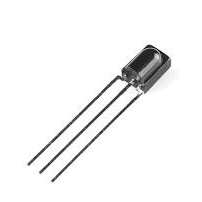
-IR receiver;
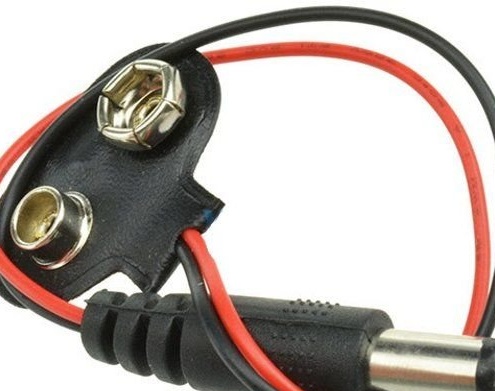
-Battery connector;
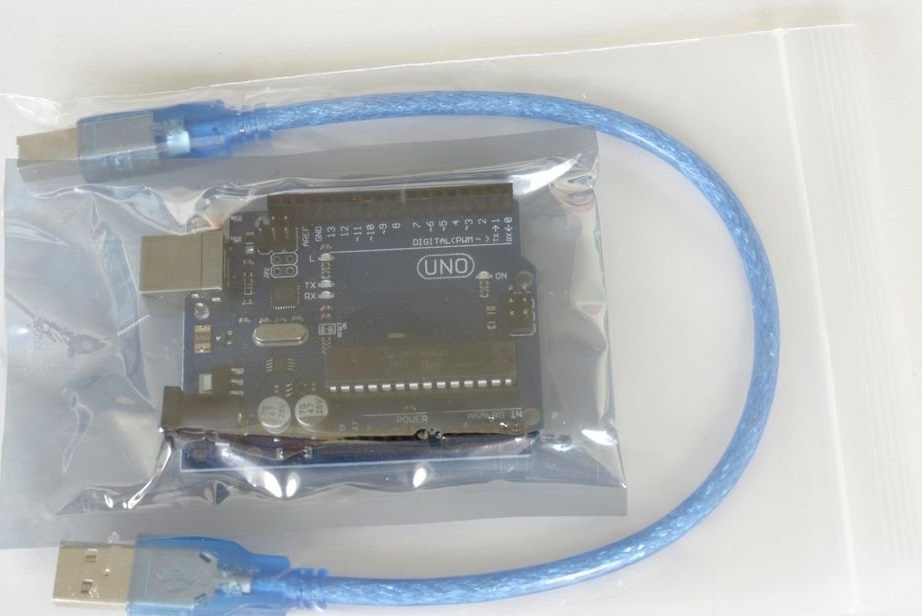
- Arduino Uno;
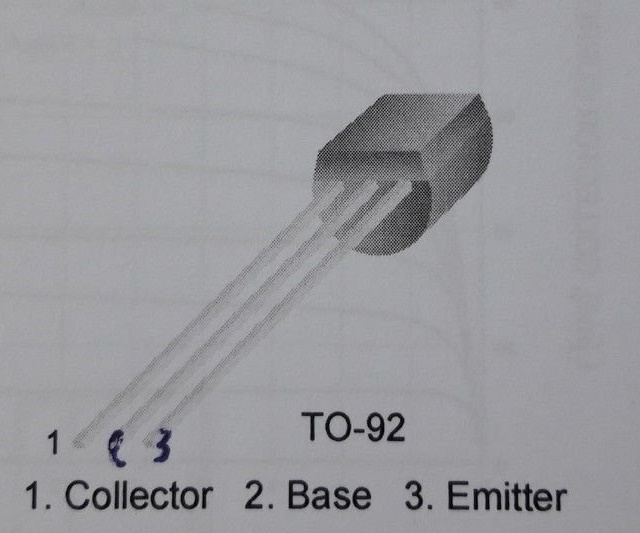
-Transistor;
- Resistors 330 ohms and 10 ohms;
-Bread board;
- 9V battery;
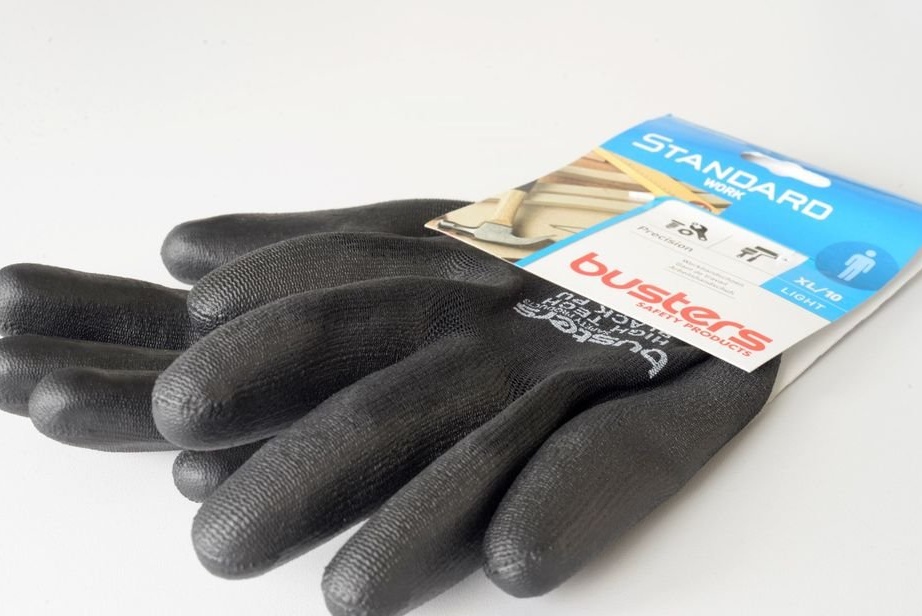
-Glove;
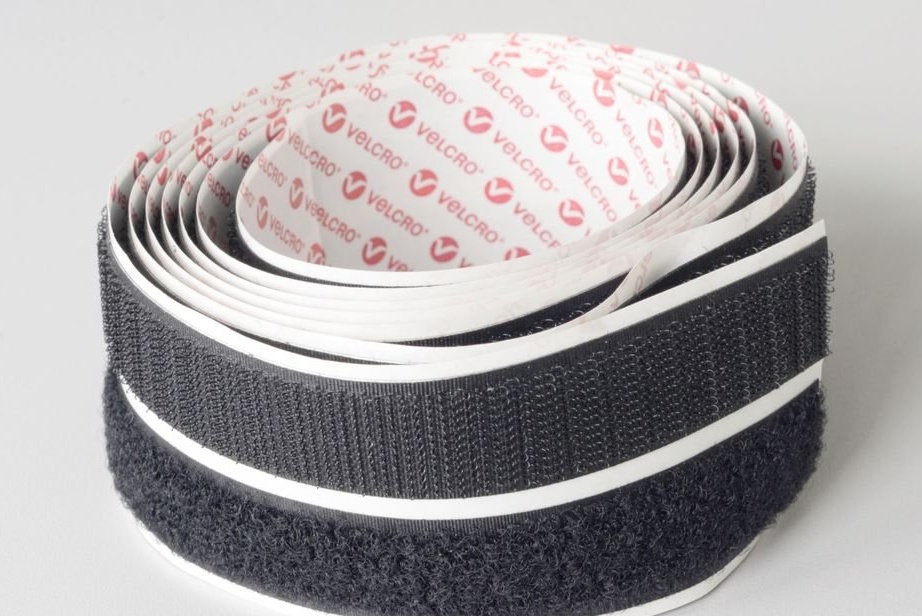
- Velcro;
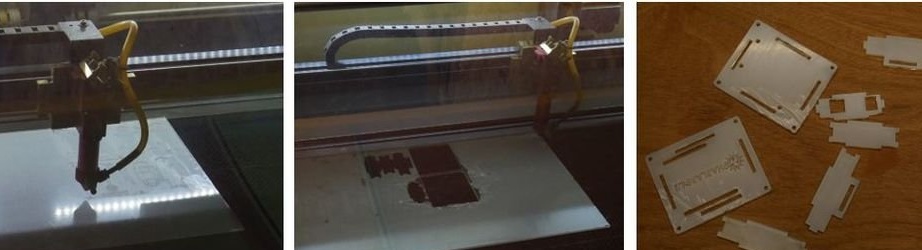
-Laser cutter;
-Soldering iron;
-Computer for programming Arduino;
-Glue gun;
-Sewing needles;
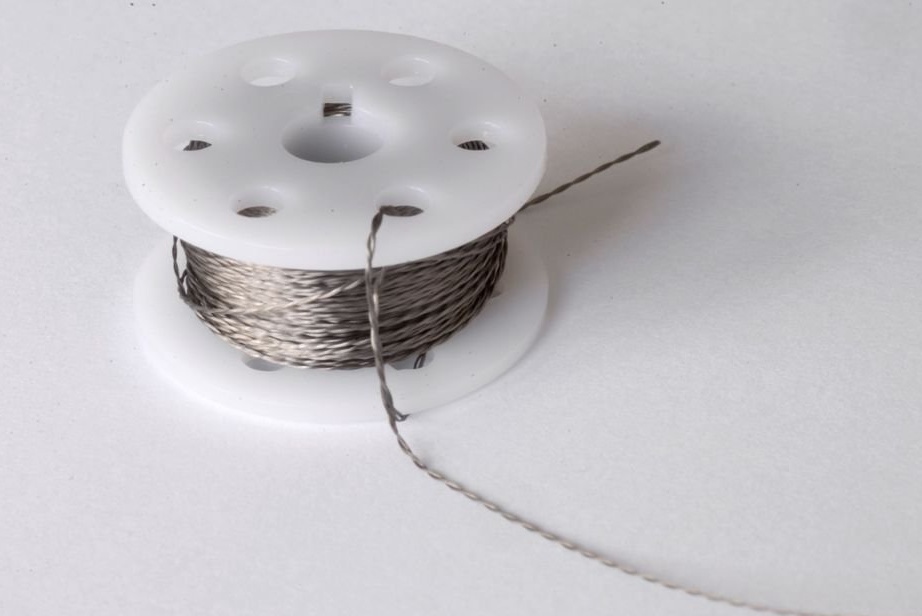
-Conductive thread;
Step One: Theory
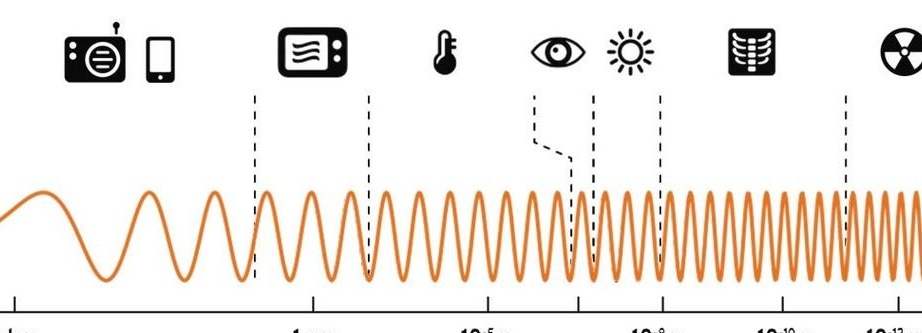
Light is electromagnetic radiation. And one of the most important properties of electromagnetic radiation is the wavelength.
Each wave has a specific shape and length. The distance between the peaks (high points) is called the wavelength. The difference in wavelength is how we distinguish between different types of electromagnetic energy. The wavelength is usually indicated by the Greek letter lambda (λ).

The electromagnetic spectrum is a collective term for all known frequencies and the associated wavelengths of known photons (electromagnetic radiation).
Radio waves: 104 km> λ> 1 m
Radio waves are used to transmit data through modulation. For example: television, mobile phones, wireless networks and amateur radio use radio waves.
Microwaves: 1 m> λ> 1 mm
Microwaves are absorbed by molecules that have a dipole moment in liquids. In a microwave oven, this effect is used to heat food.
Infrared waves: 1 mm> λ> 780 nm.
Far infrared: (1 mm - 10 μm): used in astronomy.
Mid-infrared: (10 μm - 2.5 μm): Hot objects can radiate strongly in this range. Near Infrared: (2.5 μm - 780 nm): Used in image sensors for infrared photography.
Visible light: 780 nm> λ> 380 nm.
Visible light includes all the colors that we can see with the human eye. The range of colors lies between red (700 nm) and blue (400 nm).
Ultraviolet Waves: 380 nm> λ> 10 nm
The sun emits large ultraviolet radiation, which can potentially destroy most of life on Earth.
X-rays: 10 nm> λ> 1 pm.
X-rays can interact with matter. One of the notable uses is diagnostic radiography in medicine.
Gamma rays: λ <1pm.
These are the most energetic photons. They are used in medicine for radiation therapy of cancer.
In the context of the article, we are interested in the infrared range. Infrared light is an electromagnetic wave that is not visible to the human eye, but some animals, such as snakes, focusing on it estimate the location and distance to prey.
Everything with a temperature above -268 ° C emits infrared radiation, and the wavelength depends on the temperature. The sun emits half of its total energy in the form of infrared radiation, and most of the visible light is absorbed and transmitted in the form of infrared radiation.
The important thing is that infrared radiation does not adversely affect our health.
Infrared light has many uses.
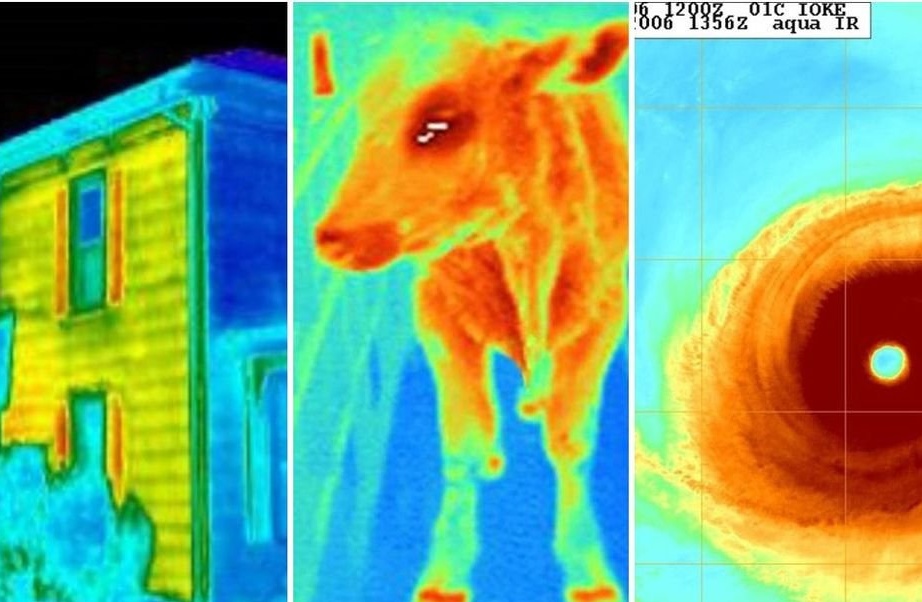
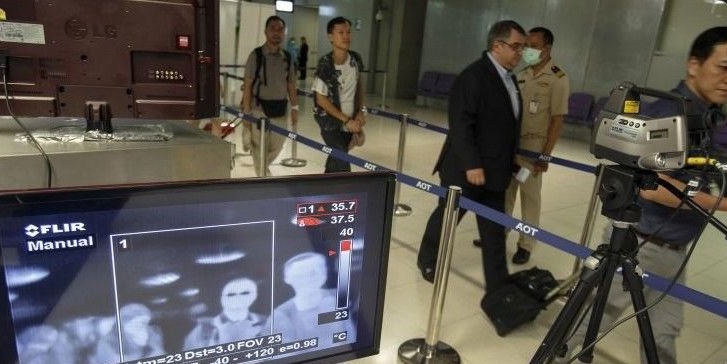
An infrared camera can detect the heat of objects or bodies. It is used, for example, to detect heat loss in a house. The camera is also used in veterinary medicine to detect diseased areas of the animal’s body.
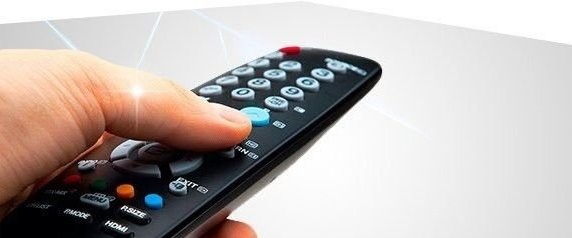
The search for missing people at night, the protection of objects, meteo and astrological observations, and even switching TV channels, all this does not do without the infrared range.

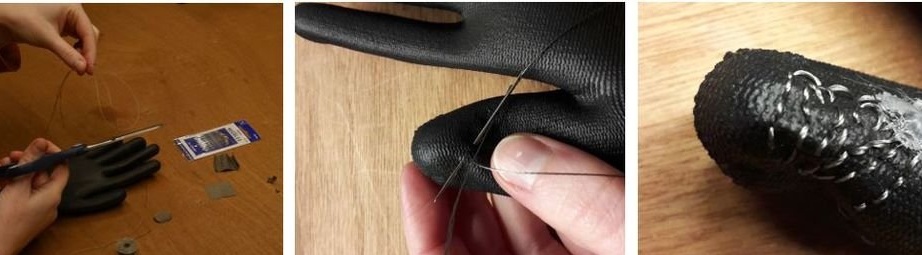
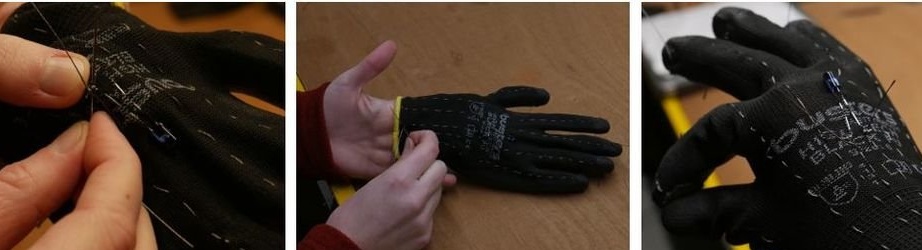
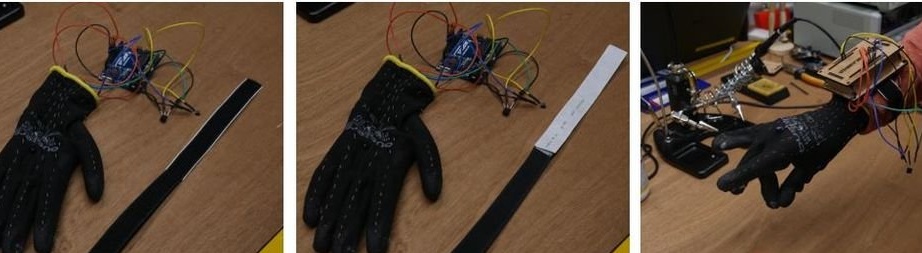
Step two: glove preparation
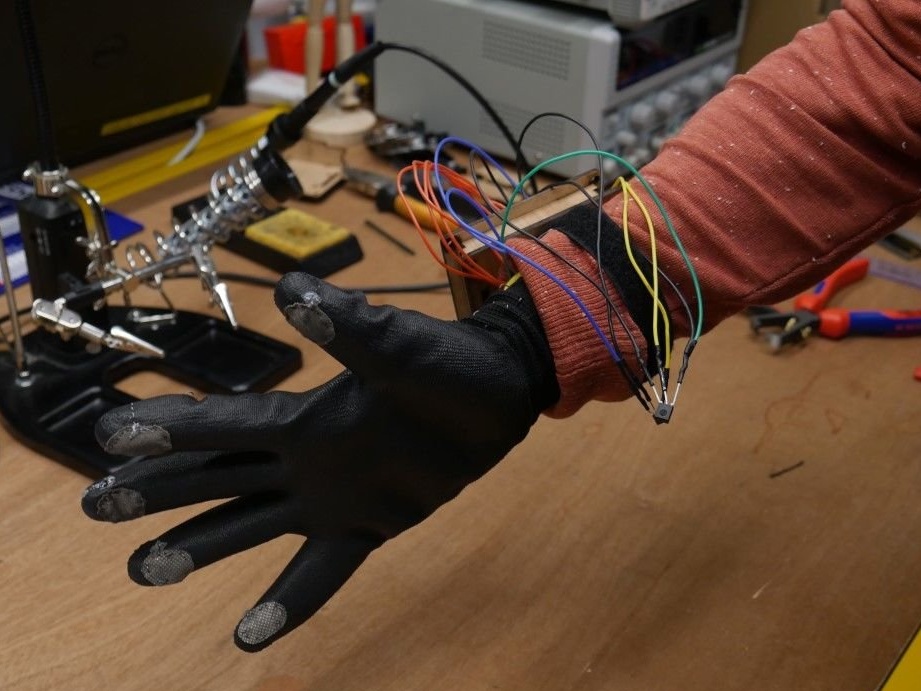
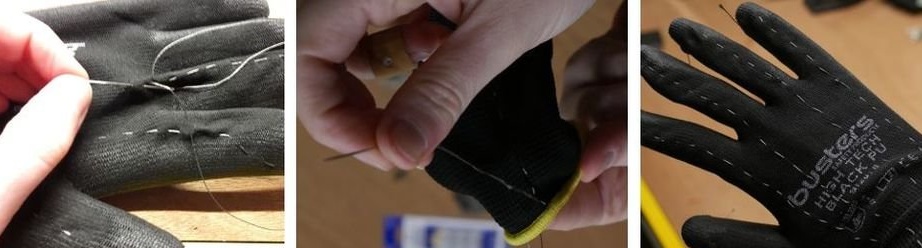
The conductive thread must be sewn over the fingertips of the glove. If you then place one fingertip on the other, the circuit closes and an infrared signal is sent. In fact, it is an electric switch.
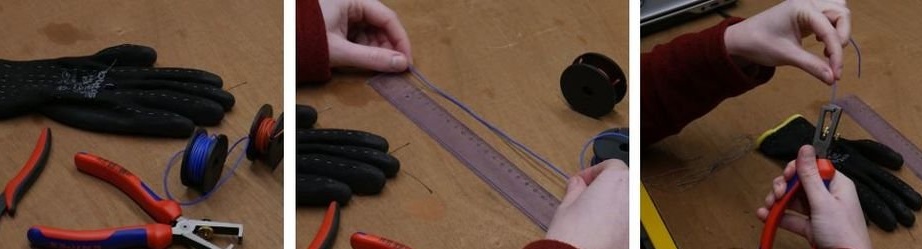
The length of the thread should be at least twice the length from the tip of the finger to the wrist. Do not cut the beginning of the thread.
Sew the thread along the top of the glove all the way to the wrist. Leave at least 5 cm of thread on your wrist. Do it for all 5 fingers. Make sure that the wires of different fingers do not touch each other, otherwise this will cause a short circuit.
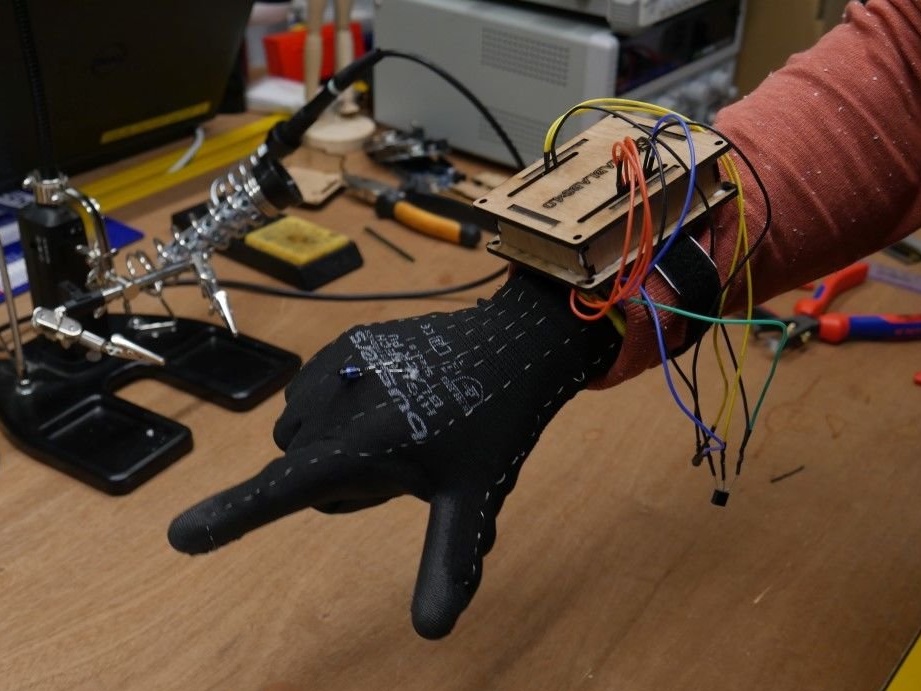
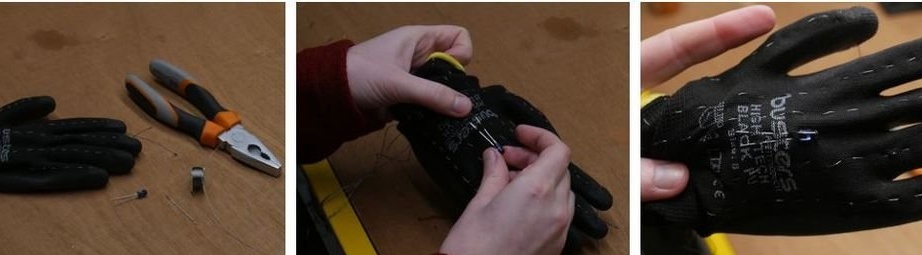
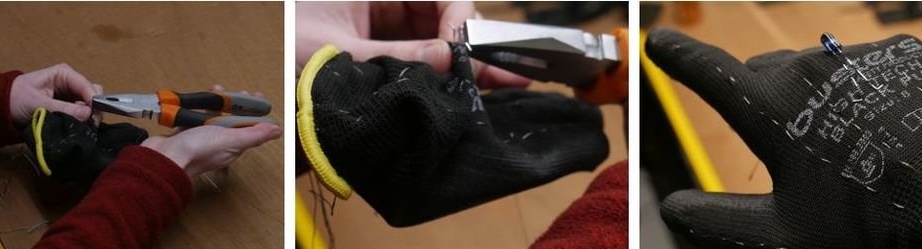
The buttons are ready. But to send a signal we need an infrared emitter. This IR transmitter should be visible in glove position. The easiest place is at the top of the knuckles.
Pull the legs of the IR emitter through the glove. Do this on the back of your hand, at the level of the knuckles. Bend the legs of the IR emitter with pliers to make hooks. Do not forget where is the long and where is the short leg.
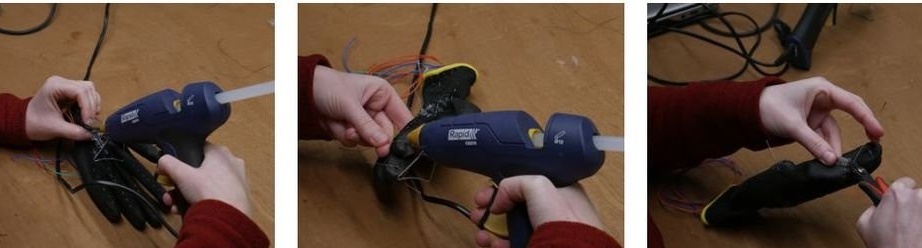
Fasten the conductive thread (two separate pieces) on both legs (the master simply ties the thread at the end of the leg and wraps it several times). Next, you need to flash the glove with thread to the wrist. At the end there should be at least 5 cm of thread.
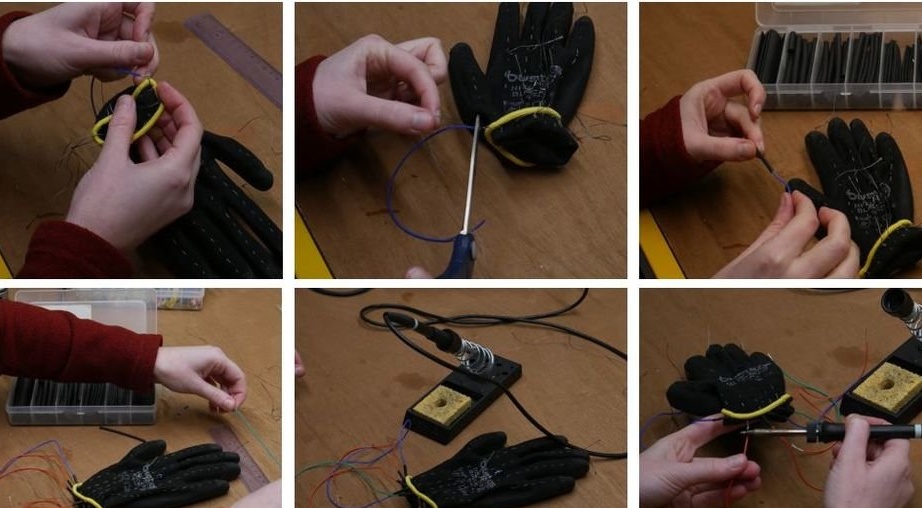
Prepare seven electrical wires about 20 cm long. 1 for the thumb, 4 for the other fingers, 1 for the long leg of the IR emitter and 1 for the short leg of the IR emitter. Strip all wires at both ends. Wires are preferably used in different colors.
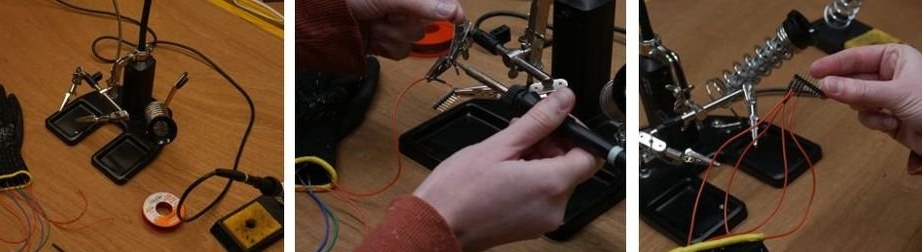
Now you need to connect the wires to the ends of the threads and insulate the joints with a heat pipe.
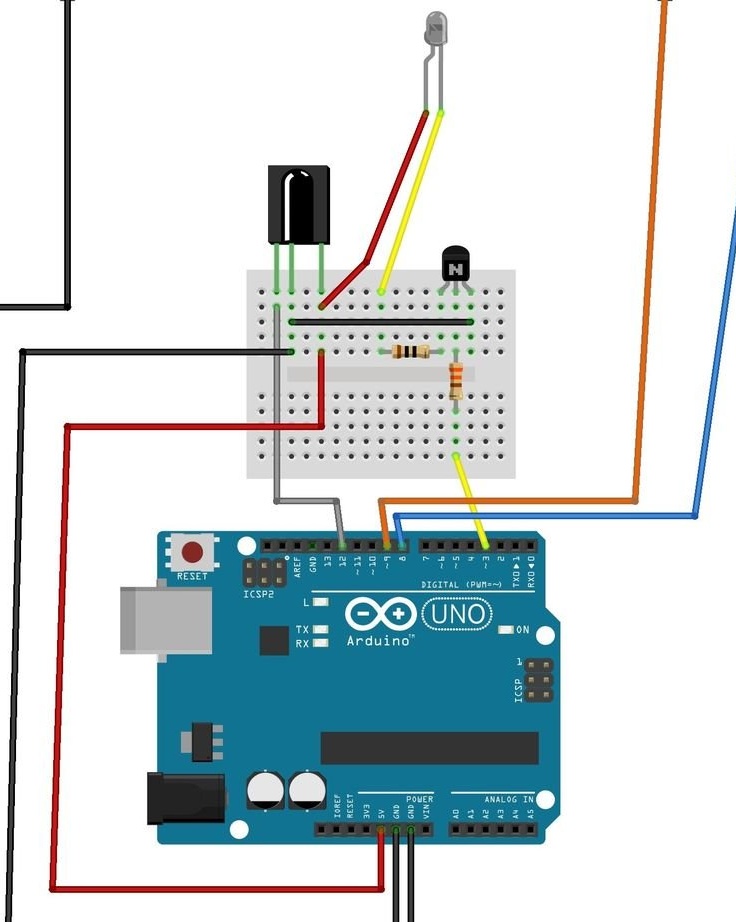
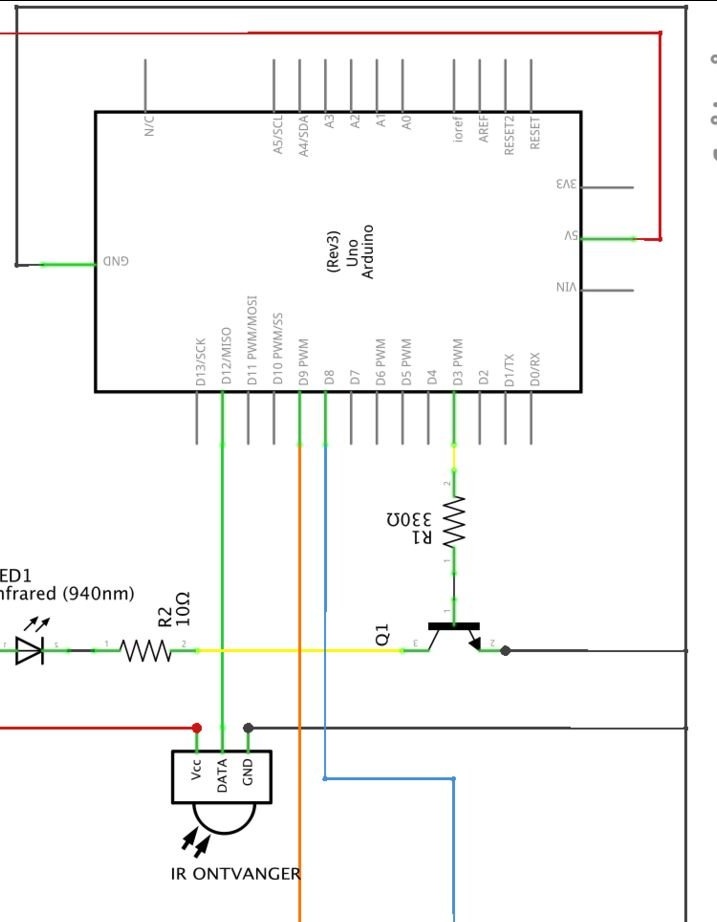
Step Three: Wiring Diagram
Follow the wiring diagrams to connect all components to each other.
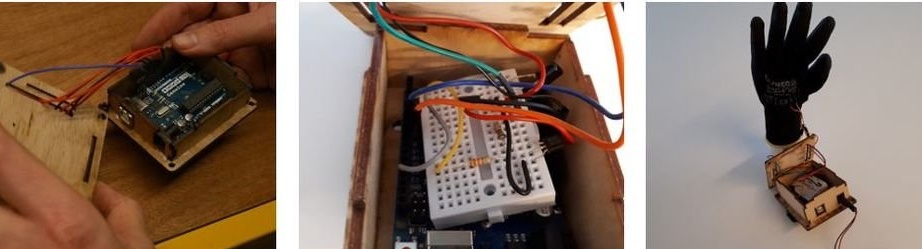
Fasten the wires coming from the fingers into the Arduino. Four wires, starting with four fingers, besides the big one, are connected to 8, 9, 10, 11 Arduino pins.
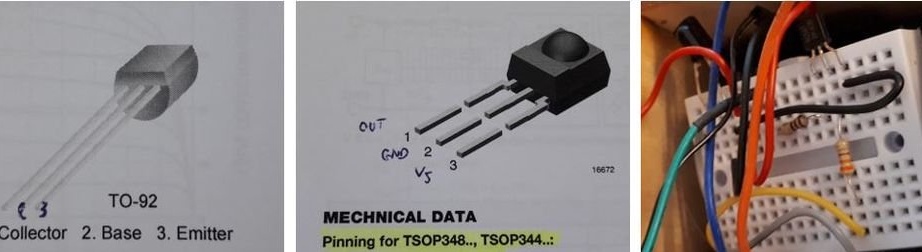
Install the IR receiver, transistor, and resistors on the breadboard as shown in the wiring diagram. The transistor is mainly designed to amplify or switch electronic signals. In general, there are three legs. The amplified signal is fed to emitter E, the amplified signal can be extracted from collector C, and the third connection is common to the two signals, base B.The transistor collector must be connected to a 330 ohm resistor in series. Then the resistor must be connected to the IR emitter in series. Connect the IR emitter collector (short leg) to the resistor.
Then connect the base of the transistor to a 330 ohm resistor. Connect the other side of the resistor to the D3 pin of the Arduino.
The output of the emitters of the transistor must be grounded. The next step is to properly connect the IR receiver. The IR receiver has a flat side and a convex side. When the convex side is facing up, the middle leg should be connected to GND, the left foot is the output, OUT, and the right foot is Vs. Connect the wire to the OUT terminal of the IR receiver, which will be connected to the D2 terminal of the Arduino.
Connect the wire to the GND terminal of the IR receiver, which will be connected to the GND Arduino pin. Connect the wire to the Vs foot of the IR receiver, which will be connected to the Arduino's 5-volt output.
Step Four: Arduino
Make a housing for the Arduino with a laser cutter. The file can be downloaded below.
gloveIR.svg
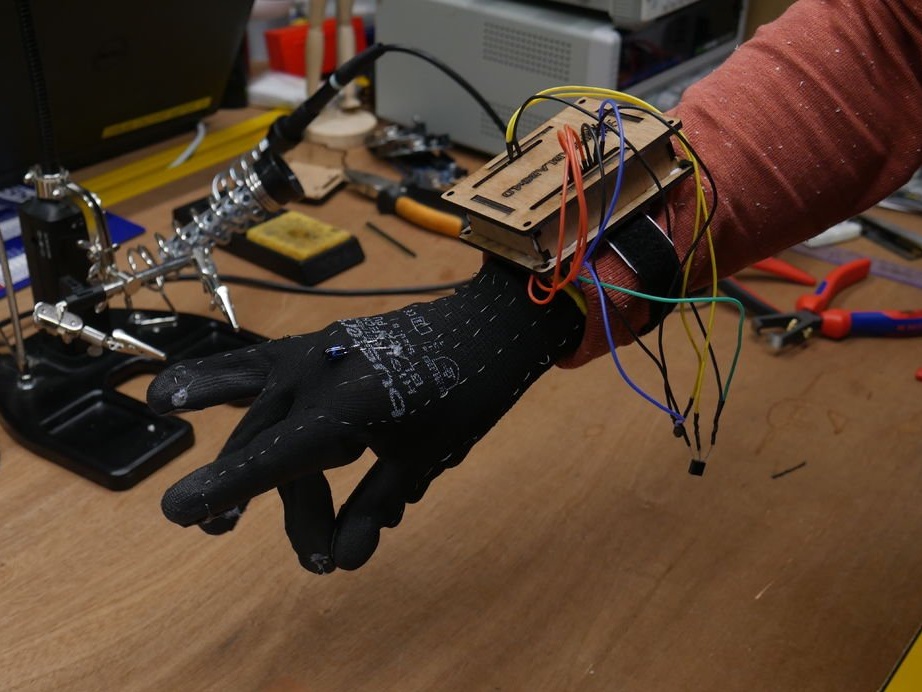
Glue the sides and bottom together. Install the Arduino and board into the chassis. Insert the connecting pins into the provided holes in the box lid. Place the pins on the correct Arduino I / O. Replace the cover.
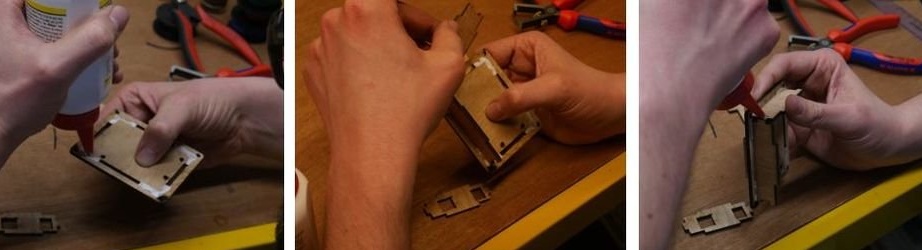
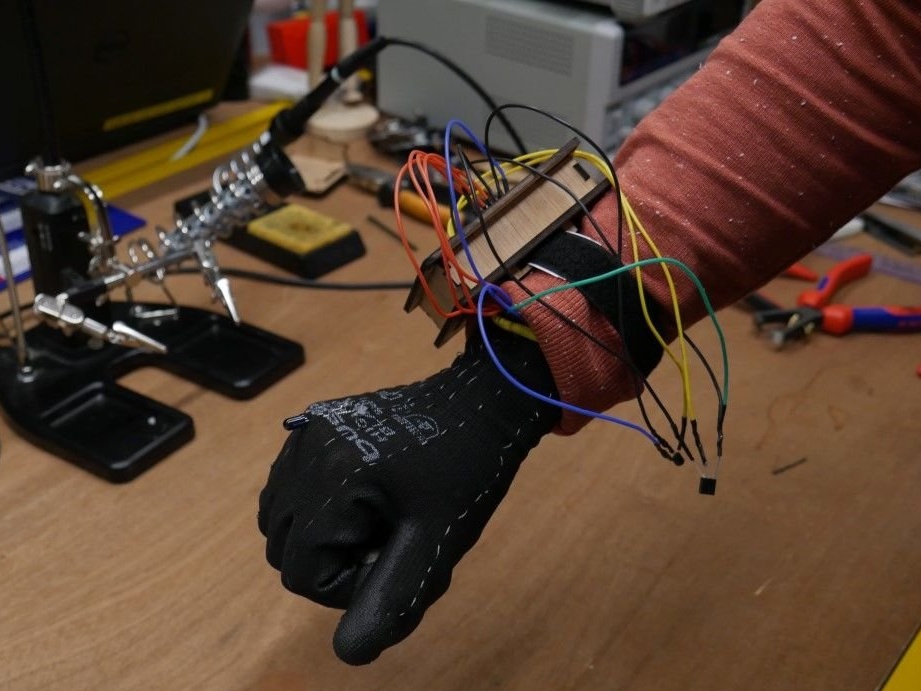
Cut a piece of Velcro with a length equal to the diameter of your wrist. Fasten the case with Velcro through the provided holes. Put on a glove and a bracelet on hand.
The battery is installed separately, also with Velcro.
Step Five: Programming
Programming does not work with version 1.8.7 arduino due to an internal error.
Download the Arduino program to your computer. Arduino is open source and can be downloaded for free at this link: https://www.arduino.cc/en/Main/Software. With Arduino Uno and this program, you can create many systems.
To use the program for IRglove, you must first install the IR Library.
- Visit the IRLib2 page on GitHub.
-Select "download ZIP", or just click on this the link.
- Unzip the zip file after downloading.
-File “IRLib2-master” contains 5 separate files. This is because this library is a collection of 5 libraries that work together.
- Make a copy of all 5 files into an Arduino library file next to other Arduino libraries. You will mostly find this in your file: home / Documents / Arduino / Libraries. Libraries cannot be installed next to the Arduino application itself.
-Restart Arduino IDE.
Connect your Arduino to your computer. Select the correct folder: “Arduino / Genuino Uno”. And then select the correct “Port”.

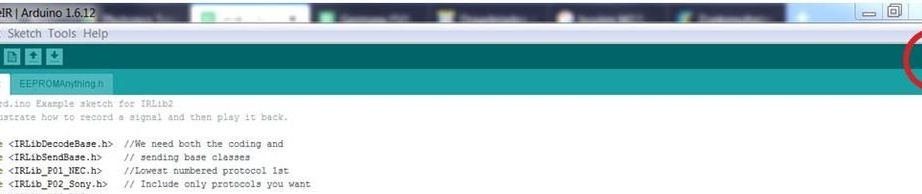
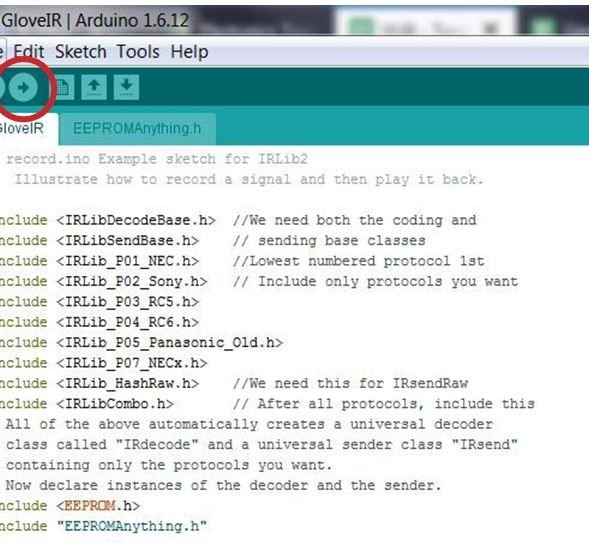
Download the GloveIR_phablabs program (Provided) to Arduino. 2 tabs will open: GloveIR and EEPROMAnything.h.
Select a remote control device (working with IR) that you would like to control with your IR glove. You can assign 4 teams. Open the Arduino Serial monitor by clicking on the magnifying glass in the upper right corner.
Enter the first number “0”, and then press the button (connect your thumb and any other finger) on the remote control. A message appears indicating that a signal has been received. Next, you need to do the same operation for the other fingers, but designating them as 1, 2, 3.
Now these commands are recognized by Arduino. Connect the battery to your Arduino before disconnecting the Arduino from the computer.
Now, having tied the transmitter to the receiver and connecting the latter to the device, you can control it with a glove.
The code can be downloaded below.
GloveIR_phablabs.zip