Hello dear readers!
From the article below you will learn how to do it yourself assemble a tray for removable containers for a variety of small things. The following description and instructions are taken from the Matthias Wandel YouTube channel.
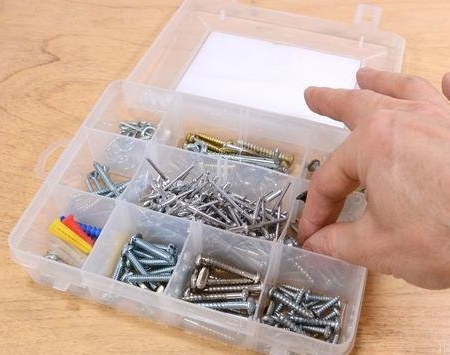
As the master of this homemade, you can buy plastic trays with compartments, but they will always remain uncomfortable. Since sometimes you want to pull out only one or two compartments, and not turn out the entire tray.
Necessary tools and materials:
- table saw;
- planing machine;
- roulette;
- a pencil;
- caliper;
- paper tape;
- PVA glue;
- knife;
- mallet;
- clamps;
- empty plastic yogurt containers;
- trimming lumber;
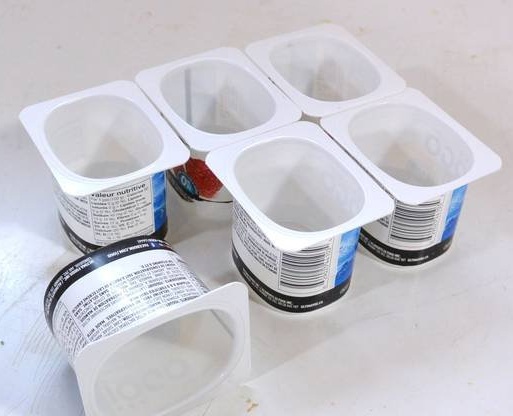
Therefore, the master had the idea to use small square yogurt cups as containers for small parts. All that is required in this case is a storage stand that will hold them together.
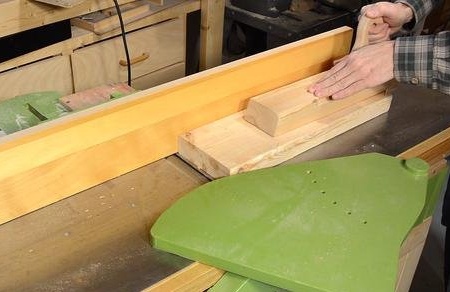
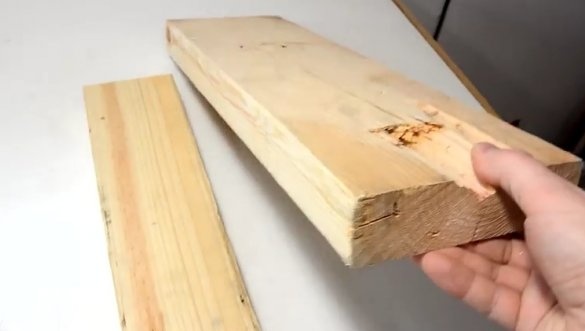
The master began making homemade products with a selection of sawn wood scraps. As usual, the first step is milling.
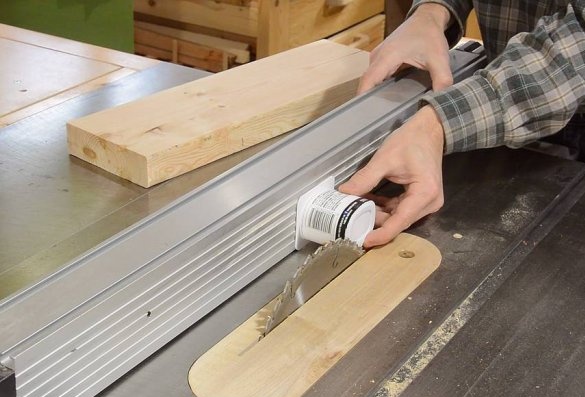
The cup tray should be slightly higher than the cups themselves. The easiest way to determine the width of the tray is the cup of yogurt itself, and then saw the material to the desired width.
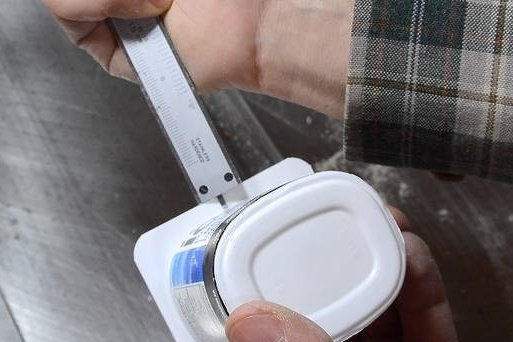
Then the master measured the width of the cup flange. It turned out a little more than 4 mm. Thus partitions are 8 mm wide. Suitable for supporting cups on both sides.
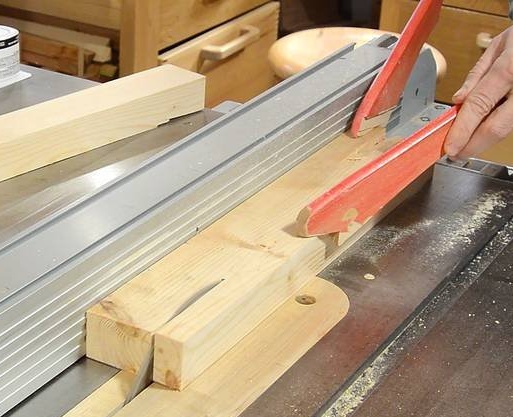
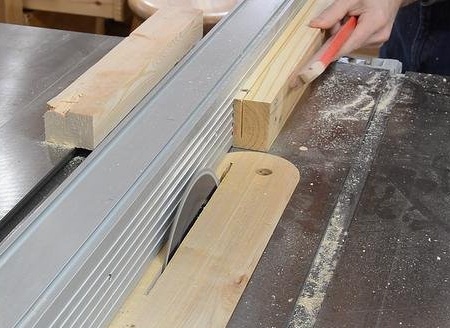
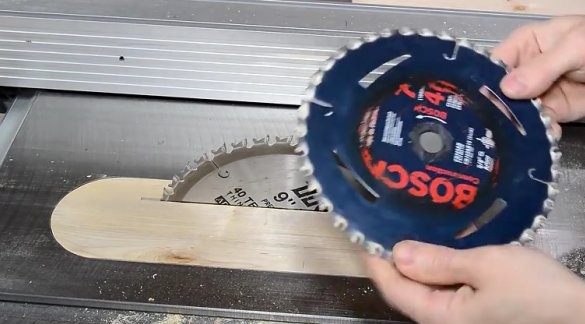
The master sawed the resulting boards on a table saw using a thin saw blade with a depth of cut of 18 cm. The boards had to be cut to the middle, and then cut again on the other side.
Thin lumber very often has an internal stress. It all depends on how they were dried, so sometimes they get pinched on the saw blade. Sawing only half the depth on each side makes handling easier.
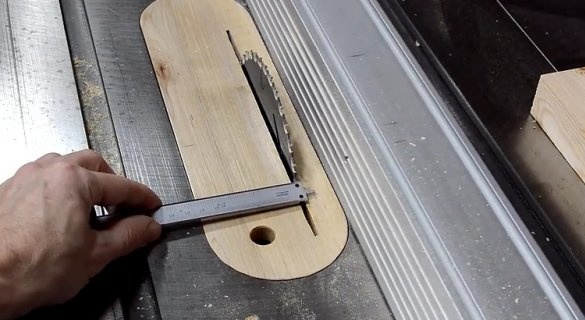
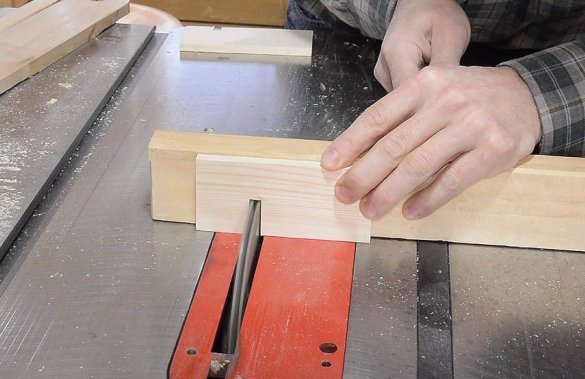
Then the master installed the board on the conductor to cut a slit 8 mm wide.
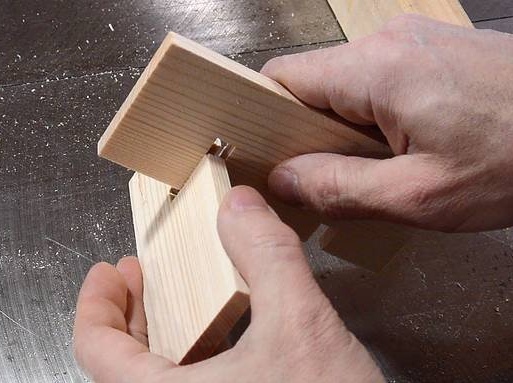
The master cut out the grooves to the middle on each plank to check the fit. It was a bit cramped, but this will help keep the tray in a single design.
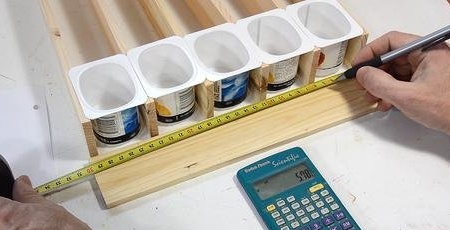
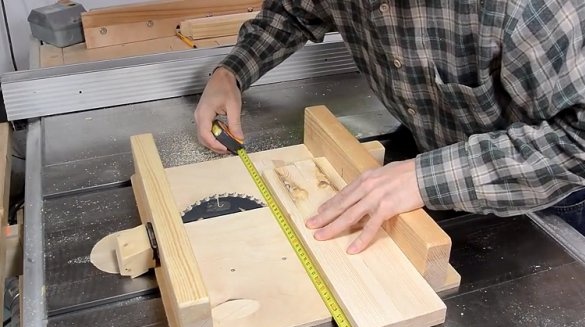
To get five departments of equal size, the master decided to do everything in a visual way, marking the places of the future cut on a perpendicular board.
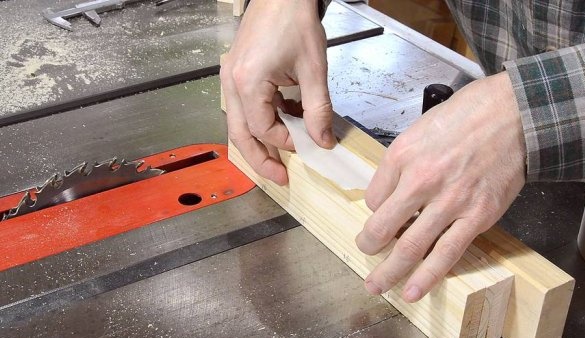
To keep the sawn boards together, the master used paper tape.
Instead of adhesive tape, it would be better to use a clamp, but there is nowhere to install it.
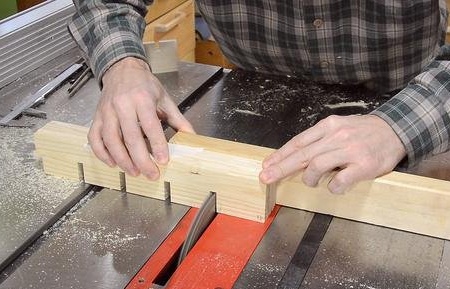
The following is cutting grooves.
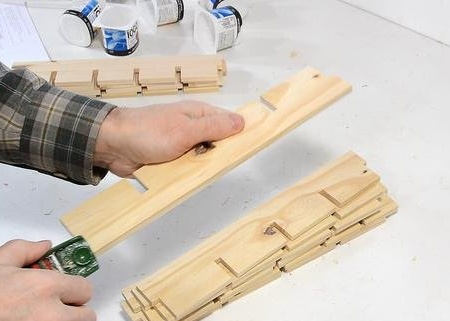
Before installation, the master took a small chamfer along all the edges of the boards.
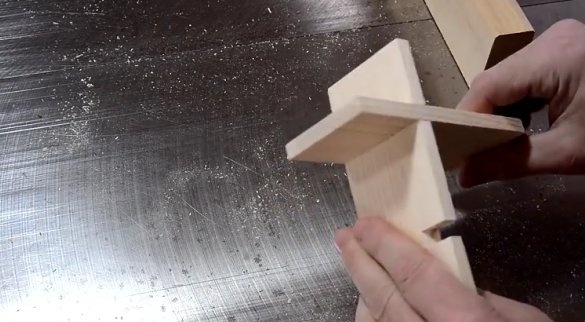
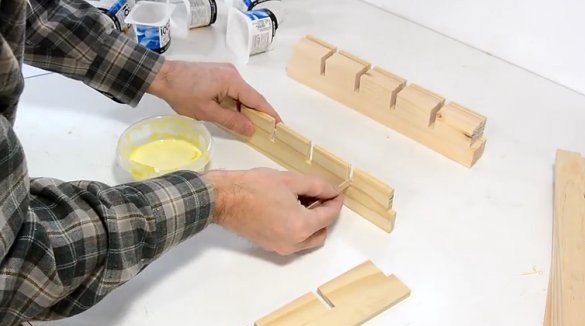
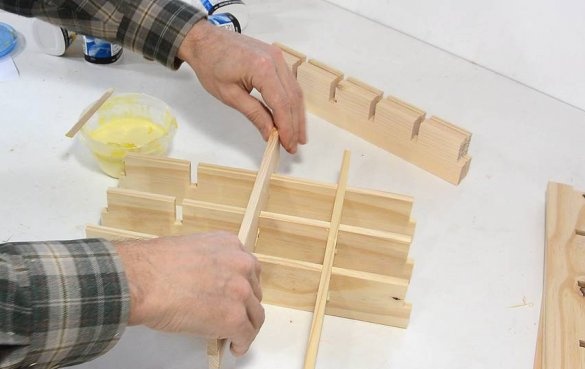
The master began assembling the structure from the inside.
So it will be much easier to drive the extreme boards into the grooves. The assembly of the structure is carried out on PVA glue.
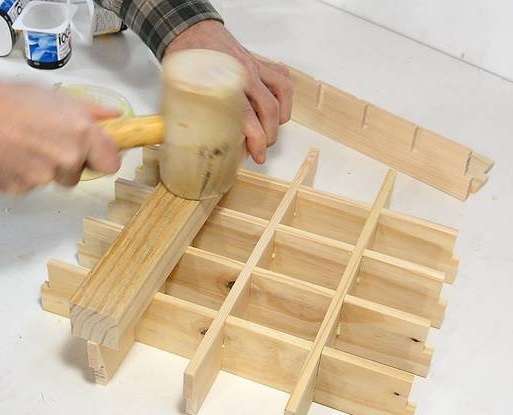
However, the master was stuck on one of the extreme parts and he had to take a hammer and a board to drive it inside.
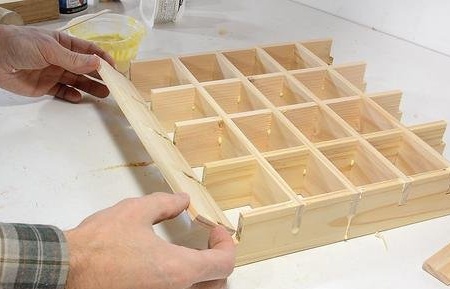
The outer planks are installed last.
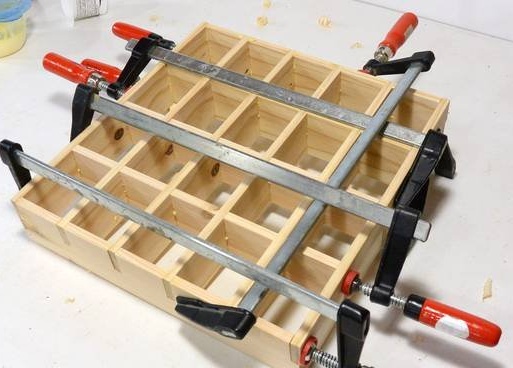
The master marked the details to be sure that he had not mixed up a single one, but in the end he mixed up one anyway. It turned out a small error of about a millimeter. This means that the planks had to bend slightly to fit into the grooves. Therefore, the master needed several clamps so that all external grooves were completely closed.
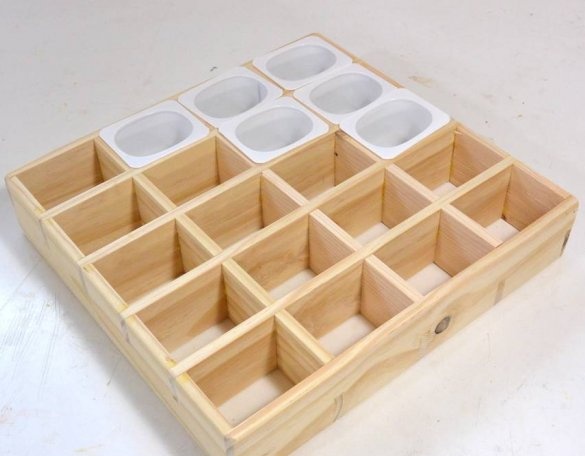
Ready sorting tray.
Now the master has to eat the required amount of yogurt to get enough empty containers.
If you like homemade, then try to repeat and make. Thank you for attention. See you soon!

