
In this article, the author of the NightHawkInLight YouTube channel will demonstrate to you the technique of converting an electric lighter into a plasma-arc paper cutter.
Materials
—
- Glass
- Sheet steel
- Self-tapping screw, wires
- Heat-shrink tubing
- Sandpaper.
Instruments, used by the author.
—
- Glass drill
- Screwdriver, tweezers
—
— .
Manufacturing process.
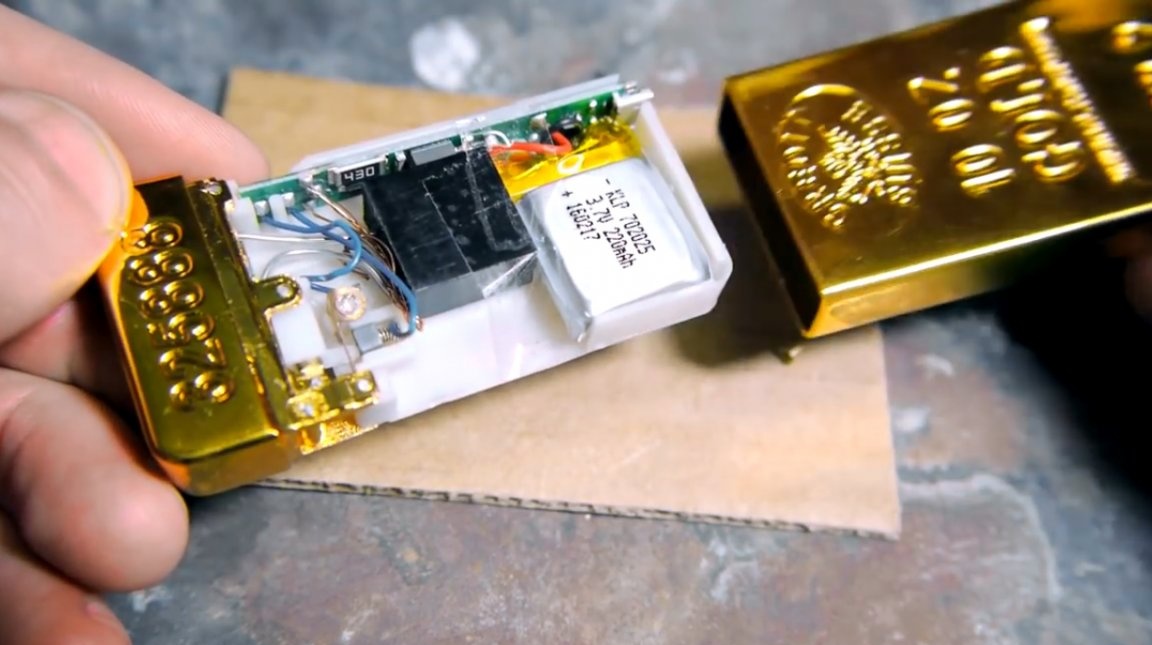
Lighters of this type generate a high voltage arc formed between two open electrodes.

A similar lighter can be purchased at.
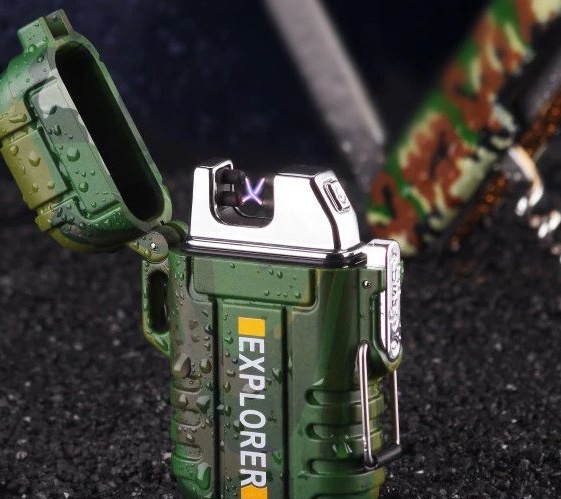
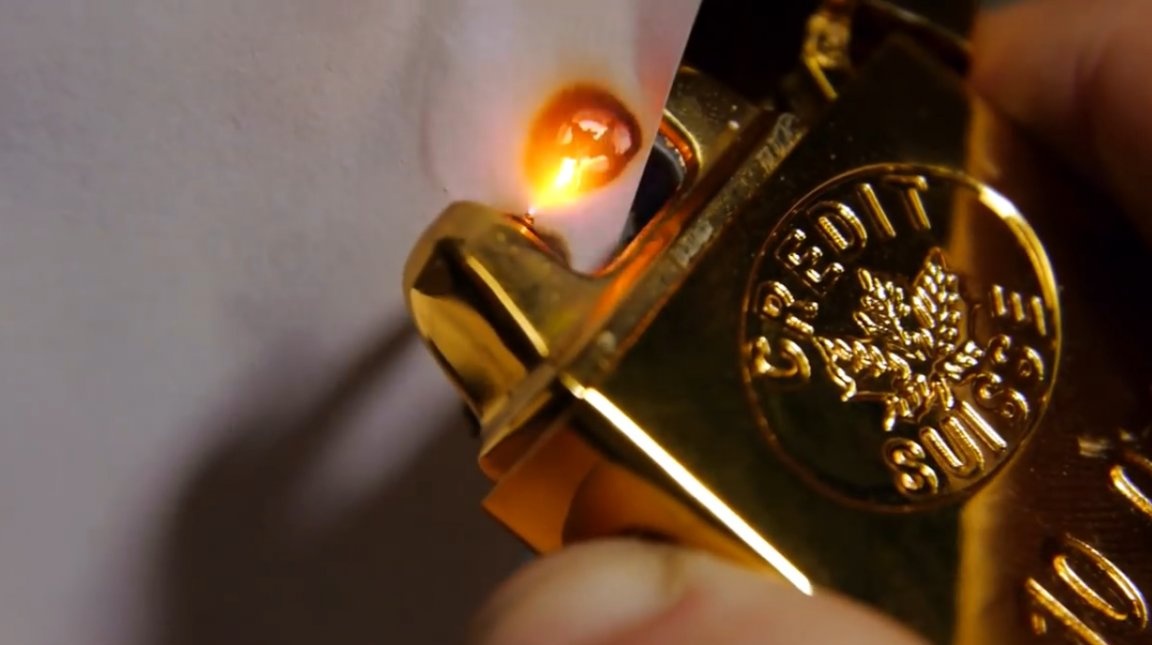
A short spark pulse can burn a neat hole in the paper. However, with a longer arc, the paper lights up.
In order to convert a spark into a functional plasma cutter, the first thing that needs to be changed is to organize a certain heat sink in the system, or what will fulfill its function. So the material in the radius of the arc can remain relatively cool.
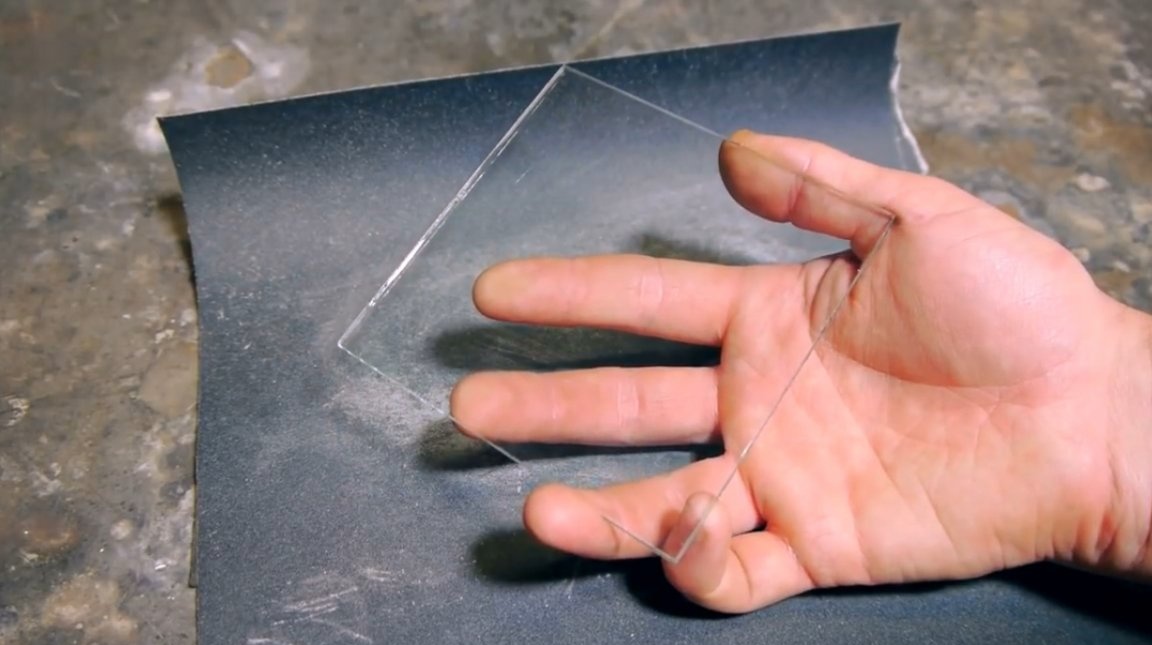
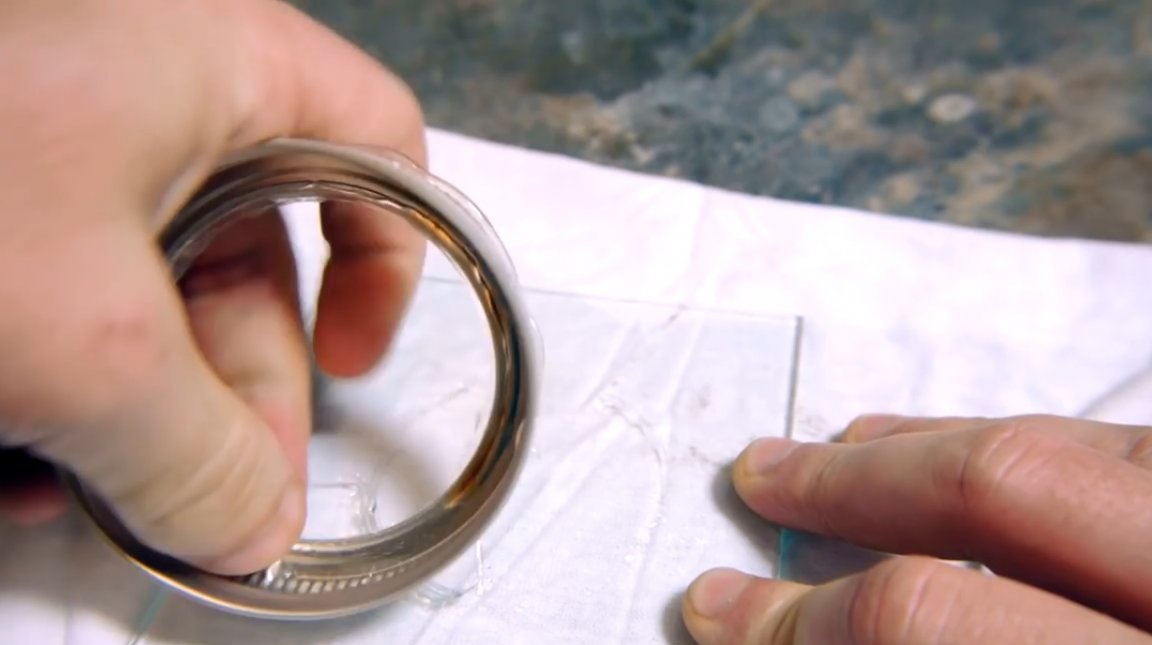
In a hardware store, the author ordered a piece of square glass with ribs of 100 mm. Sharp edges are rubbed with sandpaper.
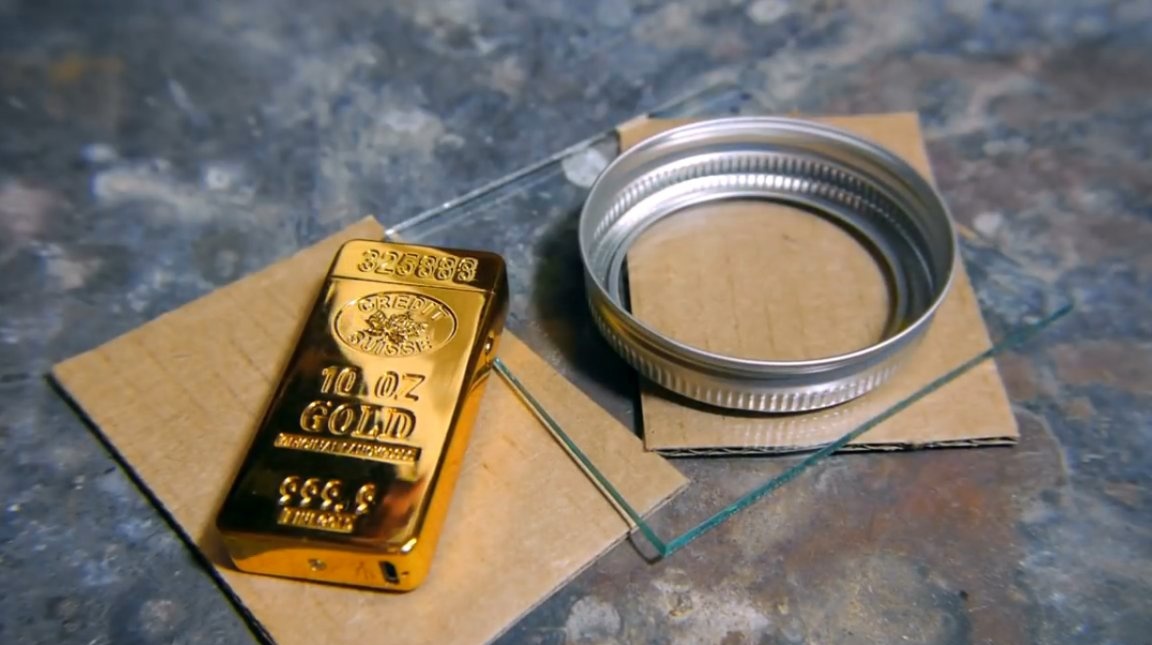
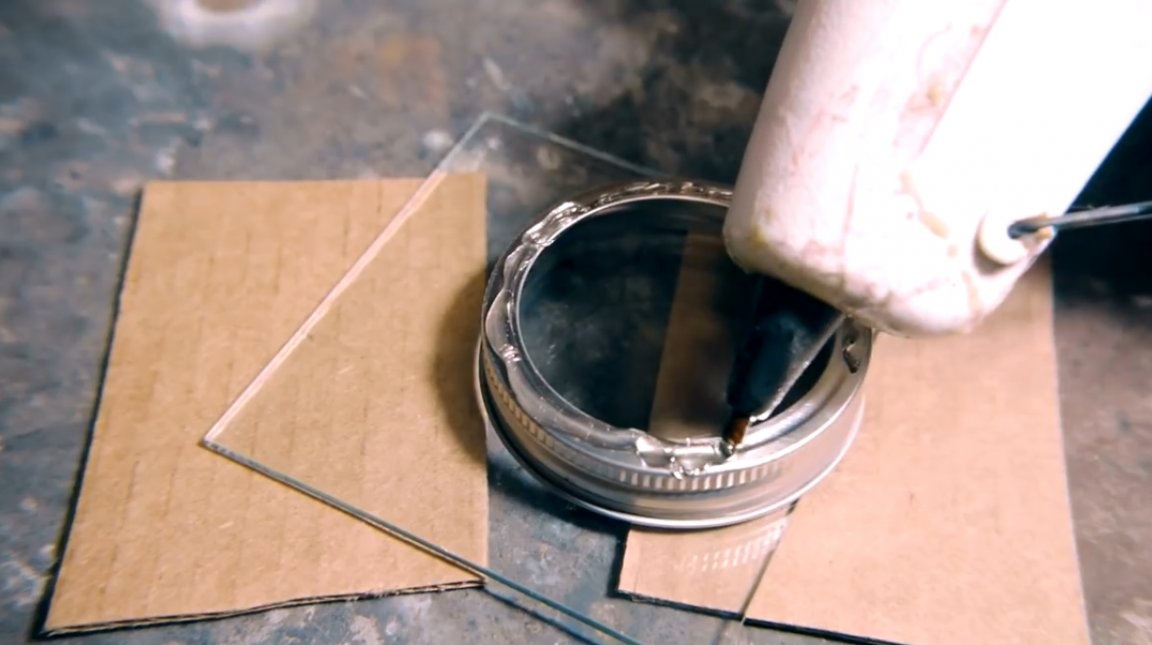
Drill a hole in the center of the square. For this procedure, you need to immerse the glass and the drill itself under water.
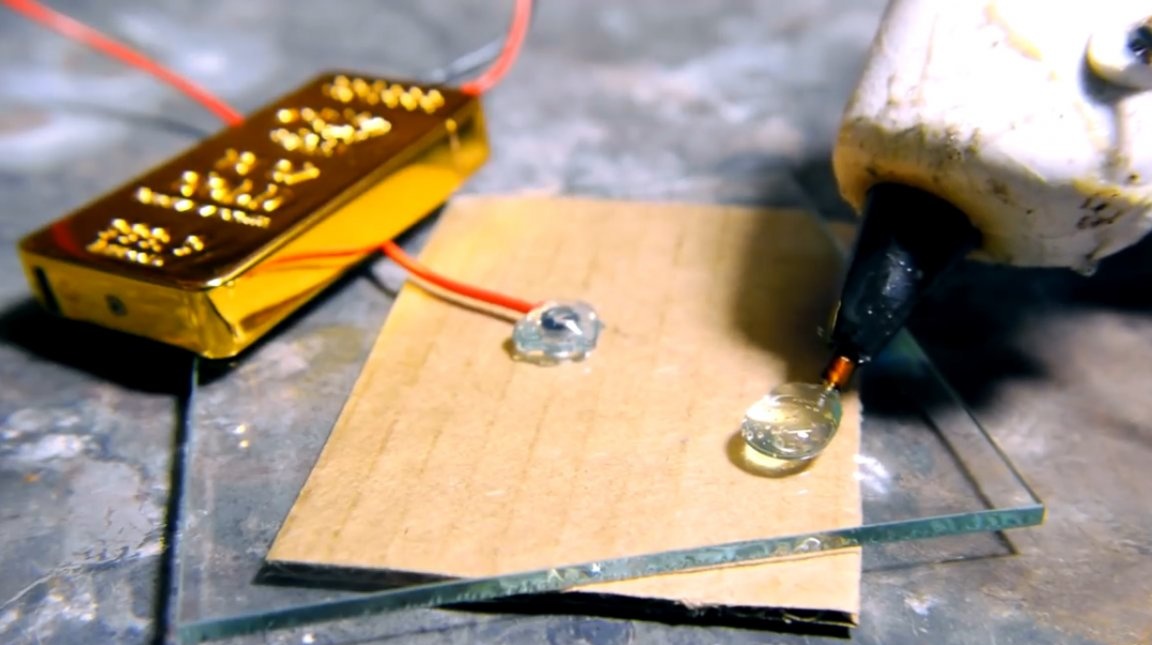
For this purpose, an aluminum or tin ring is glued onto the glass, which is then filled with water. The author used a glue gun.
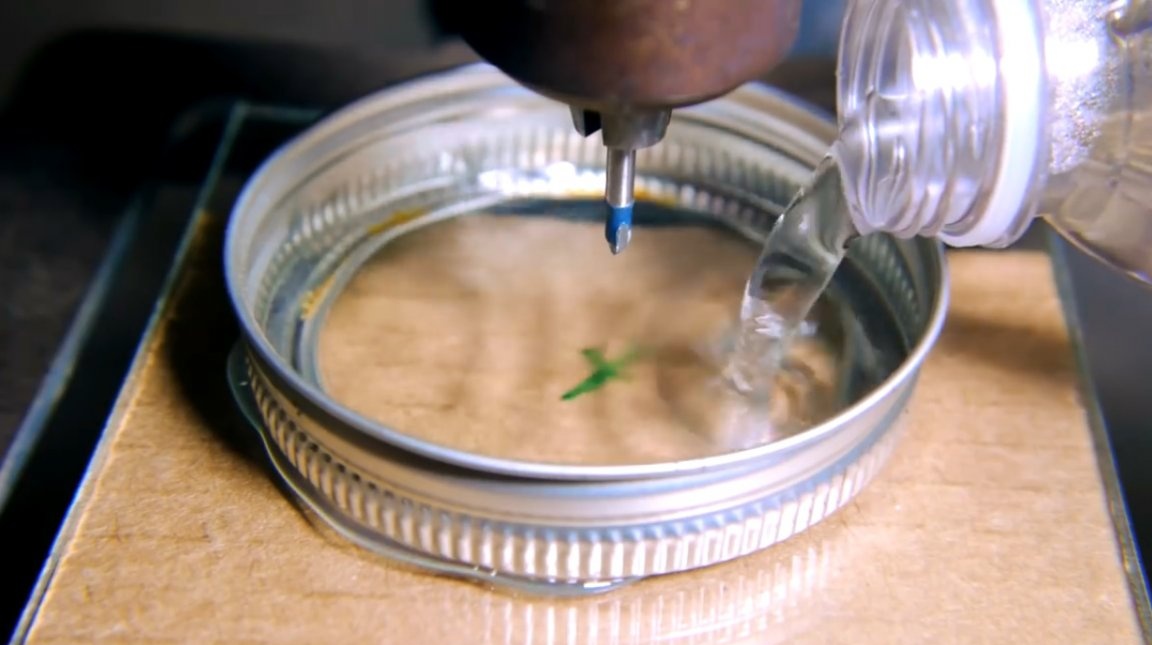
In this case, a 3 mm drill is used, which is just designed for drilling glass. It is better to do this on a drilling machine, but a hand drill will do the job.
It is important that the pressure during drilling is minimal, otherwise the glass may crack.
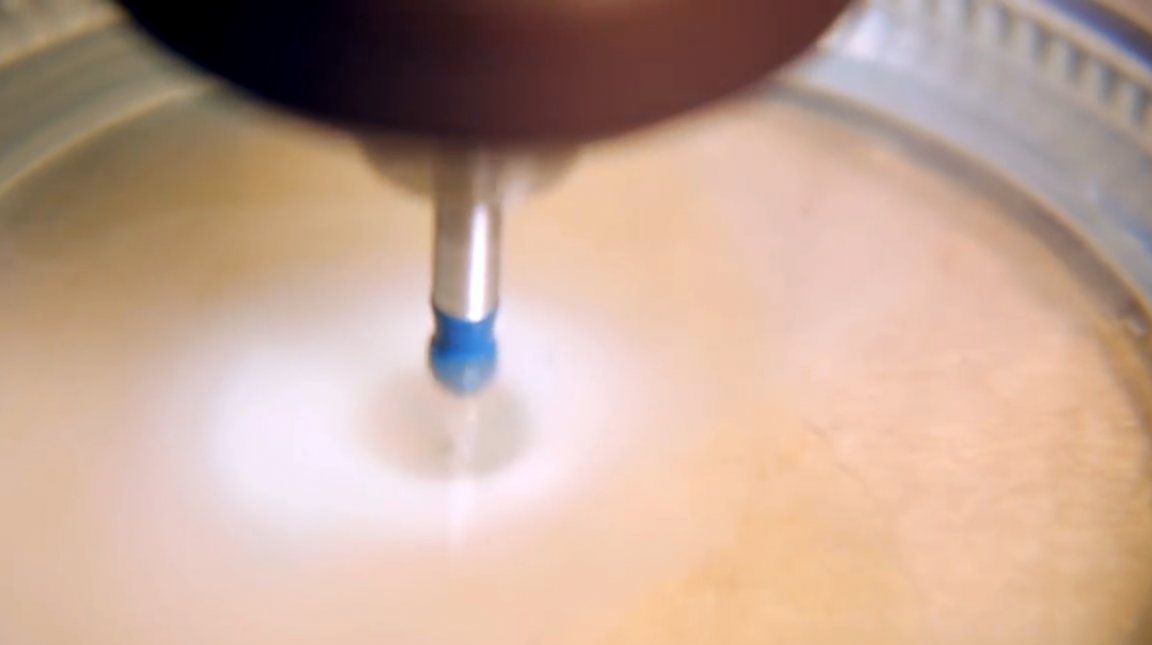
As soon as the drill begins to cut through the glass, you should stop drilling, turn the glass sheet on the opposite side and finish drilling.

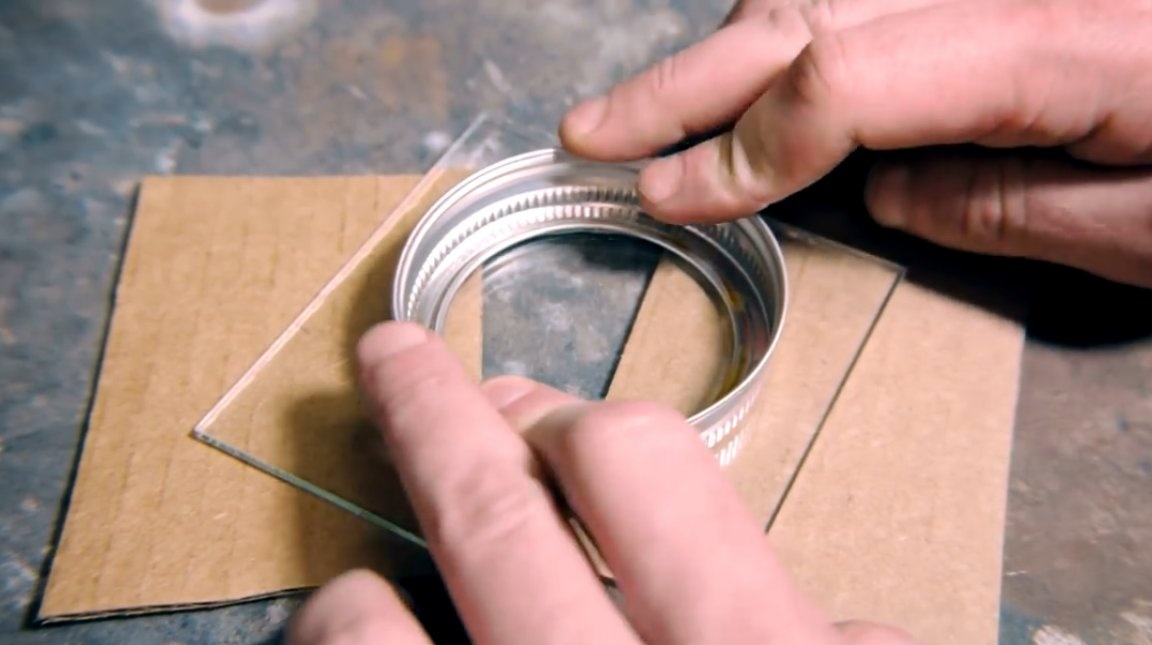
When the hole is ready, the ring is removed. Traces of hot glue are easily erased with alcohol.
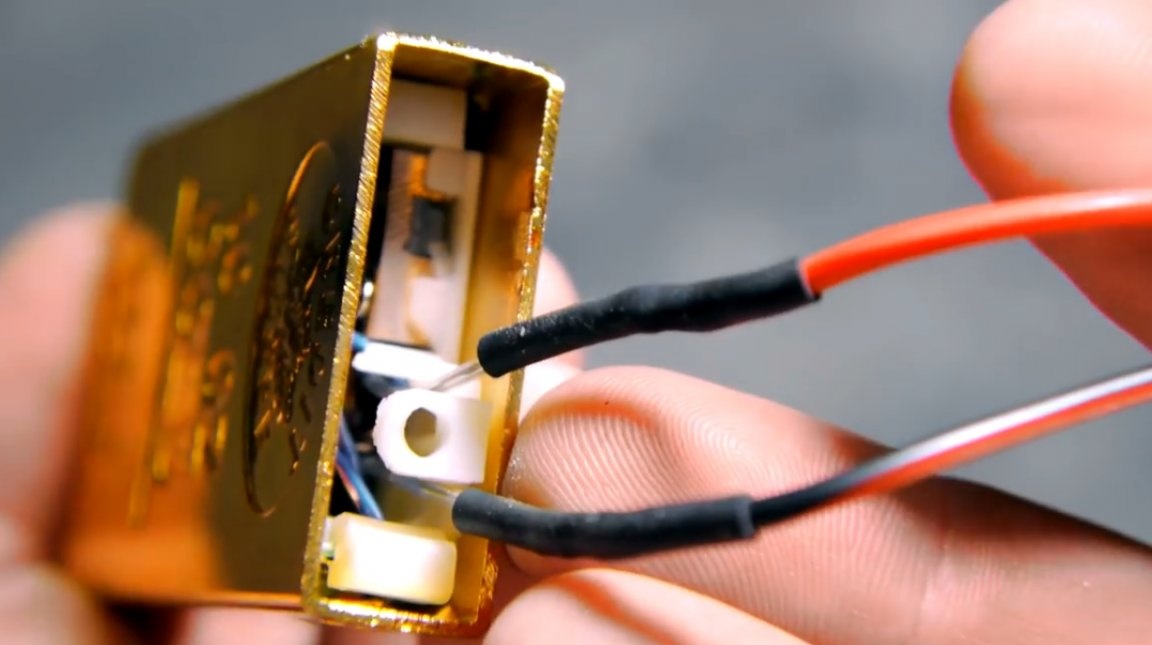
The housing is removed from the lighter, its upper part is removed so that it is possible to get to the high-voltage wires. To do this, several steel pins are pulled out.
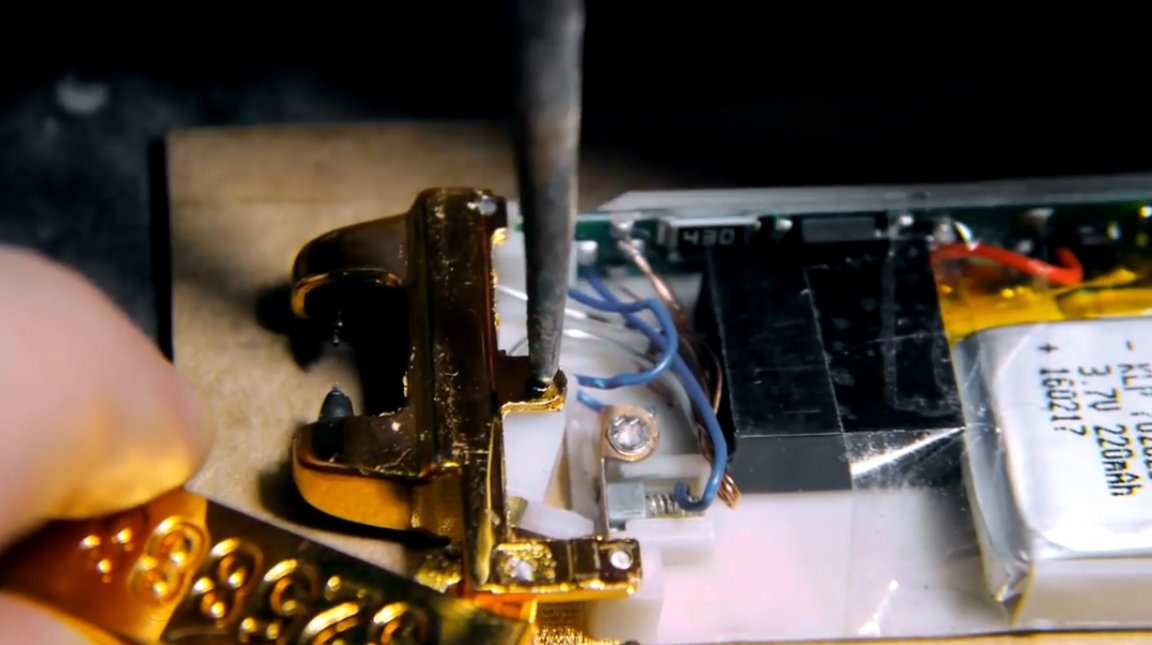
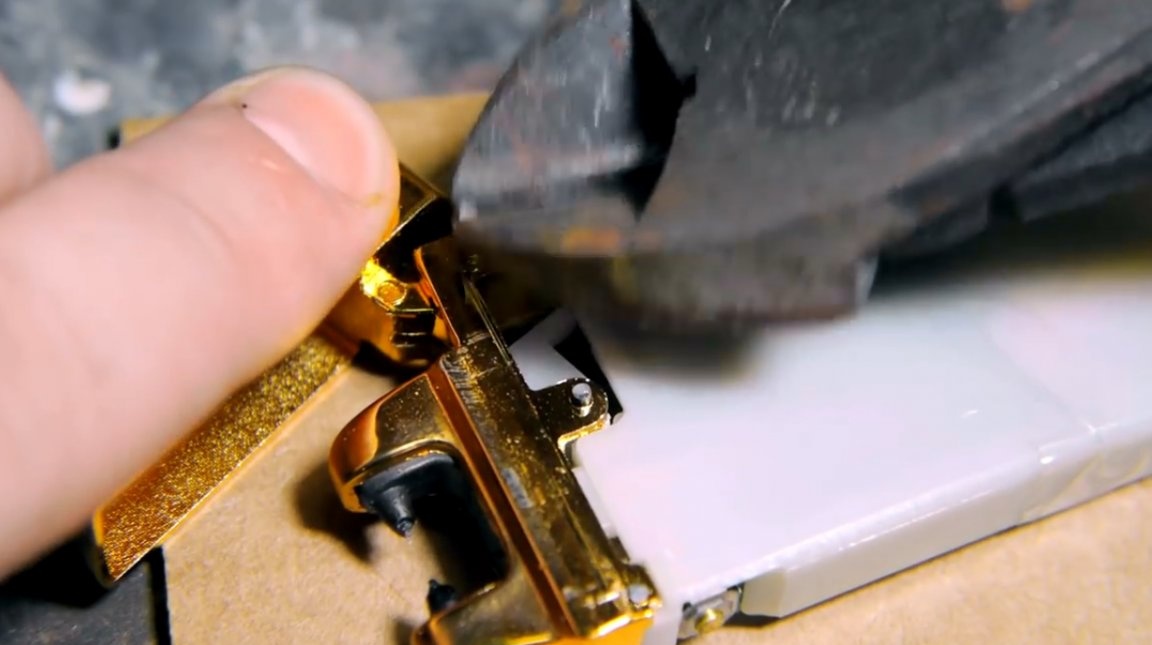
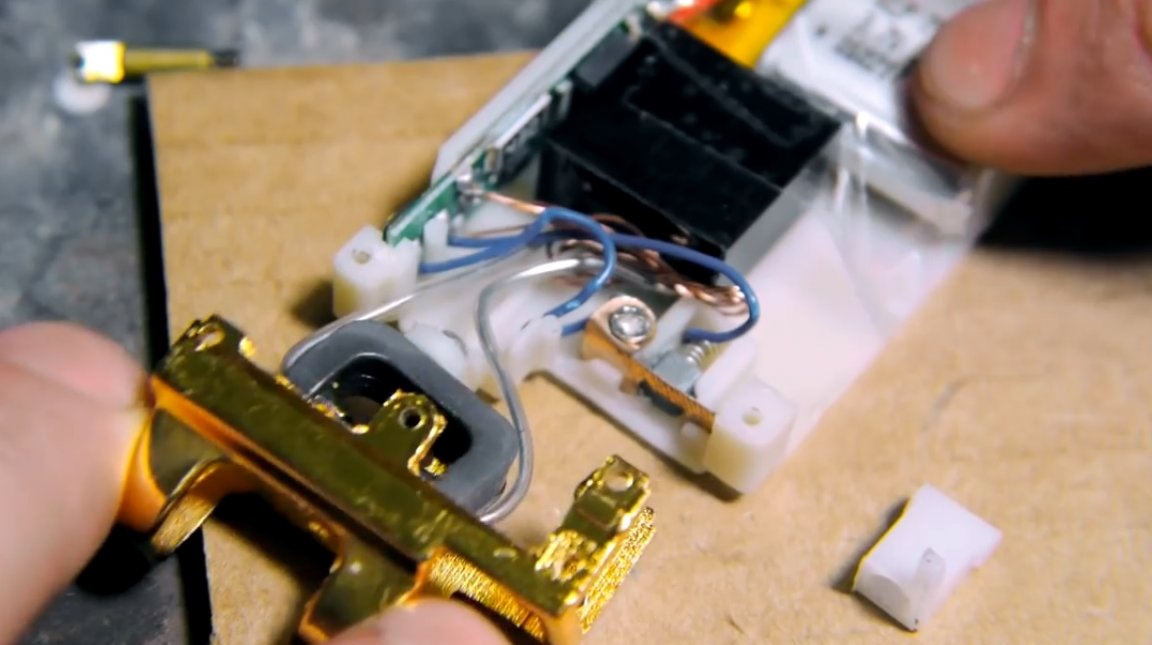
At the end of everything, a small ceramic element is removed that holds the contacts in place.
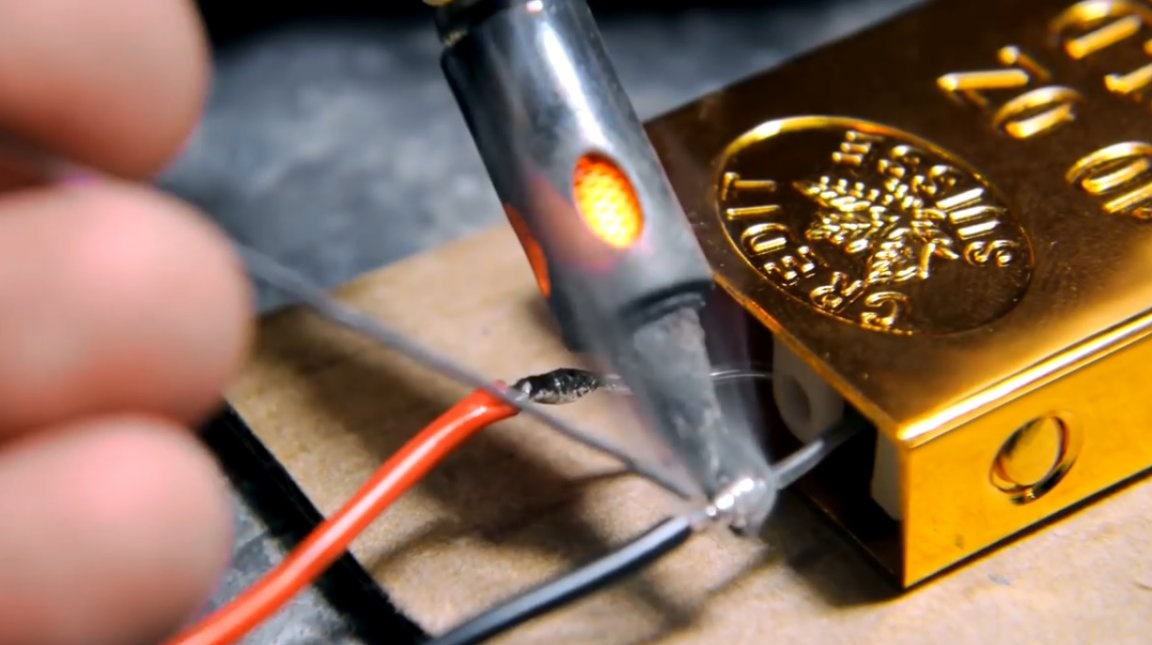
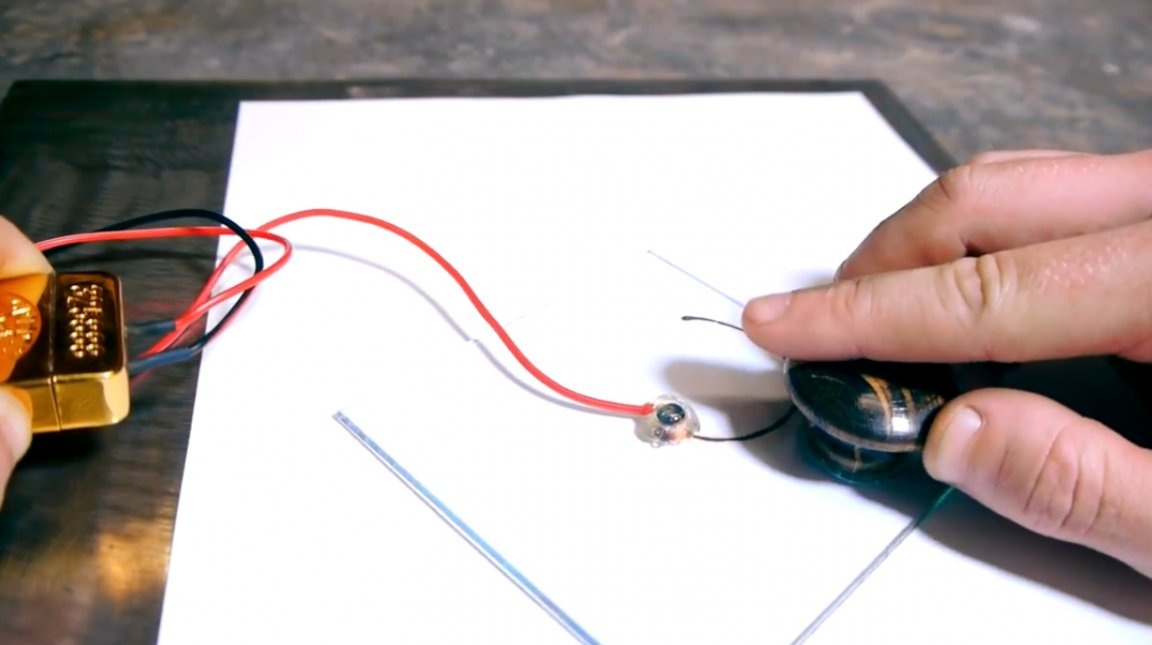
After all the necessary transformations have been done, the case is assembled. The extracted wires will be the contacts that connect to the plasma torch.

The author extends the contacts due to other wires. And so that these contacts do not spark at the place of soldering, the author puts on a heat-shrink tube.
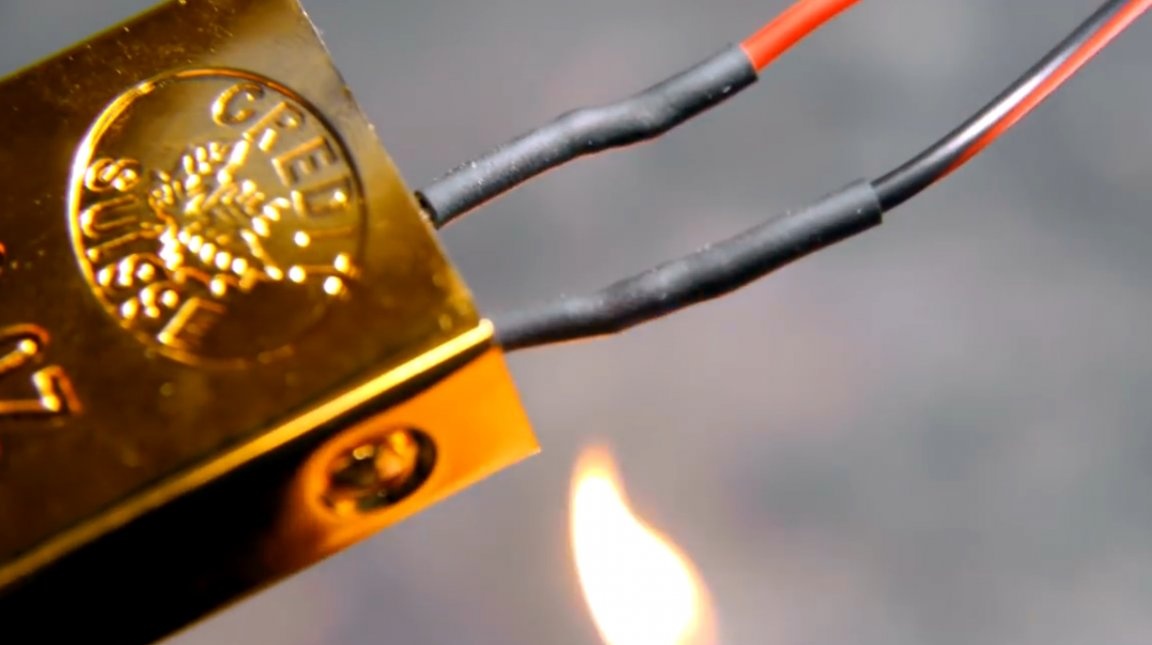
For purely aesthetic purposes, two holes are drilled through the lighter cover through which wires are passed.
The author fixes the lid with hot glue, but if desired, a regular pin could also be used if it was necessary to open and close the lid.
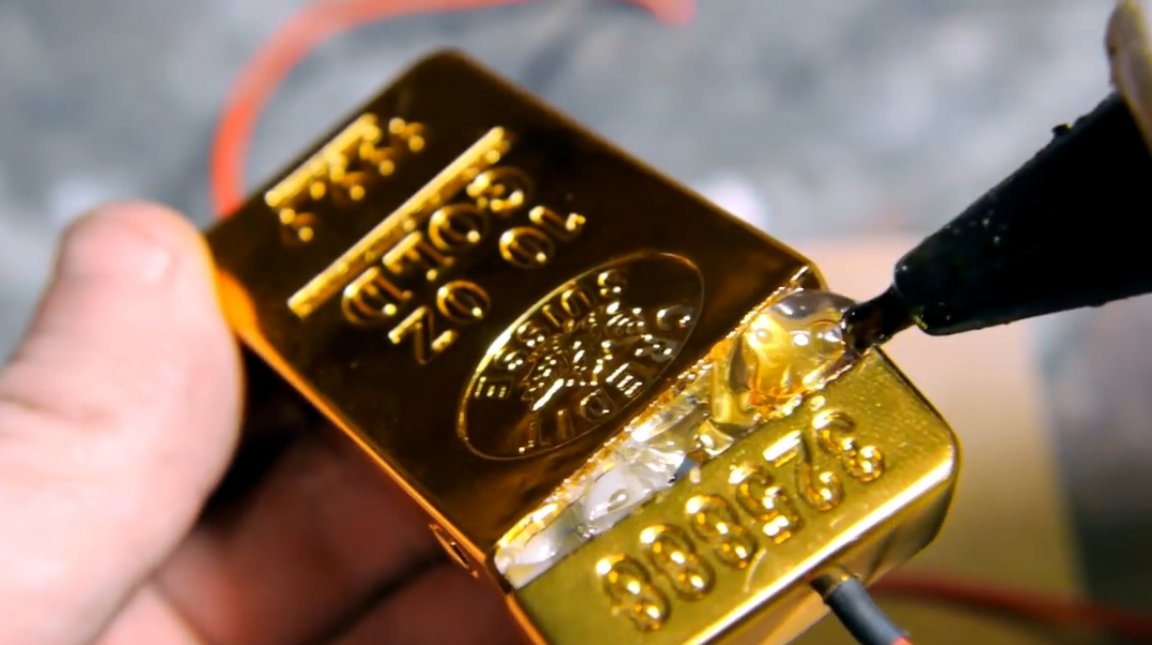
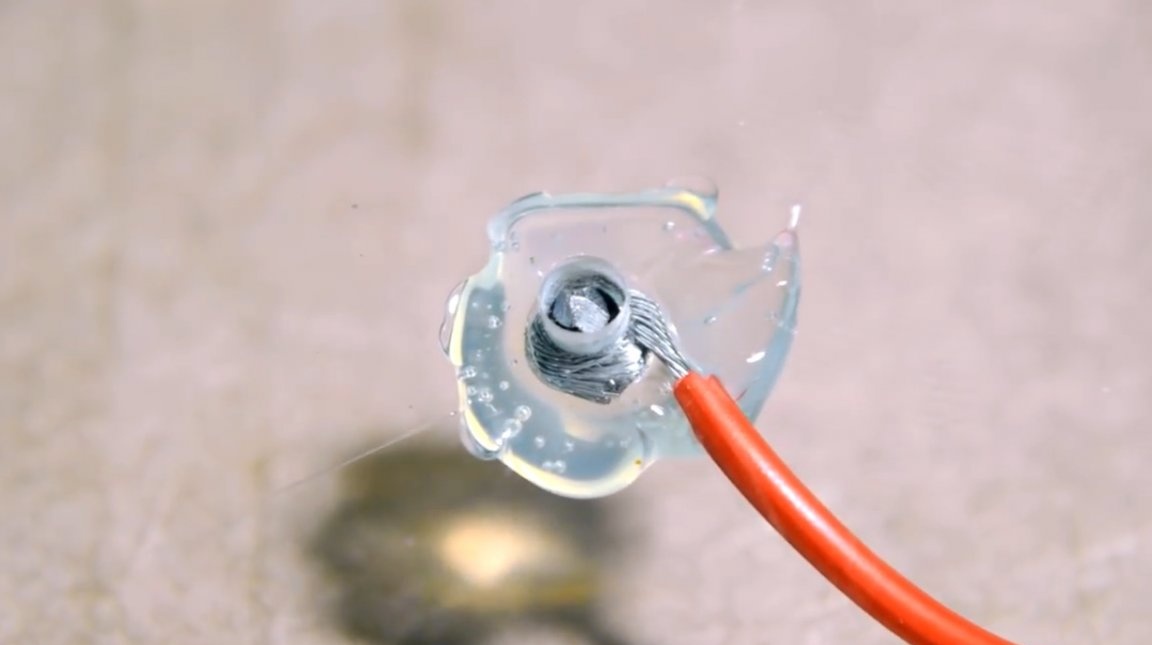
A small self-tapping screw is connected to one of the high-voltage contacts. It is sharpened and trimmed so that it does not rise above the thickness of the glass.
At first, the author tried to put the screw on hot glue, but it melted when the screw was heated quite strongly.
In the end, epoxy proved to be the best.
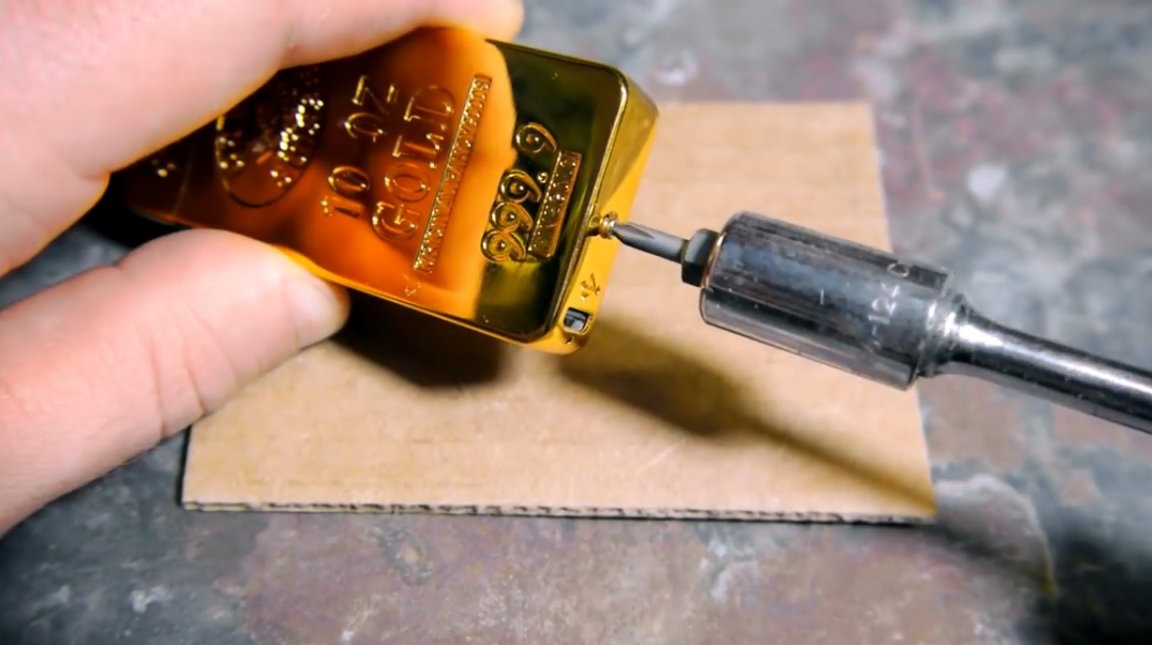
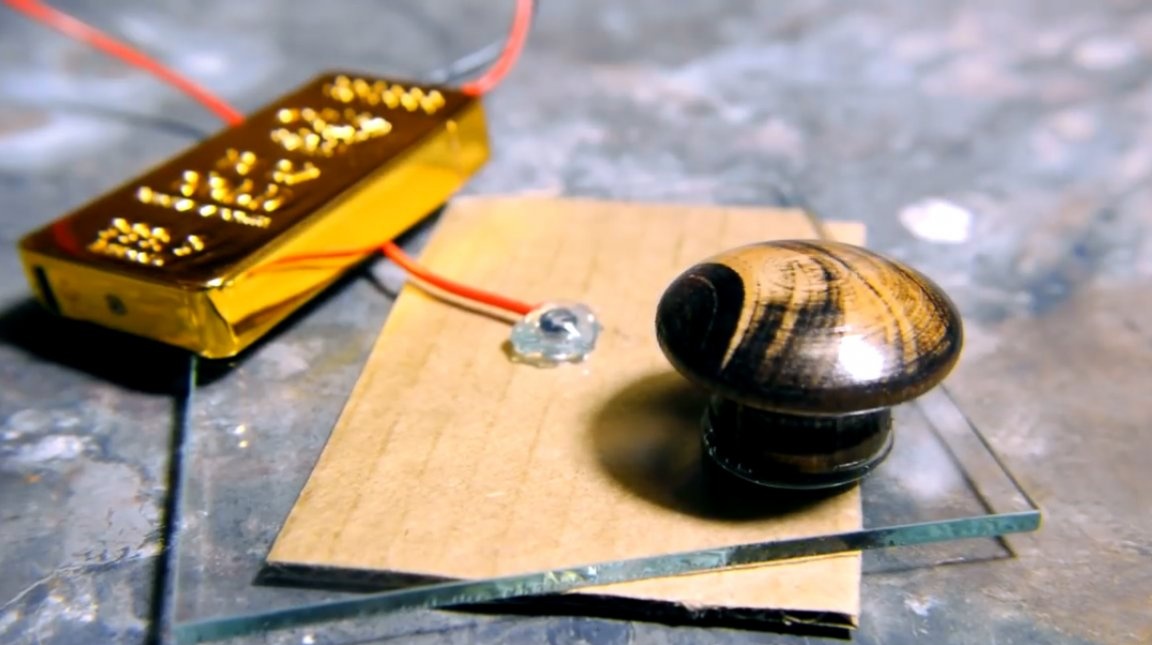
The last addition to the device is a small wooden handle that should help control the glass nozzle.
But that's not all! The author needed another detail for this part of the device to work as a conductive working plane - a section of a metal plate. It can also be a regular baking sheet for culinary products.
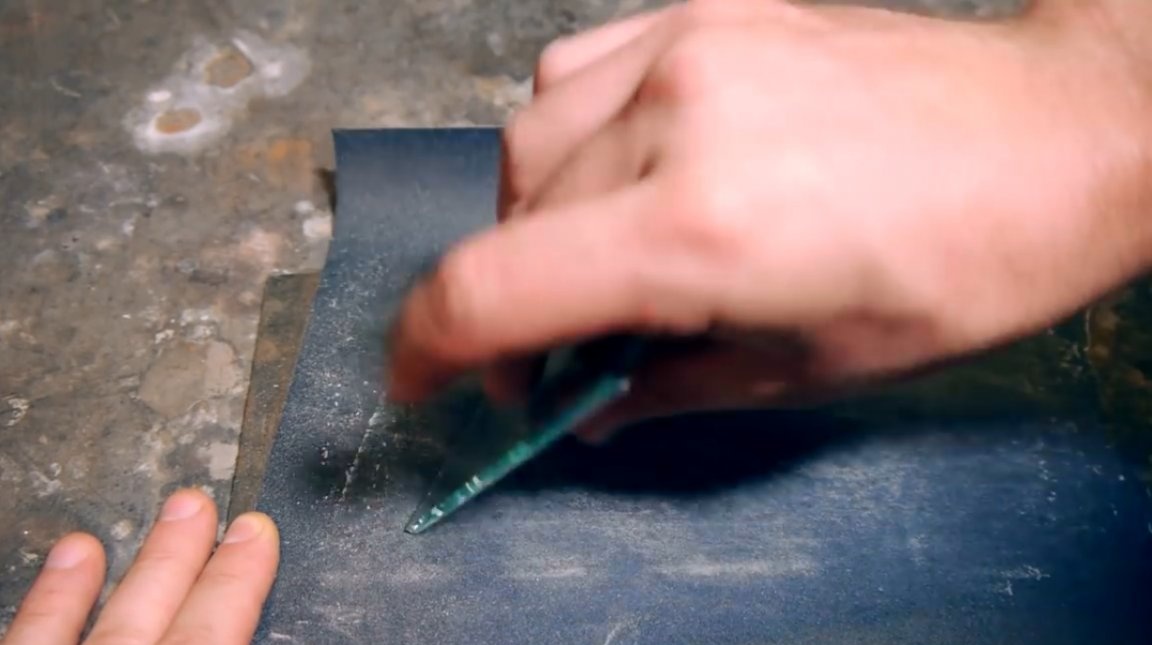
The surface of the sheet should be cleaned with fine-grained sandpaper.
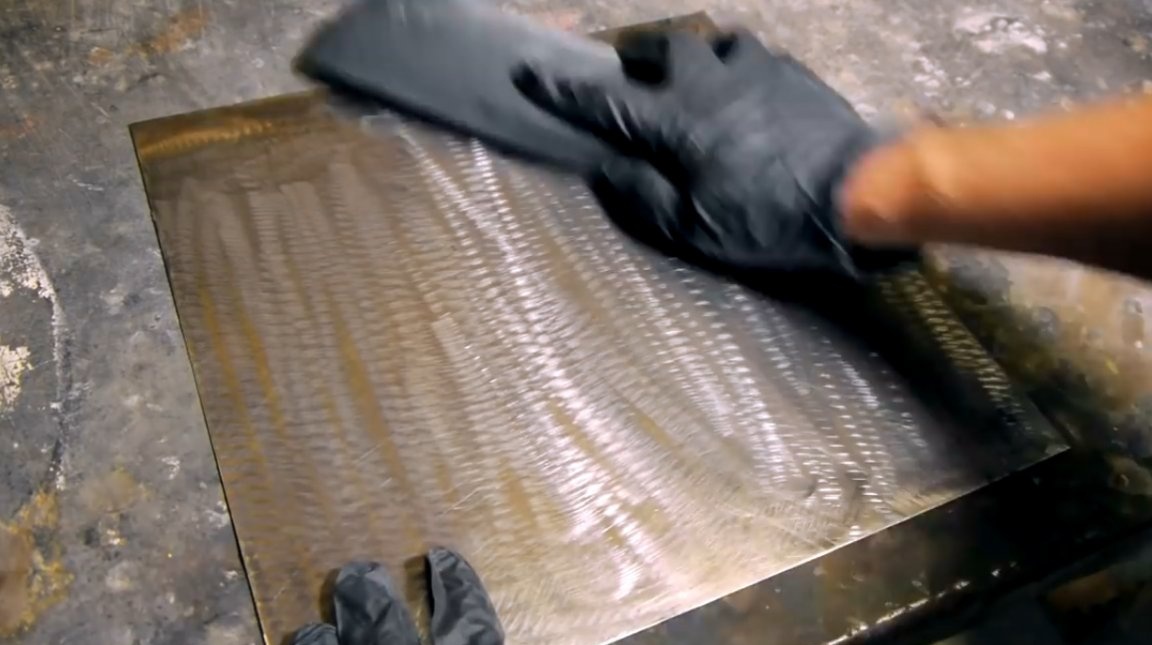
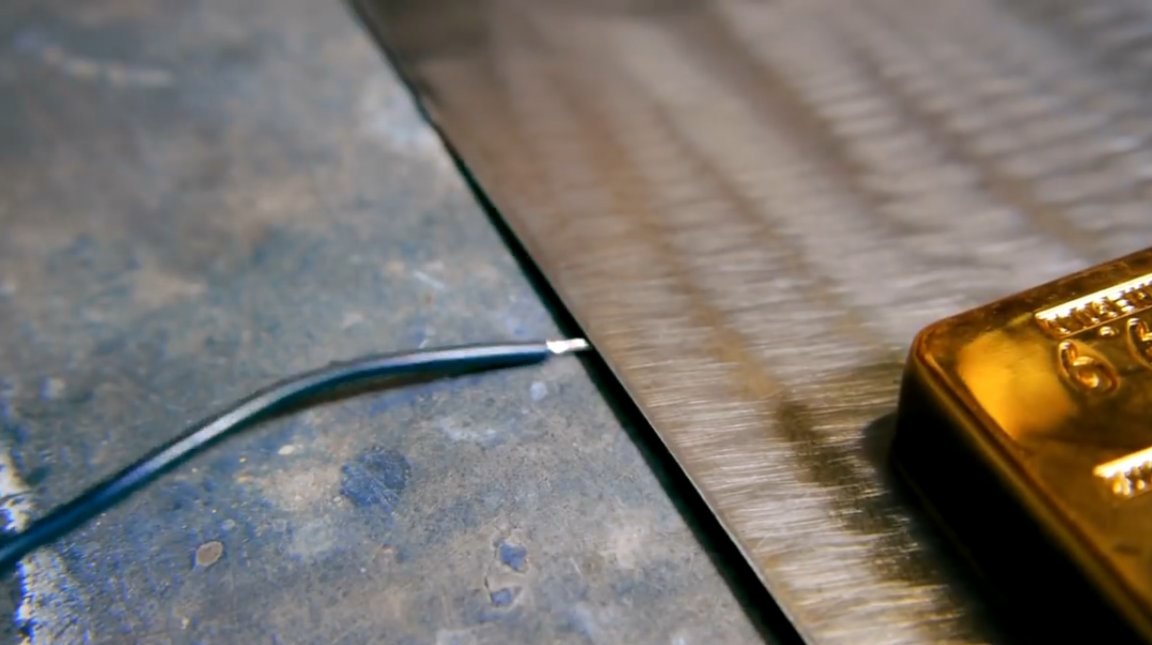
This base plate will work as a substrate, or the second part of the electrode. The second wiring should be located in the place where there will be a good electrical contact. The author simply cleaned it, and put it under the plate.
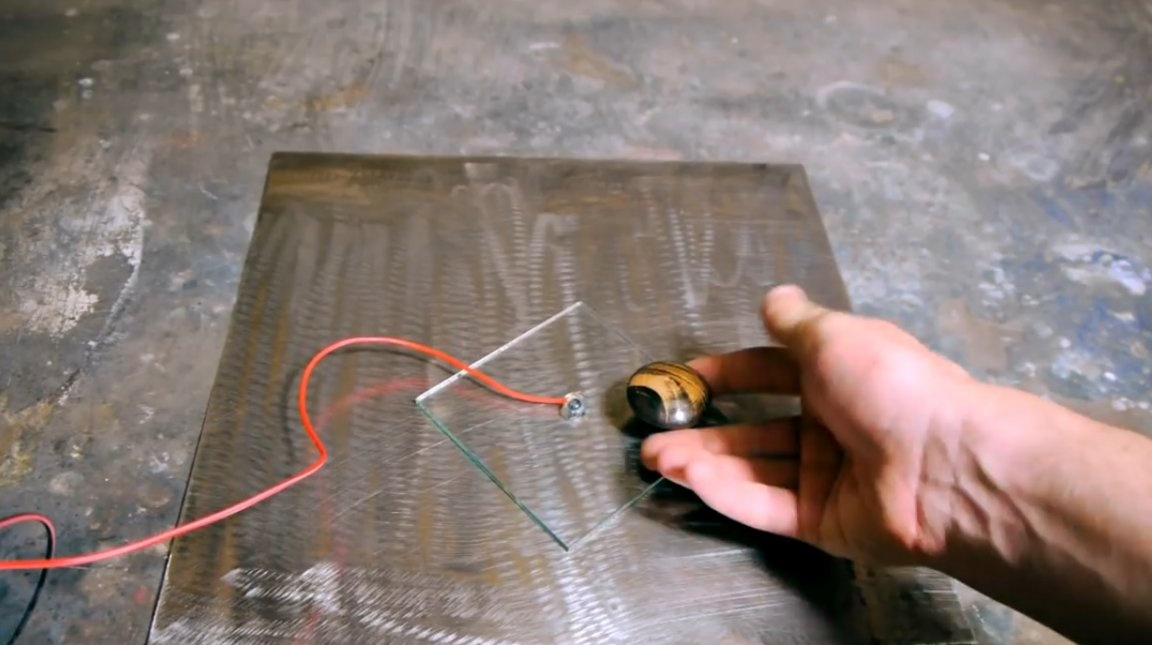
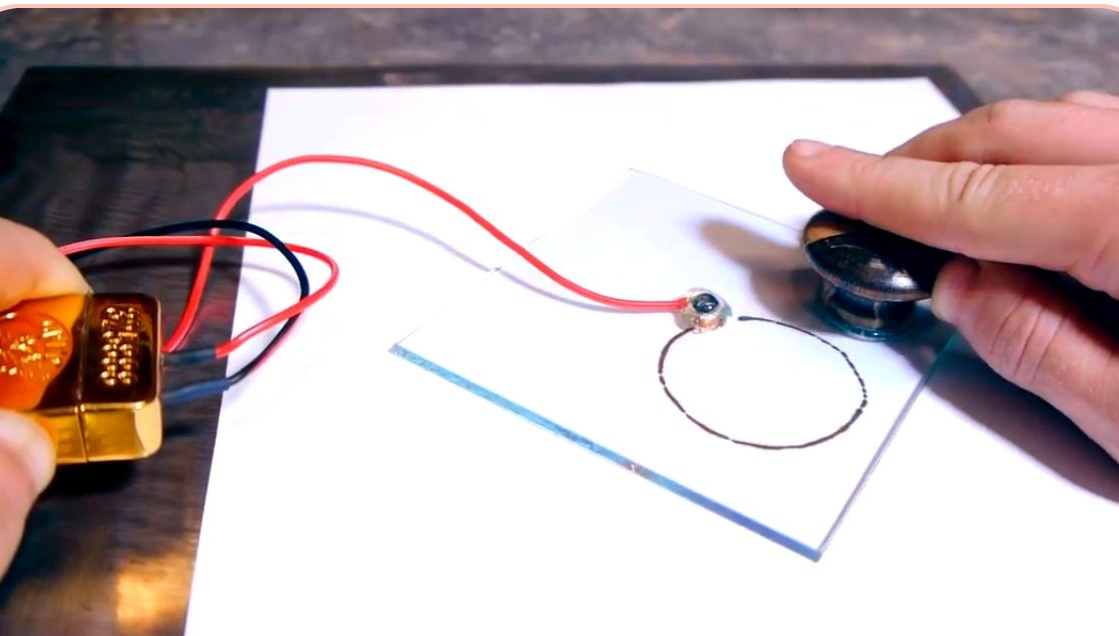
Well, now you can try the device in practice. An electric arc of such power can easily cut through thin materials such as paper. Since glass and the steel platform absorb excess heat, paper burns out only where the electrode is in contact with its surface.

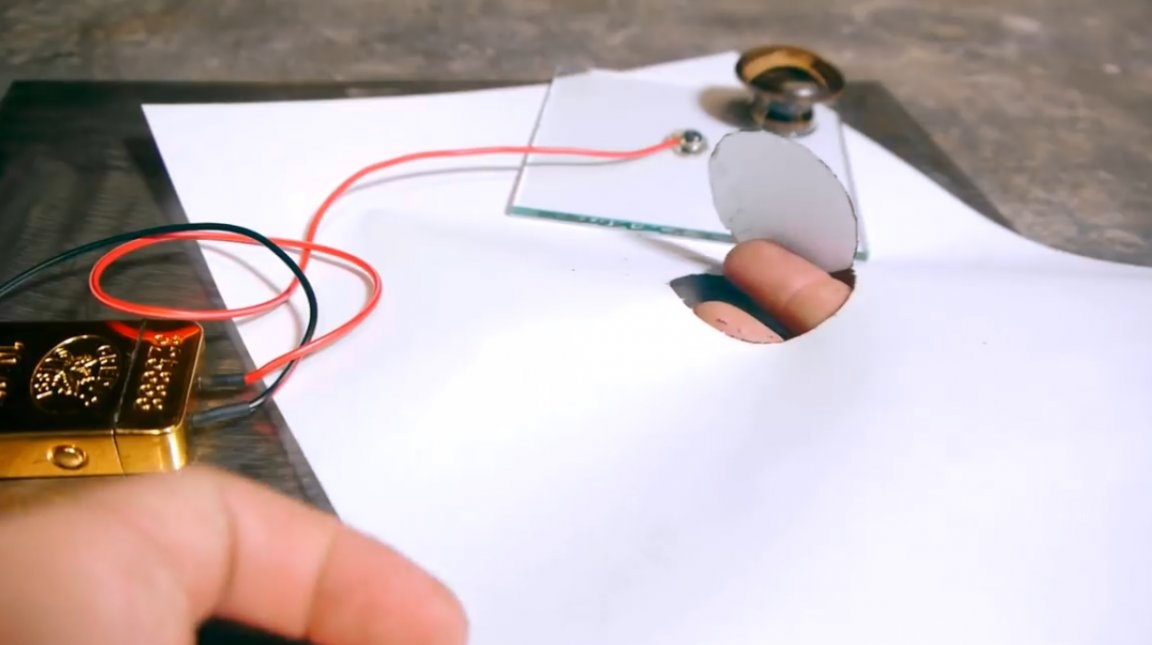
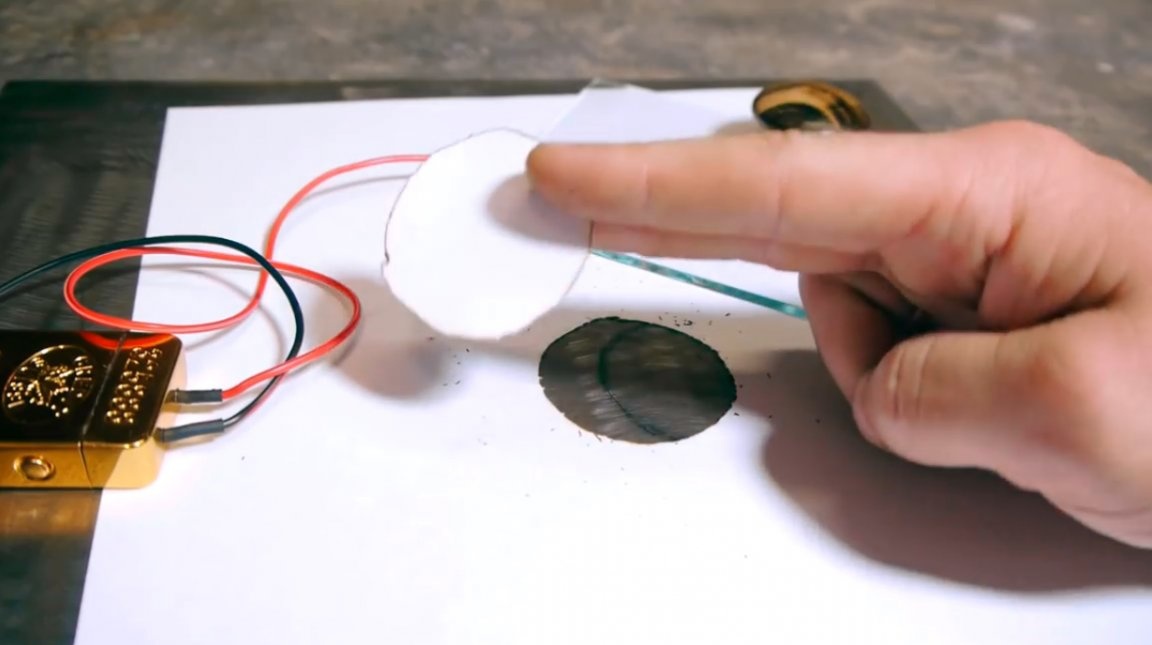
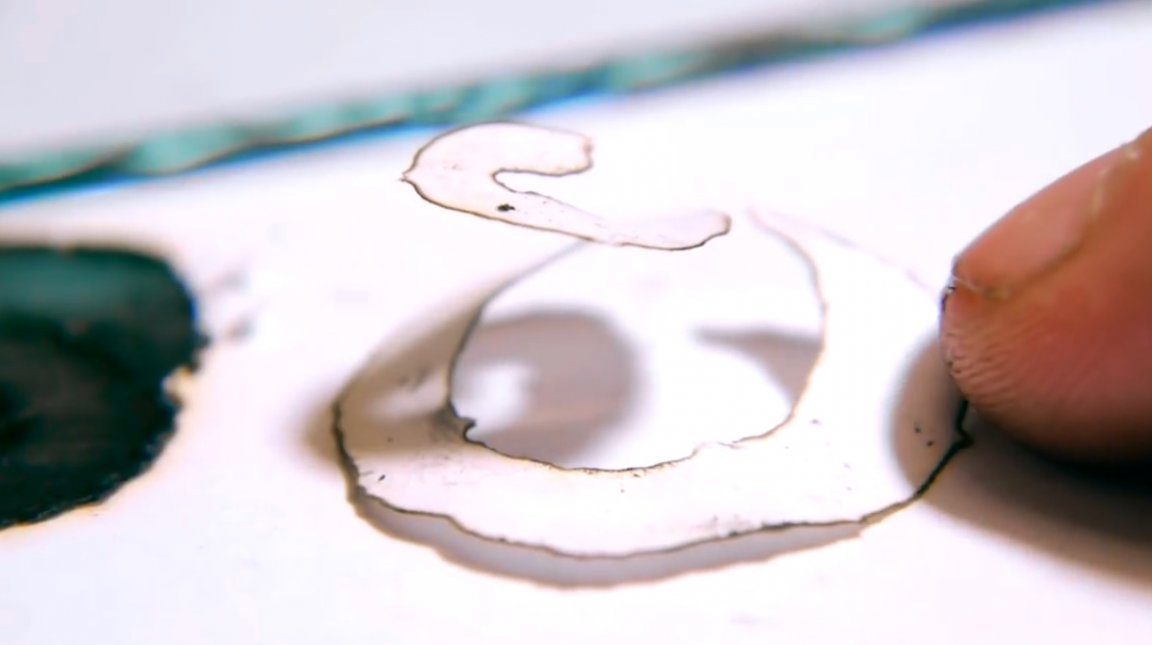
If your hand movements are accurate, you can cut shapes with fairly high accuracy.
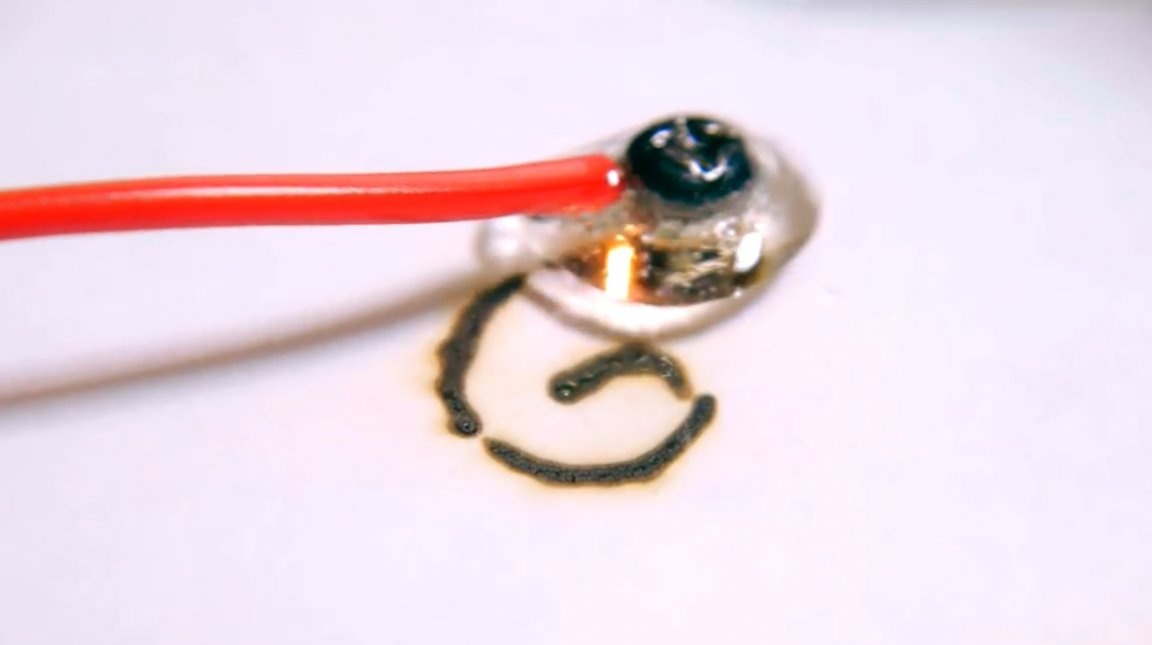
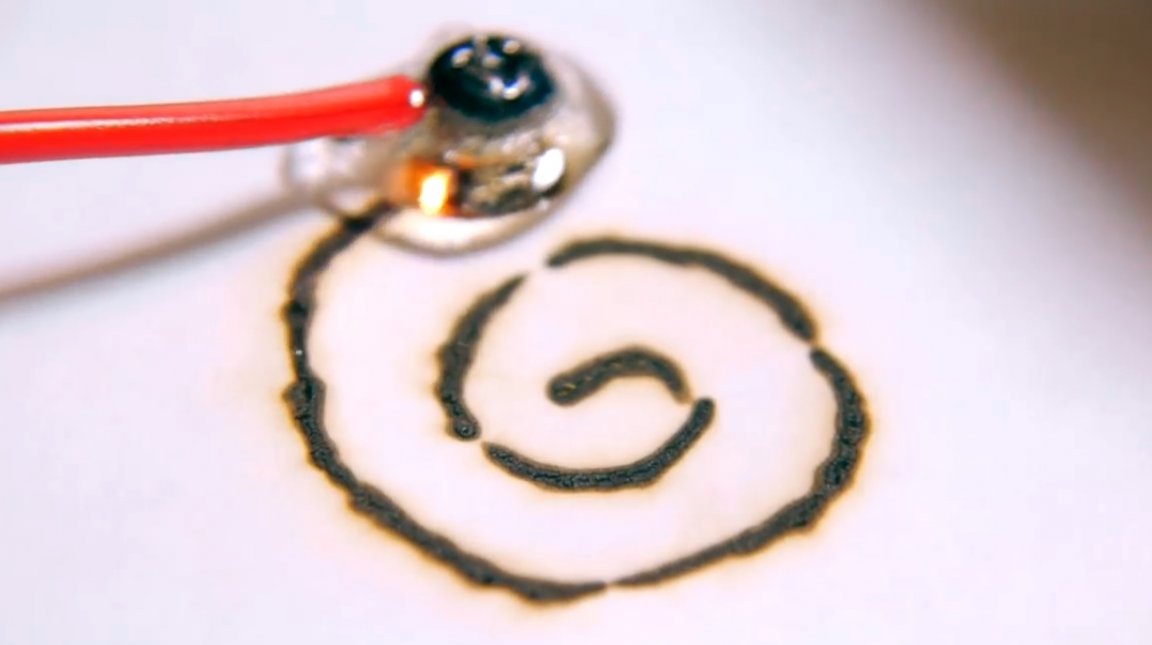
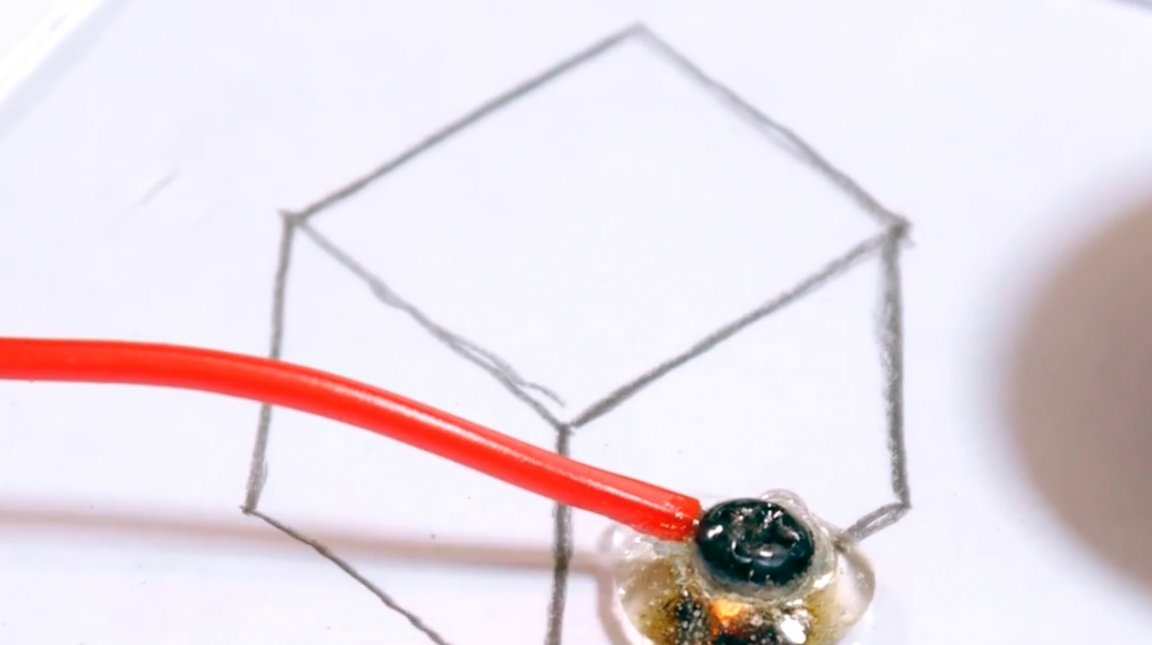
Even greater accuracy and finer lines can be achieved if you pre-draw the drawing with a thin graphite pencil.


Observe safety precautions when working with high voltage!
Thanks to the author for a simple but interesting device for cutting paper!
All good mood, good luck, and interesting ideas!
Author video can be found here.