Hello to all lovers of craftsmen, today we will make a wonderful kitchen knife in a western manner. Homemade made without forging, but the blade was hardened. The author used a saw blade as a source material. The knife cuts perfectly and has an excellent appearance, and for its manufacture you will not need rare and expensive equipment (not counting the belt grinder). So if you are interested in such a project, I propose to study it in more detail!
Materials and tools used by the author:
Material List:
- saw blade;
- wood for the handle;
- epoxy adhesive;
- oil for wood;
- brass rods.
Tool List:
- belt sander;
- grinder;
- hardening oven and oil;
- oven;
- tape cutting machine or hacksaw;
- a chisel, a hammer;
- drill;
- marker.
The process of making a knife:
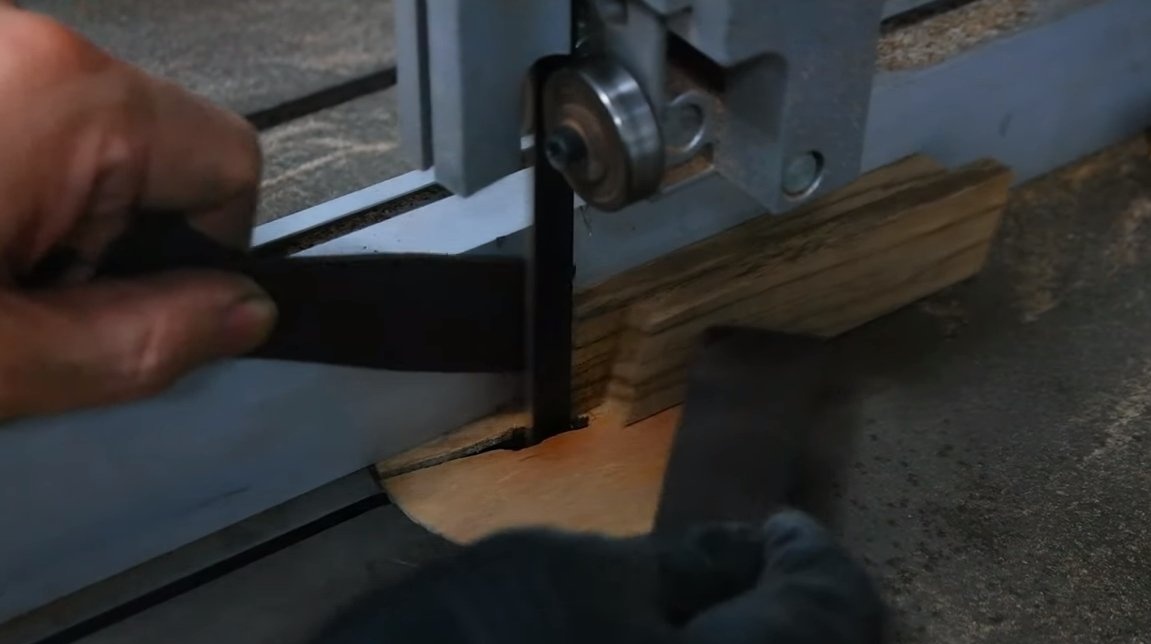
Step one. Cut profile
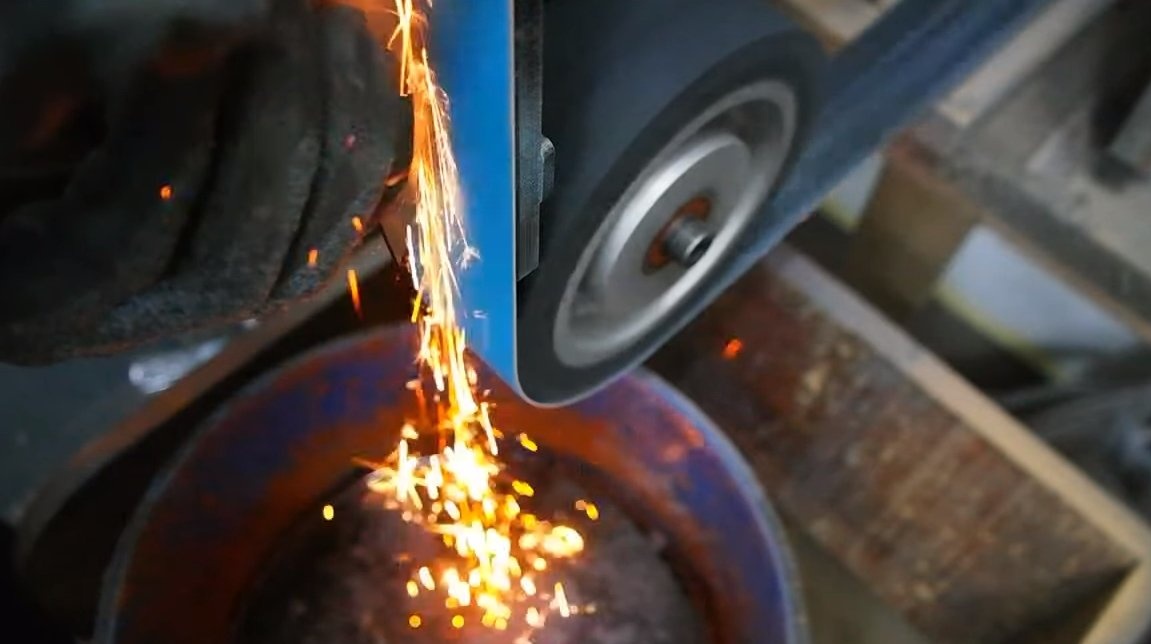
Before making a knife from a saw blade, it is recommended to check the steel for hardening. Good steel was used in old disks, in more modern versions they save on everything and the body of the disk can be made of bad metal. Cut off a piece, heat it and dip in oil. If hardening is successful, everything is fine, move on.
We draw on the disk the desired knife profile with a marker and proceed to cutting, for the author used a grinder.
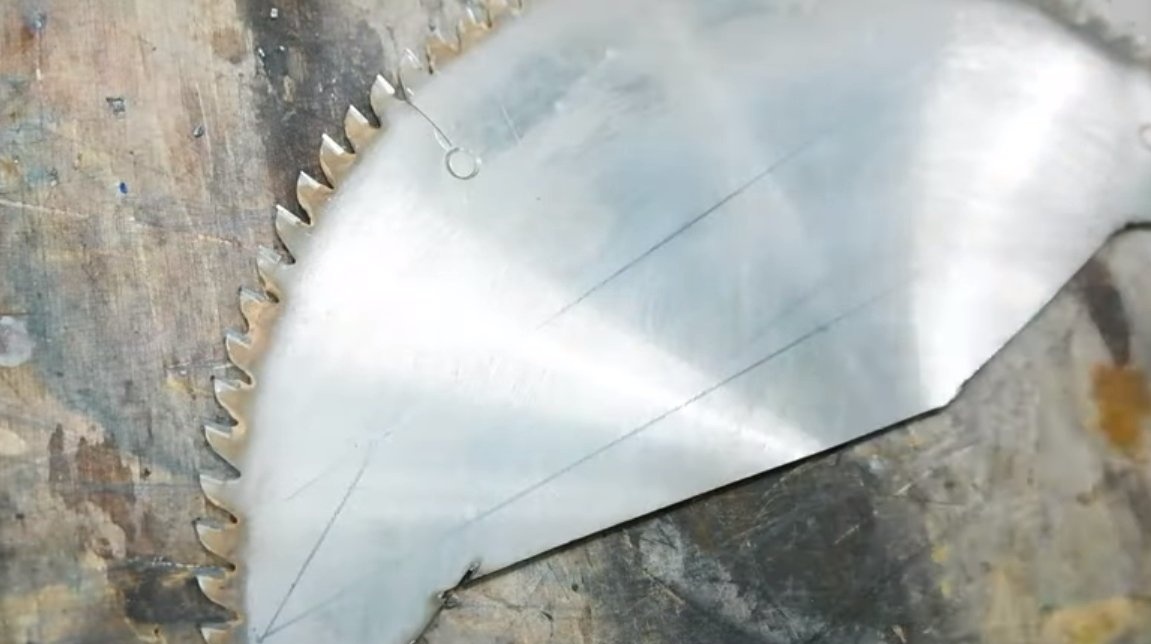


Where it is impossible to get through the grinder, we make a series of perpendicular cuts and cut the metal into pieces. Well, then you may need to modify the knife profile with files, a drill or other similar tool. The contour profile can be processed on a belt grinder.
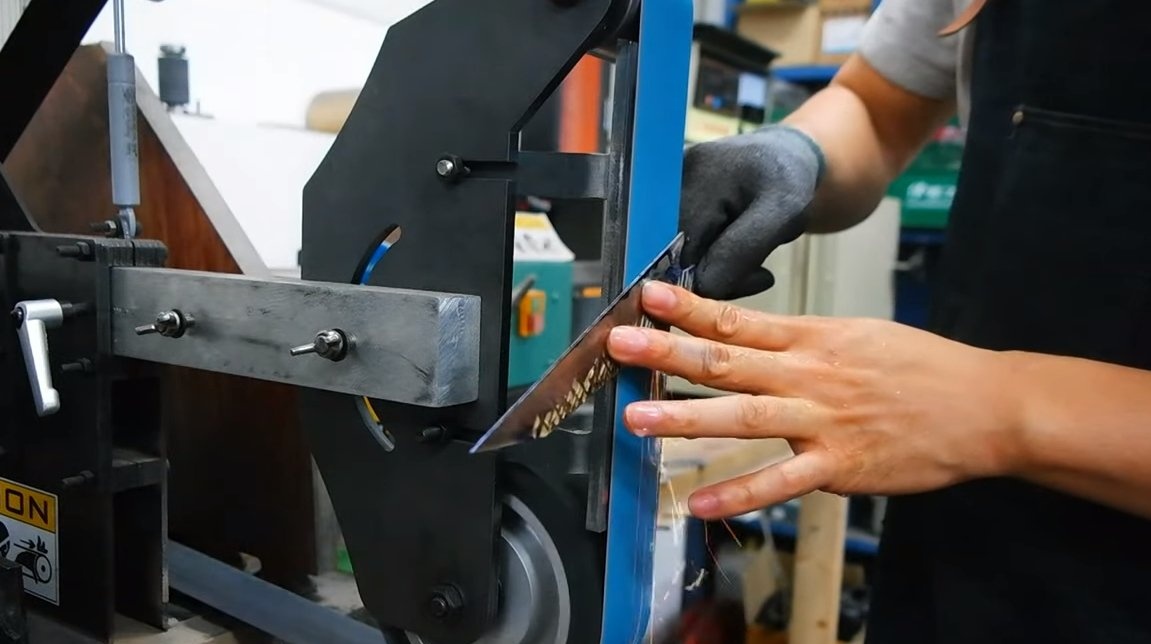
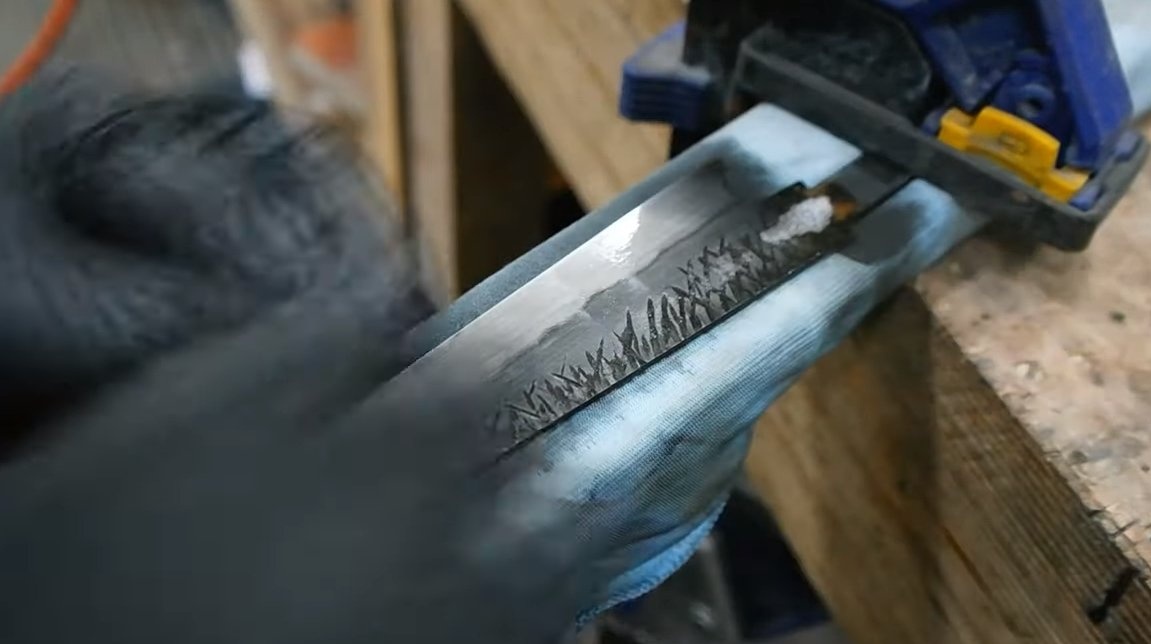
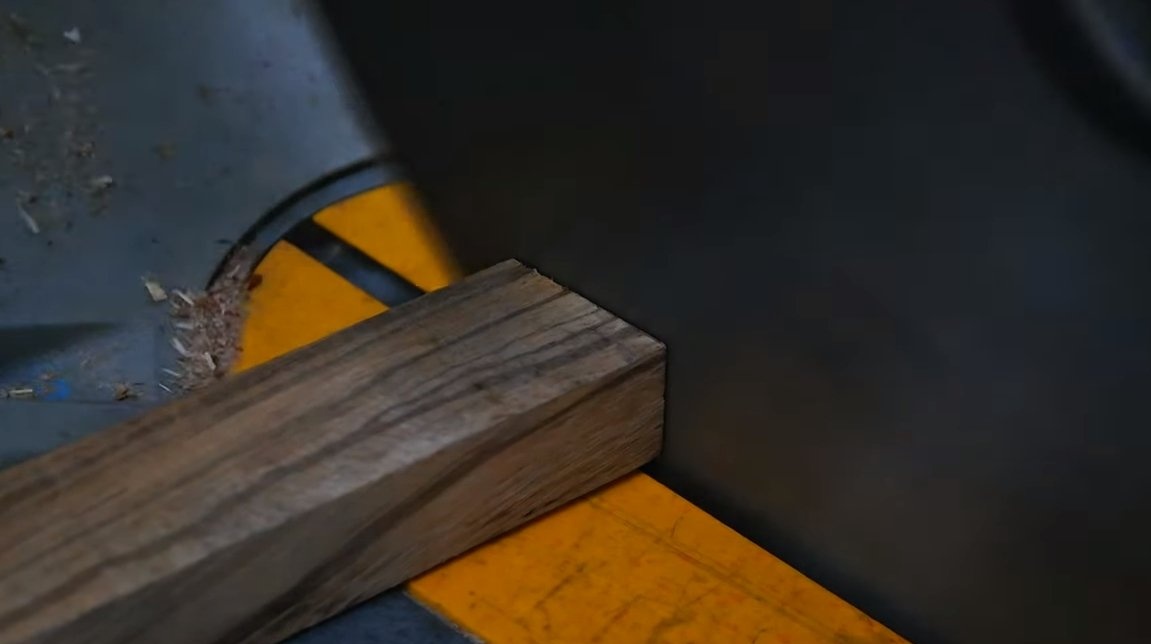
Step Two Figure and downs
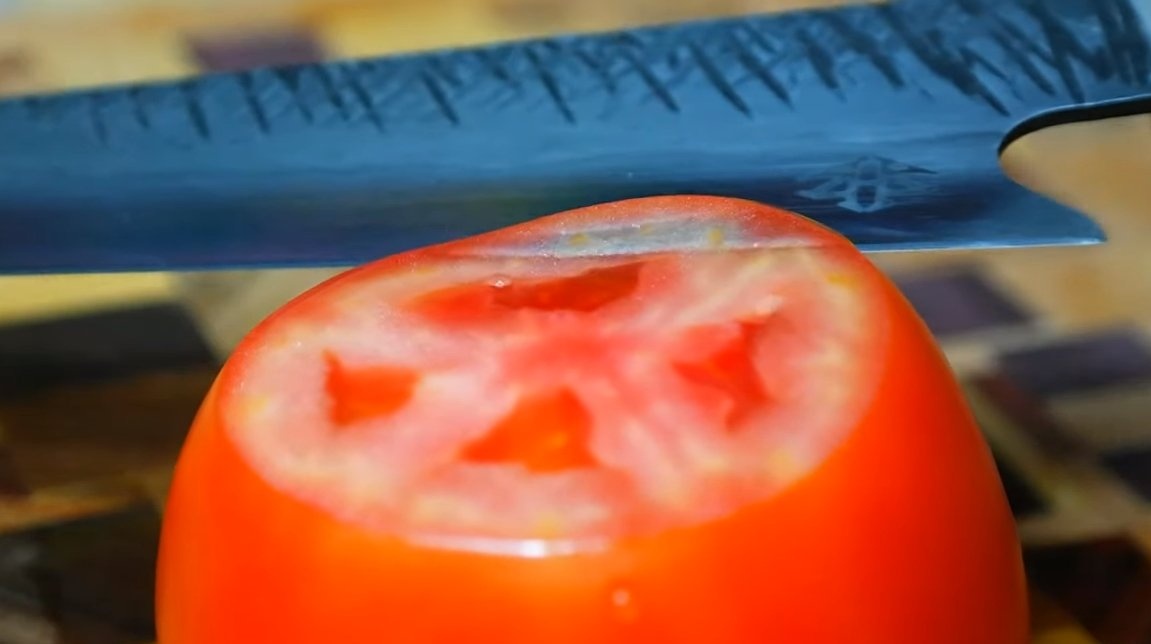
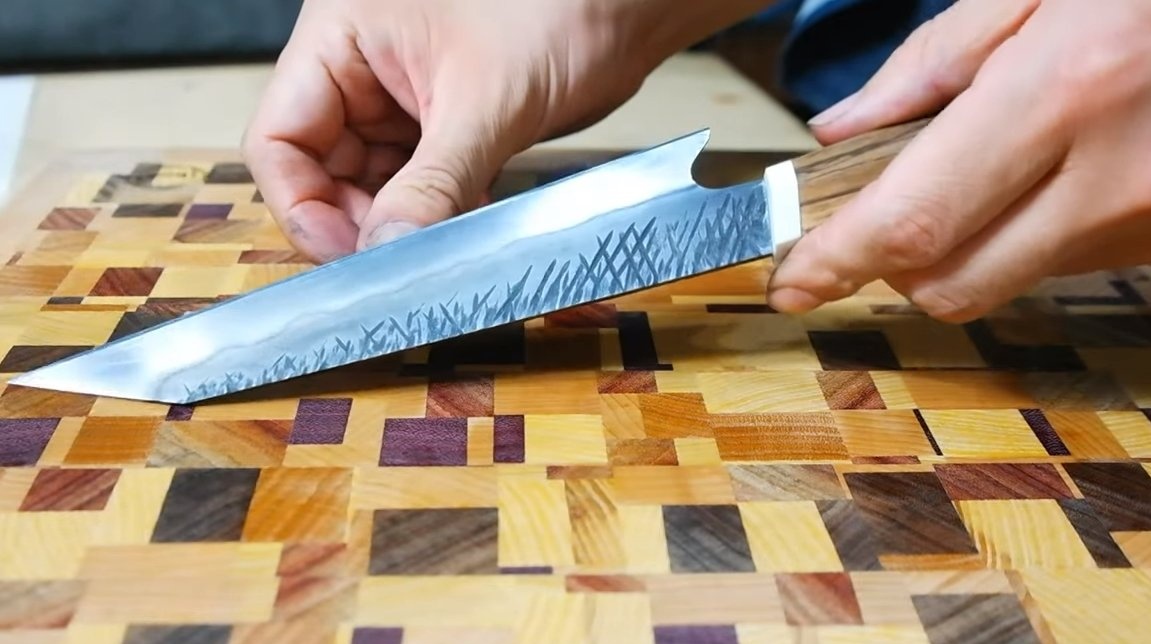
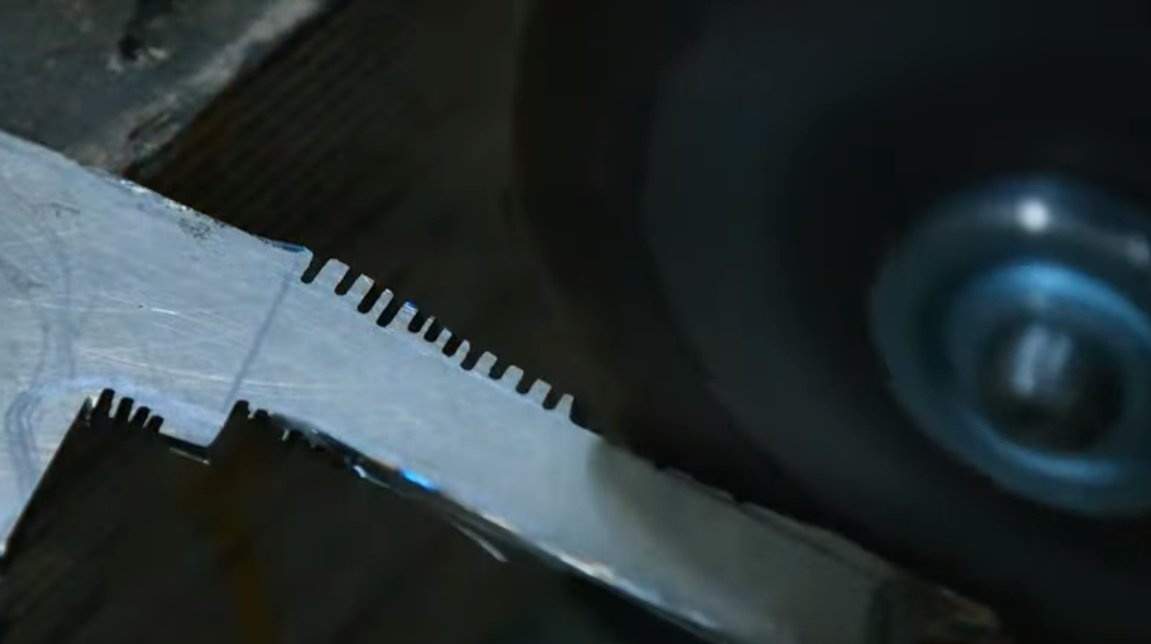
The blade has an interesting pattern in the form of deep scratches. We form the desired pattern using a grinder, then, after hardening and grinding, these scratches will become black.
At the end, you can form the slopes and polish the plane of the blade. Here the belt sander comes to our aid. The author forms the slopes by eye.Before hardening, it is not advisable to sharpen the blade, since the steel overheats, the metal should be no thinner than 2 mm.
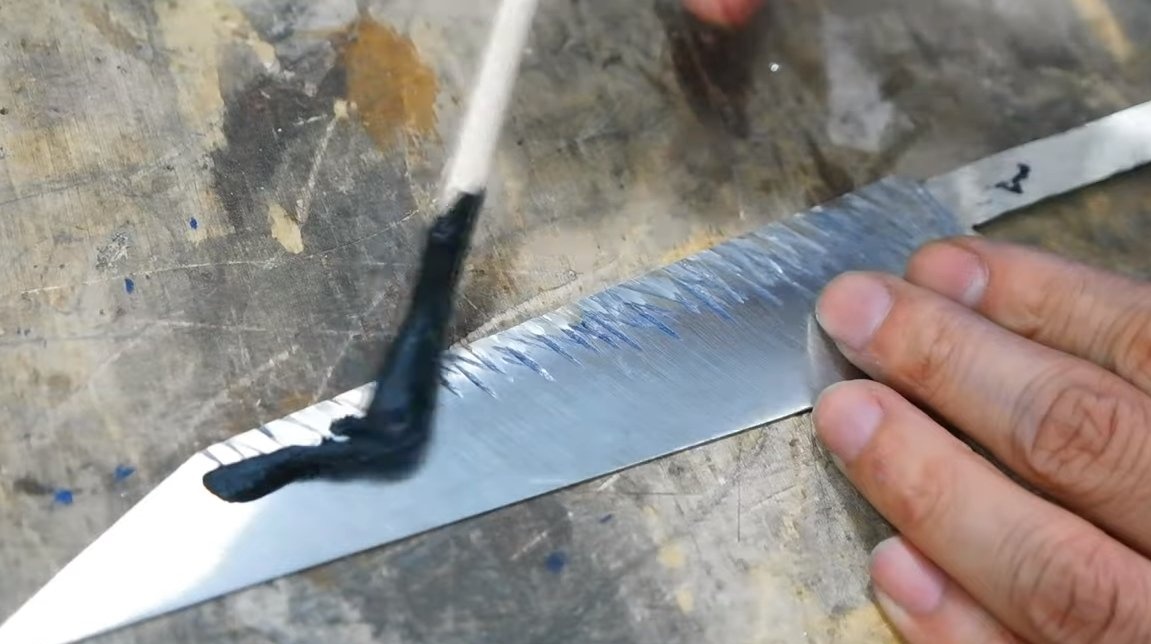
Step Three Heat treatment
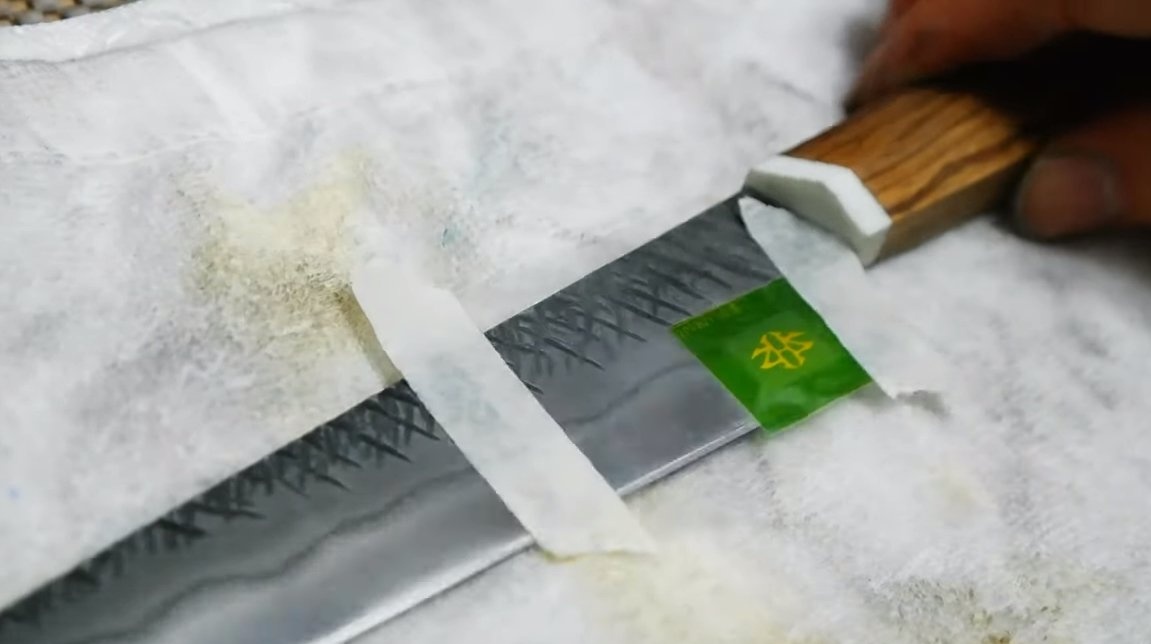
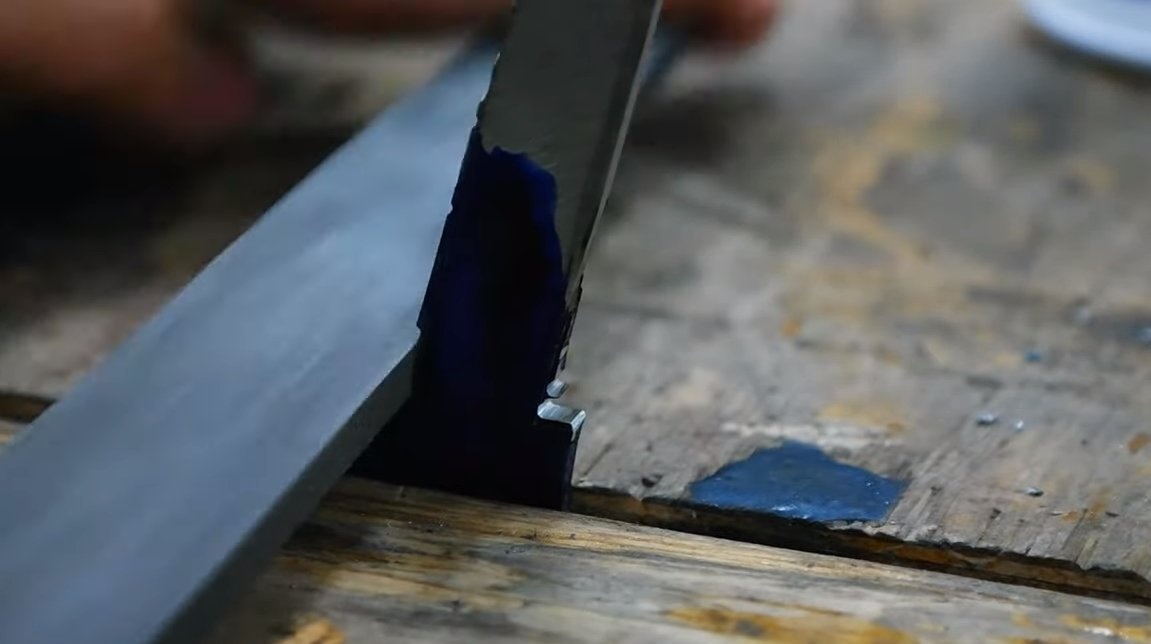
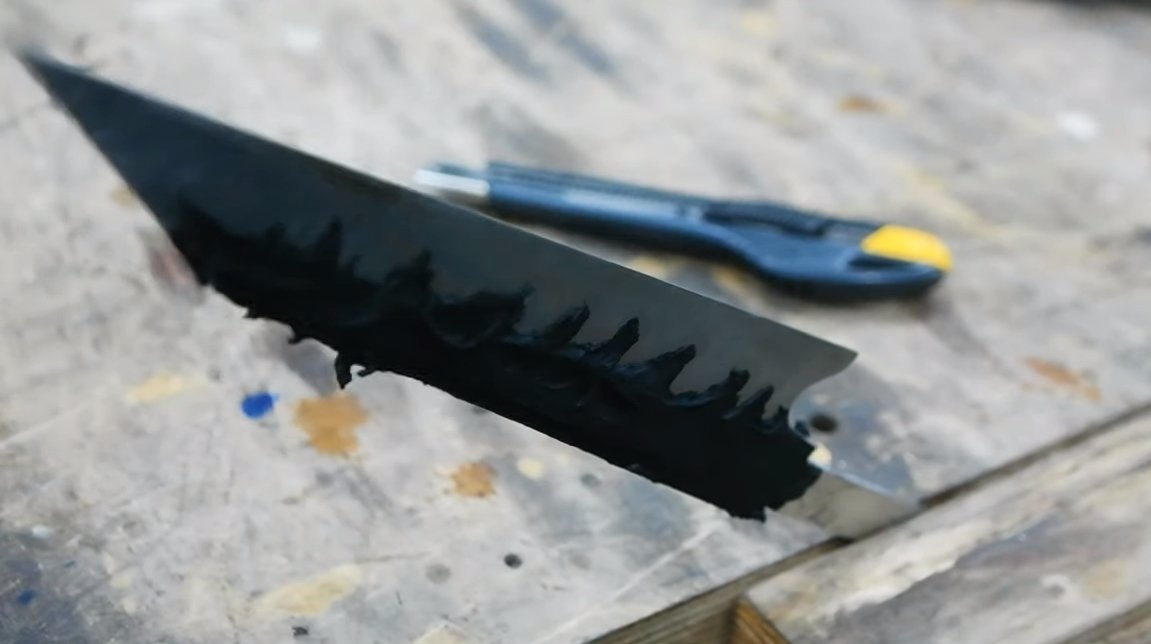
The first step is to harden the blade, the photo shows that the blade has a line of jamon. To get such a line, we need a heat-resistant composition, we coat it with the upper part of the blade. Well, then the steel warms up to a bright yellow glow, and lower the blade into the oil. The desired temperature can be determined by a magnet, hot steel should not respond to a magnet.

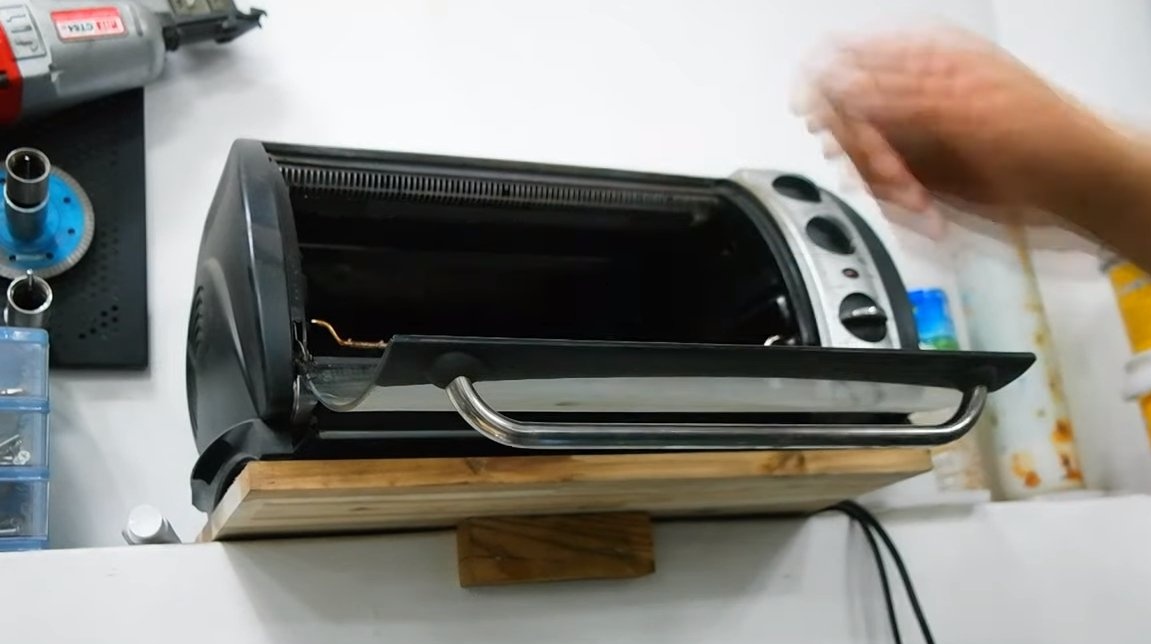
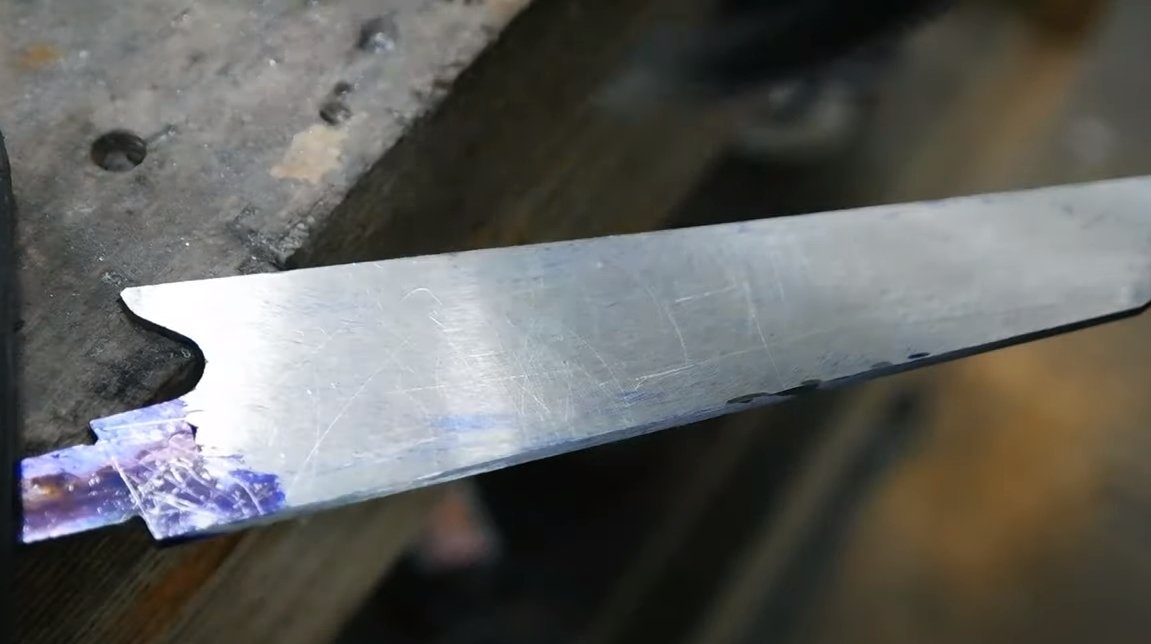
After hardening, we perform light grinding and leave the blade. To do this, use the oven, heated to a temperature of 200 degrees Celsius. We warm the blade for about an hour, during which time an oxide film of straw color should form on it. Most importantly, do not let go of the blade too much, otherwise it will not hold the sharpening.
After heat treatment, it remains to finalize the blade, here you can already work with fine sandpaper manually. To make sandpaper work well, wet it with soapy water or use WD-40.
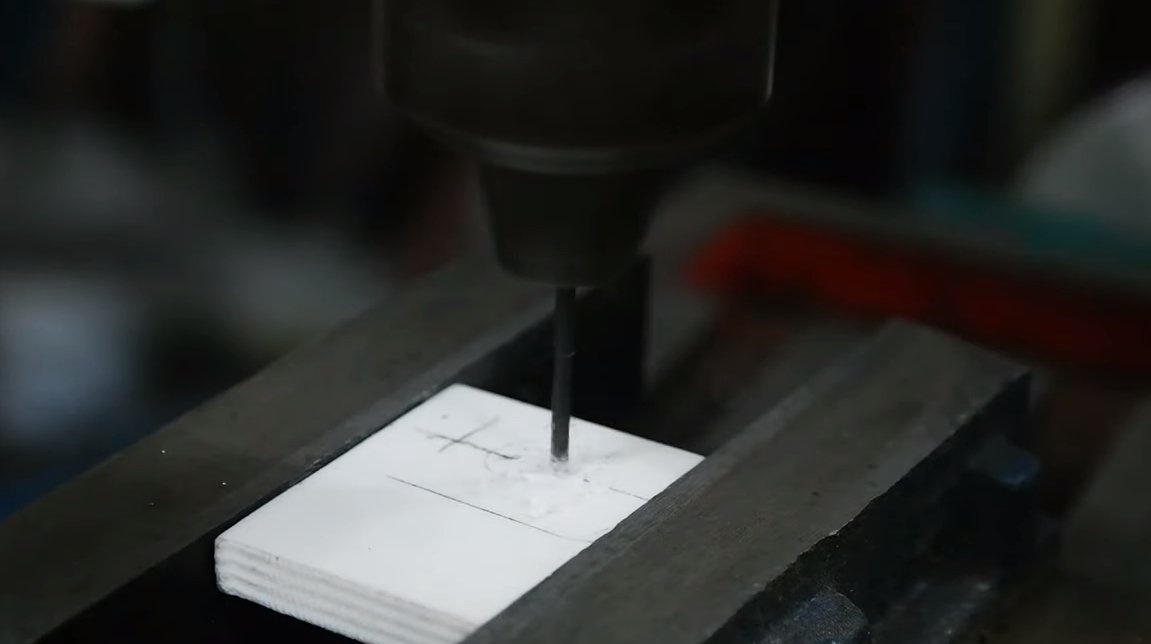
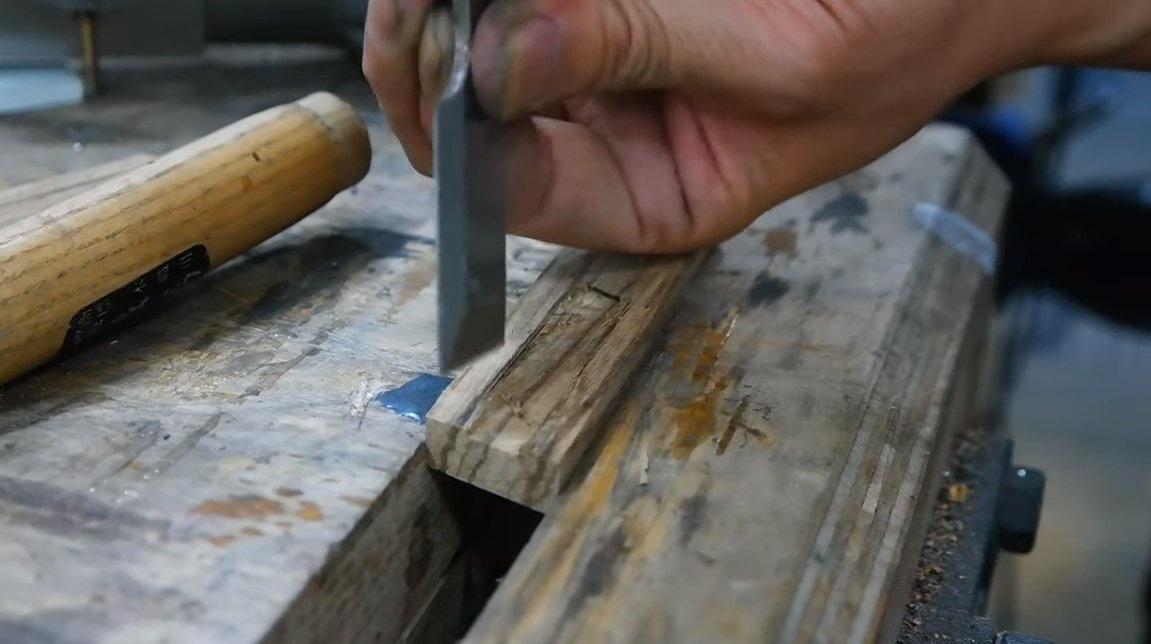
Step Four Handle assembly
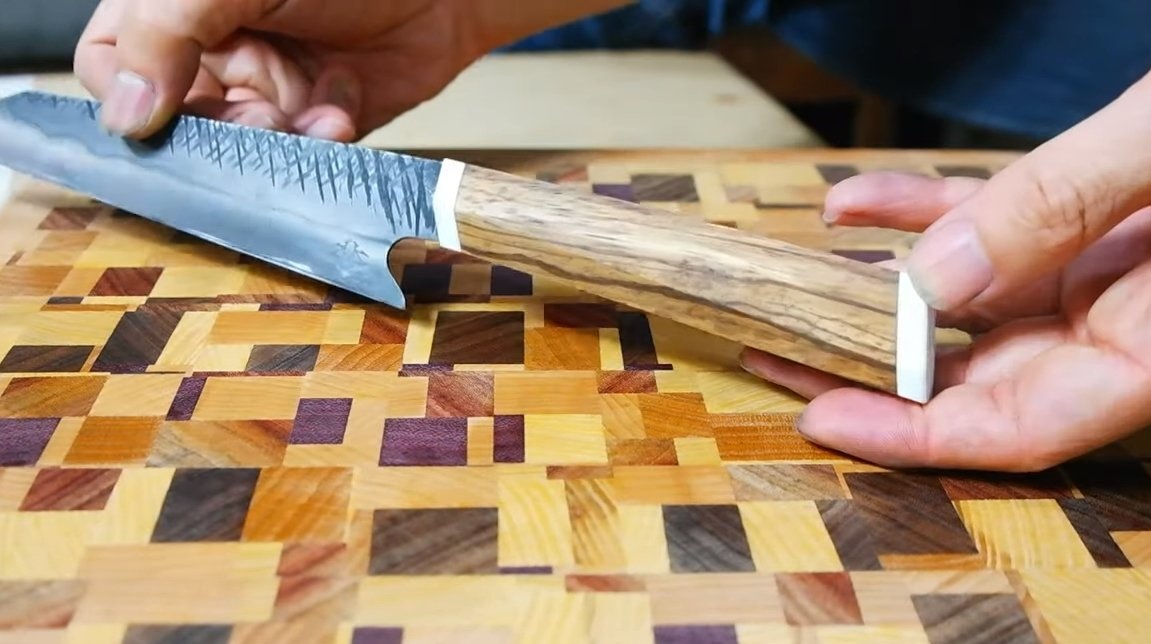
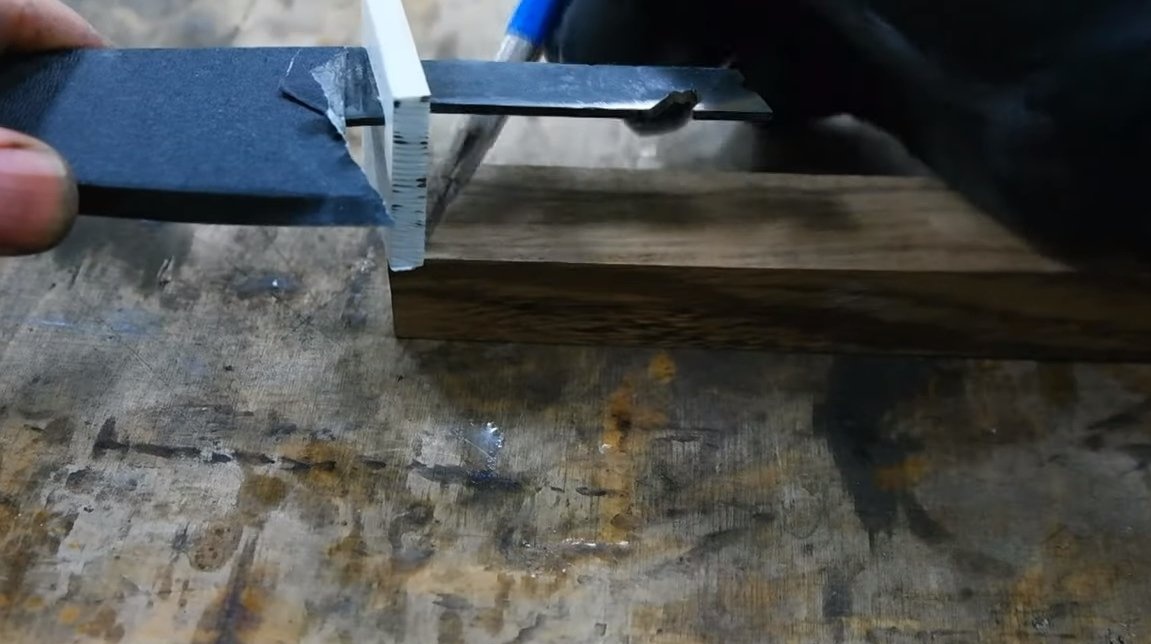
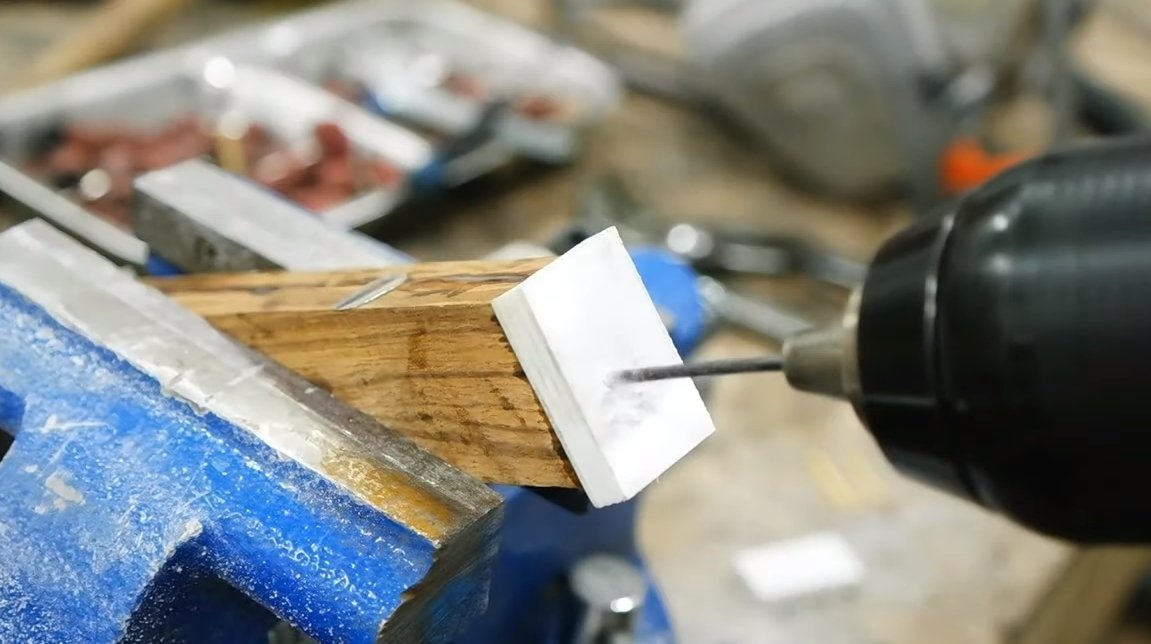
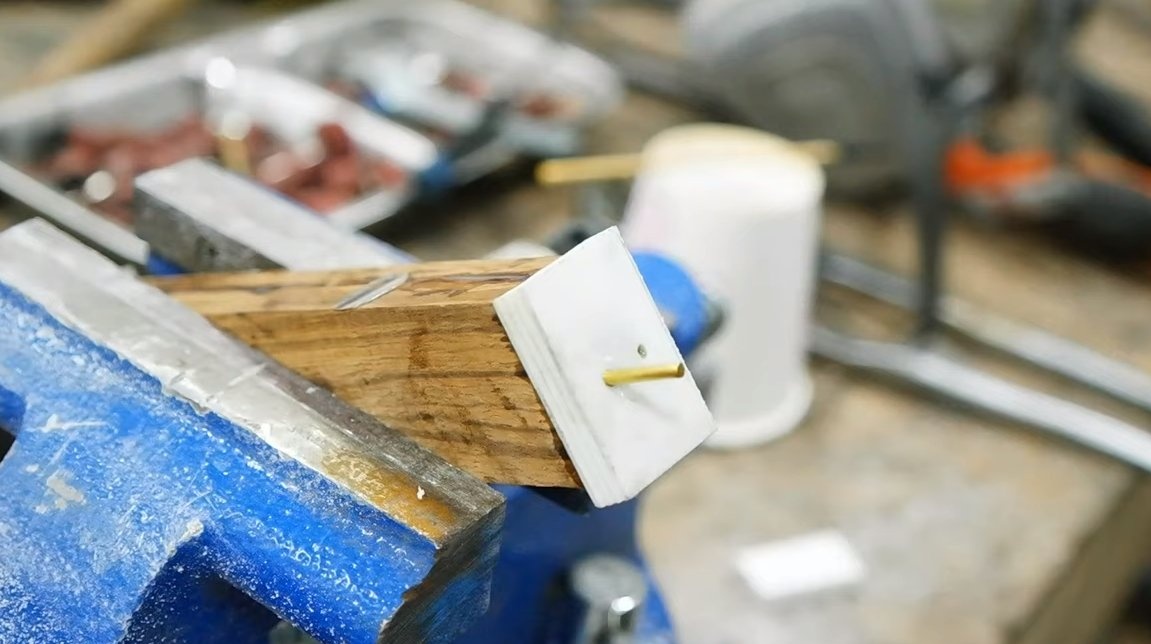
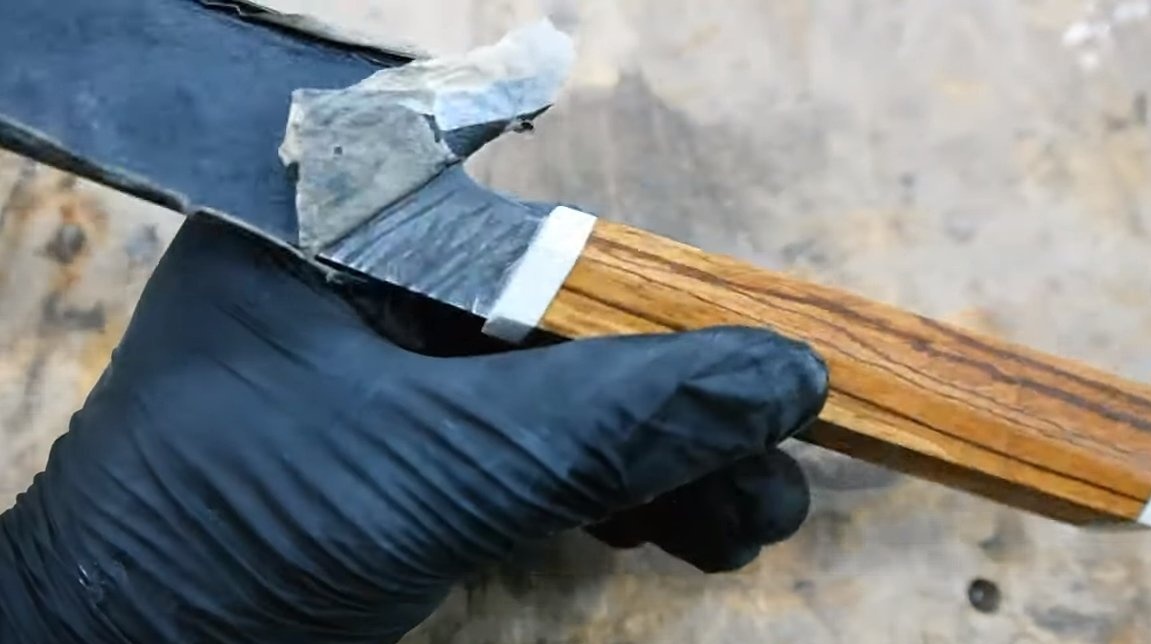
We will prepare the parts for the handle, the main body of the handle is made of wood, and we also have white inserts in the front and back. As inserts, you can use white G10 or plywood. The handle consists of two halves, in one of the halves we make a recess under the shank. On the shank, the handle is fixed by a clove and epoxy glue.
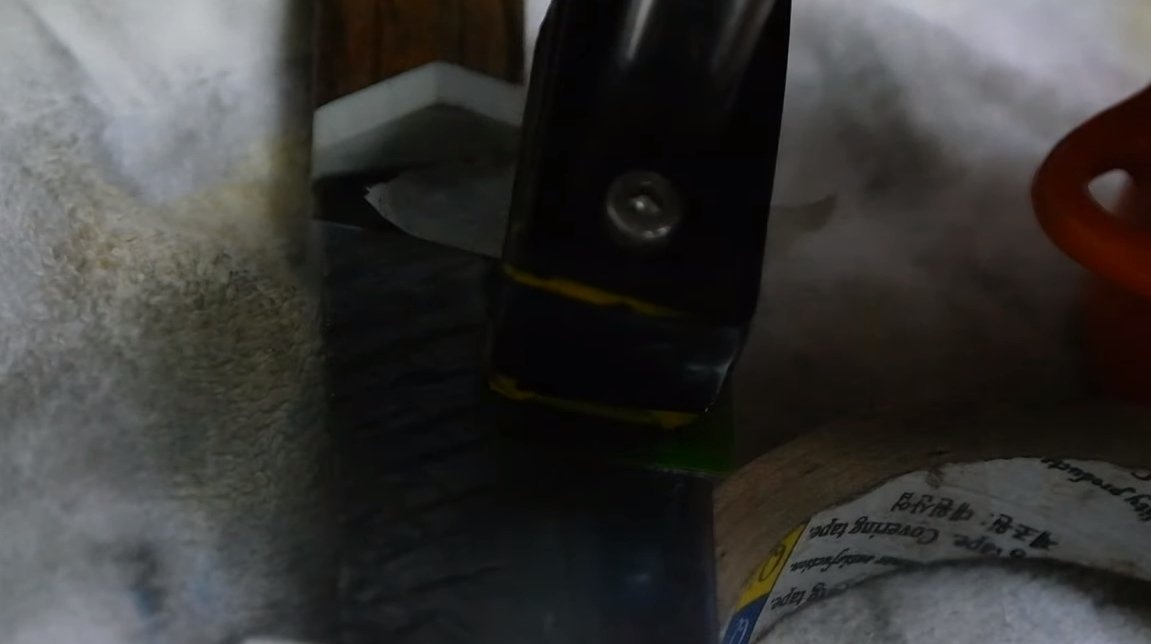
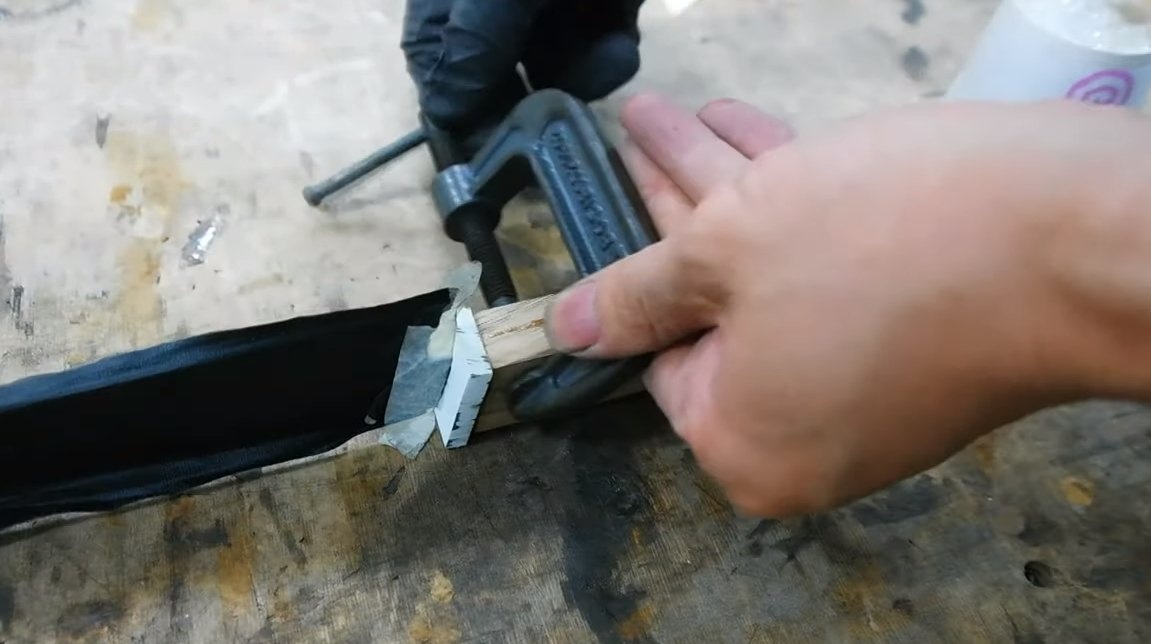
When all the parts are ready, glue the handle on epoxy glue, the rear insert can be additionally fixed with brass rods. Leave the glue to dry in accordance with the instructions.


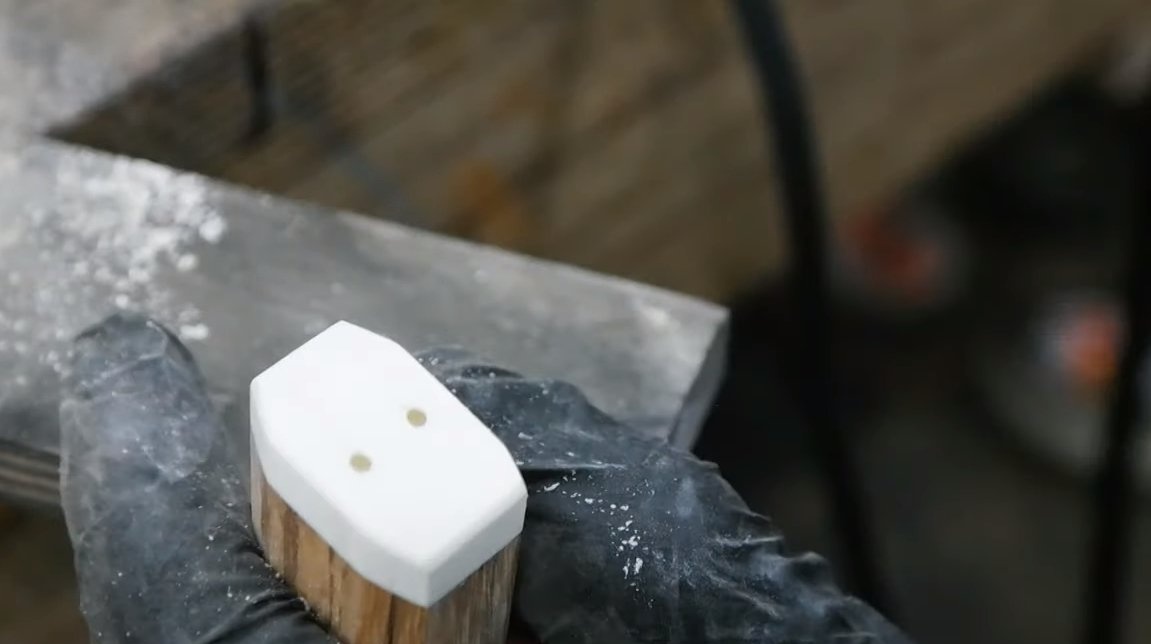
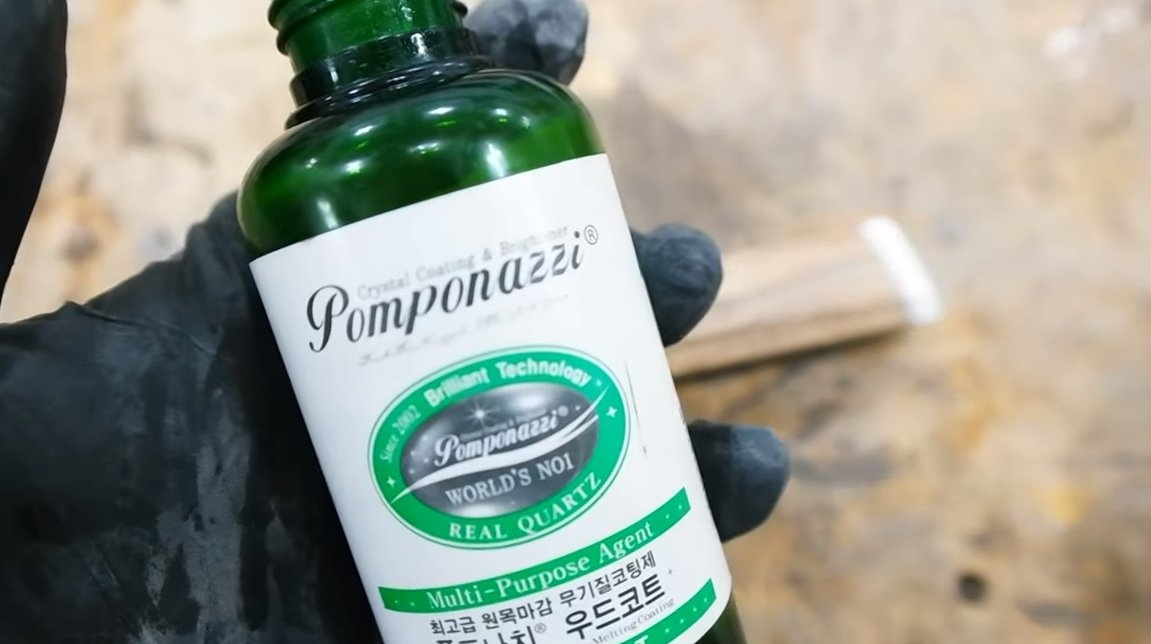
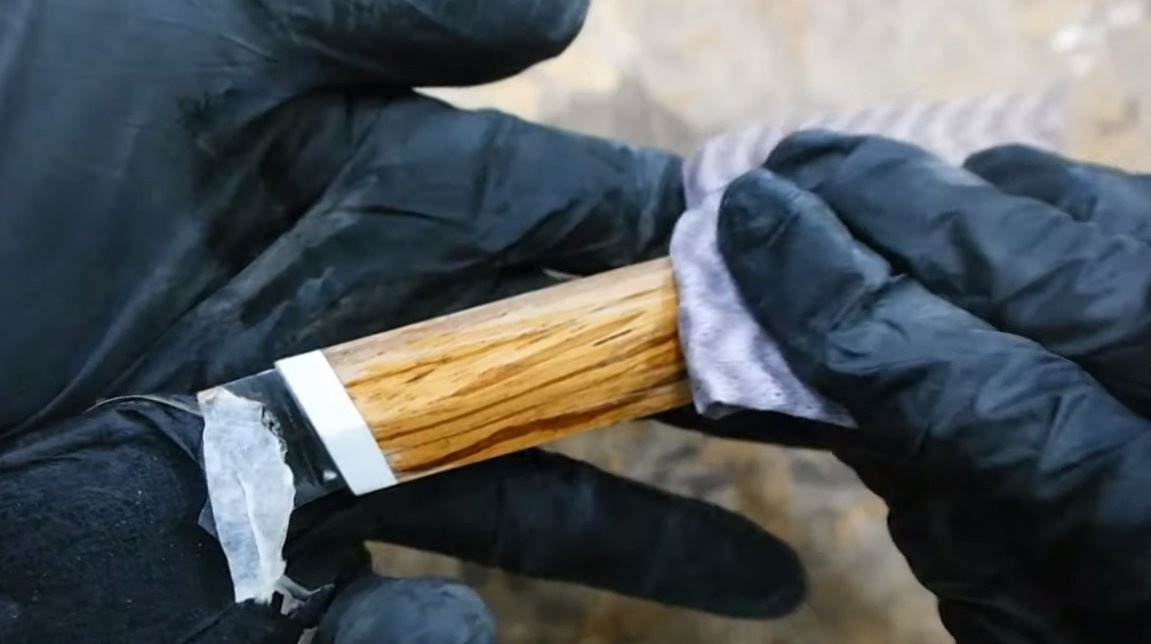
After drying, we set the desired profile of the handle using a scraper and grind the wood with fine emery to a smooth state. At the end, the handle will remain saturated with oil to protect it from water. Now the handle is protected and looks gorgeous.
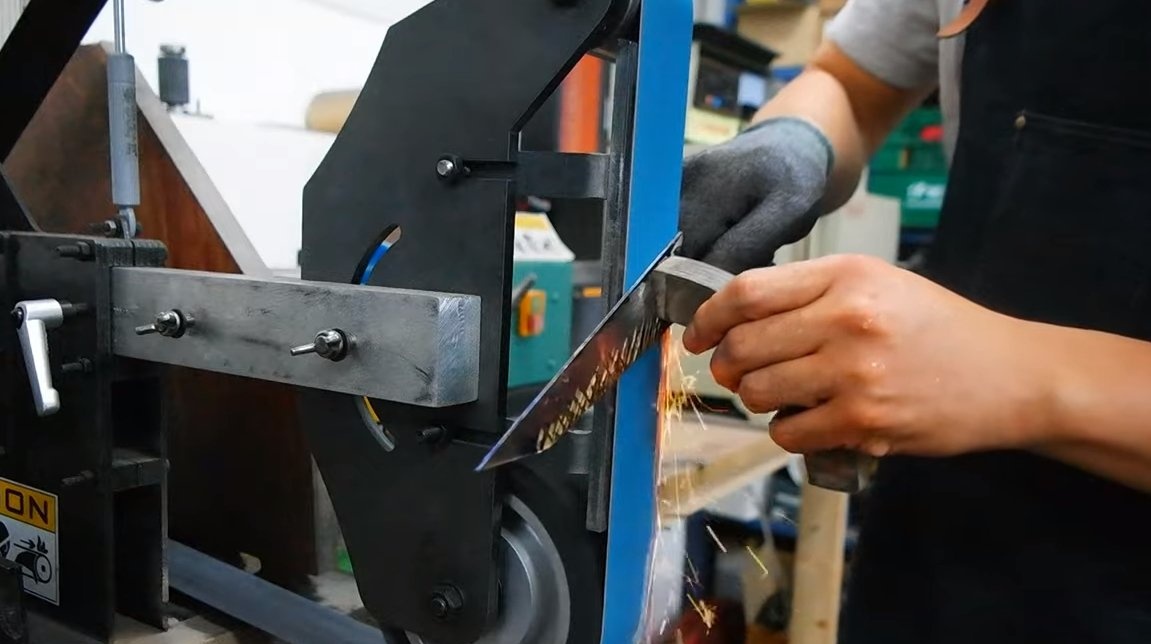
Step Five Sharpening
We sharpen the blade, we produce rough grinding on a belt grinder. If the knife needs to be sharpened to the state of the blade, Japanese water stones will help us with this. Wet the stones with water and proceed to sharpening. Gradually reducing the granularity of the stones, you can achieve a blade state for the knife.
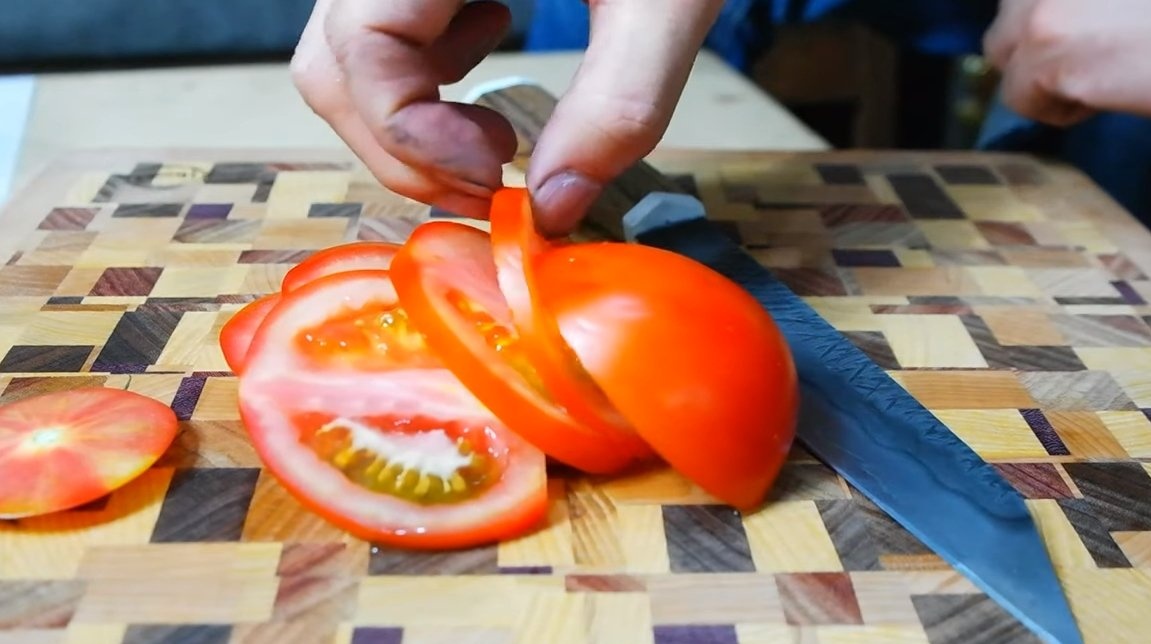
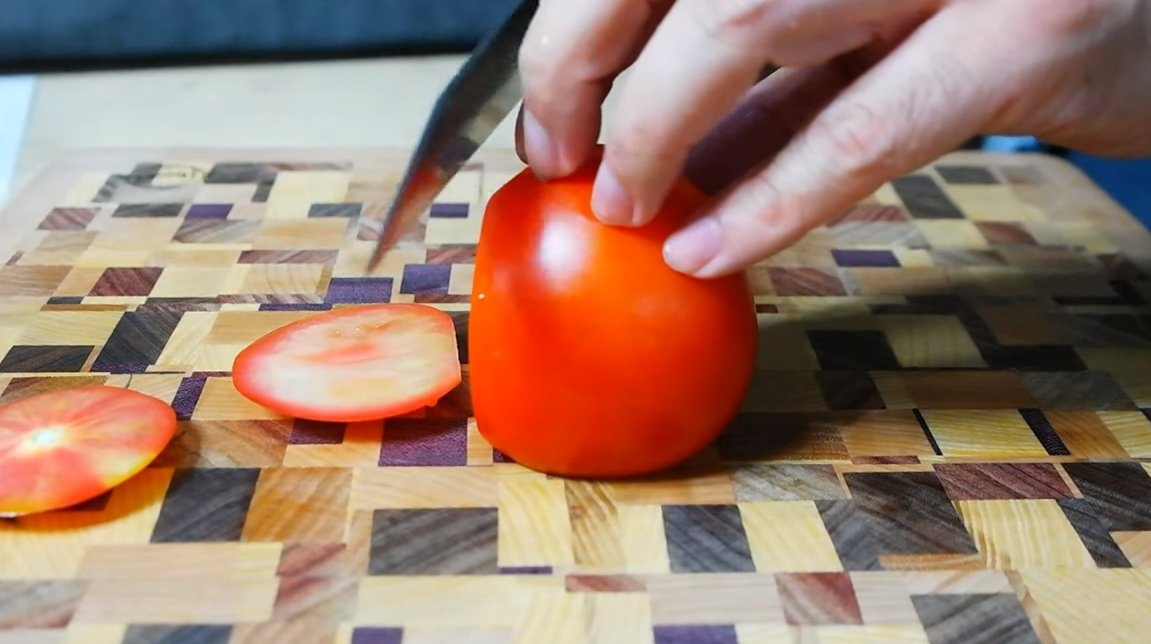
That's all, after that the homemade product is ready, the knife perfectly cuts the tomato into rather thin slices. I hope you enjoyed the project and found useful thoughts for yourself. Good luck and creative inspiration, if you decide to repeat this. Do not forget to share your ideas and homemade things with us!