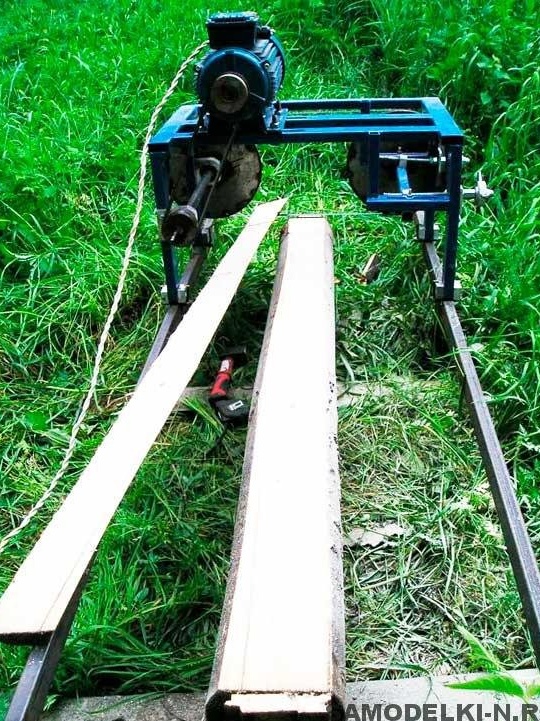
Hello fans to craft, today we will consider how to make a tape sawmill. Homemade not difficult to assemble and allows you to easily cut logs into boards. Cutting is smooth and clean, and one person can handle the job. The machine is not complicated, all of the available materials are assembled. Of course, the design has not yet been fully developed, but the machine is already working well. The machine is driven by a 2.2 kW engine at 1,500 rpm. If you are interested in the project, I propose to study it in more detail!
Materials and tools used by the author:
Material List:
- profile pipes;
- sheet metal;
- Belting;
- axles and bearings;
- engine 2.2 kW / 1500 rpm;
- bolts and nuts;
- bearings for guides.
Tool List:
- ;
- roulette;
- ;
- drill.
The process of manufacturing sawmills:
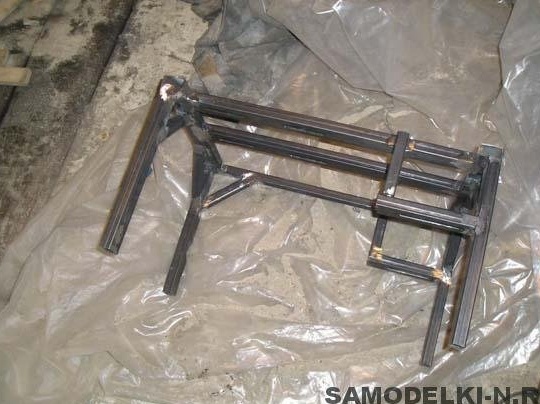
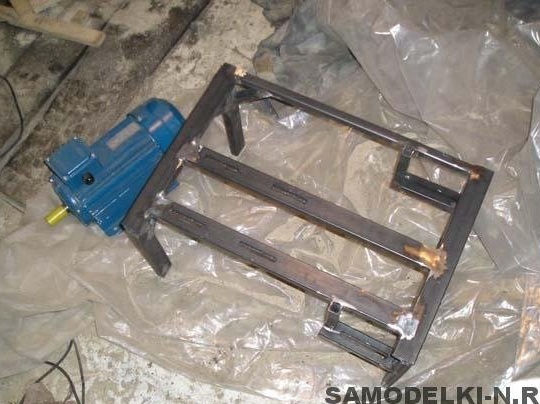
Step one. Frame
First of all, you need to weld the frame, on which all the working nodes of the machine, including the engine, will be located. The author welded the frame from profile pipes, the sizes 20X40 mm and 20X20 mm were used, the wall thickness was 1.5 mm. We weld everything securely, we clean the welds, now everything looks beautiful and neat.
Step Two Wheels
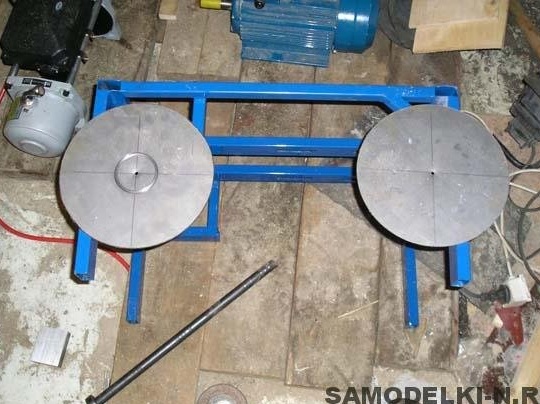
Next, you need to make two wheels of iron. For each wheel, cut out two circles, a larger and a smaller diameter. We drill holes in the center of the circles, and then, using a suitable spacer, weld the discs together to make wheels. In a circle, scald the wheels with iron plates. The result should be a groove in which the cutting tape rests.
Thanks to the edges, the tape does not fly off and the thrust bearing is not even necessary for the machine. Of course, with a bearing, the efficiency and service life of the machine will be higher.
Step Three Assembly
We install the engine and axles with wheels on the prepared frame. We securely fasten the engine with bolts and nuts, and the axles must rotate on the bearings. We fasten the drive axle to the frame statically, install a driven pulley on it and you can install the belt.
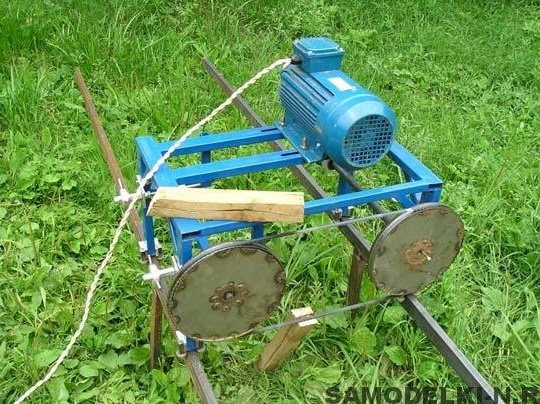
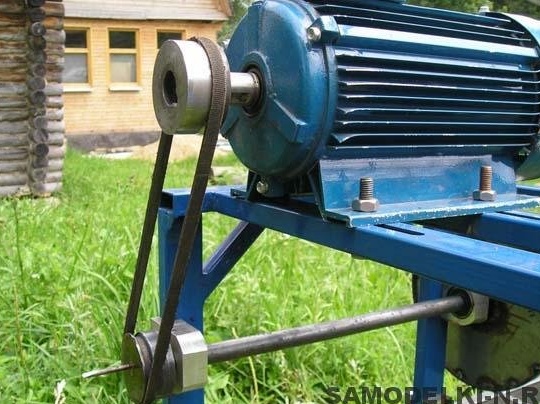
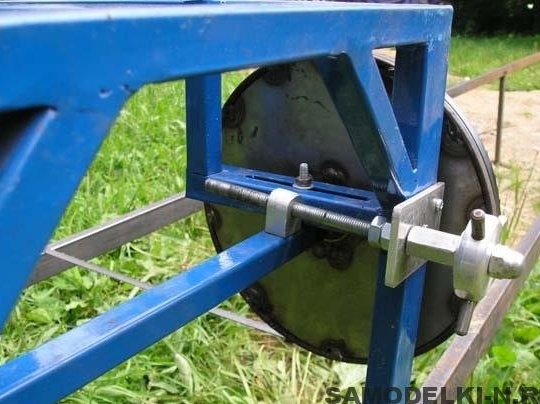
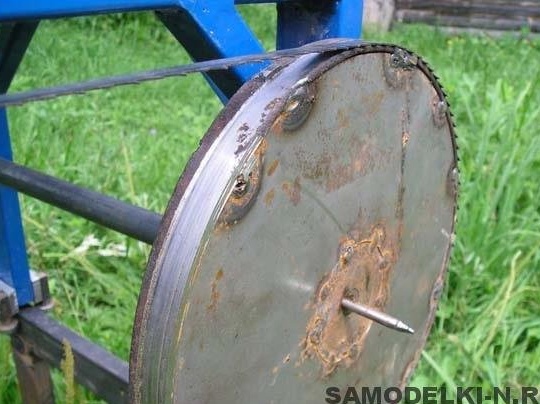
As for the driven axis, it should be able to move away from the engine and get closer, as a result of which the cutting blade is pulled. The author on the machine adjusts using two threaded rods. It is also possible to adjust the angle of the driven wheel, as a result, the saw blade can be adjusted so that it does not fly off.
Step Four Test
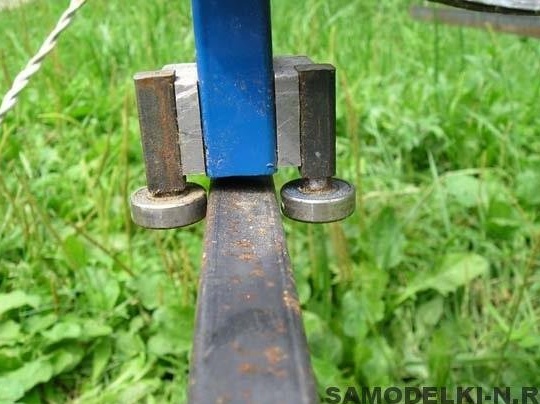
Under the sawmill we make rails from profile pipes. The author used bearings as wheels.For each rack 3 bearings are used, it is a vertical bearing and side.
That's all, after that you can install the log and get to work. The author decided to adjust the log height using a jack, but the whole system still needs to be thought out and tested.
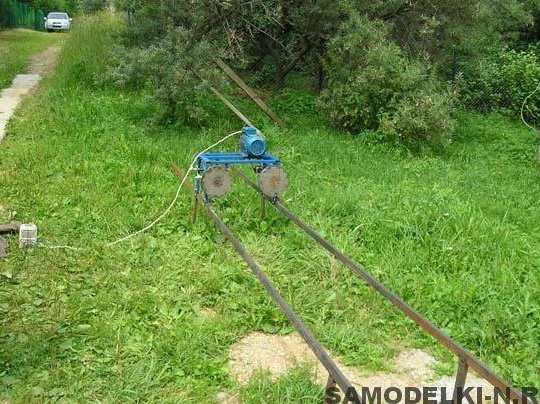
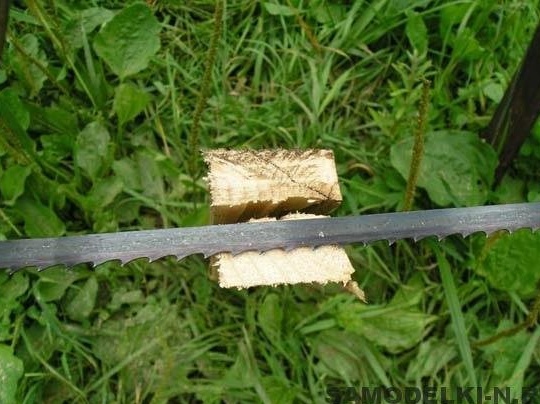
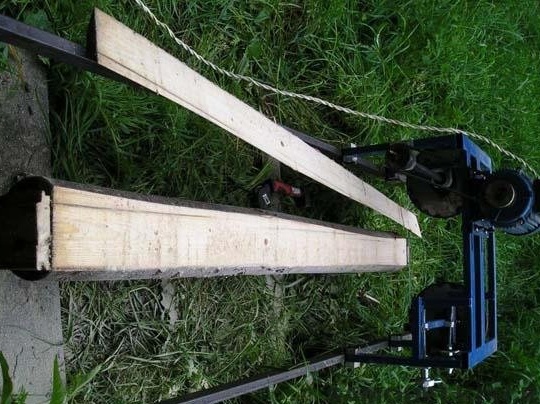
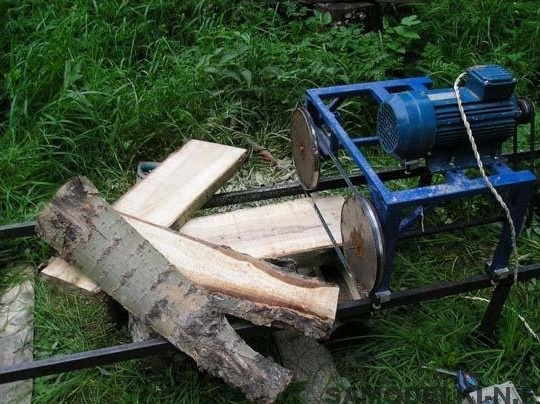
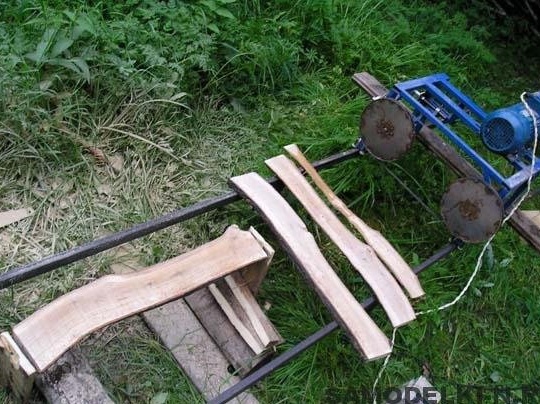

The machine works fine, but at first the author flew off the canvas, the problem was solved by adjusting the driven wheel. The cut turns out clean, it turns out quite an excellent material for household needs.
But the main drawback of the design is that there is no protective casing, it must be done, otherwise working with such a machine is life-threatening! On this project can be considered successfully completed. I hope you enjoyed your homemade work and found useful thoughts for yourself. Good luck and creative inspiration, if you decide to repeat this, do not forget to share your ideas and homemade things with us!
