
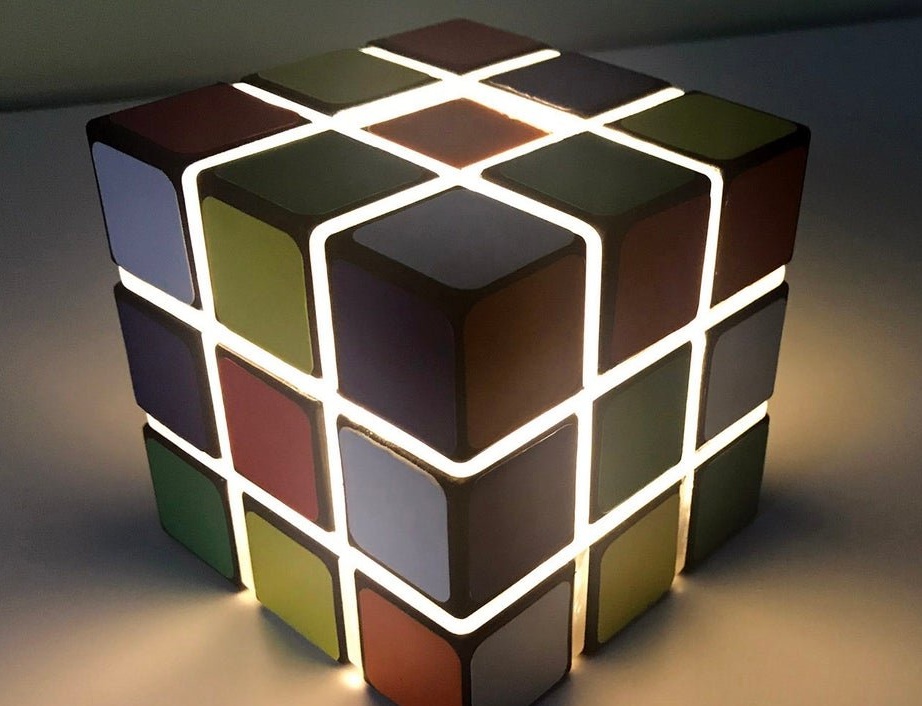
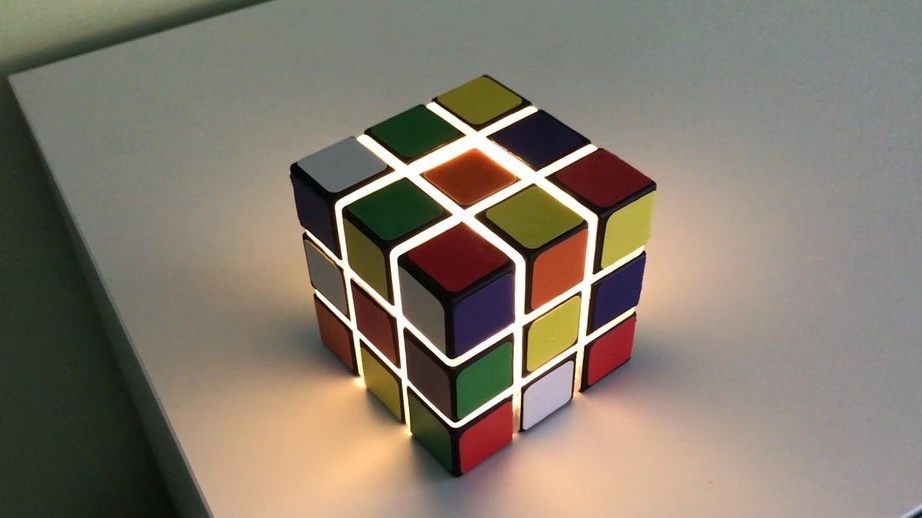
Rubik's Cube is a popular game for children and adults for many years. But the Master decided to use the cube not in a completely traditional way, but as a rechargeable lamp.
Tools and materials:
-Rubik's Cube;
-Shady ball;
-Two lithium-ion batteries;
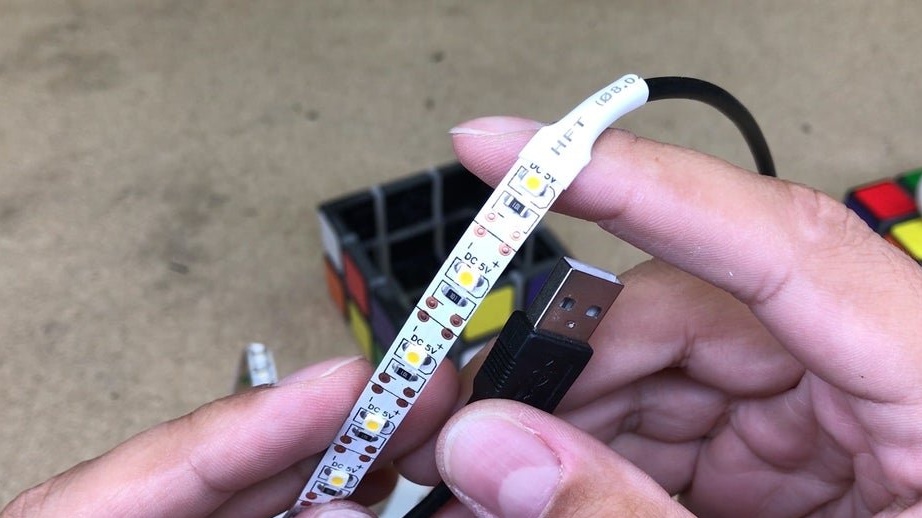
-5V LED strip;
-4 mm polycarbonate (acrylic);
-Super glue;
-Glue gun;
-Drill;
-Drill;
-Circular machine;
-Soldering iron;
-Sandpaper;
-Glue;
-Knife;
-Dremel;
-Power bank;
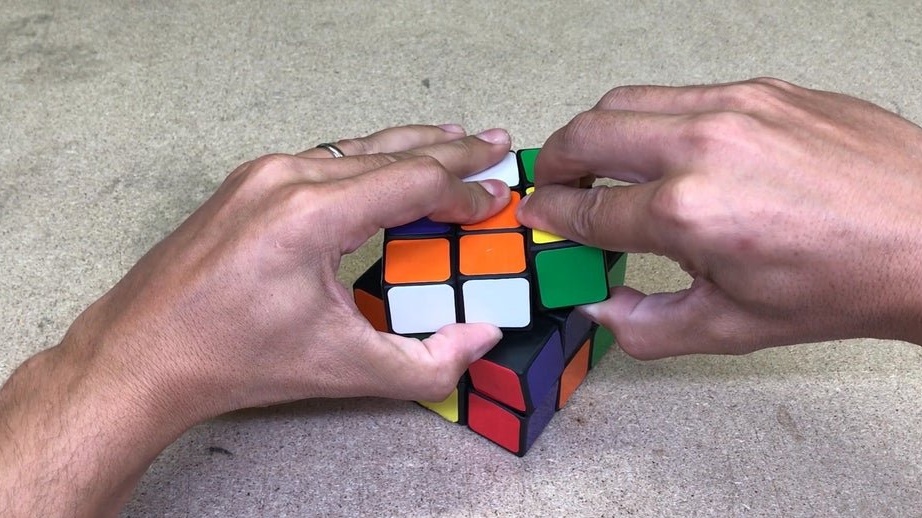
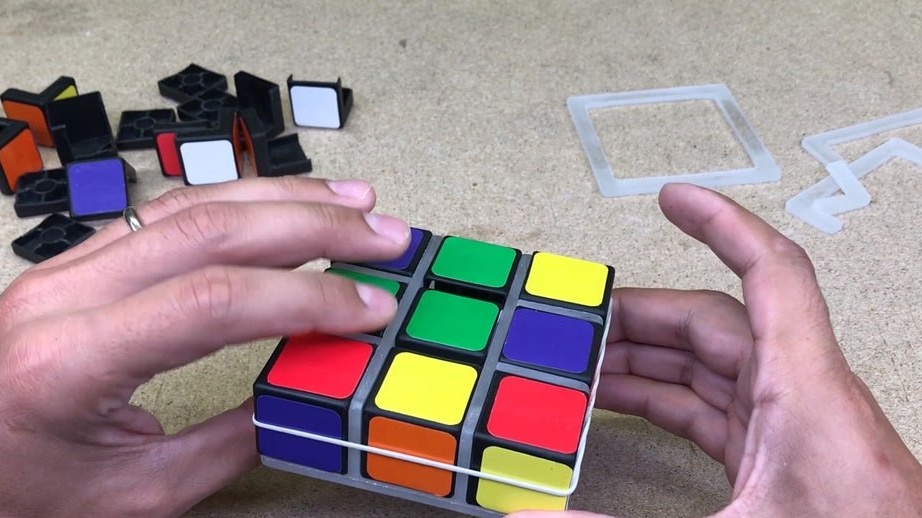
Step One: Prepare the Cube
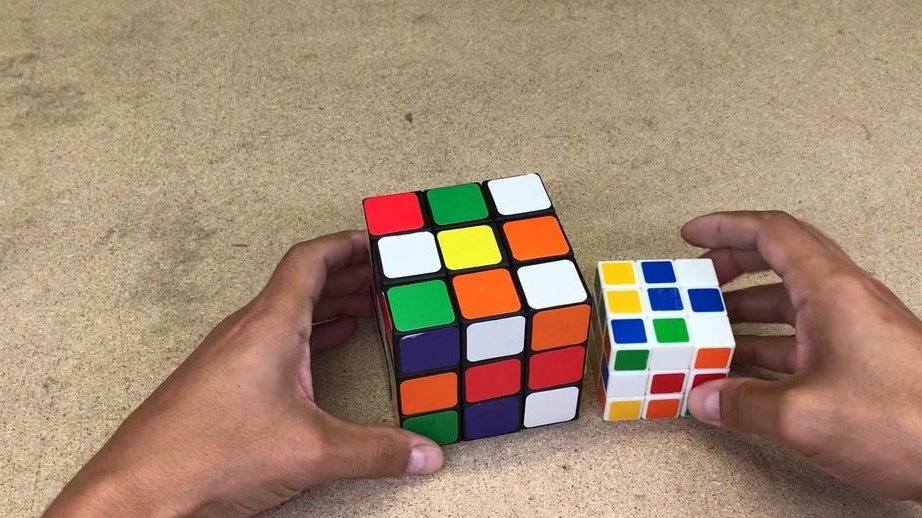
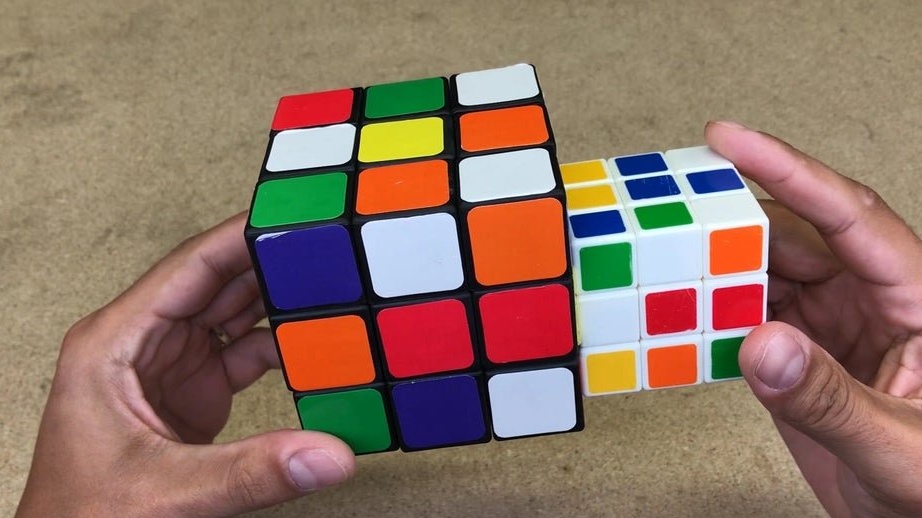
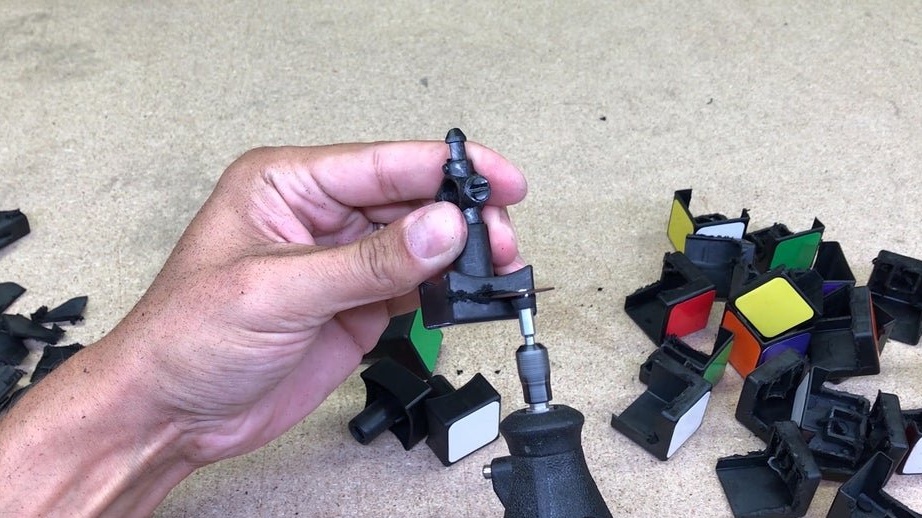
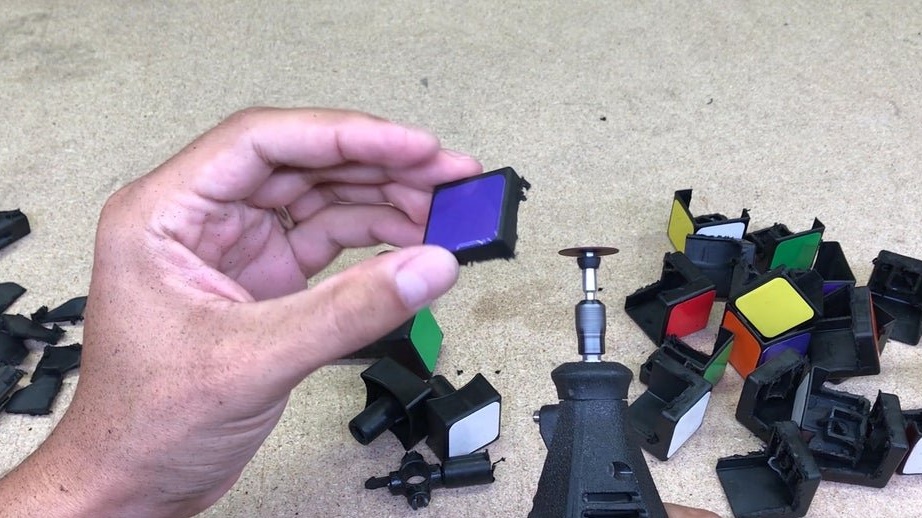
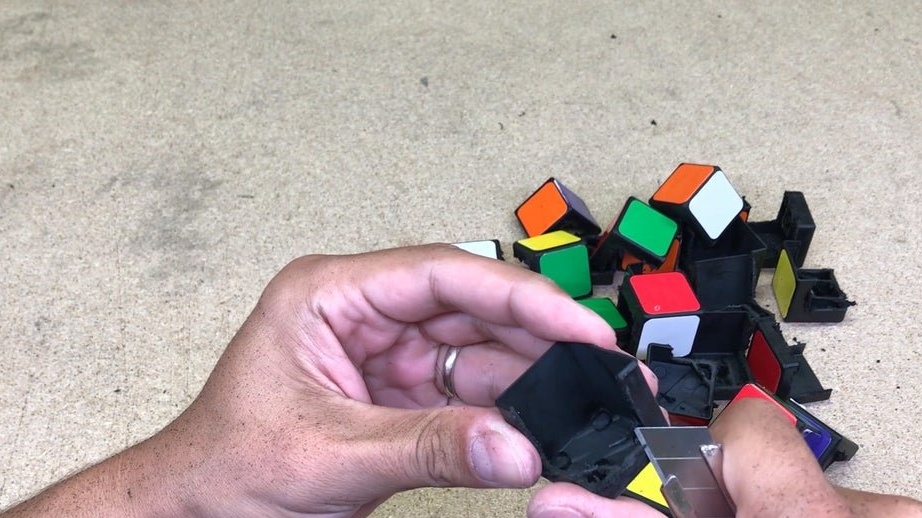
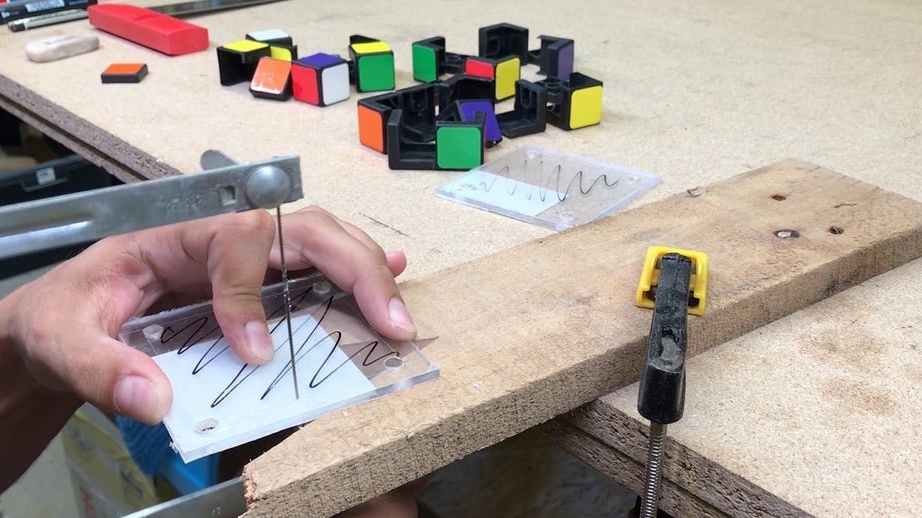
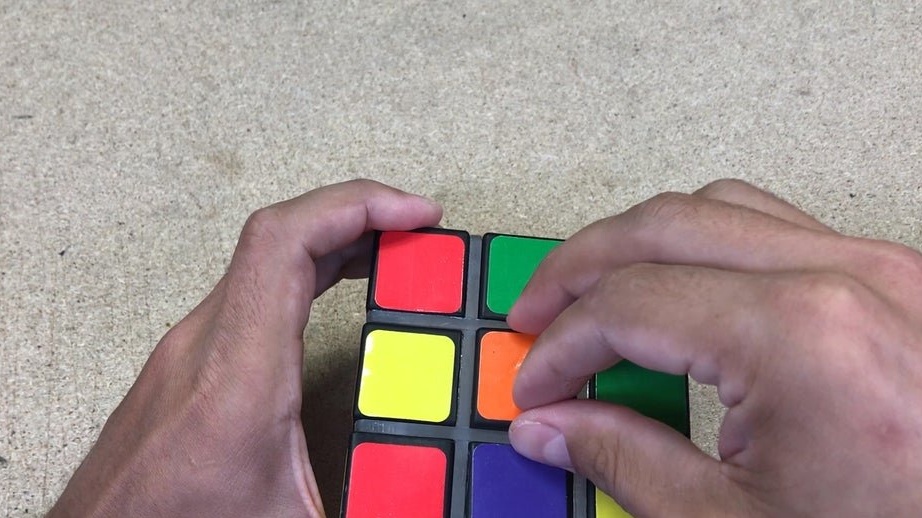
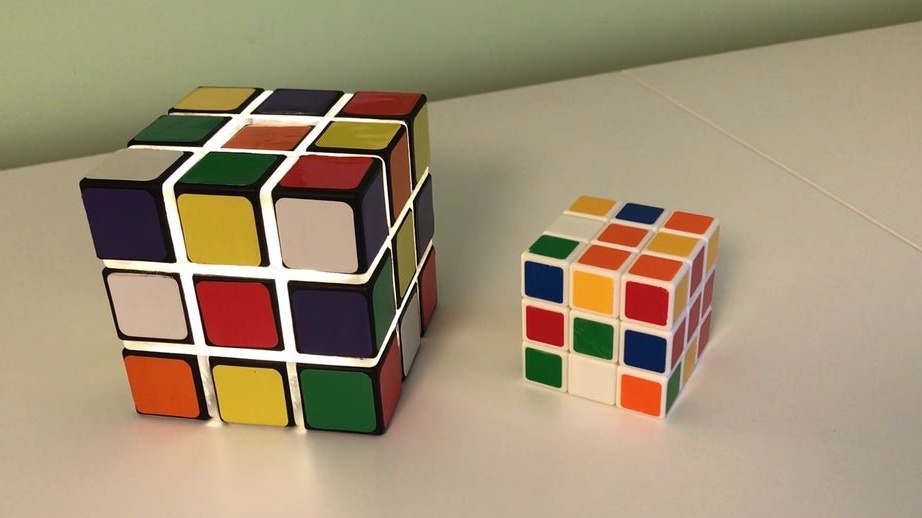
For the manufacture of a lamp, not every Rubik's cube is suitable, the size of its side must be at least 9 cm. First, the master dismantles the cube.
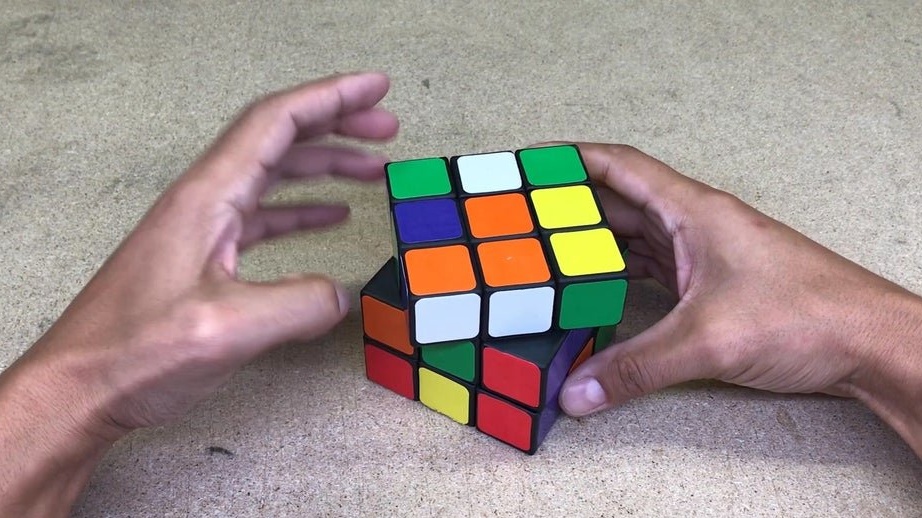

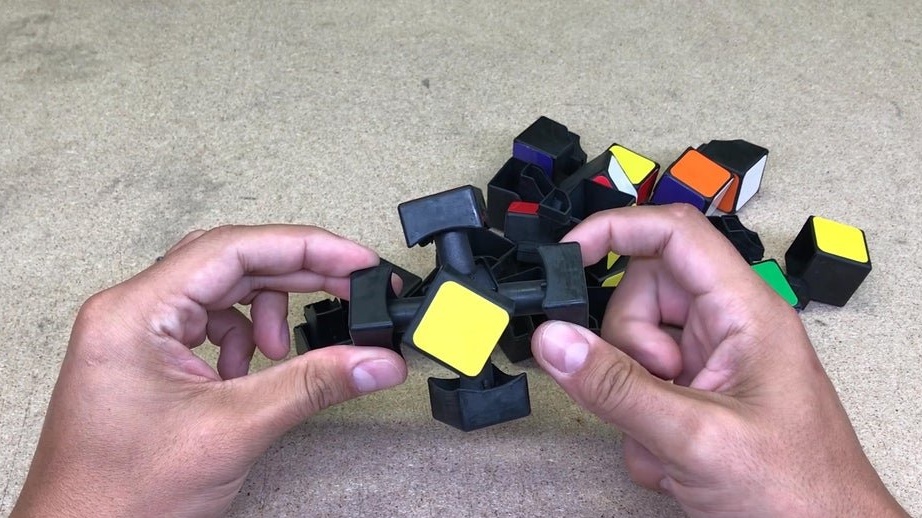
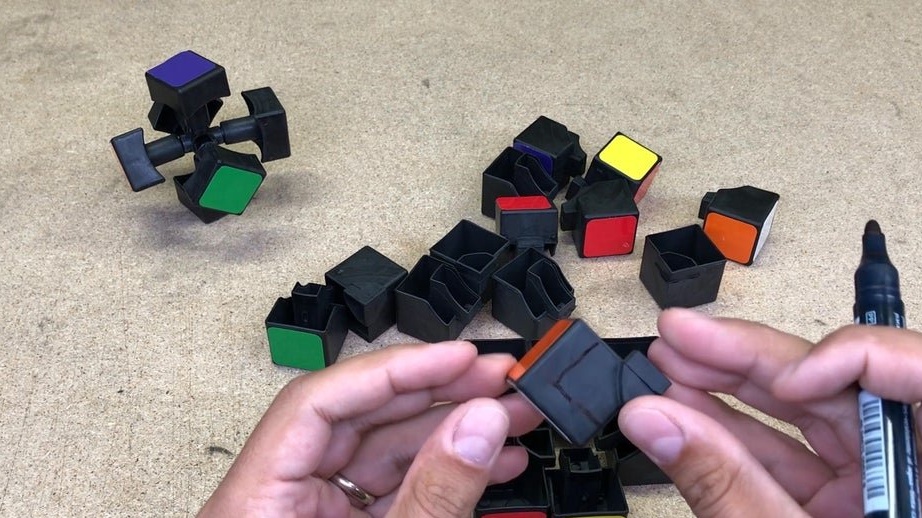
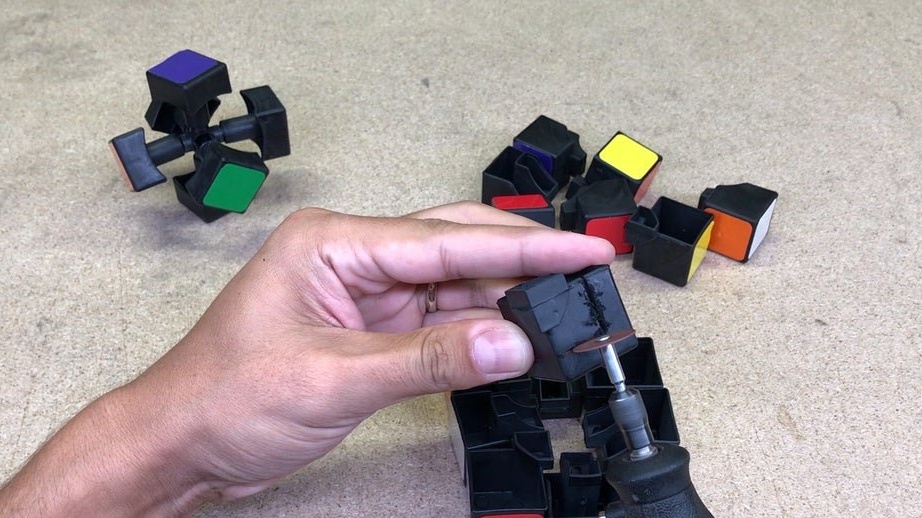
Inside the cube will be installed electronics. The master partially cuts the plastic from the inside of the cube parts.
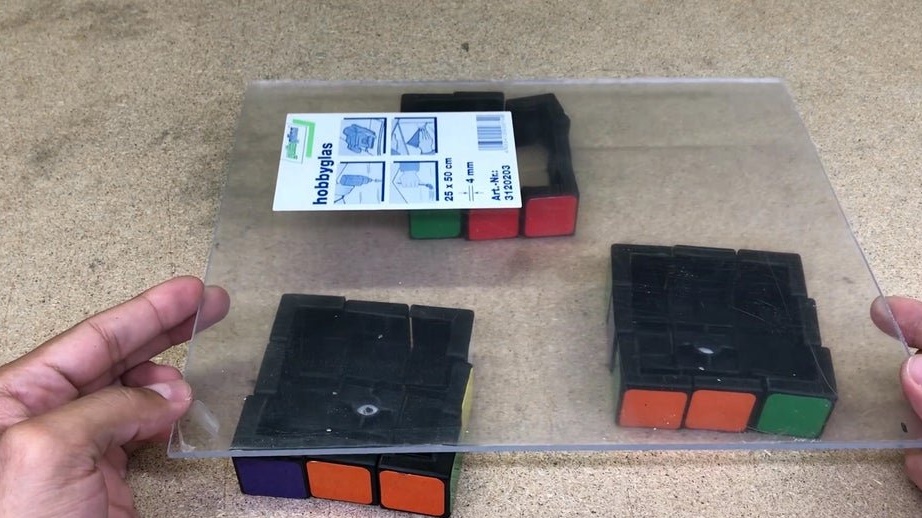
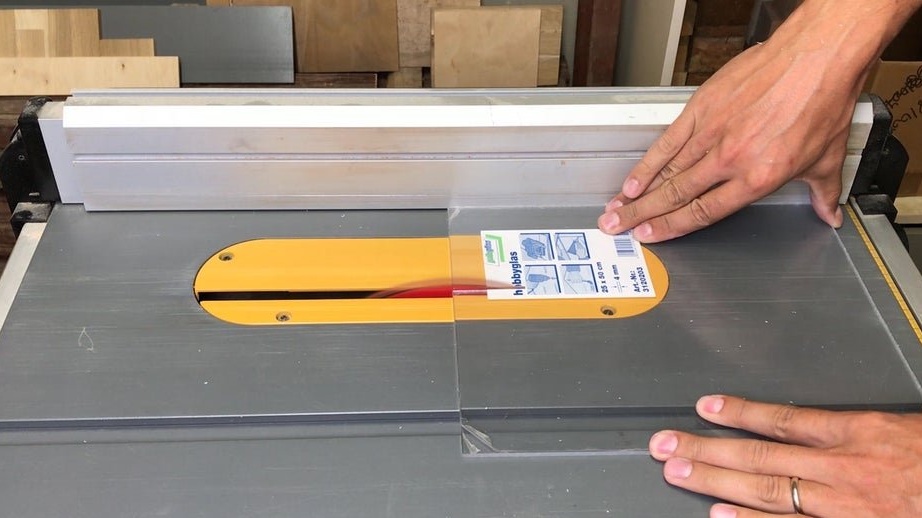
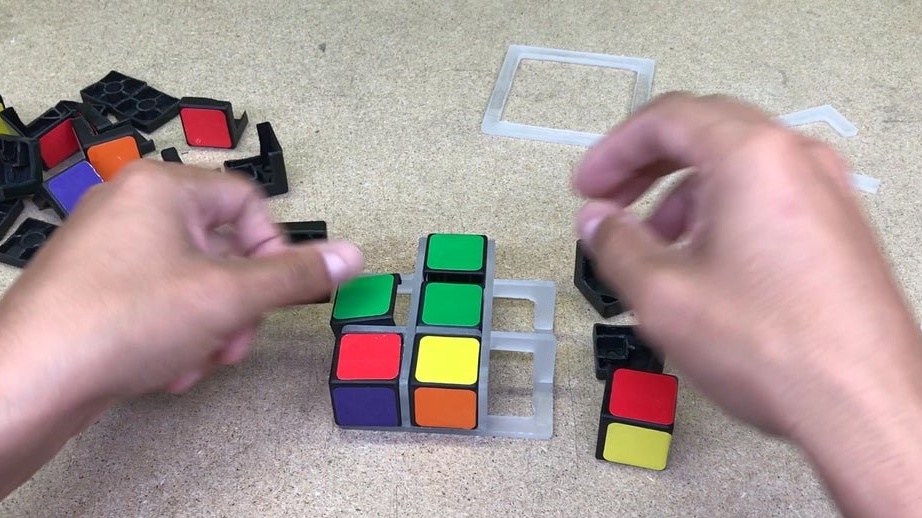
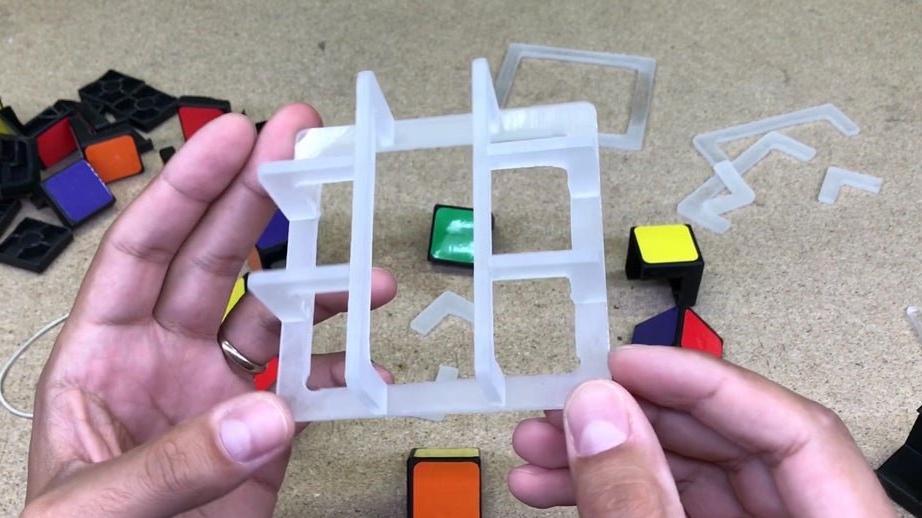
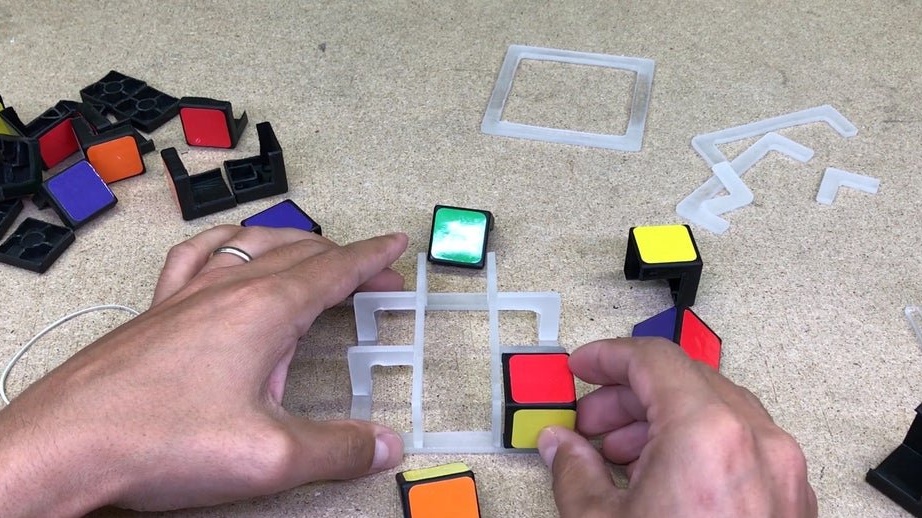
Step Two: Acrylic
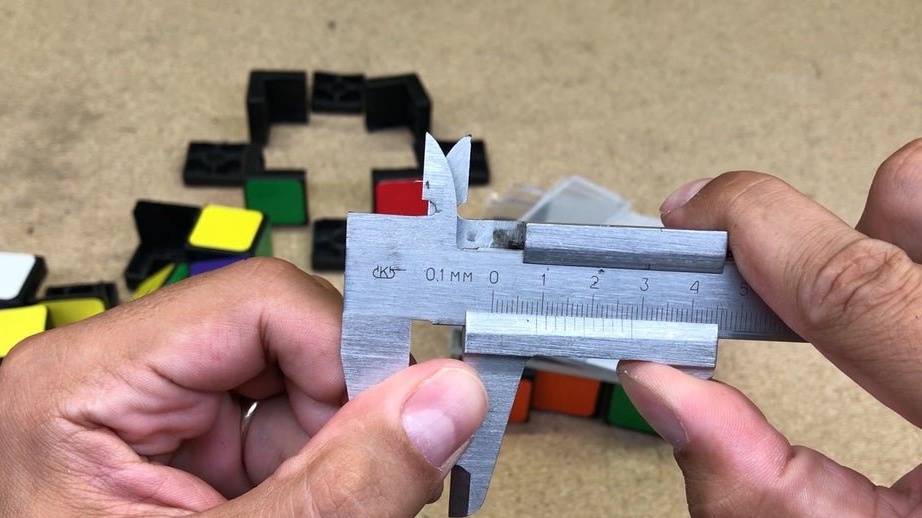
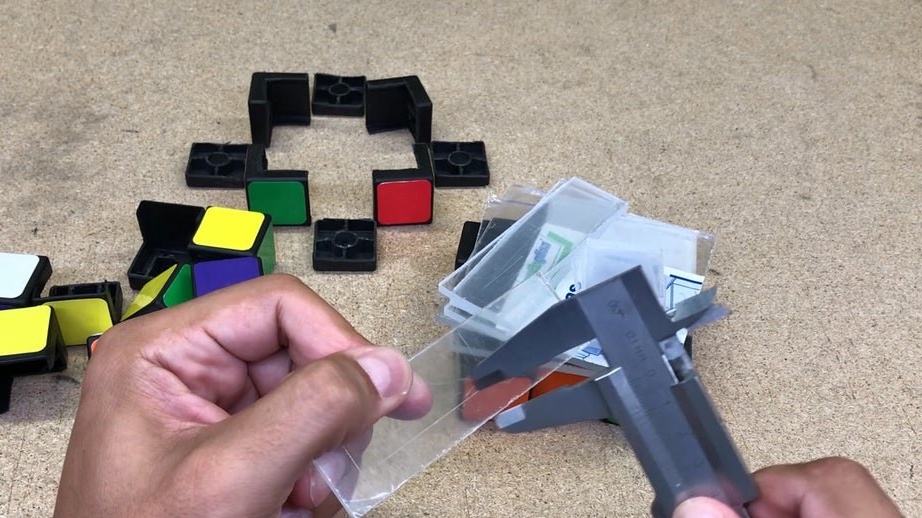
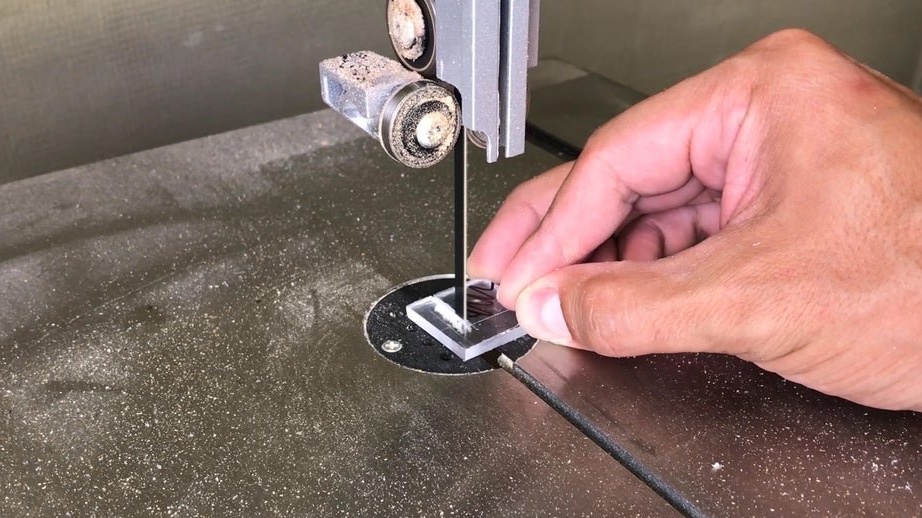
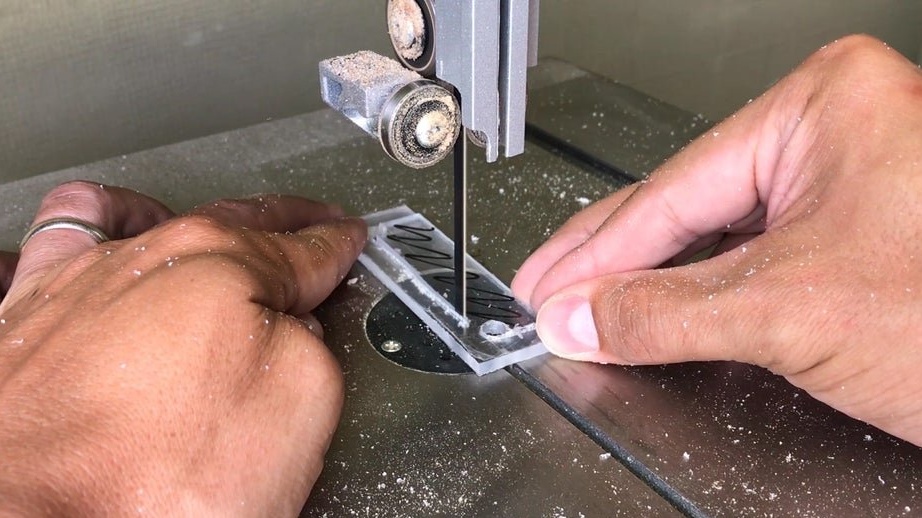
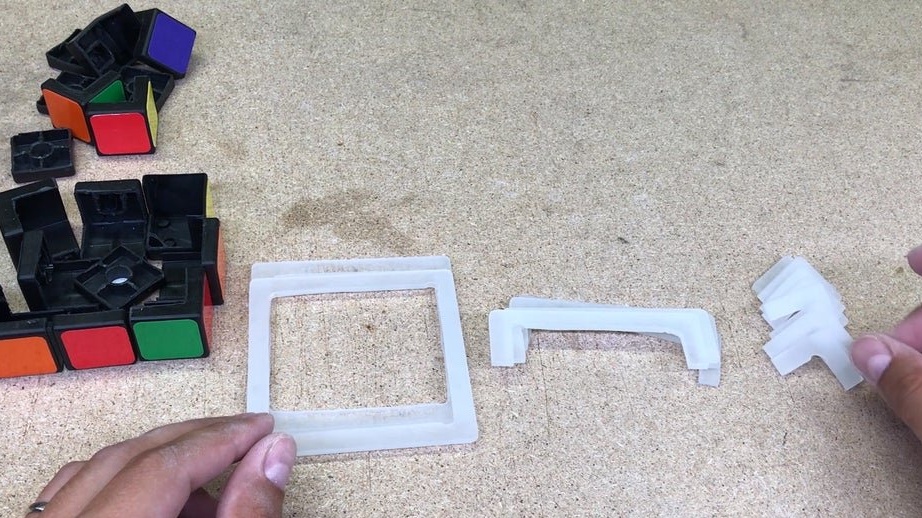
The master uses acrylic with a thickness of 4 mm. Acrylic inserts will separate each detail of the cube. The master cuts out acrylic, the width of the acrylic inserts is 9 mm. The following details are cut: a square frame - 2 pcs., L-shaped inserts - 8 pcs., U-shaped inserts - 4 pcs.

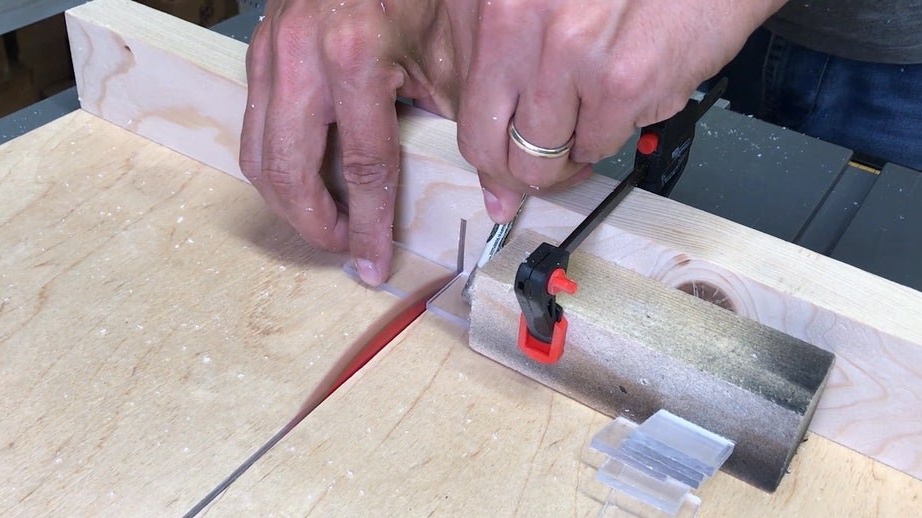

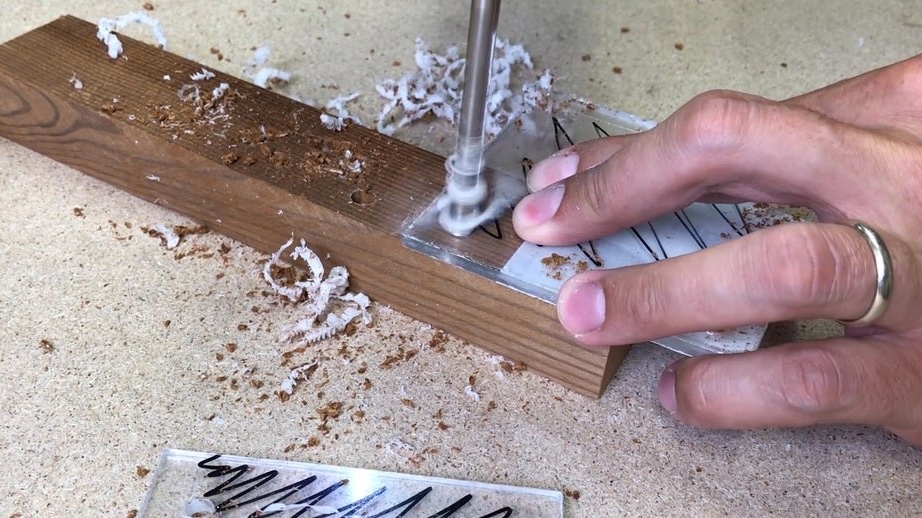

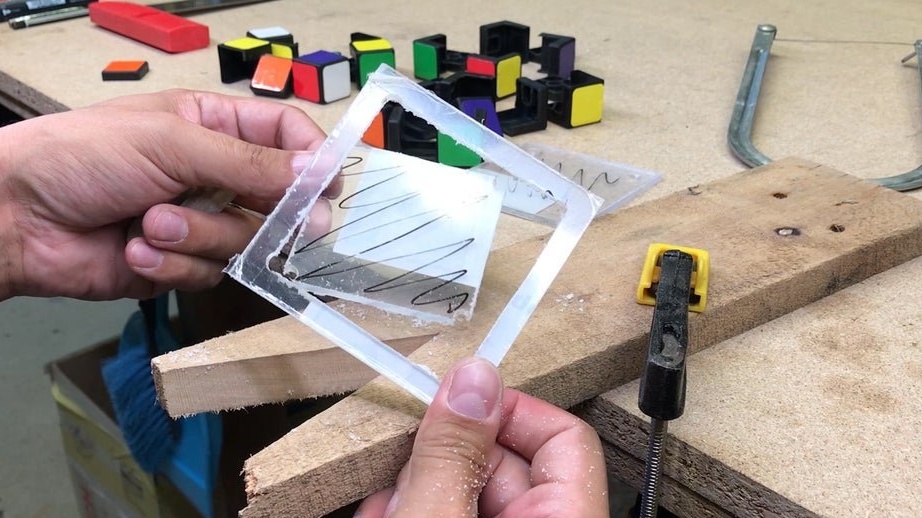
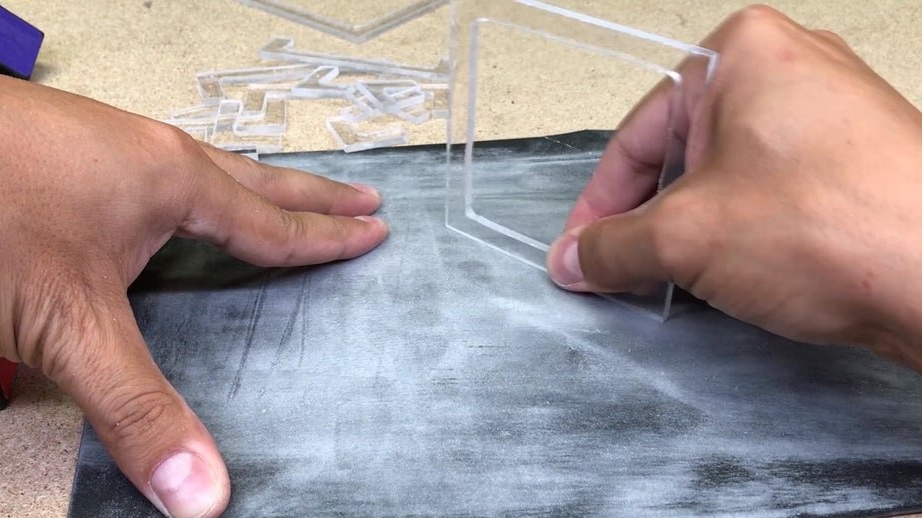
The end parts of acrylic inserts must be sanded with 320 sandpaper.

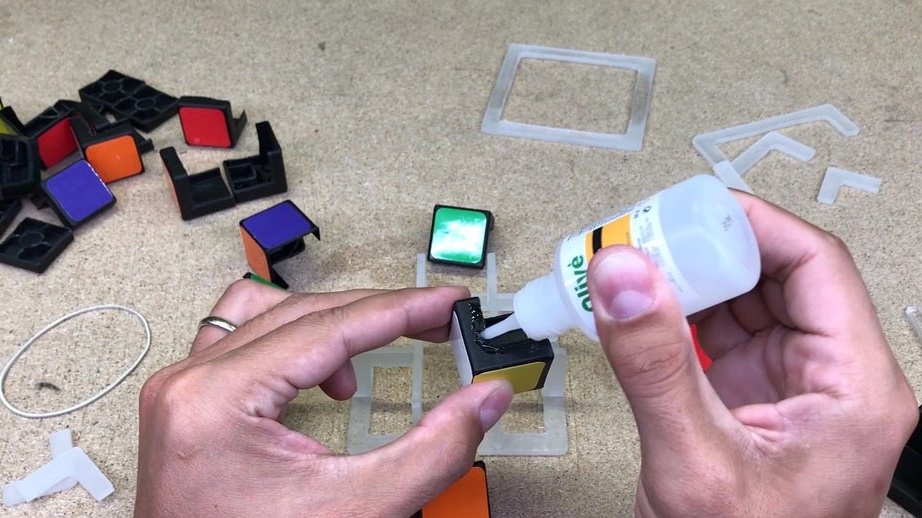
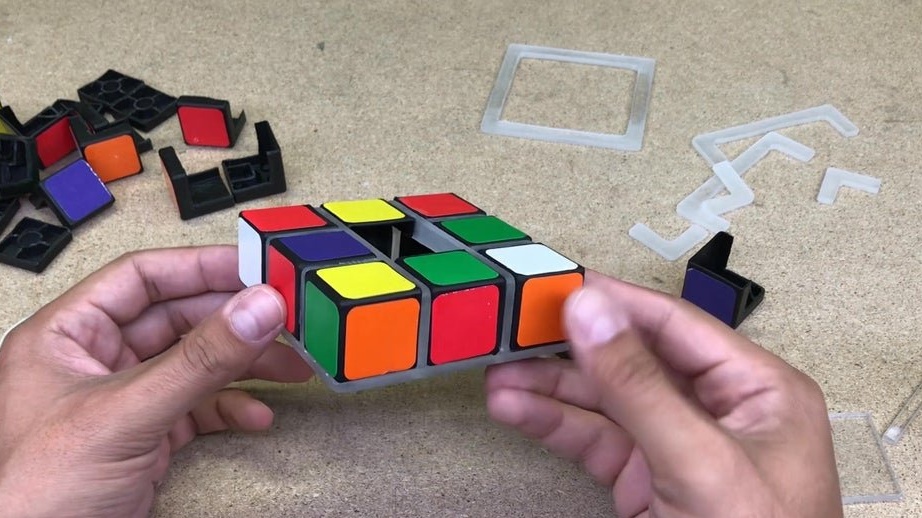
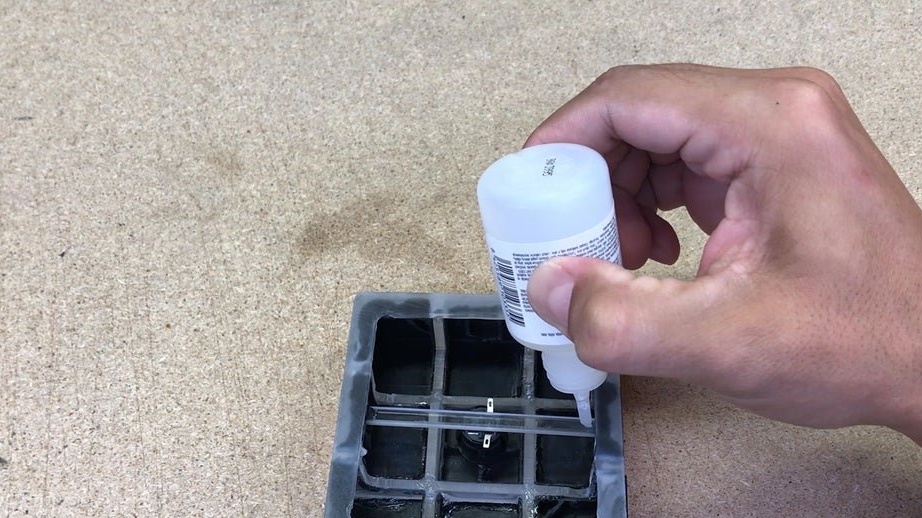
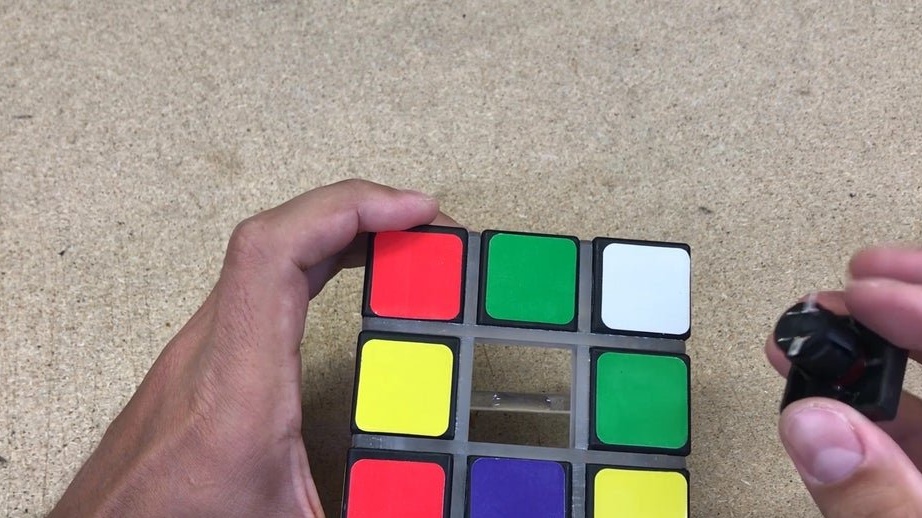
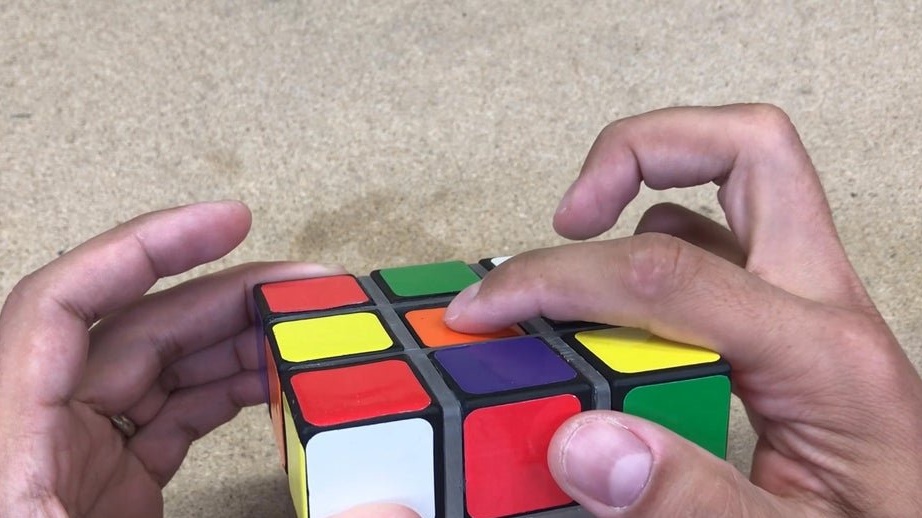
Step Three: Gluing
Next you need to glue the frame and glue the cubes. The wizard first collects the side of the cube. Between the squares sets the insert. Fastens the side with a rubber band. From the inside, it is applied to those places where acrylic inserts are joined.
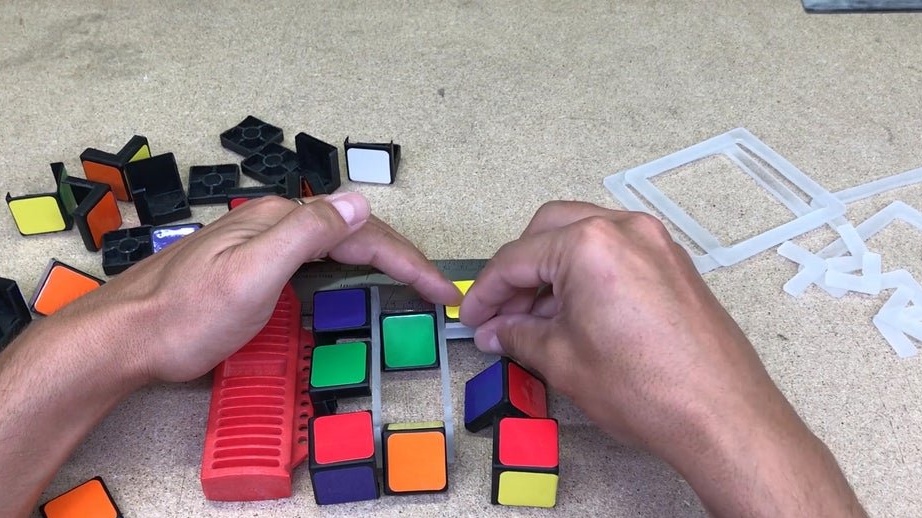

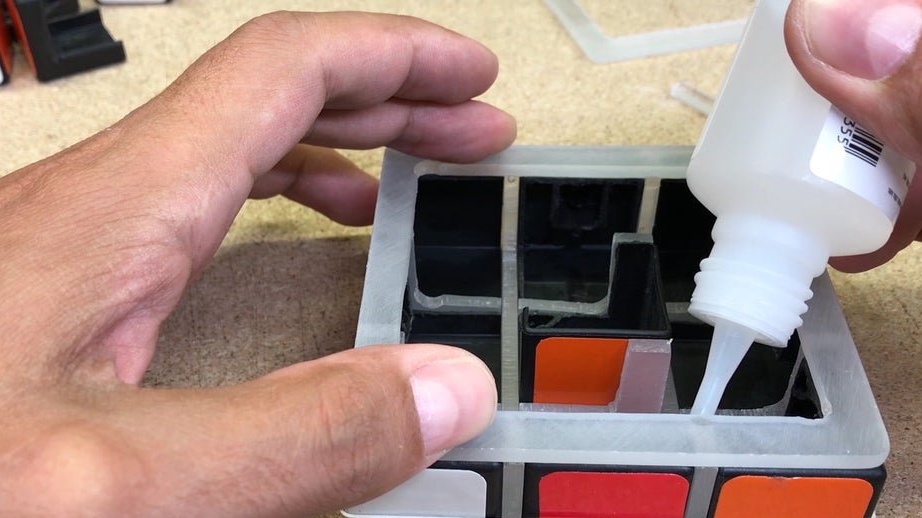
Glues the details of the cube to the frame. The middle square does not need to be glued yet.

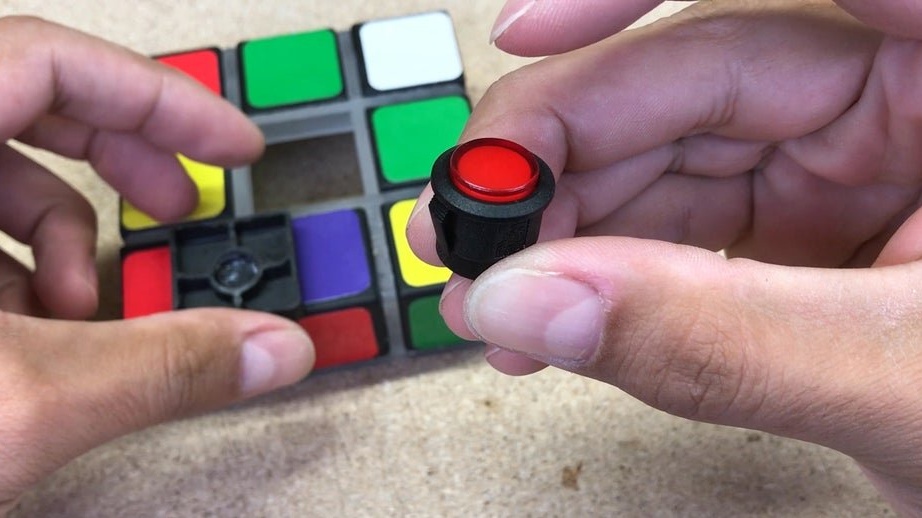
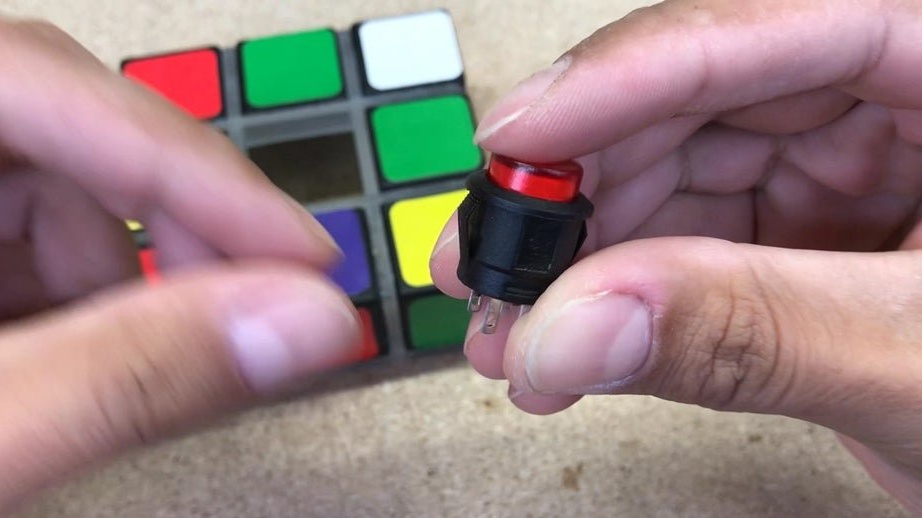
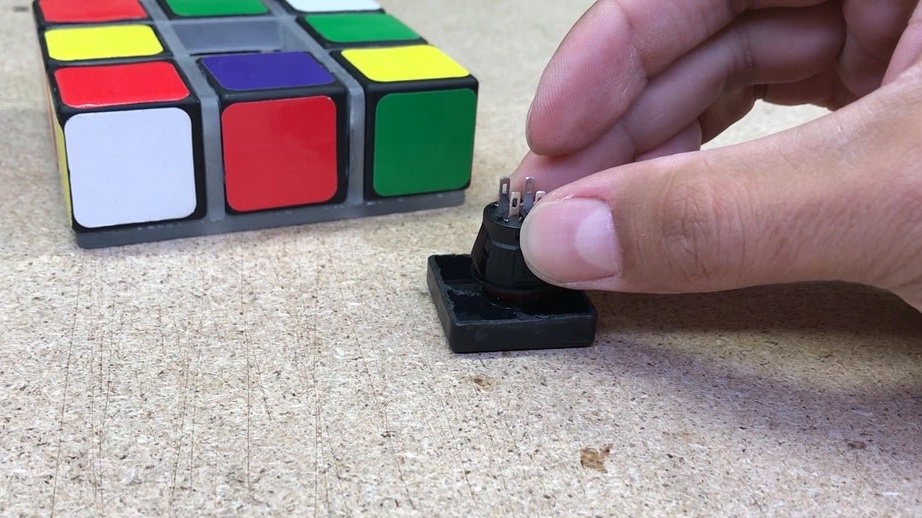
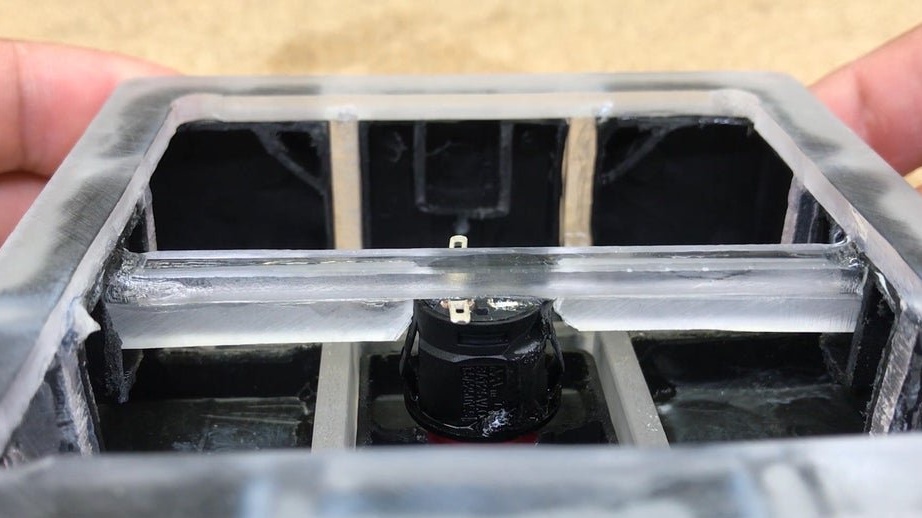
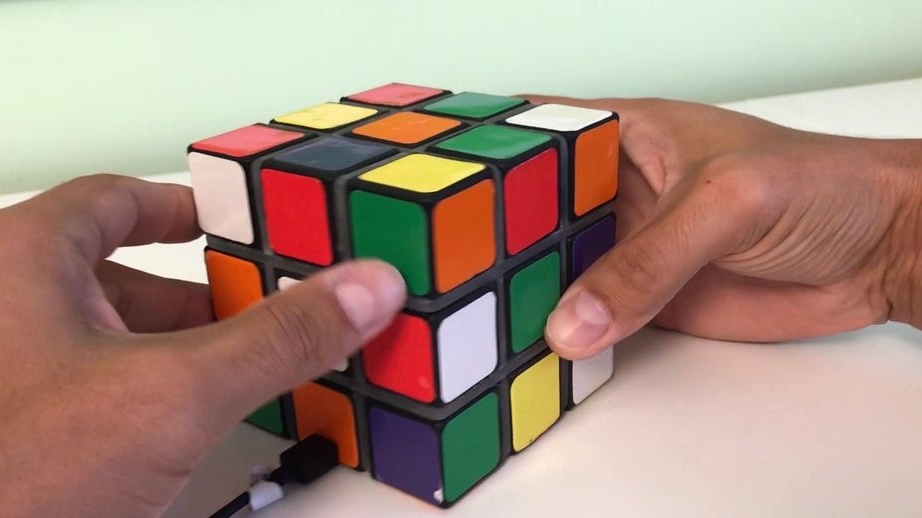
Step Four: Power Button
The power button is installed in the center of the side of the cube. First, the master glues the middle square to the button. Sets the button and inside on an emphasis glues a cross-section from acrylic. On the sides reinforces the fastening with additional trims. The button contacts are wedged on the sides of the crossbar.
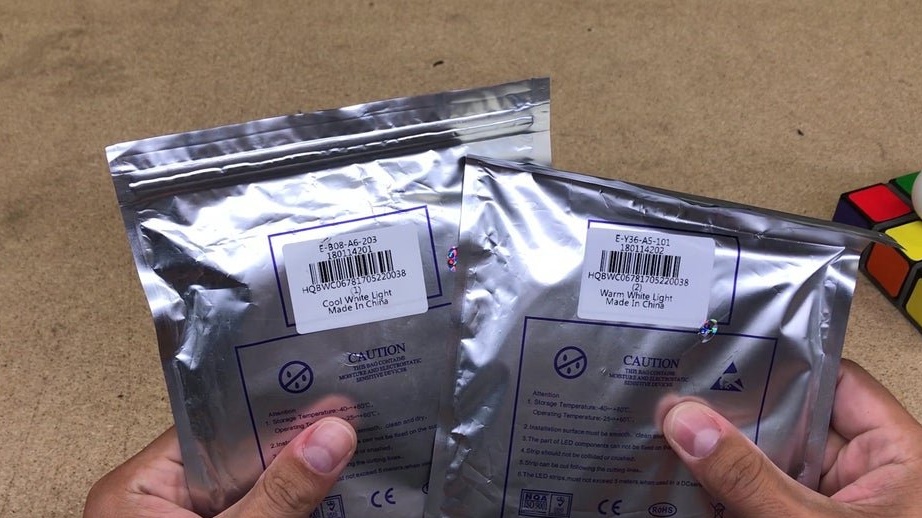
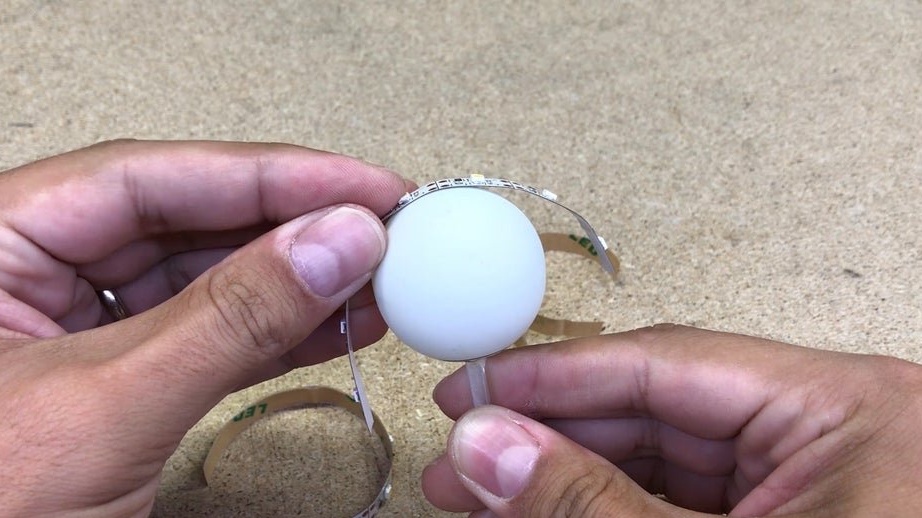
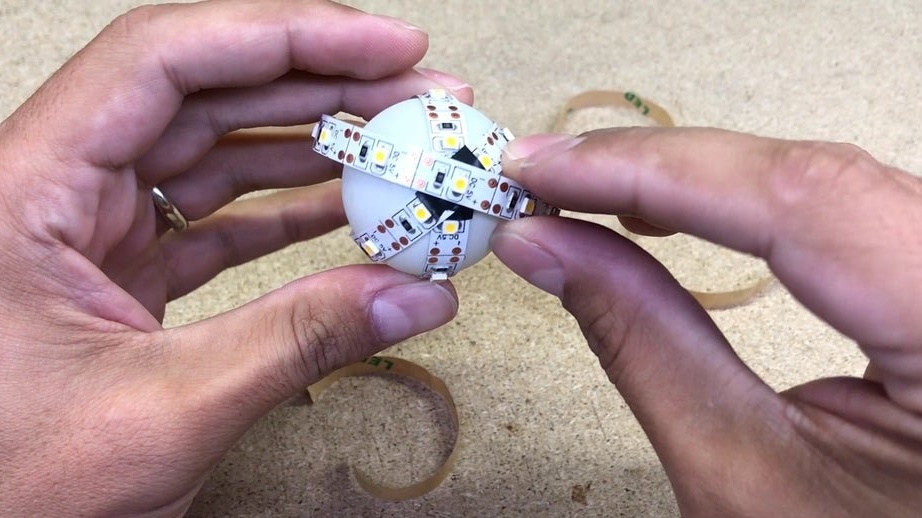
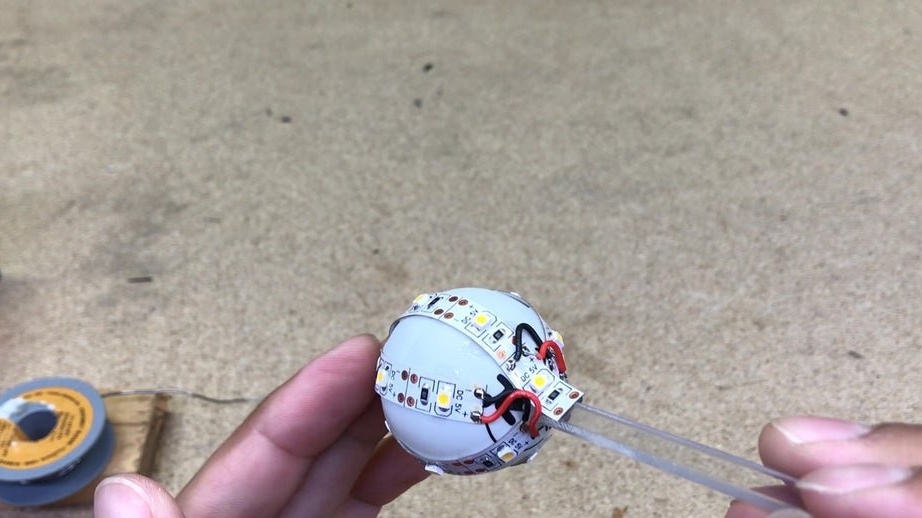
Step Five: LEDs
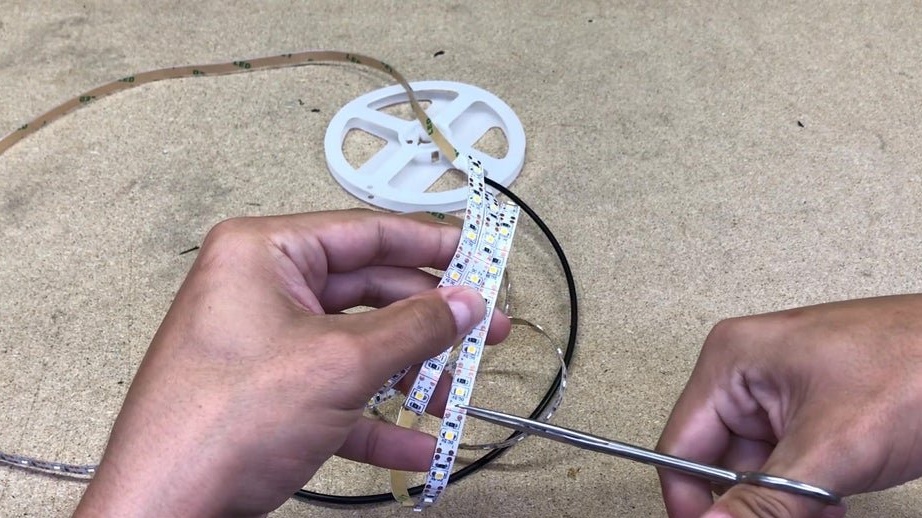
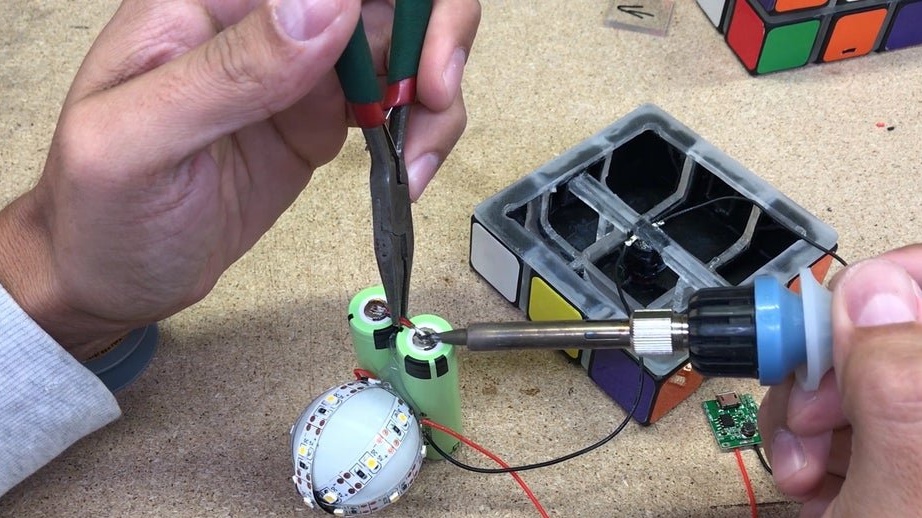
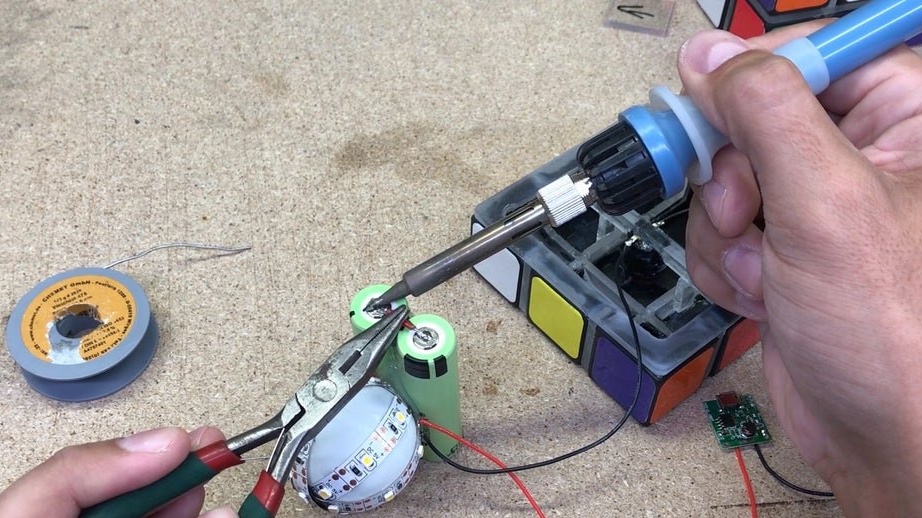
The master uses a 5V LED strip as a light source.
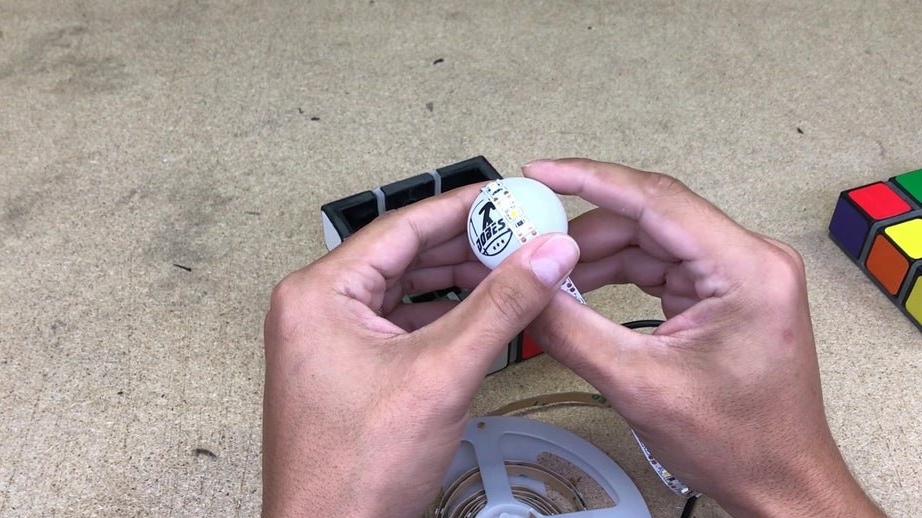
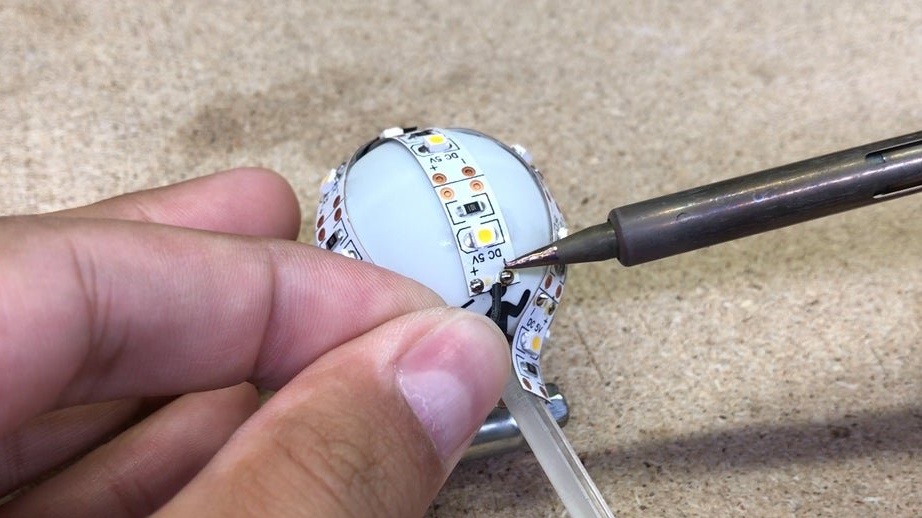
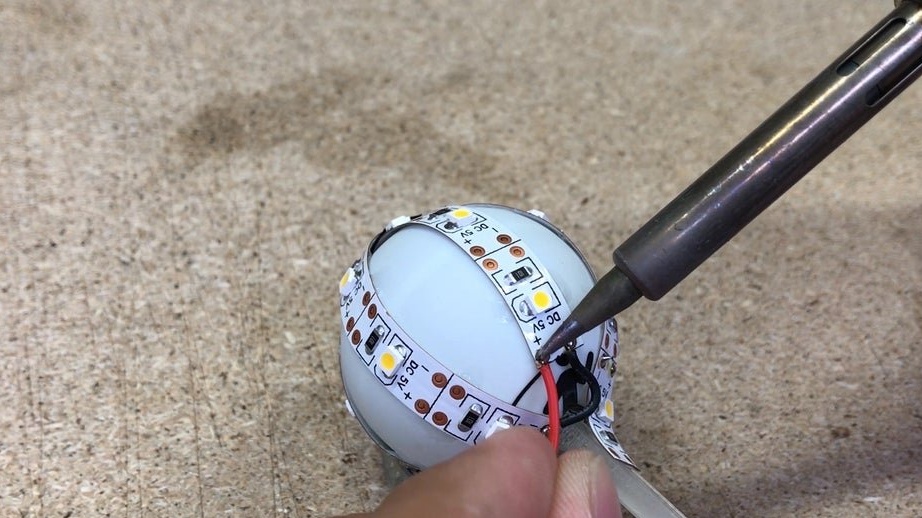
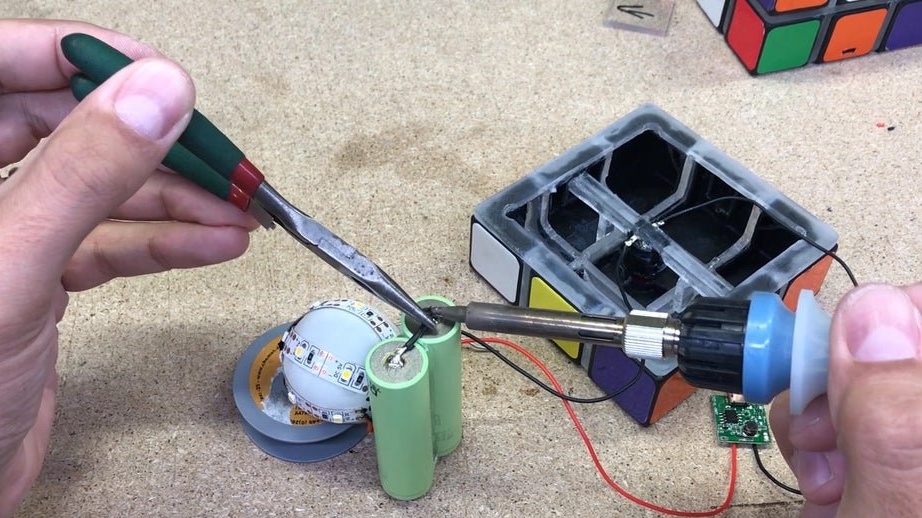
He attaches the LED strip to a tennis ball. Solder the wires.
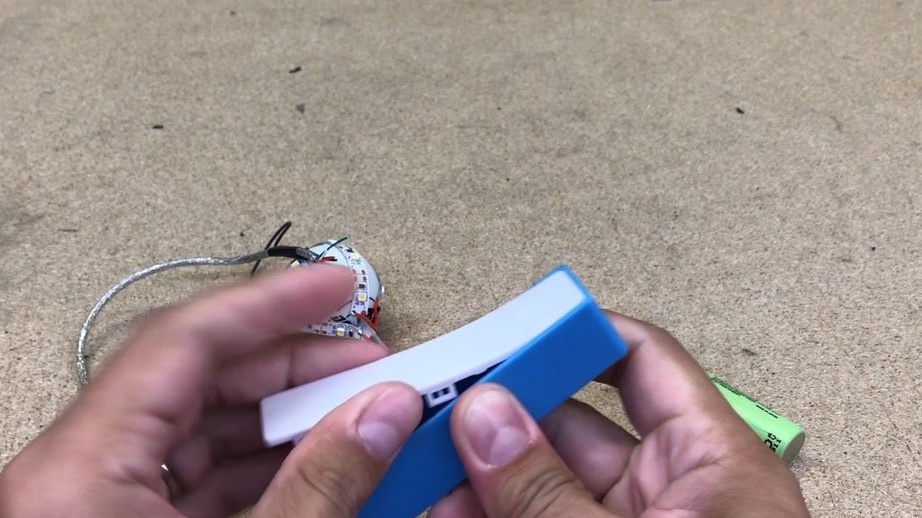
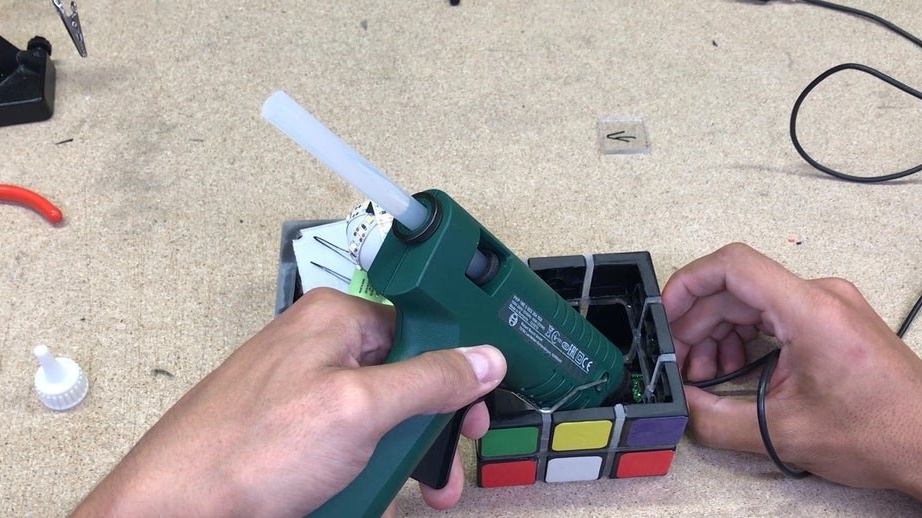
Step Six: Installation
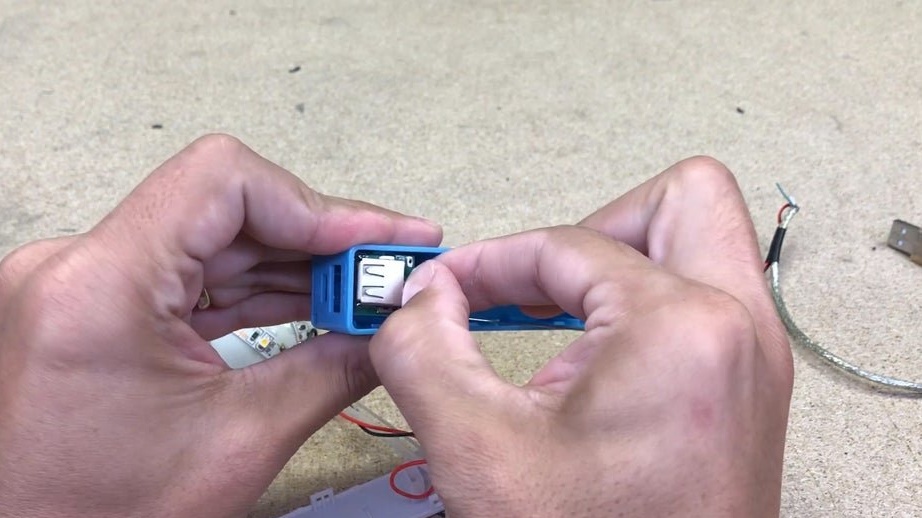
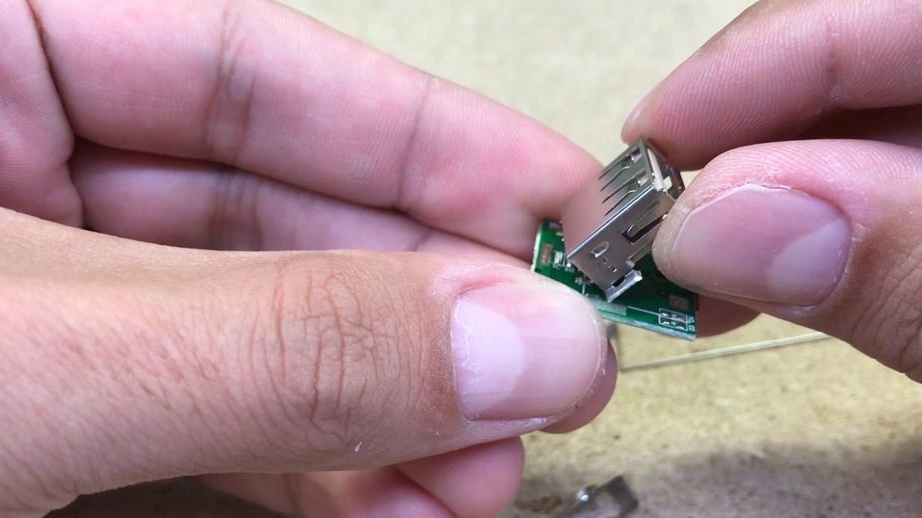
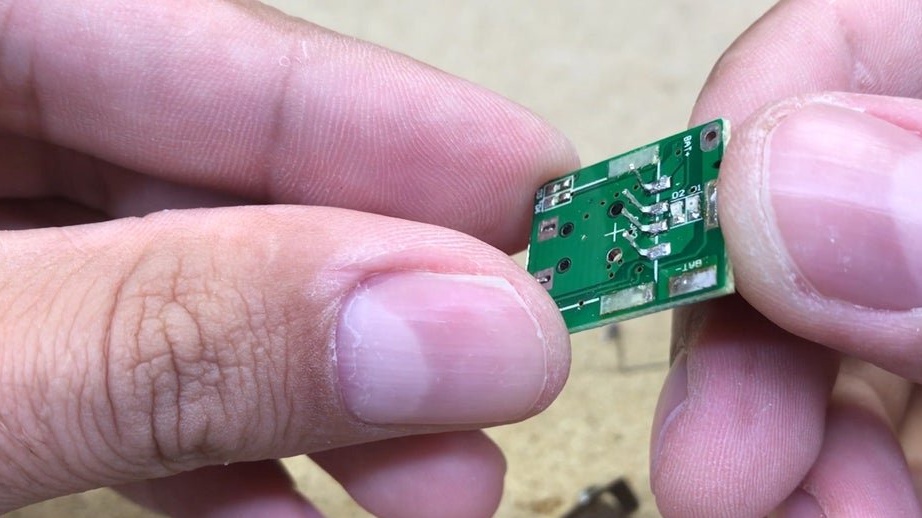
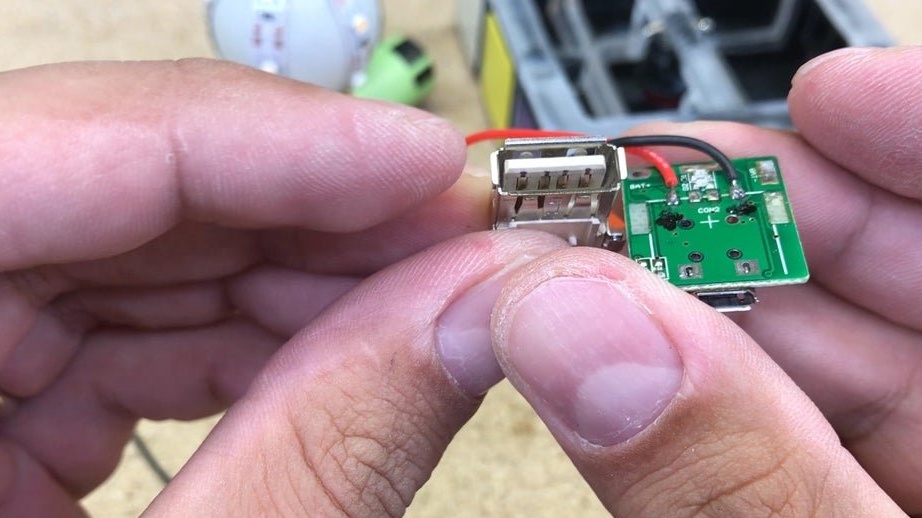
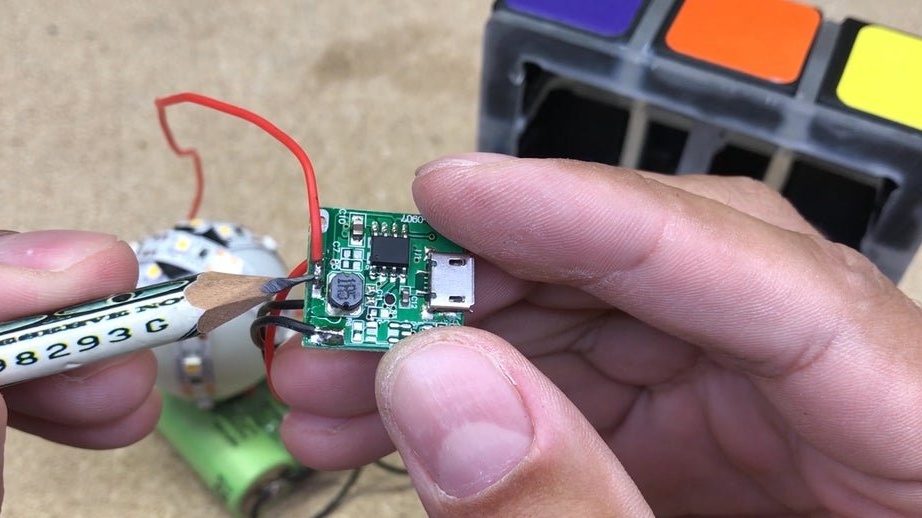
The light source is ready and now you need to assemble the power source.The master removes the board from the old external battery.
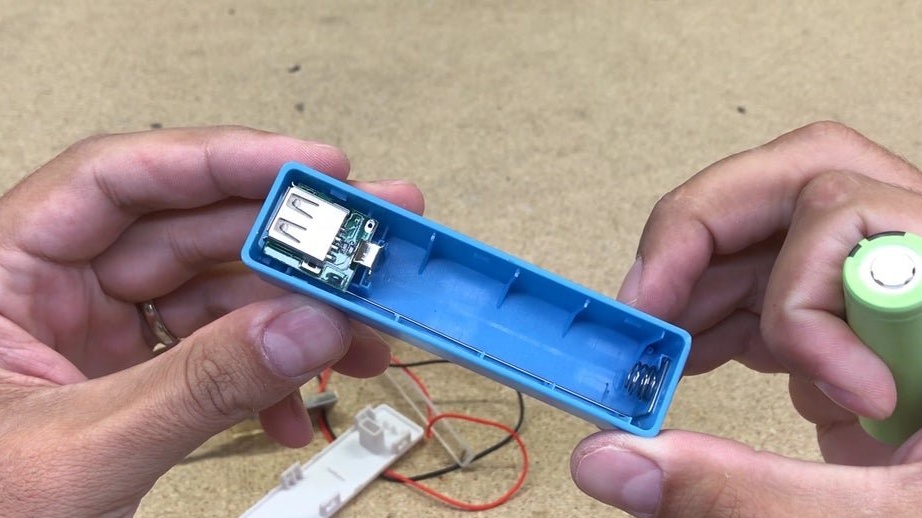
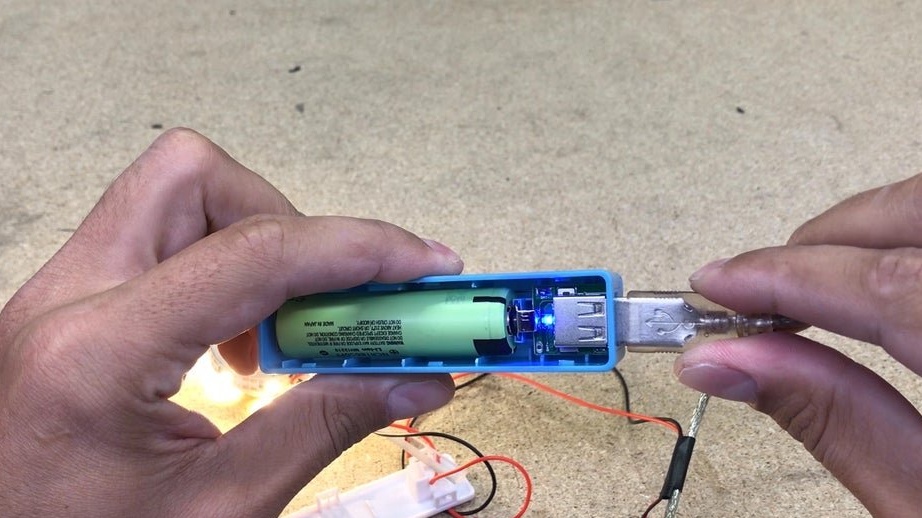
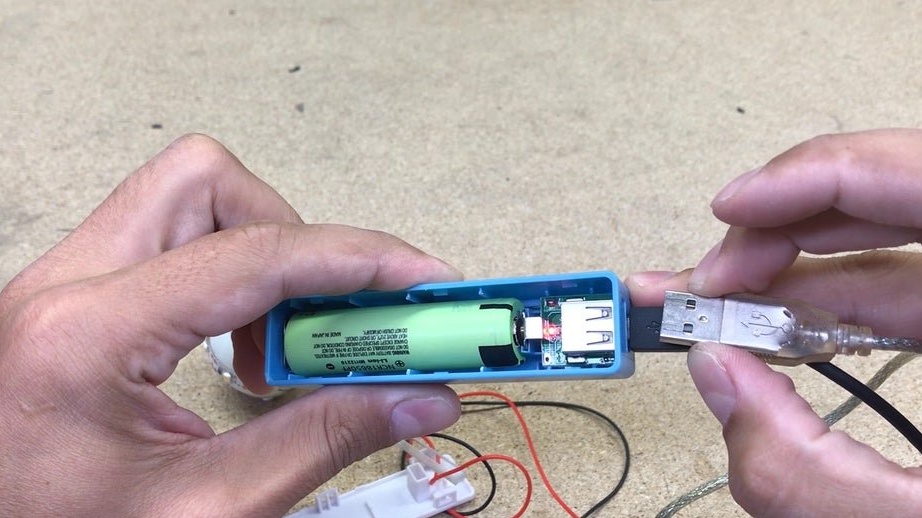
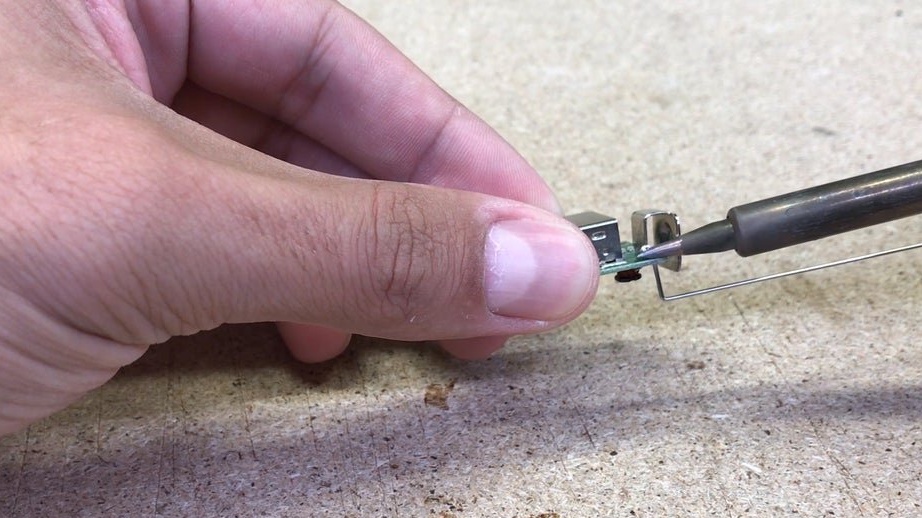
Solves the USB connector.

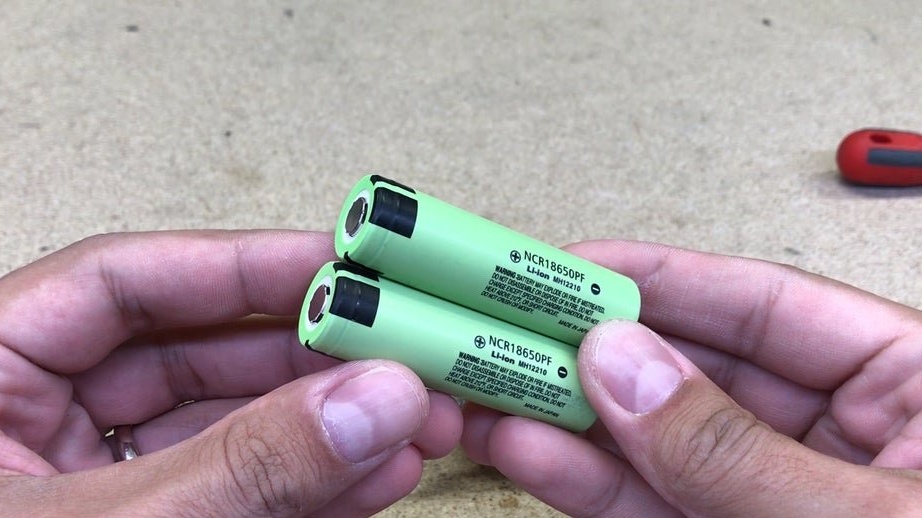
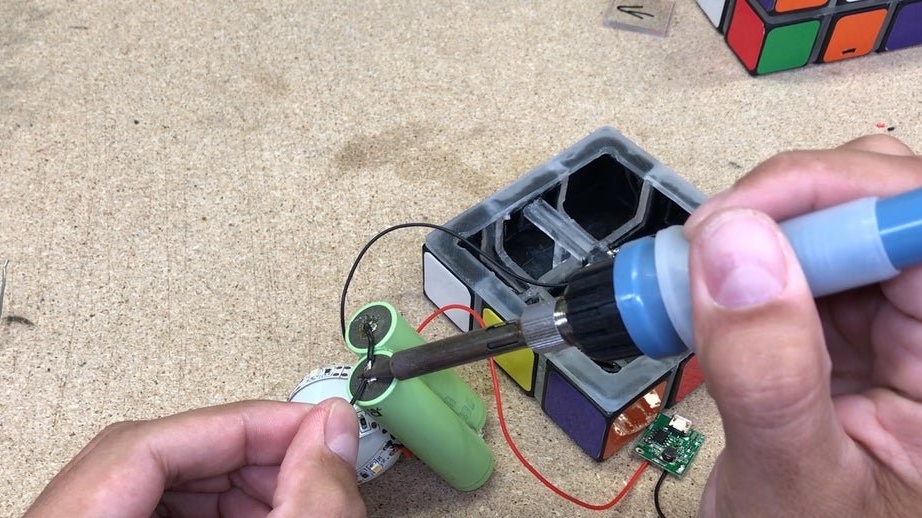
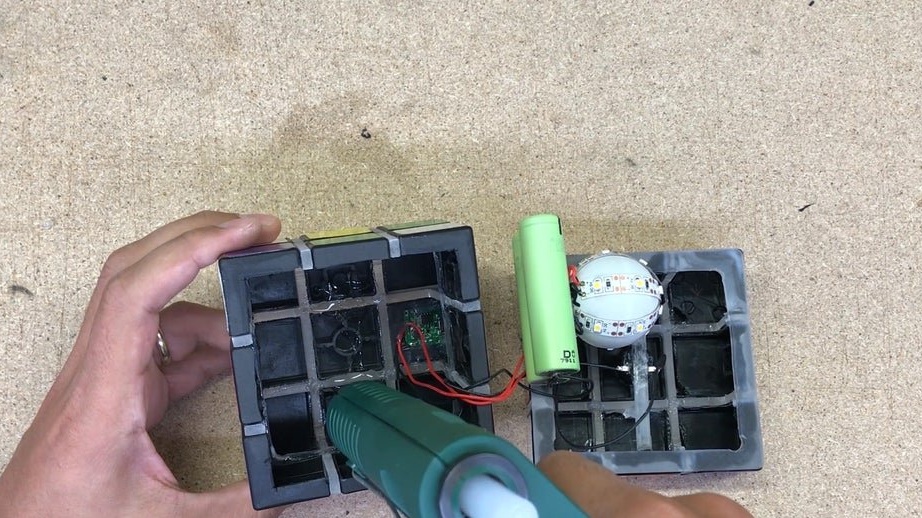
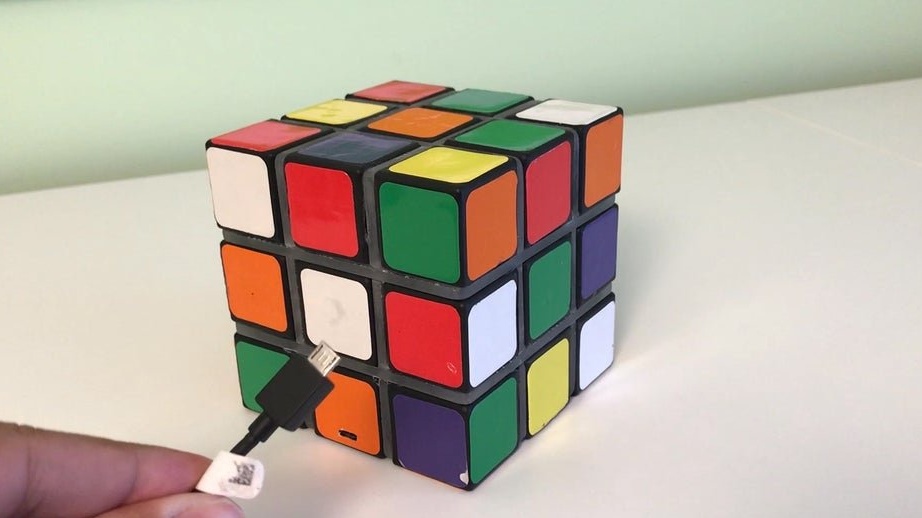
As a power source, the master uses two lithium-ion batteries of the form factor 18650. Glues them together. In one of the cubes cuts a hole for micro-USB.
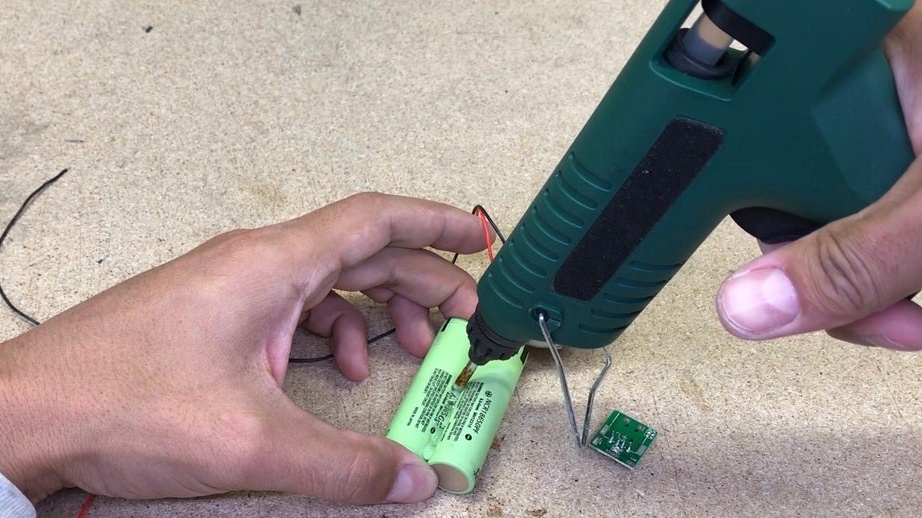


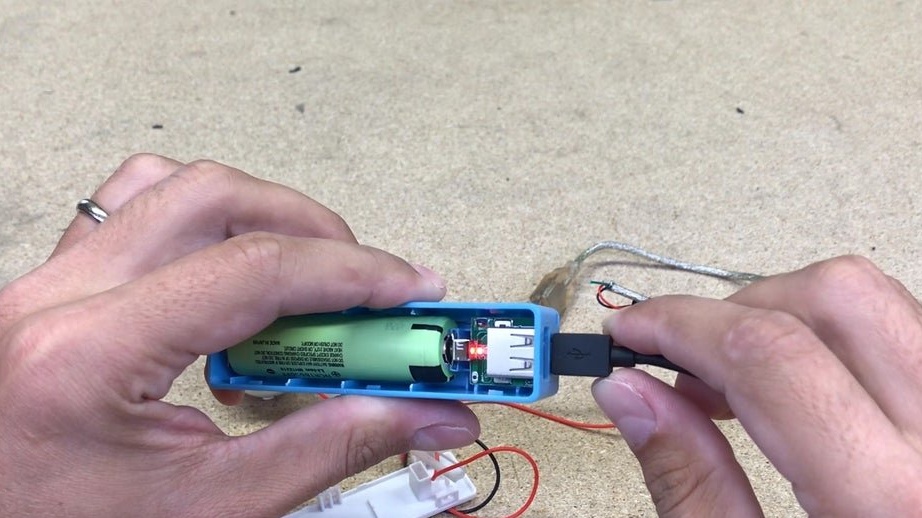
Next, install the electrical parts. The micro-USB connector is soldered to the board.
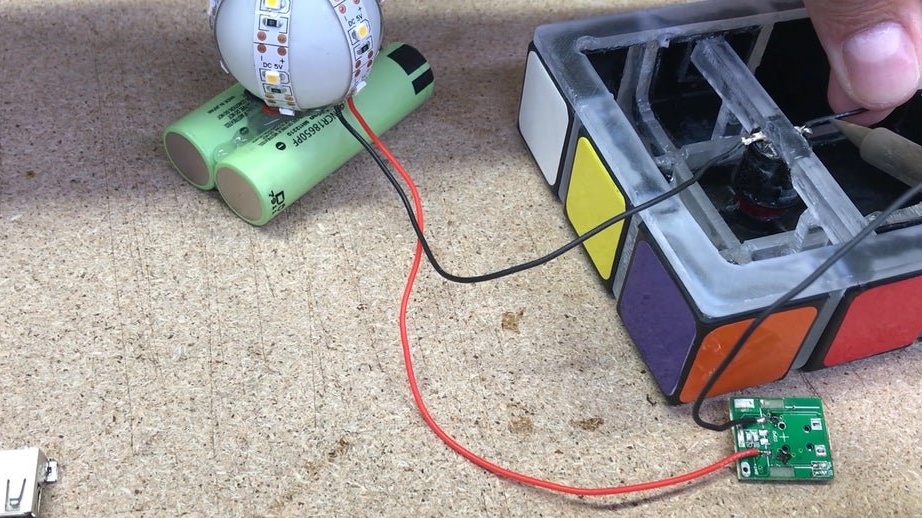
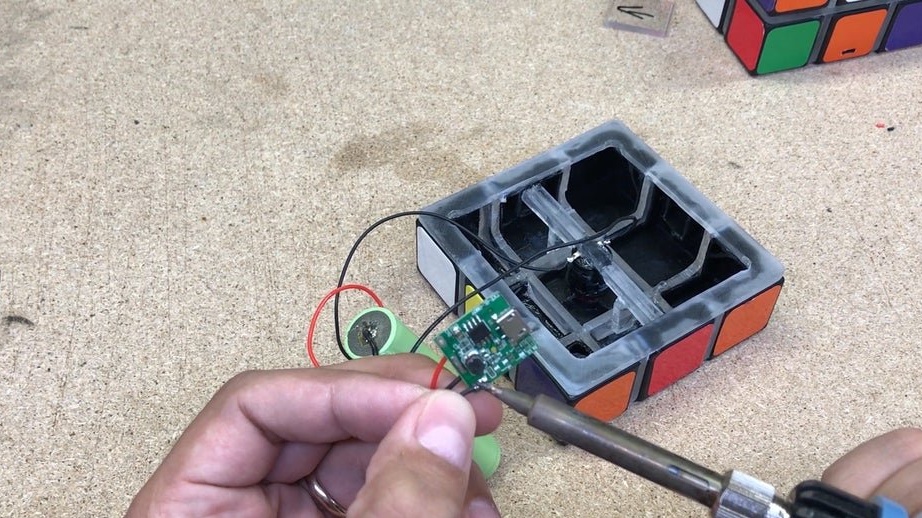
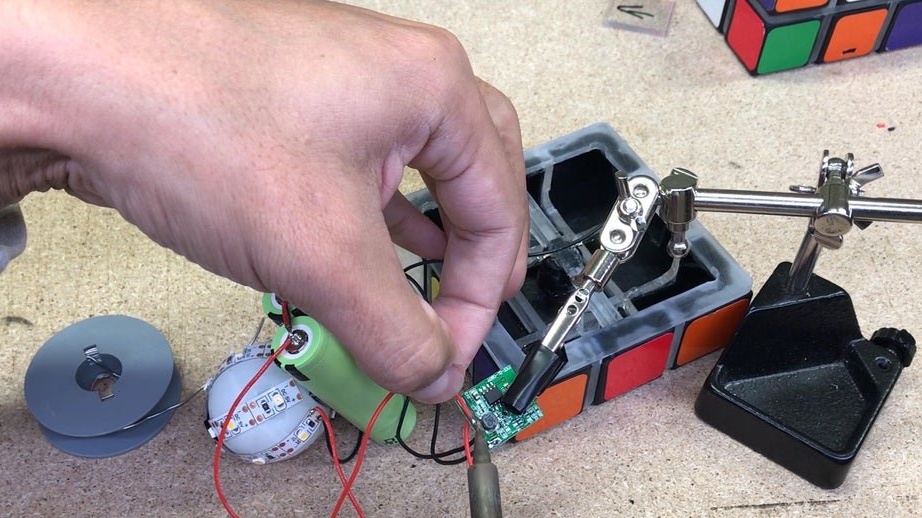
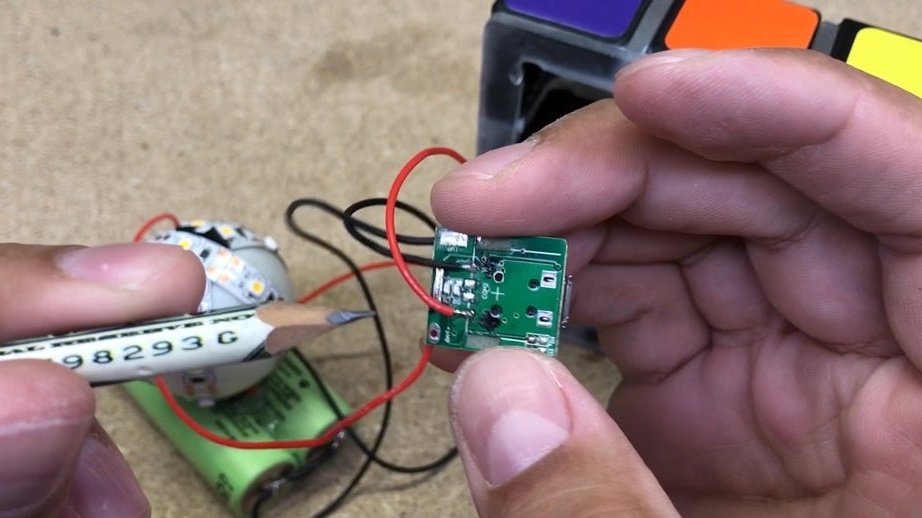
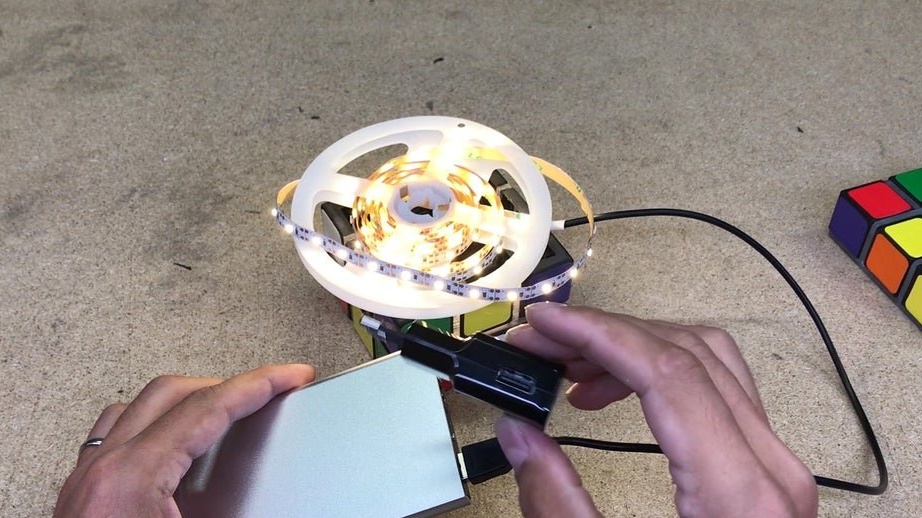
Checks work.
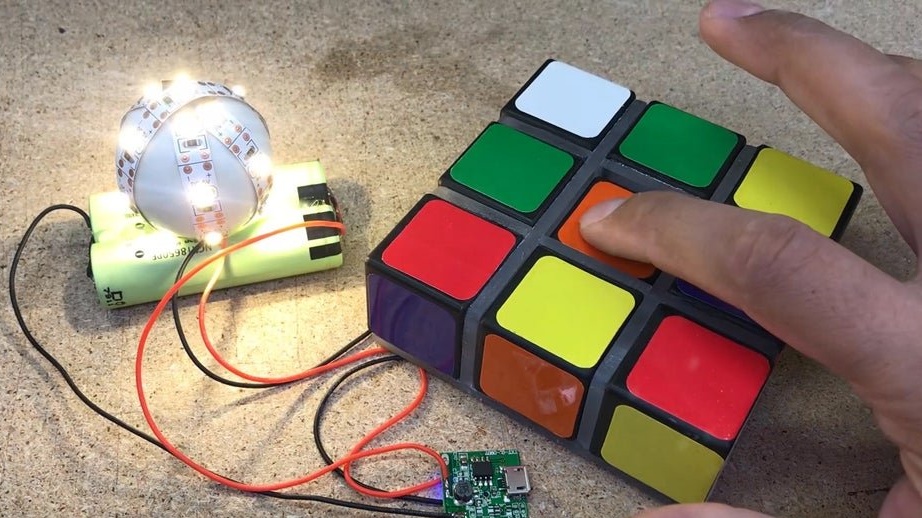
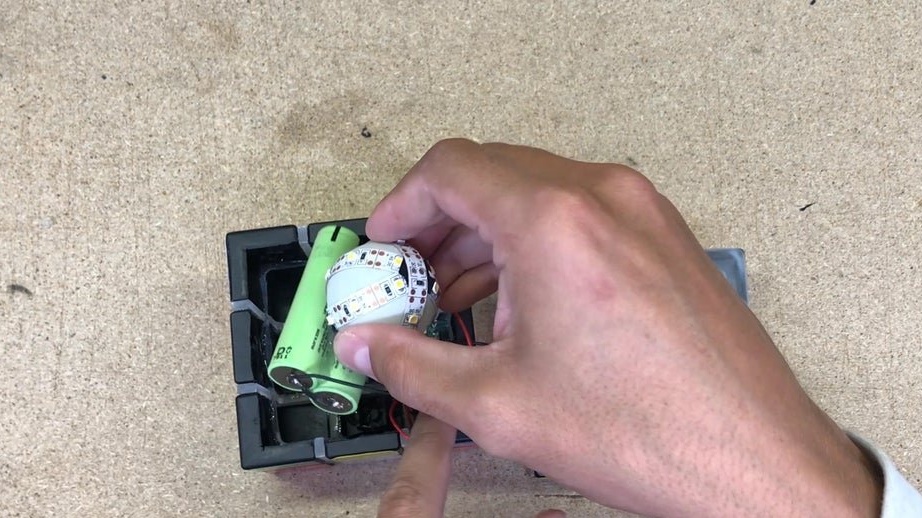
Seventh step: assembly
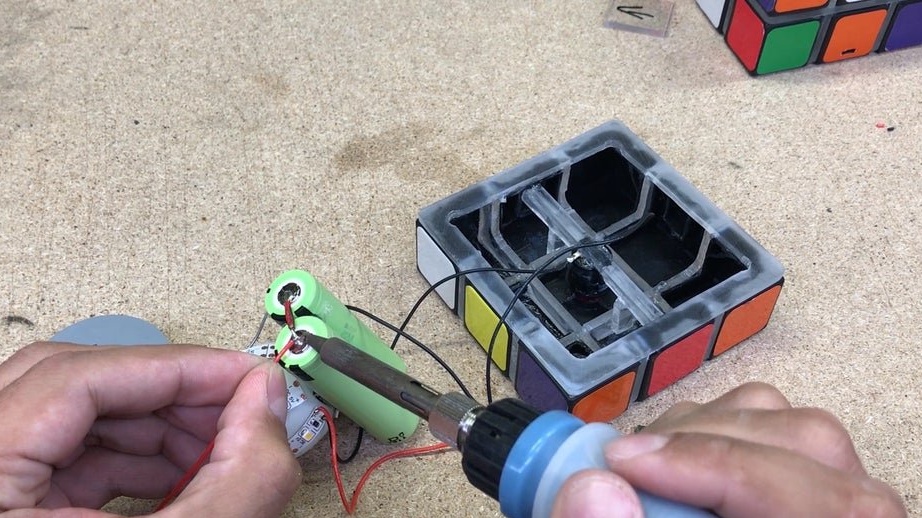
Everything works, and the master makes the assembly. Glues the board by installing the connector in the hole. Glues the battery and a ball with an LED strip on it.
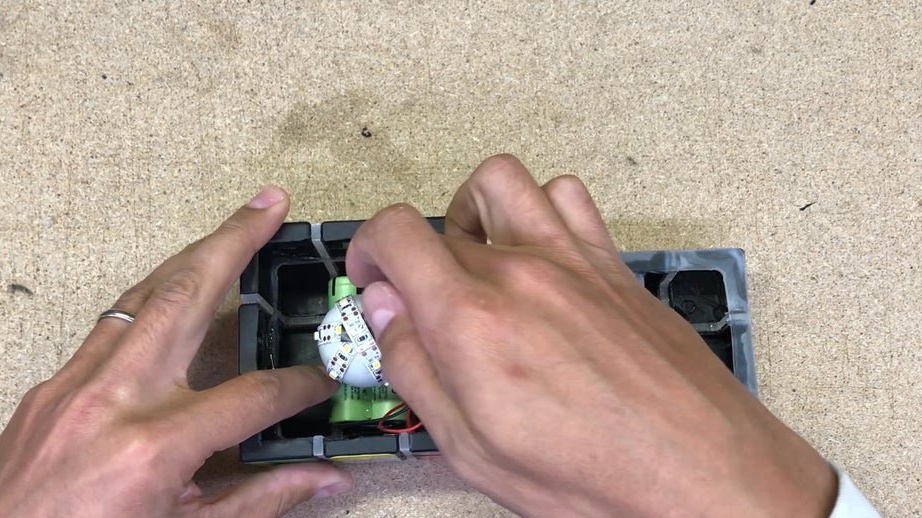
Now it remains to glue two halves of the cube.
All is ready. The lamp is ready. With a fully charged battery, it shines for about 12 hours. In the future, the master plans to make the same lamp, but with a wireless charger.

The whole process of making such a Rubik's Cube lamp can be seen in the video.