

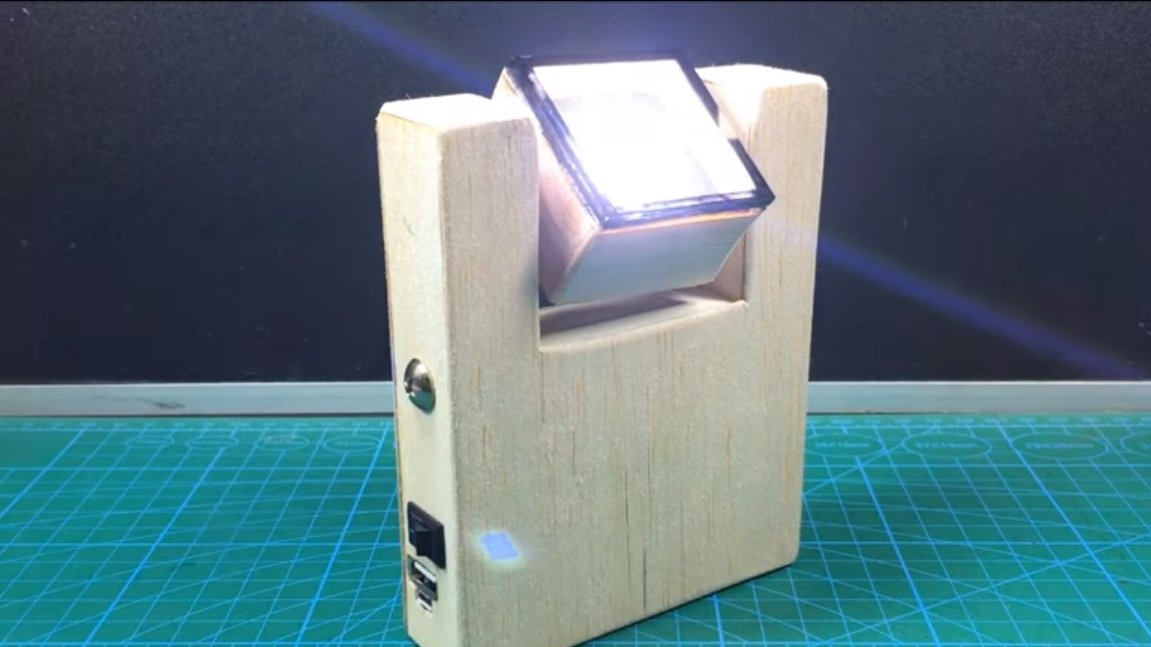
Hello to all fans of craftsmen, today we will consider how to make a powerful flashlight with the function of charging a mobile phone via USB. The lamp housing is made of veneer, the light source is a 10-watt LED. The LED can be rotated so that the lamp shines at a certain angle, which is quite convenient. The power source is 3 cells 18650, and if desired, you can install more. The LED is powered via a boost module. But the main highlight of the flashlight can be considered that it turns on and off using the touch button. If you are interested in the project, I propose to study it in more detail!
Materials and tools used by the author:
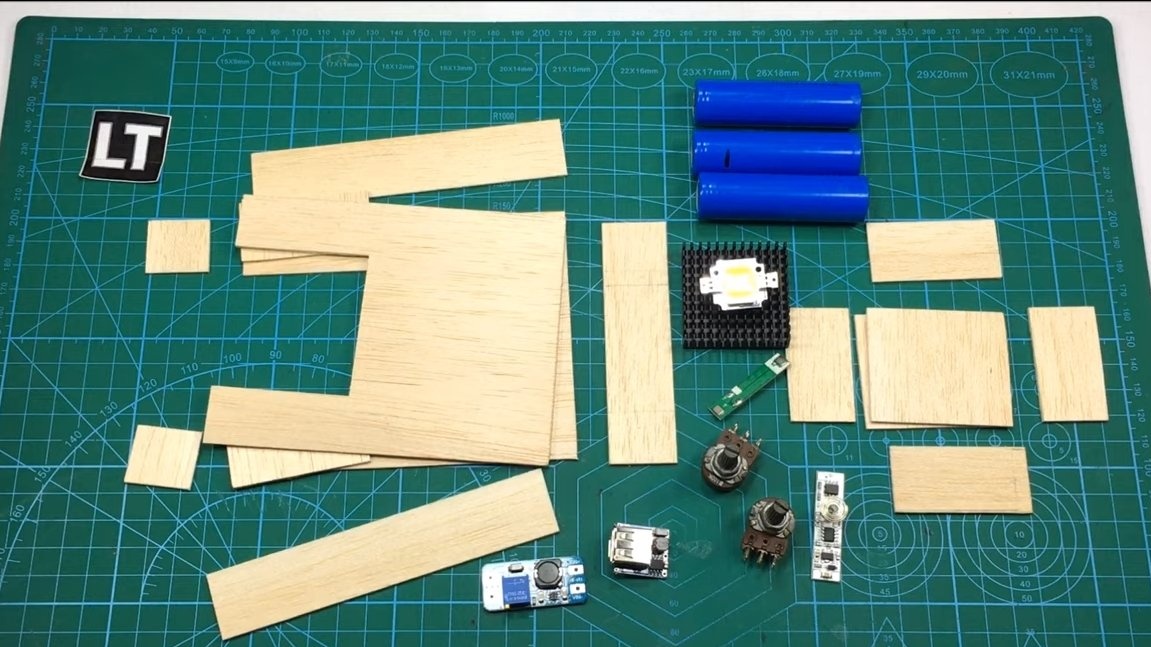
Material List:
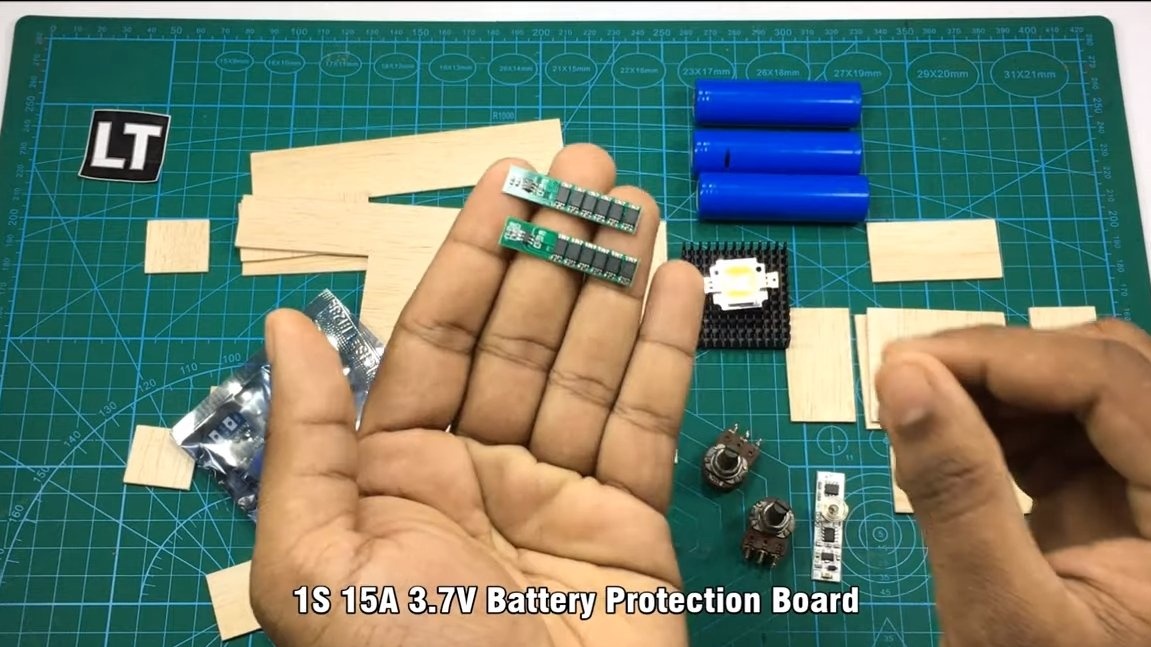
- 10 Watt LED;
- 3 cells 18650;
- ;
- ;
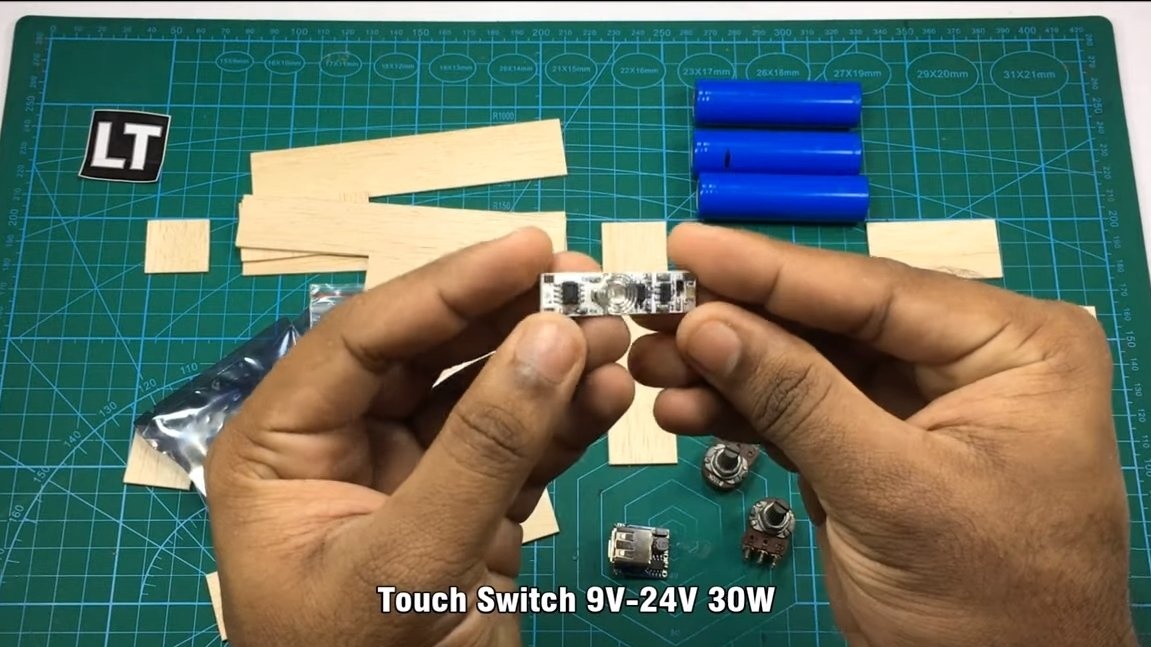
- switch 12v 16A;
- potentiometers 100K x2;
- a radiator from a computer or the like;
- ;
- wires;
- Super glue;
- hot glue and more.
Tool List:
- a tool for cutting veneers;
- pencil, tape measure, ruler;
- soldering iron;
- scissors;
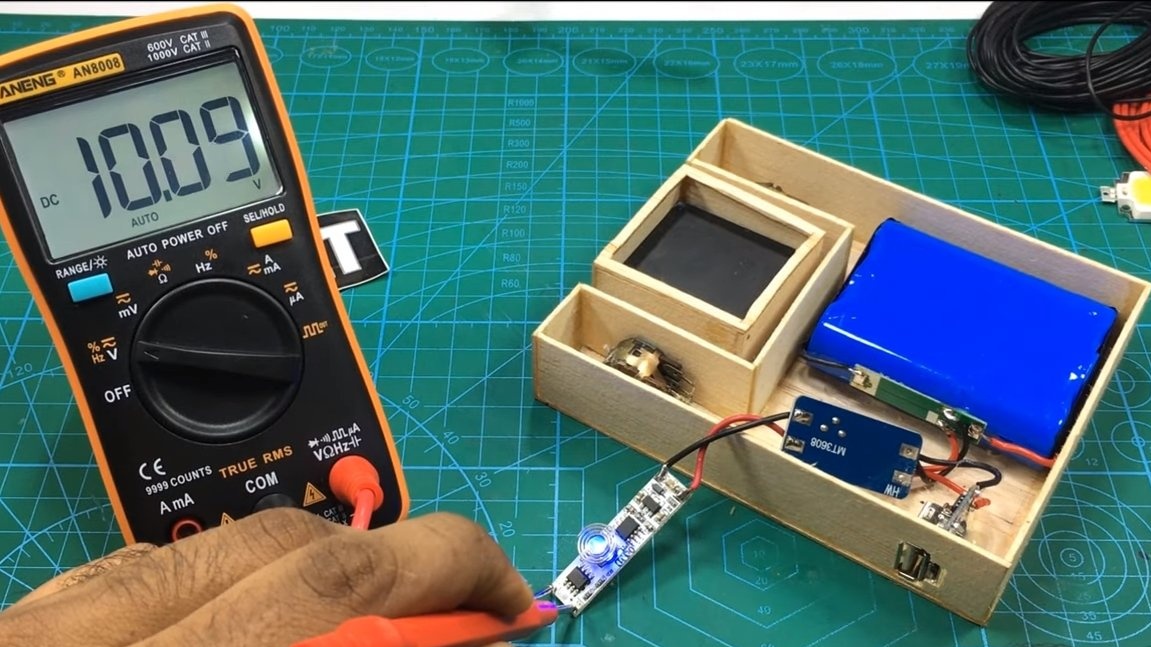
- voltmeter;
- screwdrivers.
Flashlight manufacturing process:
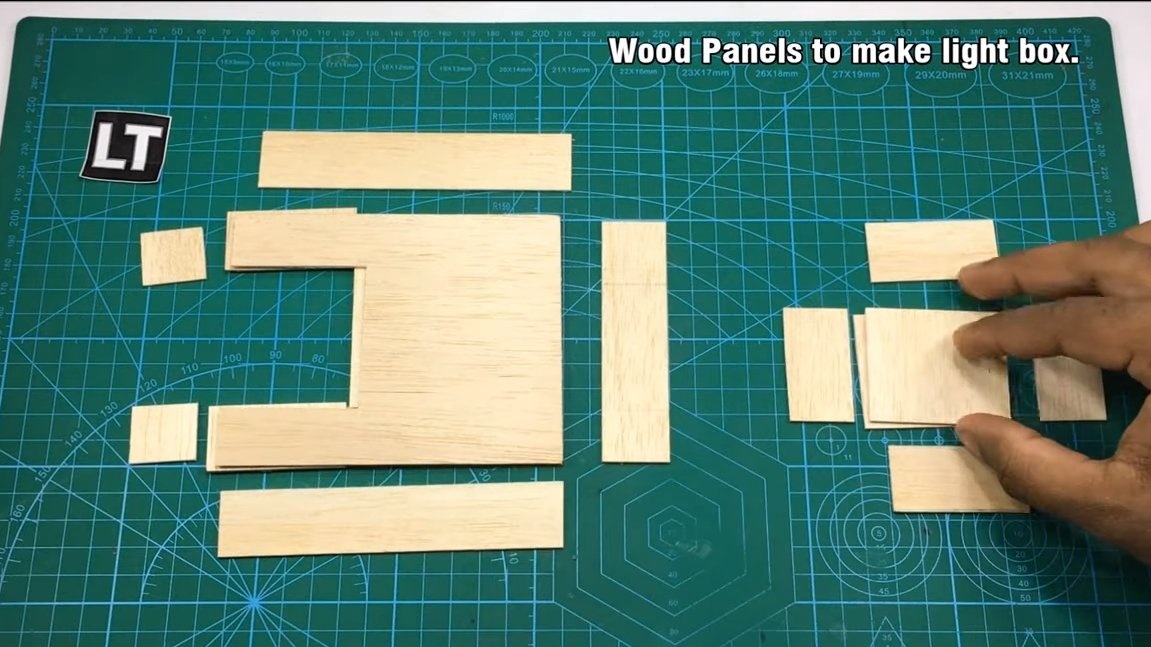
Step one. Assembly of the body and installation of the radiator
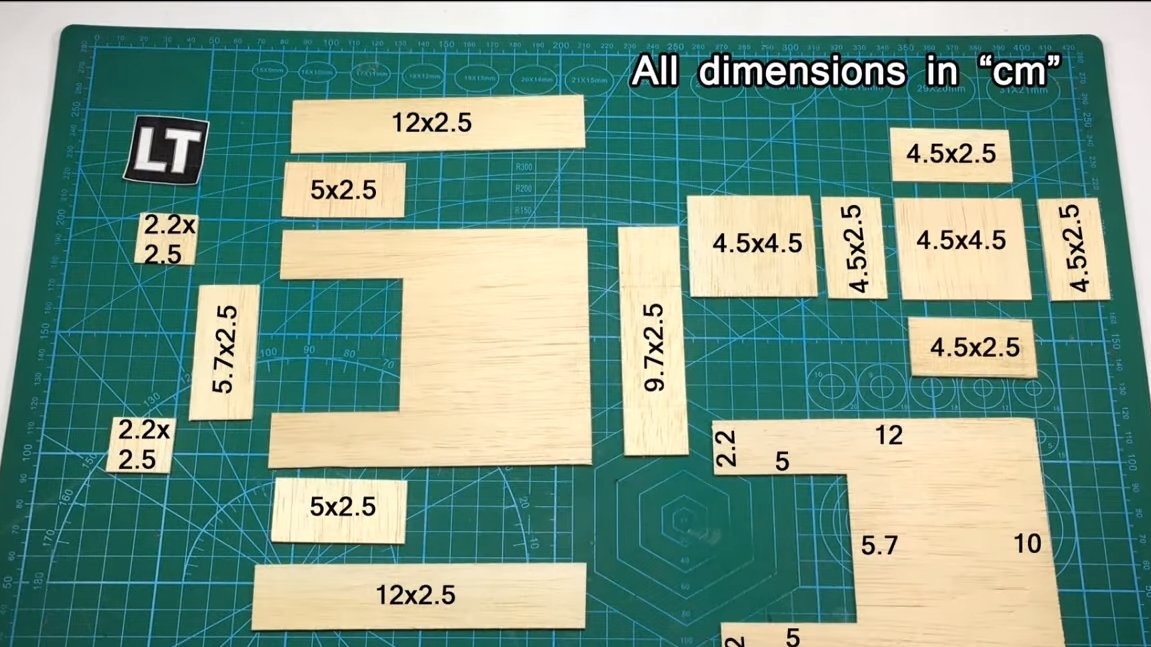
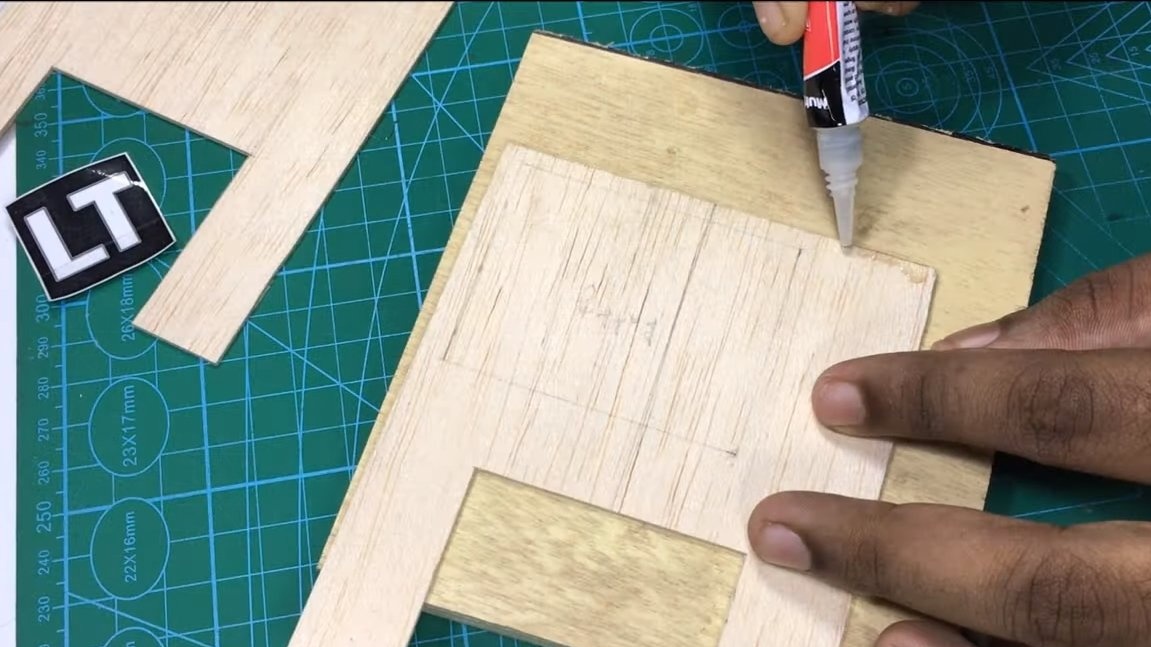
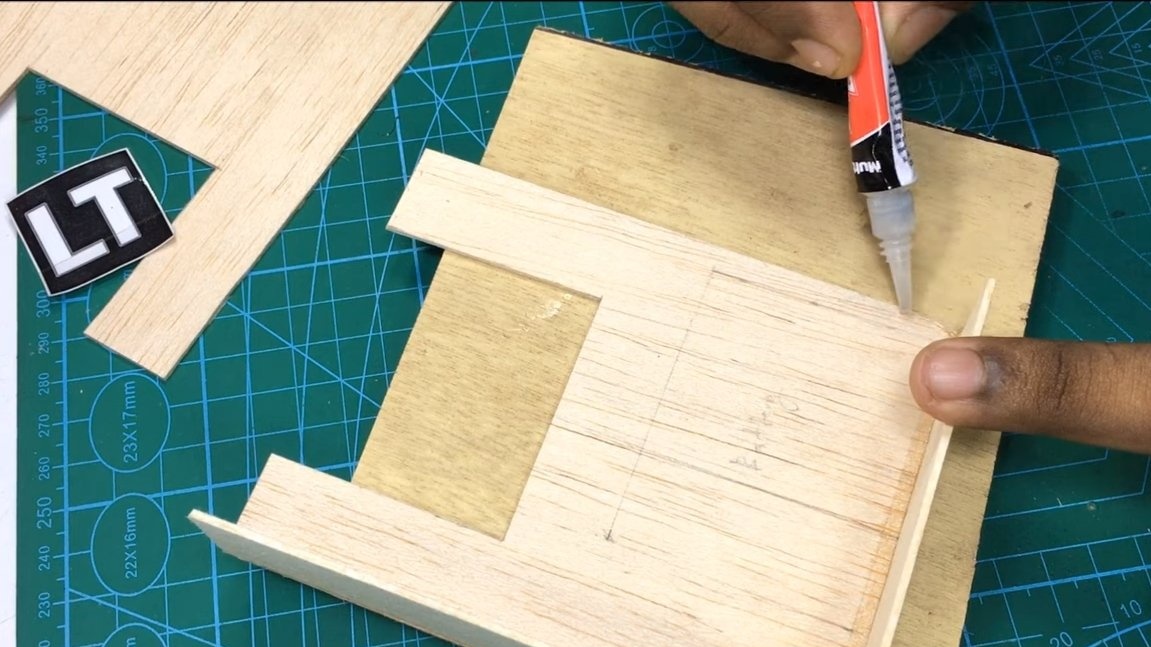
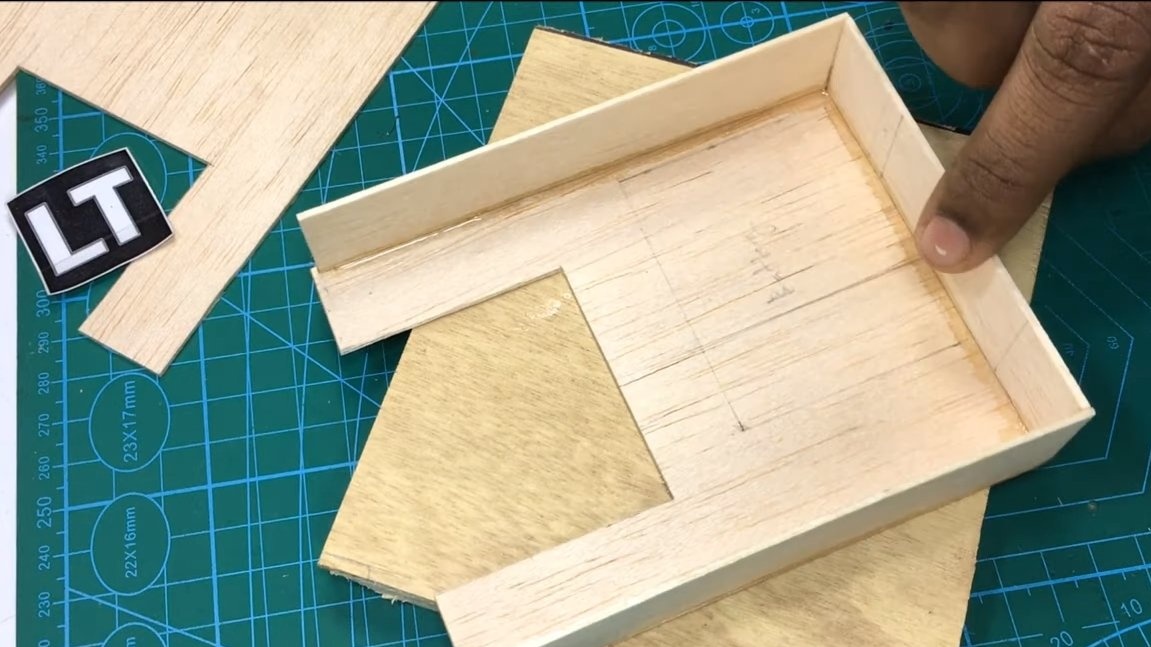
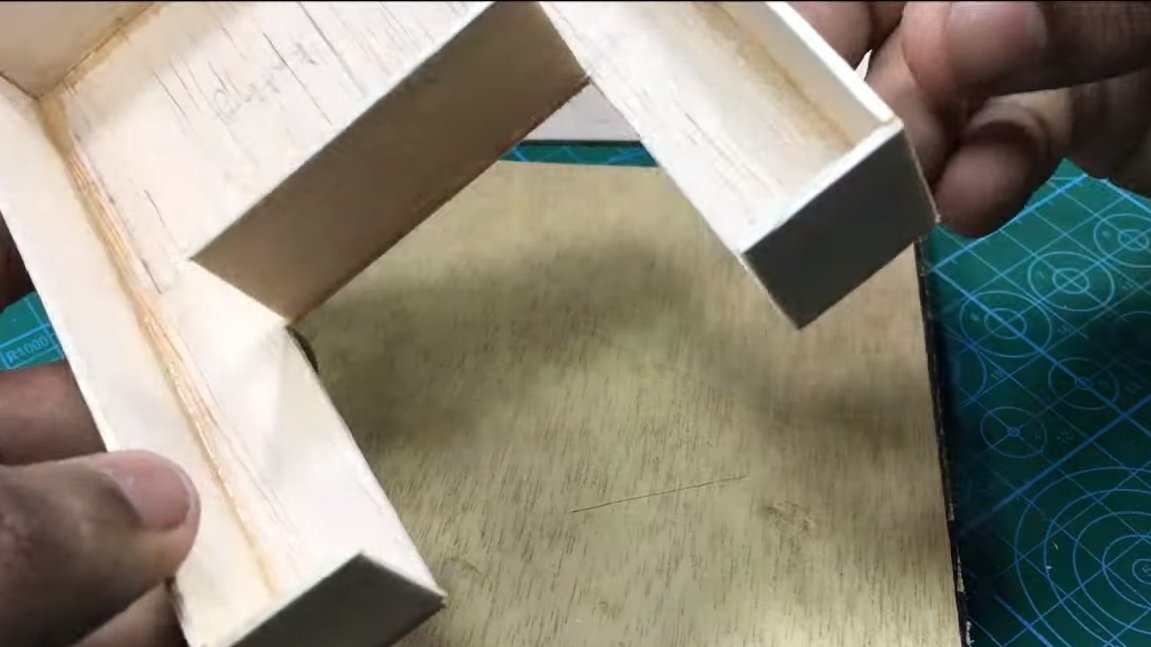
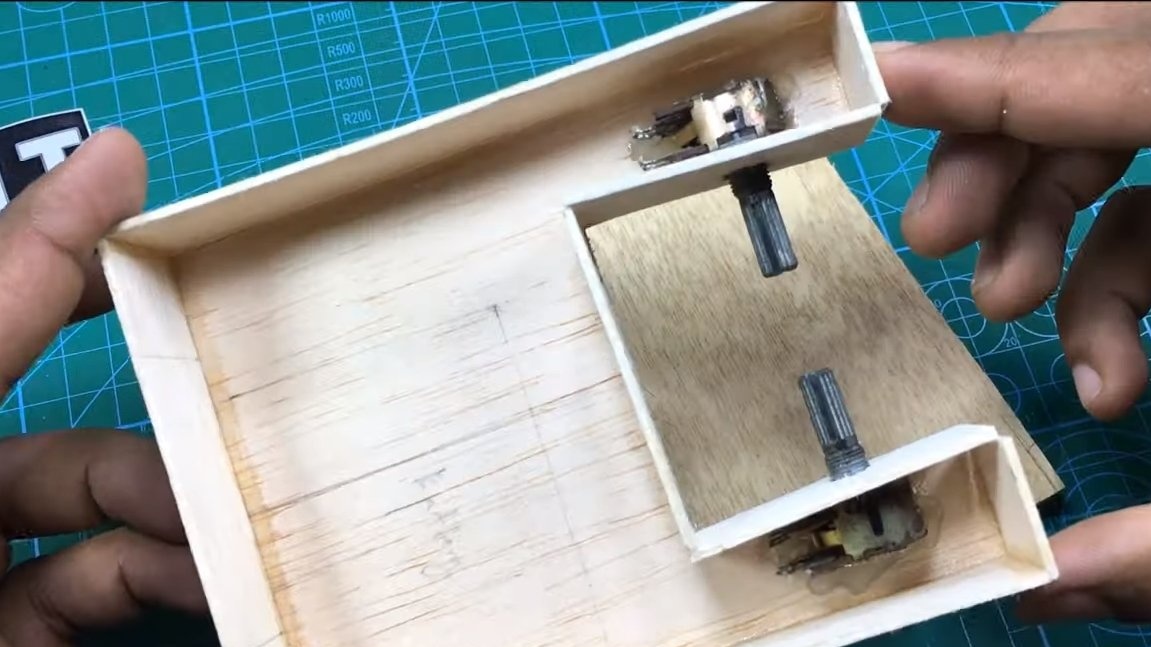
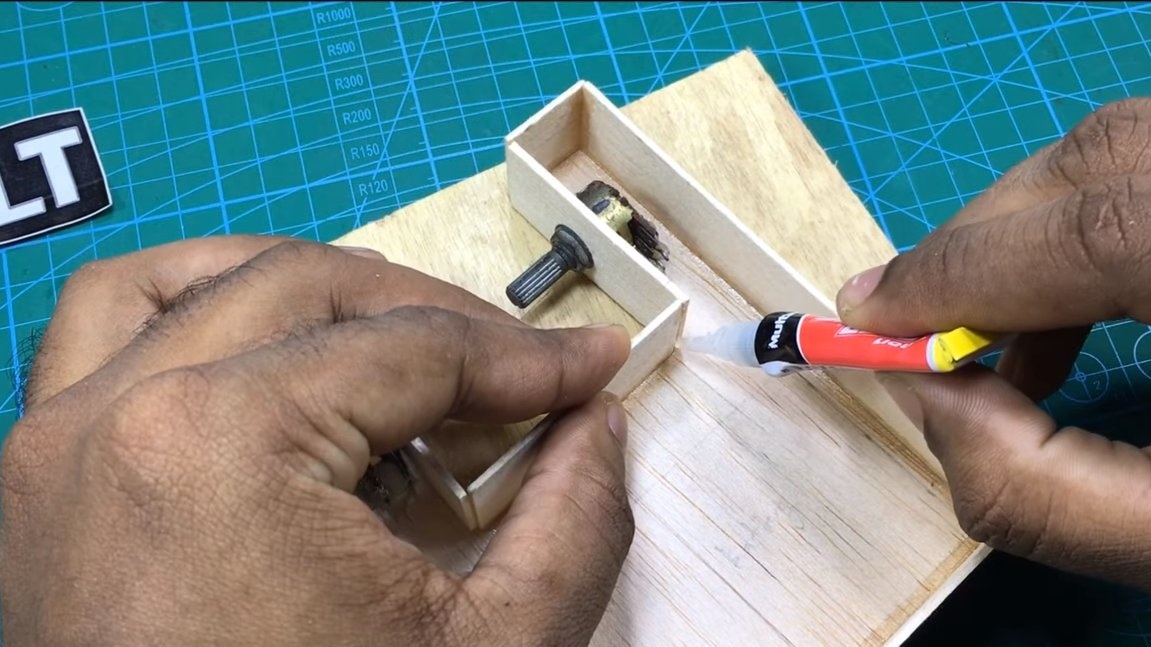
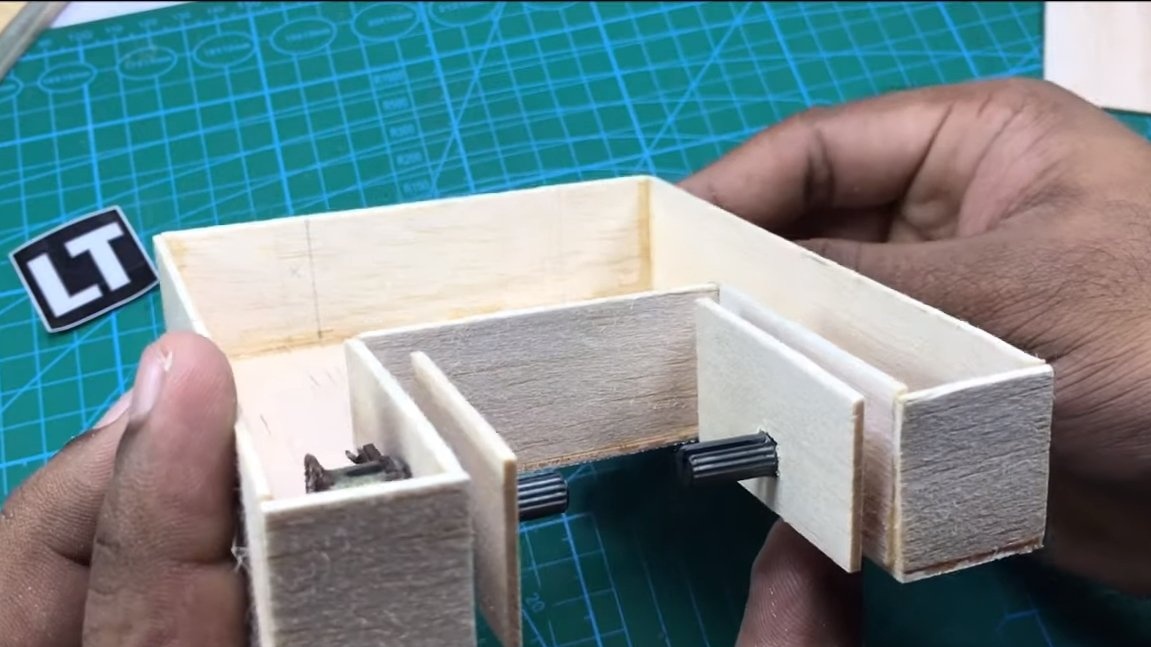
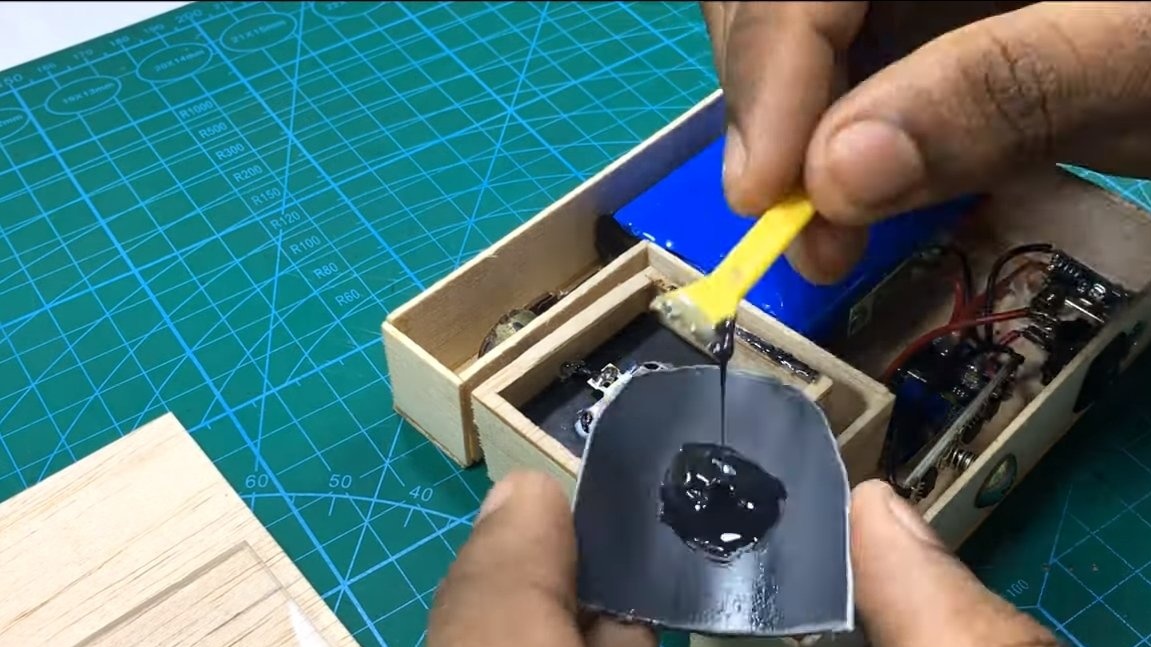
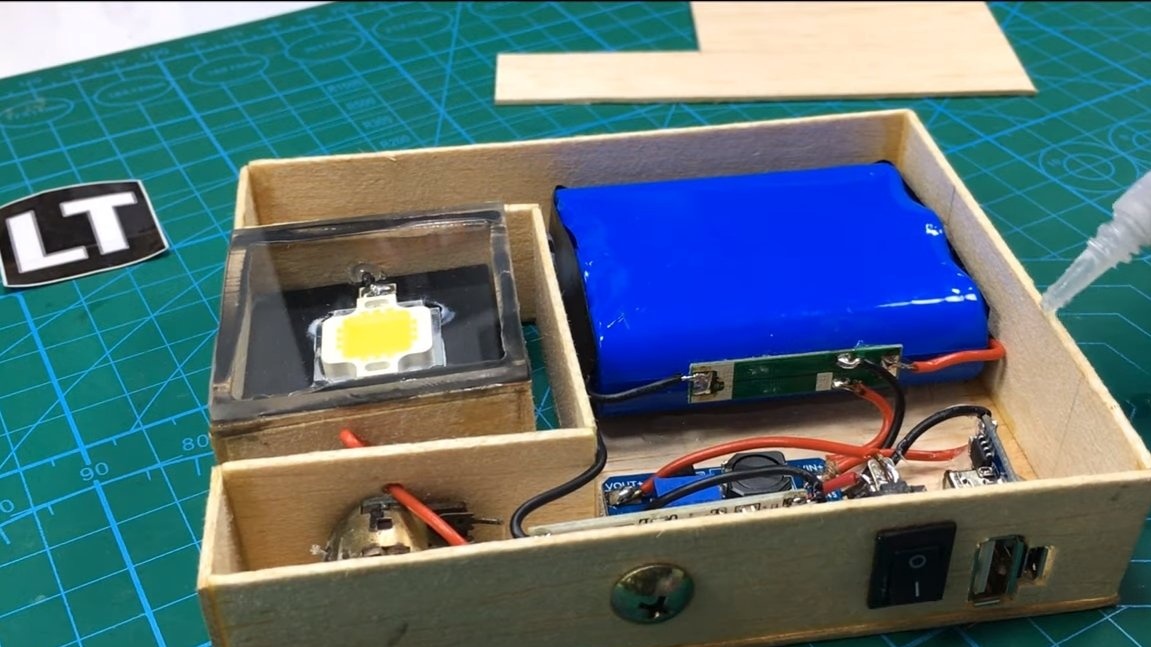
First of all, we assemble the case, everything can be done from veneer or fiberboard. Dimensions of parts can be seen in the photo. We glue everything on superglue, to harden the design, everything can be glued from the inside with hot glue.
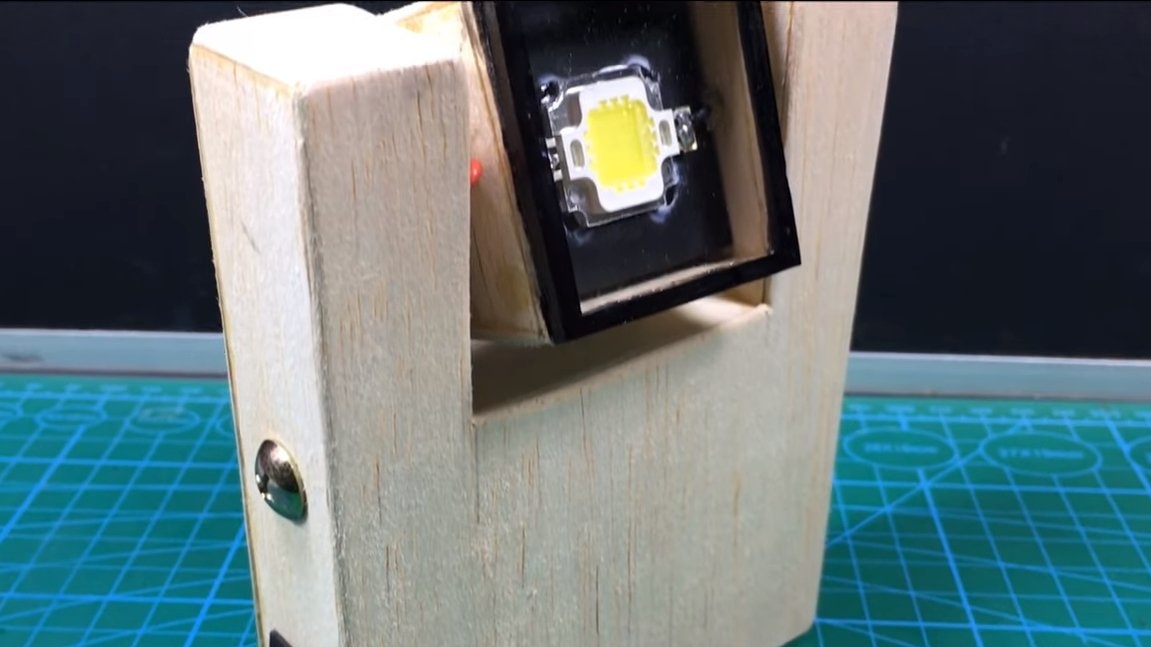
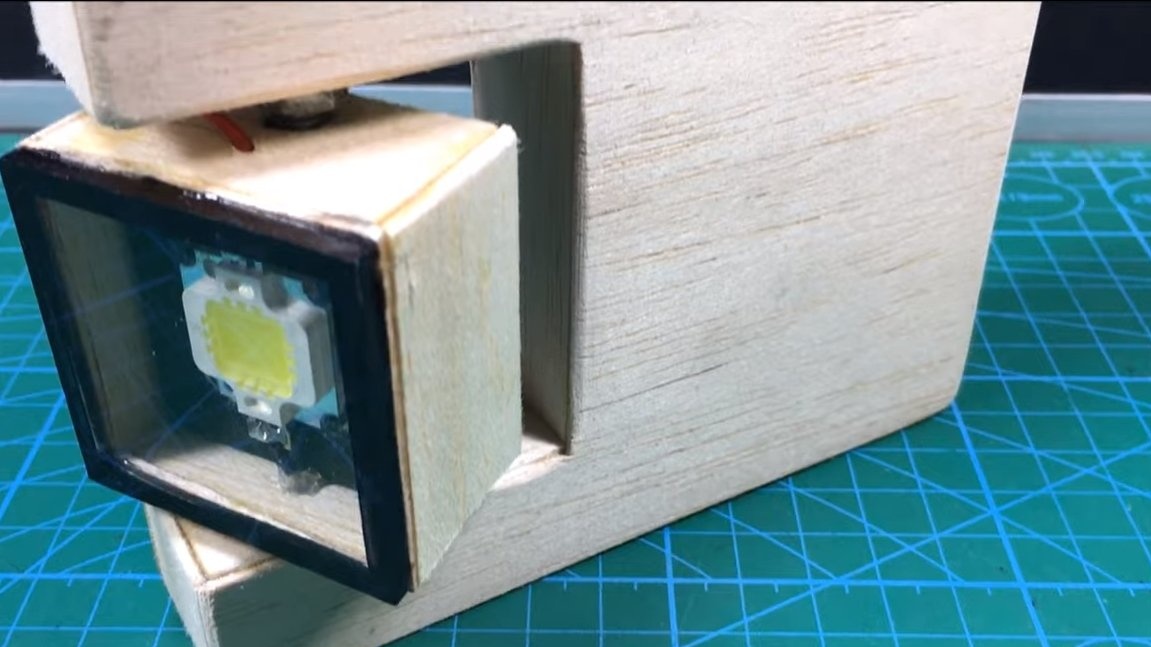
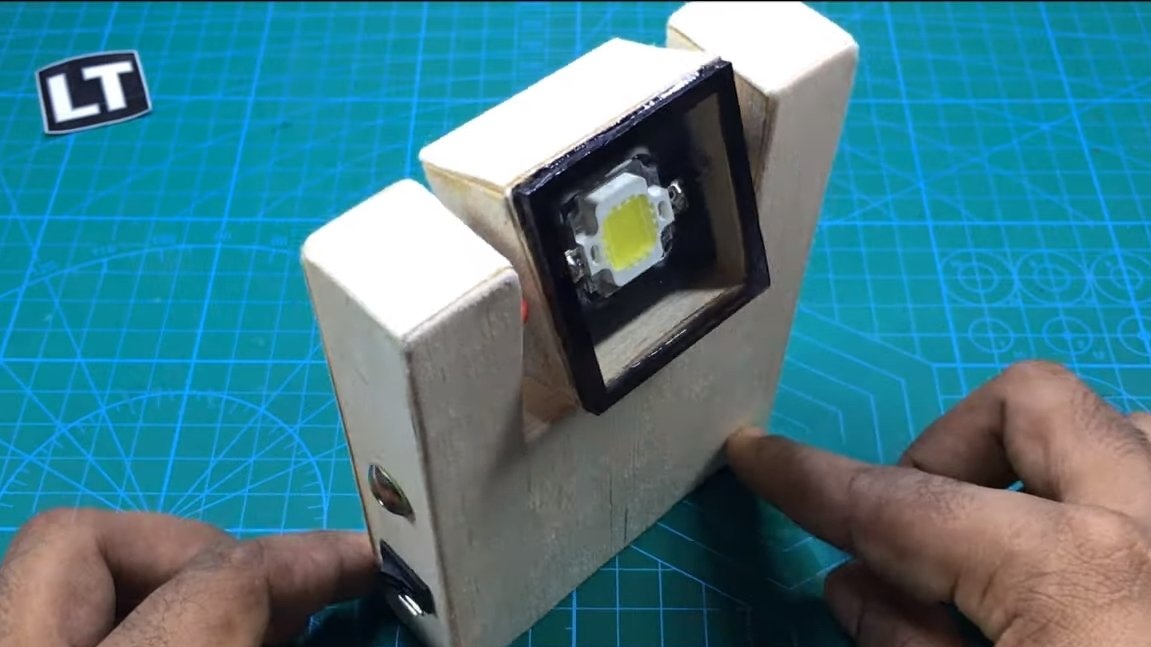
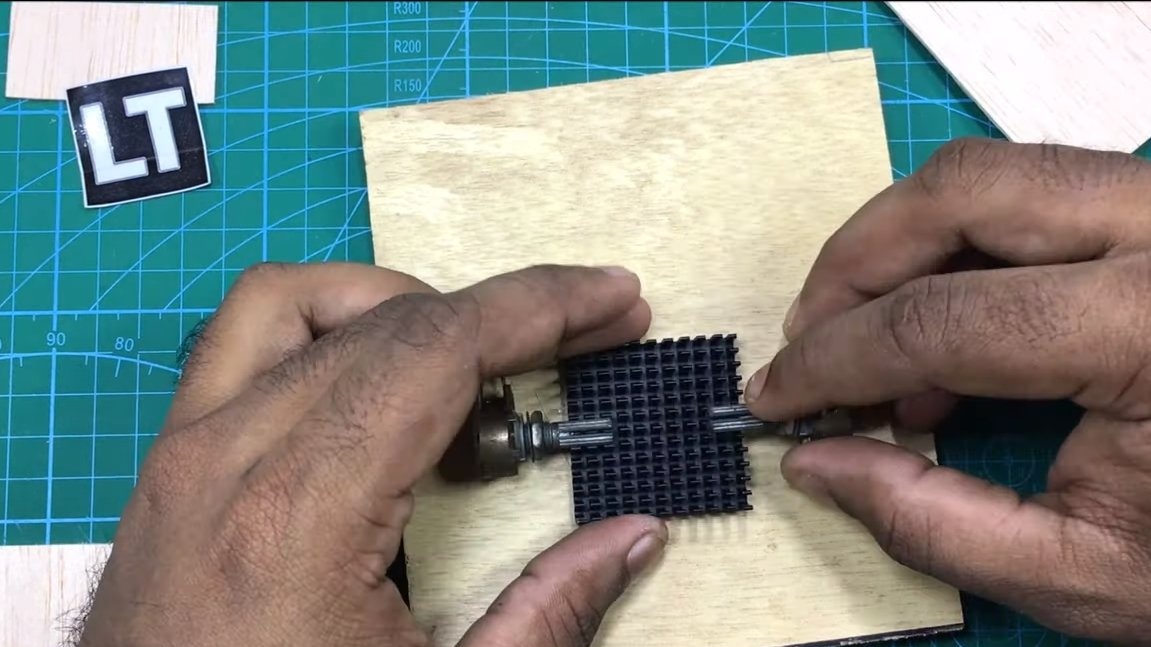
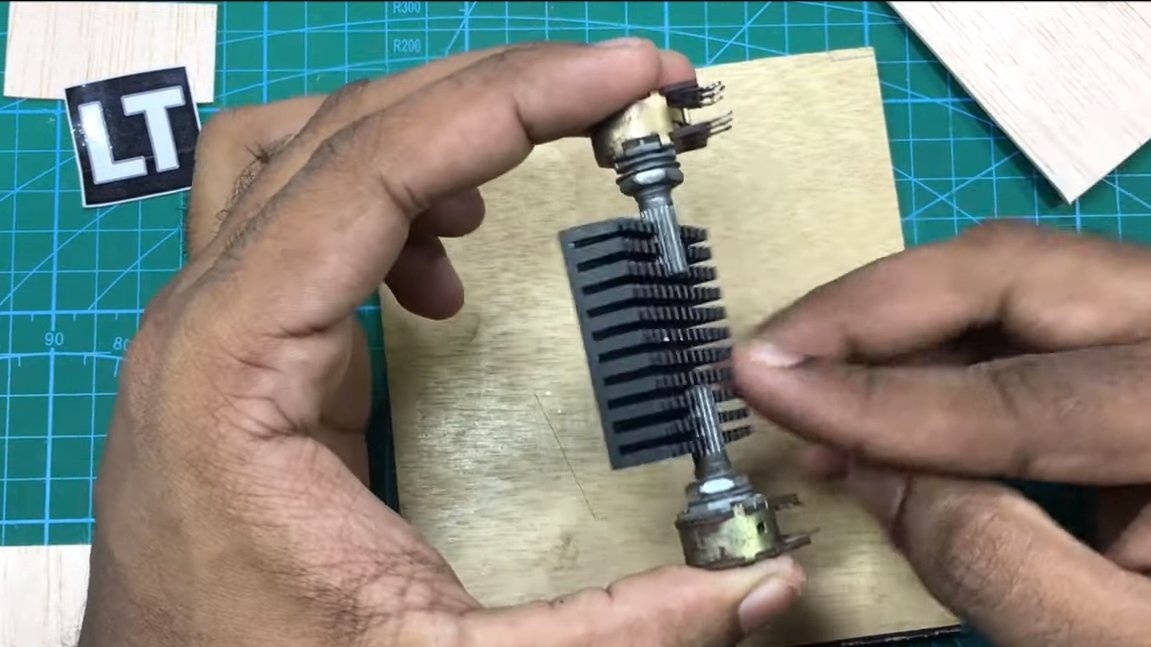
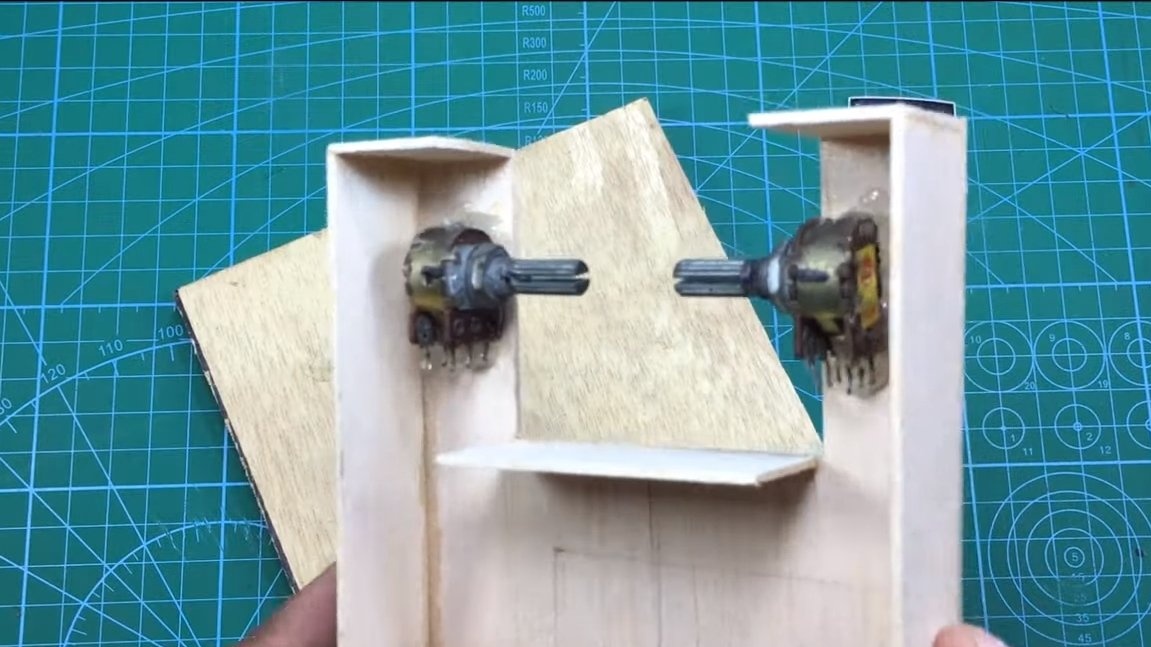
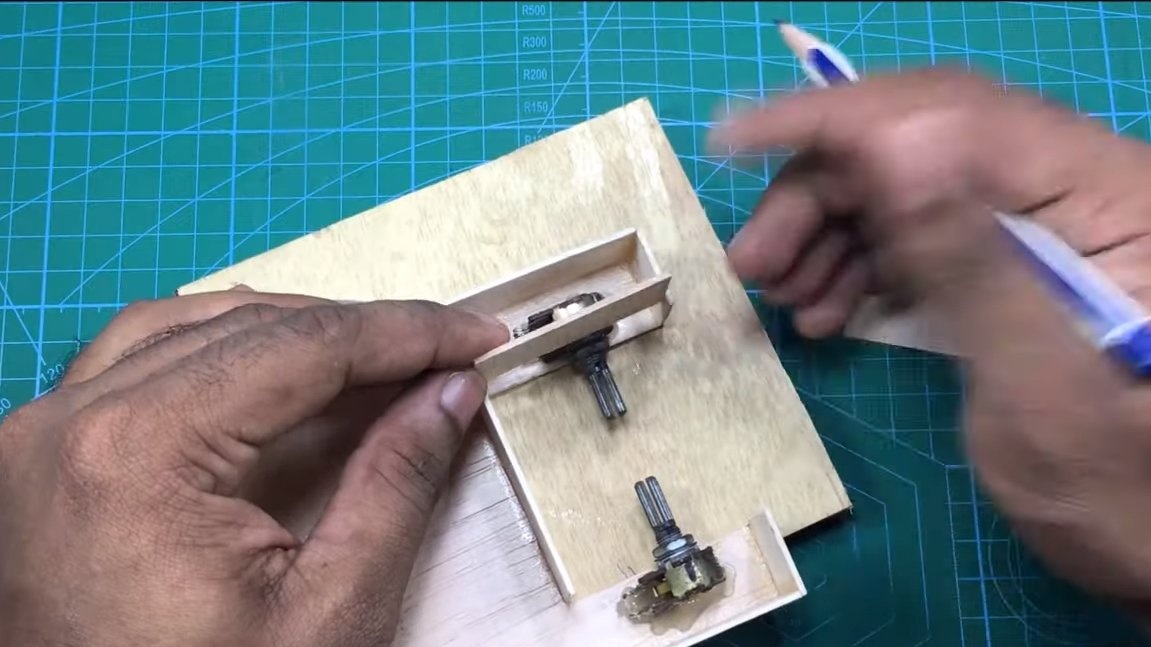
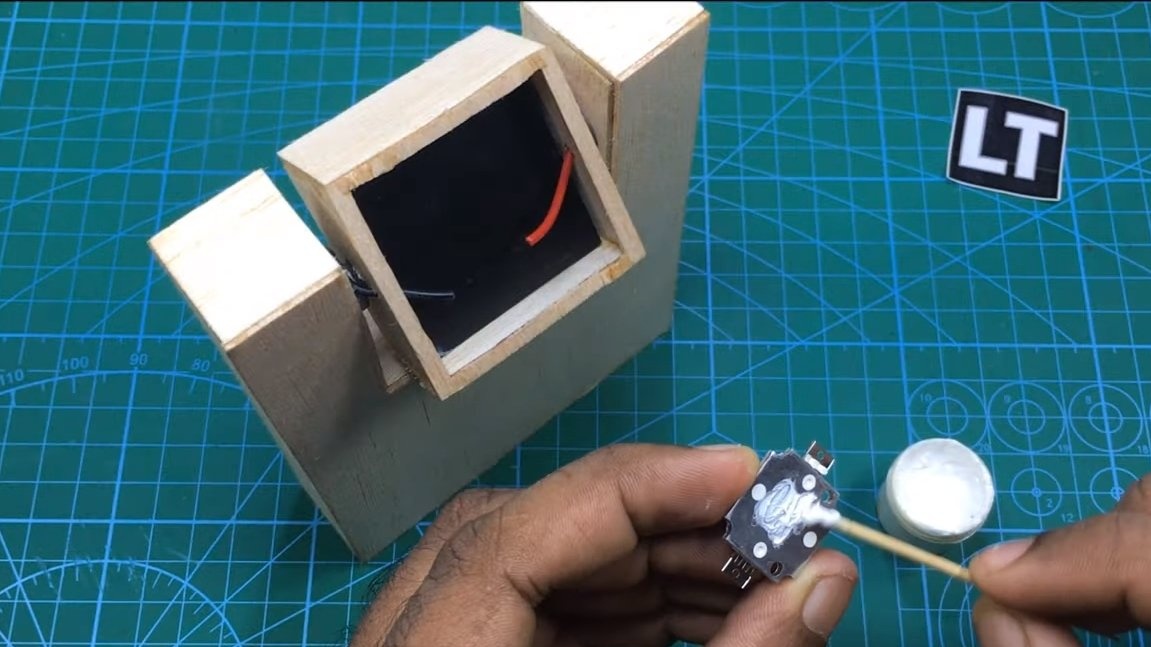
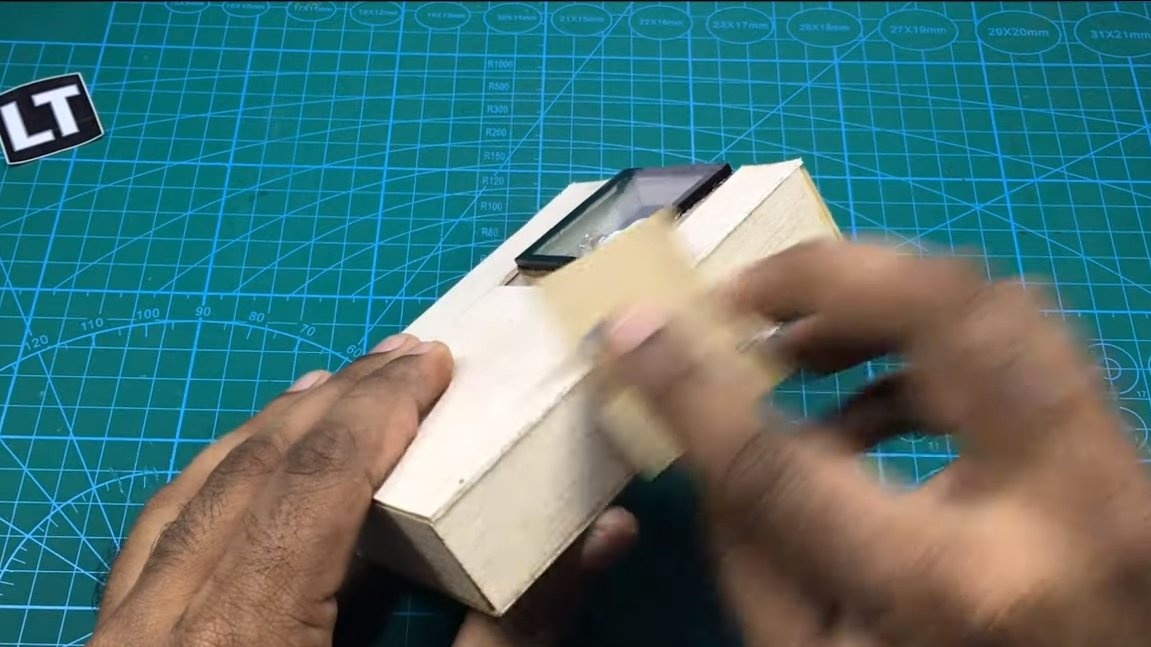
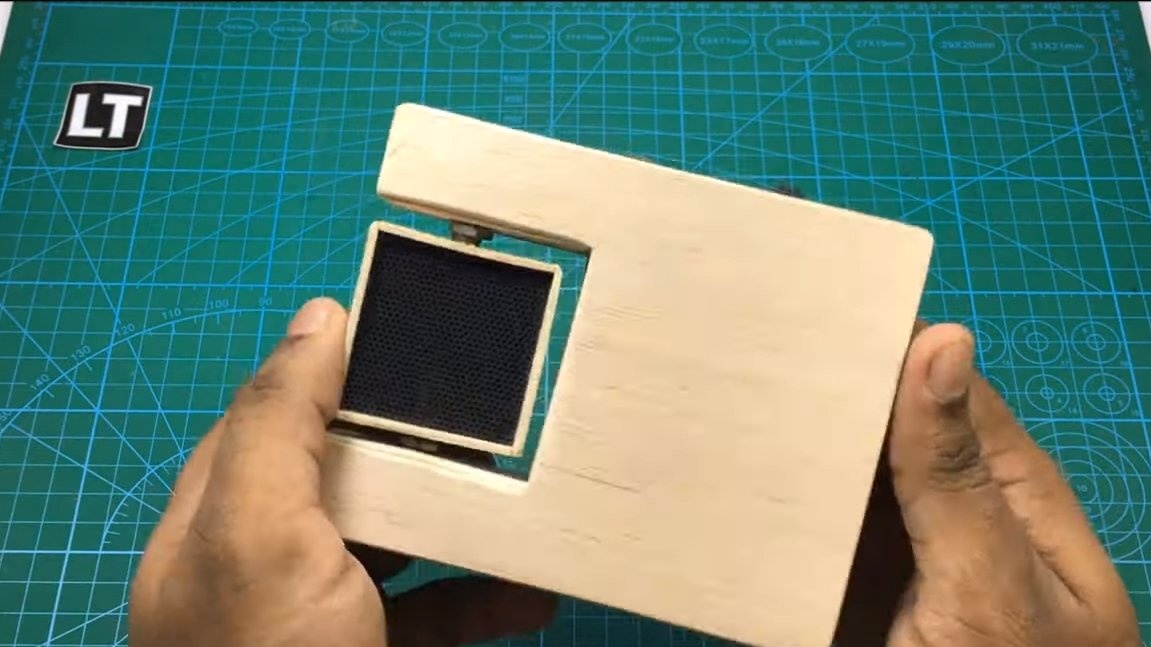
Next, install the radiator to which the LED will be attached. According to the author’s idea, the radiator should rotate, the author used variable resistors as axes, these can be obtained from old radio equipment, the nominal and working capacity do not matter. We attach a radiator to the ends of the resistor rods, for reliability it can be glued. Well, now it remains to glue the resistor cases to our wooden case.
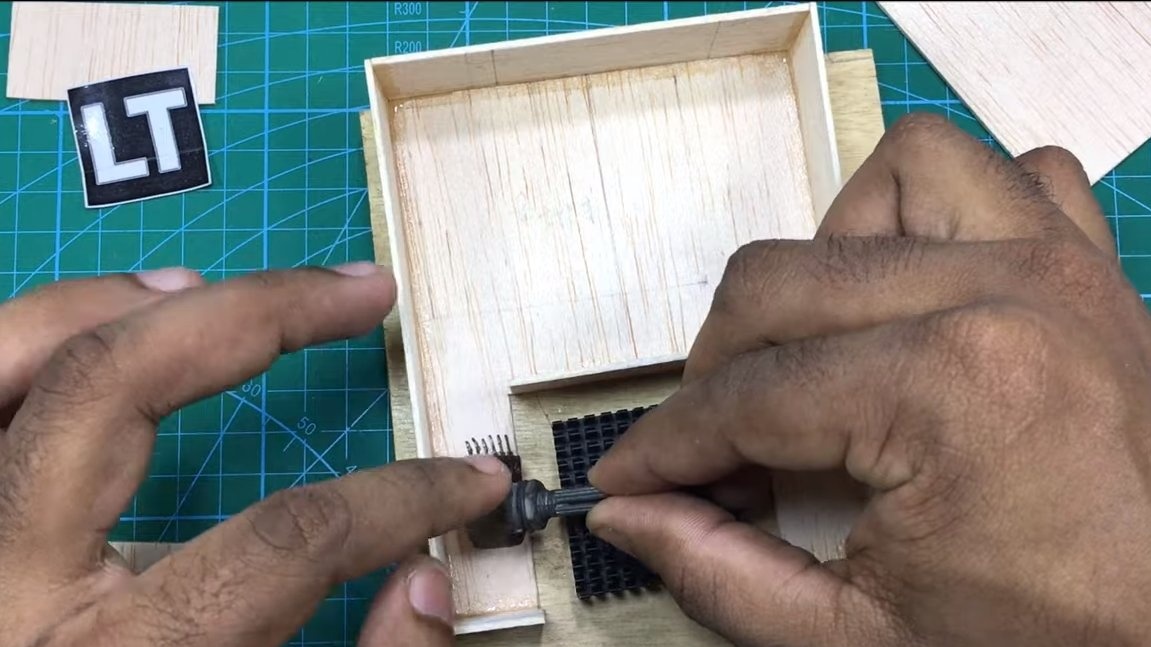
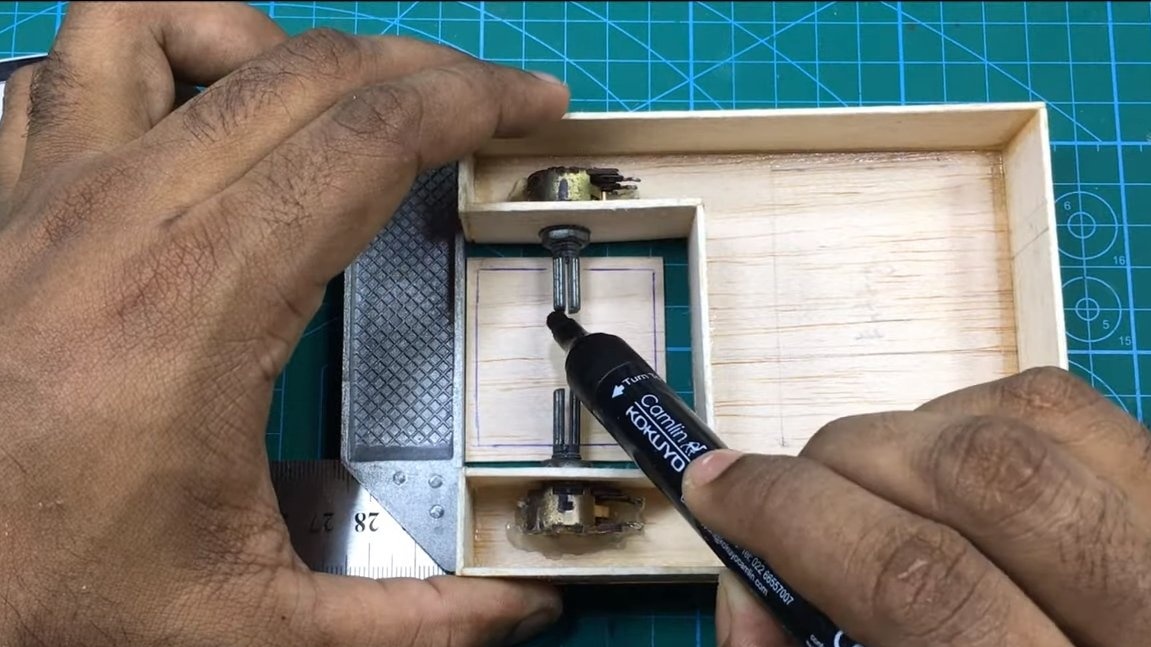
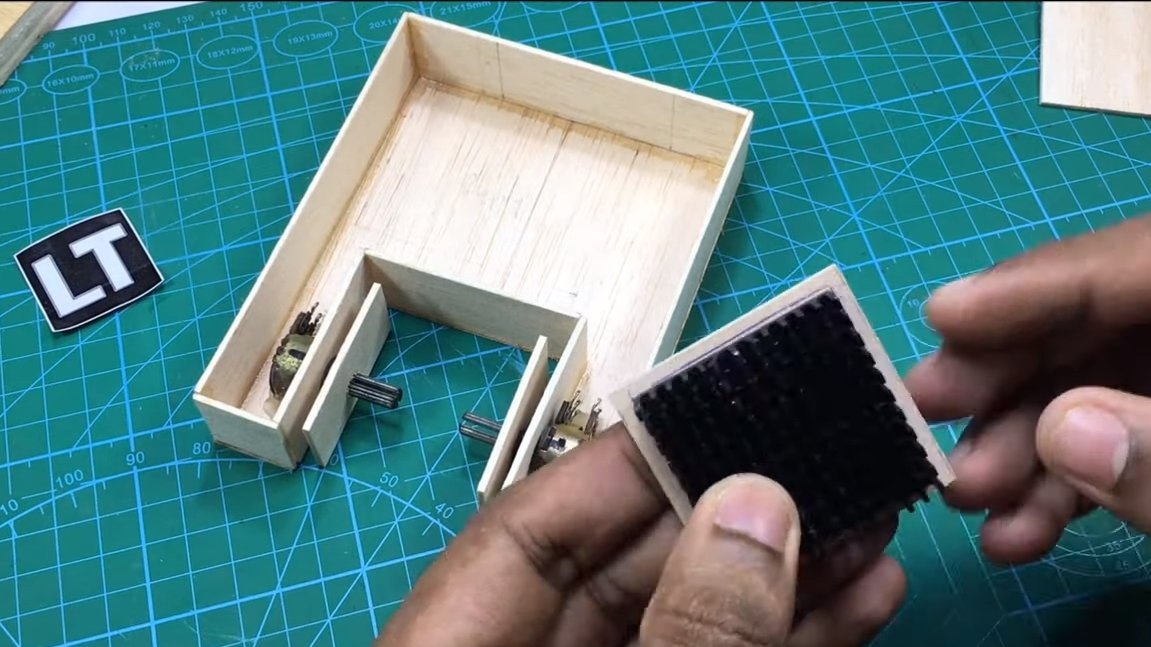
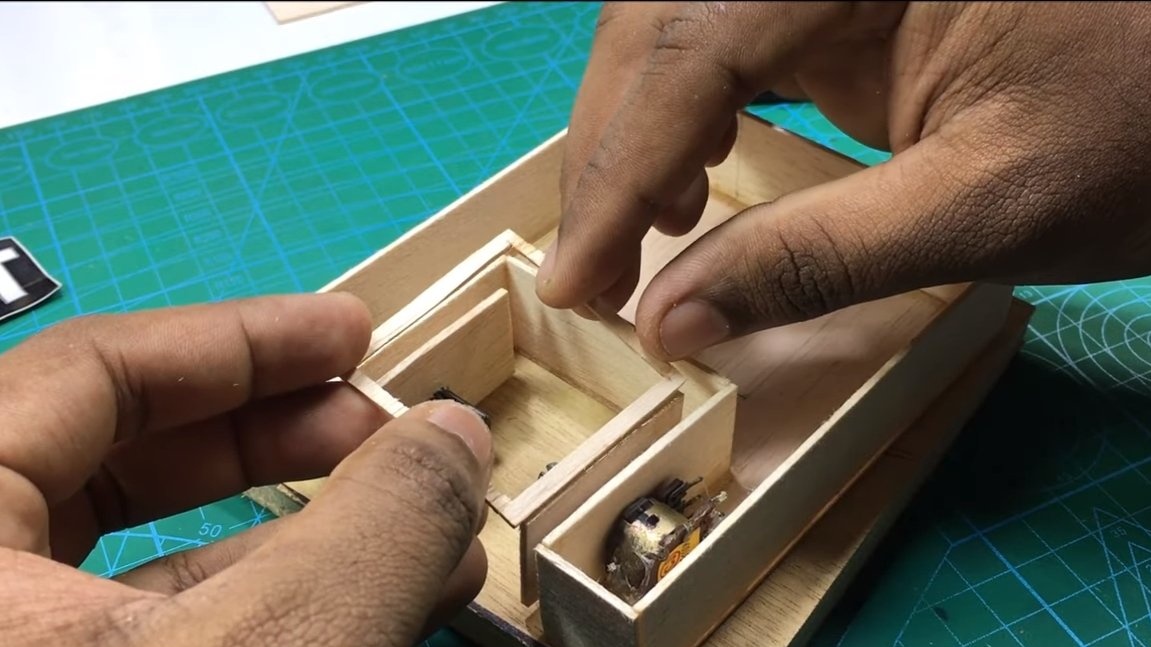
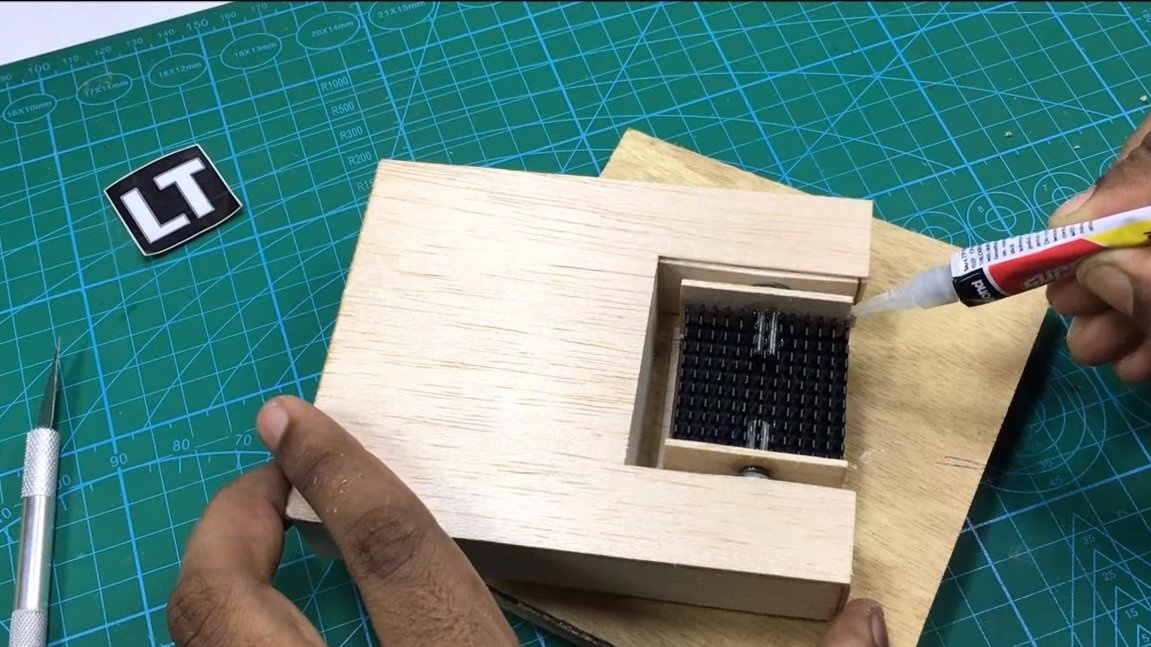
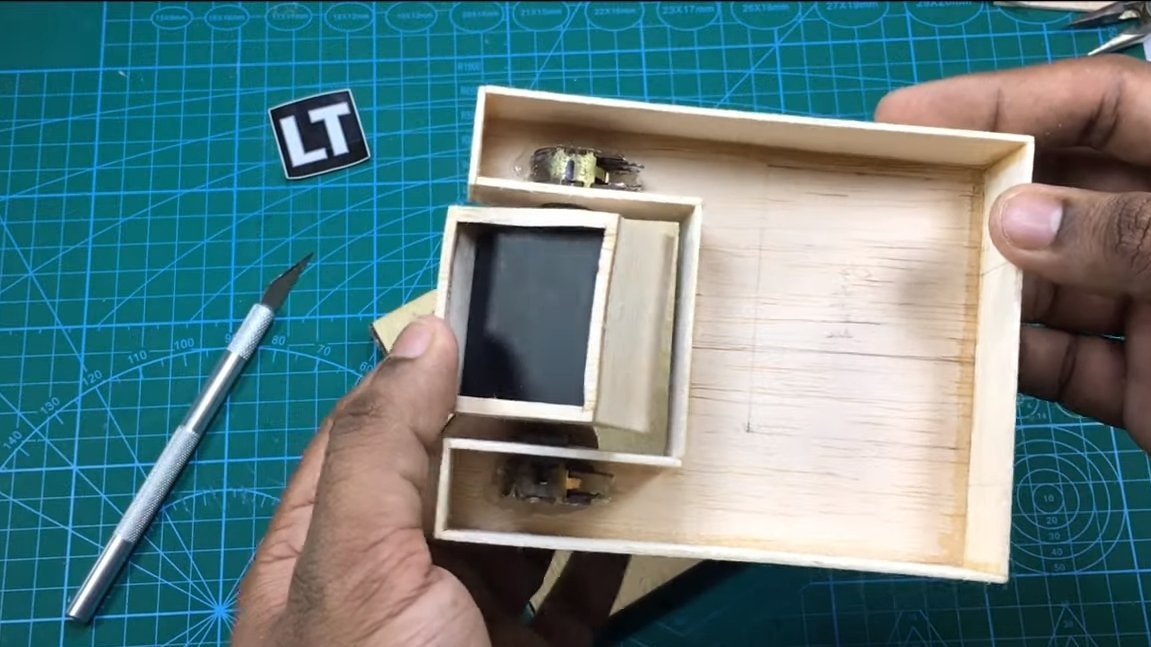
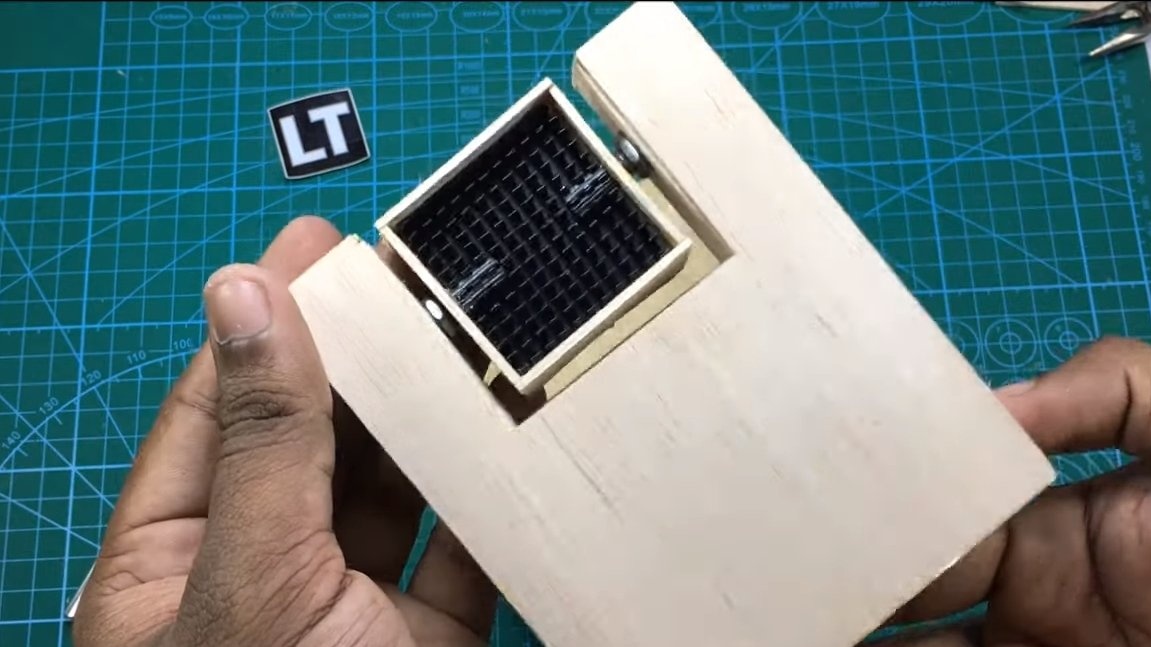
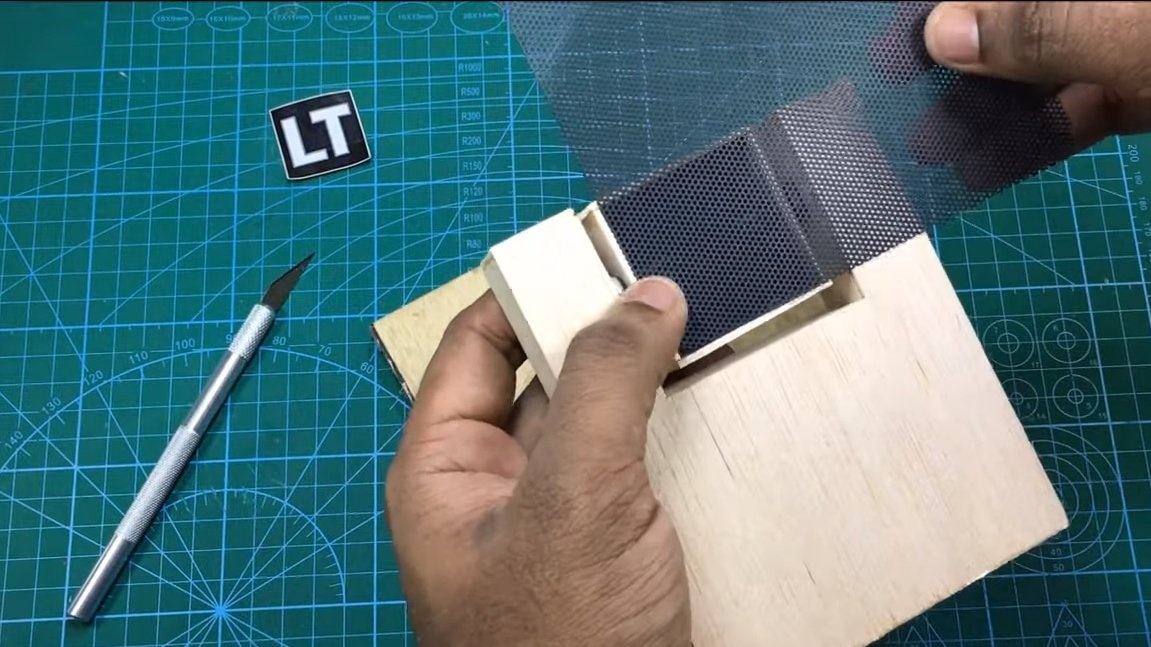
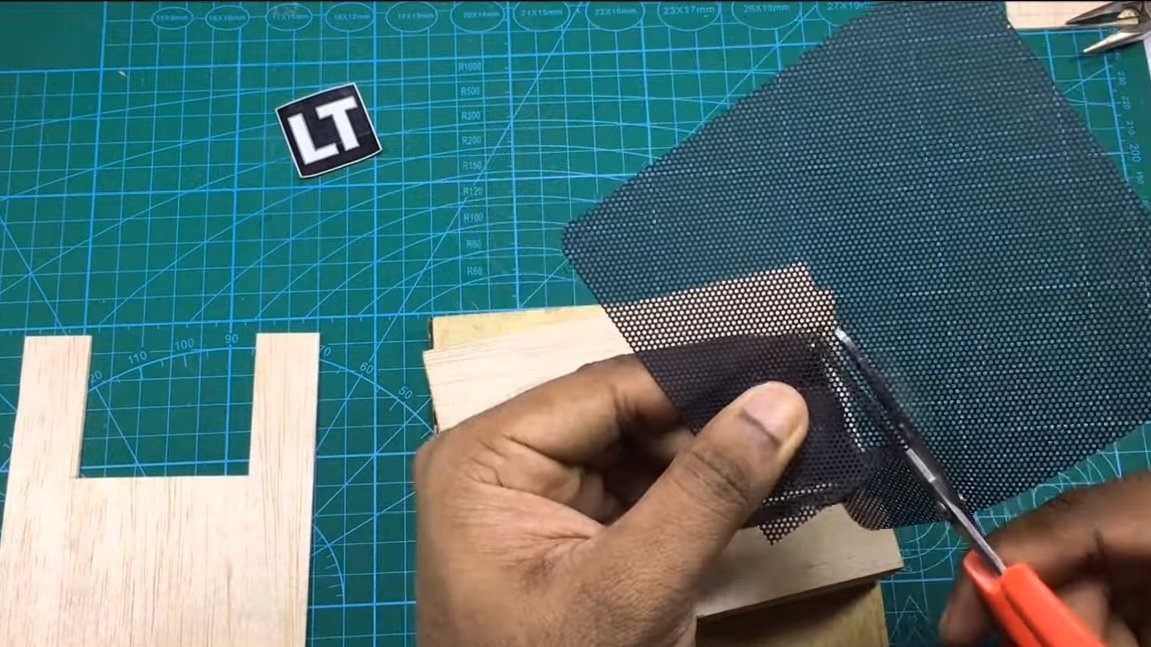
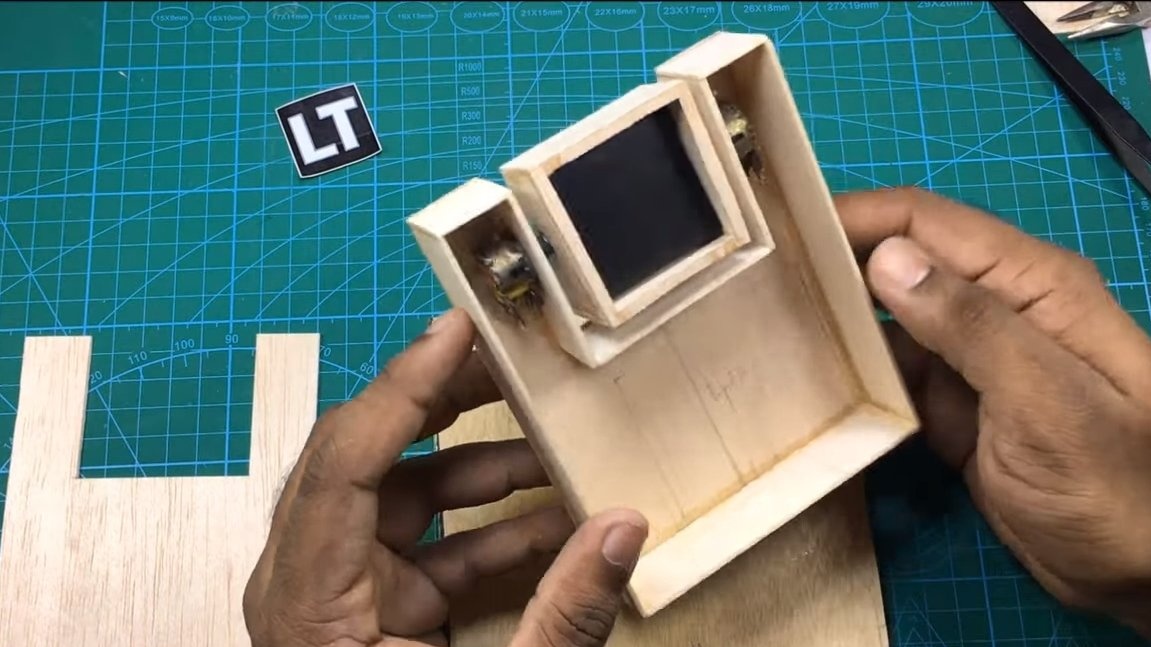
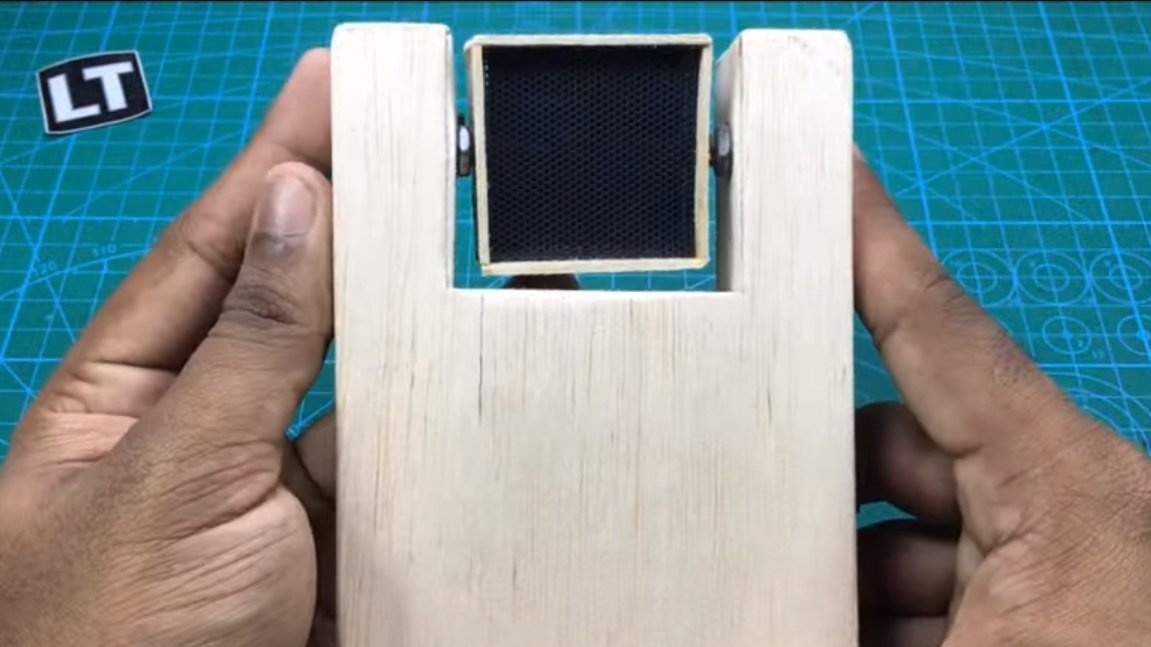
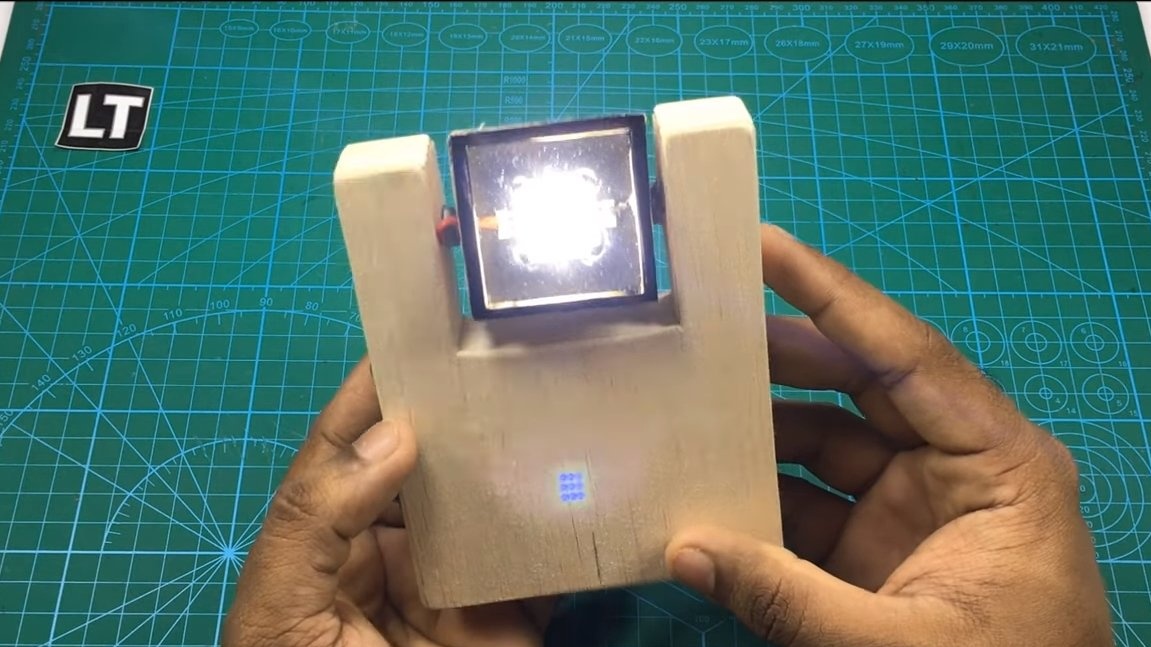
Above the radiator, the author also assembled a wooden case made of veneer, just glue the radiator over it. On the back side we install a decorative mesh over the radiator through which air can circulate. Well, on the front side, the author further install the glass.
Step Two Filling
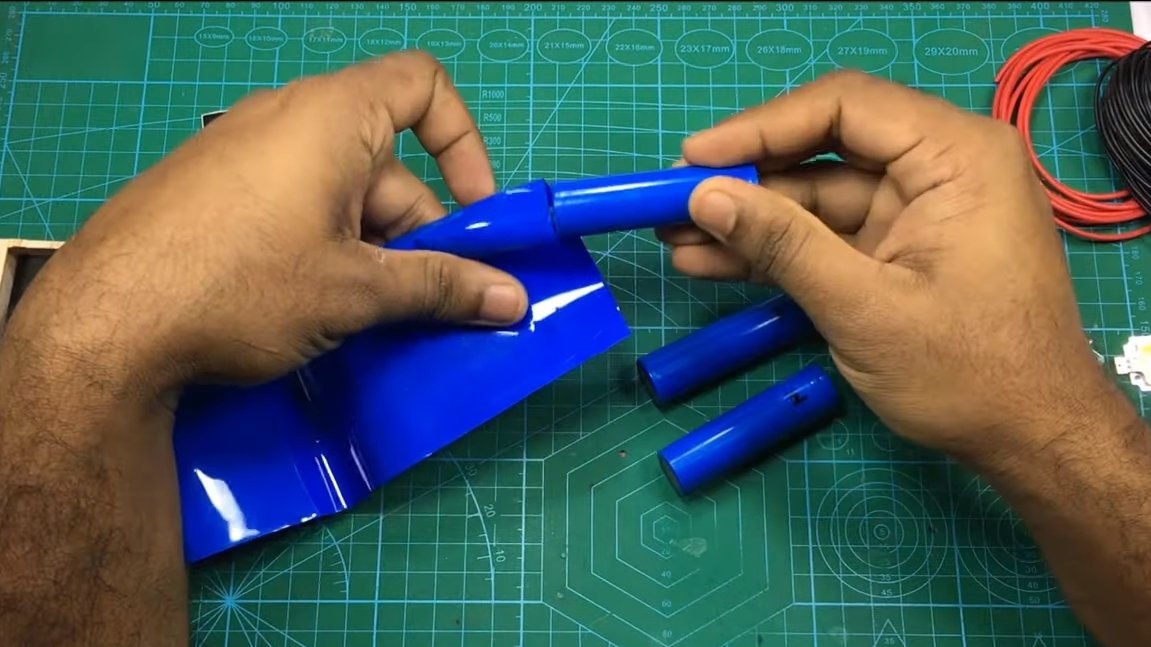
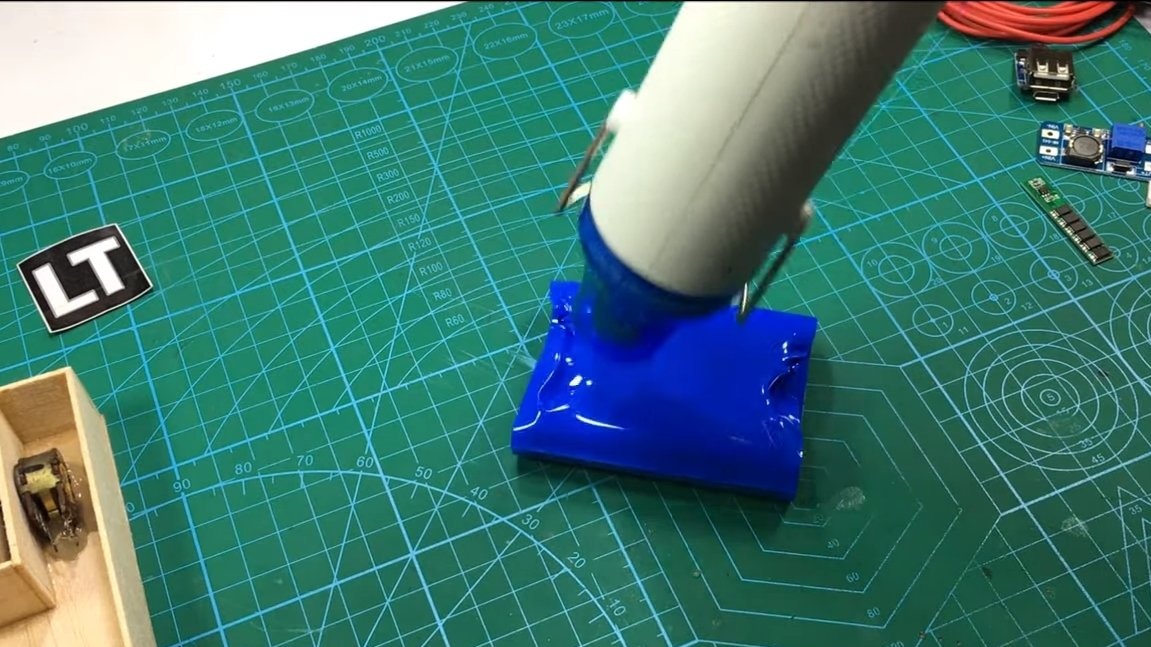
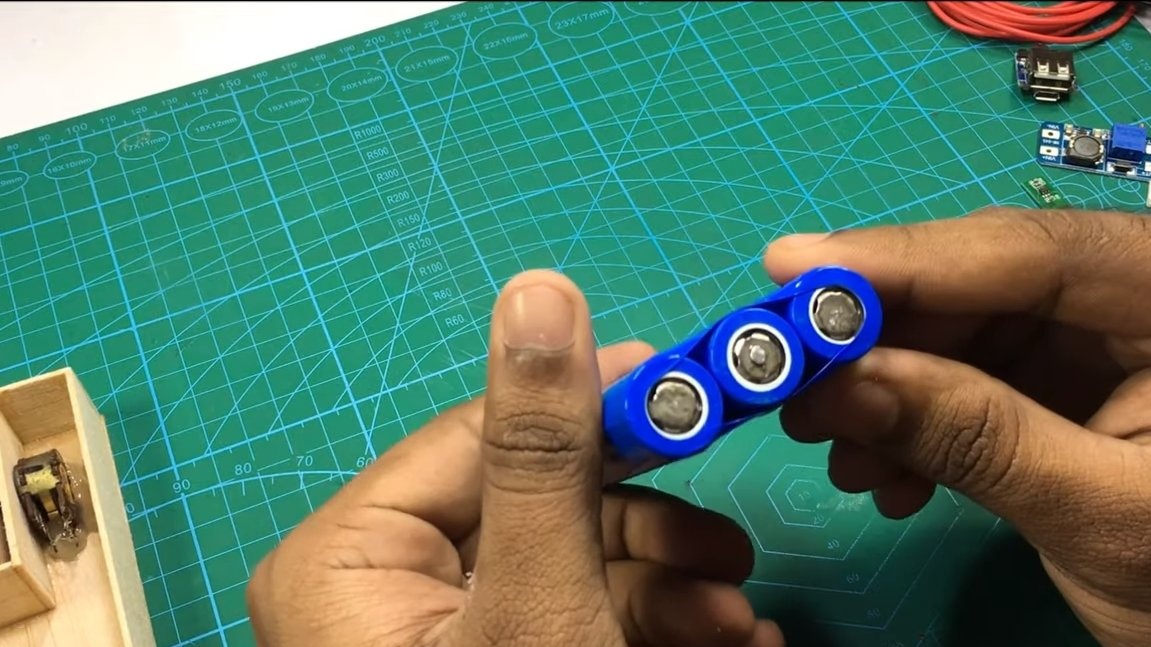
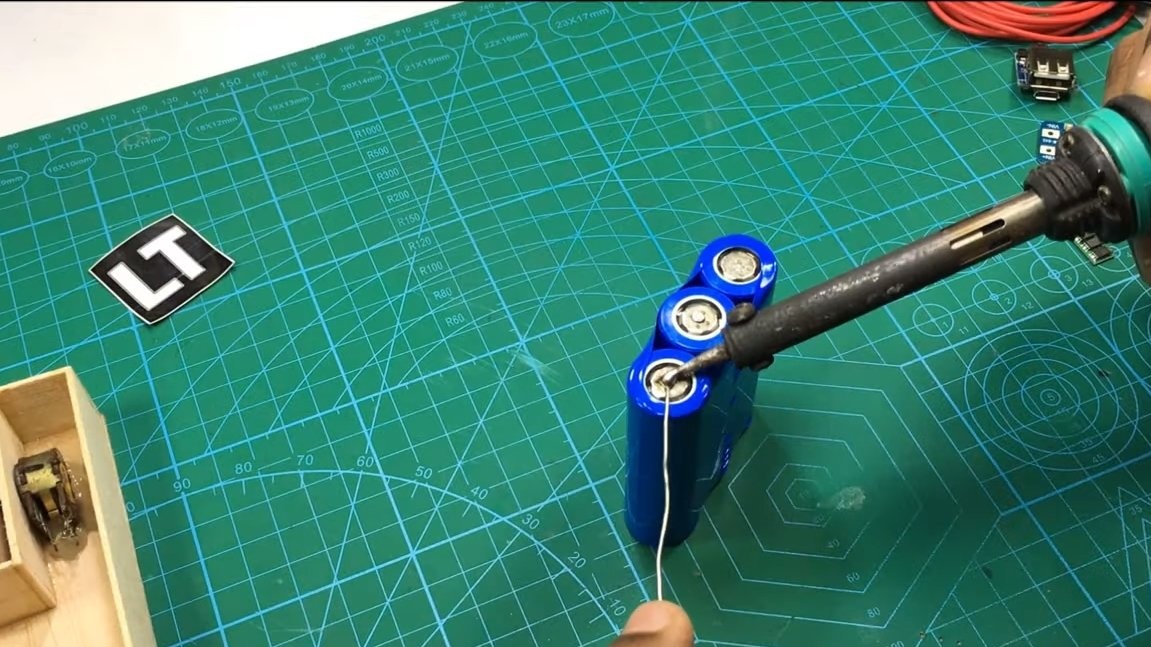
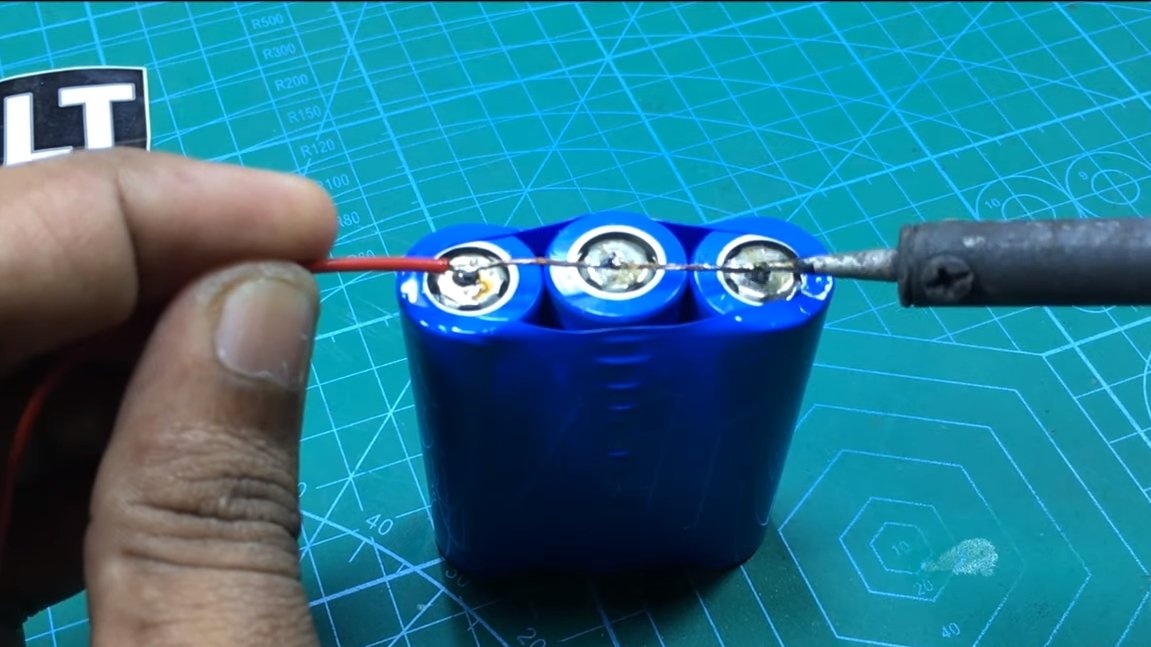
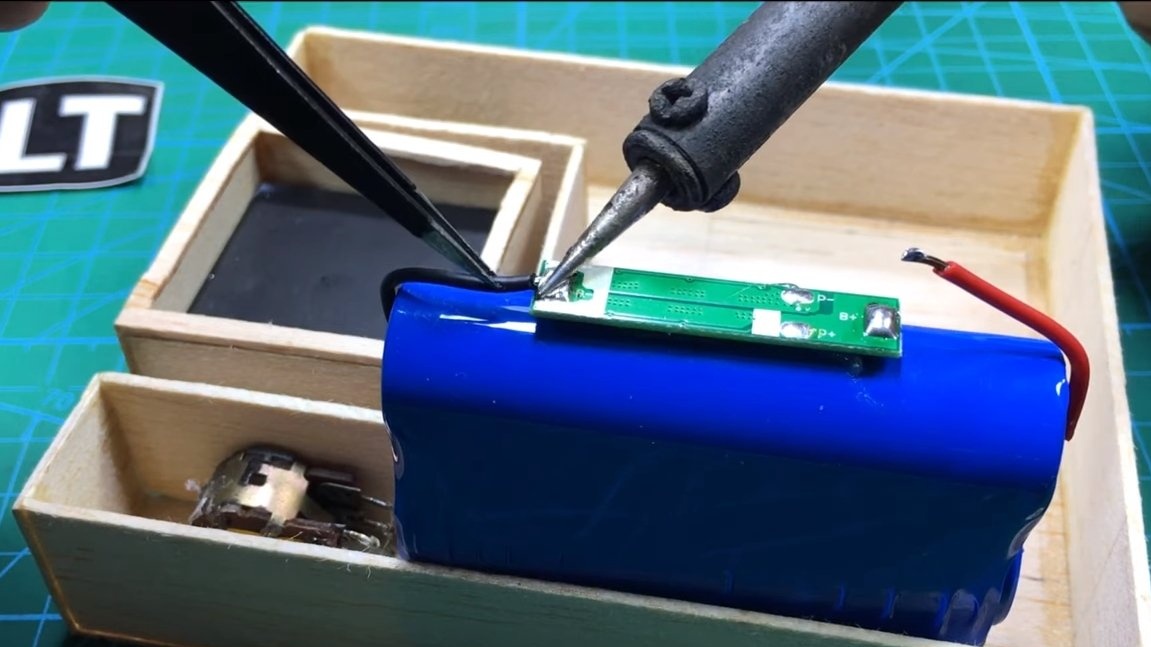
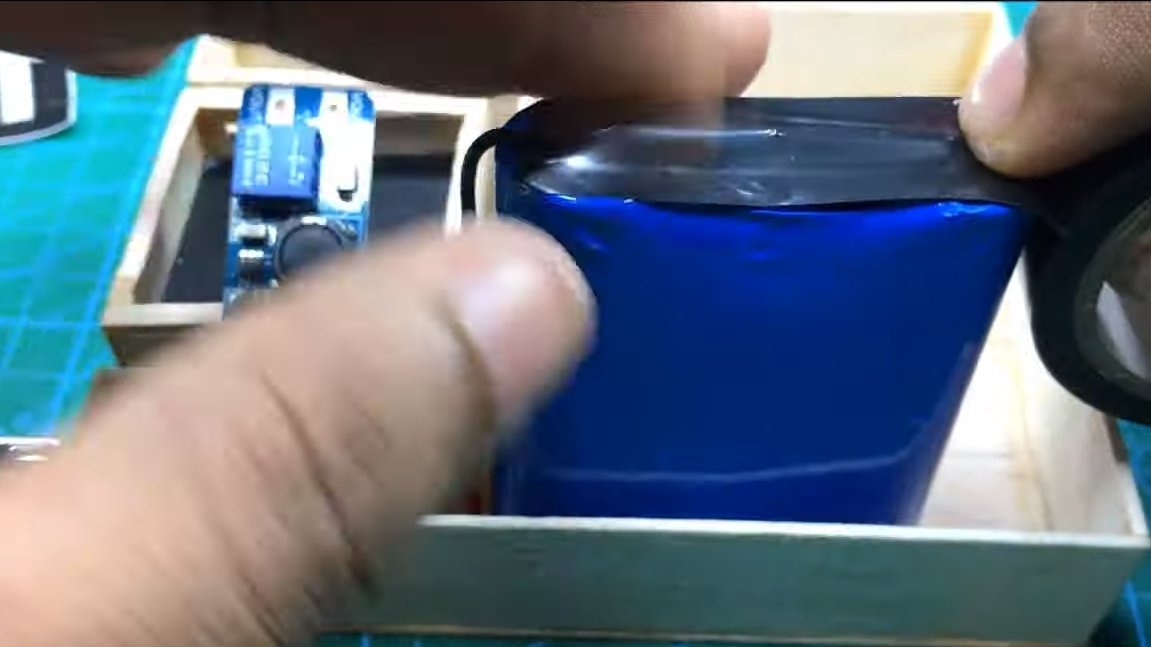
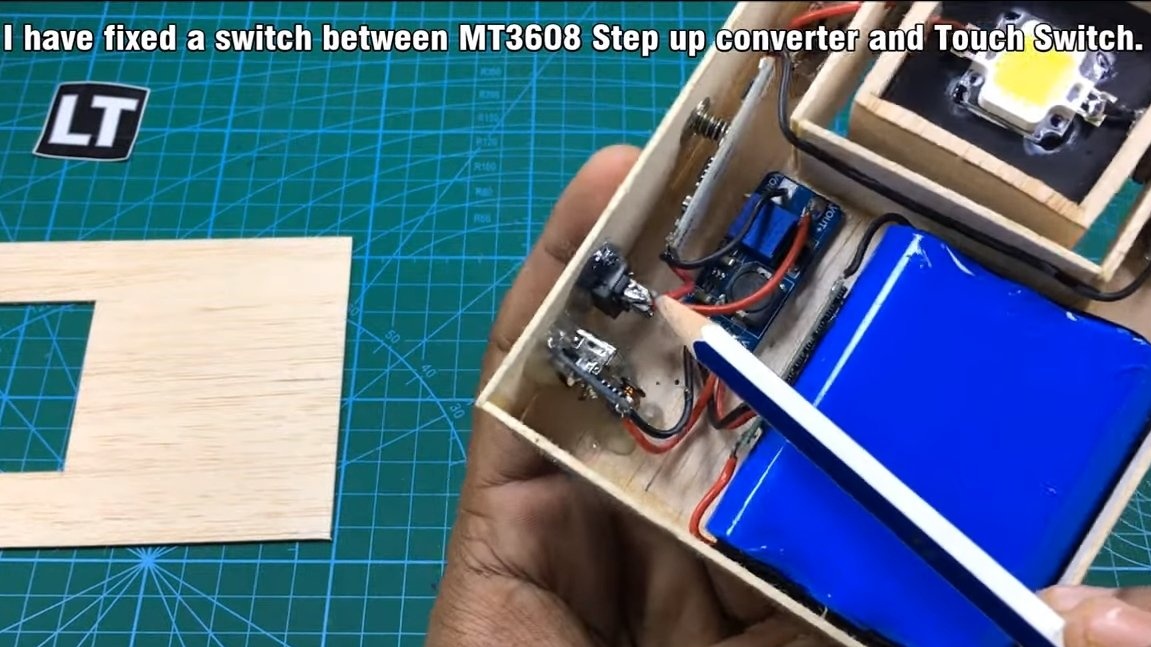
Next, inside the case we install all the necessary stuffing. We need a heat shrink tube, pack our three 18650 cells into it, and solder the wires and glue the battery to the base with hot glue.
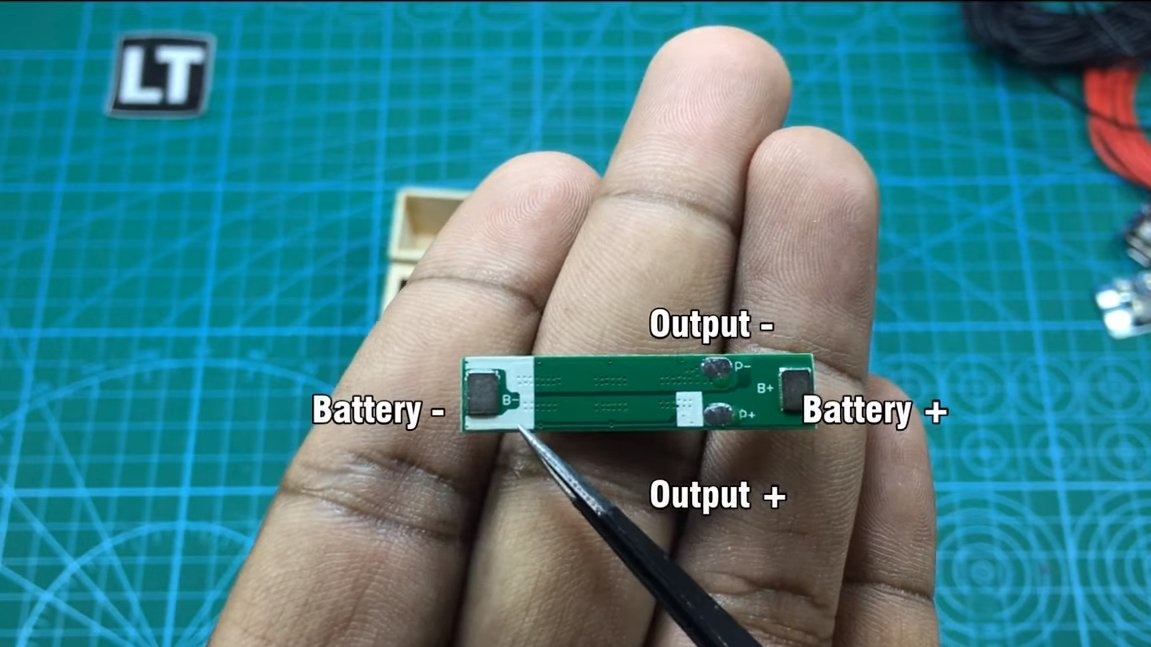
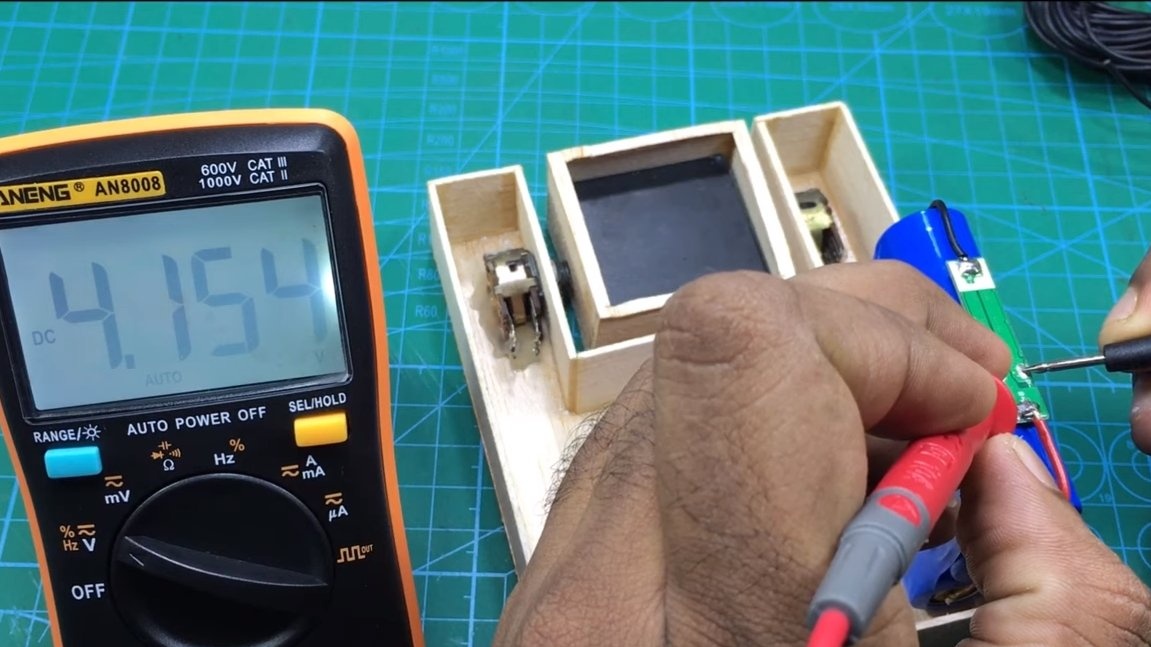
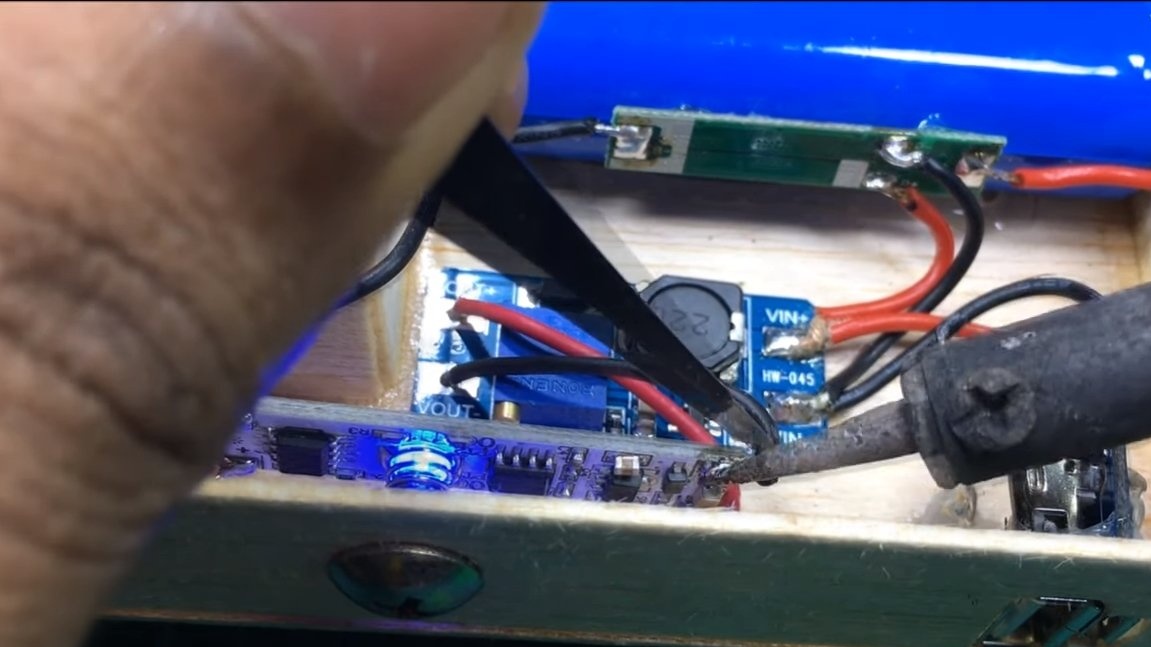
Next, we follow the connection diagram, be sure to put a BMS-controller, which will monitor the battery charge. For 18650 batteries, both recharging and deep discharge are unacceptable, in which case they quickly collapse and their capacity decreases.
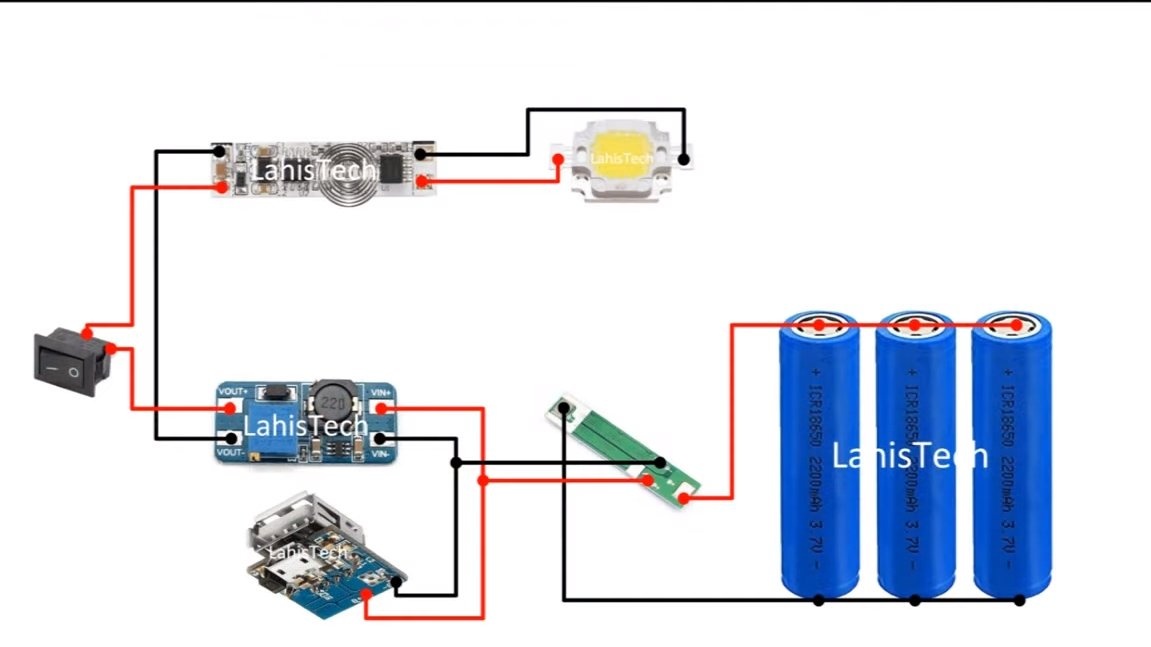
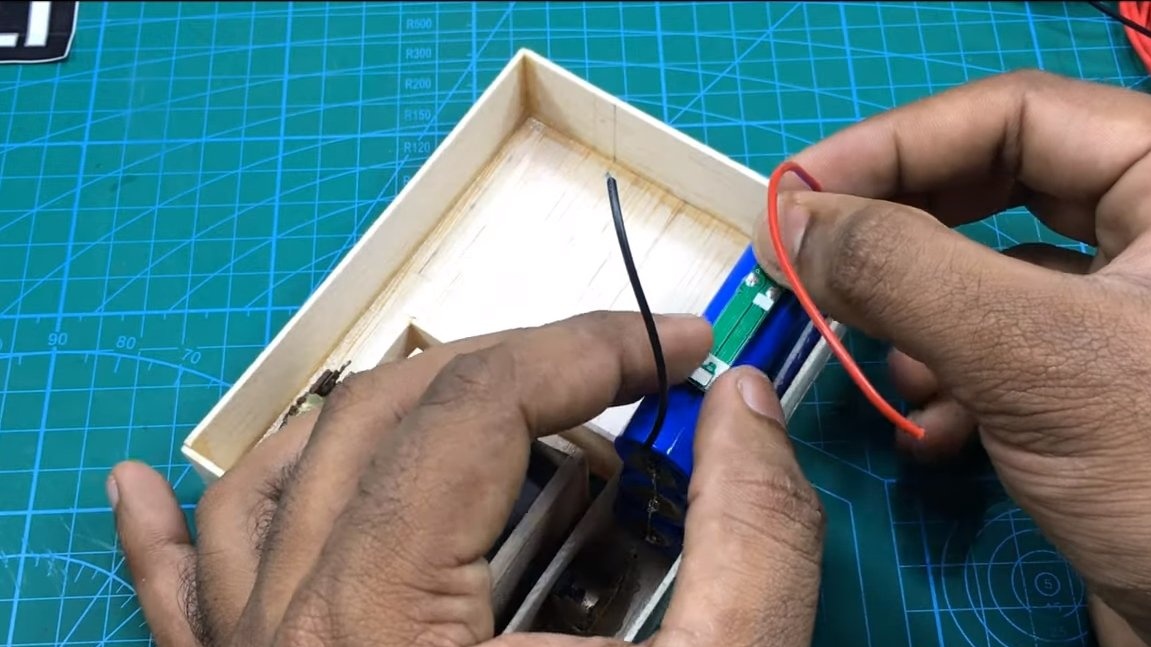
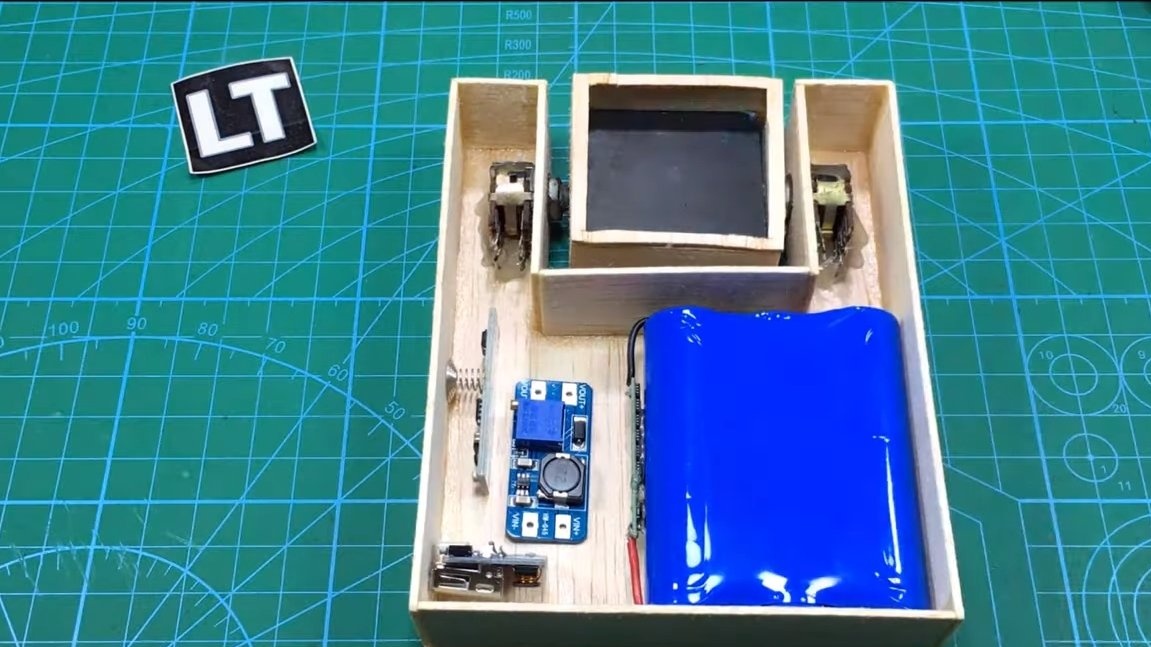
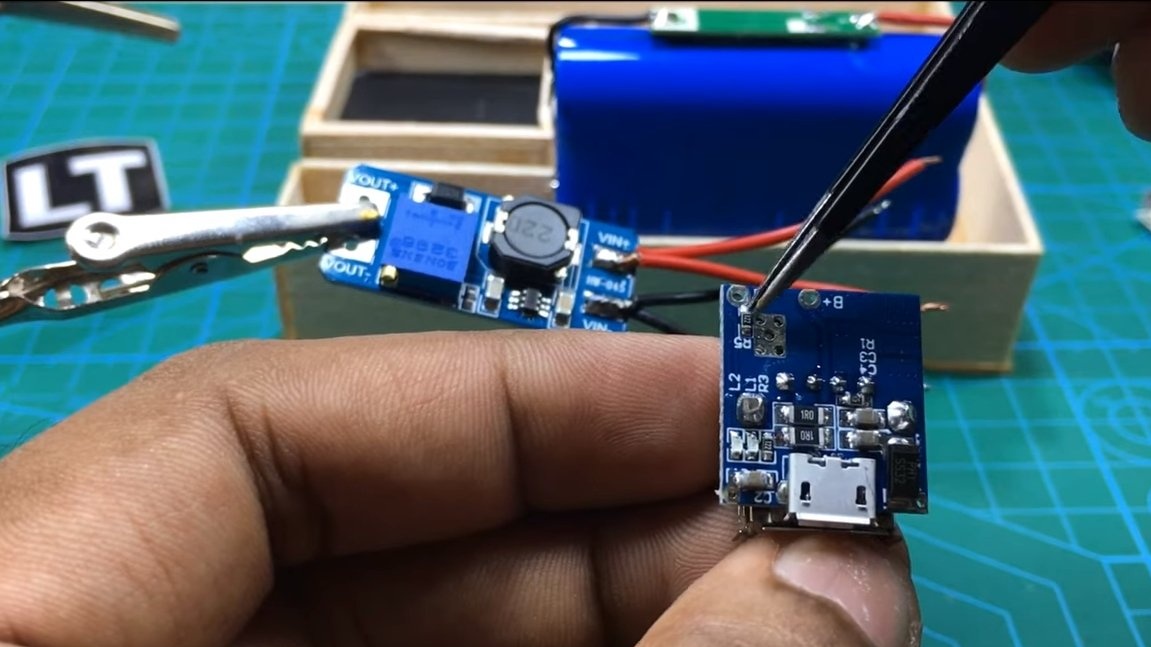
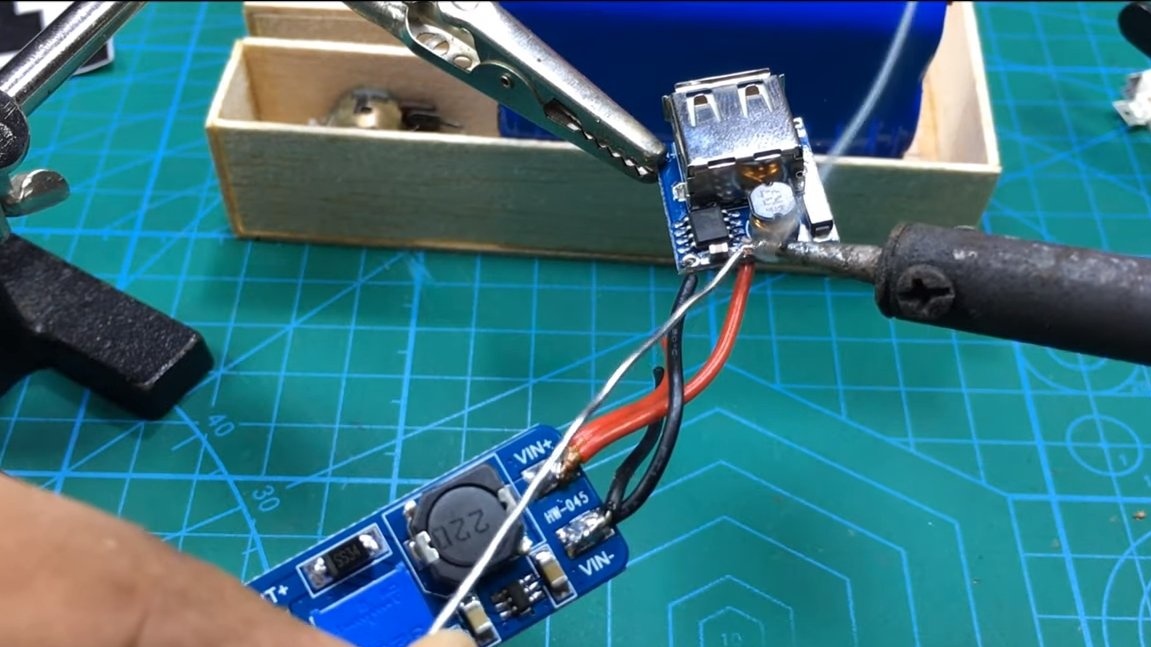
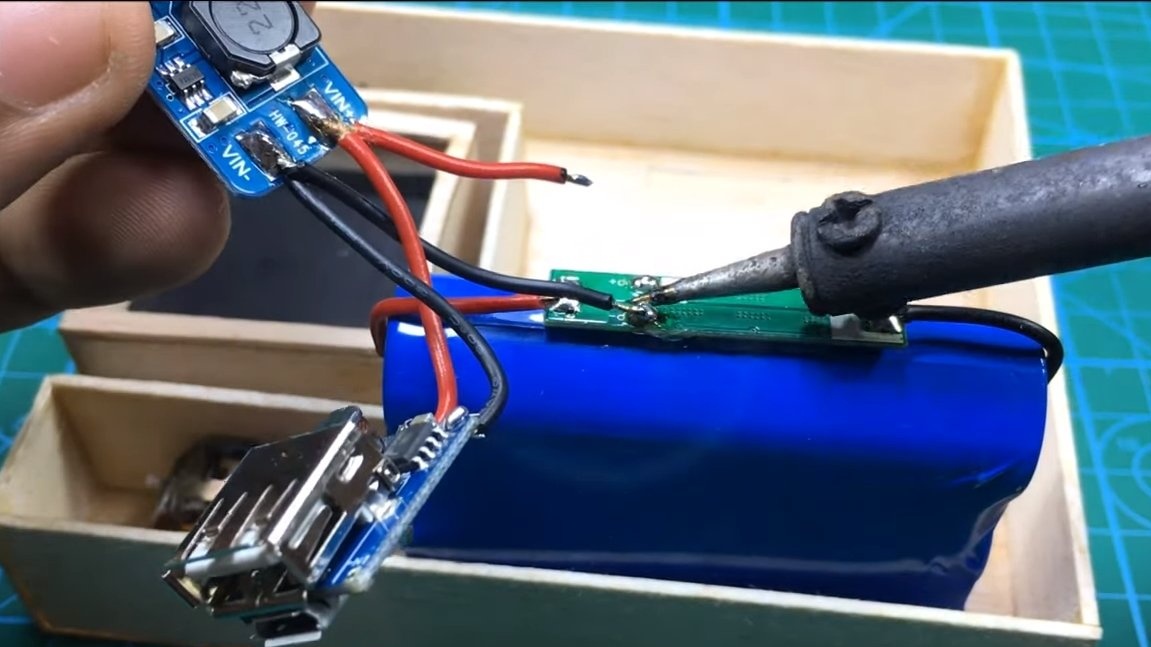
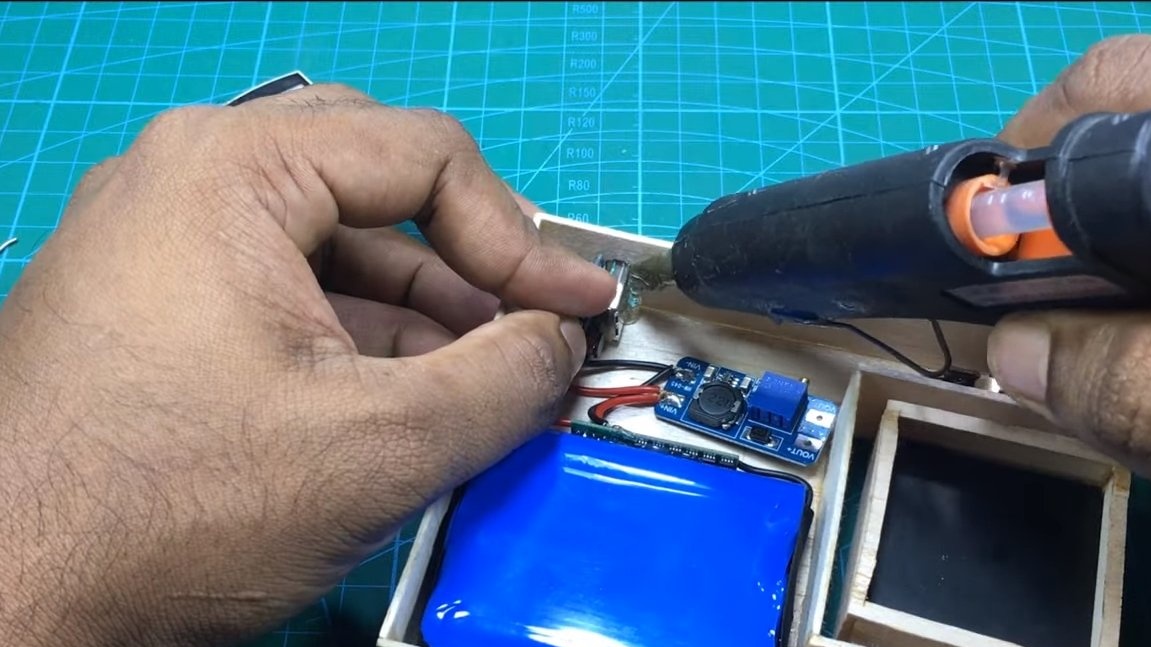
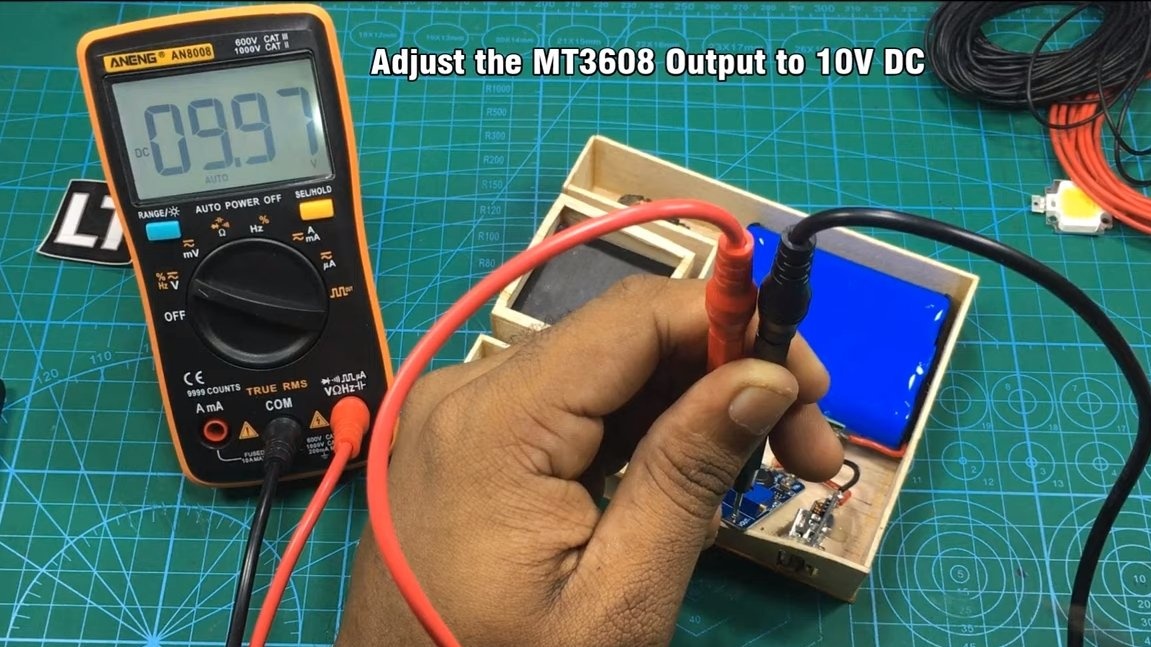
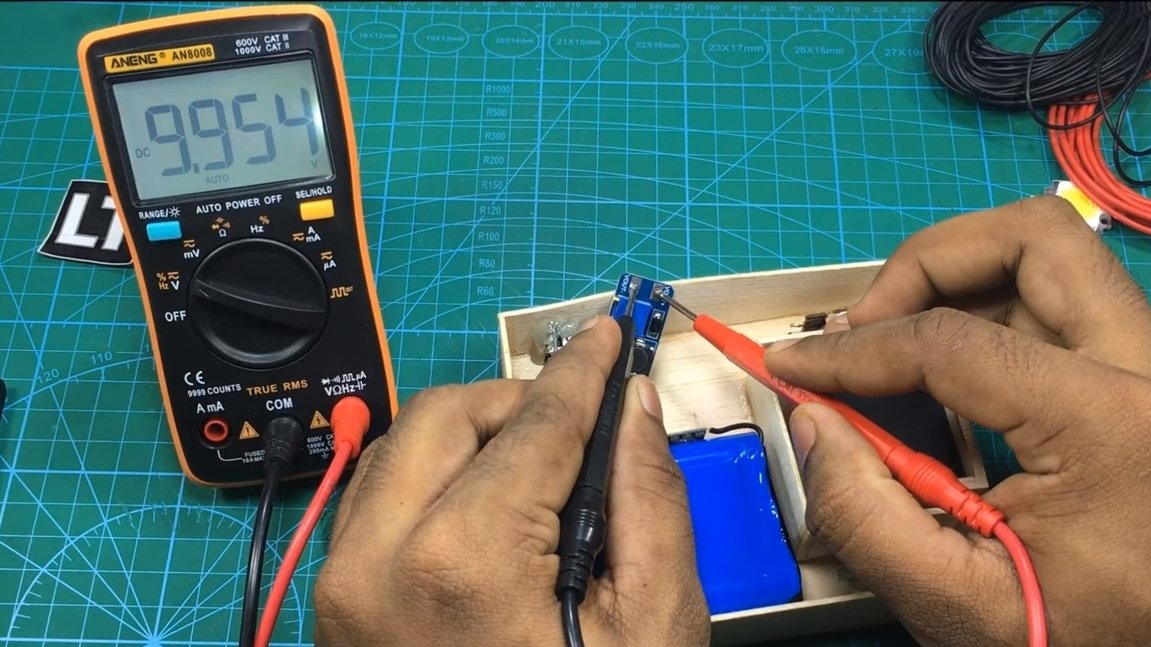
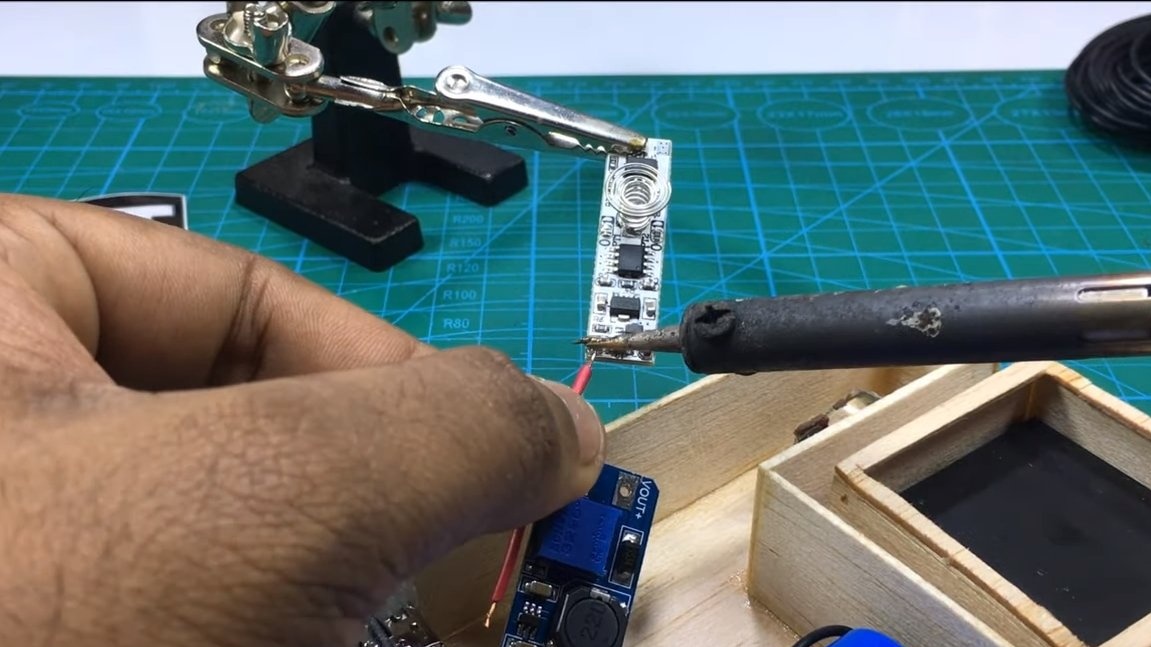

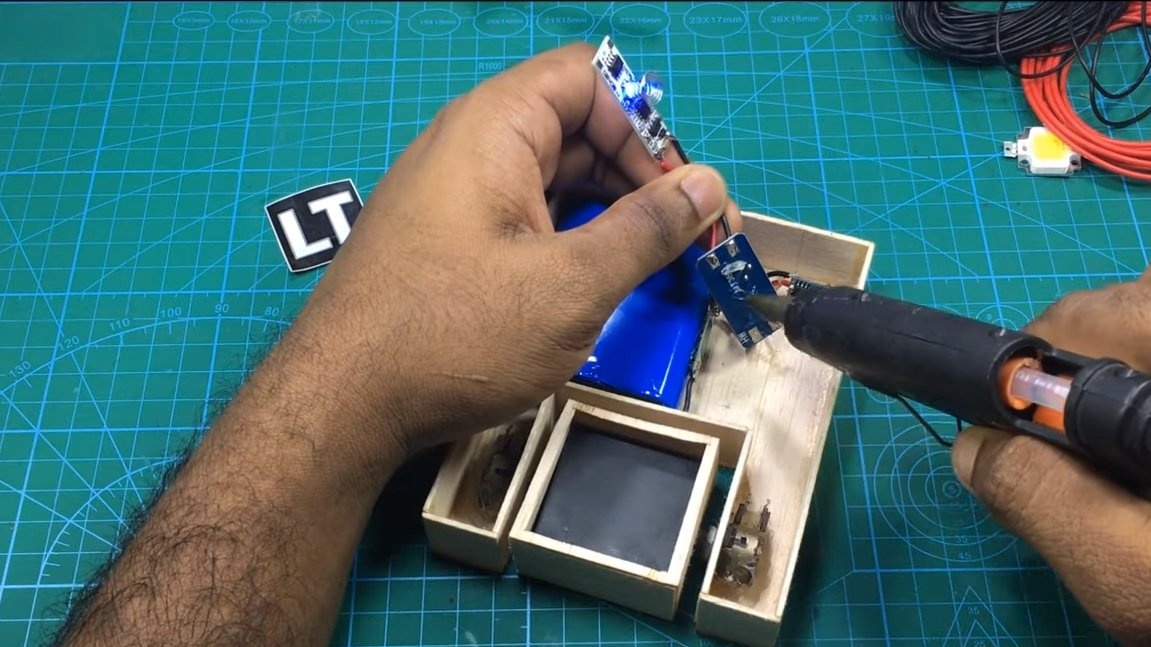
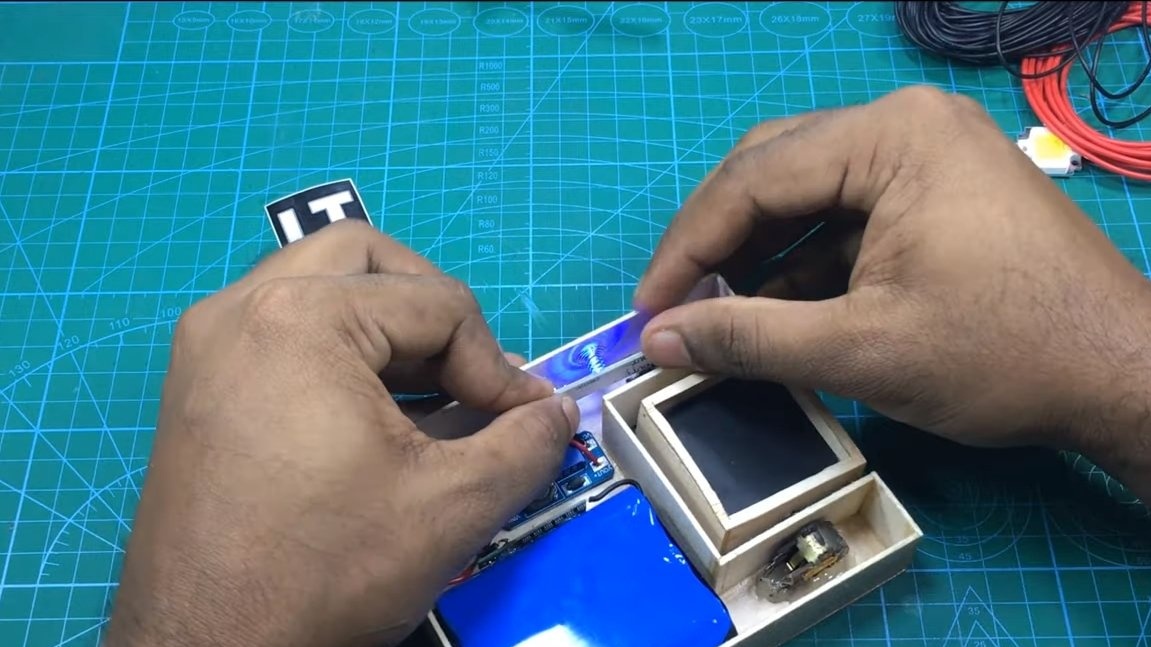
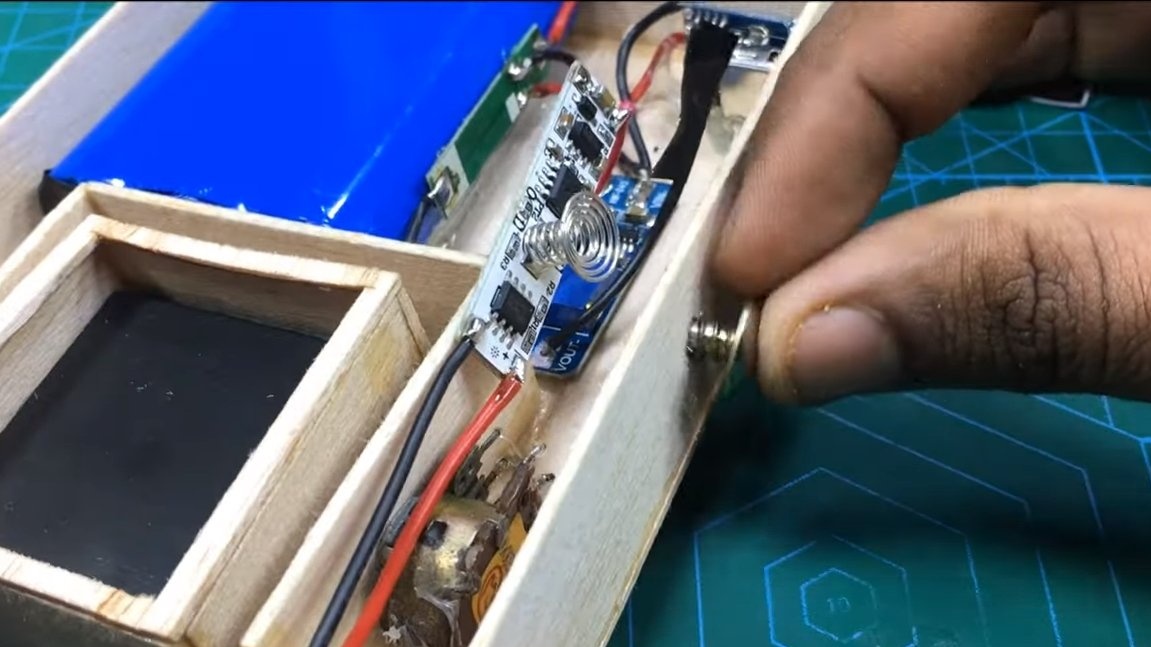
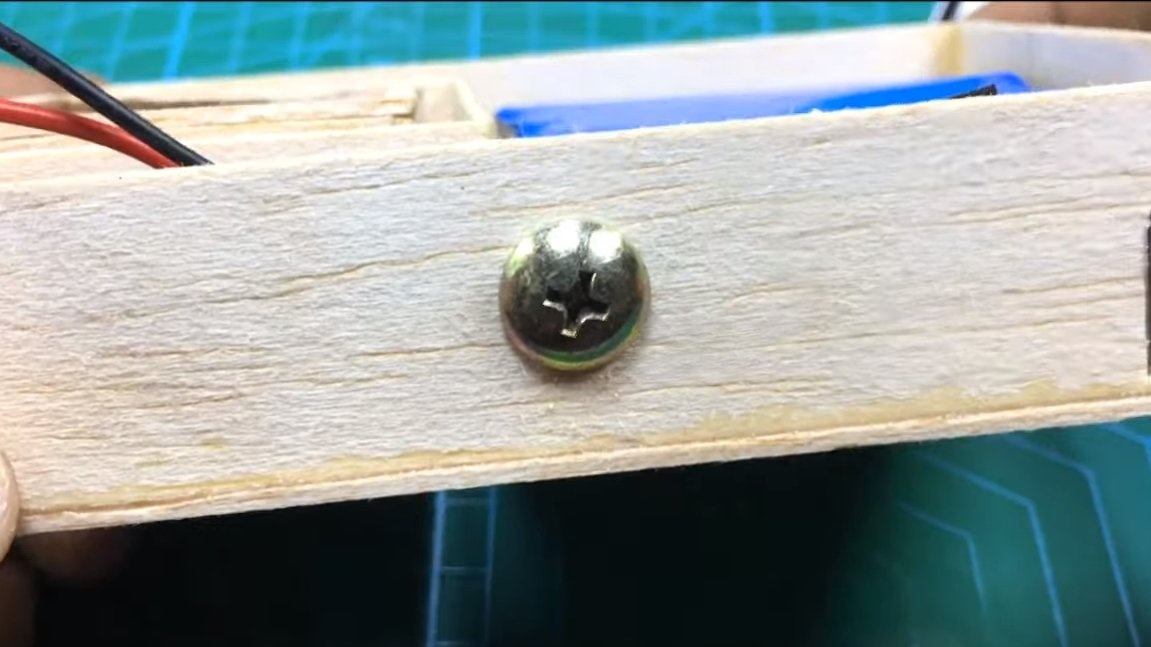
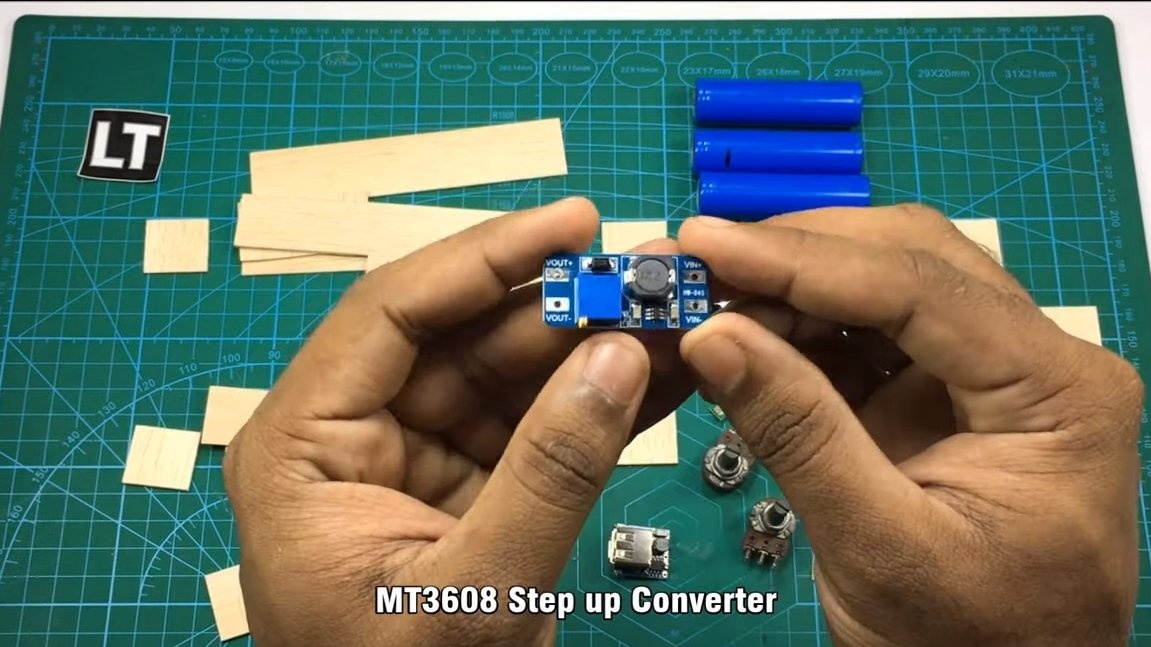
We connect a boost converter and adjust the desired voltage, an LED is fed through this module. After the module there is a touch button, there is a spring as a contact. To bring the contact to the outside of the case, the author used a small screw.
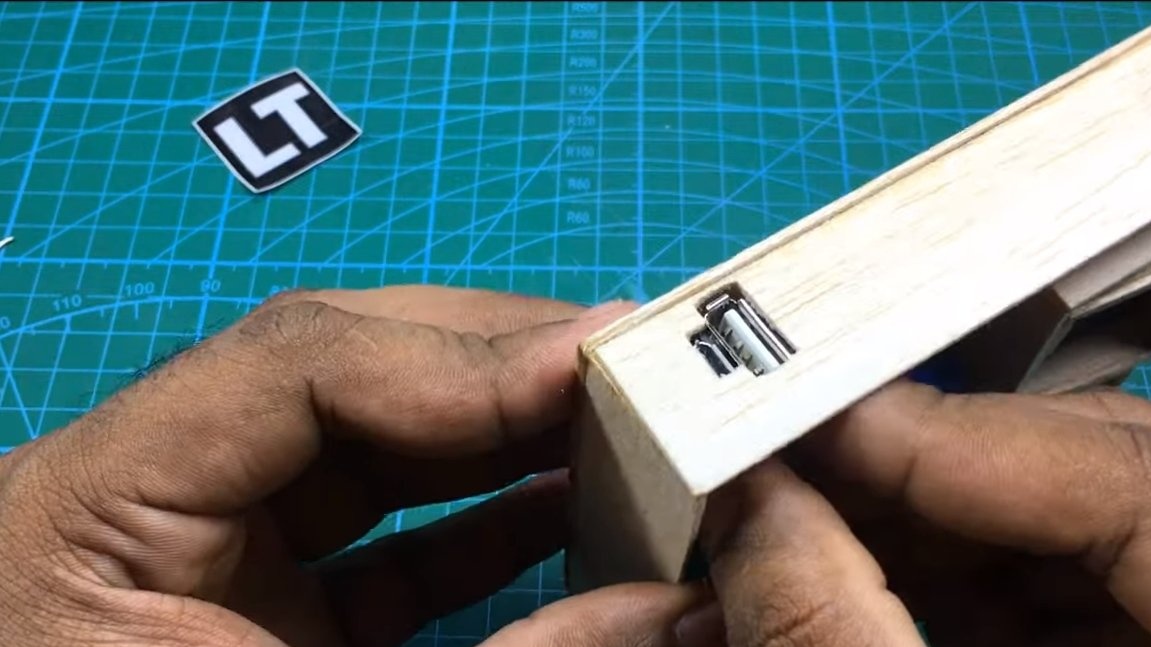
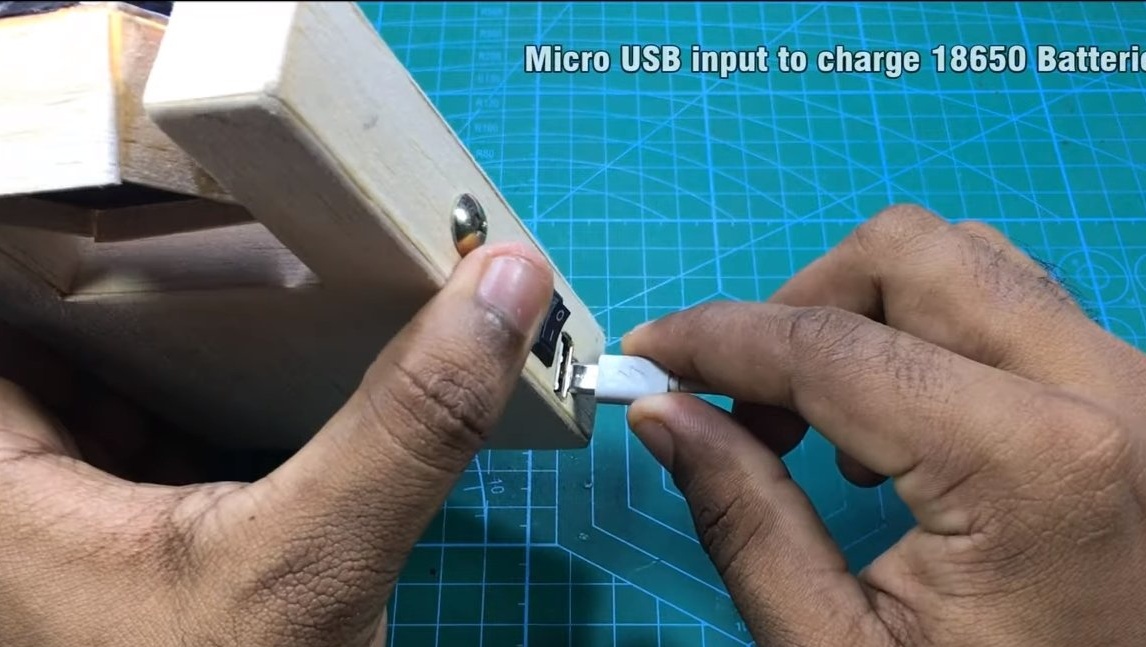
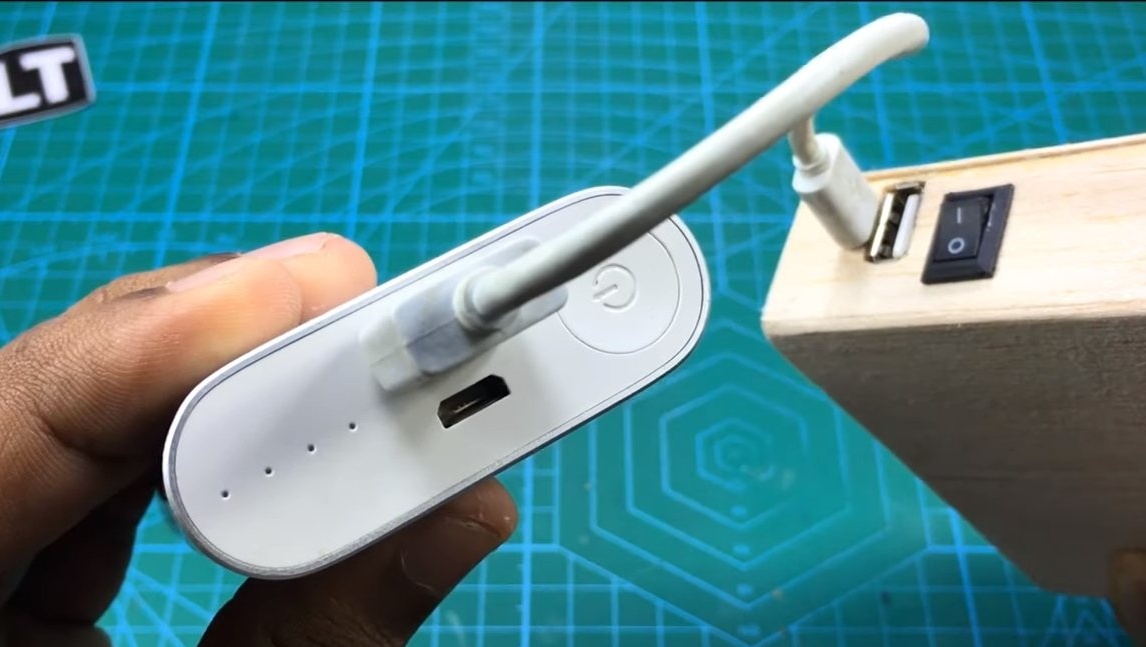
In addition, we install a USB input and output into the case. The output must be connected via a boost module, there must be a stable 5V voltage, otherwise the phone will not charge.
Step Three Assembly and testing
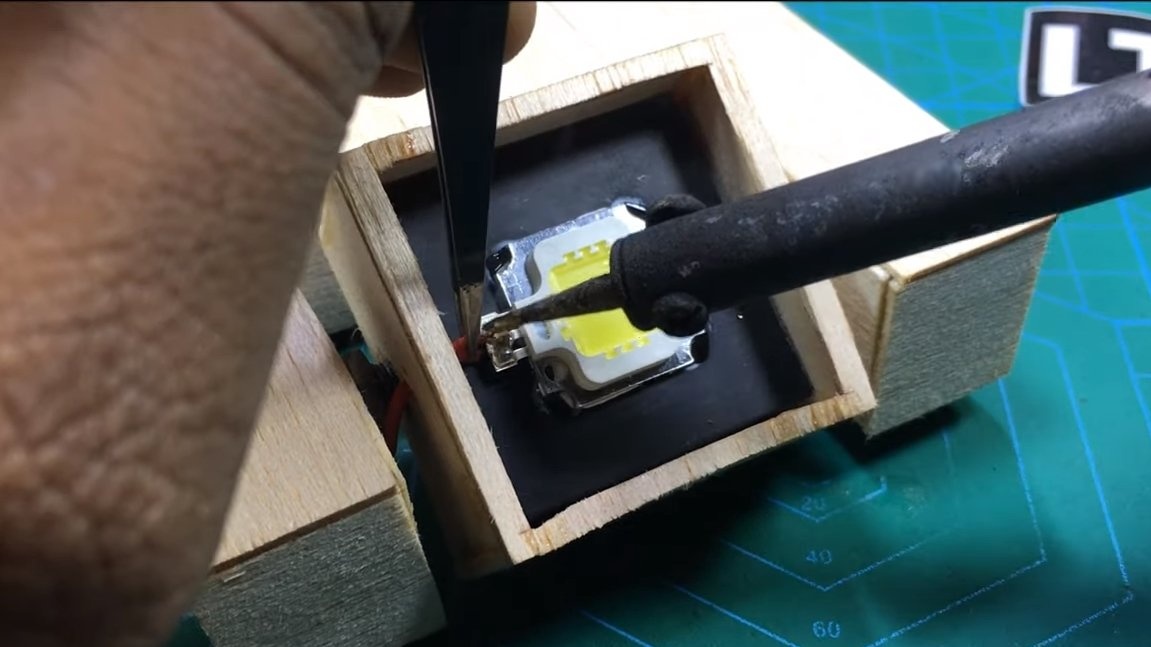
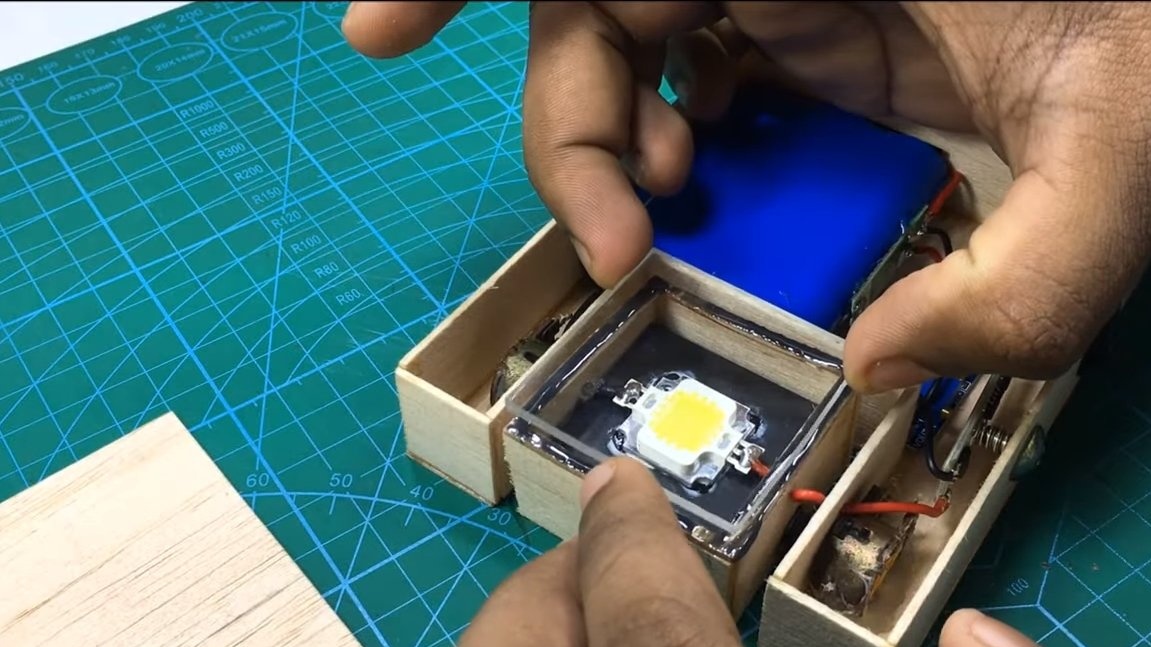
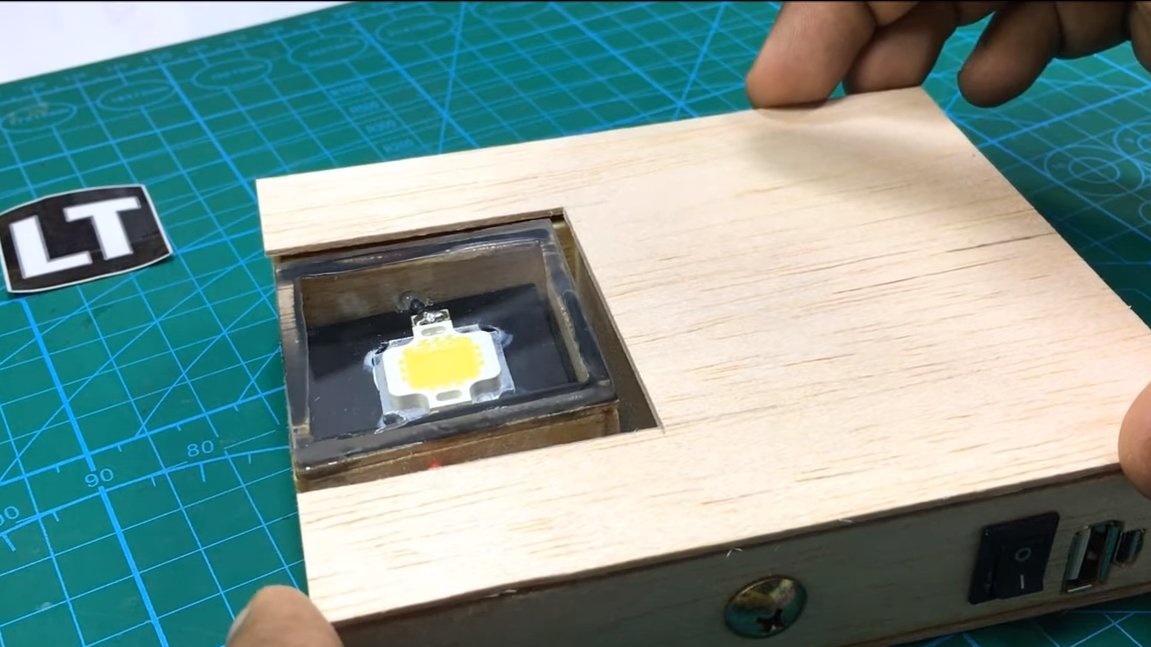
We install the LED on the radiator, here we need thermal grease for a good heat dissipation. The author glued the LED with superglue, of course, that’s how everything will hold, but not particularly reliable, the LED can fly off when the flashlight hits. It is best to fasten the LED screws to the radiator by drilling holes.
The author pasted Plexiglas over the LED, now everything looks great, and dust will not pour into the case.

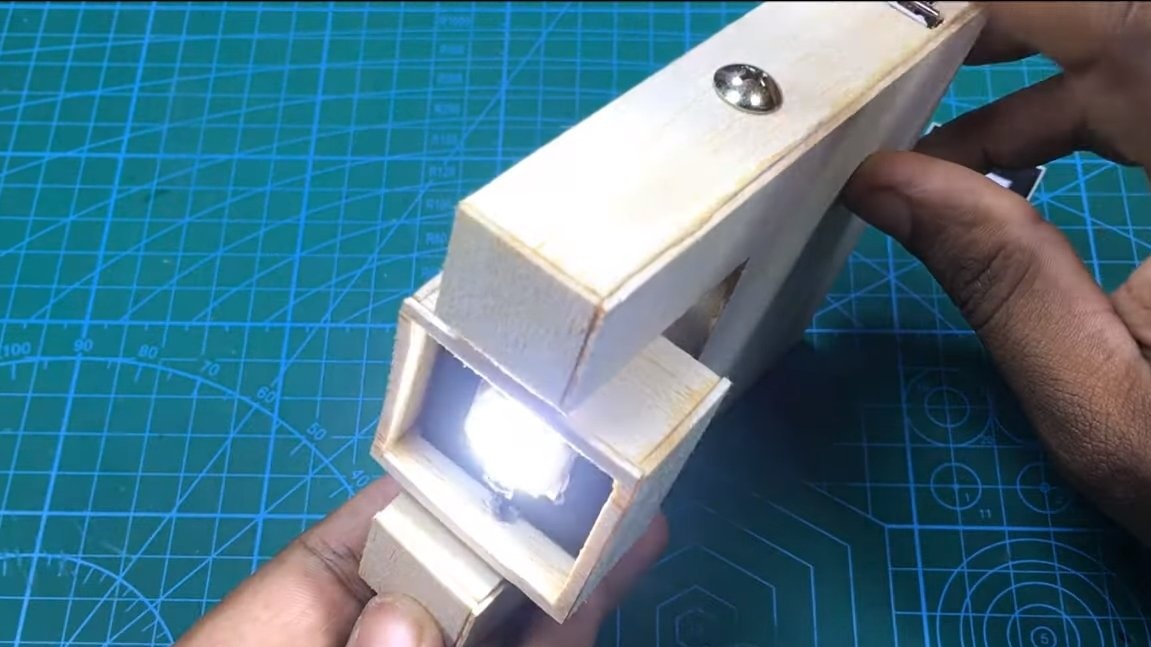
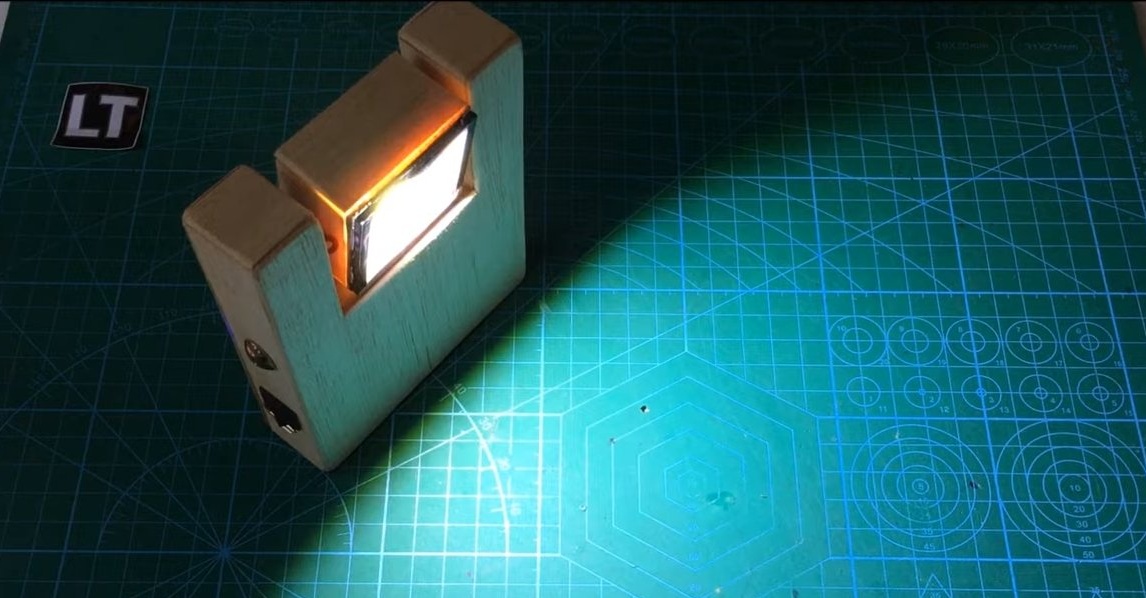
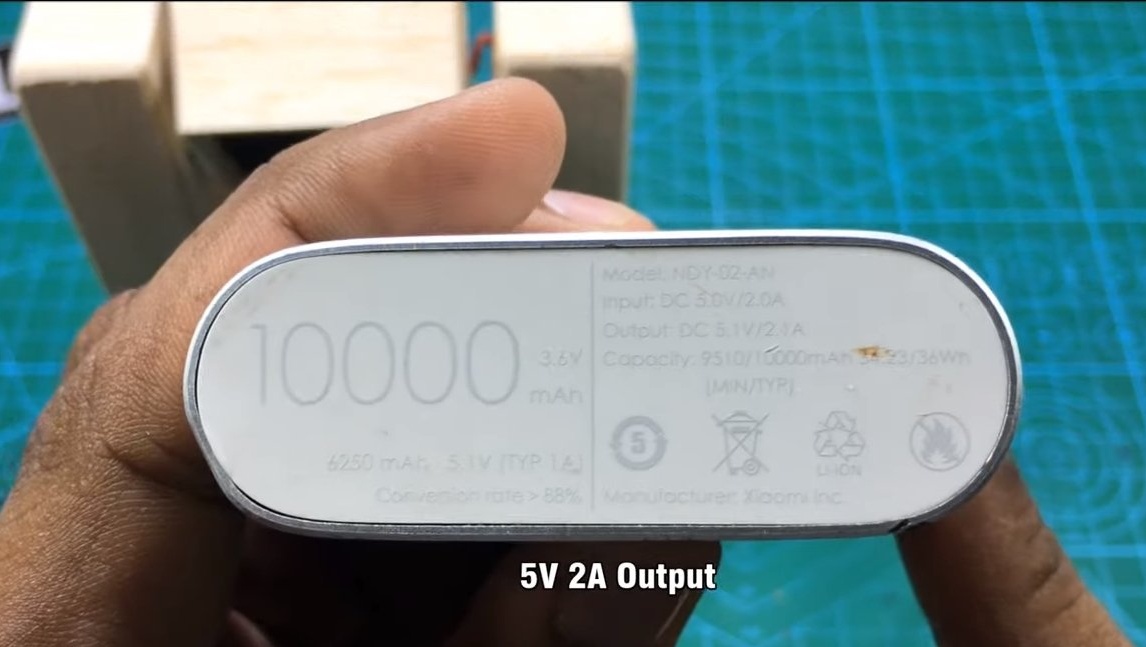

We finally glue the case, grind the corners so that the product becomes monolithic. On this homemade ready, the lamp shines quite brightly. The device is also able to recharge your mobile. To charge the flashlight, you can use another Power Bank or a network charger.
The flashlight can be easily and conveniently controlled using the touch button. On this project can be considered successfully completed, I hope you liked the homemade work, and you found useful thoughts for yourself. Good luck and creative inspiration, if you decide to repeat this. Do not forget to share your ideas and homemade things with us!