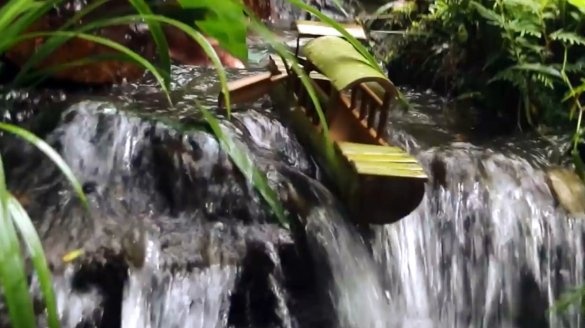
Surely many of you in your childhood loved to launch boats?
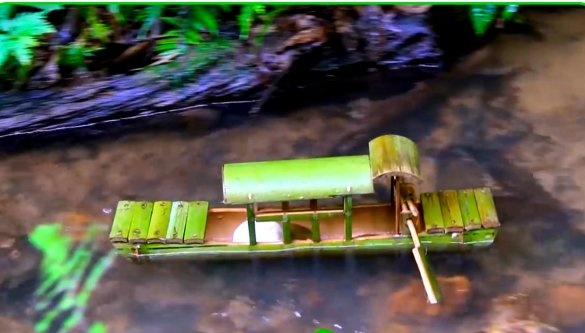
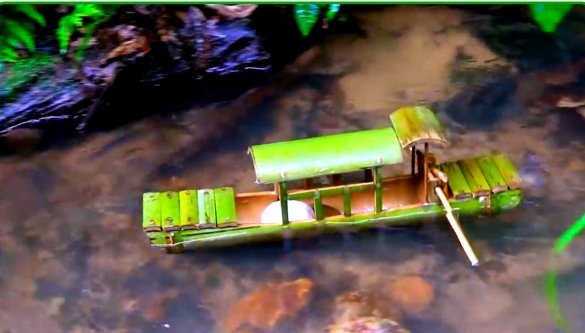
In this article, Amu, the author of the канала 食道 YouTube channel, will offer you a project for making a bamboo toy souvenir. A wooden boat will bring a lot of pleasure to both children and adults.
And in the presence of a modern power tool, to make this homemade product is not difficult.
Materials
- Bamboo trunk
- A small stone.
Instruments, used by the author.
- Hand drill
- Bow saw
- A plane, a chisel, a bracket
- Hatchet
- Square, tape measure, pencil, marker
- Workbench.
Manufacturing process.
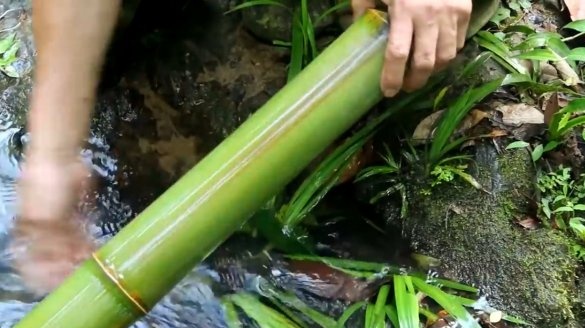
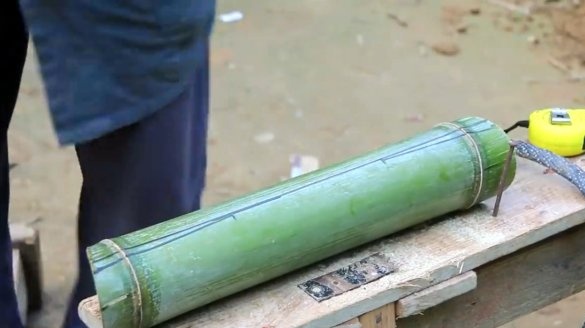
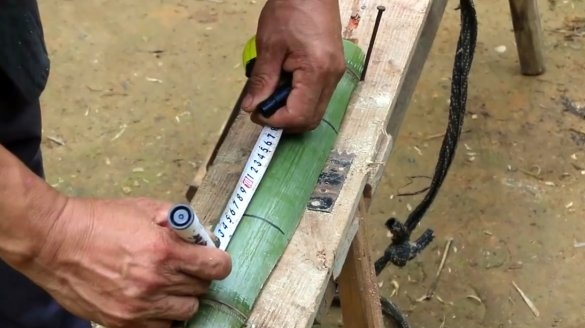
So, the master found a suitable bamboo trunk about 10-12 cm in diameter,
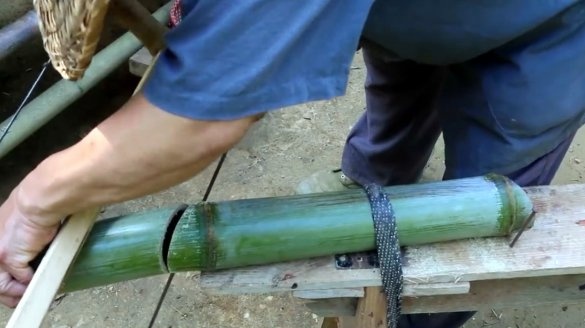
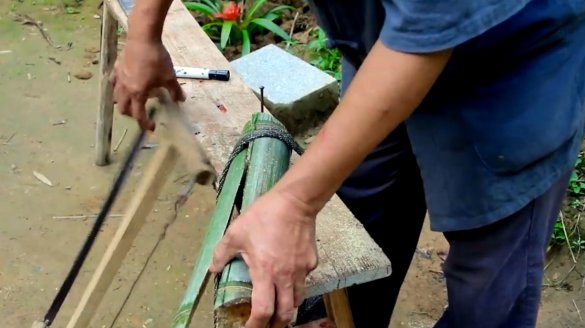
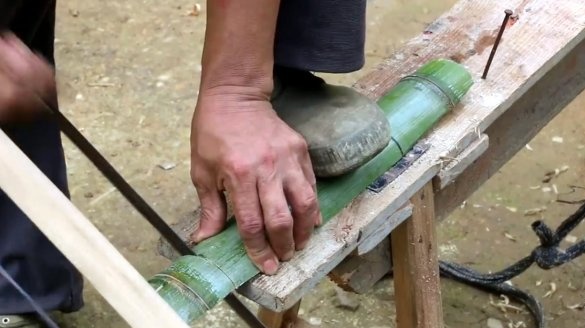
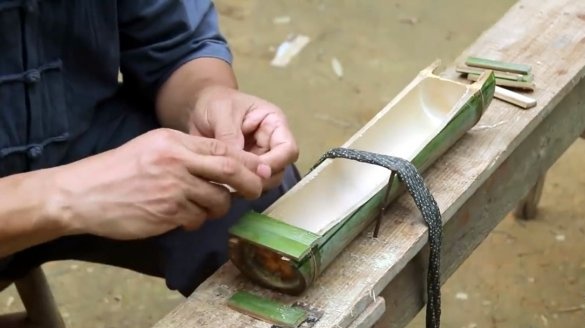
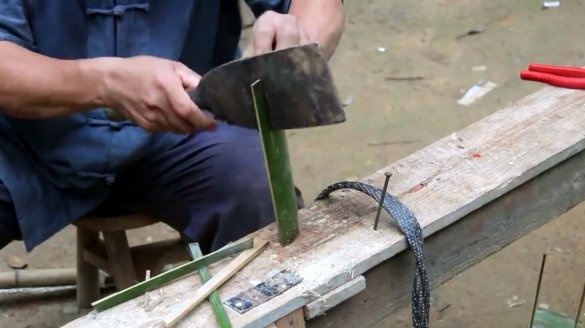
Now he fixes the log on the workbench, and cuts the ends just above the “knees” at an angle of 30 degrees.
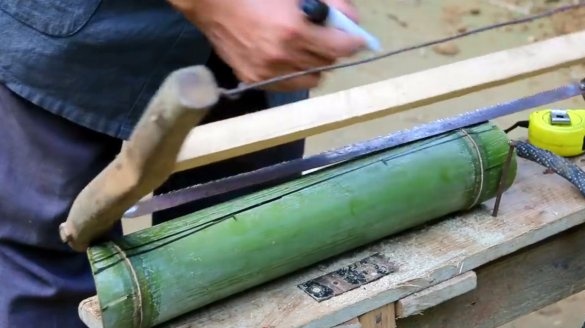
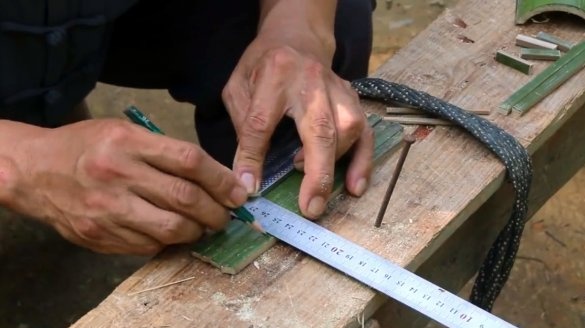
On a wide bamboo trunk, arcuate cut lines are marked on both sides.
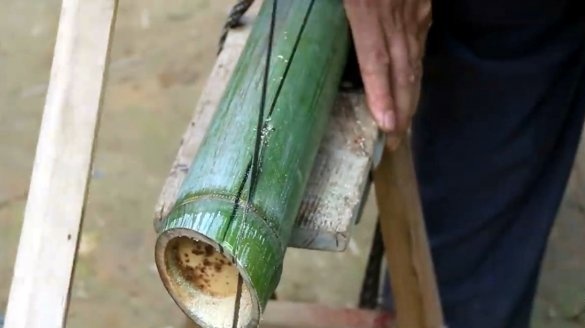
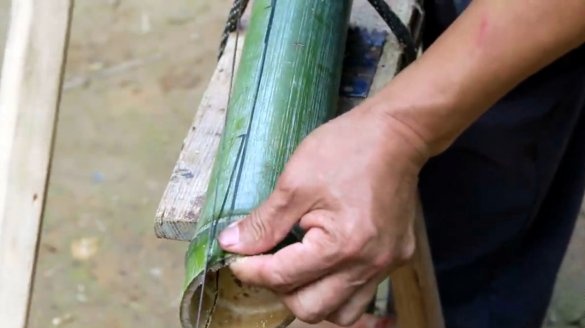
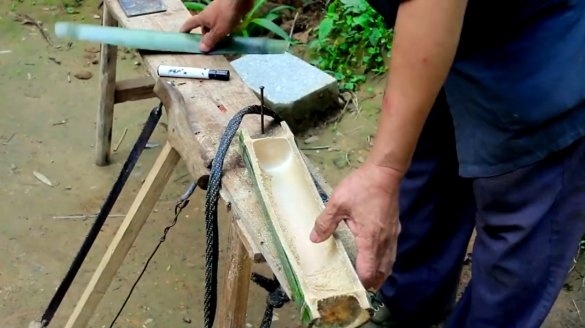
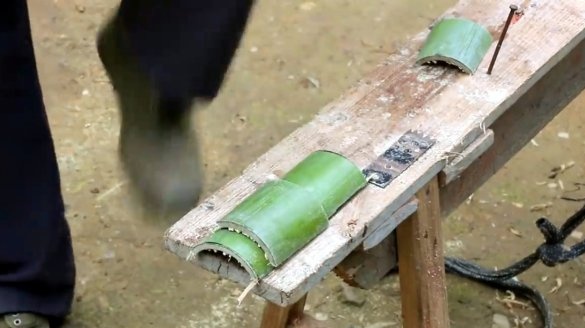
First, the master makes a short cut on one side of the workpiece.
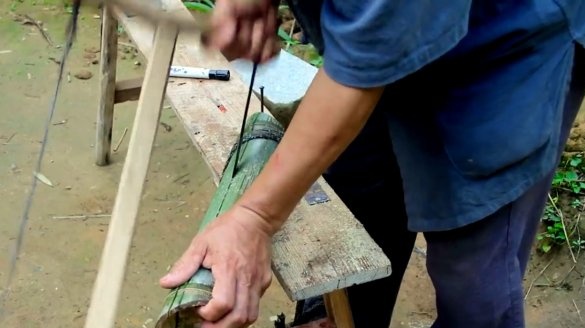
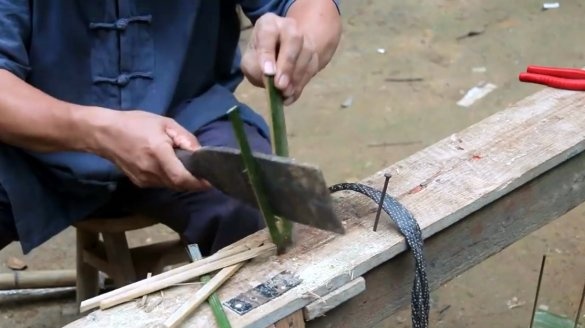
Now the workpiece is flipped to the other side, an initial cut is made, and the blade is inserted into the bottom. slot. Thus, Amu cuts the workpiece in an arcuate line.
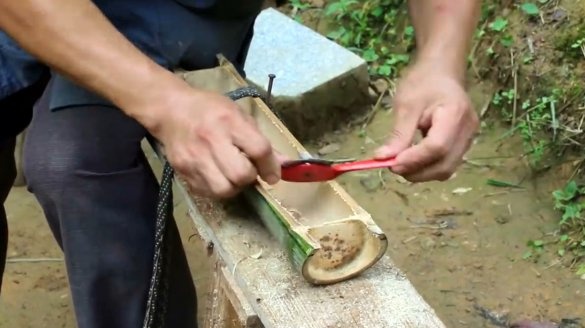
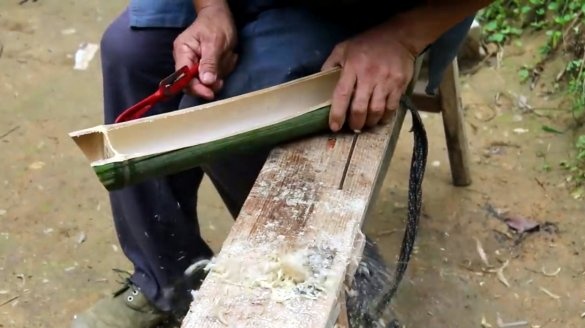
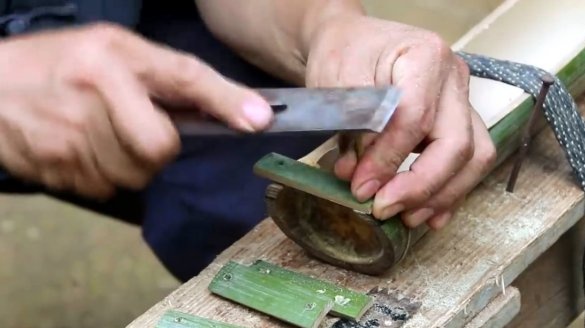
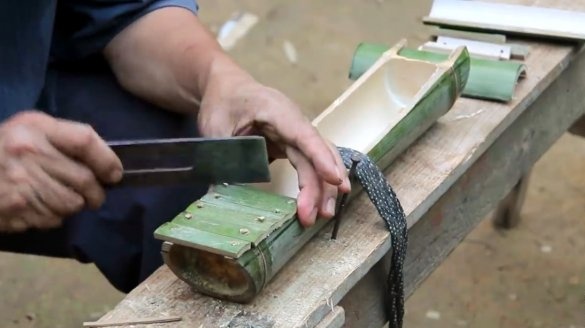
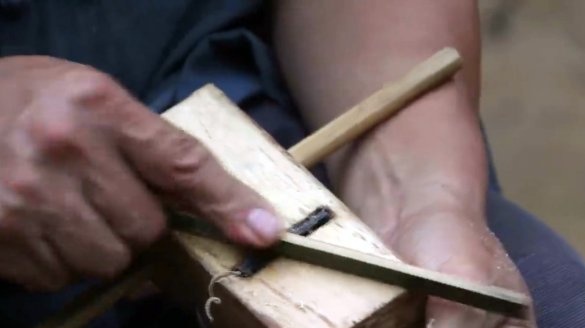
The edges of the body are aligned with a brace.
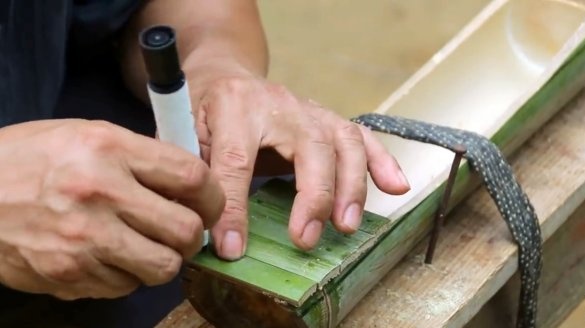
On the second, remaining half of the bamboo trunk, transverse lines are marked and several plates are sawn.
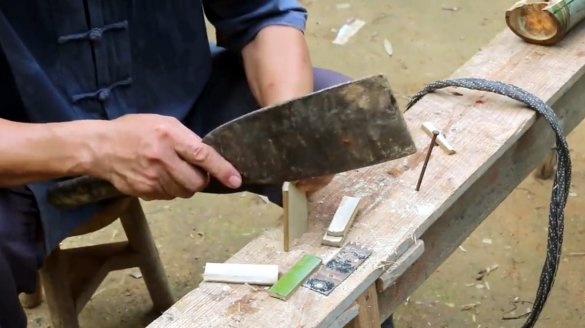
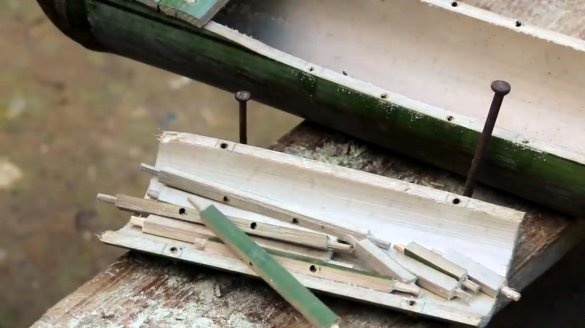
Short plates split lengthwise into several smaller strips. These will be deck segments.
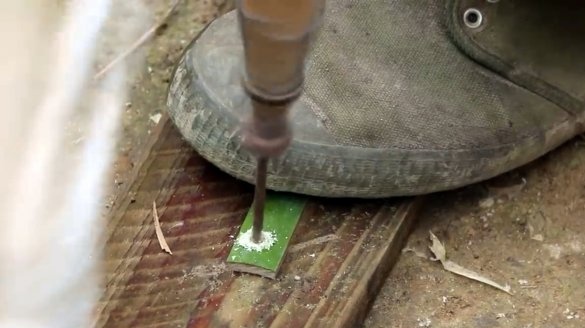
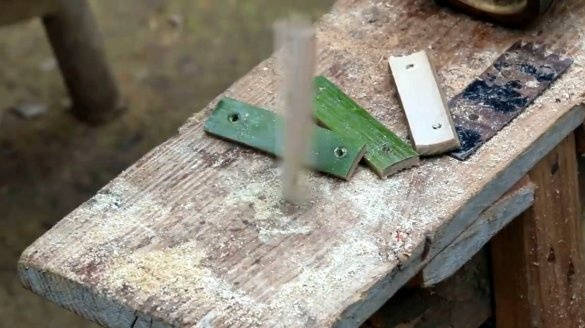
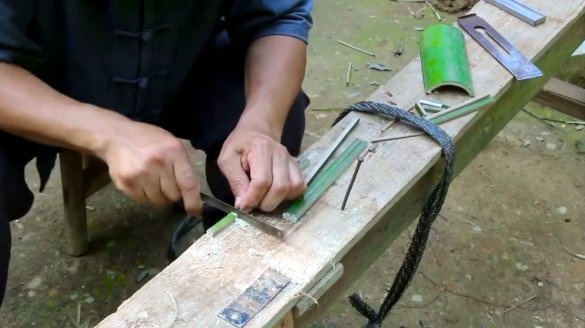
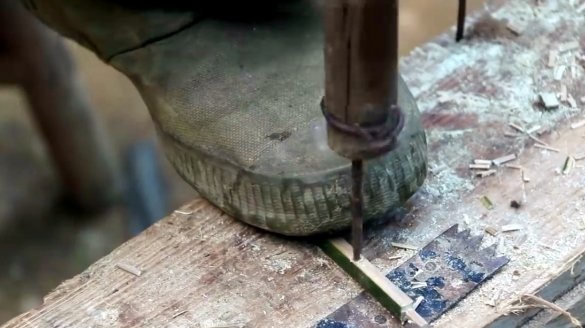
In each such bar, holes are marked and made along the edges of the hole.
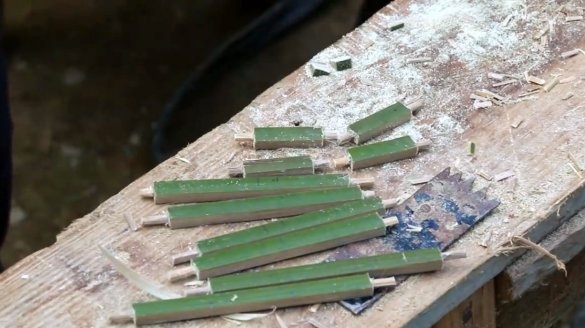
Here are the blanks obtained.
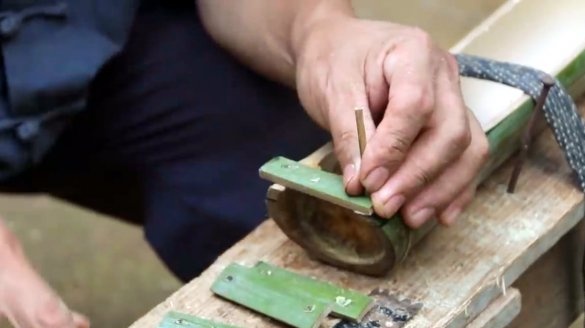
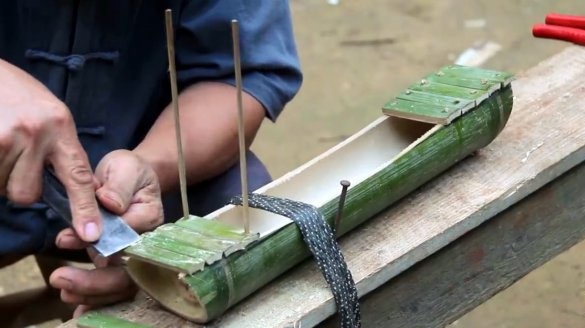
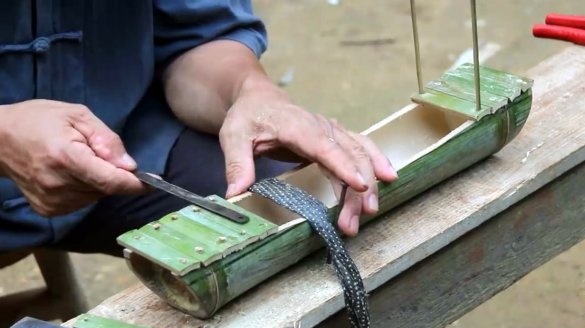
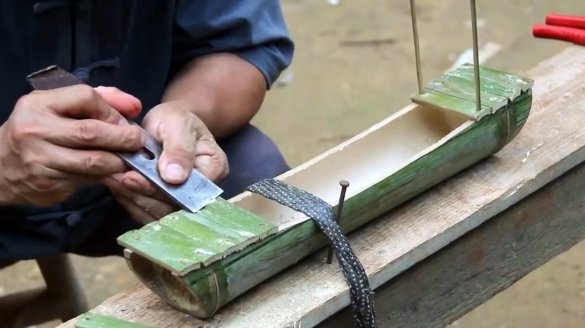
The straps are attached to the sides of the hull with thin, sharpened sticks. In fact, it is almost like a nail without a hat.
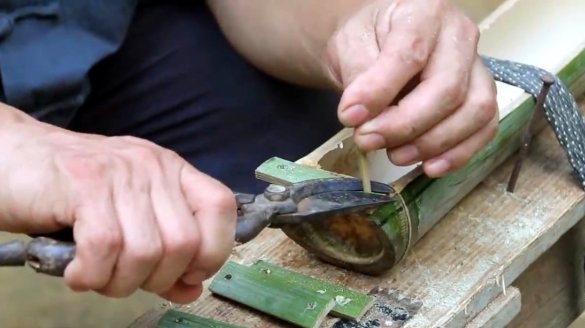
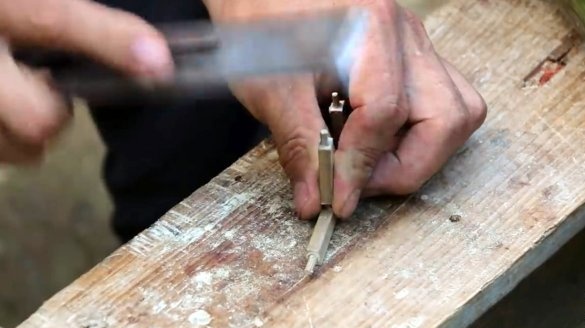
The protruding parts of the cloves are trimmed.
From the segment of the bamboo trunk, the master chips eight long slats.
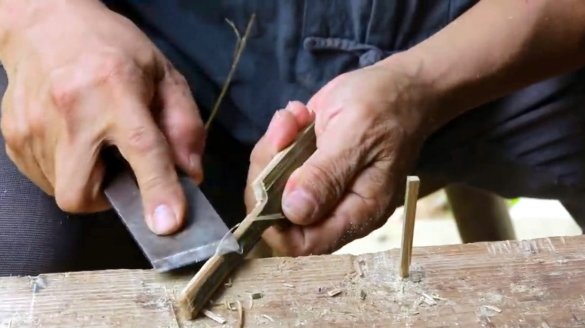
The sharp edges of the planks are smoothed out on the plane.
Two prepared slats are cut in half.
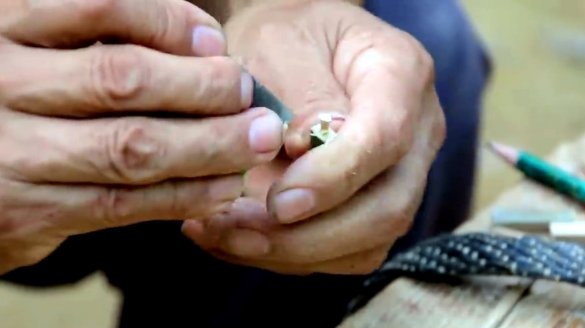
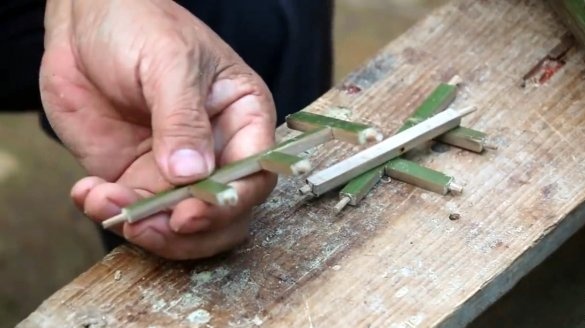
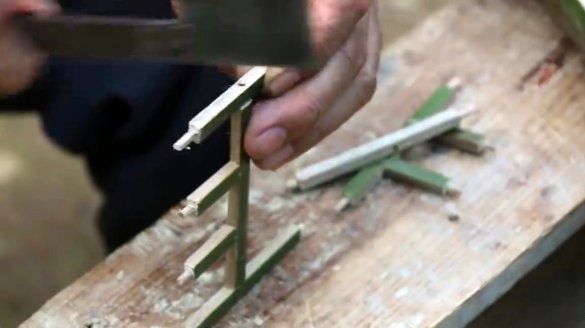
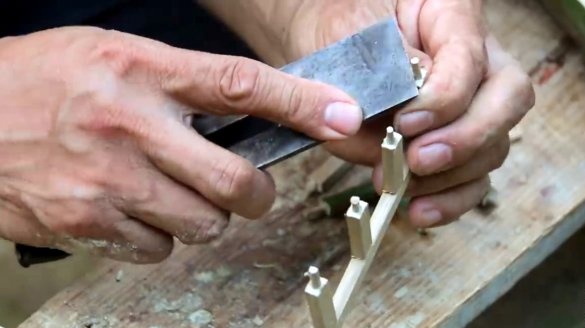
Thorn joints are cut at both ends of the planks.
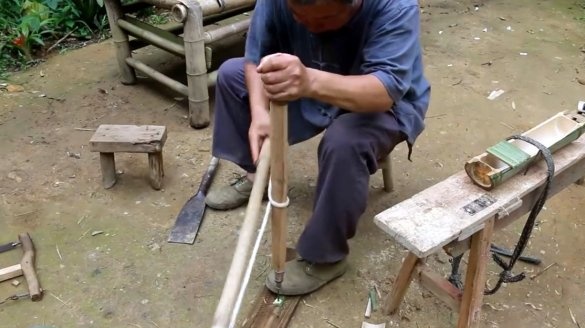
In two long slats, two holes are made. In the remaining four - only in the center.
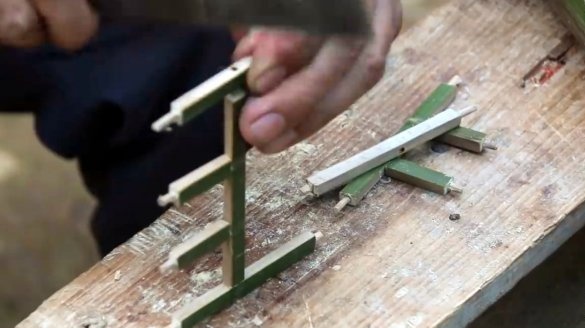
Now, short strips are driven into the slats with two holes with neat movements. Two more long slats are mounted on each side.
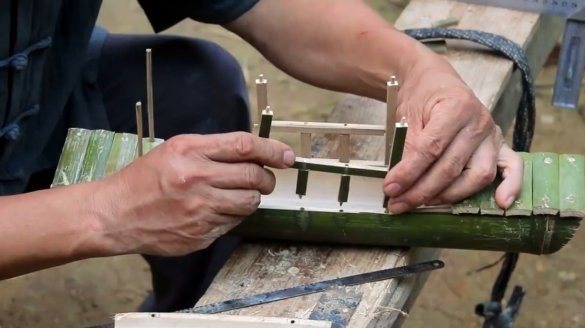
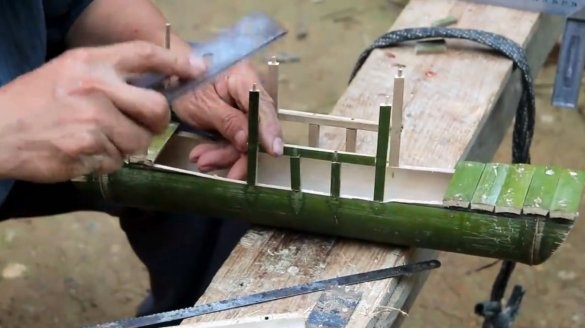
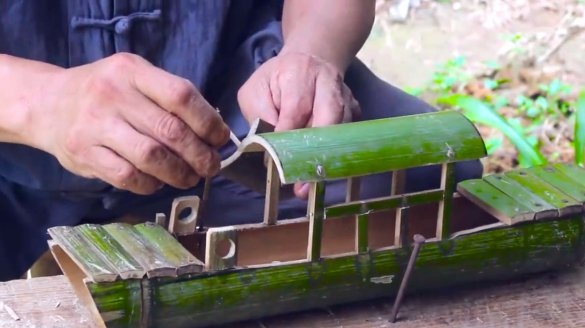
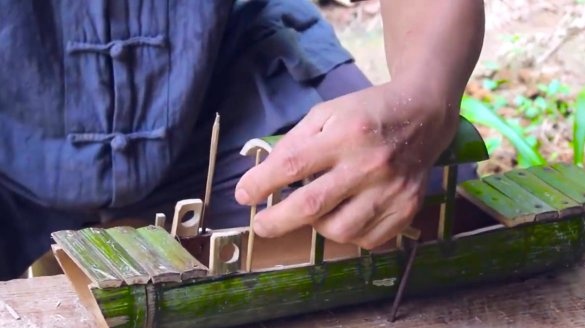
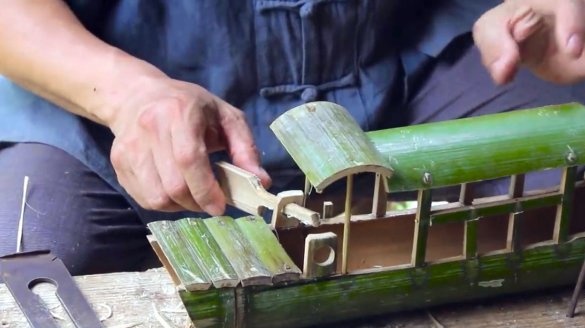
Supports are mounted on the housing.
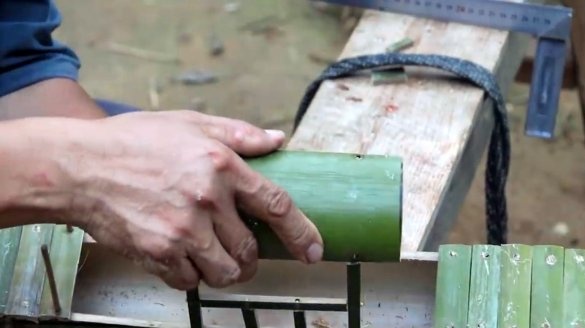
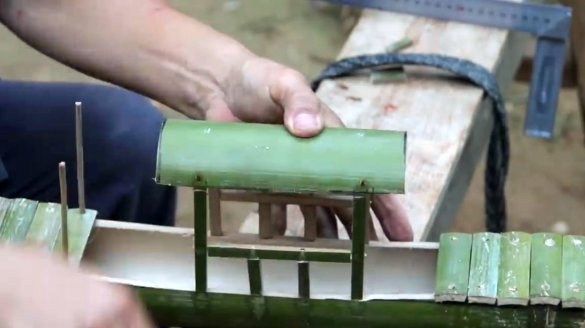
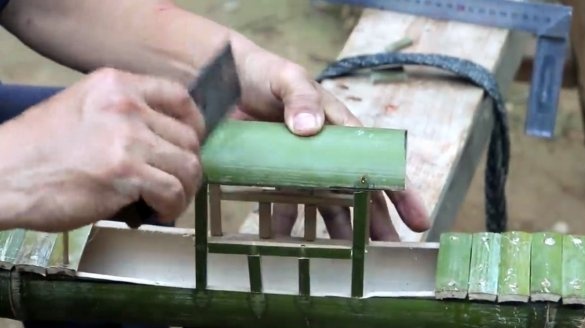
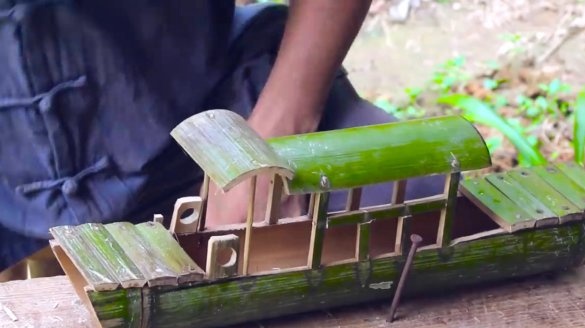
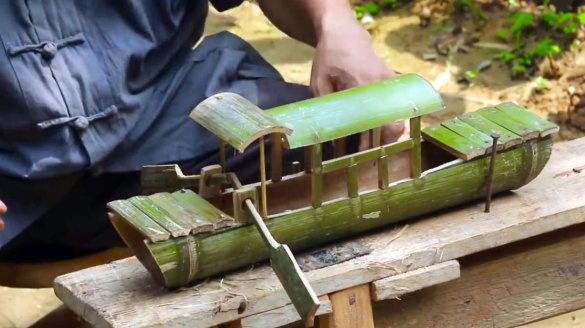
Awning is mounted on the formed supports.
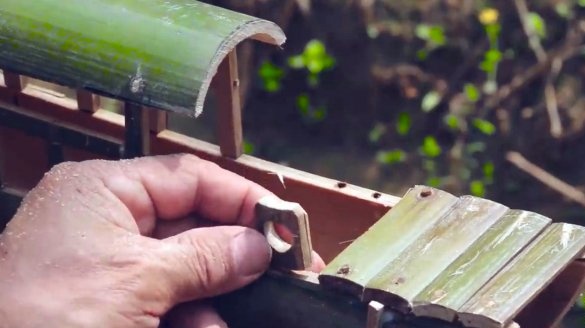
On the sides, also on the spikes, two more oarlocks are installed - there will be oars.
On two high piles, another canopy is attached.
It remains to cut the oars themselves, and put them in place.
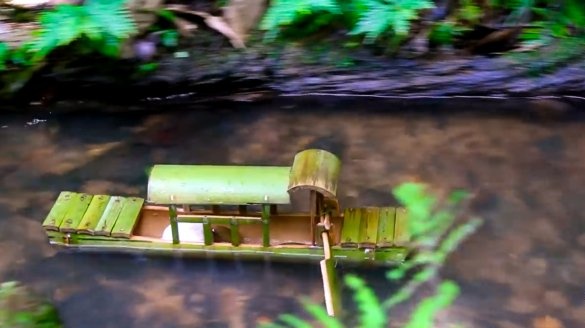
At the bottom of the little boat it is worth putting pebbles, or some weighting agent, so that the ship is more stable in the water.
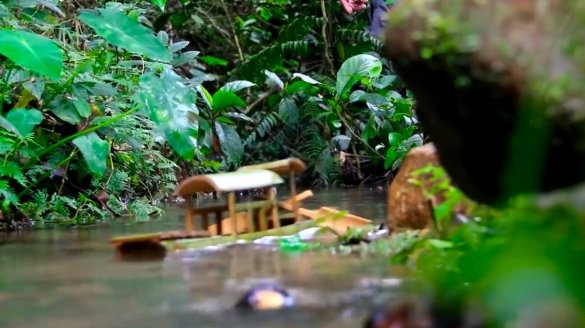
The ship is ready to sail!
Thanks to Grandpa Amu for a simple but very original idea of a model of a boat!
All good mood, good luck, and interesting ideas!
Author video can be found here.

