
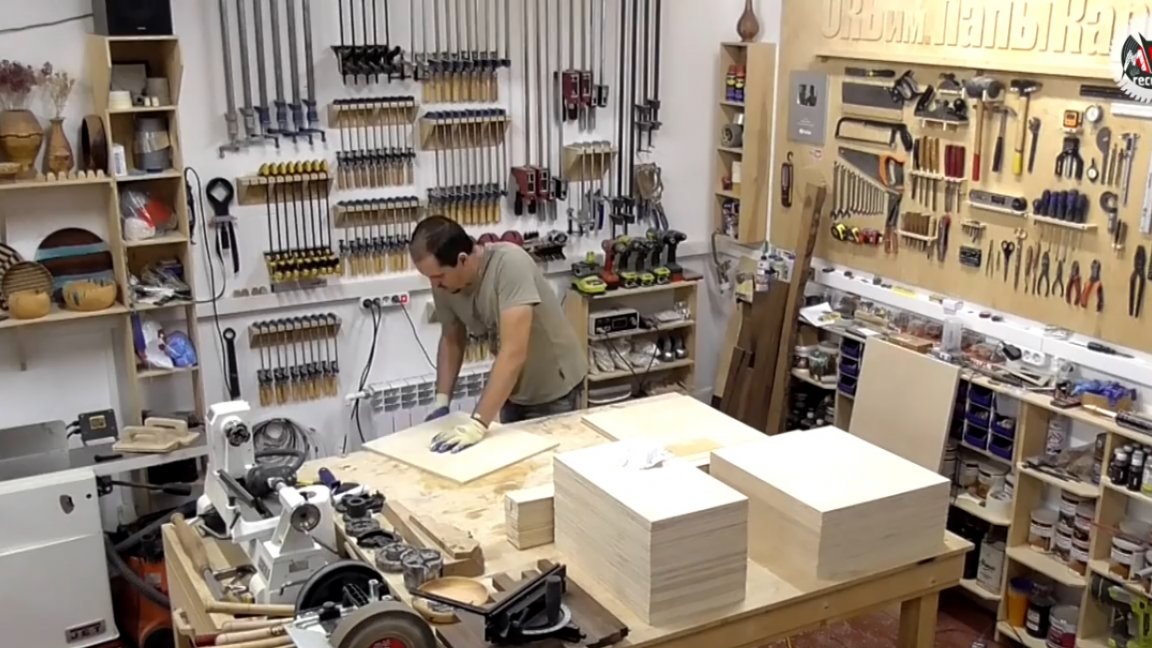
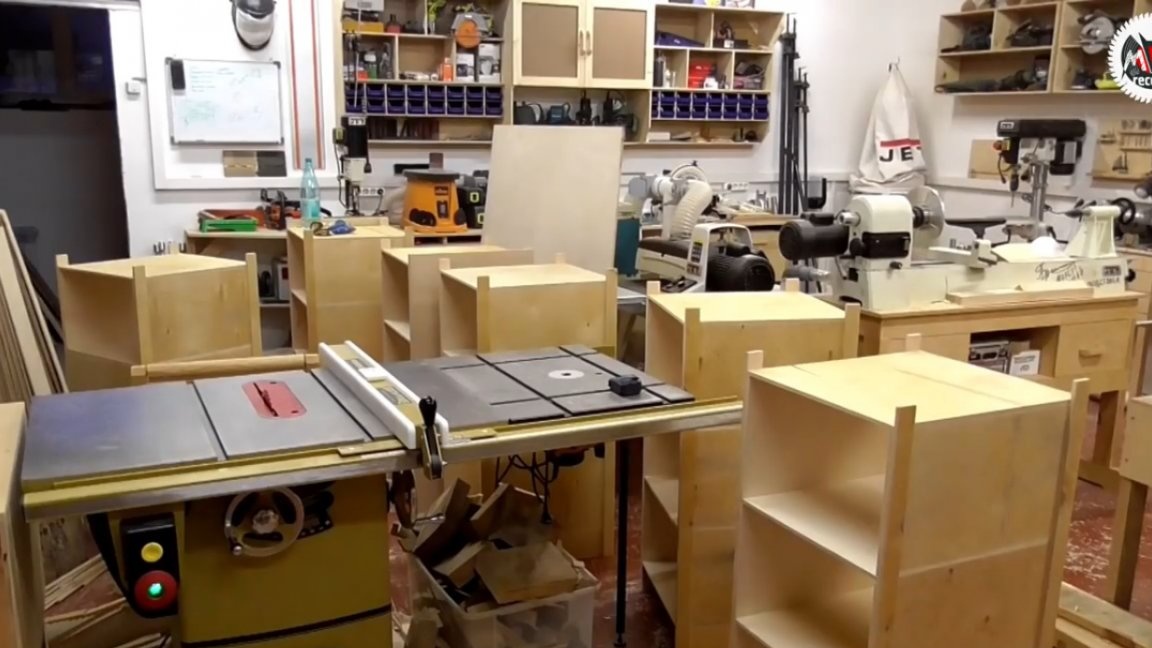
When the weather is bad outside, it's time to tidy up a little in the attic and in the workshop, which, in fact, was decided to be done by Master Maxim Kozlov (Maxim Kozlov YouTube channel). After reading this article to the end, you will learn how do it yourself You can make a rack for storing fishing accessories.
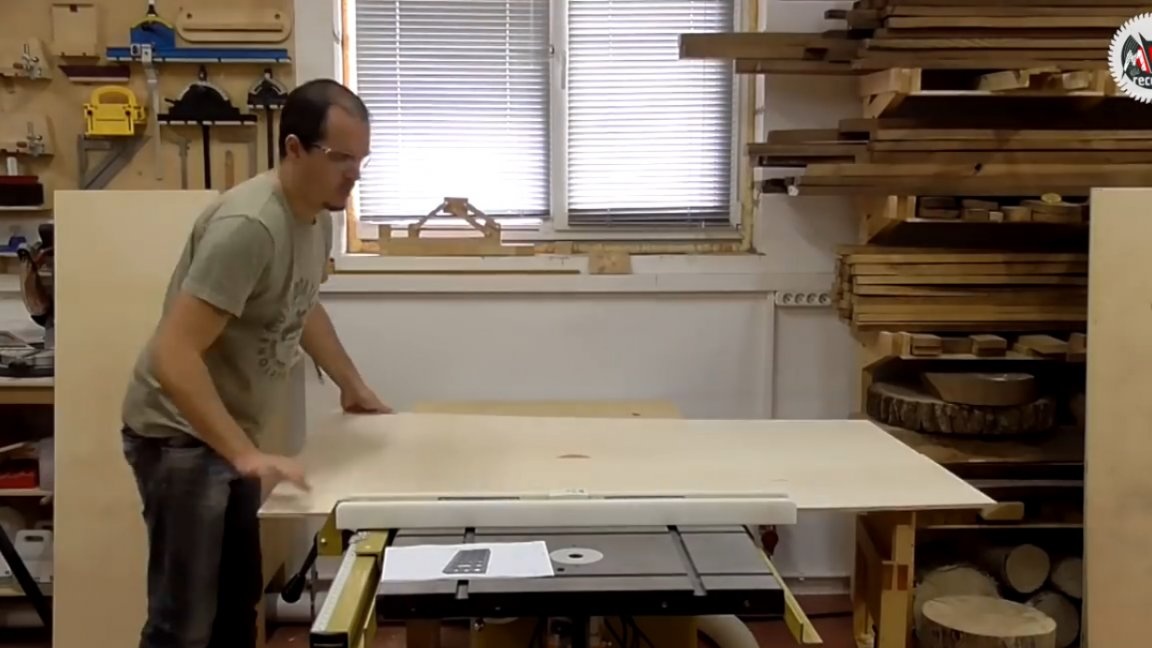
The main material of this homemade product will be plywood. Actually, the rack itself was decided to make dozens of polished sheets of these, which turned out to be not of very good quality, since even being stored flat they pretty decently twisted.
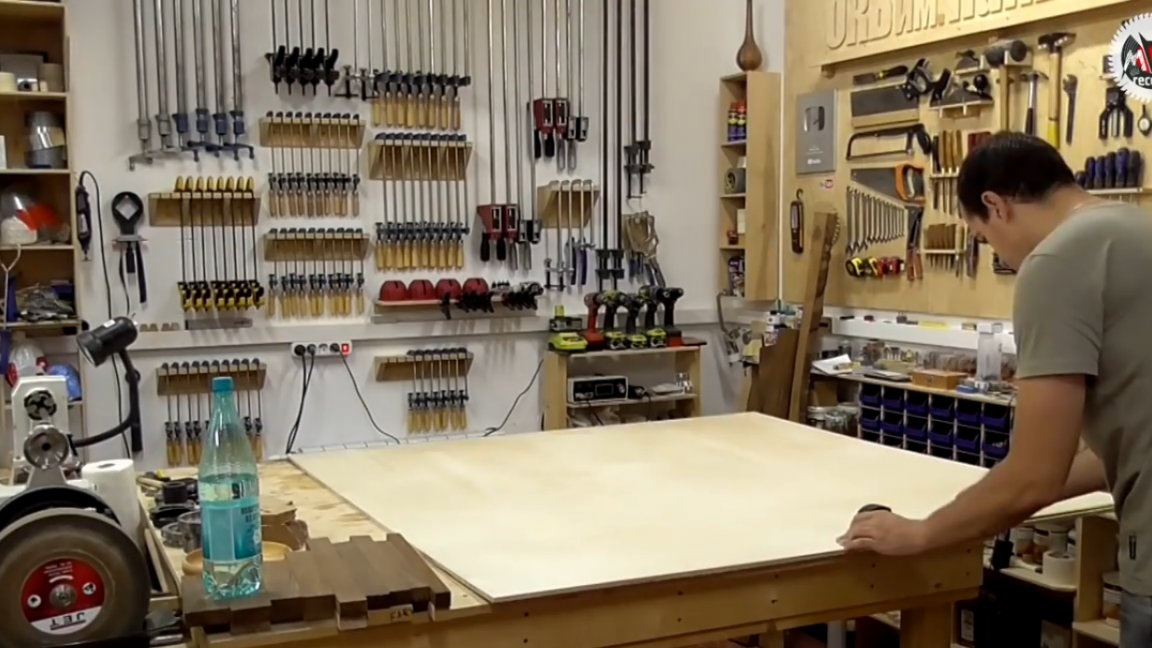
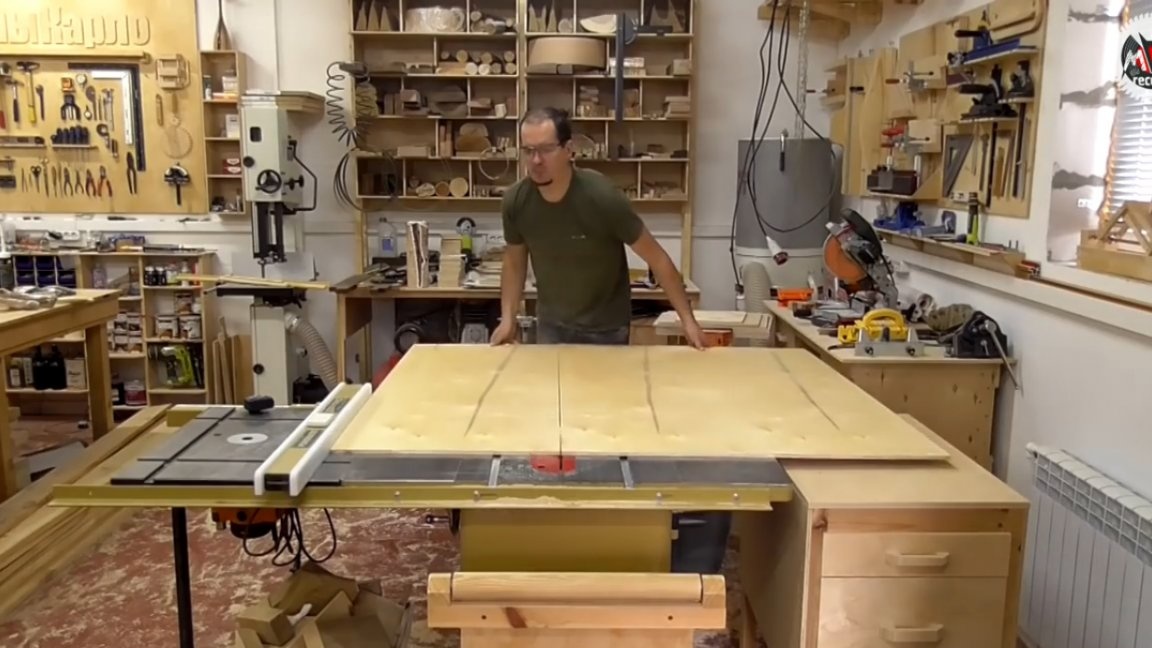
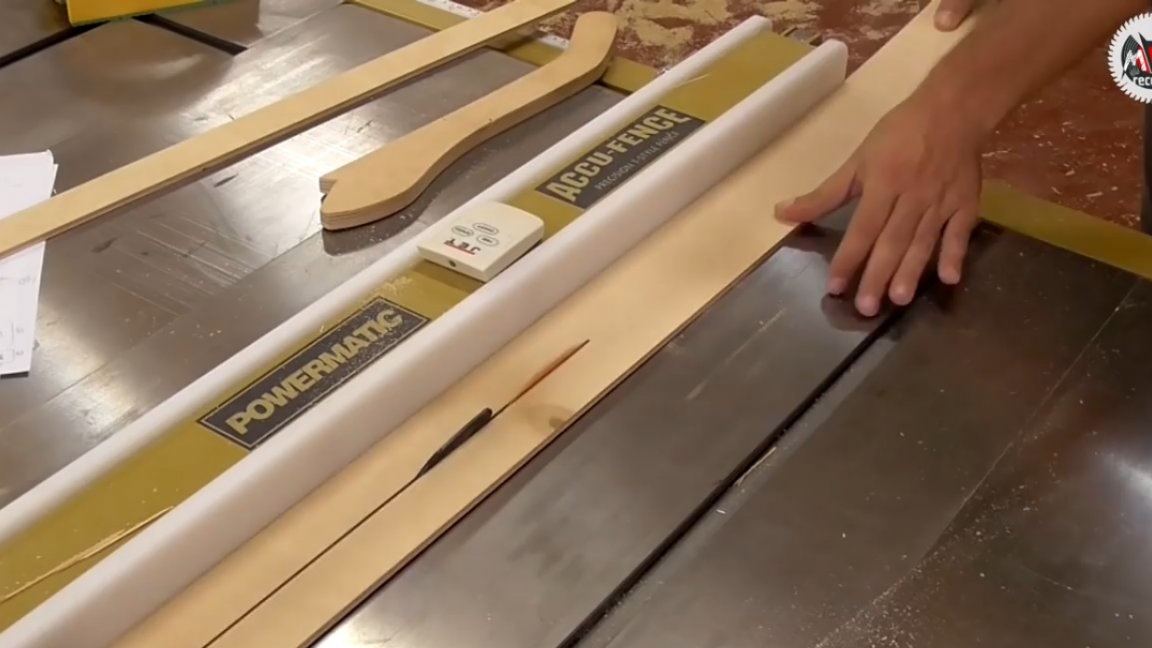
For this very reason, the author decided not to stand on ceremony with them. All sheets must be spread out into 3 equal strips of 500 mm each, which corresponds to the depth of the rack.
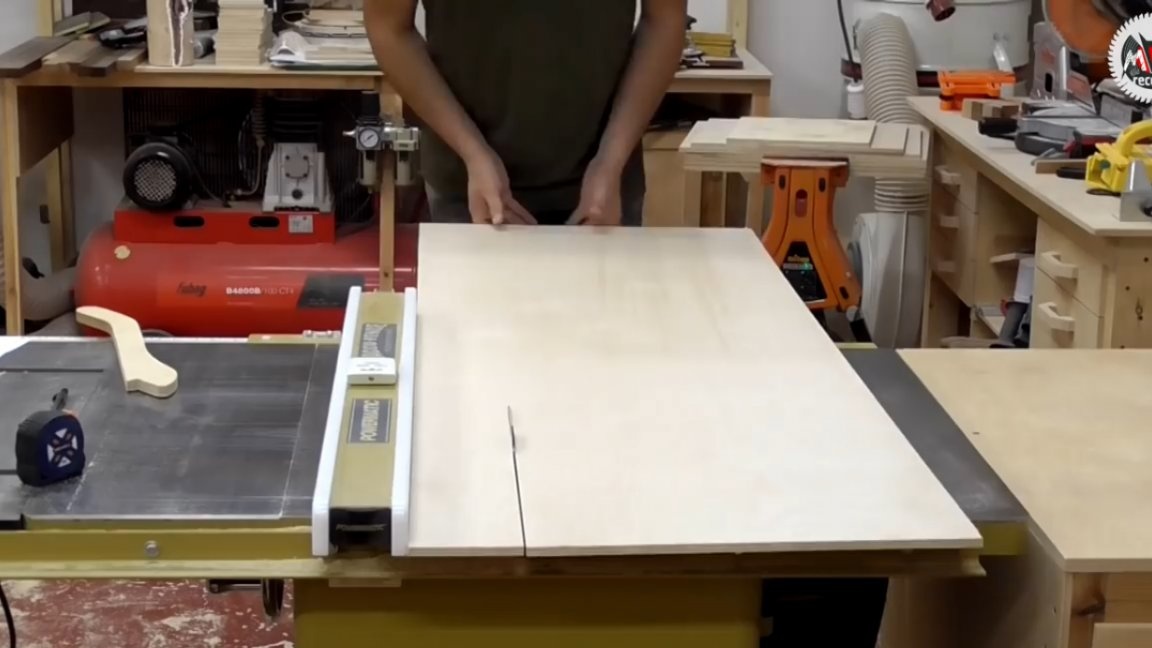
At the end cutting of plywood strips, the author adapted to use a pusher, which very successfully allows such a workpiece to be made without having to tear it from the parallel stop. For this purpose, any clamp will fit perfectly, even from a jointer, even from a milling table, if only the base is rubber, not sandpaper, as in this case, because it can still slip through and then the sawing line will be damaged.
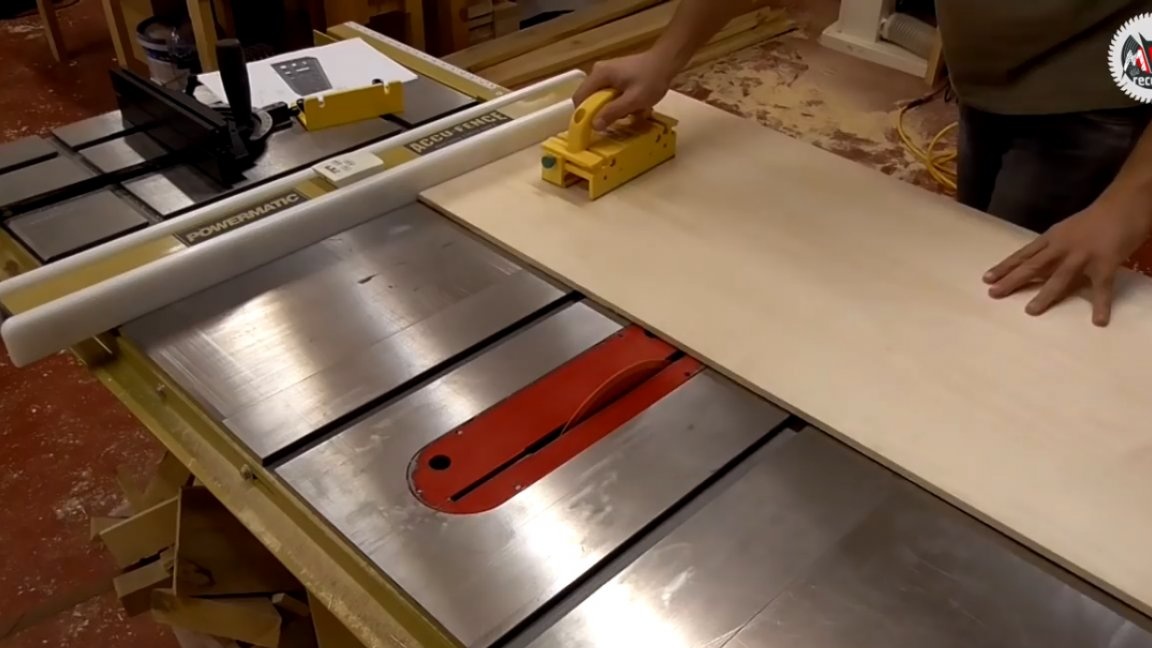
In addition, this method is especially good in the case of such a curve plywood. Using the same clamp, the master successfully straightened the plywood sheet during sawing. Thus, it is possible to work with standards with square sheets of plywood on a conventional sawing machine with no less accuracy than on a formatter.
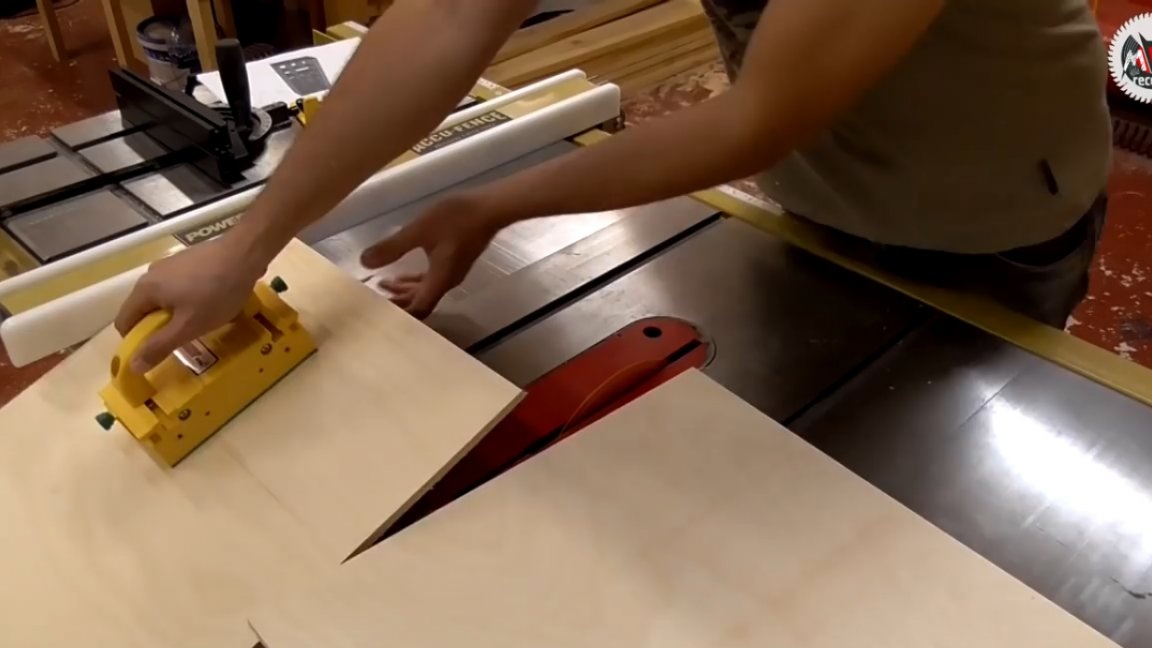
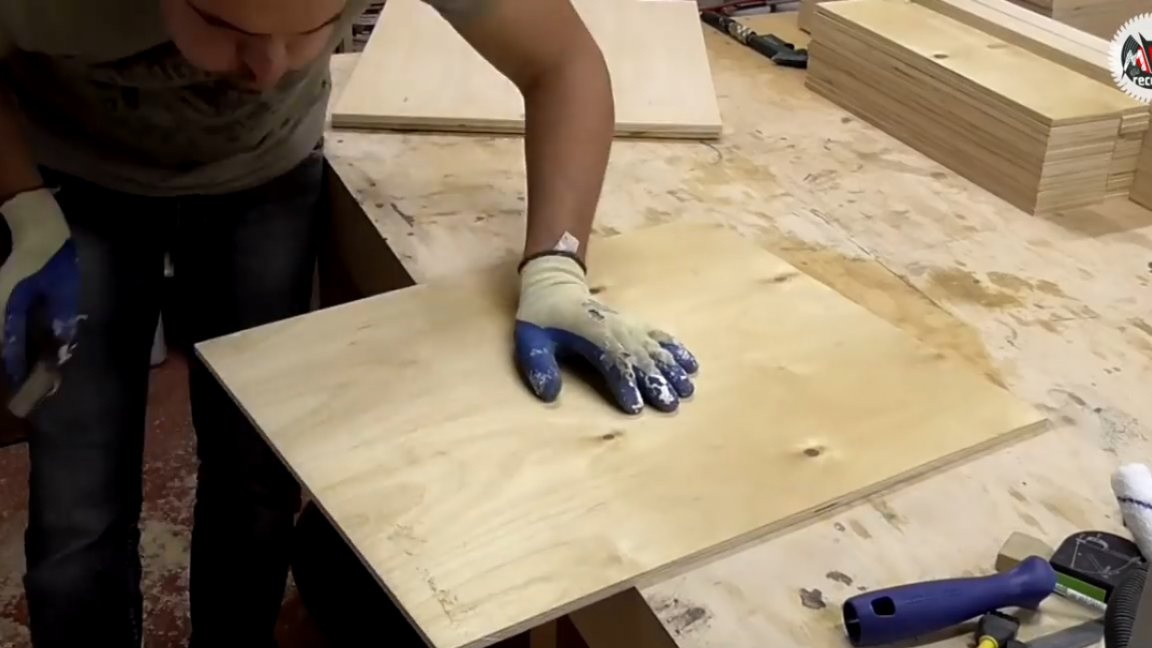
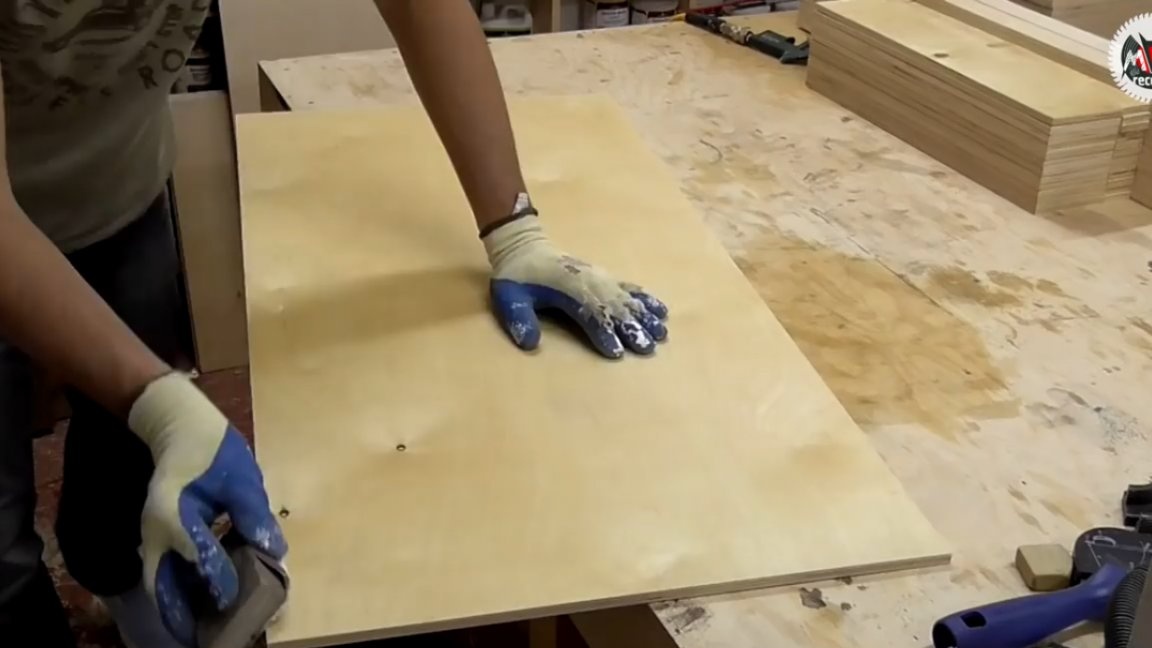
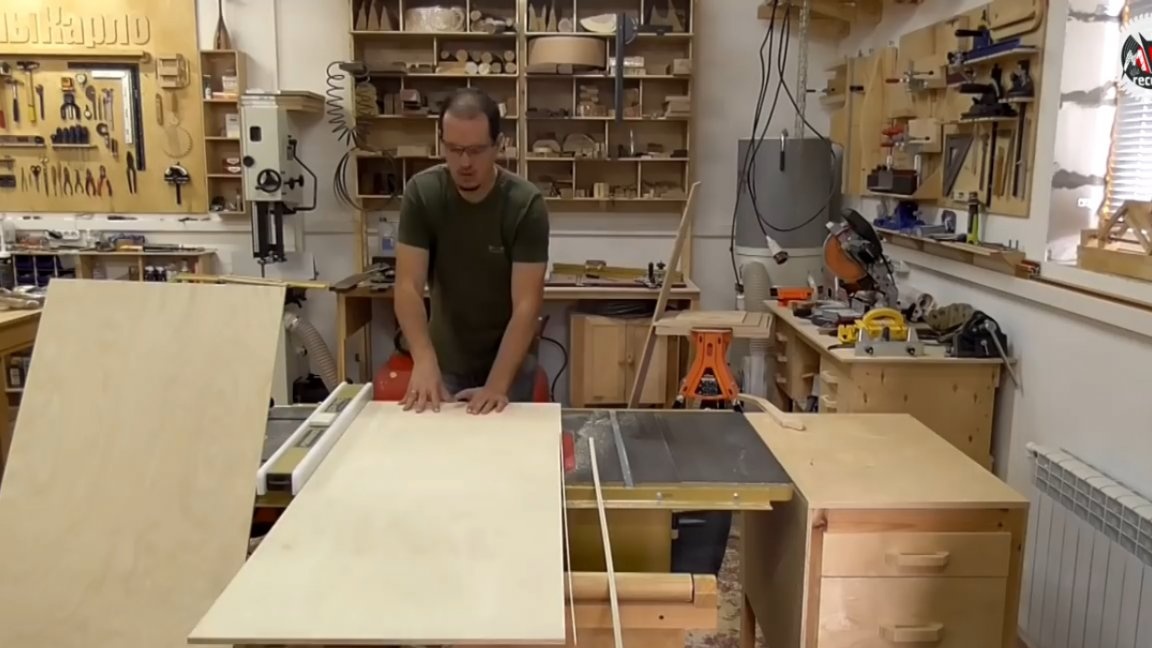
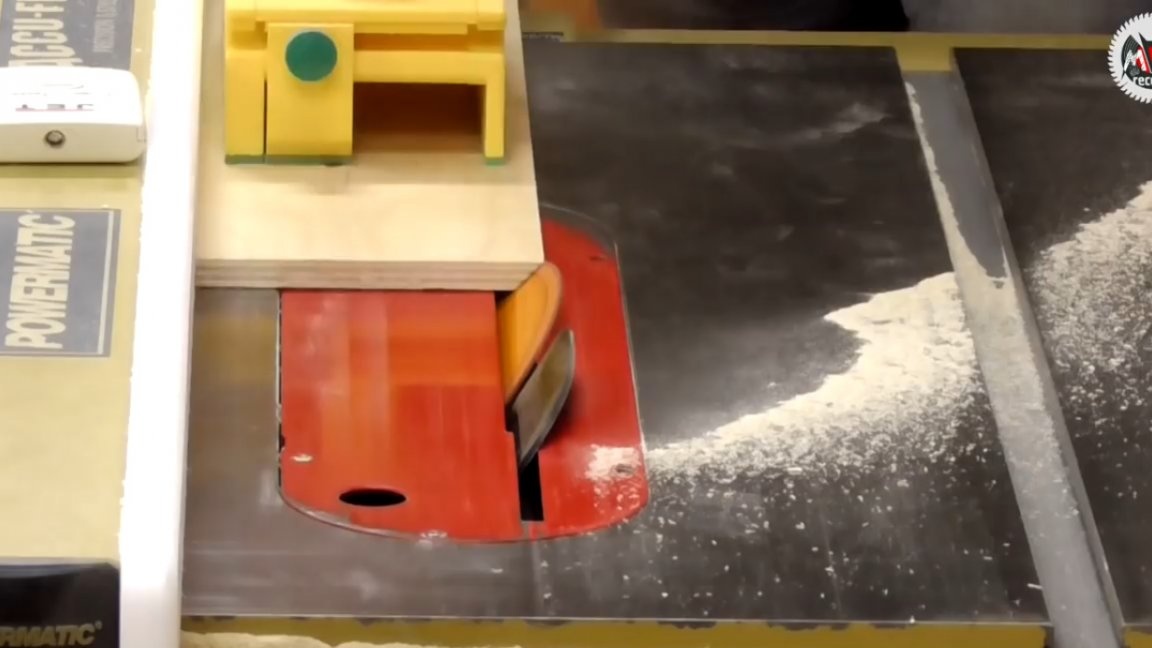
The only thing is that you do not calculate the orientation of the sheet and cutting, nothing can be done with chips and the blanks obtained after sawing need additional processing with sandpaper. The author always tries to ensure that all chips are on the draft side, invisible to the eye, so removing them is essentially only necessary for high-quality assembly.
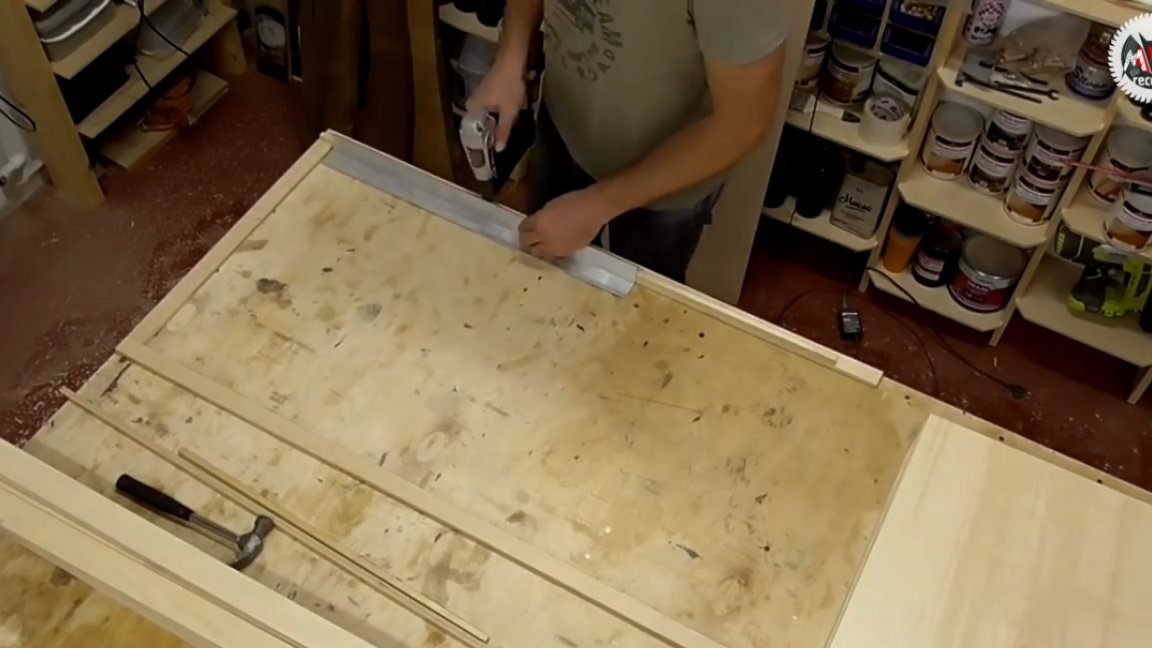
In the days of runoff discs for longitudinal sawing, chips could be easily obtained on both sides. In this case, the cut line must be sealed with, for example, masking tape. Turning to the assembly of the details of the rack, the master made an assembly slip on the table. You should always think about such devices when the number of products, or assemblies, begins to be measured in dozens or more. In this case, you should think about some kind of assembly jig in order to make your life easier and maintain the accuracy of the product.
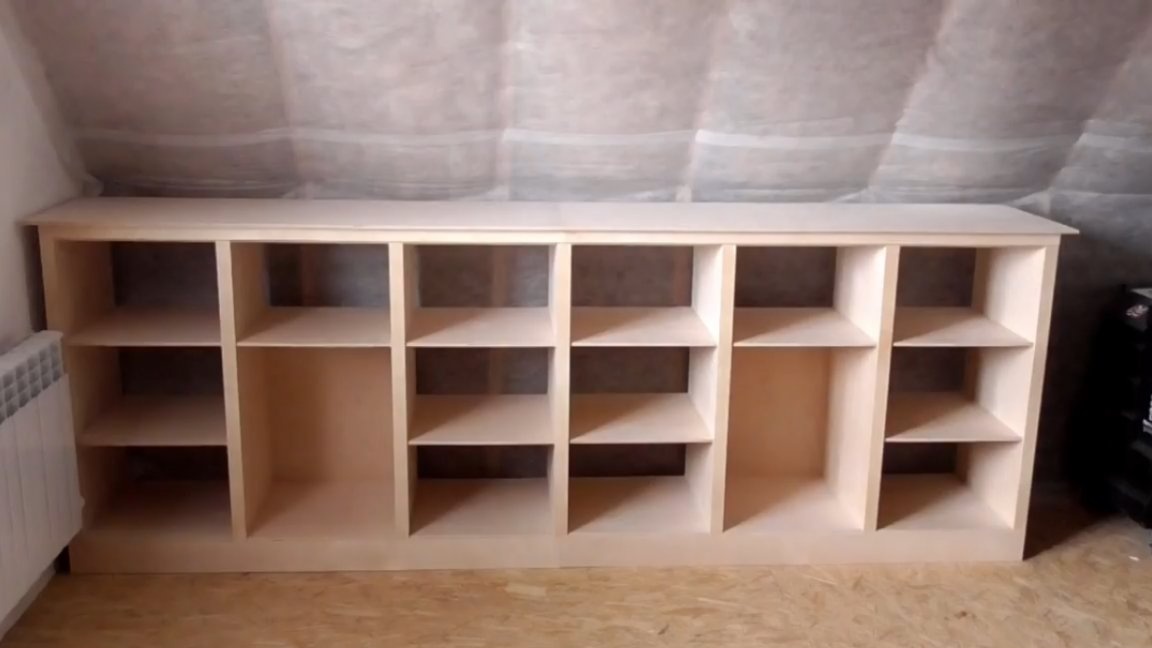
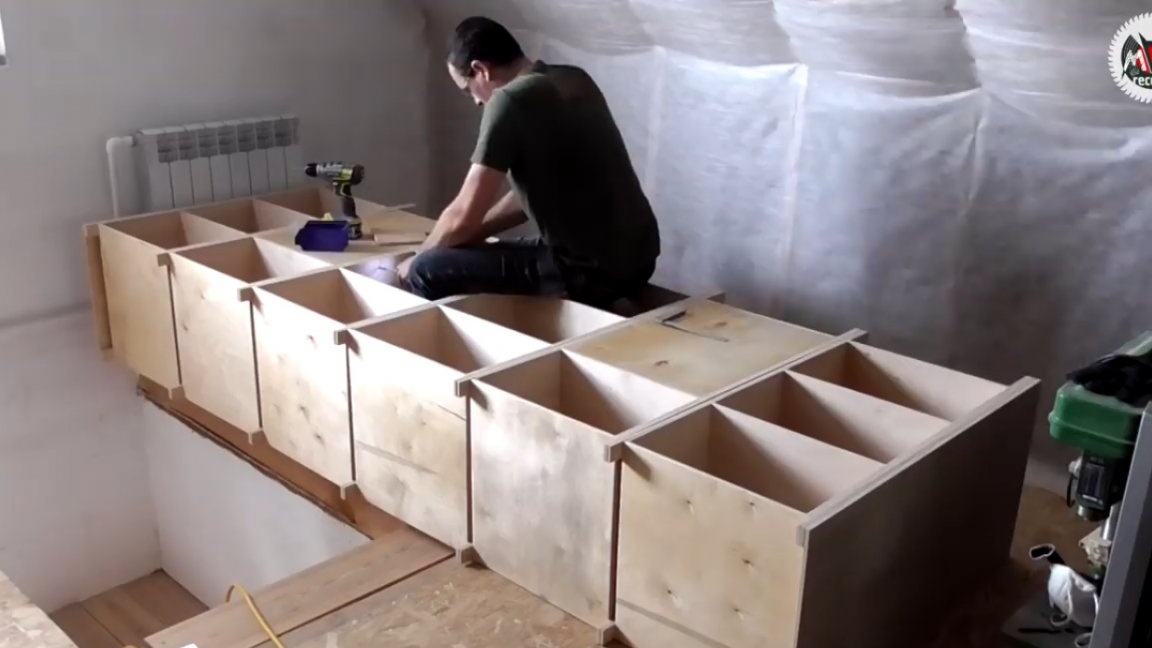
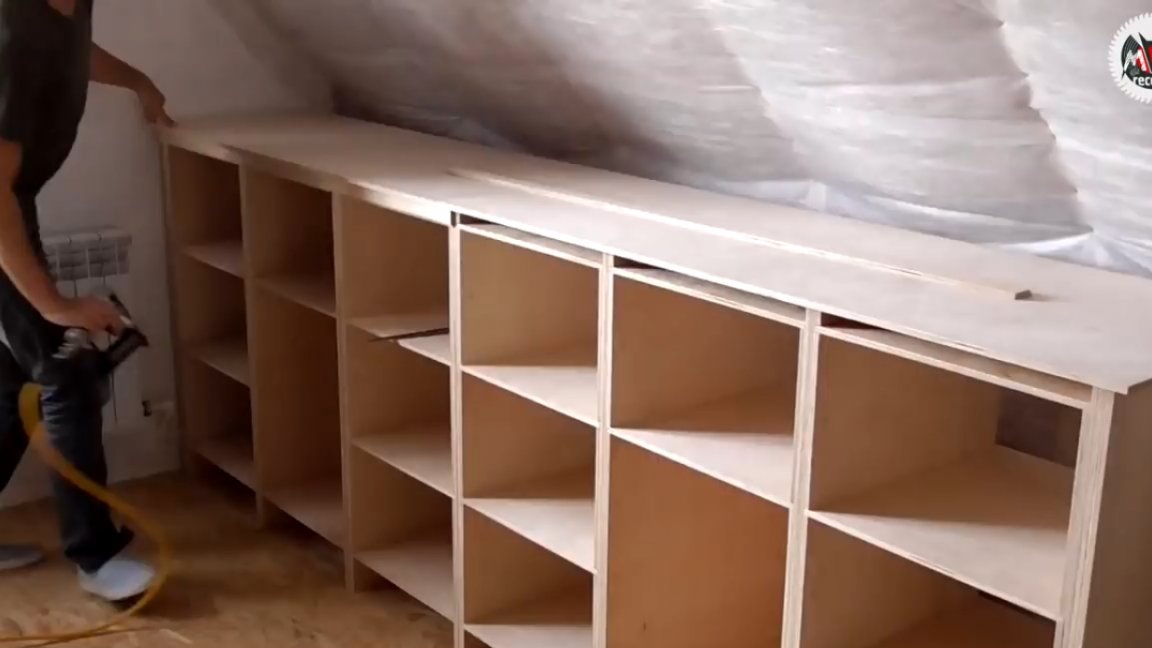
This time, the author had the task of breaking the rack into 6 independent parts.This is necessary for the convenience of lifting the product to the attic. Therefore, he came up with a system of racks from the same plywood.
It was decided to assemble the rack itself according to the classics when there are no grooves and other things in the product. All gaps and other constructs are set by the plywood itself, well, and installation in this case is done on a stud. No, not a nail, but a micro stud, since a stud for a relatively thin plywood is just perfect. It rests on it very firmly, and in the case of going beyond the sheet, it is easy to cut, it does not split the ends, and the installation traces are almost impossible to notice. In addition, helping in some places with glue, such a connection will be more than enough.
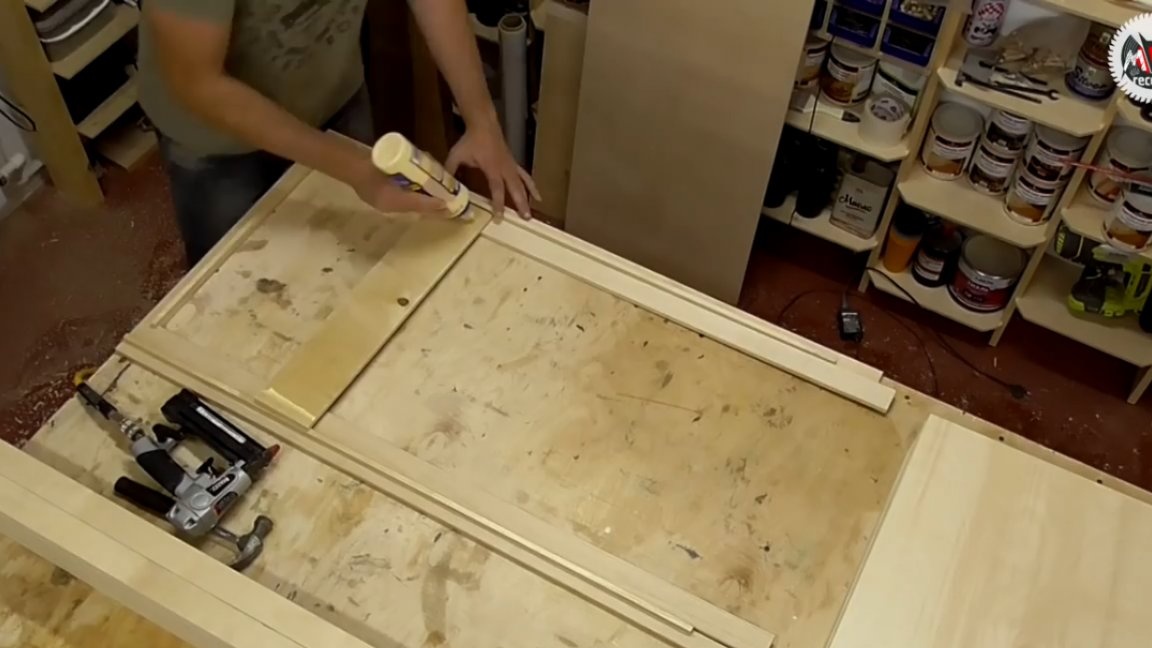
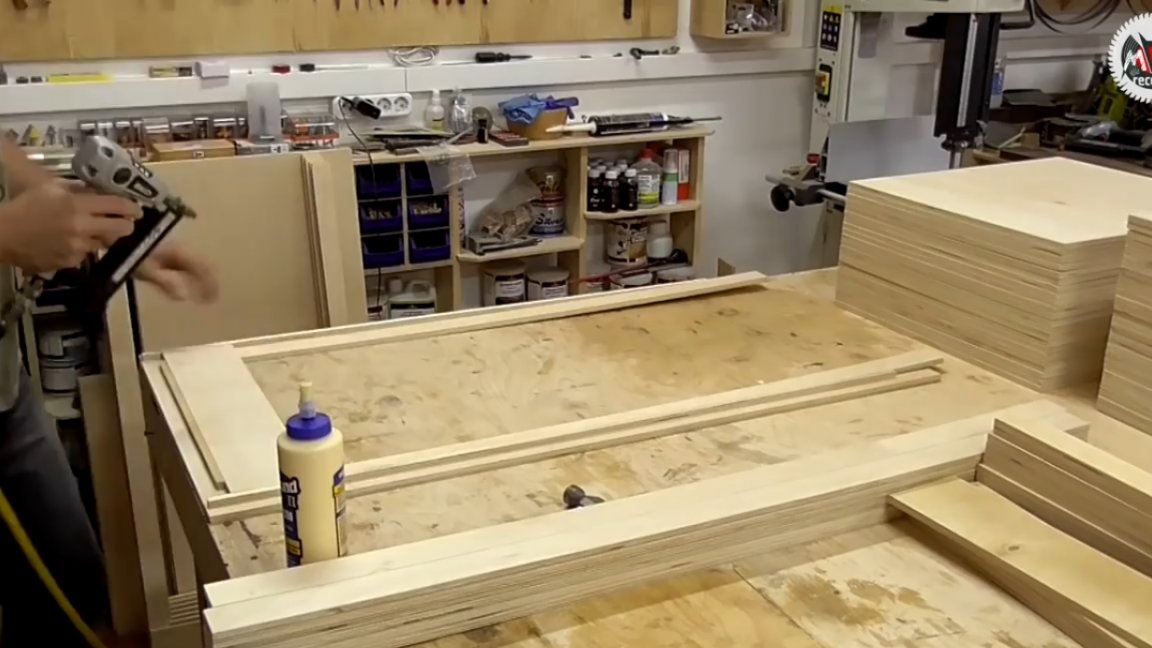
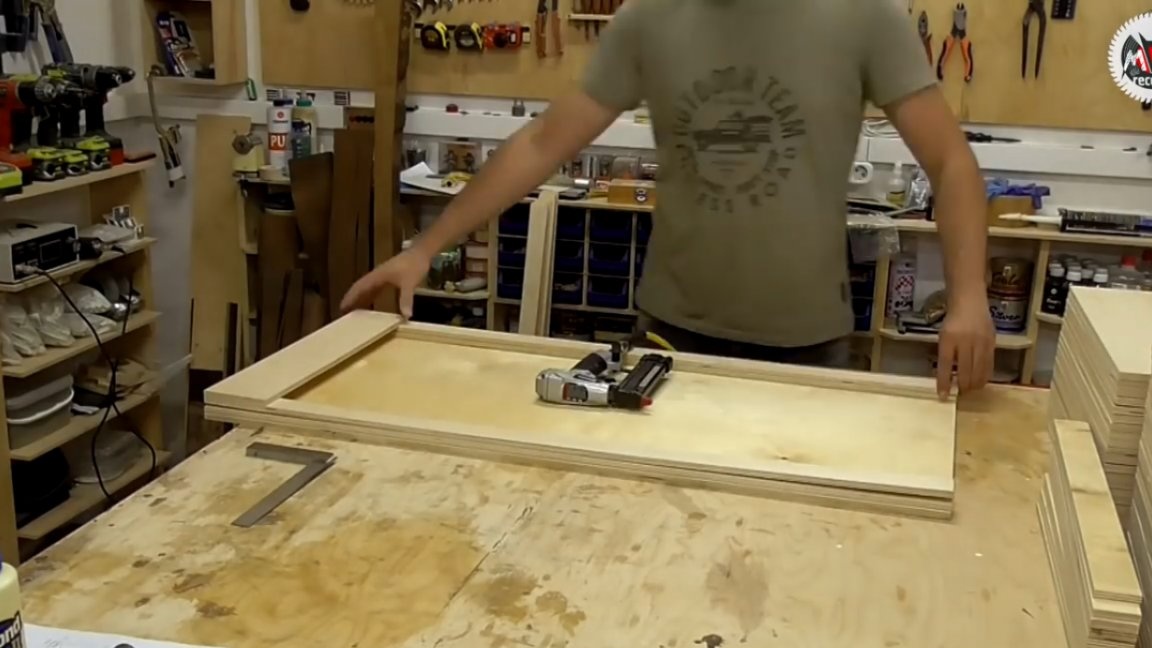
Further, the author shot the extreme racks to the blank side walls of the rack, which gave rise to the assembly process of the columns themselves. If something is not clear, you can download detailed drawing. But in fact, using this technology, it is possible to produce almost any cabinets and racks from sheet material, using only an ordinary sawing machine and mounting tool that is available to almost every master, and even more so to a master. Well, as a result of finishing, you can achieve almost any appearance. In this matter, as you can see, it is the finish that decides a lot, but for the product itself, the main thing is the correct proportions, the reliability of the design and the unpretentiousness of weather conditions. This is just not to occupy plywood.
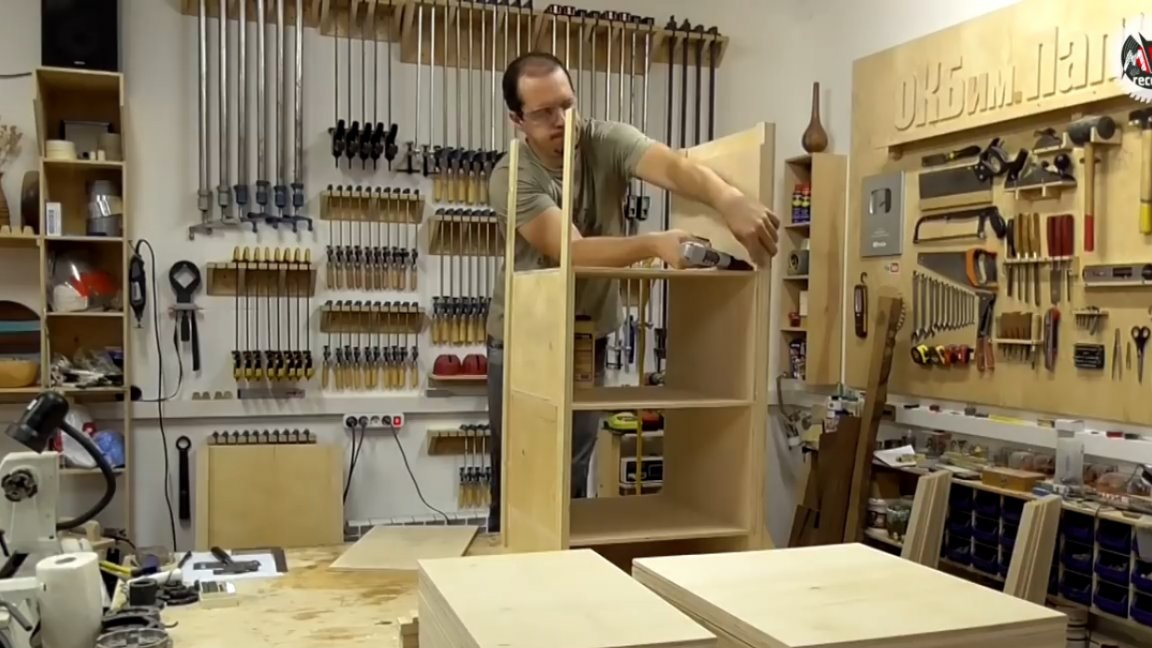
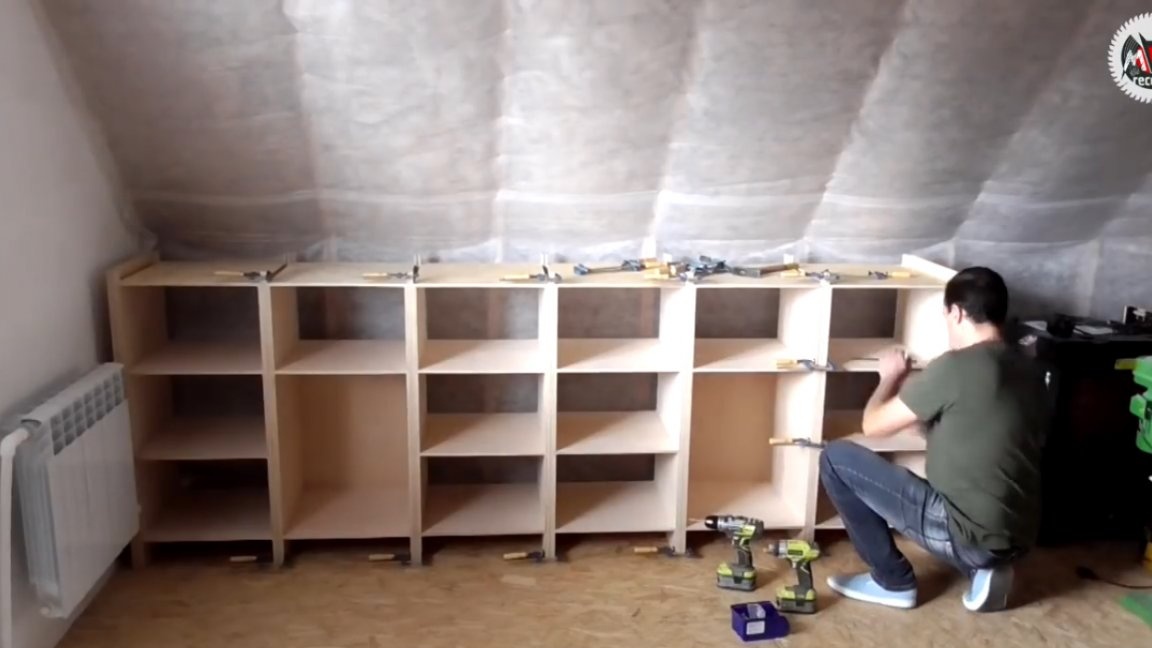
Of course, at this stage, all these links of the rack look frankly flimsy, in fact it is, but when you put it together and add the back binder, everything becomes monolithic. It is worth repeating that in this case, the author identified as the main task the possibility of moving the product in one person, and plywood, as you know, is pretty heavy.
In this project, the author used plywood sanded on one side, with which she looked at us. By and large, additional grinding in this case, for example, for painting is completely useless here, and this, in turn, saves a considerable amount of time and effort.
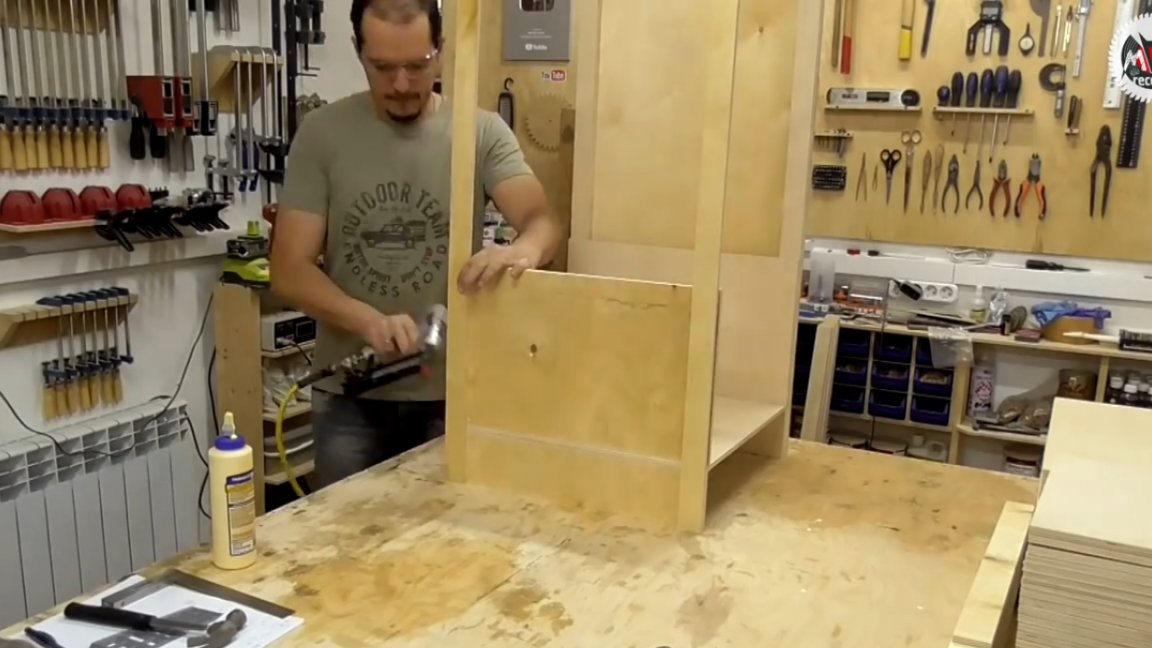
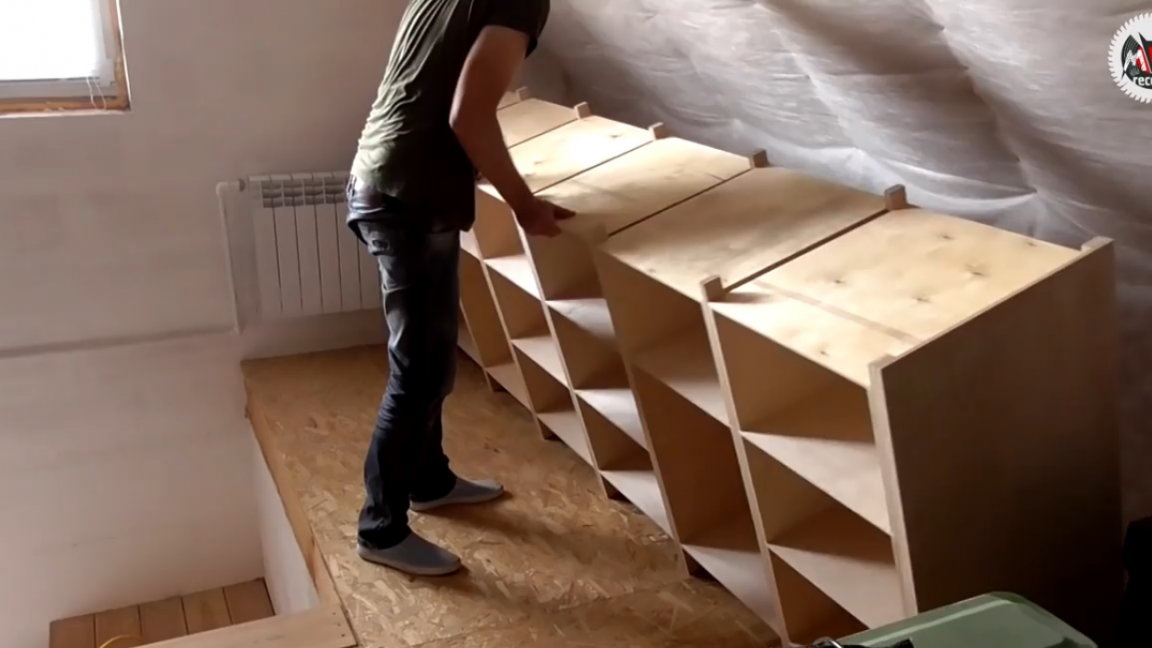
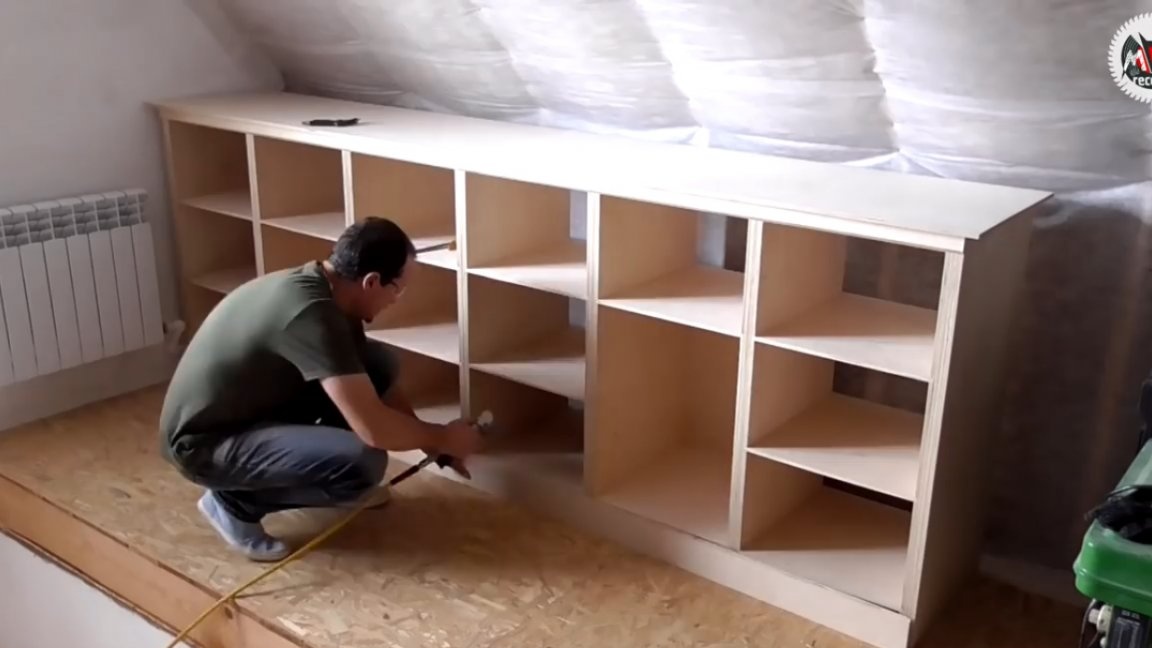
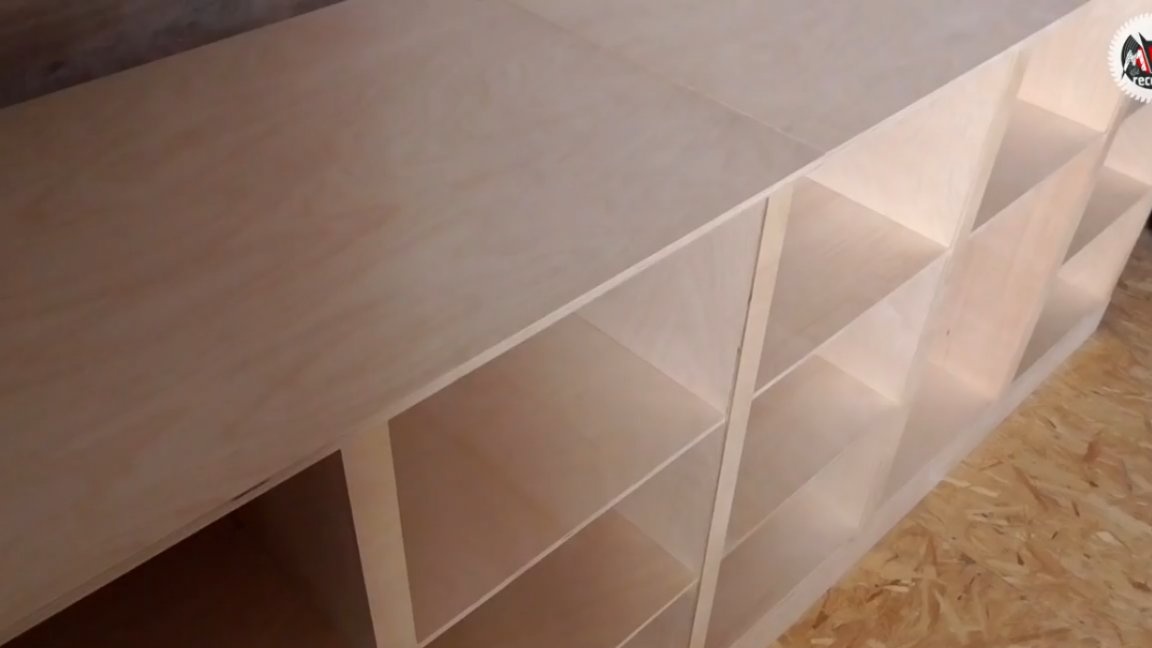
Two of the six columns of the rack, it was decided to do with two shelves. This is done in order to have the opportunity to store quite large things. And at the same time in these sections, let's do the binder for extra rigidity. As the binder, we will use the same 10-mm plywood, which must be sawed clearly to the size of the niche so that it fits there tightly.
Two such stiffeners will be enough for the entire rack. The rack just distinguishes from the cabinet not only the absence of a door and a shallower depth, but also the absence of a back wall, for this reason in this case we have to do only with stiffeners.
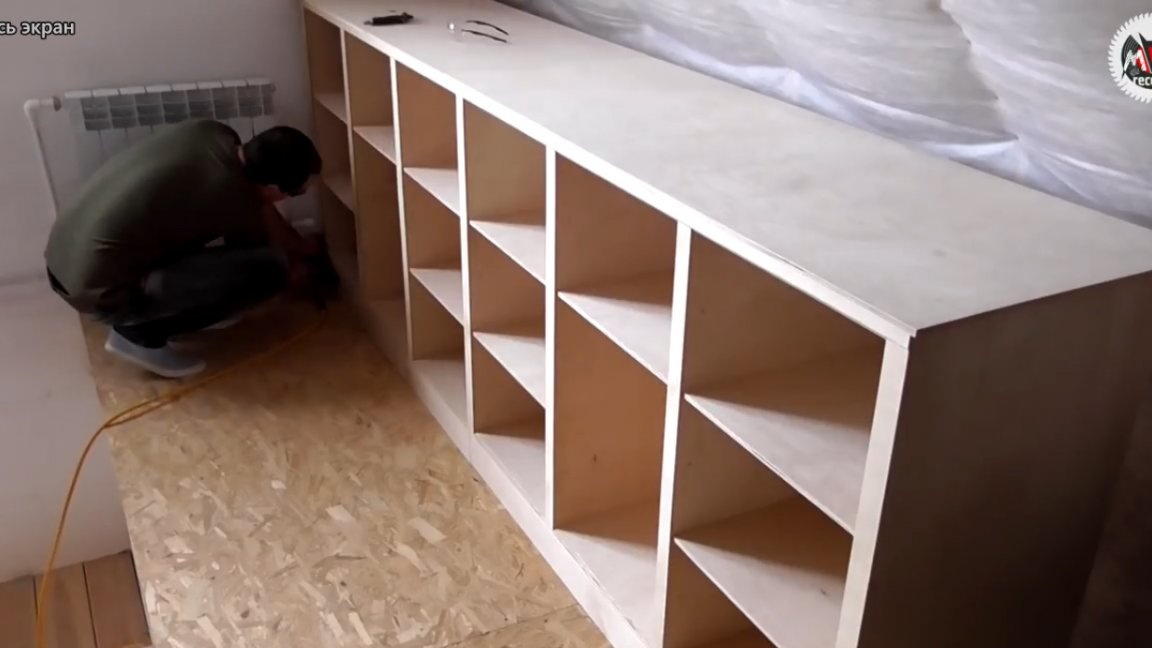
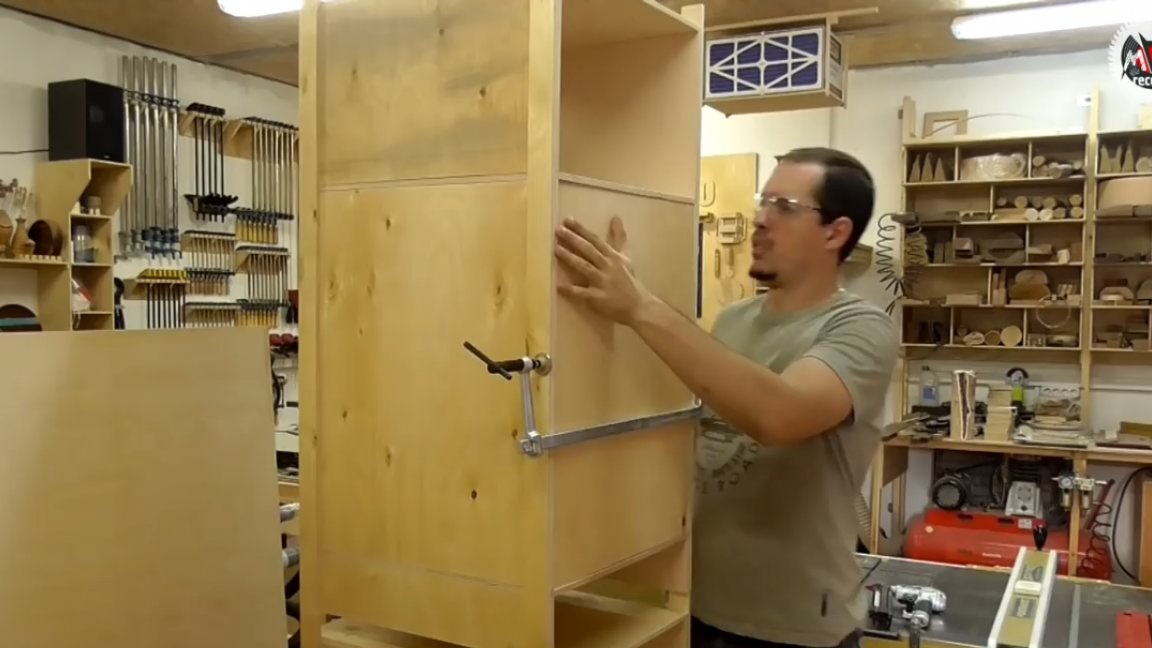
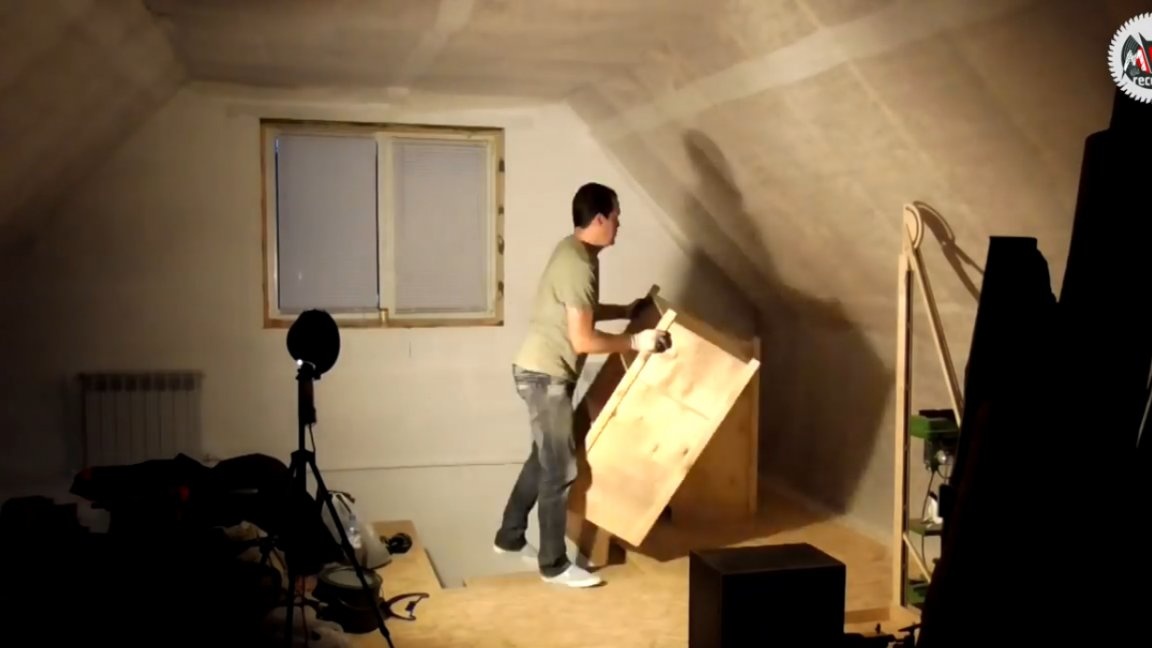
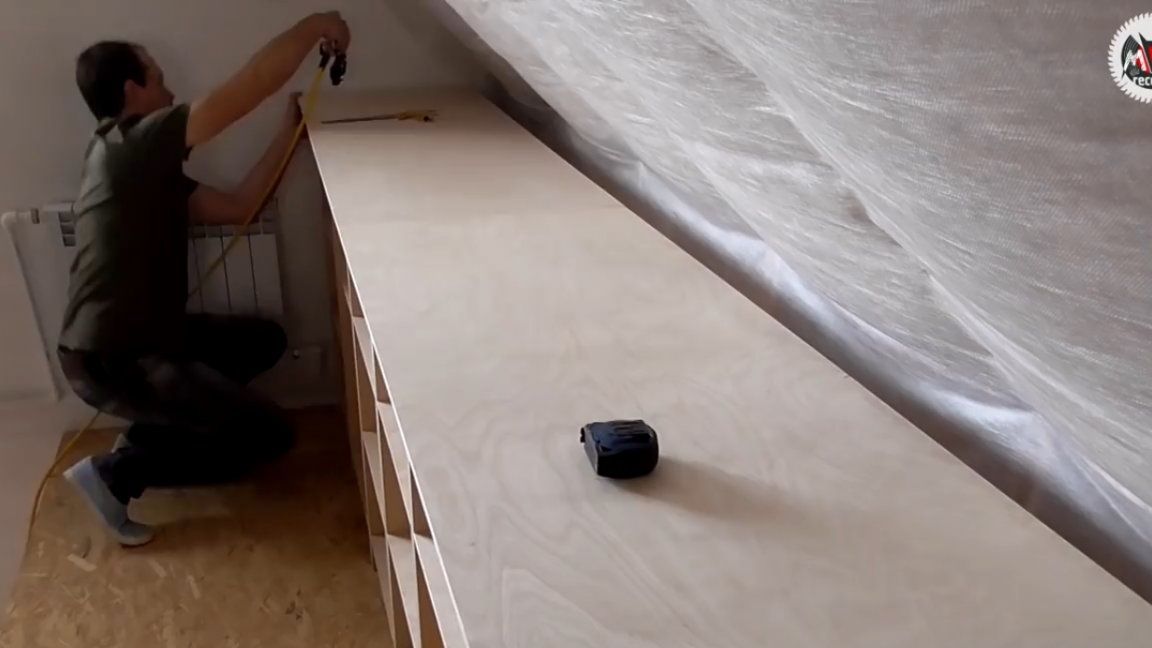
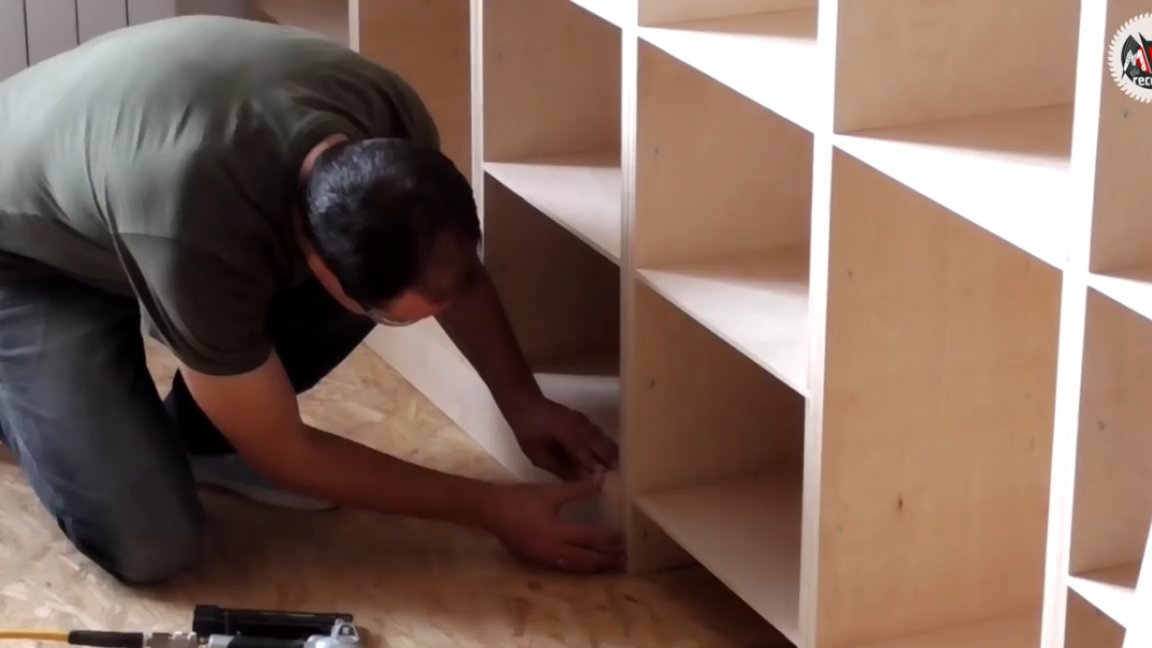
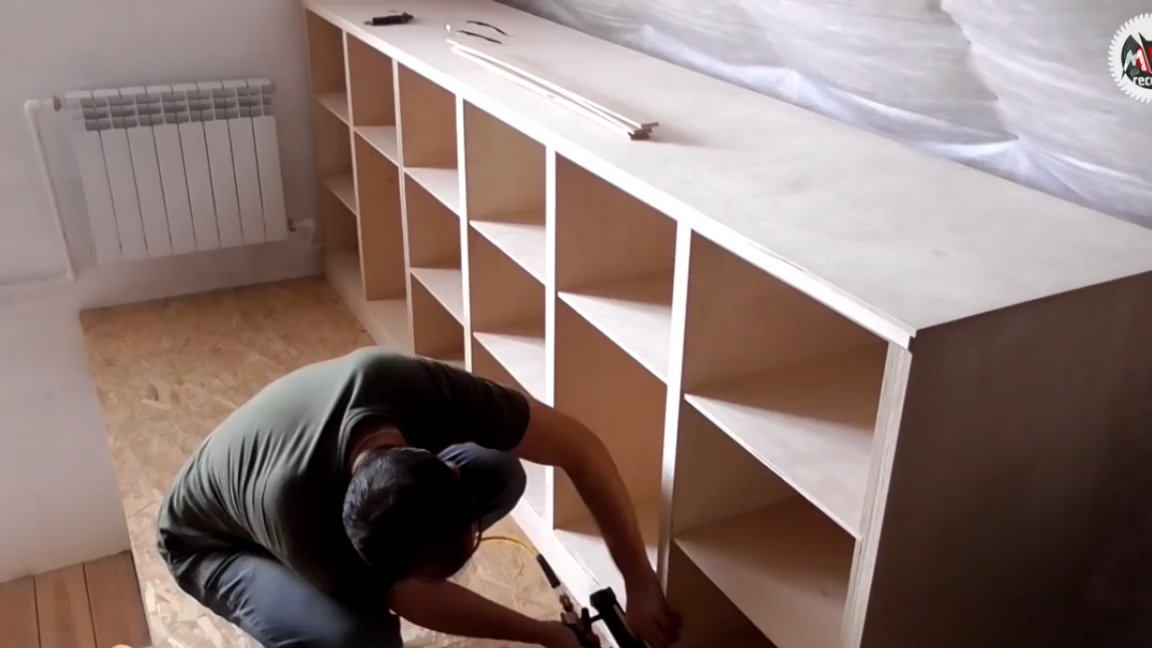
As a result, the author quite calmly lifted all the parts separately upstairs and set about the pulling process. He made a coupler with the help of self-tapping screws. It turned out very durable, in addition, these self-tapping screws have something similar to a press washer.
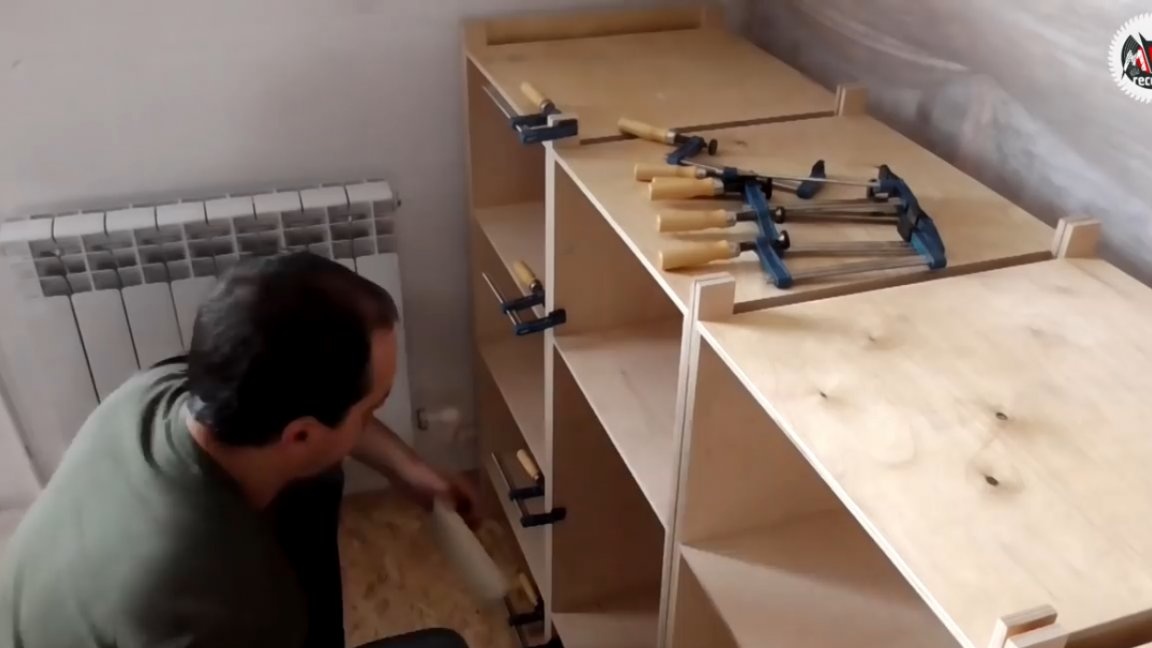
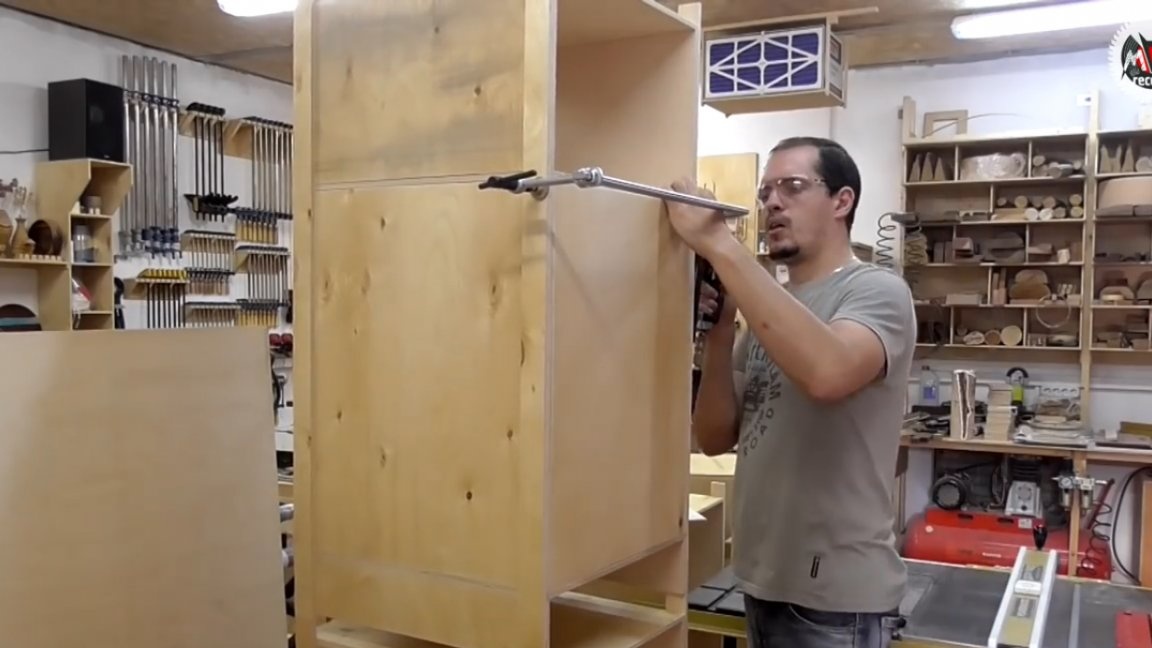
Of course, first this whole thing needs to be leveled, tightened with clamps, and only then can you be drilled and twisted with screws. At this stage, it was decided to do without glue, because I wanted to always be able to disassemble, modify, or transfer the entire structure.
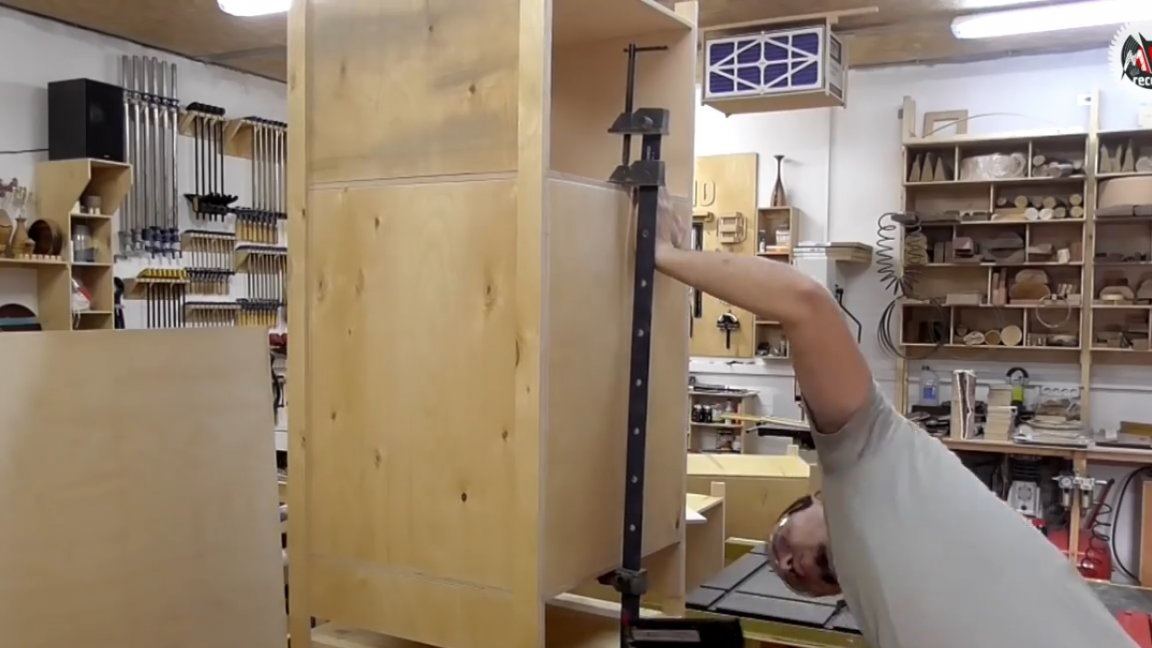
After everything was pulled down along the front part, it was possible to roll the entire structure and go to the rear.
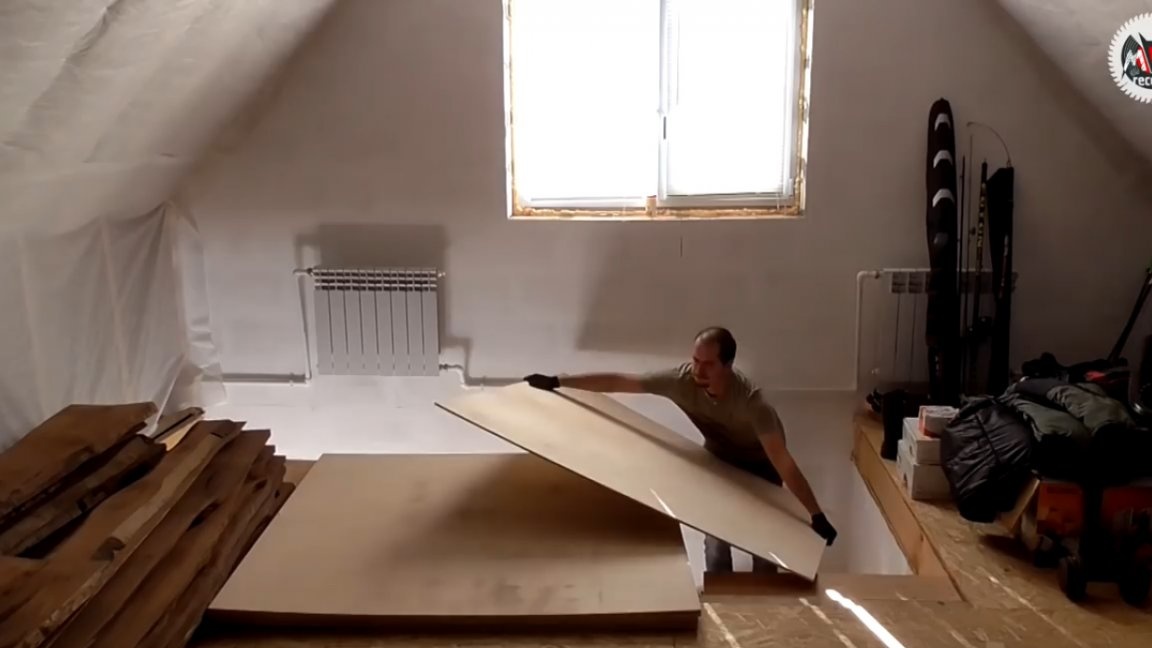
The headset turned out to be quite heavy, after all, almost all 8 sheets of plywood, which is about 120 kg. Therefore, you need to drop and put the resulting product in place very carefully.
Before installing countertops, to the protruding end of the racks, it is necessary to shoot stiffeners to prevent bending.
Then you can start cutting the last plywood sheet.
Well, the final elements were the details of the socles and the base, which in addition to the aesthetic component gave additional rigidity to the whole structure.
Initially, the master wanted to get confused and close the whole thing with a thermal tree, including all the ends of plywood, but for the workshop the toad strangled somehow, and besides, an open screed was already used. Nevertheless, it was decided to decorate these elements by adding a bevel at 45 degrees, which prompted the author to close the ends of the racks with the remains of 6mm plywood, which was left over from one of the previous projects.
Of course, it took a lot of material, but quite a lot of storage space was obtained, not only for fishing equipment, but also for any other small things. The author did not paint the rack, as it became a pity the drawing of plywood, and even time. That's all. Thank you for attention. See you soon!
Author's video: