
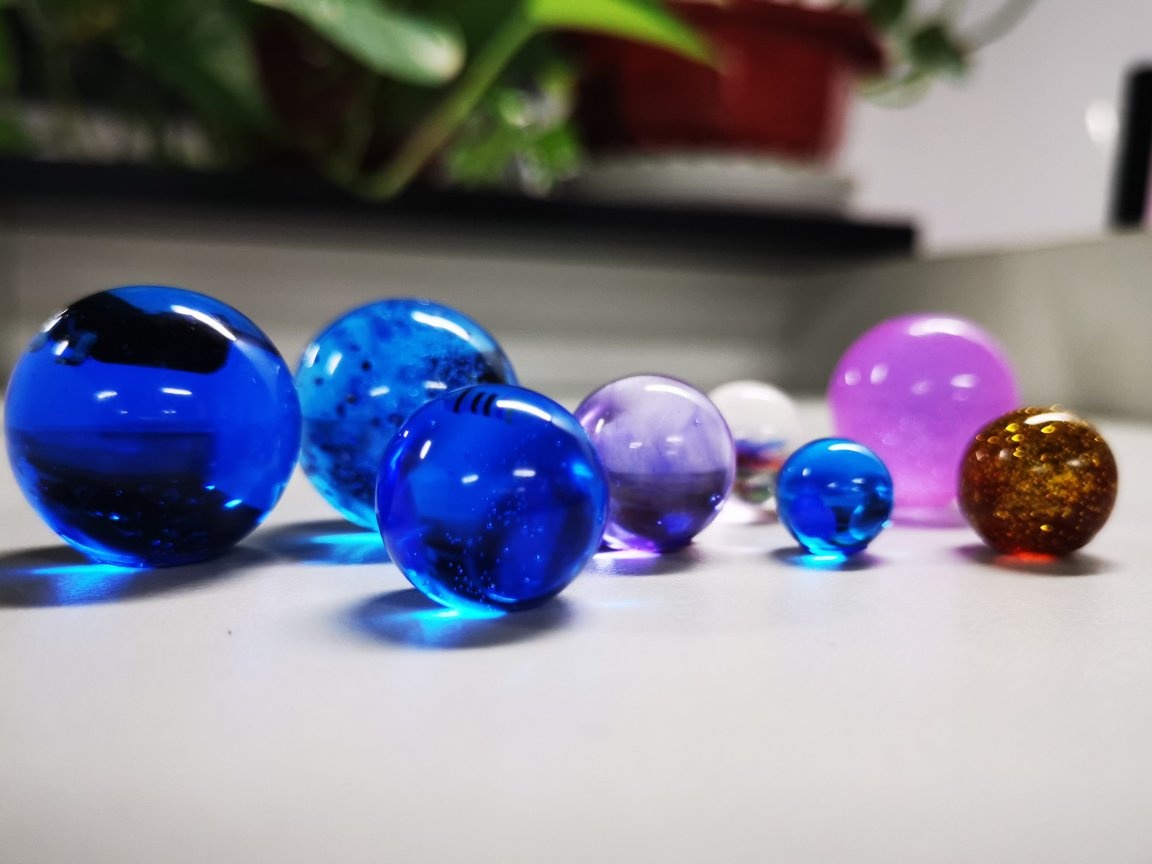
The author, nicknamed Electroniclovers123, tells how to put electronic components in epoxy balls. In the current version, they don’t do anything there, they just lie there, so the defective parts will do, but you can place in the ball, for example, a winding, a rectifier and an LED that will glow if you bring an external winding connected to the generator.
The master takes two-component epoxy, the vessels with its components look like this:
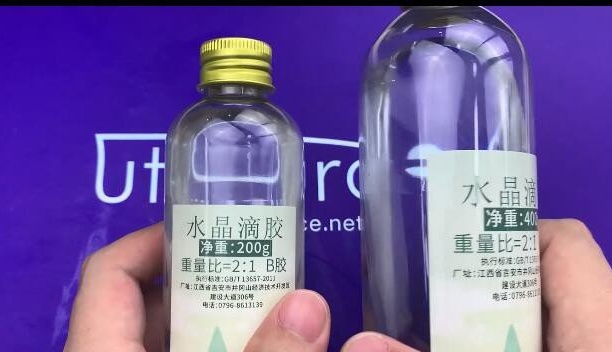
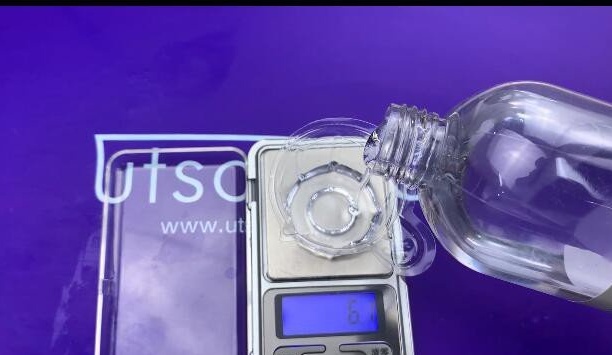
Please note: instead of the usual volume in such cases, the weight is indicated on the bottle labels. Just remember the joke about a pound of milk from the book "Mouse Programmyshka in the country of Computer Science." But it turns out that this was not done by chance. The master mixes the components in a 2: 1 ratio not by volume, but by weight, so accurate scales help a lot. In principle, it is logical: since the components of the resin are different, it means that their density is not the same.
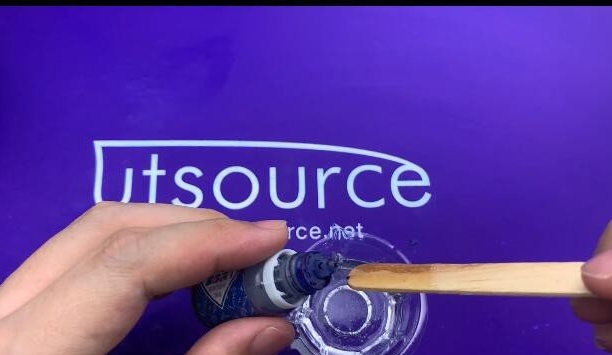
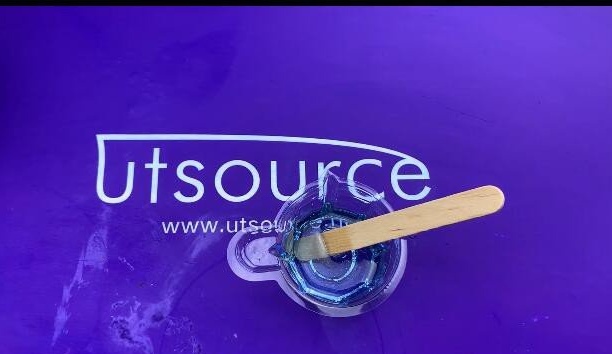
The master adds dye and mixes. You can skip this step if you do not want to tint epoxy.
Then he leaves the mixed and colored resin for five minutes, without removing the stick for mixing:
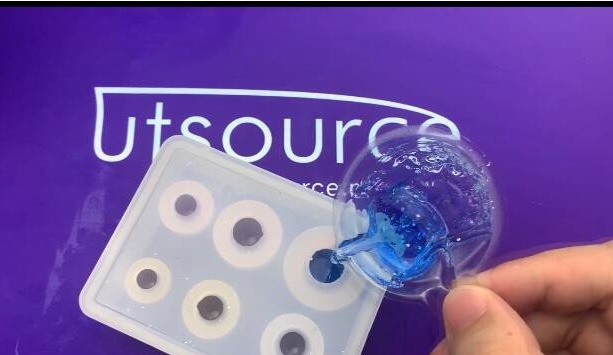
Fills half the mold with resin to obtain balls of different diameters. The form is one-piece, you can fill it with resin through the hole in the upper part. But it is not disposable, but how this was achieved - see below.
If you now place the electronic component in the resin, it will slowly float sideways. Therefore, the master first gives the epoxy a little harden, and only then places the component in the center:
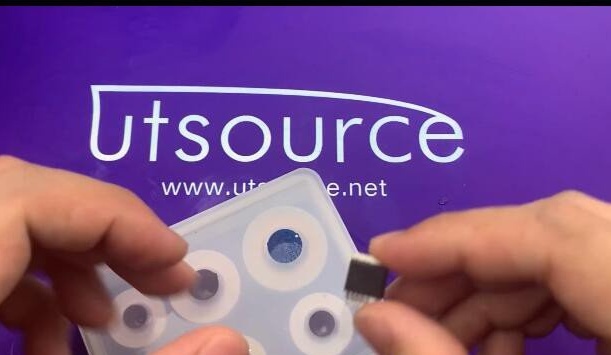
And then fills the rest of the form with epoxy:

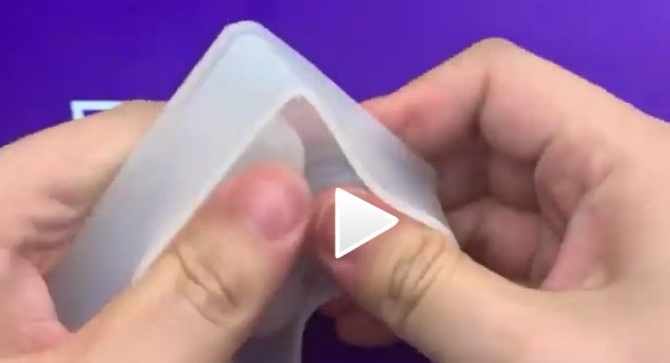
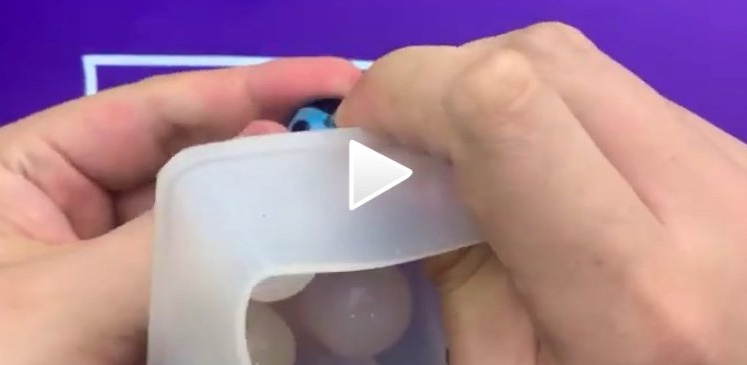
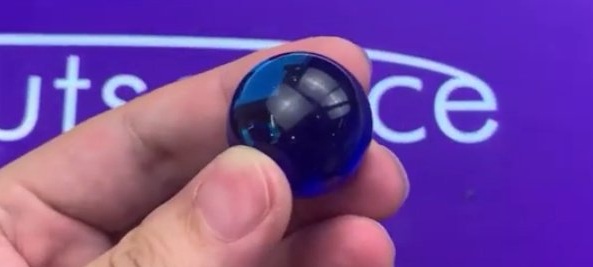
Leaves everything in this form for 72 hours, and then removes the finished ball from the form by clicking on it from below. The mold is made of soft silicone, so the hole for filling the resin under the pressure of the ball expands, and it is outside. The following four photos show the sequence for extracting a ball from a mold:
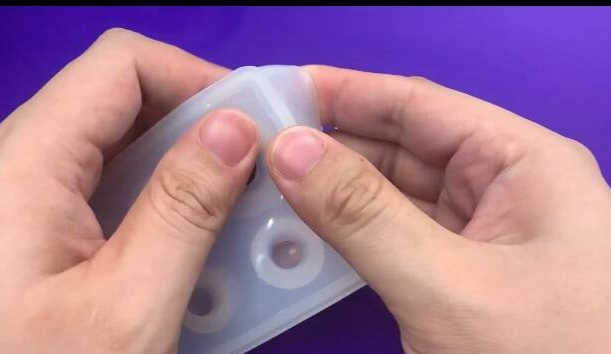
Please note: three of these pictures are screenshots from the video, because they are not on the web page with the original instructions. And here is the video itself:
How can these souvenirs be improved? The first method is given at the beginning of the article.The second - add a chain with a ring even before the epoxy has completely hardened. Get the original keychain.