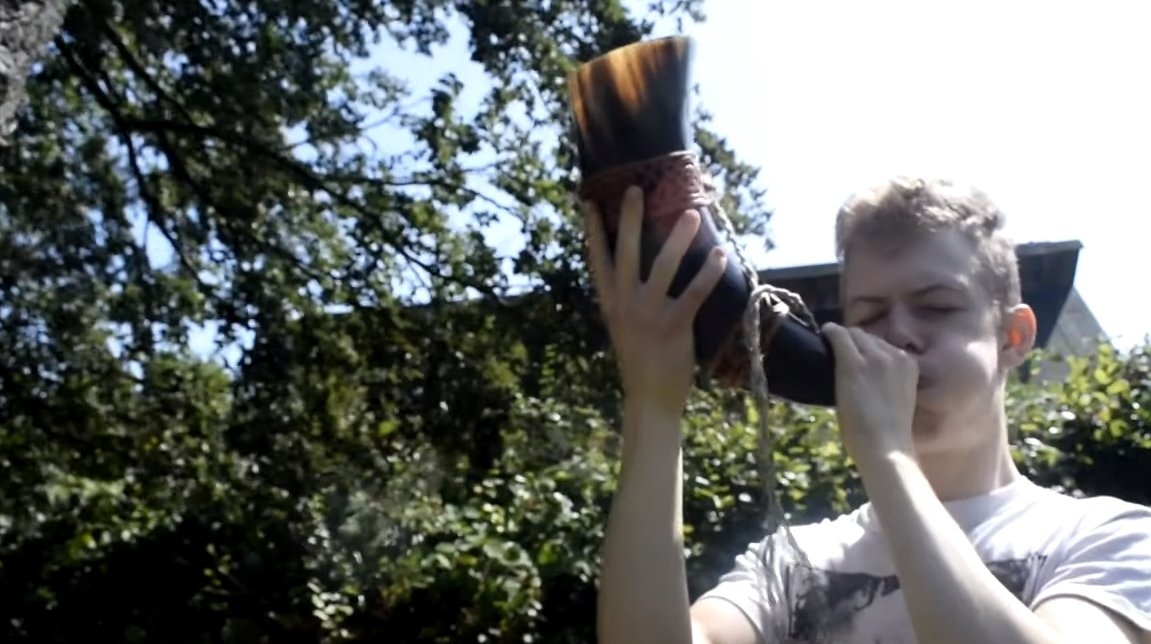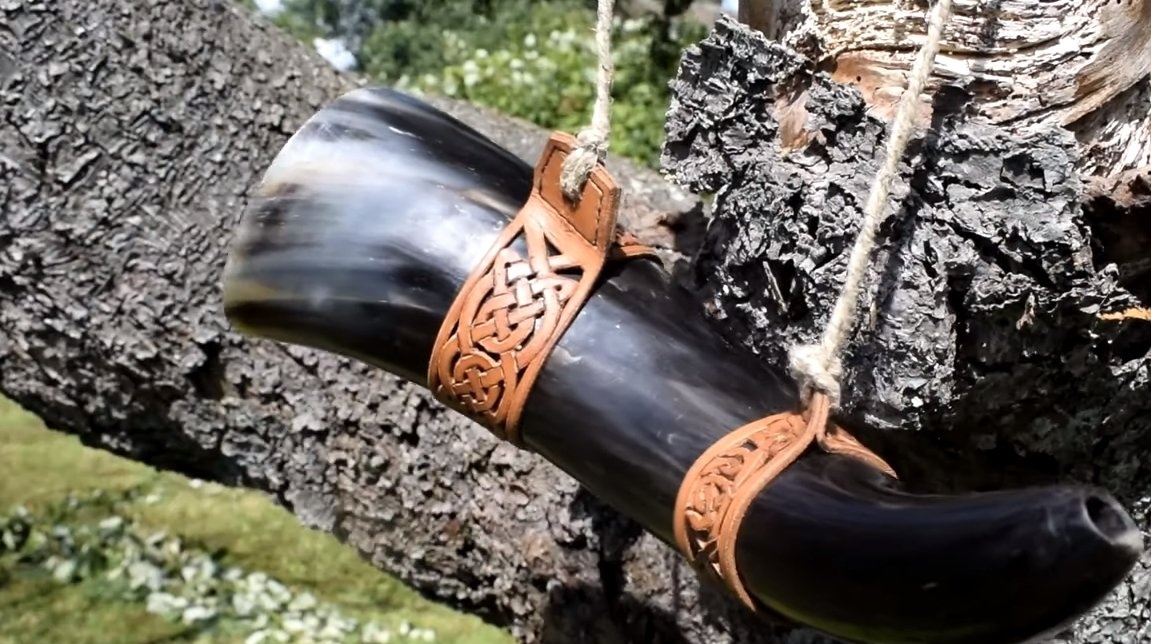
Hello to all fans of the craftsmen, today we will consider the process of manufacturing such an ancient sound instrument as a horn. Homemade made of cattle horn, and for fastening and carrying, the author made elegant leather clamps. The homemade product looks great, it will be a great accessory for hunting. If you are interested in the project, I propose to study it in more detail!
Materials and tools used by the author:
Material List:
- skin;
- horn of a large animal (cow, bull);
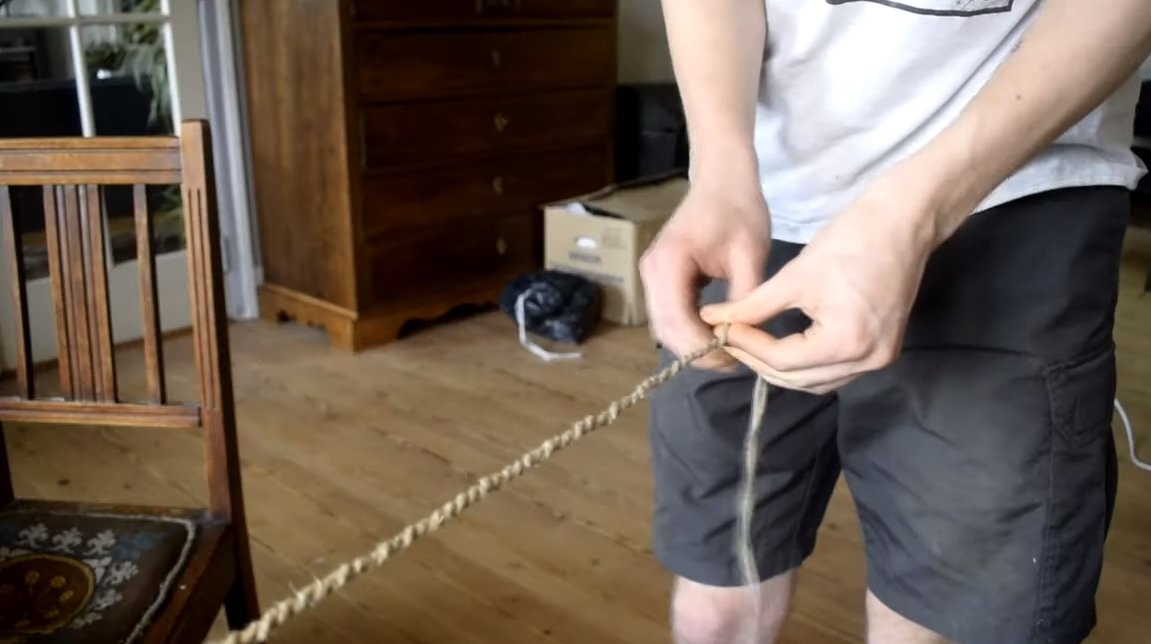
- rope;
- little for the skin;
- oil or varnish for processing horn.
Tool List:
- a sharp knife;
- sandpaper;
- ;
- stationery knife;
- punch, awl;
- sewing supplies;
- ruler.
Horn manufacturing process:
Step one. Horn processing
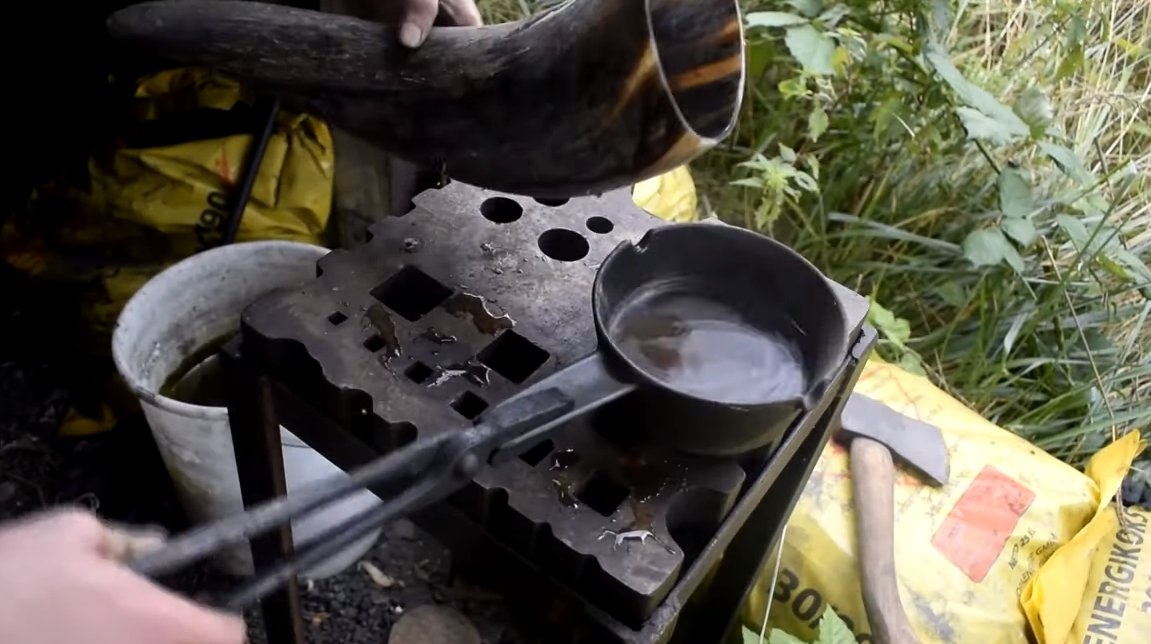
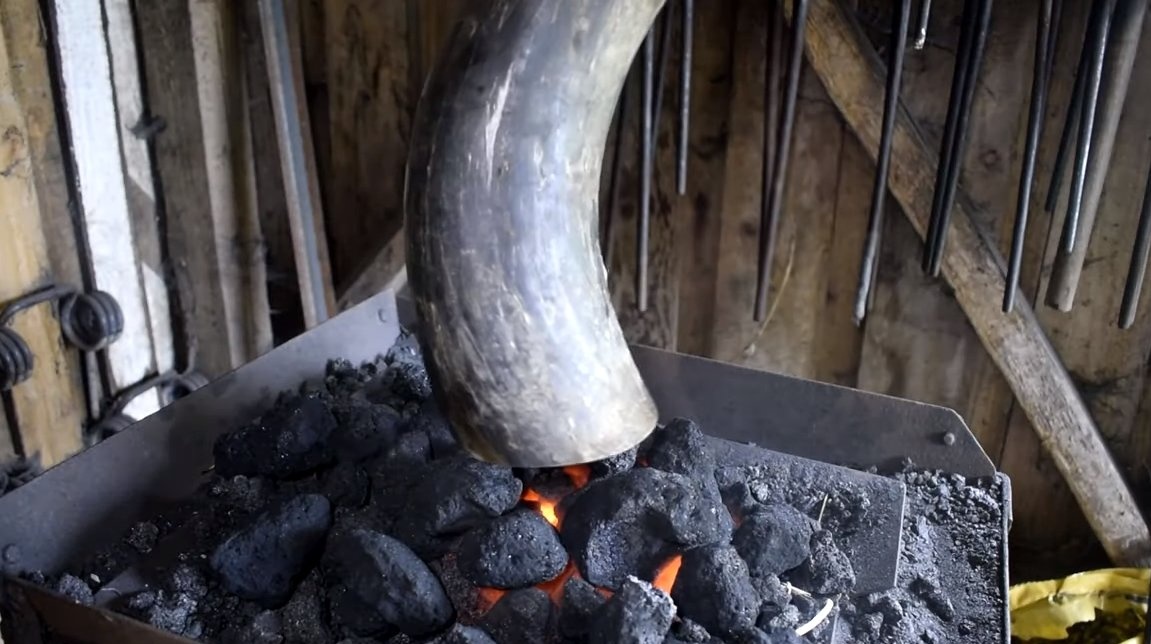
First of all, we need to thoroughly rinse the horn from the inside, for this we need boiling water. We wash the horn well and clean it, it is advisable to repeat the procedure several times. For cleaning we use various brushes, rags and so on.
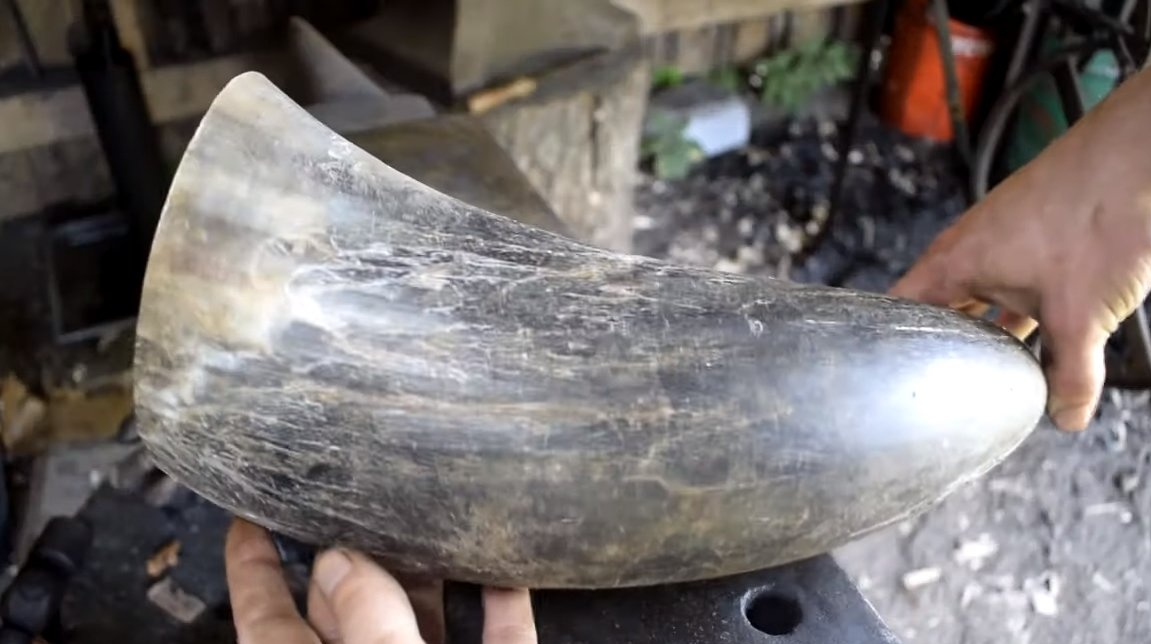

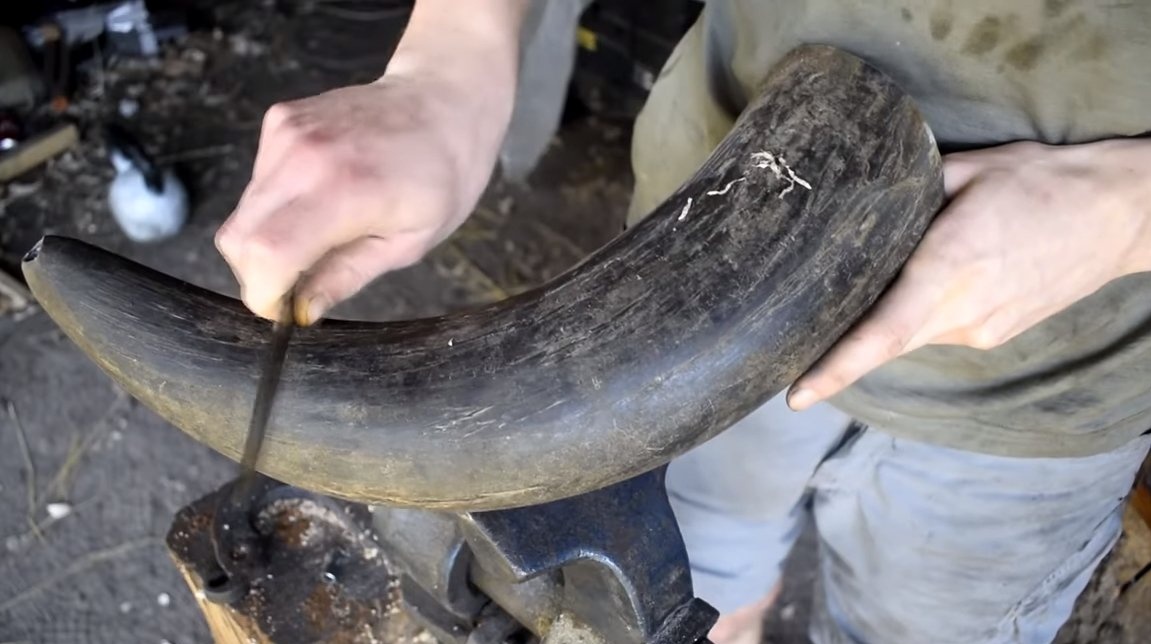
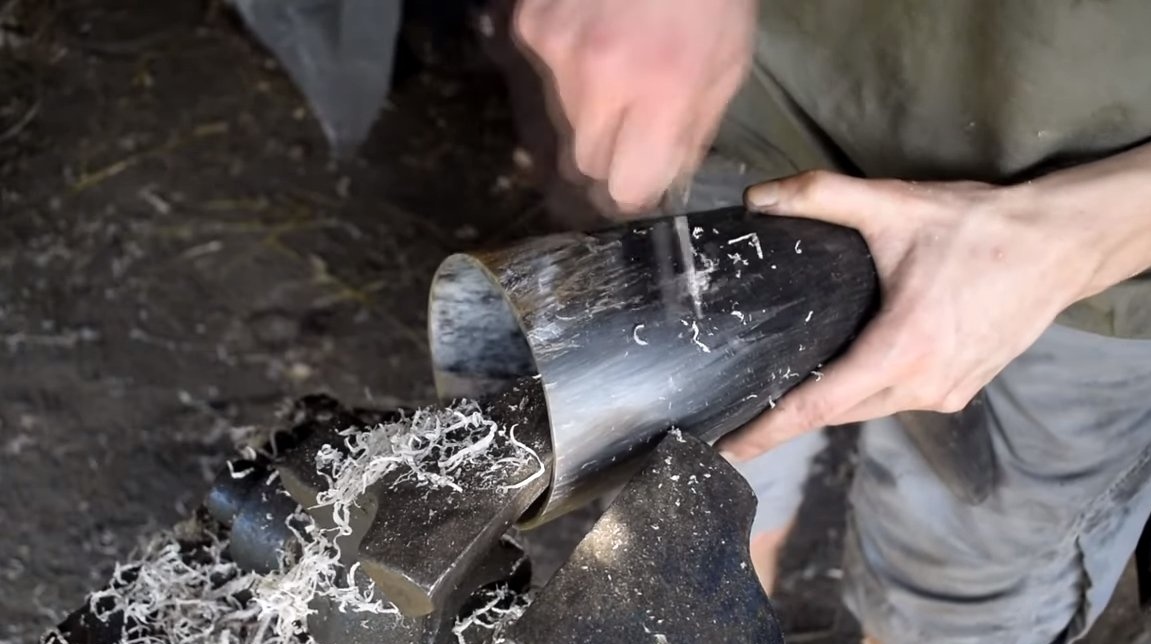
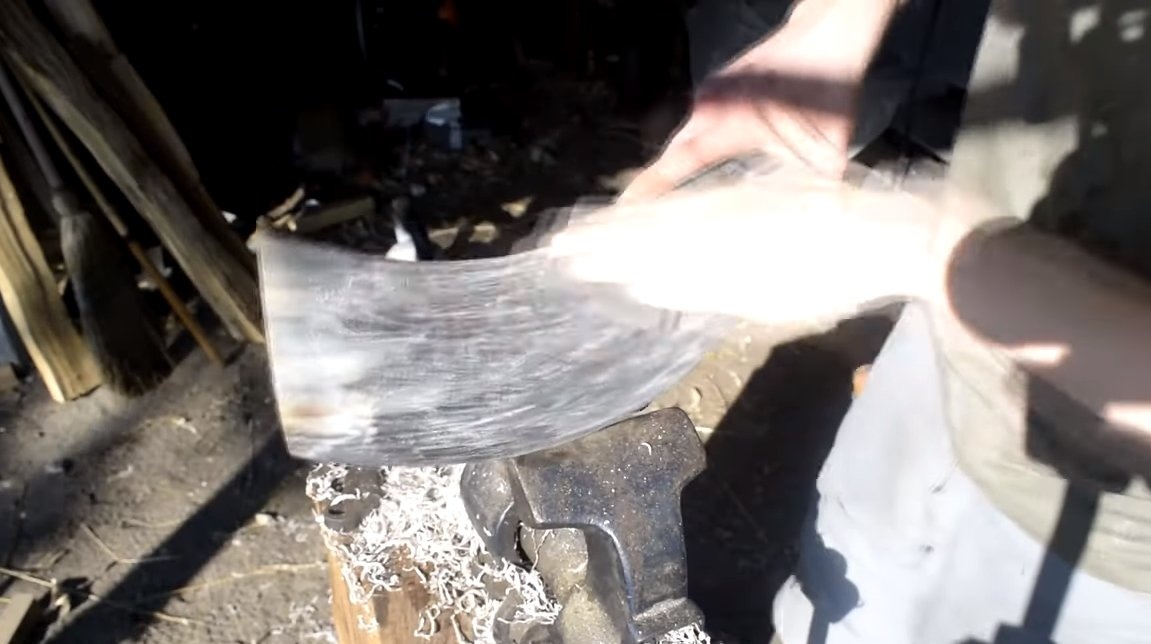
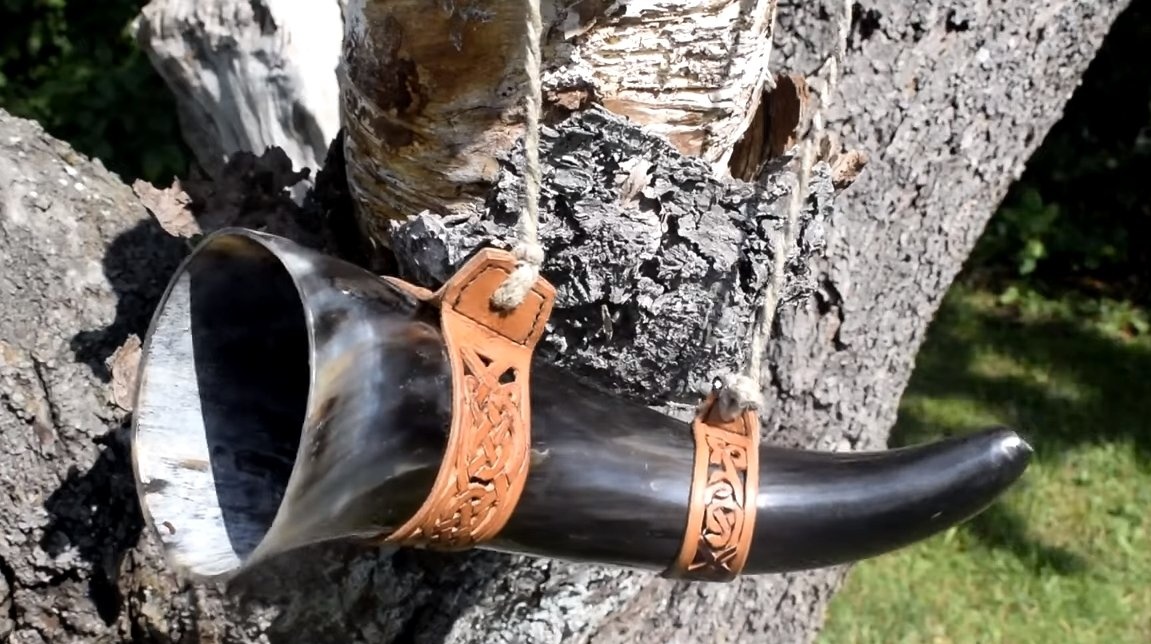
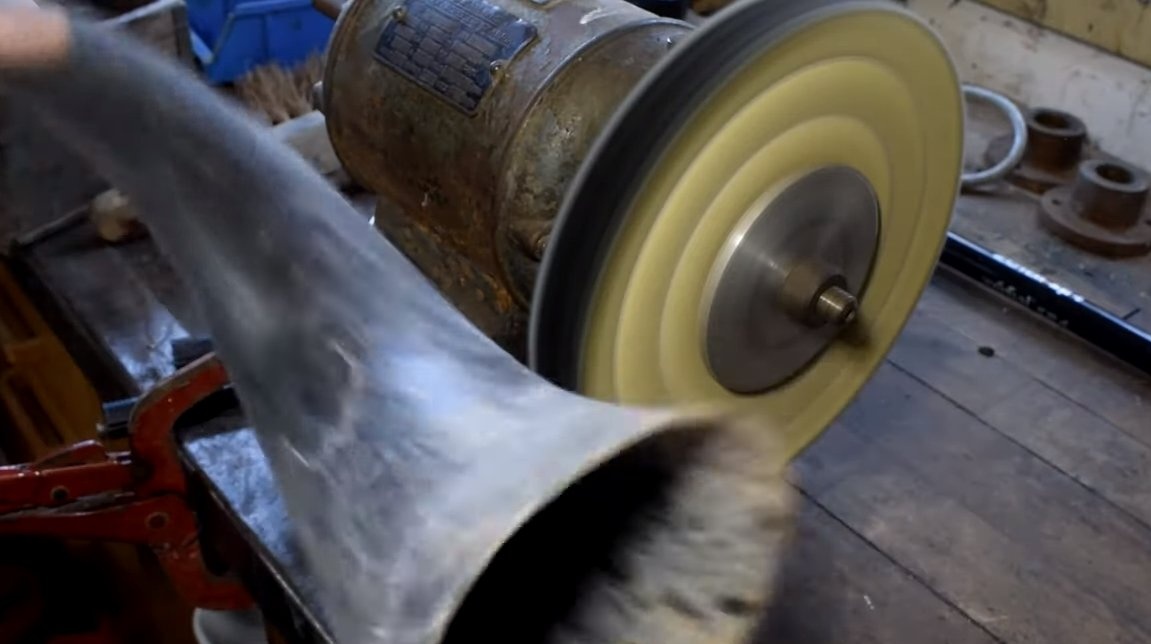
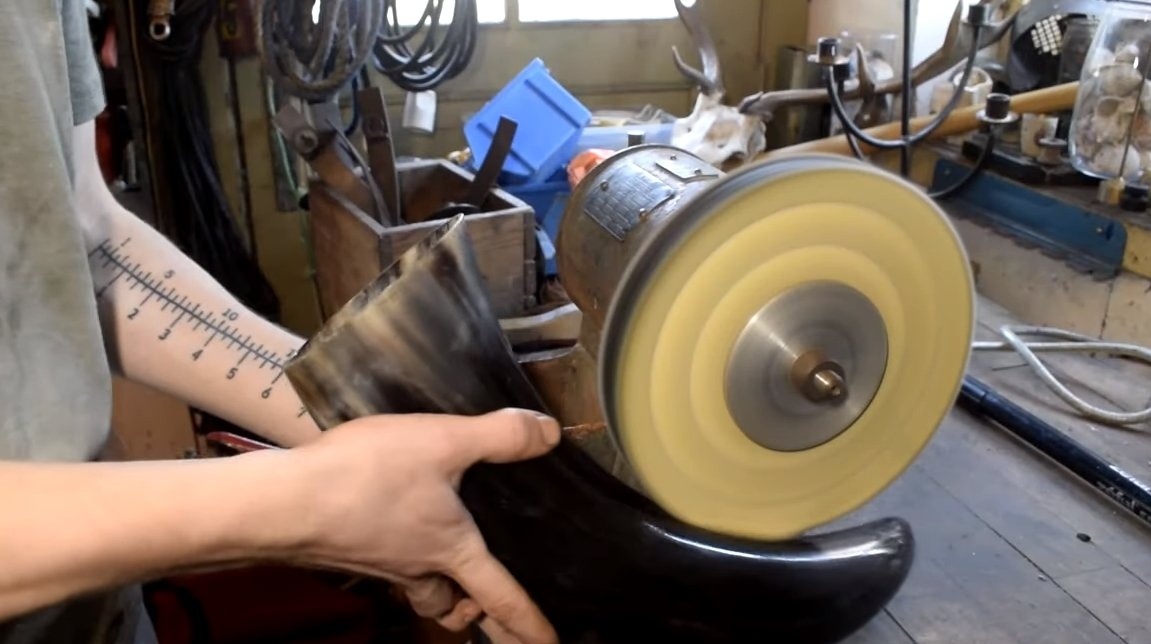
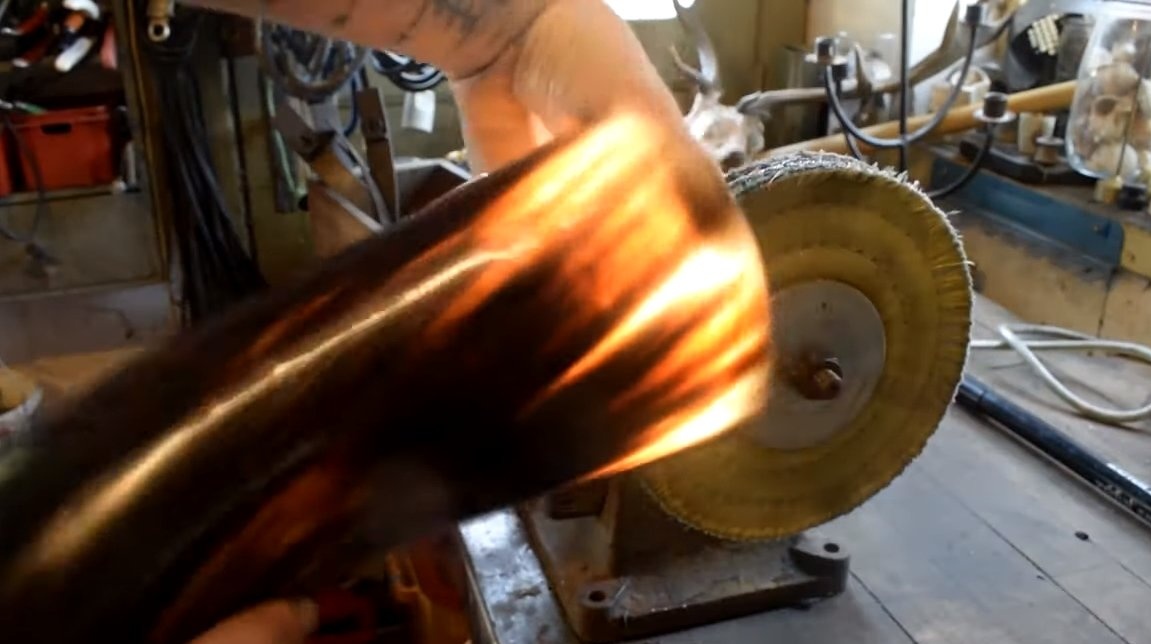
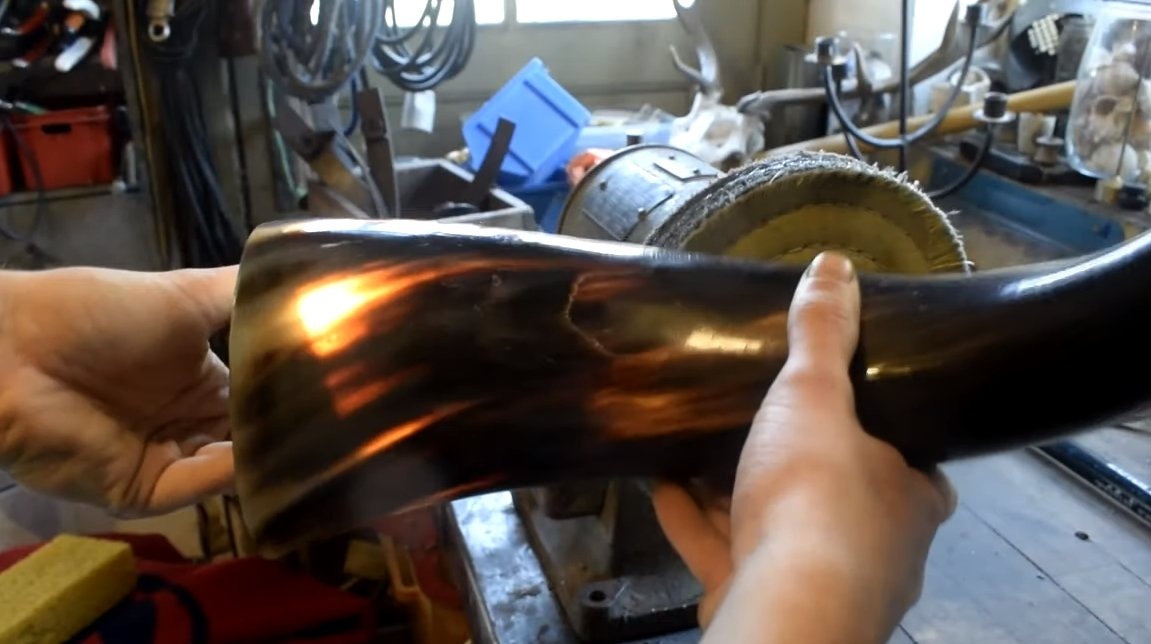
Next, we need a sharp knife, we work it like a braid. We need to clean the top layer of the horn so that it is smooth and looks beautiful. After that, sandpaper comes to the rescue, we grind the horn to a perfectly smooth state. Well, in the end, the author polished the horn on the machine, as a result, he began to glow in the light.
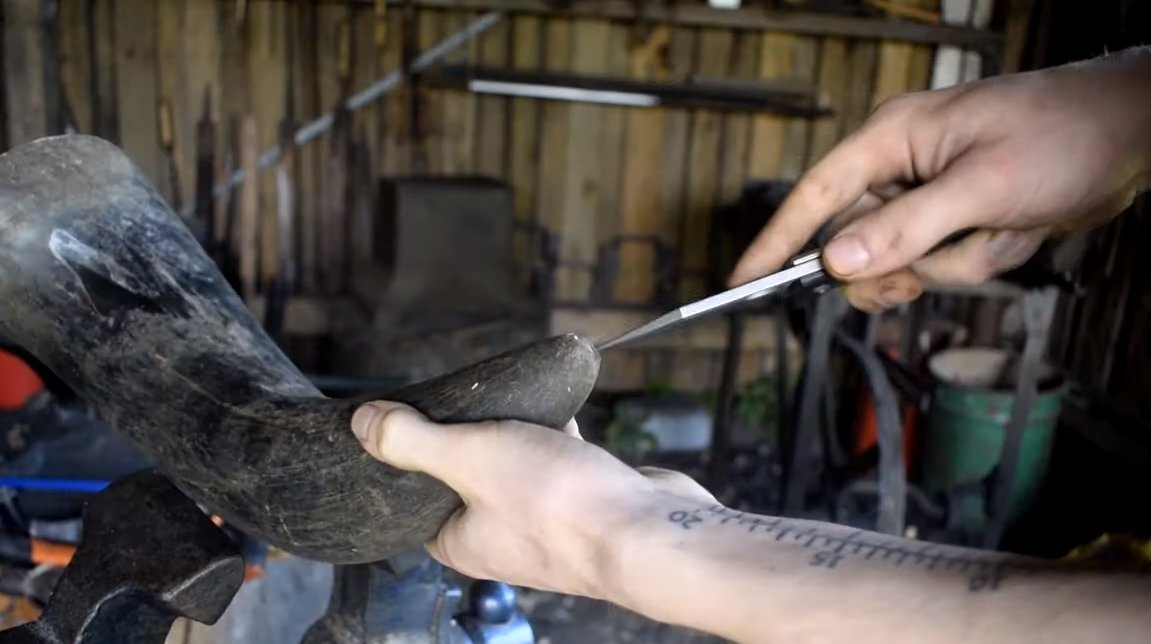
At the end of the horn, you need to carefully drill a hole through which air from the mouth will enter. Additionally, the author processed the hole in a circle with a knife.
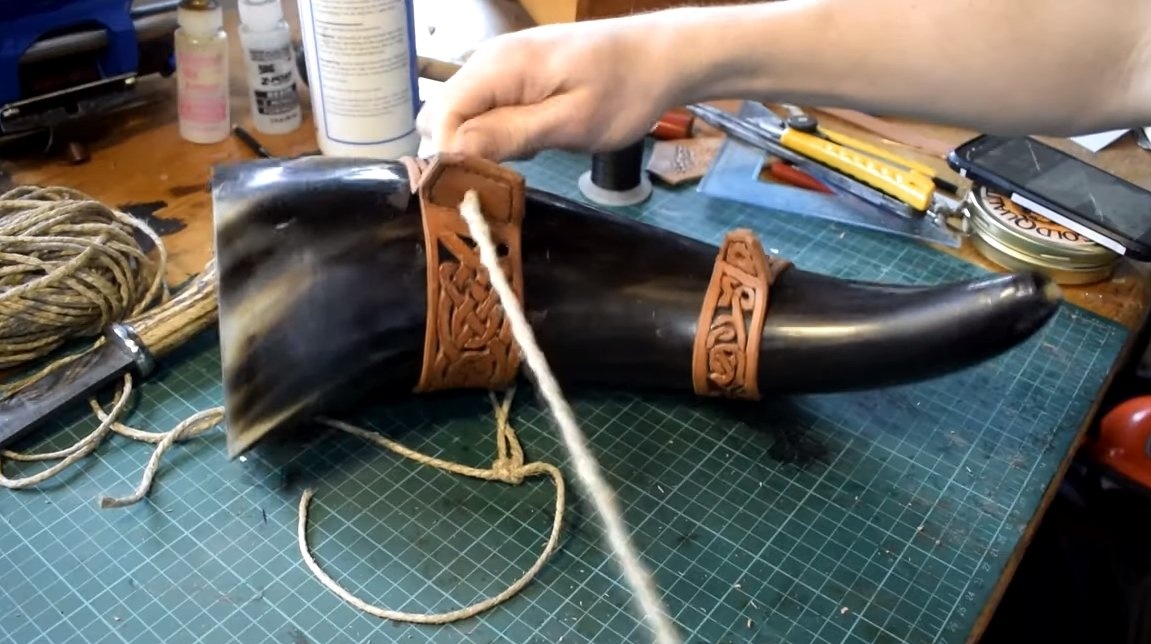
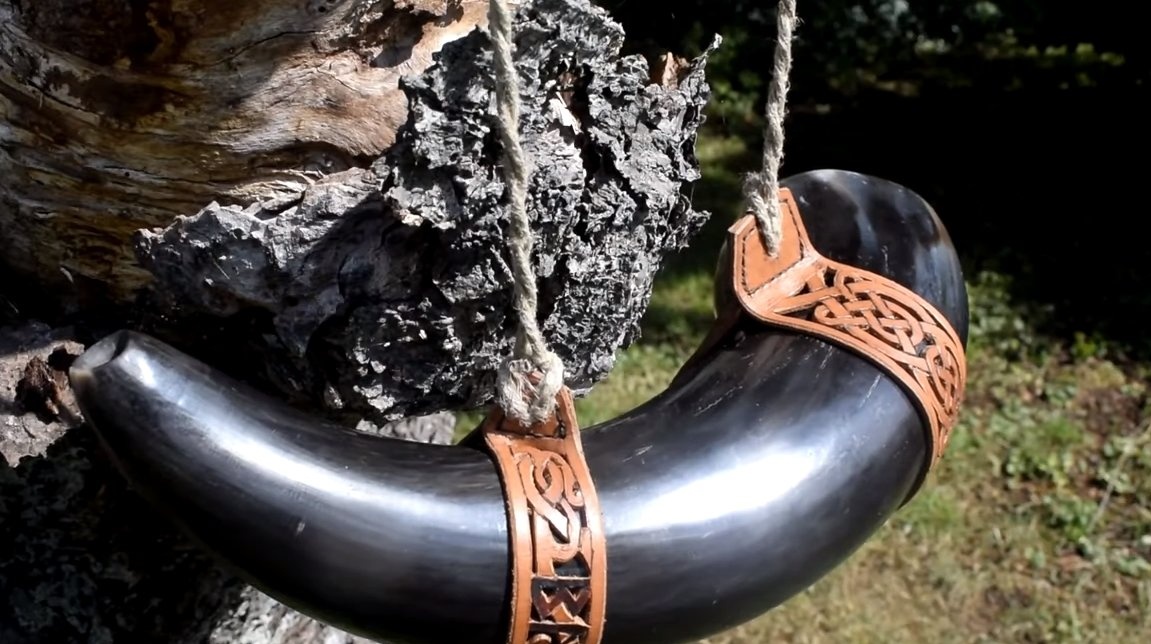
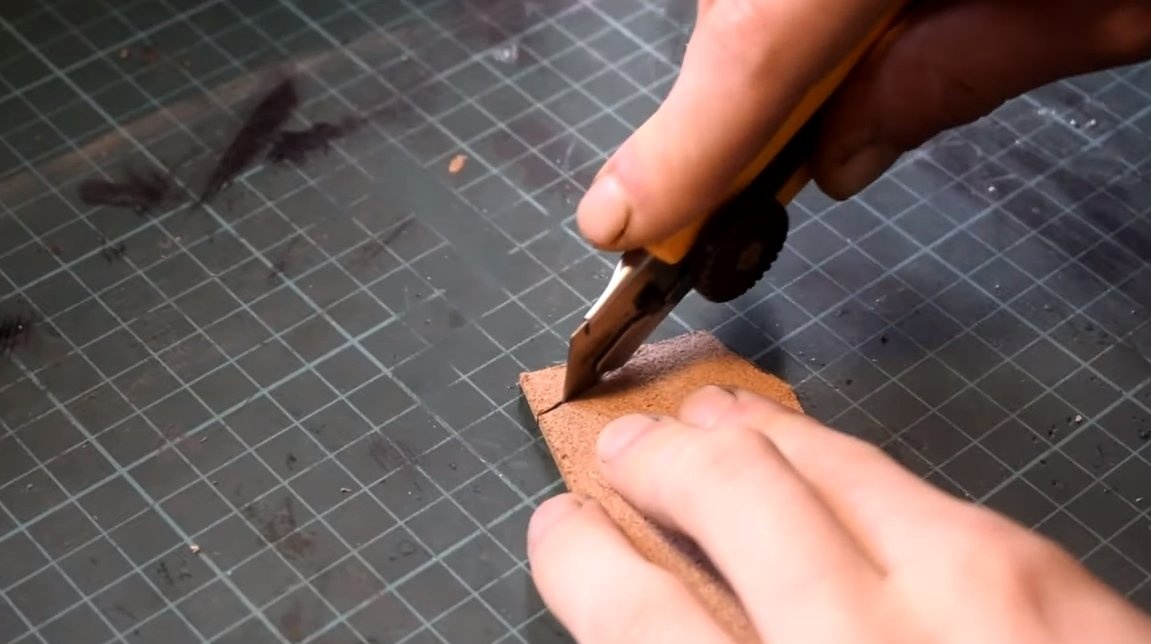
Step Two Clamps
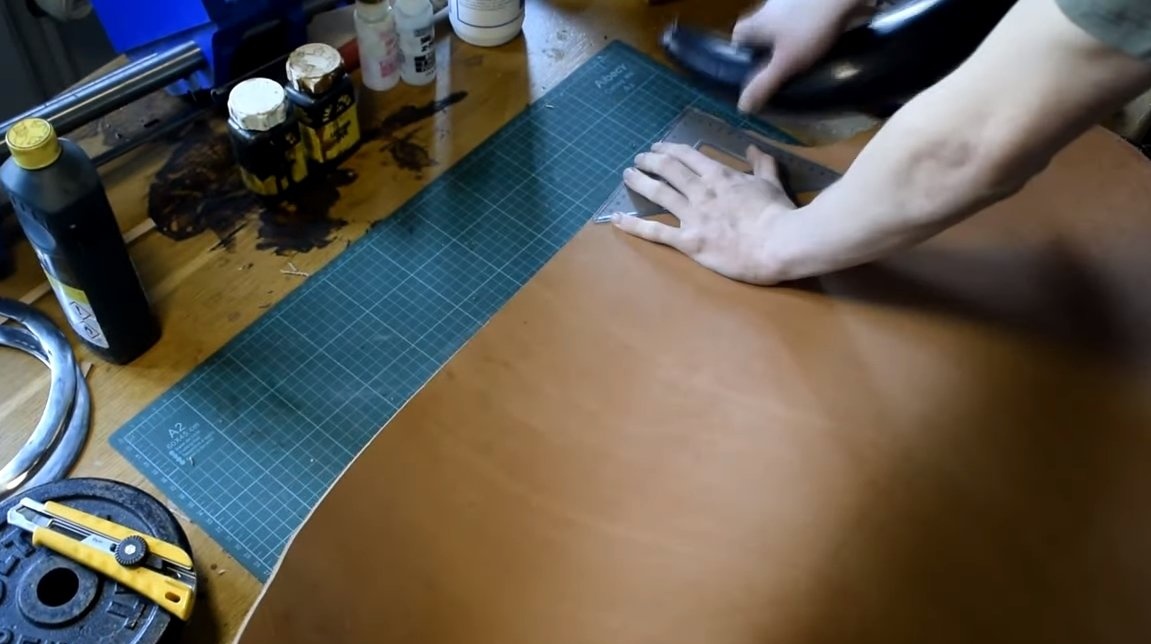
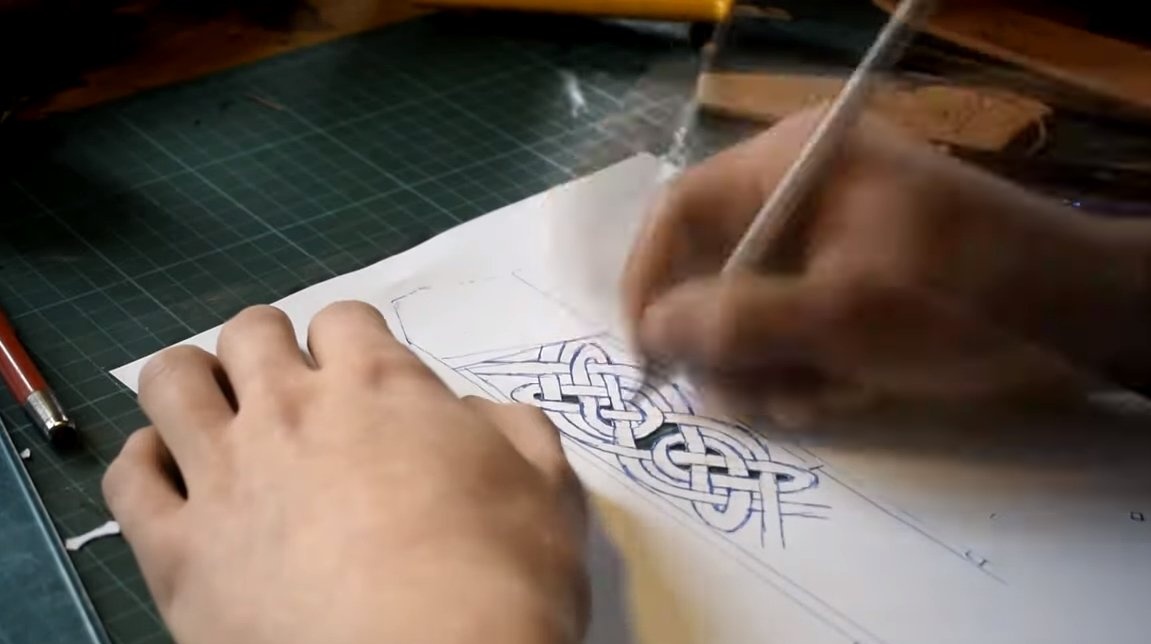
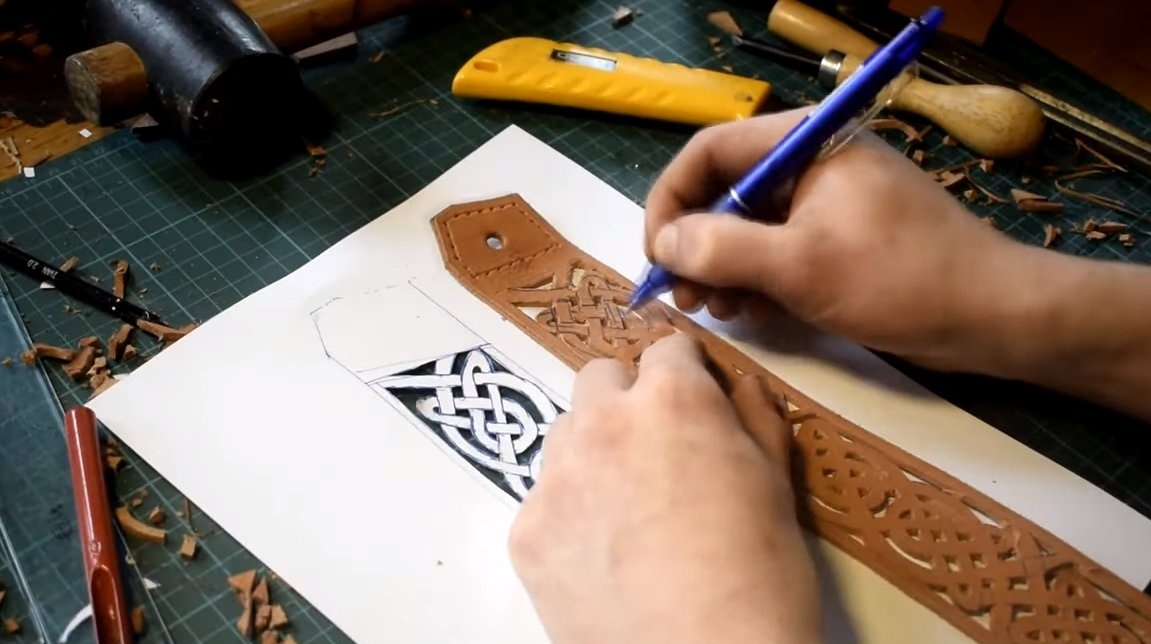
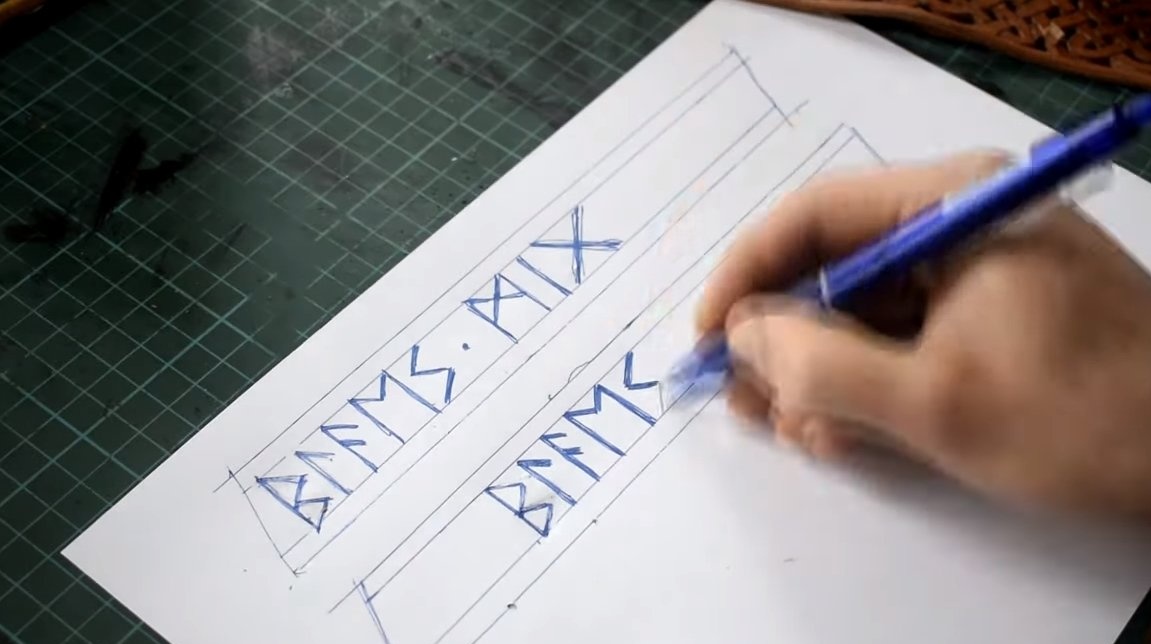
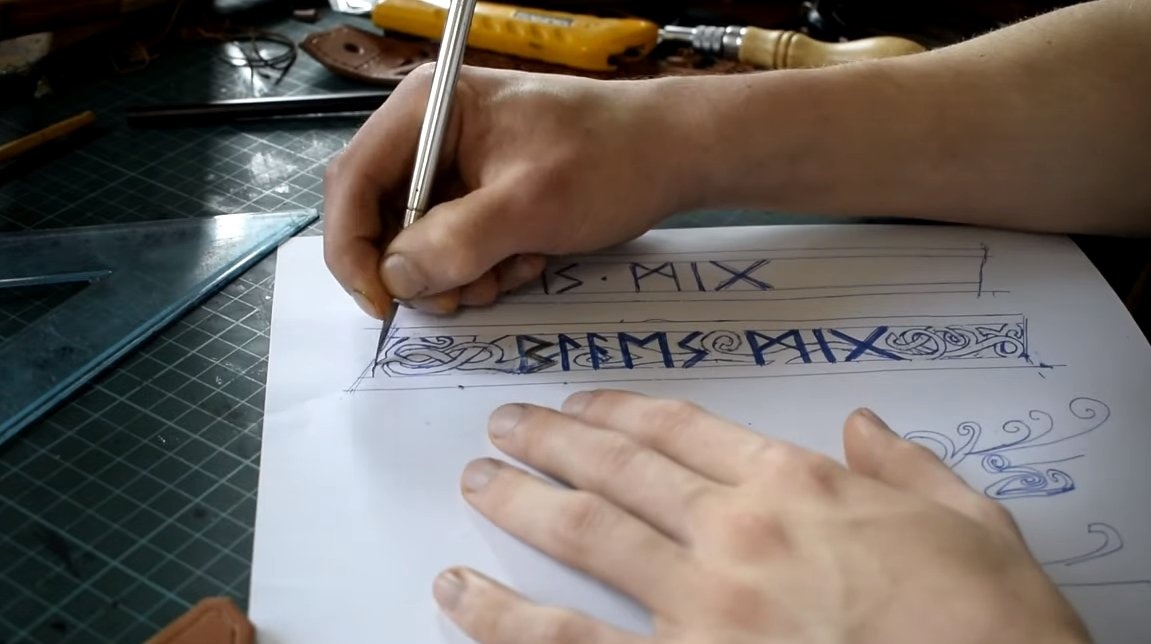
Now we need skin, from it we will make clamps that will be installed on the horn. There are two clamps in total and they are of different diameters. Cut two strips of leather and make a stencil to transfer the pattern. The author painted the pattern himself to his taste. Well, then there are knives for woodcarving, a little effort, and the chic pattern is ready.
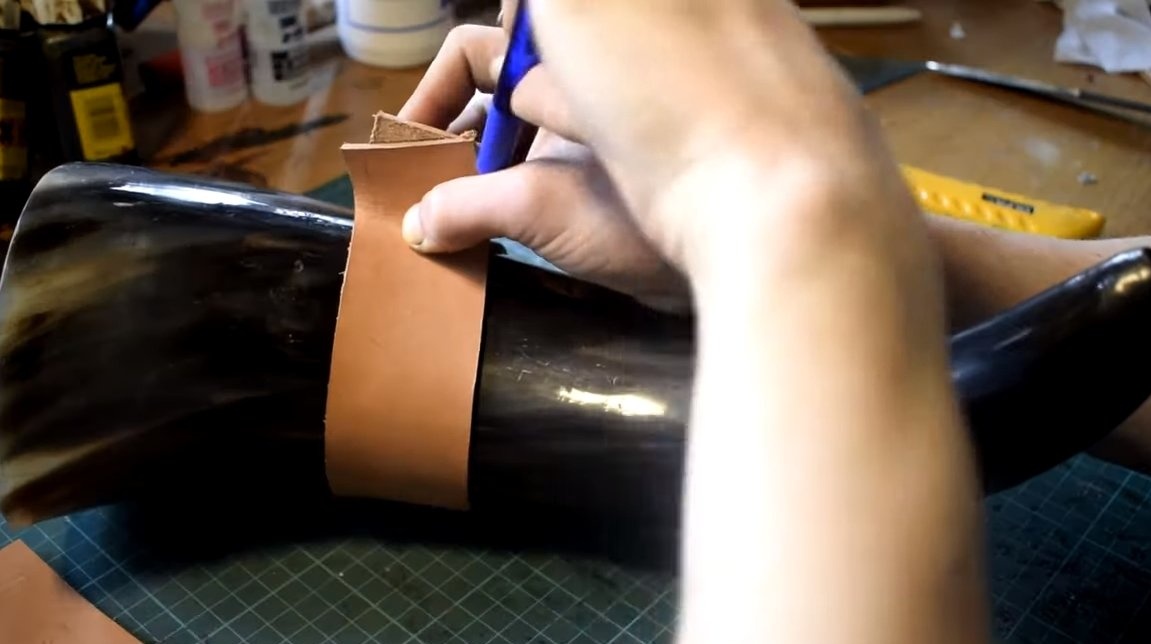
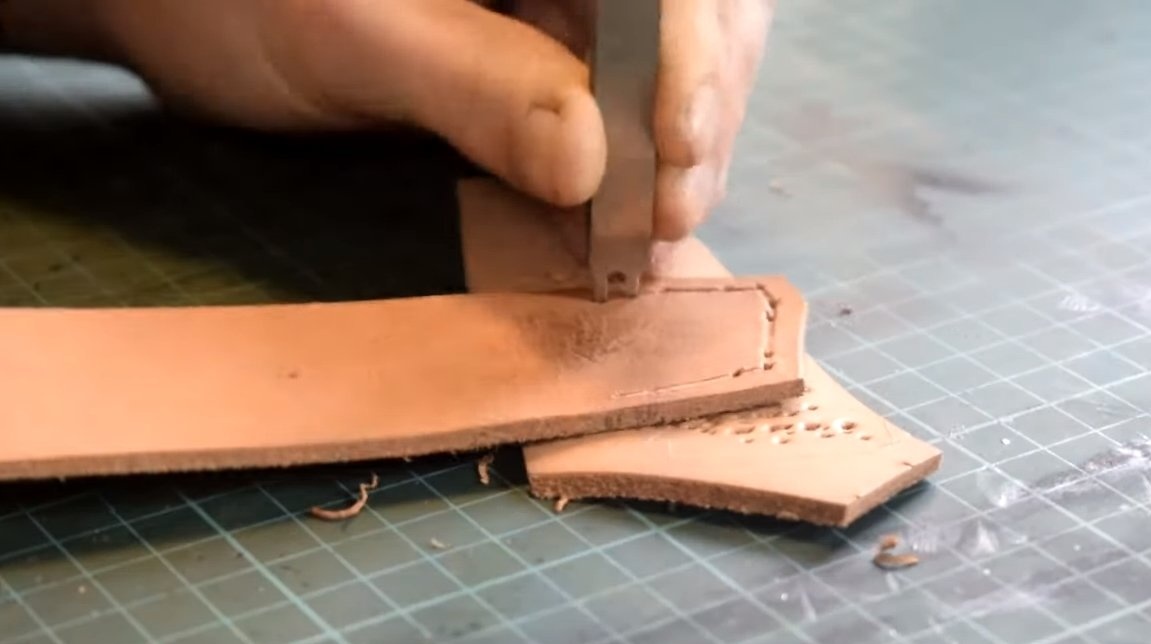
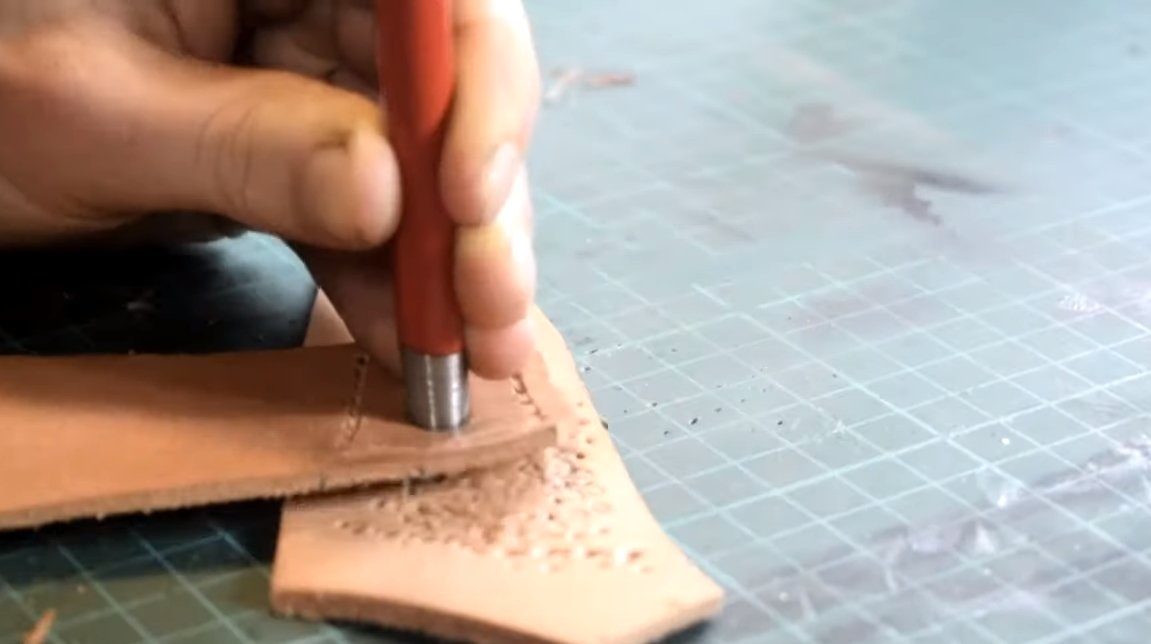
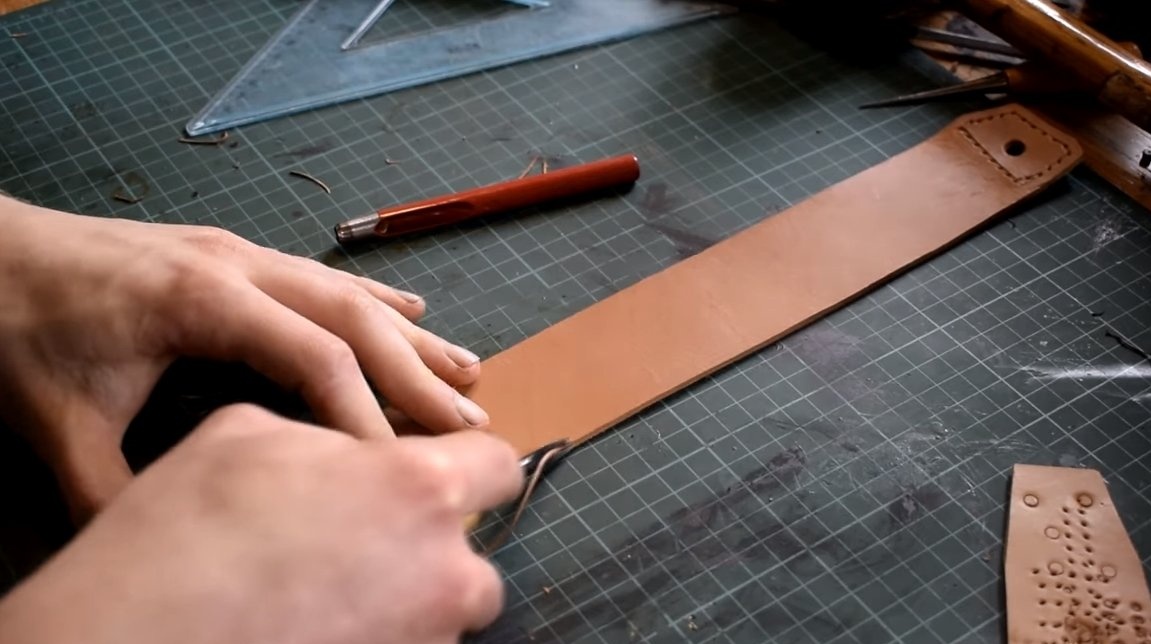
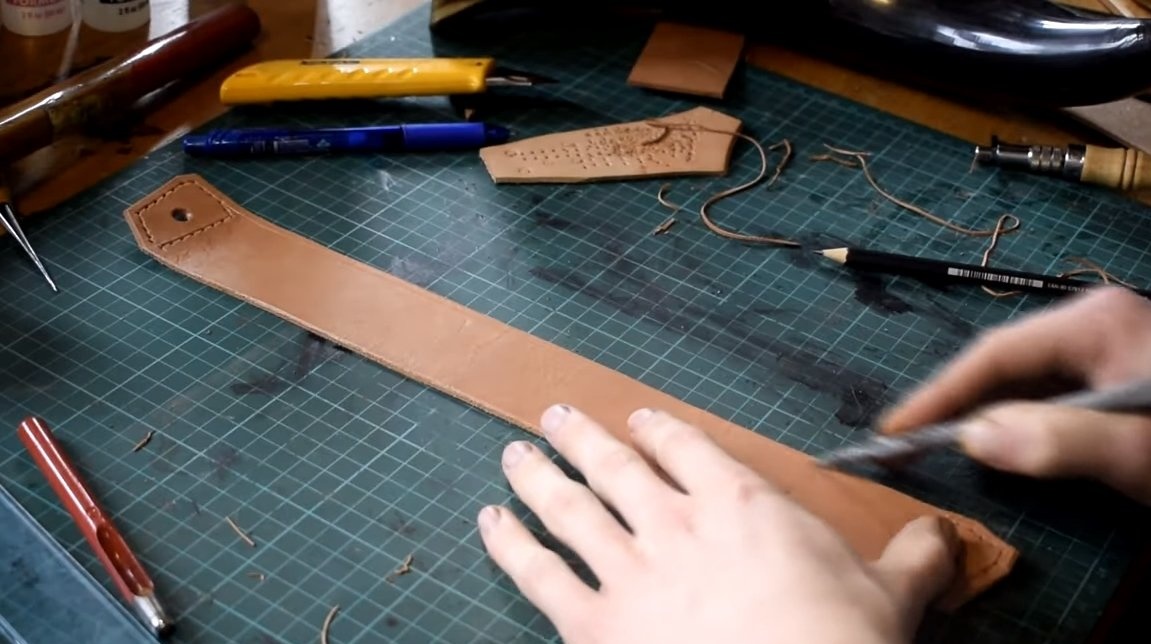
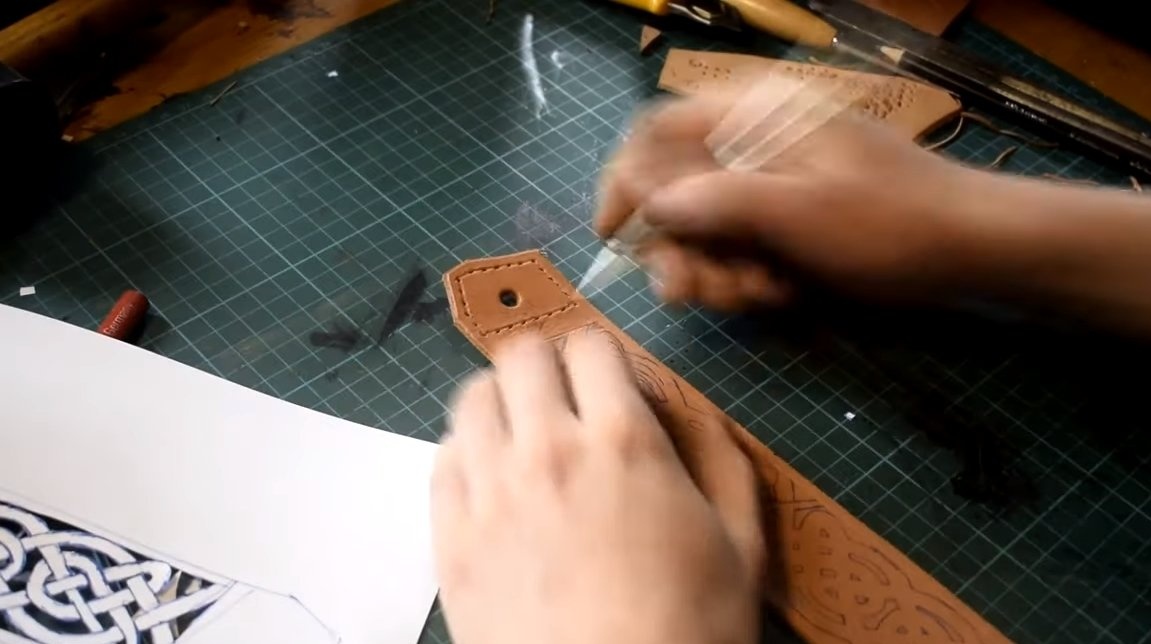
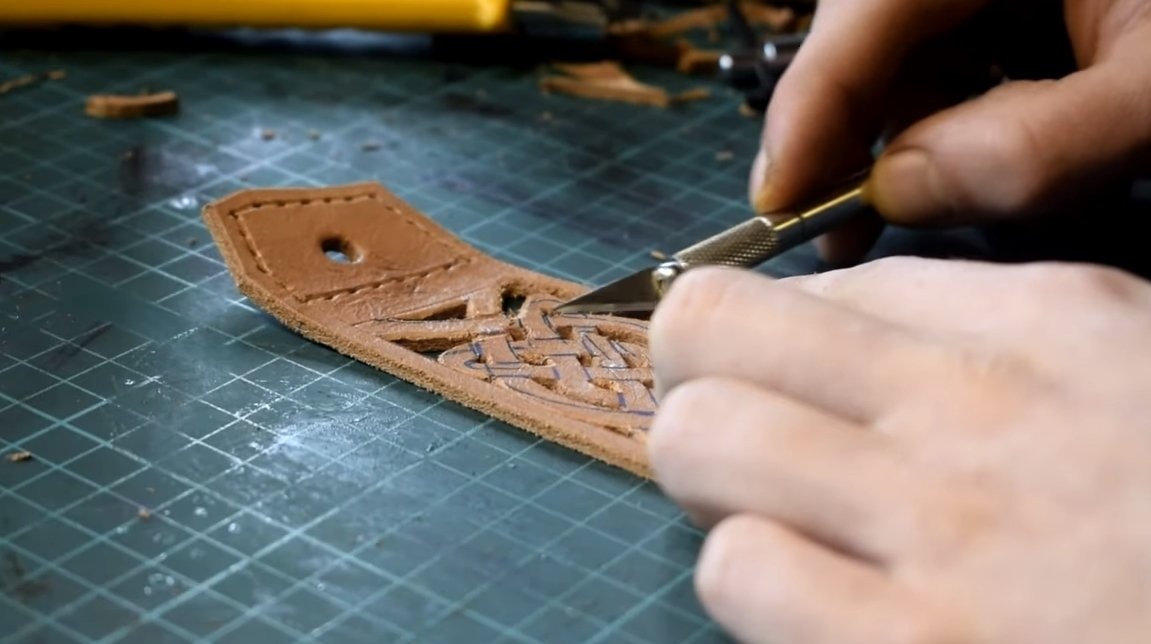
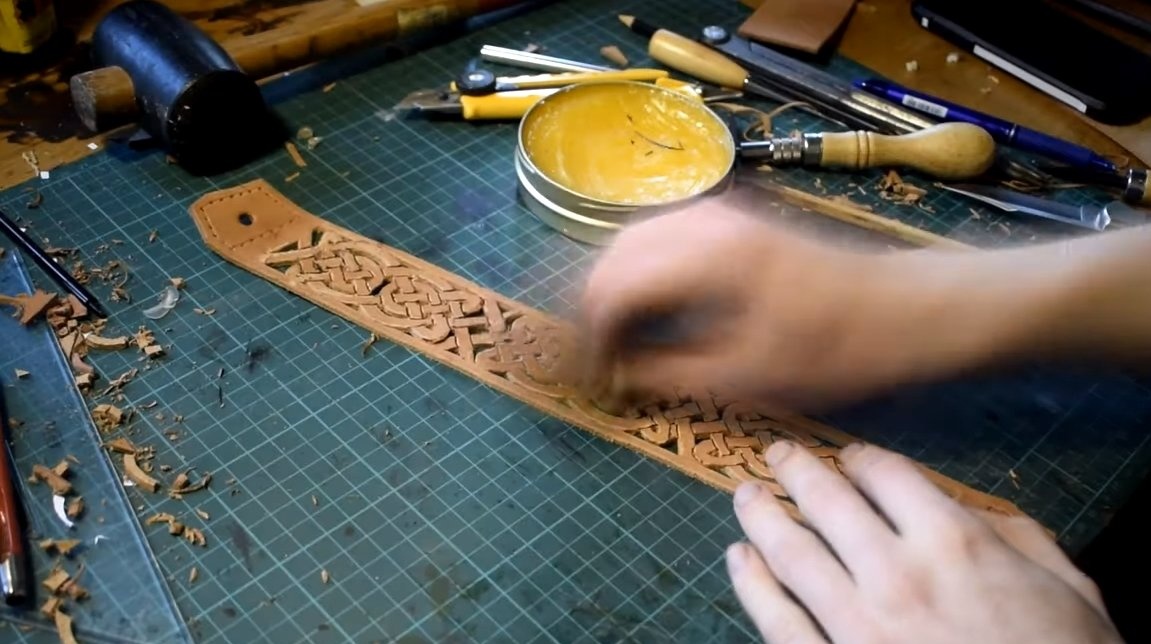
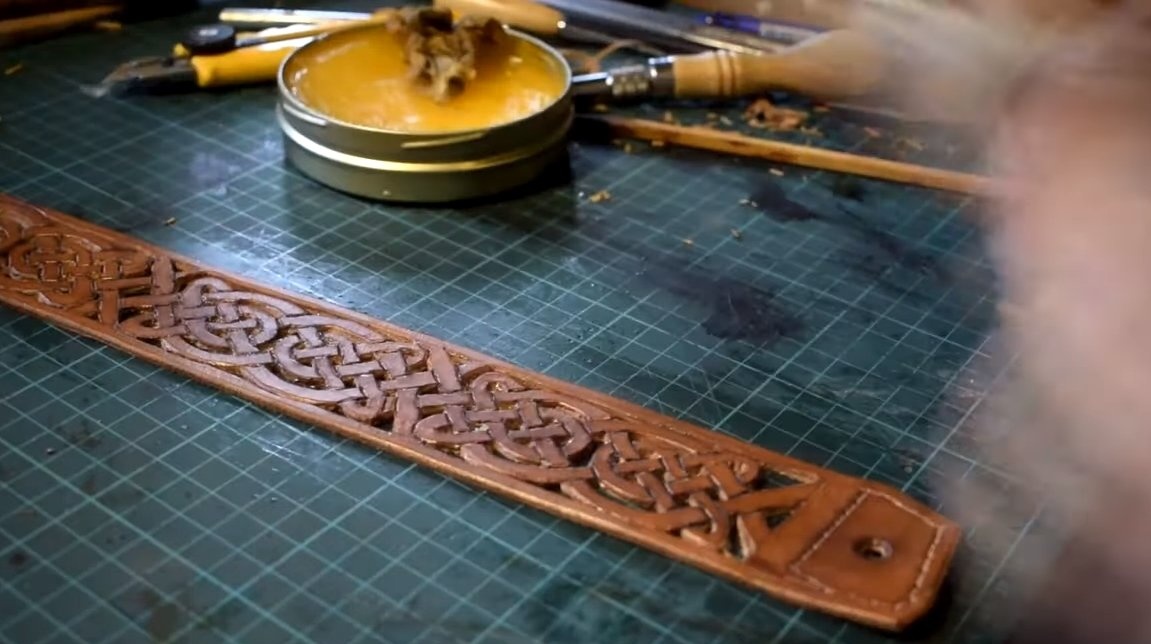
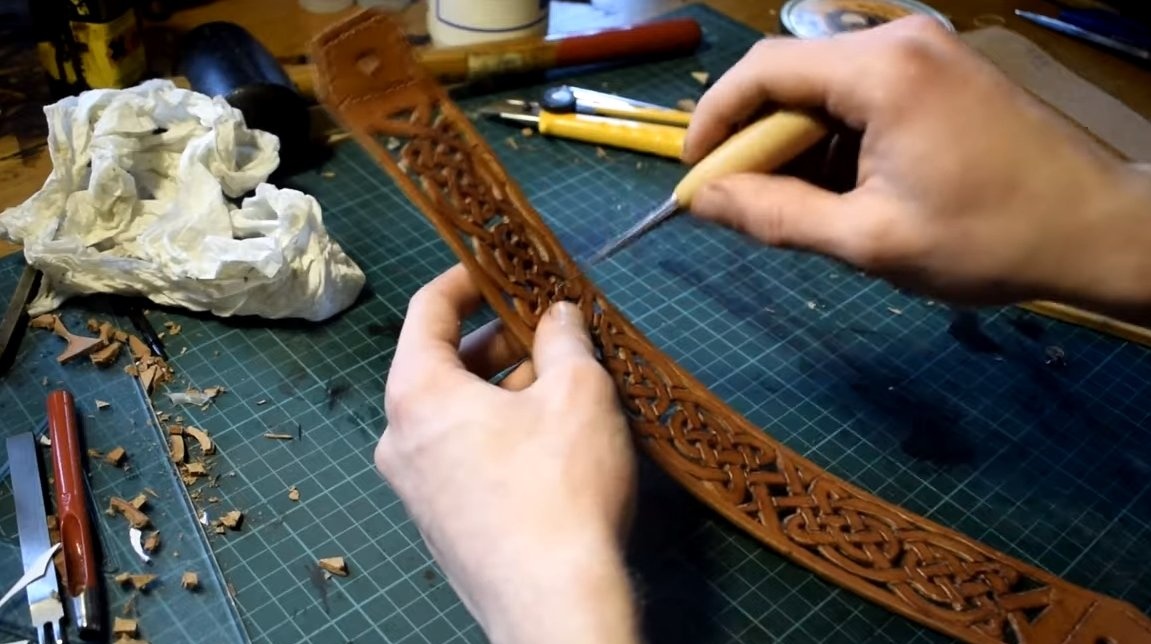
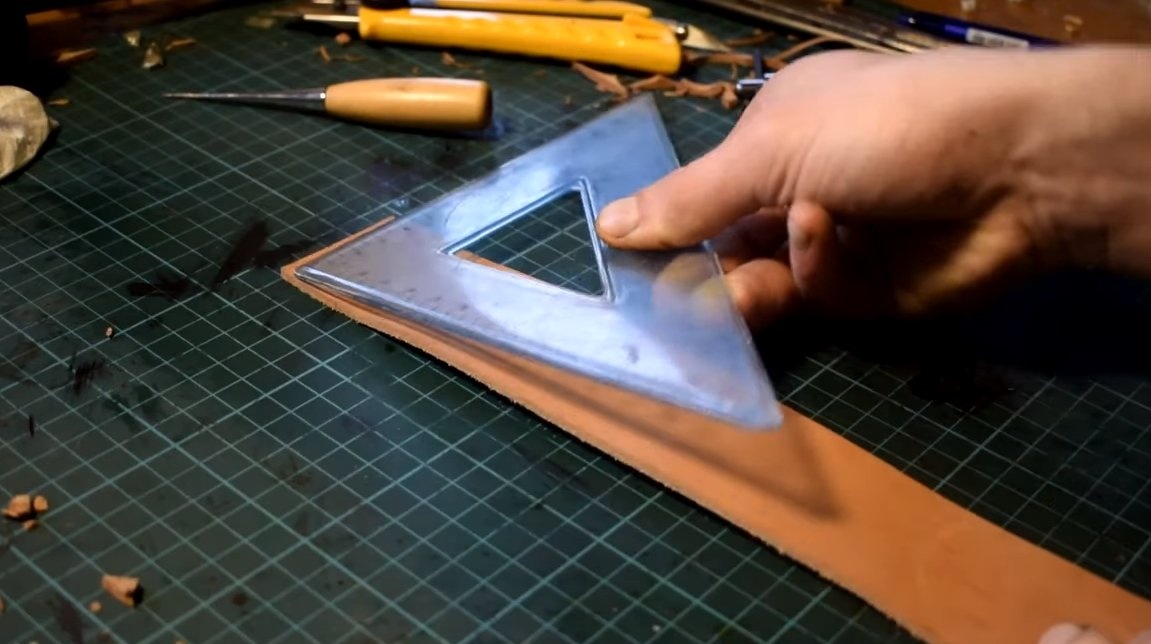
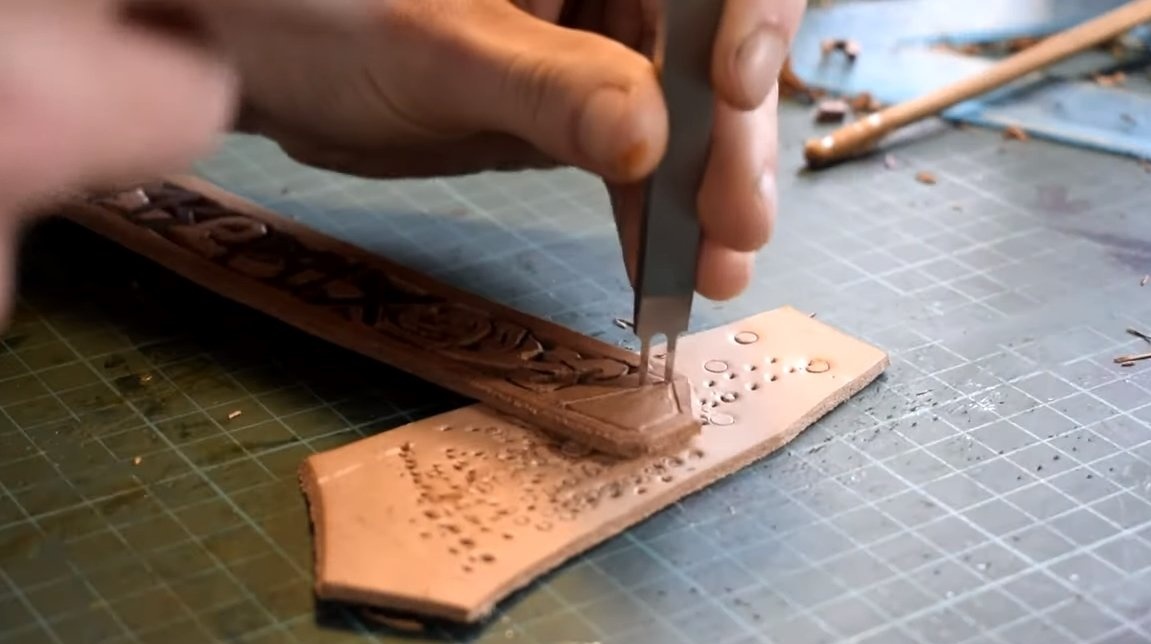
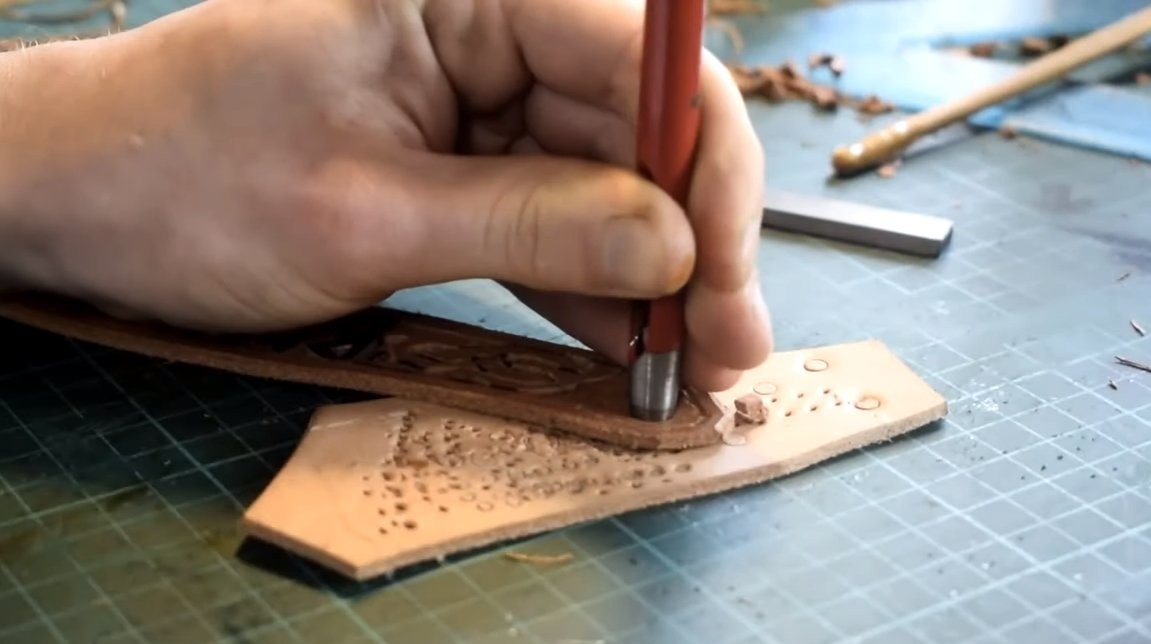
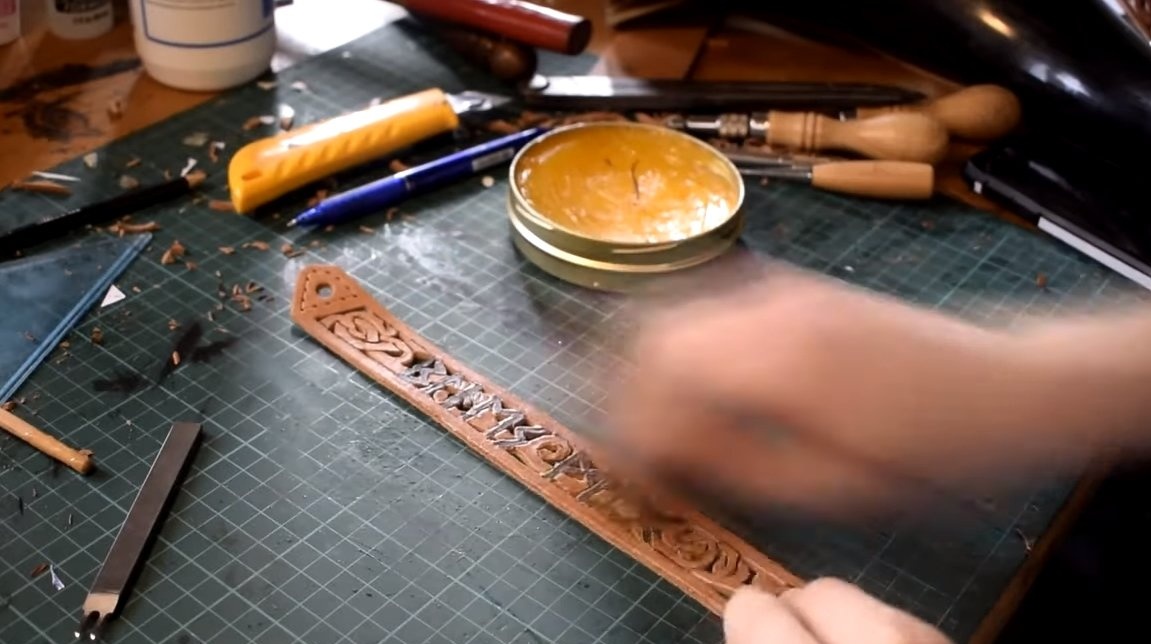
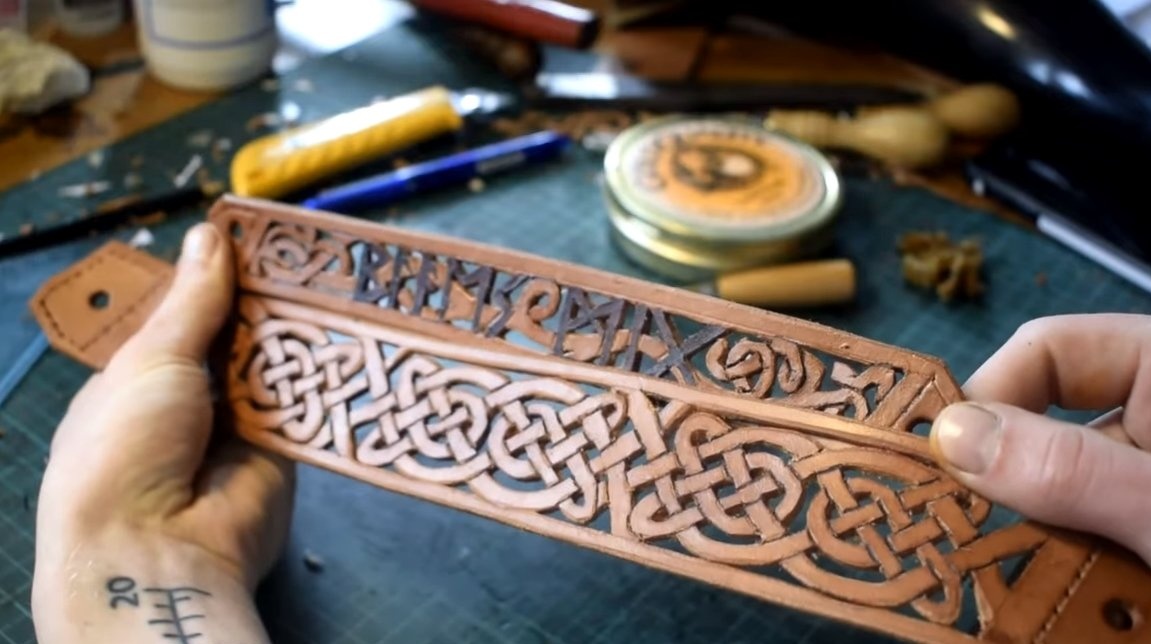
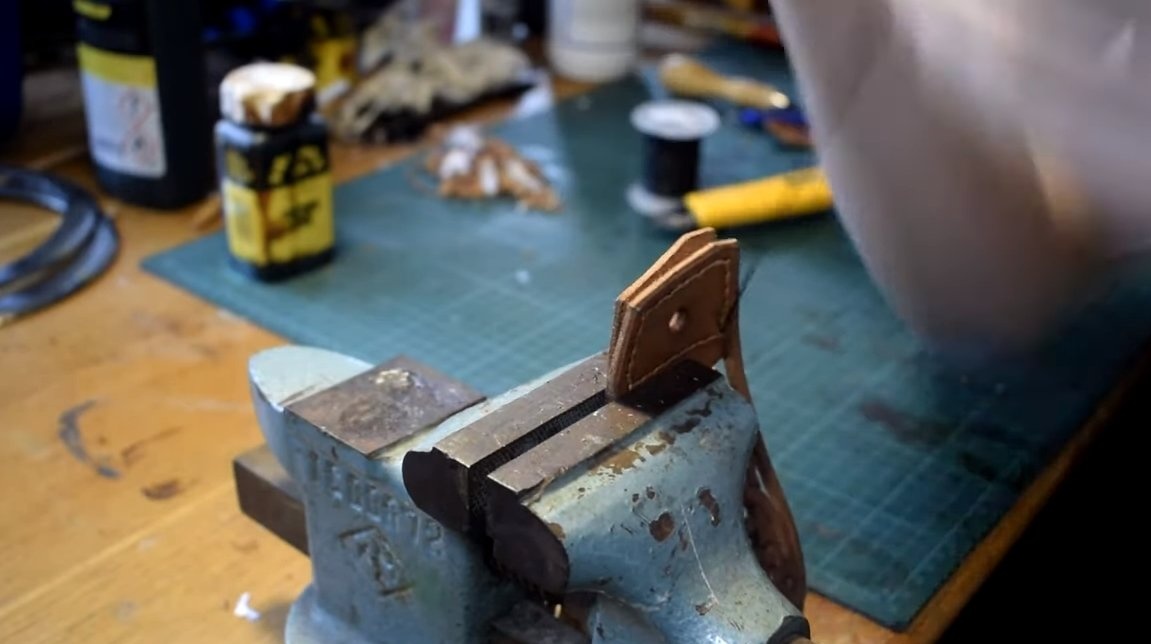
At the end, we punch along the edges of the stitching hole, the author has a special punch plug for this. We also need to punch holes of large diameter under the rope. Before stitching, impregnate the skin with oil, now it is elastic, looks good and is not so afraid of water.
We sew the clamps and now they can be installed on the horn, in the end it remains to install the rope so that the horn can be worn on the chest. That's all, the homemade product is ready, the horn sounds great, but there still needs some experience. On this project can be considered successfully completed. I hope you have found useful thoughts and ideas. Good luck and creative inspiration, if you decide to repeat this. Do not forget to share your ideas and homemade things with us!