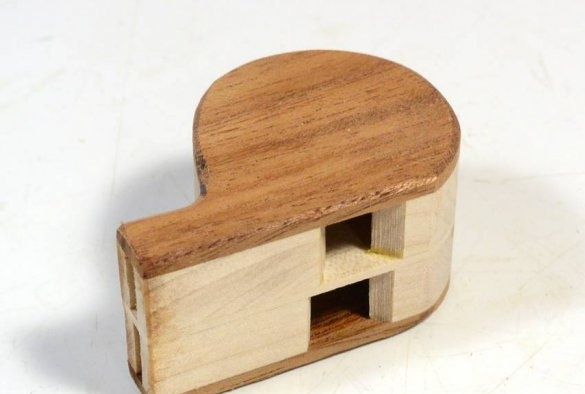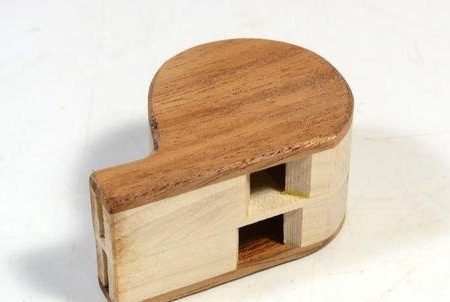
From the article below you will learn how to do it yourself collect a wooden whistle. The following description and instructions are taken from the Matthias Wandel YouTube channel.
Necessary tools and materials:
- a pencil;
- roulette;
- table saw;
- band-saw;
- waste of pine and mahogany;
- Forstner drill 28 mm;
- Forstner drill 34 mm;
- sandpaper;
- belt sander;
- PVA carpentry glue;
- clamps;
- compass;
The master decided to experiment with making a whistle. He wanted to give the project an unusual twist, he wanted a whistle that would sound unusual. Therefore, he came up with the idea to make him play in two tones at the same time, with a pea in each chamber, to modulate both tones.
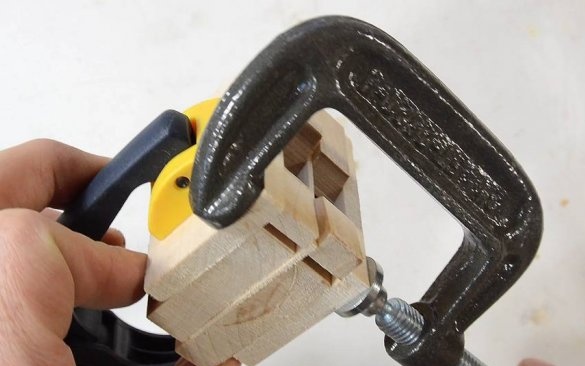
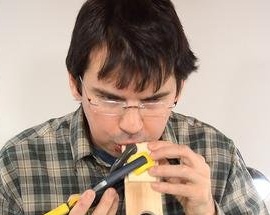
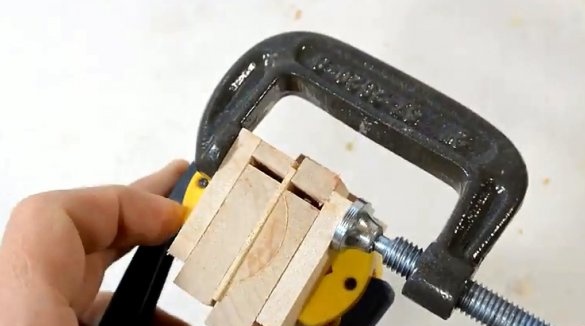
To create a prototype, the master simply clamped dry pieces of wood and blew them. So he tried to tune it to get the right sound.
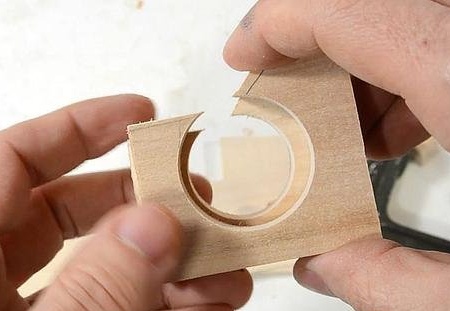
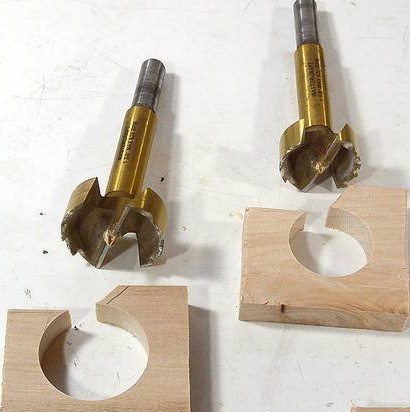
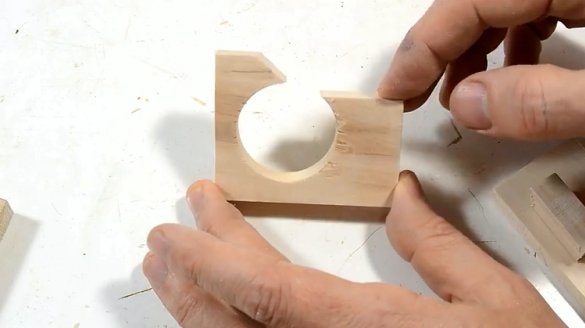
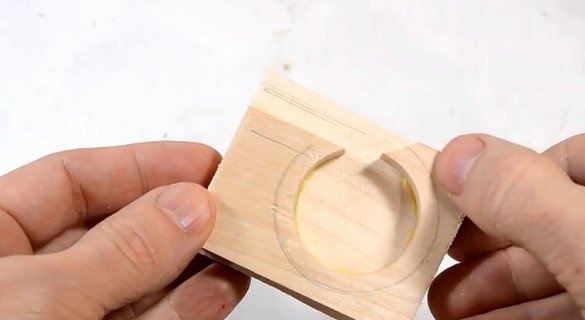
Two whistle chambers are cut with a drill with a diameter of 28 mm and a drill with a diameter of 34 mm. The closer the frequency ratio, the more dissonant the sound will be at the whistle. But if both fields are too close to each other, then both cameras of the whistle will support each other in unison.
(Perhaps for this reason, the Fox-40 whistle without peas has the lips of the two cameras of the whistle facing away from each other, which reduces the ability of both cameras to synchronize).
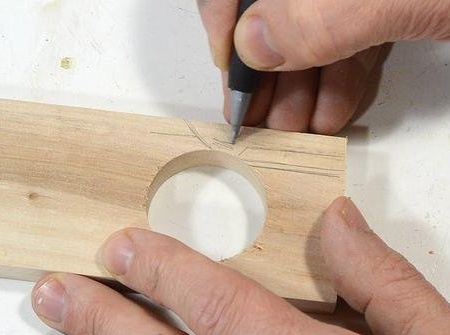
Design a whistle shape.
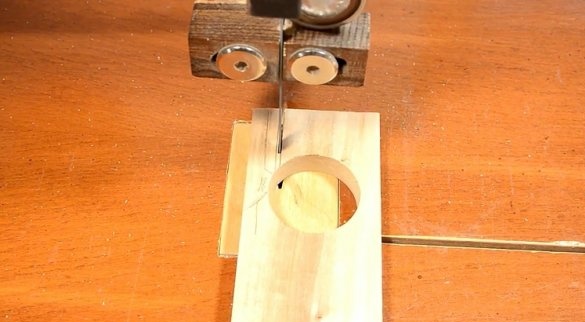
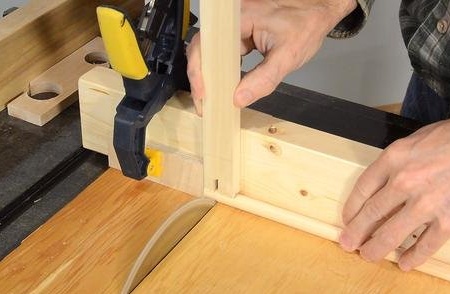
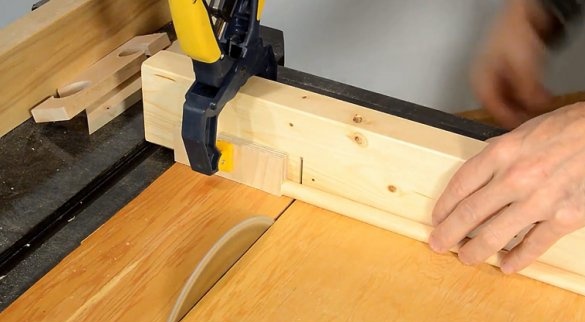
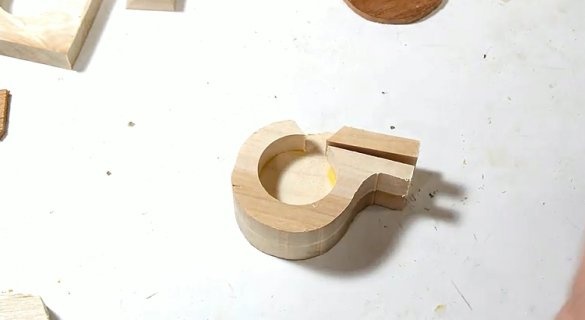
The air in the channel is slightly lower tangent to the drilled hole. This is cut with a band saw.
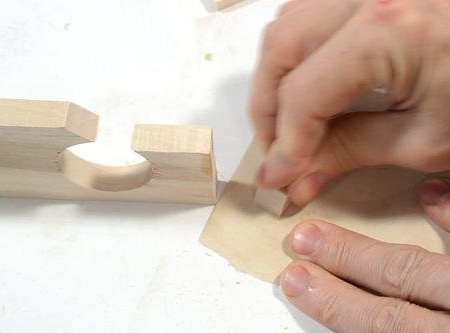
The band saw leaves a slightly rough cut. To obtain an even flow of air, the master grinds the part on both sides. Especially the place where an air gap will be formed.
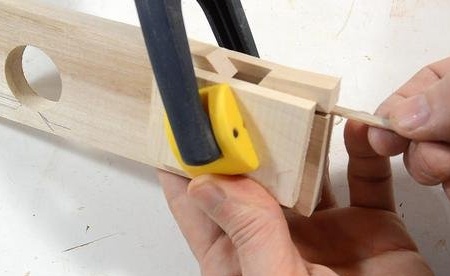
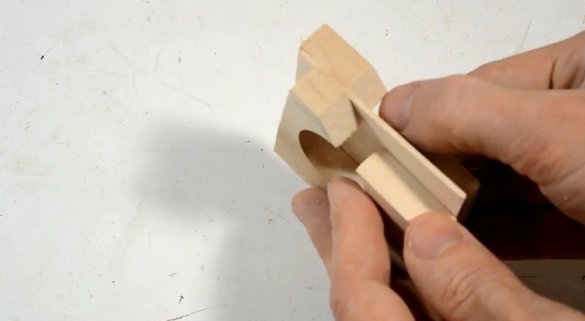
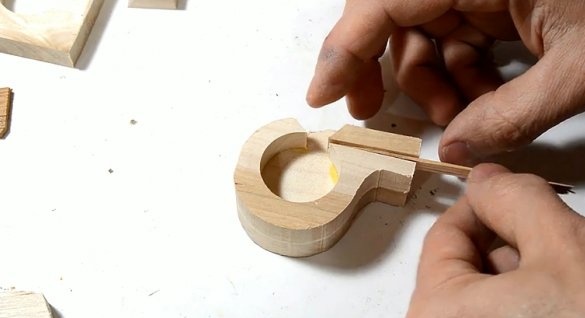
Another test build for testing. The master clamps the body of the future whistle between two pieces of wood, installs a sliver to establish a gap in the air intake. Then blows air to check it.
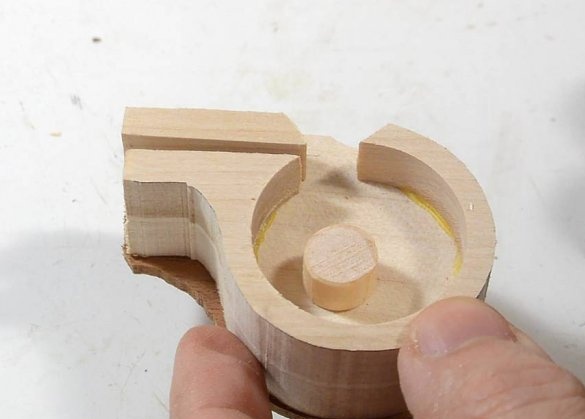
To make the inner pea, the craftsman uses a pine round log.
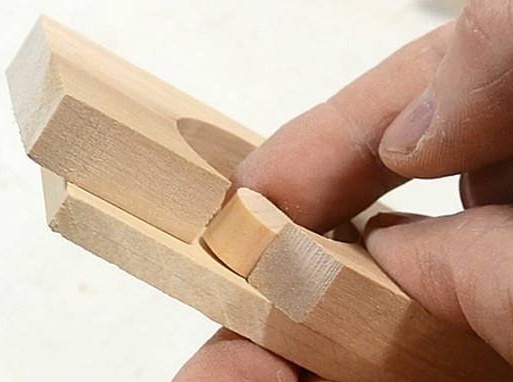
Pea should be light, but large enough not to fall out of the gap. It also should not completely block the connector. Otherwise, the hole closes and the pea gets stuck there.
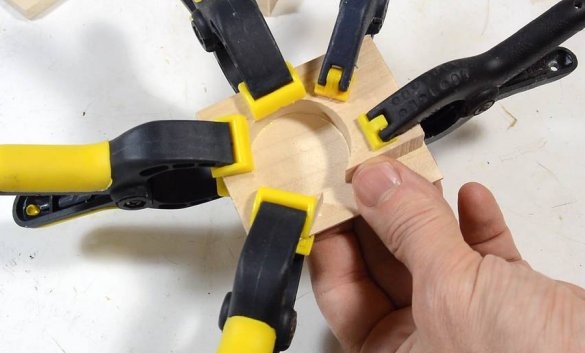
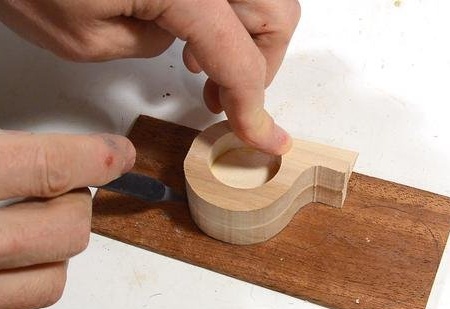
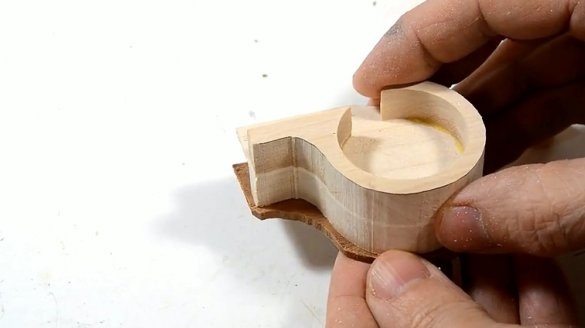
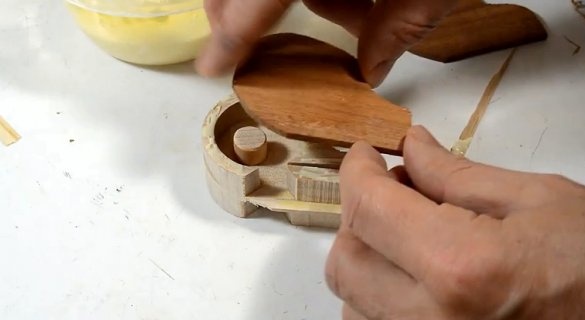
It's time to glue the details of the whistle together. To the piece of solid wood, 2 mm thick, the master glues both chambers of the whistle, making sure that the inlet and outlet openings are aligned on the sides.
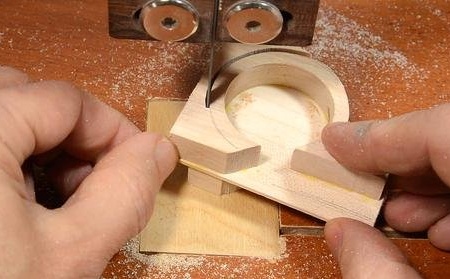
Having glued both halves to the central separator, the master cut off the excess material to form the overall shape of the whistle. To do this, he used a pair of compasses, spaced about 4 mm apart. Thus, he drew a line along the inner edge of the body so that it was clear where to cut.
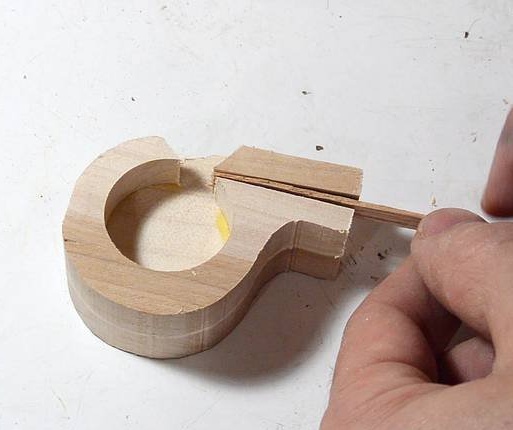
After that, he sticks a sliver in the upper part of the mouthpiece to form an inlet. The master uses the same bus as during testing to set the gap in the same position.
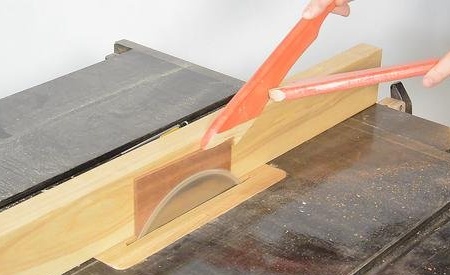
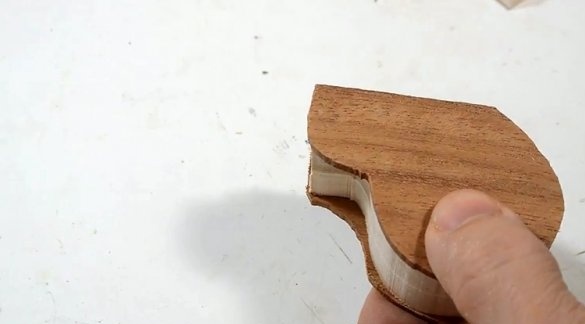
To decorate the sides of the whistle, the master prepared a beautiful dark mahogany.
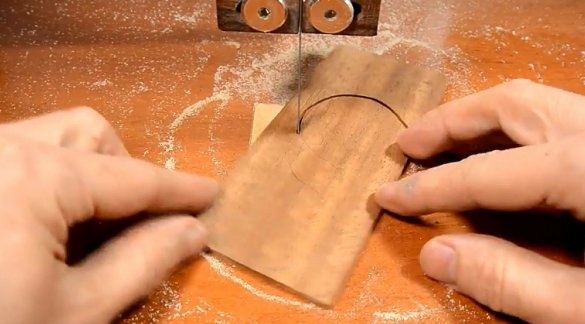
The master traces the outline of the product on mahogany, and then cuts it on a band saw, leaving 1-2 mm around the outline.
Assembly.
Important - do not forget the pea. It is also important not to shake the whistle during drying, so that the pea does not stick to the extruded glue.
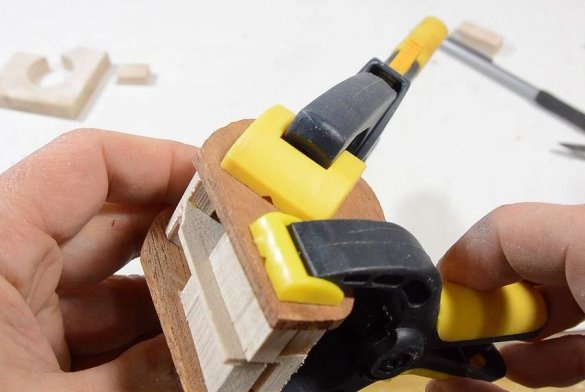
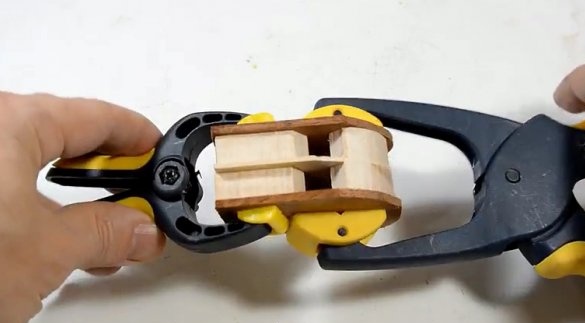
The master glues one side at a time. Attempts to align and glue everything all at once did not lead to success.
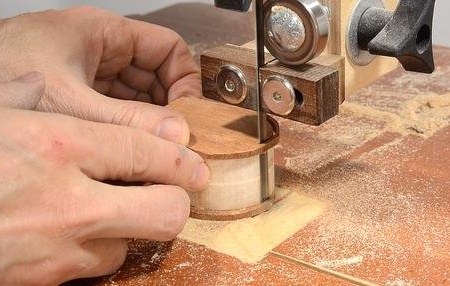
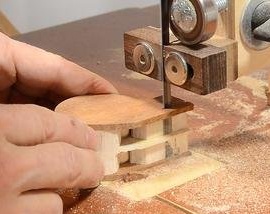
Having glued all the details, the master cuts the finish with mahogany flush with the body of the whistle, and also cuts off the entrance side.
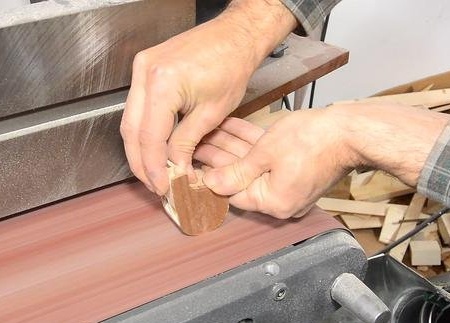
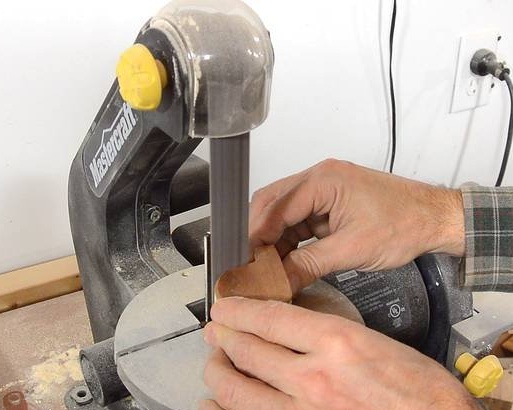
After that, the master polishes the whistle. To draw internal bends, the master uses a belt sander (he does not have a spindle sander, and the belt sander is much faster).
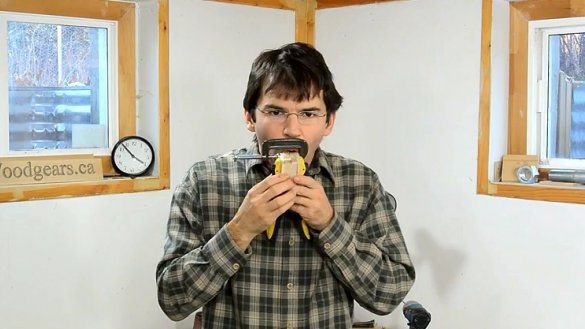
The whistle with two beeps is completed. Both cameras distort the sound from the inner pea and the whistle makes an unusual sound. This sound resembles the cries of a madman.
It would also be nice to finish the whistle before it changes color from frequent use. The master did not do this on his product.
If you like homemade author, then try to repeat and make. Thank you for attention. See you soon!

