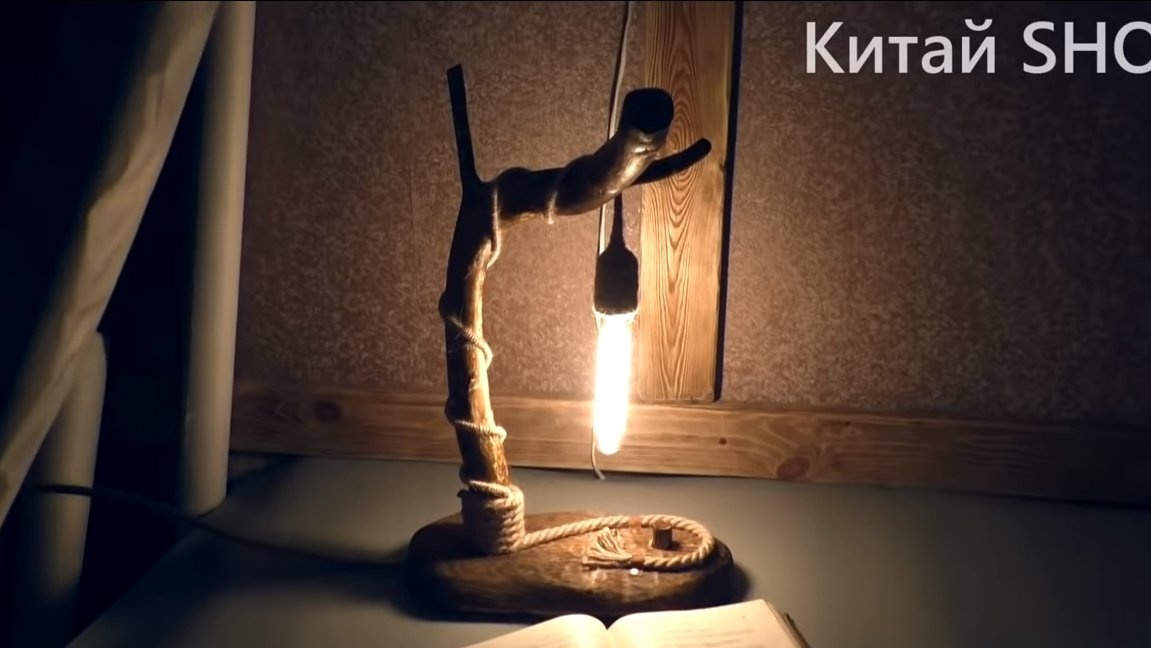
I welcome all fans to craft, today we will consider how to make a unique lamp from wood. The author made an antique lamp, everything was made of wood, and a rope made of natural fibers was used as a decor. The highlight of the lamp was the ability to adjust brightness. Looks homemade uniquely, the house immediately creates an atmosphere of comfort and antiquity, under such a lamp it will be interesting to read a historical or mystical book. The assembly of the homemade product is quite simple, the materials are easy to get, tools are also available. If you are interested in the project, I propose to study it in more detail!
Materials and tools used by the author:
Material List:
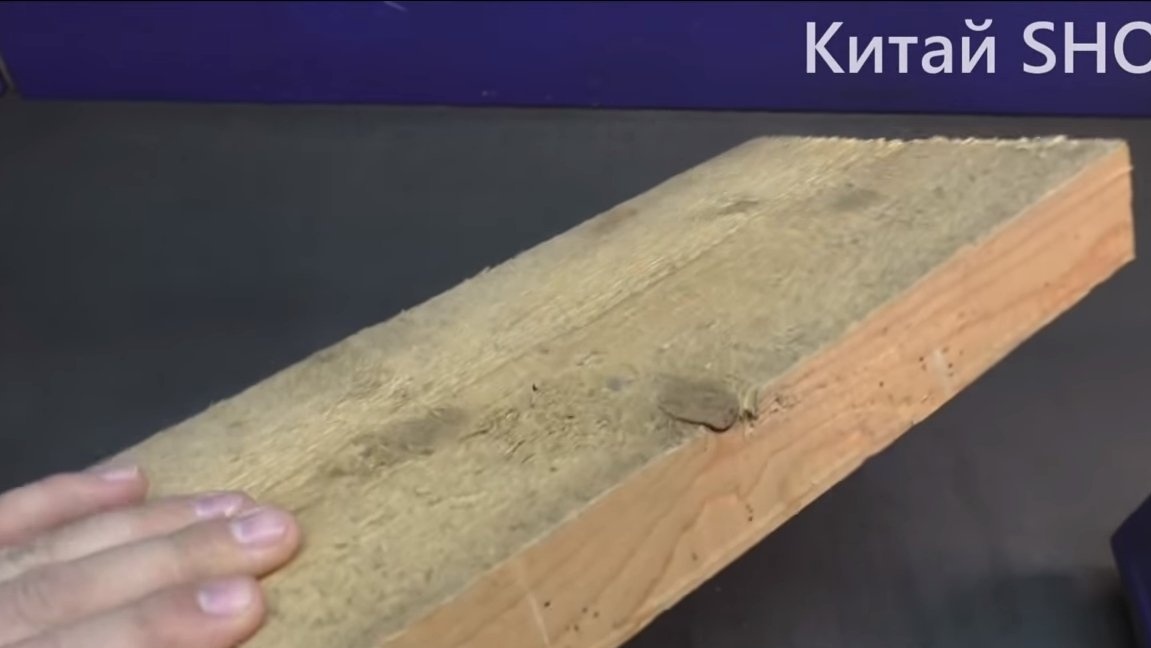
- a board made of beautiful wood (for the base);
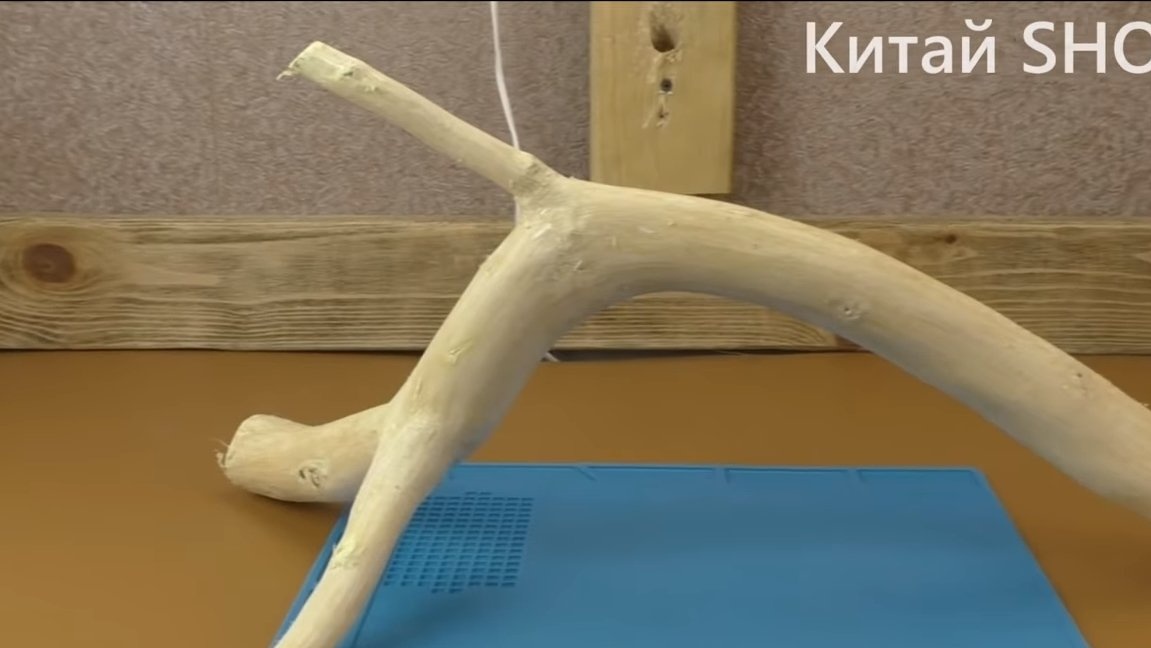
- a beautiful part of the branch (in our case, acacia);
- linen or similar rope;
- a cartridge for a bulb (ceramic is better);
- cable;
- (LED is more economical and safer);
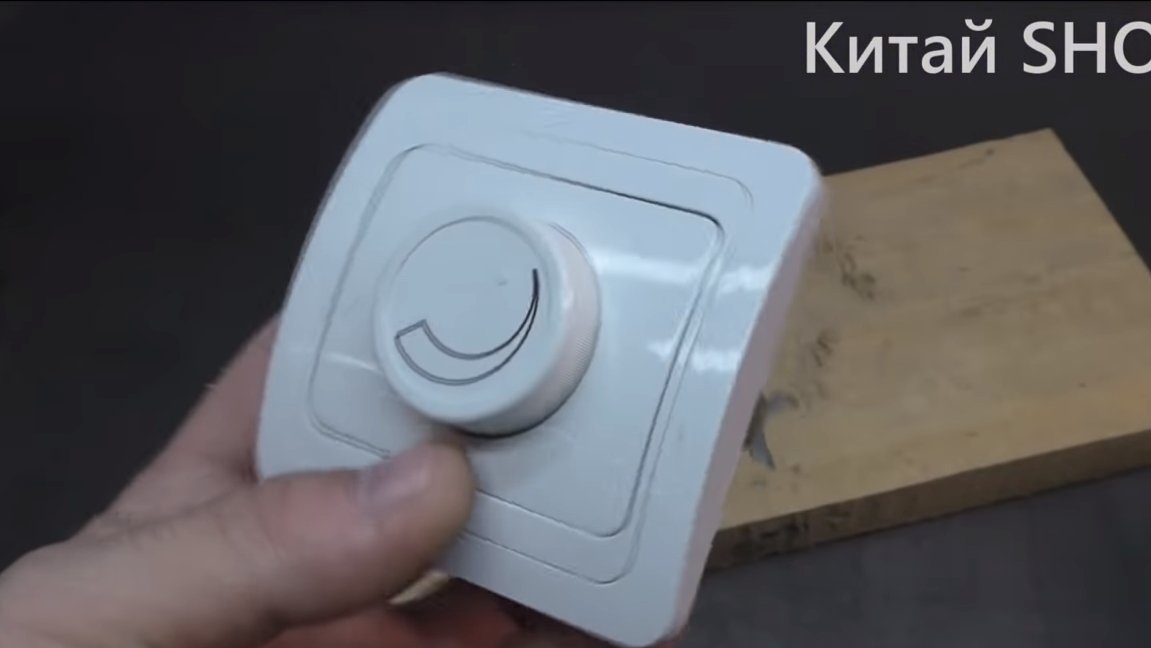
- inexpensive dimmer to adjust the brightness;
- a little skin;
- decorative nails;
- varnish and stain;
- Super glue;
- rubber legs.
Tool List:
- drill;
- nylon nozzle for a drill;
- sandpaper;
- a sharp knife;
- a hacksaw;
- drill;
- soldering iron;
- hammer;
- a chisel;
- drill bit;
- glue gun.
Homemade manufacturing process:
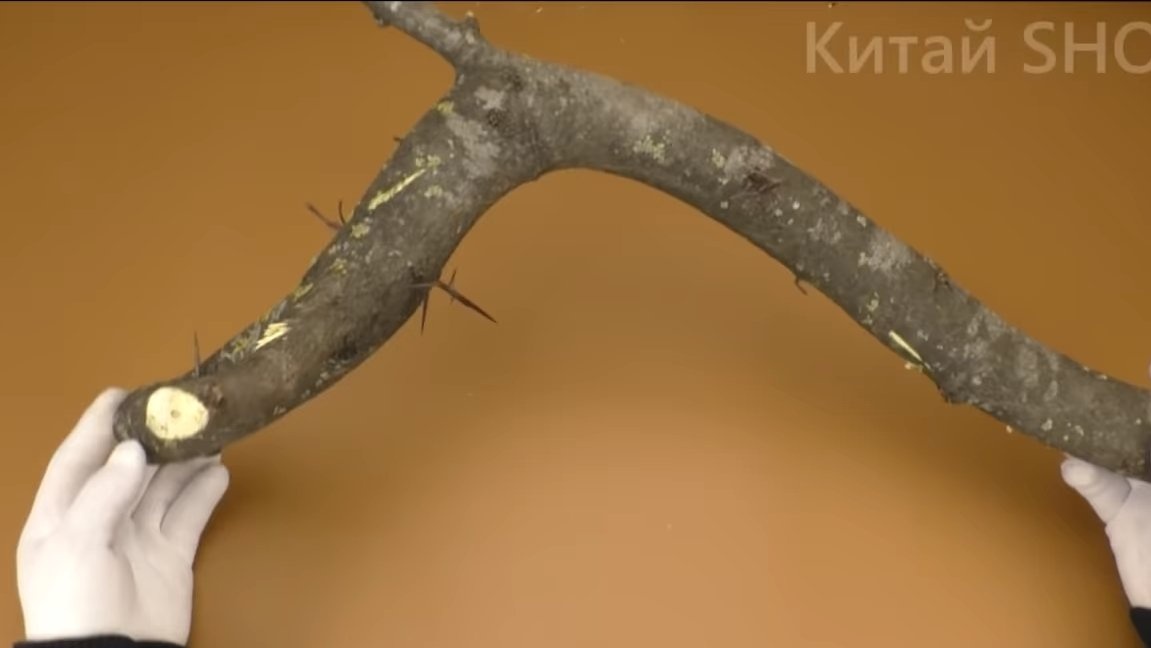
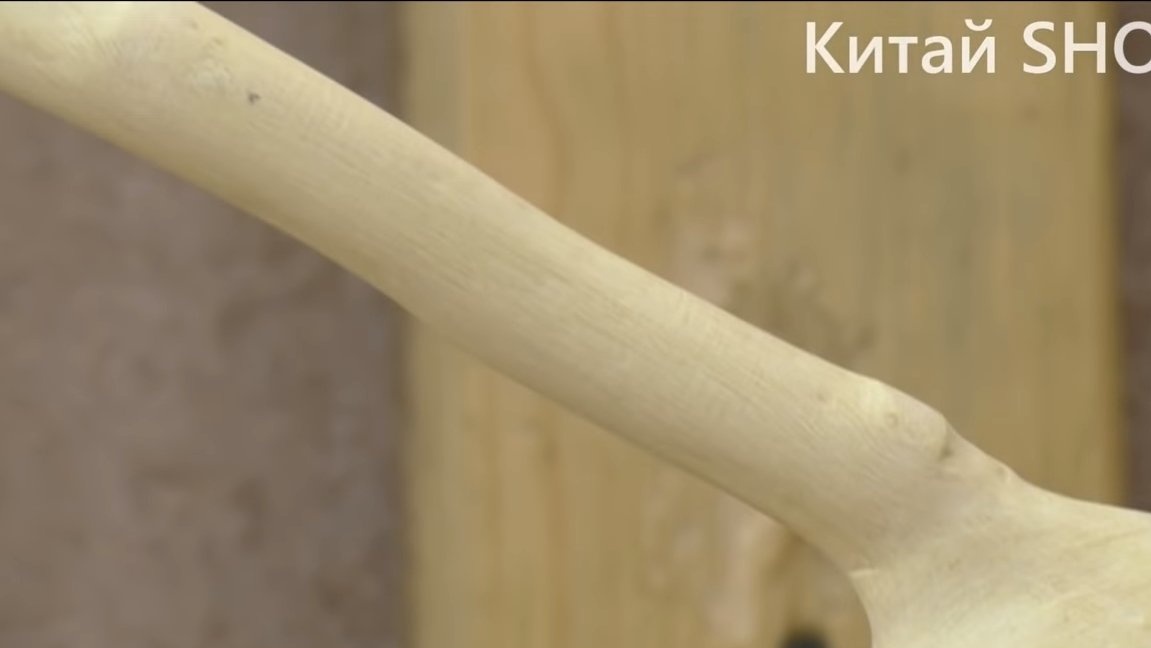
Step one. Branch preparation
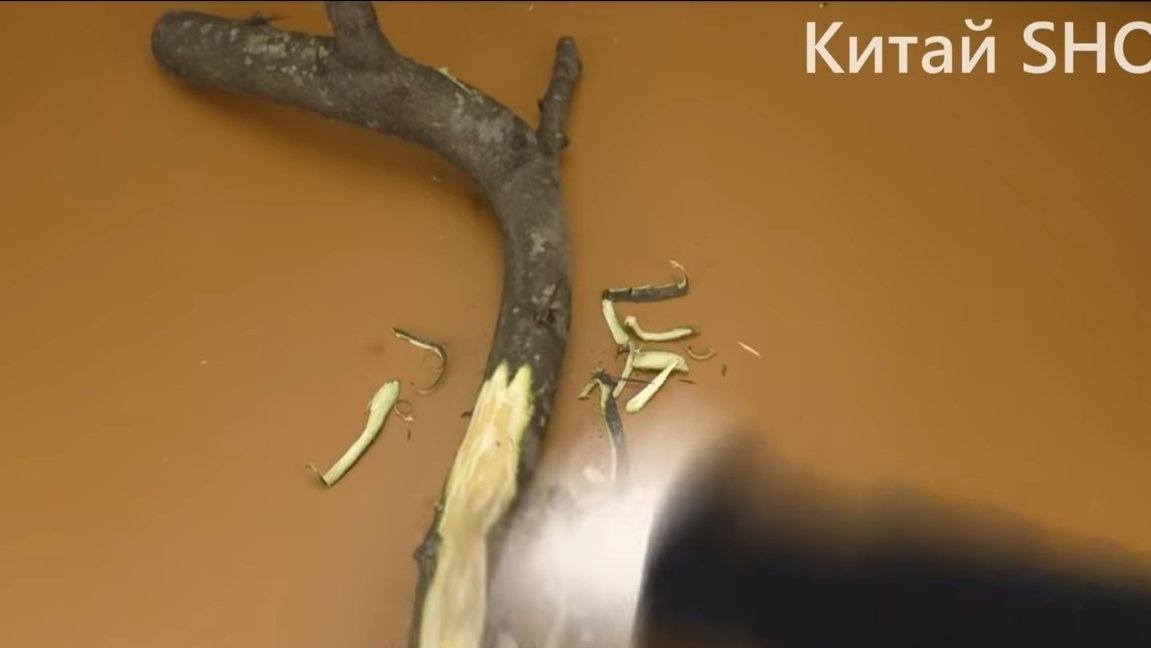
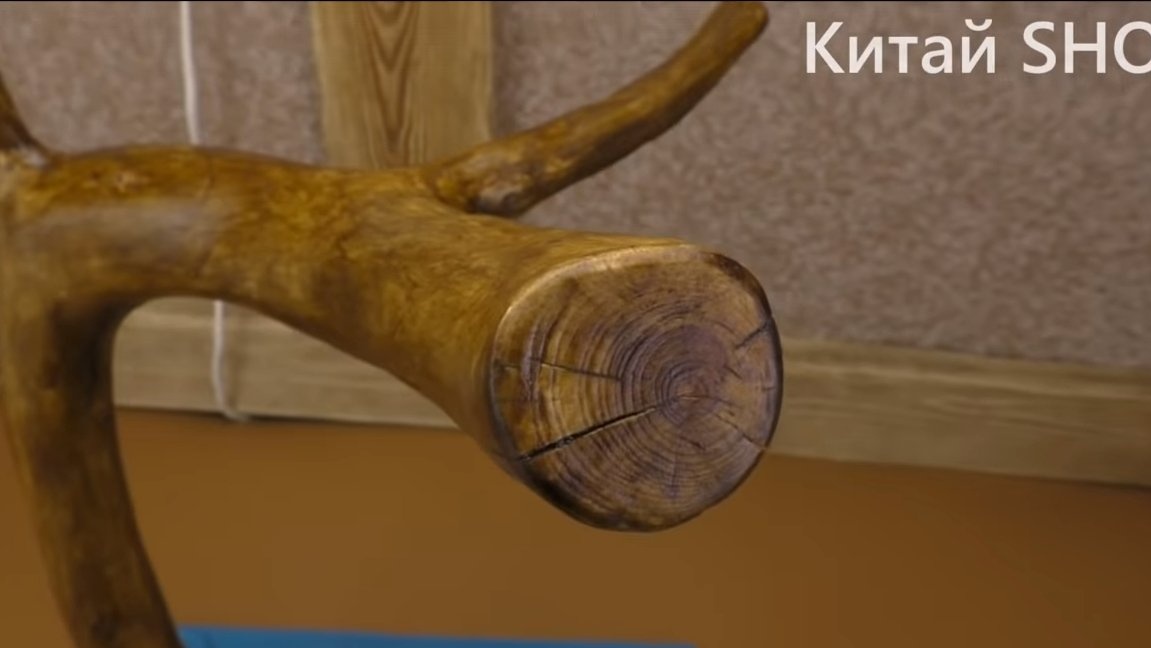
First of all, we need to find a branch of a suitable shape with a beautiful appearance. It is necessary to remove the bark from the branch and set it to dry, since it is very difficult to process raw wood, but this did not stop the author.
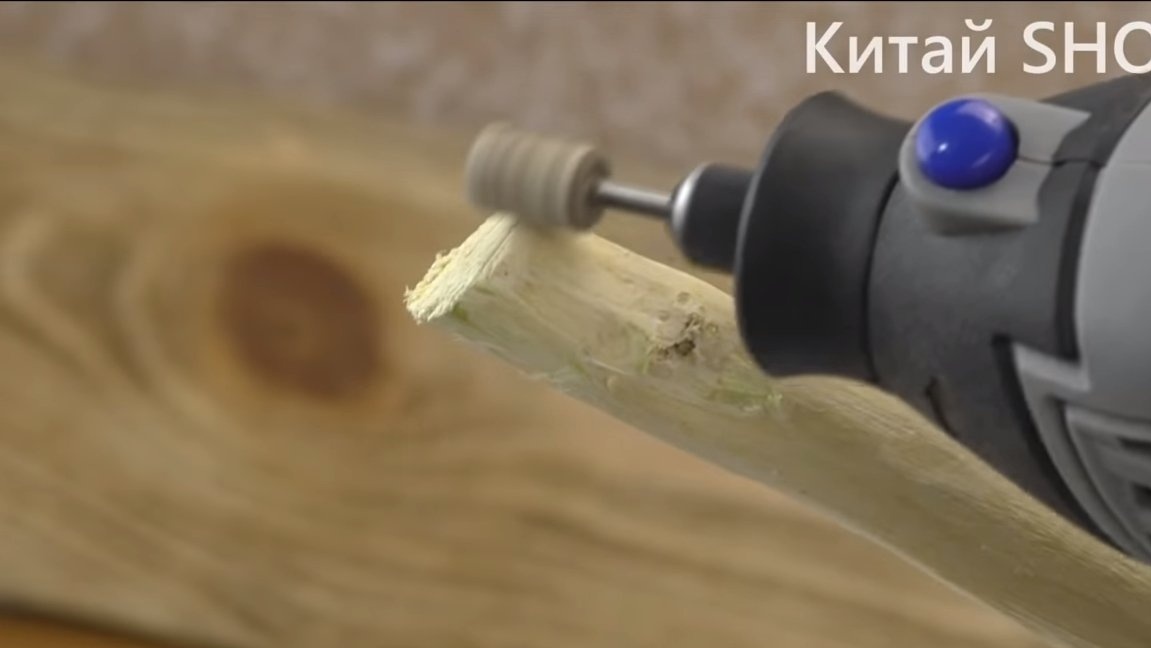
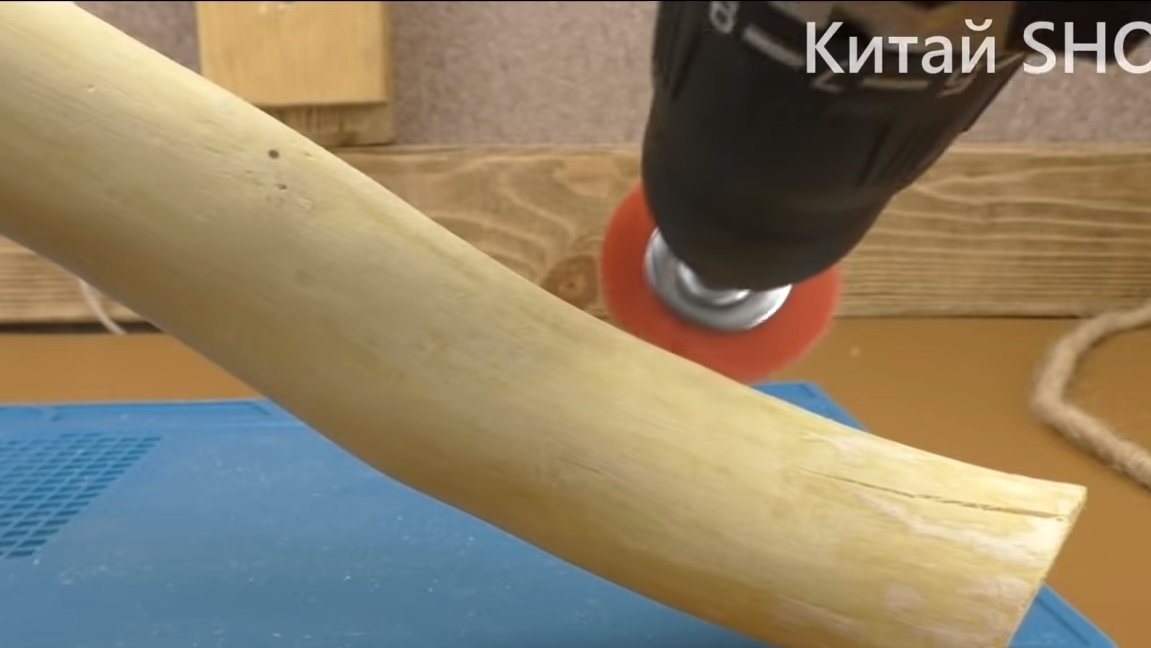
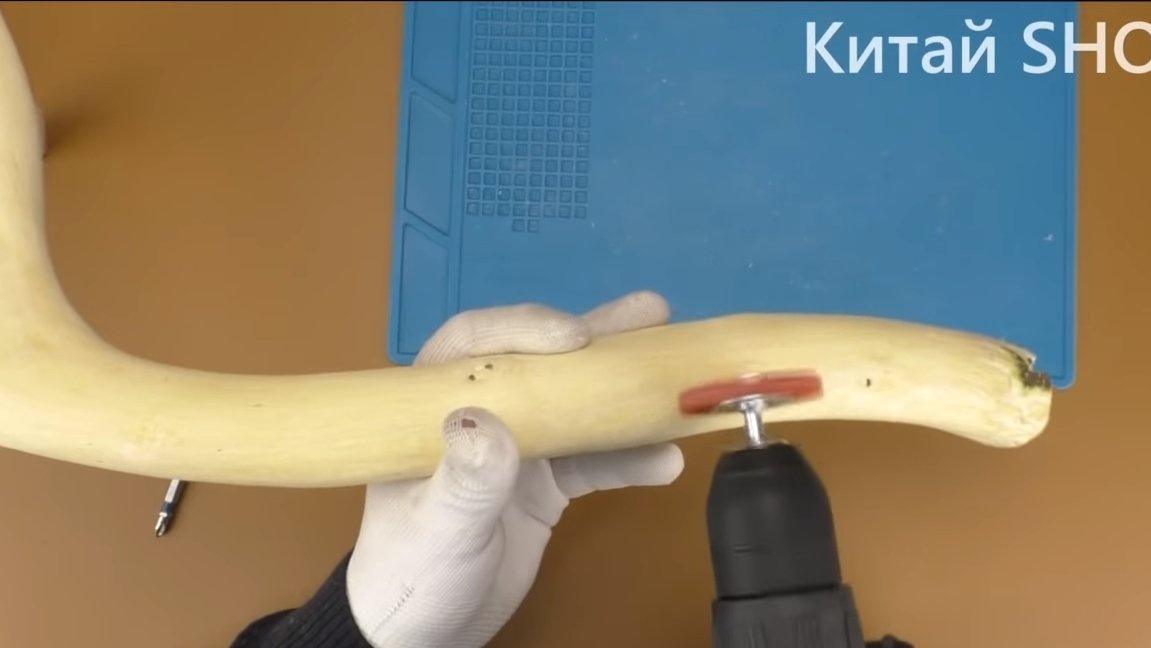
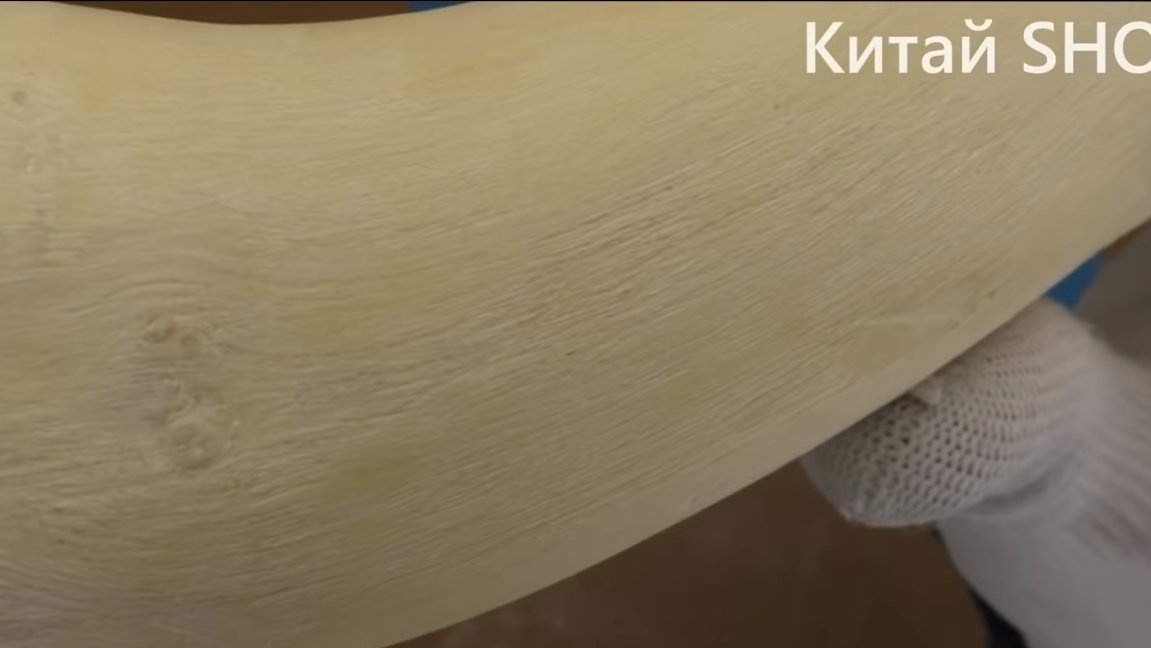
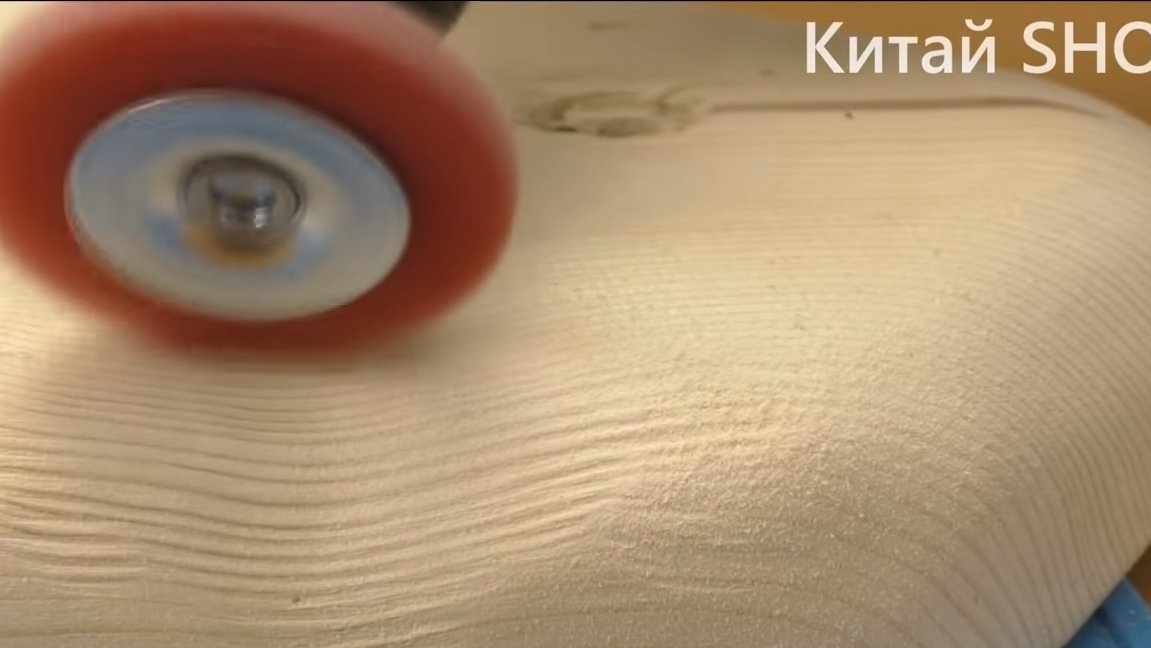
After removing the bark, we pass along the branch with a knife, cut off the knots and remove other irregularities. Then processing with a drill follows, the author rounded the edges of the branch, and also removed gross defects. In the end, it remains to carefully polish the branch with the help of sandpaper to a smooth state.
To give the wood an aged look and highlight more solid structures, we need a drill and a special nylon nozzle.

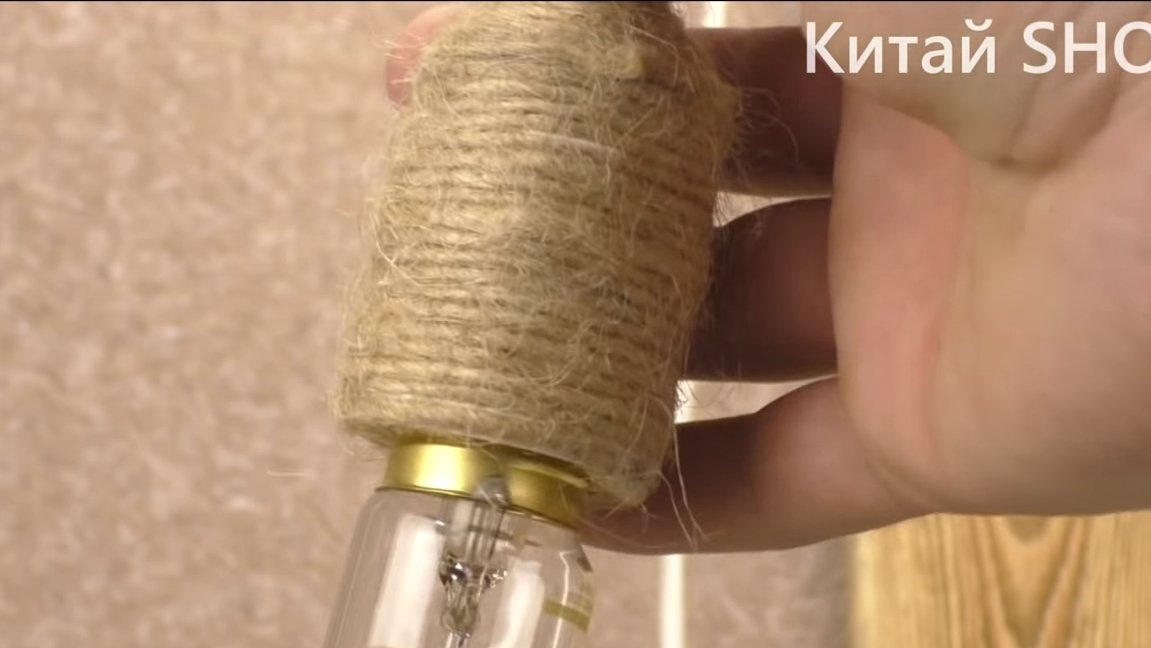
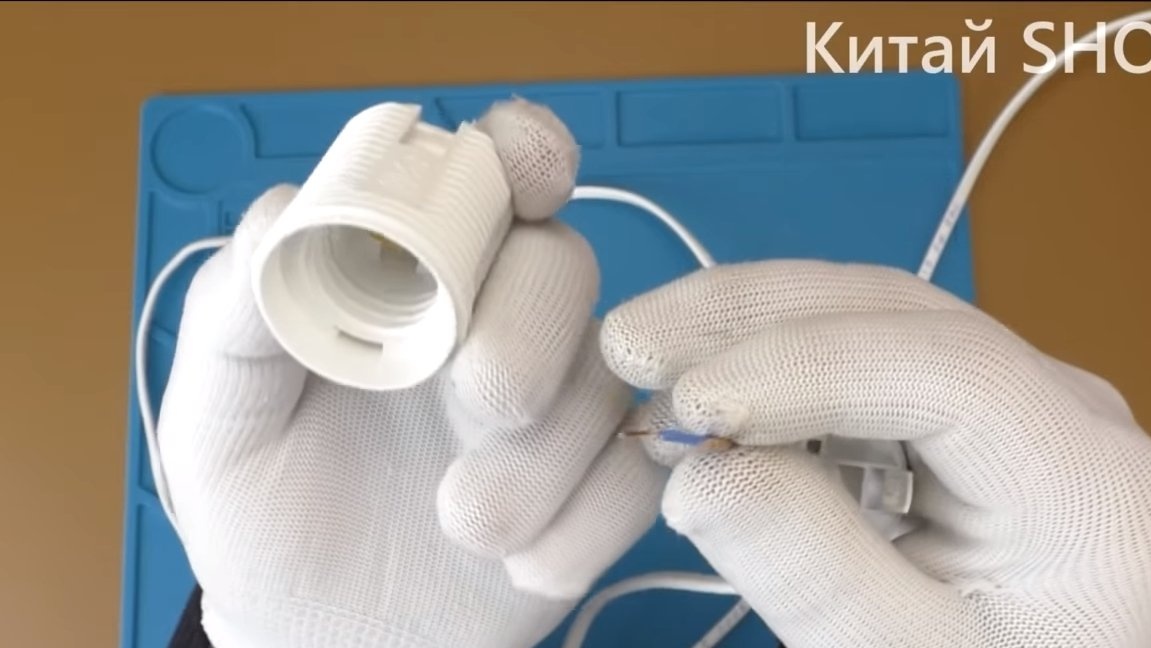
Step Two Cartridge preparation
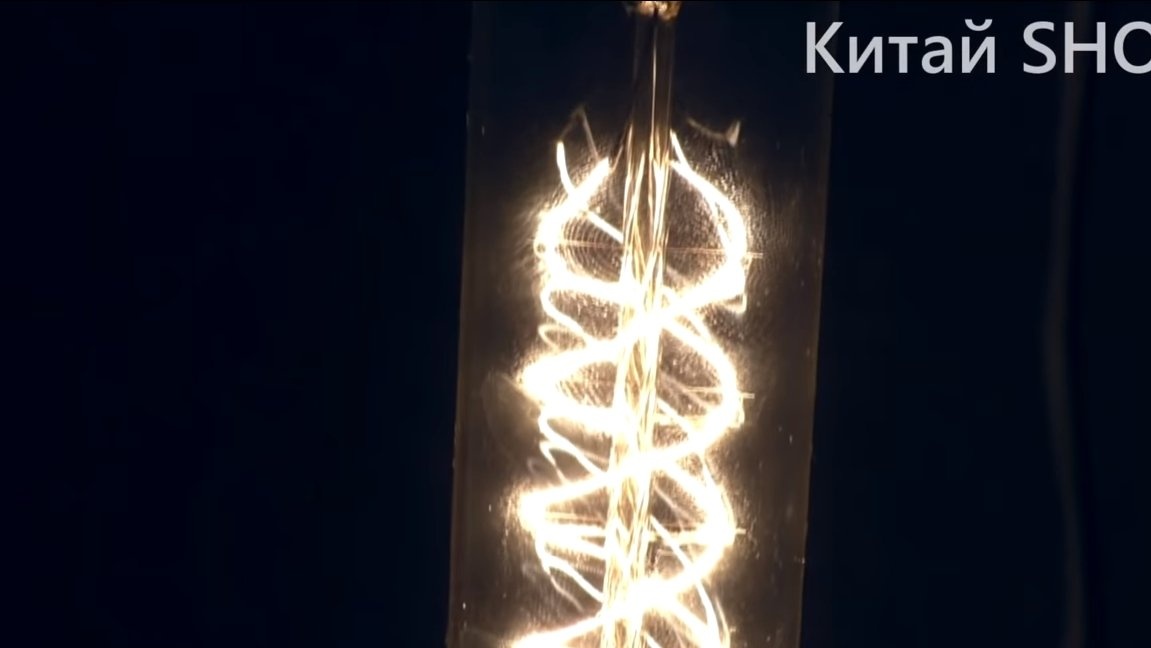
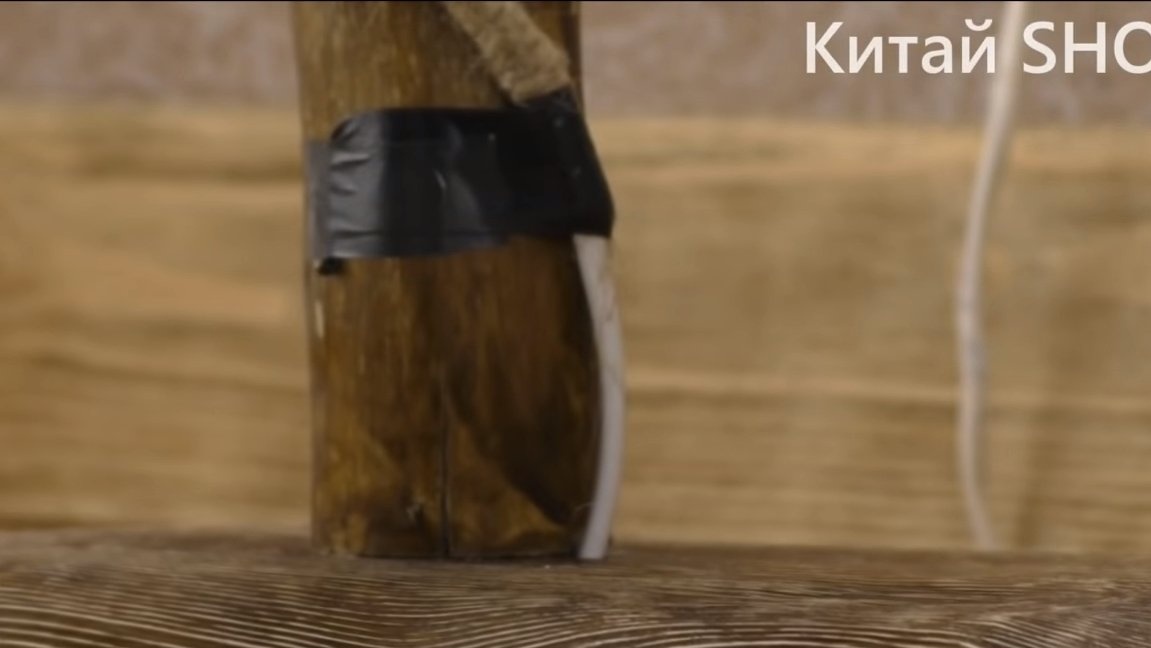
Next, we will prepare a cartridge for a light bulb, it is highly recommended for fire safety to use not plastic, as the author, but ceramics. This is especially true when an incandescent lamp is used.
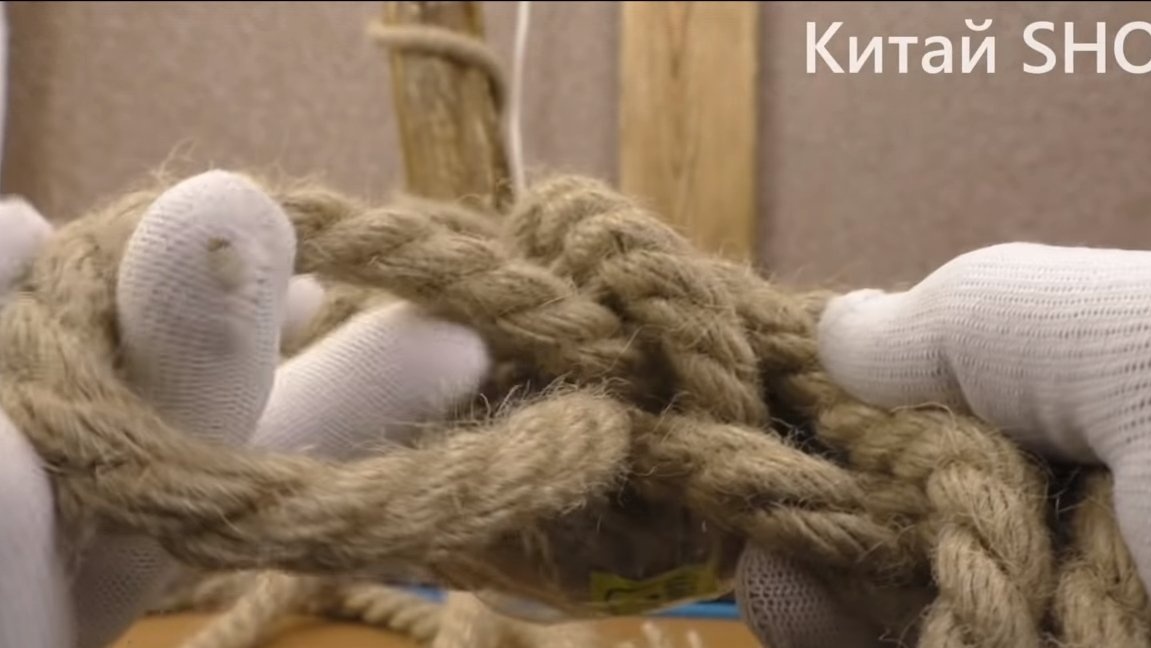
We fasten the cable to the cartridge and proceed to decorating. Here we need a rope made of flax, wrap a cartridge and a cable around it. Super glue is used to fix the rope. This whole thing looks quite attractive.

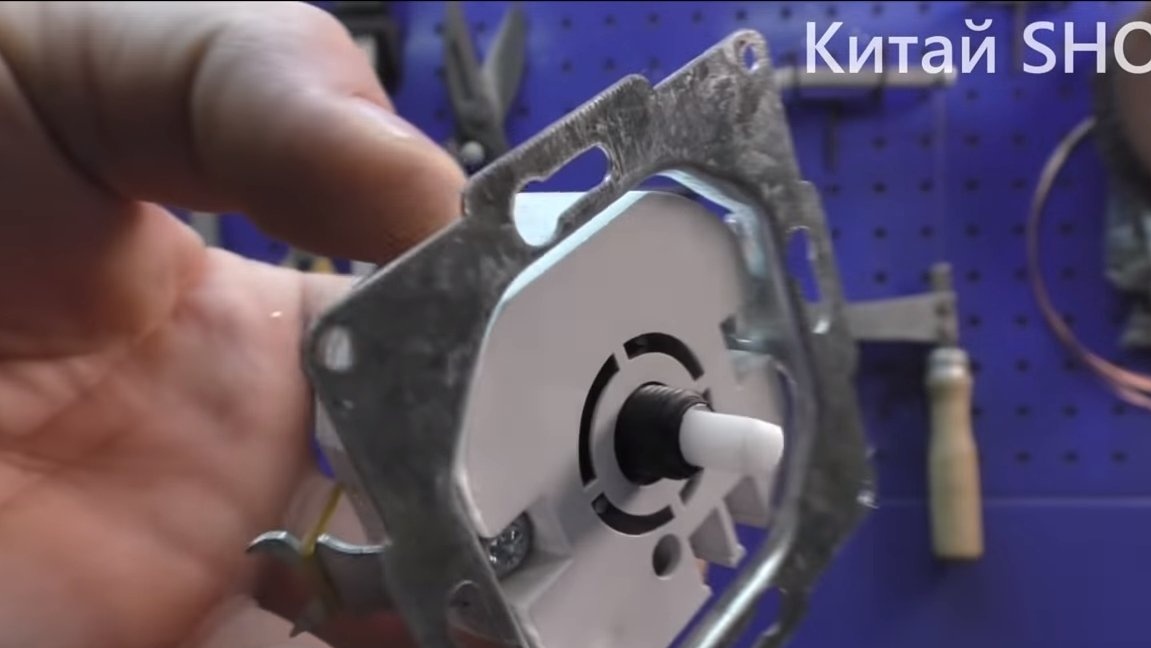
Step Three Installing a dimmer in the base
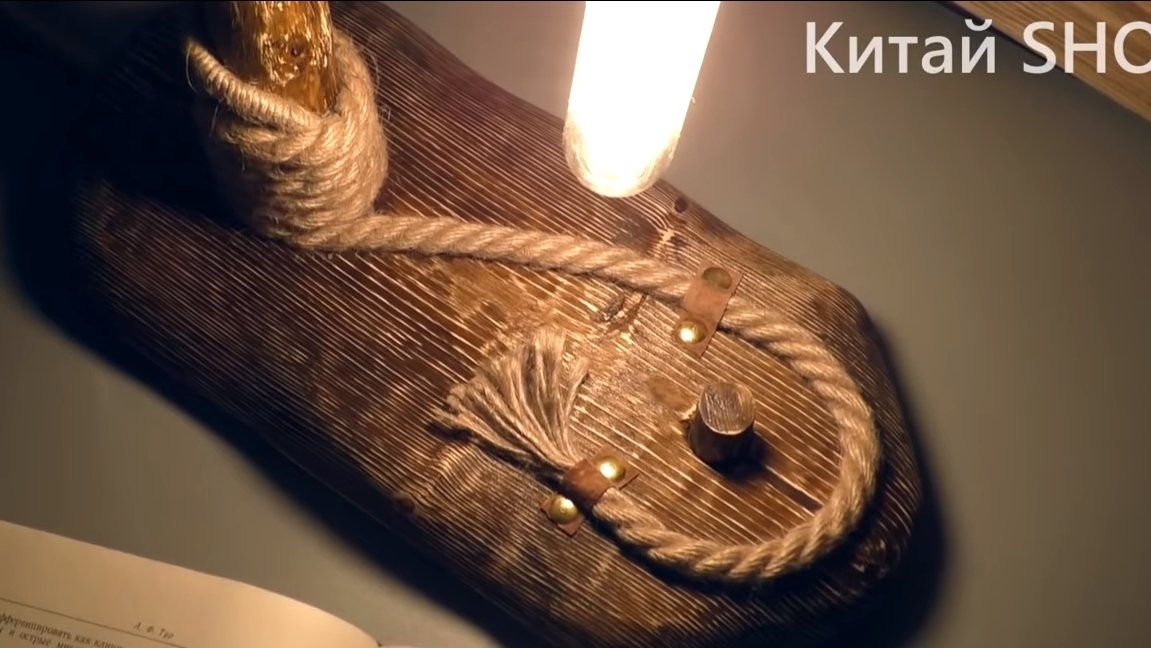
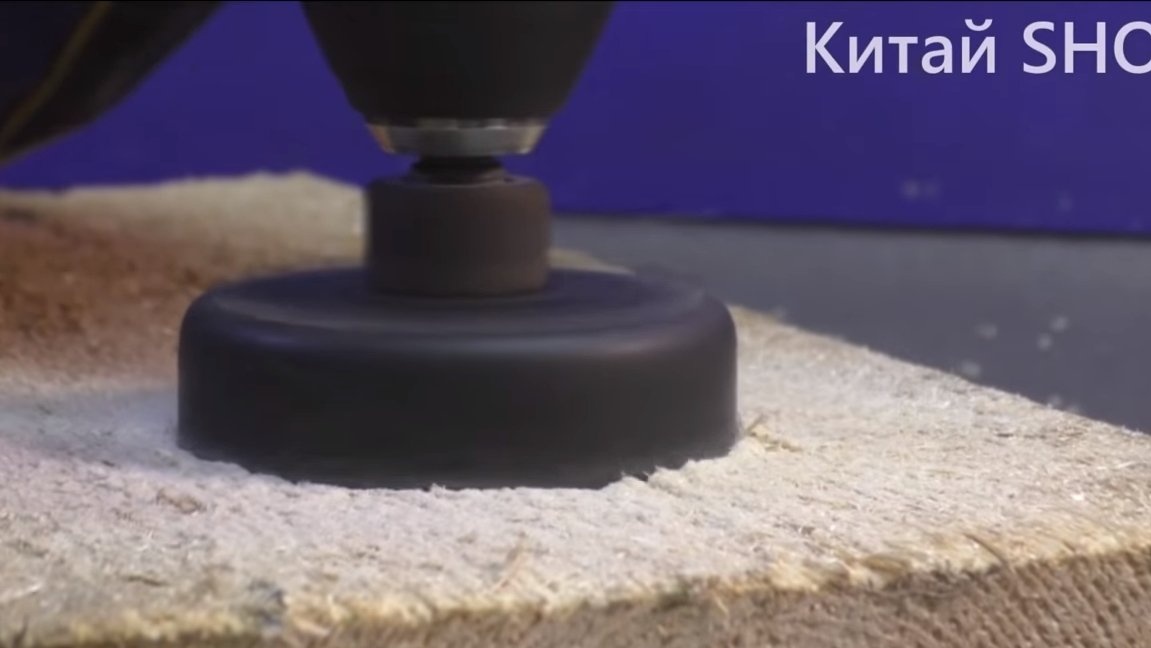
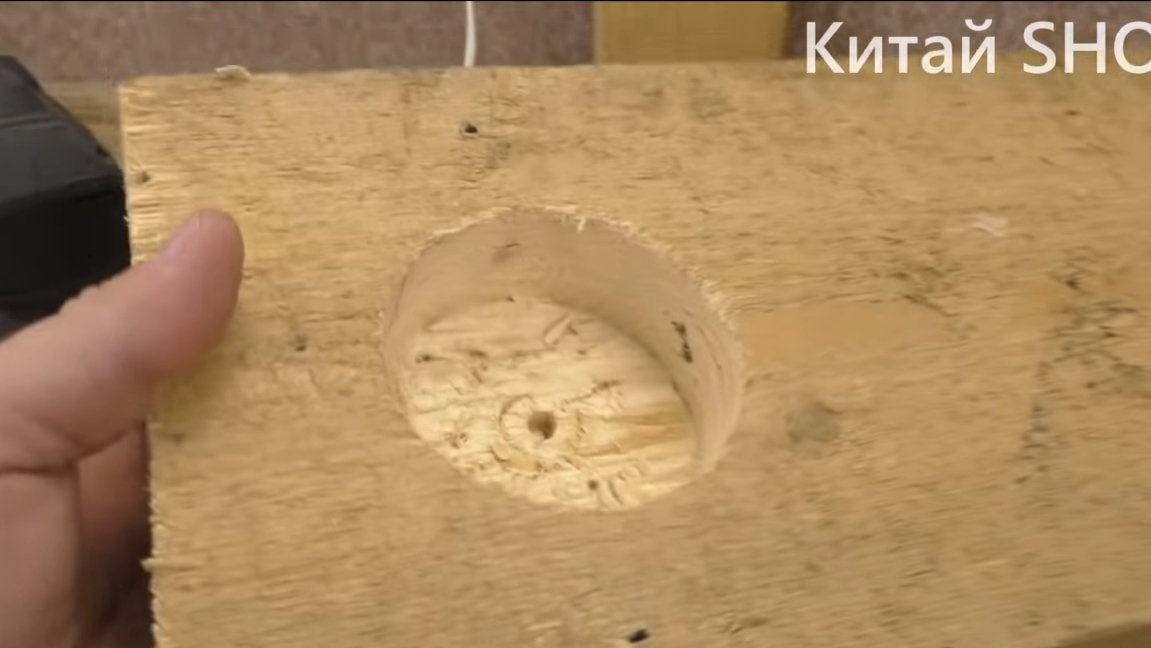
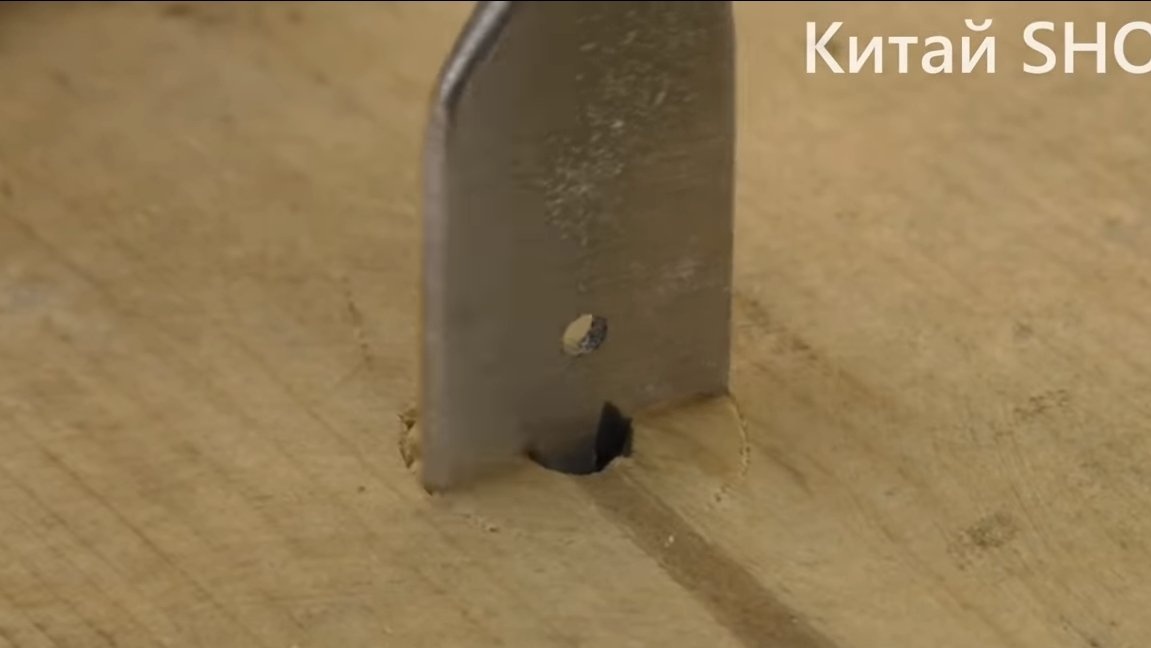
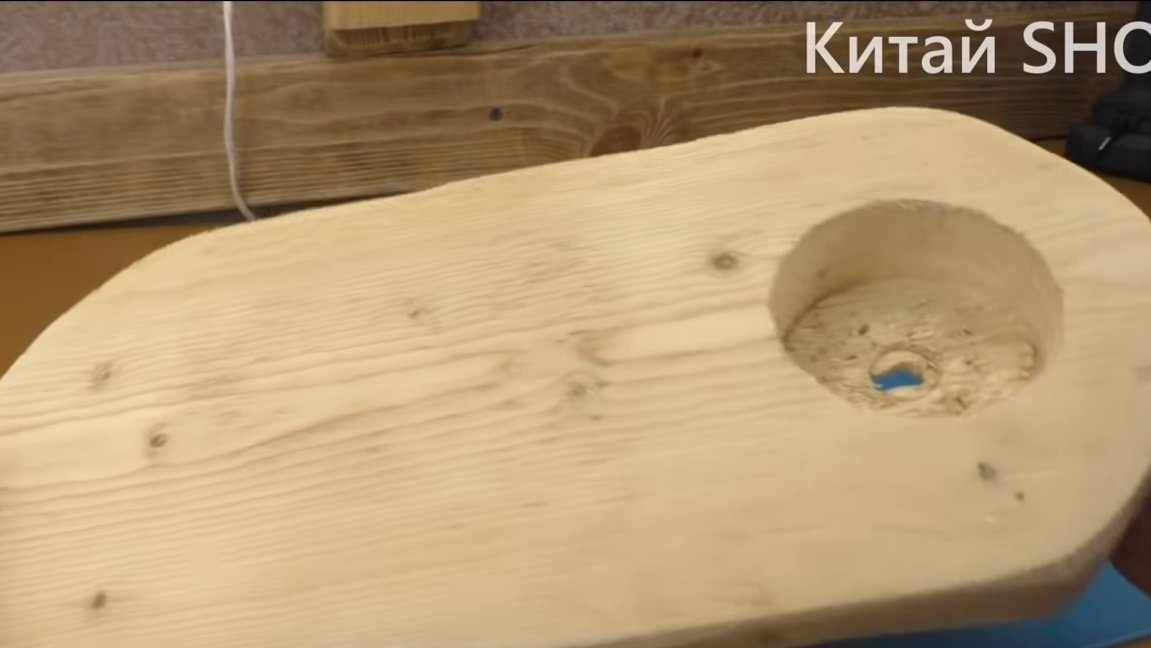
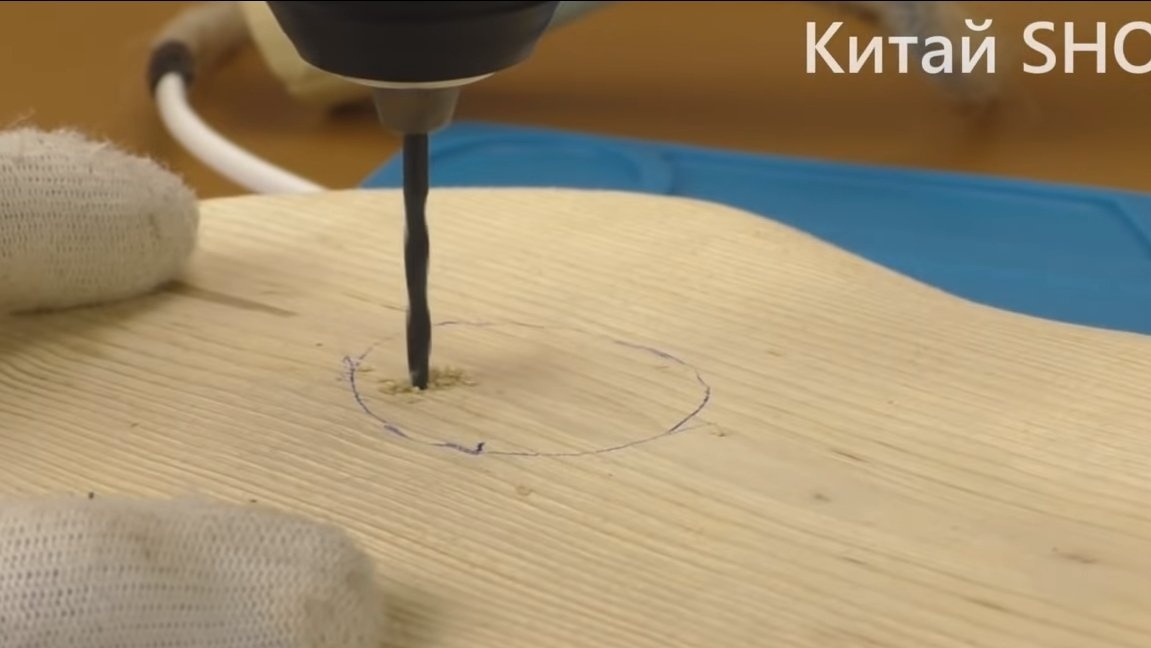
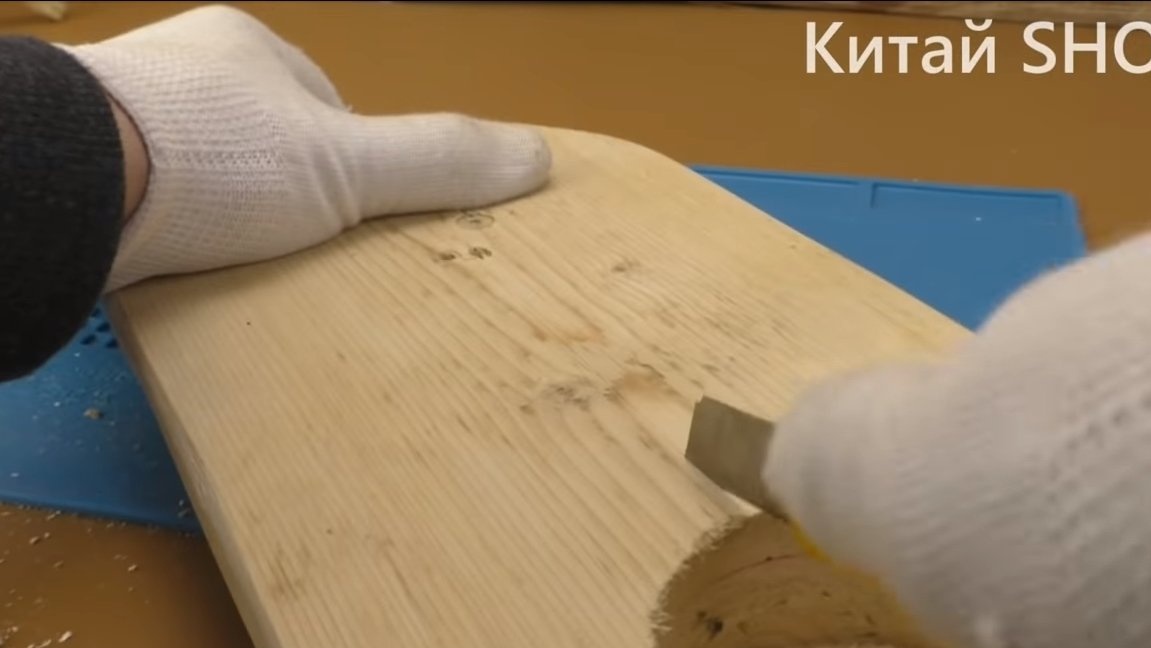
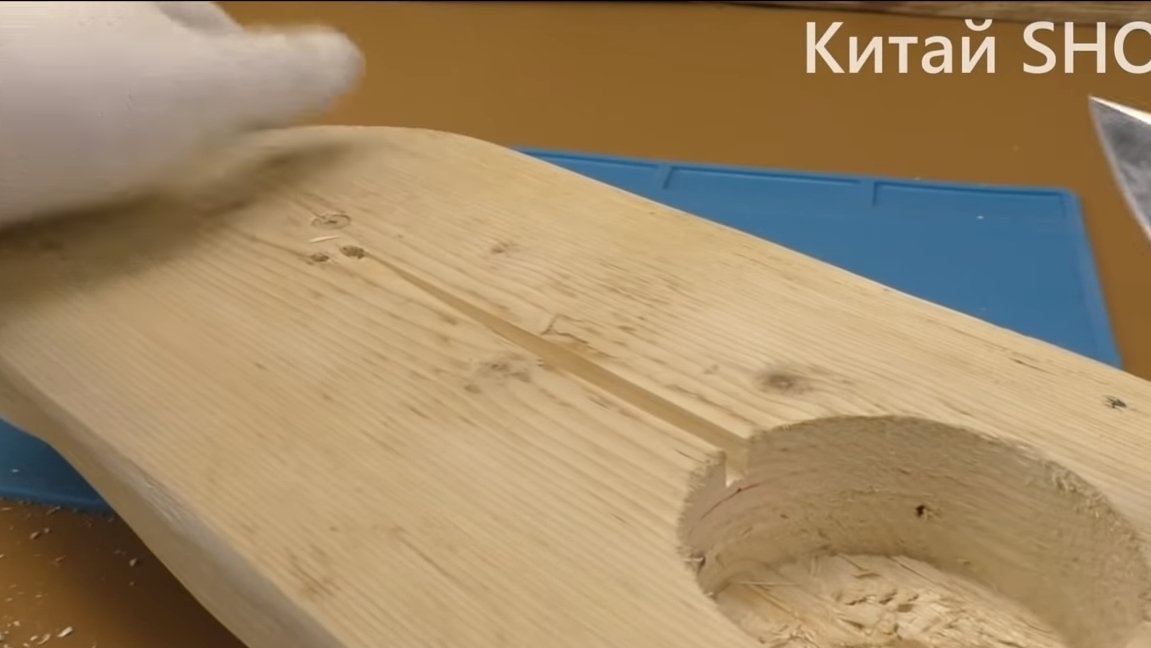
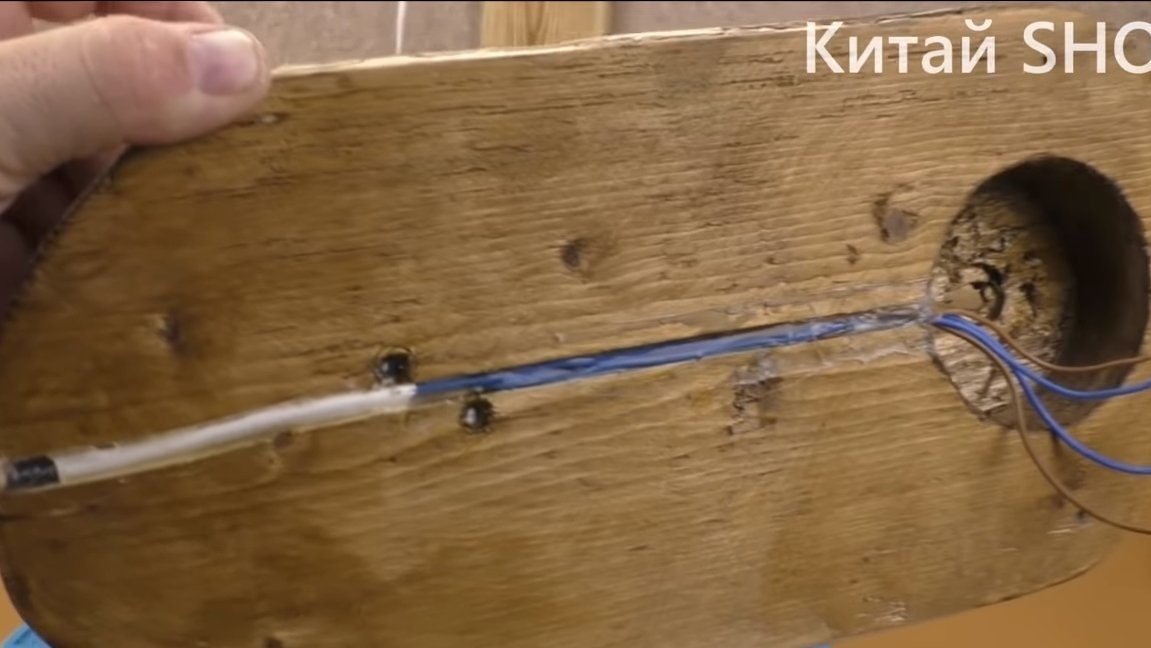
As a basis, we need a board of suitable thickness so that a dimmer can be built into it. We cut out the seat under the dimmer with a drill bit, and then we hollow out the contents with a chisel and a hammer.
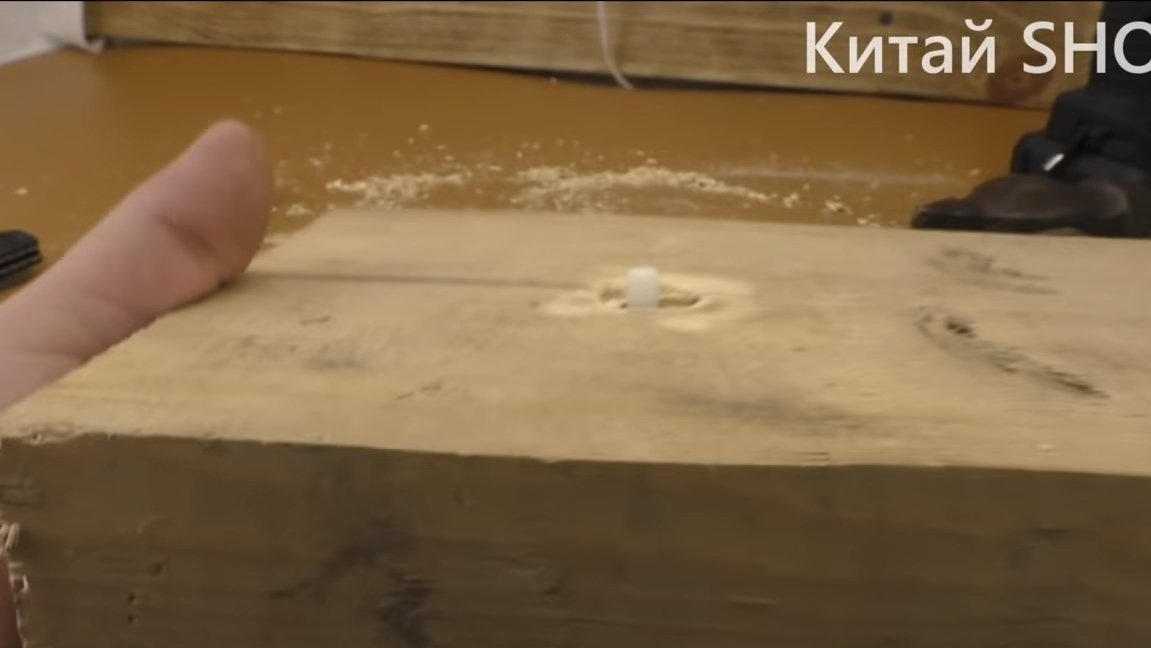
On the reverse side, you will need to make a recess under the handle with a pen drill, and the handle will be made of a piece of a branch.
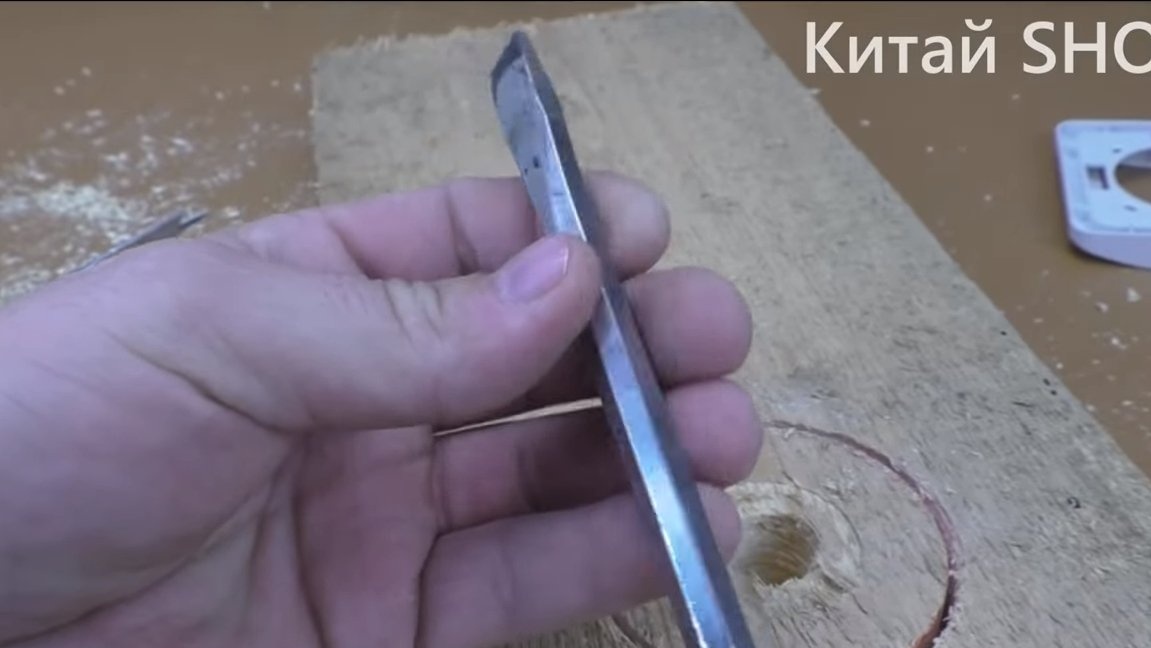
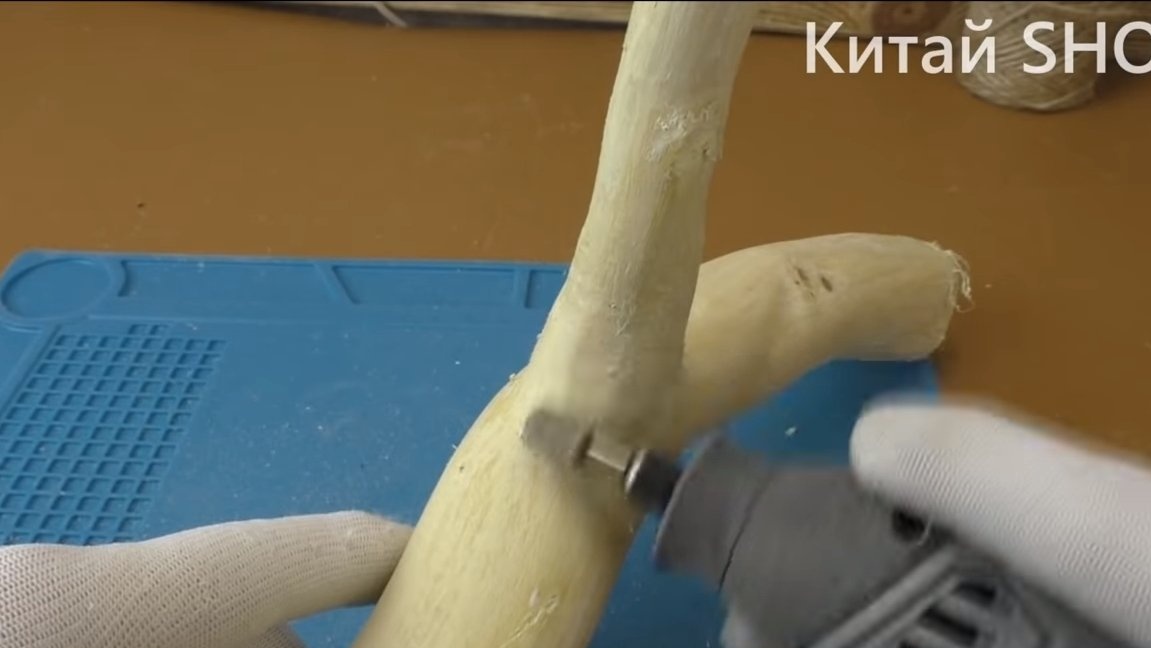
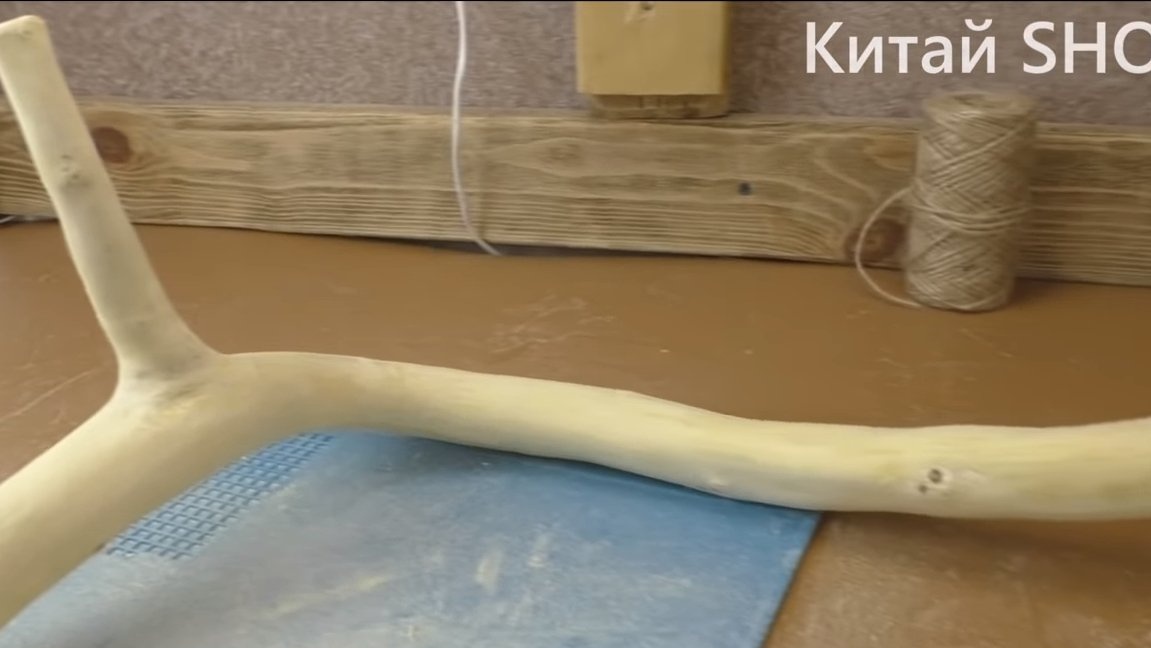
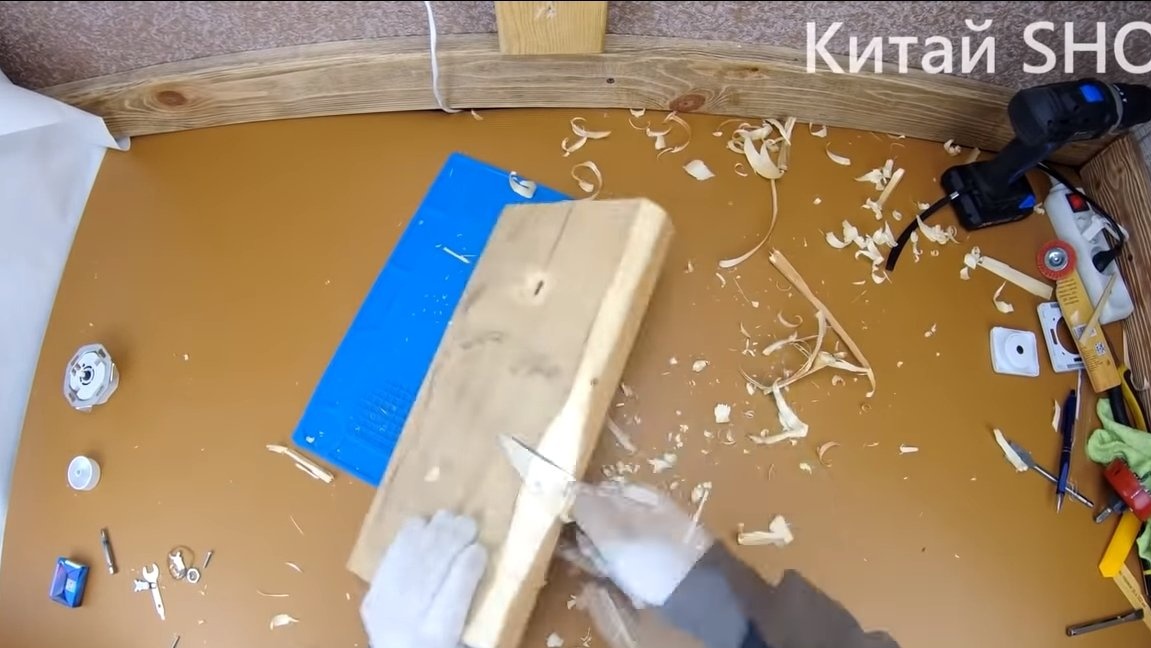
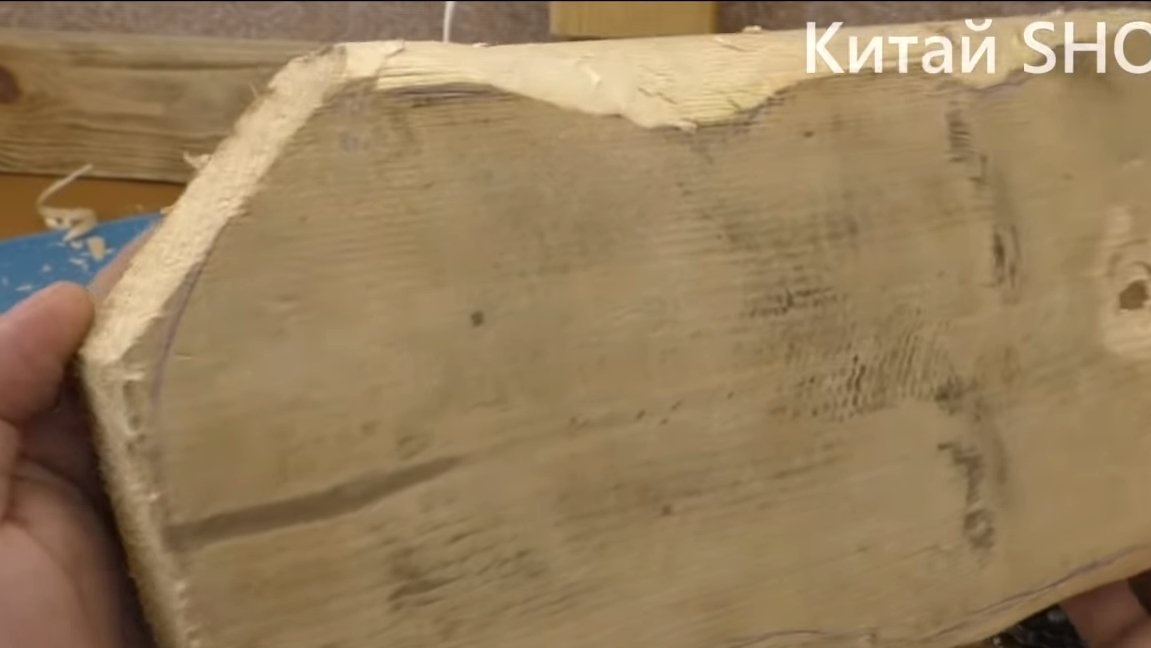
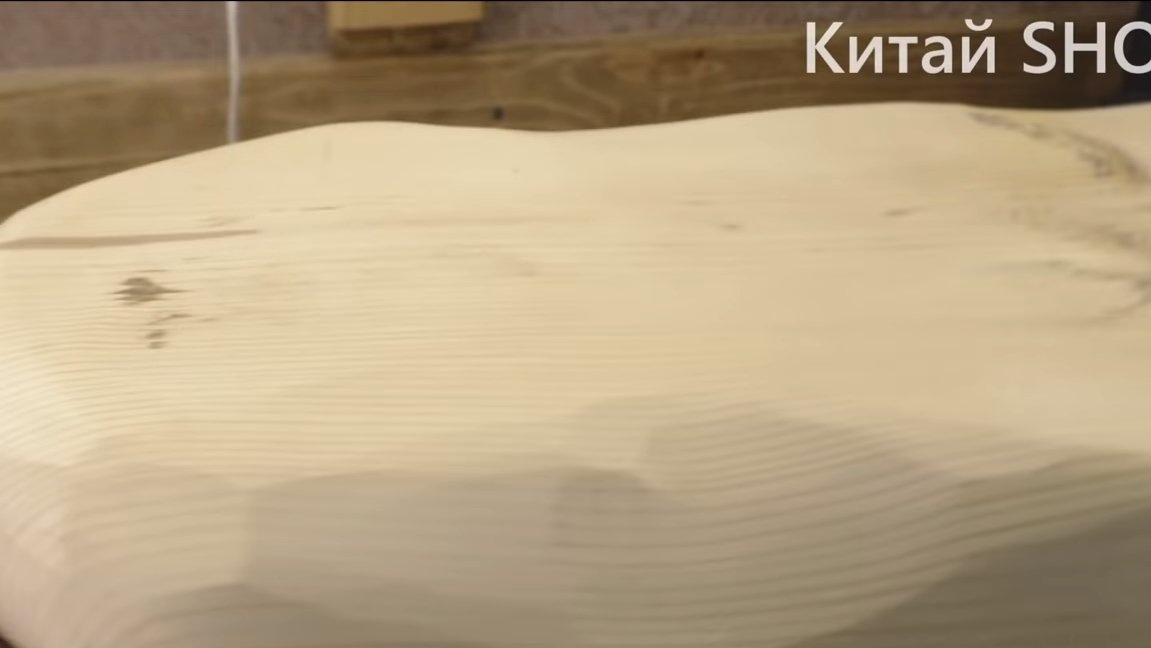
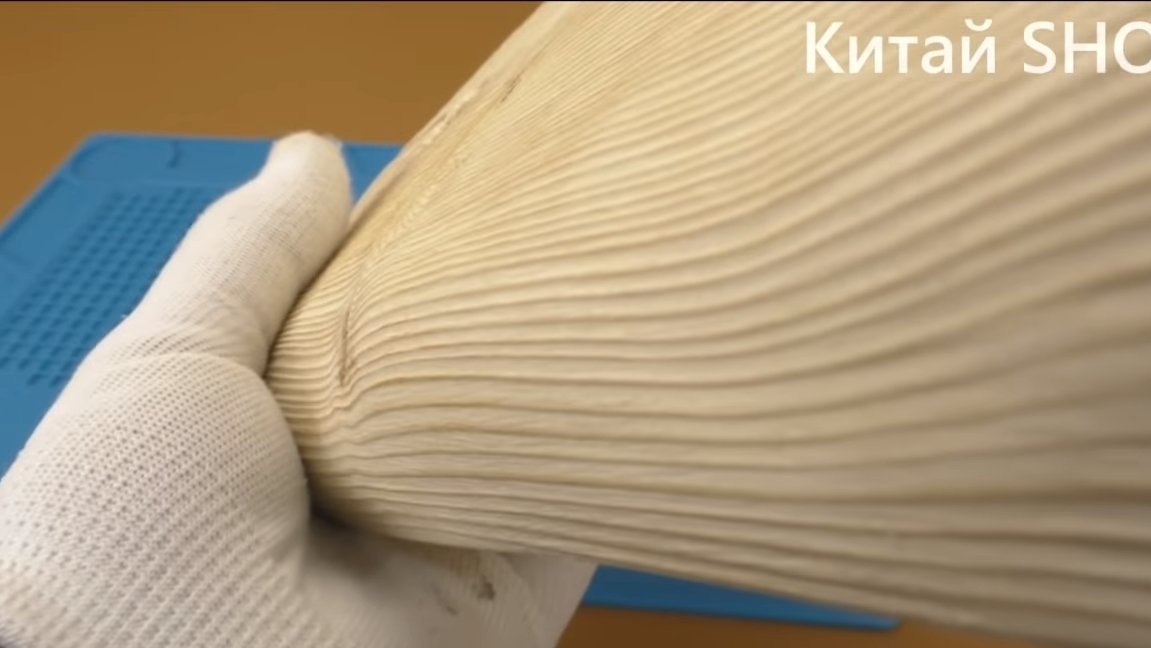
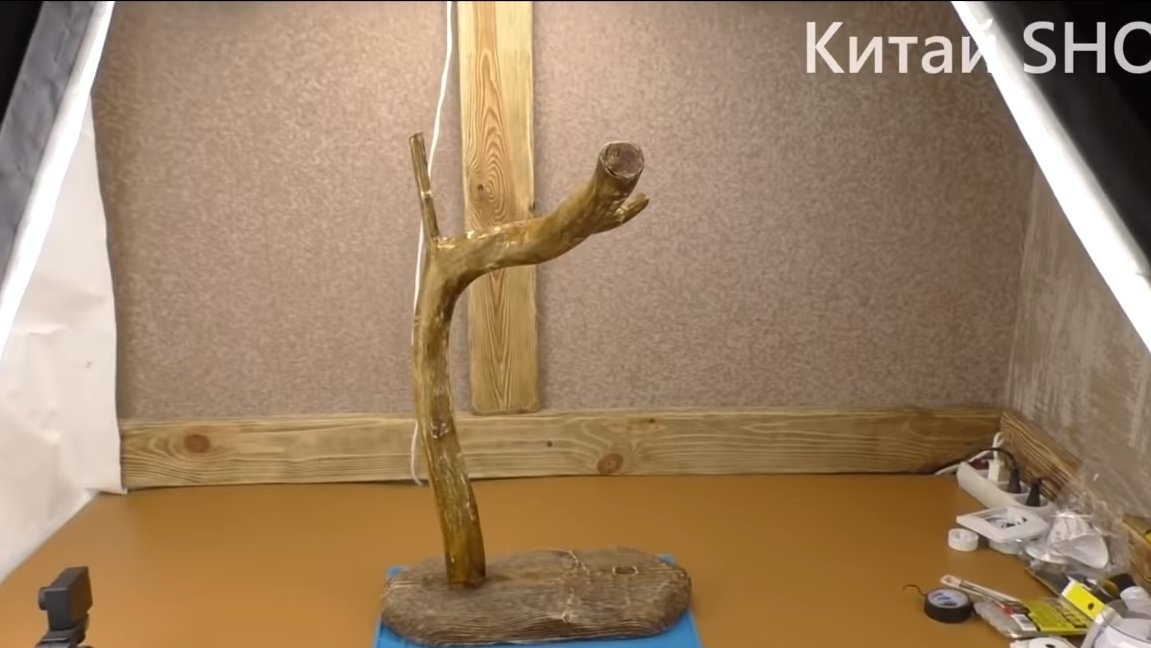
That's all, then the basis will remain to be finalized. We set the necessary forms of the base with a sharp knife. Next, we carefully grind the wood with a petal nozzle. As a finale, the author walks through the wood with a nylon nozzle, after which the wood looks great, as if the wood had been floating in the water for many years.
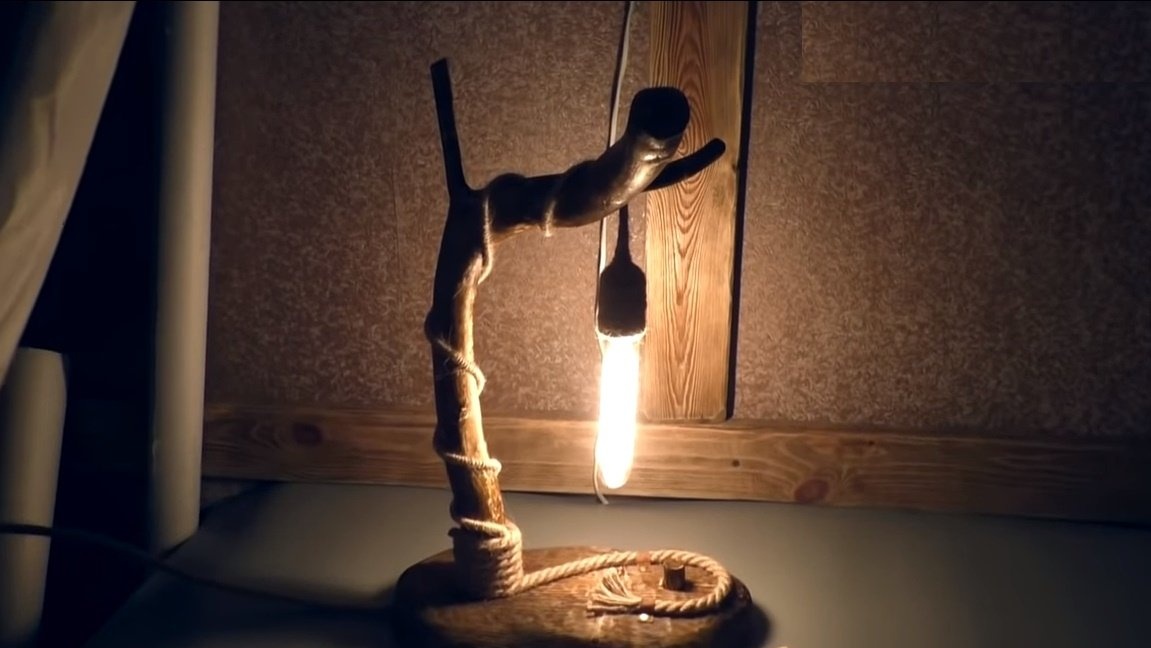
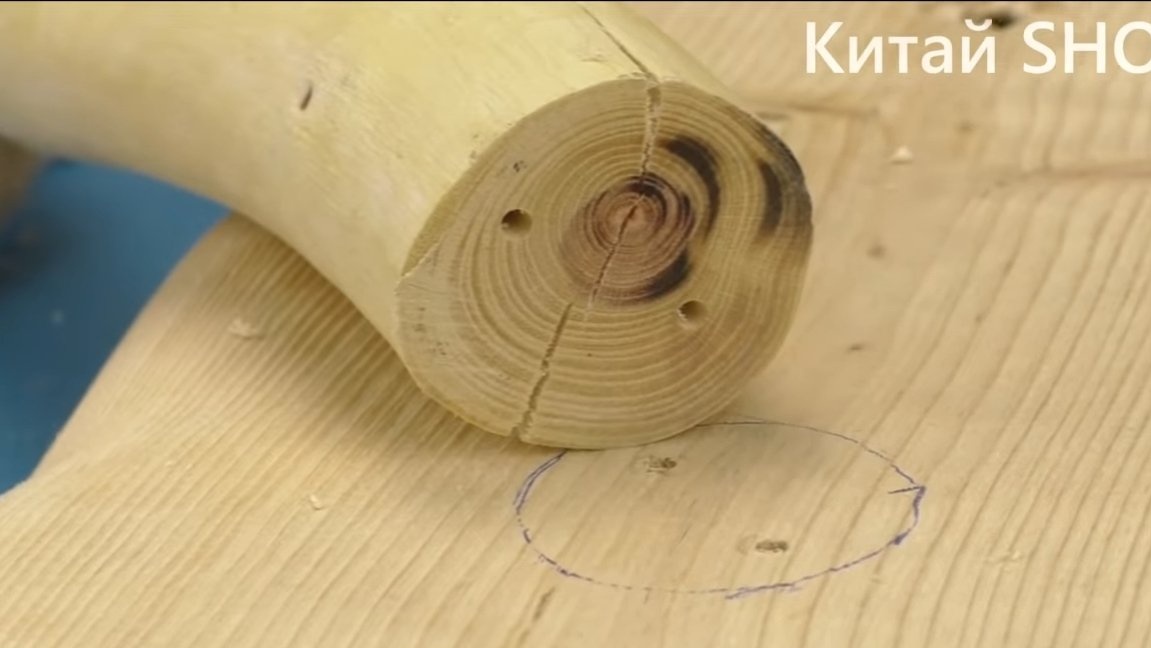
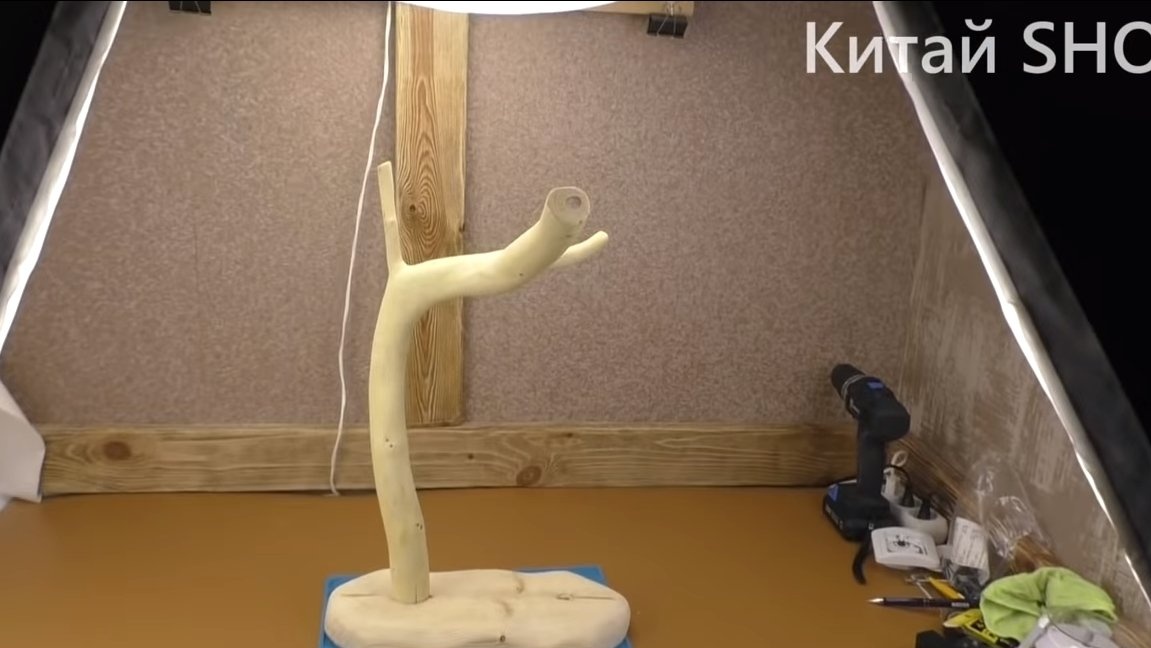
Step Four Base Assembly and Impregnation
We collect the base, for this the branch needs to be attached to the base. For fastening we use self-tapping screws, it will also not be superfluous to smear the joined surfaces with joiner glue. When everything is assembled, we impregnate the tree with wood stain, in our case it is dark in oak color. When the stain dries, we lightly grind it so that the tree has traces of wear.


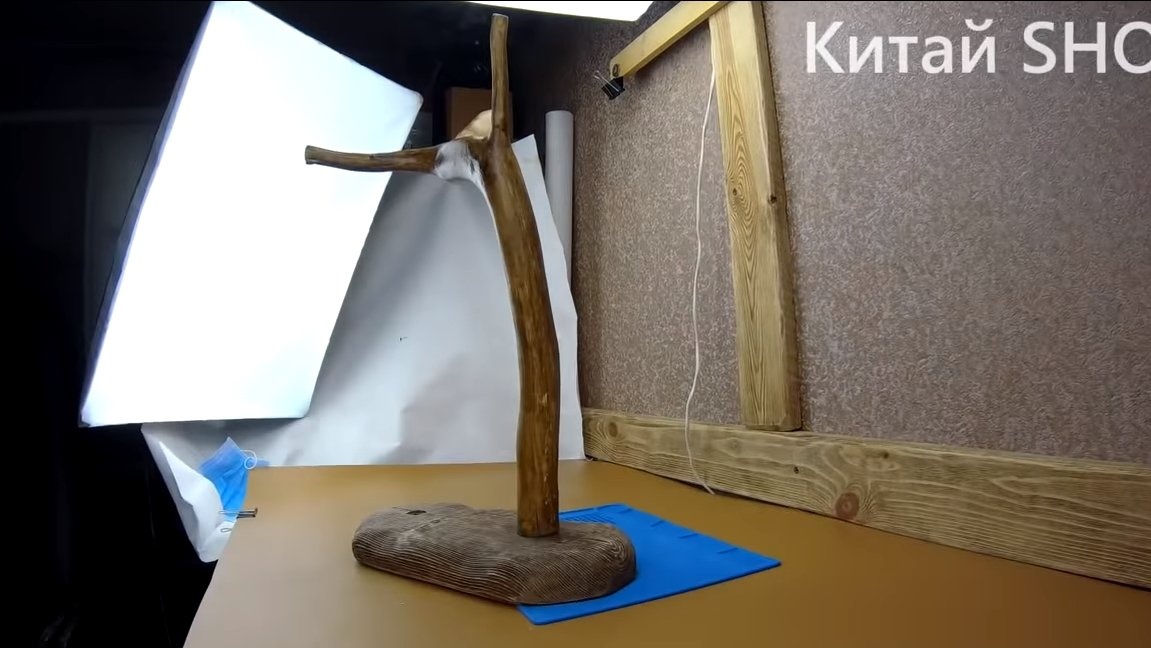
Step Five Putting the lamp
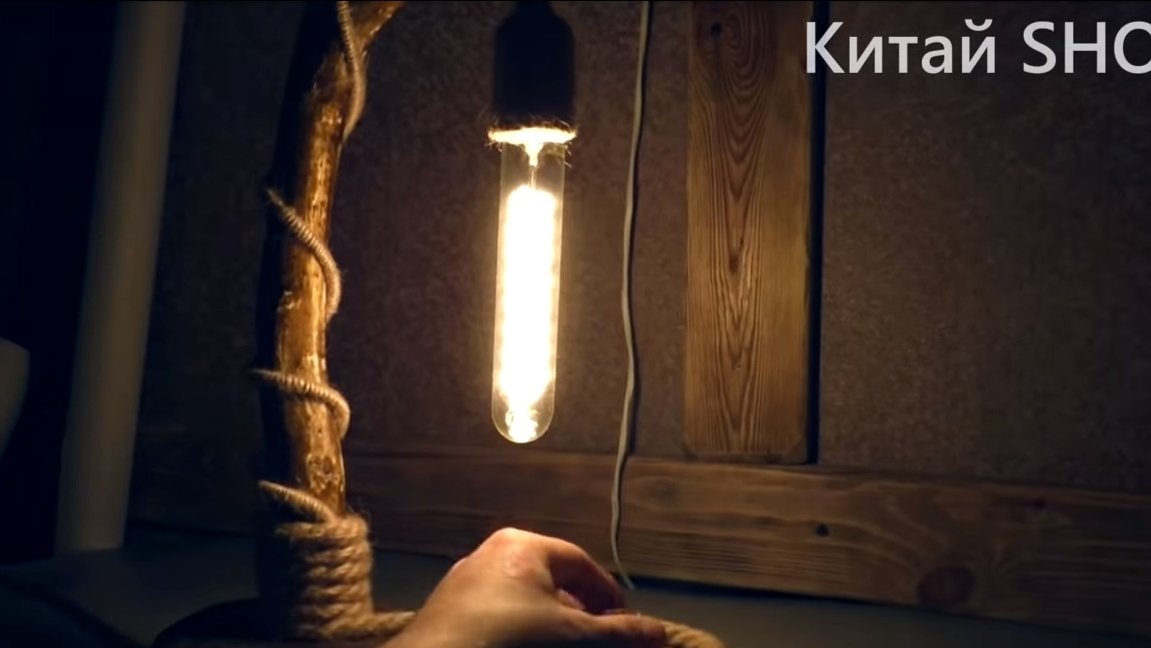
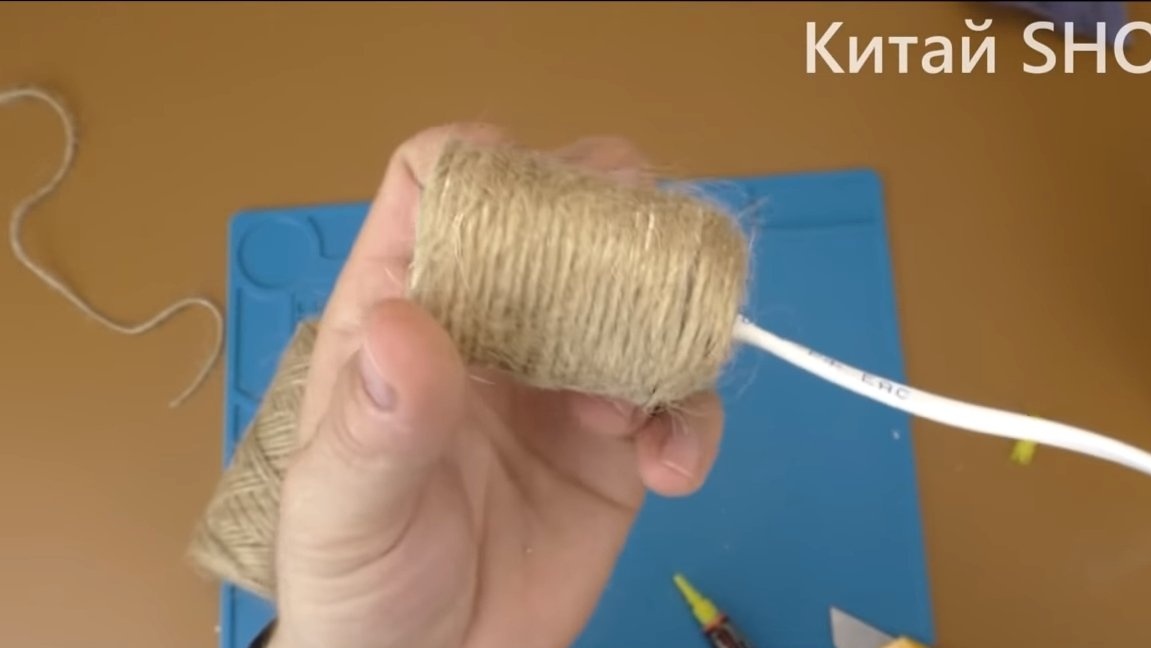
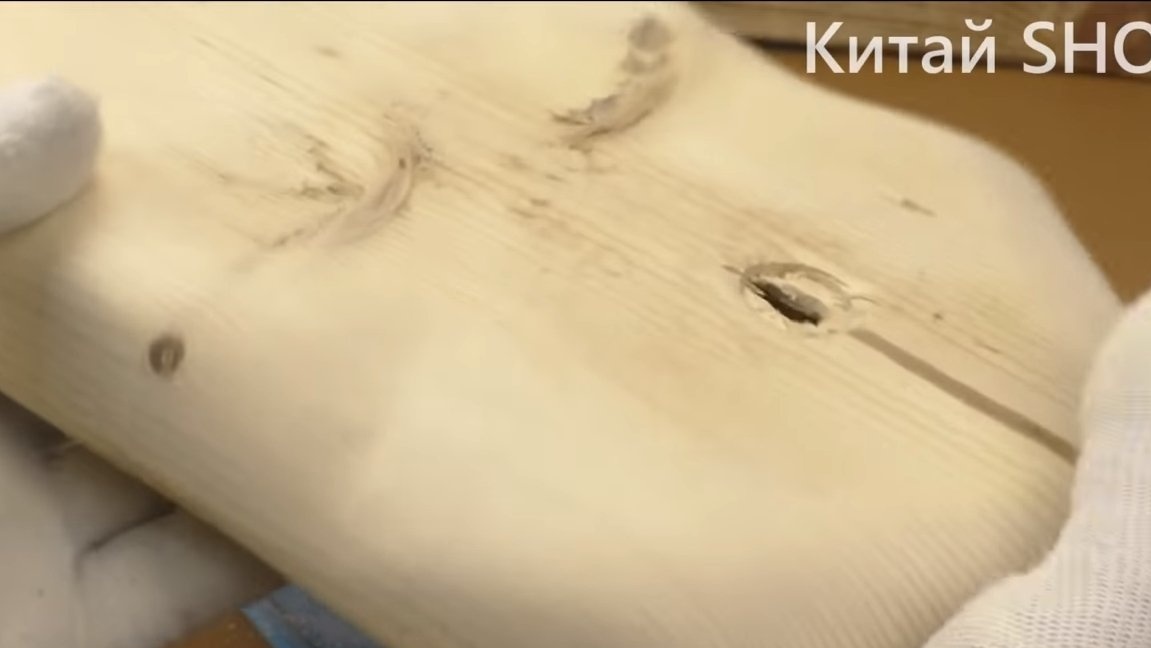
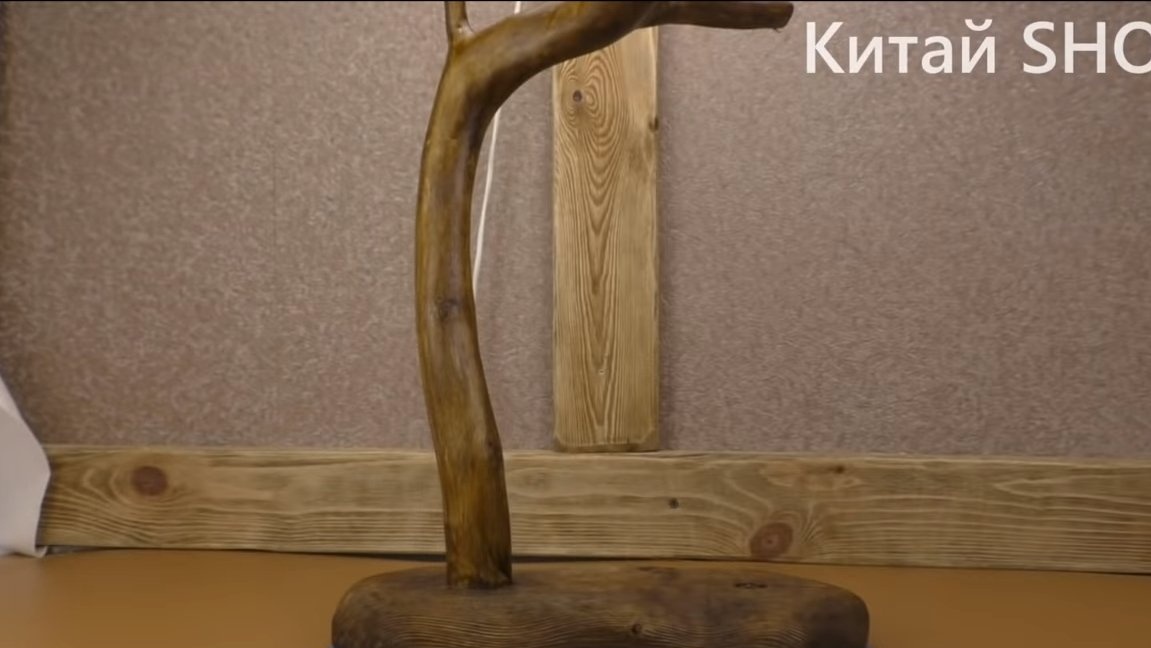
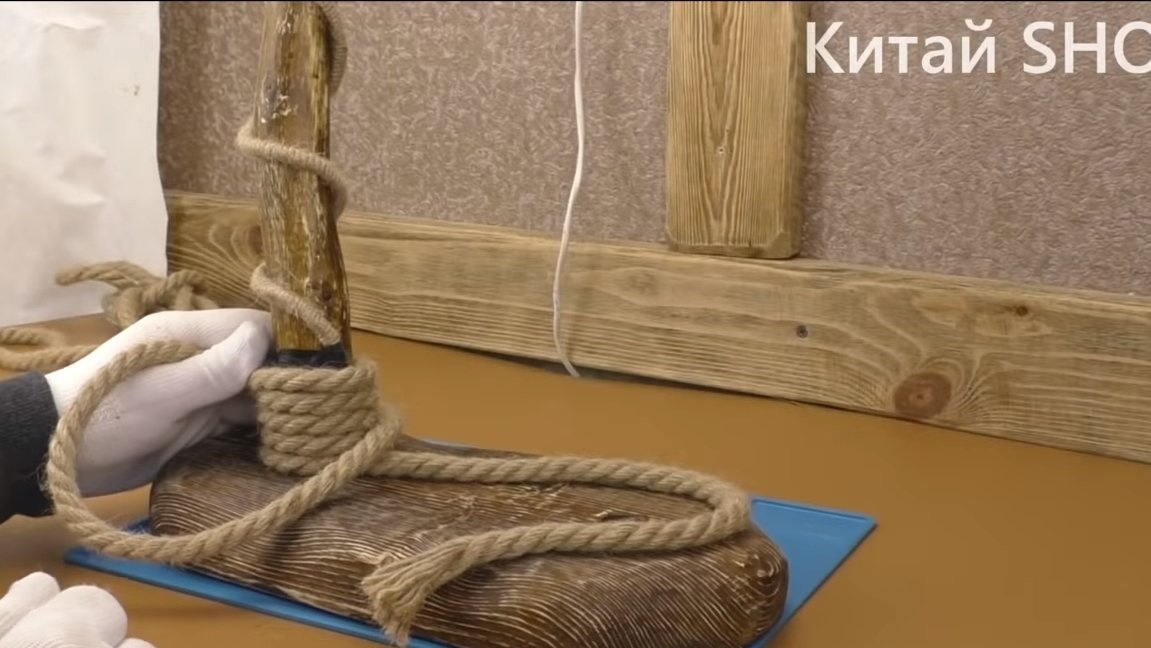
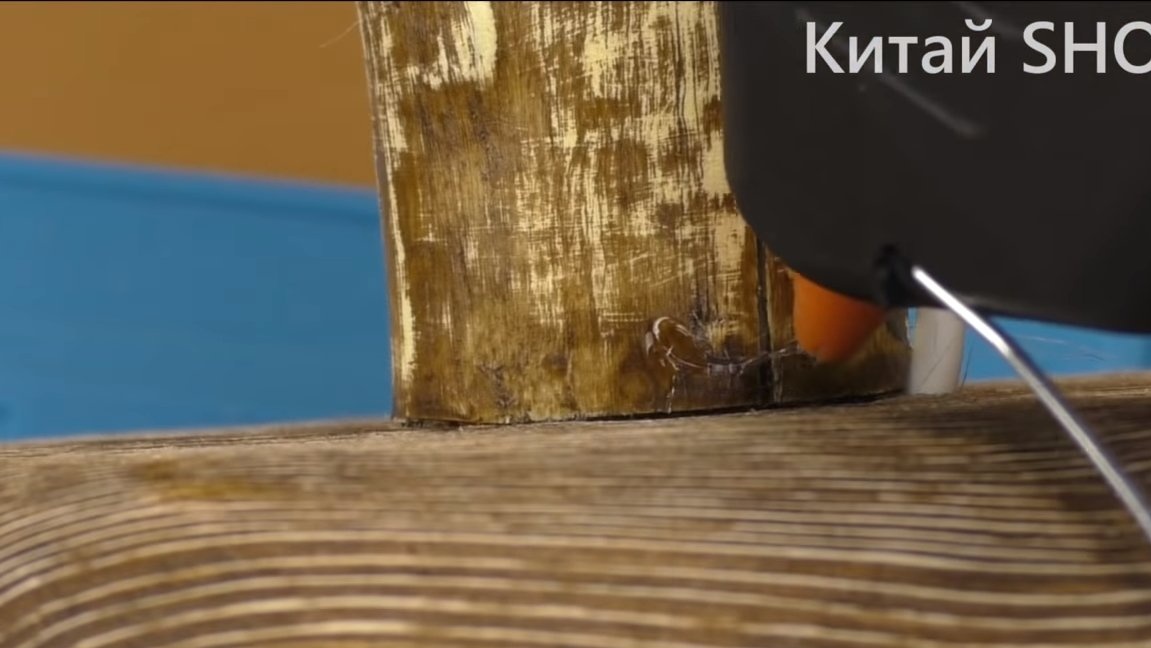
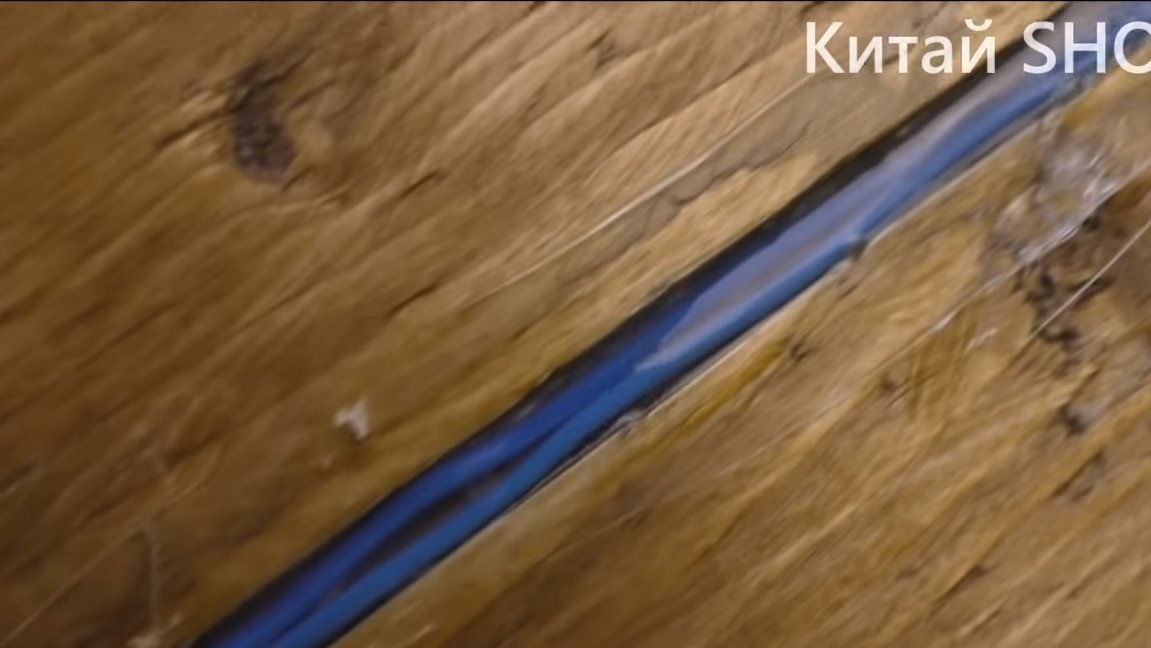
We begin assembly, for a start we wind up a cable on a branch and we hang up the boss so that everything looked interesting. The cable we go into the base and then passes through it through the slotted groove. We fix the cable in the groove with hot glue.
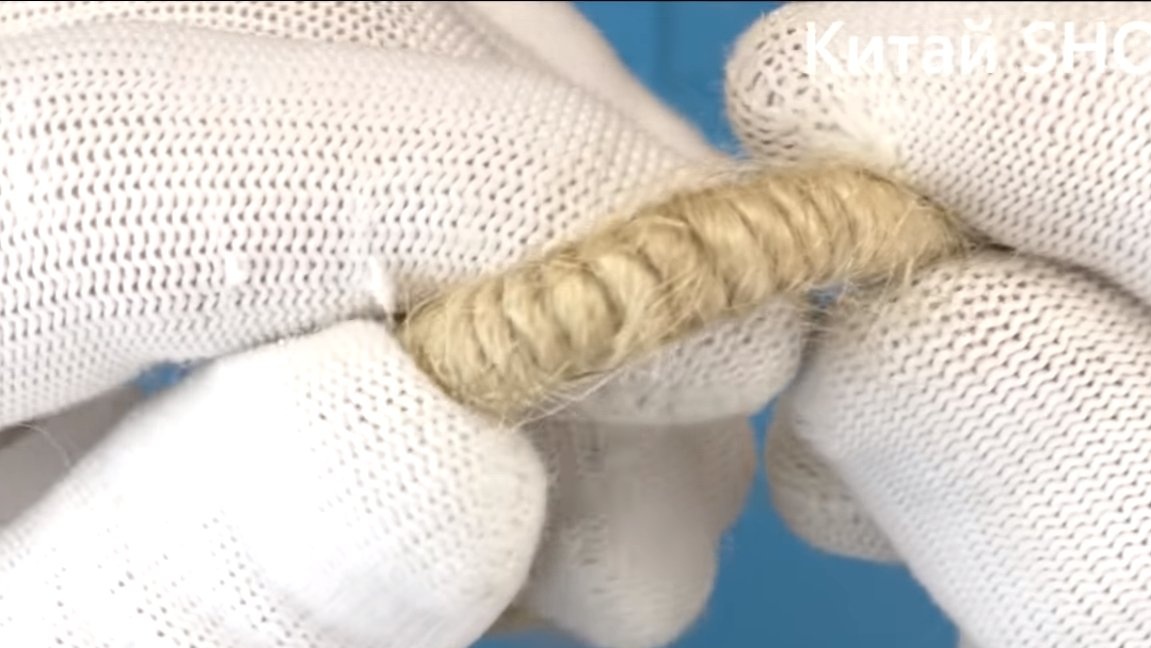
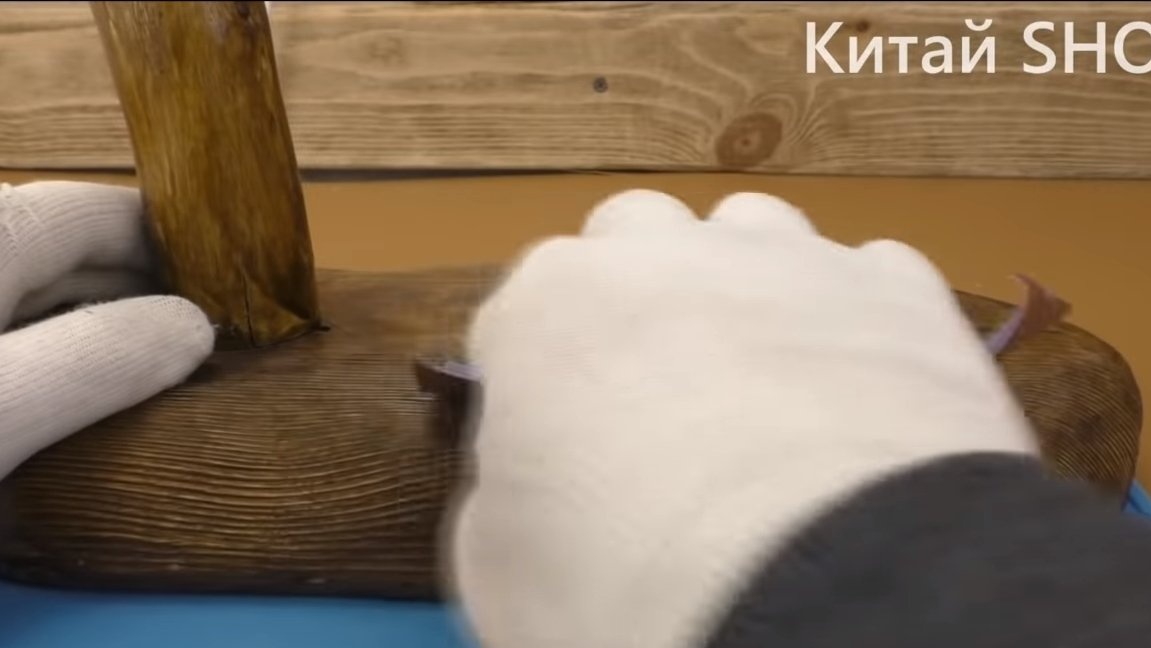
To hide the place where the cable passes into the base, we wind a thick rope on the lower part of the branch. The ends of the rope will blossom if nothing is done with them. To solve the problem, the author soaked the ends of the rope with superglue.


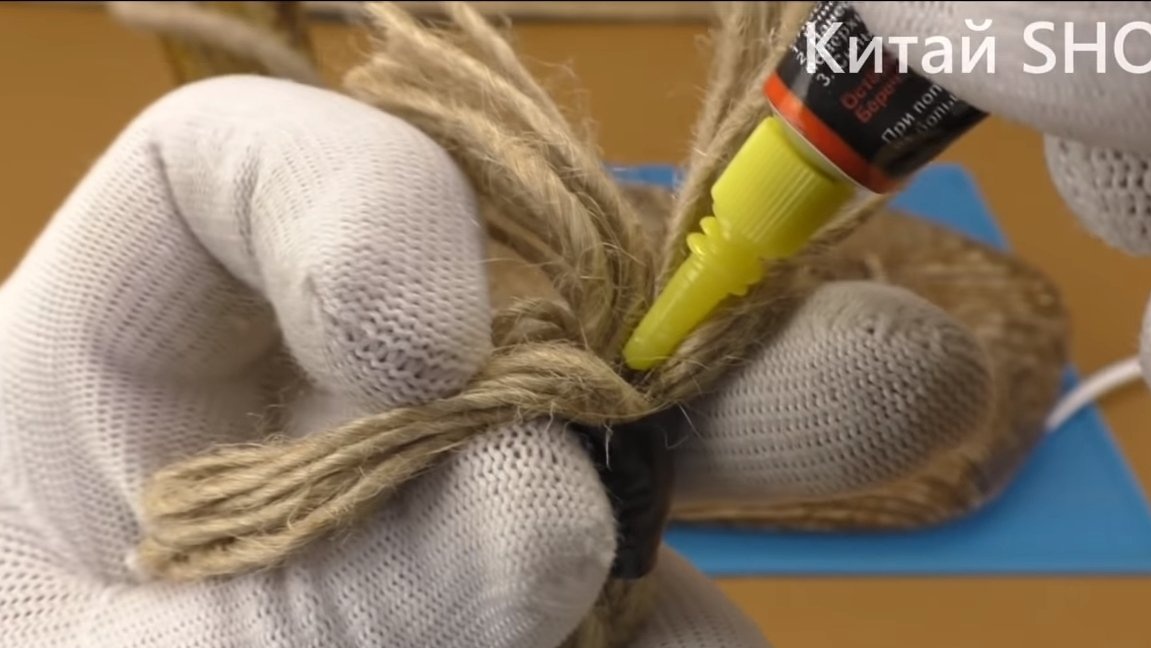
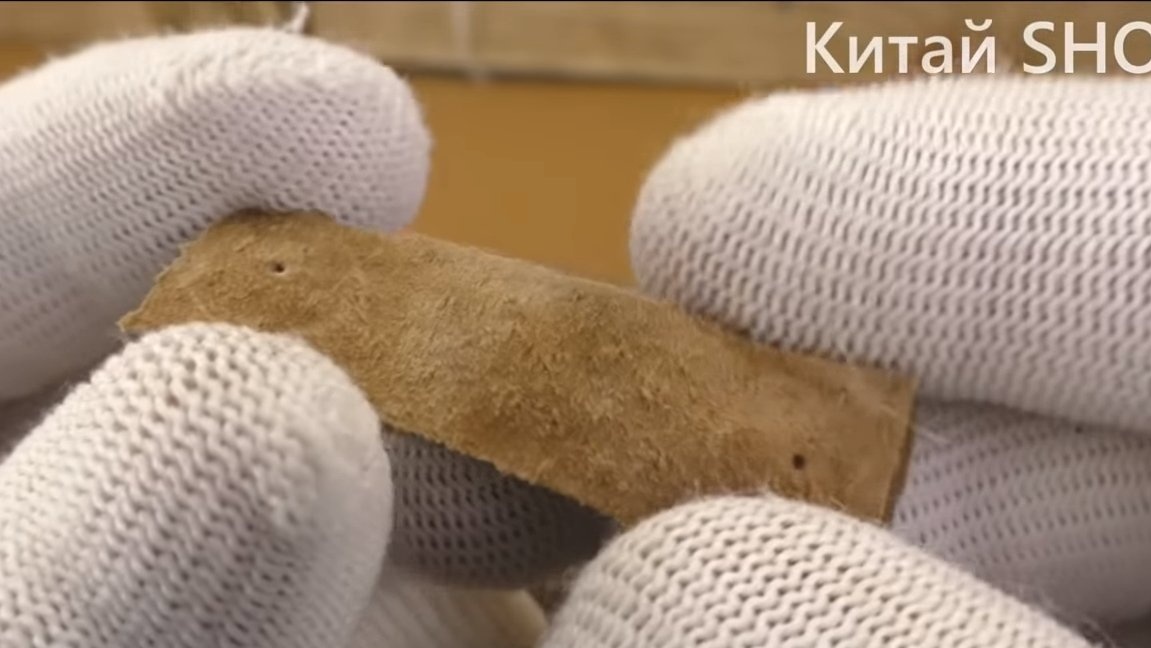
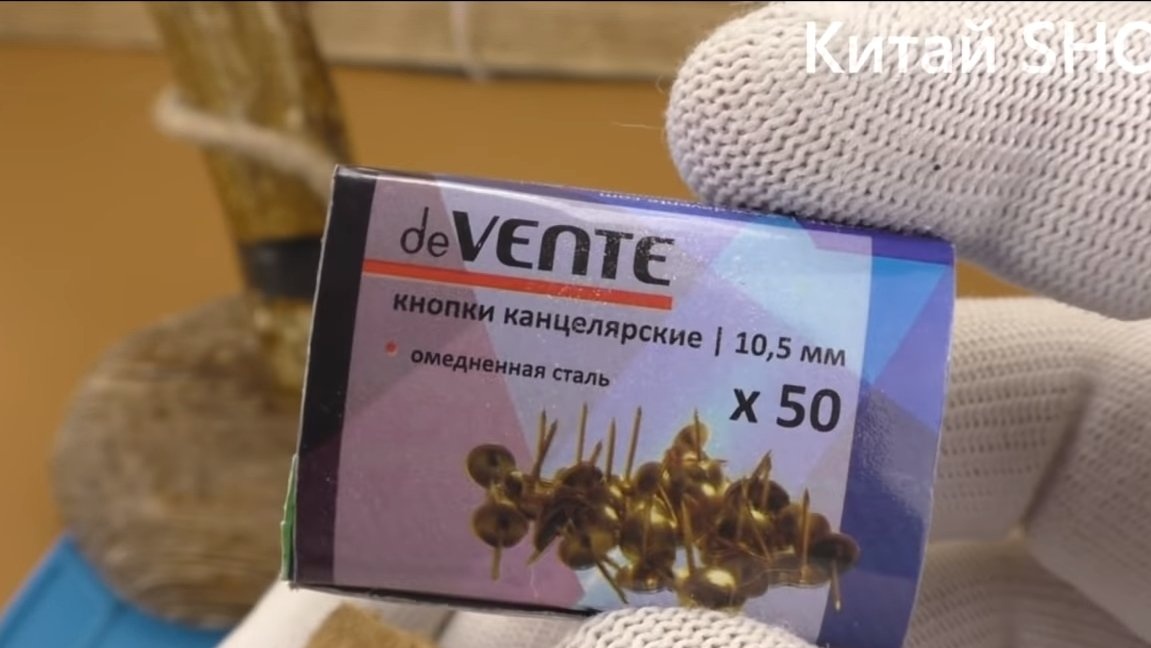
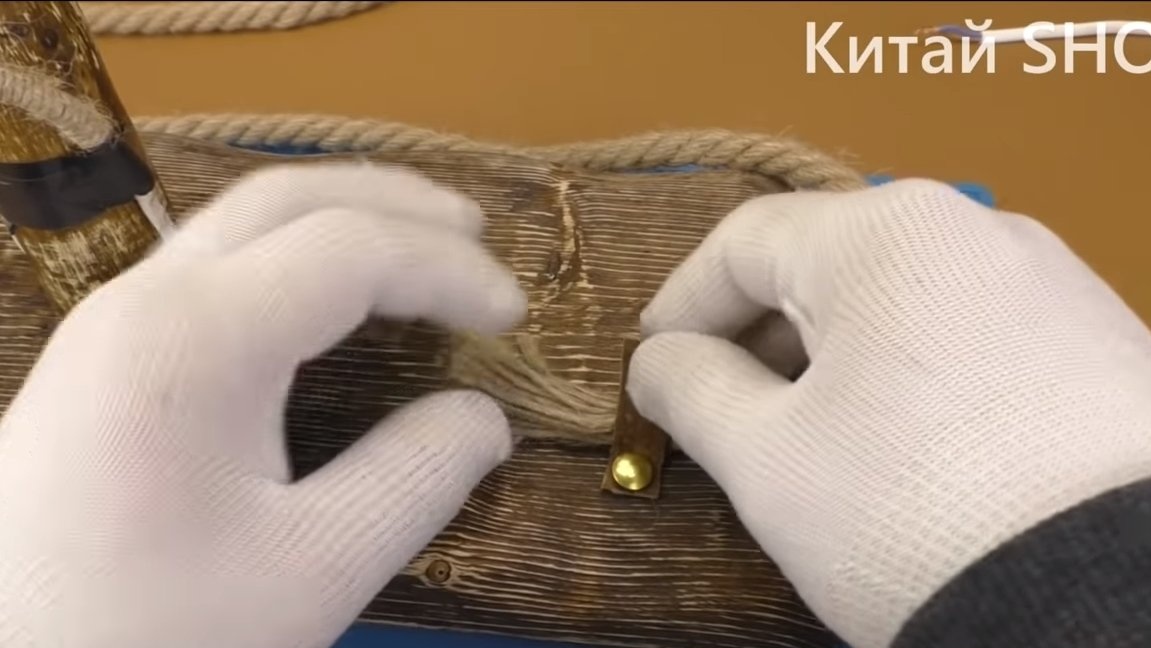
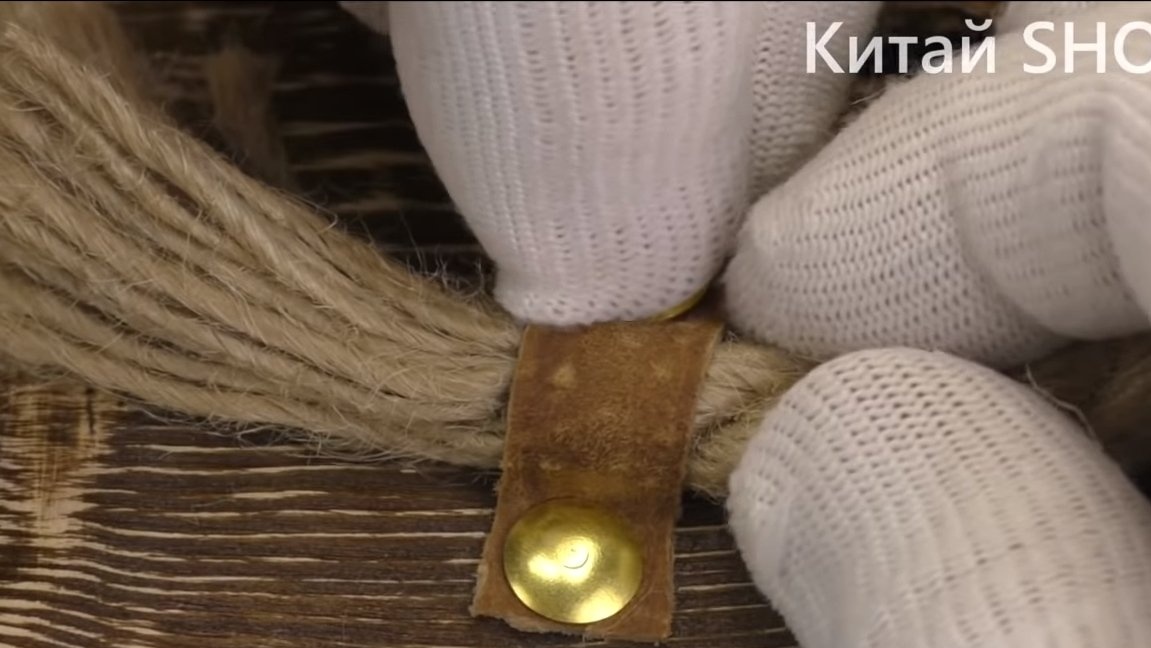
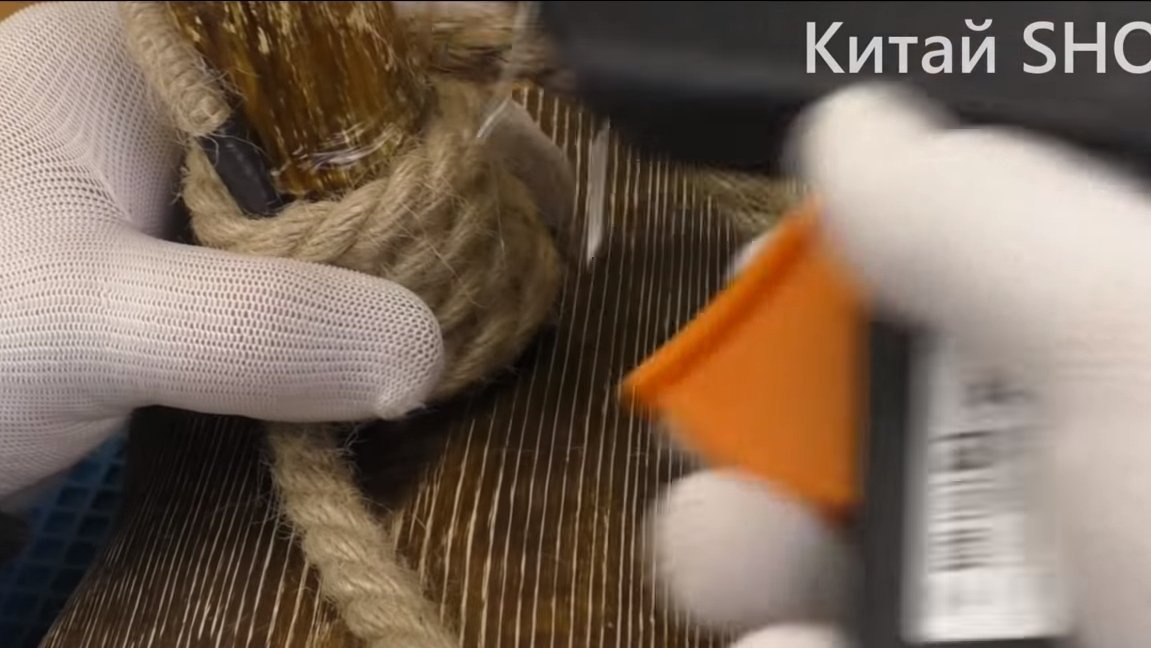
The ends of the rope also need to be somehow fixed, for this the author found pieces of leather and nailed the ends of the rope to the base with decorative nails.
That's all, the homemade product is almost ready, we install and connect a dimmer, the author pasted it on hot glue. The dimmer cover was also decorated using linen rope. The final highlight is the new adjustment knob, its author made of a piece of branch. The project has been completed, the lamp looks very interesting, its brightness can be adjusted using the lamp as a night lamp. Most importantly, you need to make sure that your lamp does not light up.
I hope you enjoyed the project and found useful thoughts for yourself. Good luck and creative inspiration, if you decide to repeat this. Do not forget to share your ideas and homemade things with us!