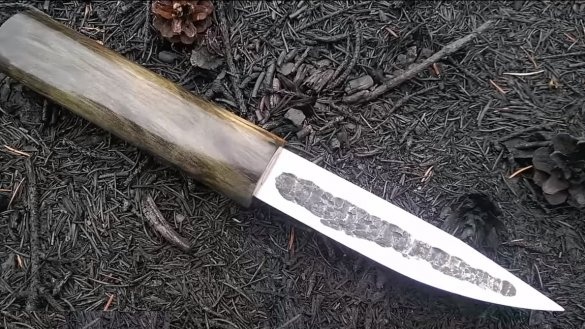
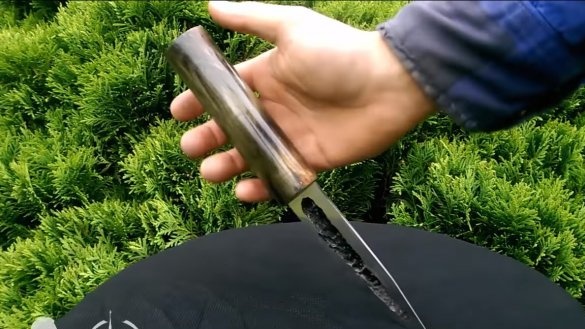
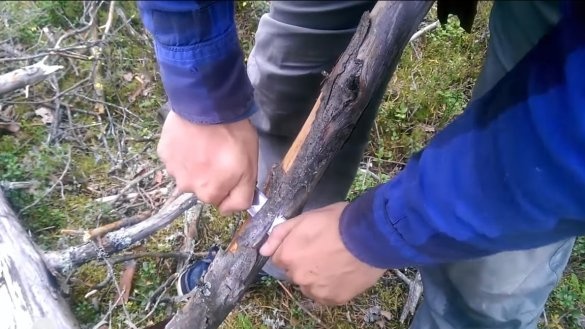
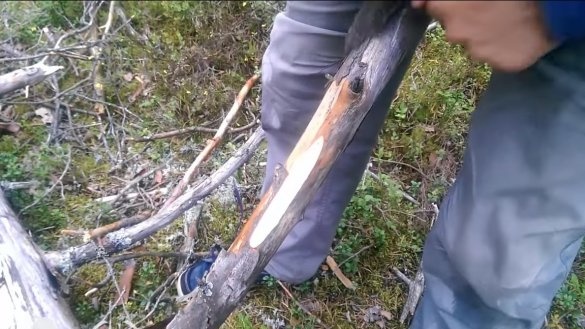
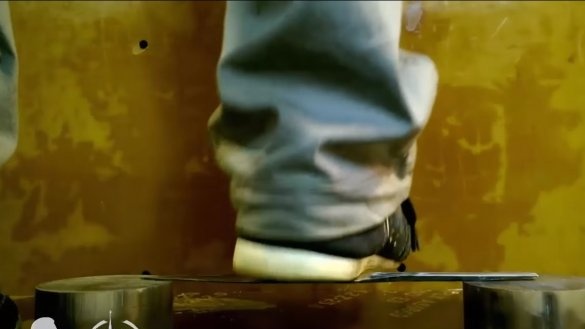
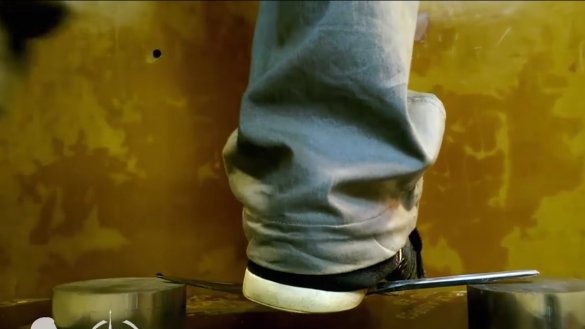
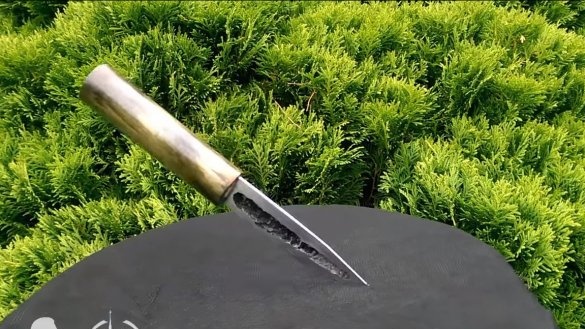
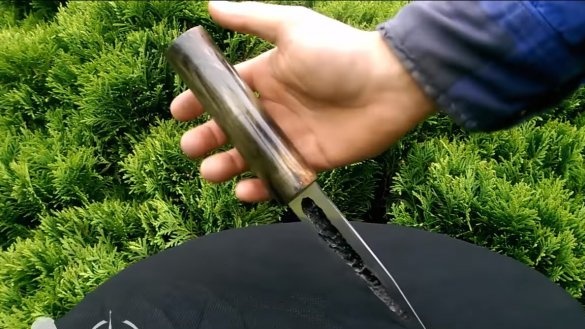
I welcome all fans to craft, today we will consider how to make the famous "Yakut knife". As a source material, the author used an old file made of good steel. The knife was made by forging, which gave the steel elasticity. As a result, the blade turned out to be so hard that steel cuts the glass, but at the same time, the author can stand on the blade with his whole weight and he will spring without breaking.
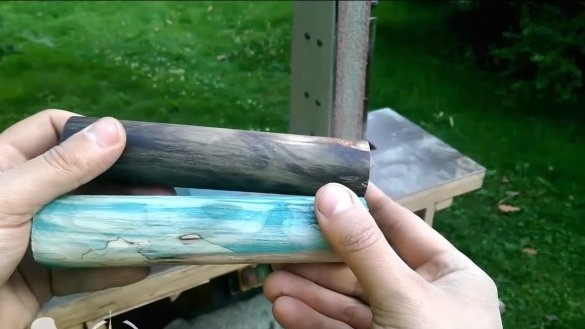
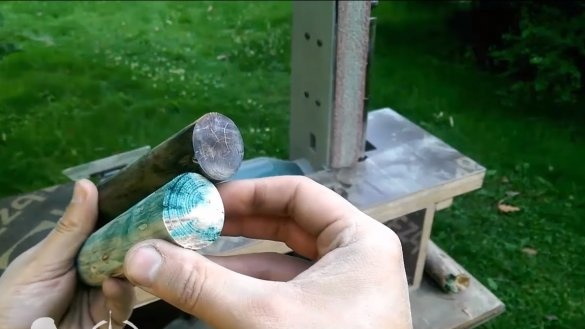
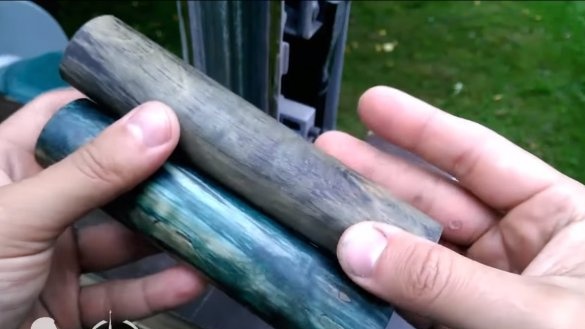
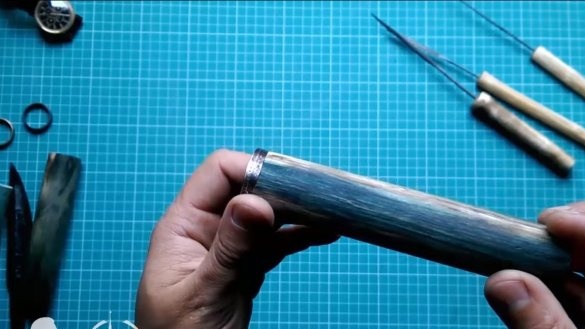
The knife handle is made of rotten wood in which beautiful natural colors have formed. If you are interested in the project, I propose to study it more thoroughly!
Materials and tools used by the author:
Material List:
- old file;
- wood for the handle;
- liquid for wood stabilization;
- polyester resin.
Tool List:
- blacksmith forge and forging tool;
- belt sander;
- oil for hardening;
- lathe (optional);
- a hacksaw;
- drilling machine;
- sandpaper;
- tape cutting machine or hacksaw for metal.
The process of making a knife:
Step one. Forging
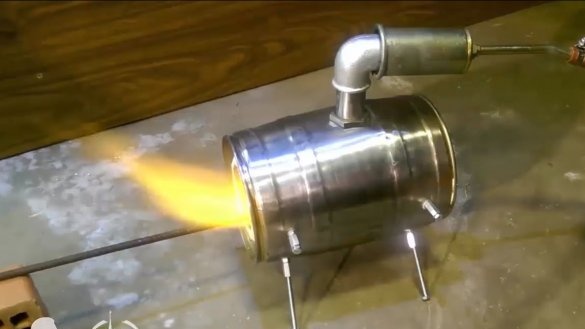
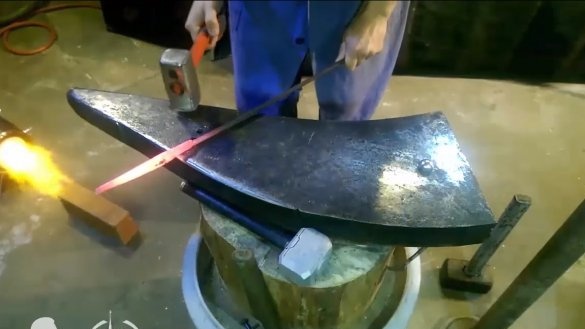
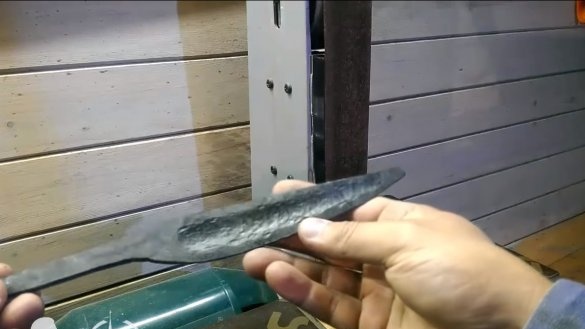
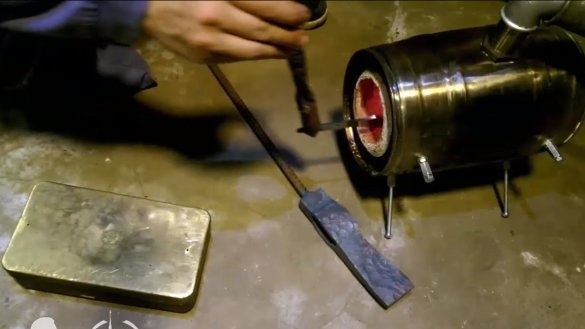
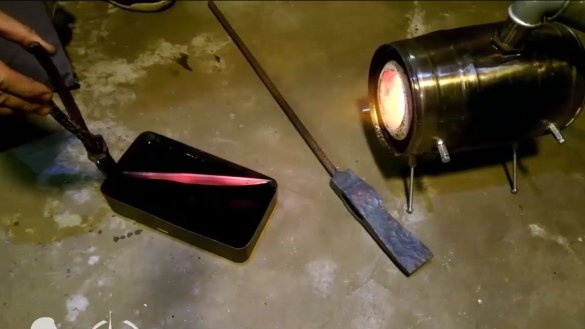
The author forged the blade from the file, the file will need an old model, the body of which still used good carbon steel. Modern files are only cemented from above, and inside them is ordinary iron.
In the forging process, we slightly deplete the steel in terms of the amount of carbon, as a result, the steel ceases to be brittle and begins to spring. Of course, the hardness of the steel after this remains still at its height, the blade cuts the bottle after manufacture.
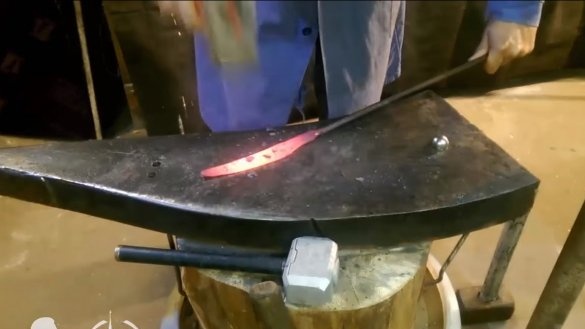
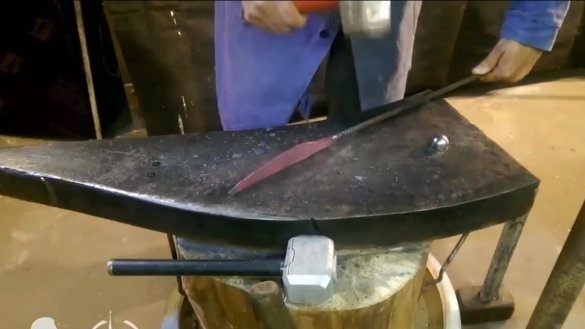
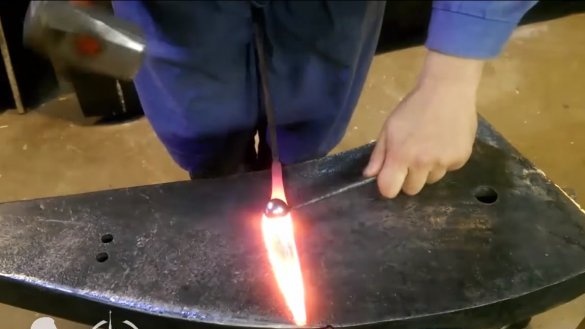
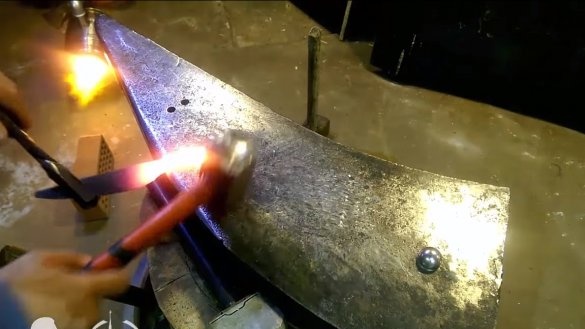
Having formed the profile of the knife, you can proceed to the formation of the valley, which is famous for the Yakut knives. This dol gives the blade bending rigidity, and also determines the sharpening side of the blade. We beat the dol in the forging process, for this the author has a special tool in the form of a welded steel ball to the reinforcement.
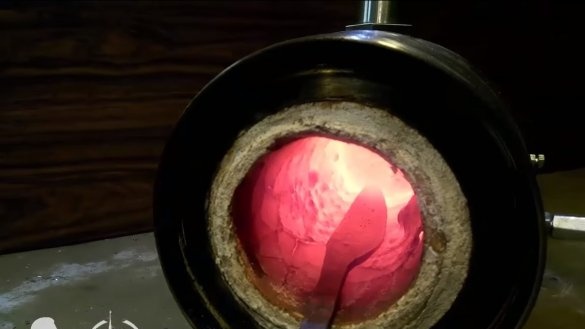
After forging, we necessarily normalize the metal so that cracks and deformations do not occur during long-distance processing. Normalization was carried out by smoothly cooling the blade along with the furnace.
Step Two Quenching
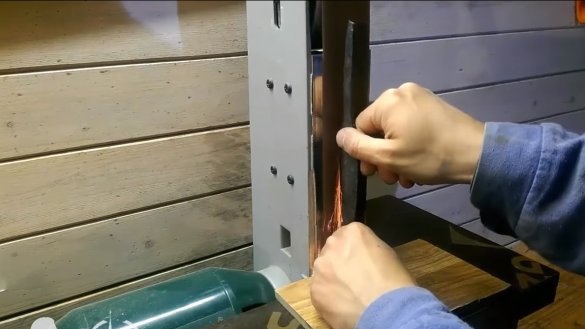
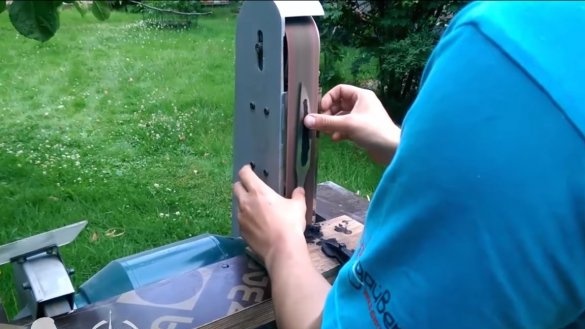
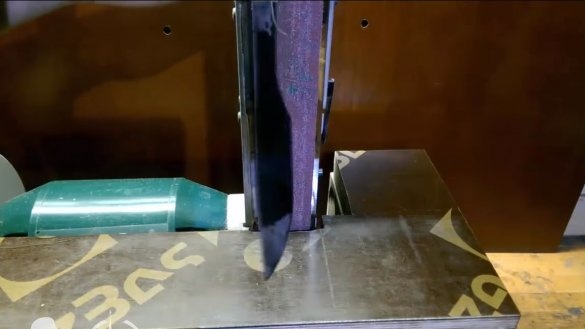
It is time to harden the blade, but first you need to modify it while the metal is still malleable. We form a descent on one of the sides, and also grind the plane. The author carries out the work with a belt sander.
As for the blade, the author does not recommend making it thinner than 0.5 mm before hardening, otherwise cracks cannot be avoided.
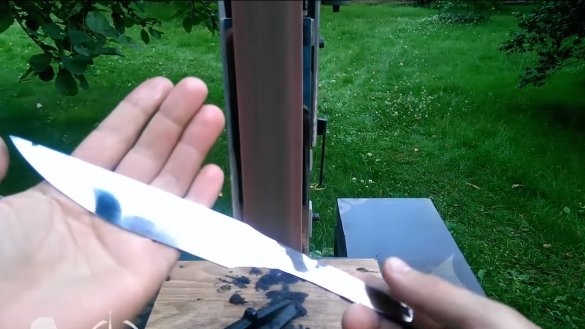
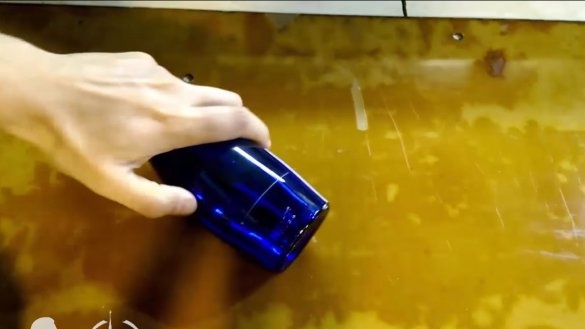
You can proceed to hardening, we heat the blade and lower it into oil, the author uses automotive working off. We check the blade after hardening, hang it on a thread and hit it with a metal object. As a result, a characteristic ringing should be heard. The author also demonstrates the hardness of the blade on a glass bottle, the blade leaves scratches.
The author did not release the steel; it already turned out to be flexible. The strength of the blade is enough for it to support the weight of the author.
Step Three Handle blanks. Wood stabilization
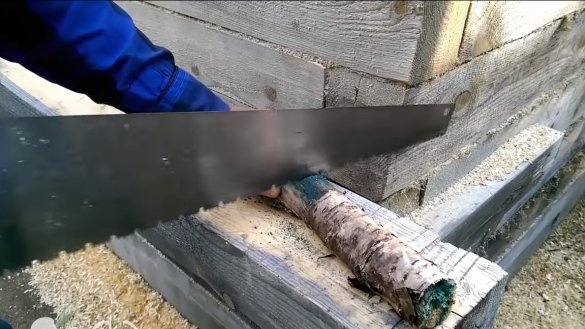
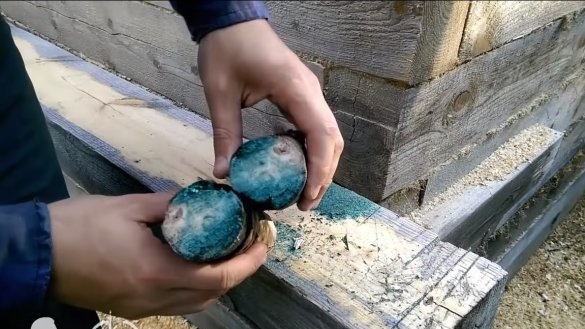
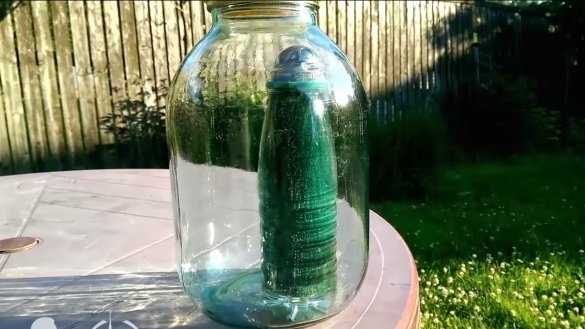
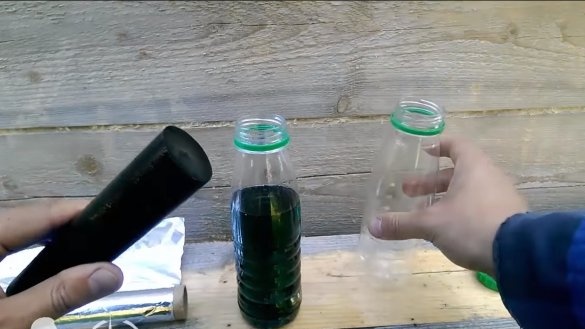
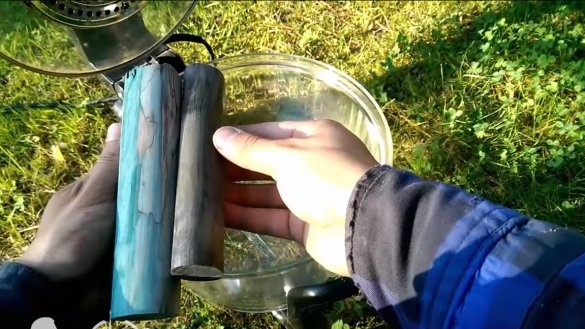
The starting material for the handle is rotten wood, it has a characteristic emerald, swamp or blue tones. We cut the wood and dry well, otherwise the impregnation will be unsuccessful.
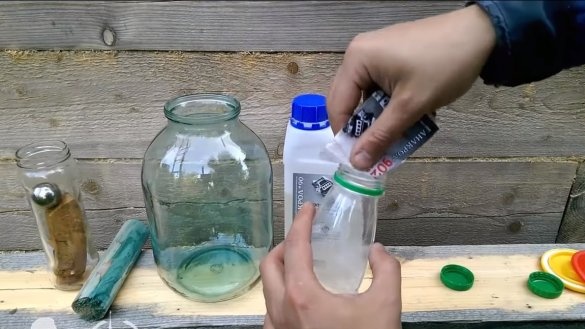
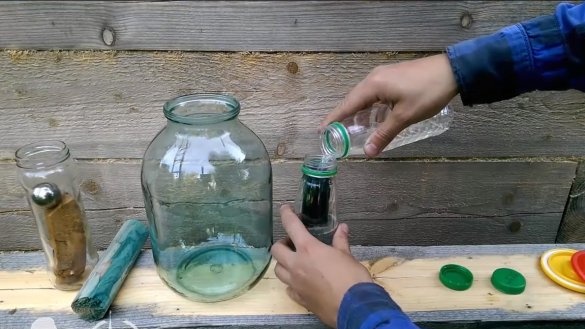
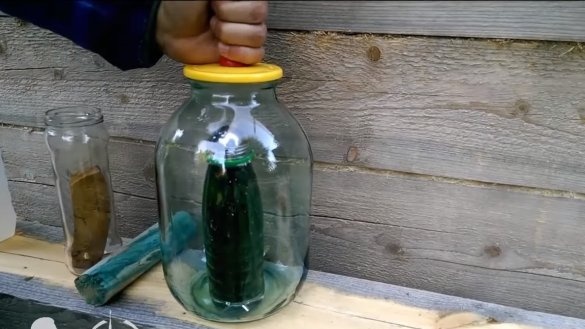
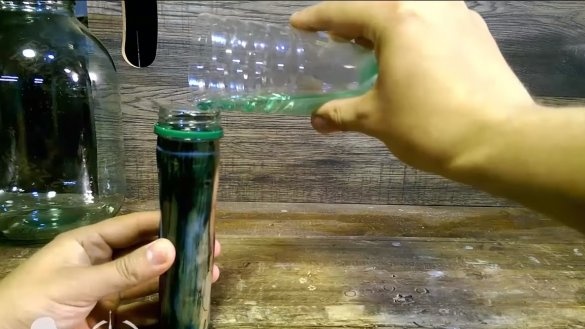
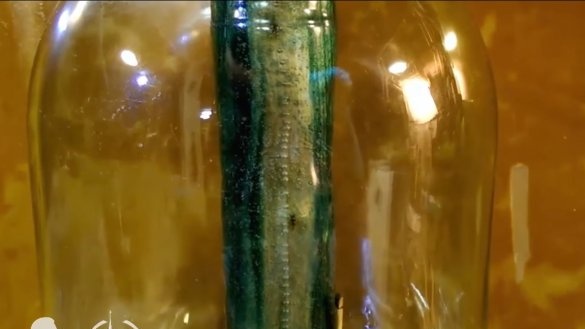
To stabilize, you will need a special fluid and a vacuum chamber. The author uses a three-liter glass jar as a vacuum chamber. We pump out the air from the can and monitor the formation of bubbles. While the bubbles come out of the tree, it is impregnated with impregnation.
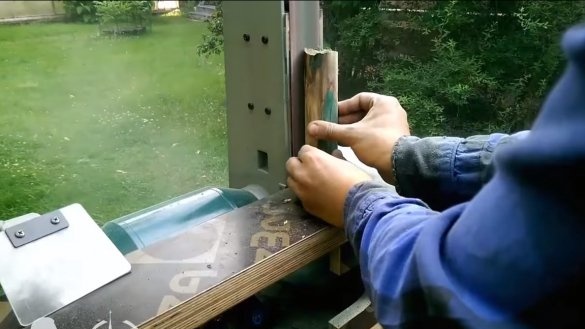
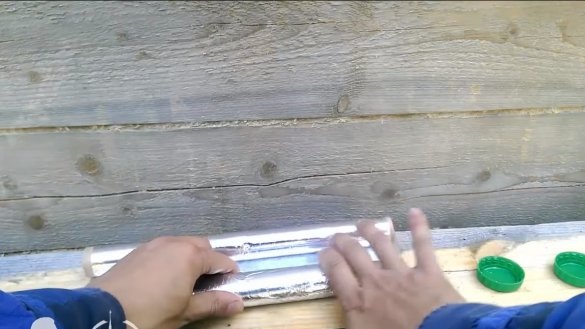
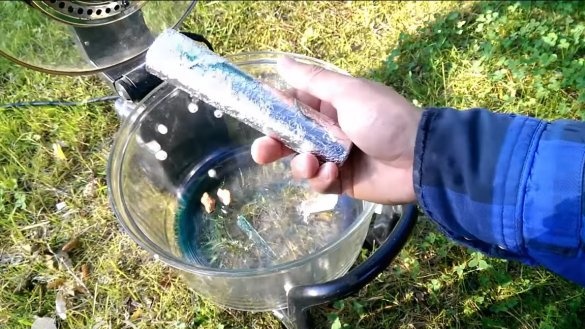
Then the blanks are wrapped in foil and sent to the oven, the solidification temperature is indicated specifically for each type of impregnation. That's all, the blanks are ready, we are grinding them.
The final step is to impregnate and cover the blanks with polyester resin, as a result, the material is durable, not afraid of water and looks great.
Step Four Knife assembly
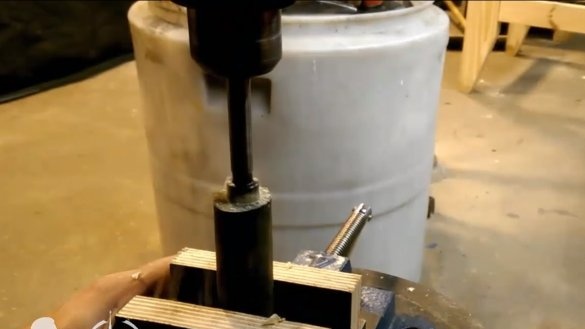
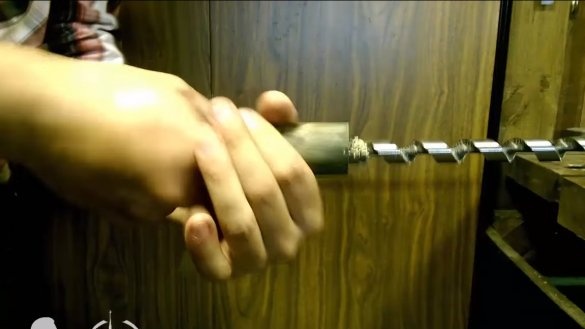
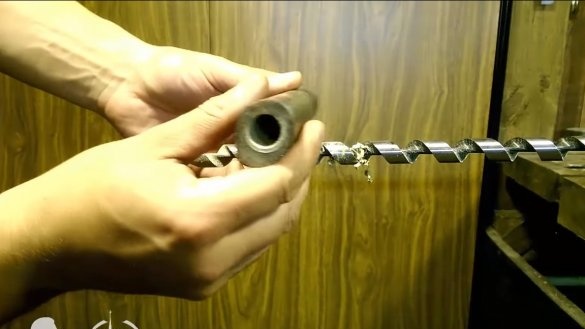
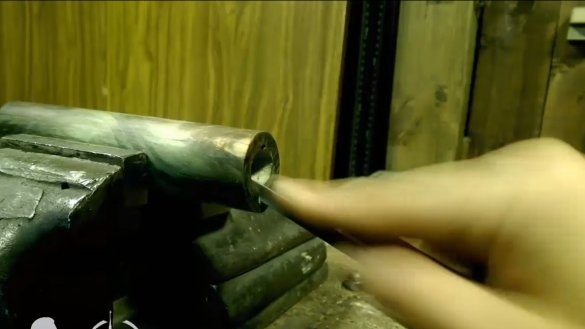
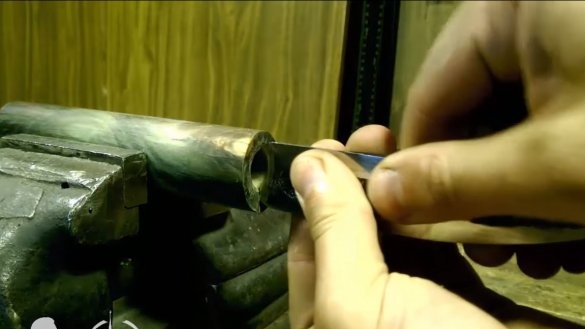
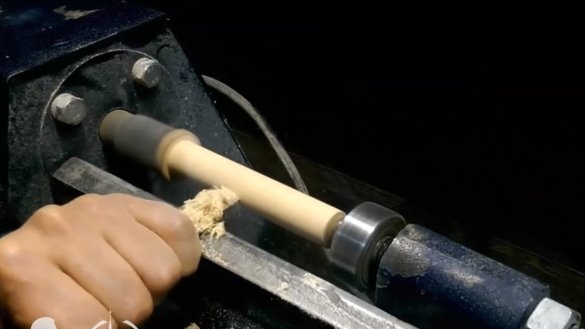
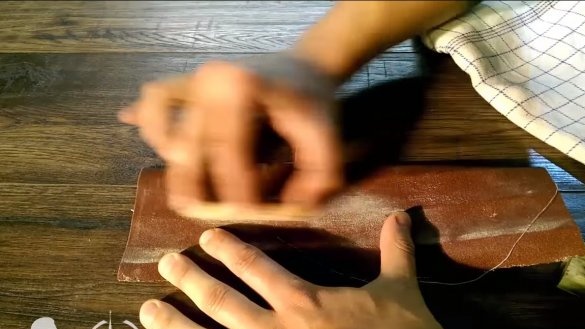
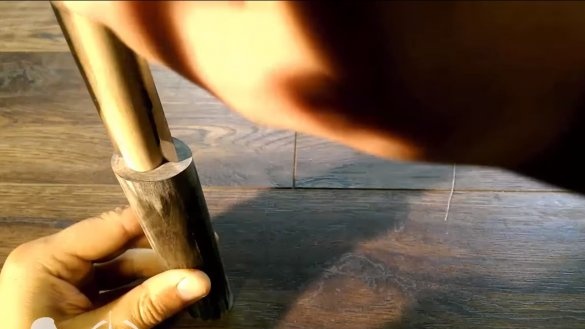
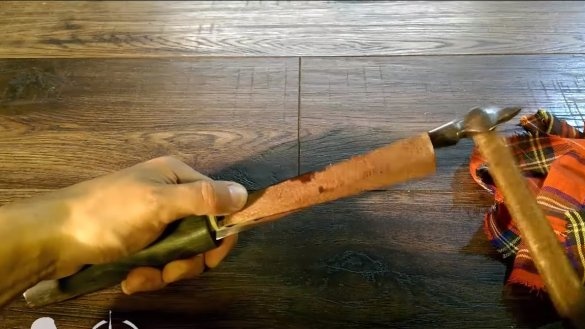
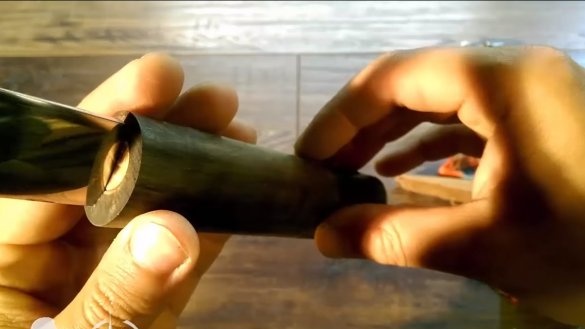
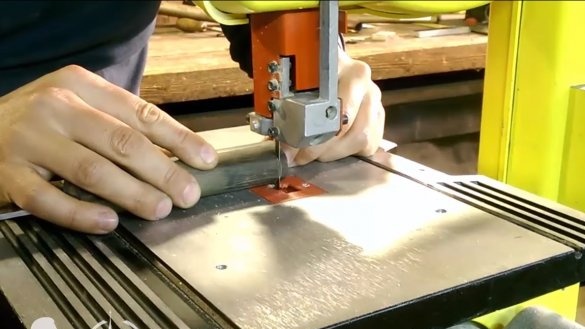
Yakut knives are simple, the handle is installed without glue, on the choppers. First, drill a large diameter hole along the handle along the length of the shank. We also need to grind chop, here the author used a lathe. As a result, the chopik is cut lengthwise into two parts, perfectly fits in size, and with the help of these details we wedge the shank. The system holds the blade securely, but when driving wedges there is a chance to split the handle. If desired, everything can be assembled with glue, without clogging anything and without risking.
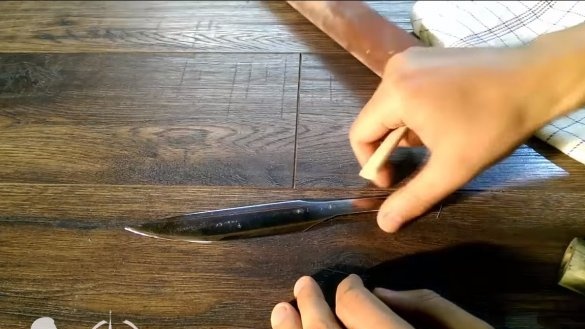
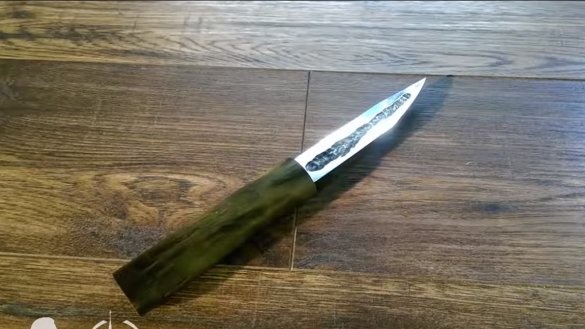
In conclusion, the author decided to shorten the handle along the length of the blade. That's all, now the knife is completely ready, it can be sharpened. Such homemade with the right sharpening it will easily shave your hair and cut the paper. I hope you enjoyed the project and found useful thoughts for yourself. Good luck and creative inspiration, if you decide to repeat this, do not forget to share your ideas and homemade things with us!

