

Today I want to talk about my new homemade. Hope it can be helpful to someone. So.
1. Step one. Background.
For a long time I was going to build such a mechanism. He studied the design of the cable cars of other craftsmen, analyzing the strengths and weaknesses of their structures. I looked at the photo of what and how to build. Most importantly, everything rested on gears.
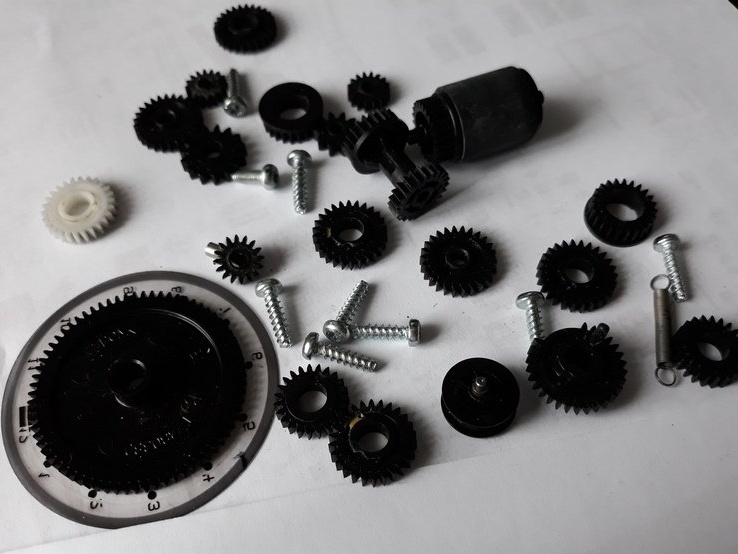
There was a question - Where to get them?
And then one day, the wife raised a long-pressing issue - old boxes take up a lot of space.
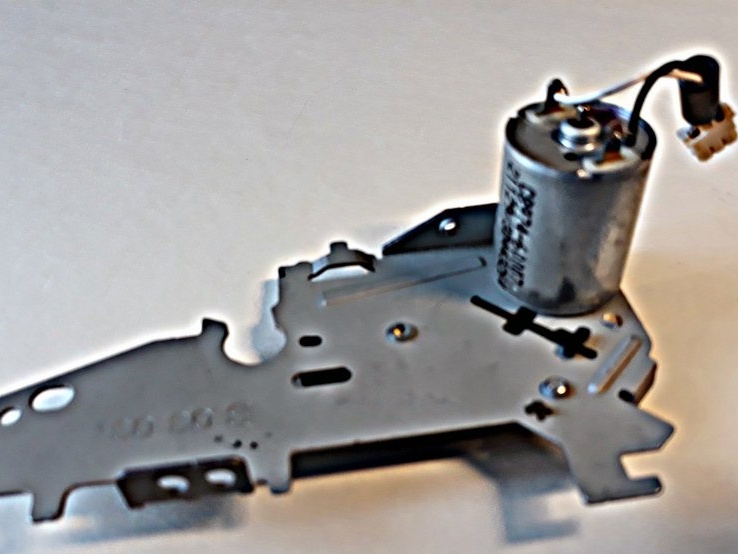
When I opened one of them, I saw my first printer. I decided to take it apart, maybe it will fit in the household. After disassembling, I had a bunch of radio components at my disposal, all kinds of switches, two electric motors, and oh my god - a bunch of gears.
He made a turning and drilling machine out of one engine, but left the second one with a belt drive for a cable rope.
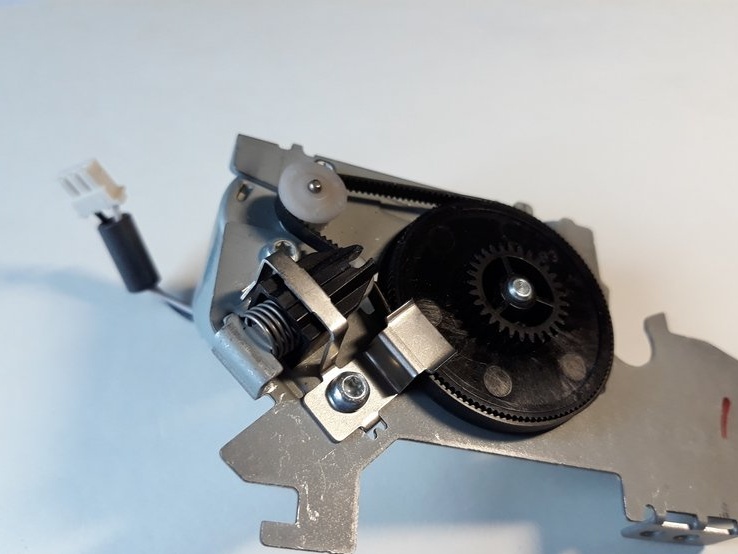
Gears almost all suited to this drive.
2. Step two. The time has come.
In general, not a little time has passed, but I had it while I was engaged in the frigate’s corps. Even when he got down to strapping cannons with blocks, he managed to get by with simple threads.
But, here I went out into the open, so to speak. It's time to do the rigging in tight, which means we need a cable, and that means it's time to fix the cable.
He sat and pondered. He spread his wealth, made preliminary drawings.
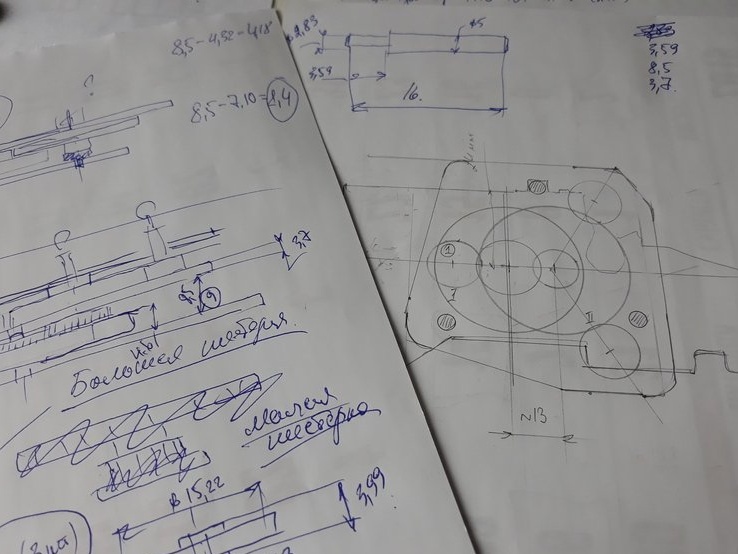
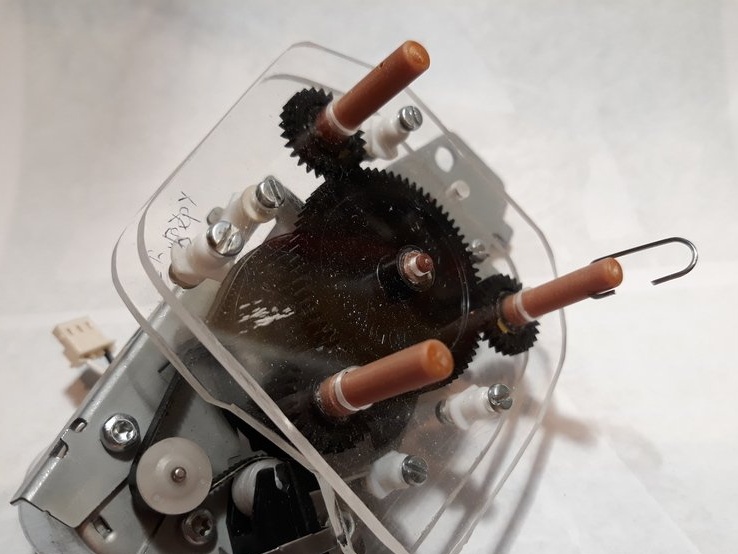
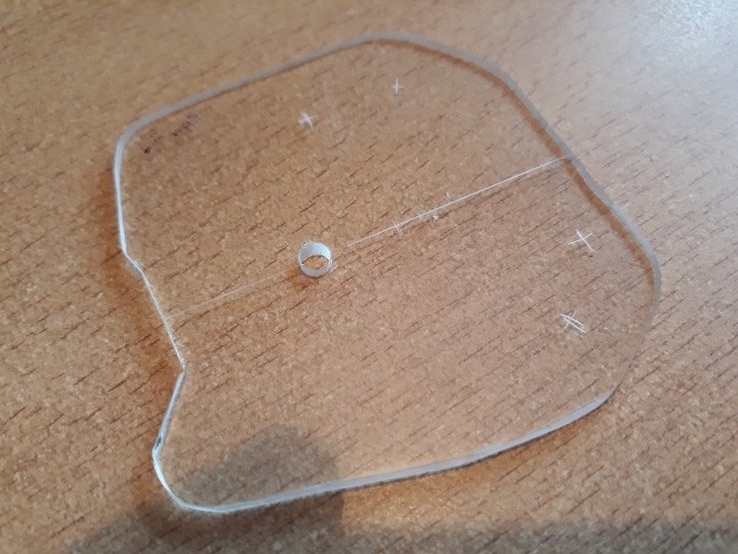
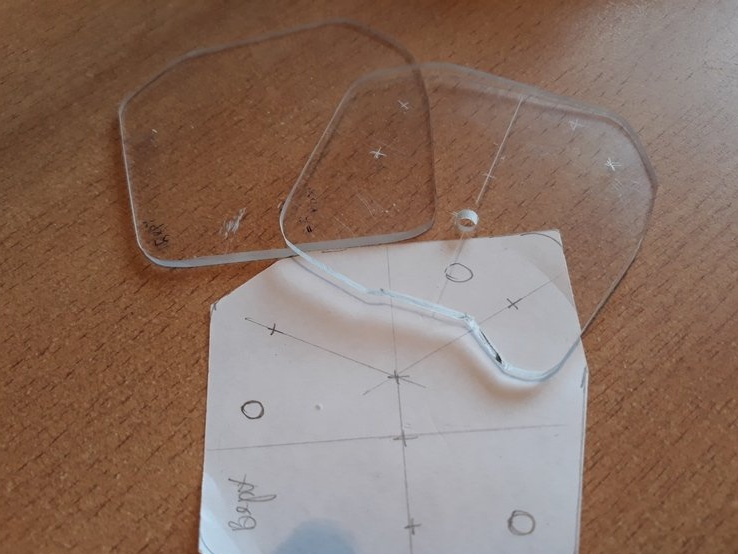
Everything seems to be working out. To the existing drive mechanism, it is necessary to make an additional gearbox from the existing gears. These are two additional panels (cheeks) at a certain distance from each other. Between which are the gears of the gearbox. According to the drawings I made the cheeks of the gearbox.
To connect the first cheek with the main drive, I machined the distance bushings.

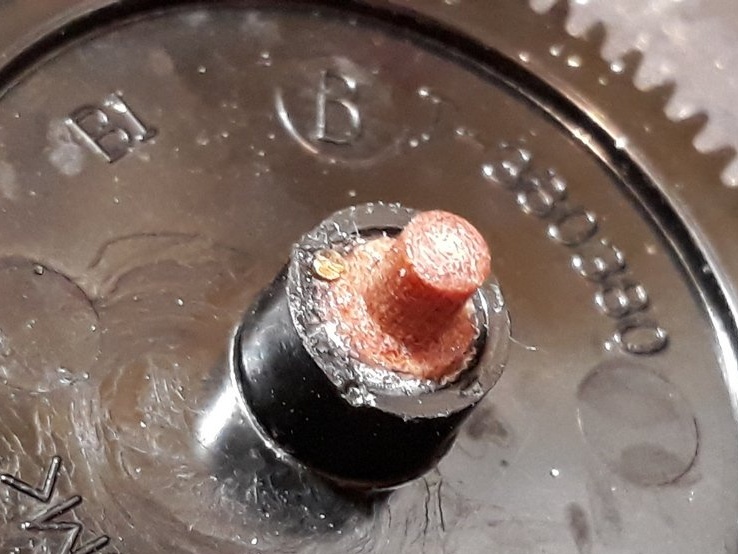
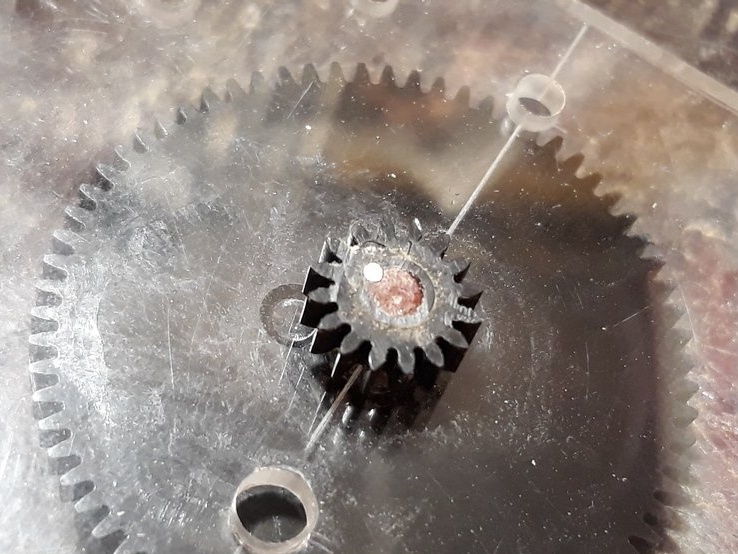
Between the drive panel and the first cheek, I installed the first small gear, which will be on the same axis as the large gear.
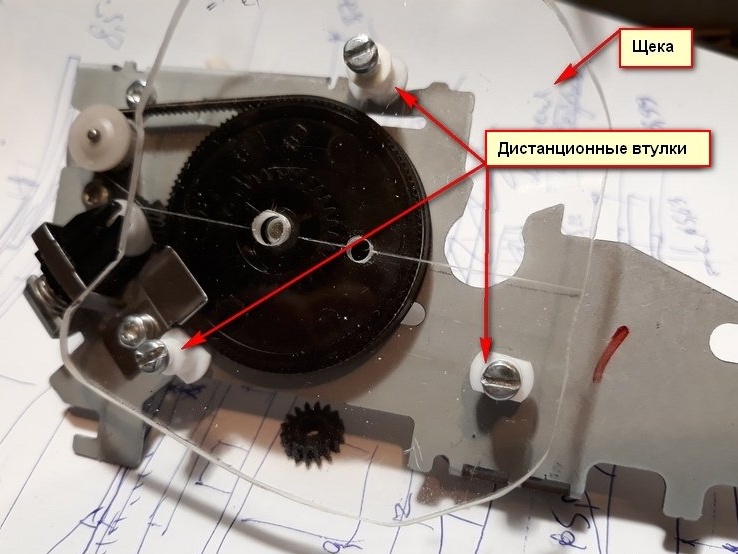
Marked and drilled a hole for this purpose in the first cheek.
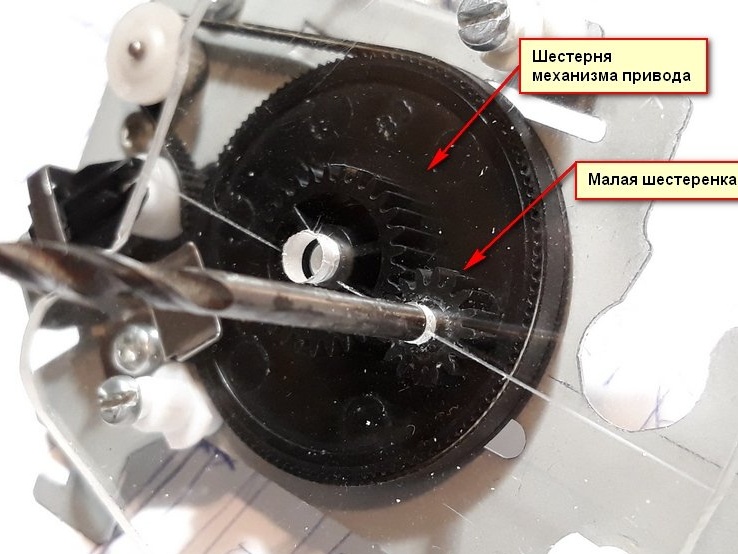
Here is a closer look.
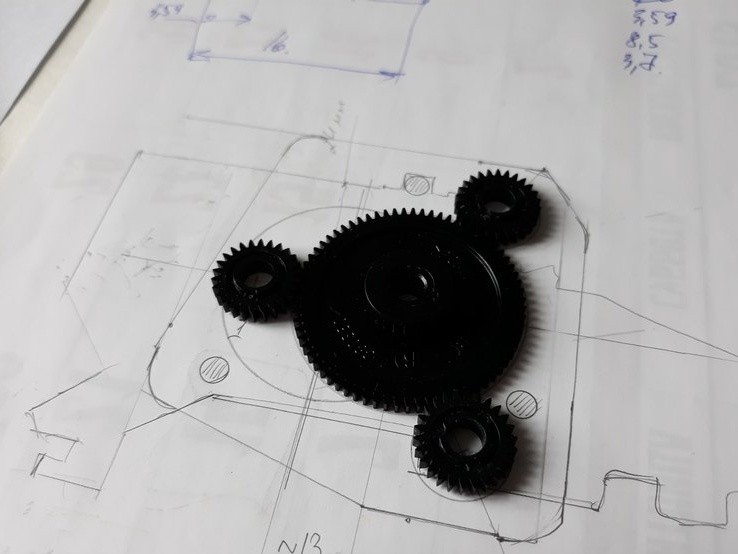
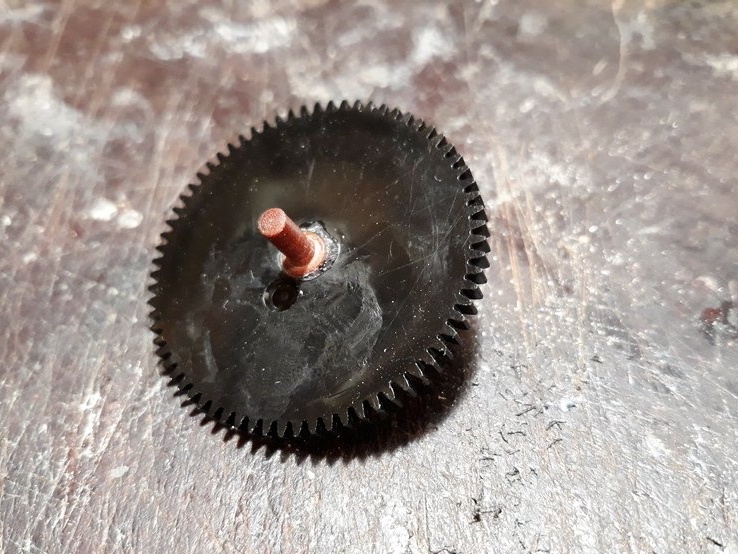
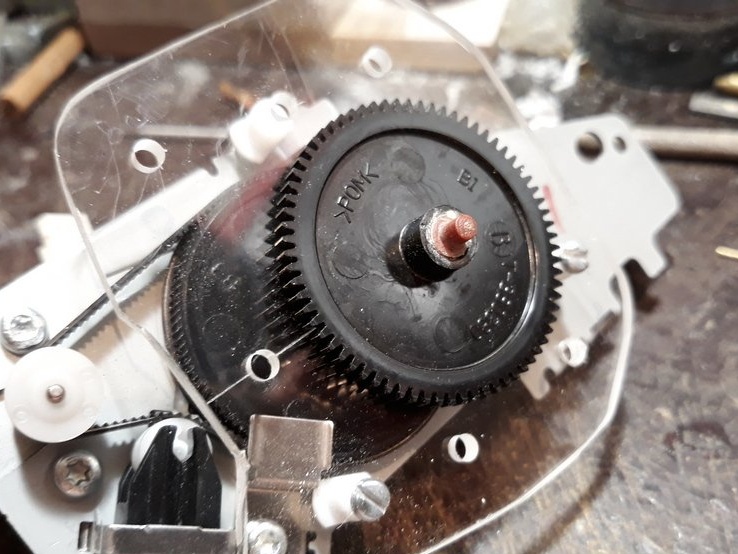
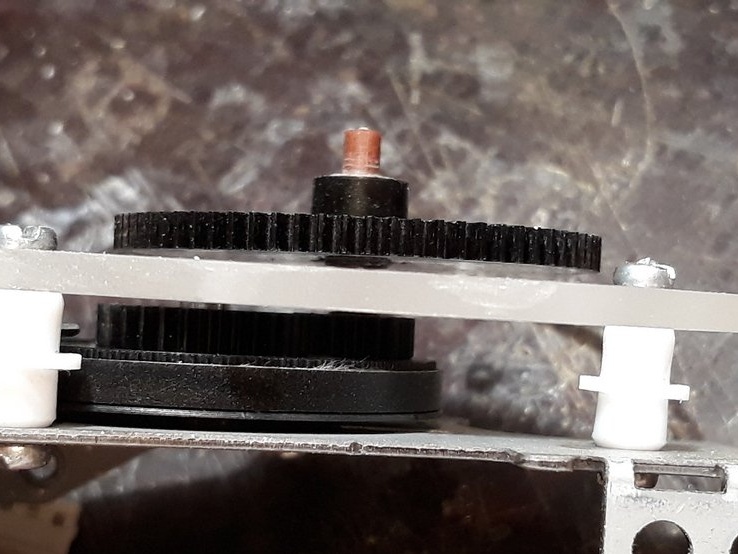
Then he machined the axis for the small and large central gears from the PCB. I planted and secured a large gear.
Then he passed the axis through the cheek and installed a small gear, securing it to the axis with a round key.
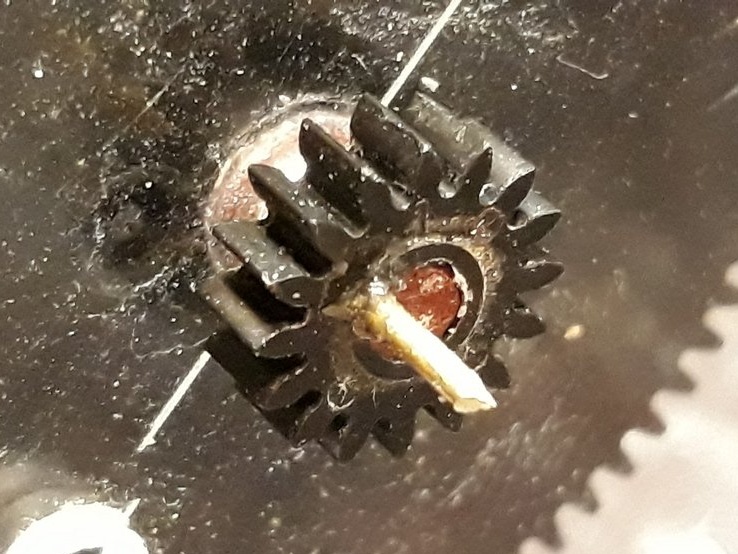
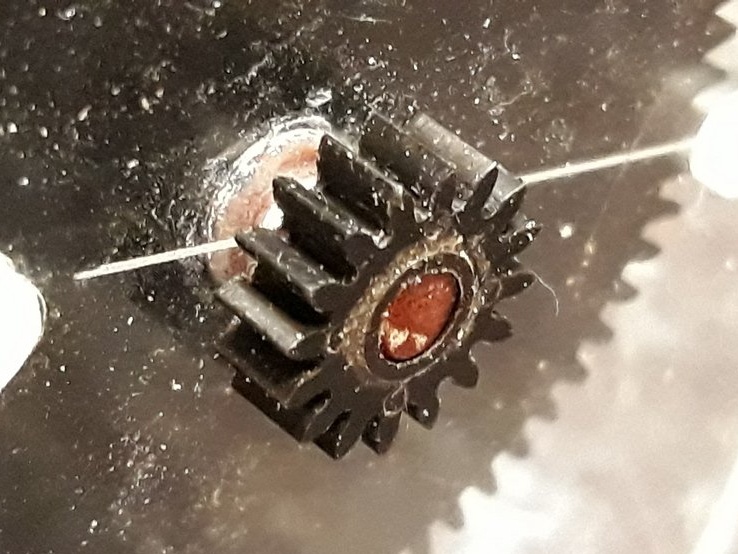
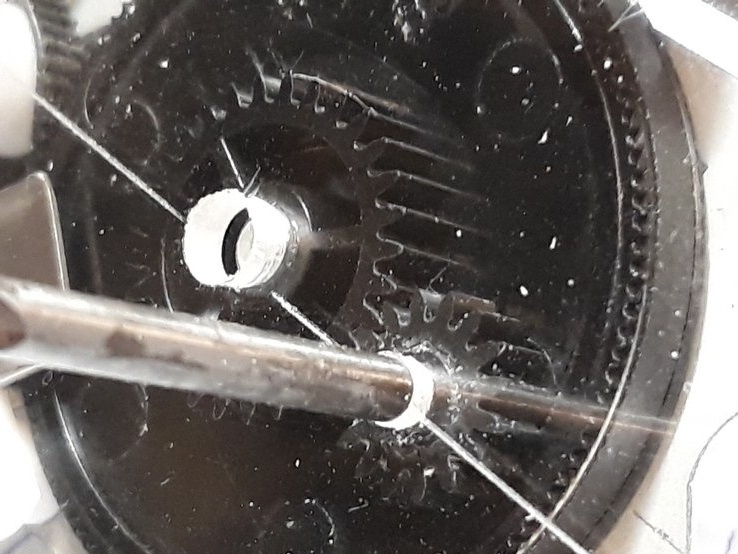
It turned out like this
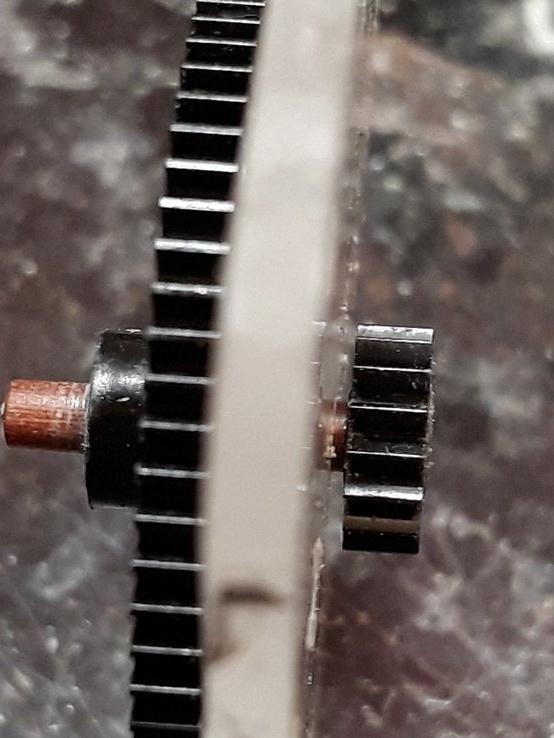
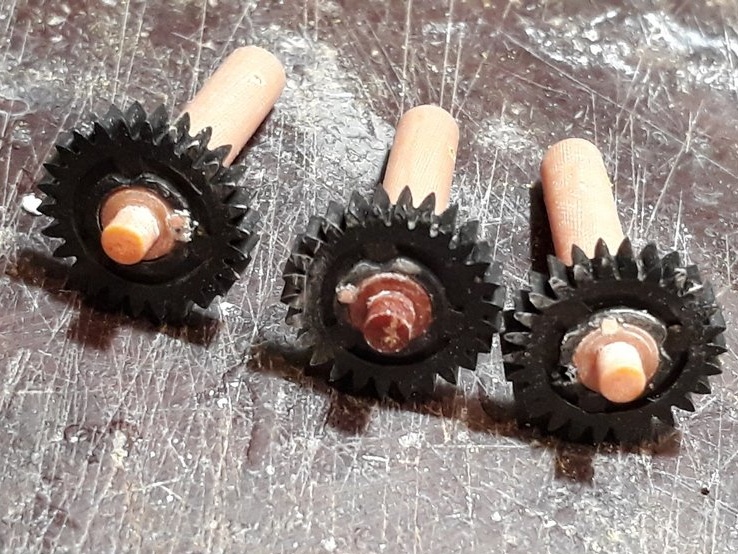
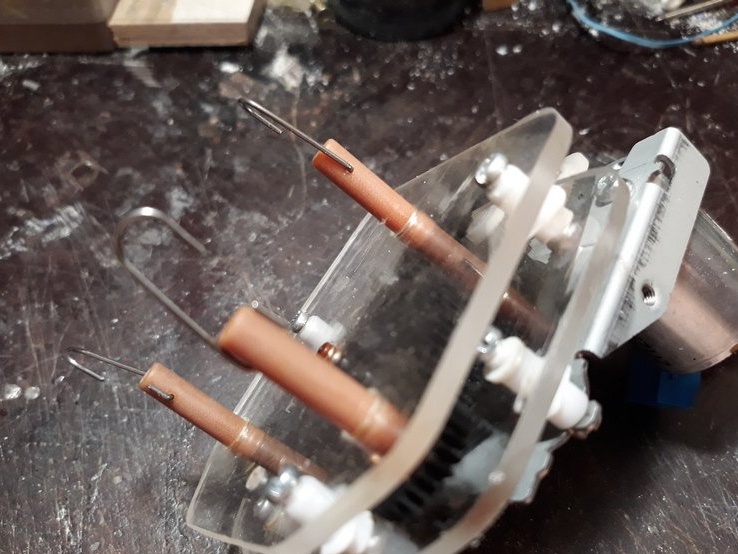
Then he machined the axles for the small gears of the satellites. To which, specifically, the threads (strands) of the future rope will be attached. Before twisting them into a rope.
The landing gear satellites are also tight with glue.
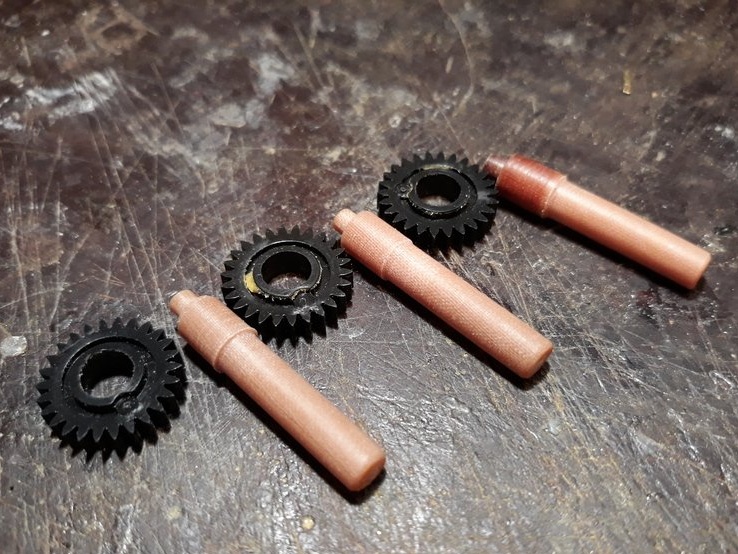

Then, they were additionally fixed on the shaft with round keys.
After stripping them, installed them in their places.
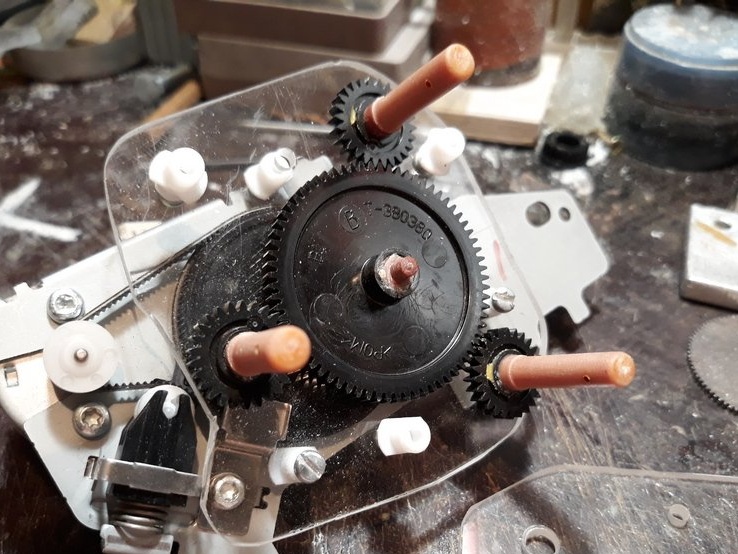
Further, he closed them with the second cheek of the gearbox, through his spacer bushings.
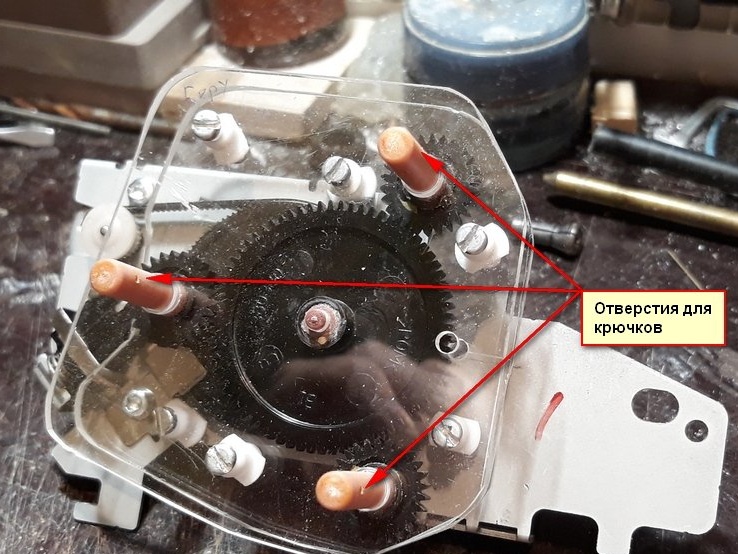
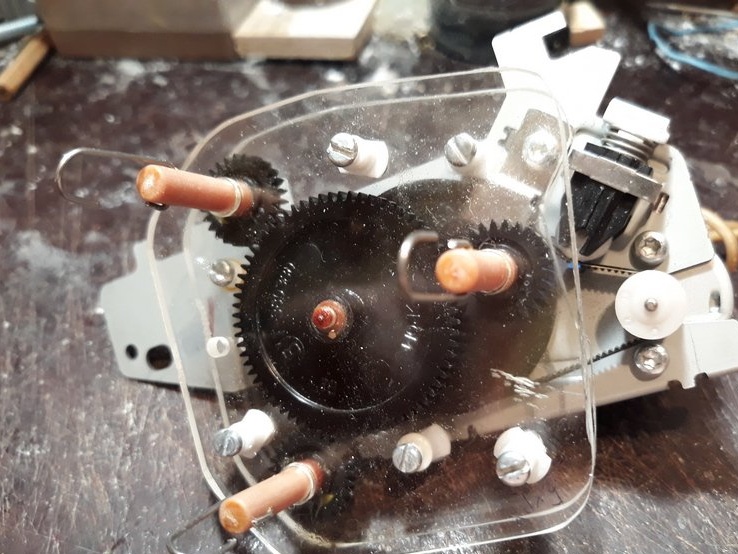
Holes for hooks were pre-drilled in the axes, on which the strands of the rope strands would be fixed. Hooks bent from paper clips.
3. Step three. The beginning of development and the first conclusions.
So the exciting moment has come for the first time you turn on the device.
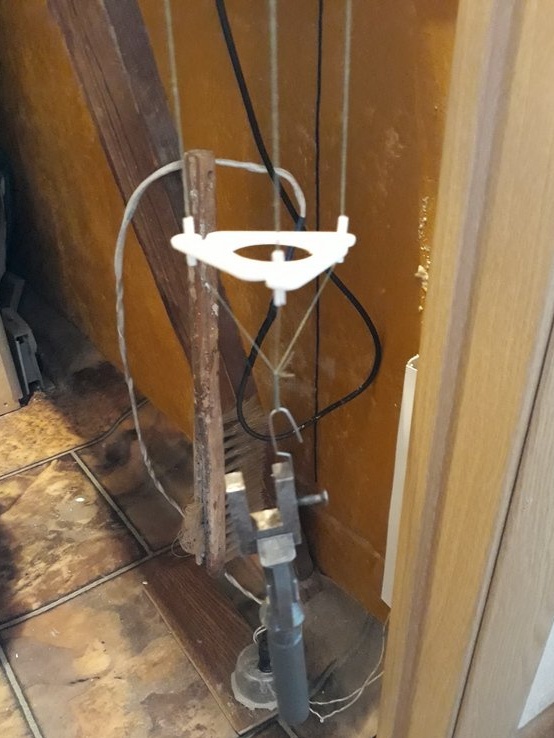
He placed the cable on the upper shelf that is above the workbench in the doorway of his workshop.
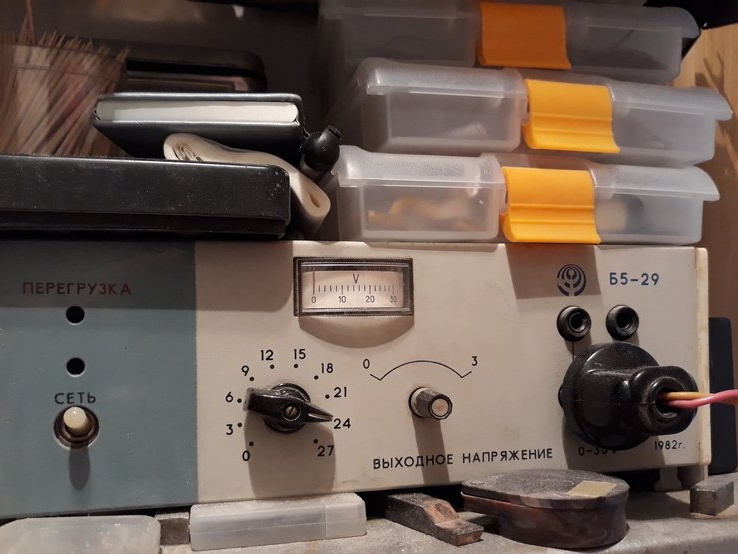
Fortunately, right there, on the lower shelf, there is a power supply, from which the electric motor of the cable will actually be powered. The voltage of the electric motor, which is 12 volts. The power supply has a smooth adjustment of power within 3 volts.
And so the first inclusion.
On hooks, hung strands of the future rope, right on the loops made of them.
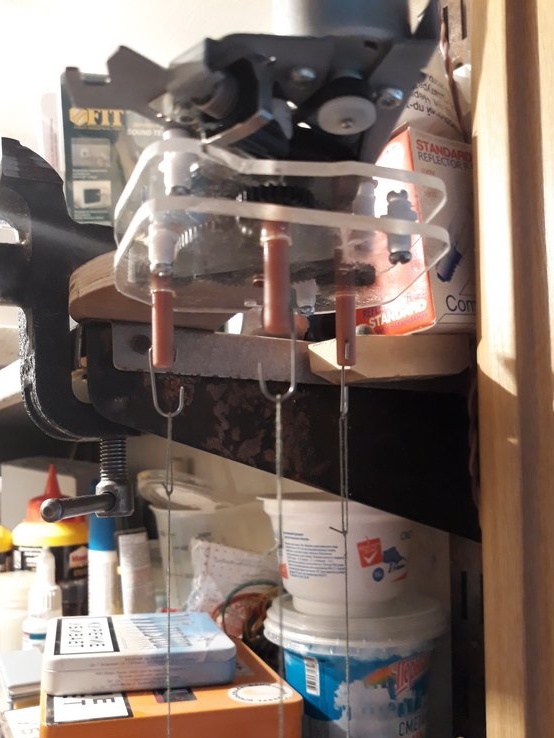
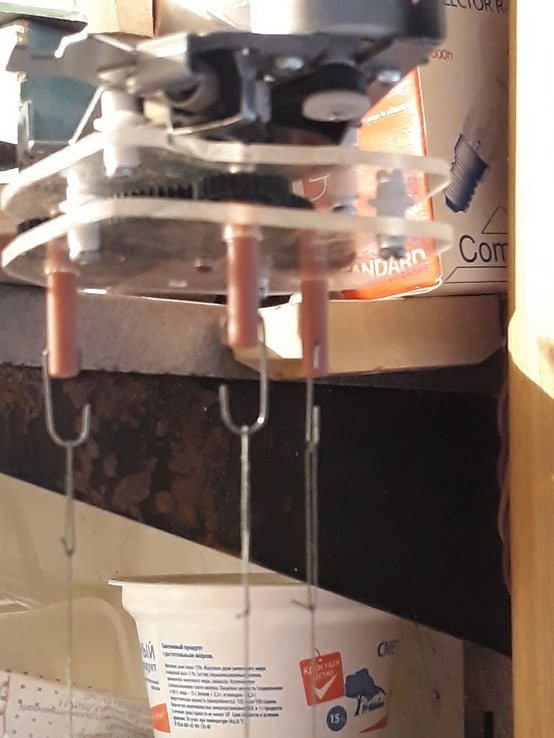
Below at the junction of the strands hung a load.
Turned on, it all worked, spinning ....
But, as they say - the first pancake is lumpy.
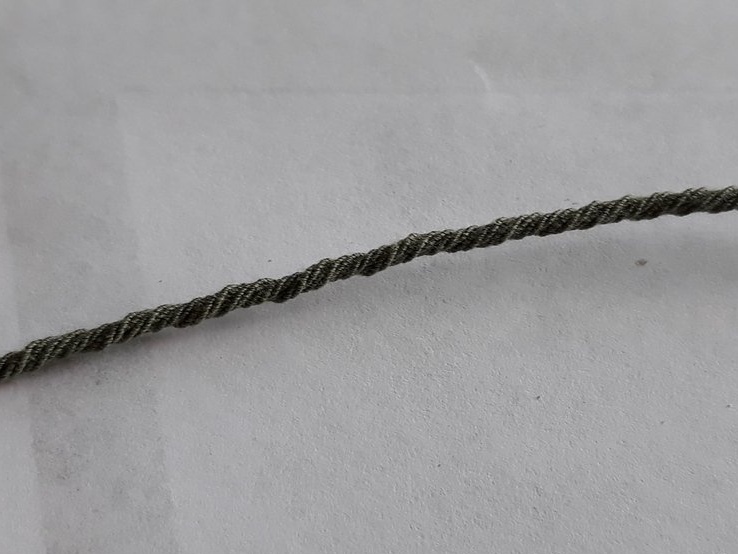
The rope seems to have turned out, but somehow hunched over.
I began to understand what was the matter and re-read the recommendations found on the Internet. And I got it. In a hurry, I did not take into account the direction of winding the strand. They must first be twisted on a cable in the same direction to which they were initially twisted. And, I have one strand was hung on the hook of the cable, on the contrary. Therefore, she unwound while winding the rope, while two strands continued to twist.
In order that the strands of the rope did not tangled during winding, I made a distance bar. She peeped her device on the Internet.
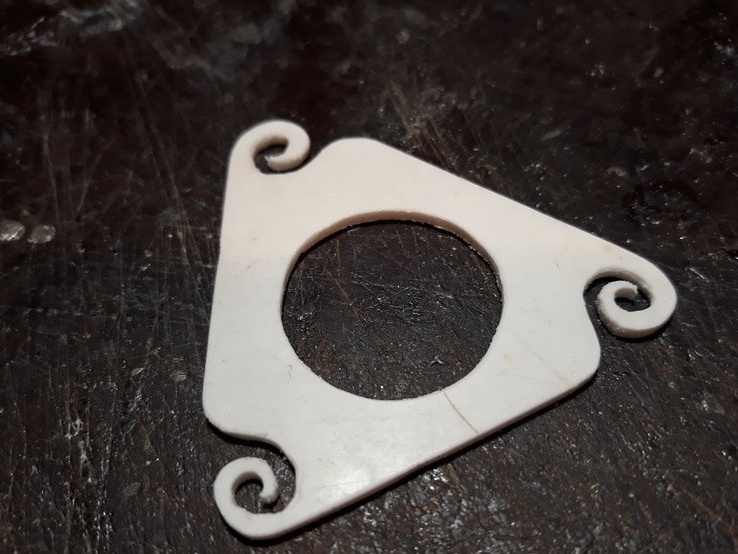
It seemed to me that it was easier and faster to make it than sharpening a remote bullet (cone) on a lathe. After several test runs, it turned out that the bar has the ability to depart from a horizontal position and stand on an edge. What created certain problems when working with her. I improved a bit by adding guides for the strands.
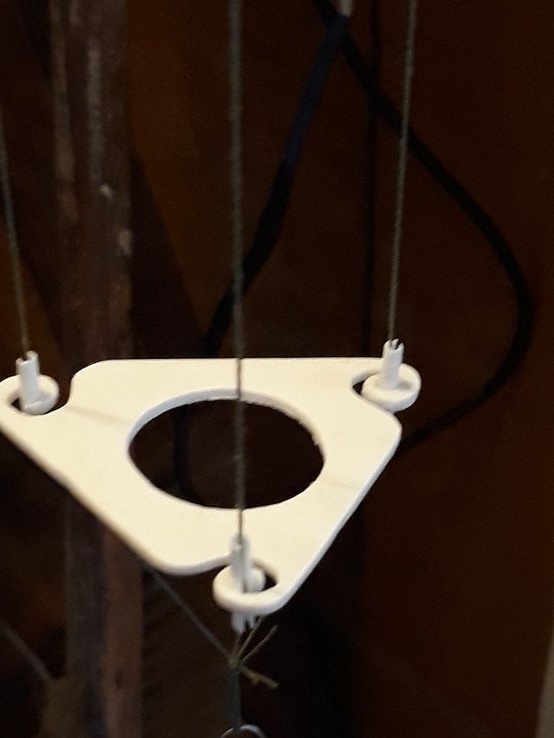
But this did not help either.
Then, I decided to still carve a cone.
I tried to work with him. And the more I worked on the cable, mastering the wisdom of working with it, I became more and more convinced that the bar and cone were superfluous details. It was easier to keep the strands of the rope from tangling with the left hand with spread fingers.
Moreover, the right one kept the load from rotation, until it was raised to a height of about 1/10 of the length of the winded rope. Then the Trosomot stopped (turned off), the load was released and there was a winding of the rope. Here we must not miss the moment of stopping the rotation of the cargo and changing its direction of rotation. At this moment, the load was held by hand, and the locks were fixed with “Second” glue. Then, in the upper part of the rope at the junction of the strands, the same thing was done.
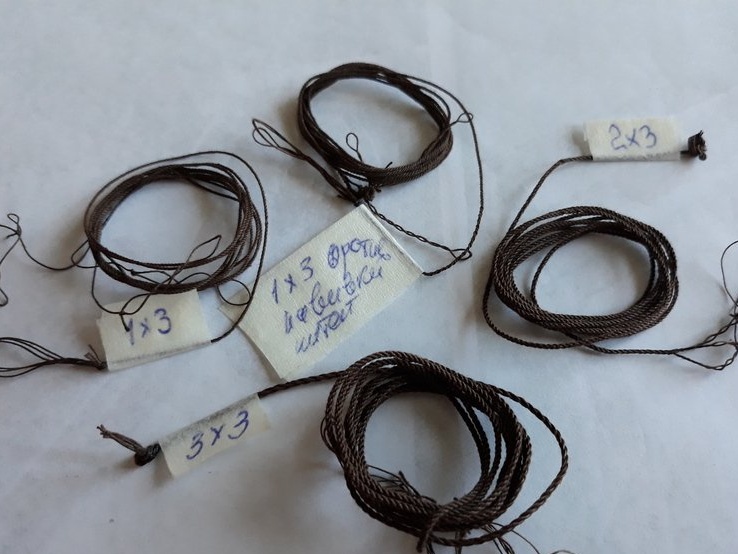
Here is the result of the work.
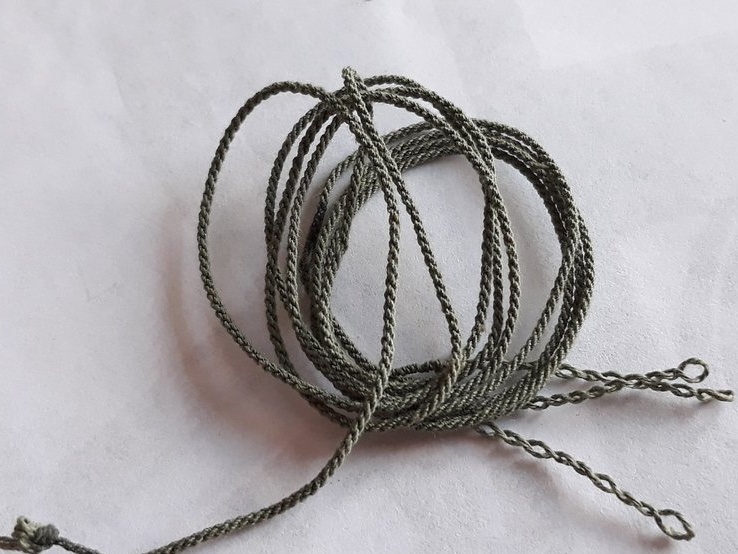
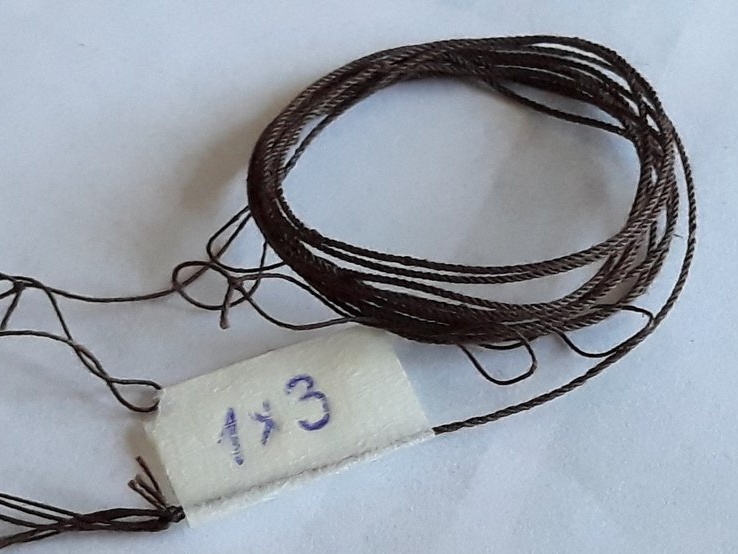
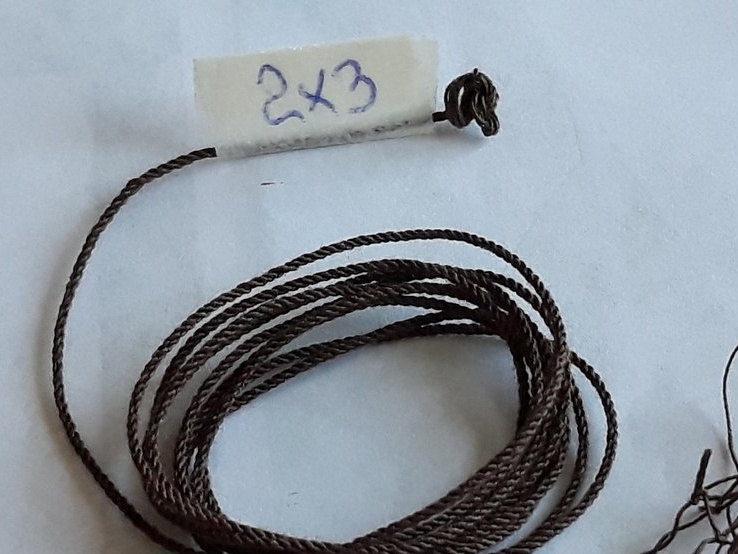
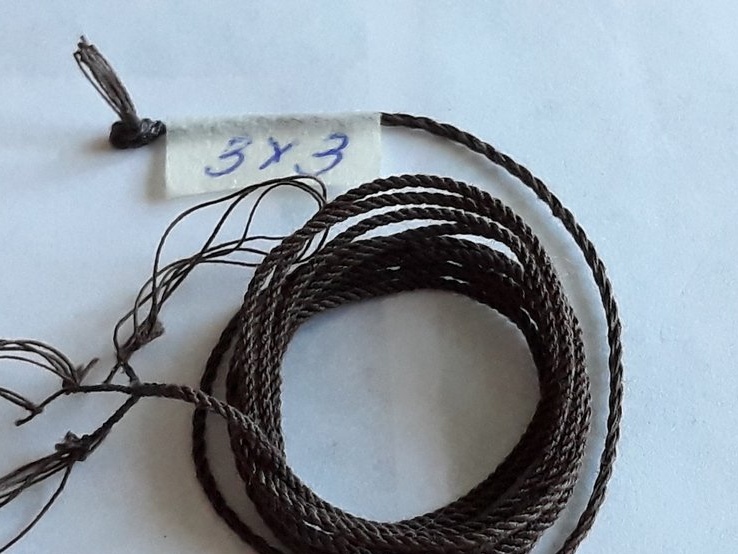
I tried various winding options. This means winding with one strand (1X3), two strands (2X3) and three strands (3X3).
I am satisfied with the result of the work done.
4. The fourth step. Conclusion
Before the construction of the Trosomot I thought I would make it as comfortable as possible ...
I explain switching the direction of rotation of the Trosomot, and so on and so forth ... ... up to the remote on and off of the Trosomot itself.
But, when I assembled it, I launched it and worked.
Understood, by and large, this just is not necessary. He performs the duties assigned to him and performs well.
Everything is tested.
Thus, I got myself another "stray" for my hobby. And I do not regret it.
That's it.
See, criticize, advise, ask.
Regards, Starp.