
Today we have a project with a micro game console, which anyone can repeat.
Necessary materials and components:
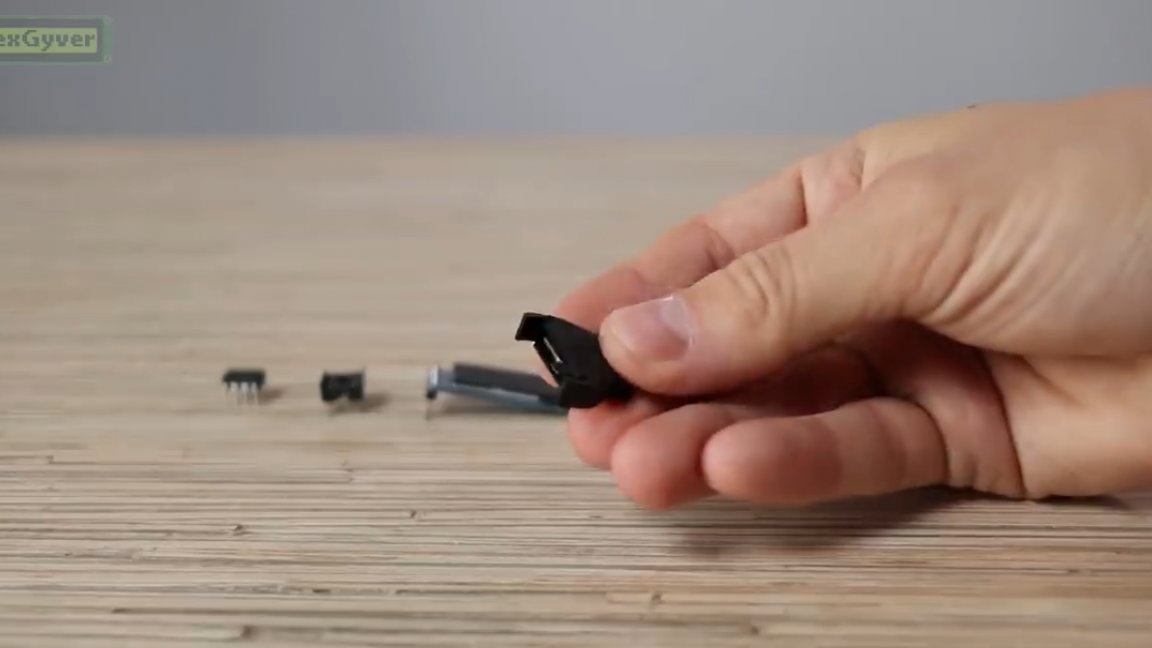
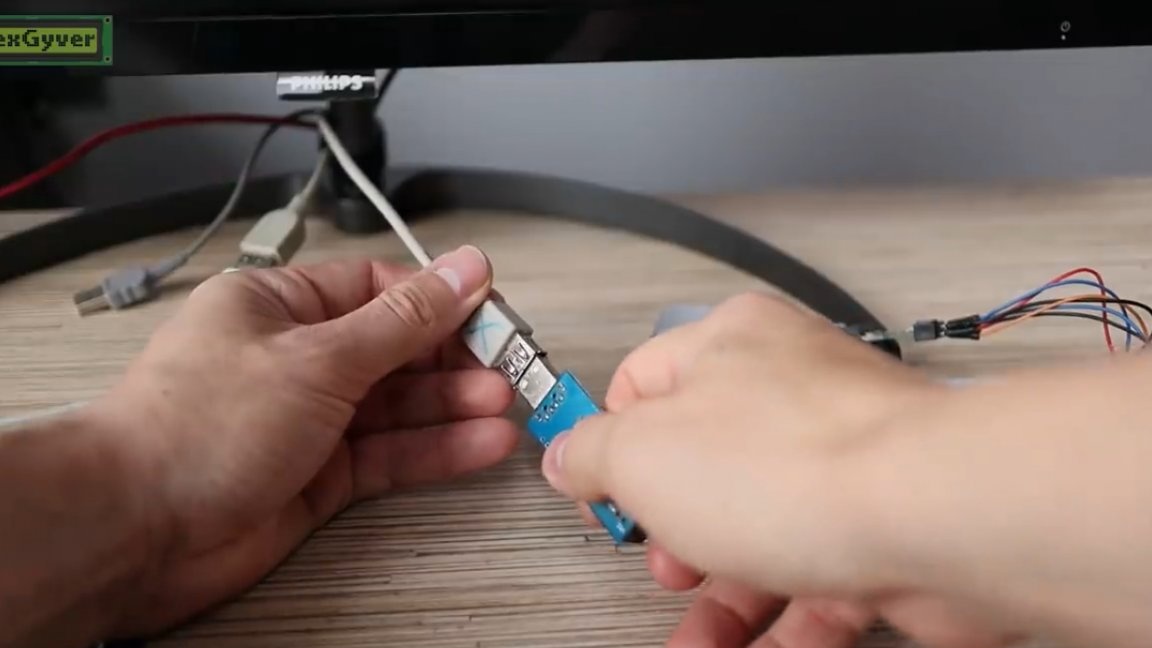
This manual was taken from the AlexGyver YouTube channel. The microcontroller for this project needs this:
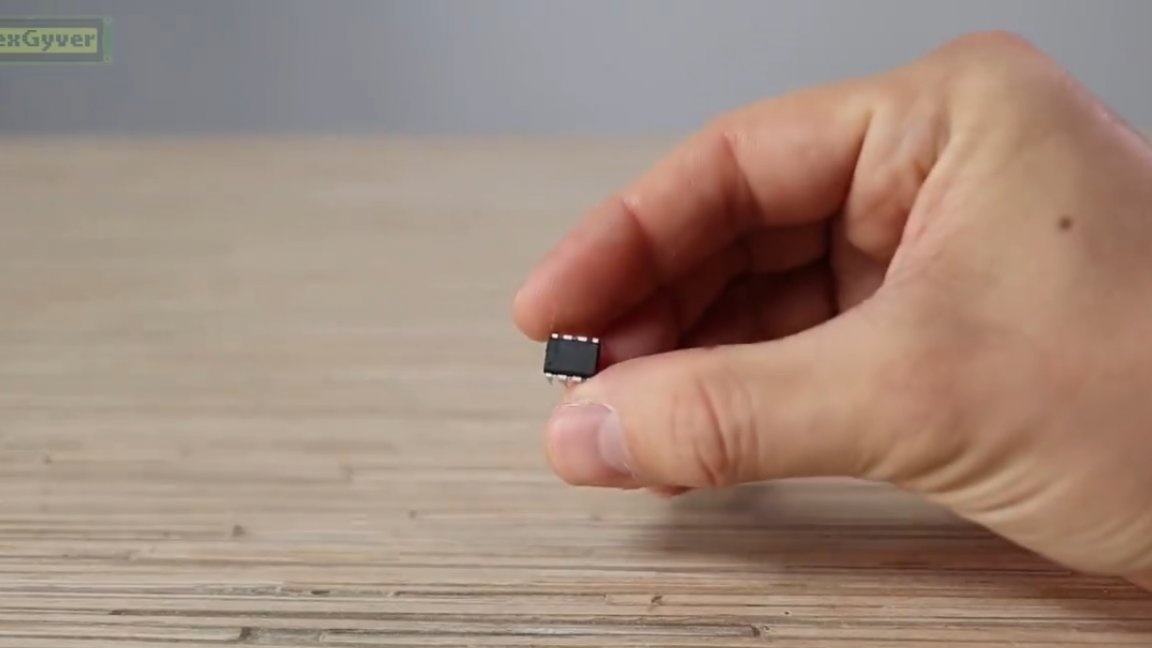
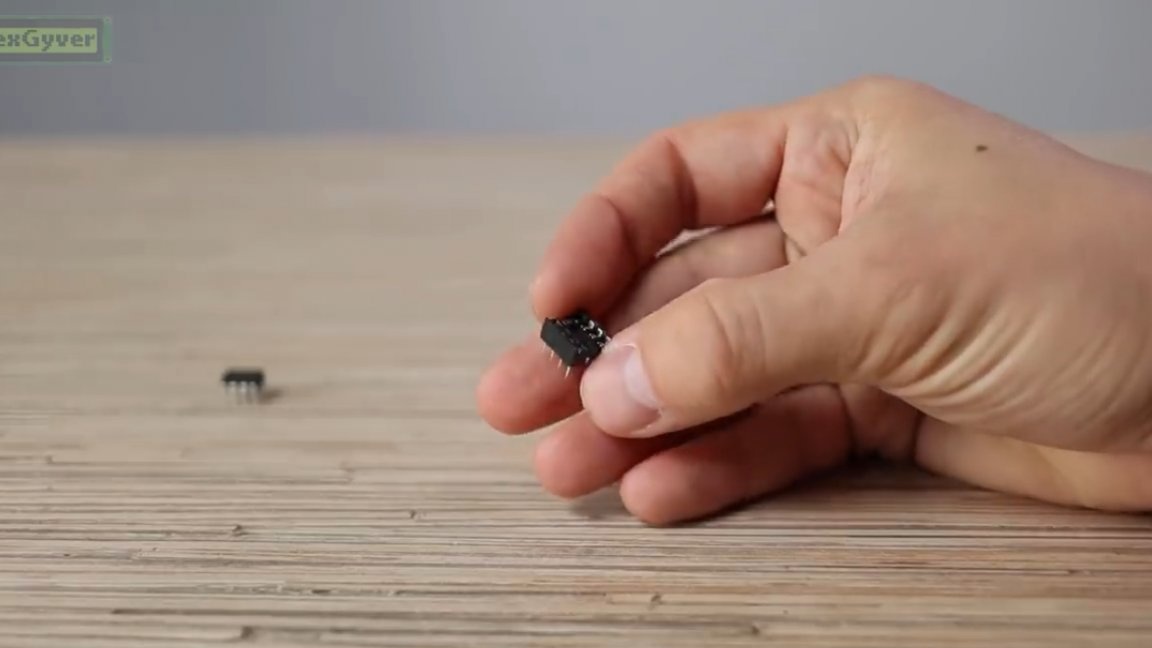
This is Attiny85 in the DIP package, it will be enough for us. In order not to solder it, we take the so-called socket.
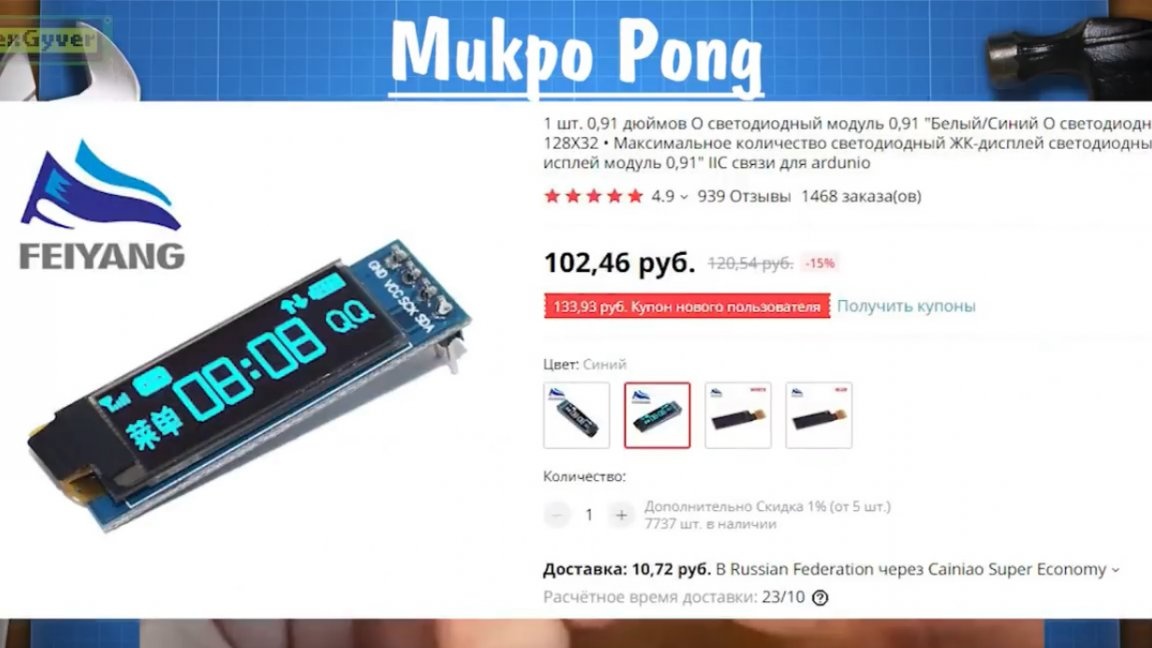
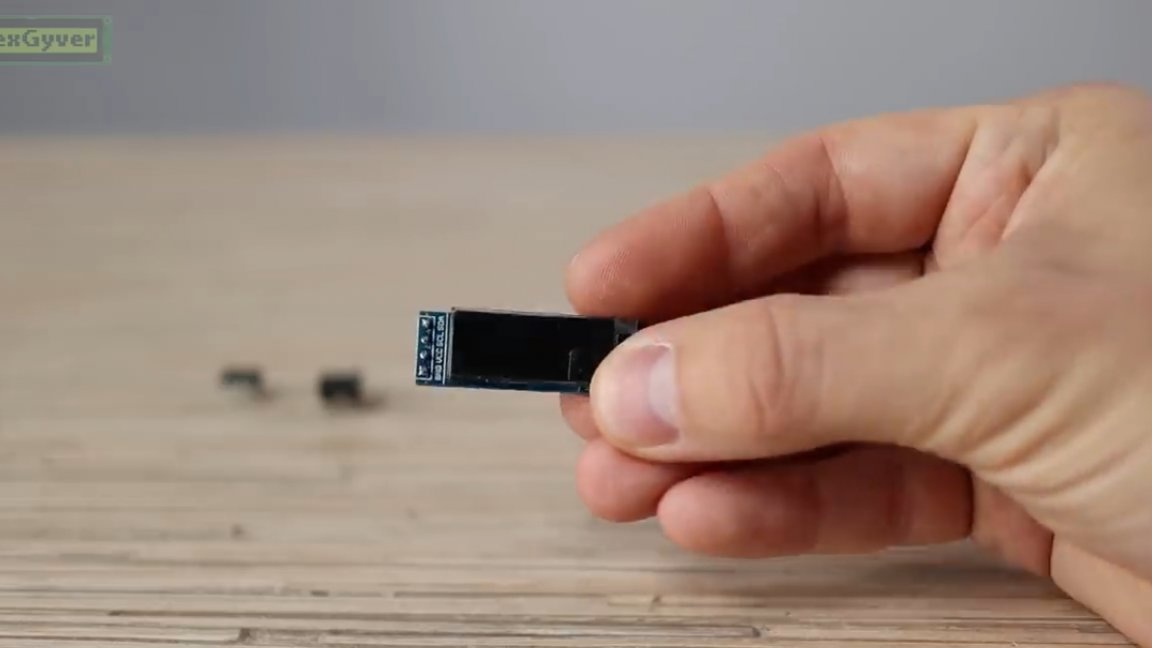
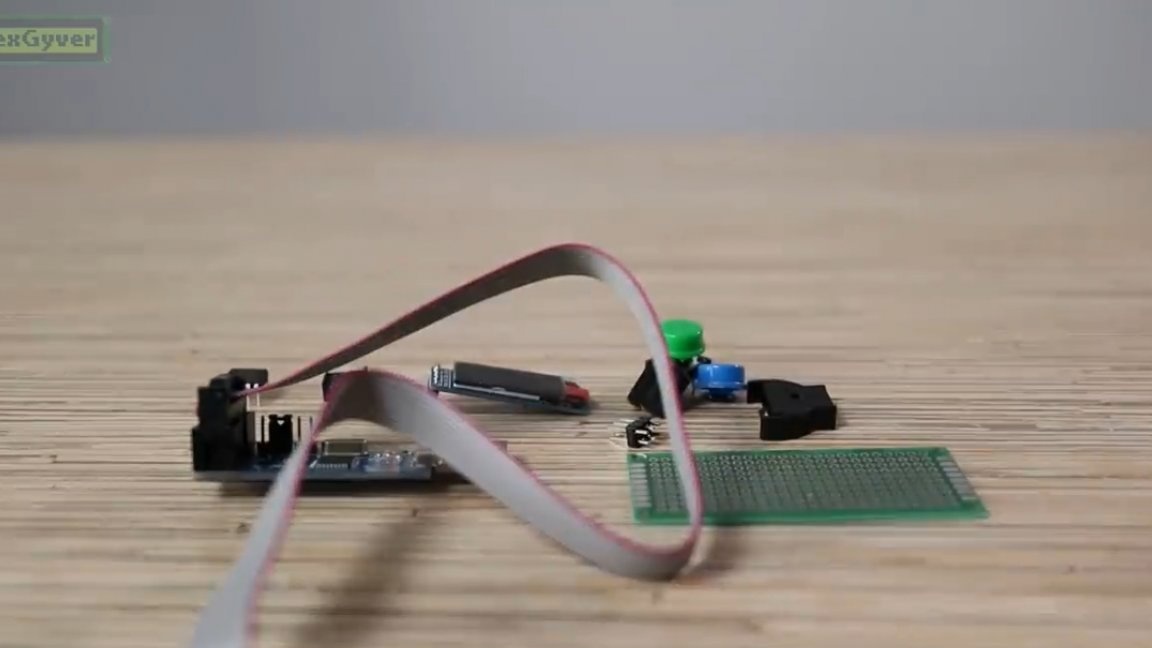
We also need a display with Aliexpress, OLED with a resolution of 128 by 32 pixels.
Pins also come in handy.
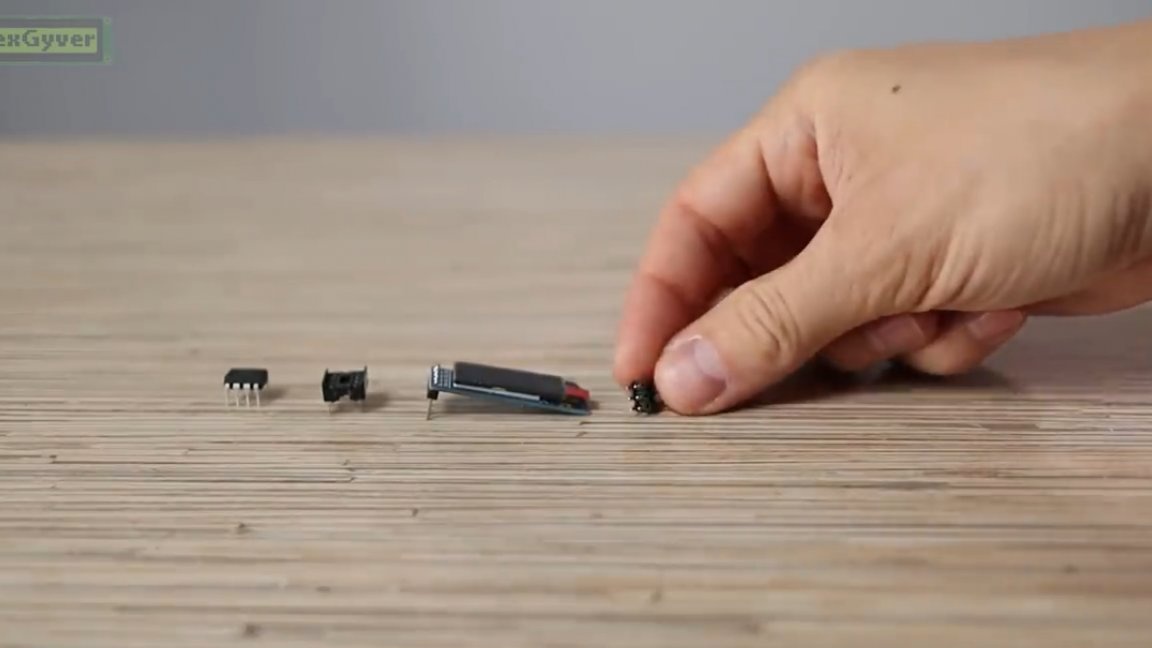
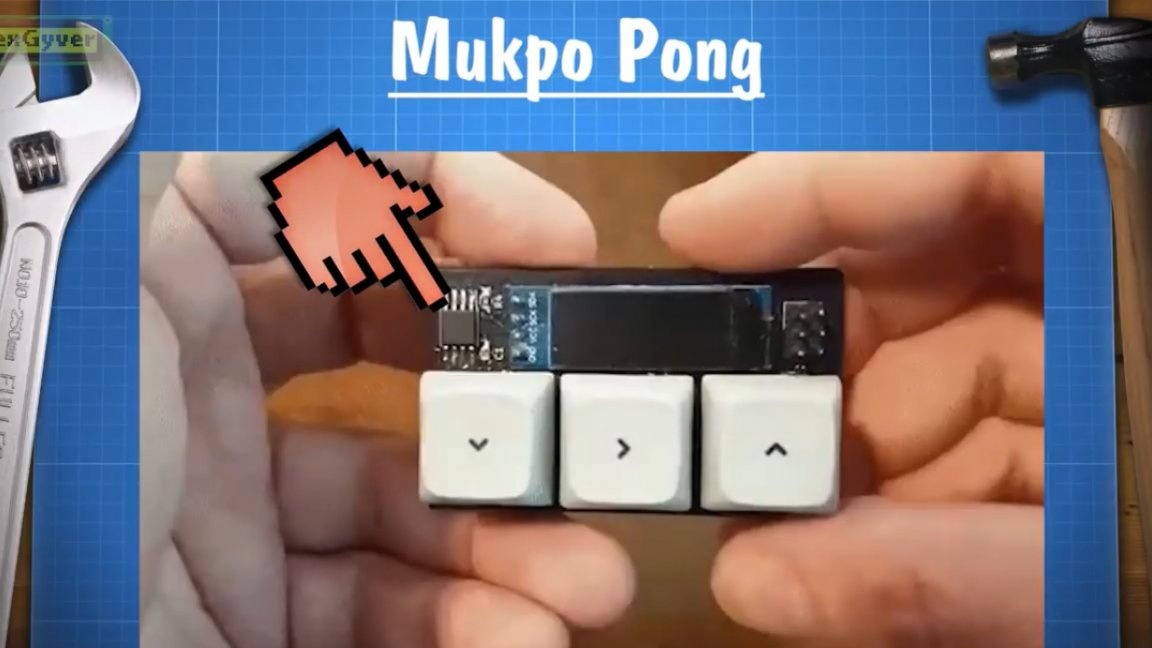
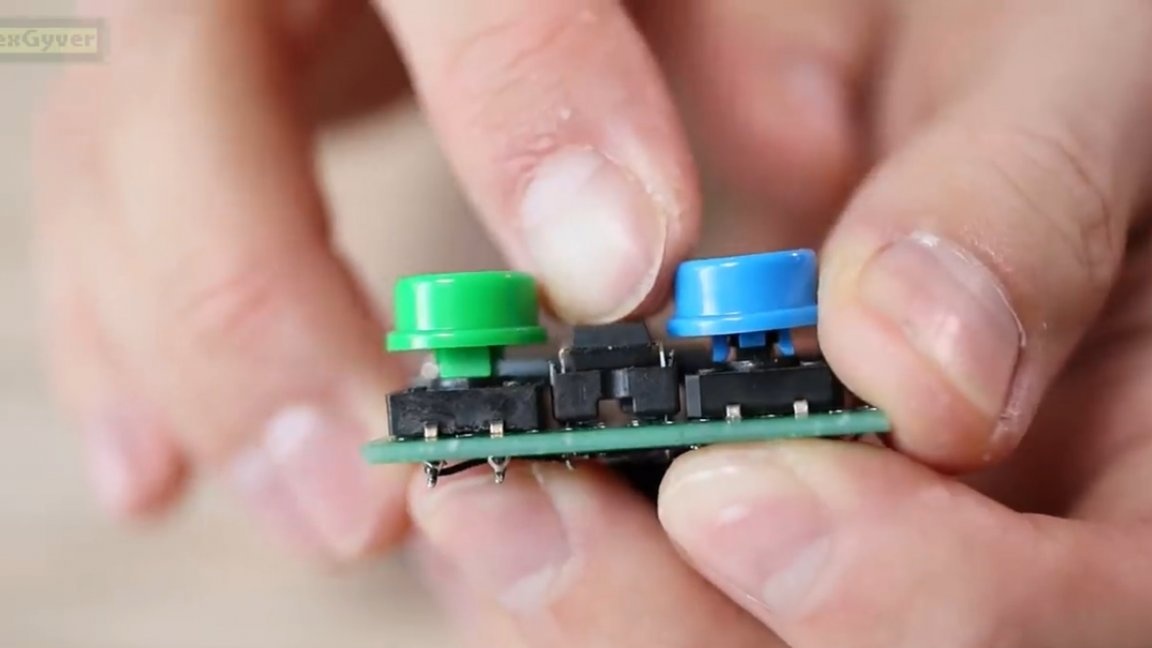
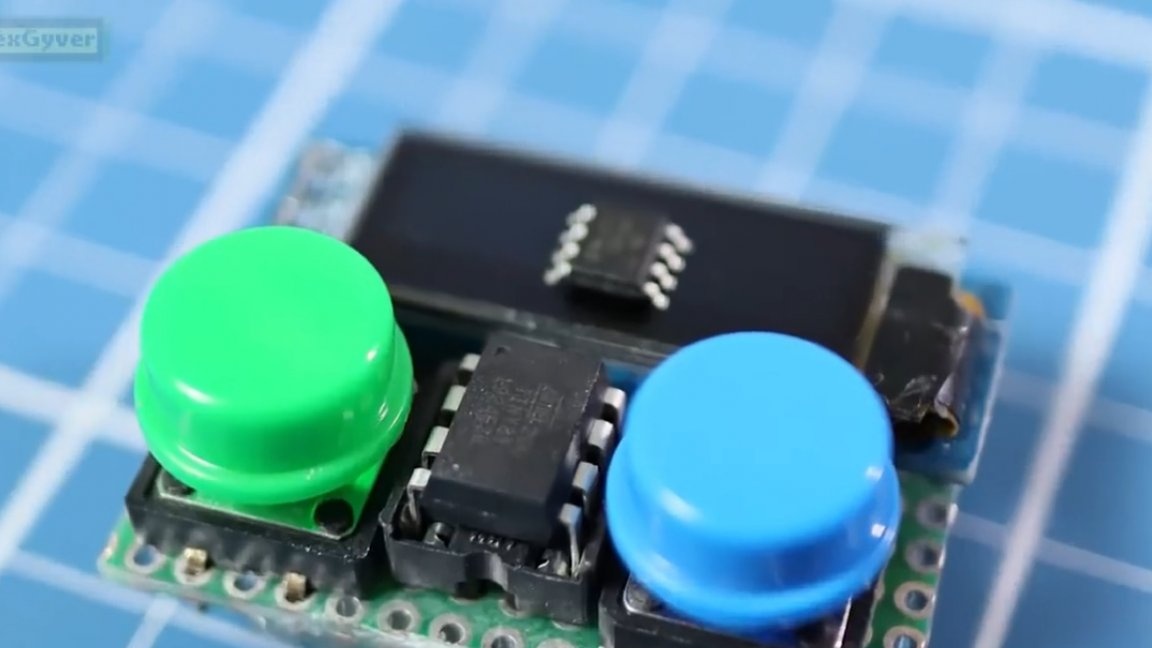
Buttons we will use here are:
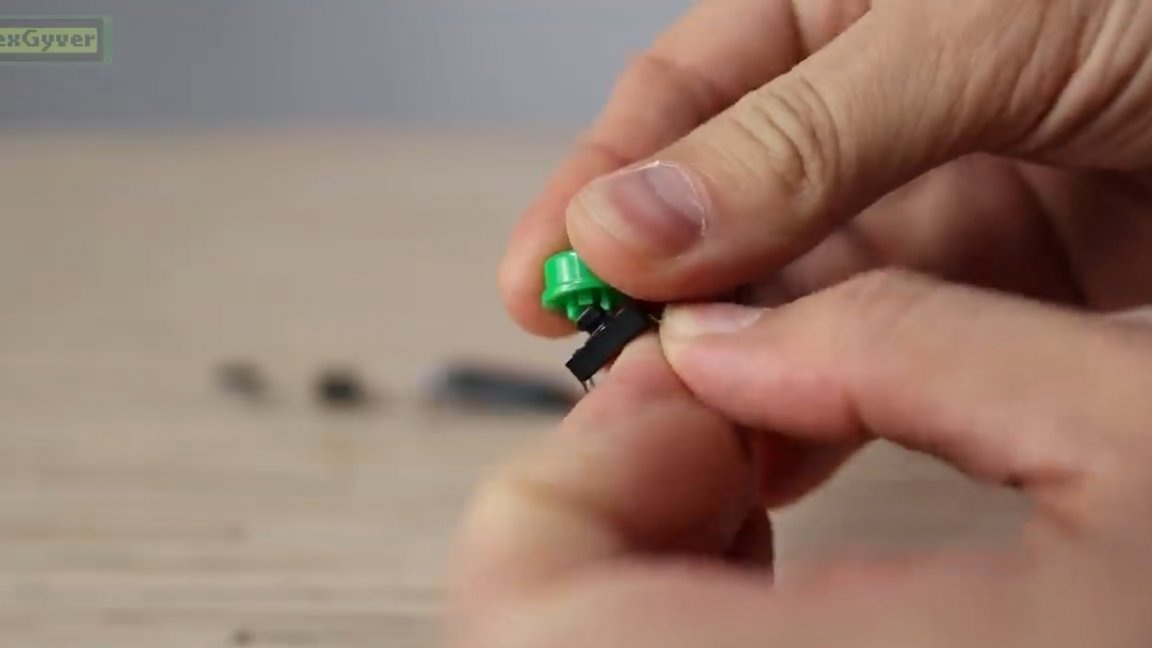
Of course, you can take keyboards, but they will have to be finalized, but I don’t really want to cut and solder. The battery compartment is of this type:
And we will assemble our game console with a breadboard (if you wish, you can make a board yourself). We will flash the USBasp programmer, but any AVR will do.
Wiring diagram The components will be as follows:
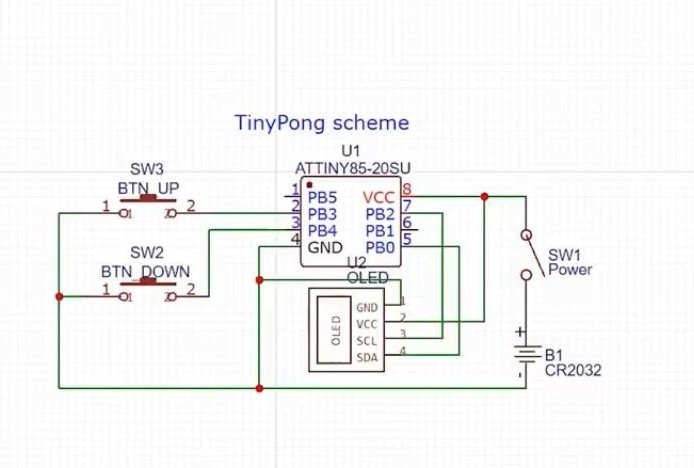
The display connects to the I2C bus pins of the microcontroller. We connect buttons to other free pins. Also add a switch to turn on / off the system. And basically that's all, it remains to connect the power.
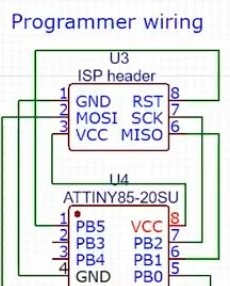
The firmware is loaded into the microcontroller by the programmer according to the following scheme:
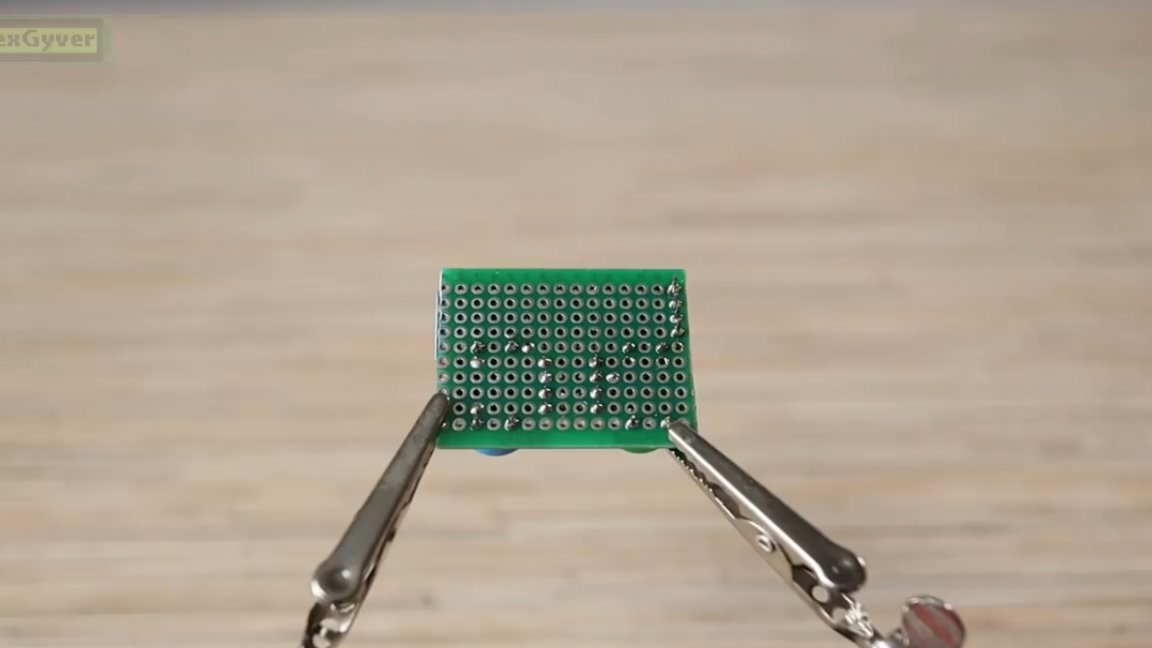
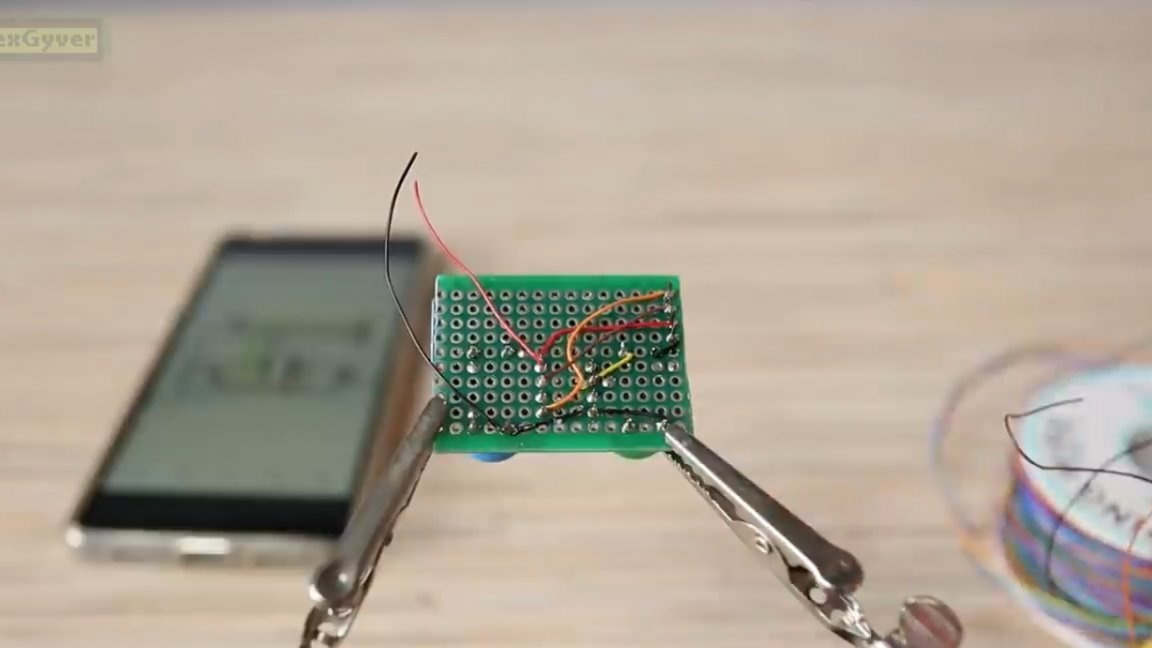
Now let's get started on the assembly and arrange all the elements on the breadboard. Let's try to assemble and see how it all looks.
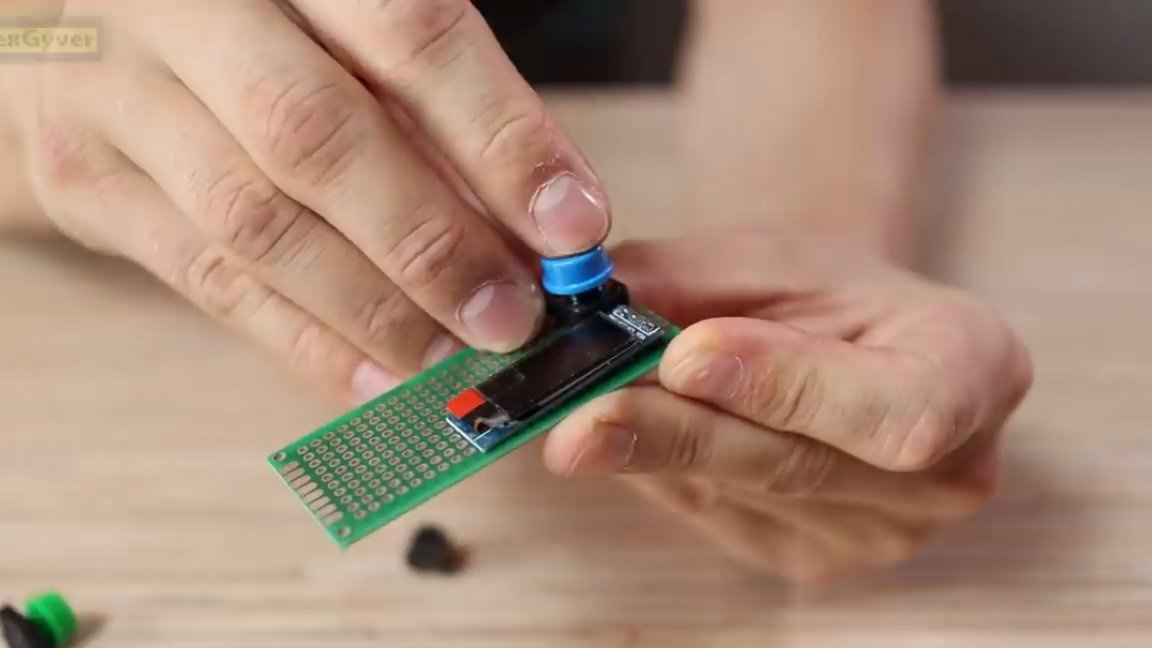
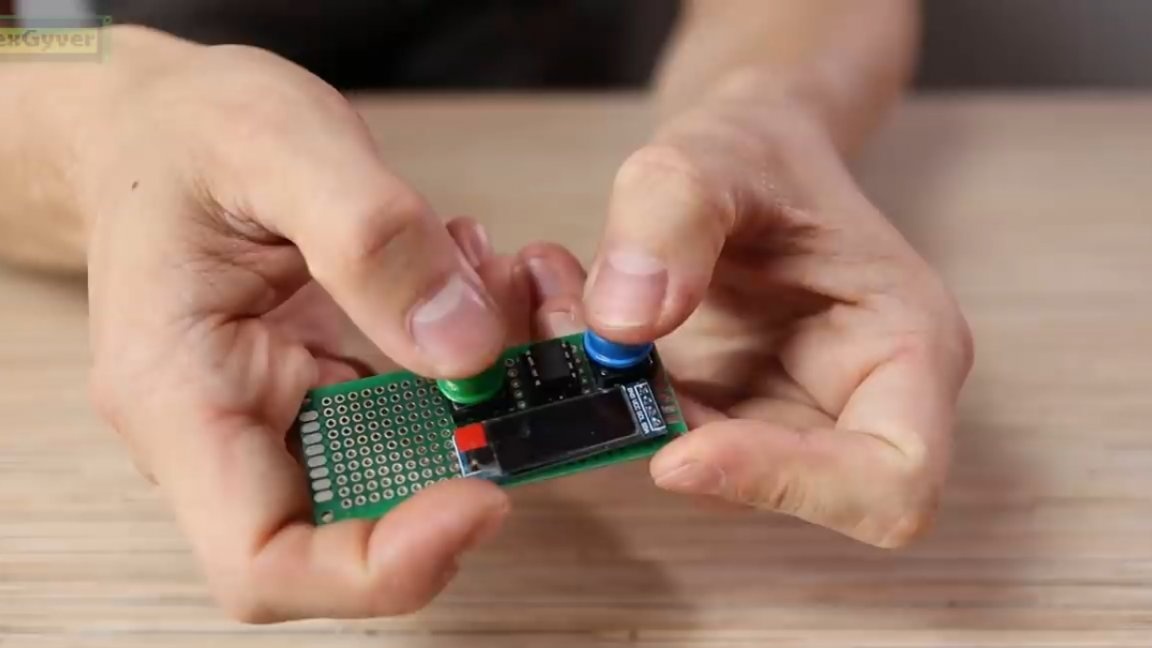
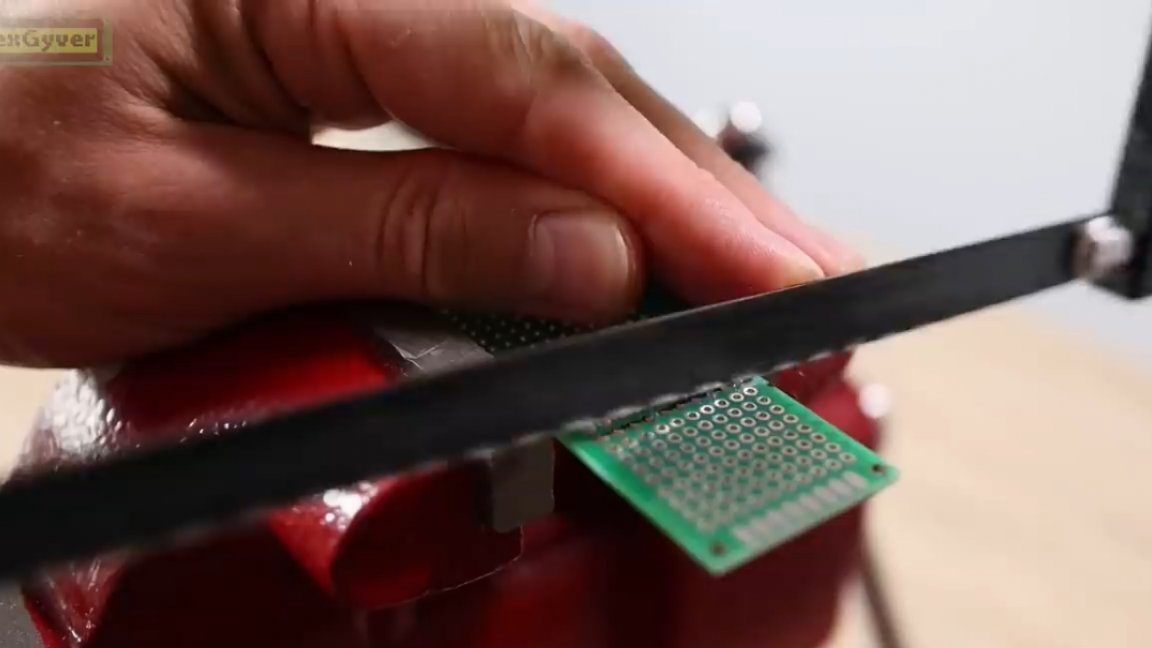
It turned out quite ascetic. Not bad. The excess part of the breadboard can be sawed off.
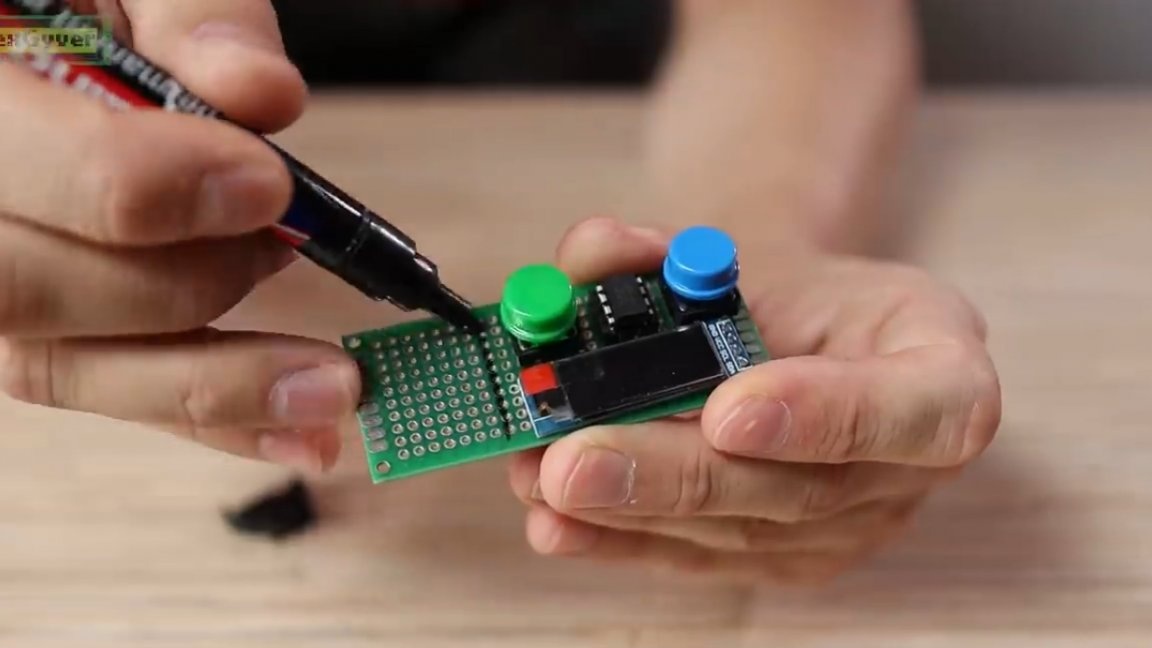
Now we fix all the components just by soldering their legs.
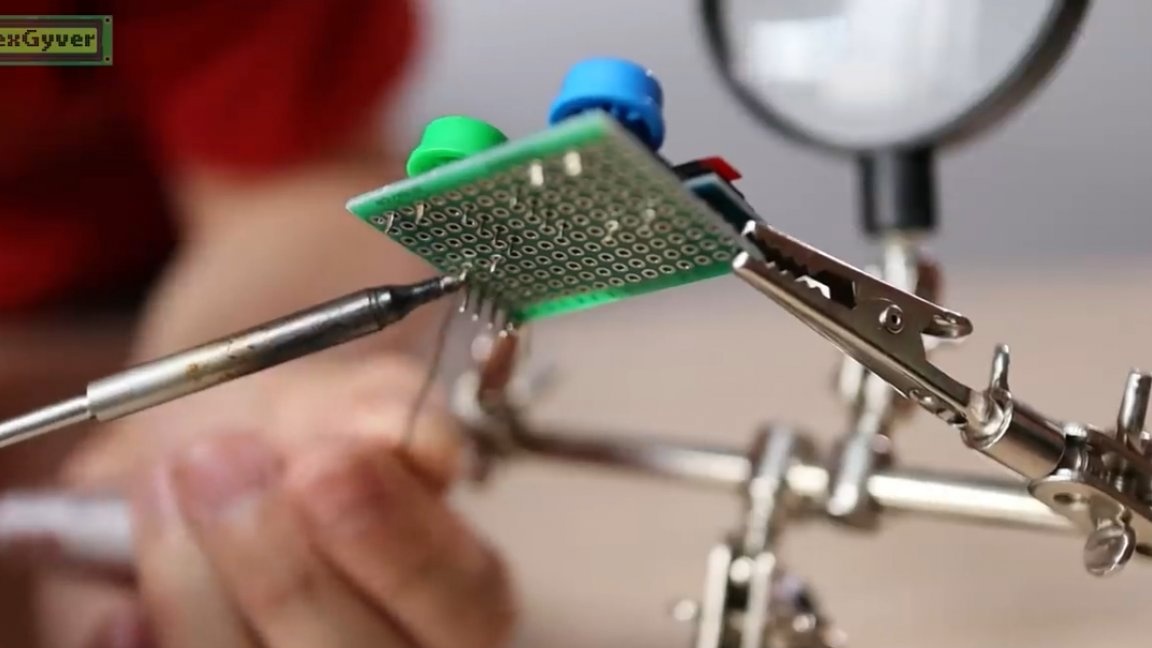
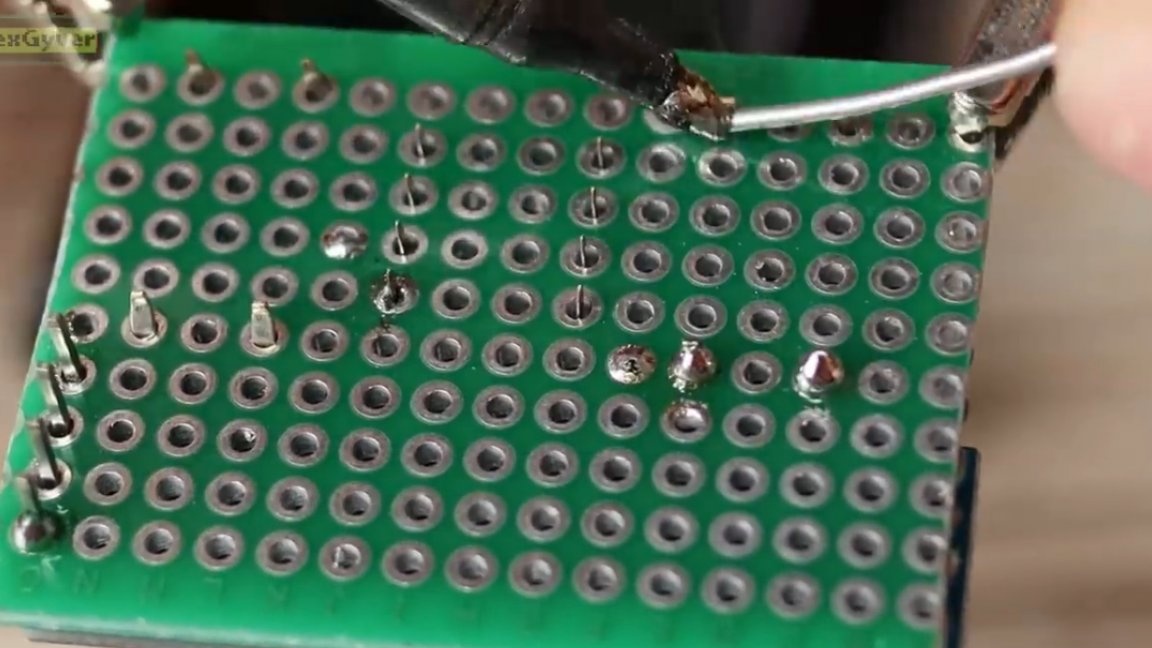
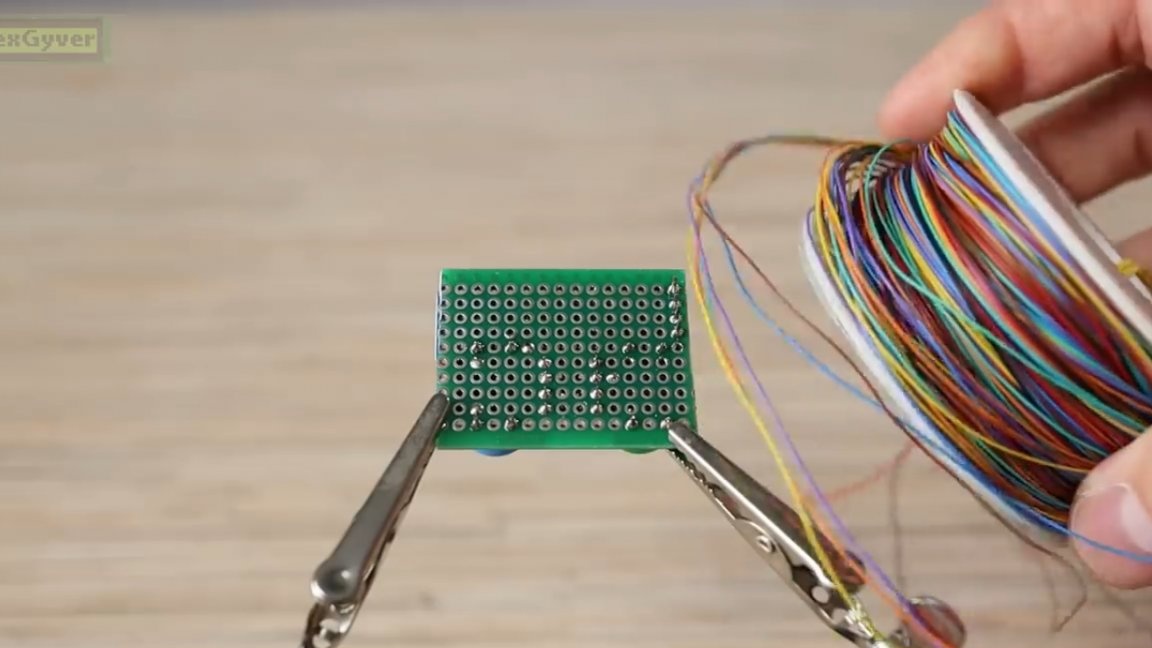
Now you need to connect the conclusions according to the scheme. For this purpose, the author recommends using a thin Chinese mounting wire.
And for convenience, you can use this mirrored connection diagram.

These wires have such a thin insulation that you can solder them directly. The insulation itself will melt and the wire will be soldered.
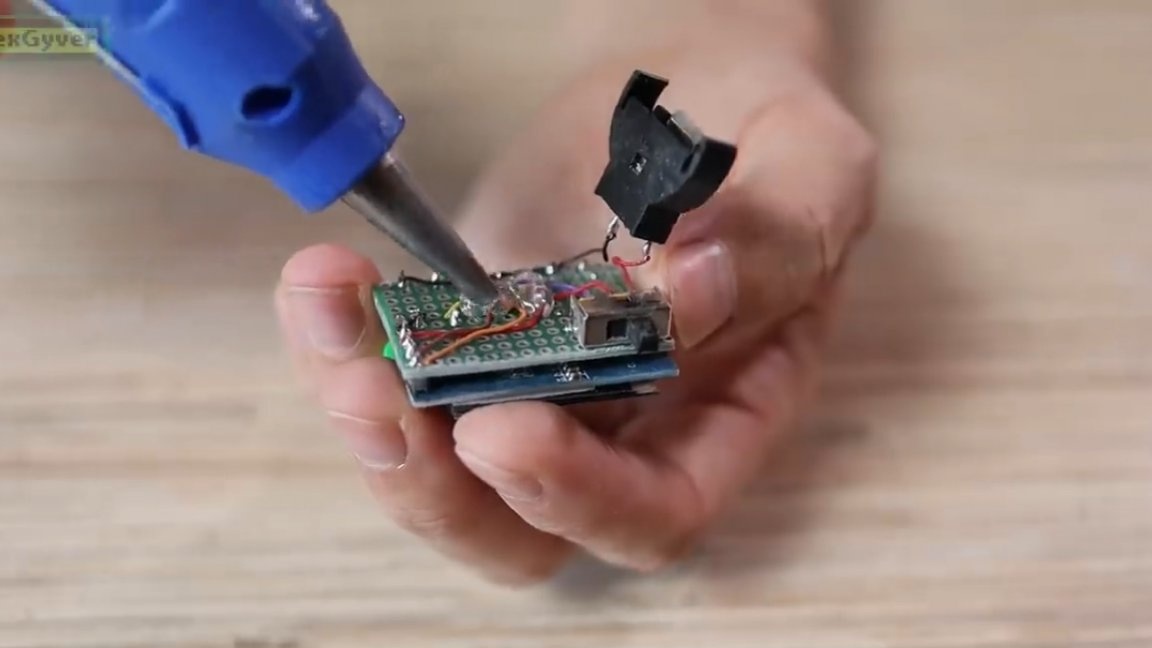
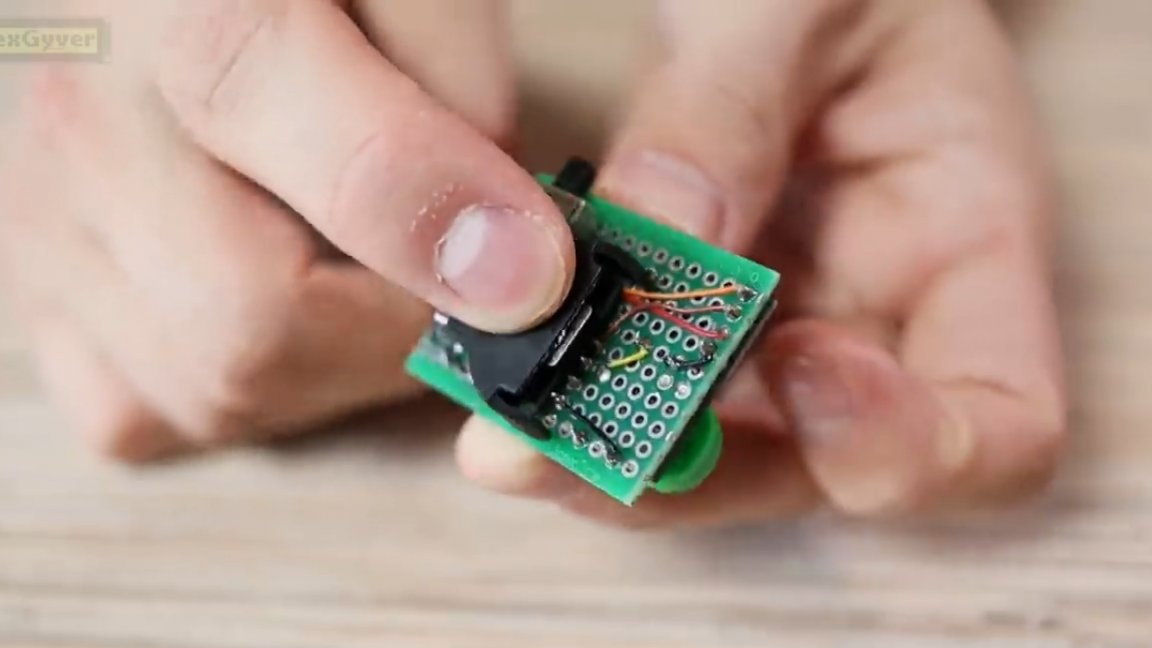
Then proceed to sealing the battery compartment and the switch. The compartment must also be additionally fixed with a hot glue gun.
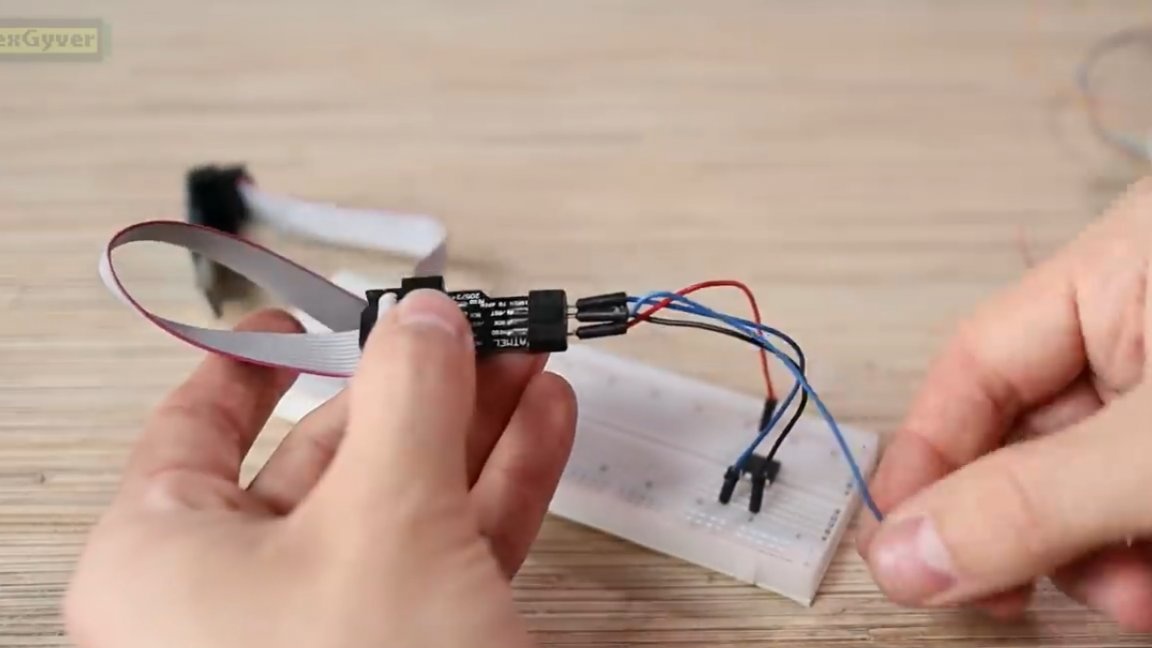
Well, that's all, the system is assembled, it remains to download the firmware. We will flash the “stone” separately by connecting it to the programmer on the breadboard.
The firmware, as with all projects of the author, is in the public domain and can be downloaded from. Also on the project page you will find a diagram and all other necessary information on this project.
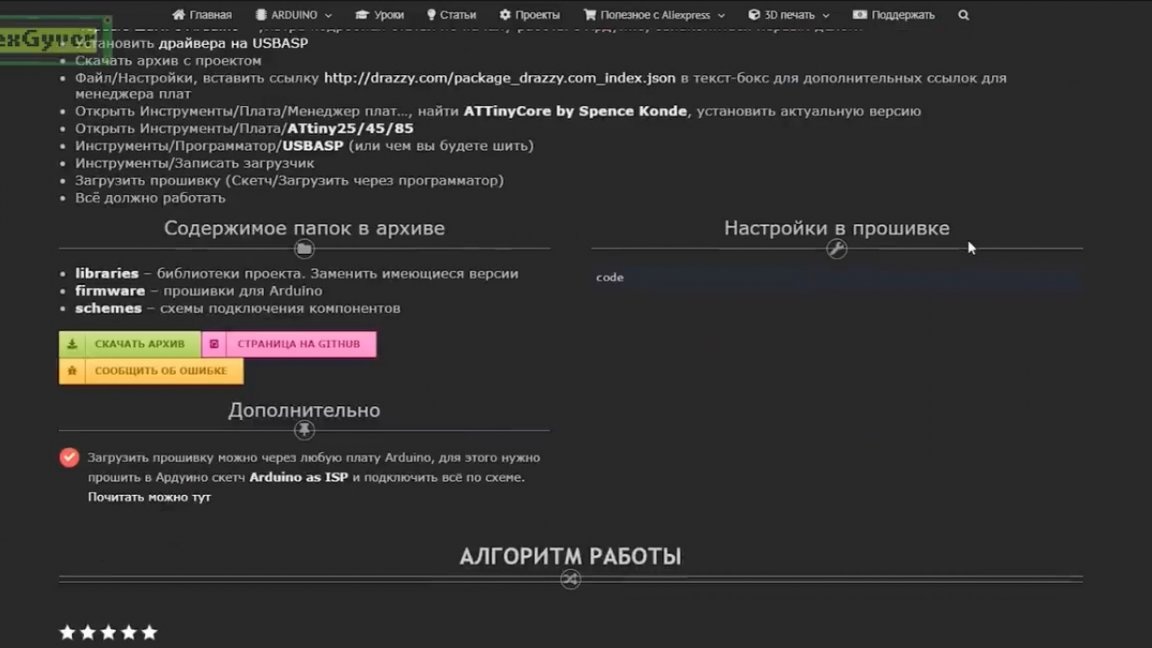
We will not dwell on the download in detail, if something is not clear, then you can always look at the detailed instructions for the author.
For firmware, just install Arduino ide, install the kernel for working with Attiny series microcontrollers, select a board, choose a programmer.
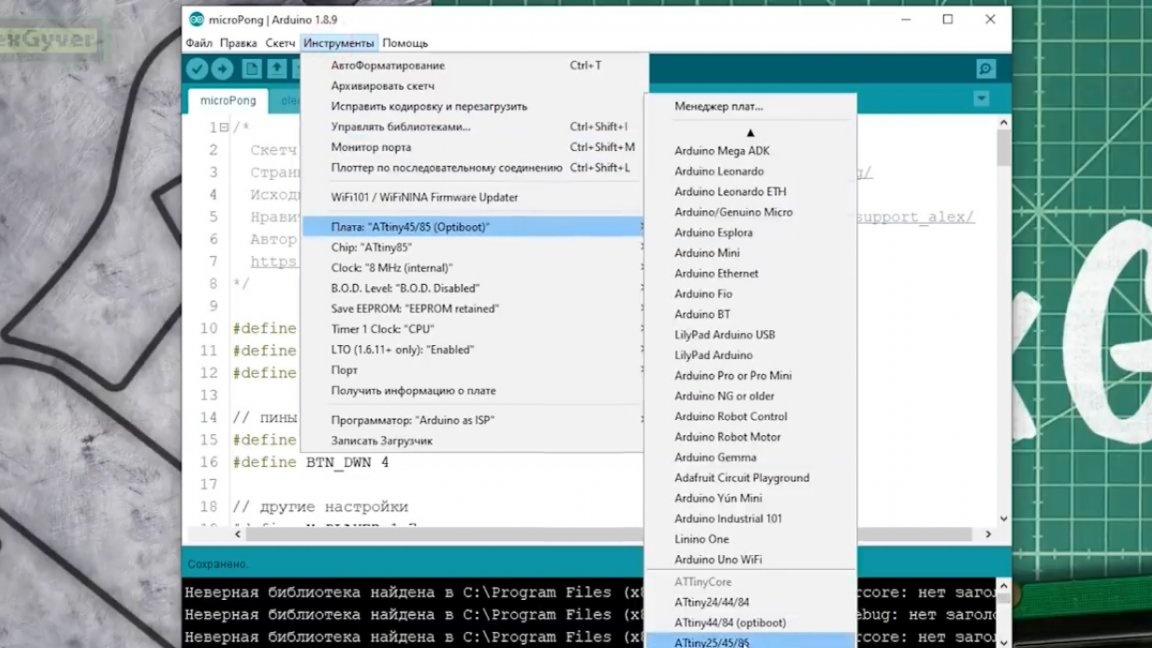
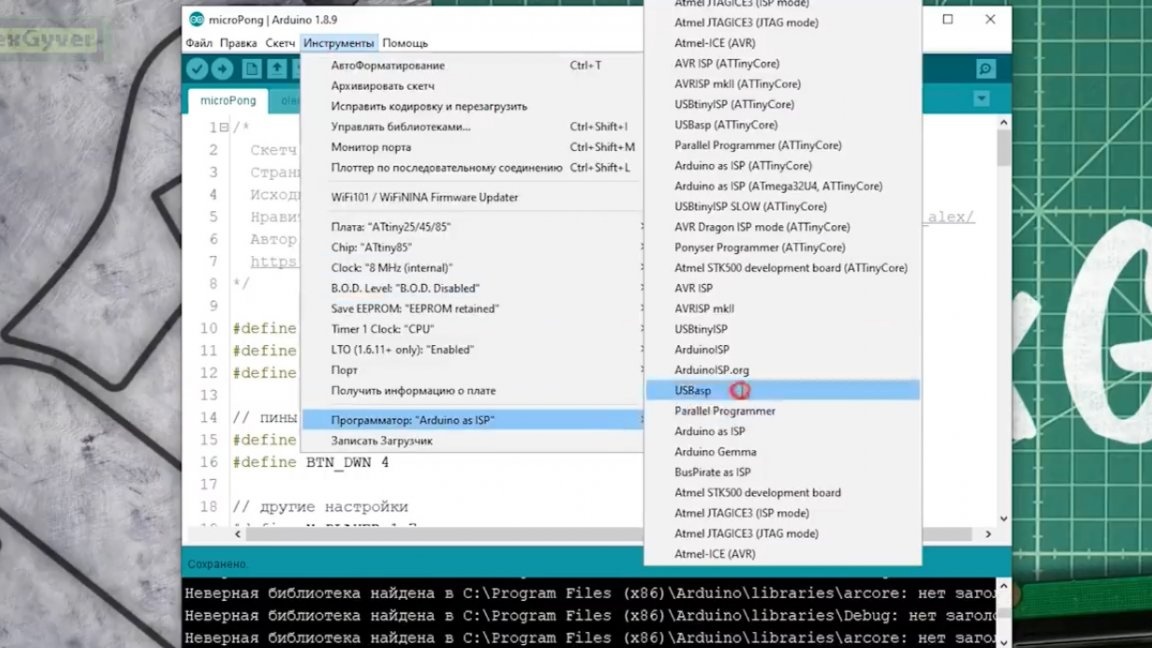
Then we select the frequency of 8 or 16 MHz, open the “Tools” tab, find and select “Record Loader”.
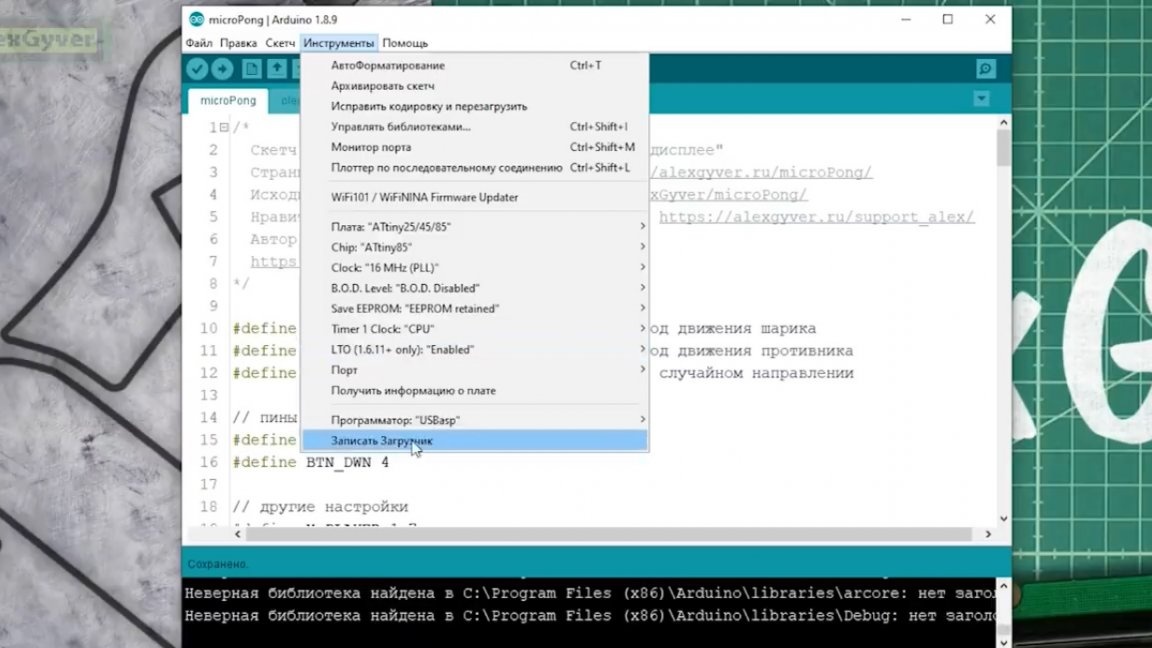
There is no loader there, but the microcontroller will be tuned to the required frequency. Then select the “Sketch” tab - “download via the programmer”. And we wait until the sketch is loaded into the microcontroller.
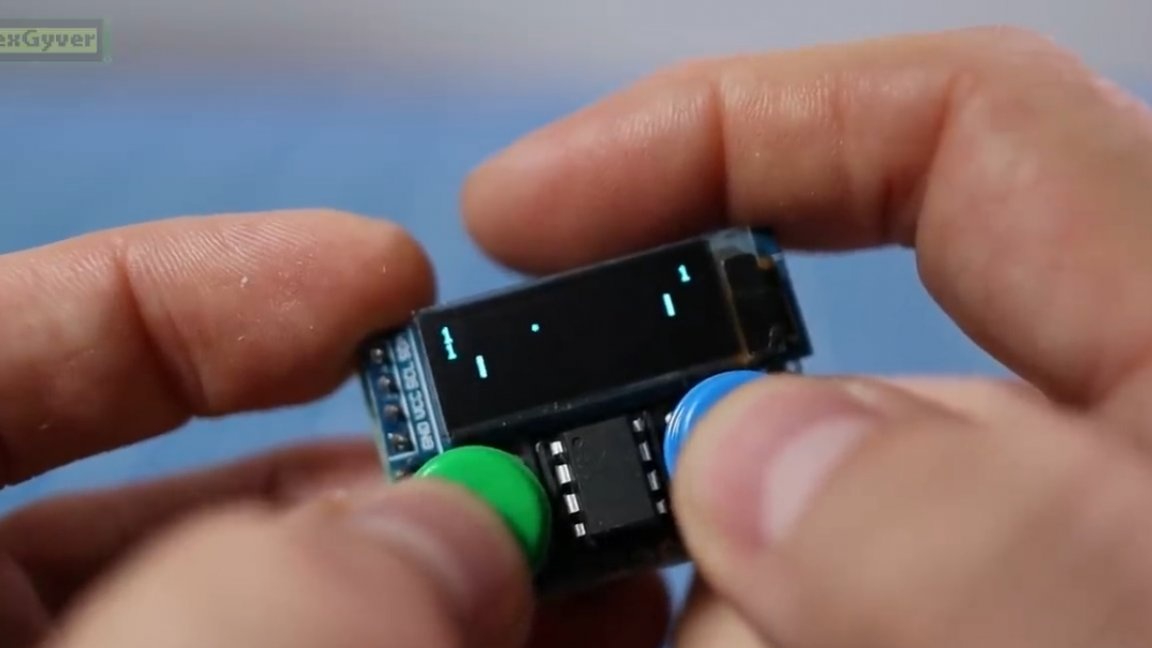
Now we take out the “stone” and insert it into the heart of our mini gaming console.
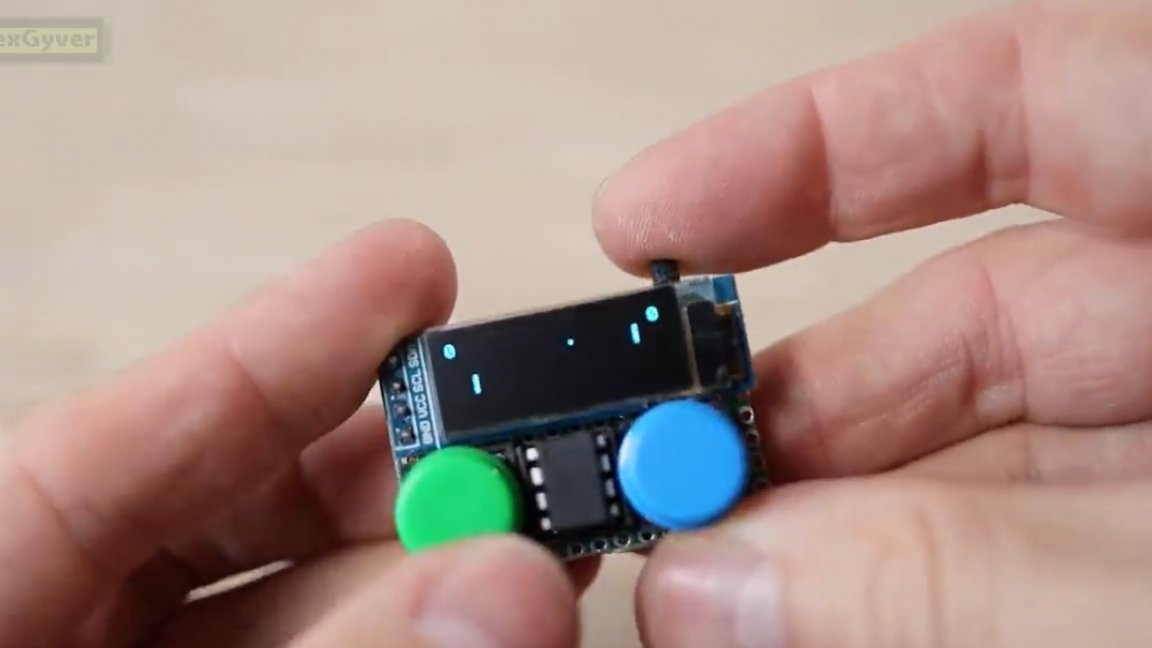
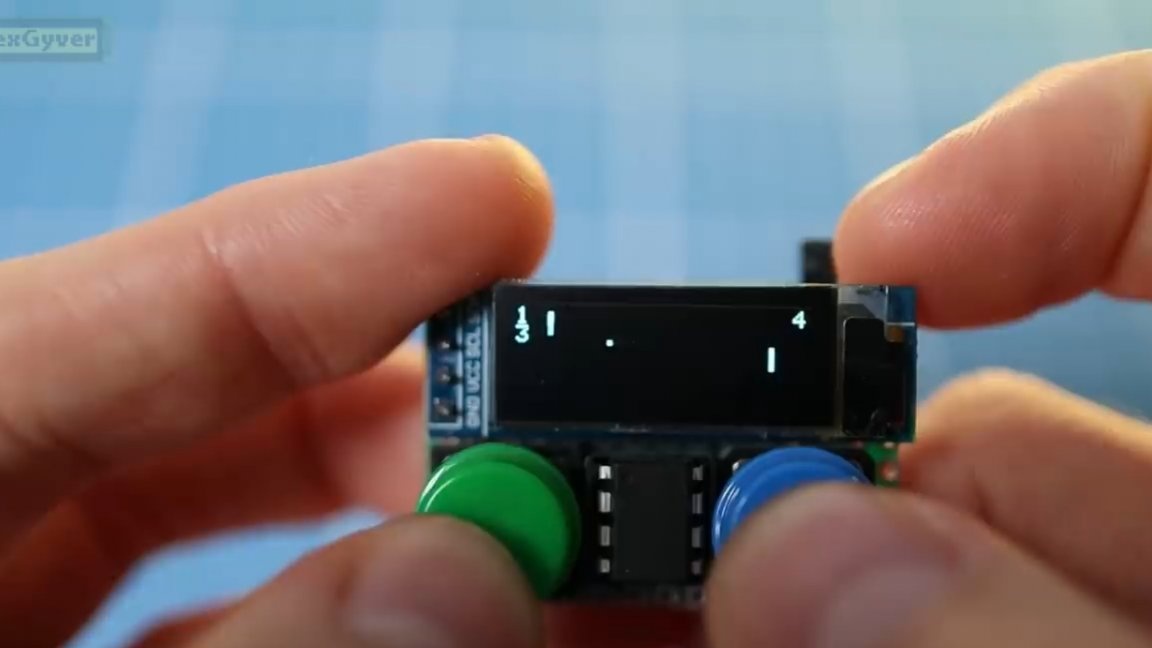
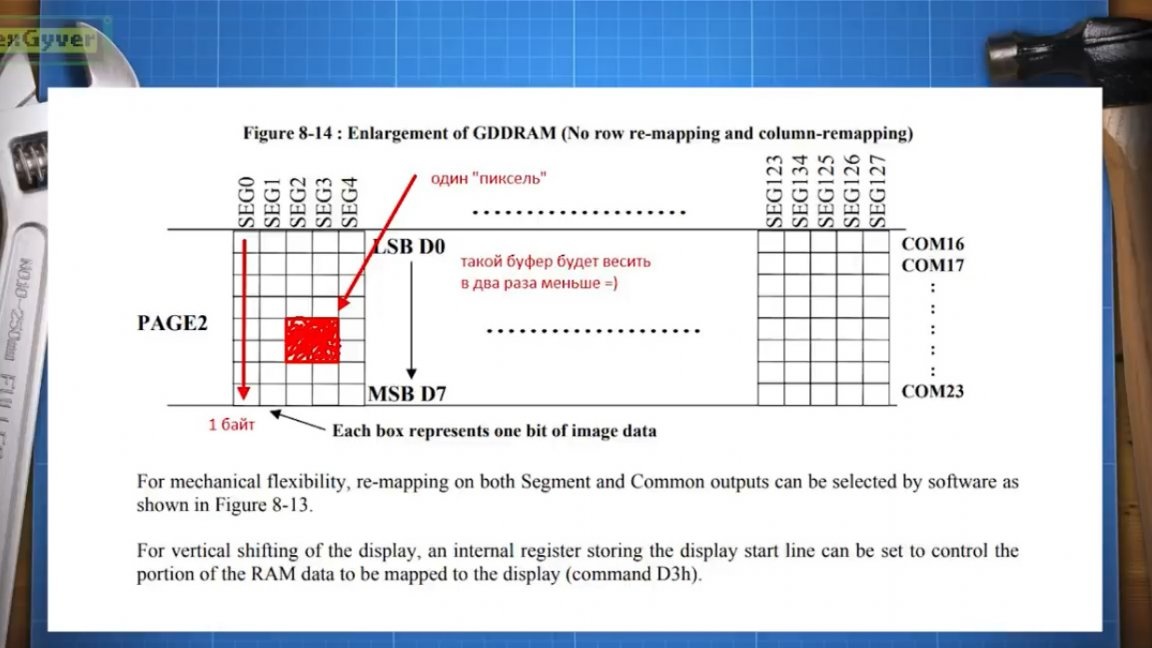
As you can see, it works! And now let's take a closer look at what we have in the firmware. ATtiny85 is a microcontroller with 512 bytes of RAM, which is very small. 99% of libraries for working with such a display use a buffer on the side of the microcontroller to correctly redraw the picture, because this display cannot read data from its own buffer, and it is there by the way.
The buffer for this display of 128 * 32 pixels will take 512 bytes, if we want to remember the state of each bit, that is, a pixel.
In addition to the buffer, we also need to store other data, so this option certainly does not fit in the memory of such a size.
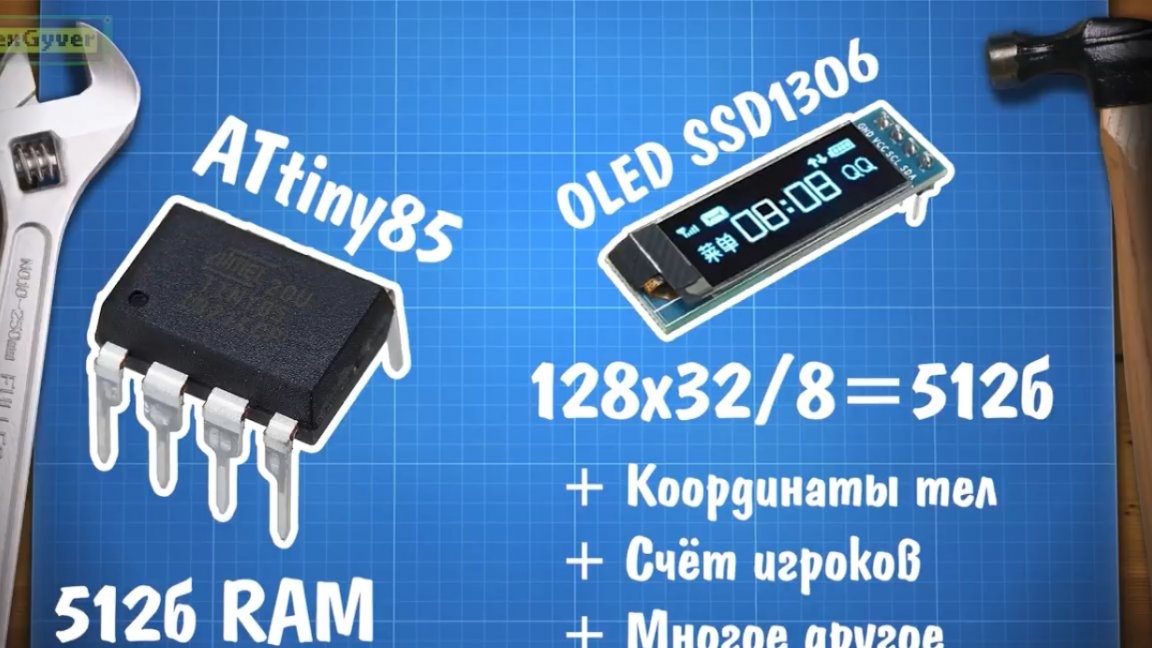
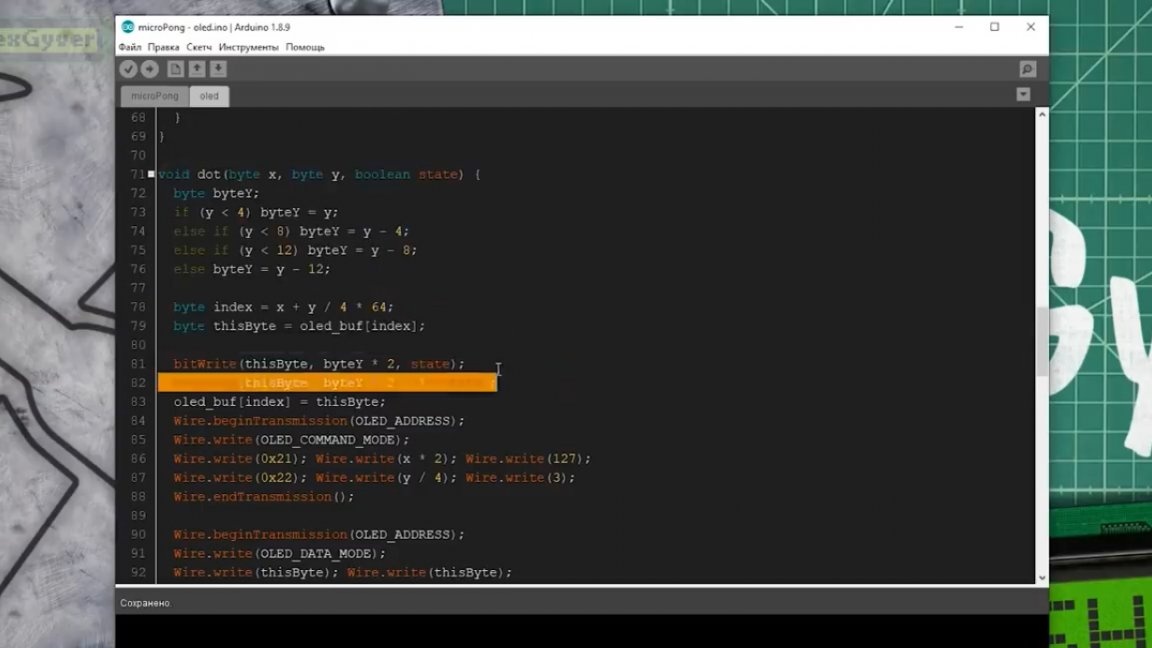
Therefore, it was decided to lower the display resolution to 64 * 16 pixels by buffering squares of 4 pixels.
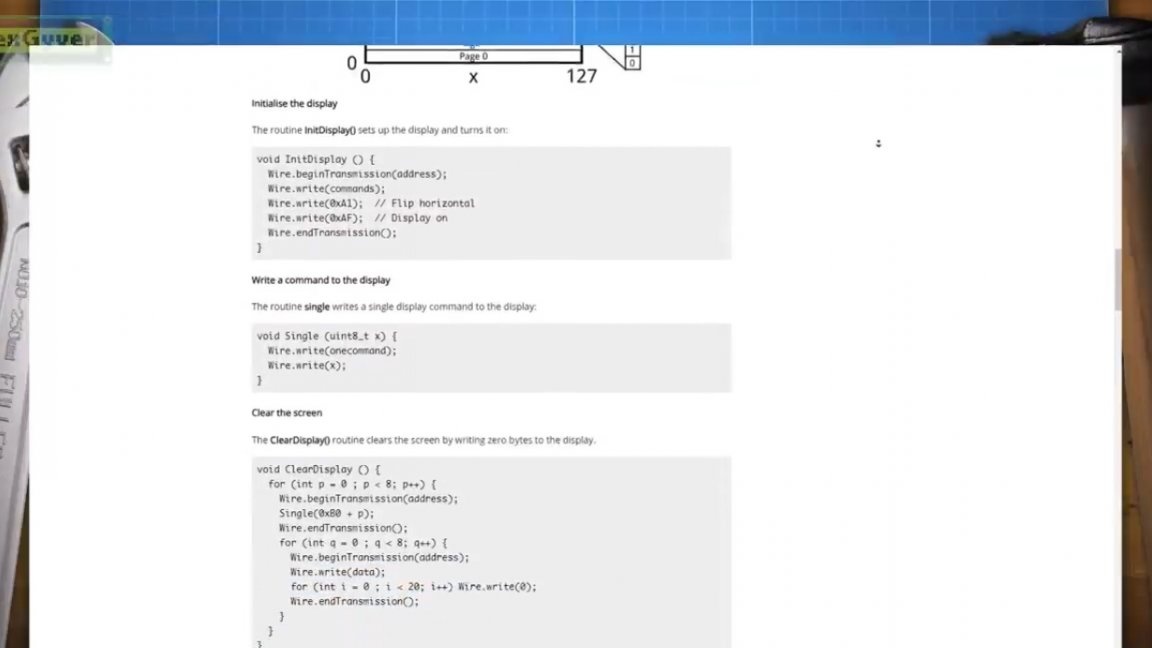
The author worked with this display directly and managed to successfully implement his idea. A sketch might come in handy for someone who wants to work with this display using Attiny.
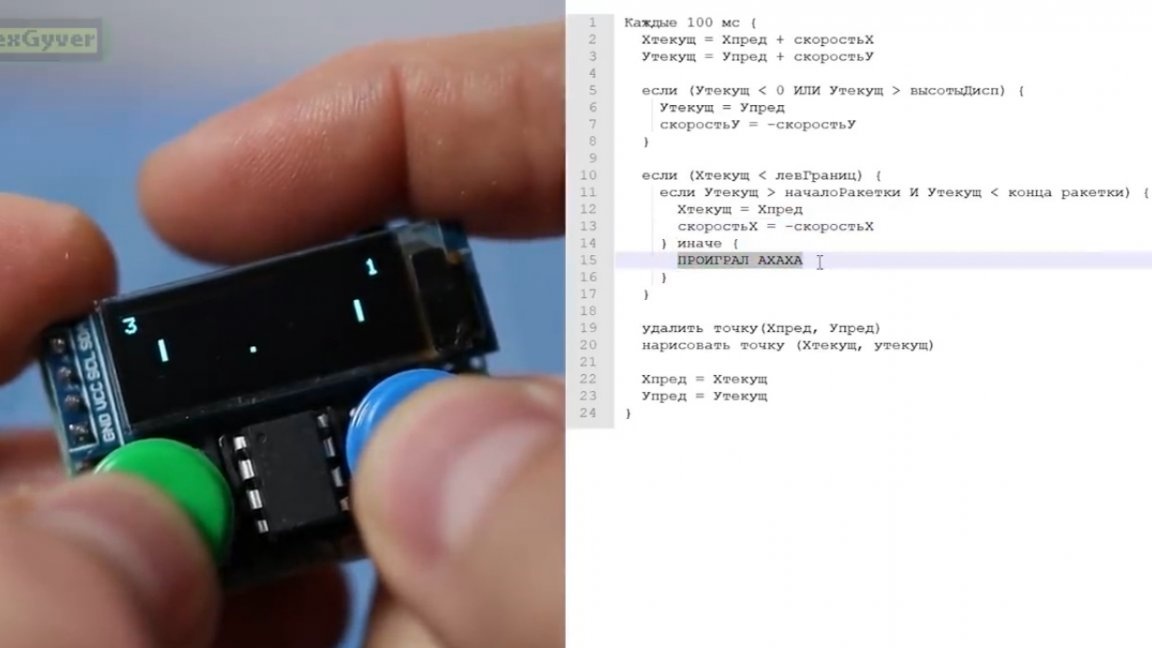
Now with regards to the game itself. It works quite simply. A ball moves on a separate timer, the movement consists in deleting a point with the same coordinates and adding a new point in the new coordinates.

Calculation of coordinates is simply the addition of velocity values to the coordinates in the display system.
When the ball goes beyond the horizontal walls, it simply bounces off them, changing the vertical component of the speed to the opposite, that is, with a minus sign (-).
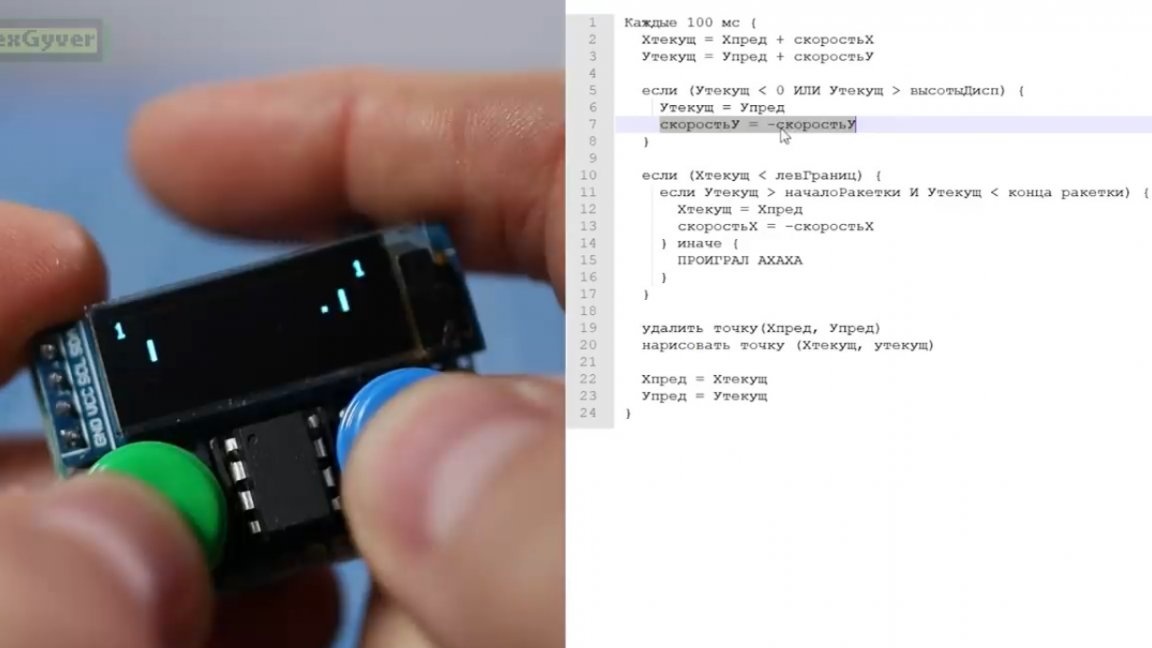
In addition, the program checks the vertical boundaries of the playing field, if the ball hit the racket (well, or whatever you call it correctly), then it bounces, and the bounce angle is random.
If the ball breaks the wall behind the racket, therefore, the player has lost the current round, and the opponent receives a point.
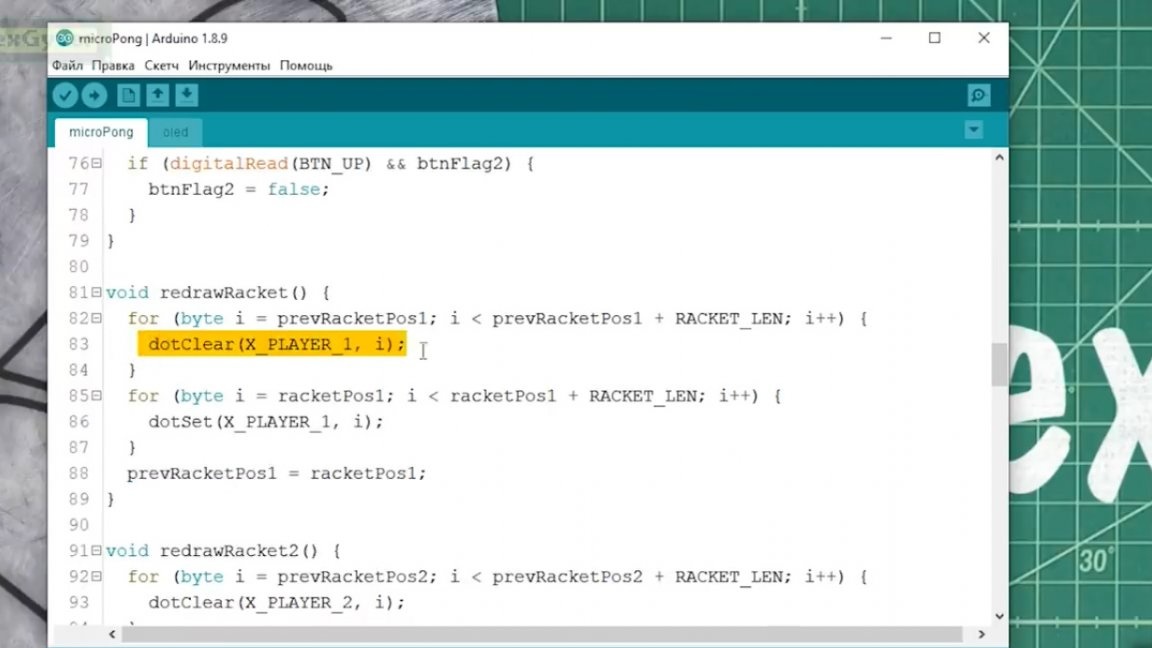
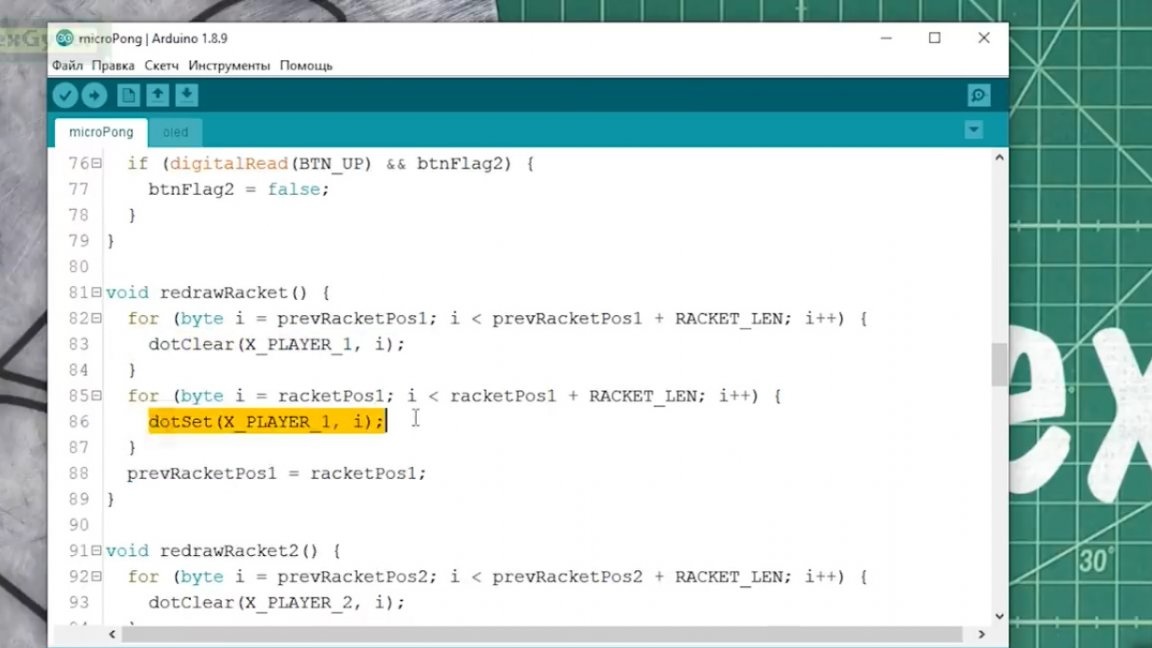
The movement of the player’s racket is implemented in the same way as the movement of the ball, that is, the old racket is erased and a new one is drawn, already with new coordinates. The coordinates change when you click on the button.
Thus, it turns out much faster than cleaning the entire display and rendering all the elements again.
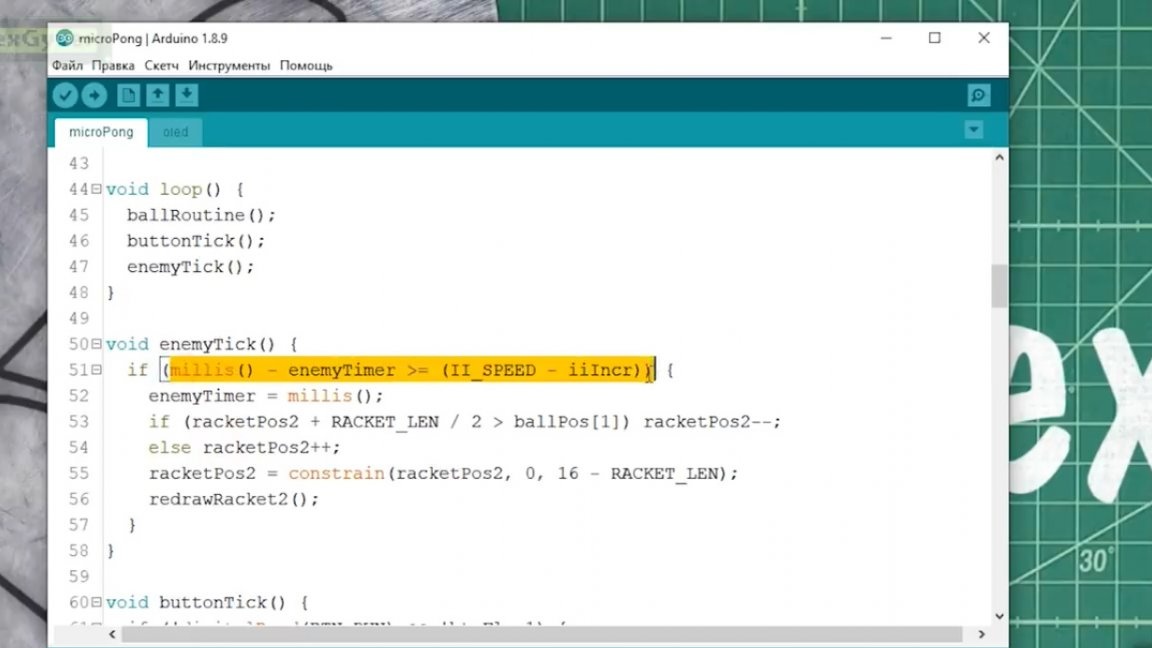
Now for the opponent’s racket. It is controlled by AI (artificial intelligence).
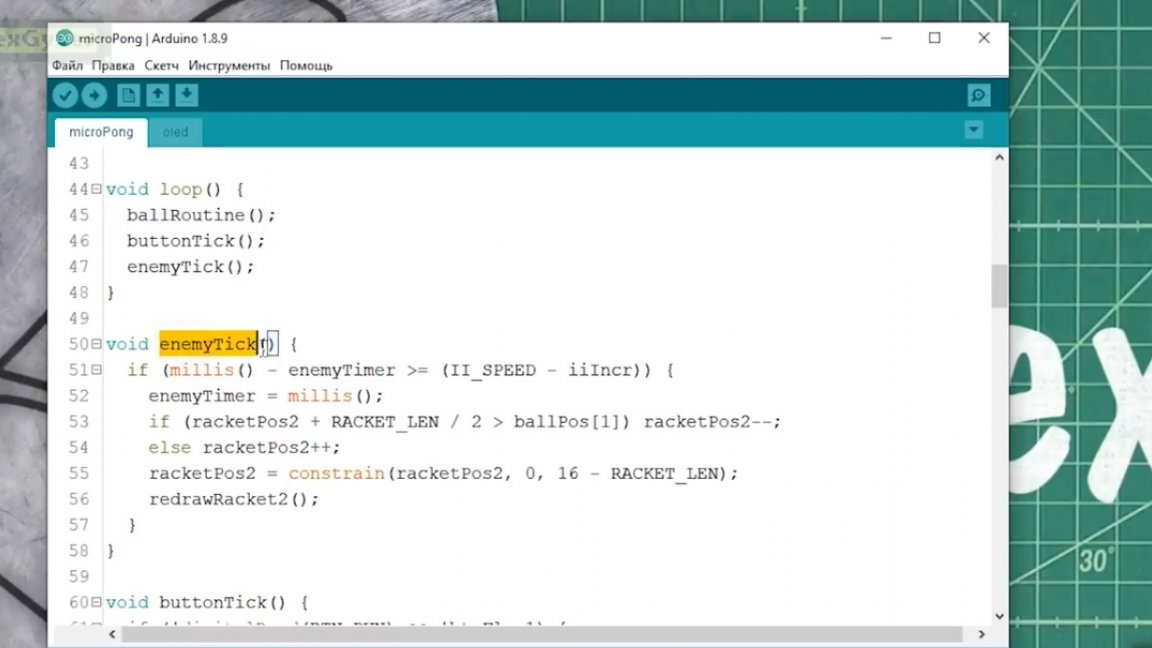
Well, artificial intelligence is loudly said of course, but nevertheless this intelligence does a very simple thing, namely, it makes the racket move in the direction where the ball is now, while trying to align its center along the vertical axis with the vertical coordinate of the ball. In order to really beat such an opponent, the author made him slow, that is, he calculates his next move again by the timer, and thus may not have time to catch the ball and thereby repel him.
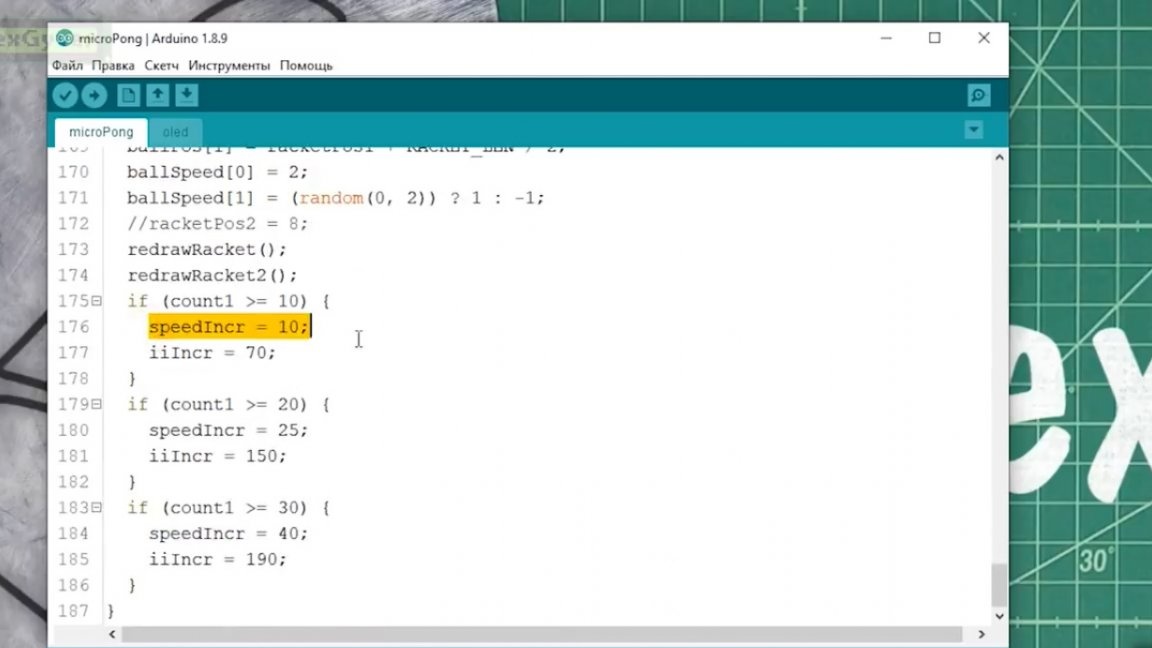
Also in the game implemented mechanics of increasing complexity. Every 10 points in favor of the player, the speed of the ball increases. Along with this, the reaction speed of the AI (opponent) is also growing.
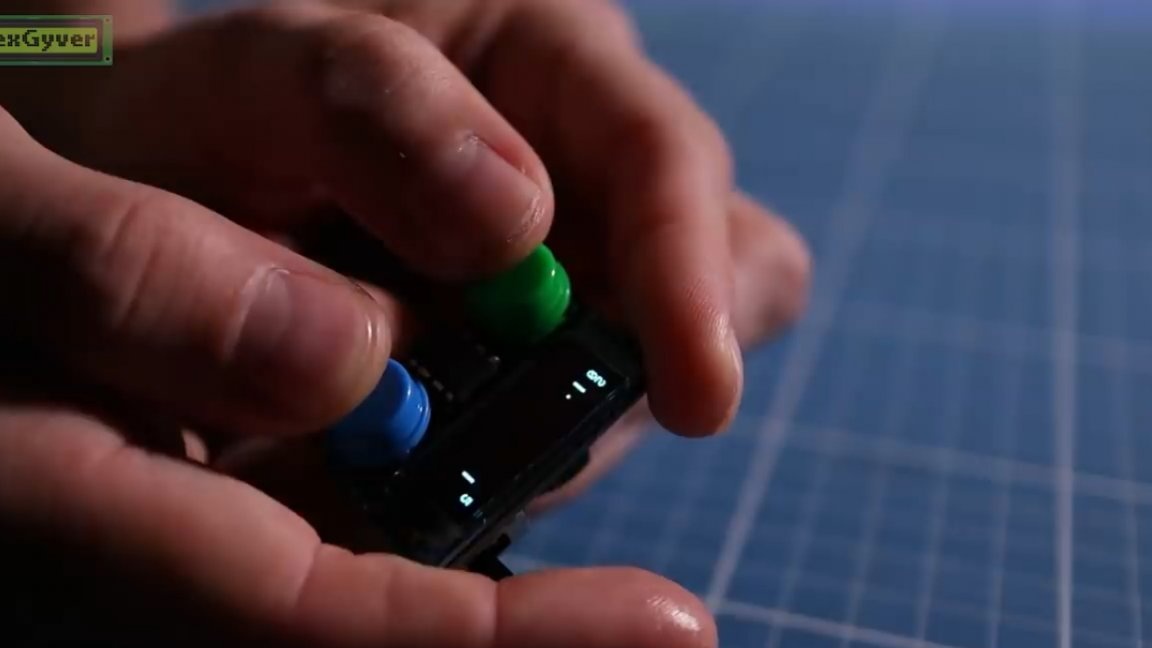
As a result, here is such a simple little Pong. Not for nothing, this video game was developed very first, because even a novice programmer can write it. But despite the apparent simplicity of the project, the fuss with the Chinese display took about 20 hours of pure time from the author. At the same time, he did not take into account the time spent writing the code of the game itself and other workflow related to debugging and setting up the circuit.
In this thing, the buzz itself is the assembly process, not the application.Developing games, even those simple ones, can be really quite interesting. Especially when you try to push them into a very tiny microcontroller. And when the Chinese display awaits you around the corner ...
That's all. Thank you for attention. See you soon!
Author's video: