
Greetings the inhabitants of our site!
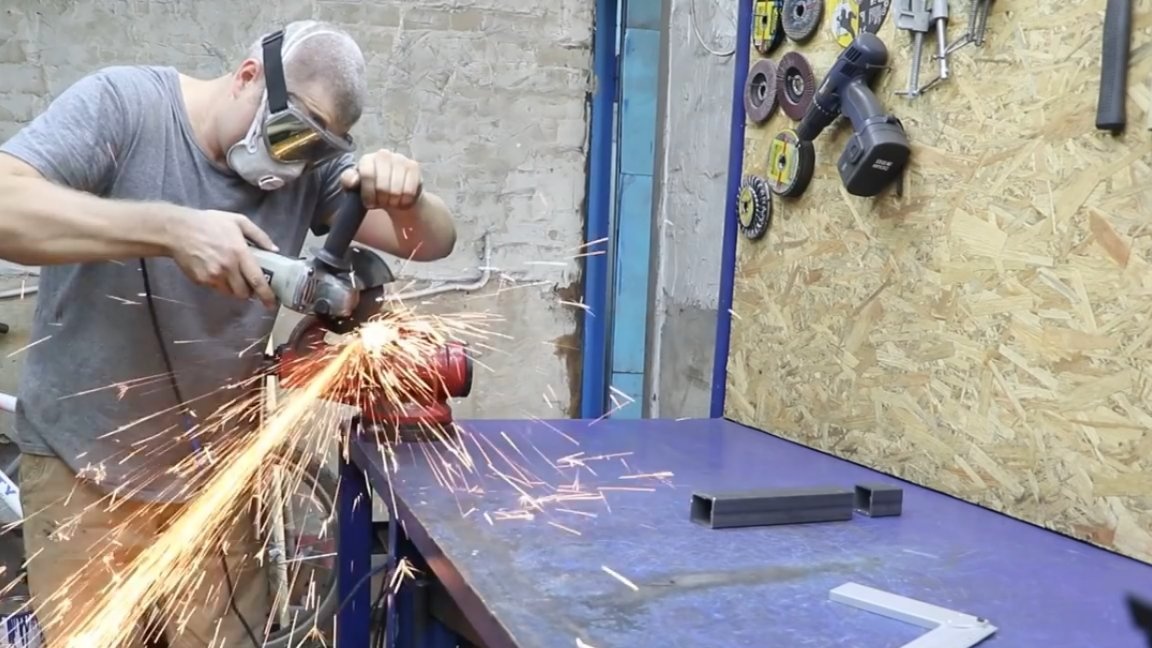
Many of you probably have a personal car and most likely you had to deal with the independent repair of your iron horse, on trifles, so to speak, without fanaticism. The author of the TeraFox YouTube channel is no exception.
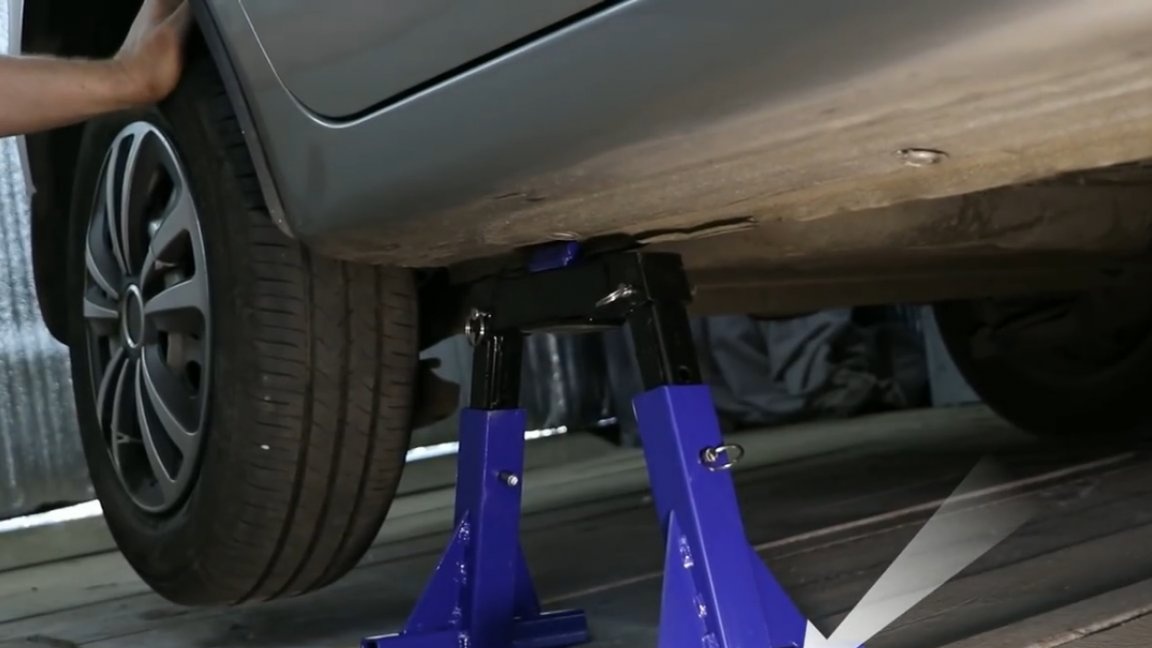
Hanging wheels for safety involves the installation of an emphasis under the car. This rule should not be neglected, and the simplest, most affordable and most importantly free way is a stump.

But after all, in the 21st century, we still live, I want something more modern, functional and no less reliable.
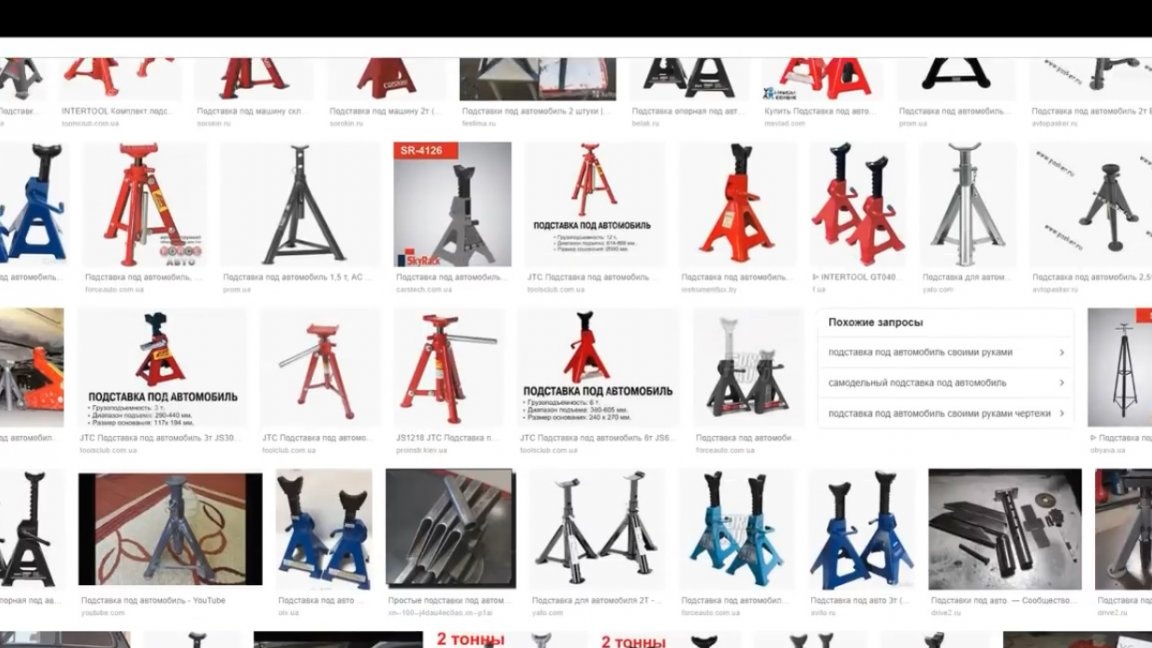
In rather long deliberation, the master understood that everything had long been thought up before him. It remains only to go online and choose the most suitable option.
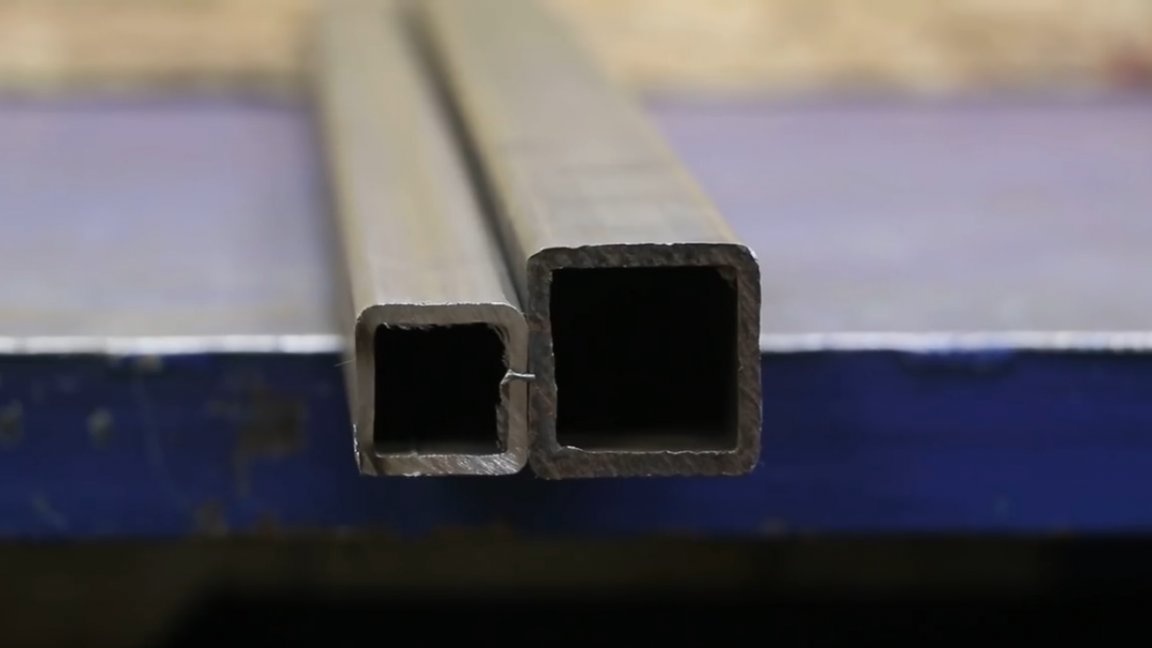
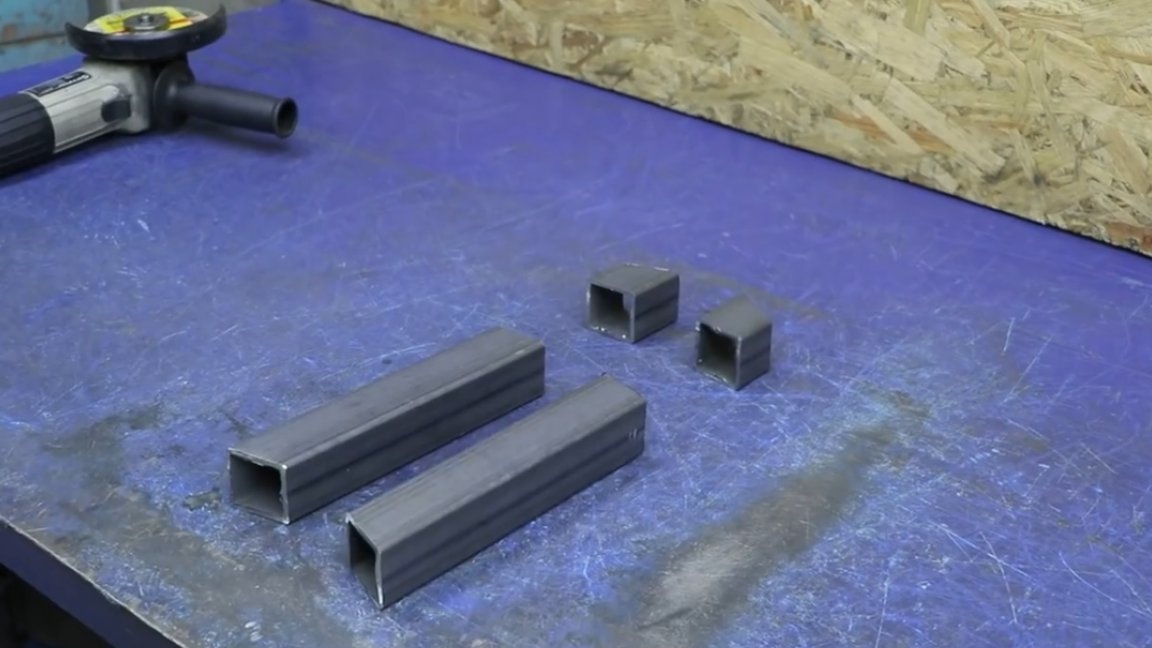
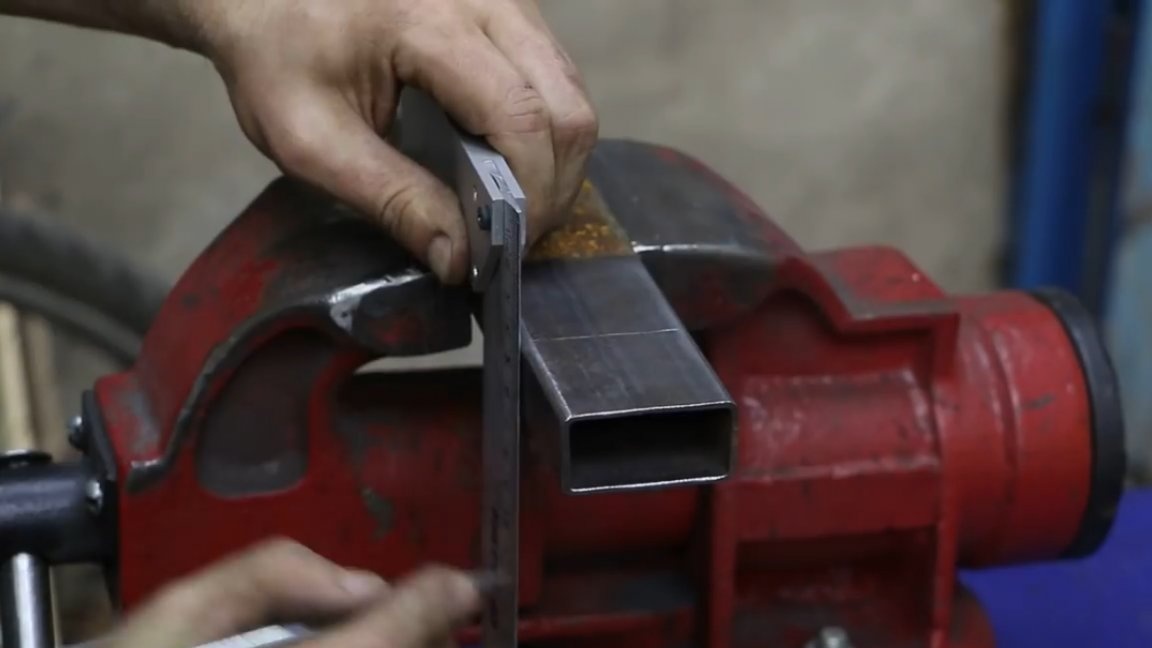
The choice was made, the material was purchased. For this homemade product we will need two square pipes 30 by 30 and 40 by 40, the wall thickness is 3mm.
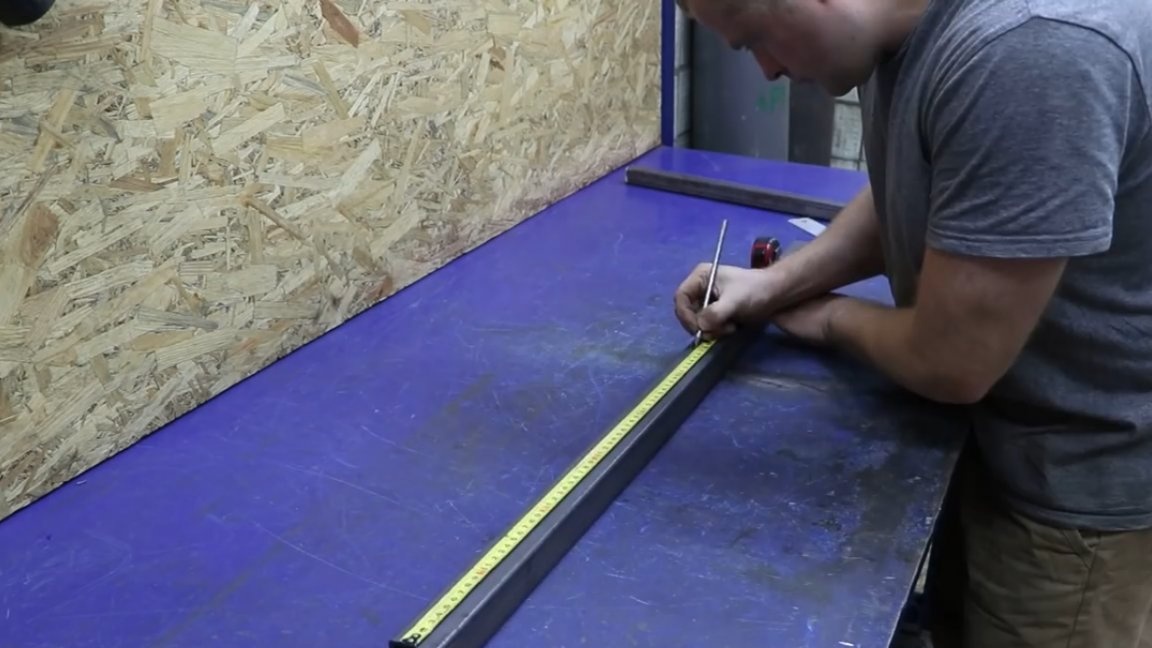
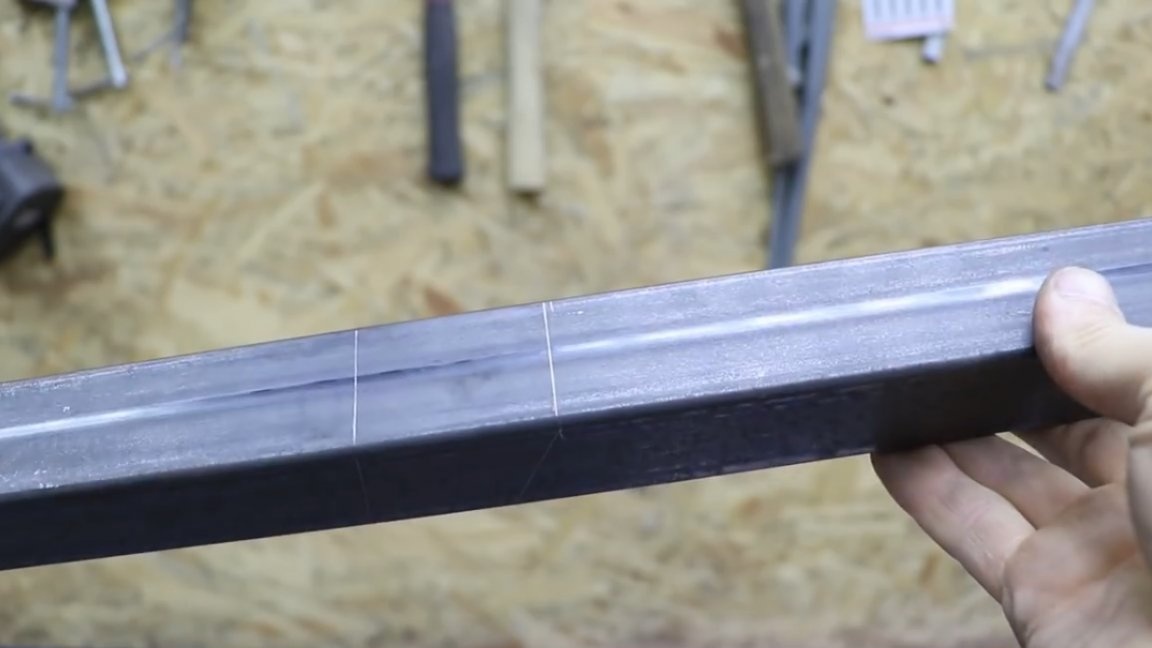
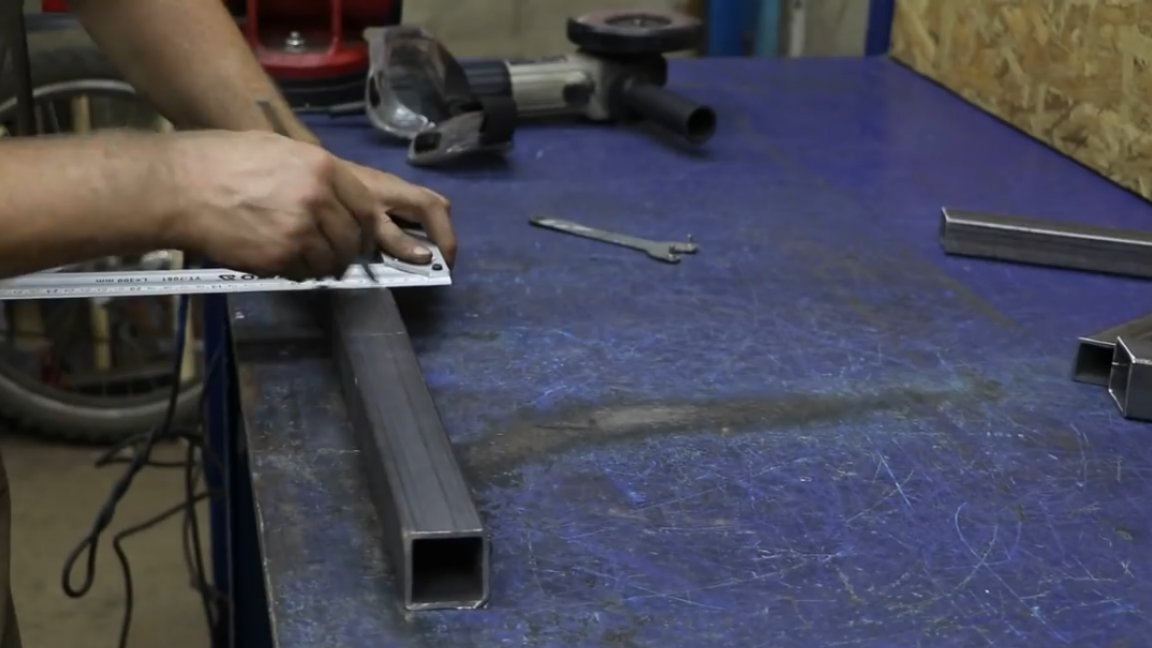
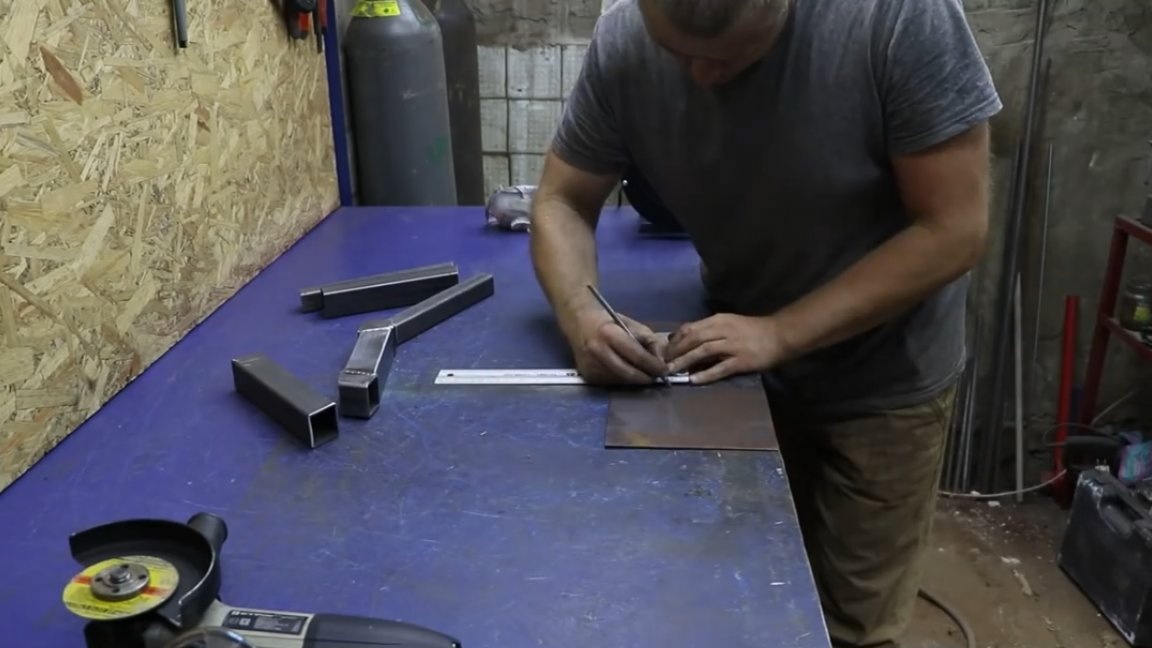
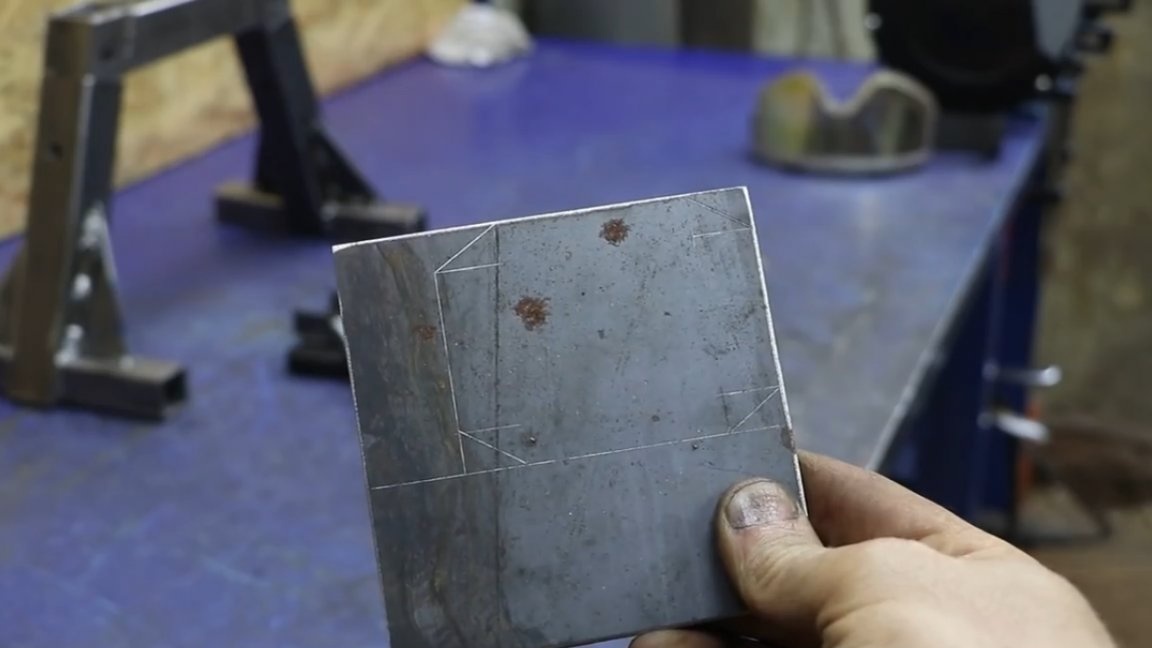
Since there are no specific sizes, the author decides to do everything approximately, by eye, so to speak. The first step is to mark the fortieth pipe. After we cut the necessary total length for 2 workpieces, which in turn will also have to be cut at an angle, but closer to the edge.
Details are ready and absolutely symmetrical to each other.
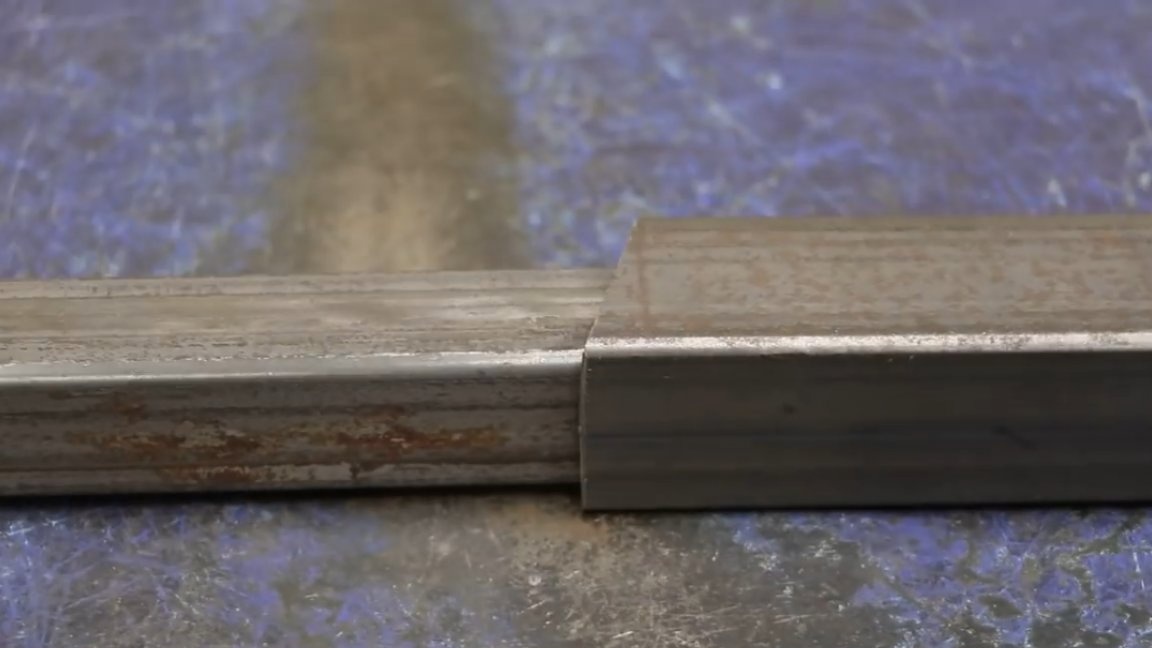
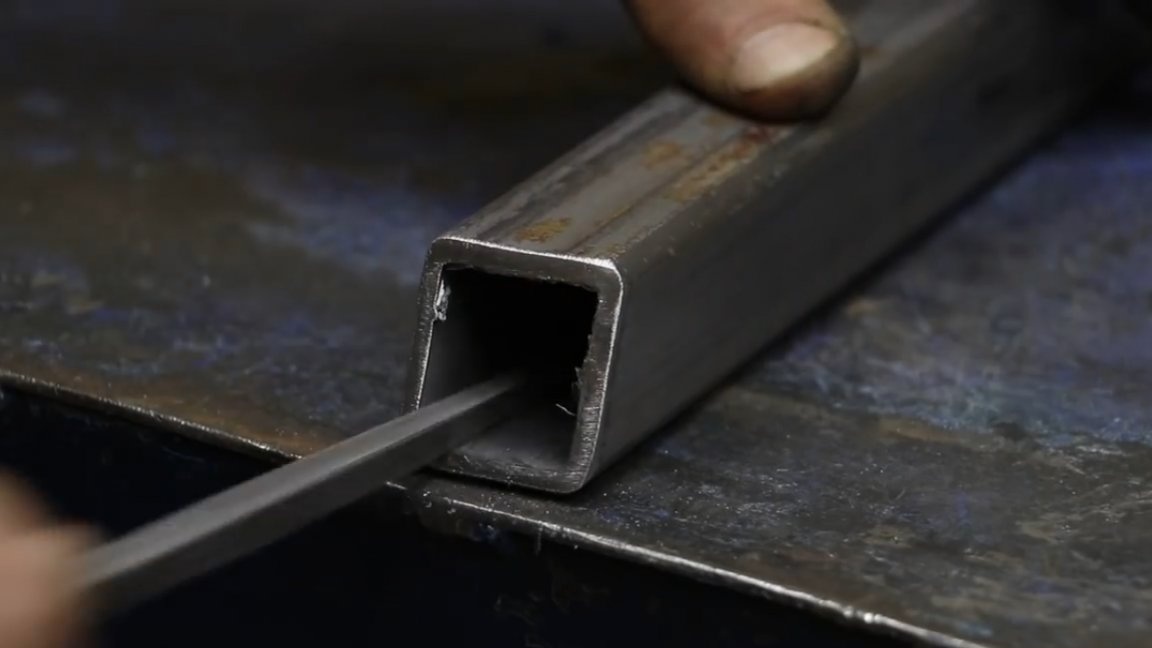
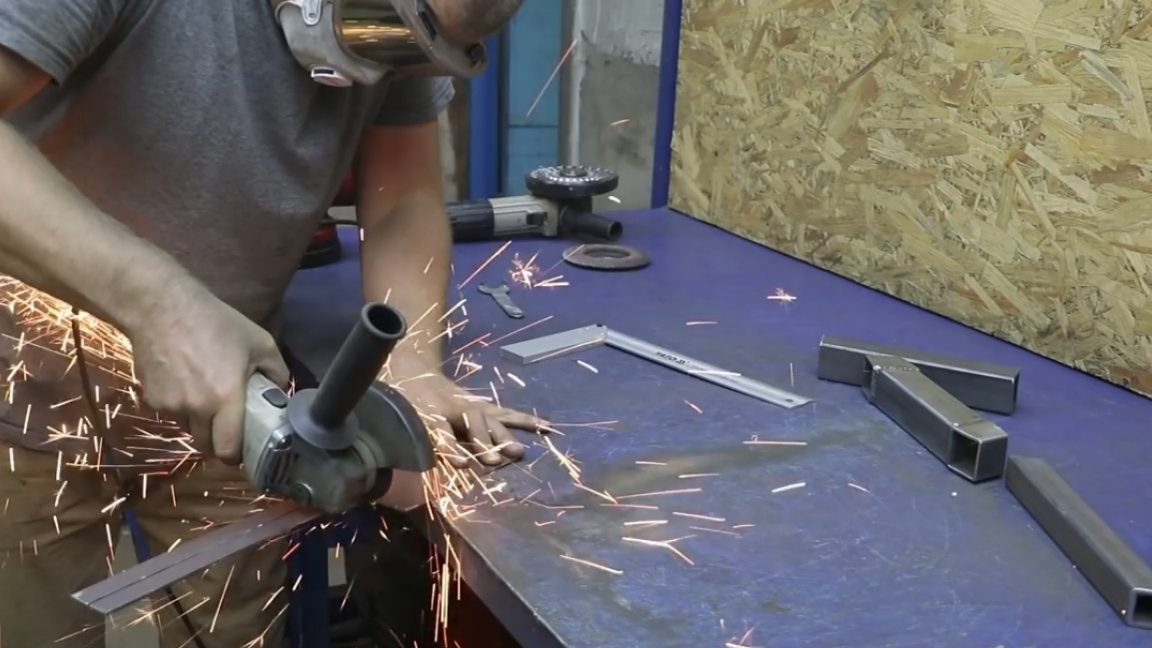
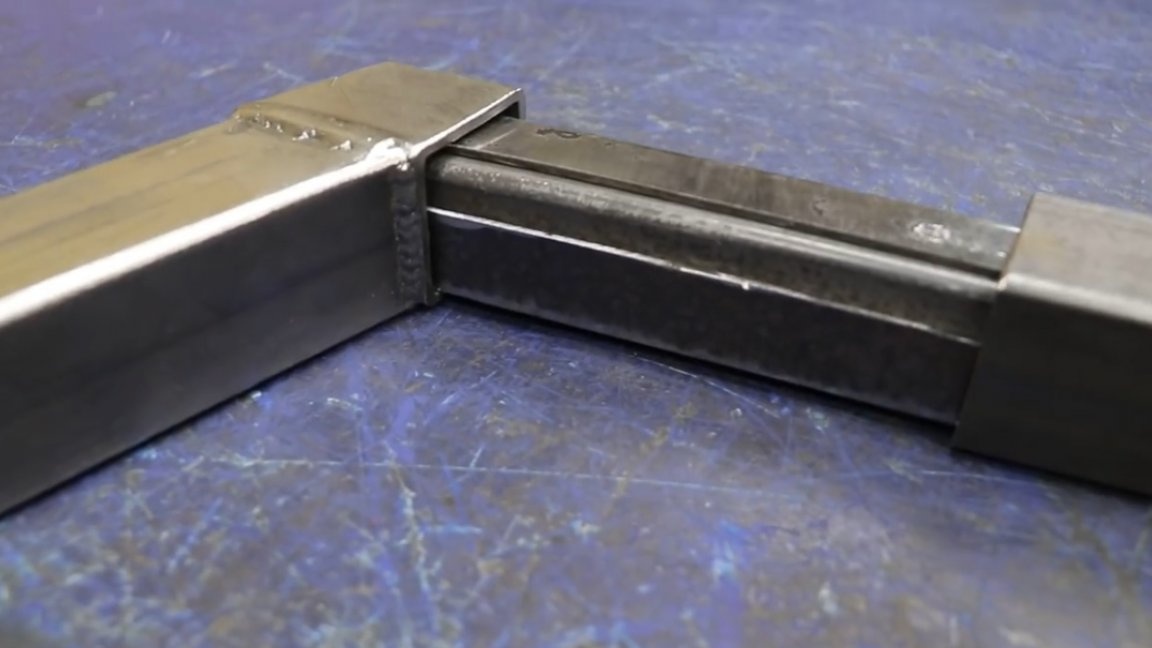
And now the turn of the 30th pipe has come. It perfectly enters and leaves the fortieth, therefore, the fortieth pipe can be used as a template for marking the thirtieth pipe and cut off excess with a grinder.
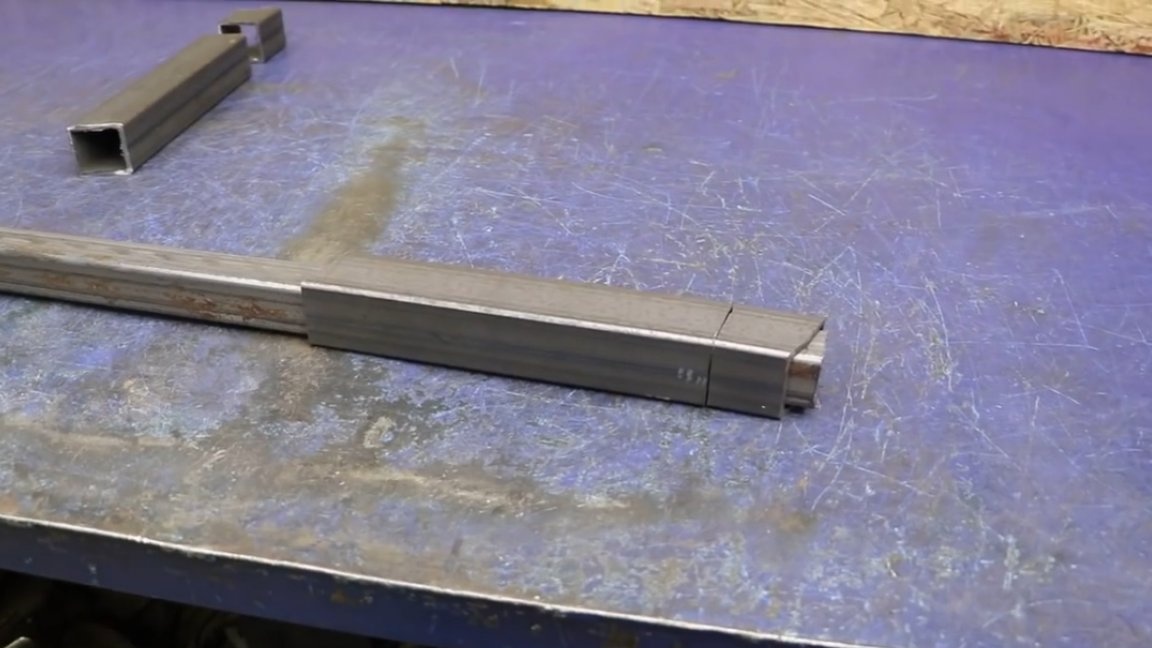
Of the 30 pipes, 2 parts were also received. Now back to the 40th pipe. We need another part with the edges at an angle.

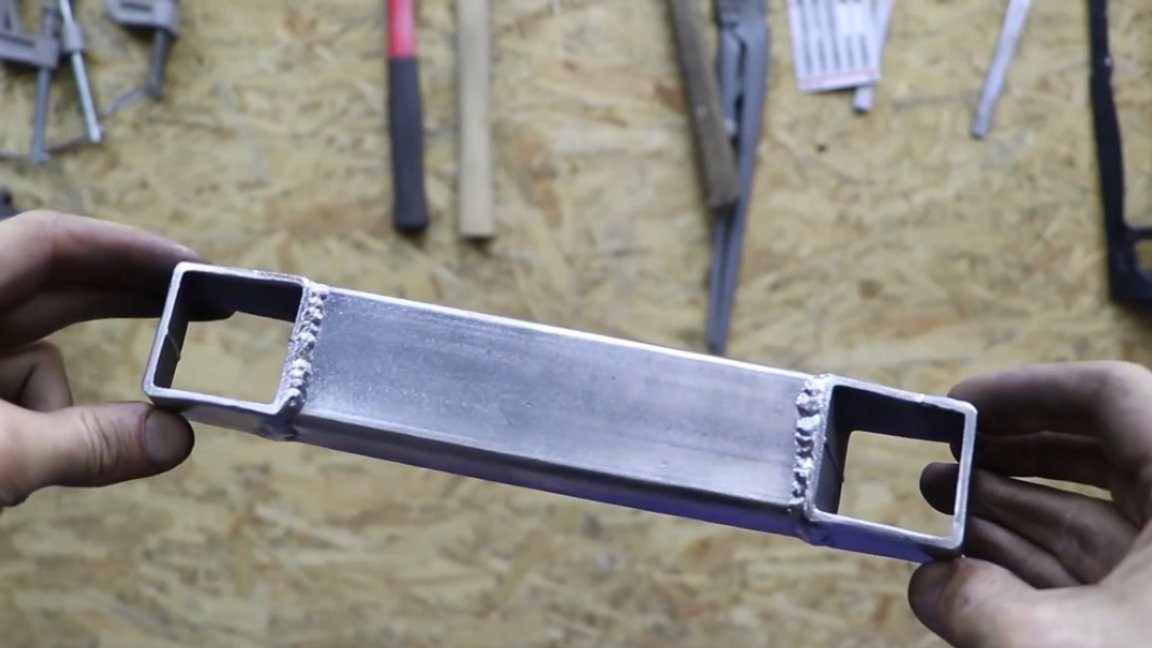
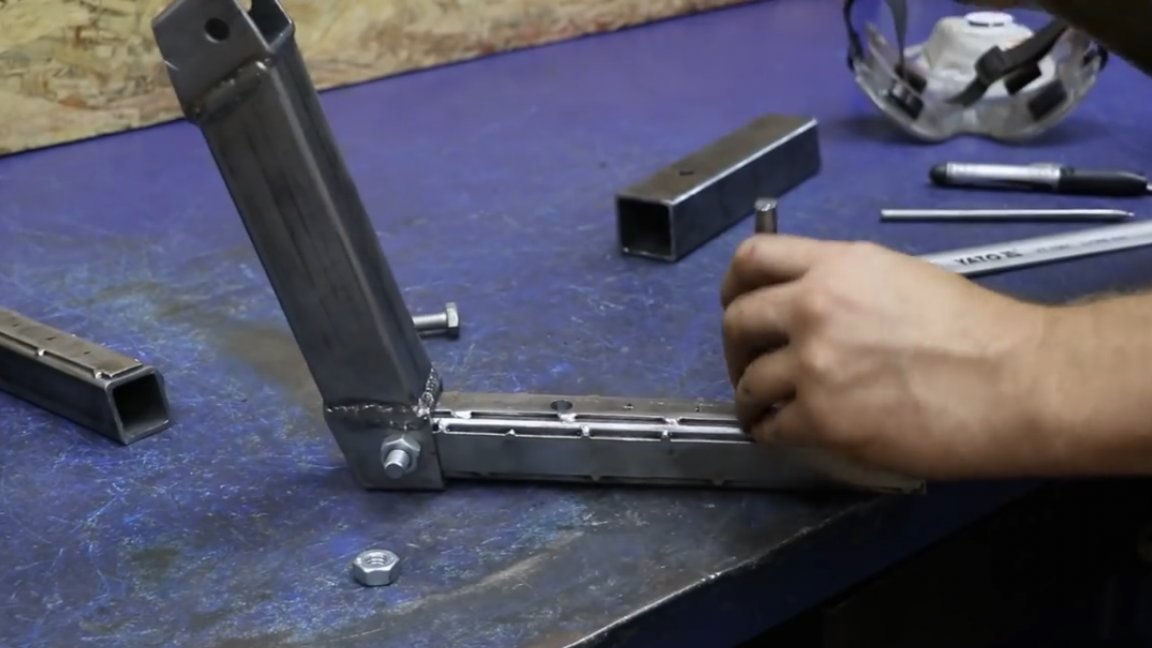
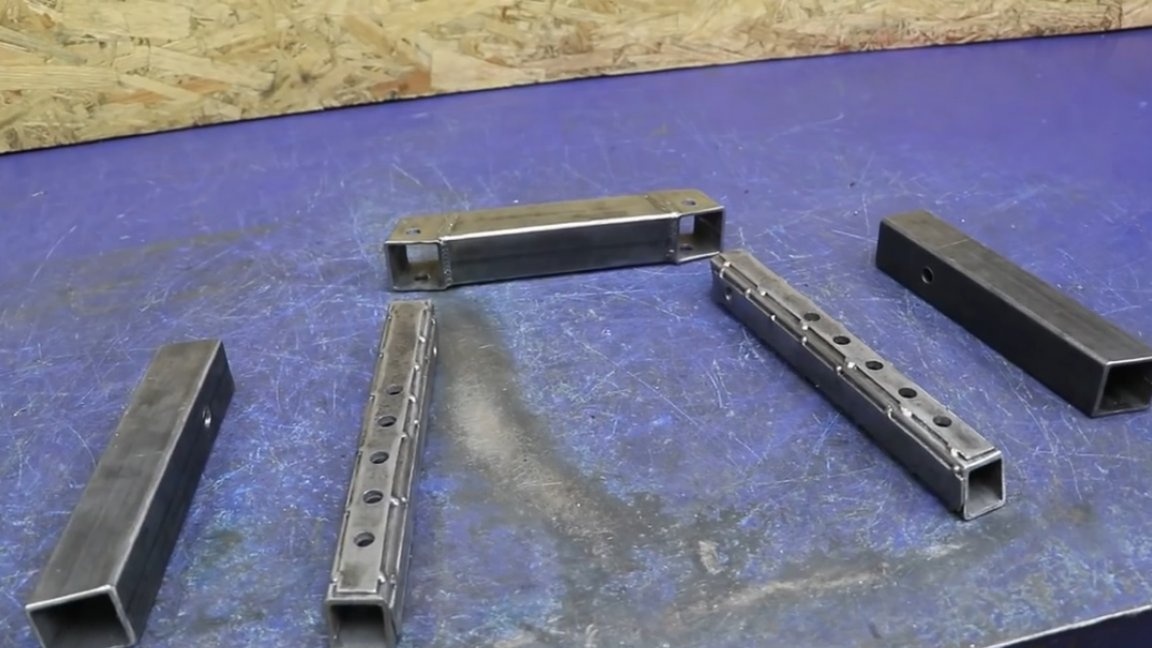
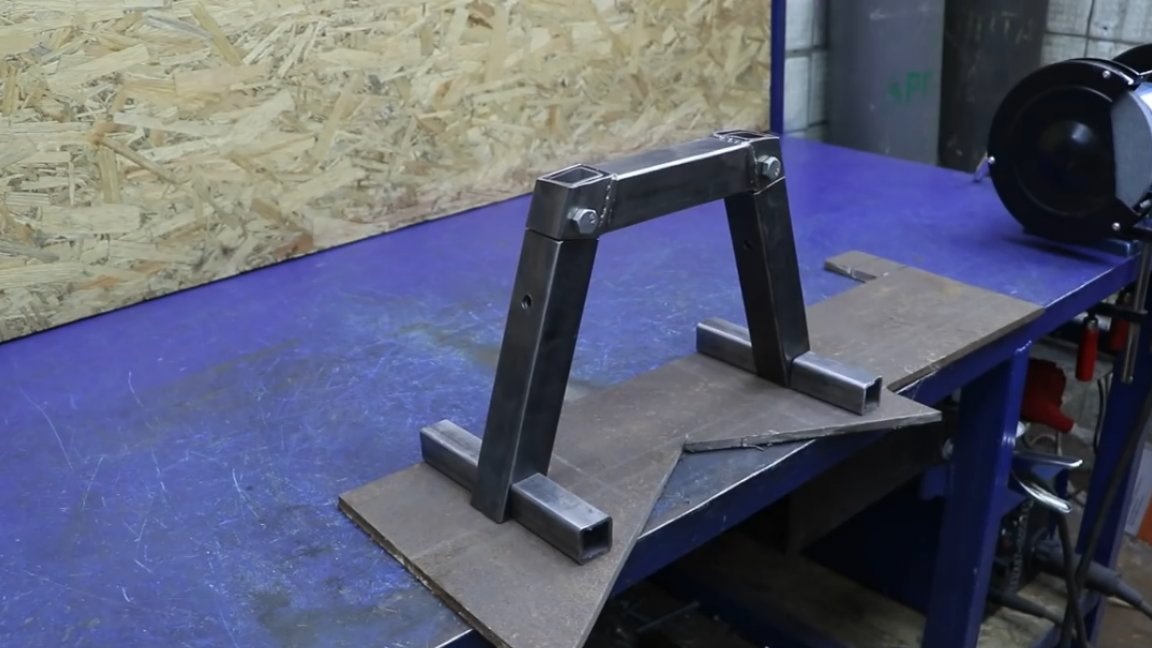
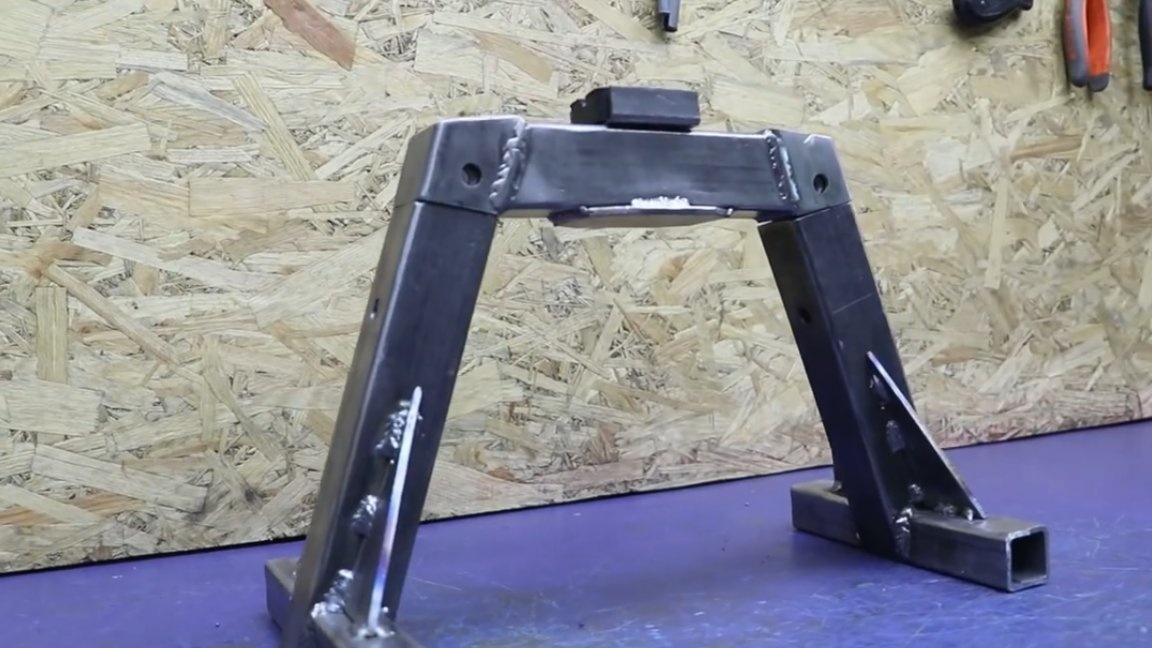
Here is what we have at this stage.

It turns out a kind of house, the cross member will need to be welded to the upper segments along the edges. We’ll do it now.
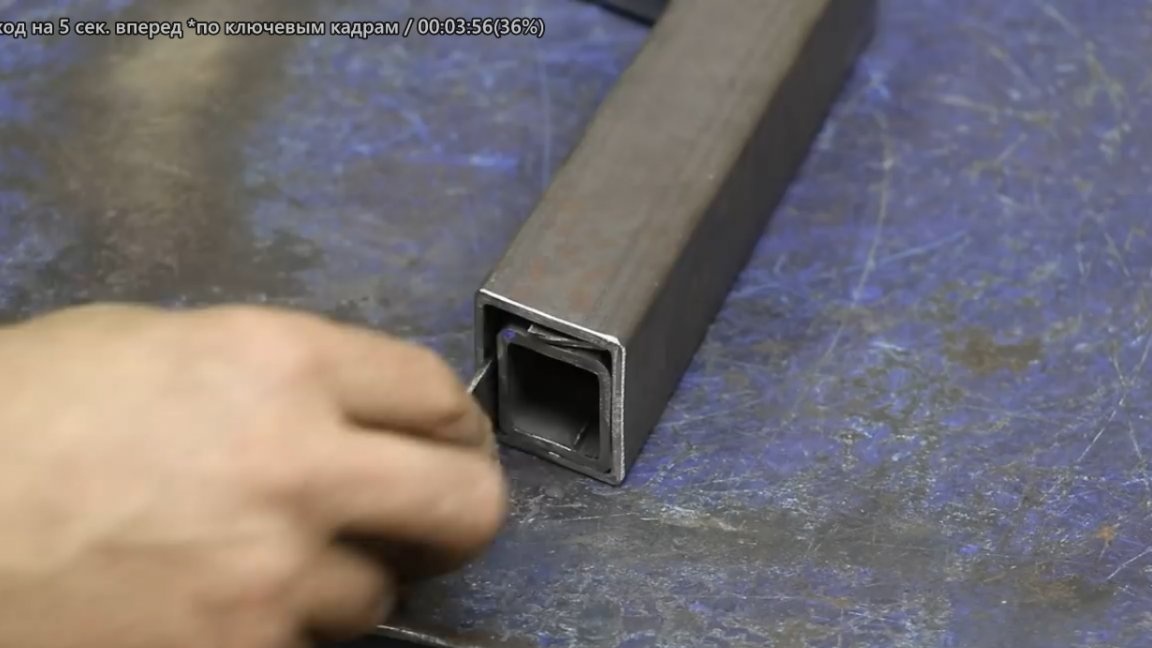
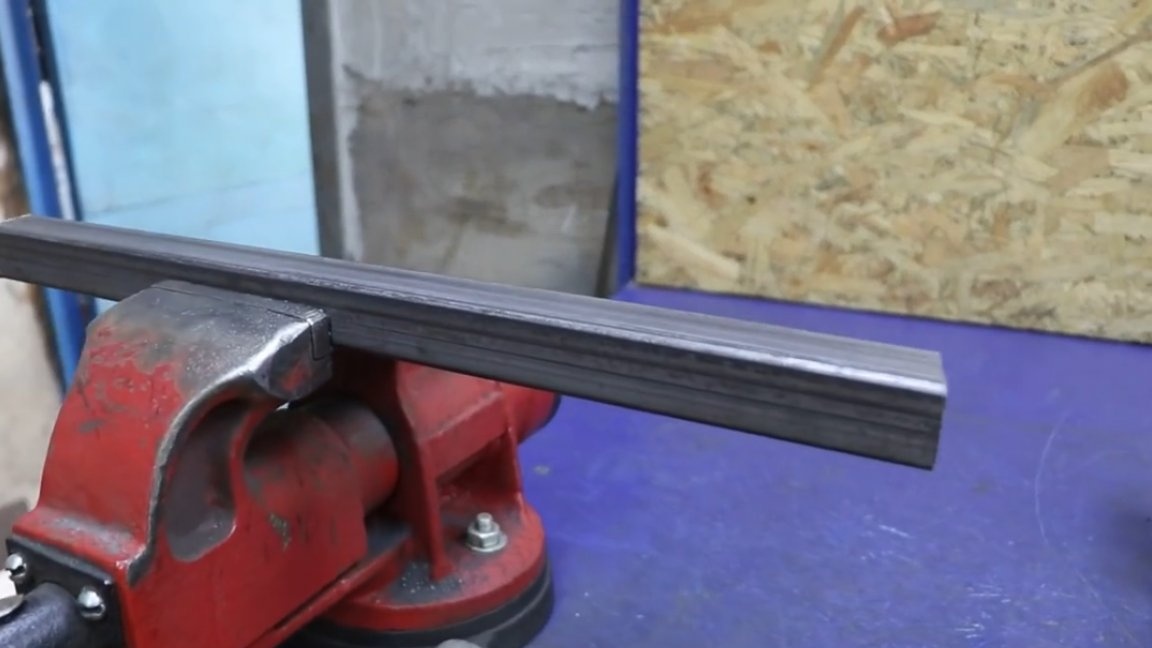
And everything would be fine, but there is a very small nuance in the form of a 4mm gap between the pipes. This is too much, 2mm wherever it goes, you need to fix it.

The author found a 2 mm metal plate. From it, it was decided to make spacers in the form of strips. This is the only way to reduce the gap, although if you initially take the 40th and 35th pipes with a wall thickness of 2mm, then this point could be eliminated. But still the 35th pipe is more difficult to buy, it is not sold everywhere, plus a 3mm wall is still more impressive than 2mm, so it’s as it is.
The clearance is reduced, the stroke is free, which is what was required to be obtained.
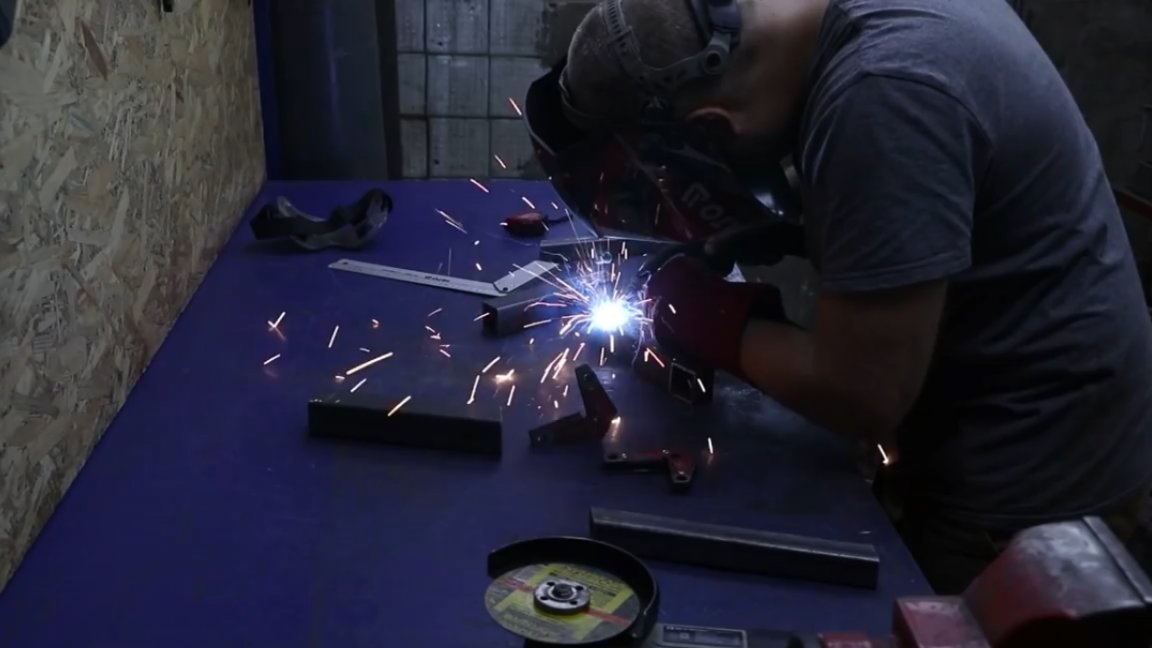
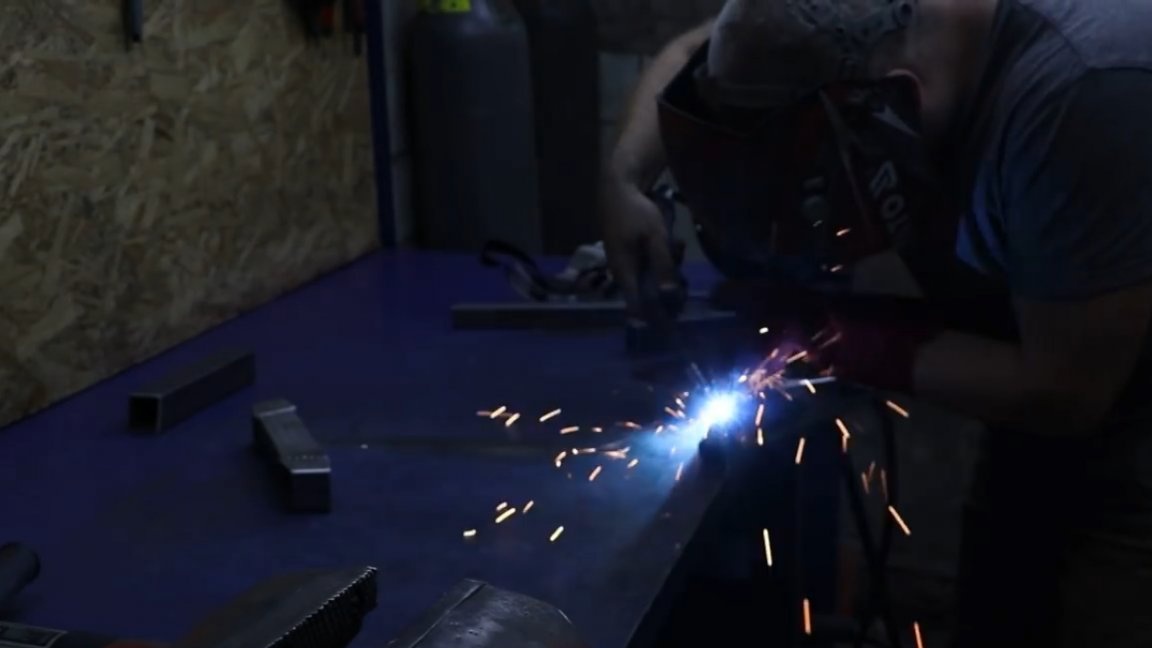
Next, the strips must be carefully welded with dots to the pipes.
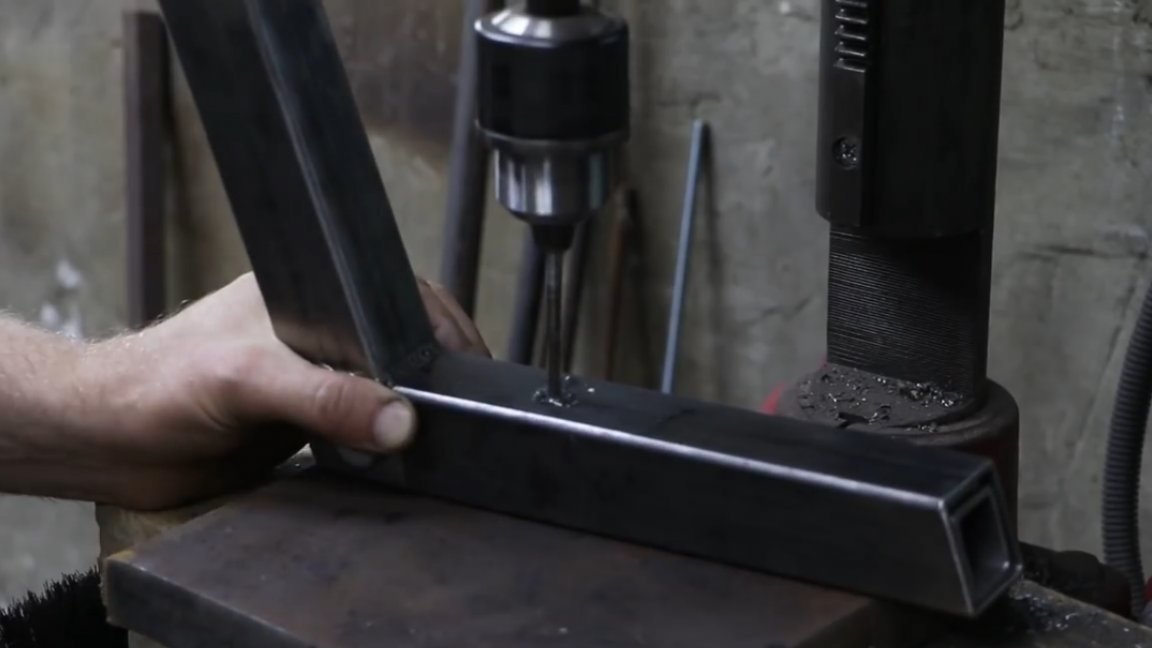
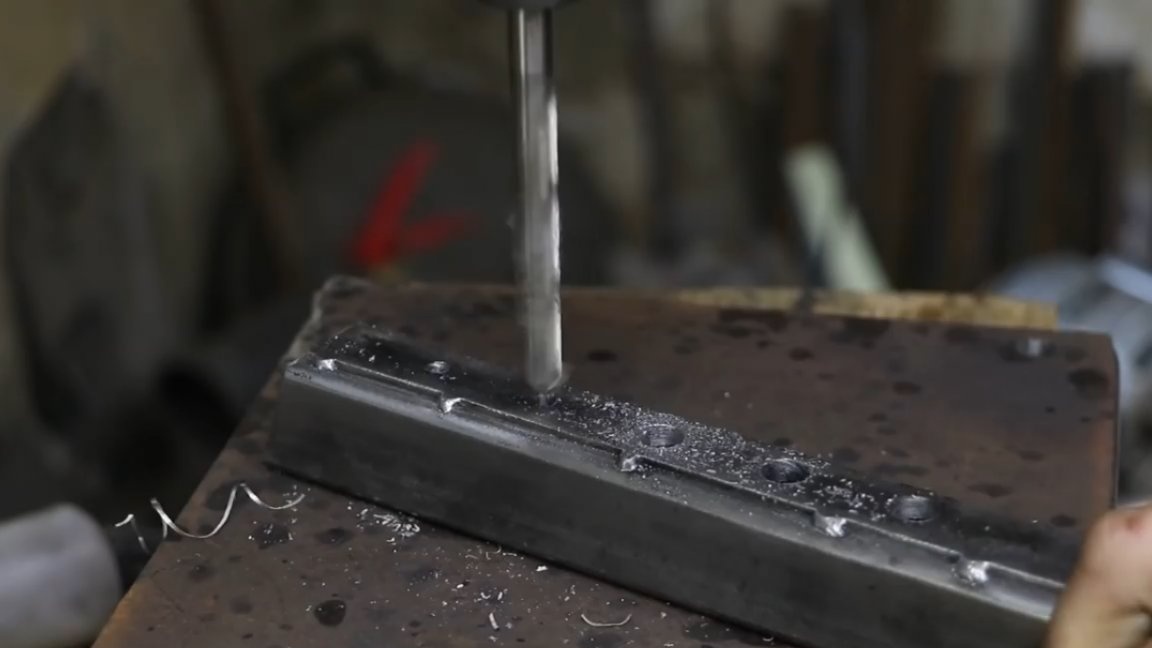
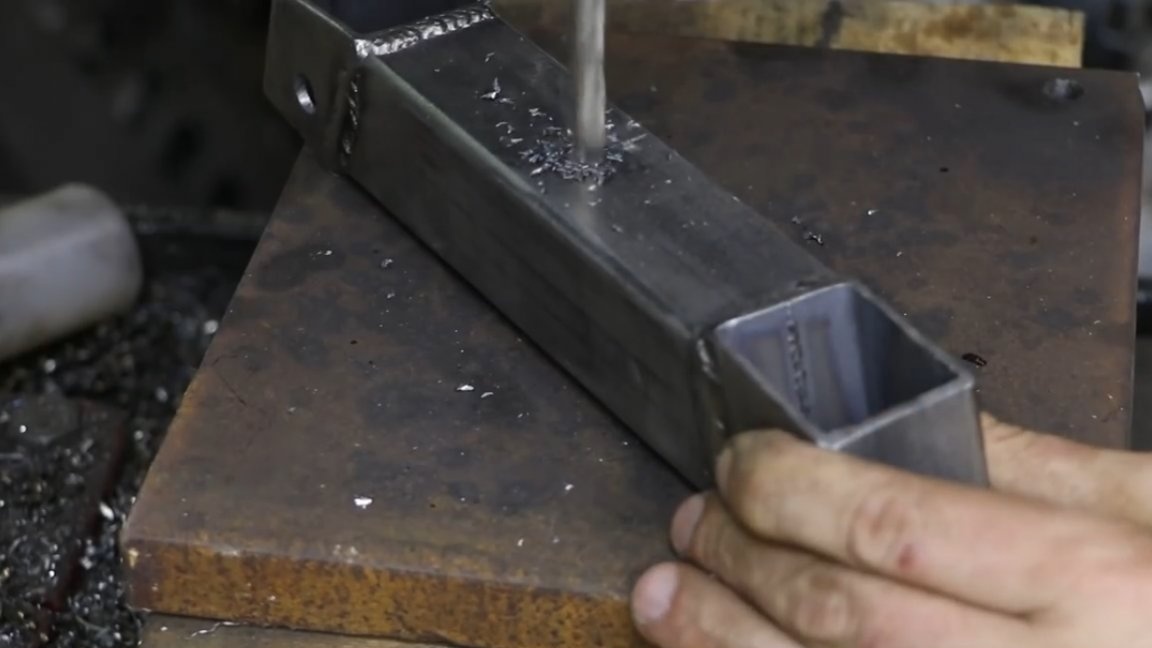
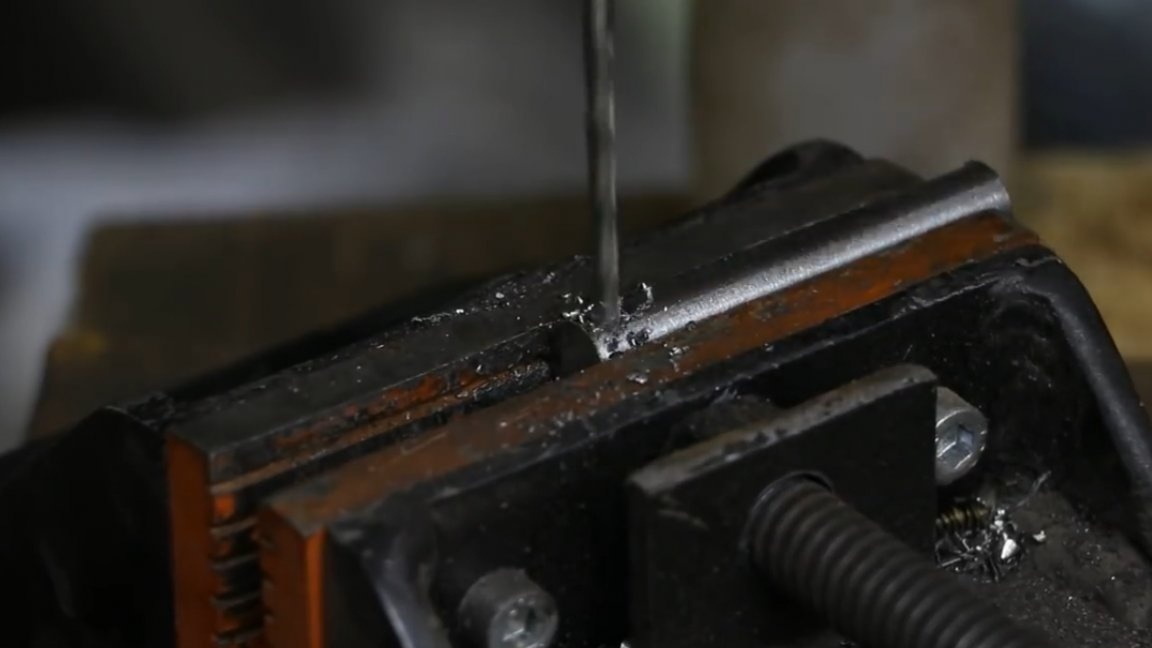
Using a core, mark future holes along the edges and drill, starting with a small diameter. For matching holes between each other we hold the pipe in the pipe. We finish drilling with the tenth diameter of the drill.
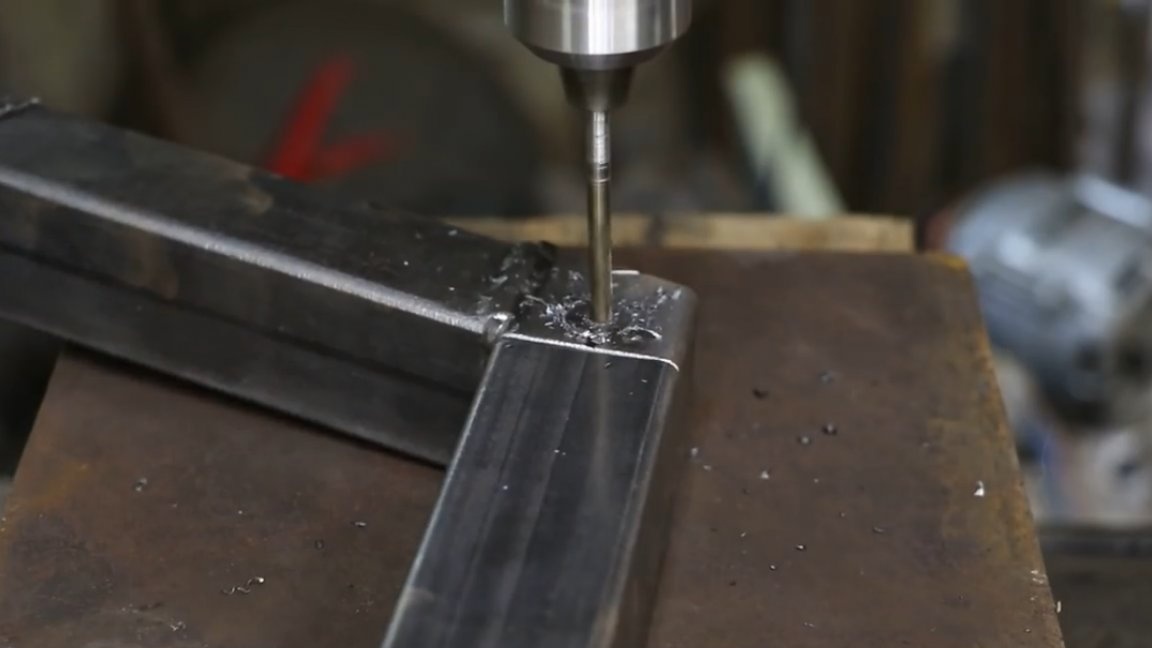
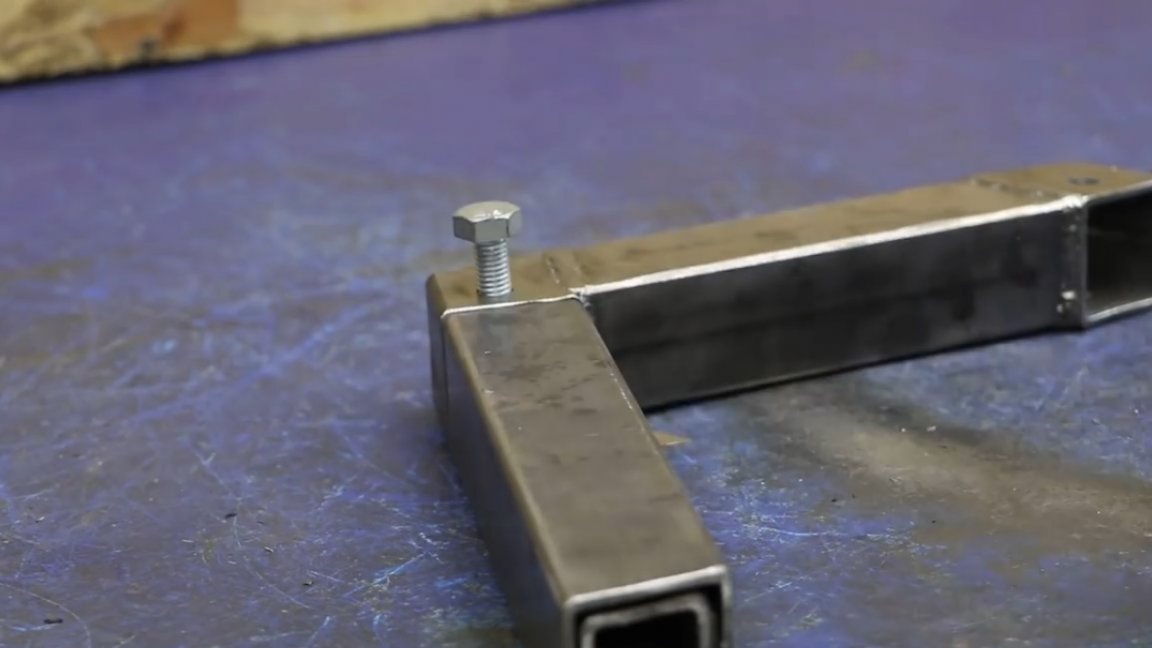
A check with a bolt shows that the idea was a success, the coincidence is clear.
According to exactly the same principle, it is necessary to make holes in the rack. And on the opposite rack absolutely the same manipulations.
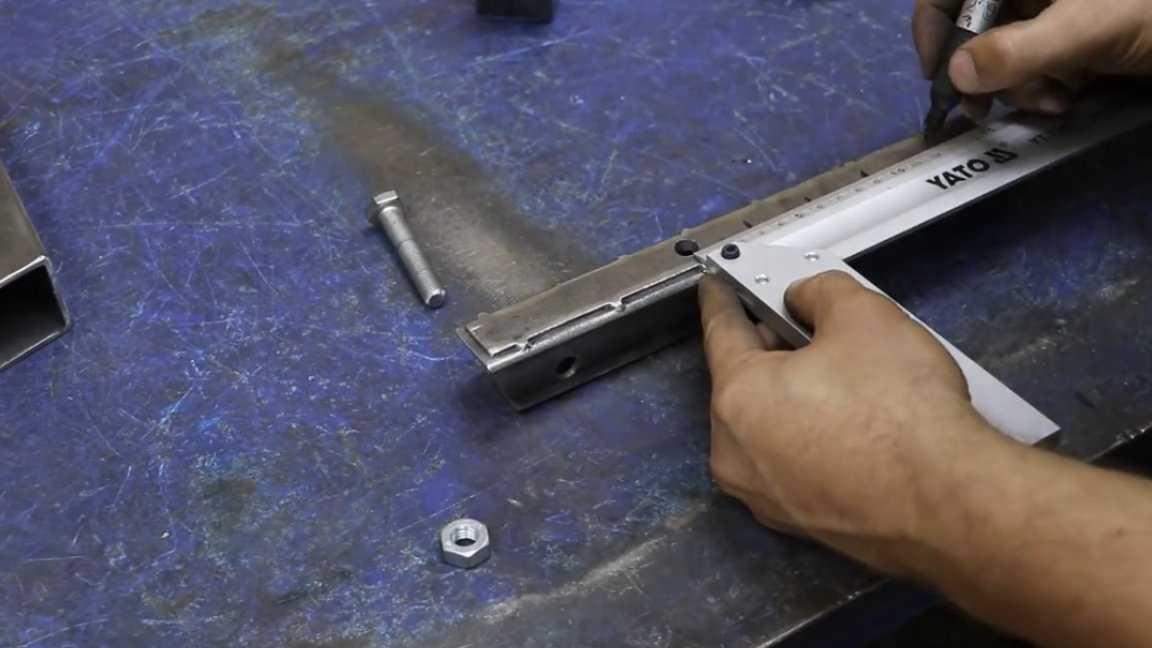
So far, everything is going according to plan. Next, we disassemble the workpieces into parts and proceed to the marking on the inner guide racks, starting from the top hole by 30 mm, followed by repetition. In total, 4 such holes must be drilled.
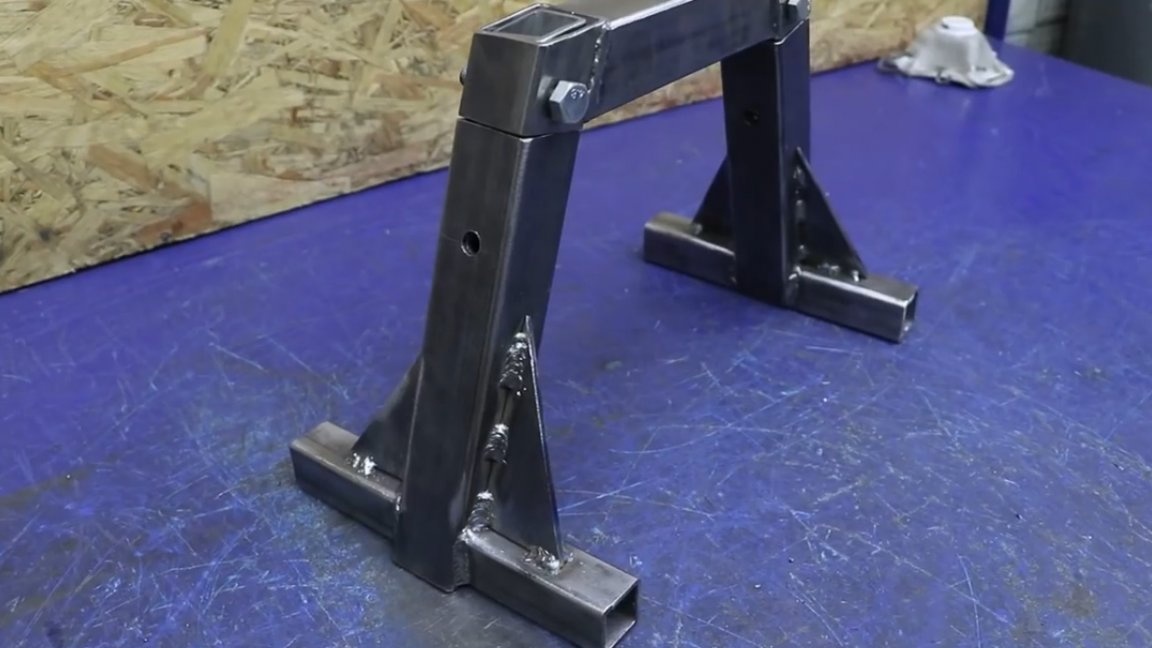
So, the main part is ready, of course there is not enough emphasis. The remainder of the 30th pipe will be used for these purposes.
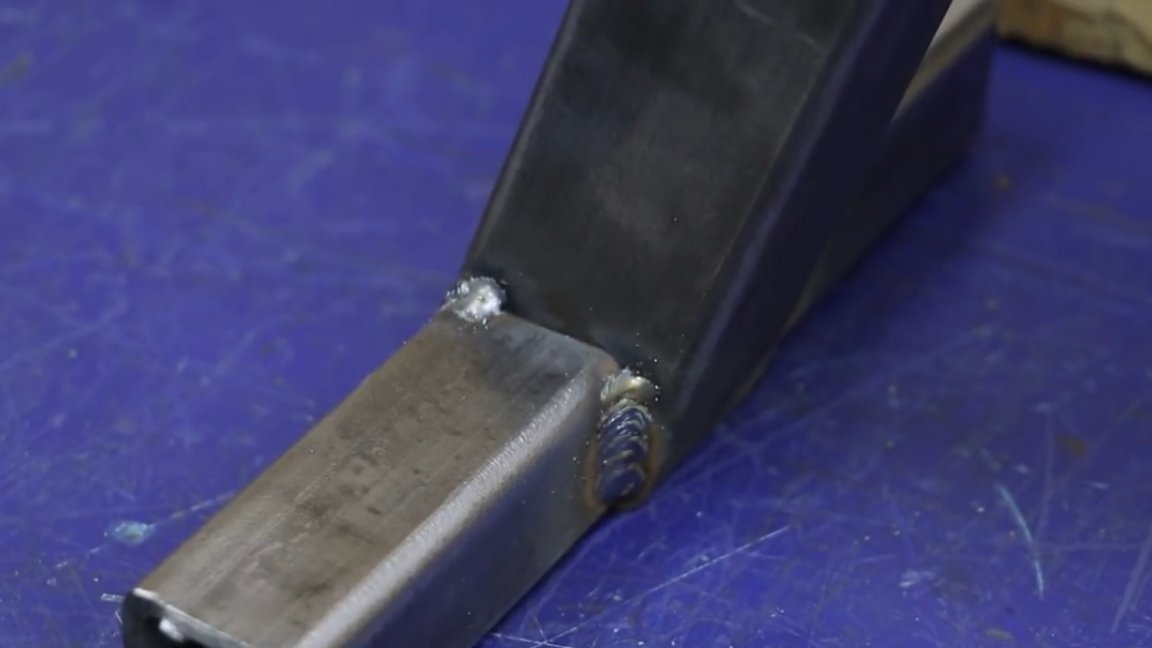
The details are welded, the only thing we leave untouched are the areas where the rack amplifiers will be located, in a simple scarf. Next, we need to trim a 4 mm sheet. It remains only to mark and cut the missing parts.
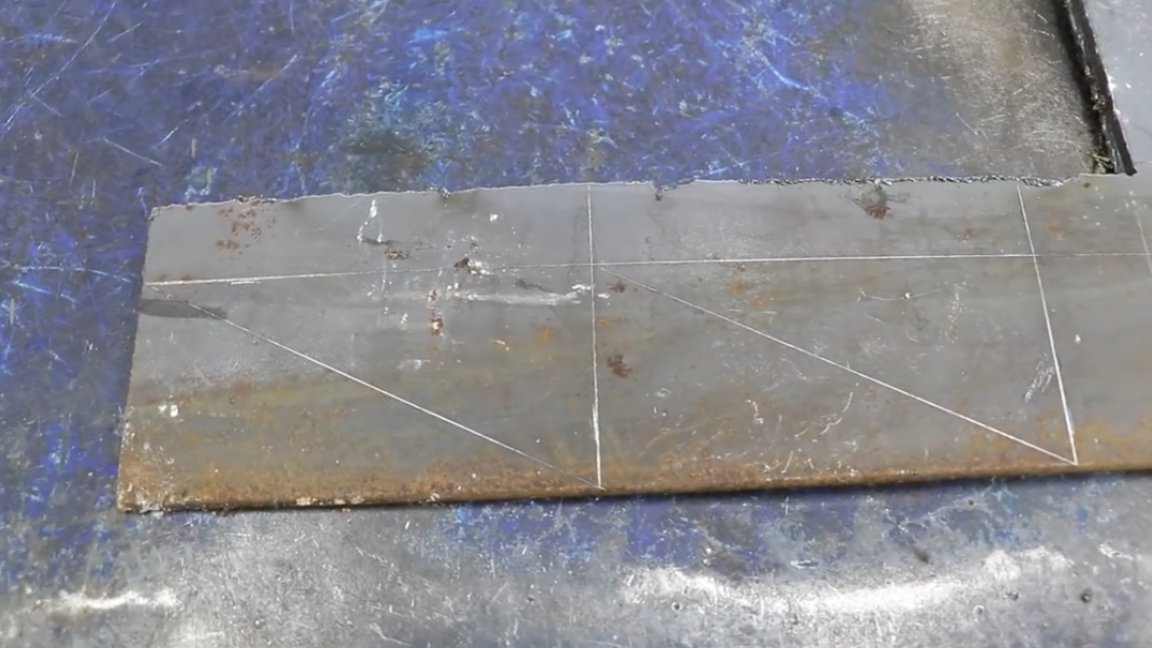
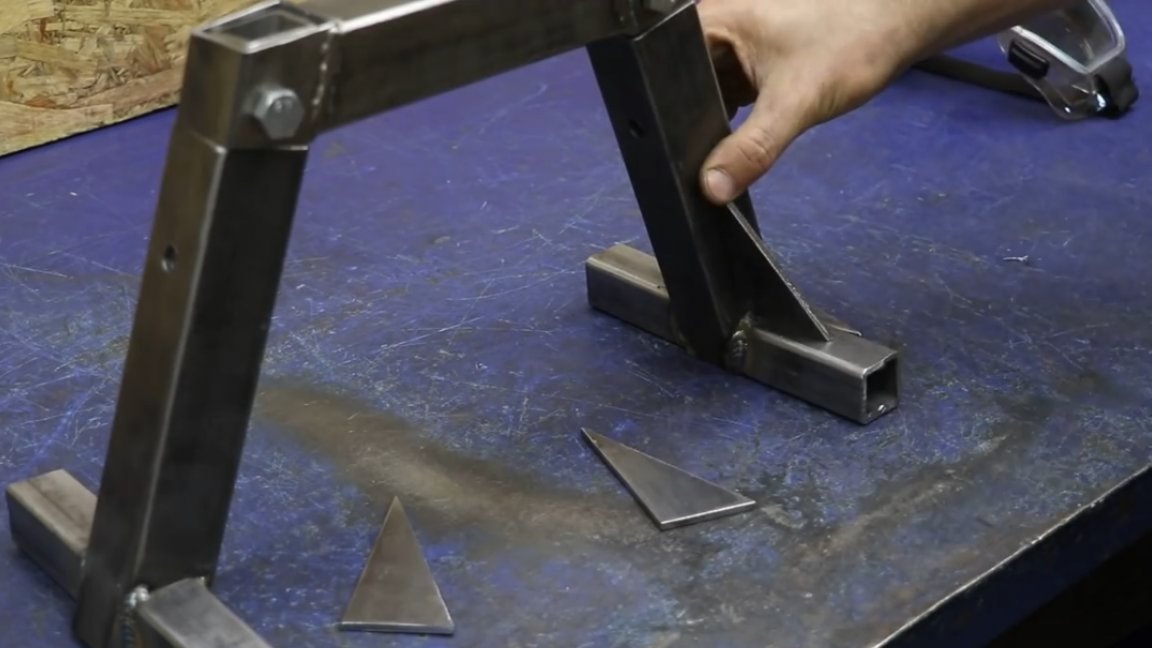
The kerchiefs are ready, the arrangement along the racks with an inclination relative to the surface. Immediately weld everything in its place.
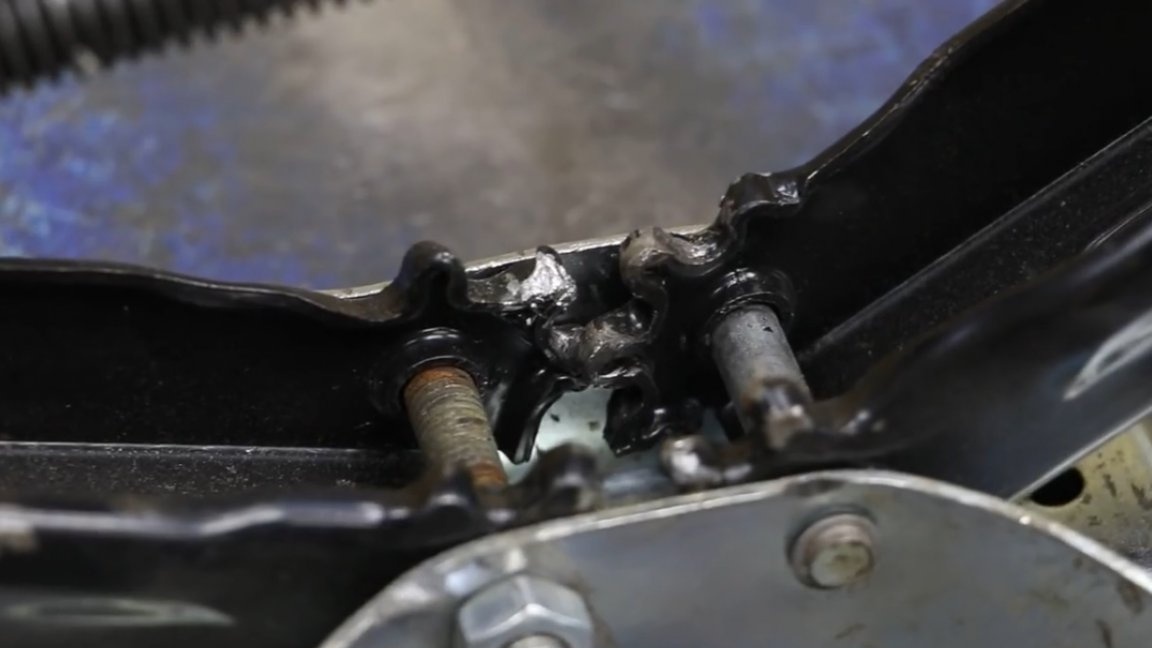
Before you is an old broken jack:
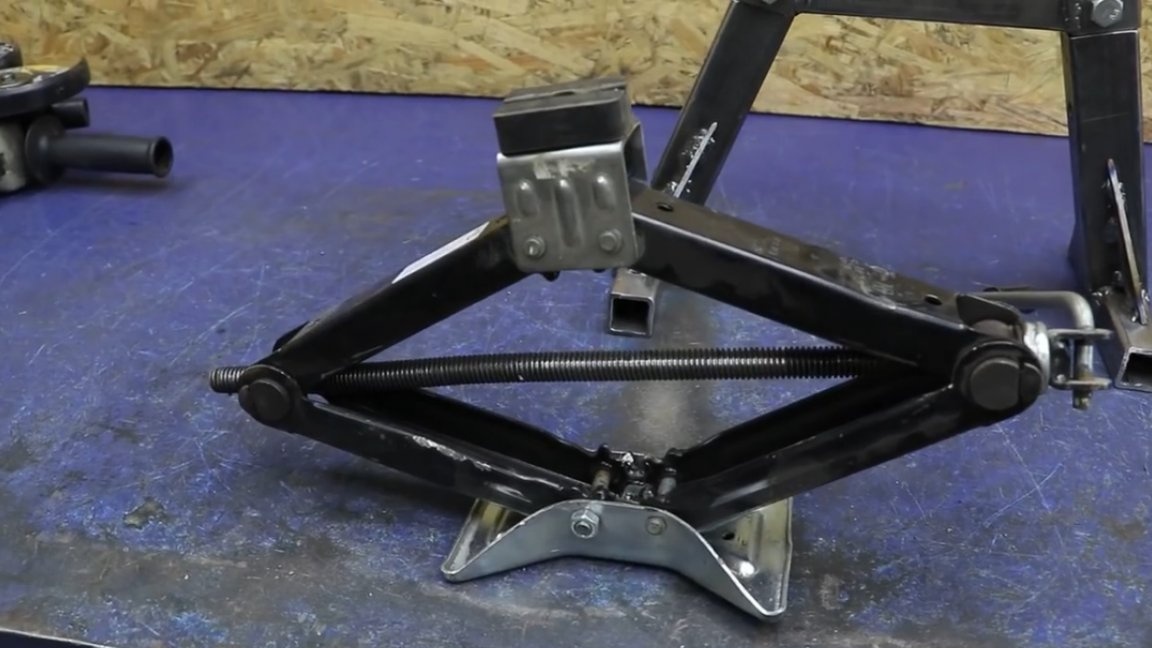
The teeth could not stand at the base, the lead screw is severely deformed. The reason for such a breakdown was that once the author of today's homemade product raised the car too high, and she just drove to the side, jumping off the jack and thereby damaging it.
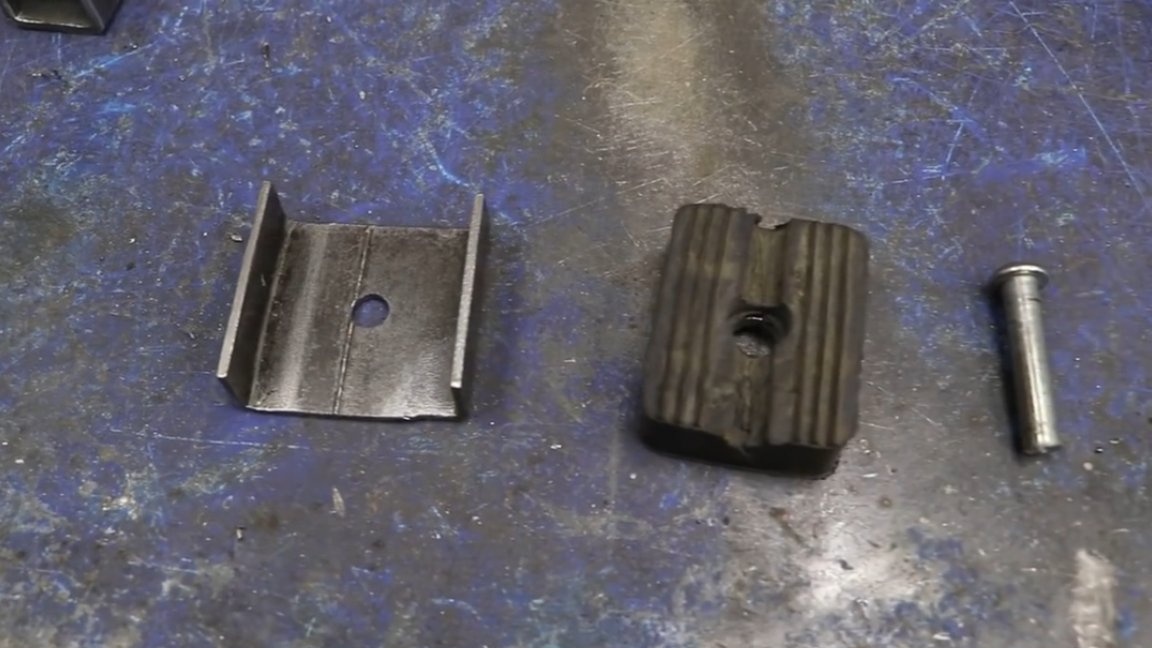
But at the moment we only need elastic from the top of the jack.
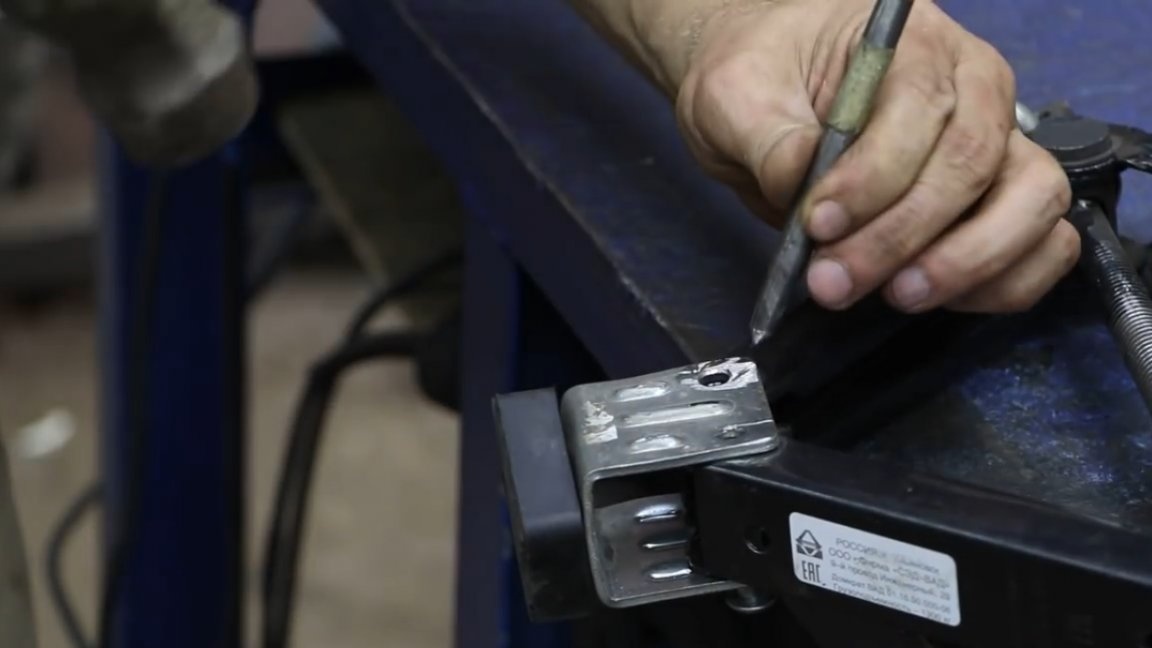
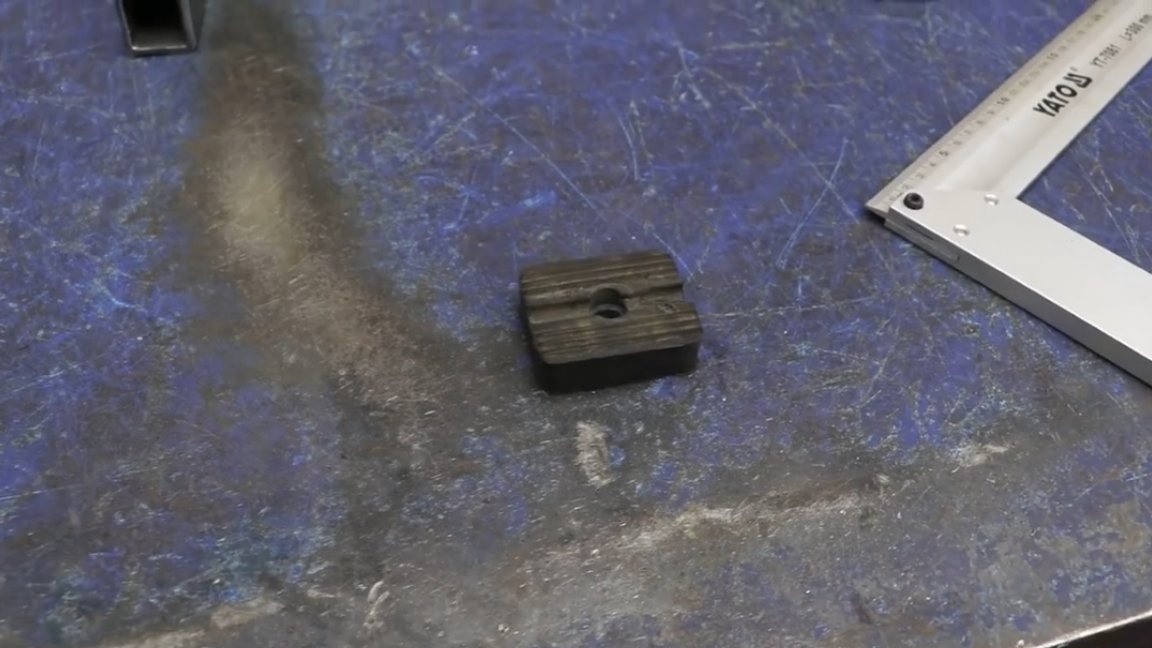
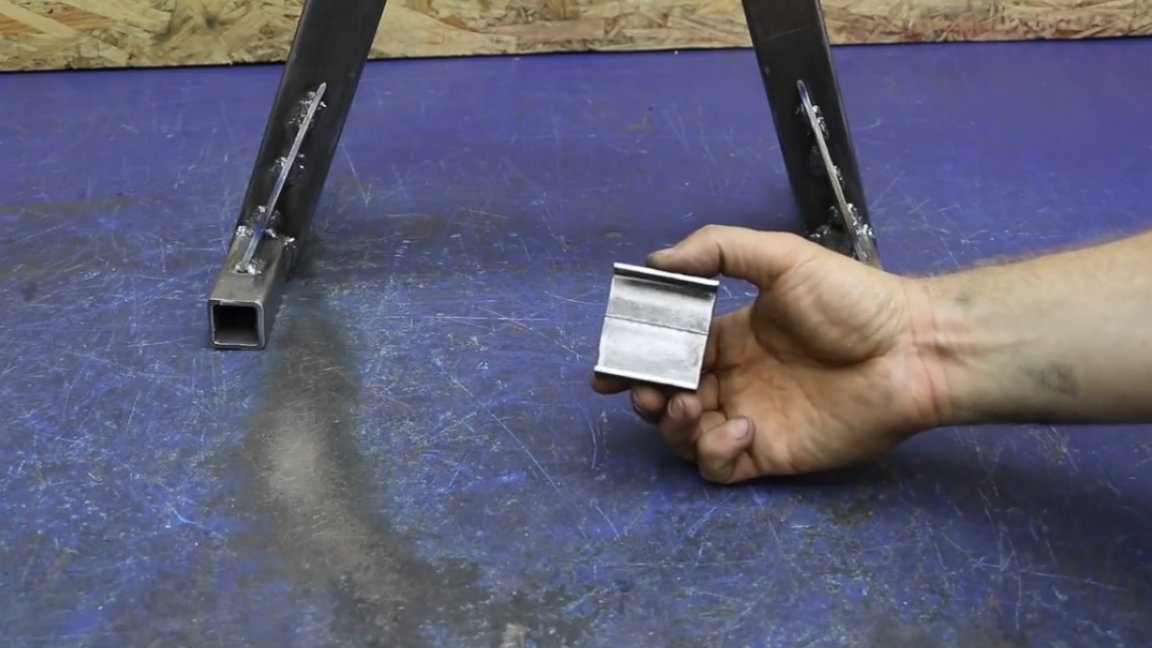
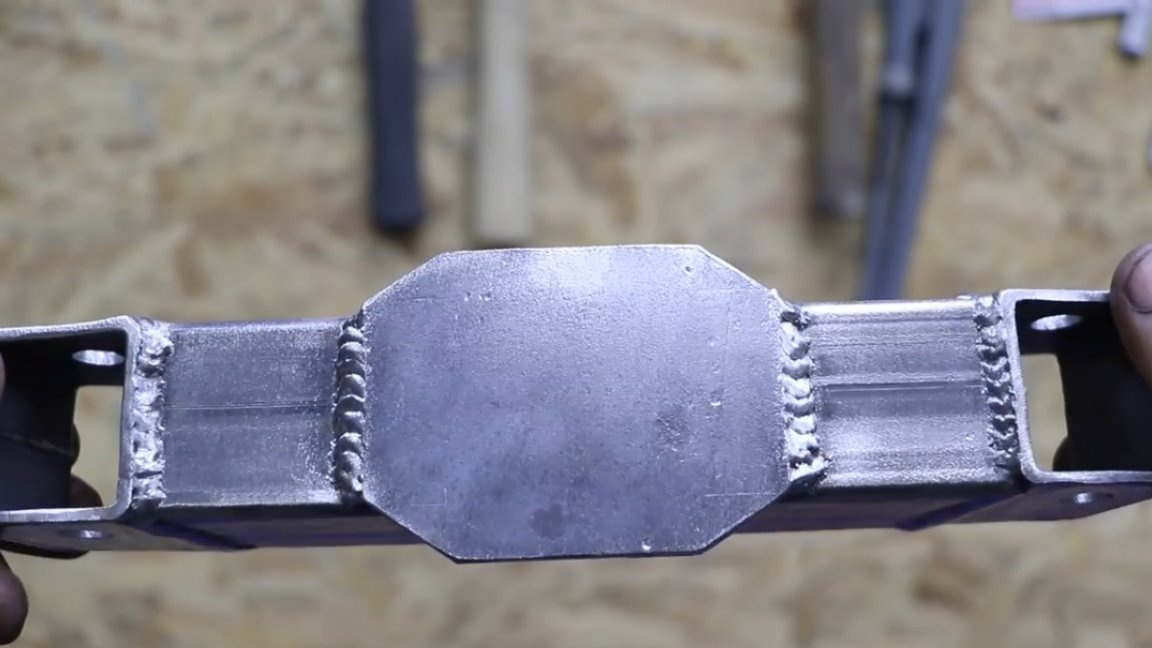
Under the elastic, I need to make a special base with sides. A profile pipe 50 by 20 mm is perfect for this. Here is the result.
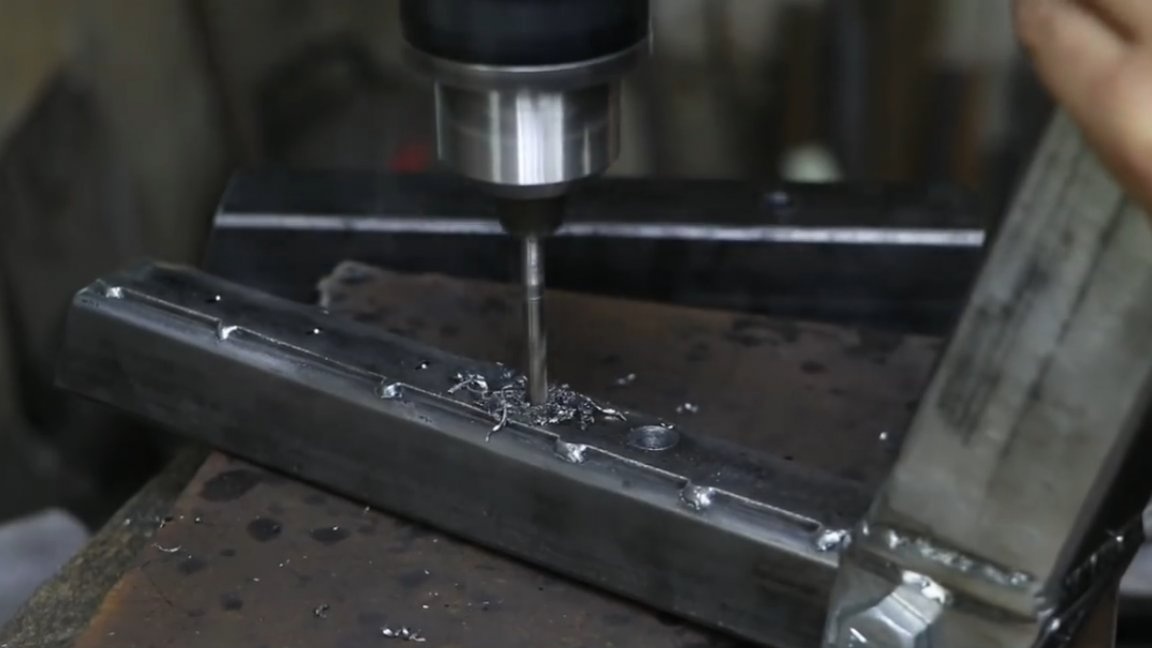
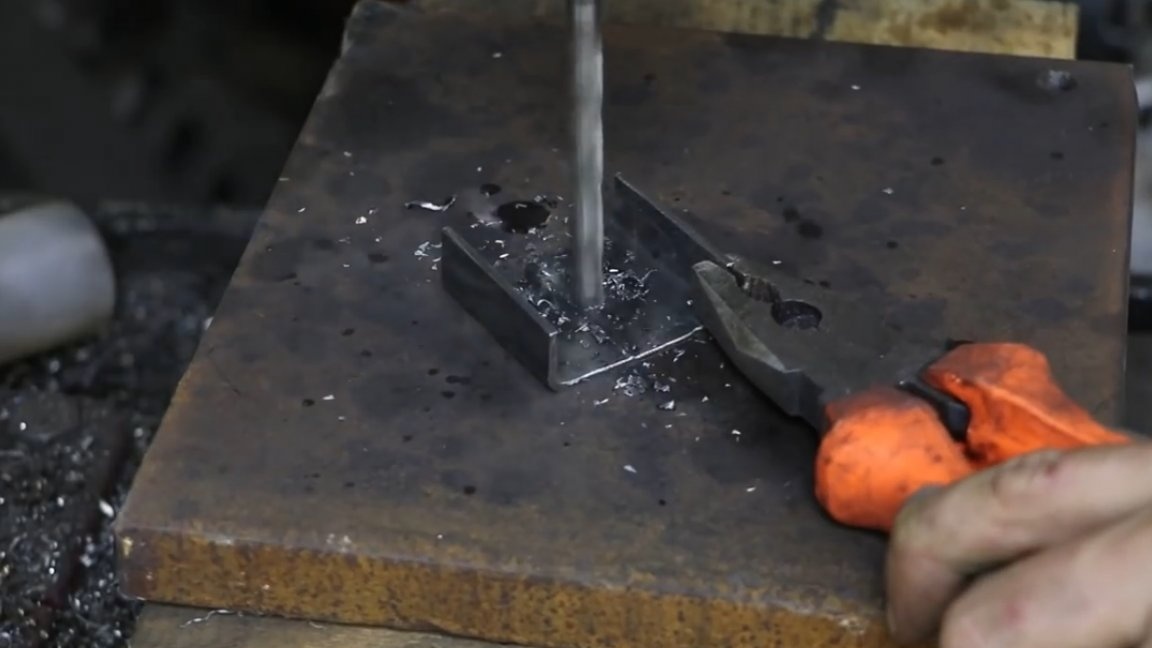
Now in the crossbar under this base you need to make a hole.
And also you need to drill a hole in the center of the base itself.
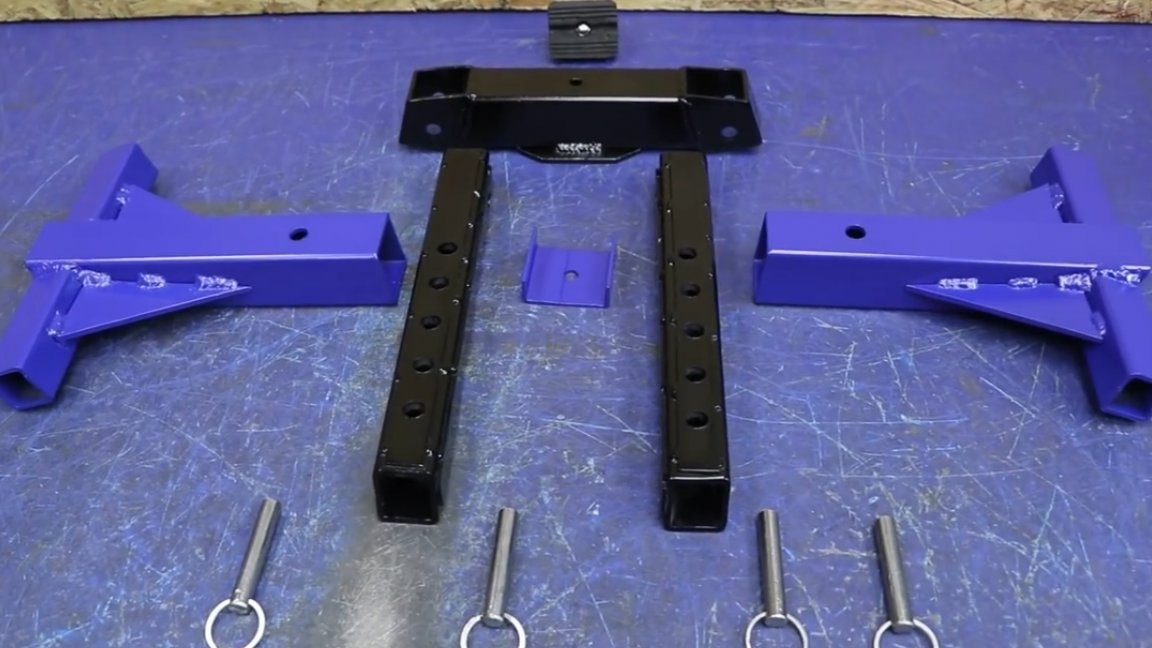
And now, all the parts are ready.
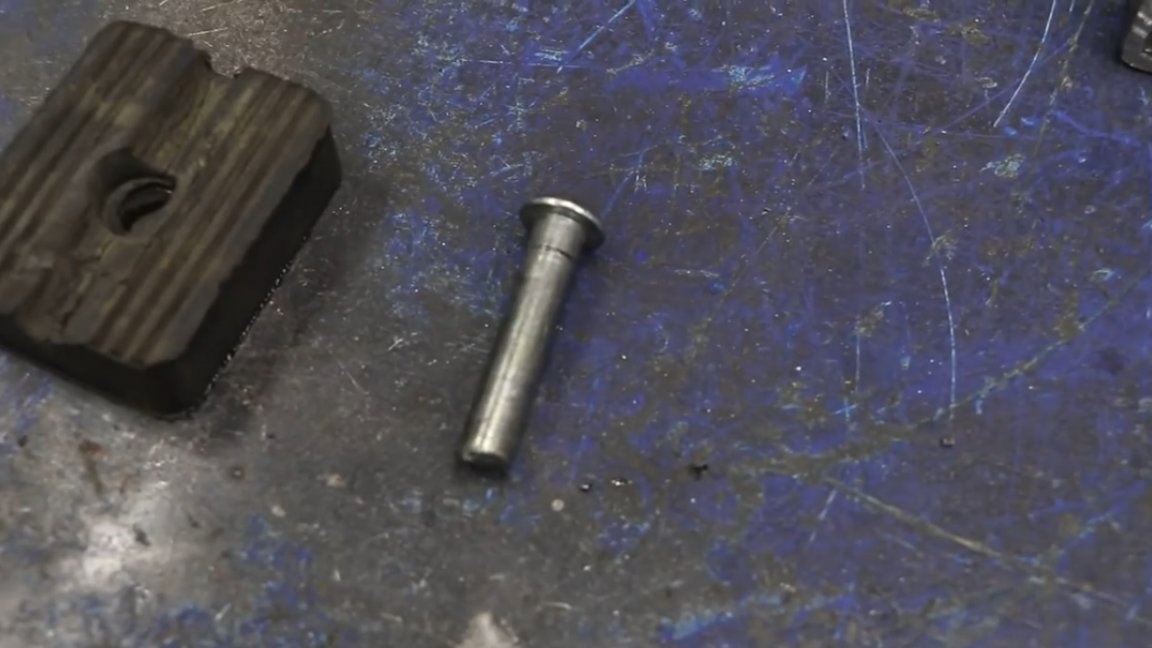
It's time to start assembly. And the same stud from the jack will also go into business, just a little tweak the chamfer.
Further, the lower part of the cross-beam must be strengthened with a thrust plate. To do this, we mark out the same residue from a 4 mm plate, cut it out, and then weld it.
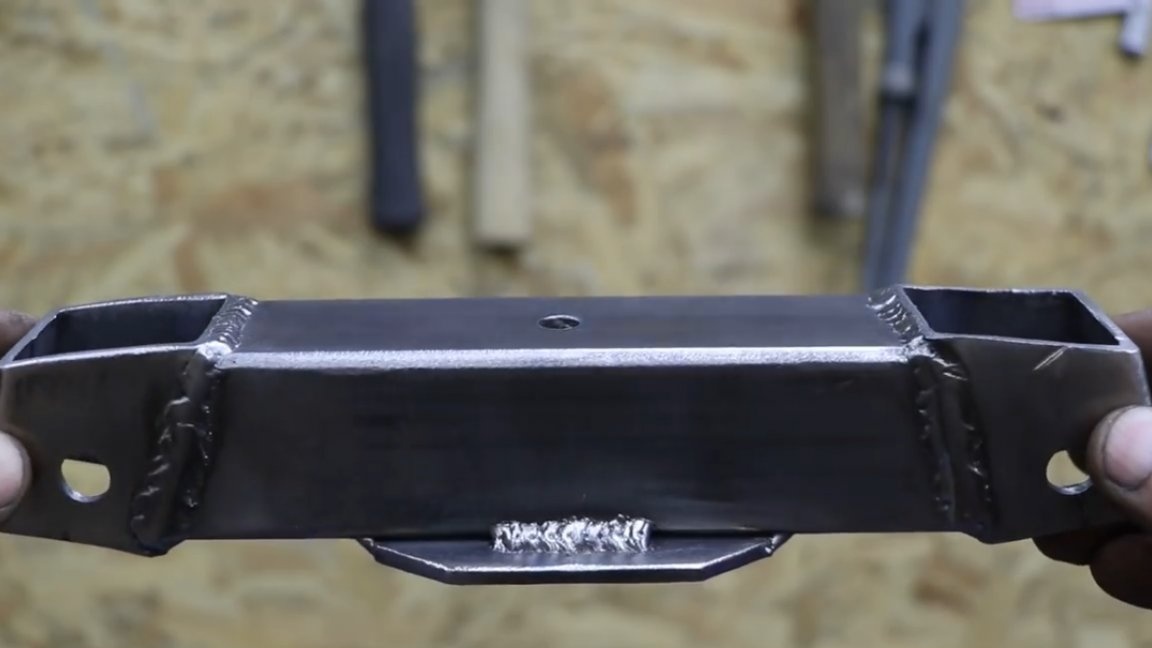
But this is not the final element of our design. And now, let's put everything together and see what happened in the end.
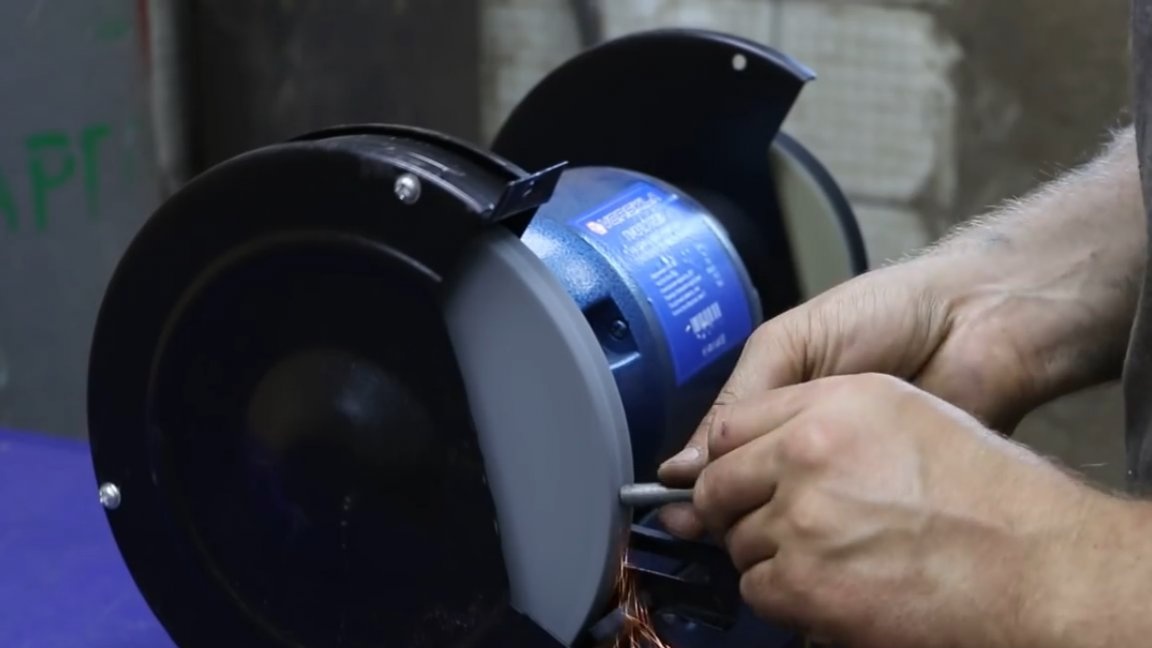
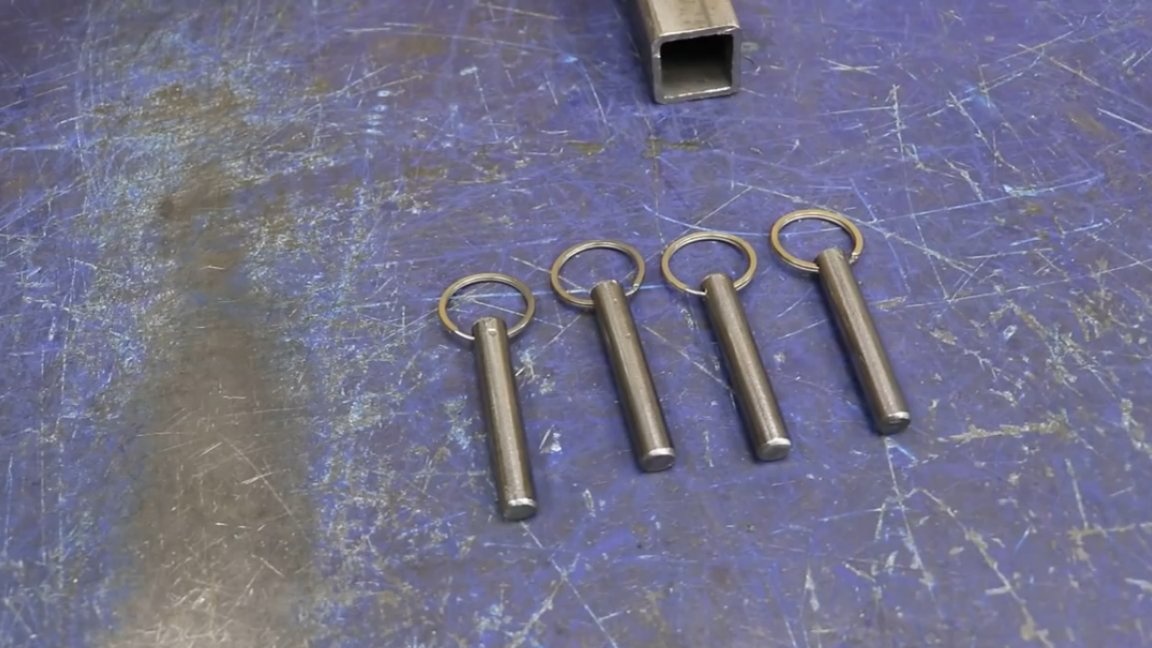
There are 4 holes in the stand and of course there are not enough clips. You can certainly come up with one of the bolts, but perhaps not this time. We protect the tenth round timber from corrosion, cut it into pieces of 60 mm in the required quantity, with a core and straight to the machine.
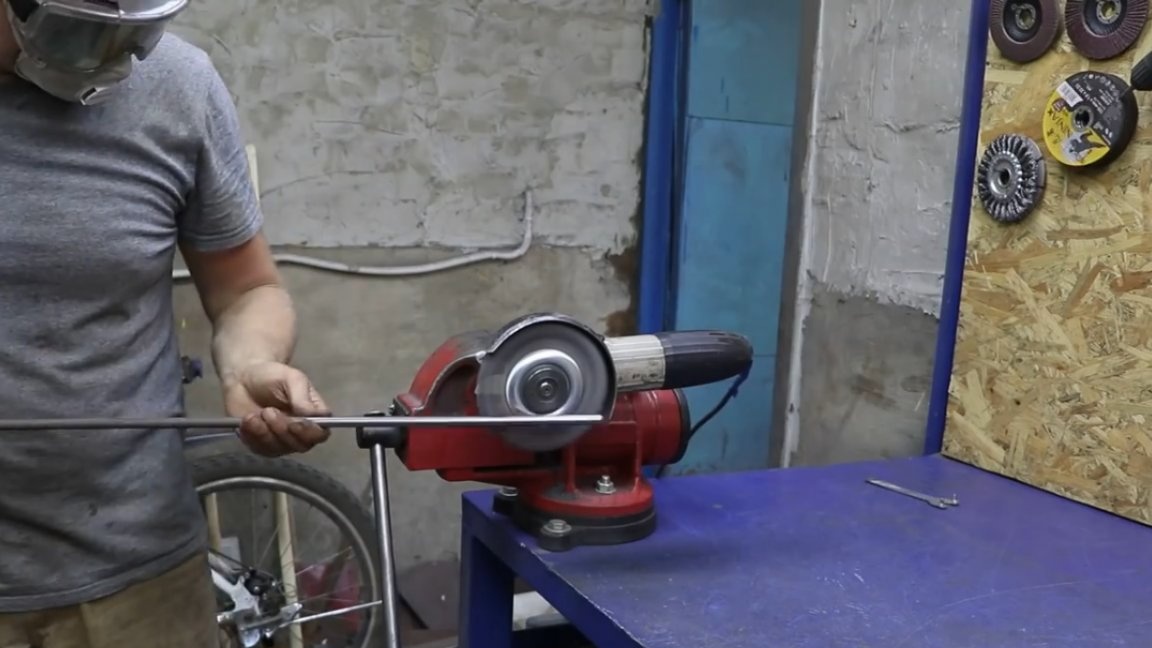
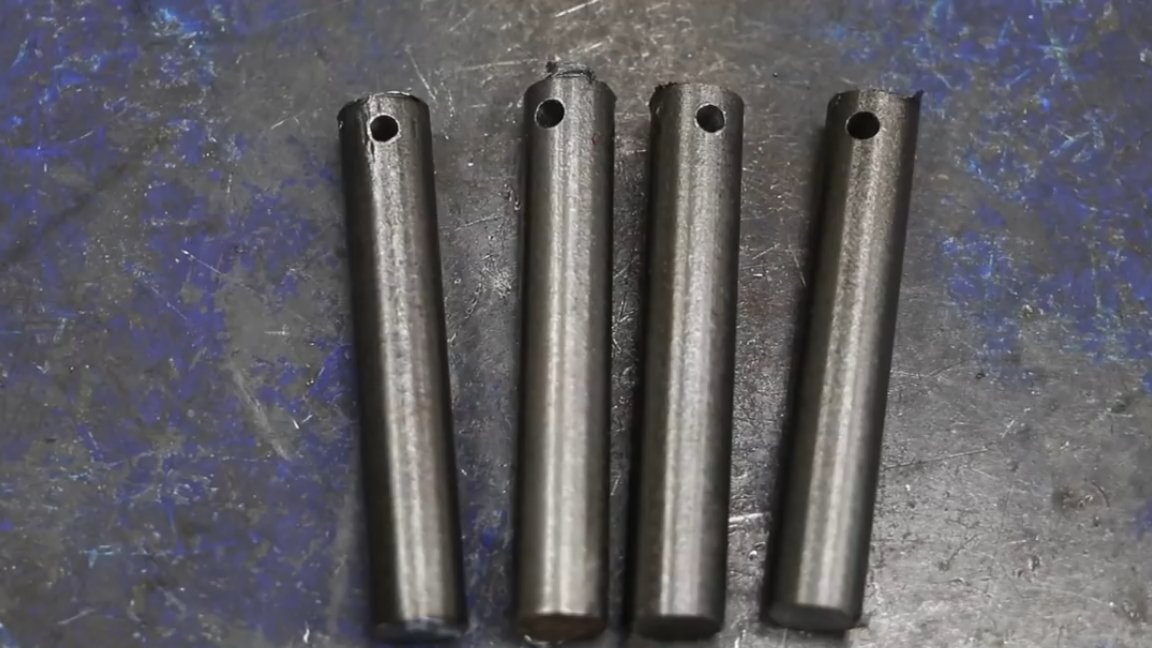
And the studs in the amount of 4 pieces are ready, it remains only to make a chamfer.

Now we need rings from cheap Chinese key rings. They are great for a new task.
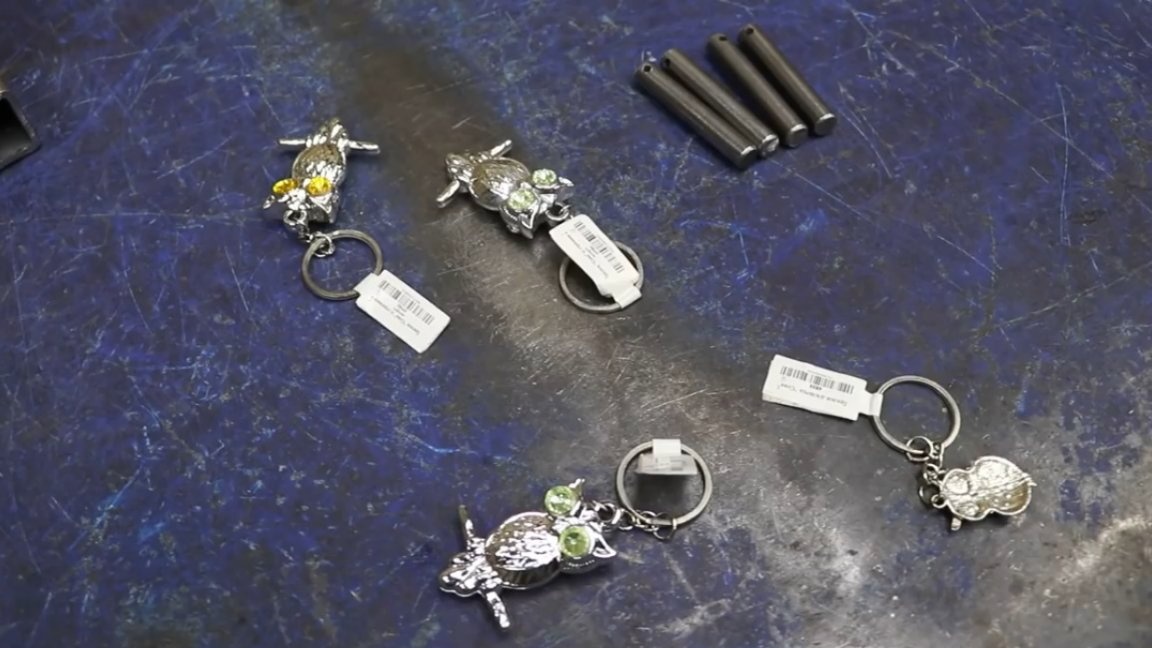
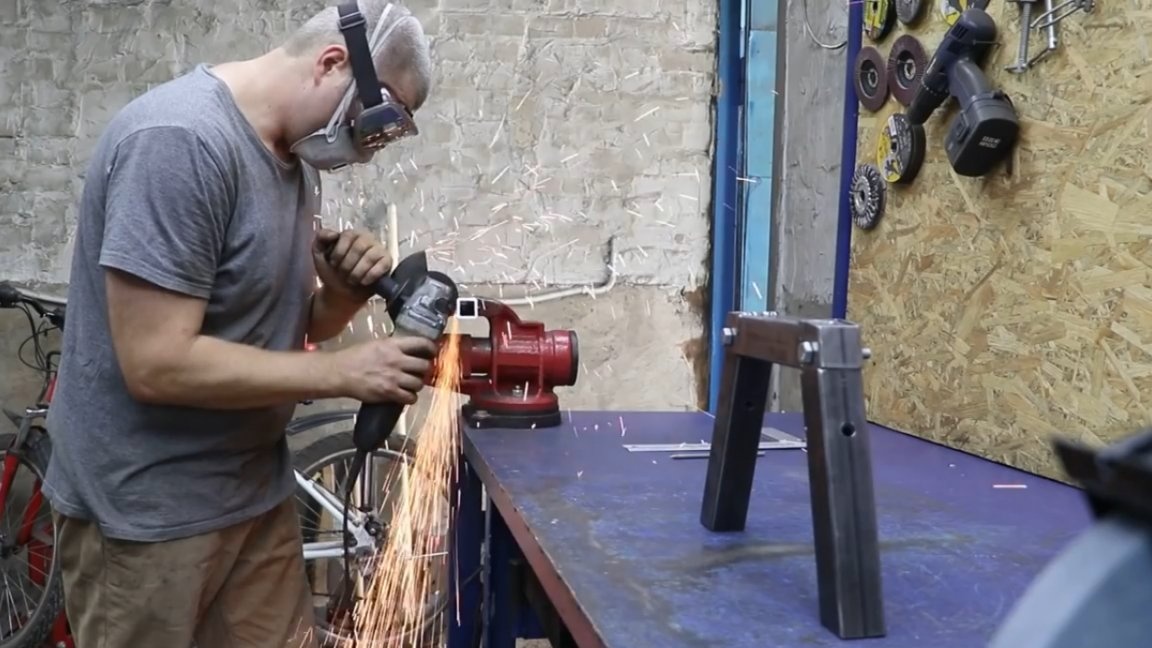
And why not a harsh keychain for a locksmith? And at the end, the manufacture approached the final stage - painting.
The paint is completely dry, followed by assembly.
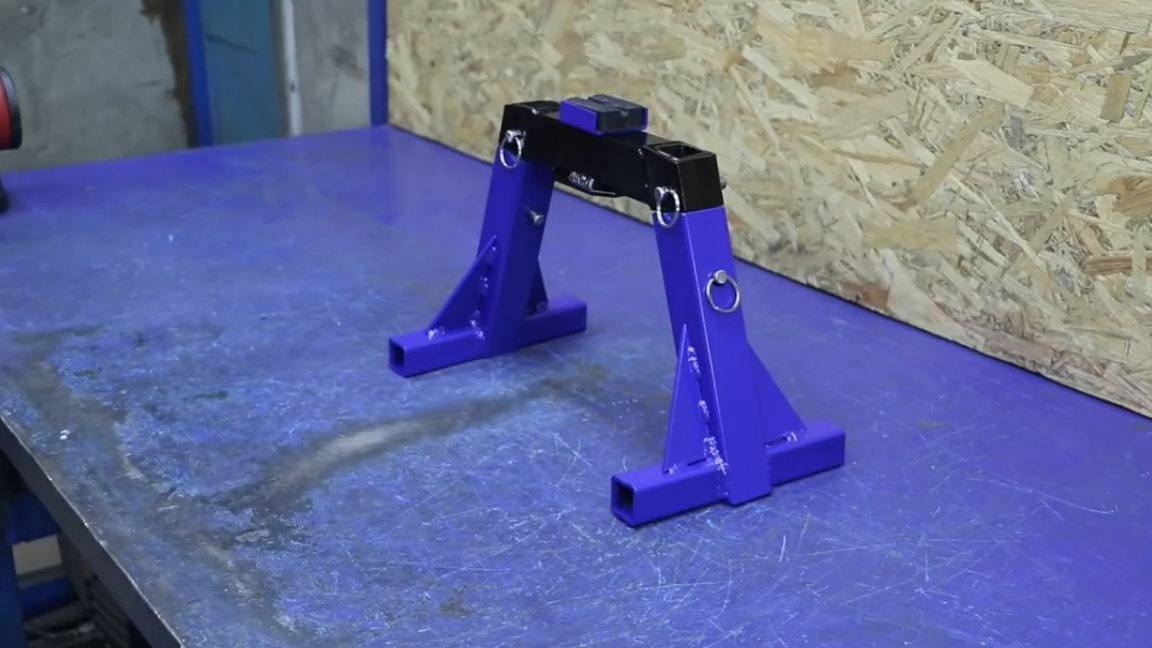
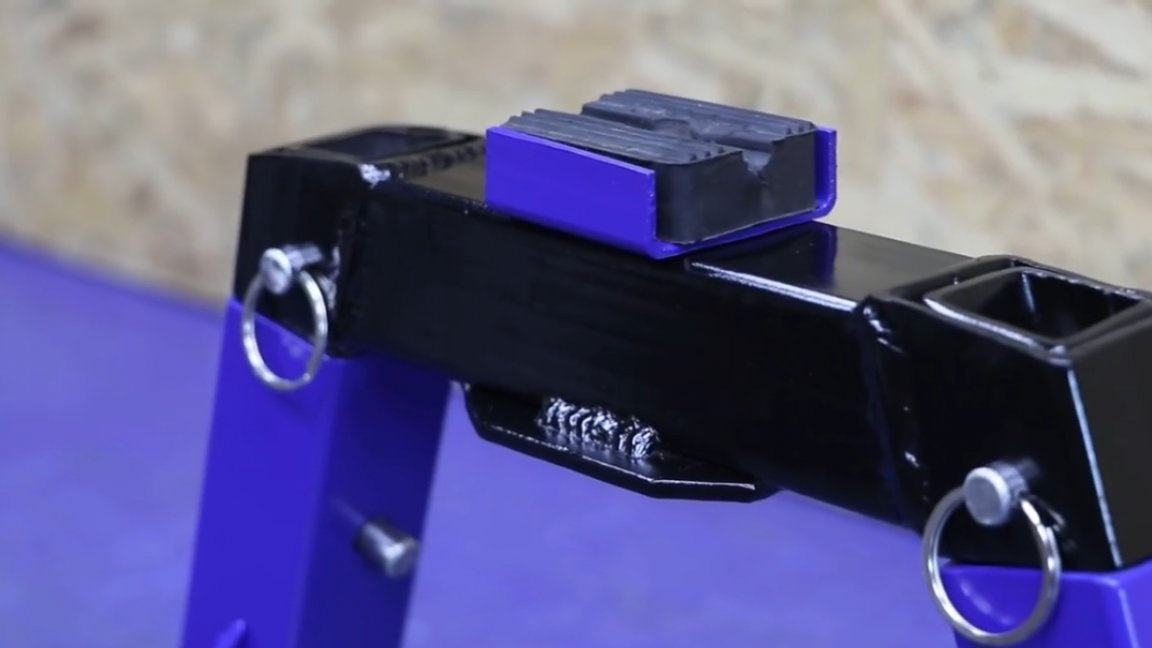
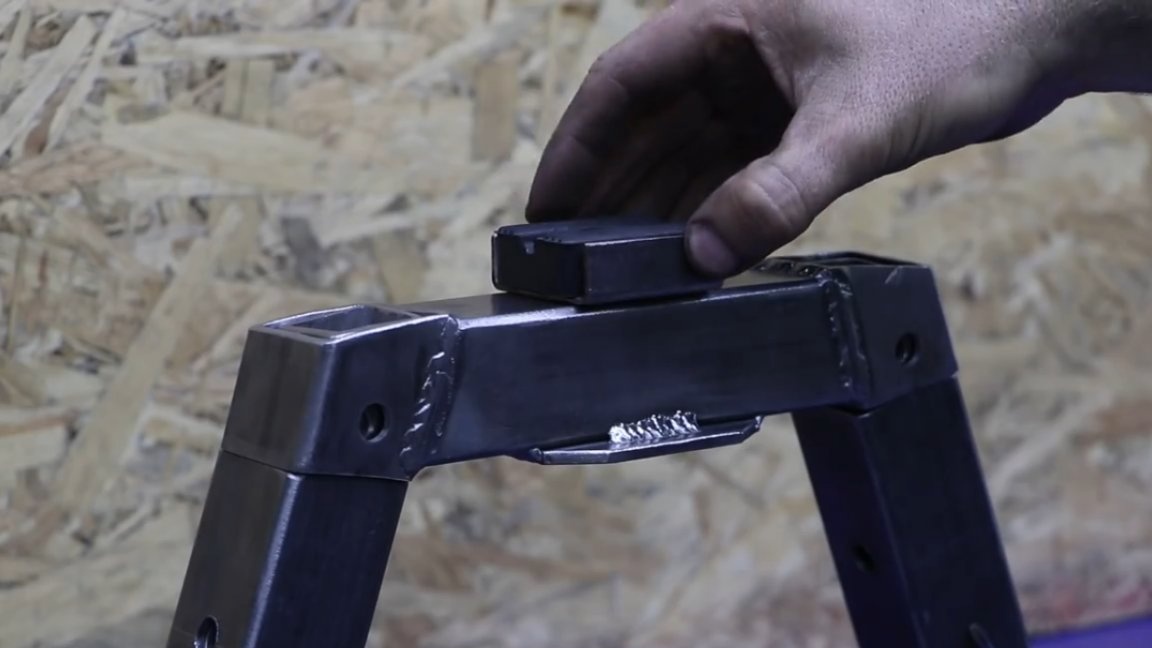
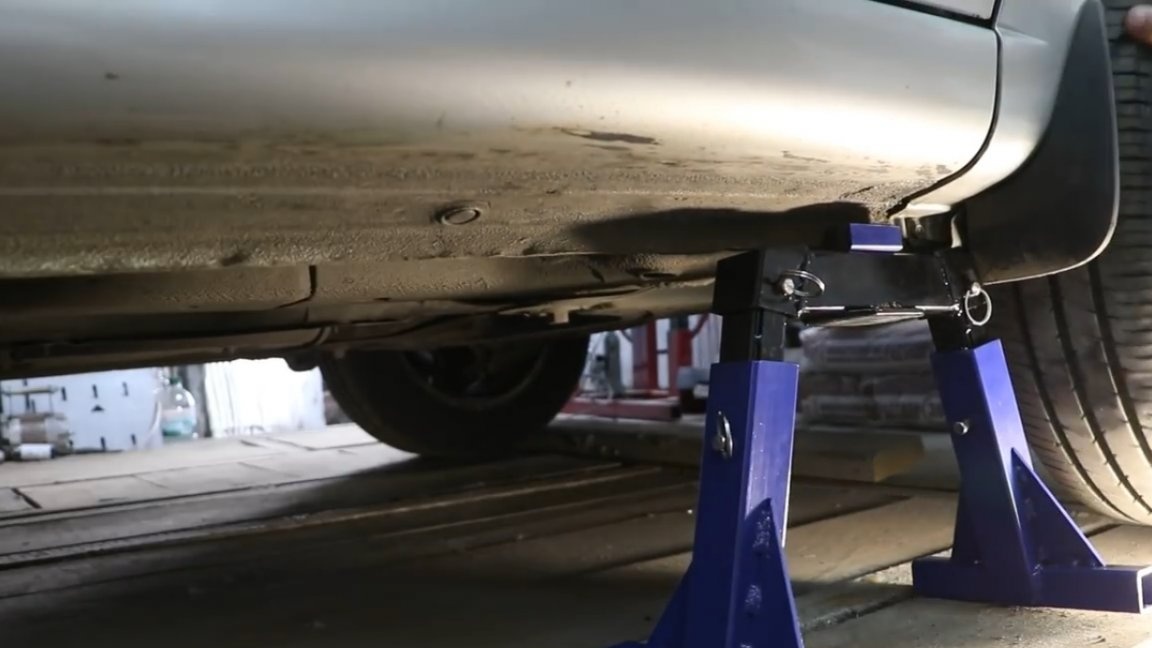
Such an unusual stand turned out. And of course, it must be checked in work. To do this, you need to move to garage. We start by removing the cross member and substituting it between the jack and the fulcrum on the stiffener, like this:
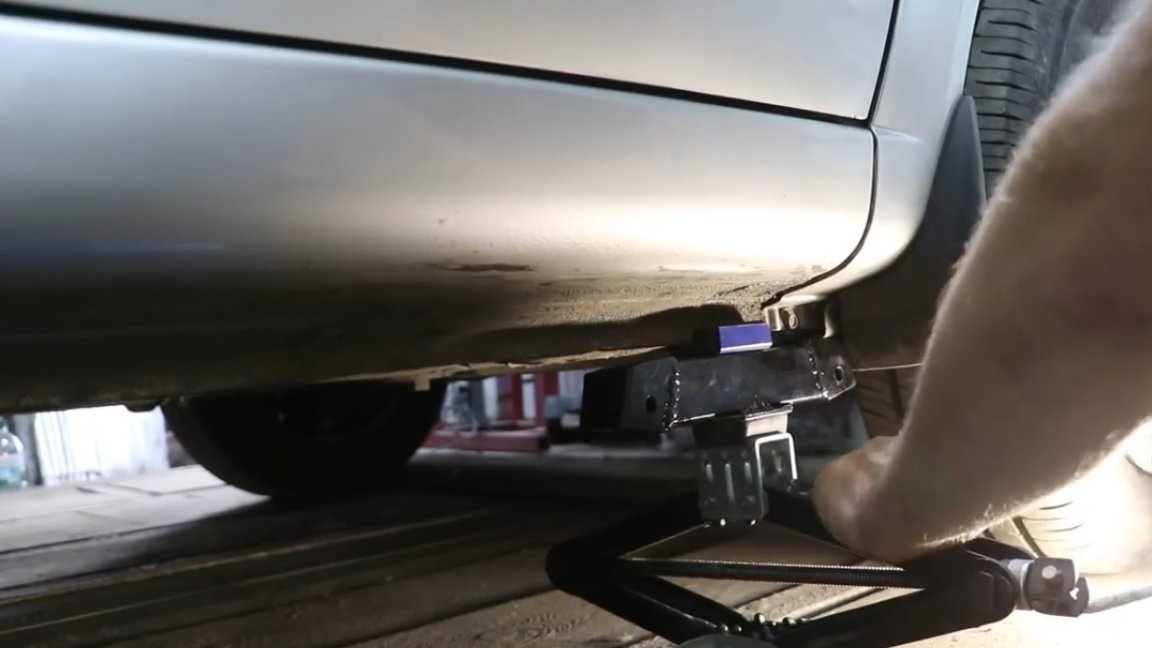
Then we pass the racks and fix them with studs.
Everything can be omitted, the stand works.
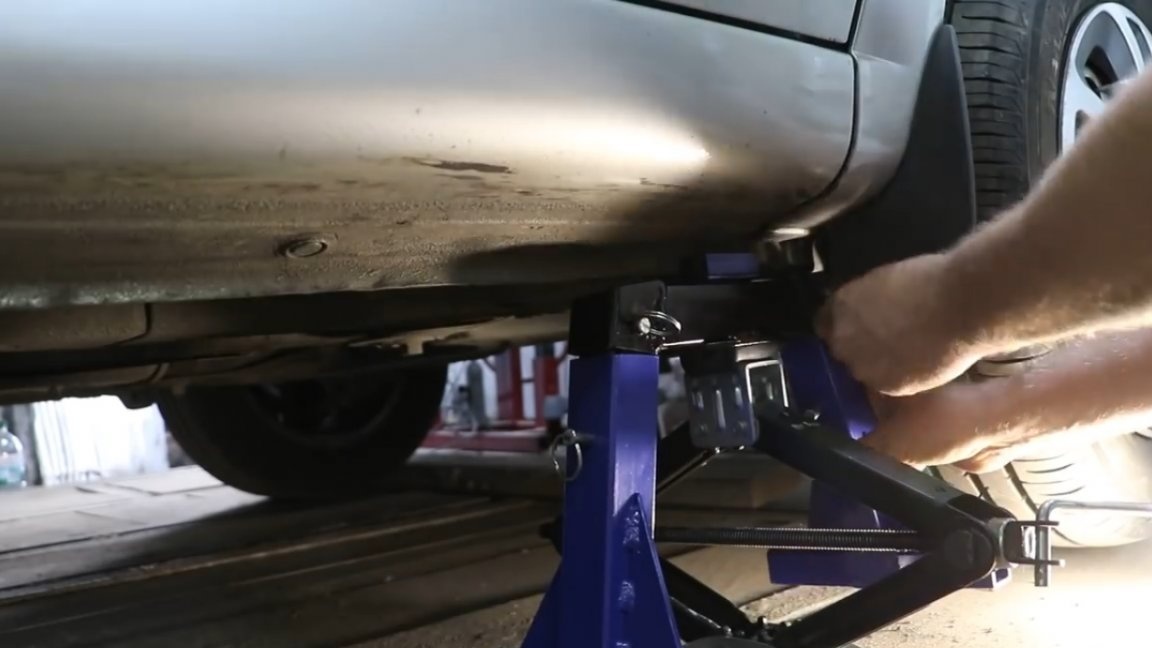
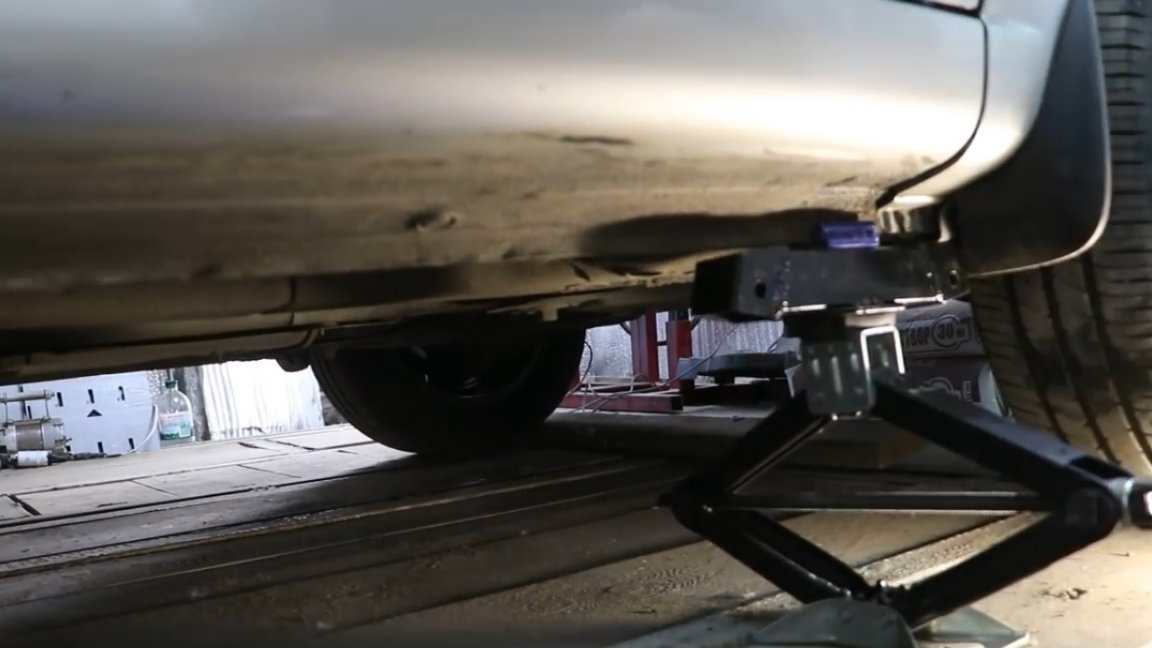
Now let's raise the car higher, increasing the height of the racks.
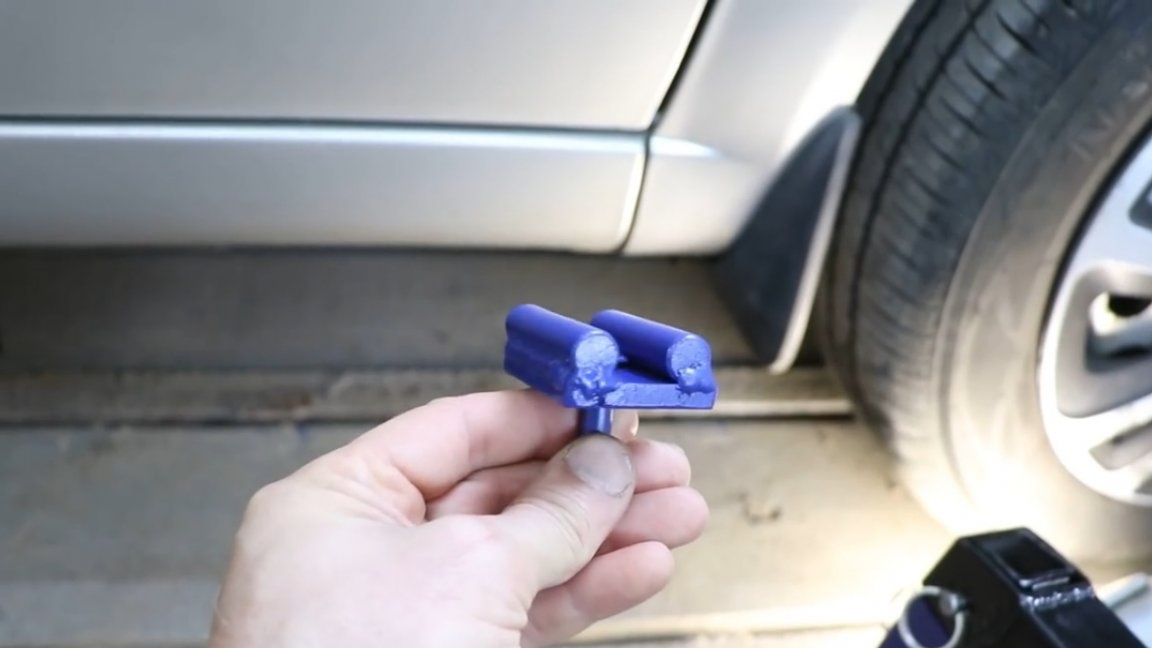
Having fixed, we lower a jack. At the same time, the author noticed the displacement of the stands relative to the floor due to the support rubber. When lifting the car, it shifts a little, as if moving out on an elastic band. This requires a specific latch. Let's make a new emphasis with pieces of round timber on a plate.
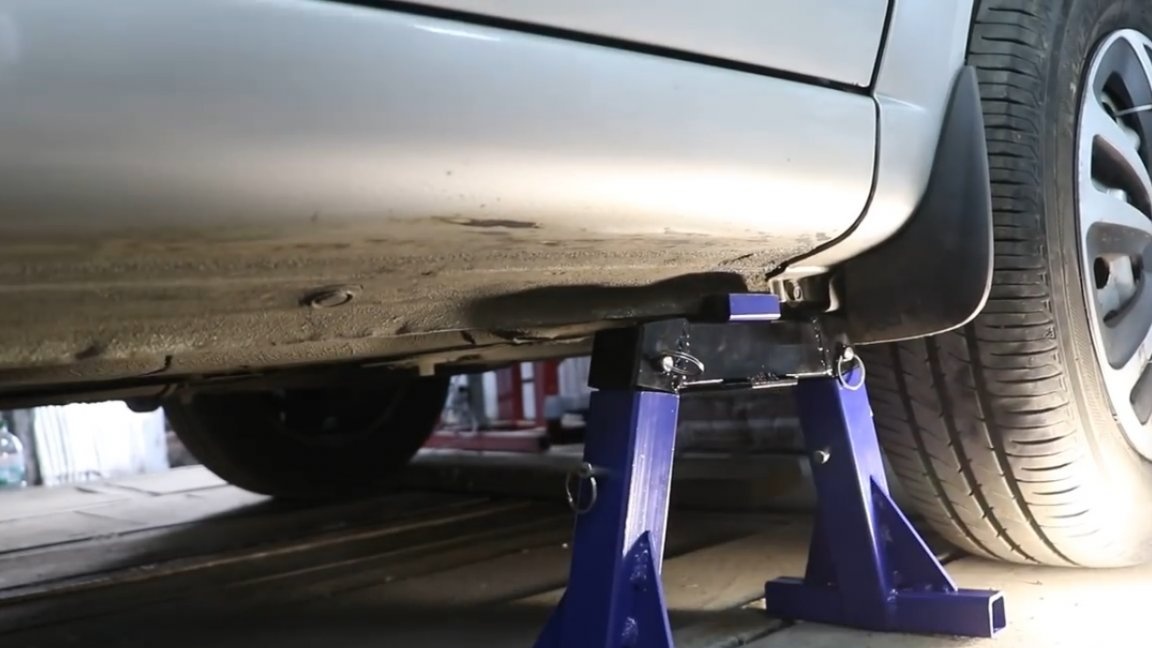
Let's try jacking up and installing the stand again.
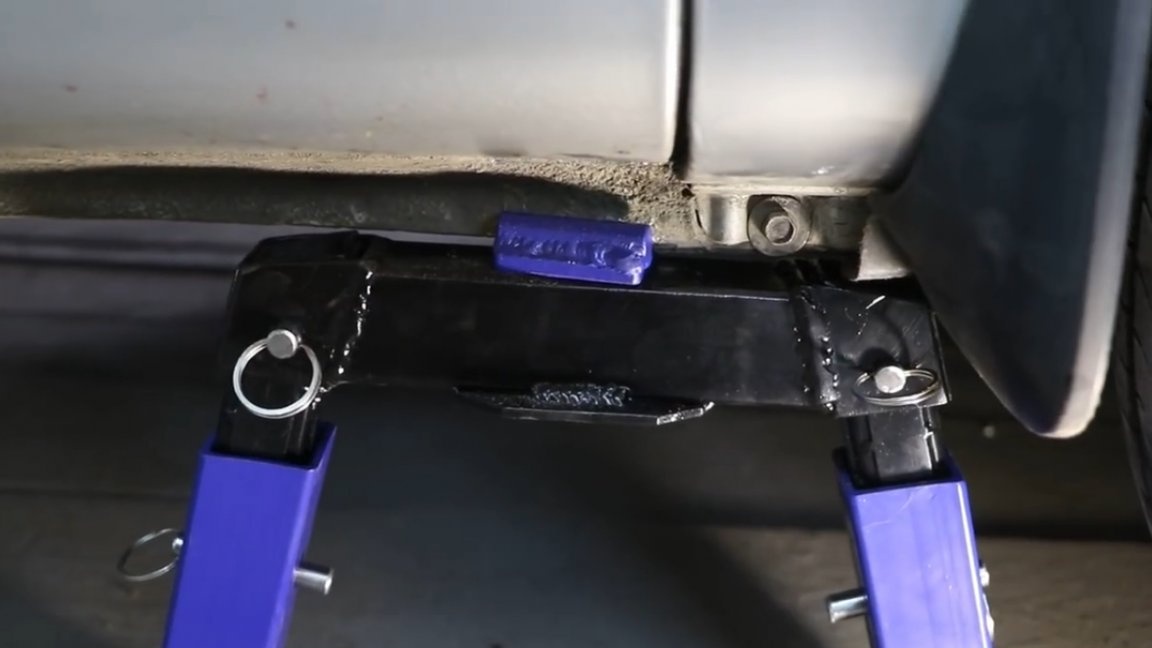

As you can see, the problem is solved, there is no bias, the car is confident. Also, let's try the stand from the back of the car.
The car is very confident, nothing happens when swinging. Perhaps this can end. Thank you for attention. See you soon!
Author's video: