
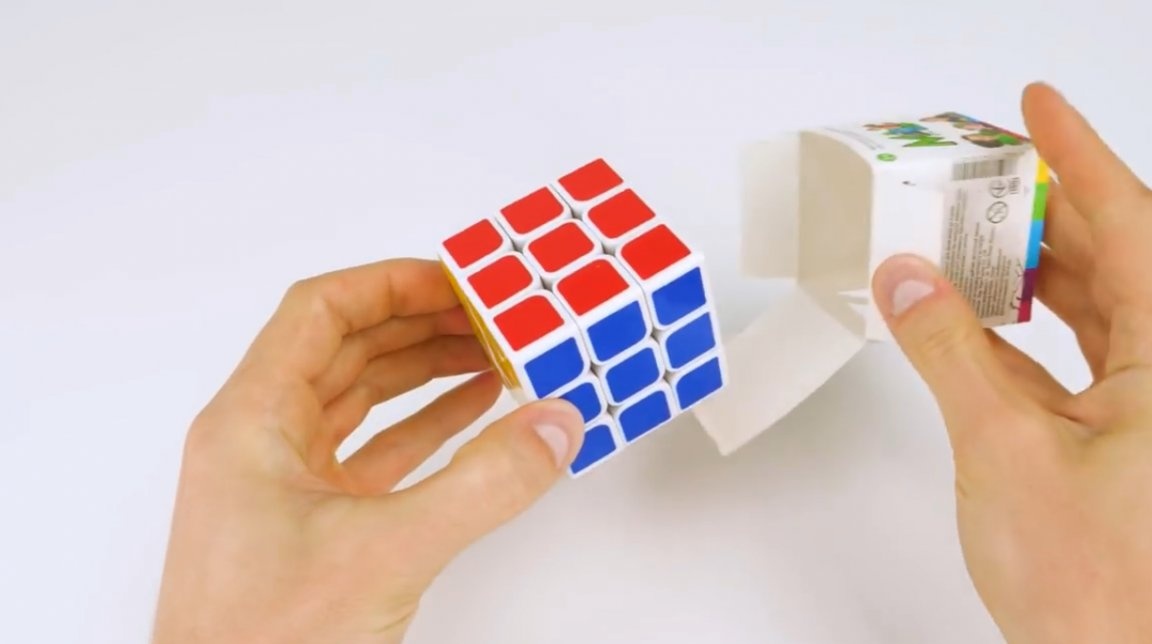
You all know the Rubik's Cube puzzle. But usually, at the beginning of the study of the principles of its assembly, difficulties arise, and there is a desire to restore its original state.
In this article, the author of the “Q” YouTube channel will tell you how to make a cube whose elements are connected using neodymium magnets.
This homemade product is very easy to manufacture, and can be repeated even inhome conditions.
Materials
—
- A bar with a section of 25X25 mm from hardwood
- Second glue
- Acrylic paints
- Impregnation for wood
- Insulation tape
- Cardboard, paper, rags.
Instruments, used by the author.
—
- Drills for wood
—
- Miter box, hacksaw, brush, ruler, pencil.
Manufacturing process.
It is almost impossible to restore a regular cube, or you will have to re-stick the stickers.
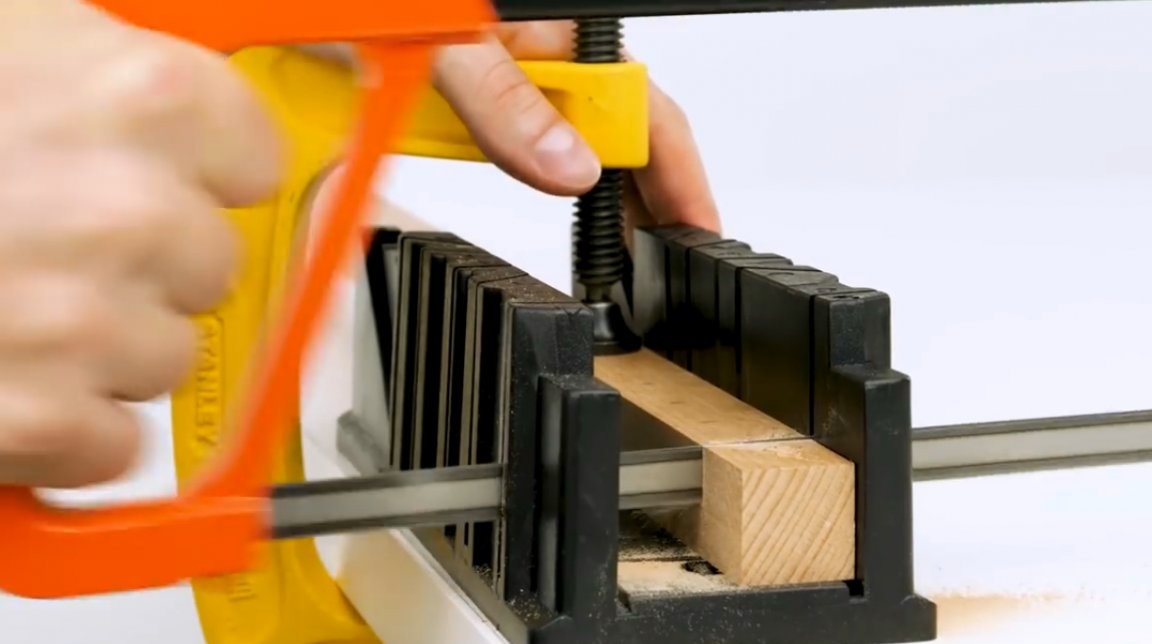
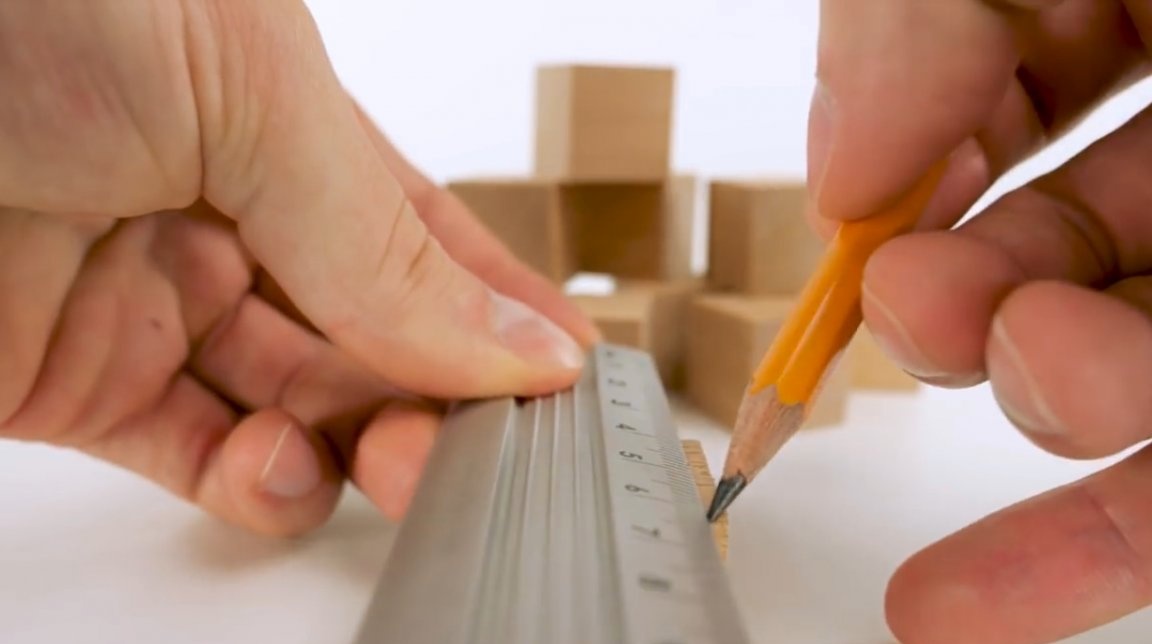
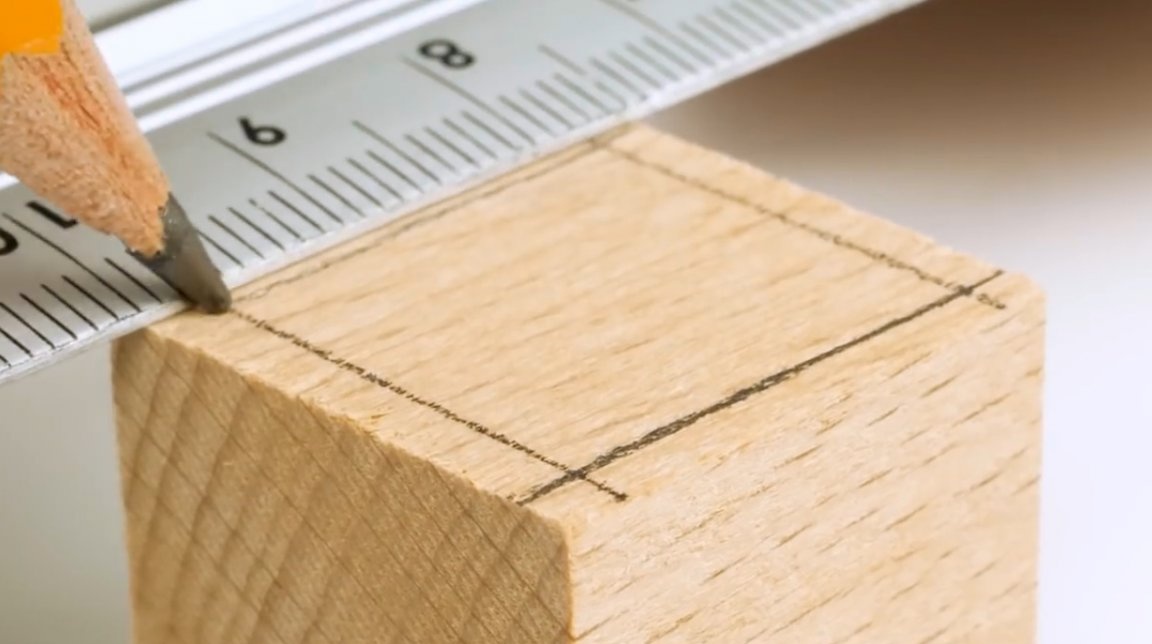
So, first of all, you need to mark the beam with a cross section of 25X25 mm into segments of 25 mm in length. The thickness of the hacksaw cut should be taken into account so that all sides of the cube are the same size. Then, using the miter box, cut the bar into 27 cubes.

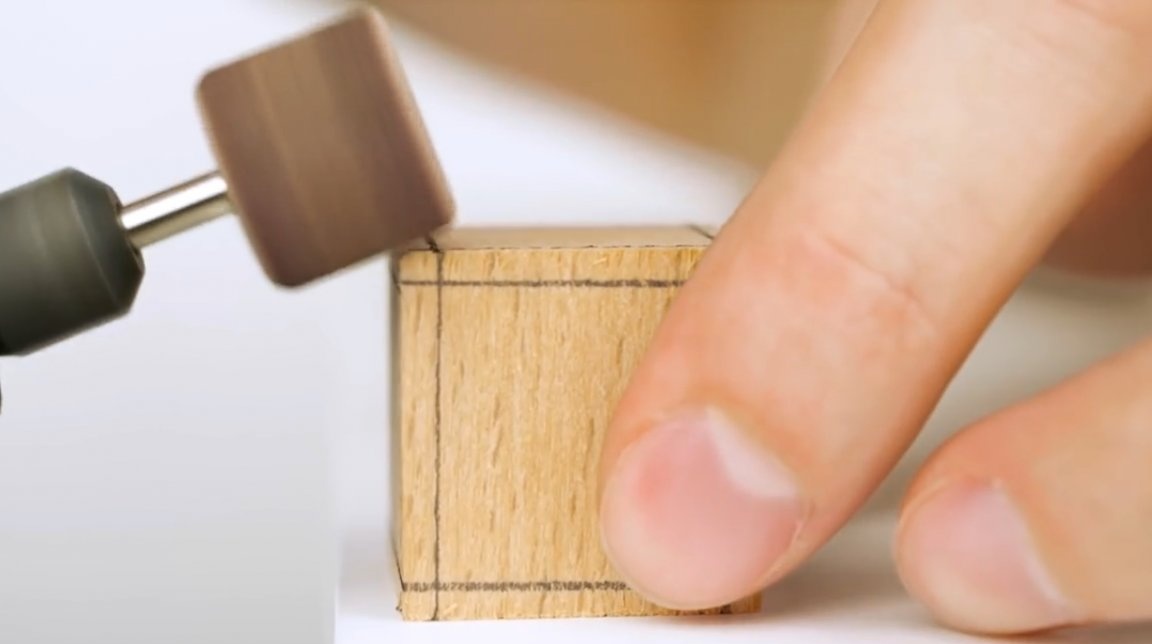
Next, the wizard marks the edges that will be smoothed.
With the help of a dremel and a grinding nozzle, it rounds off all the faces of the cubes.
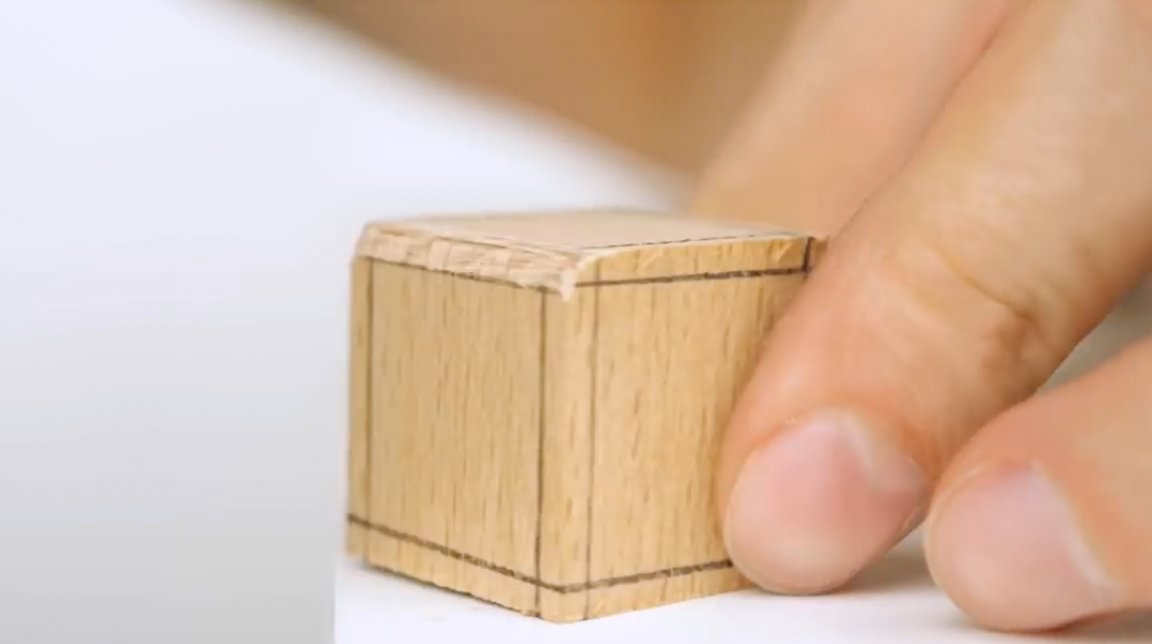
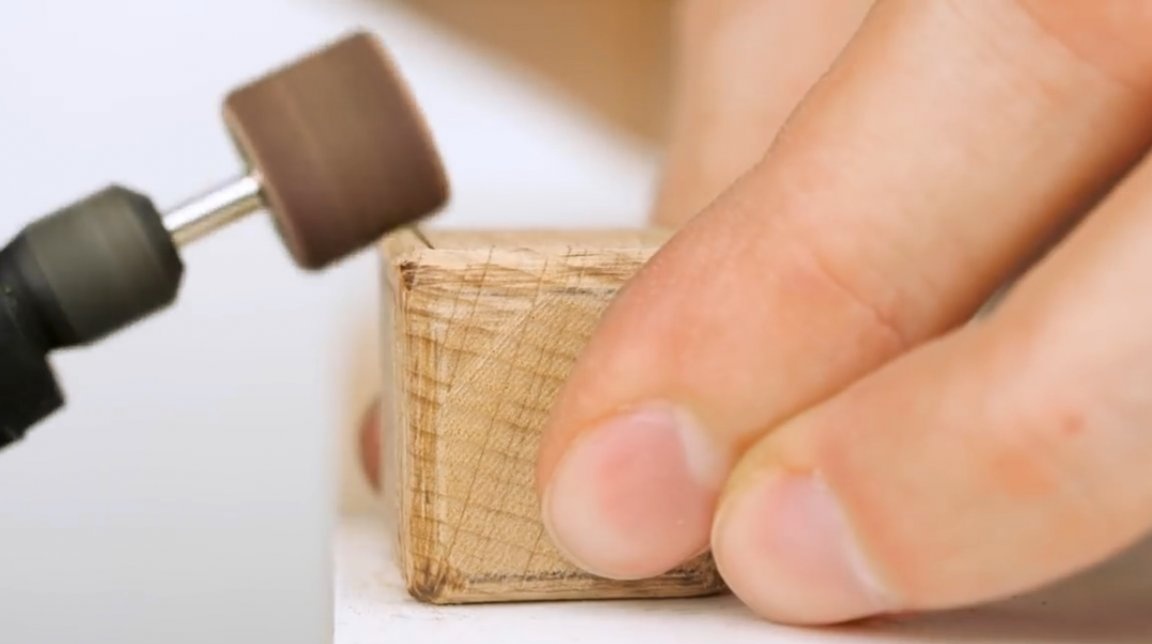
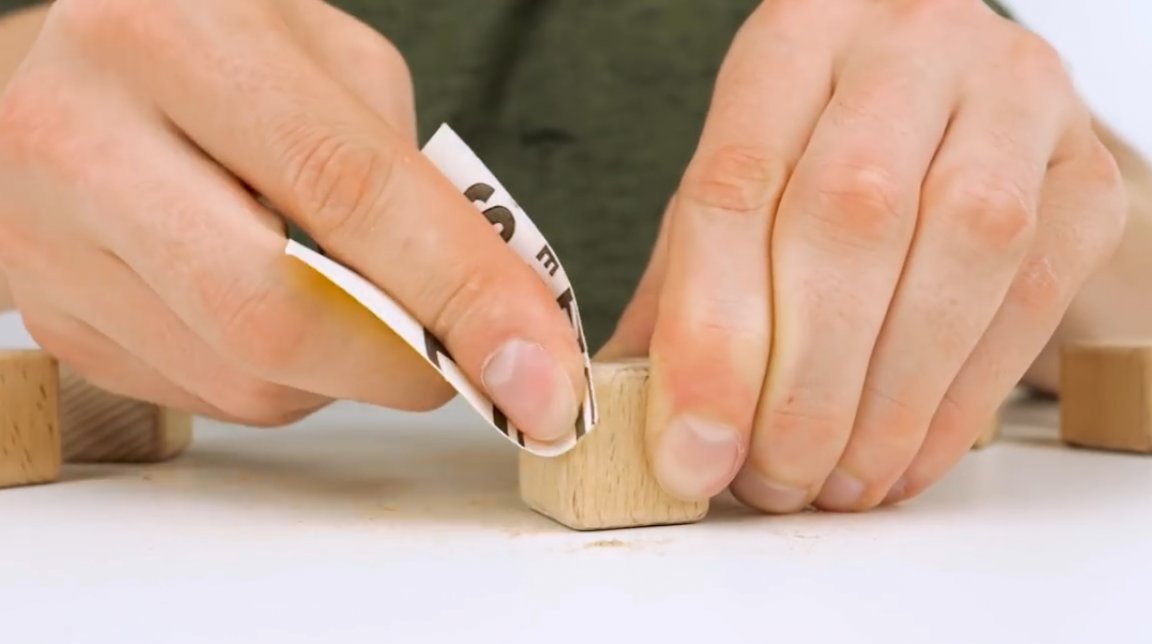
Then all the surfaces of the workpieces are grinded by sandpaper manually.
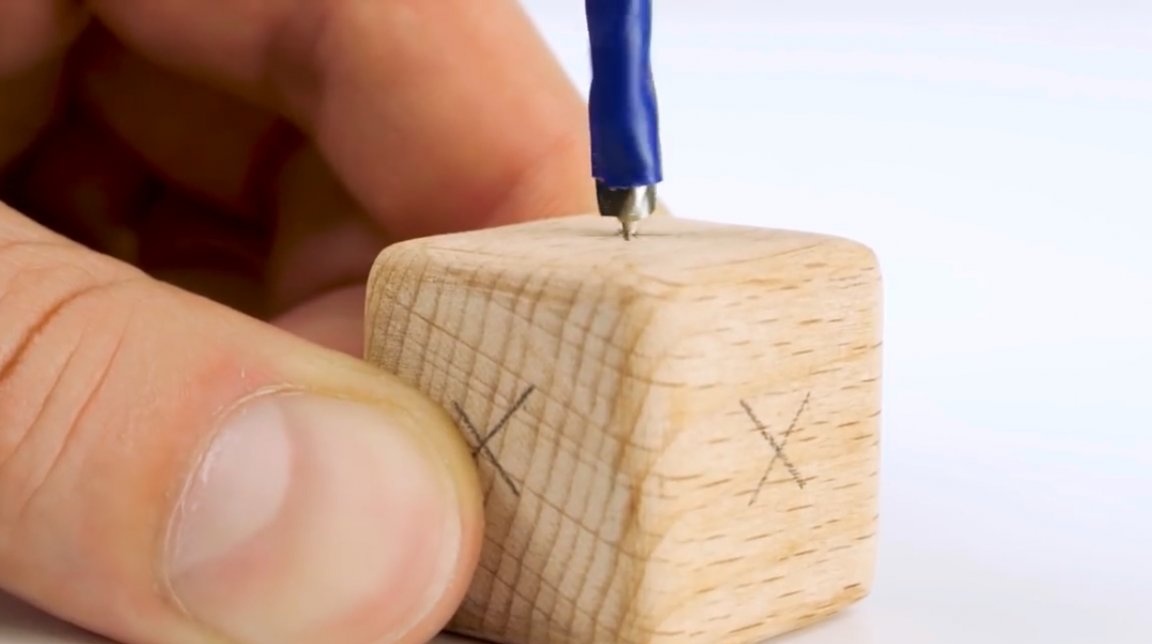
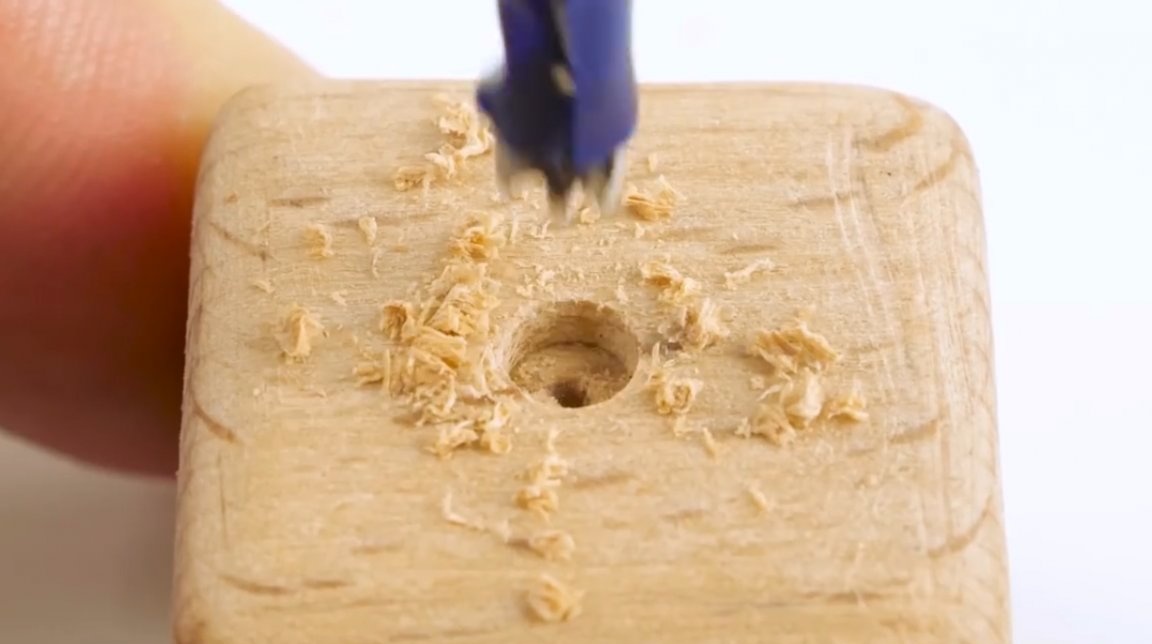
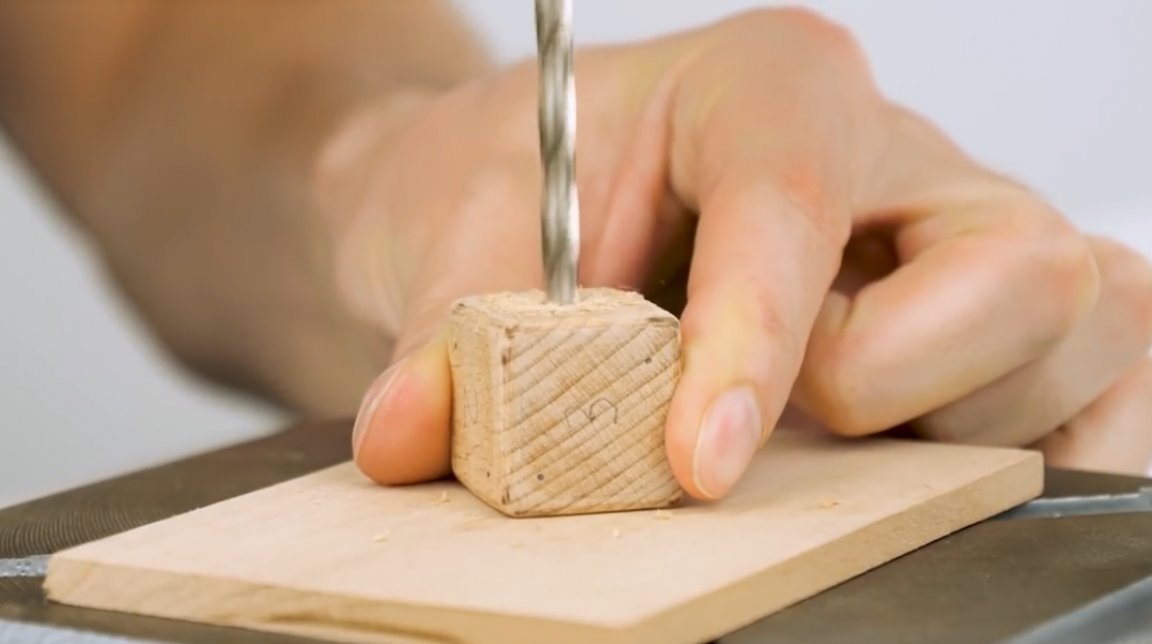
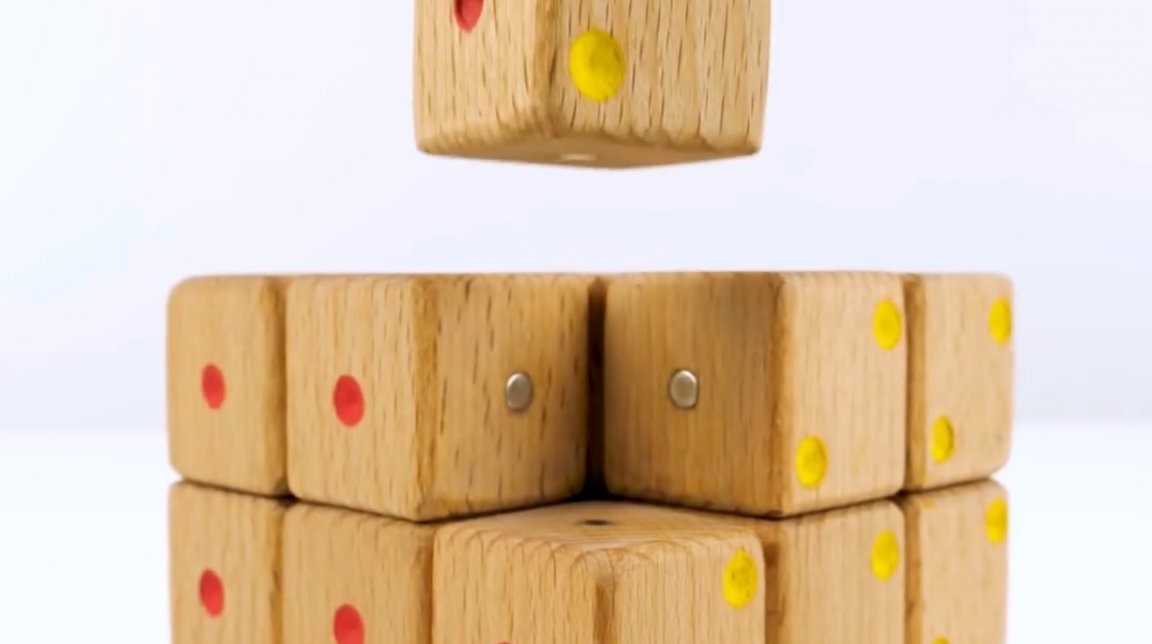
Now, in order for the depth of the seats to be correct, the master winds the electrical tape on the drill. It will be an indicator of the required drilling depth.
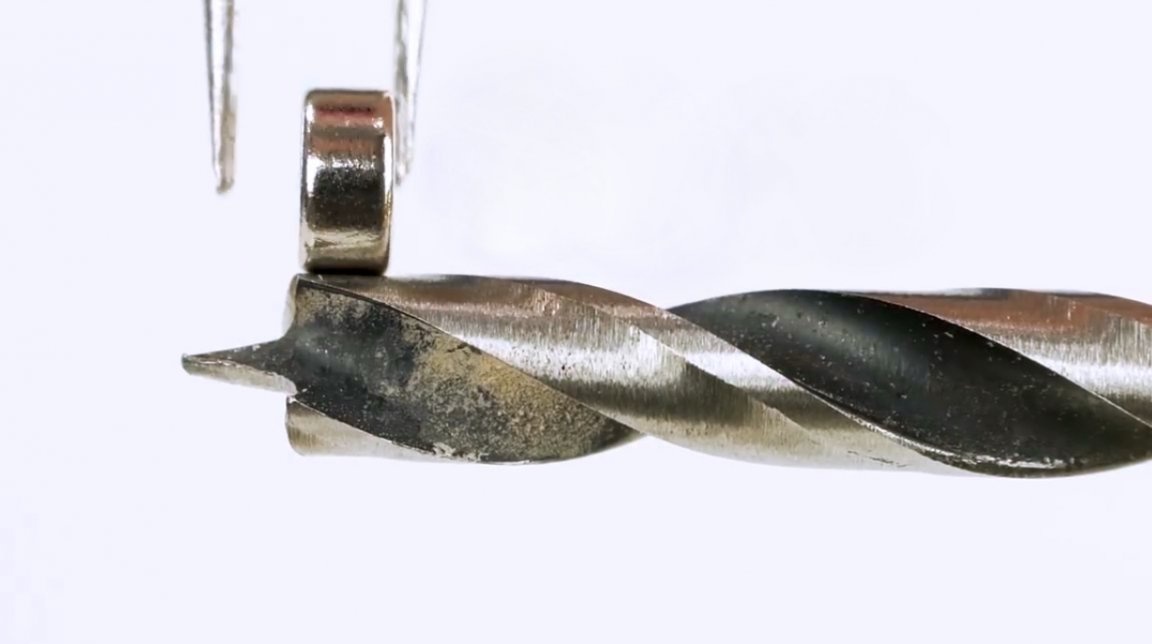
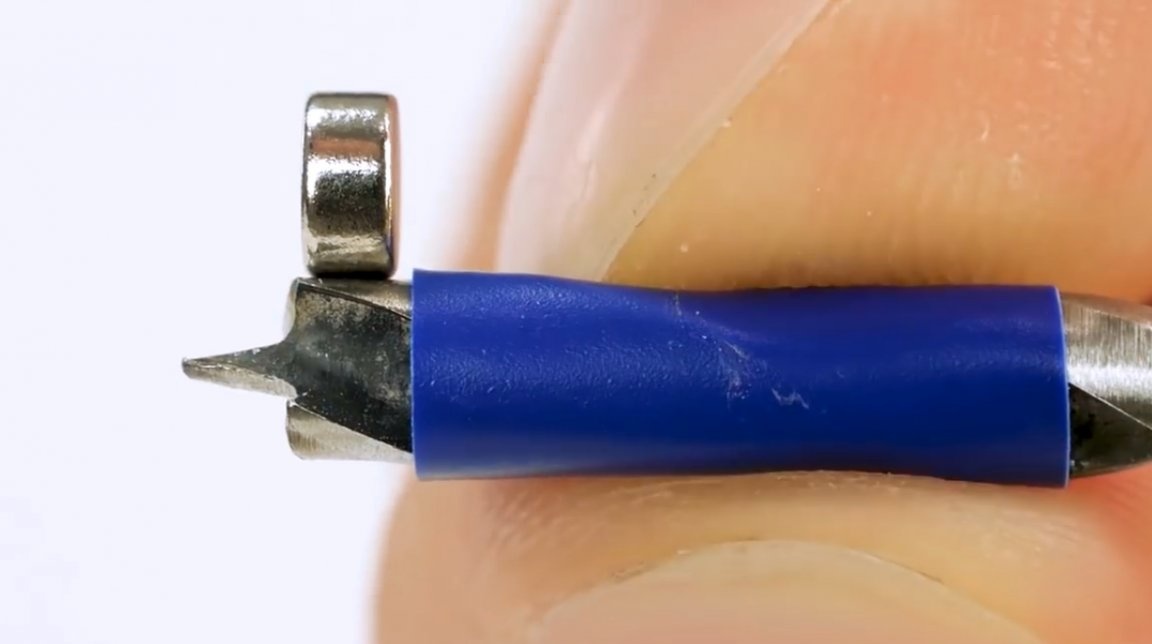
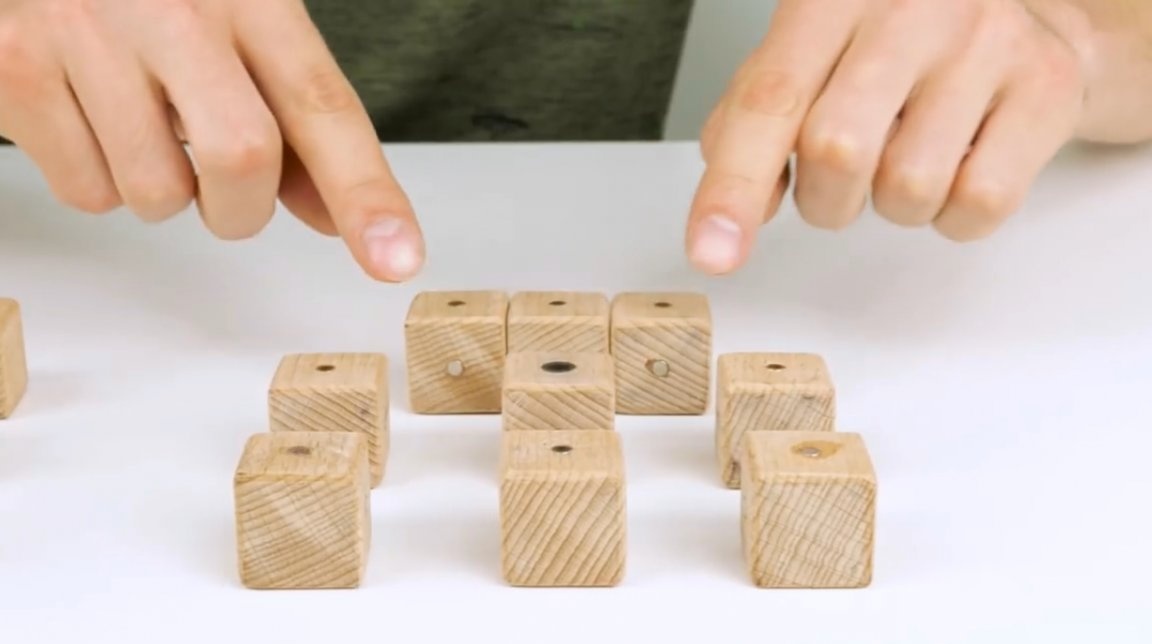
The holes in the cubes are drilled at the places of their contact with each other. In the central cube, and the central side, it is desirable to install larger magnets.
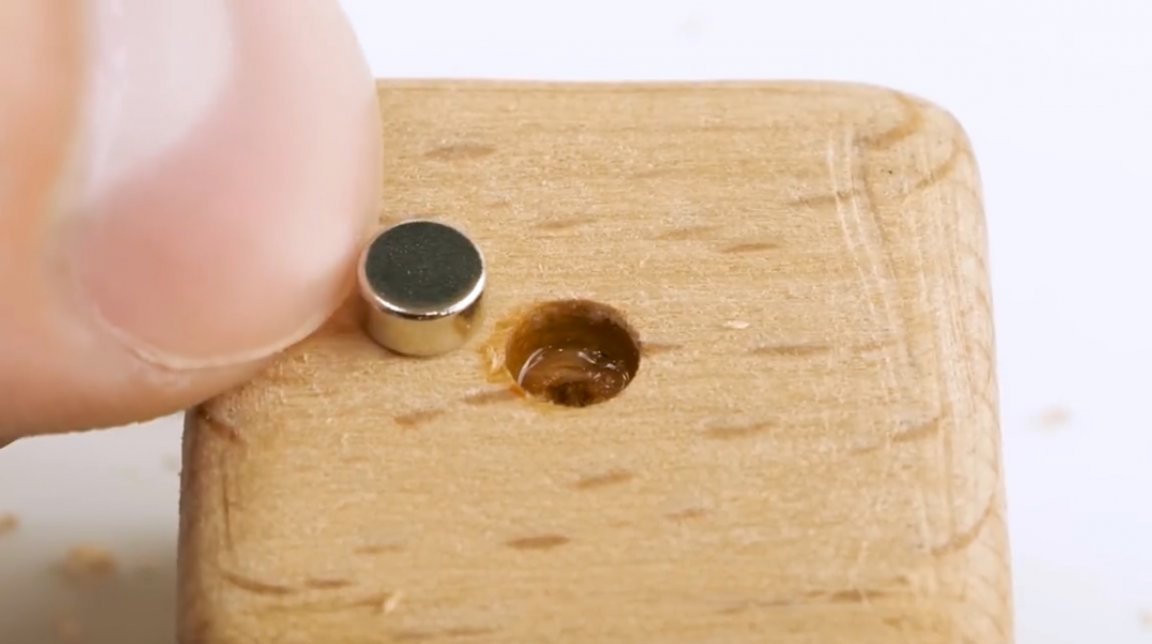
Next, the magnets are glued into place using second glue. Its surface should be flush with the side of the cube.

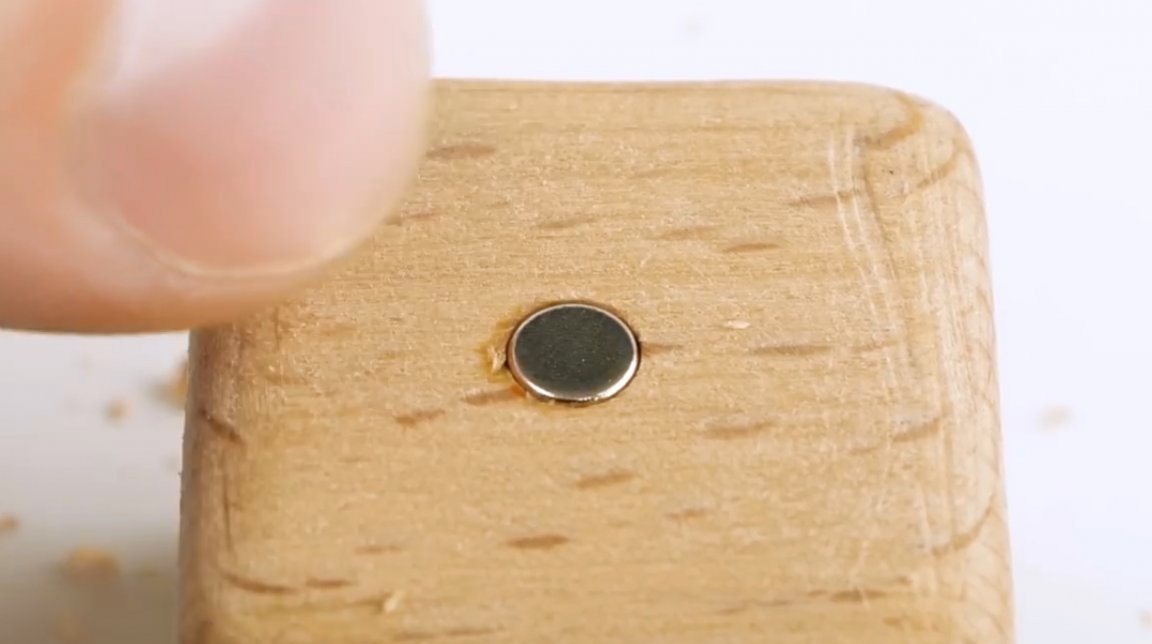
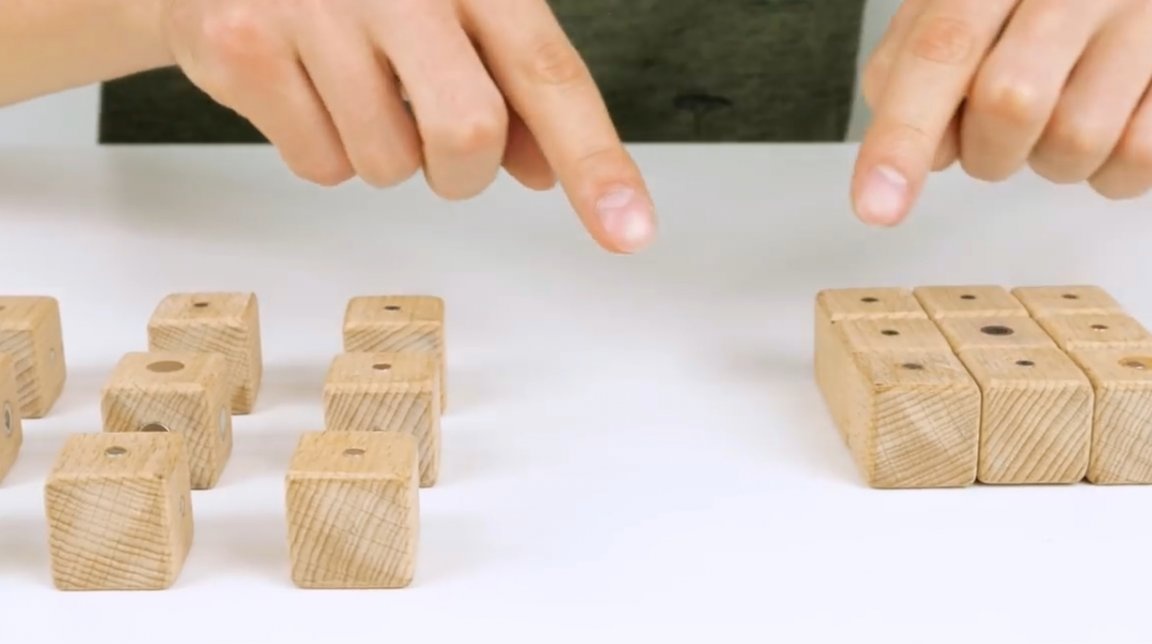
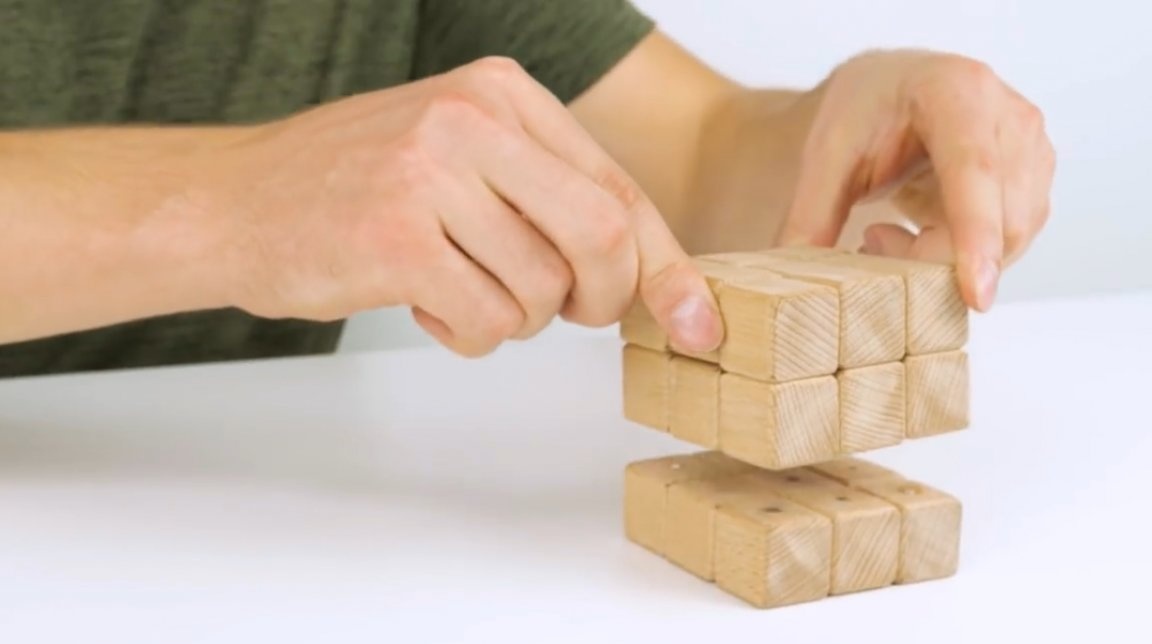
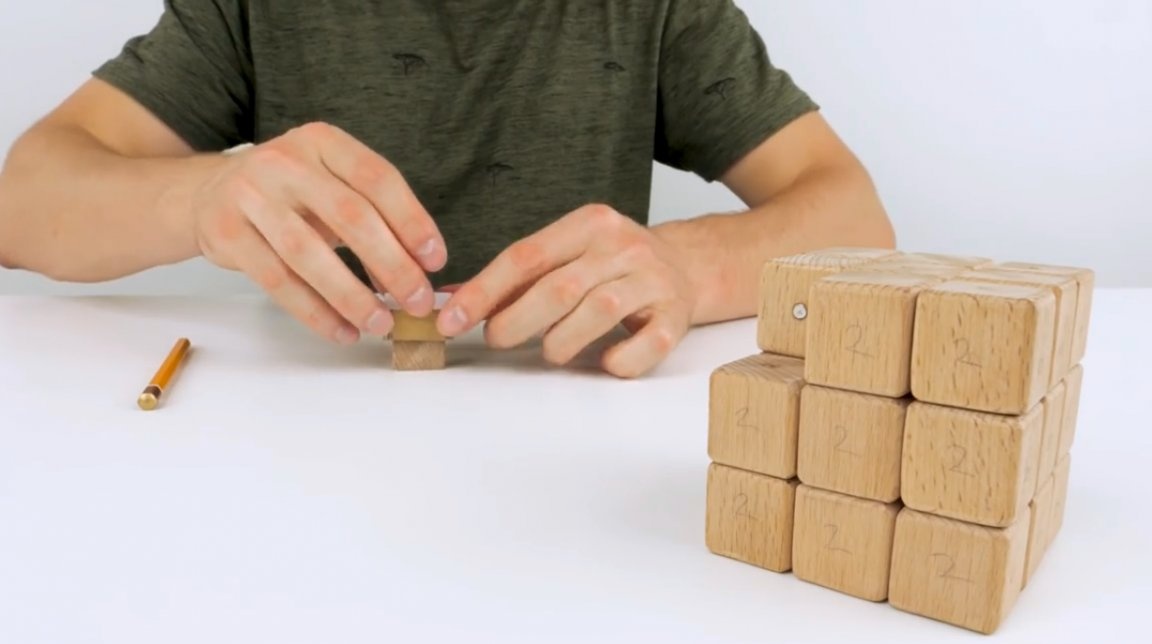
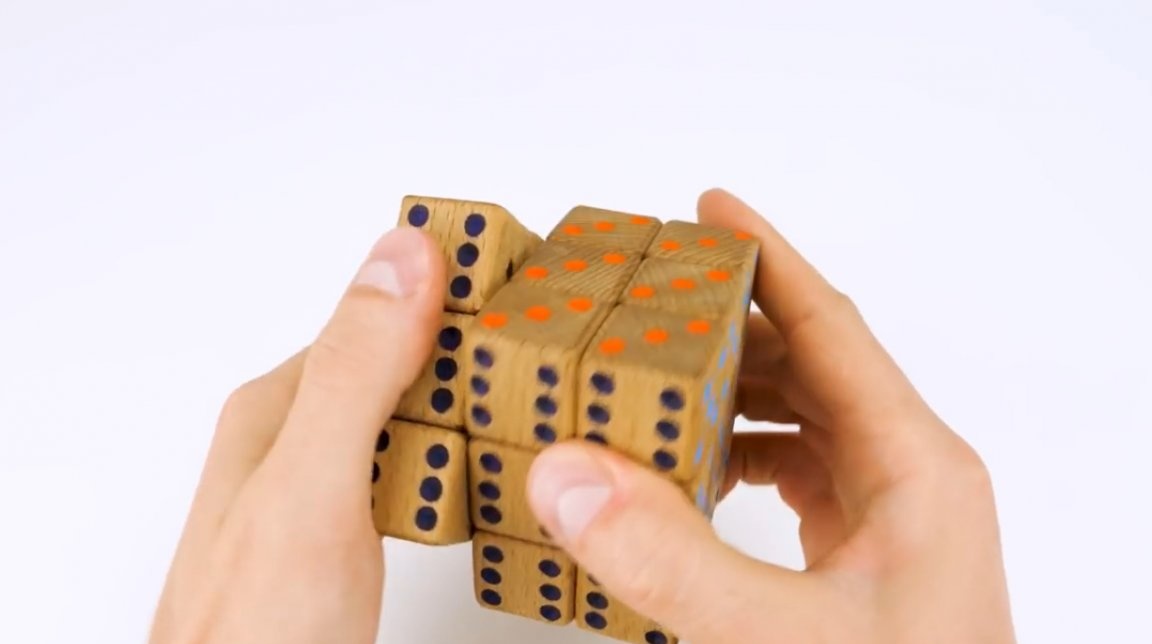
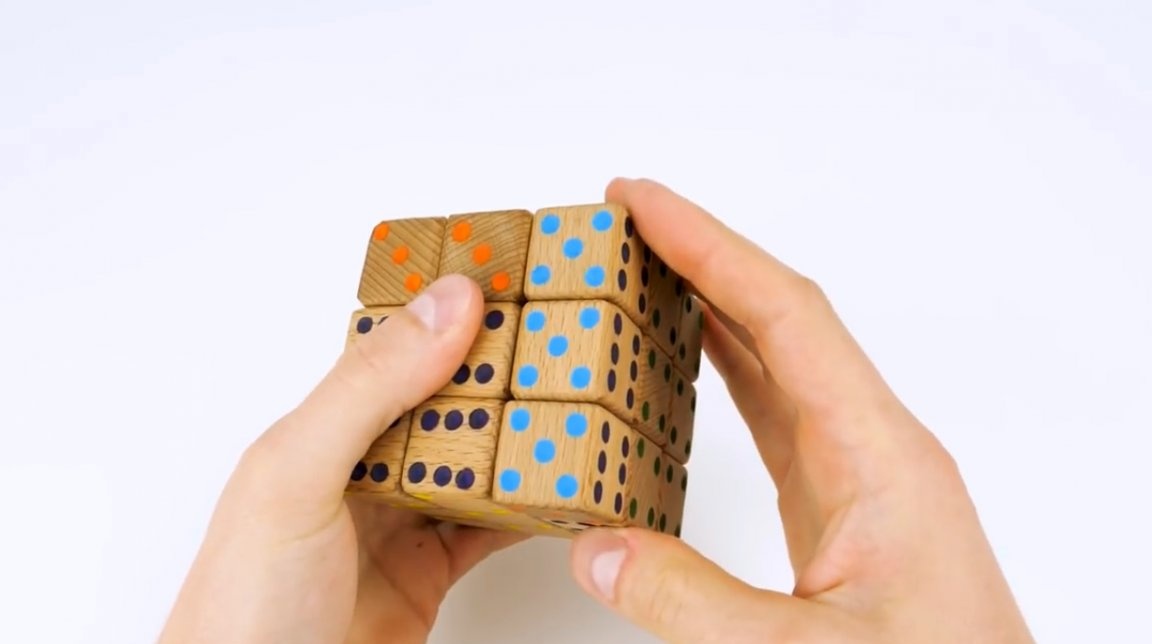
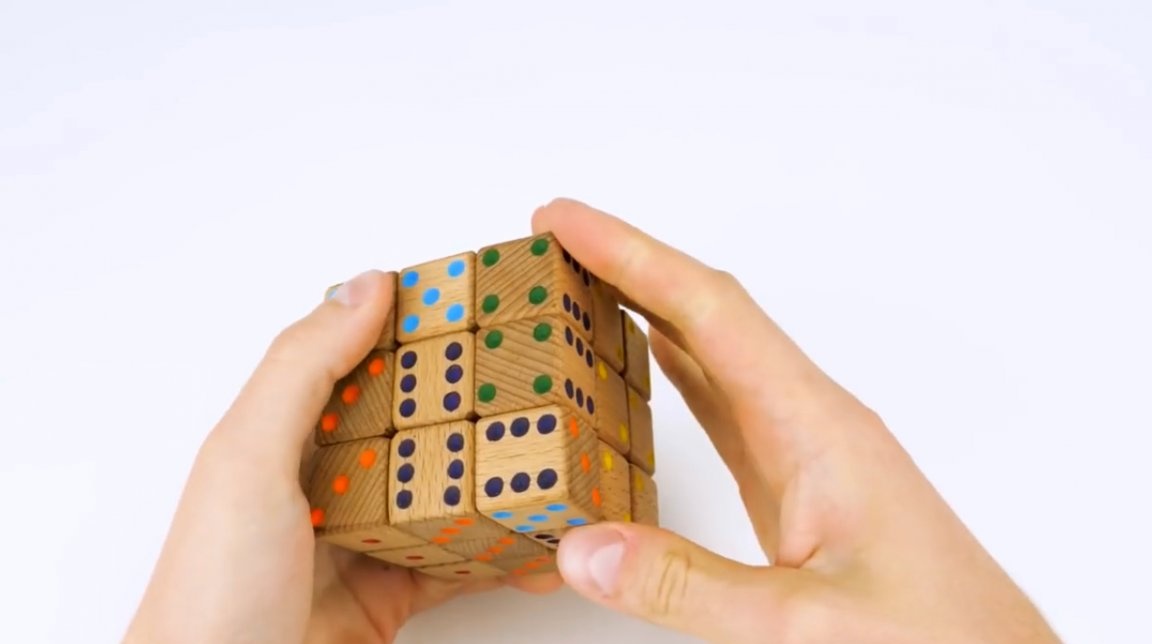
So, all the magnets are glued, and the cube can be assembled.
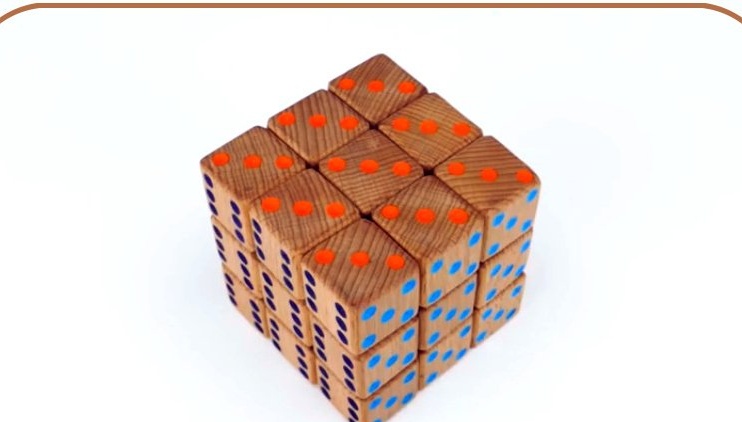
Now the master needs to sign each side with numbers.
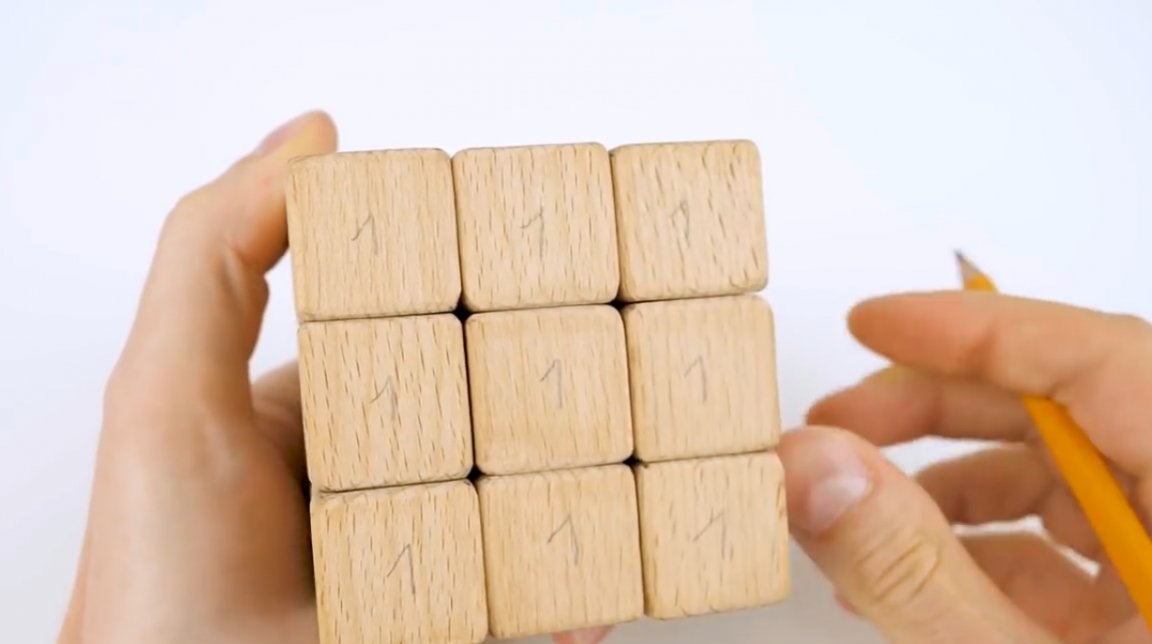
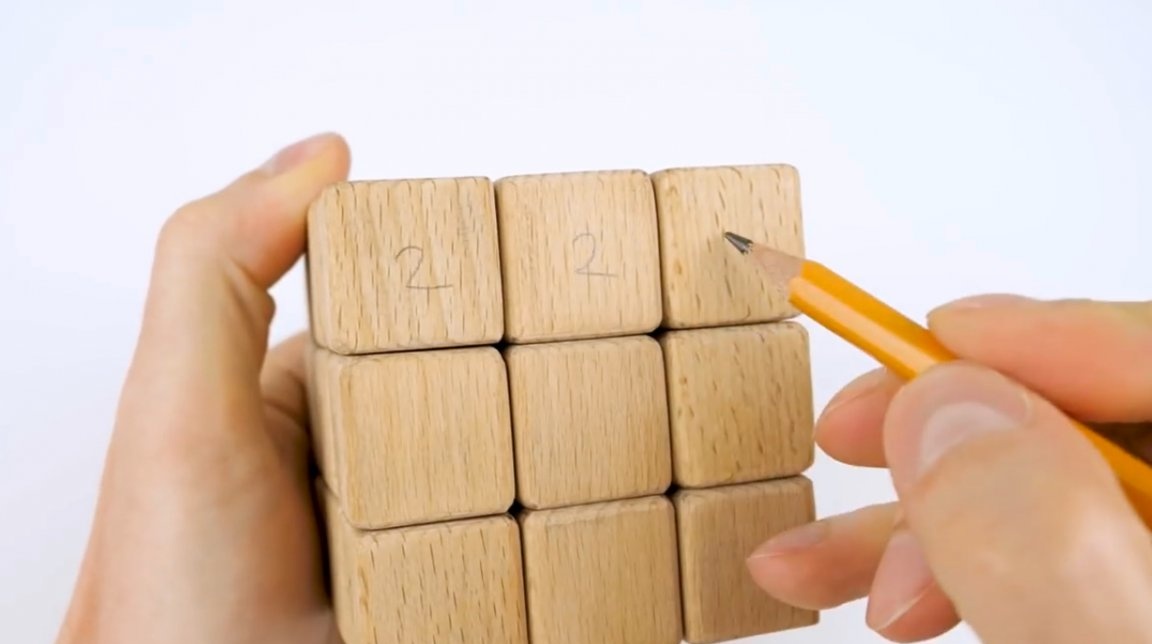
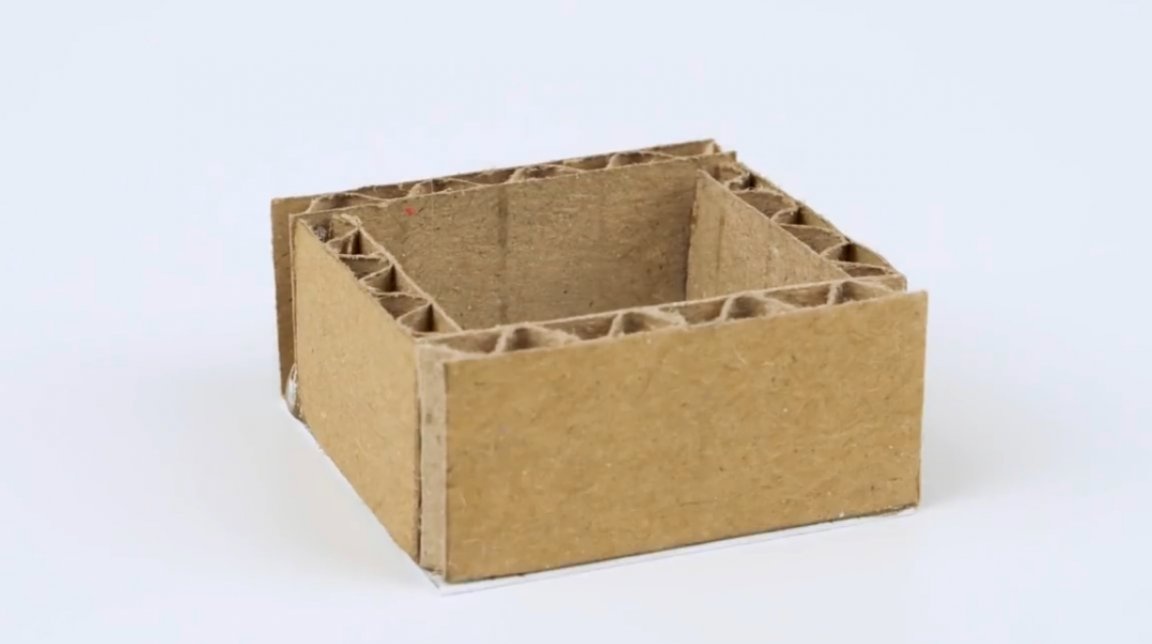
For accuracy of drawing, he made a simple template from cardboard and paper, in which he marked and punched 9 holes.
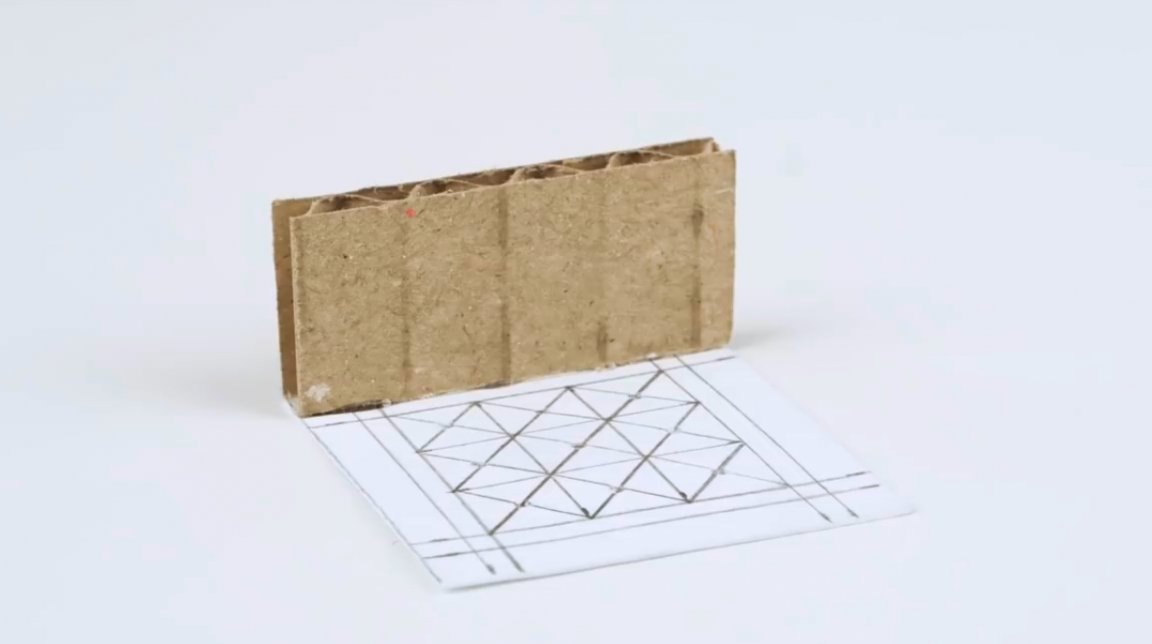
Cubes are inserted into the template one at a time, and marks are made as on dice.
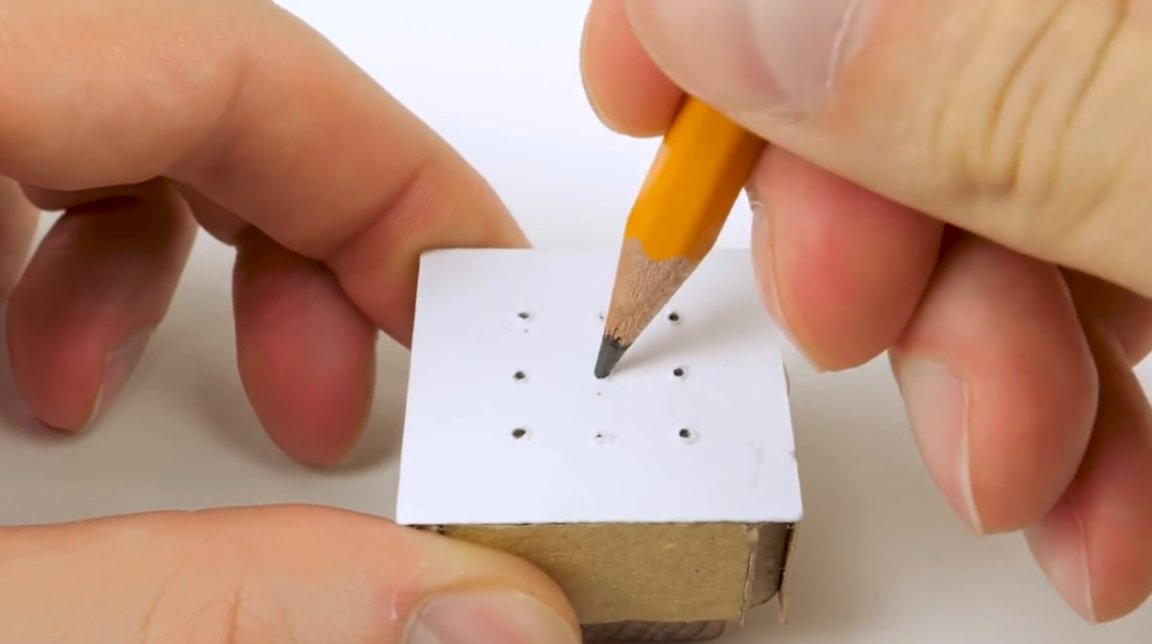
Based on the marks, small indentations are drilled.
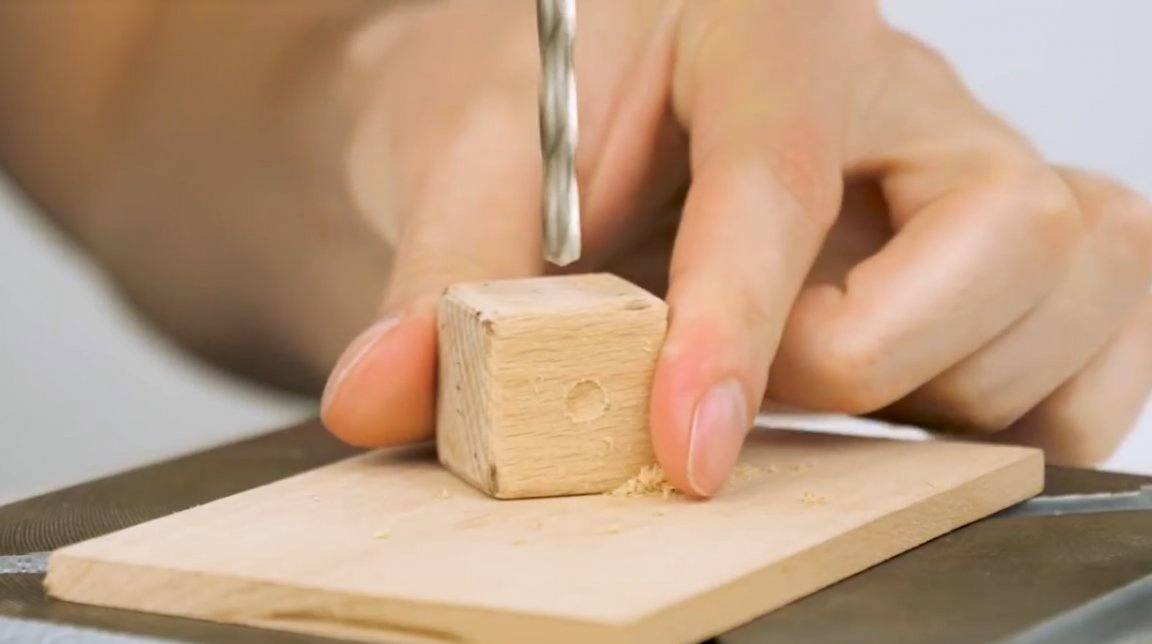
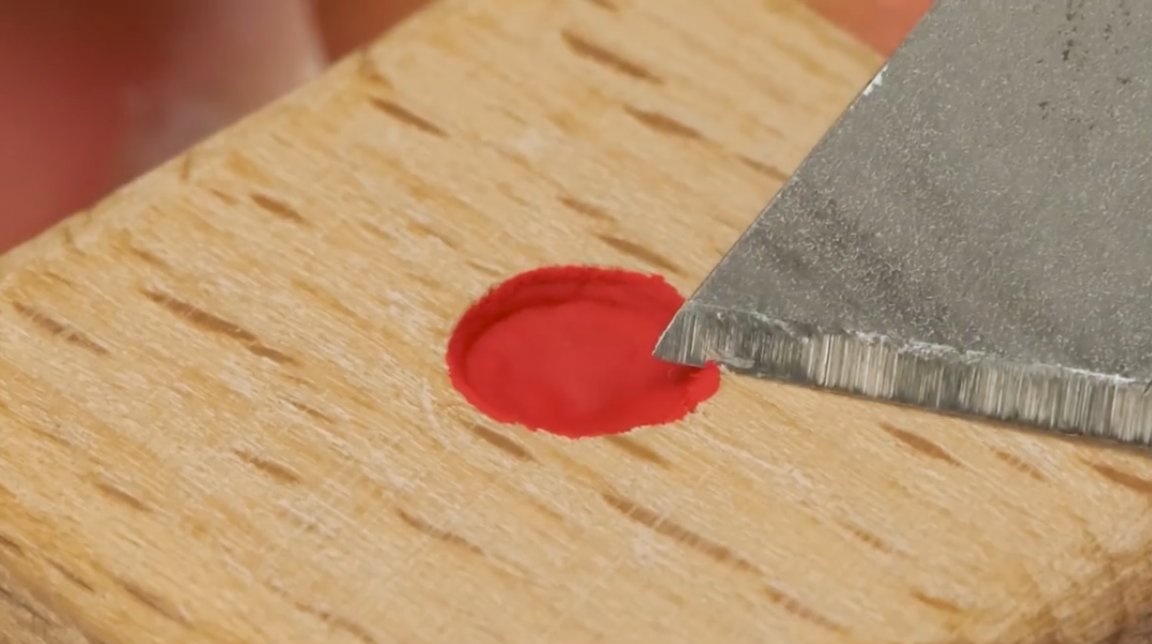
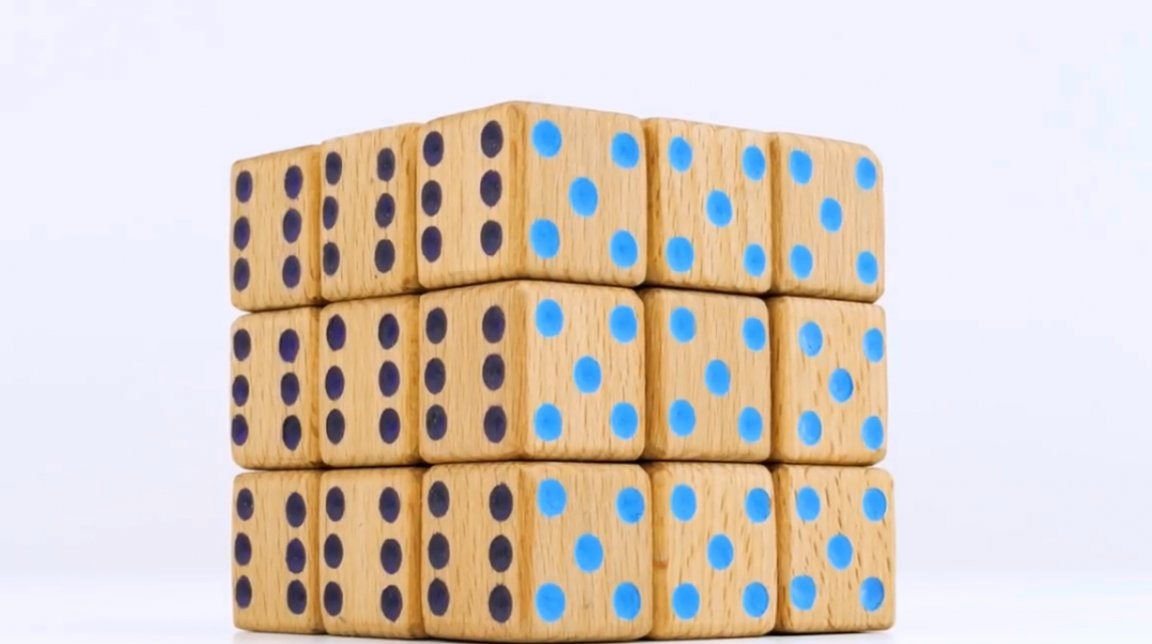
The resulting recesses are filled with acrylic paint.

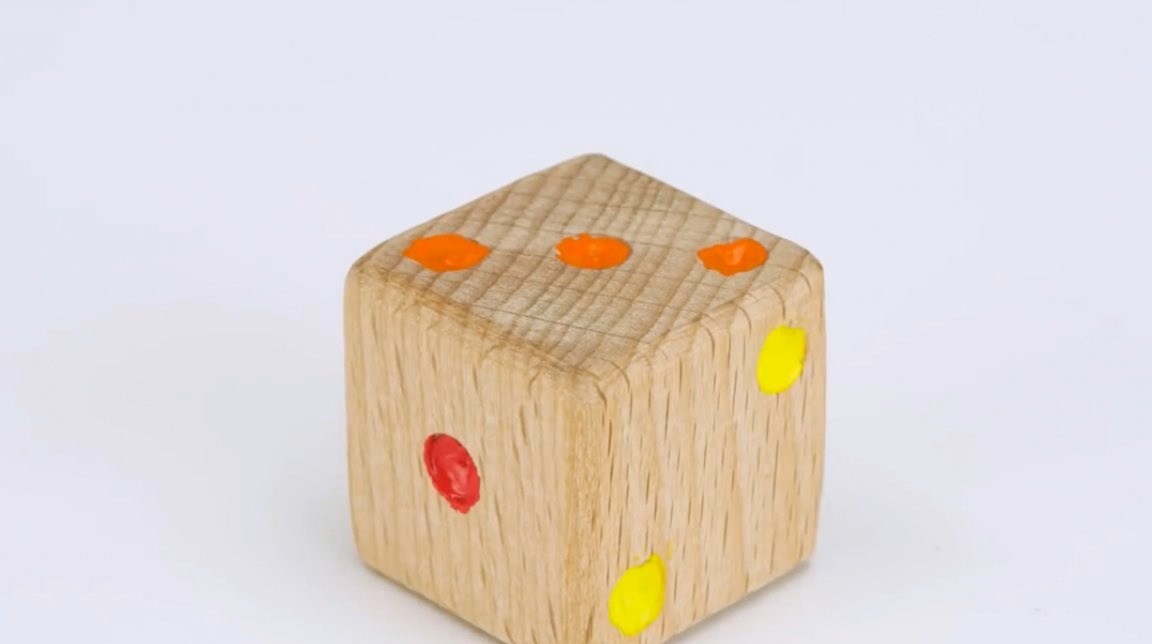
After the paint has dried, its excess can be removed with a knife, and the outer sides of the cubes can be sanded again.
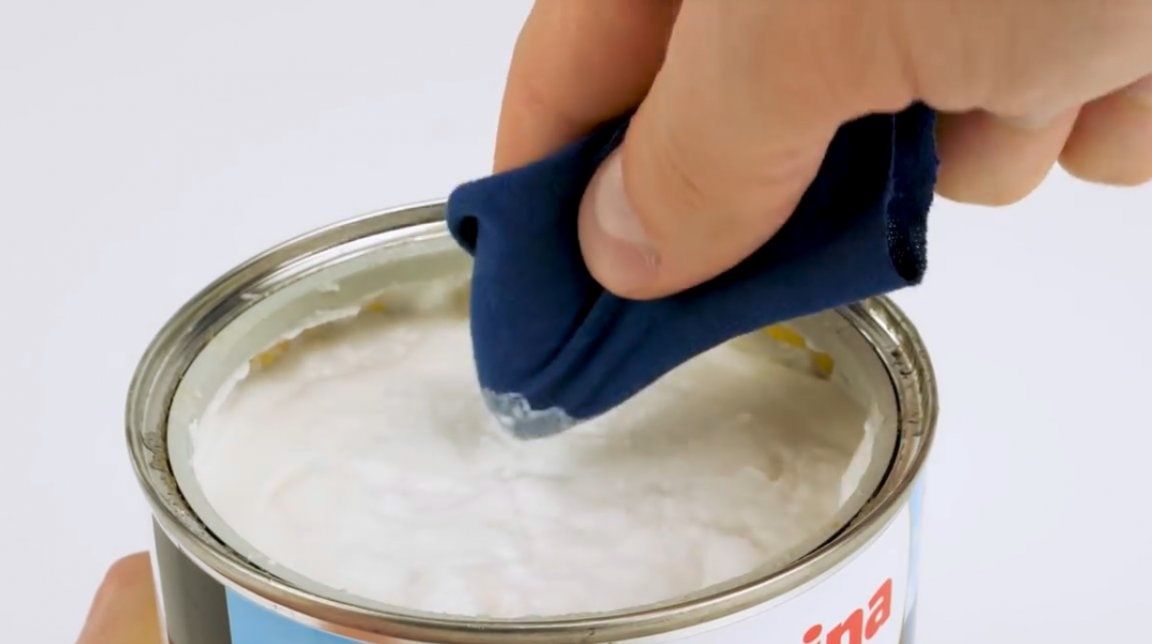
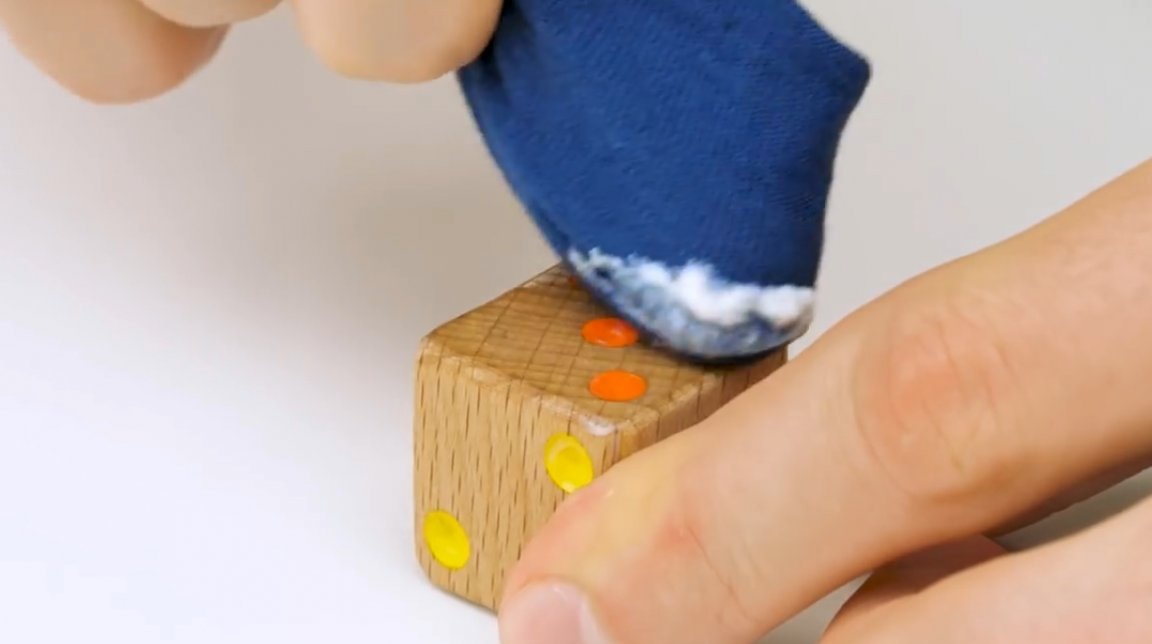
So, all the cubes are ready, their surfaces should be soaked with linseed oil or wax. This will help protect them from moisture, and give ease to the rotation of the sides.
All cubes are assembled into a single whole.
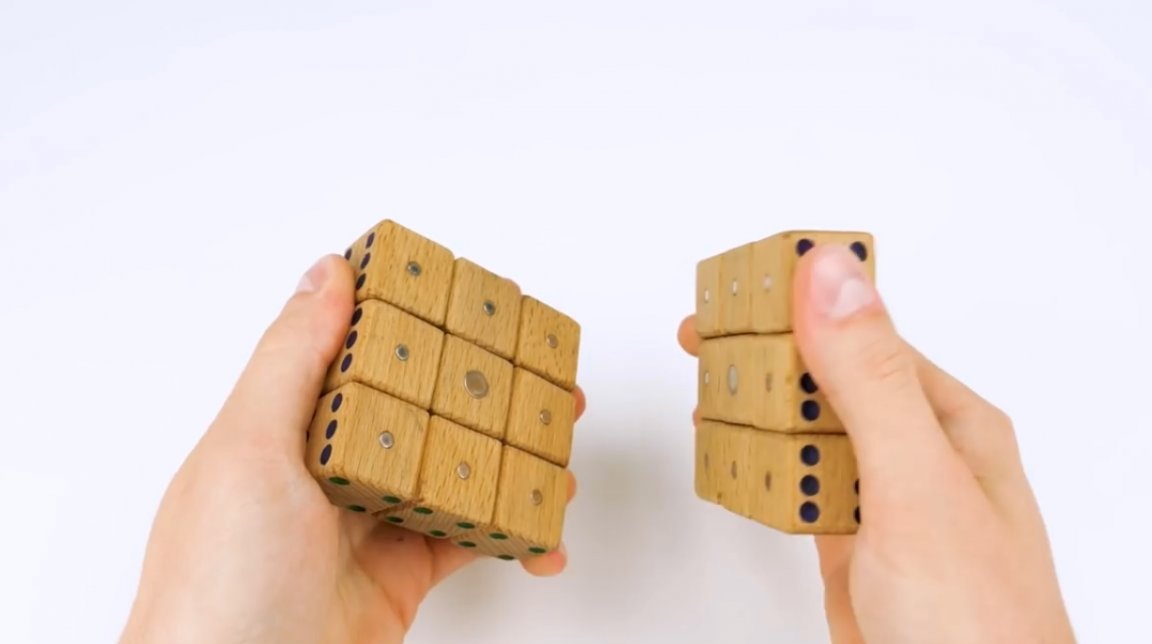
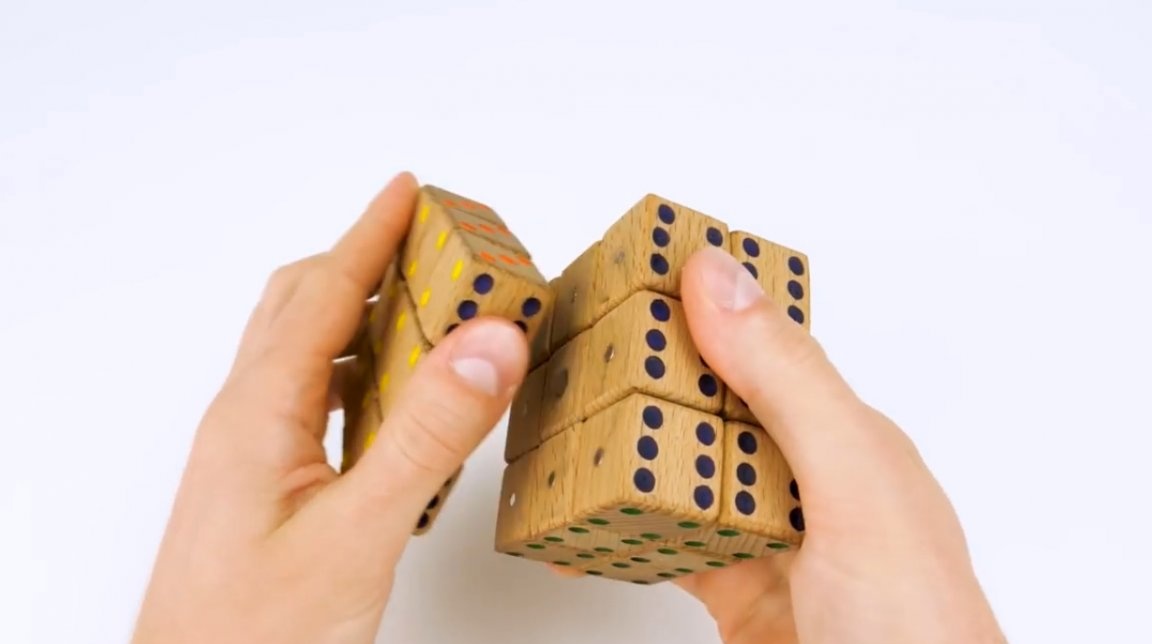
And now you can safely confuse the combination.
The dimensions of the cube can be modified at your discretion.
Thanks to the author for the simple idea of improving the Rubik's Cube!
All good mood, good luck, and interesting ideas!
Author video can be found here.