

Hello everyone, I've seen enough of how foreign authors rivet woodworking machines, and decided to try it myself. It is not uncommon for a farm machine to need a drilling machine, recently it was necessary to drill holes in wooden castors for a children's toy, it turned out crookedly by hand. I used the old one as the basis for the drilling machine, it was lying around for a long time without a battery and with a fused button. In the article I will show all the difficulties and nuances of manufacturing, and you yourself decide whether you need it. If the project interests you, I propose to study it in more detail!
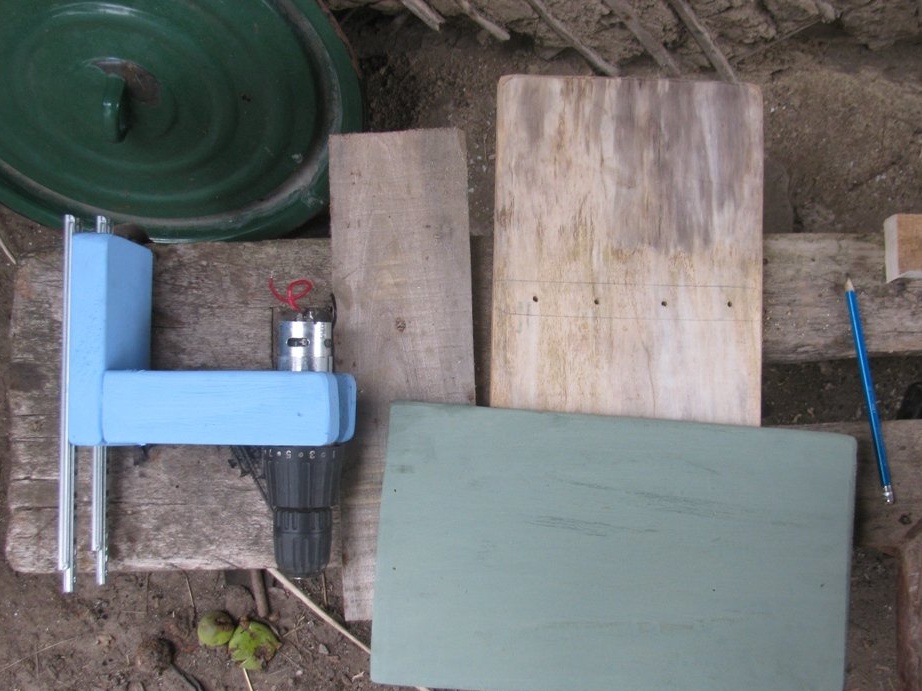
Materials and tools that I used:
Material List:
- board for the base and stand;
- a block or a thick board for the motor holder;
- two sliders for of furniture (bought at 15 UAH);
- ;
- spring;
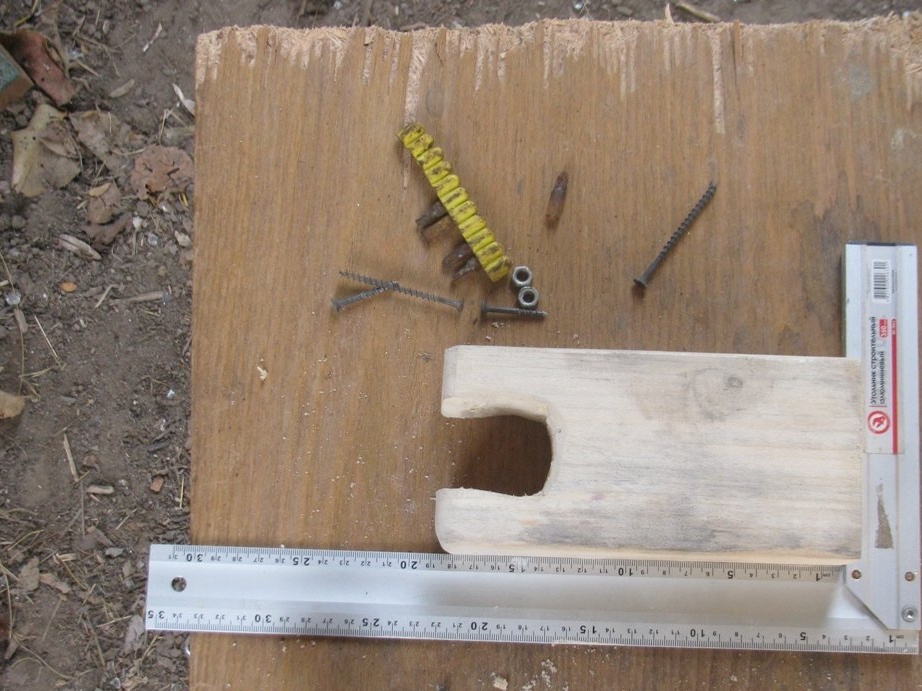
- self-tapping screws;
- carpentry glue;
- cable;
- switch;
- mounting bracket or two washers;
- paint, varnish (I have acrylic).
Tool List:
- manual LSHM;
- drill;
- a hacksaw;
- square and pencil (required);
- soldering iron.
The manufacturing process of the drilling machine:
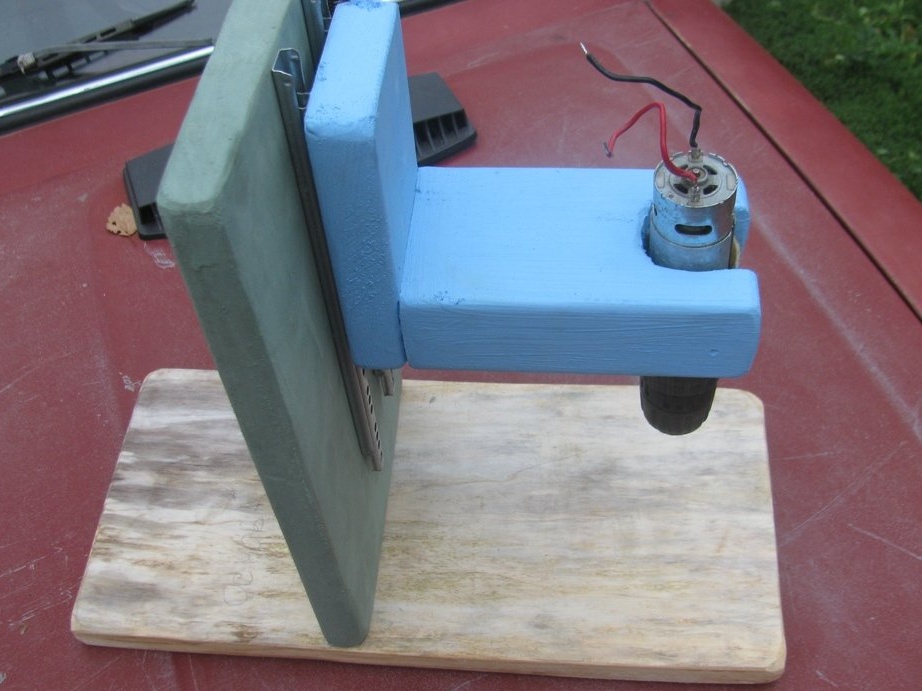
Step one. Motor holder
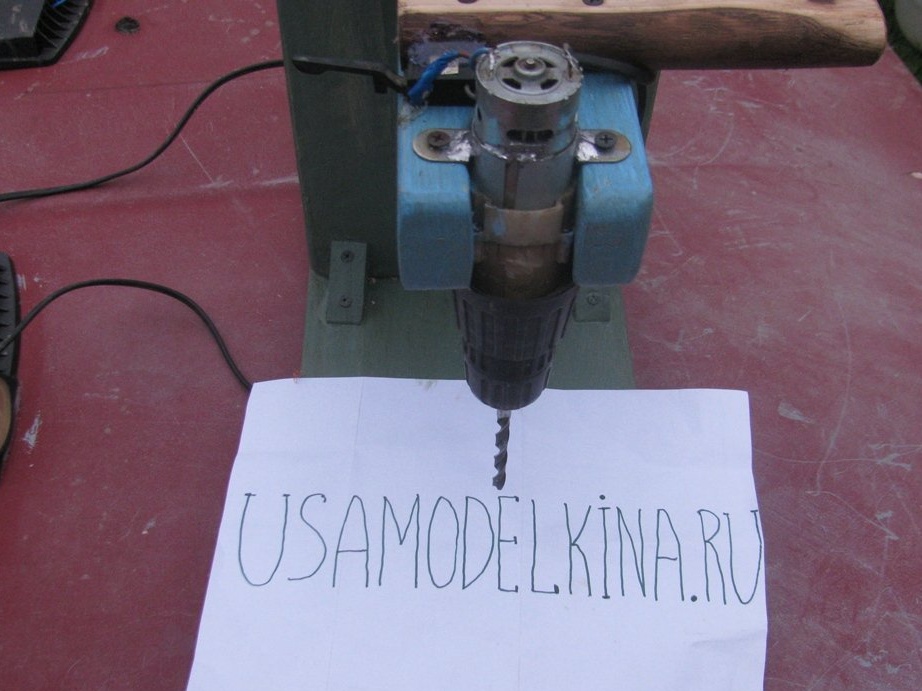
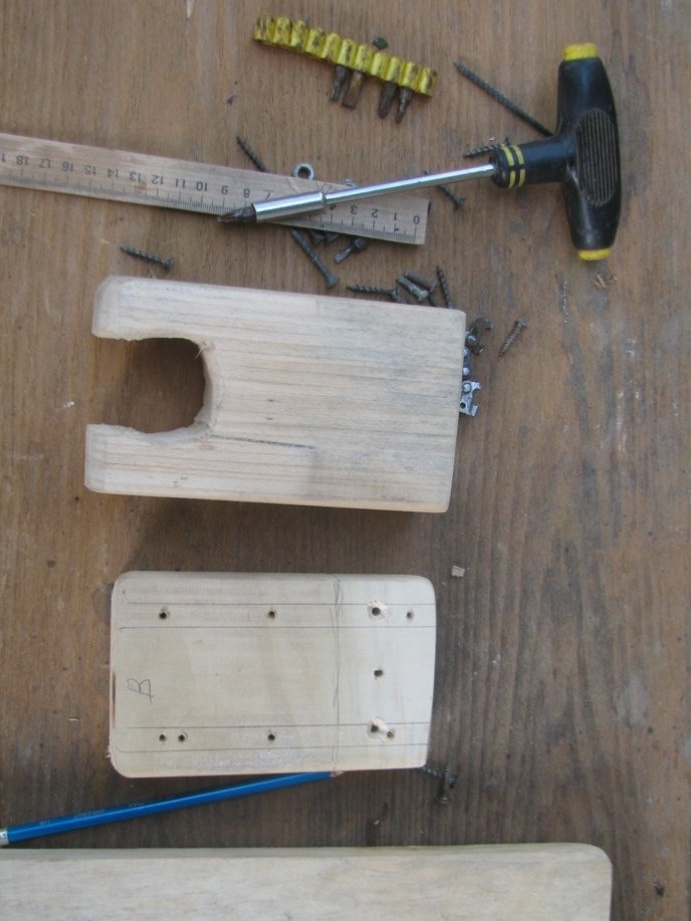
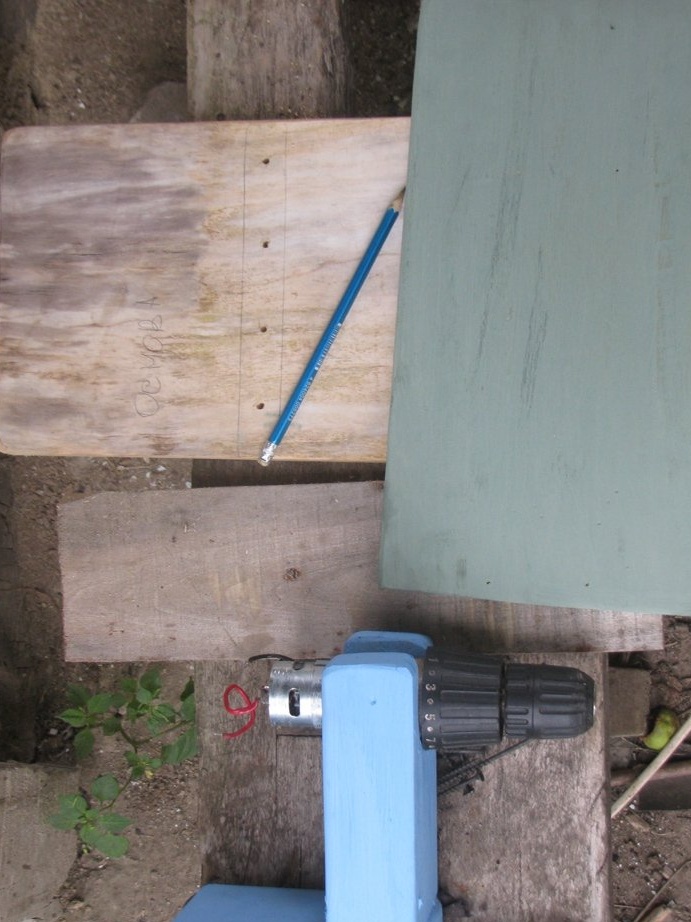
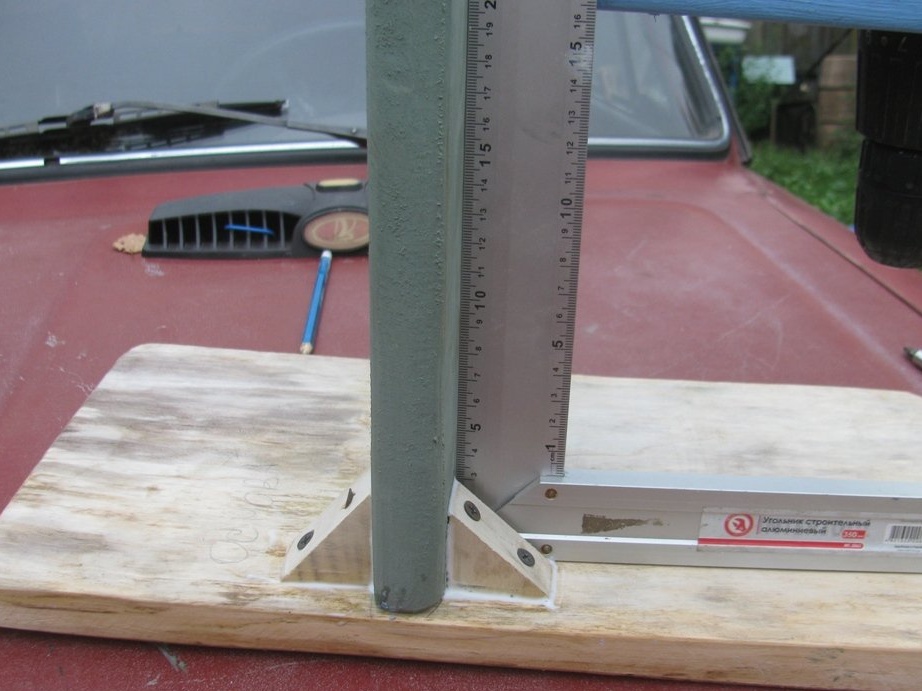
First of all, we will make a holder for the motor, then we need a beam or a piece of a thick board. Having decided on the dimensions, we align the base of the beam (the abutting place with the main one) clearly at right angles, then we needed a square and an LSH. In general, all joined parts must be ground at a right angle, otherwise it will not work to assemble the machine exactly.
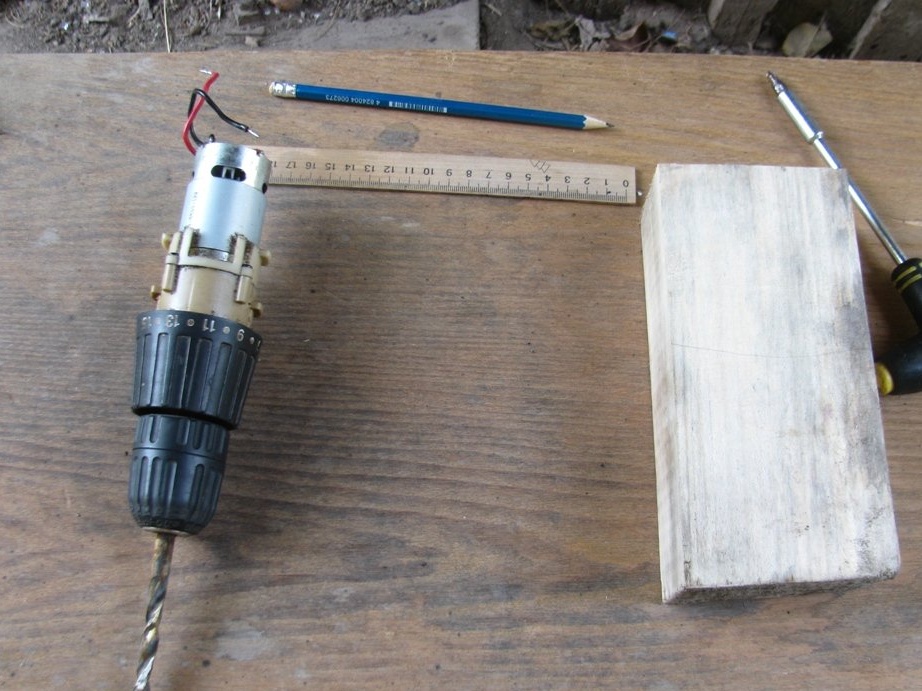
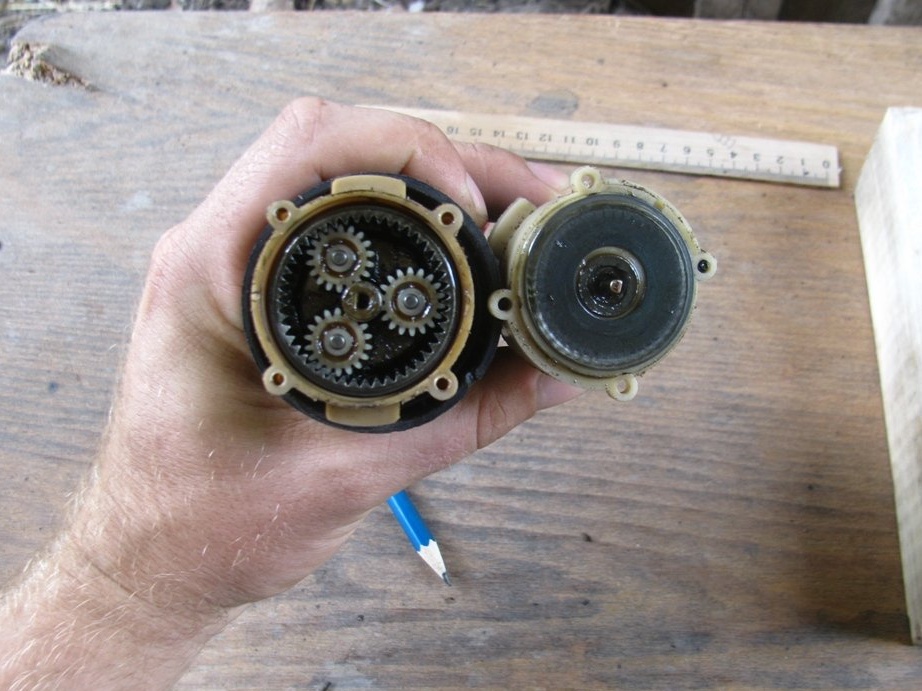
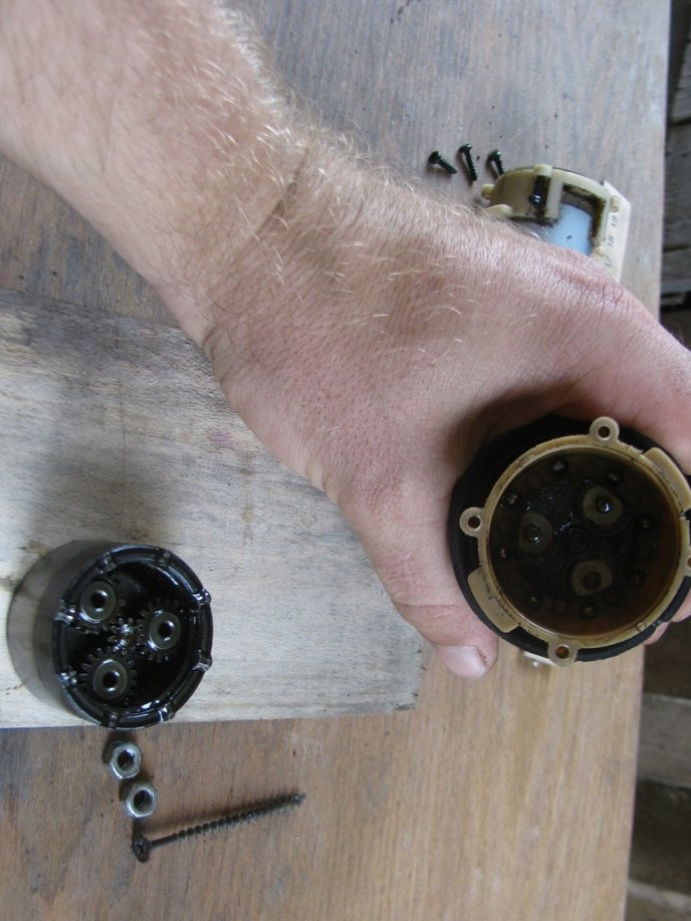
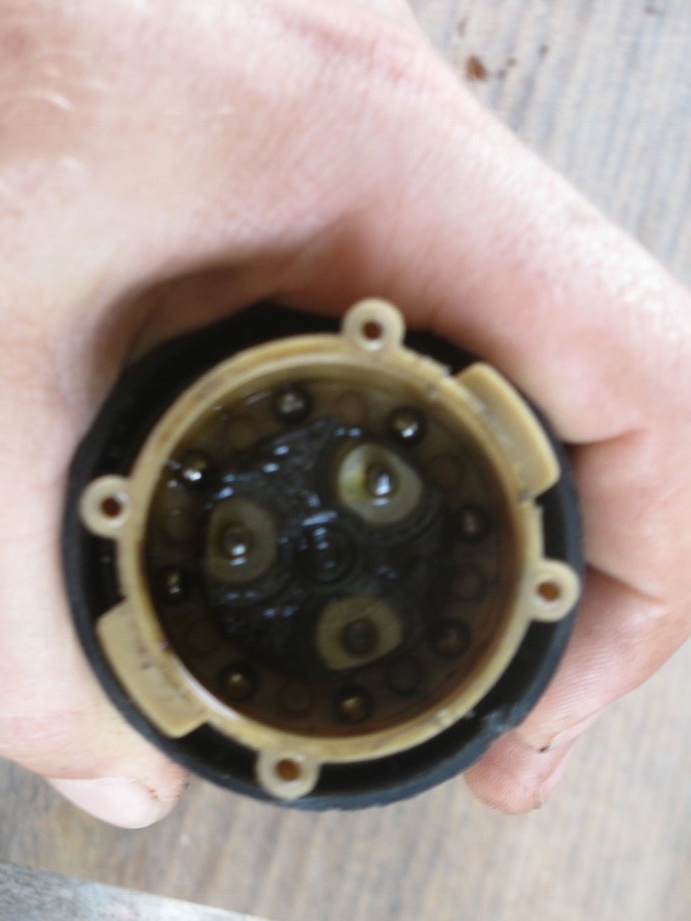
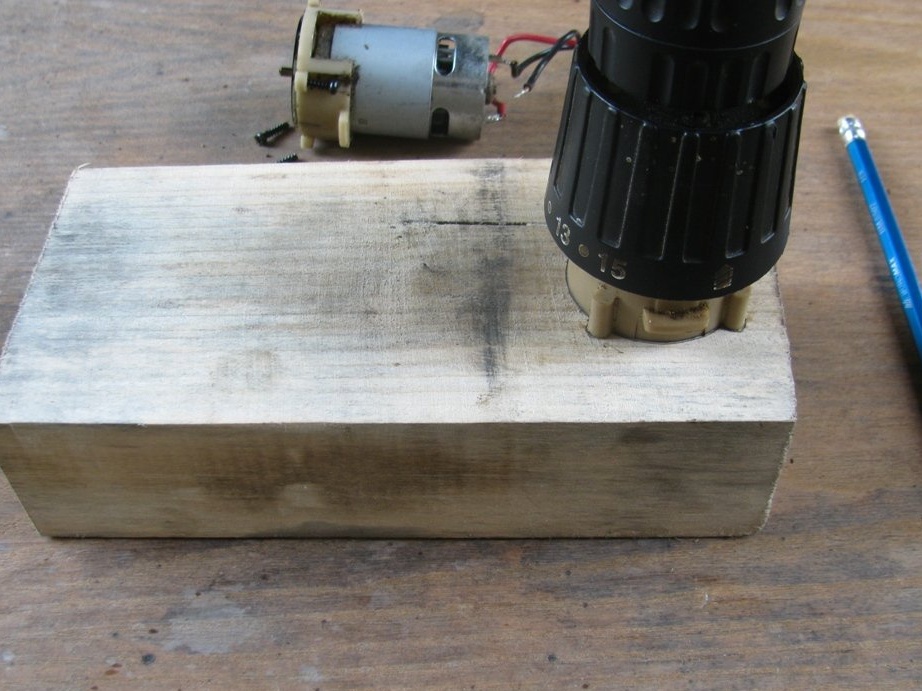
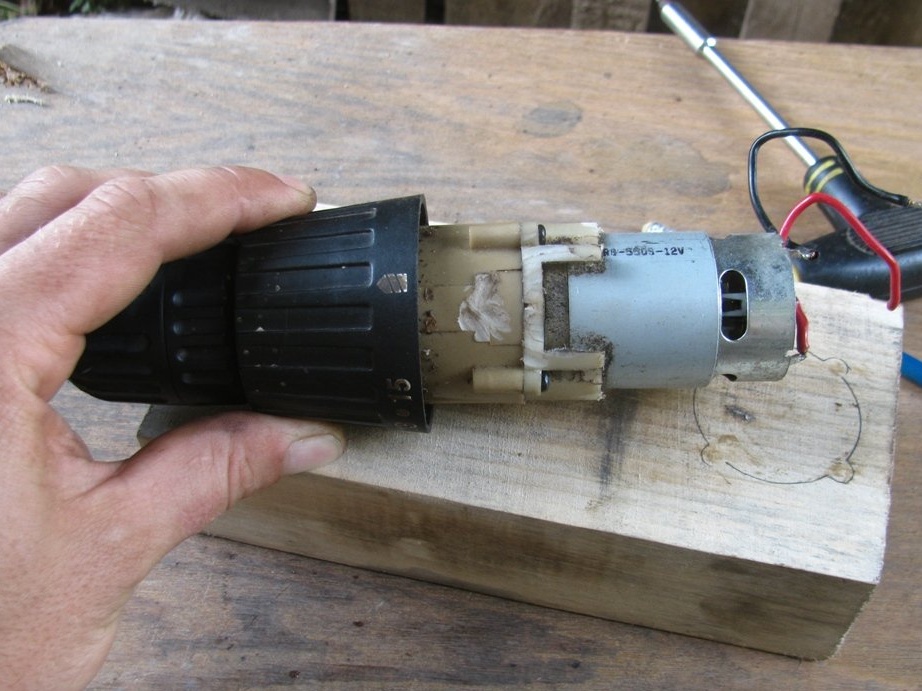
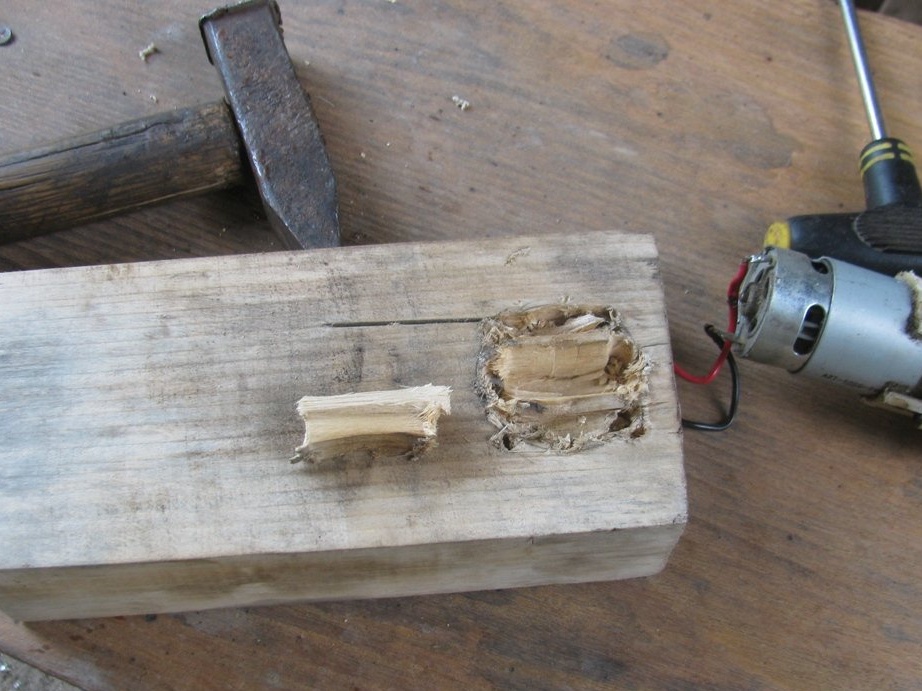
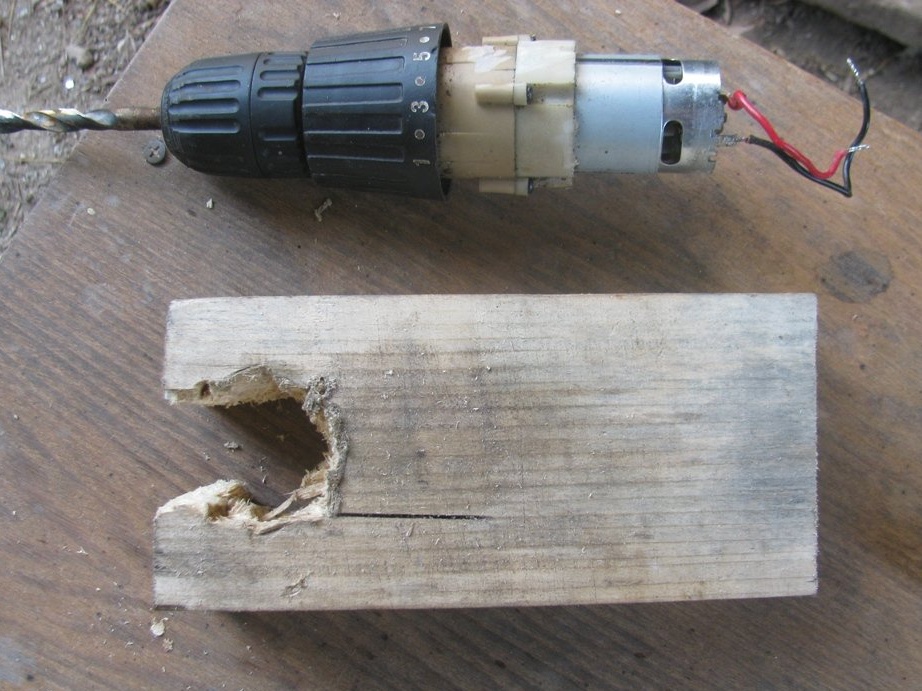
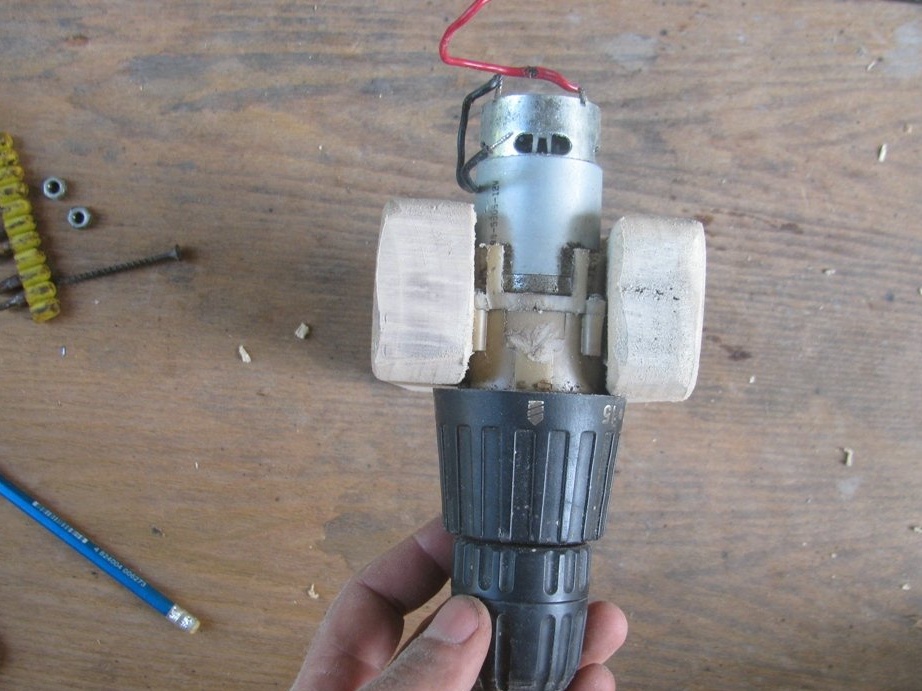
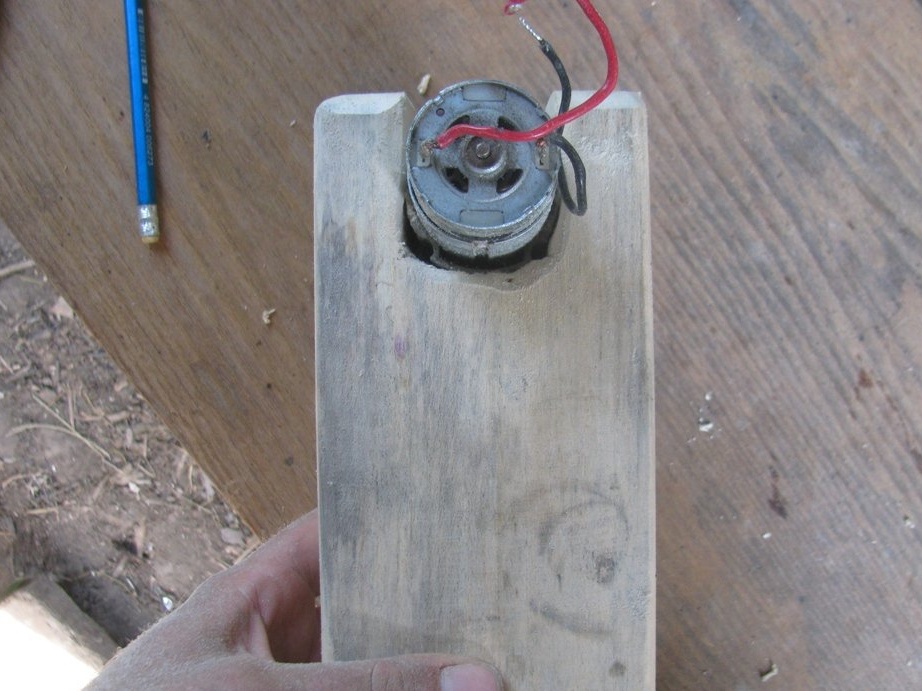
Next, we disassemble the gearbox on the motor, there are gears inside, I have three plastic ones on top and 3 steel power ones on the bottom. There was also a bunch of balls that I got enough sleep when I turned the cartridge upside down with a drill. Grease the gearbox with grease, and then transfer the circuit to the future holder.
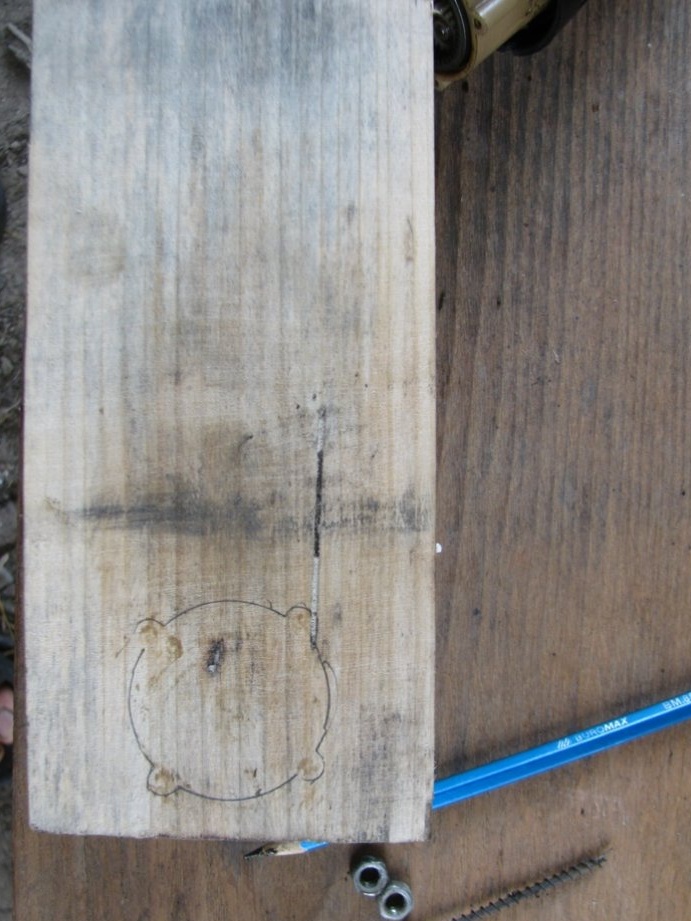
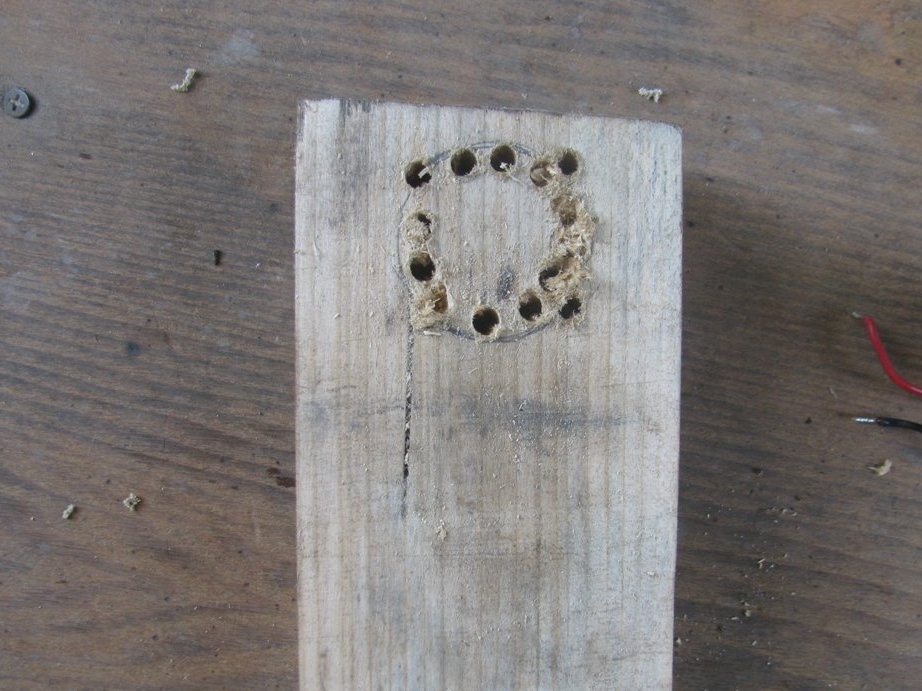
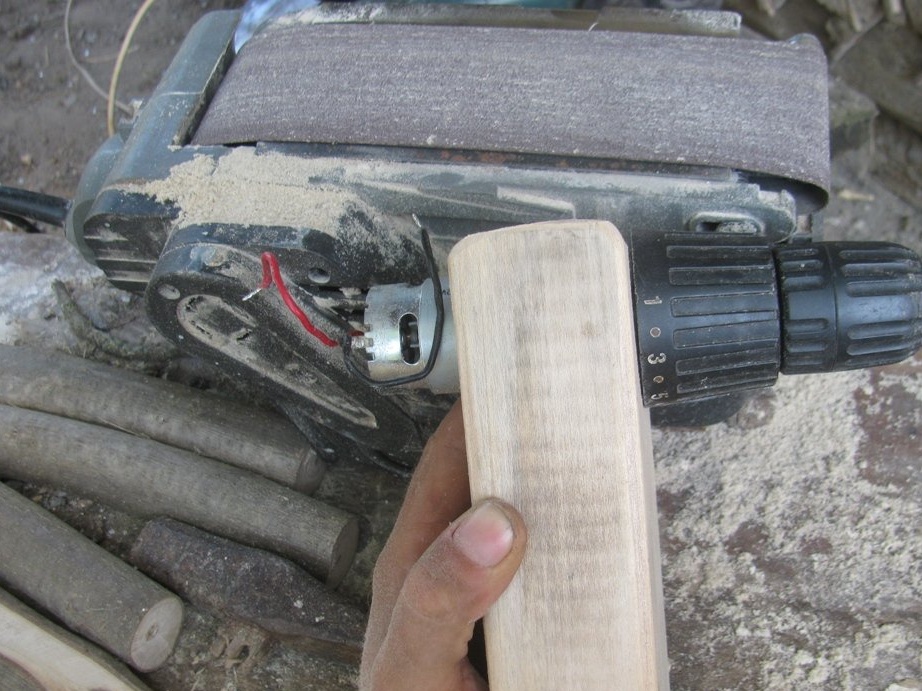
At first I wanted to cut a hole in the shape of the gear case, but nothing happened, the wood turned out to be too viscous (linden or something like that). As a result, I got a fork, polished it inside with the help of LSHM (climbed with a roller).
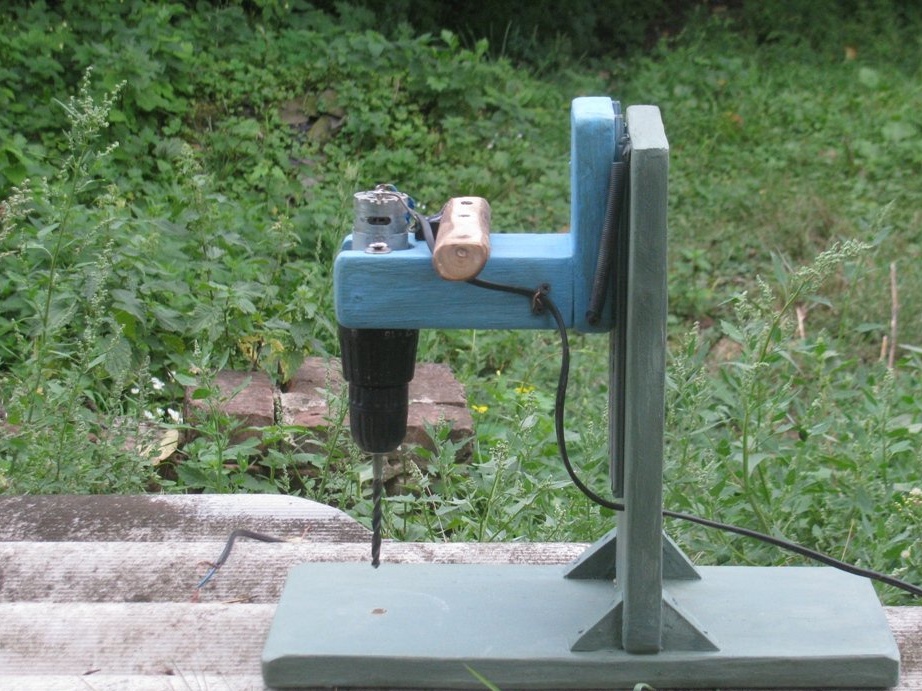
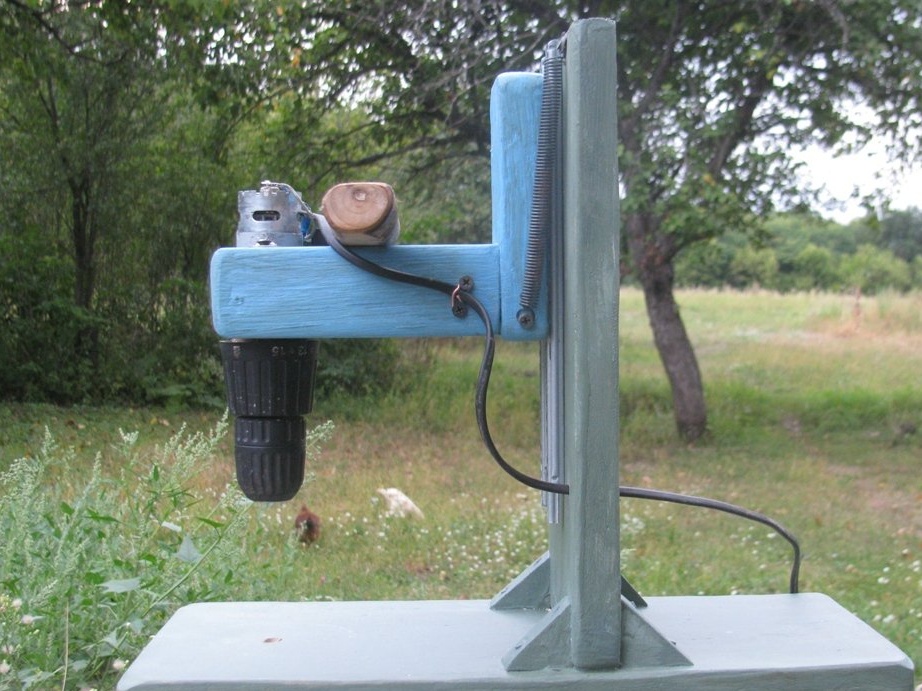
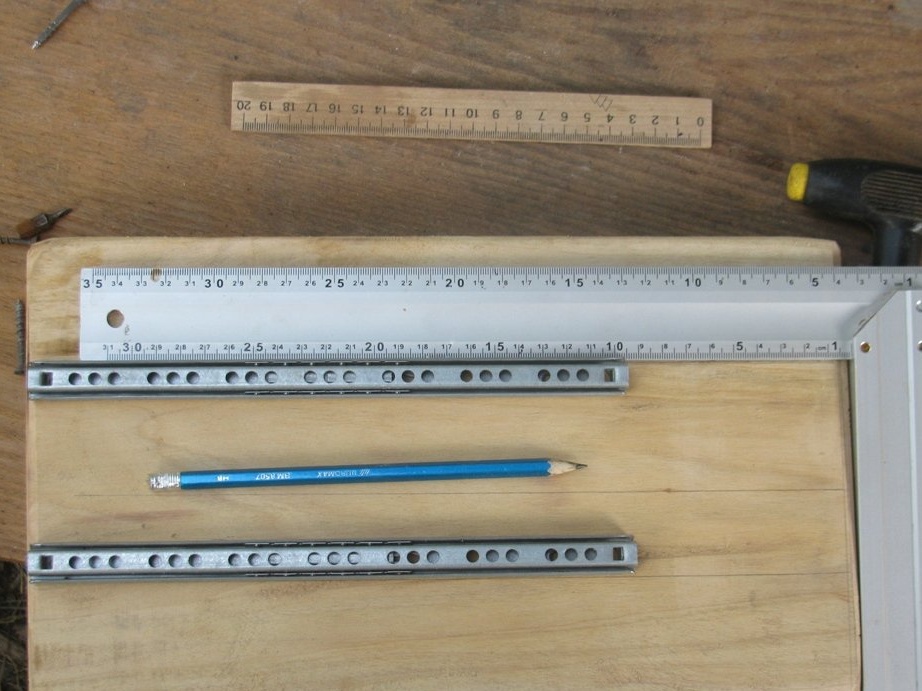
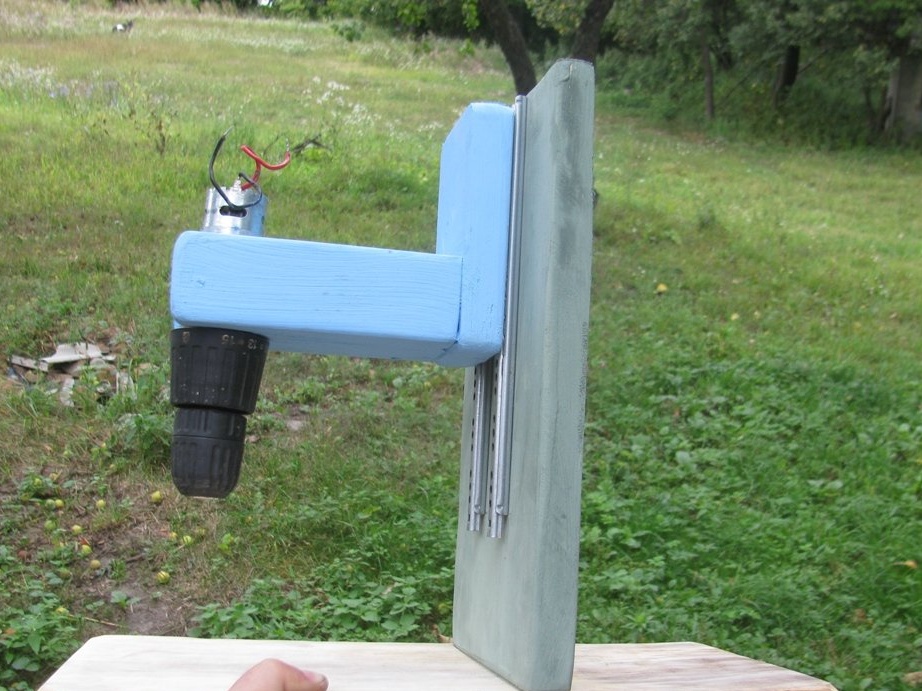
Step Two "Rails"
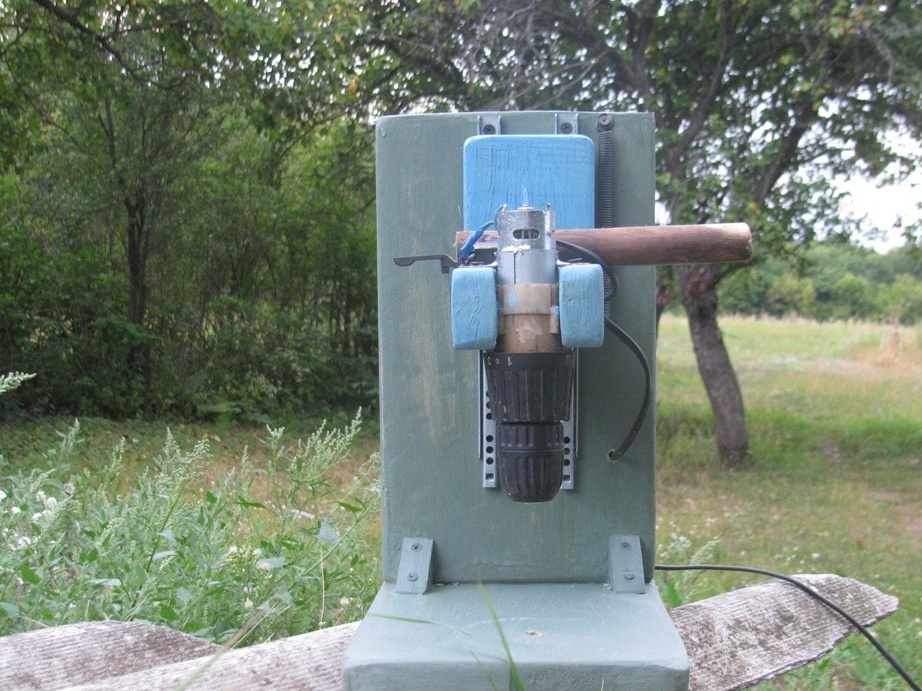
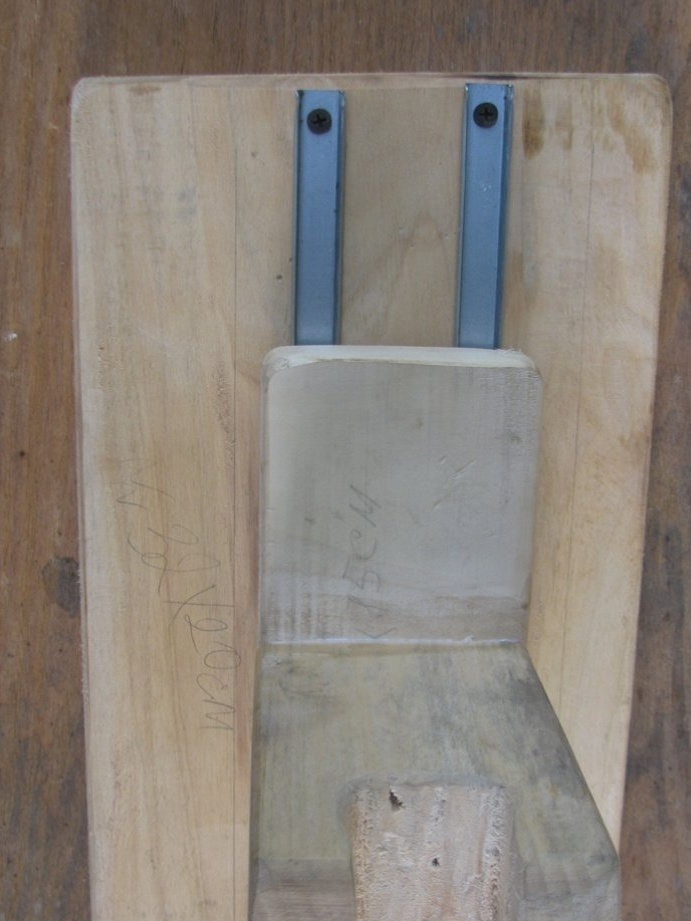
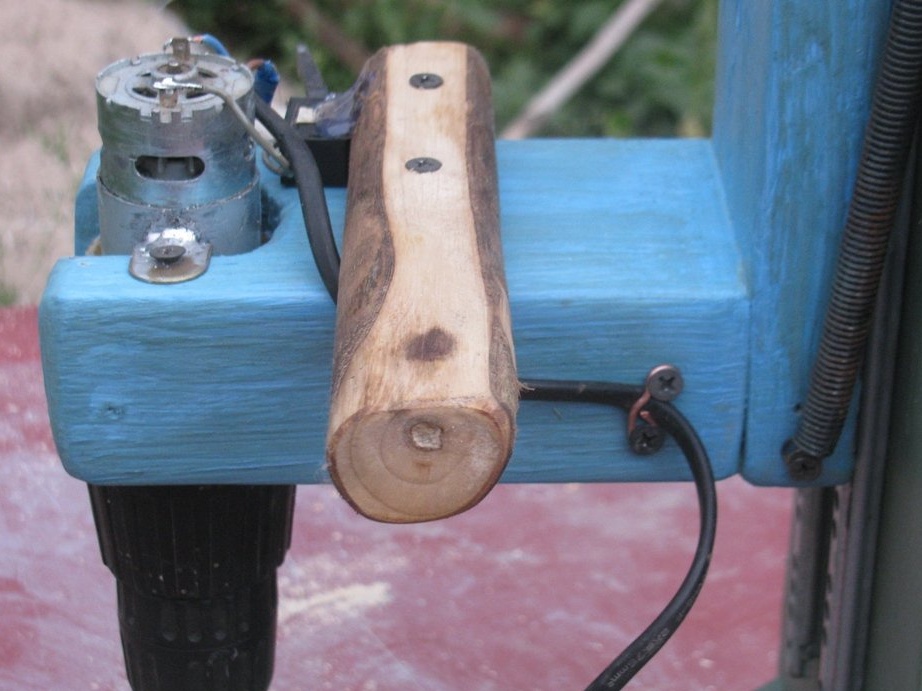
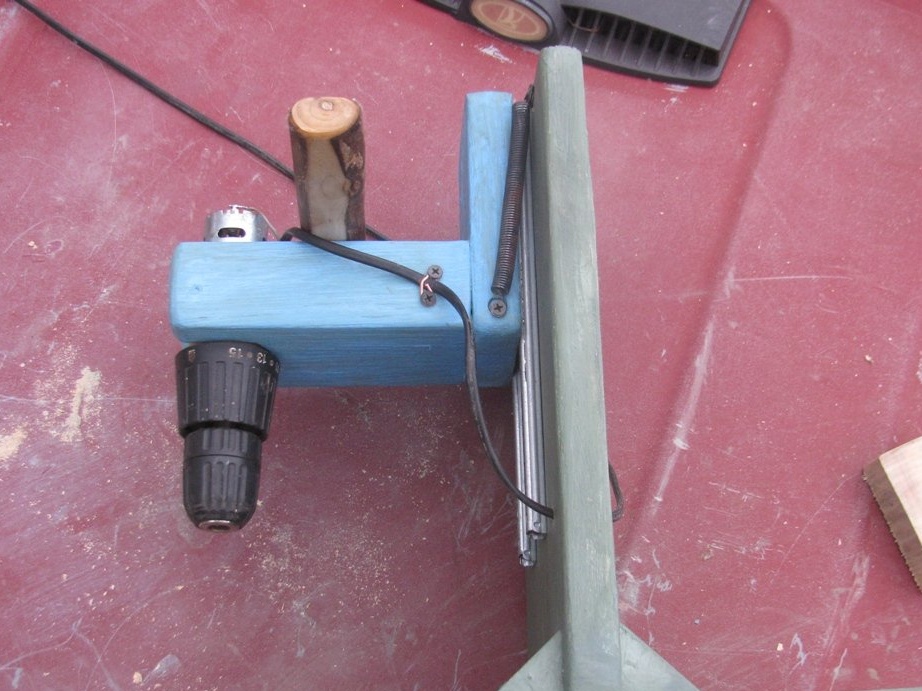
Next, you need to install “rails” on the rack, in our case, these are two furniture sliders. Sliders bought almost the cheapest, there are no backlashes in them, they work well, ball sliders. But later it turned out that they are rather weak, in the sense of flexible metal and a drill chuck together with the entire structure can deviate if you overdo it with pressure.
We fasten the sliders to the stand strictly parallel and strictly at right angles to the base.
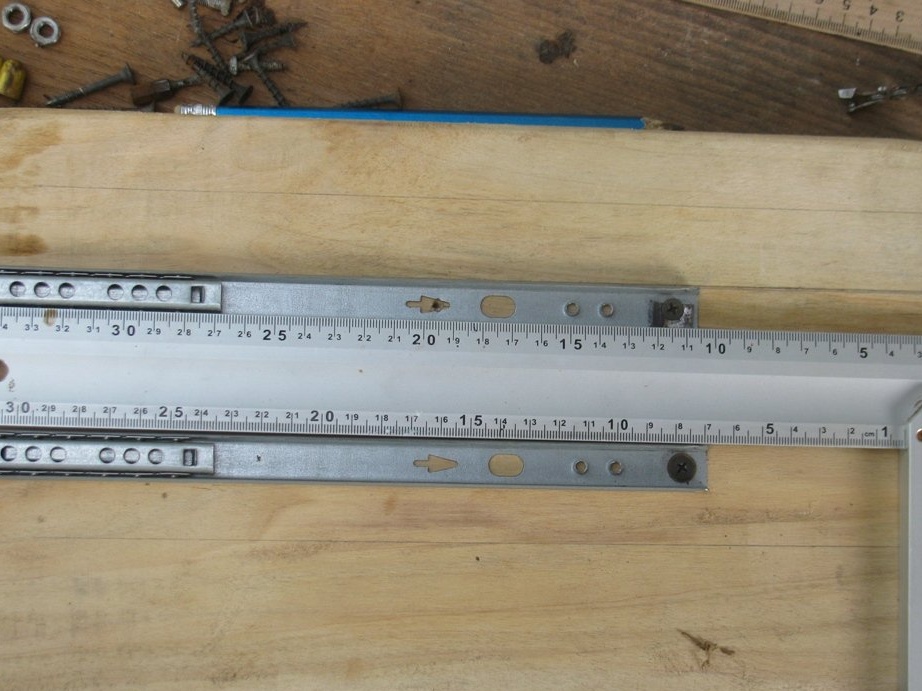
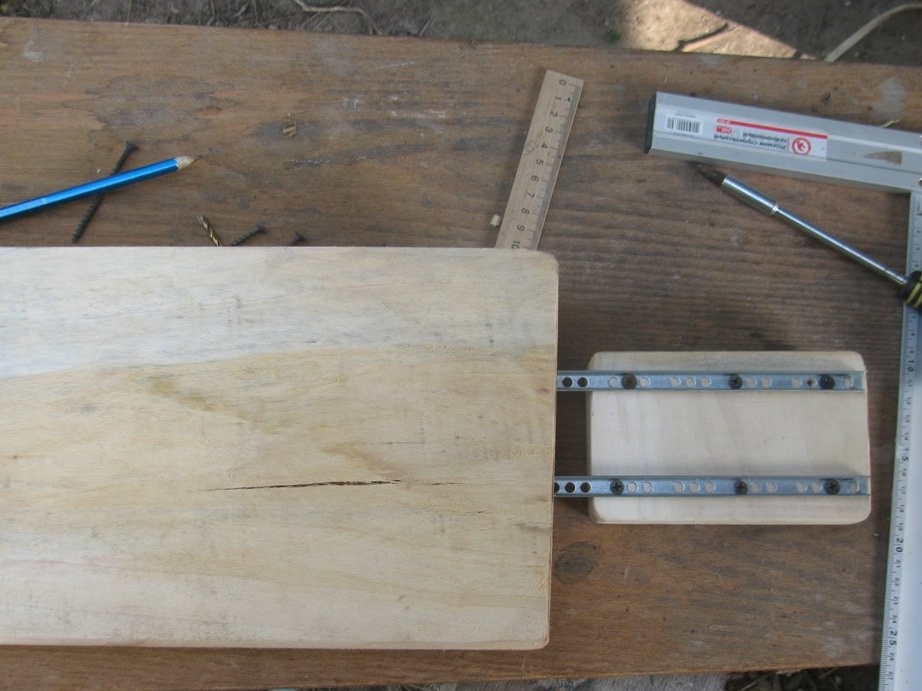

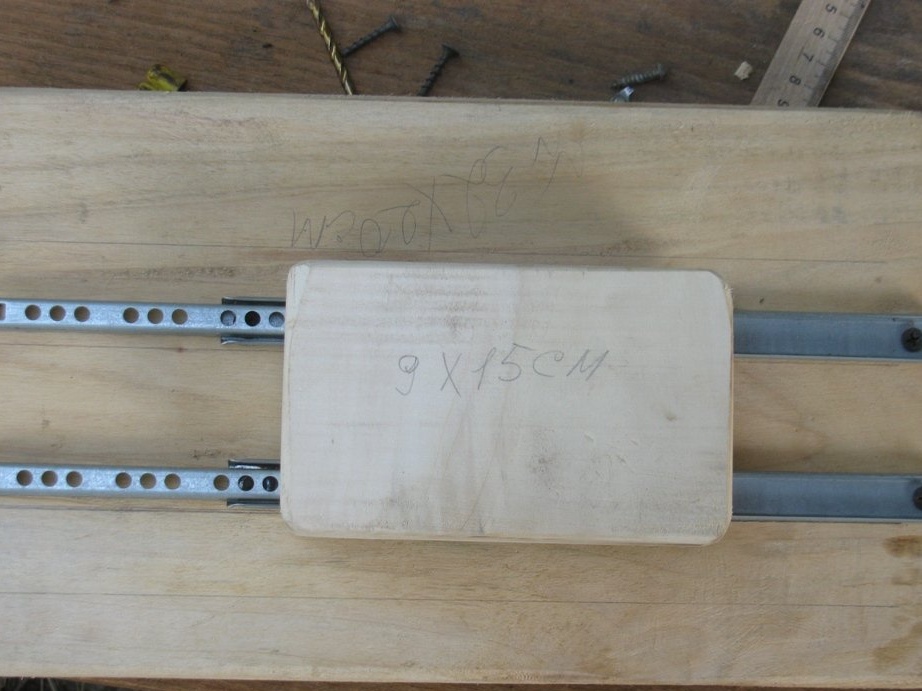
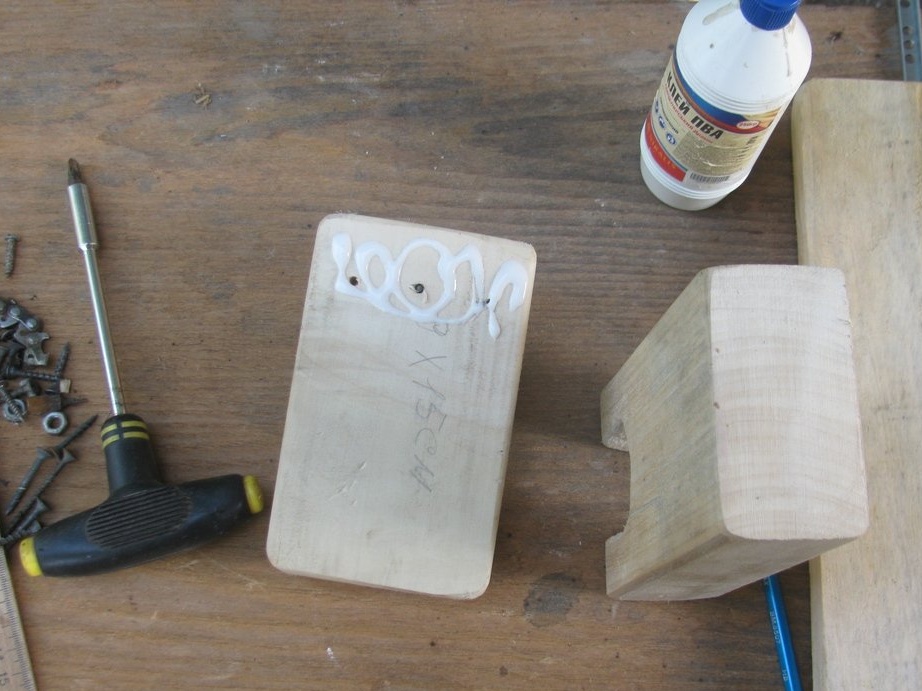
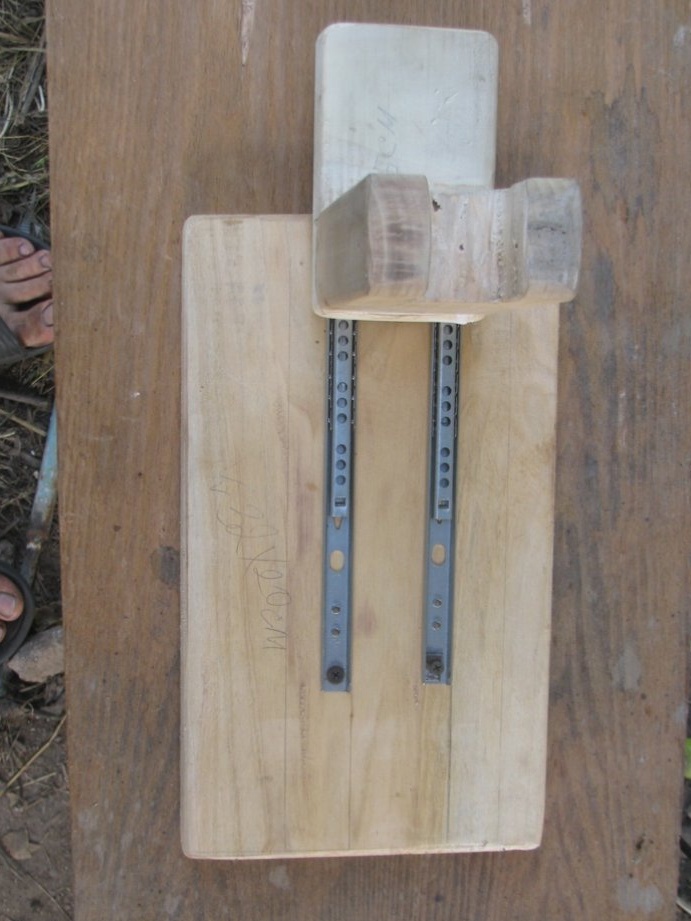
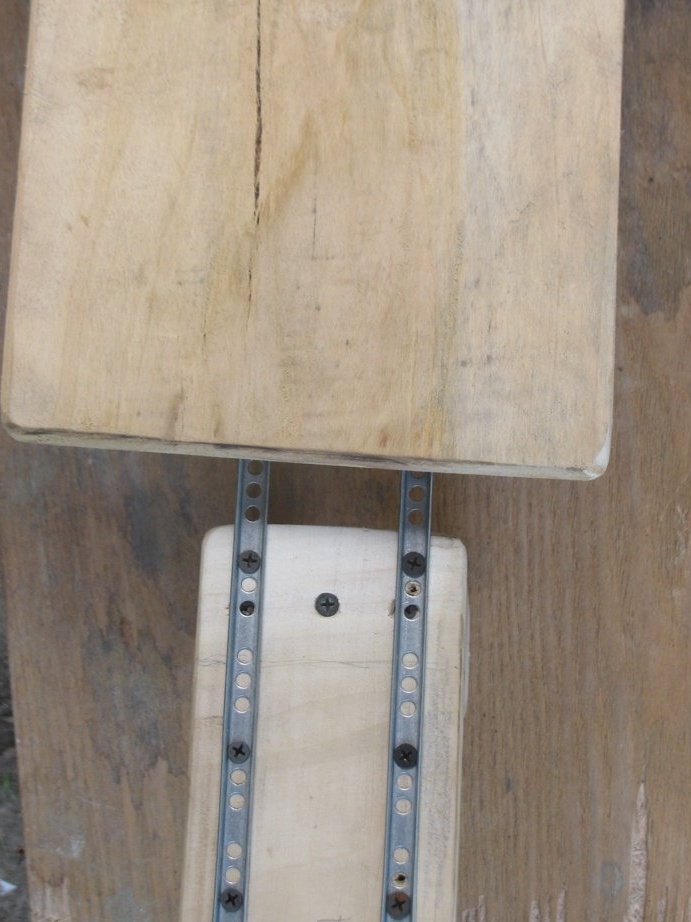
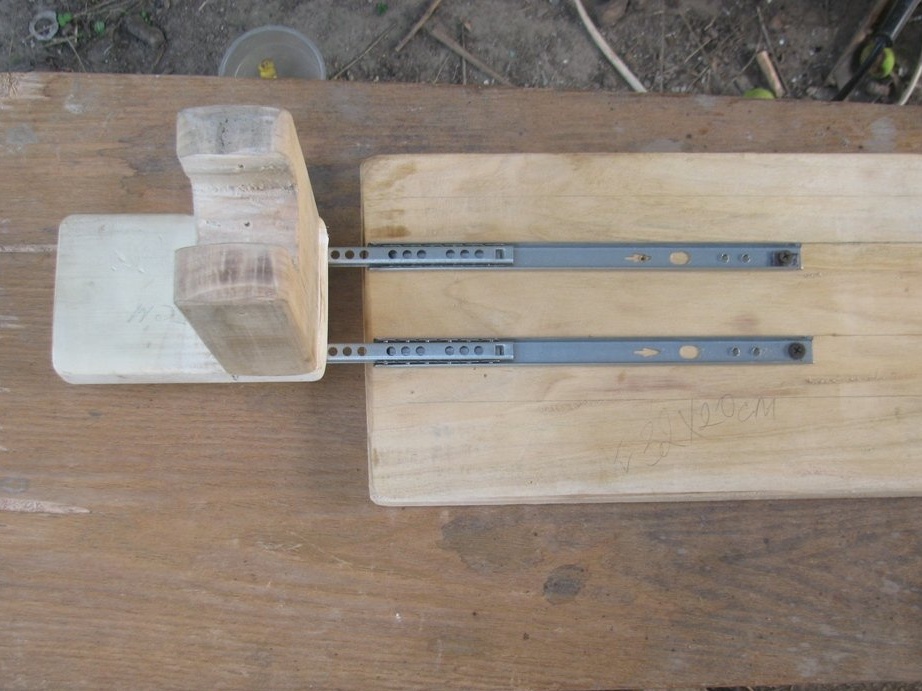
We also need to make a platform that is screwed to the second half of the sliders, cut it out of a piece of the board and screw the sliders with screws. That's all, now it remains to attach the engine mount perpendicularly to this moving platform. If the platform is not flat, the board has a different thickness, of course, you will not screw the block at a right angle. Having carefully adjusted and checked everything, I glued everything together with PVA glue and pulled it off with long self-tapping screws. I painted this moving part with acrylic paint, it dries quickly and does not stink.
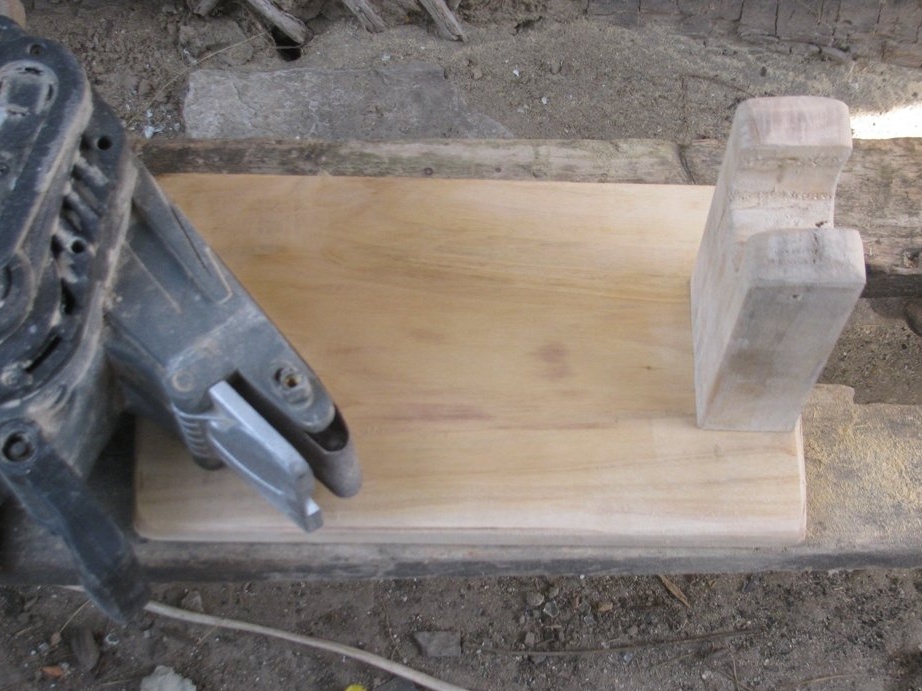
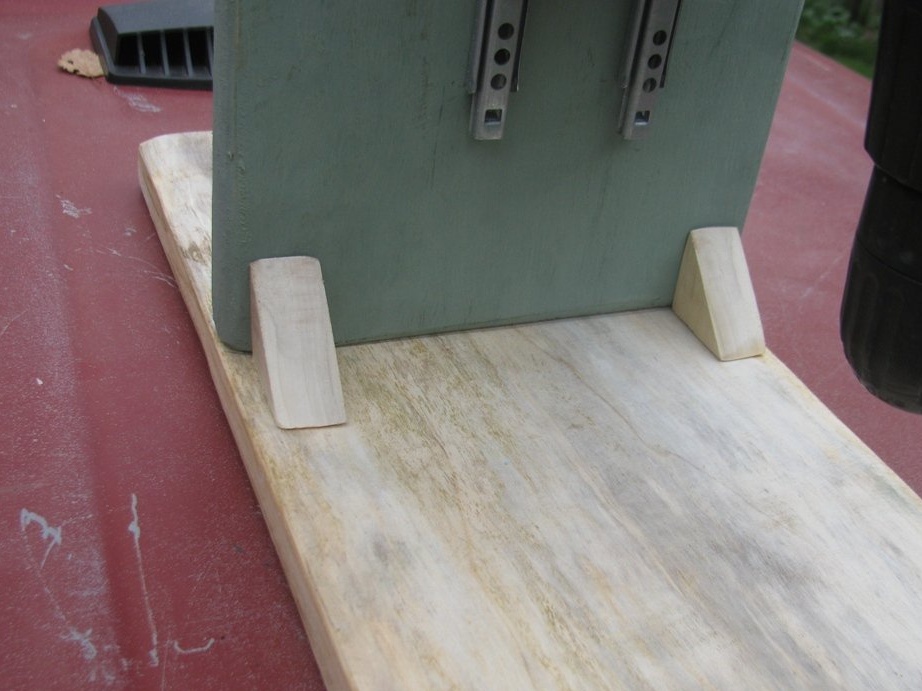
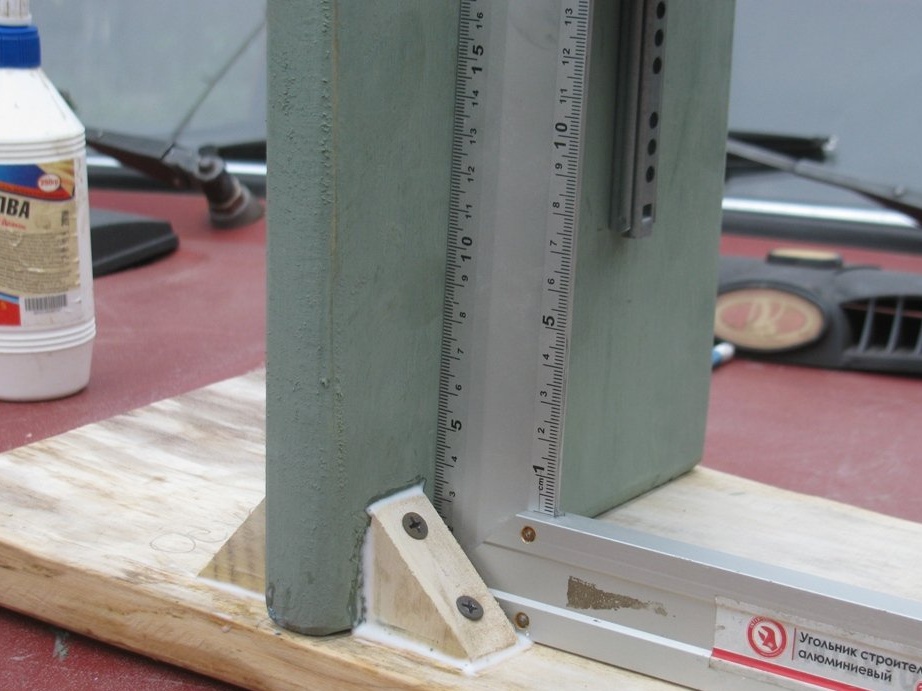
Step Three Base
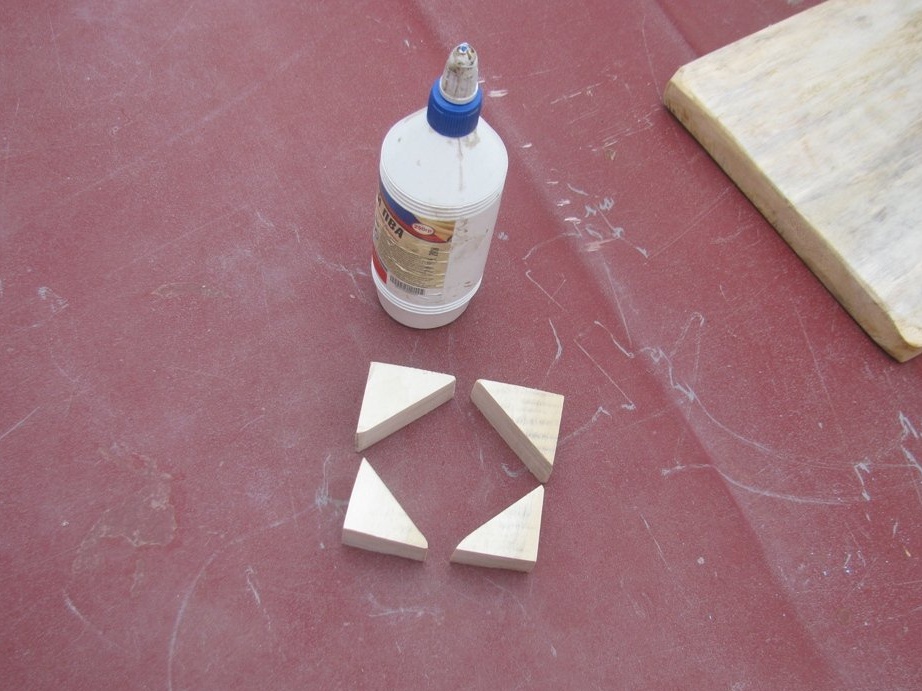
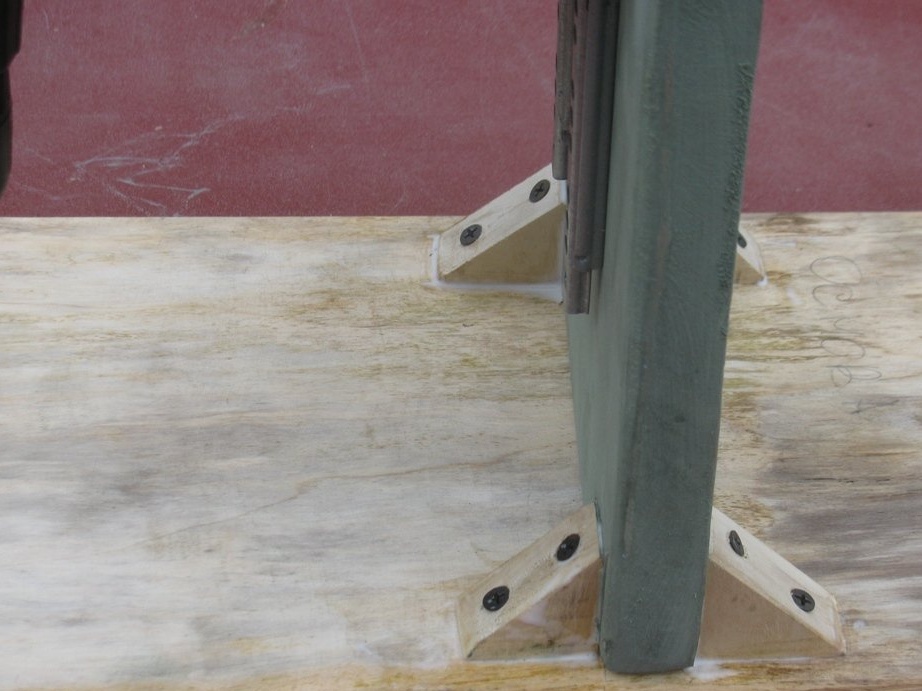
We are looking for a board for the base, we grind, we eliminate defects. We fasten the stand to the base also strictly at right angles, a square to help you. First, I screwed the rack with long screws, and then I cut out the triangular stops and screwed them with screws with glue. With these very stops, I clearly centered the rack at a right angle and left everything to dry.
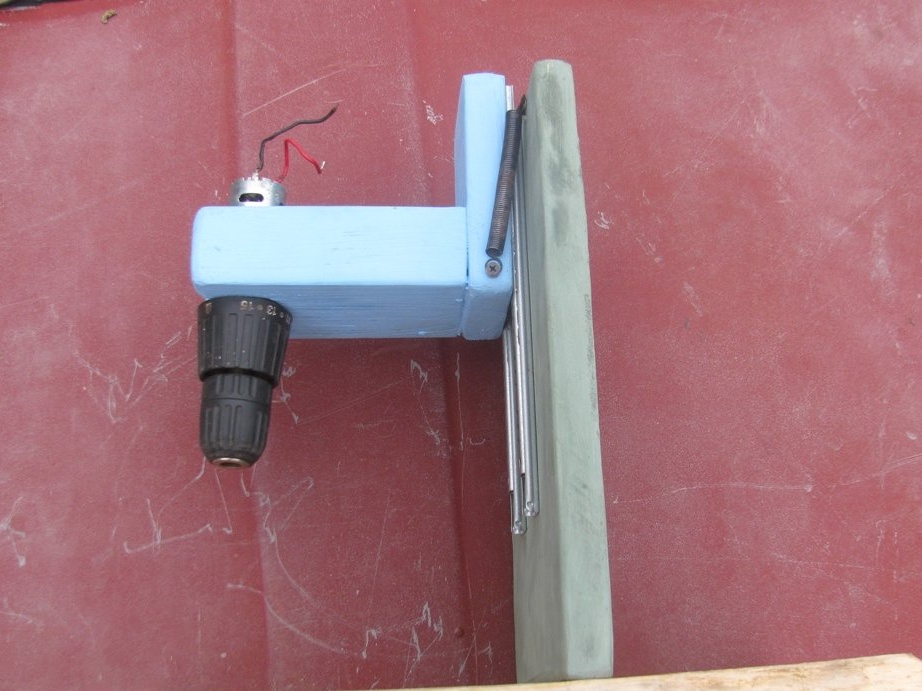
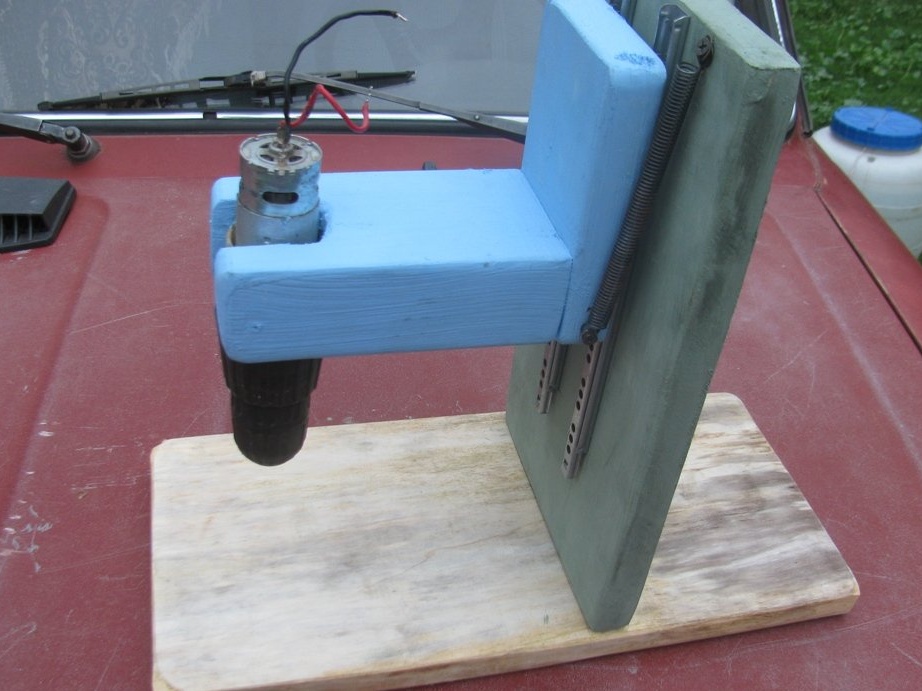
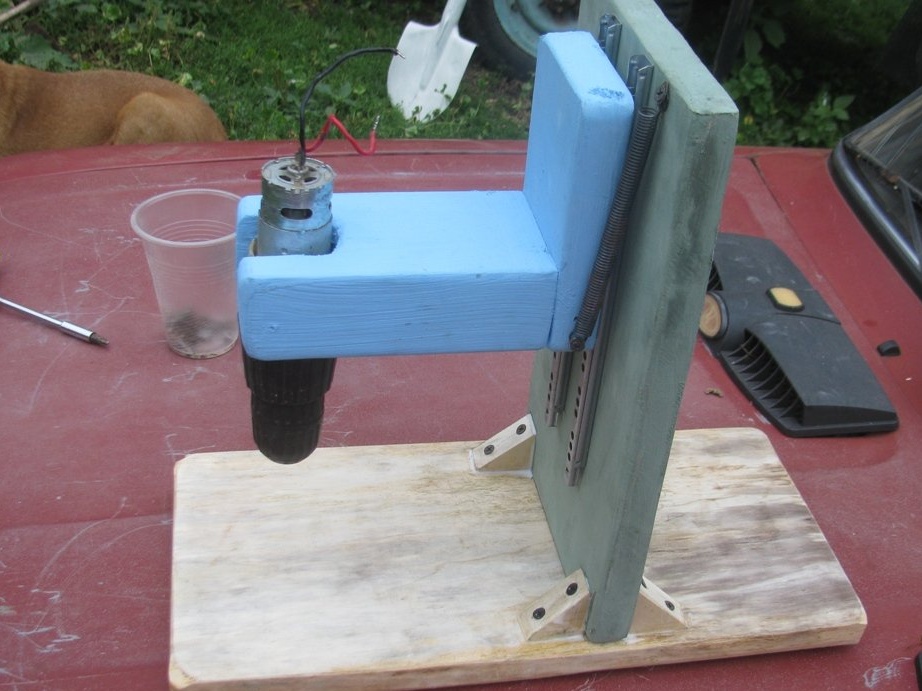
Step Four Assembly
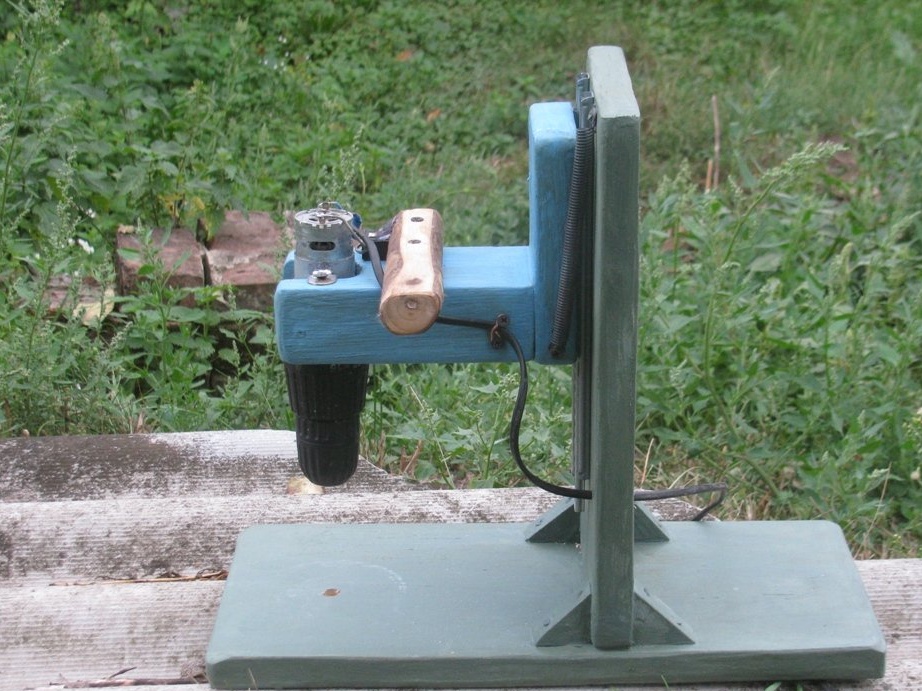
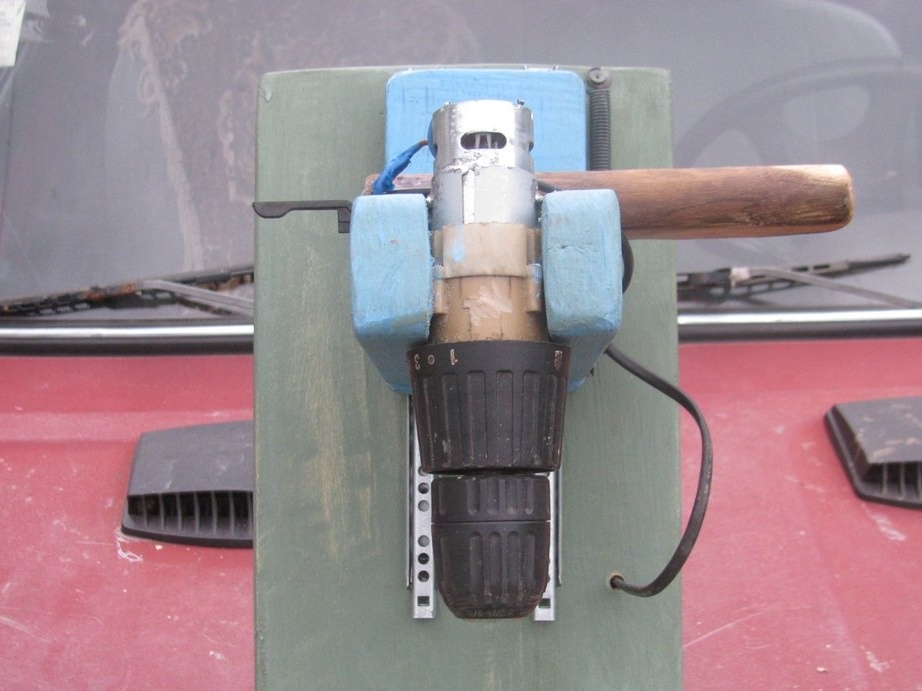
Having painted and covered everything with acrylic varnish, you can proceed to assembly. The cartridge should rise to the upper position or at least, should not fall down. I had enough for this case the springs from the table lamp. Of course, the sliders slightly wedge in the middle position, but they are simply not designed.
He made a pen from a piece of a dry walnut branch, why? Aesthetics, however, is a joke. The pen works fine, you don’t need to make anything else. As a switch, I adapted the reverse switch from the drill, you can connect any two side contacts. The cable needs to be screwed well so that it does not vomit, I used a piece of copper wire and two self-tapping screws.
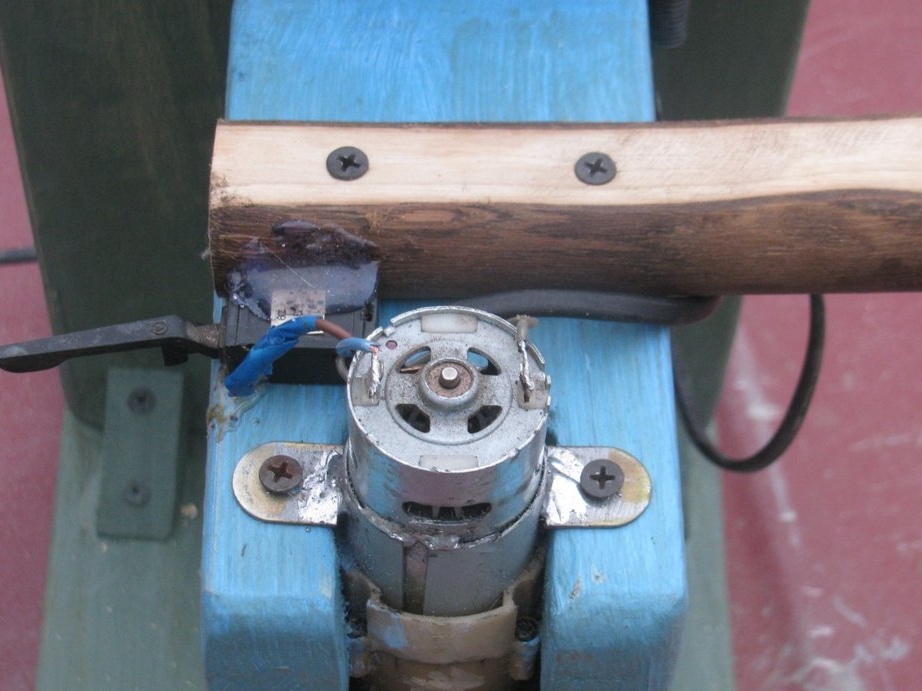
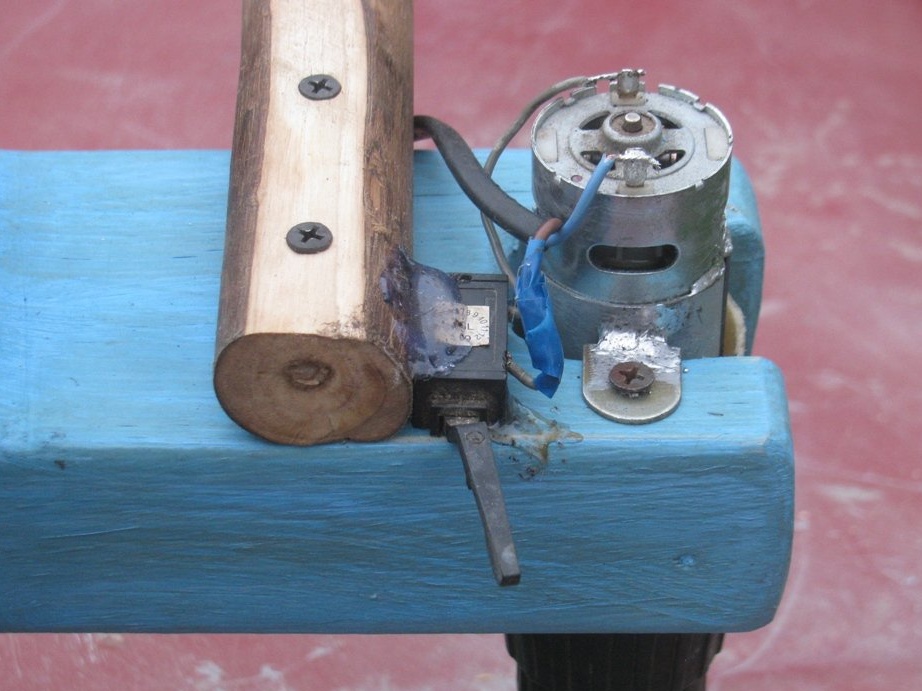
I almost forgot to talk about the most important thing - about mounting the motor. The engine must be well centered and securely fastened, otherwise a drilling machine will not be useful. As a fastener, you need two washers, and even better pieces from the mounting bracket. I soldered the made ears to the motor case after its centering. The connection turned out reliable, the engine can not be moved a millimeter. The main thing here is to pile more solder, and the loops can be made not 2, but 4, then it will be generally reinforced concrete. After the assembly, it turned out that I did a bit of alignment and then I had to re-solder the “ears”.
Step Five Test
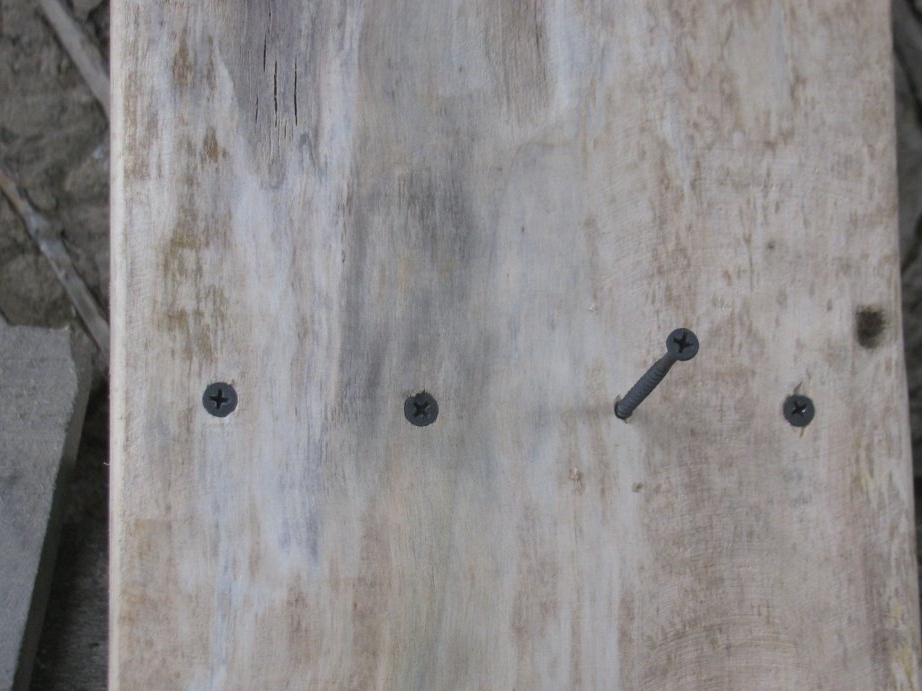
The tests were successful, the machine is convenient, powered homemade directly from the car battery, in the future I will stir up or buy a 12V power supply. The machine’s torque is good, the maximum diameter of the drill is 10 mm, however, it is long, but it does not interfere, and shorten the drill (or use a broken one). As a result, it remains to center the cartridge a little, and the homemade product will turn out to be quite useful.
I do not regret the time spent, although during the assembly process I thought a couple of times that nothing will work. It is much simpler to make everything out of metal, since metal rolling is rarely crooked, if it is a corner, for example, then it is almost always flat. Boards are a helicopter, there are curves of different thicknesses and so on. It is also extremely dreary to grind abutting parts at right angles without a miter saw. But as an option, such a homemade product has the right to life.
That's all, good luck and creative inspiration!