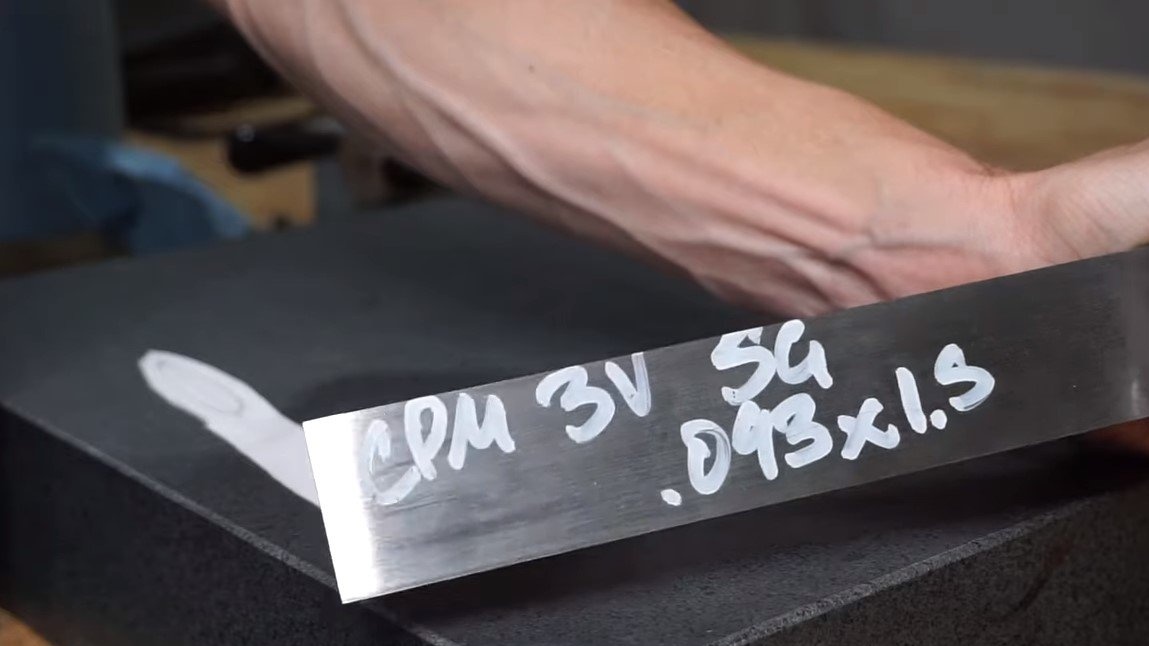
Hello to all lovers of craftsmen, today we will consider how to make a strong and light knife. Such a knife can be used as a tourist, hunting, it can be taken for fishing and so on. The blade is made of steel grade CPM 3V, this steel is usually used for the manufacture of hunting knives, because it is durable and the blade cuts perfectly. Steel is also quite resistant to rust, but its disadvantage is quite complex and lengthy hardening. One way or another, if you are interested in the project, I propose to study it in more detail!
Materials and tools used by the author:
Material List:
- steel CPM 3V;
- G10 for linings;
- rods for pins;
- epoxy adhesive.
Tool List:
- oven, oven and other hardening tools;
- tape cutting machine;
- belt grinding machine;
- drilling machine;
- file;
- vernier caliper;
- sandpaper.
The process of making a knife:
Step one. Cut the main profile
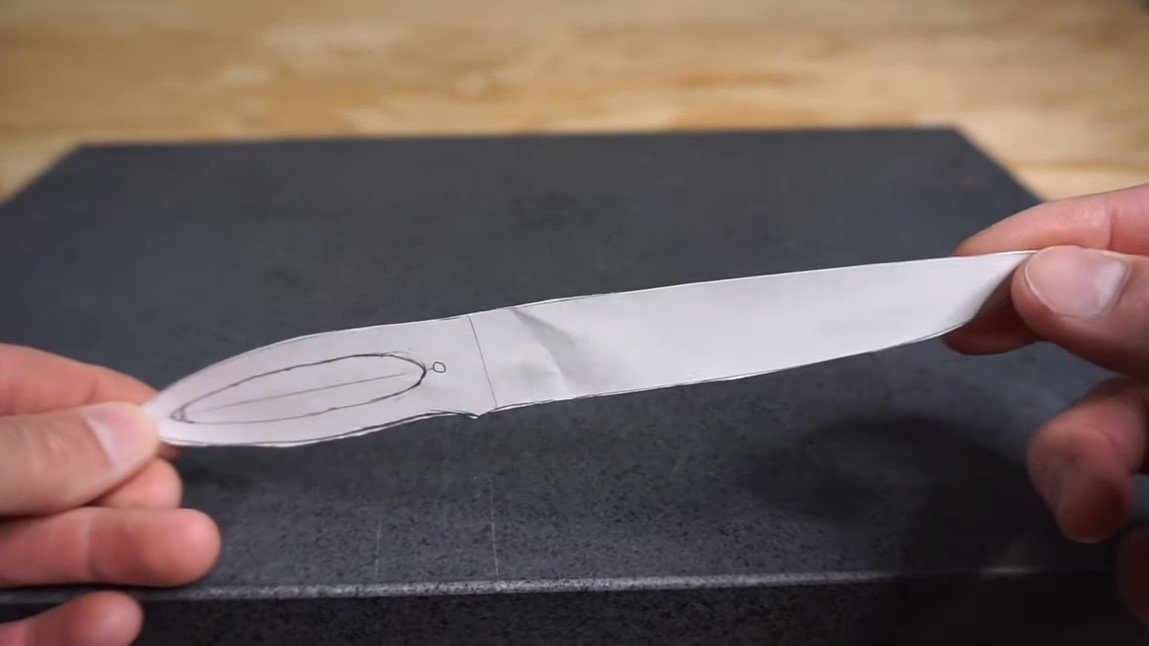
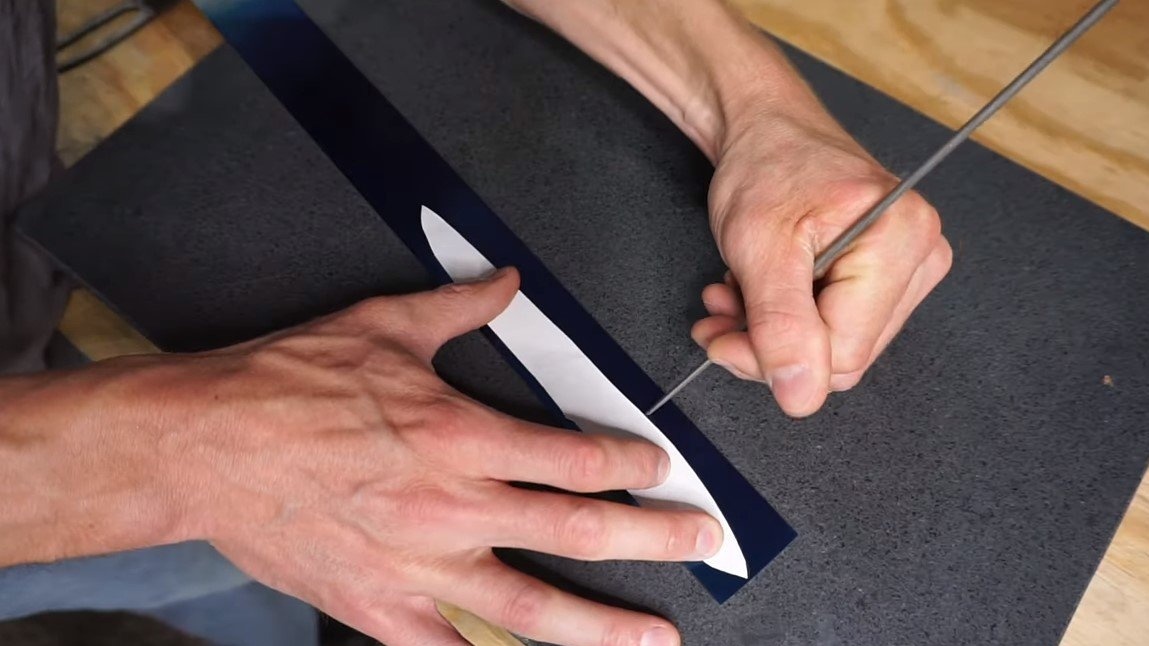
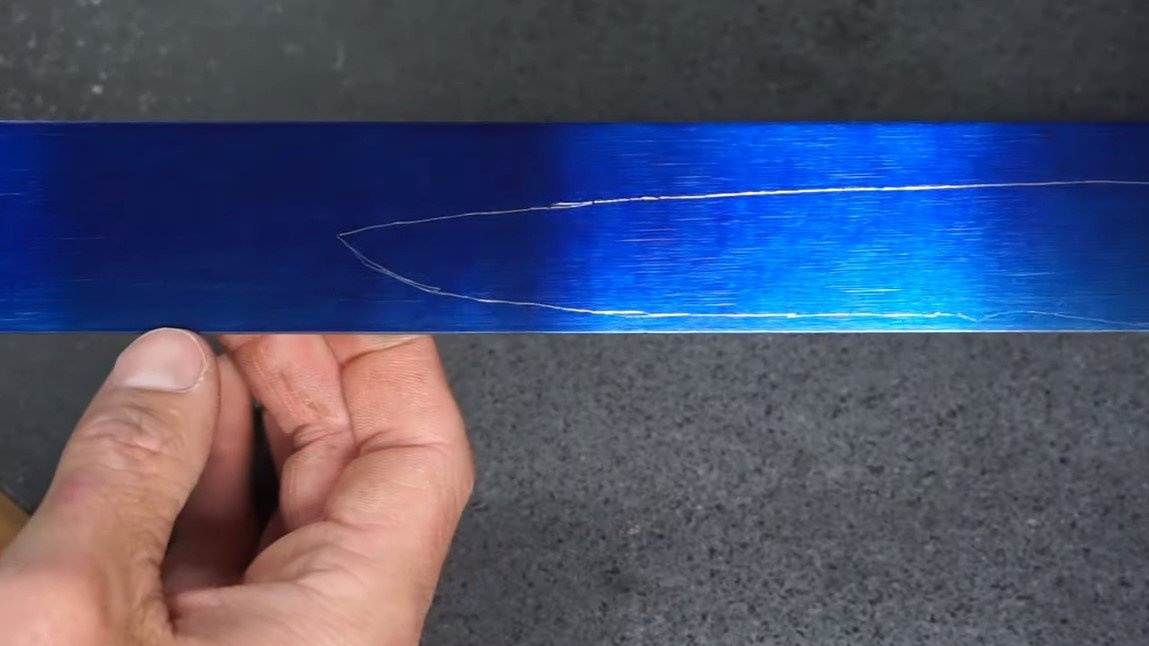
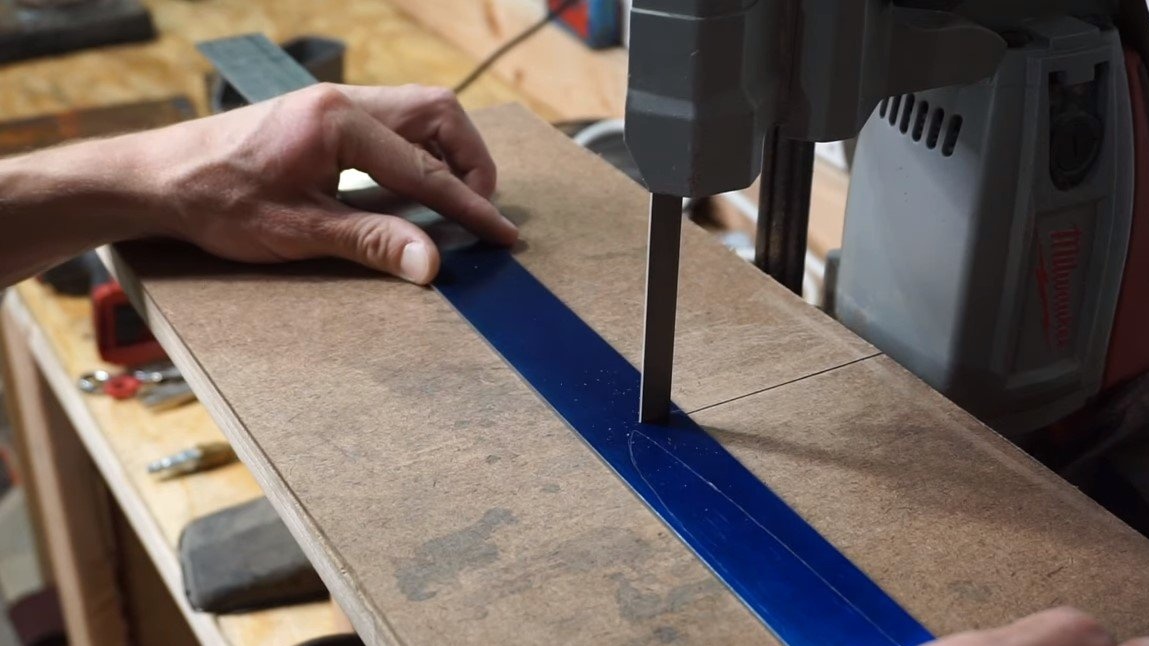
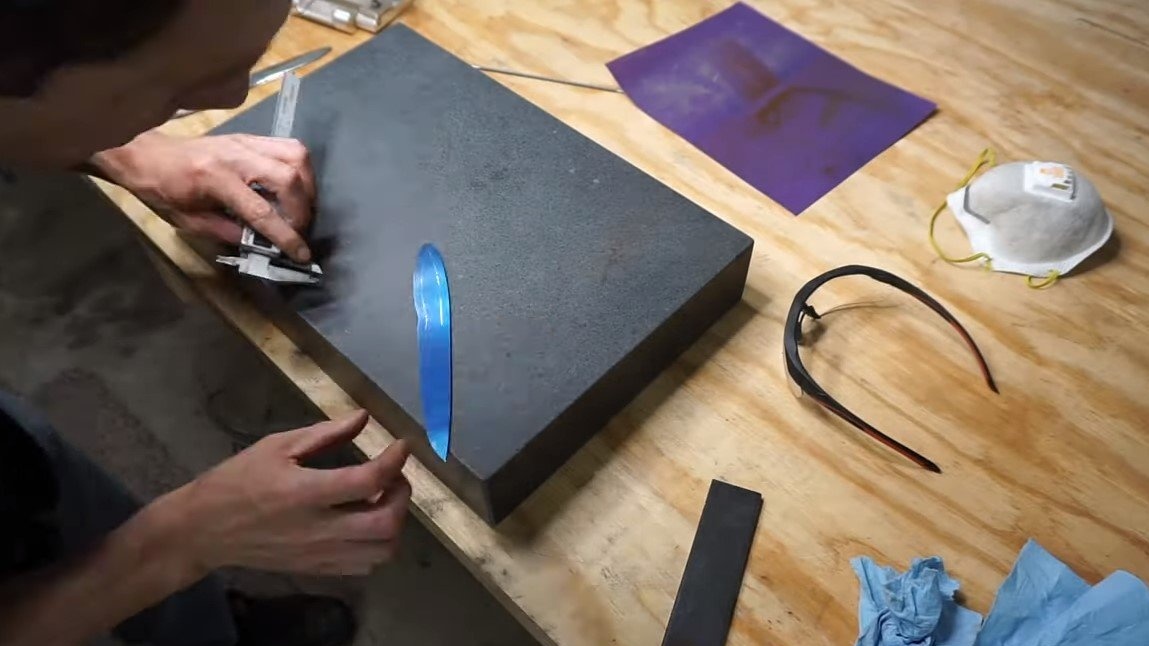
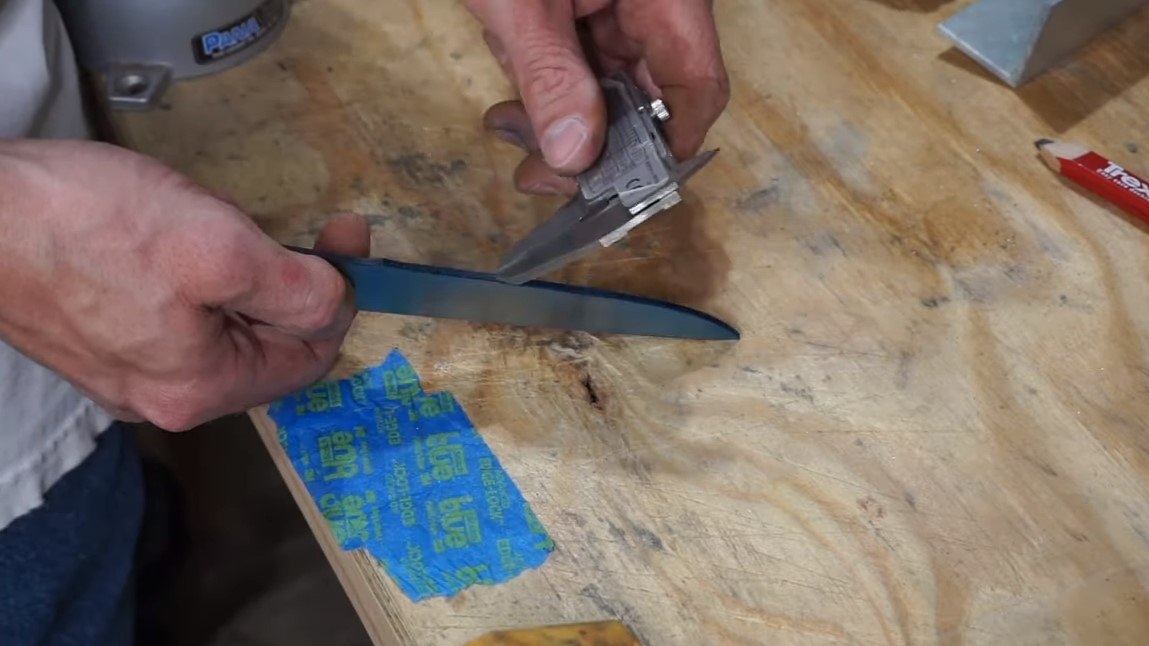
As a blank, we need a plate made of CPM 3V steel, while the steel is not hardened, it is mild and easy to process. Since, according to the idea, the knife should be light, we also use steel that is not very thick.
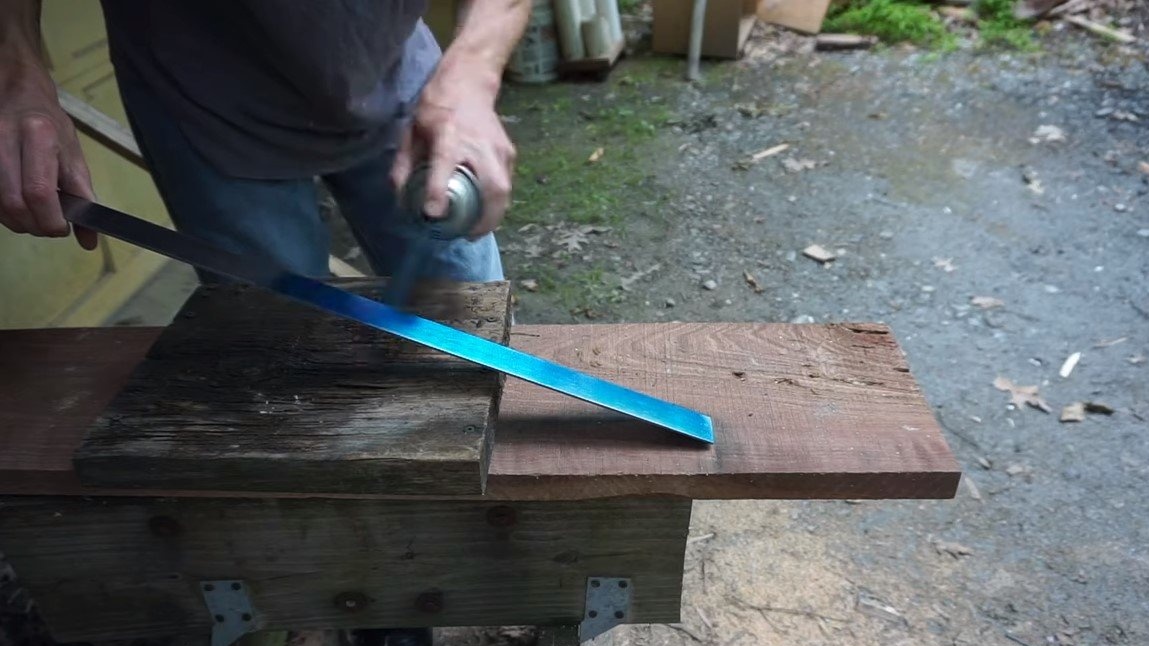
To better see the profile contour, paint the plate with spray paint and draw a profile. Now you can start cutting, for these purposes the author used a tape cutting machine. Such a machine generates little dust and does not form a spark with smoke, you can also handle the grinder and hacksaw.
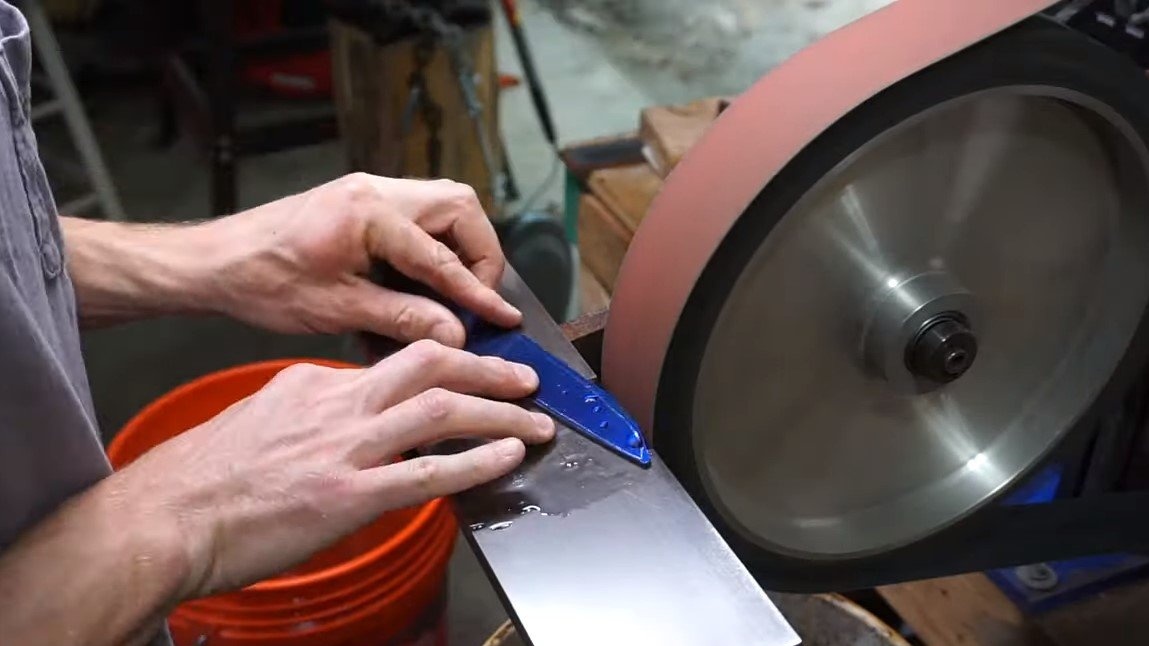
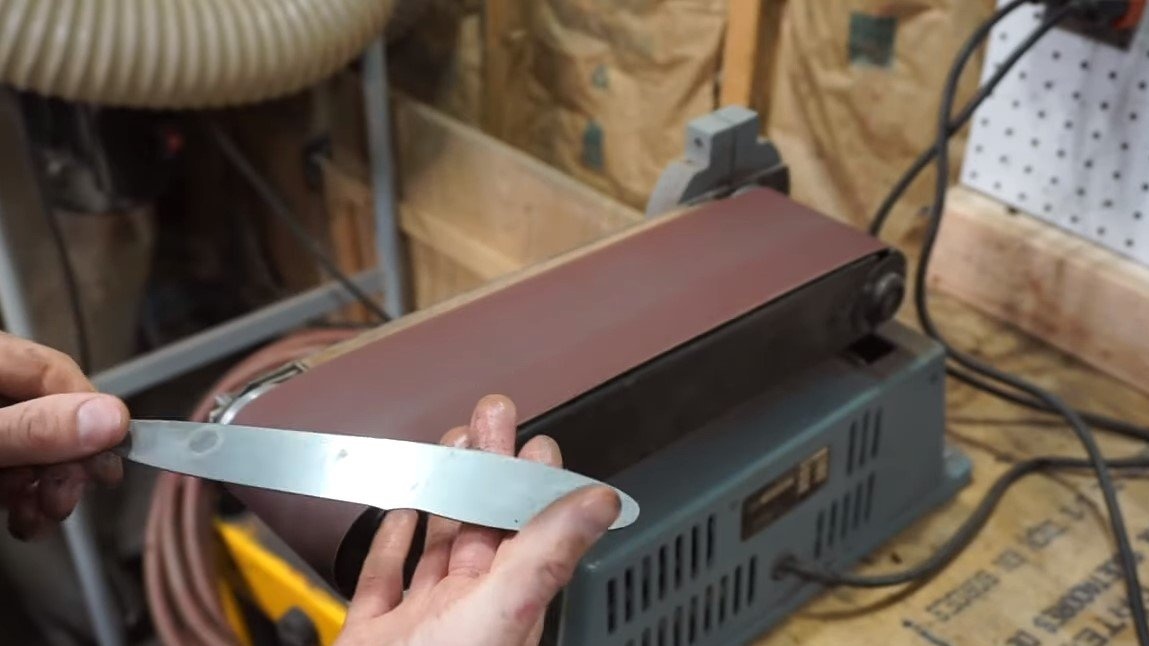
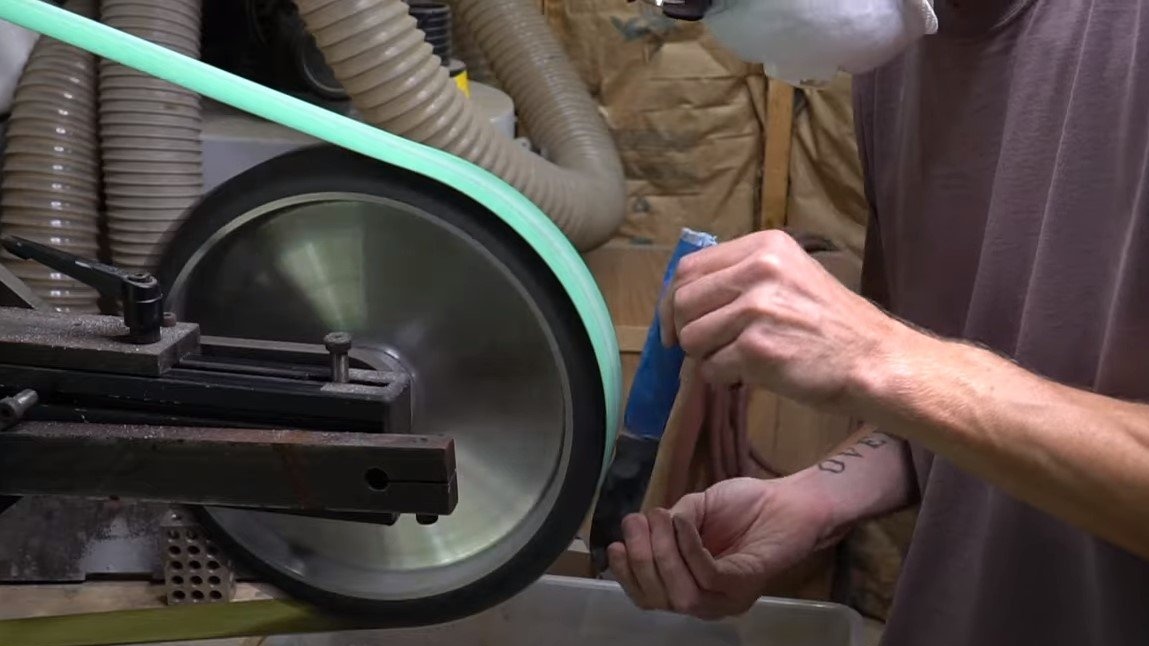
Step Two Grinding
We are finalizing the profile of the blade, this time we need a belt grinder or files, whoever has what. We finalize the profile of the blade and grind the plane to remove paint, scratches and so on.

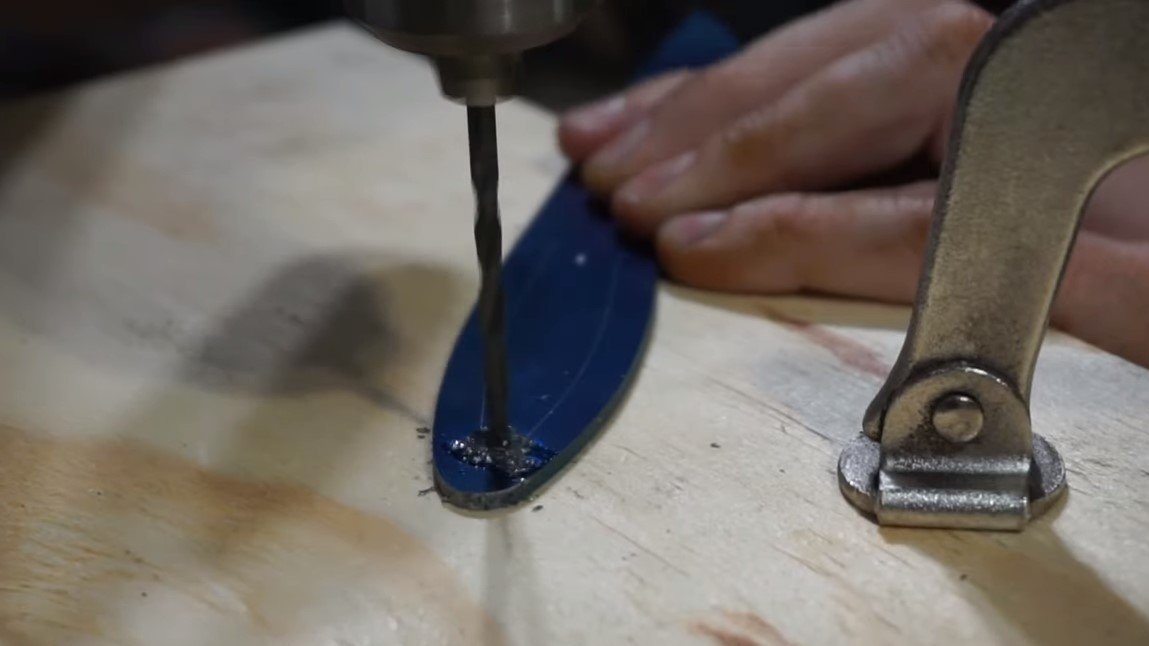
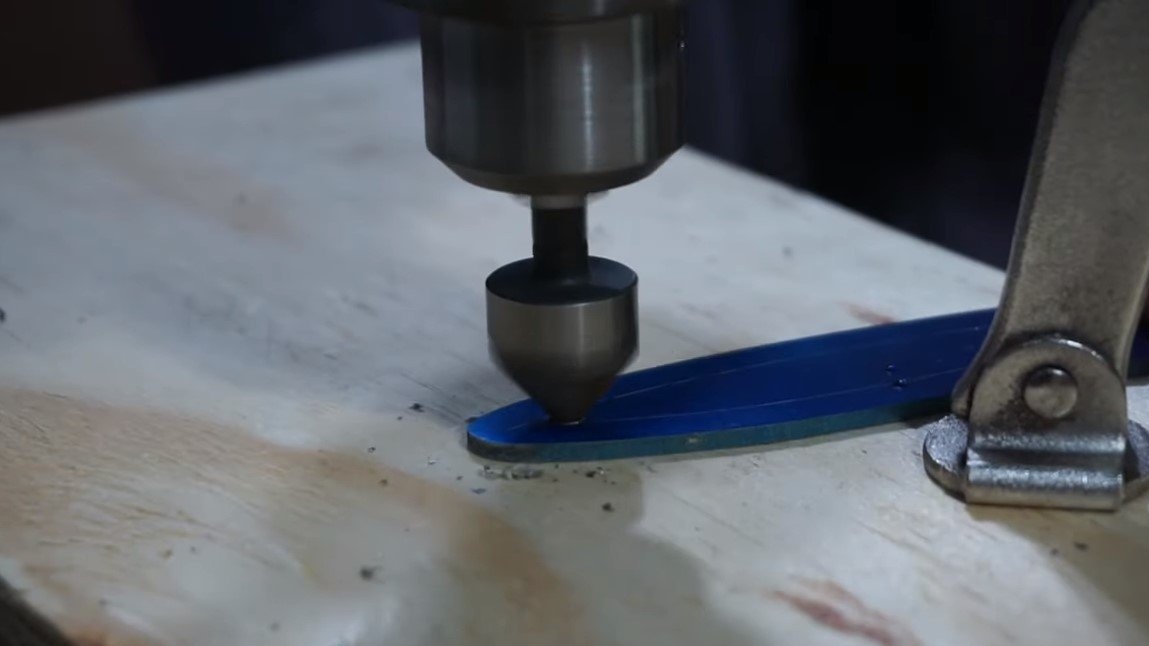
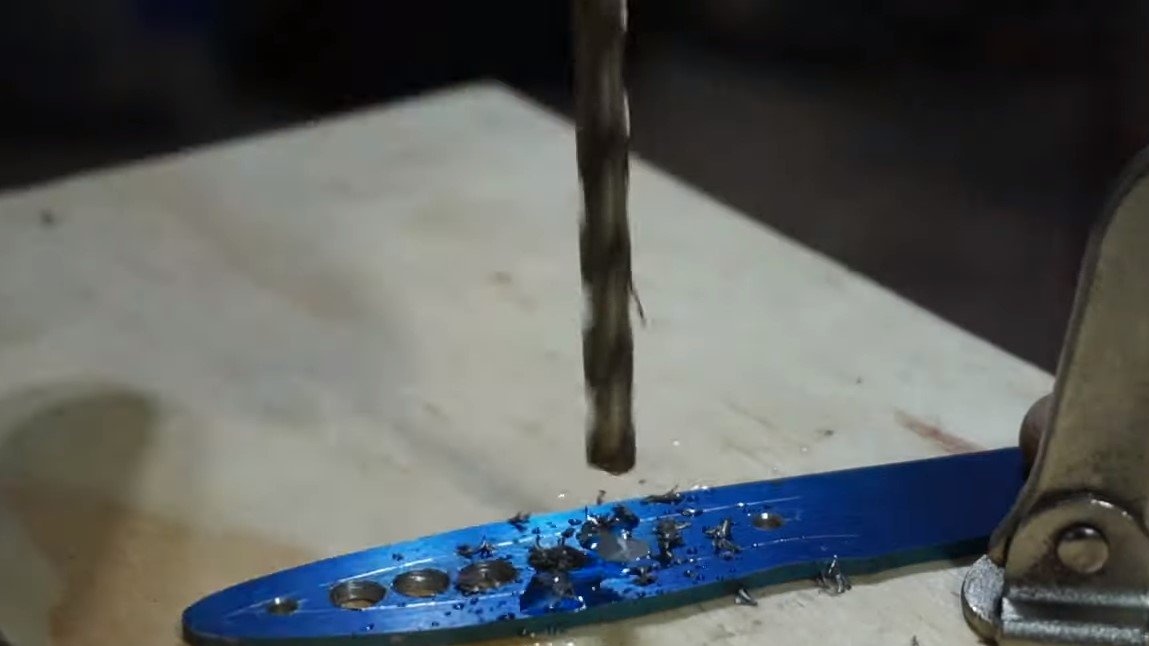
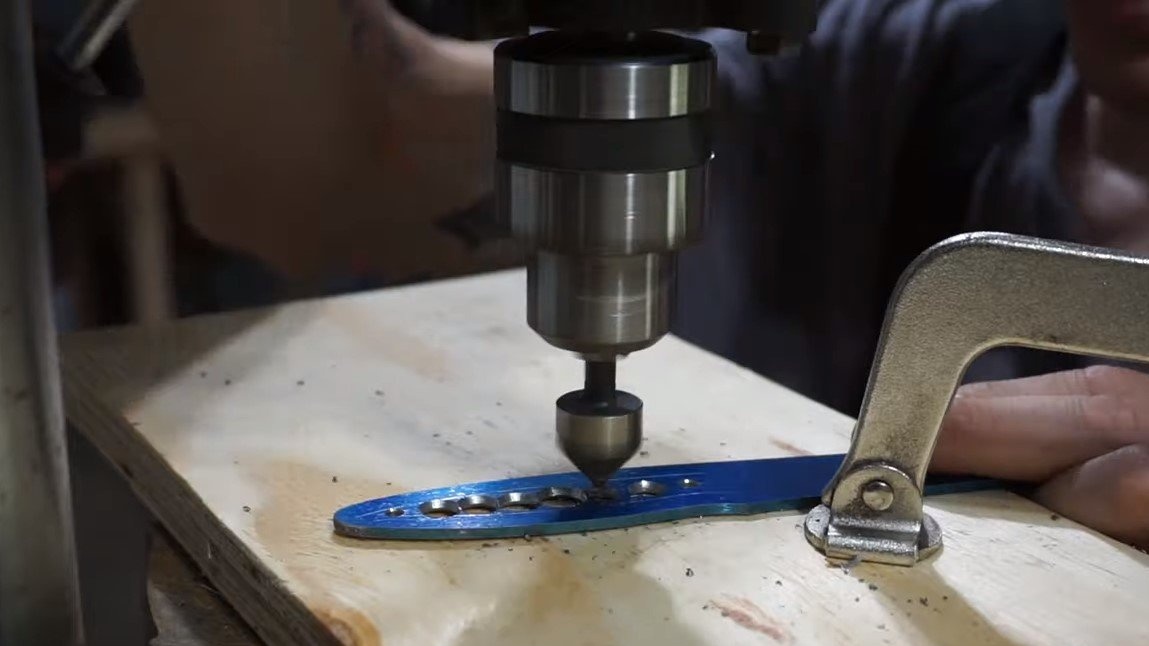
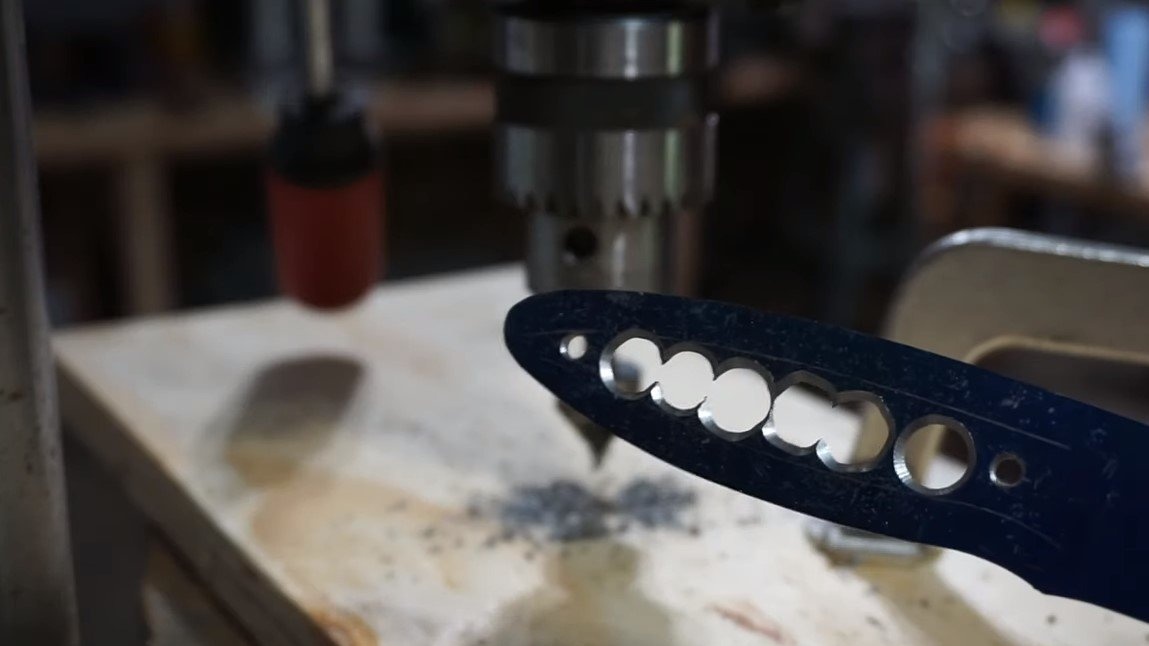
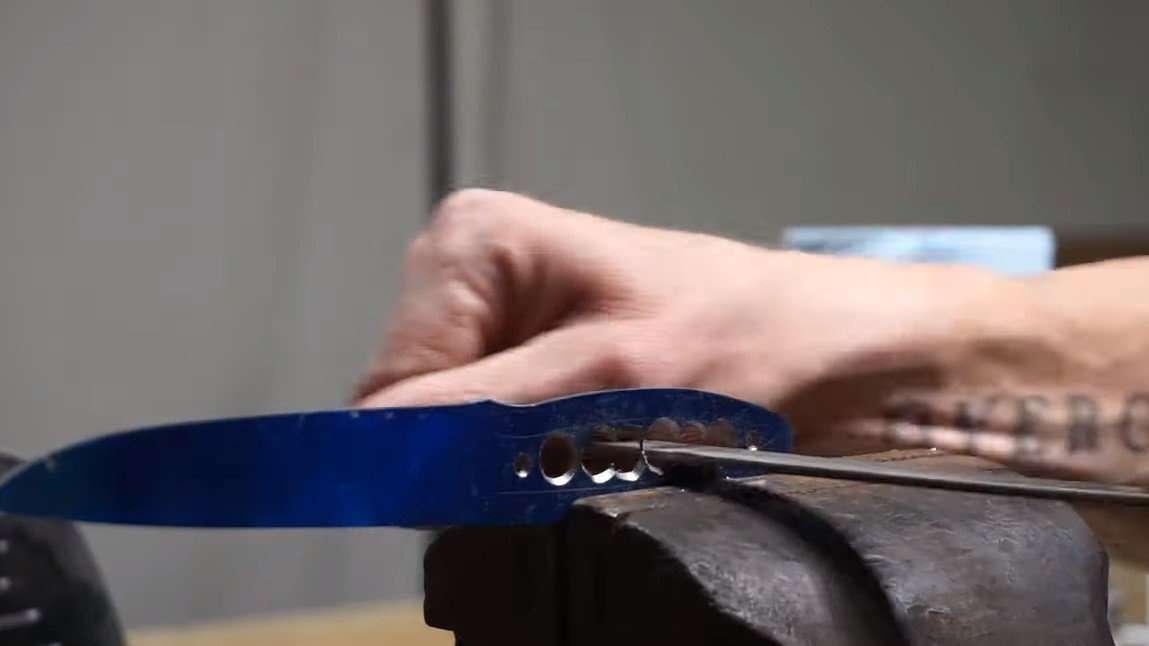
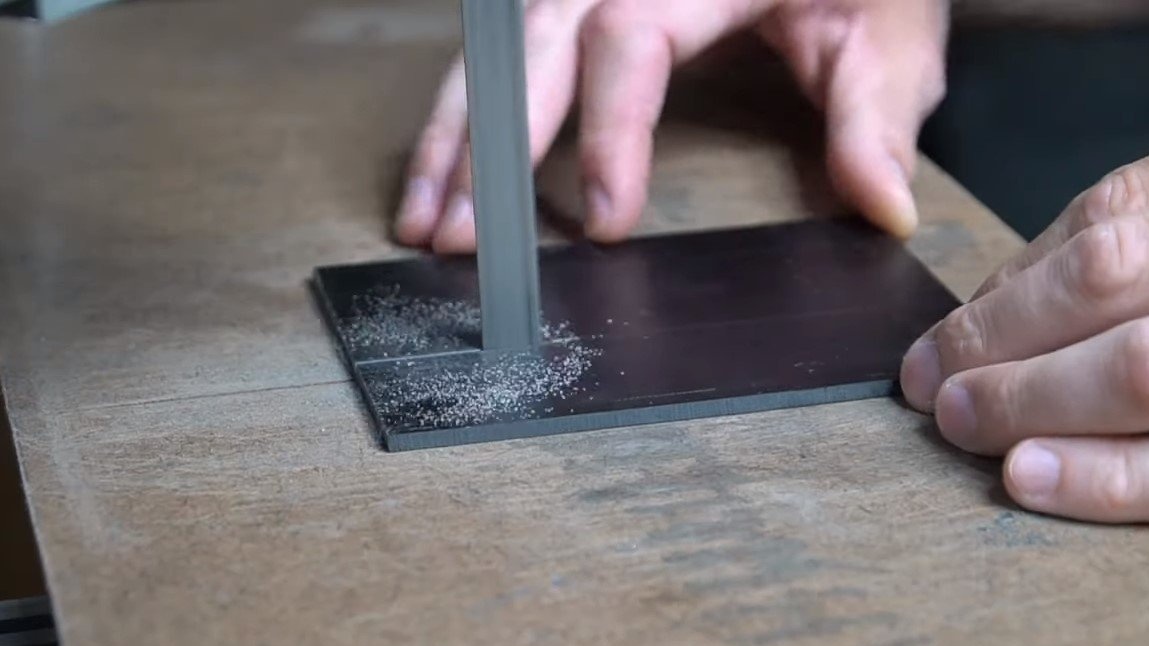
Step Three Handle
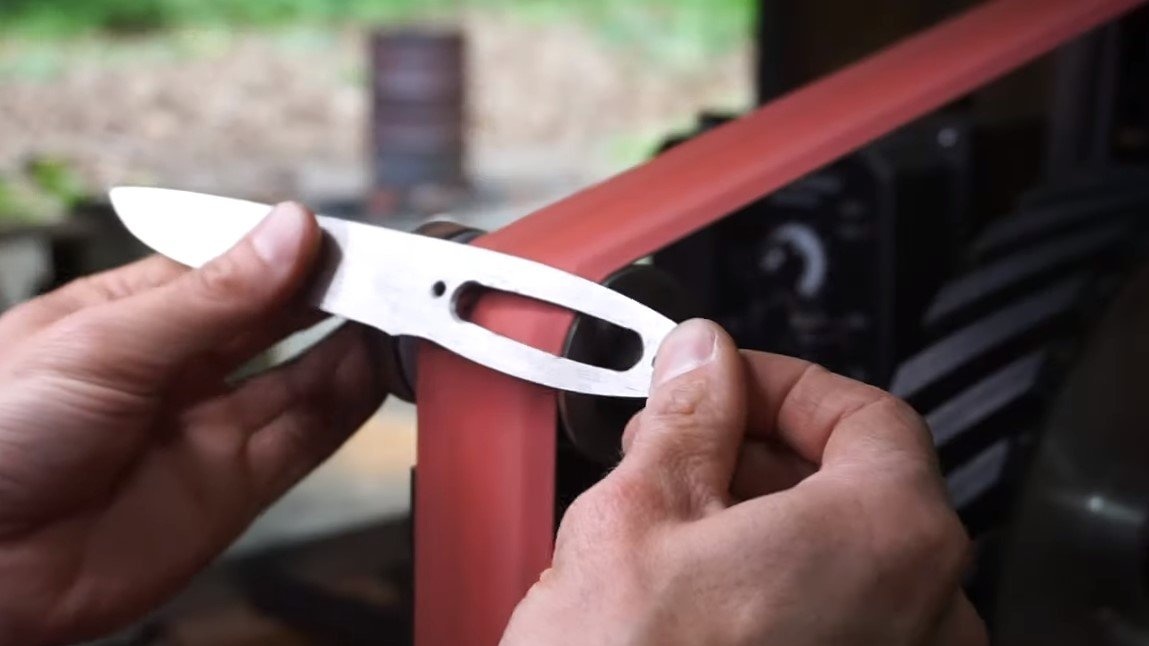
The knife needs to be made as light as possible, and the excess metal we have is in the handle area. We make markings and drill a series of holes to remove excess metal. Then we work with a file to get a slit hole. The author carried out the final grinding on a belt grinding machine. As a result, the handle will be light and the nose is heavy, it will be convenient to use such a knife.
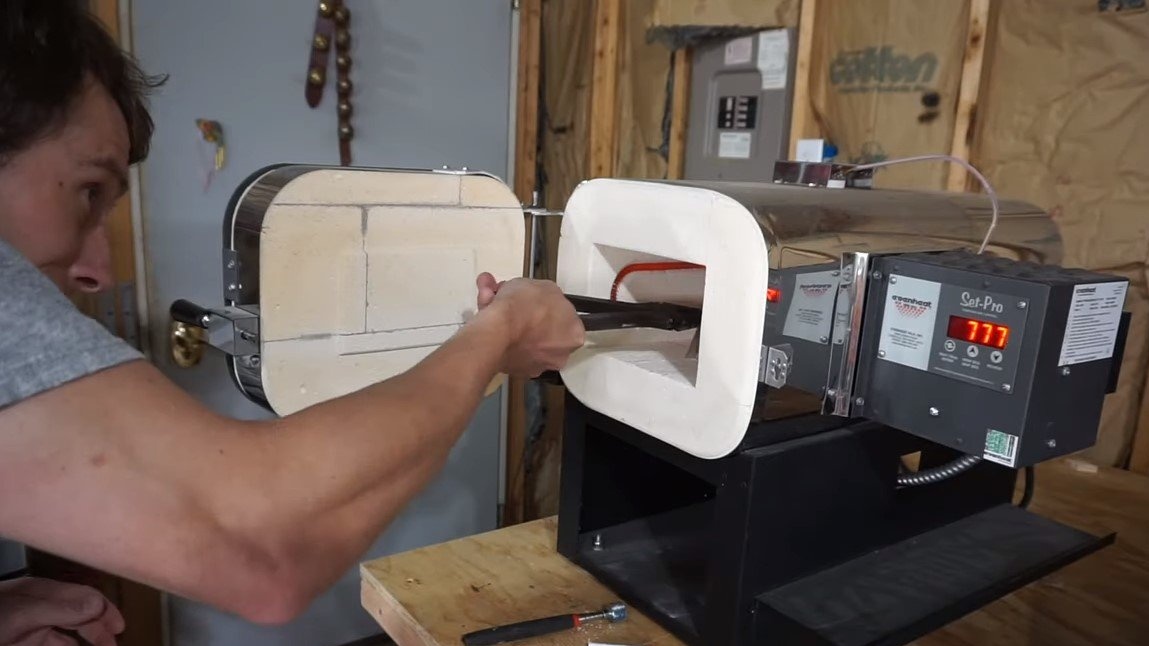
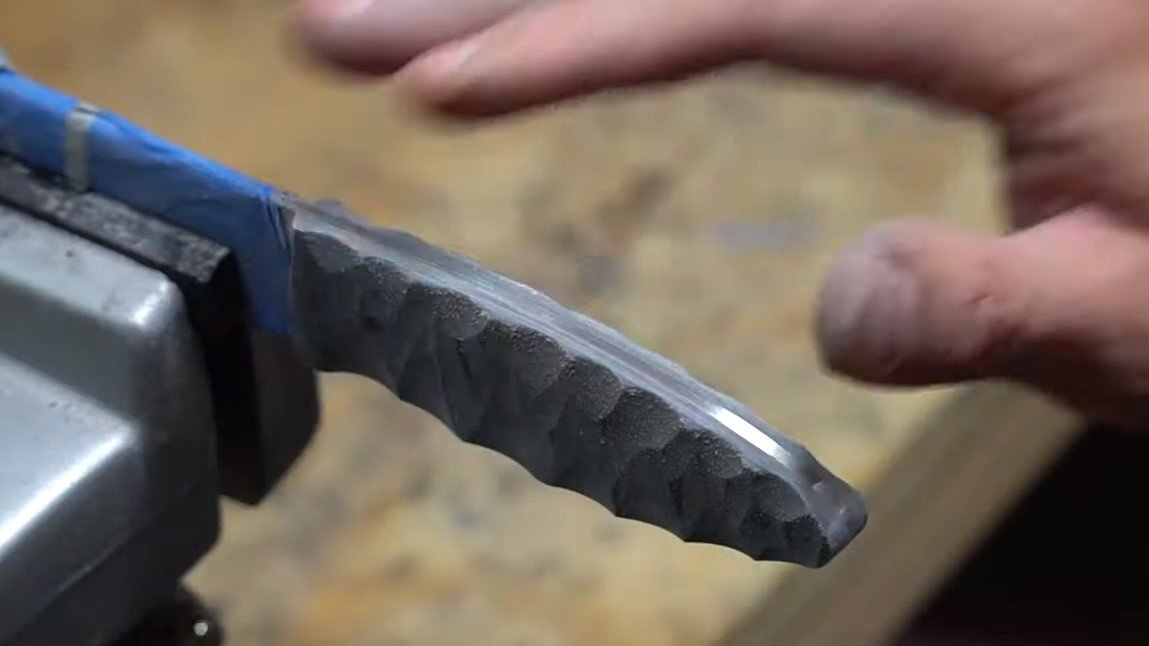
Step Four Quenching
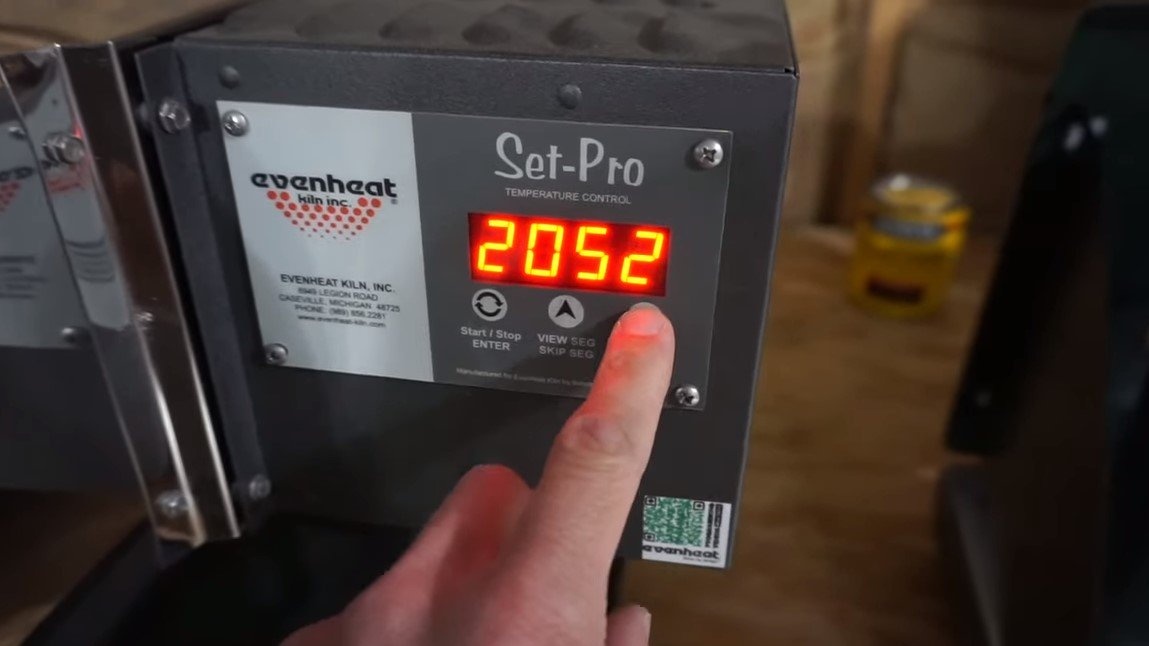
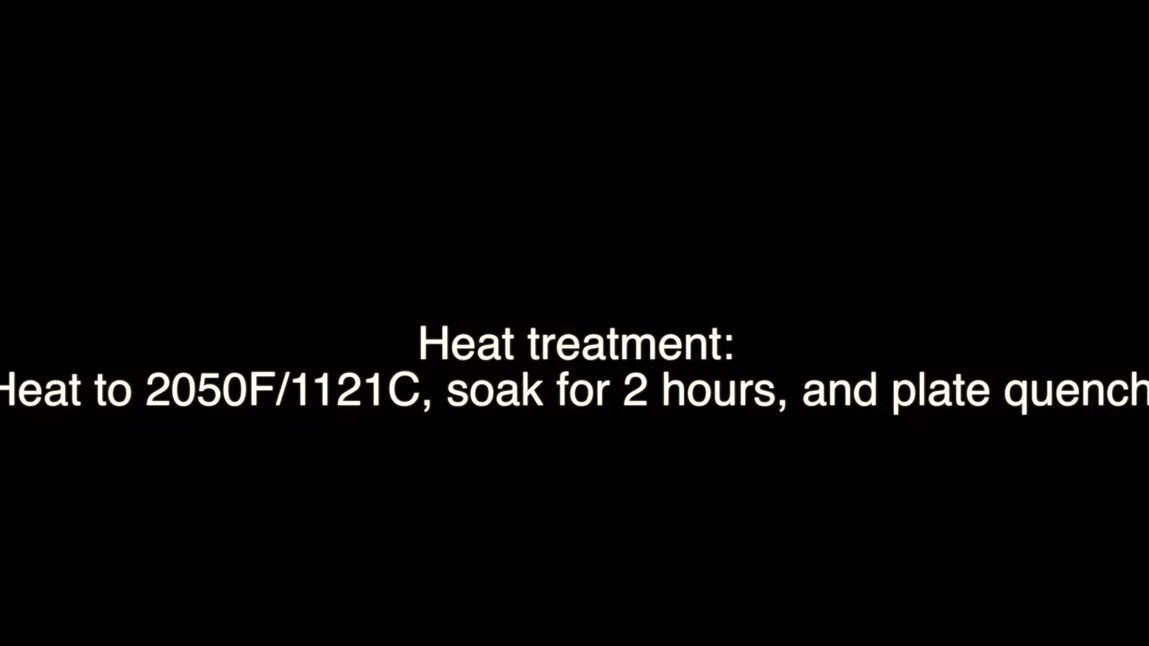
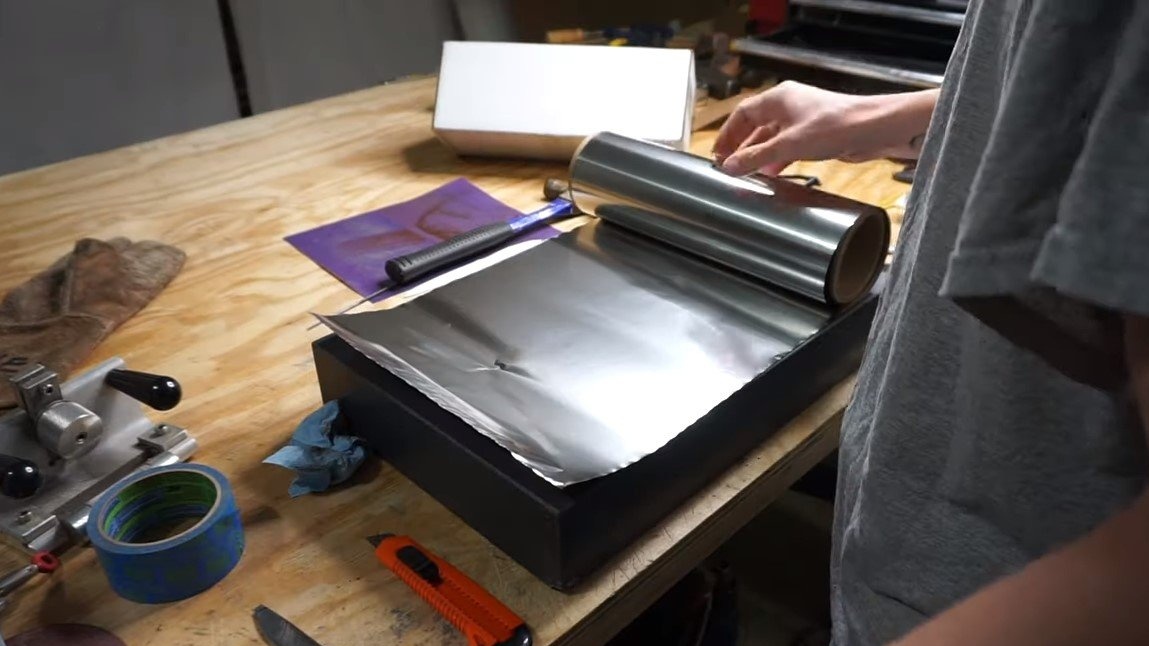
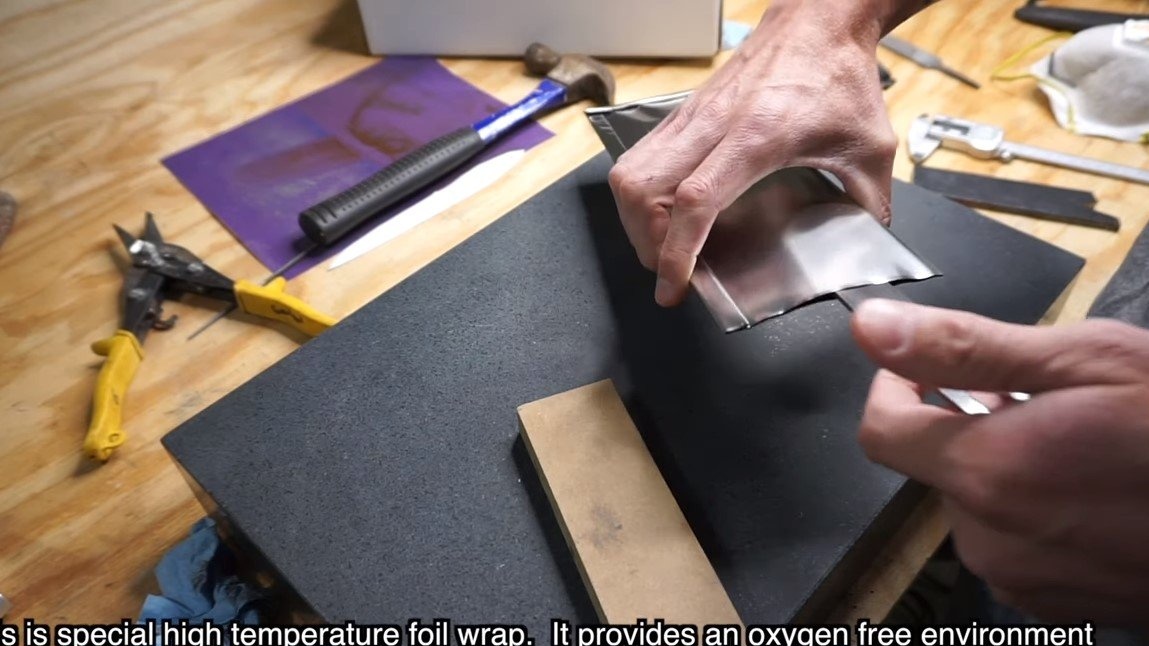
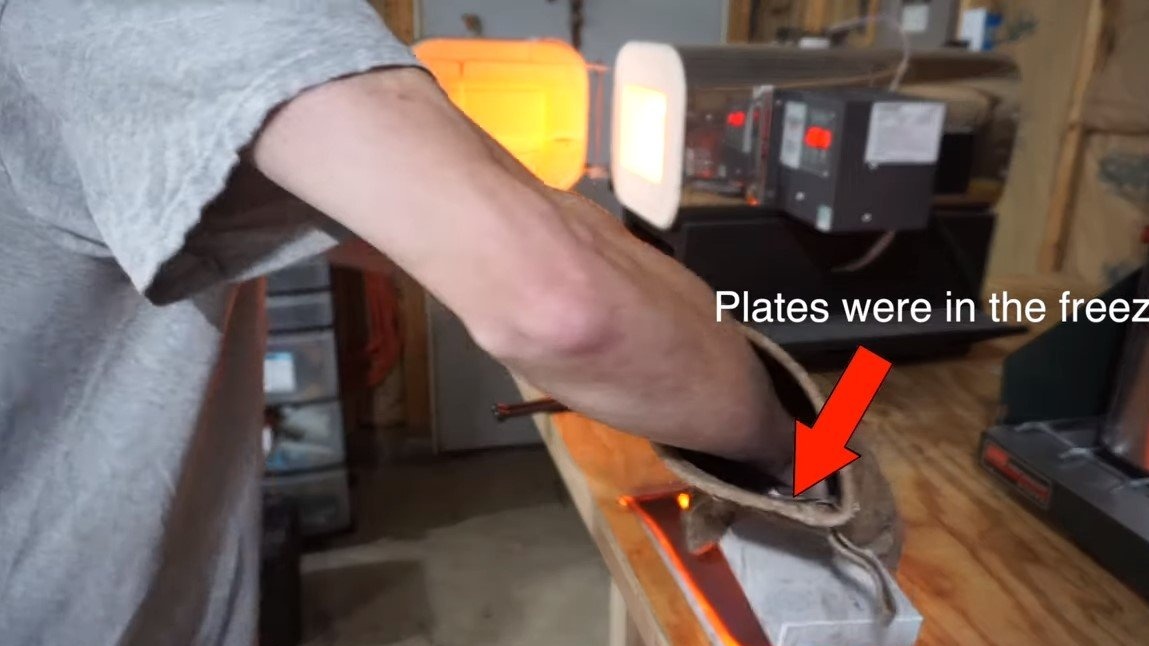
We turn to hardening, the temperature for the selected steel should be 1121 ° C. The blade must be hidden in a made envelope of heat-resistant foil, we send the blade into the oven and heat it.
Next, we remove the blade, we need to cool it, but for this we need two cold metal plates or even bars, we hold the blade between them and let it cool.That's all, hardening is done, we take the blade out of the envelope.
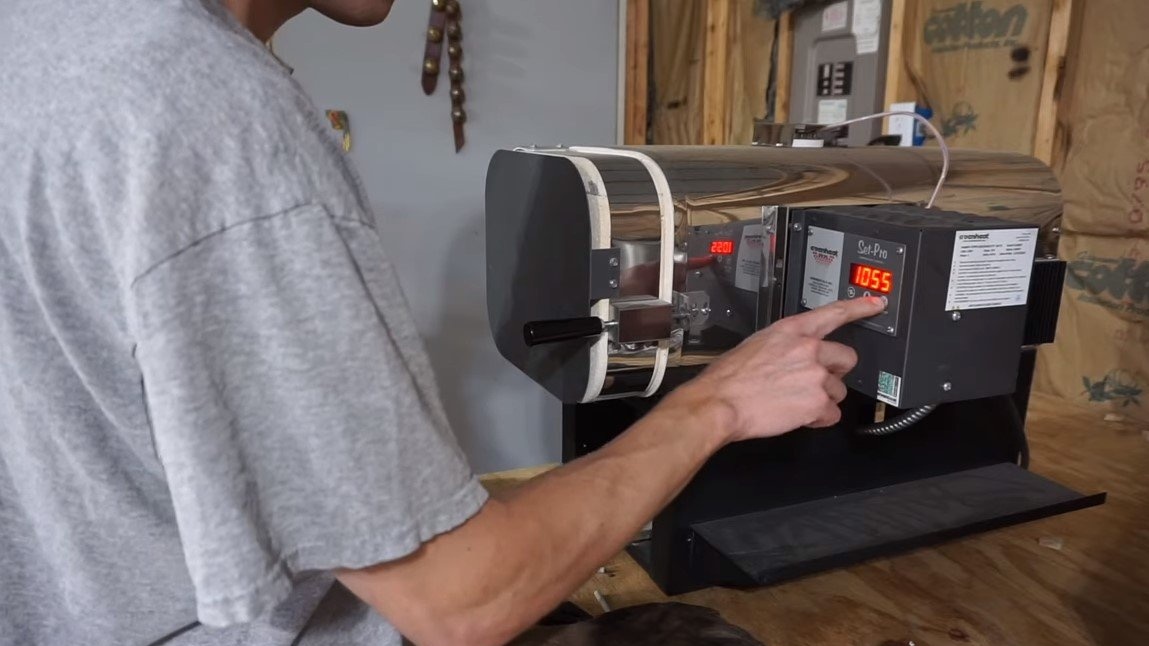
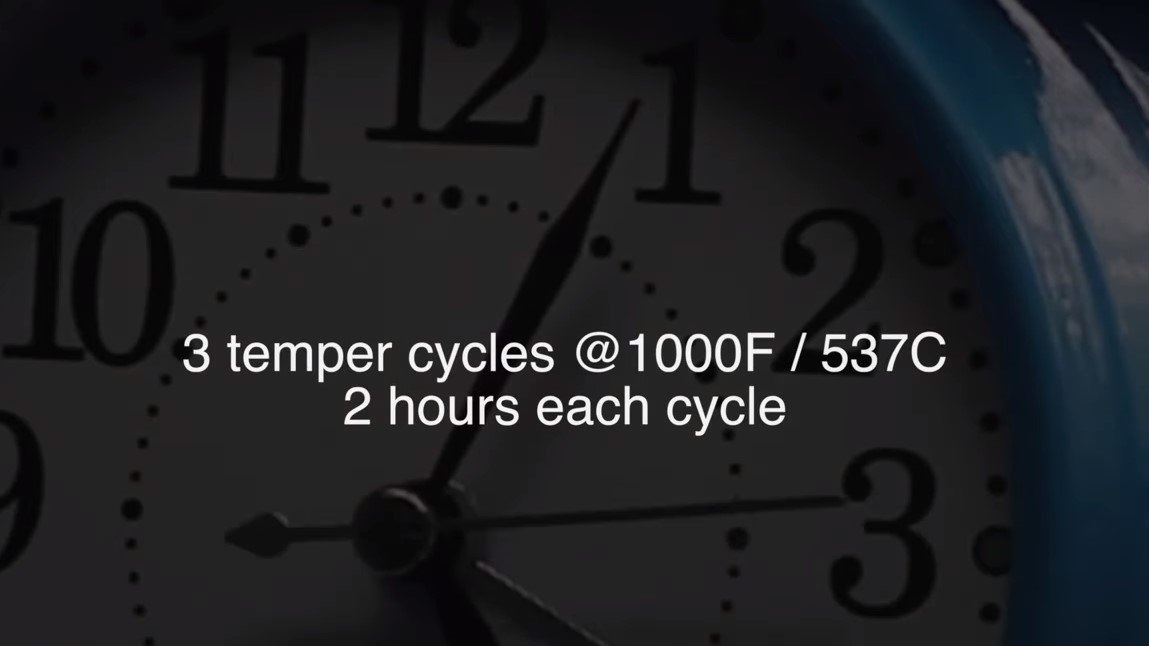
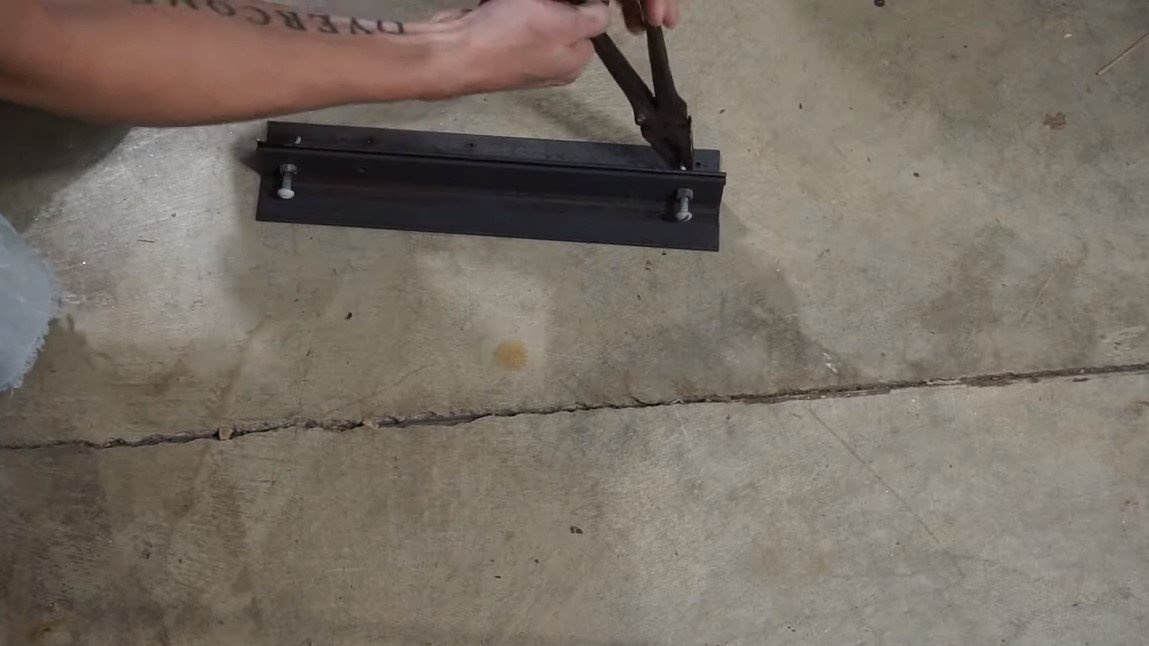
Now you need to make a vacation of steel, it is also different from traditional methods. The blade is clamped between two corners so that it does not deform, and sent to the furnace. Vacation takes place in three stages, each stage lasts 2 hours, the temperature of vacation is 537 ° C.
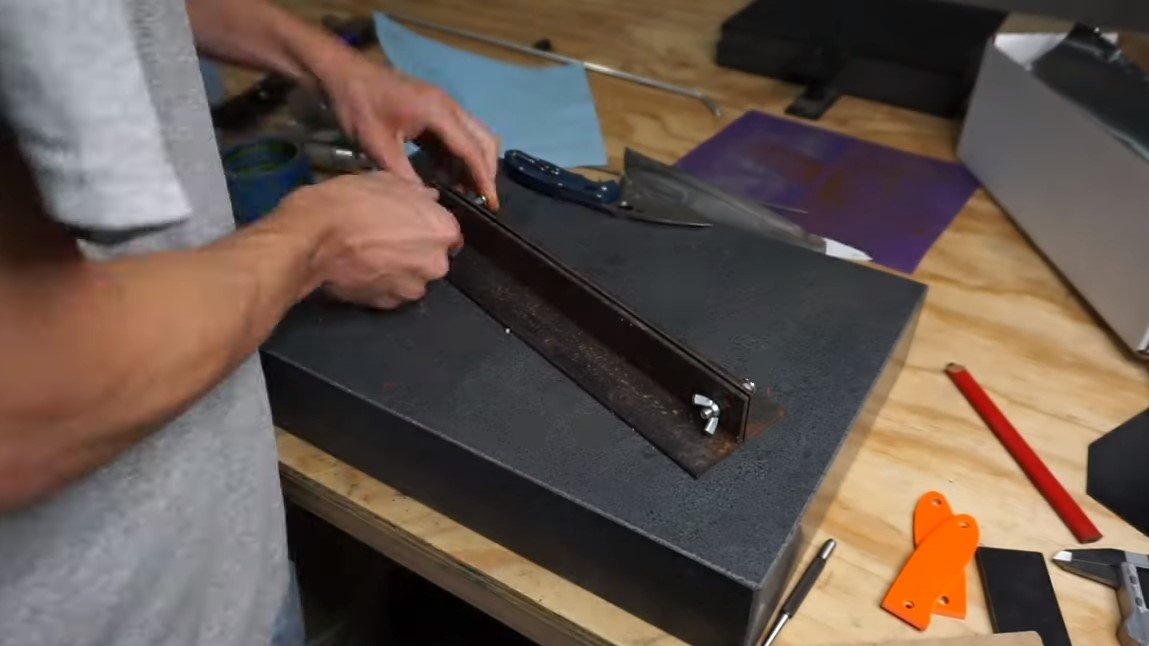
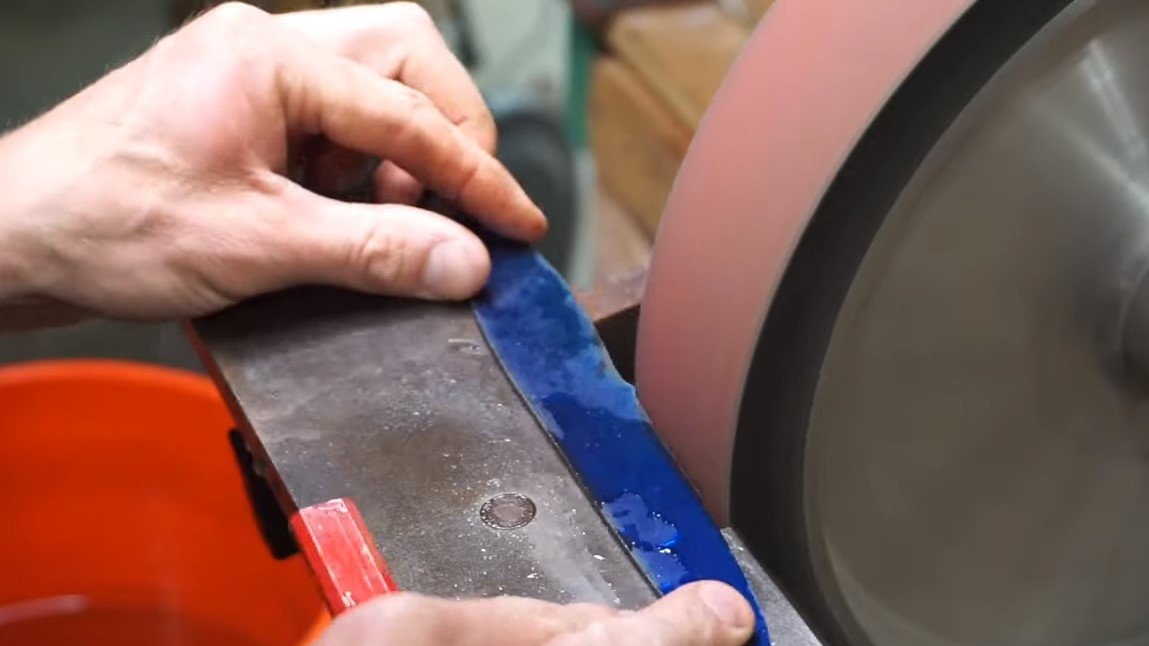
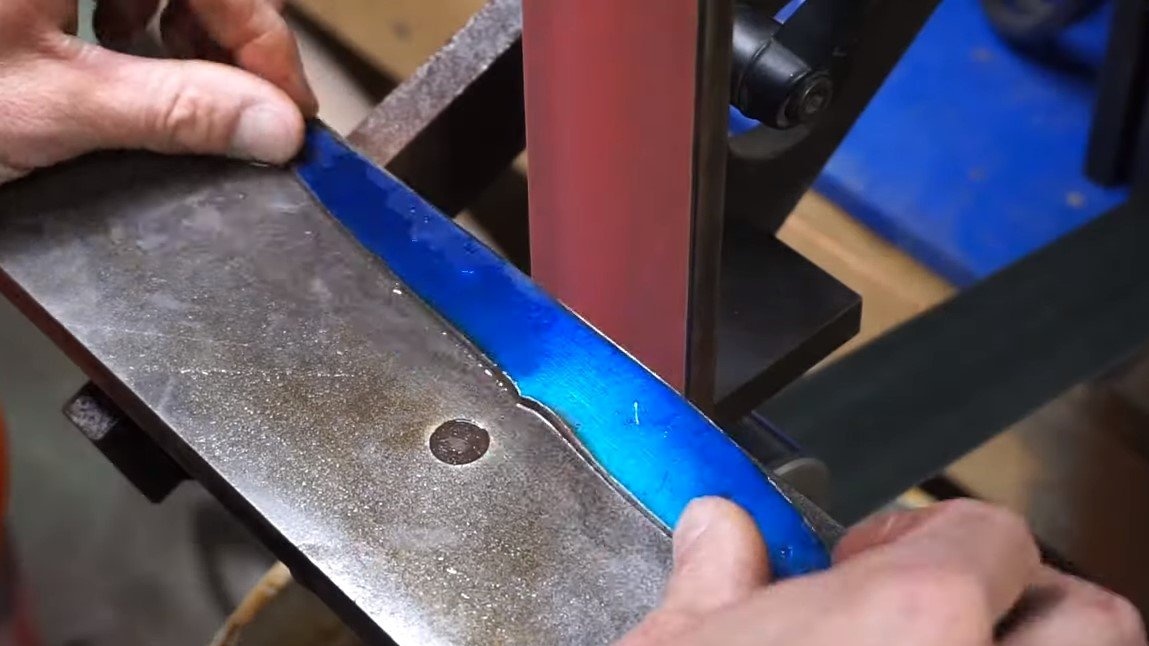
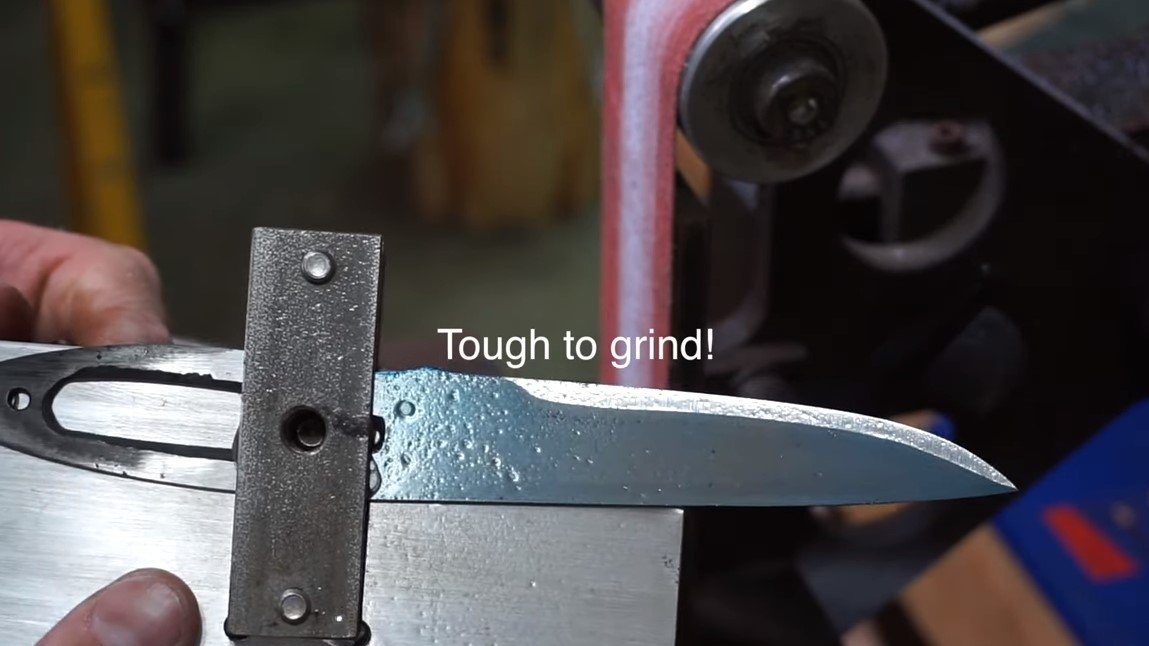
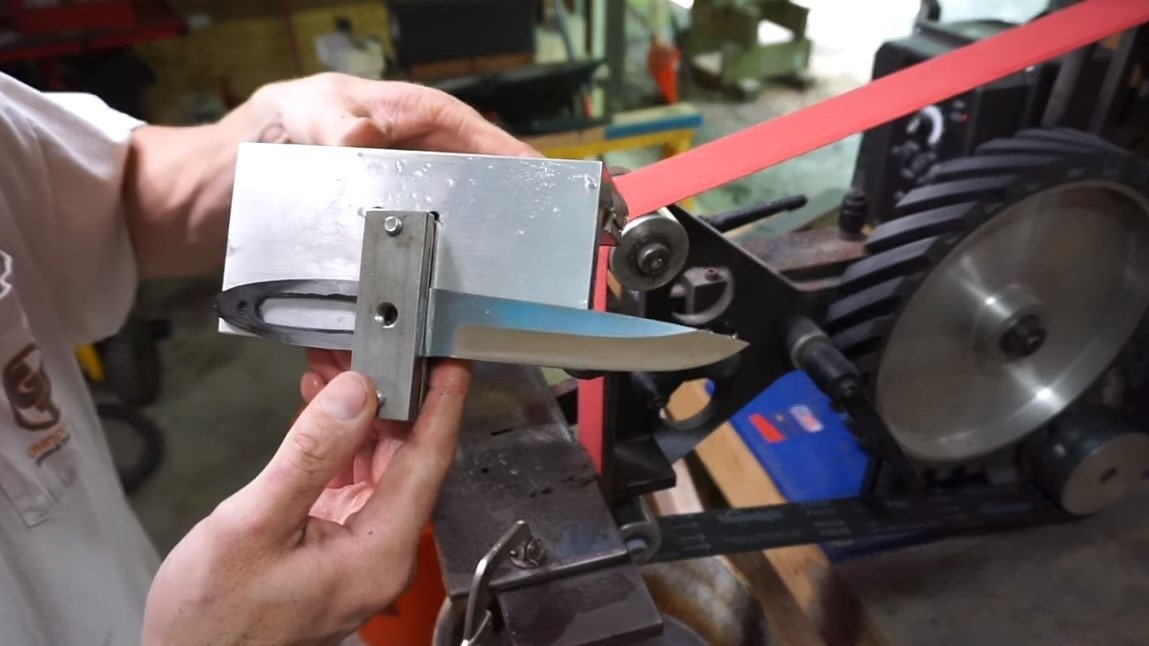
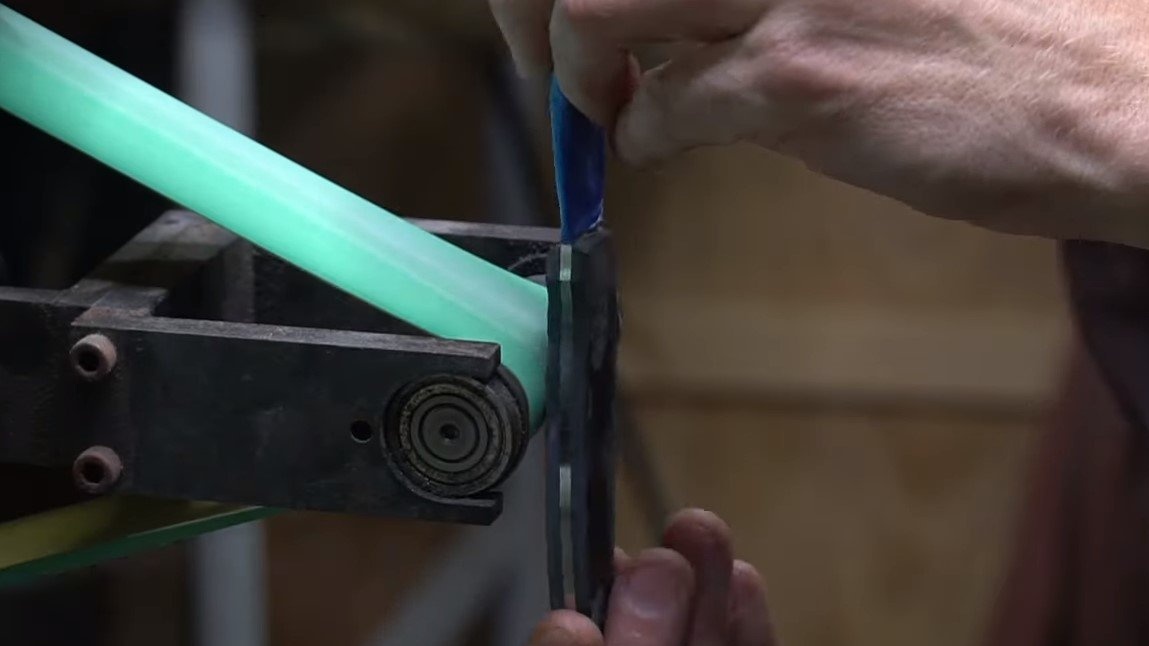
Step Five Slopes
We form the descents on the blade, for this, first we divide the blade with a caliper into two halves, as a result, we get a line that we will focus on. The blade is installed in a special holder and proceed to grinding. When grinding, it is important not to rush so that the steel does not overheat too much, we moisten it with water. We pass from the rough tape to the shallow one, and now we have wonderful sparkling descents. At the same step we make primary sharpening.

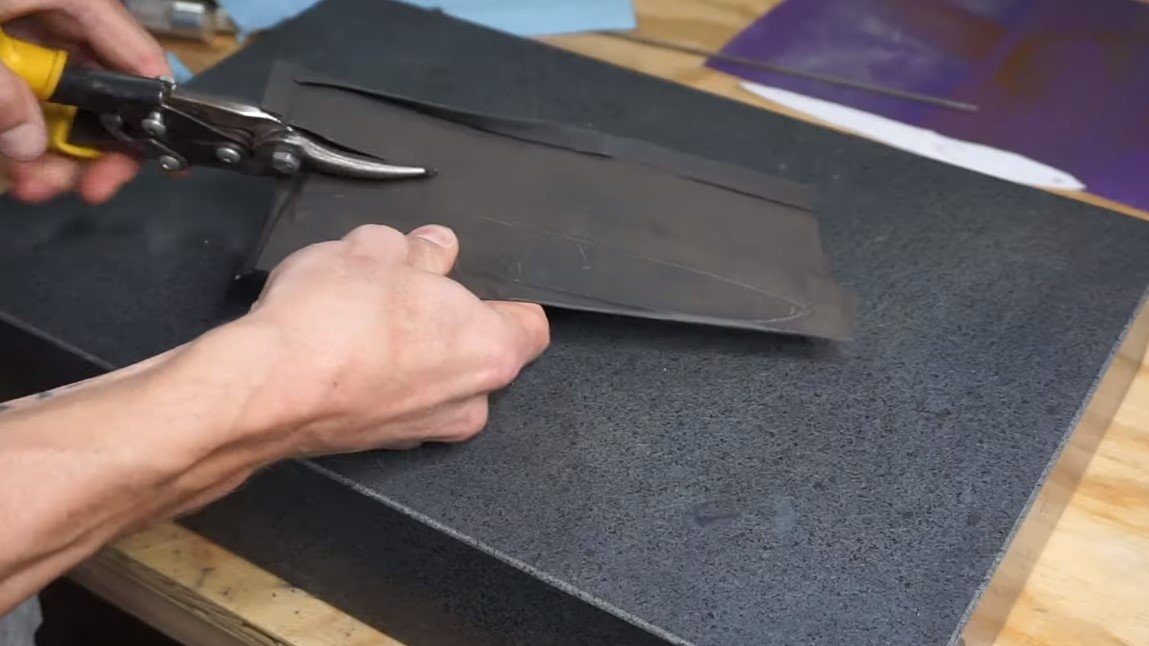
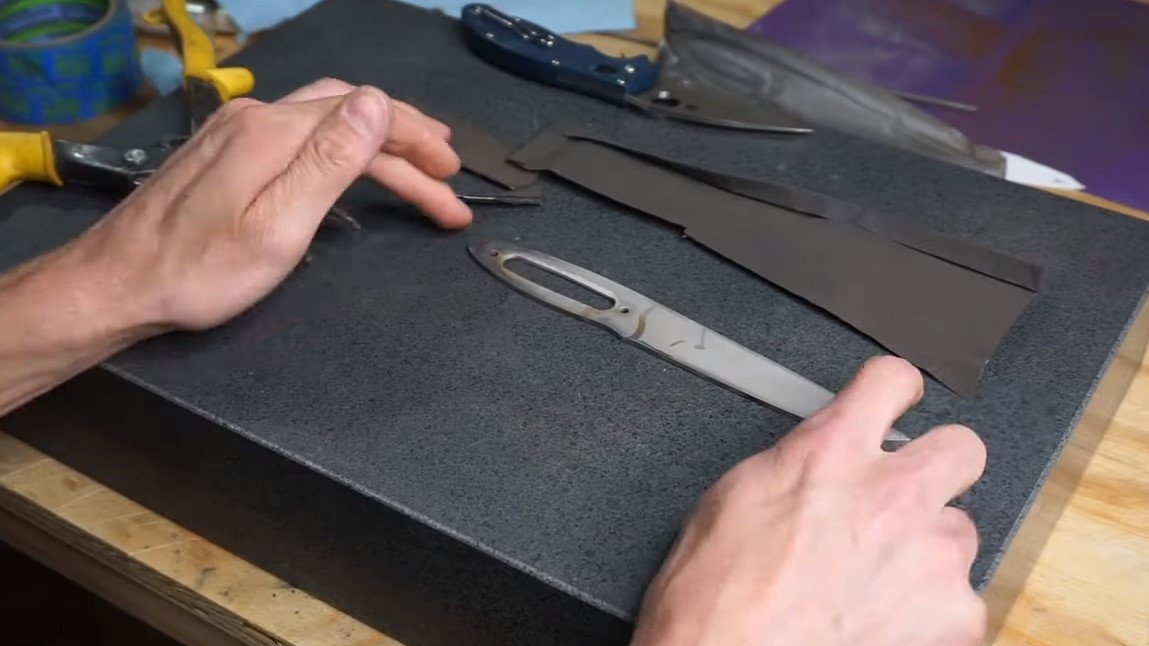
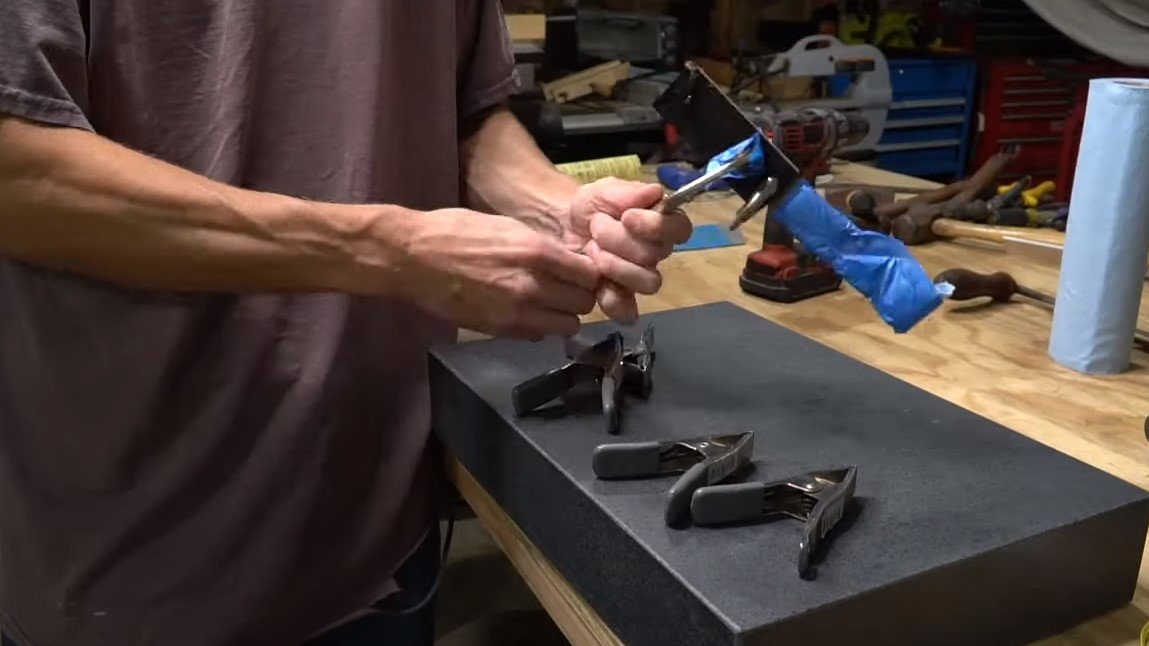
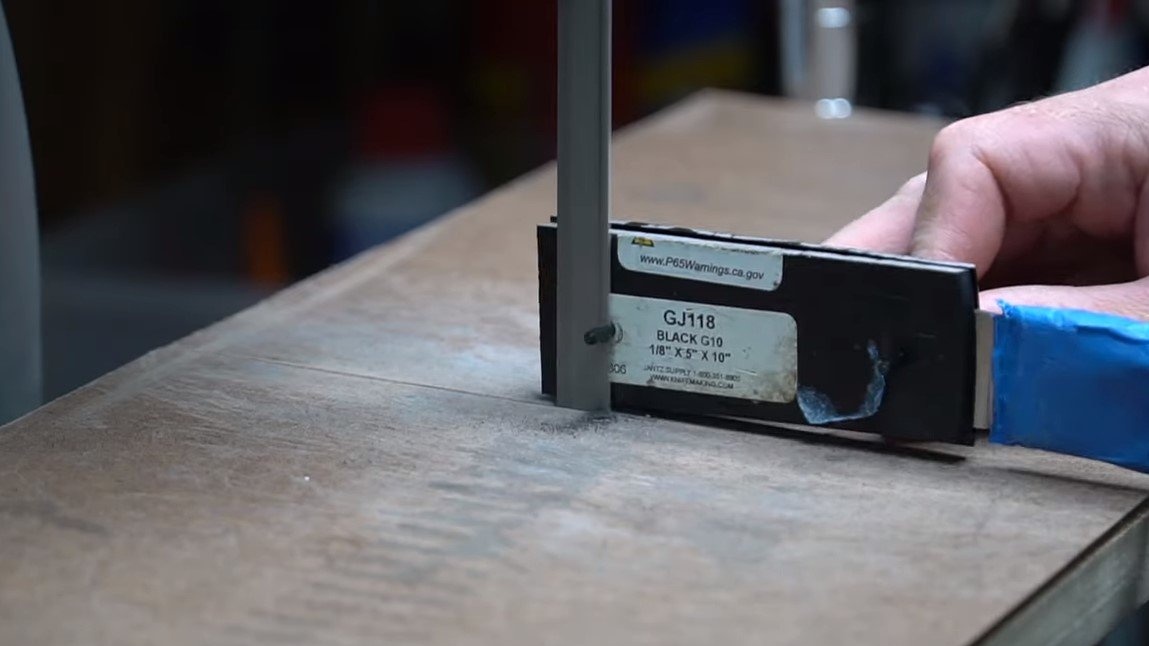
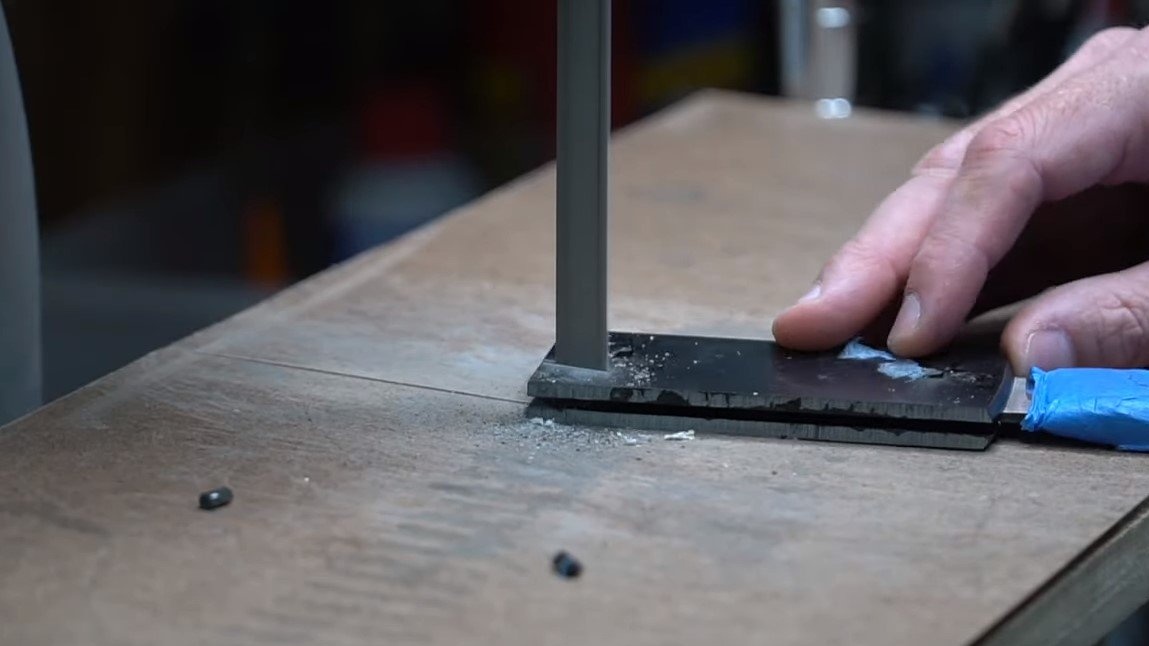
Step Six Handle assembly
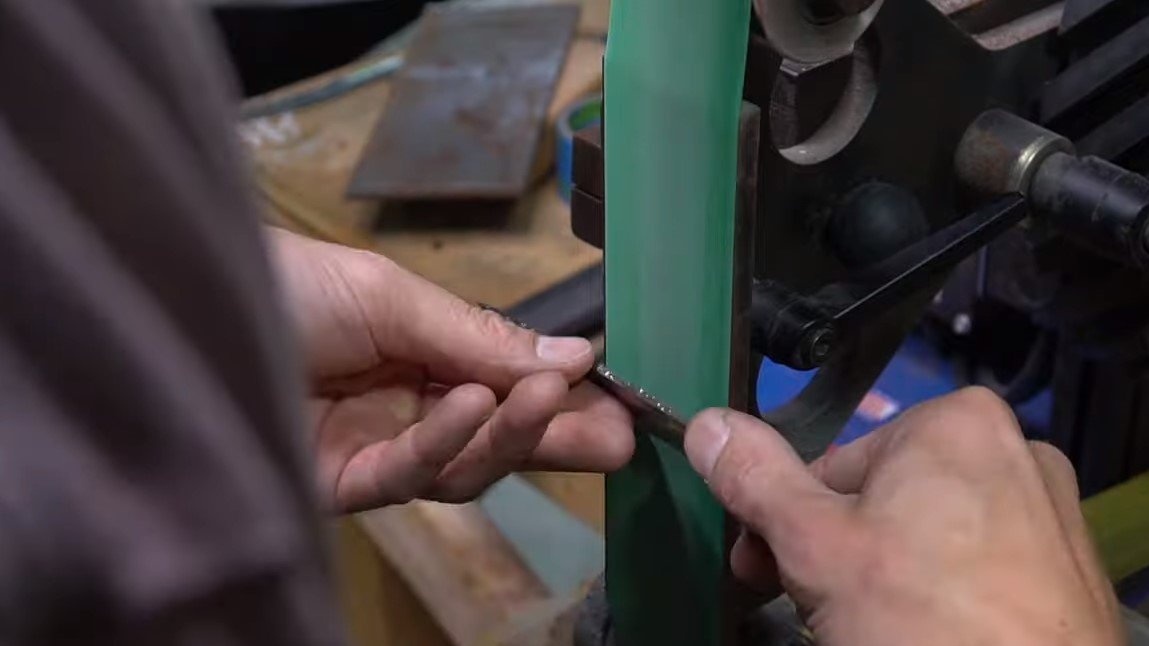
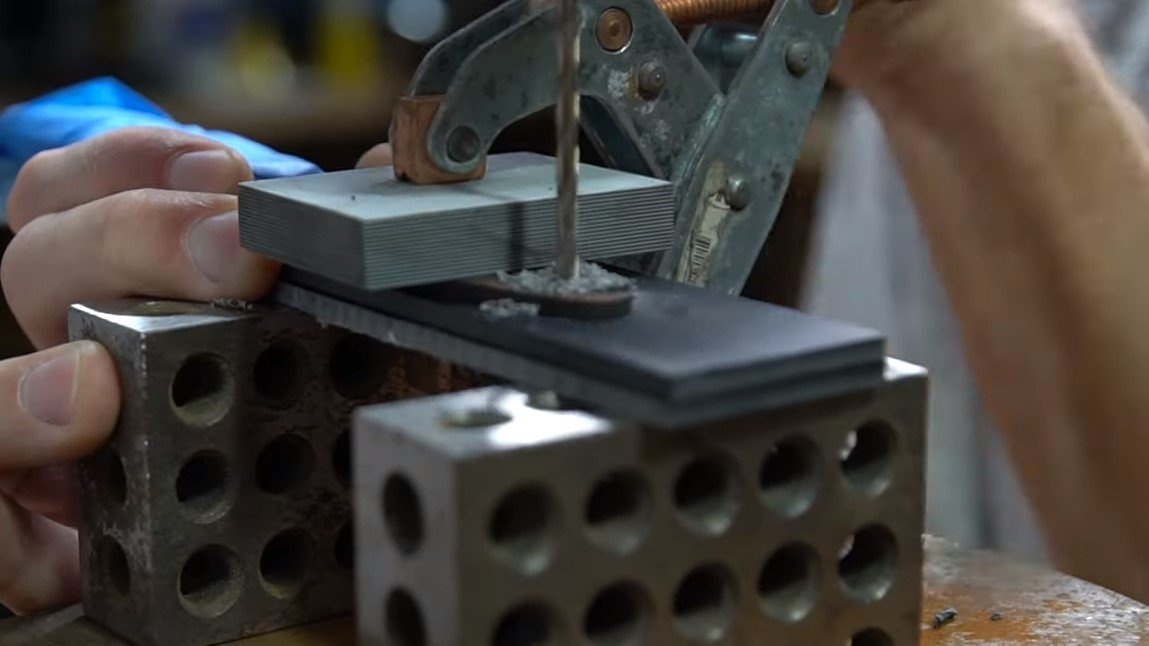
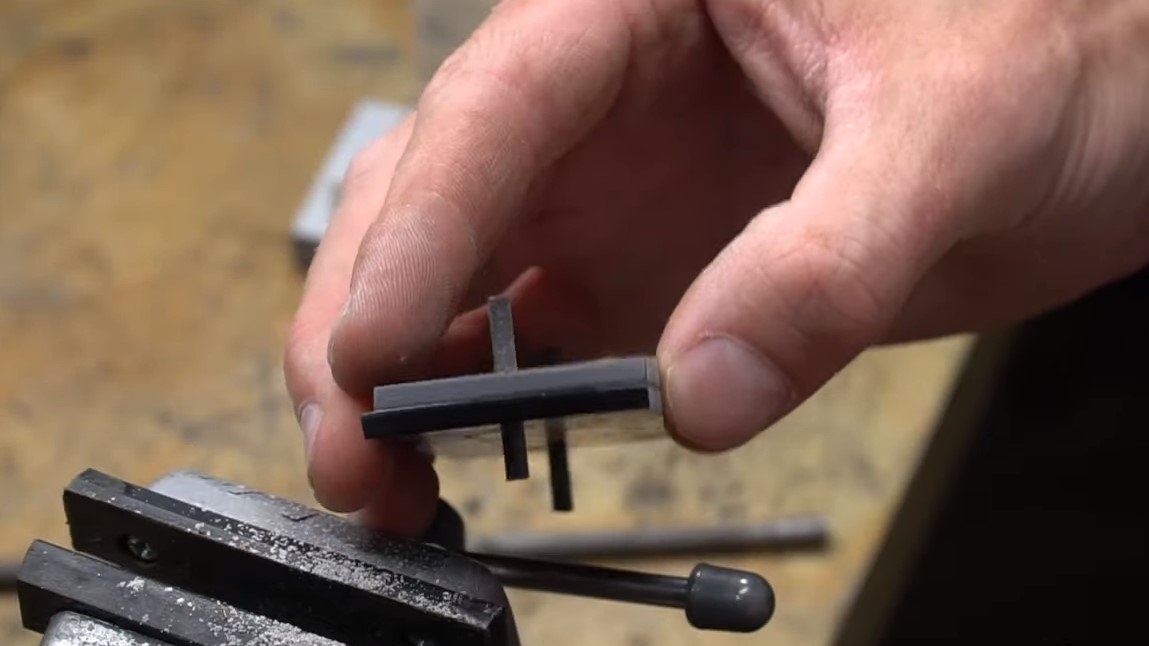
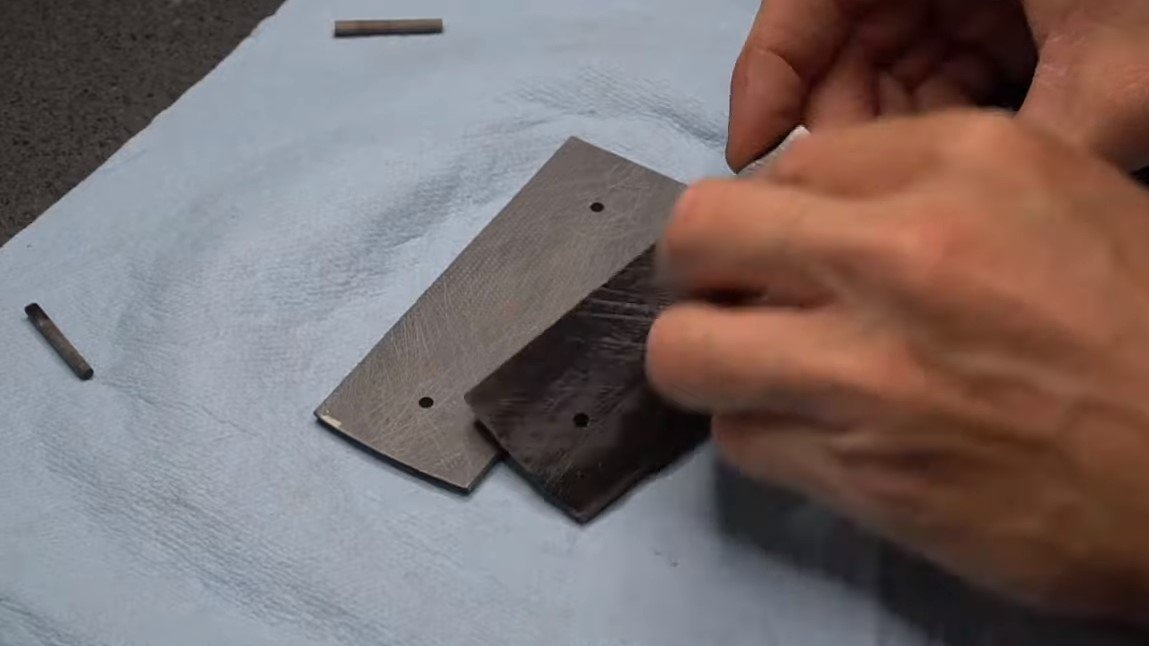
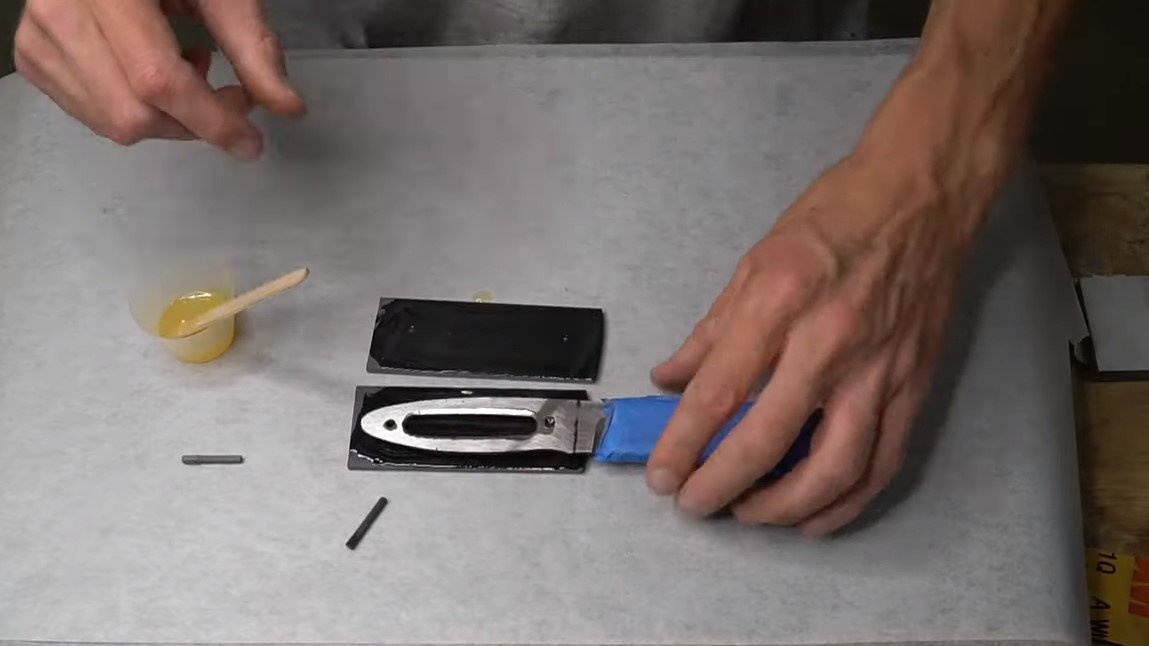
We will assemble the handle of the knife, here we need G10 or textolite, such a material is lightweight, durable and not afraid of water. We cut two pieces, drill holes and degrease the parts to be glued. We also need to prepare the pins, in the classic version brass is used, but in the struggle for weight, the author used carbon fiber.
Glue the pads on the handle with epoxy glue, tighten everything with clamps and leave to dry.
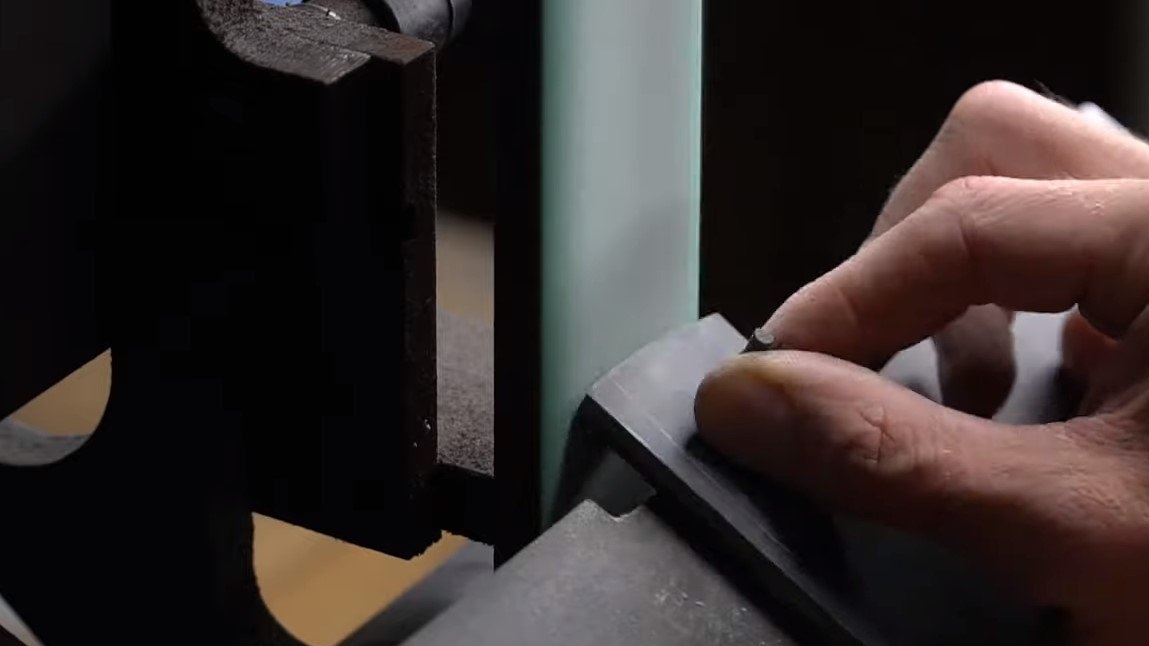
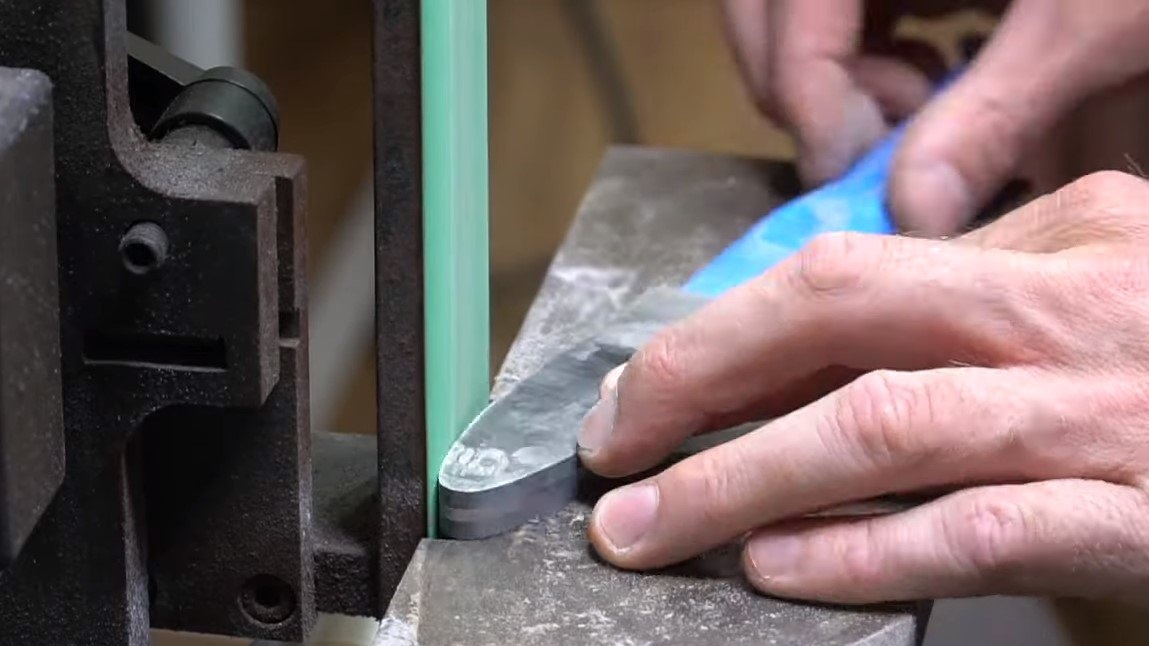
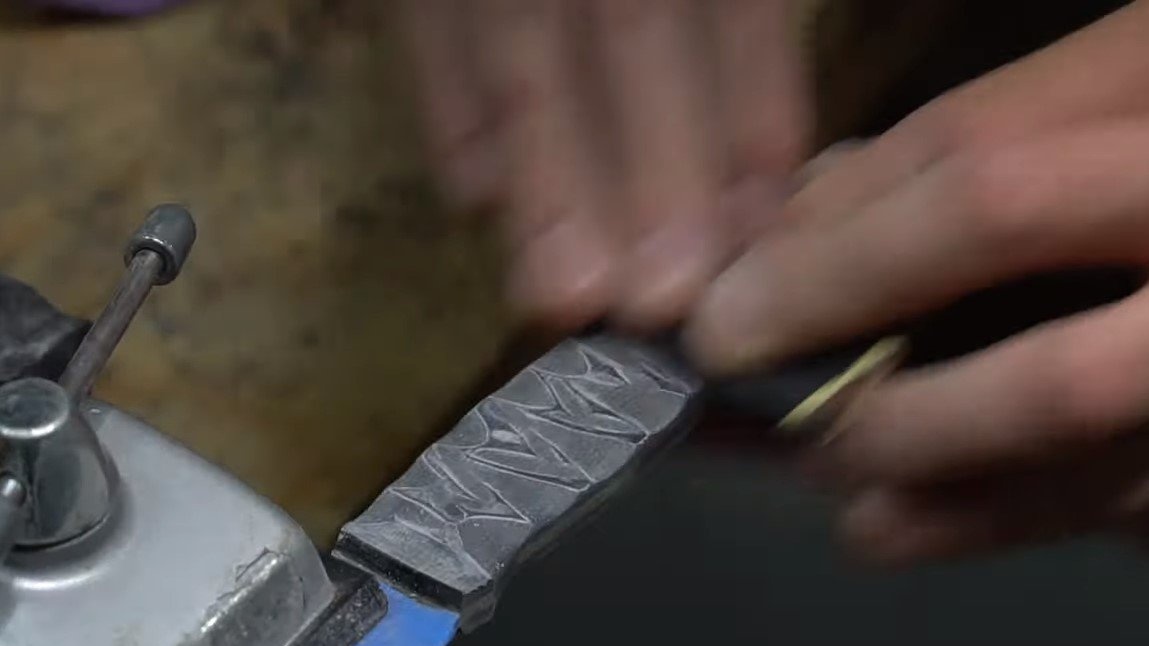
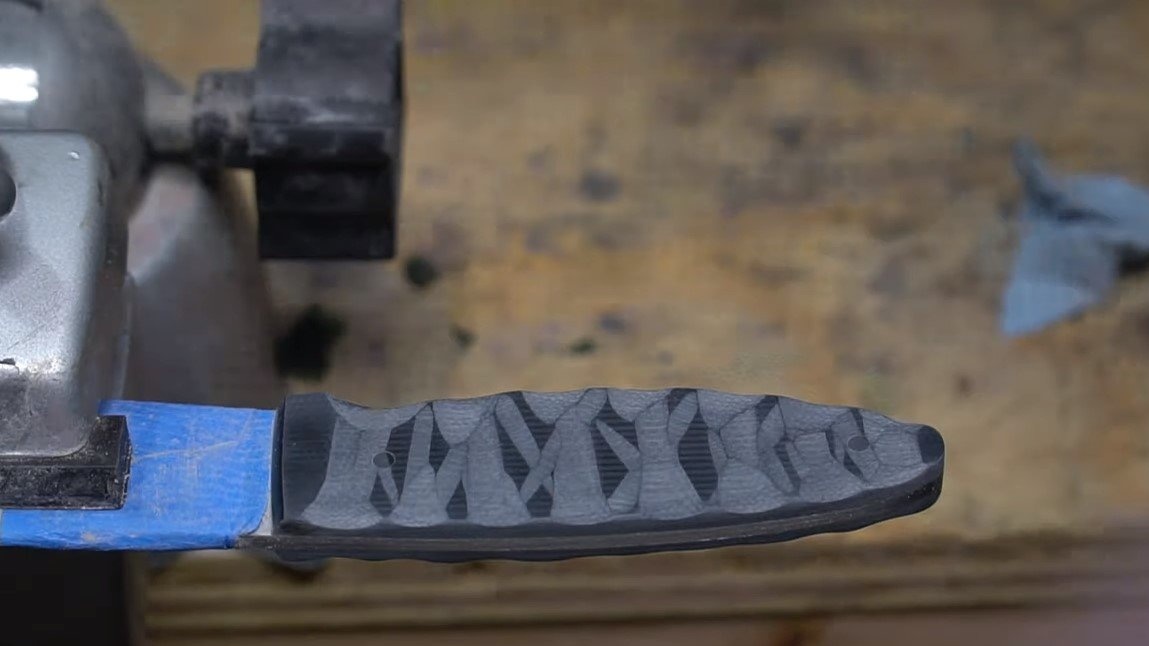
Seventh step. Handle refinement
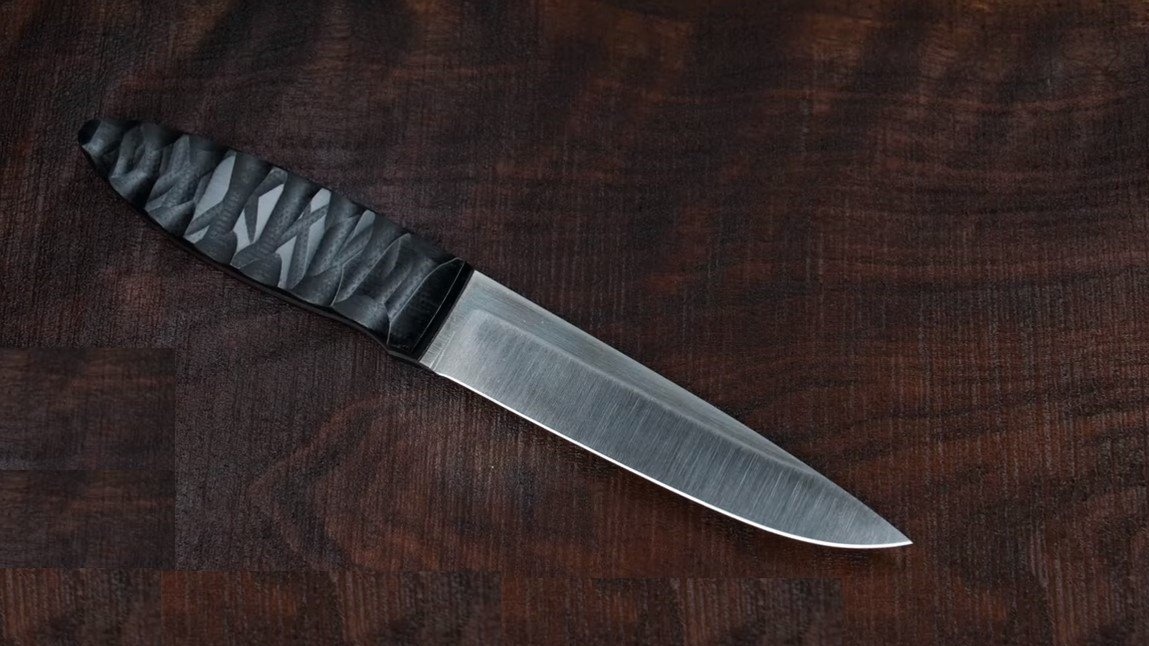
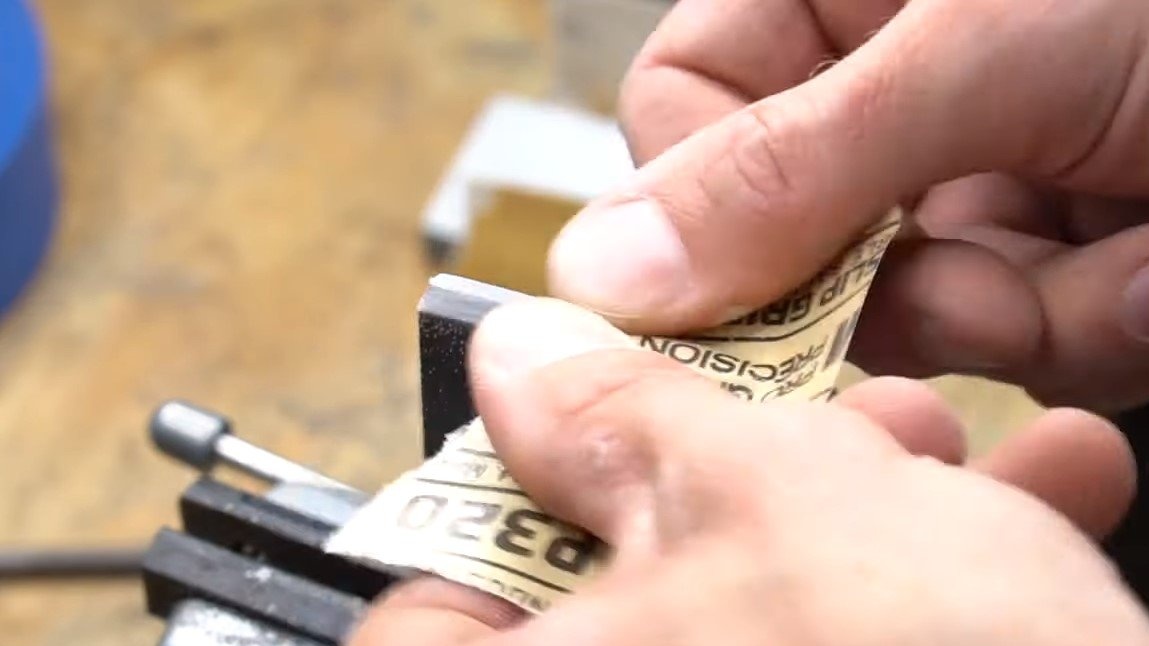
When the glue dries, we cut off the excess in the shape of the handle and proceed to grinding. After finishing the lining along the contour, we grind it and the plane. On overlays there is an interesting relief pattern, thanks to it the knife reliably lies in a hand and it will be easier. We form the necessary recesses on the LSHM roller or using files.
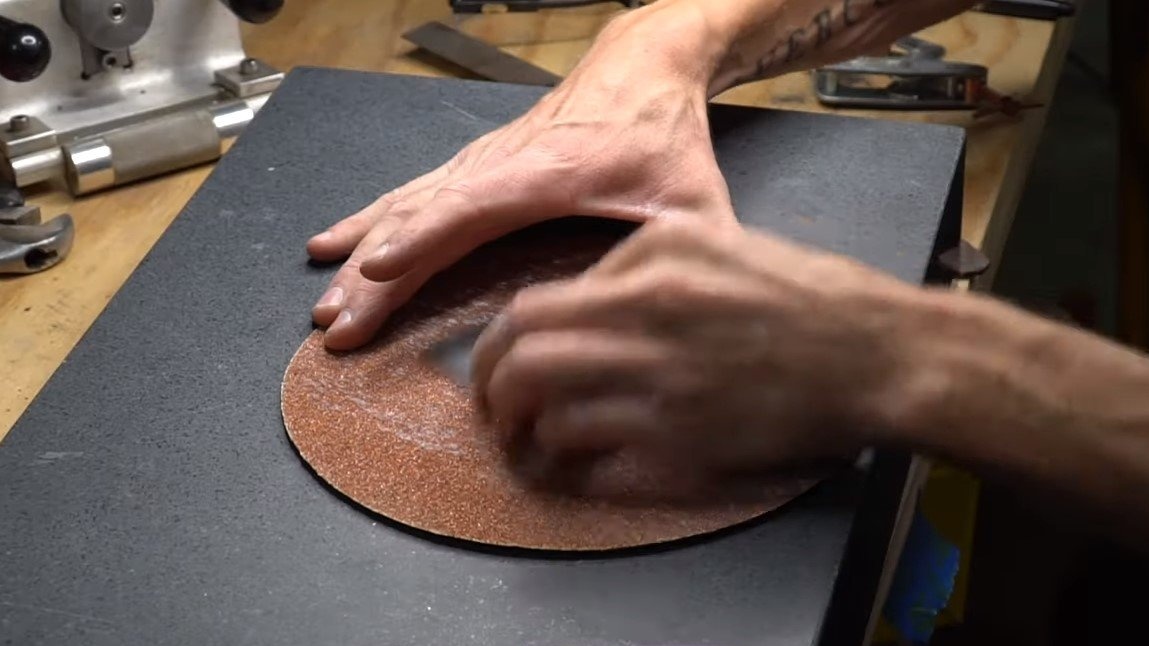
At the end, carefully grind the handle with fine sandpaper and cover it with oil or varnish. The knife looks great, it remains to test it.


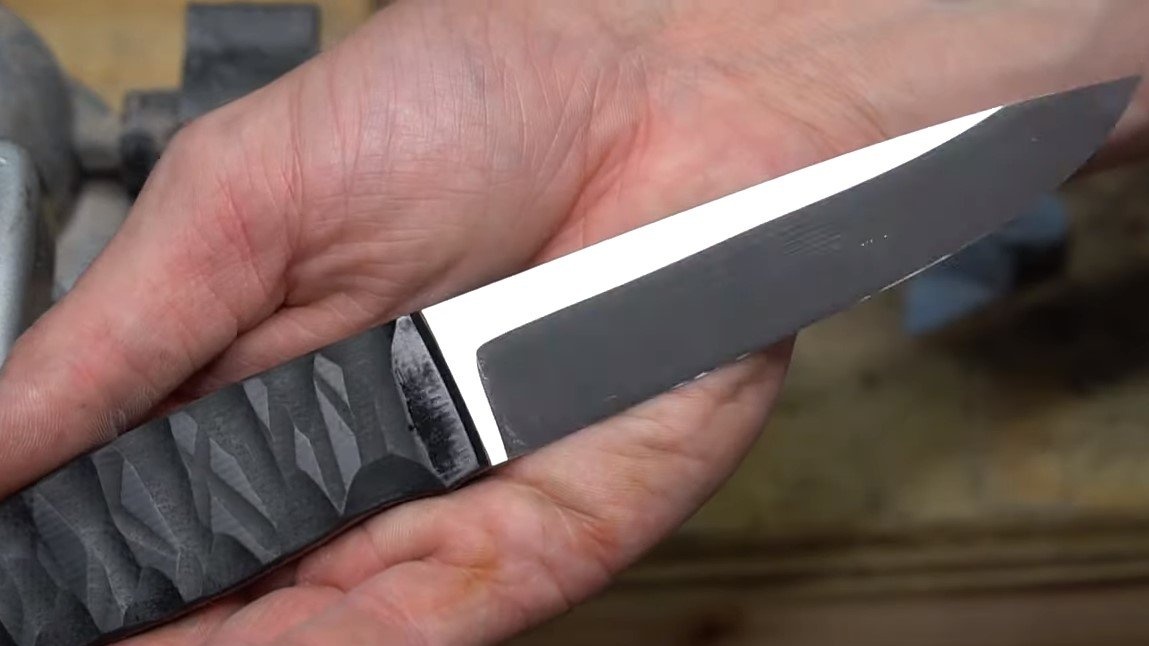
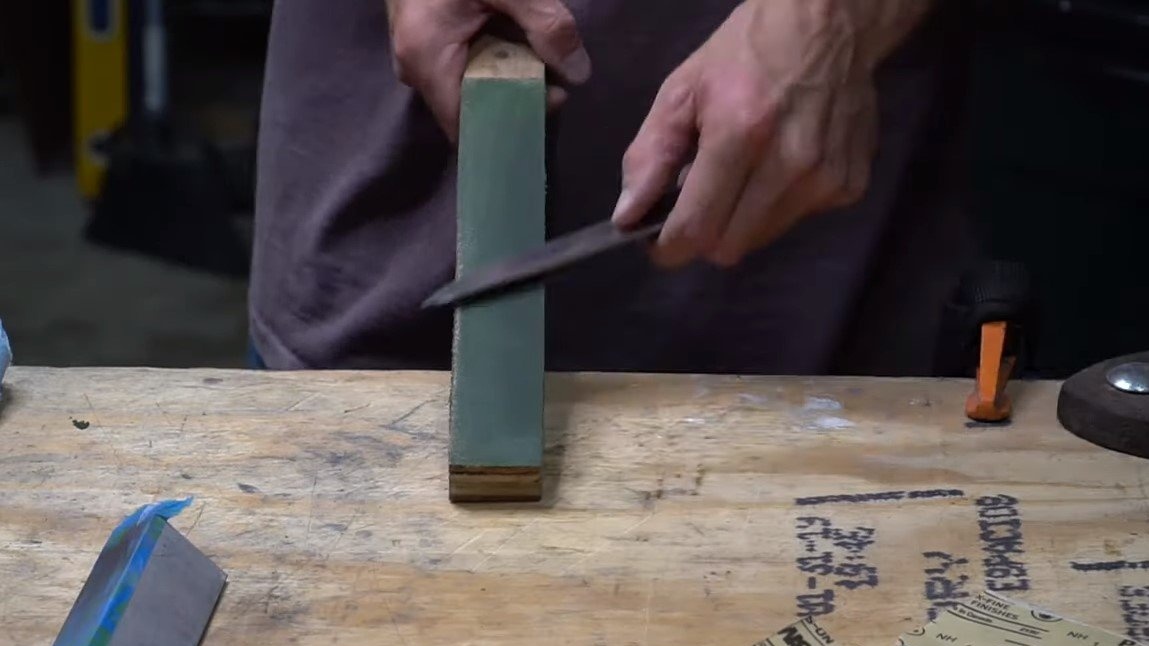
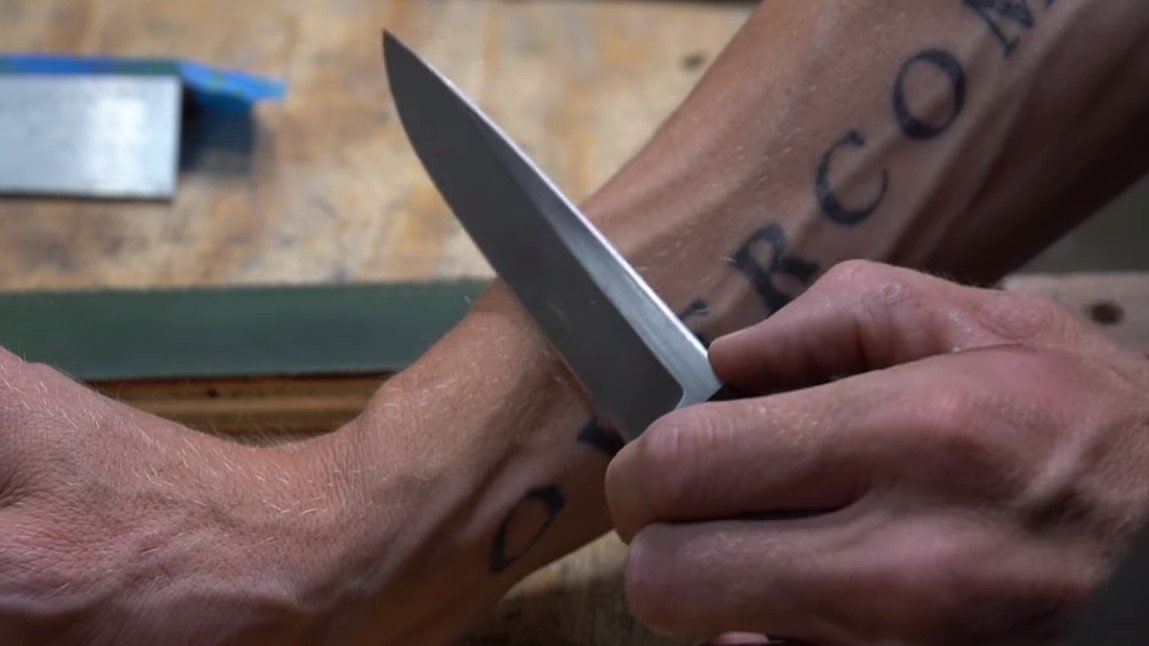
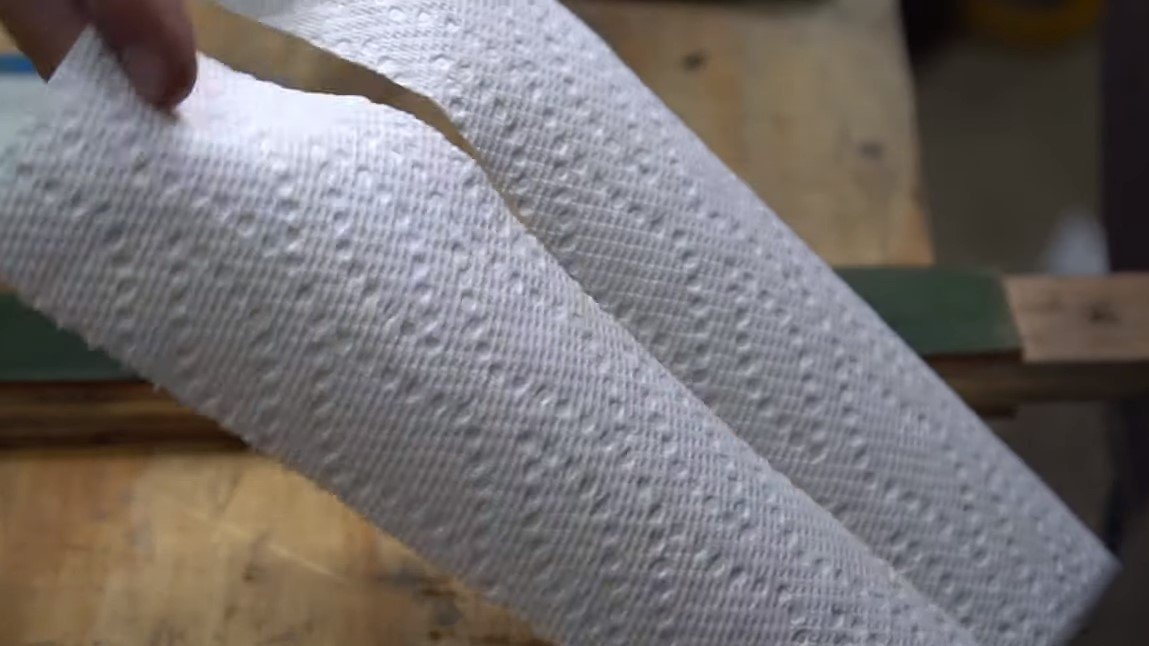
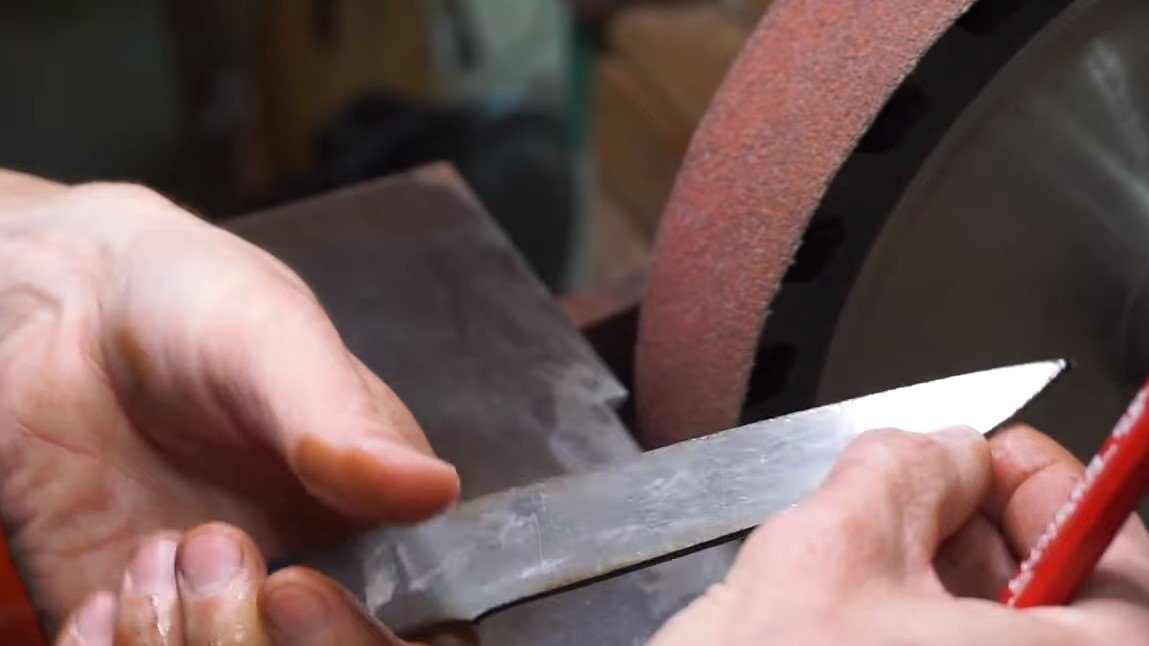
Step Eight. Sharpening and testing
Sharpen the knife to the state of a razor; it’s easy to grind good steel. The blade can be sharpened on a polishing machine or using grinding stones. The author’s knife turned out to be very sharp, he easily shaves his hair and cuts thin paper.
On this project is completed, I hope you homemade I liked it, and you found useful thoughts for yourself. Good luck and creative inspiration, if you decide to repeat this, do not forget to share your ideas and homemade things with us!