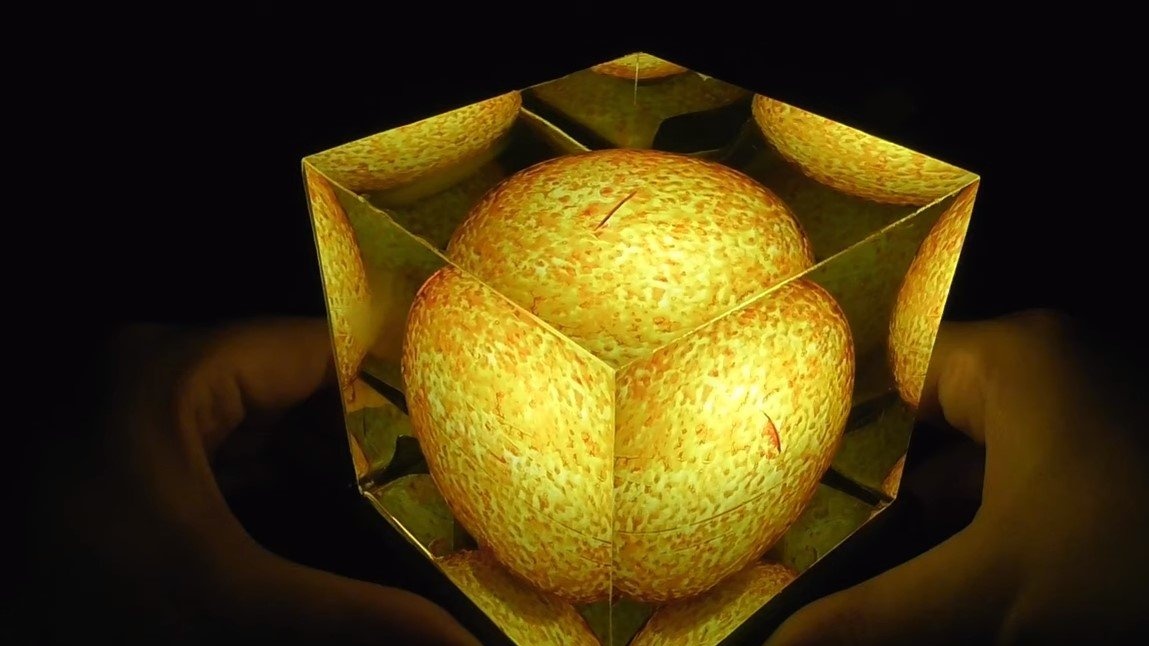
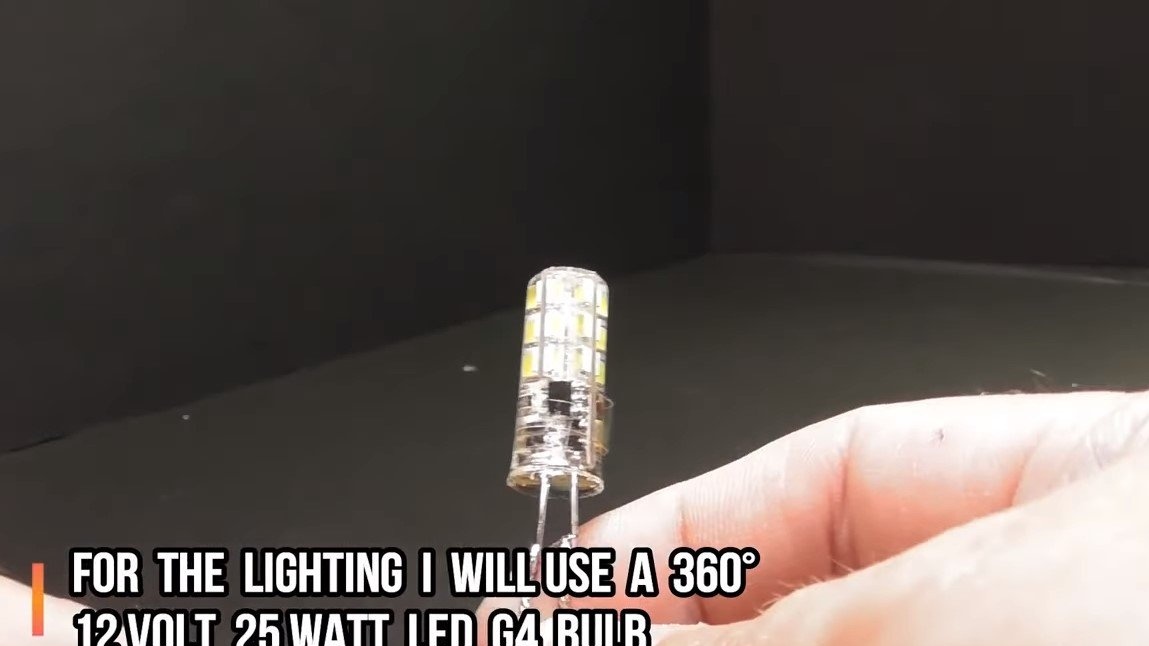
I welcome all fans to craft, today we will consider how to make a unique lamp made of epoxy resin. In assembly homemade quite simple, the light source is a 12V LED bulb. The nightlight looks very interesting, the sun looks very realistic. If you are interested in the project. I propose to study it in more detail!
Materials and tools used by the author:
Material List:
- boards or veneer (for the base);
- paint, oil or varnish for wood;
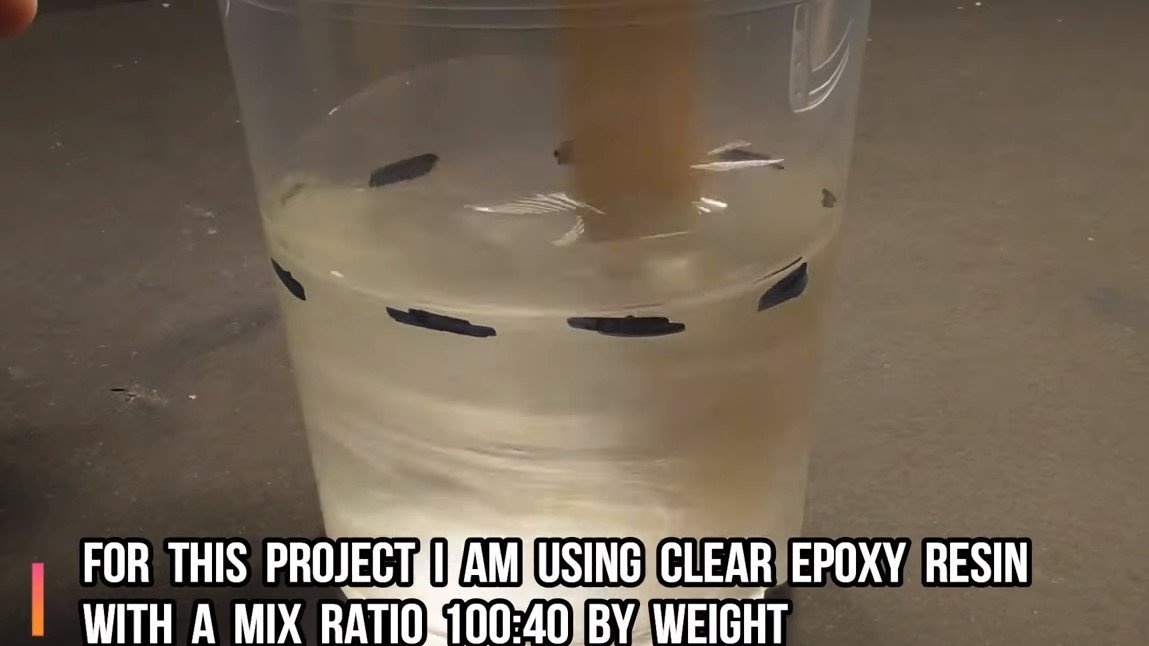
- epoxy resin for pouring;
- paint;
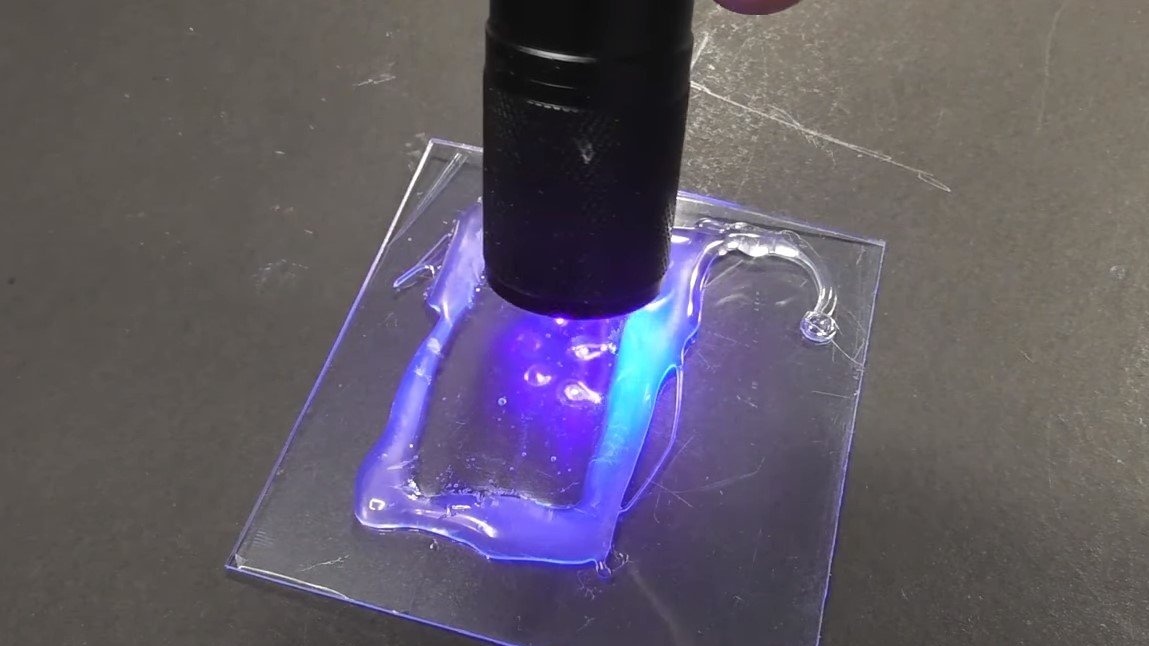
- epoxy resin, which hardens from ultraviolet radiation;
- 12V / 25W light bulb (LED);
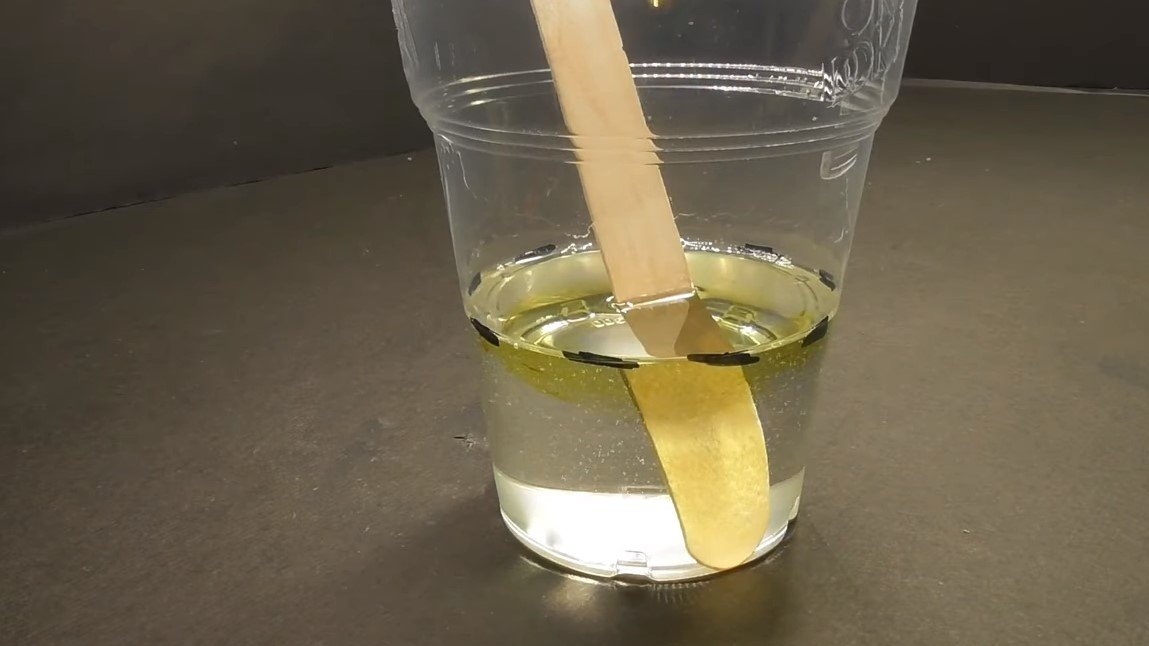
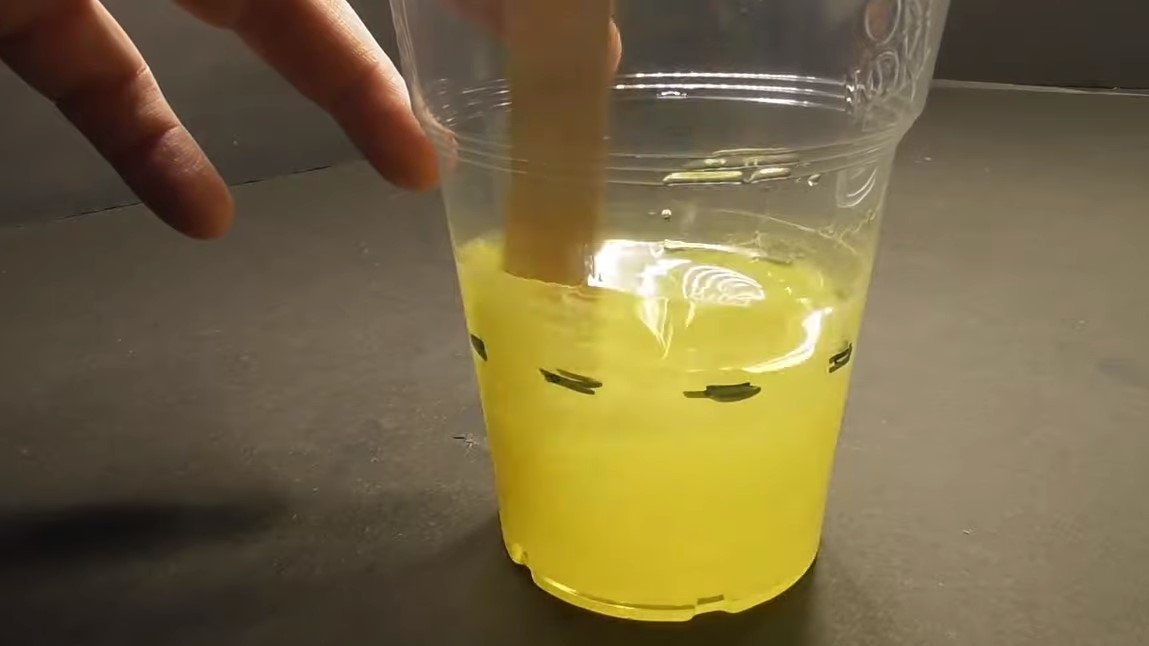
- dye for epoxy;
- wires;
- switch;
- socket for connecting the power supply.
Tool List:
- glue gun;
- sheet acrylic (for formwork);
- silicone mold (ball);
- a hacksaw;
- stationery knife;
- ruler and stuff.
The process of making a nightlight:
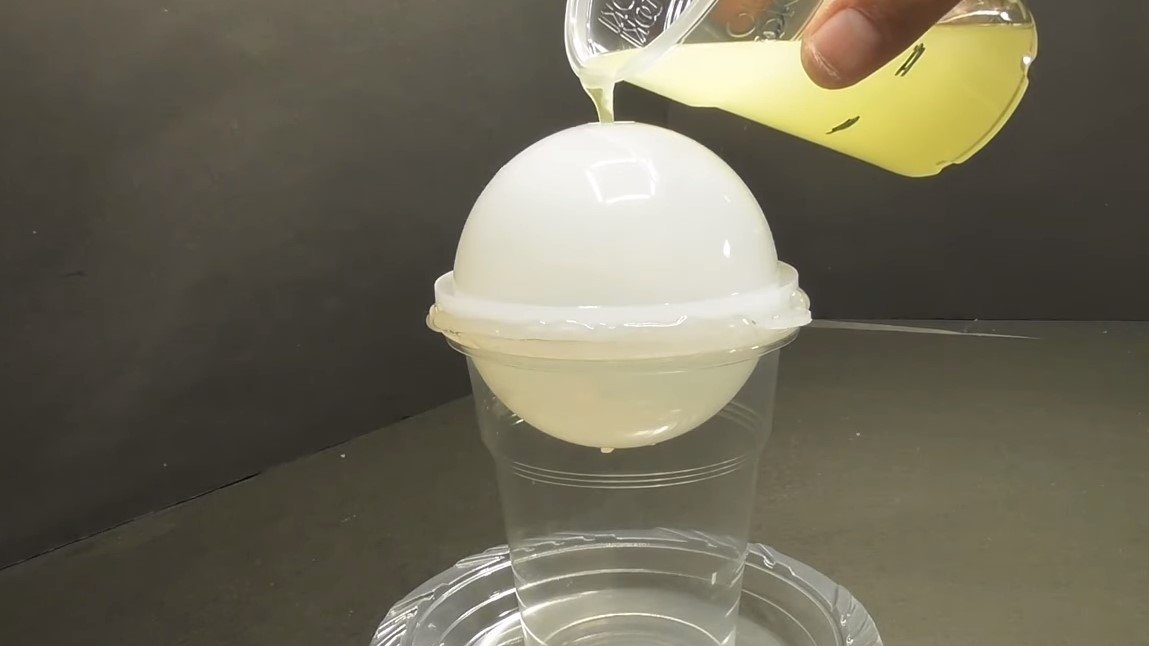
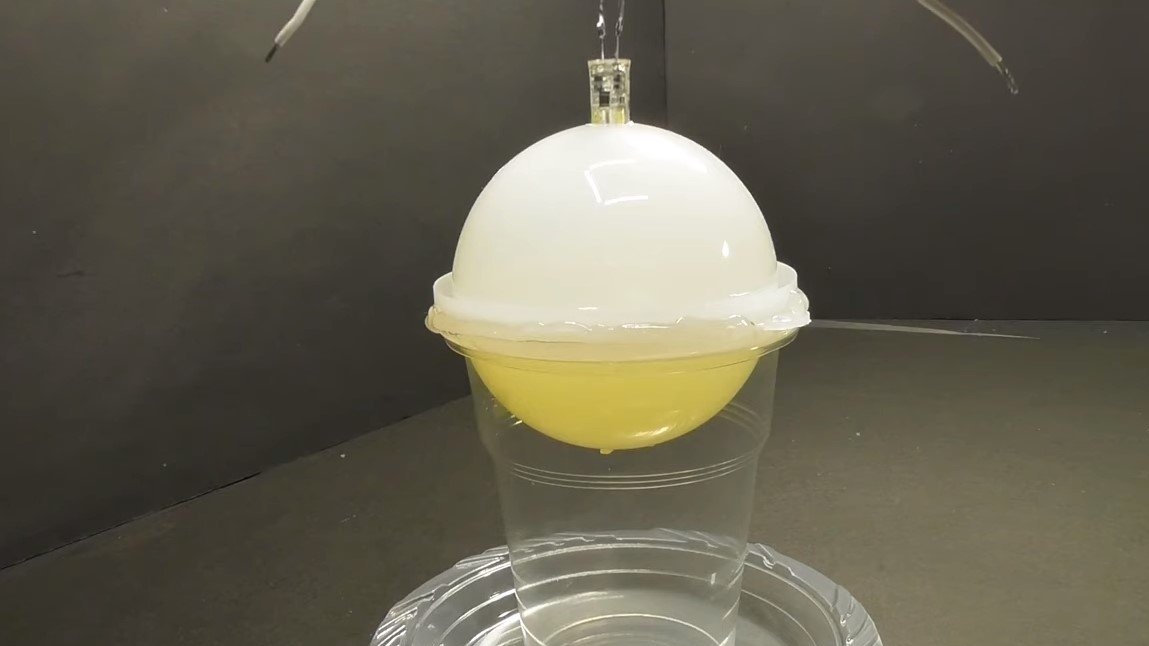
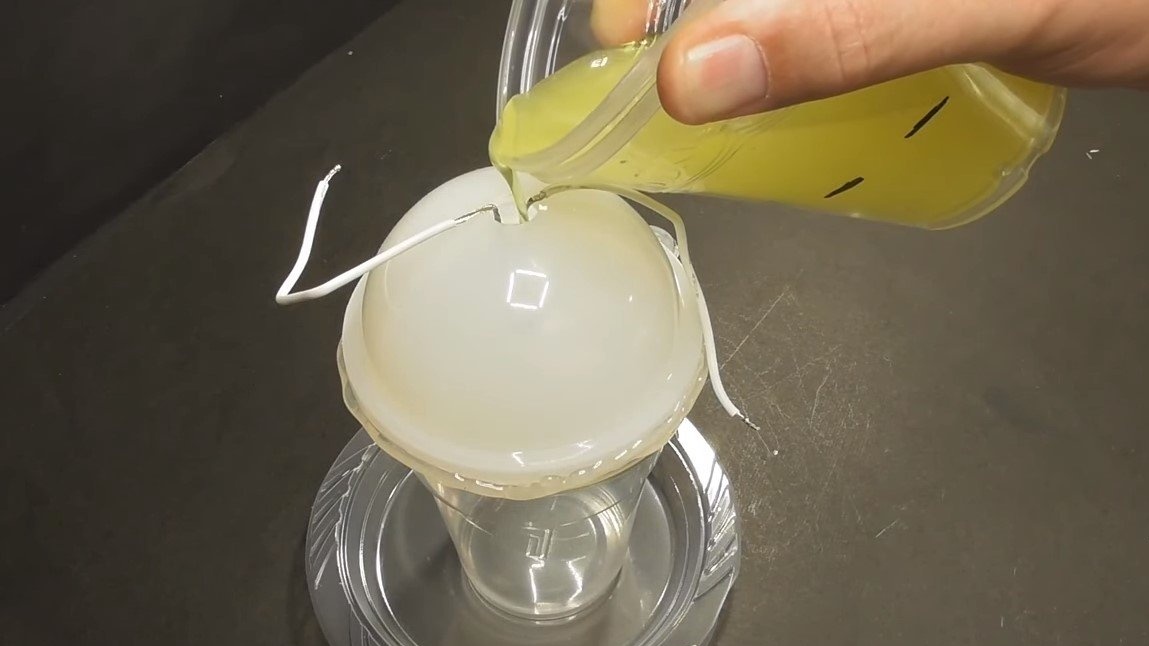
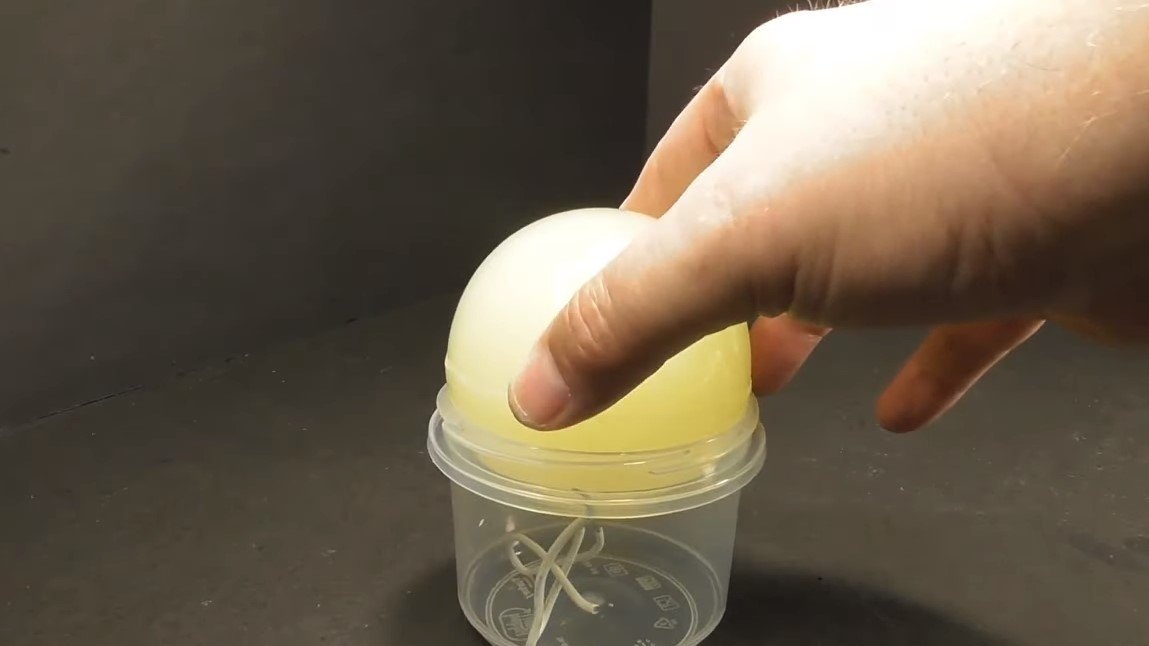
Step one. Cast the "sun"
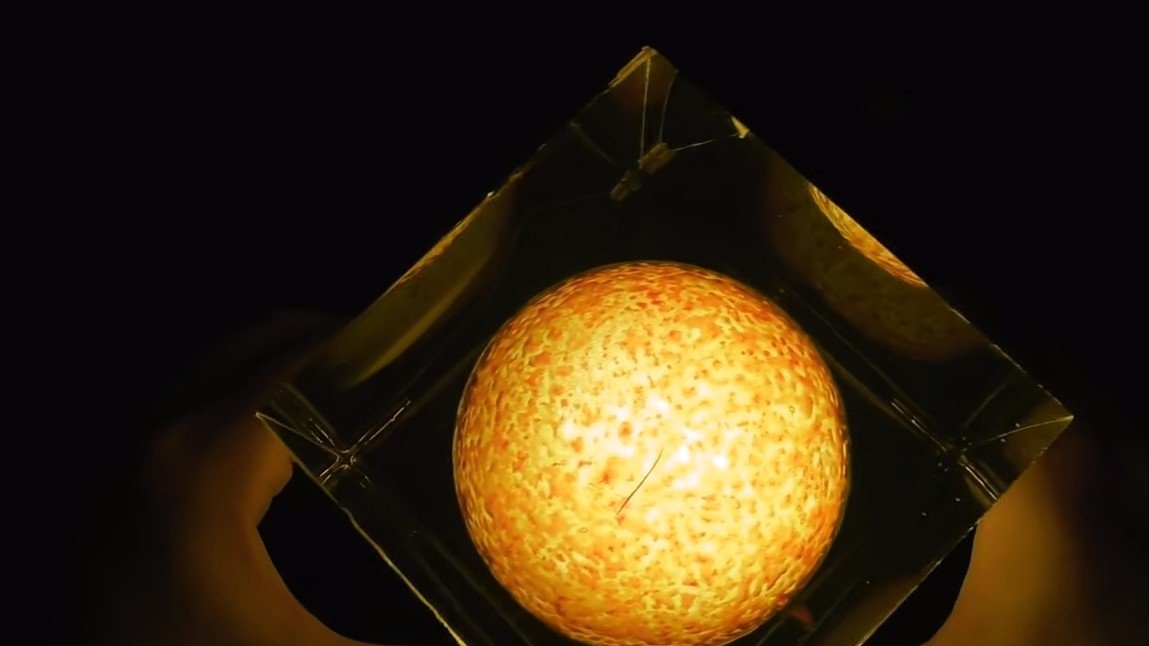
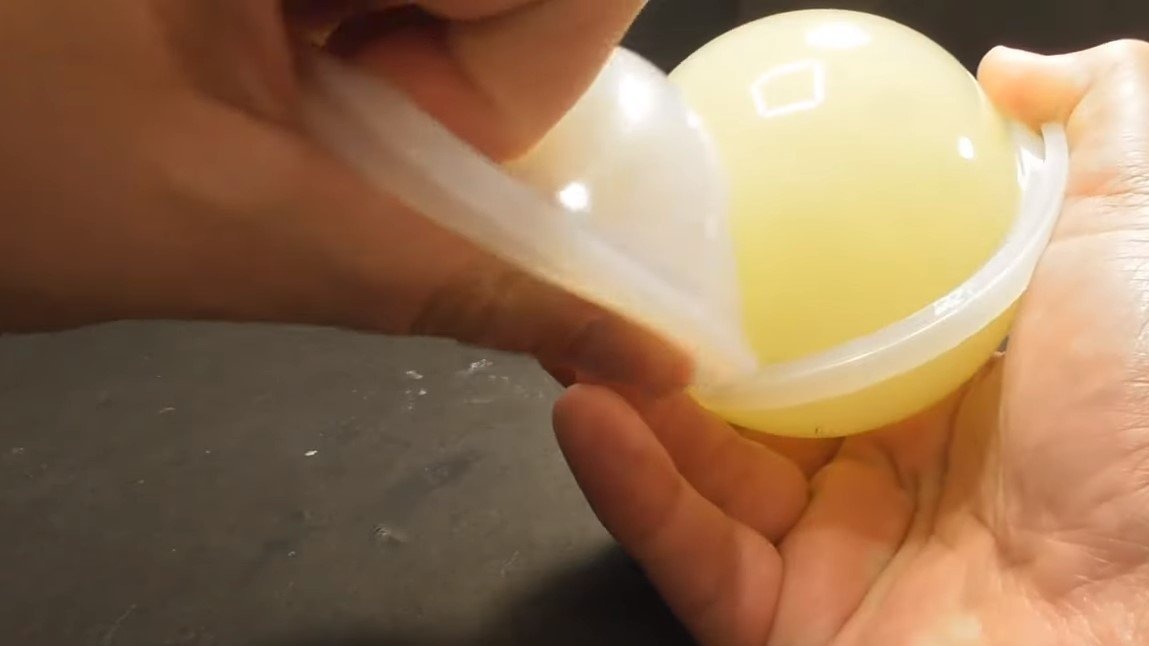
To cast a ball, we need a silicone ball shape. Having prepared the form and the bulb for 12V, we mix the epoxy resin with the hardener. A special resin will be needed, which can be poured in large volumes, another will boil. Add a little yellow and white dye to the resin. After stirring, we get the main color of the sun. Pour the resin into the mold, not forgetting to install a light bulb inside. The bulb is suitable only for LED, incandescent will quickly burn out and melt the resin.

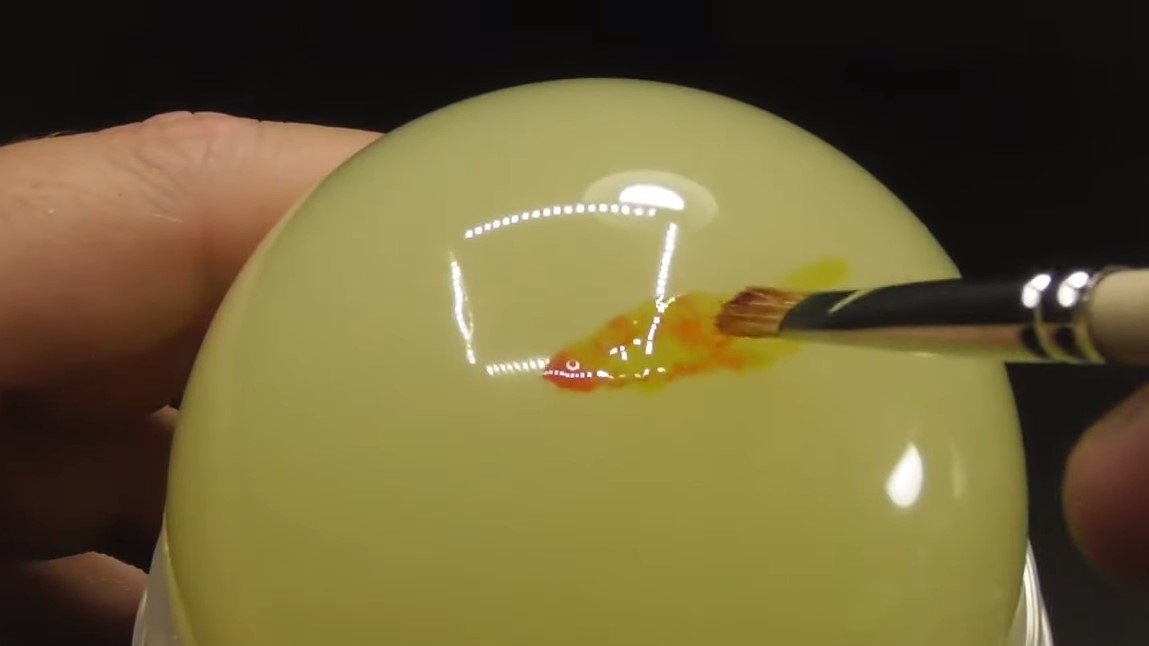
Step Two Painting and detailing
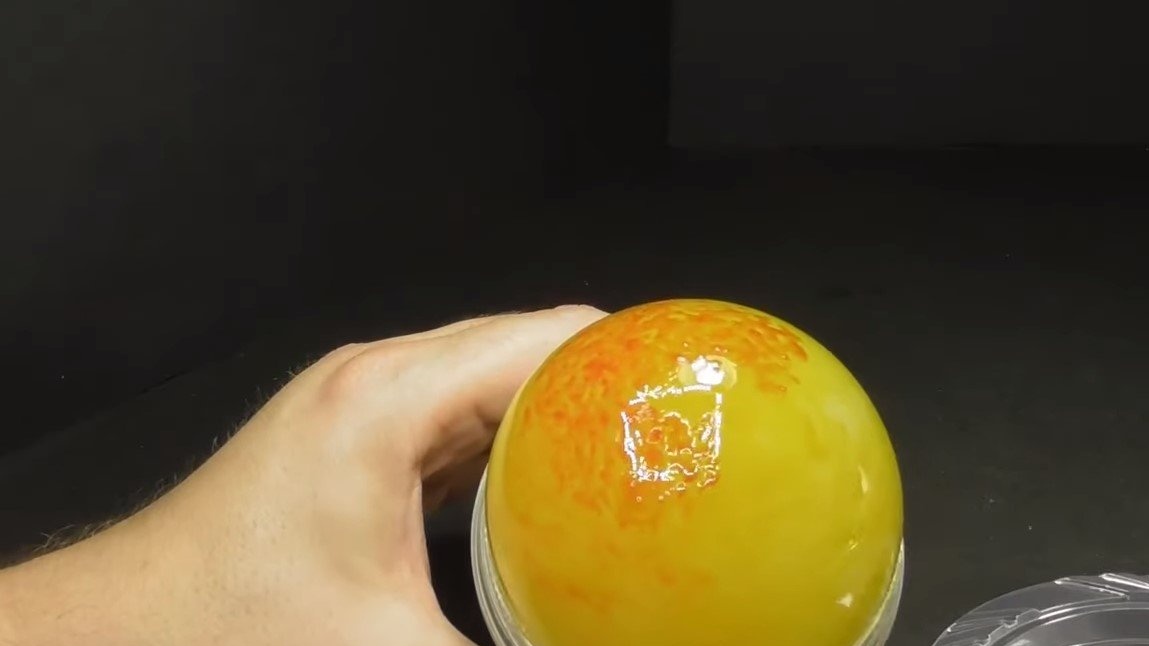
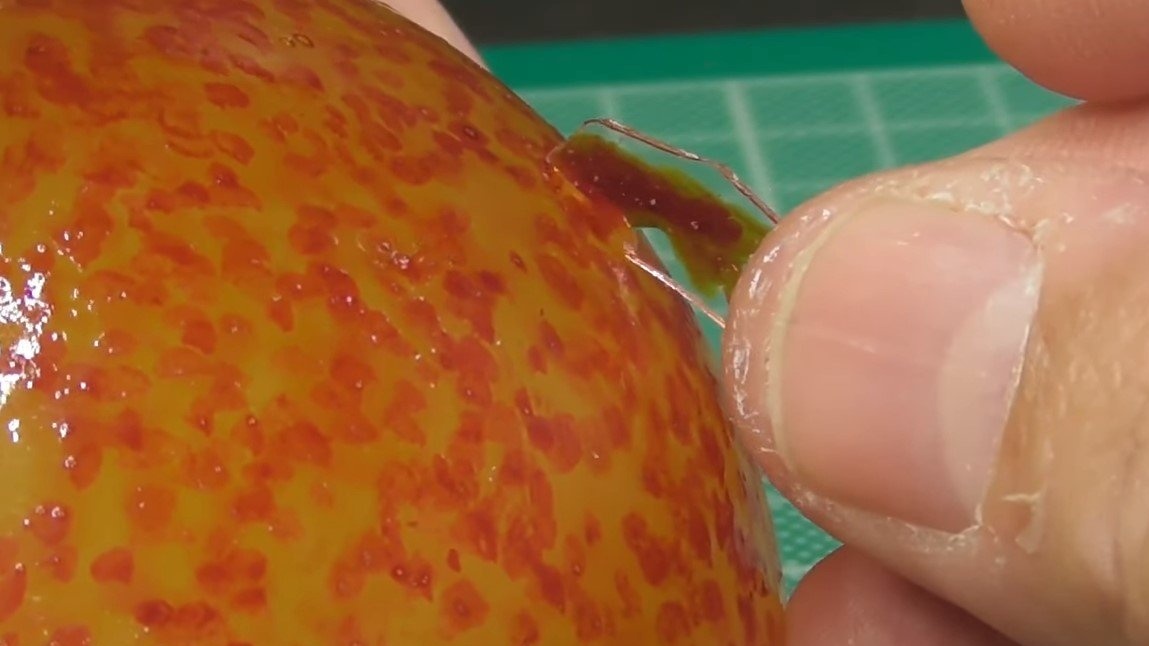
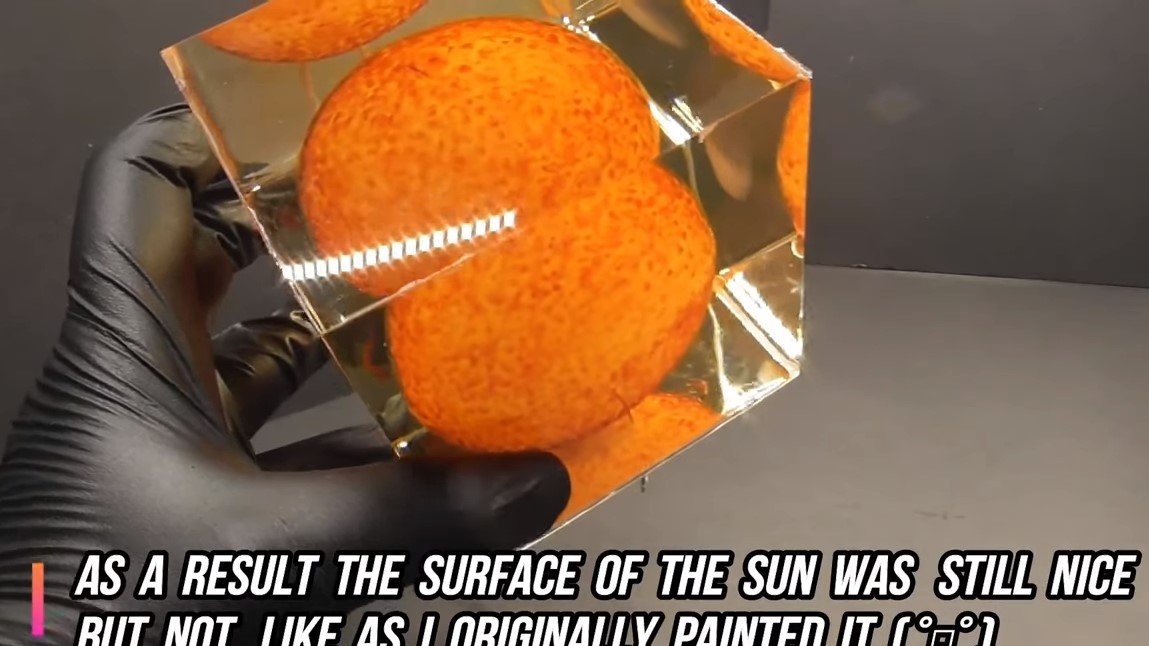
There are red spots in the sun, and we need to realize them. We are looking for suitable bright colors and paint the sun. The author everything turned out pretty realistic.
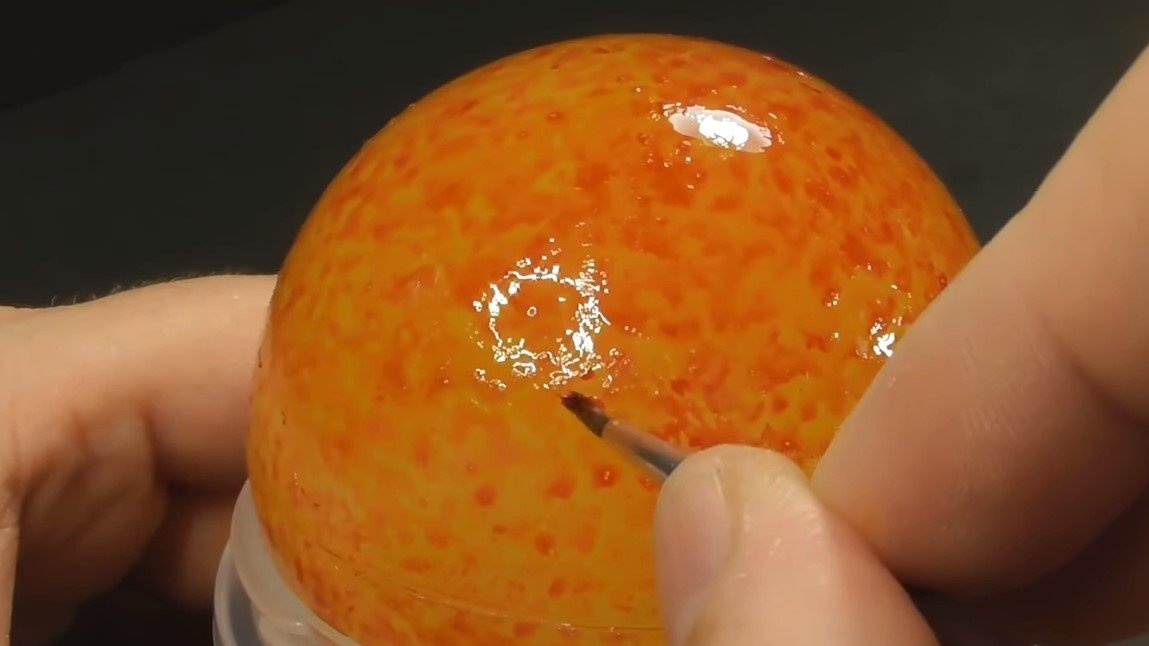
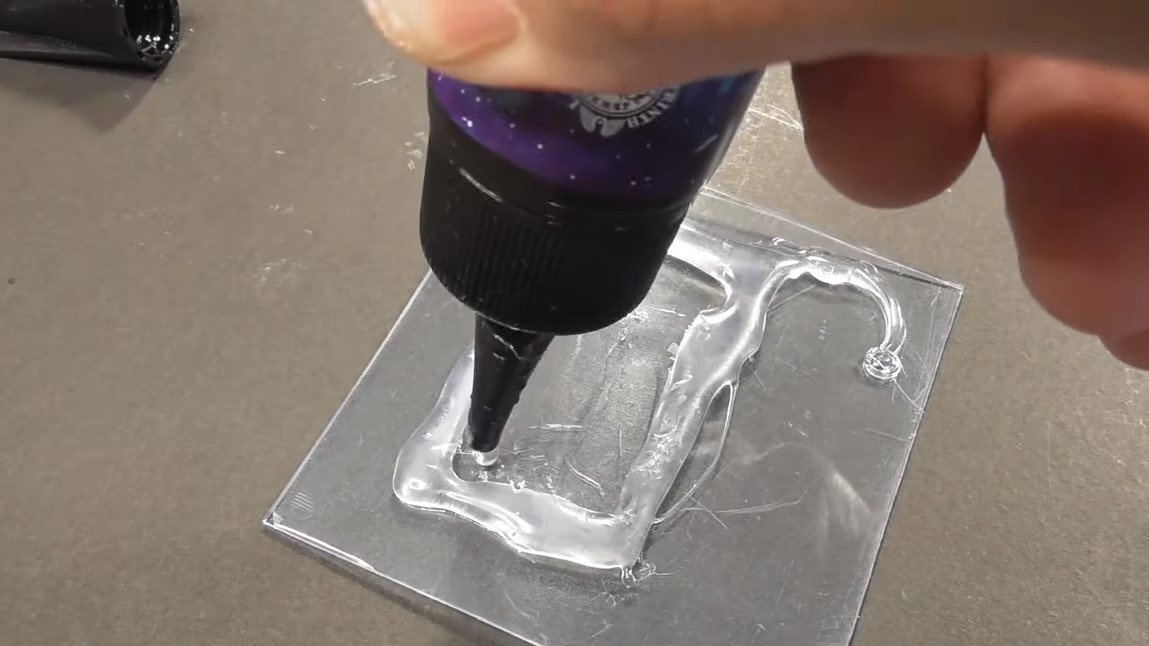
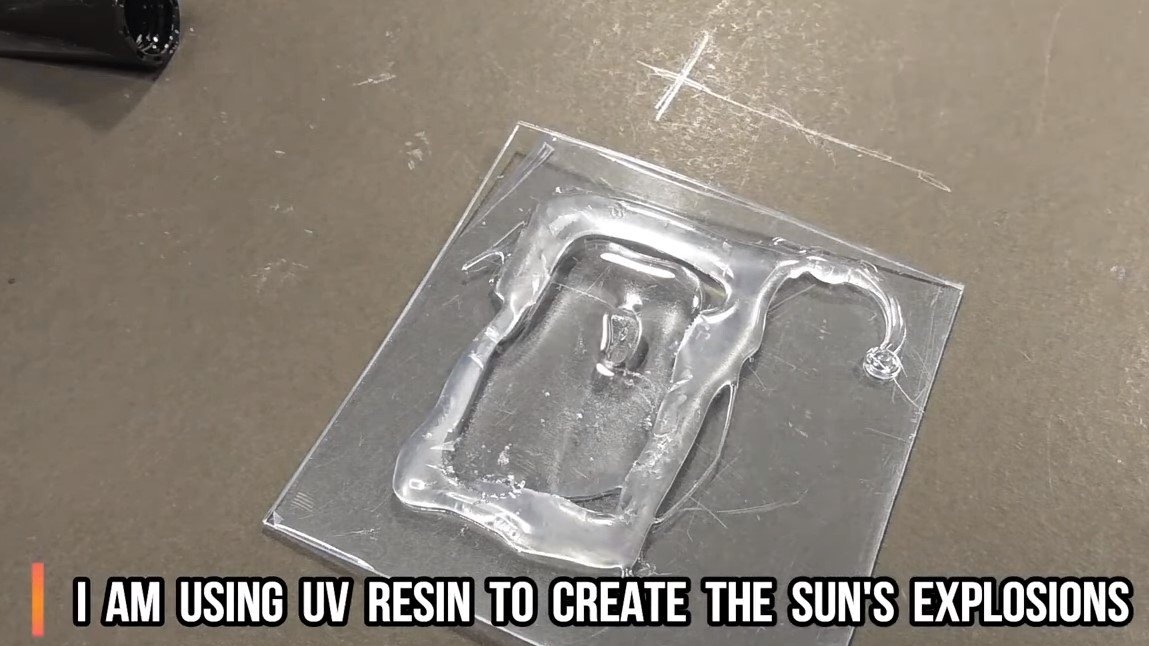
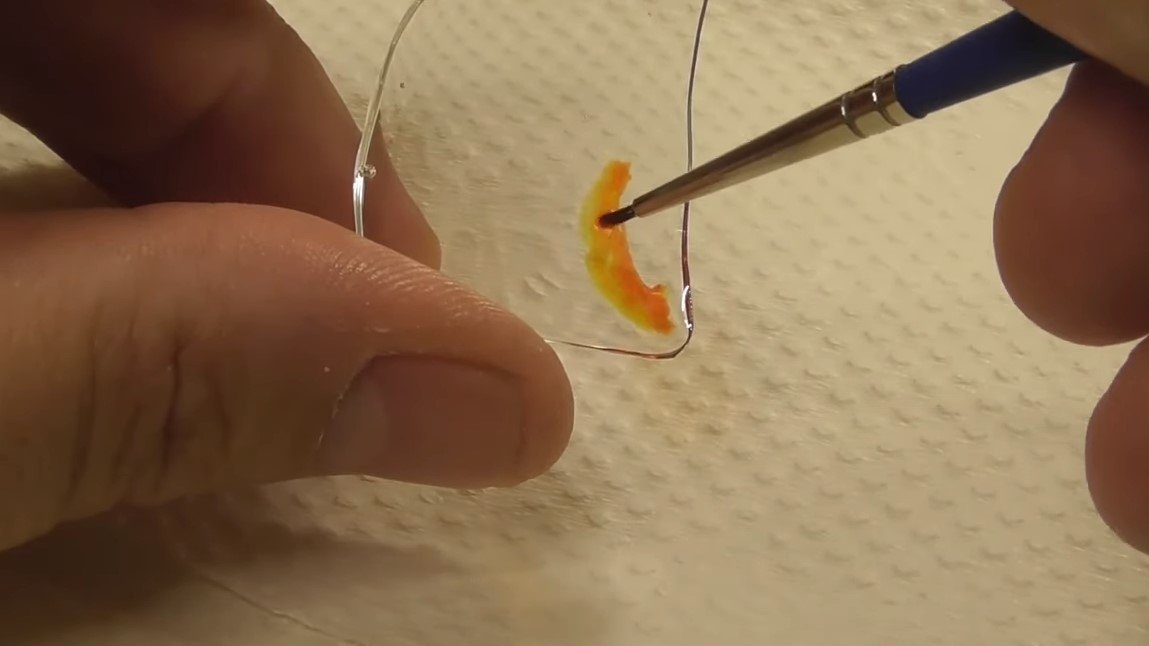
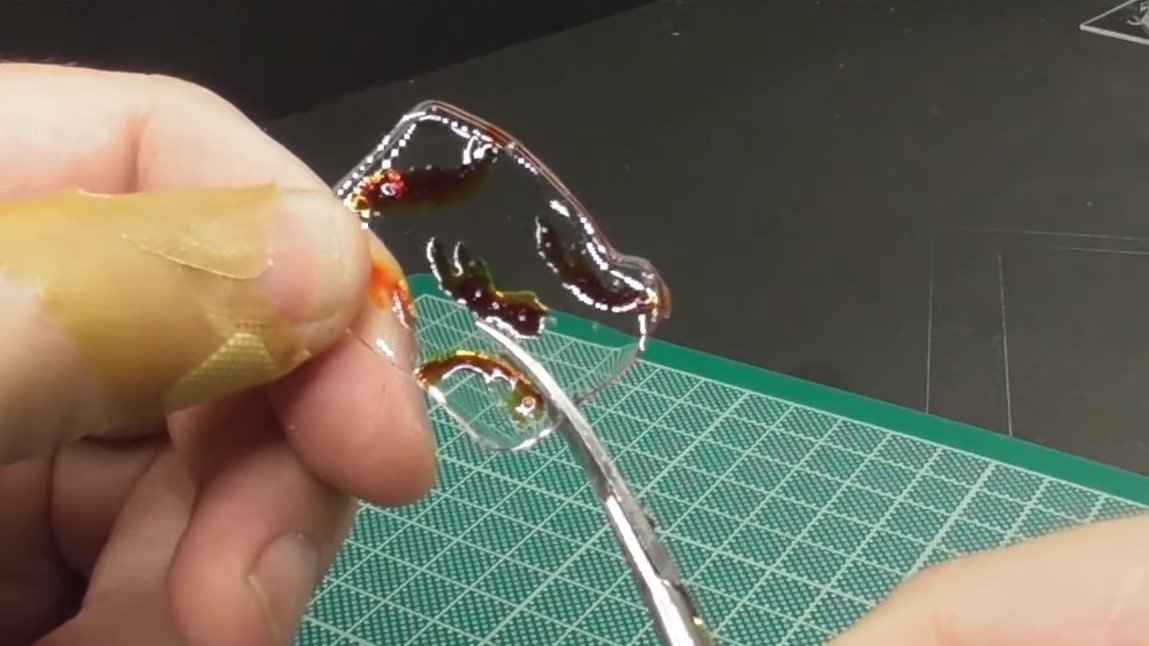
In addition to spots, there are also flashes in the sun, which lead to the emission of solar mass into space. It is these emissions that the author decided to imitate, we cast a plate of resin and paint it in red shades. Next, it remains to cut out the received details, and glue them to the sun. For fast bonding, you can use superglue or resin, which hardens under the influence of ultraviolet radiation.


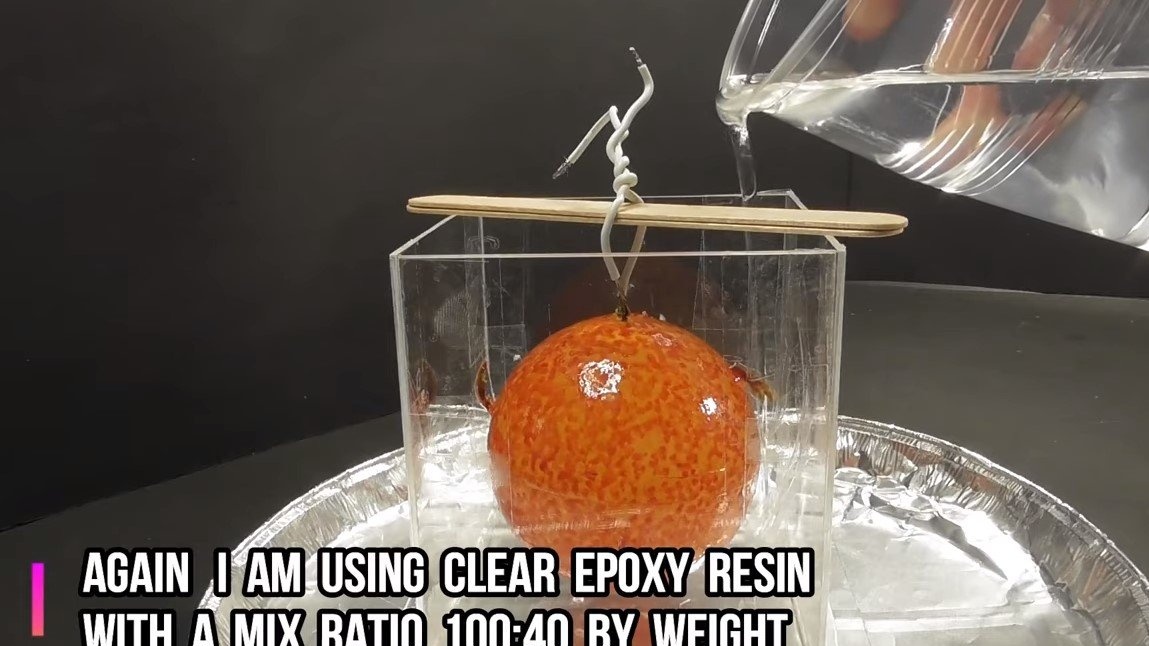
Step ThreeFinal fill
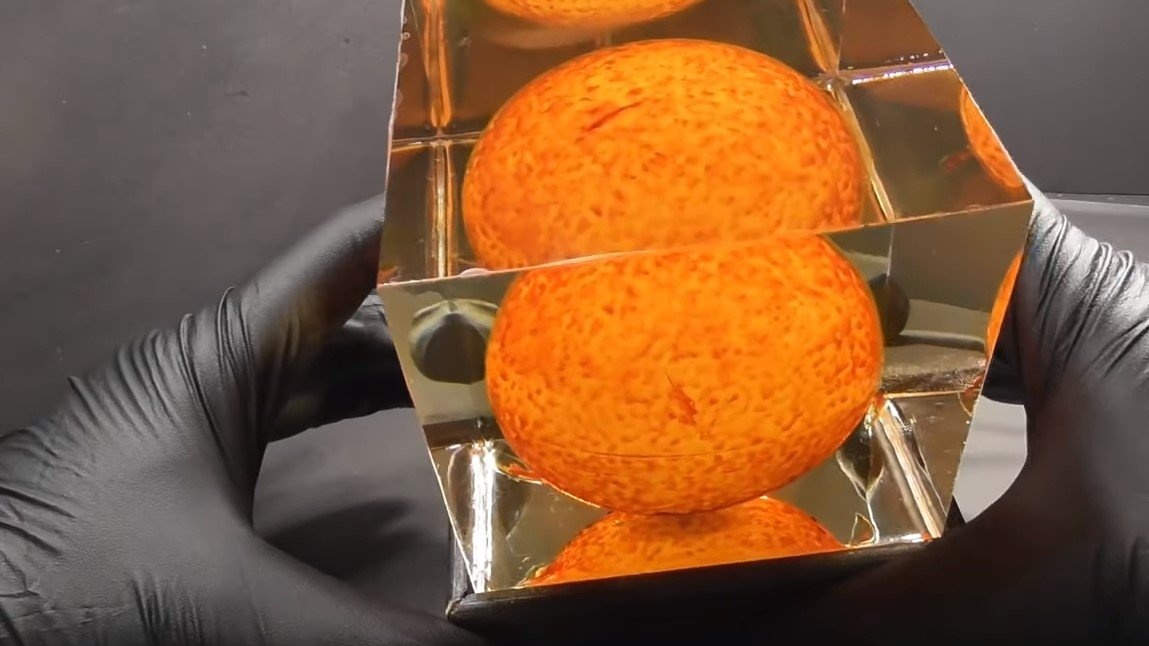
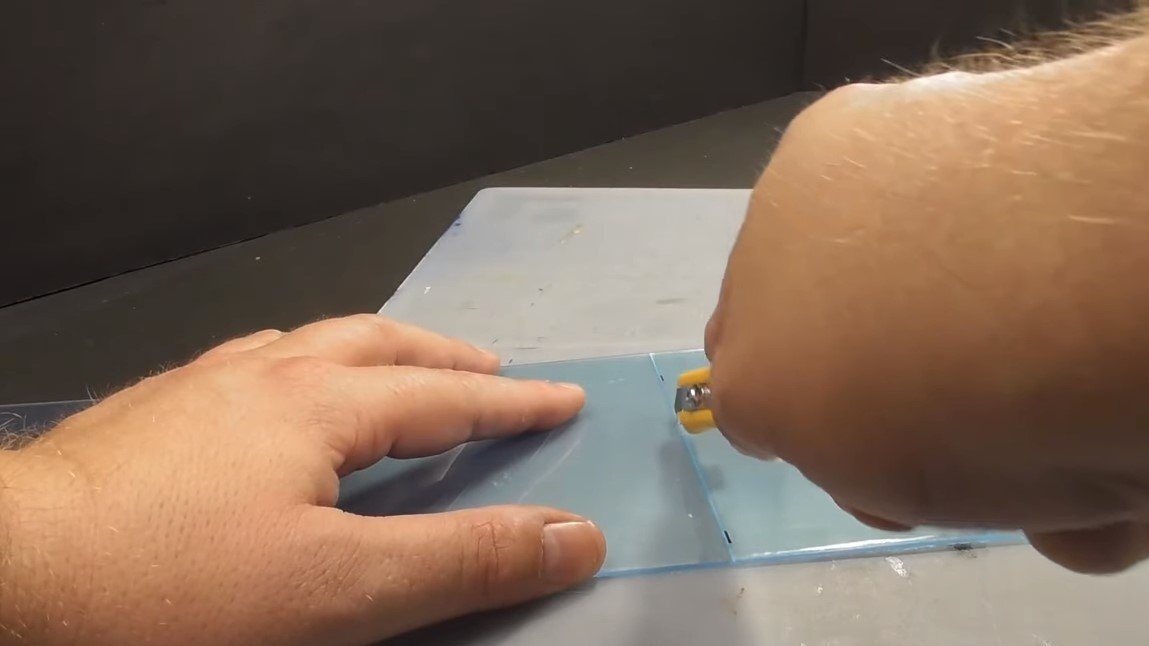
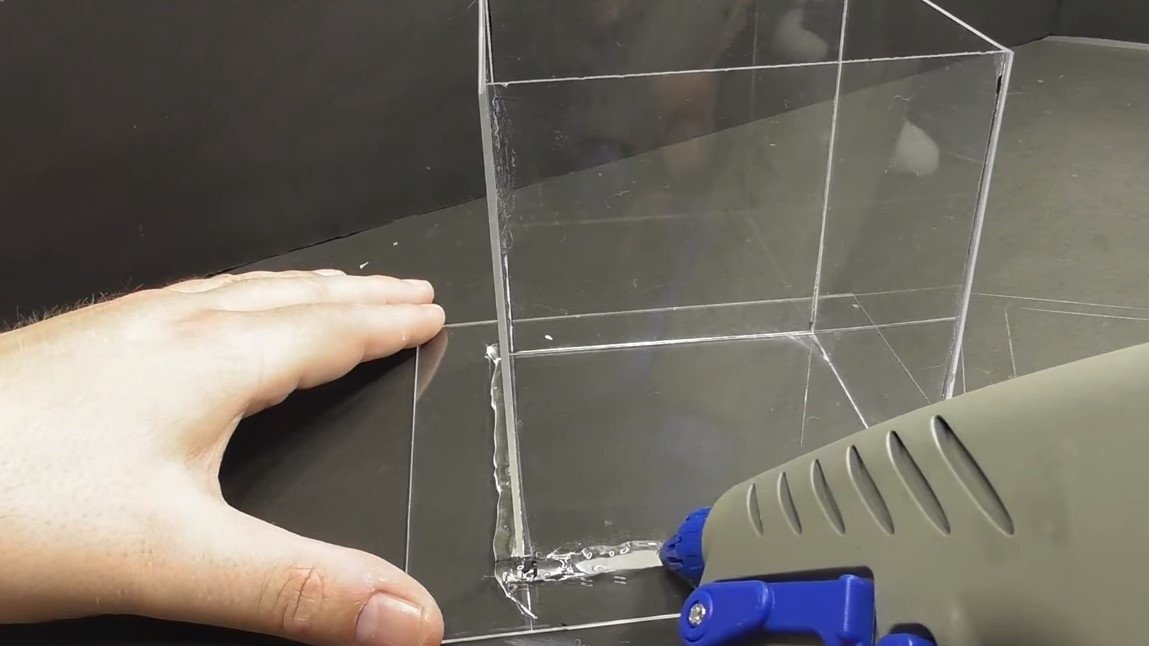
Prepare a rectangular shape for the final fill. We will fill in “clean”, without further grinding and refinement. We use sheet acrylic as a material for formwork; it is easily cut with a ruler and a stationery knife. We glue the formwork securely with hot glue and make sure that there are no gaps anywhere.
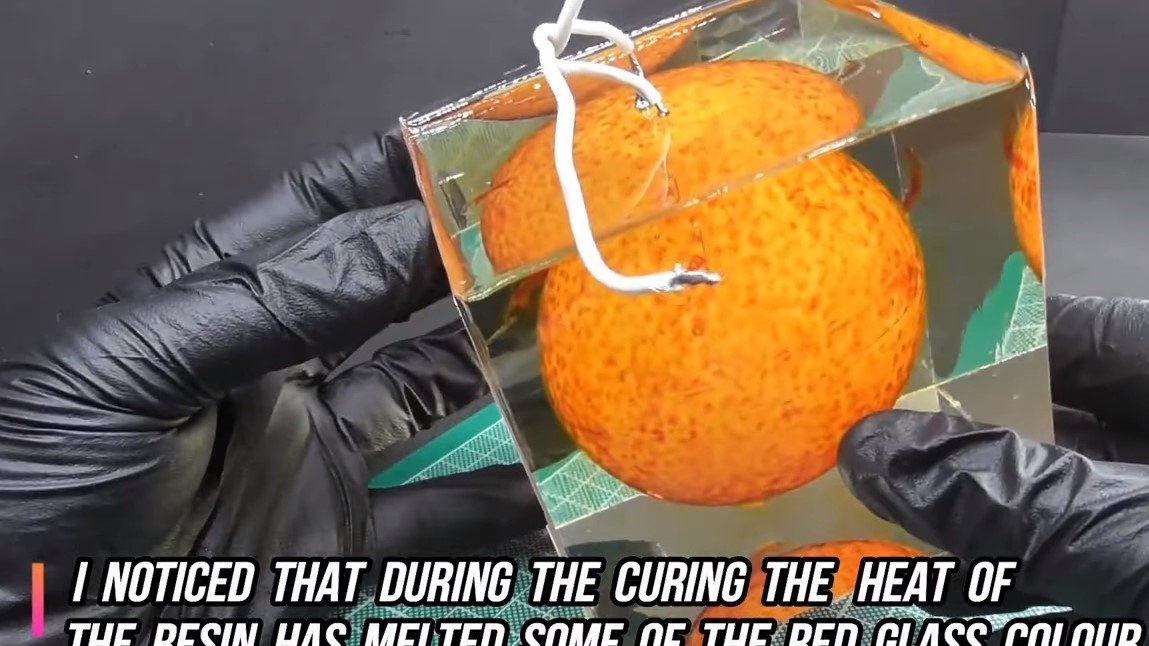
Next, stir the transparent resin and fill it into the mold, setting the sun inside with the wires up. We wait until this whole thing hardens, and then remove the formwork.

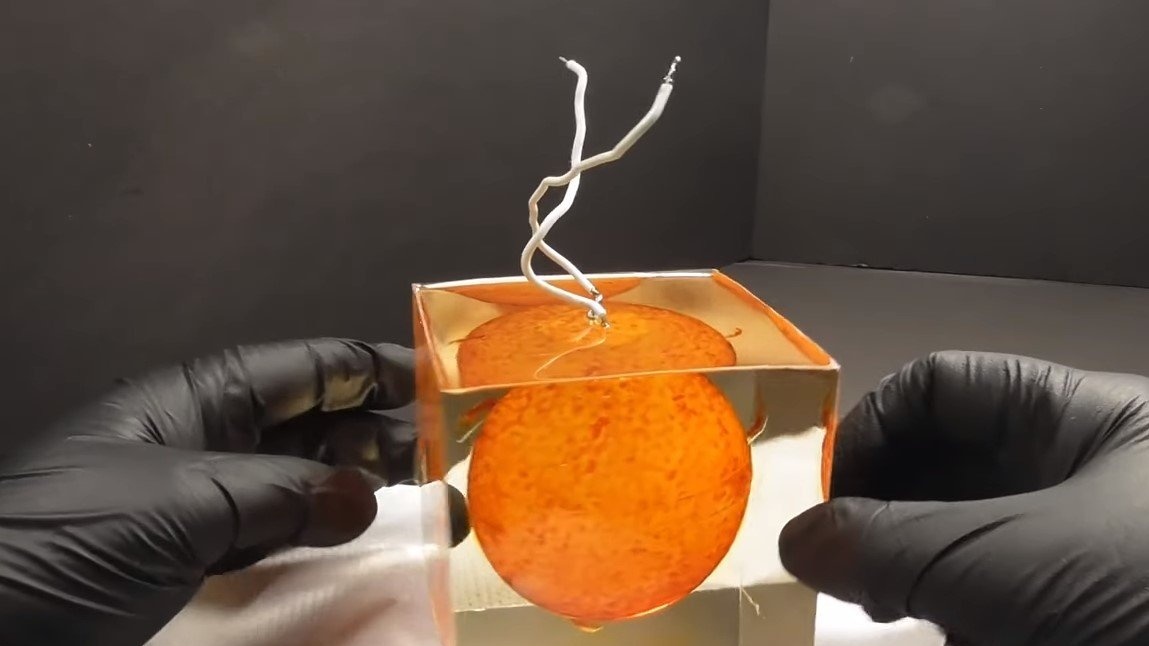
Step Four Base and assembly
For the night lamp, it remains to make a base, it can be assembled from veneer or board. The author decided to paint the wood black to highlight the brightness of the lamp. We hide the wires in the base, we also install the switch and mount the socket for connecting the power supply.
That's all, now the homemade product is ready, the project looks great, but the assembly is not so complicated. This is the end of the project, I hope you liked the homemade work, and you found useful thoughts for yourself. Good luck and creative inspiration, if you decide to repeat this. Do not forget to share your ideas and homemade things with us!